Week 02: Computer Aided Design
Assignment
Model (raster, vector, 2D, 3D, render, animate, simulate, ...) a possible final project, compress your images and videos, and post a description with your design files on your class page
Learning outcomes
- Evaluate and select 2D and 3D software
- Demonstrate and describe processes used in modelling with 2D and 3D softwares
- Demonstrate image and video compression
Have you answered these questions?
- Modelled experimental objects/part of a possible project in 2D and 3D software
- Shown how you did it with words/images/screenshots
- Documented how you compressed your image and video files
- Included your original design files
Documentation
In week 02, we were introduced to CAD (Computer Aided Design) software. This is the use of computer software to assist in creating, modifying, optimising and even analysing a design. I have never used any 2D, 3D or image sizing software before so everything here is new for me and it is a huge amount of information to take in. I do not have a defined final project idea yet and was trying to familiarise myself with the terms and some of the software.
What I learned so far and goals going forward
This is an evolving process and I have been at it for literally two days – I will add to this section as the weeks progress.
In the global class with Neil we went over some key terms:
Pixels are the smallest unit of bitmap images. Each pixel is made up of RGB sub-pixels. Pixel images allow more complex textures, gradients, multiple formats with compression and less process load, but they take up a lot of memory. Enlargements without loss of quality depend on the amount of pixel density and resolution.
Images with bitmap are also called Raster images. Some software for editing raster images are Krita, GIMP, BIMP.
Vectors: Geometric descriptions of an image. Vectors are simple shapes or primitives, such as points, lines, curves and polygons. They can be combined to make more complex shapes. Vector images can increase in scale without loss of quality and the file sizes are light compared to pixel formats.
Some software for working on vector images are Inkscape, QCAD, FreeCAD, potrace, sketchpad.
Photo compression
There are a number of ways to achieve this. One method is through Git. I did try it before but I found just using a readily available online software like Imagy or Sqoosh was way quicker. I preferred imagy as I was able to edit the image and select a target kb for the file.
I selected 200kb to resize, and the image was reduced from 845kb to 190kb
Here are some examples of image compression methods:
![]()
Using Imagly App to reduce pixels
The result:
![]()
It is also possible to resize images in Windows too. One opens the file and clicks on resize images choosing the target kbs to resize too.
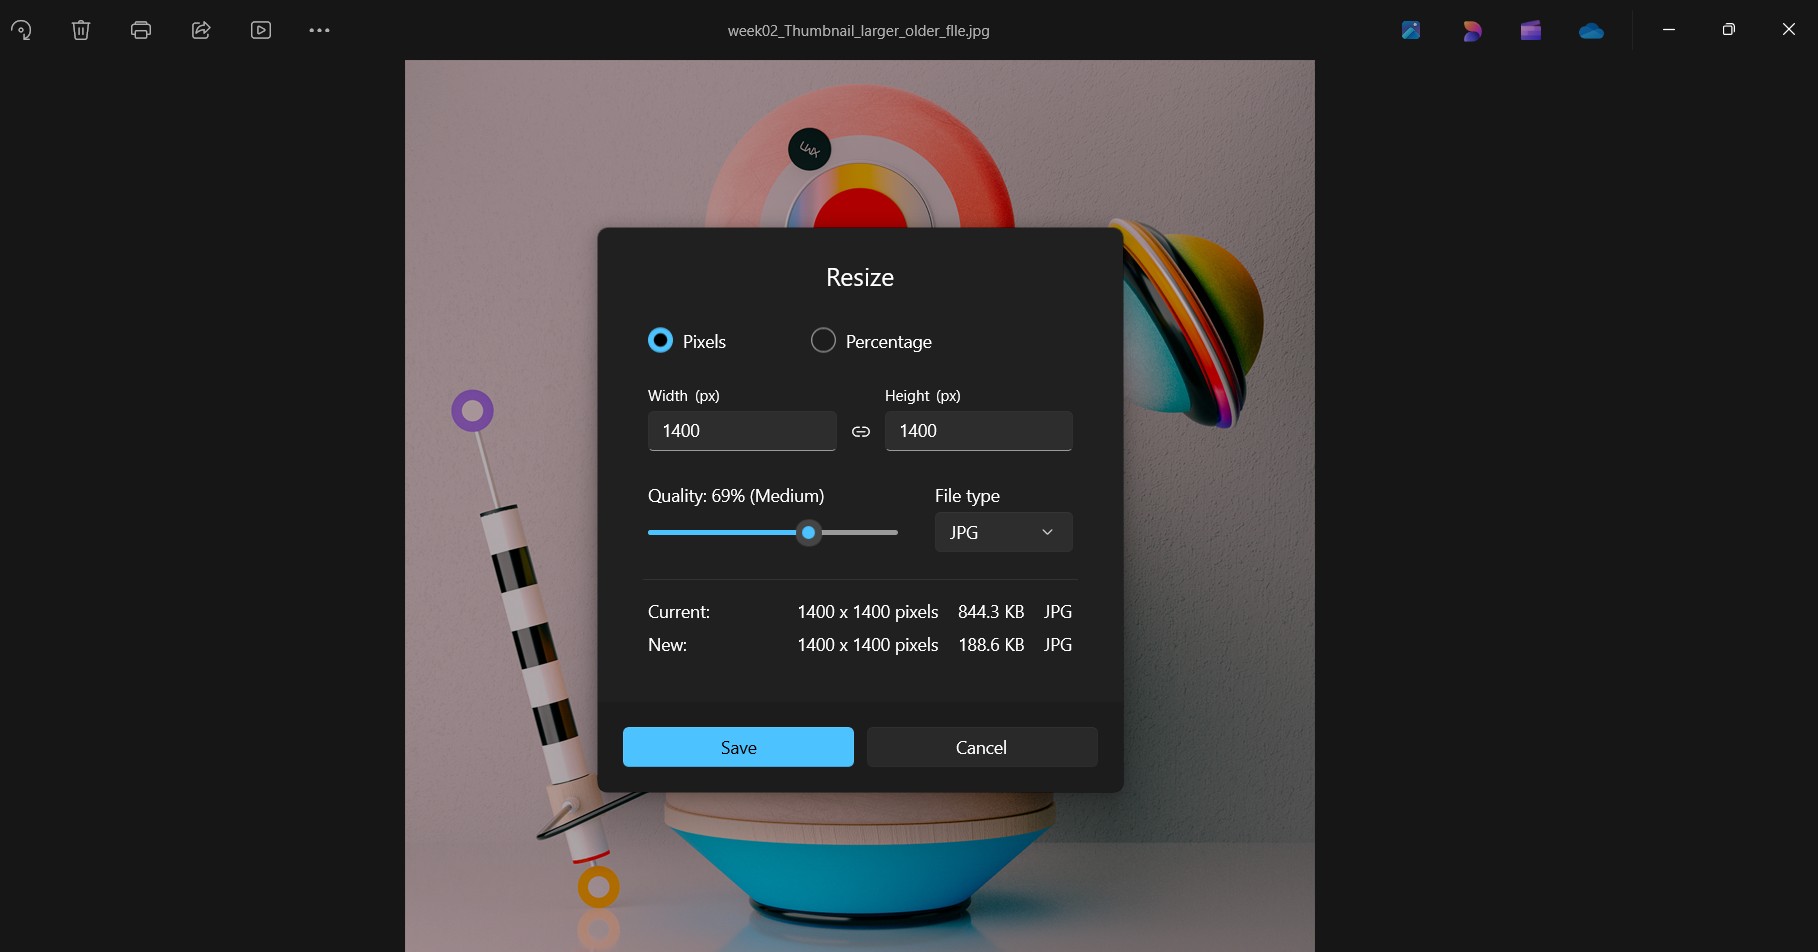
Windows built-in image resizing
2D and 3D Software
We were told about a huge amount of possible software each with advantages and disadvantages, both free and paid. It is difficult to assess each one's merits when one has limited basis for comparison.
I decided to be strategic and pick Rhino for 3D design as this is most used in the Fablab and is used with most of the machines as far as I can tell. I also chose Inkscape for 2D Design. It's free, there is a lot of documentation and seems somewhat approachable.
I asked Chatgpt to summarise the purposes and capabilities of Inkscape, Rhino, and Blender which I am also planning to get round to familiarising myself with.
Inkscape, is a Vector Graphics Editor. It is used for creating and editing 2D vector graphics, such as logos, illustrations, and technical drawings. Other salient points are that it uses SVG format (Scalable Vector Graphics), allows precise control over shapes, paths, and text. It also supports layered designs, color gradients, and transparency; Includes Boolean operations (union, difference, intersection, etc.); Can be used for laser cutting and CNC-based designs by exporting vector paths.
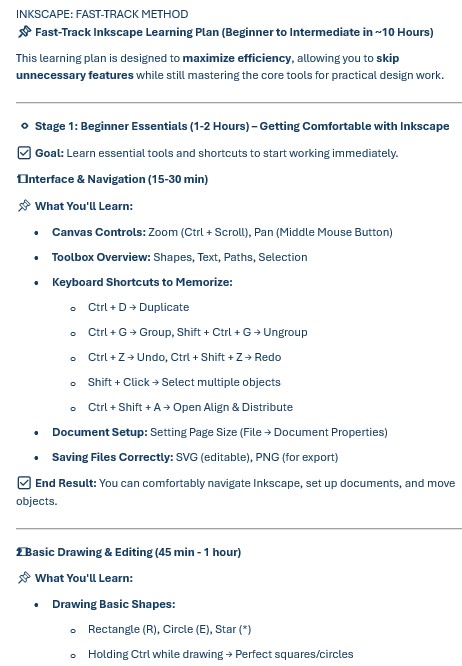
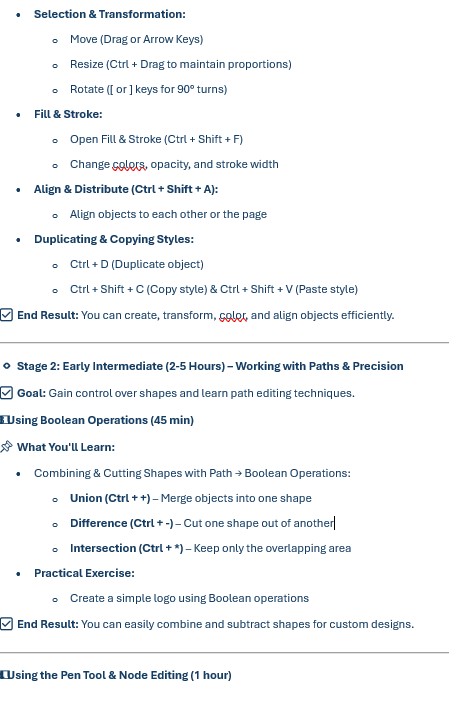
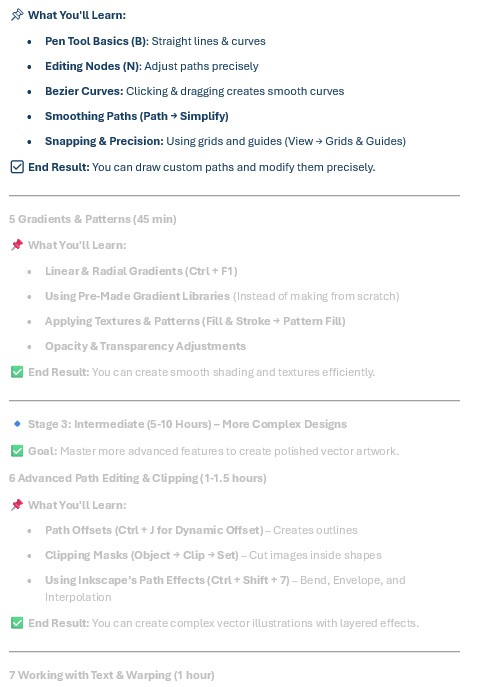
I decided to create a fast-track learning plan for Inkscape which I did with the help of Chatgpt. I went through different commands that it suggested trying them out. The following three images show the commands that it told me i needed to learn and the difficulty level. I believe i covered Beginner to Early Intermediate. However, I need to practice doing things and being precise rather than doing it imprecisely.
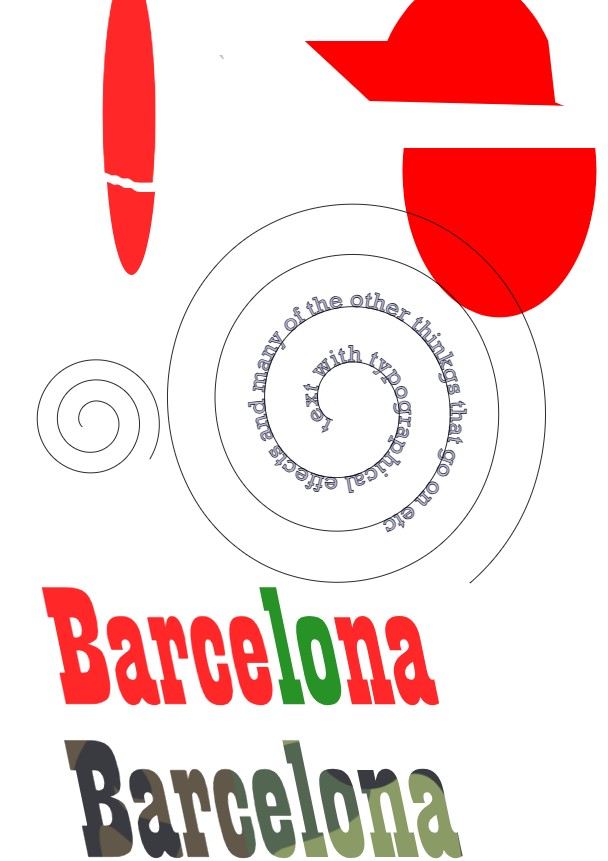
In the below image you can see I was playing around with various commands such as Text on Path, Text Coloring, Font Variation, shape tools such as Ellipse, Rectangle and Polygon. At the top right and left you can see I tried Boolean Operations such as Union, Difference, Intersection, Break apart.
I also used many times the Stroke and Fill Adjustments and did some transformations of the writing using Rotation, Skewing and Scaling. I experimented with Opacity and the Spiral Tool.
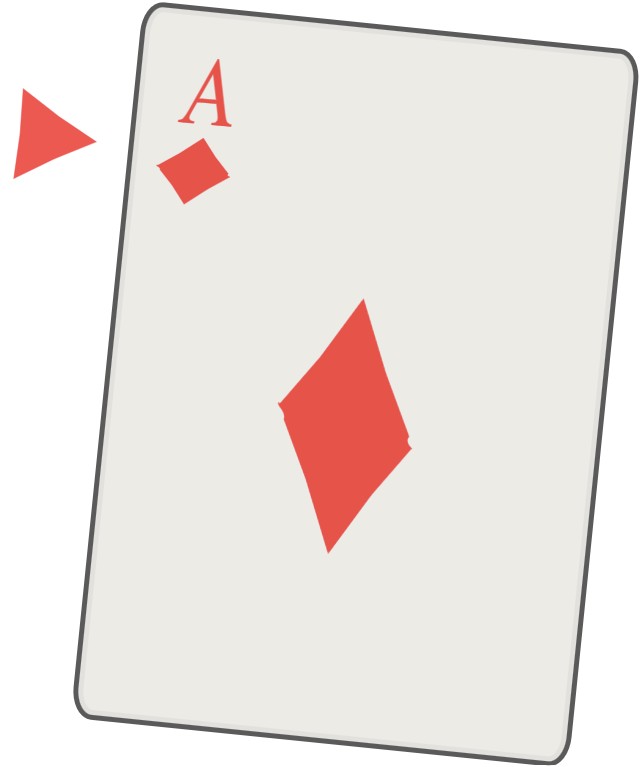
Below I tried to copy an Ace of Diamonds card but I lost the plot at the end as I had been staring at the screen for too long. I will attempt this again.
Another software I tried was was Rhino (Rhinoceros 3D) is a 3D CAD Modeling Software. It is used for precise NURBS-based 3D modelling. (NURBS means Non-Uniform Rational B-Splines Modeling). Non-Uniform terminology denotes that NURBS can be used to create freeform shapes meaning one can manipulate geometry to form any shape instead of just relying on set parametric shapes. This makes it ideal for product design, engineering, architecture, and industrial design.
Other salient points aside from NURBS modelling is the use of Mesh tools & SubD modelling which deals with polygonal modeling and dealing with smooth surfaces. Other benefits are Parametric design with Grasshopper that allows scripting for automated, generative design; File compatibility: Can import/export many formats (STL, OBJ, STEP, DWG, etc.), making it widely used in fabrication and 3D printing.
Blender is a 3D Modeling, Animation & Rendering Software. It is used for polygonal 3D modeling, animation, visual effects, game development, and rendering.
Capabilities: Polygon-based modelling meaning it is Ideal for organic shapes, characters, and objects such as comic strips, flyers and marketing type design; Sculpting tools: Allowing detailed, high-resolution sculpting of character and environment design; Physics simulation: Includes tools for cloth, fluid, smoke, and soft body dynamics; Animation & rigging; Provides full-featured animation capabilities, including motion capture; Game development: Features a built-in game engine (limited support) and works with third-party engines like Unreal Engine and Rendering.
During the class work I couldn't really follow the LEGO assignment and fell out of step early on. I tried very hard to follow the workflows on various online tutorials as well as with chatgpt's help….however, the slightest difference between what I was being told to do and what was on my actual screen was throwing me off. Little differences between the suggested steps and the actual steps that need to be taken threw me off, burnt up hours of time and really needed to be explained in person. Since then I heard that Rhino is a very steep learning curve. I was reluctant to switch as I had already committed time and effort but I think I will do a Fusion 360 tutorial as well as Grasshopper (inside Rhino) this week. The team here at Fablab were incredibly nice, gracious and helpful when I asked for help.
I am now curious to try Fusion360 and I understand it has an easier learning curve for beginners so I am curious about that. One needs to pay for it though and I am thinking to just focus on a few rather than too many. The issue is its quite easy to get burnt out quickly trying to do a lot in a short period. I guess each of us have our ideal ways of learning.
For Fusion 360 I followed the Youtube tutorial:
I just finished going through this tutorial and following slowly through all the commands to build the LEGO block that I pretty much failed building perfectly in Rhino which was why no 3D images were inside my documentation.
The workflow was really a pleasure to go through incomparison. A great tool is the history recorder which allows one to go back to any point of creating the drawing. Also editing and inputting dimensions is way easier after toiling in Rhino.
I will go through the full 30 program and spend as much time as I can to get this done.
After Organizing and naming the projects and selecting mm in Units in the Preferences we create a new component and label it. We goto create sketch, select the plane based on how object will sit and we start in orthographic view. Once we have input dimensions (15.8 x 31.8mm) we use the Extrude button or command (E) in put the dimensions 9.6 mm.
We are advised at this point to see the object in 3D and save the work in the project which can be seen on the left side.
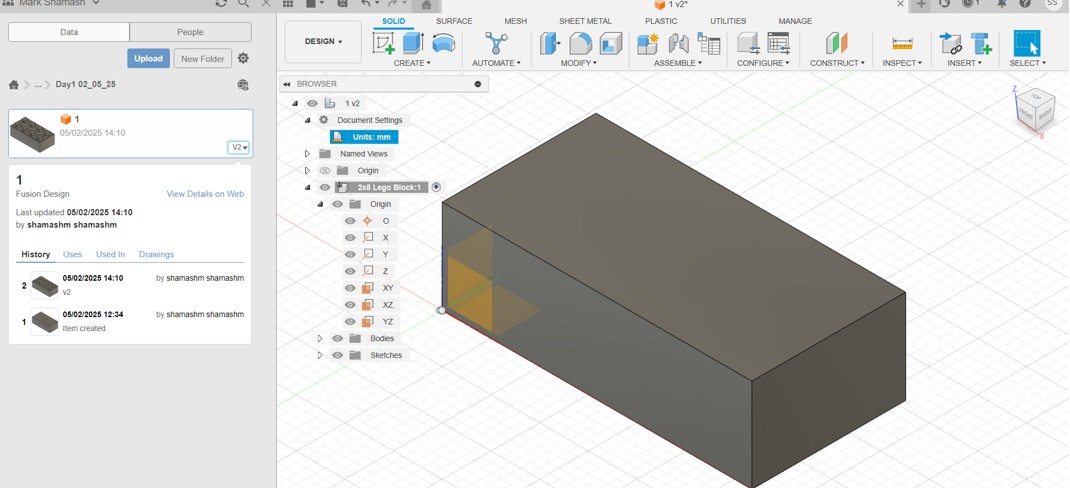
Now, we create a stud. Still looking from orthographic view we use circle tool, input dimensions of 3.9mm radius, then we go to rectangular pattern command and extrude 1.7 mm making sure to click on join as in join the body.
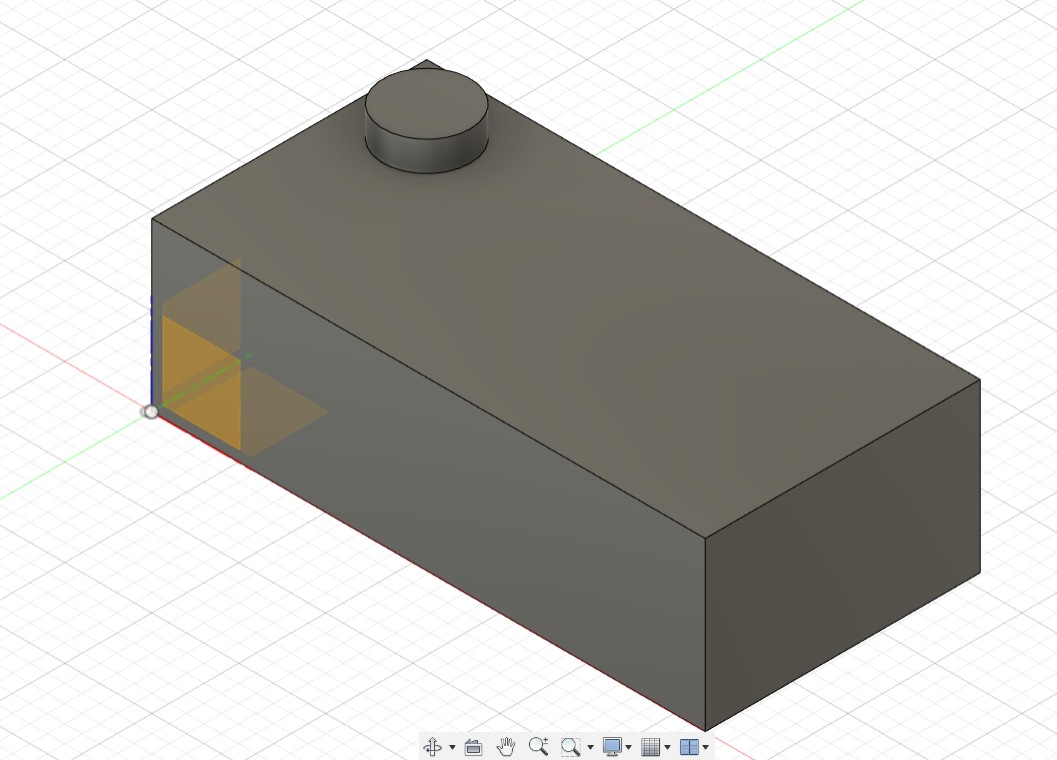
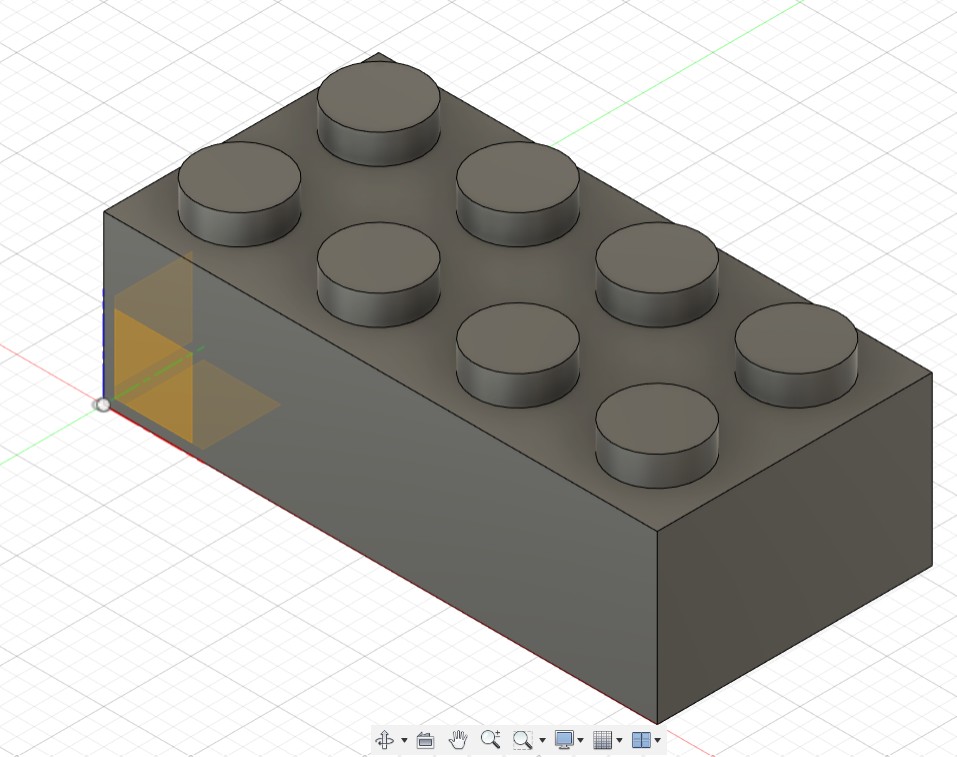
Now we create the rest of the studs using the Rectangular Pattern command. We click on the one stud hit the rectangular pattern command and then drag out and fill in all the quantities and distances in a pop up dialog box.
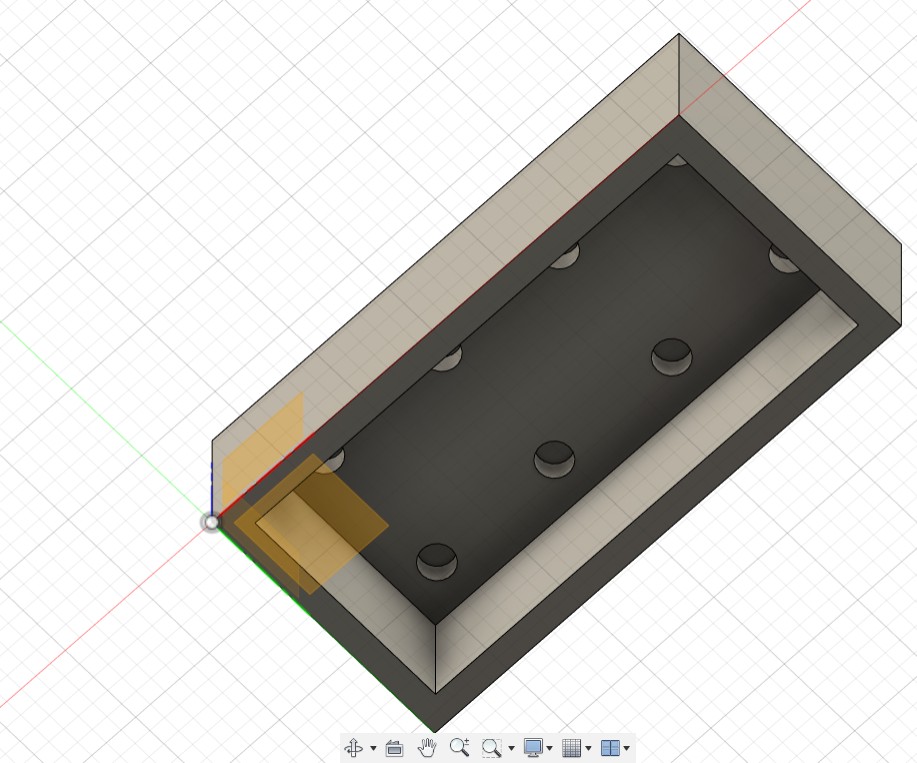
Next using a shell command we hollow the inside. We use the shell command and ask for a thickness of 1.49 mm and the inside gets hollowed out.
Now we will draw the 3 central blocks inside the lego and chamfer the edges of the studs and the block and that takes me to the end of the first video on Fusion 360. I plan to do the course.
First we click on Create sketch and create Line. Then we create a line underneath from one block to another to create a reference point for the center where we will draw the cylinder. We create a circle in the center with a 1 mm dimension and offset a circle on the inside…so we have two circles with 1mm offset and then we extrude 8.1mm.
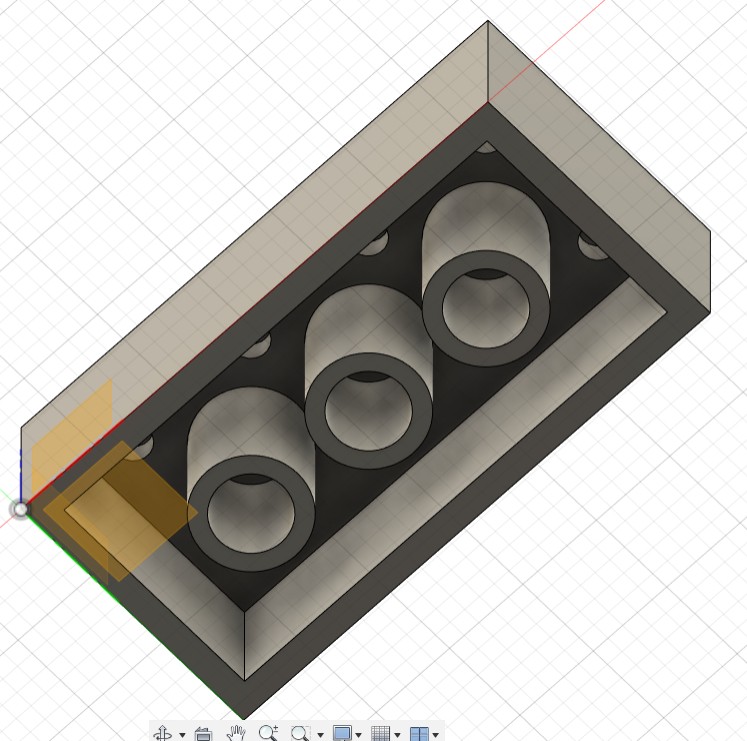
Now we use Fillet command. We select the edges and use a 0.2mm fillet with the following result:
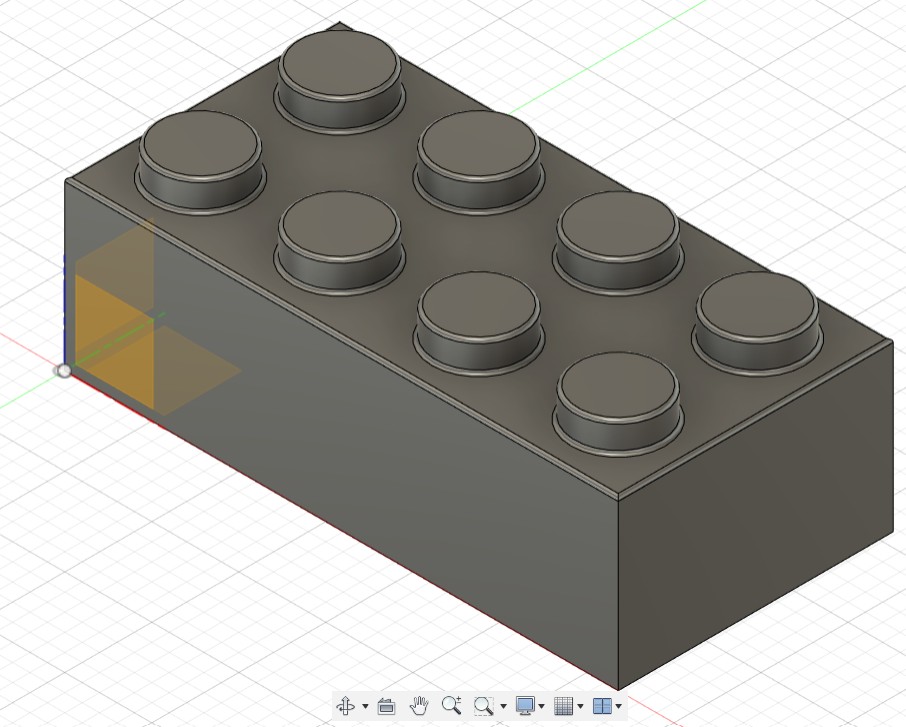
Today I have just decided on a final project which means I will be spending more time improving my CAD skills. Will focus on Fusion 360, learn Blender, Grasshopper and strengthen Inkscape. This really is the basis for doing most things at Fabacademy as far as I can see. I advise anyone planning to come here to pick up some of the CAD software and start learning it asap!
I was picked randomly by Neil today on the Week03 call where we reviewed our week02 work and I had not shown any 3D images of my final project. So here is evidence of me working in 3D. I will be working on project designs from now on!
We are now at the very start of week05. Since week02, I have been working on Fusion360 tutorials to build up my skill set so I can design my Final Project.
This weekend I plan to spend time again on my final project and will see if I am capable of drawing a lamp or my alternative ideas.
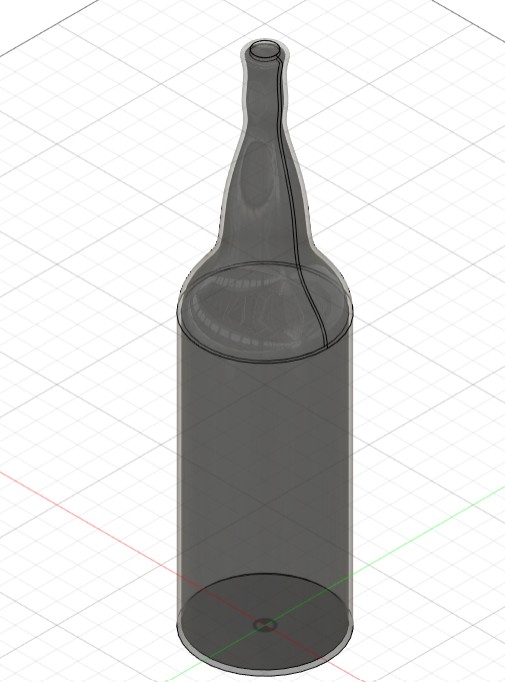
After the Lego piece in Lesson 1, I made the Glass Soda Bottle from Lesson 2
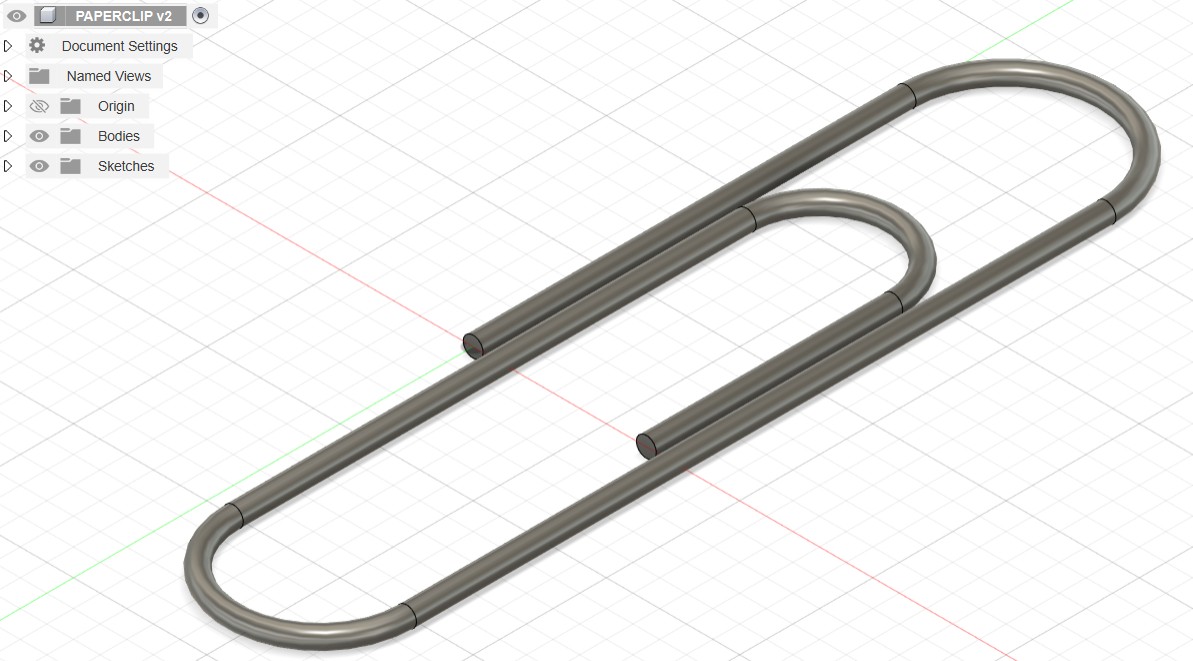
Paperclip from Lesson 3
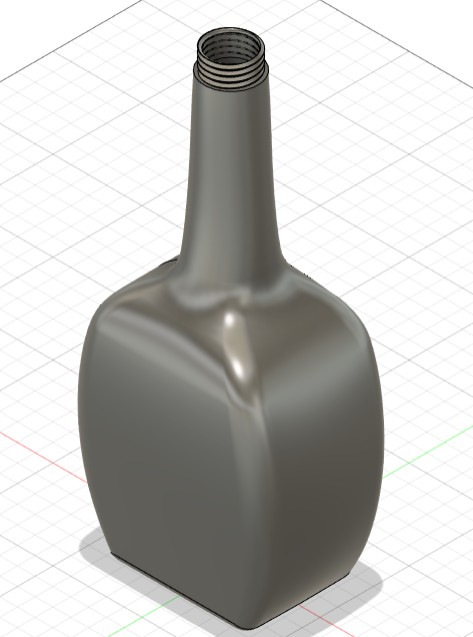
Whiskey Bottle from Lesson 4
Ice Cube Tray from Lesson 5
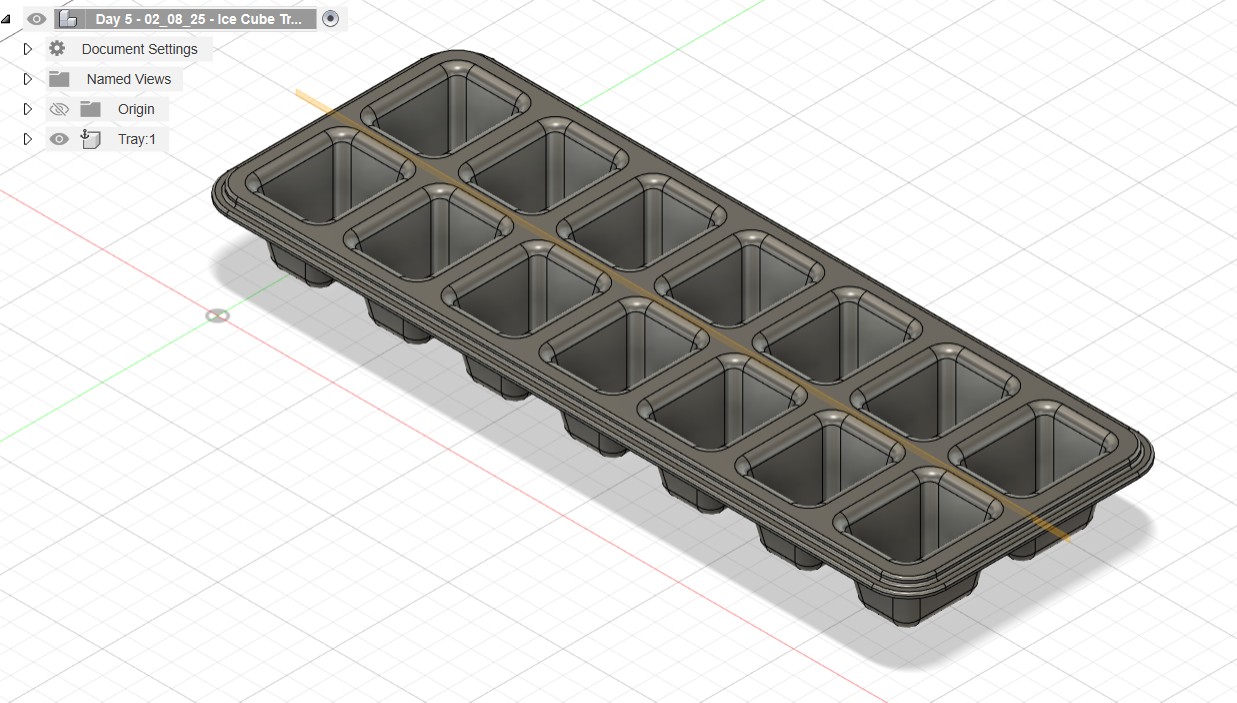
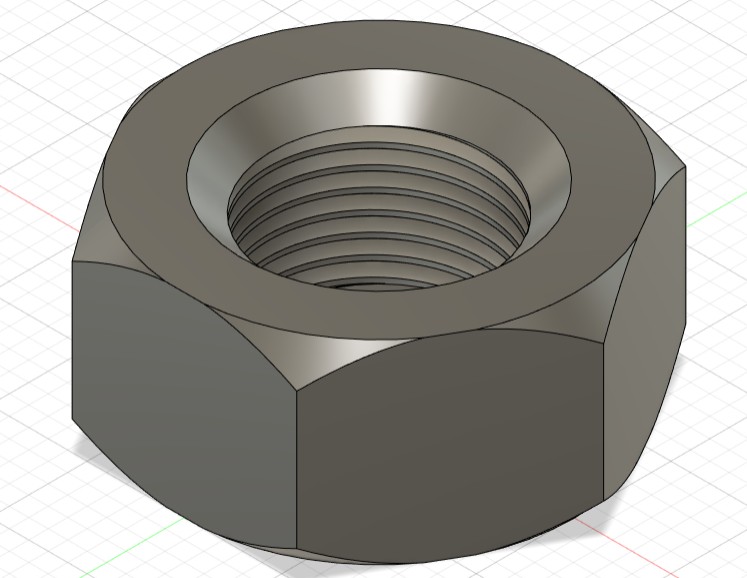
Hex Nut from Lesson 6
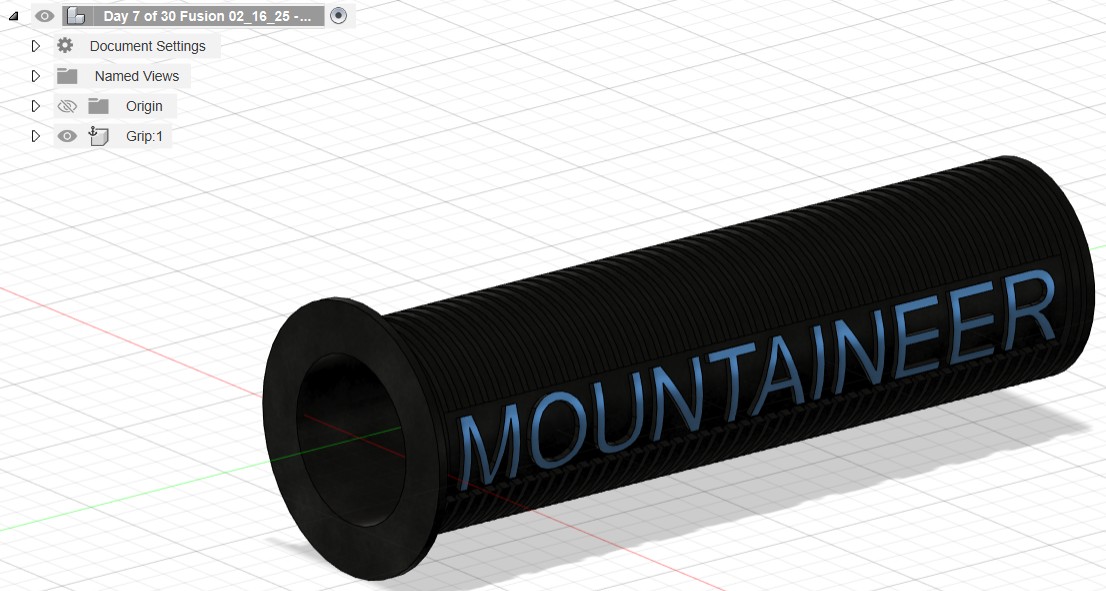
Embossed Bike Grip from Lesson 7
I experienced a huge amount of trouble with the doorstop from Lesson 8. Finally i caved in and asked Didac for help. He showed me how to get over the part I was having a problem with and mentioned that there may have been an error in the tutorial.
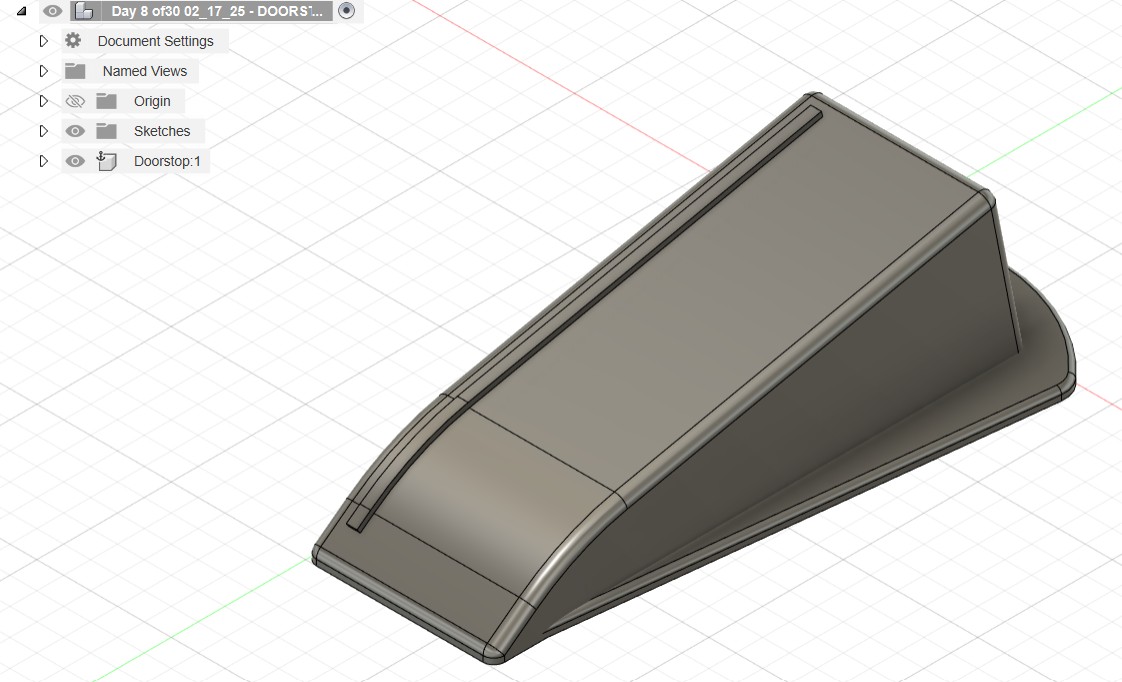
I need to copy the pattern across the geometry and I will finish it this week and continue with the other lessons.
Updates
22nd February 2025
Uploading images in Week05 I noticed that I had saved all my images as PNG.
I used a batch converter Picflow to convert to JPG.
It was instantaneous and for the moment free and it saved me quite a bit of space.
12th May 2025
Final Project Design File Fusion 360