15. Wildcard week
This week is wildcard week! This means we can choose any range of topic to focus on, provided we have not previously worked with it.
I chose to do embroidery, with the twist of making a simple circuit with conductive thread.
For this I wanted to make a simple piezo microphone preamp, based off of this circuit from Sonelec Musique.
I used the exact schematics presented on Sonelec's website, but added a 100pf ceramic capacitor between the base and the collector of the transistor, in order to filter out unwanted oscillations, which I thought might happen with conductive thread.
Design and Prep
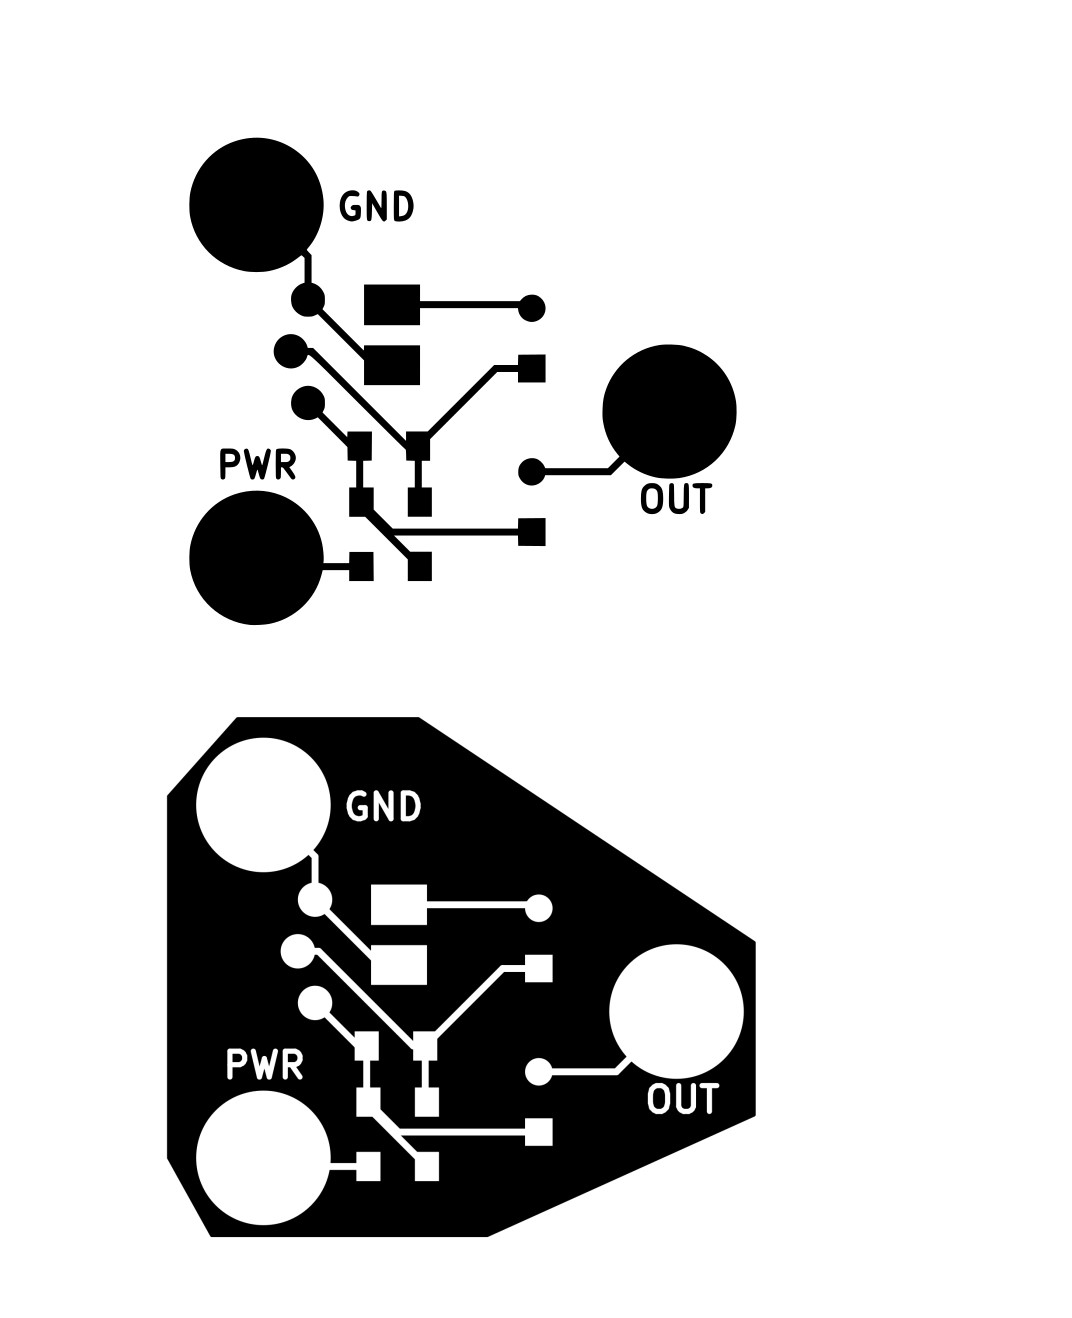
For the design, I used a schematic I had already made, and imported it as a PNG into Inkscape.
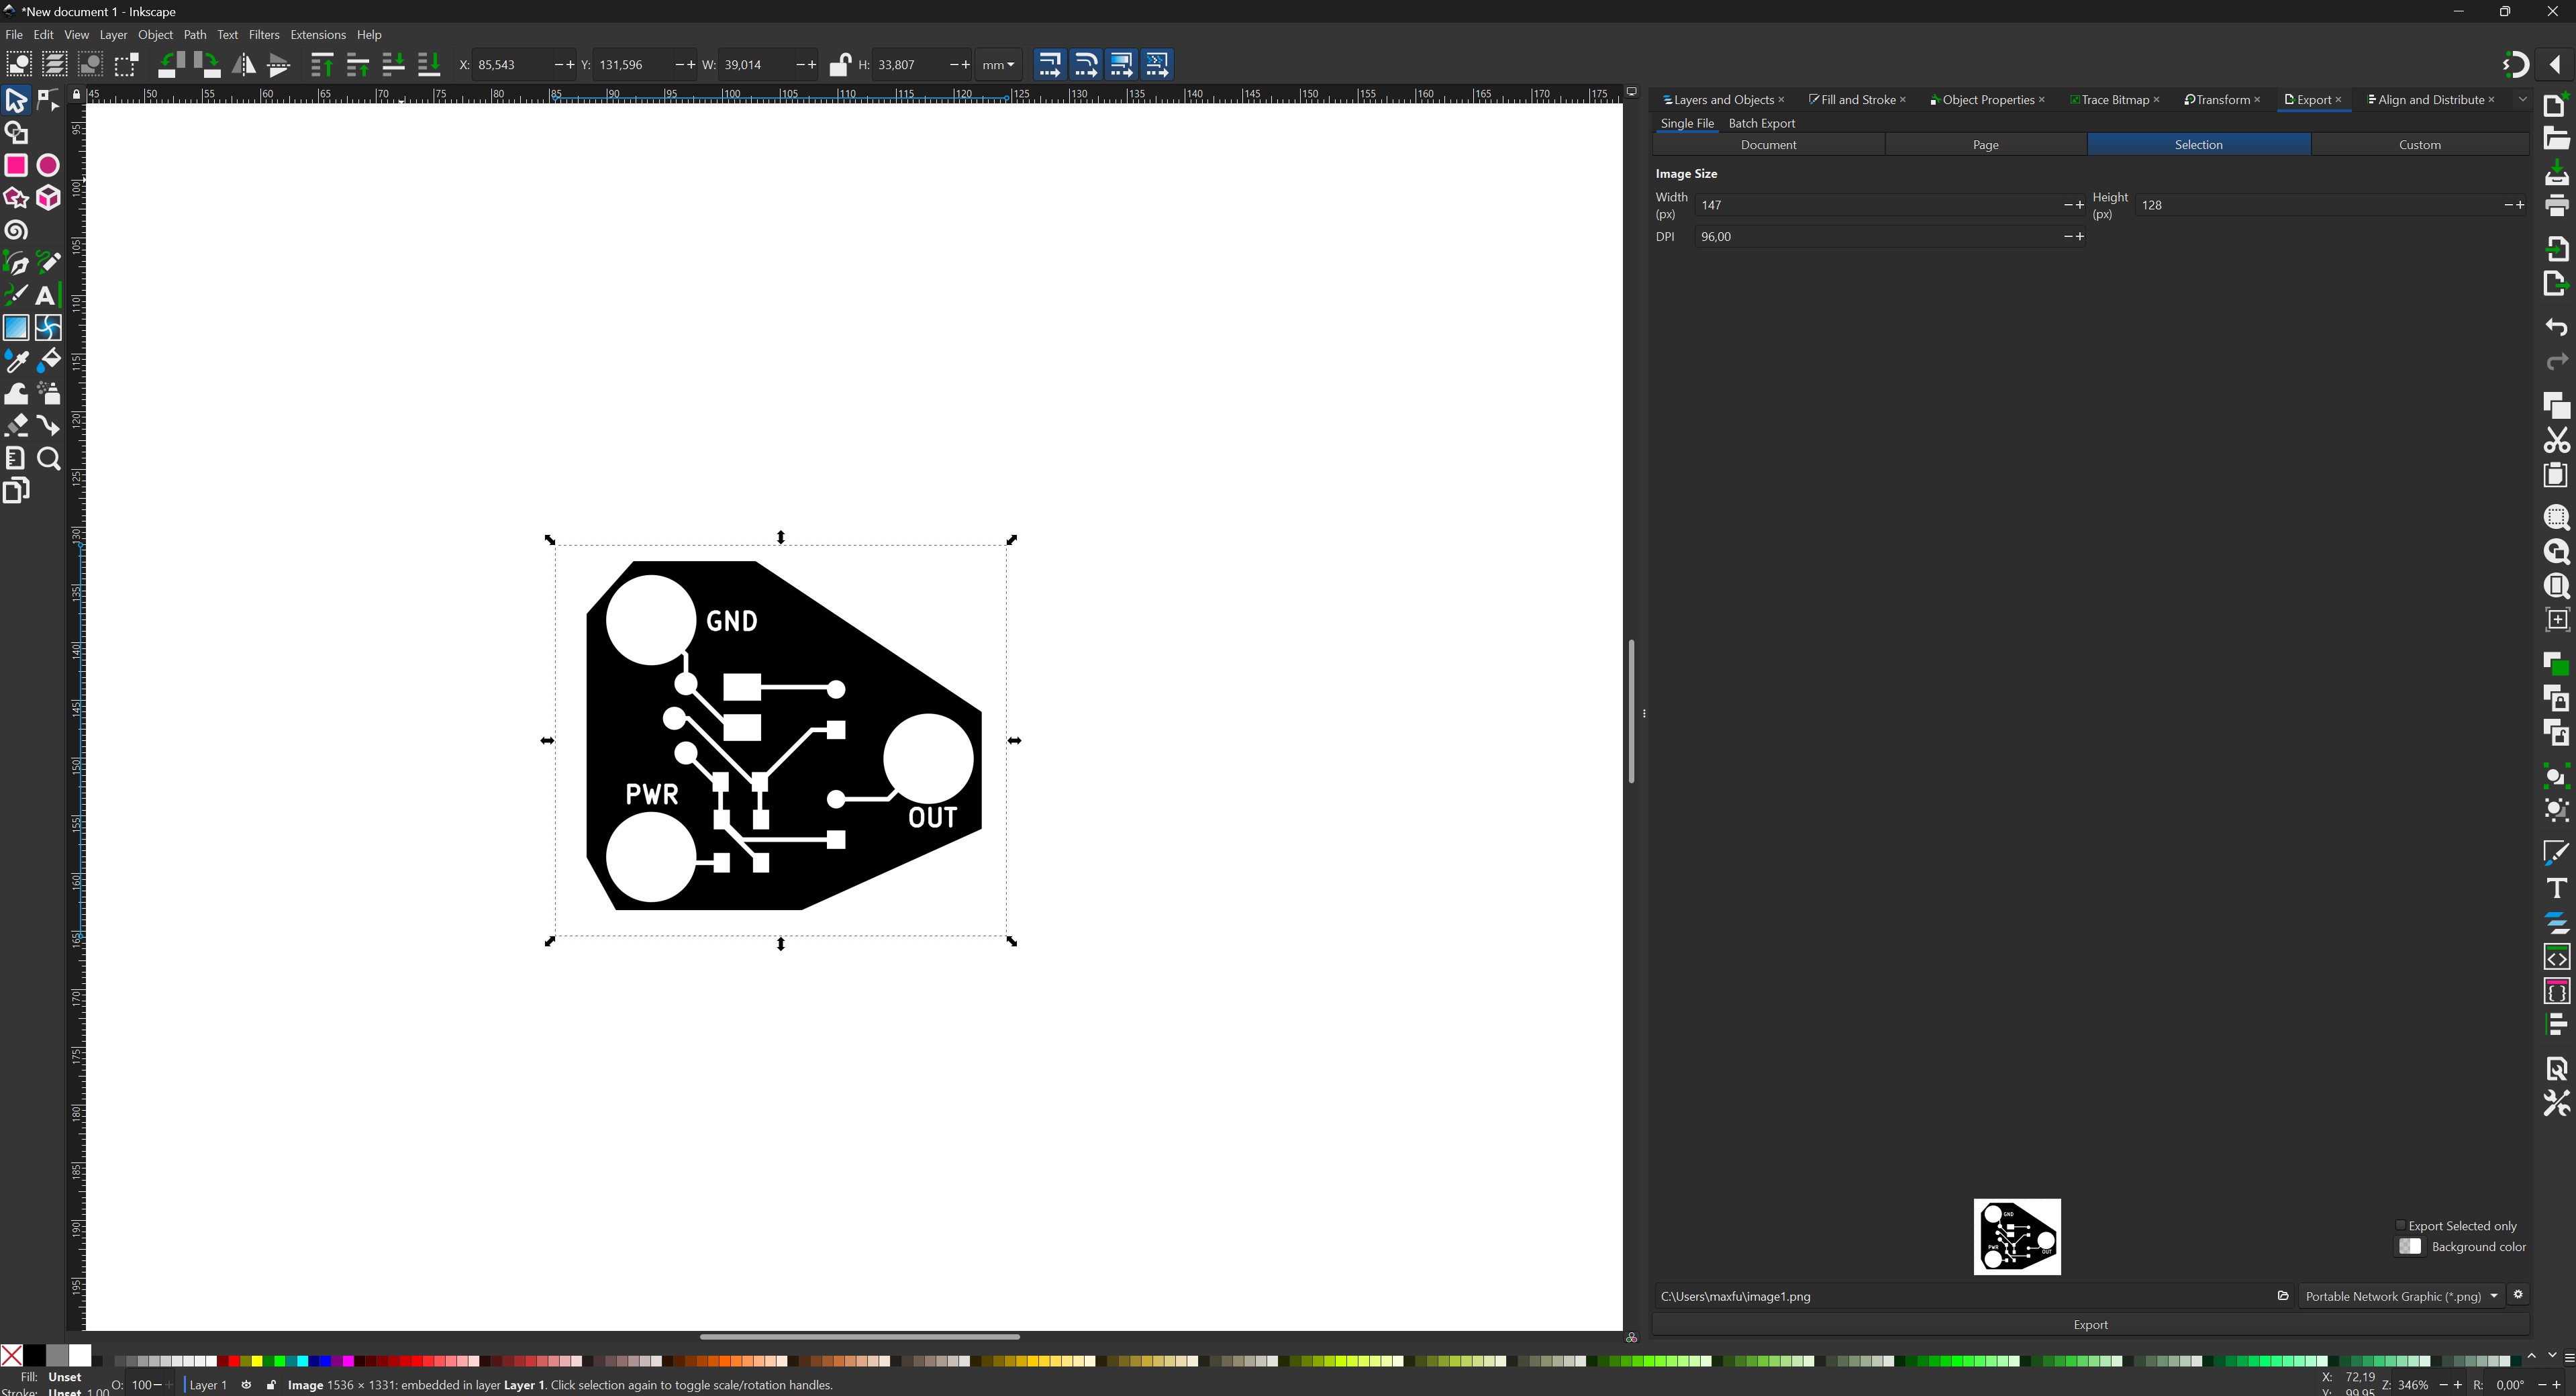 I then inverted it as the embroidery machine we have (a Brother NV870SE) will embroider on the dark part of the design.
 I like this schematic as it has big pads with text to indicate what should go where, and is therefore pretty foolproof. For power, it can take anywhere from a 1,5V battery to a 9V battery as well as a 3,3V output of a microcontroller, with the gain of the microphone increasing with increased voltage! Pretty cool!
Following that, I had installed the Inkstitch embroidery plugin for Inkscape, and I went in to that and checked the embroidery base mapping it had made.
I like this schematic as it has big pads with text to indicate what should go where, and is therefore pretty foolproof. For power, it can take anywhere from a 1,5V battery to a 9V battery as well as a 3,3V output of a microcontroller, with the gain of the microphone increasing with increased voltage! Pretty cool!
Following that, I had installed the Inkstitch embroidery plugin for Inkscape, and I went in to that and checked the embroidery base mapping it had made.
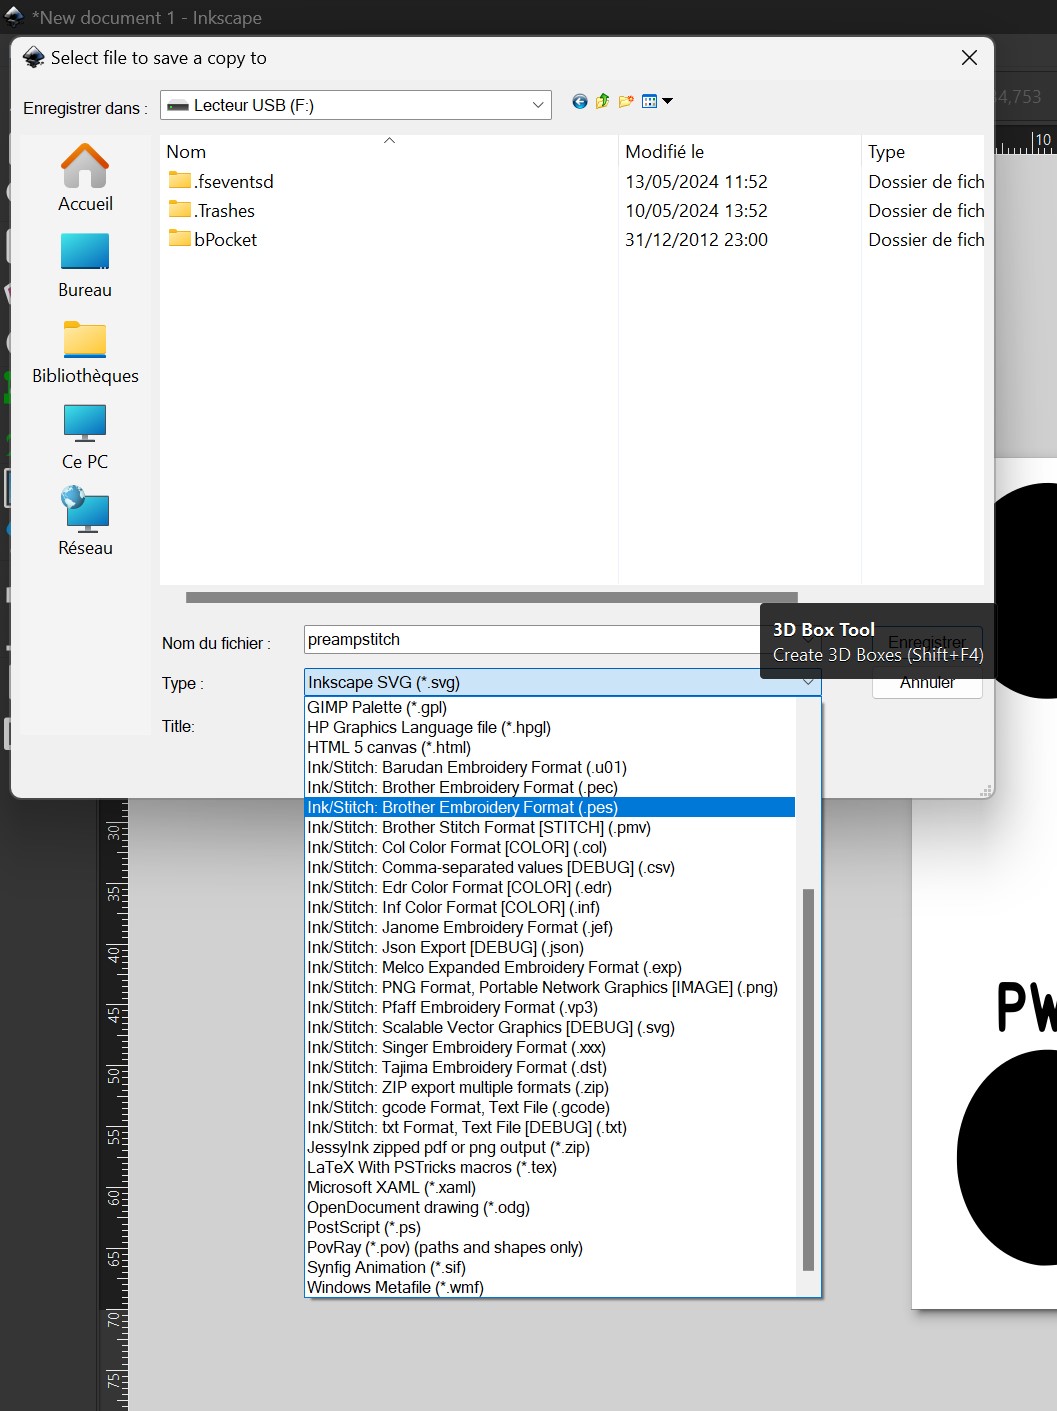
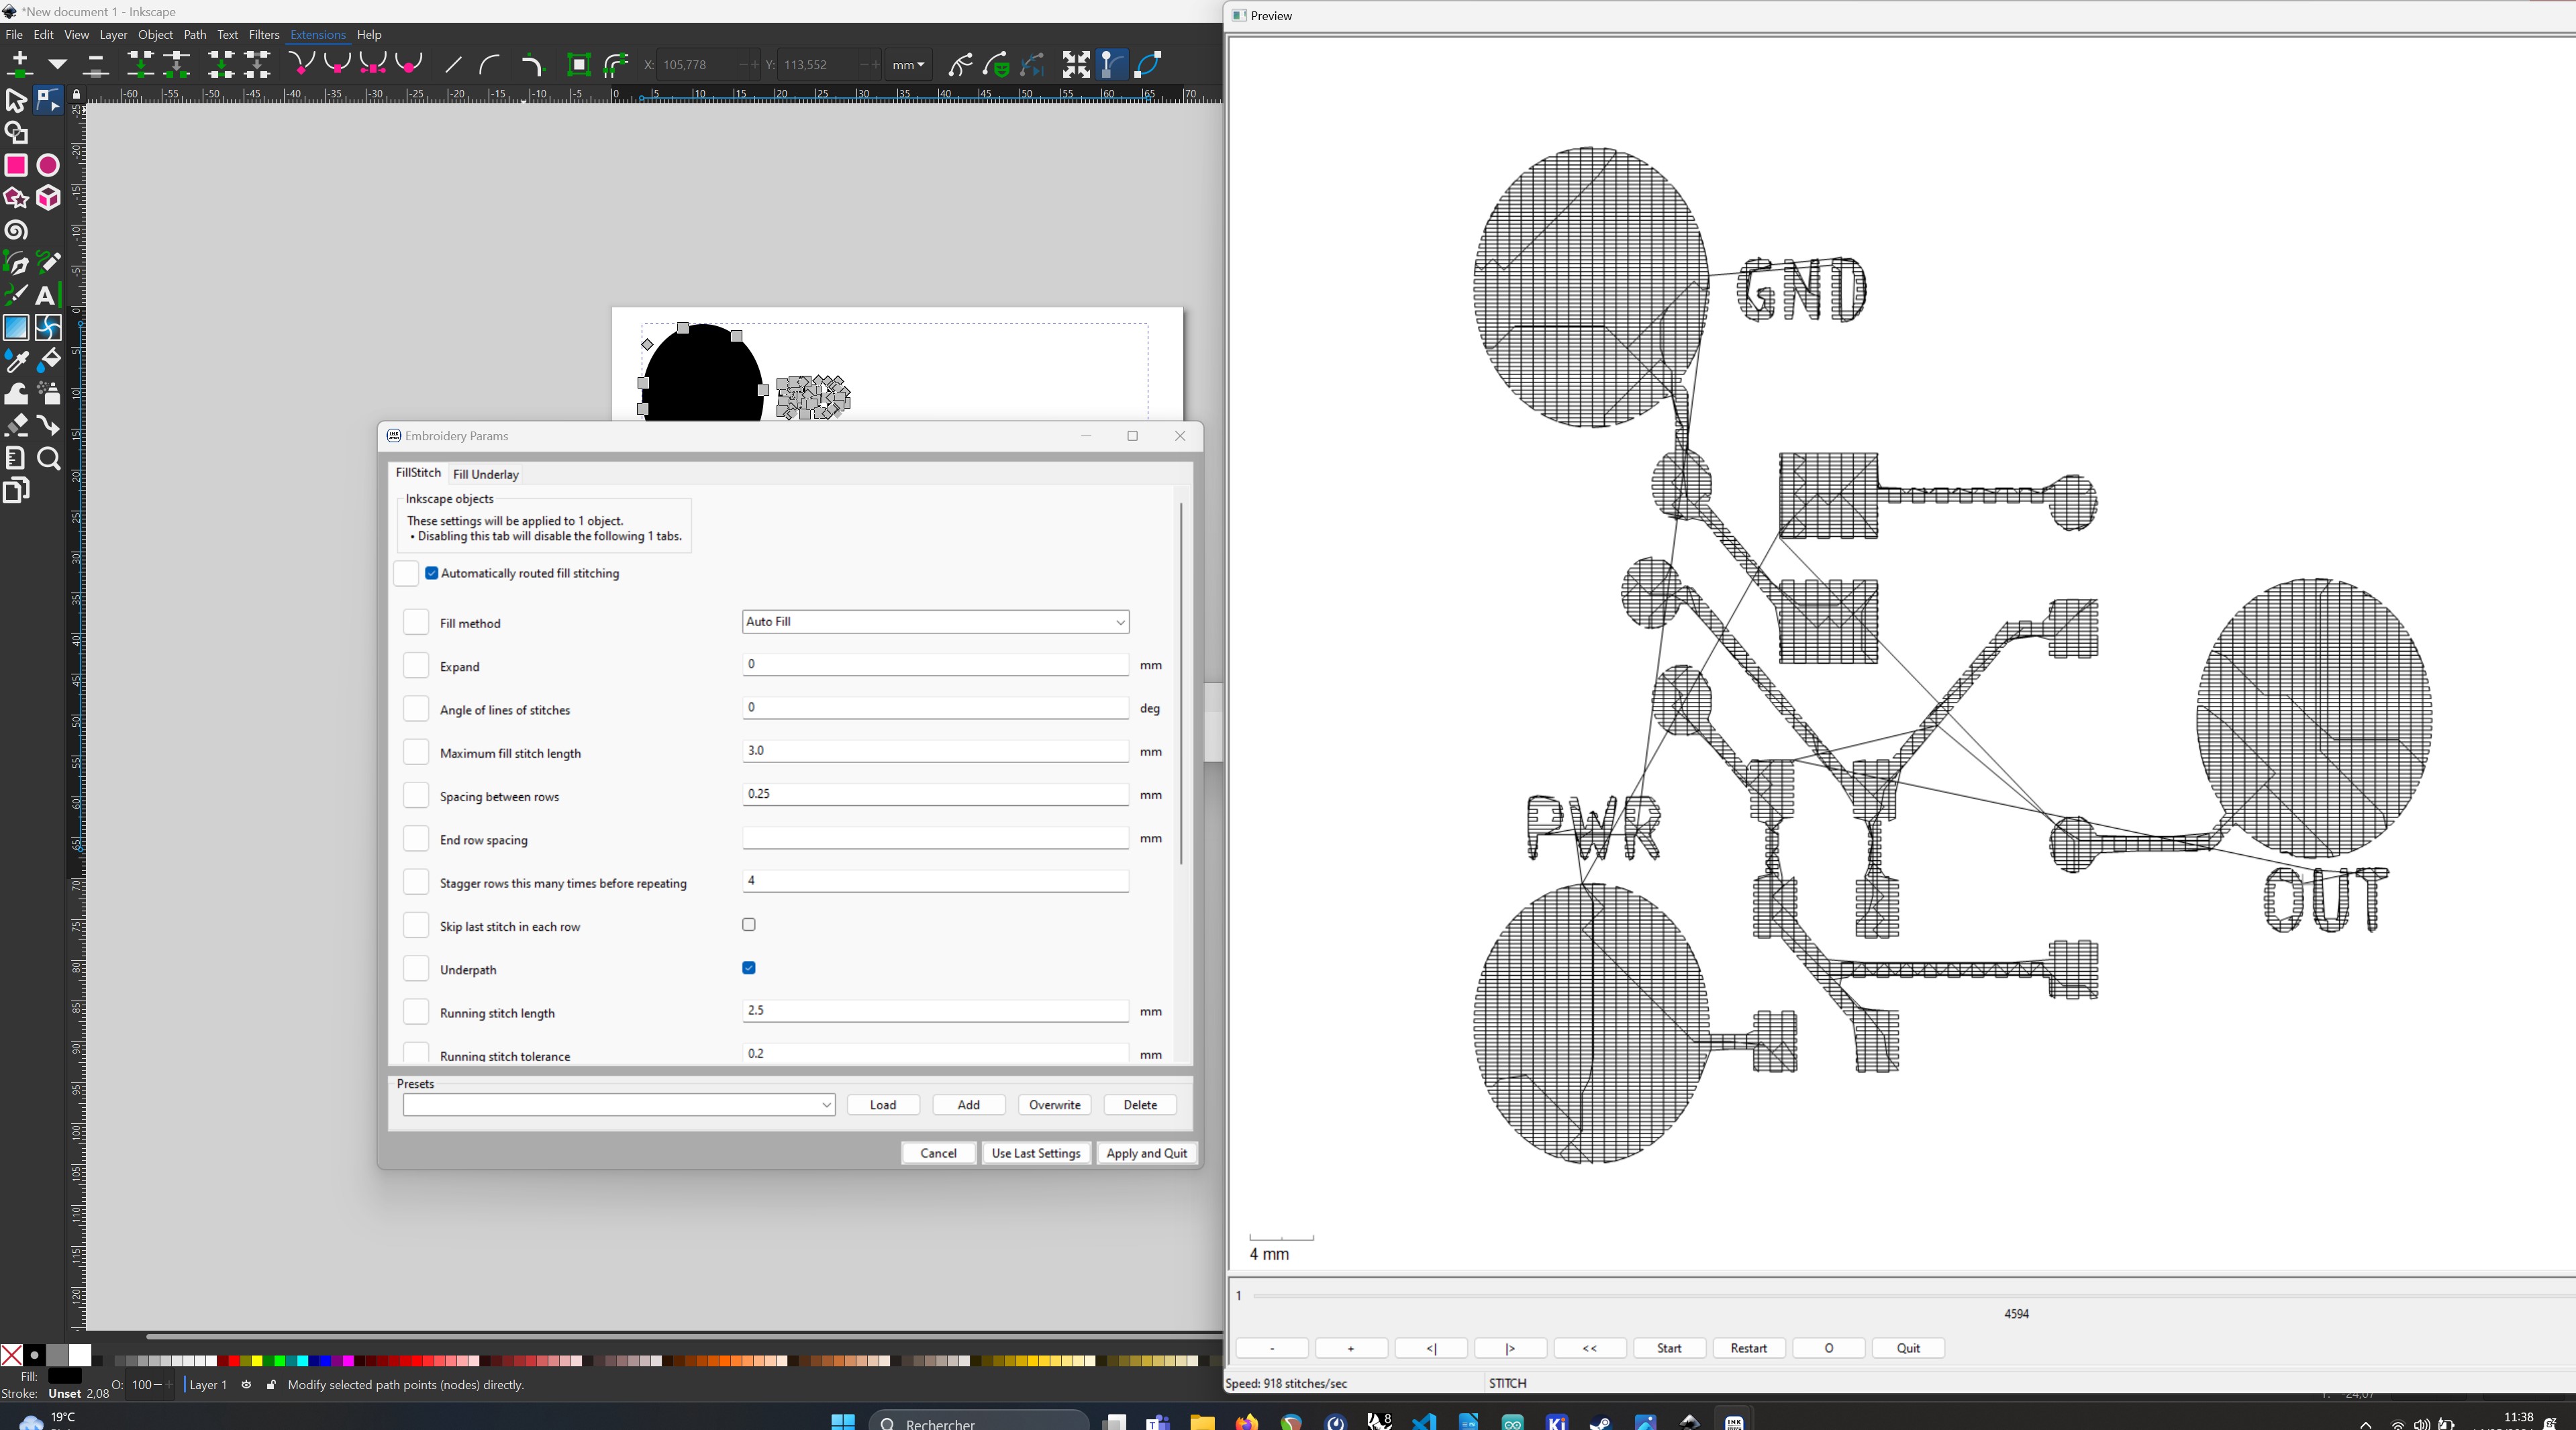 I decided to go for that and see how it went! So I exported the file as a PES file (read by the Brother machine).
Setting up the Brother
To set up the Brother embroidery machine, I had to first put the string spool at the top of the machine, and thread the string through.
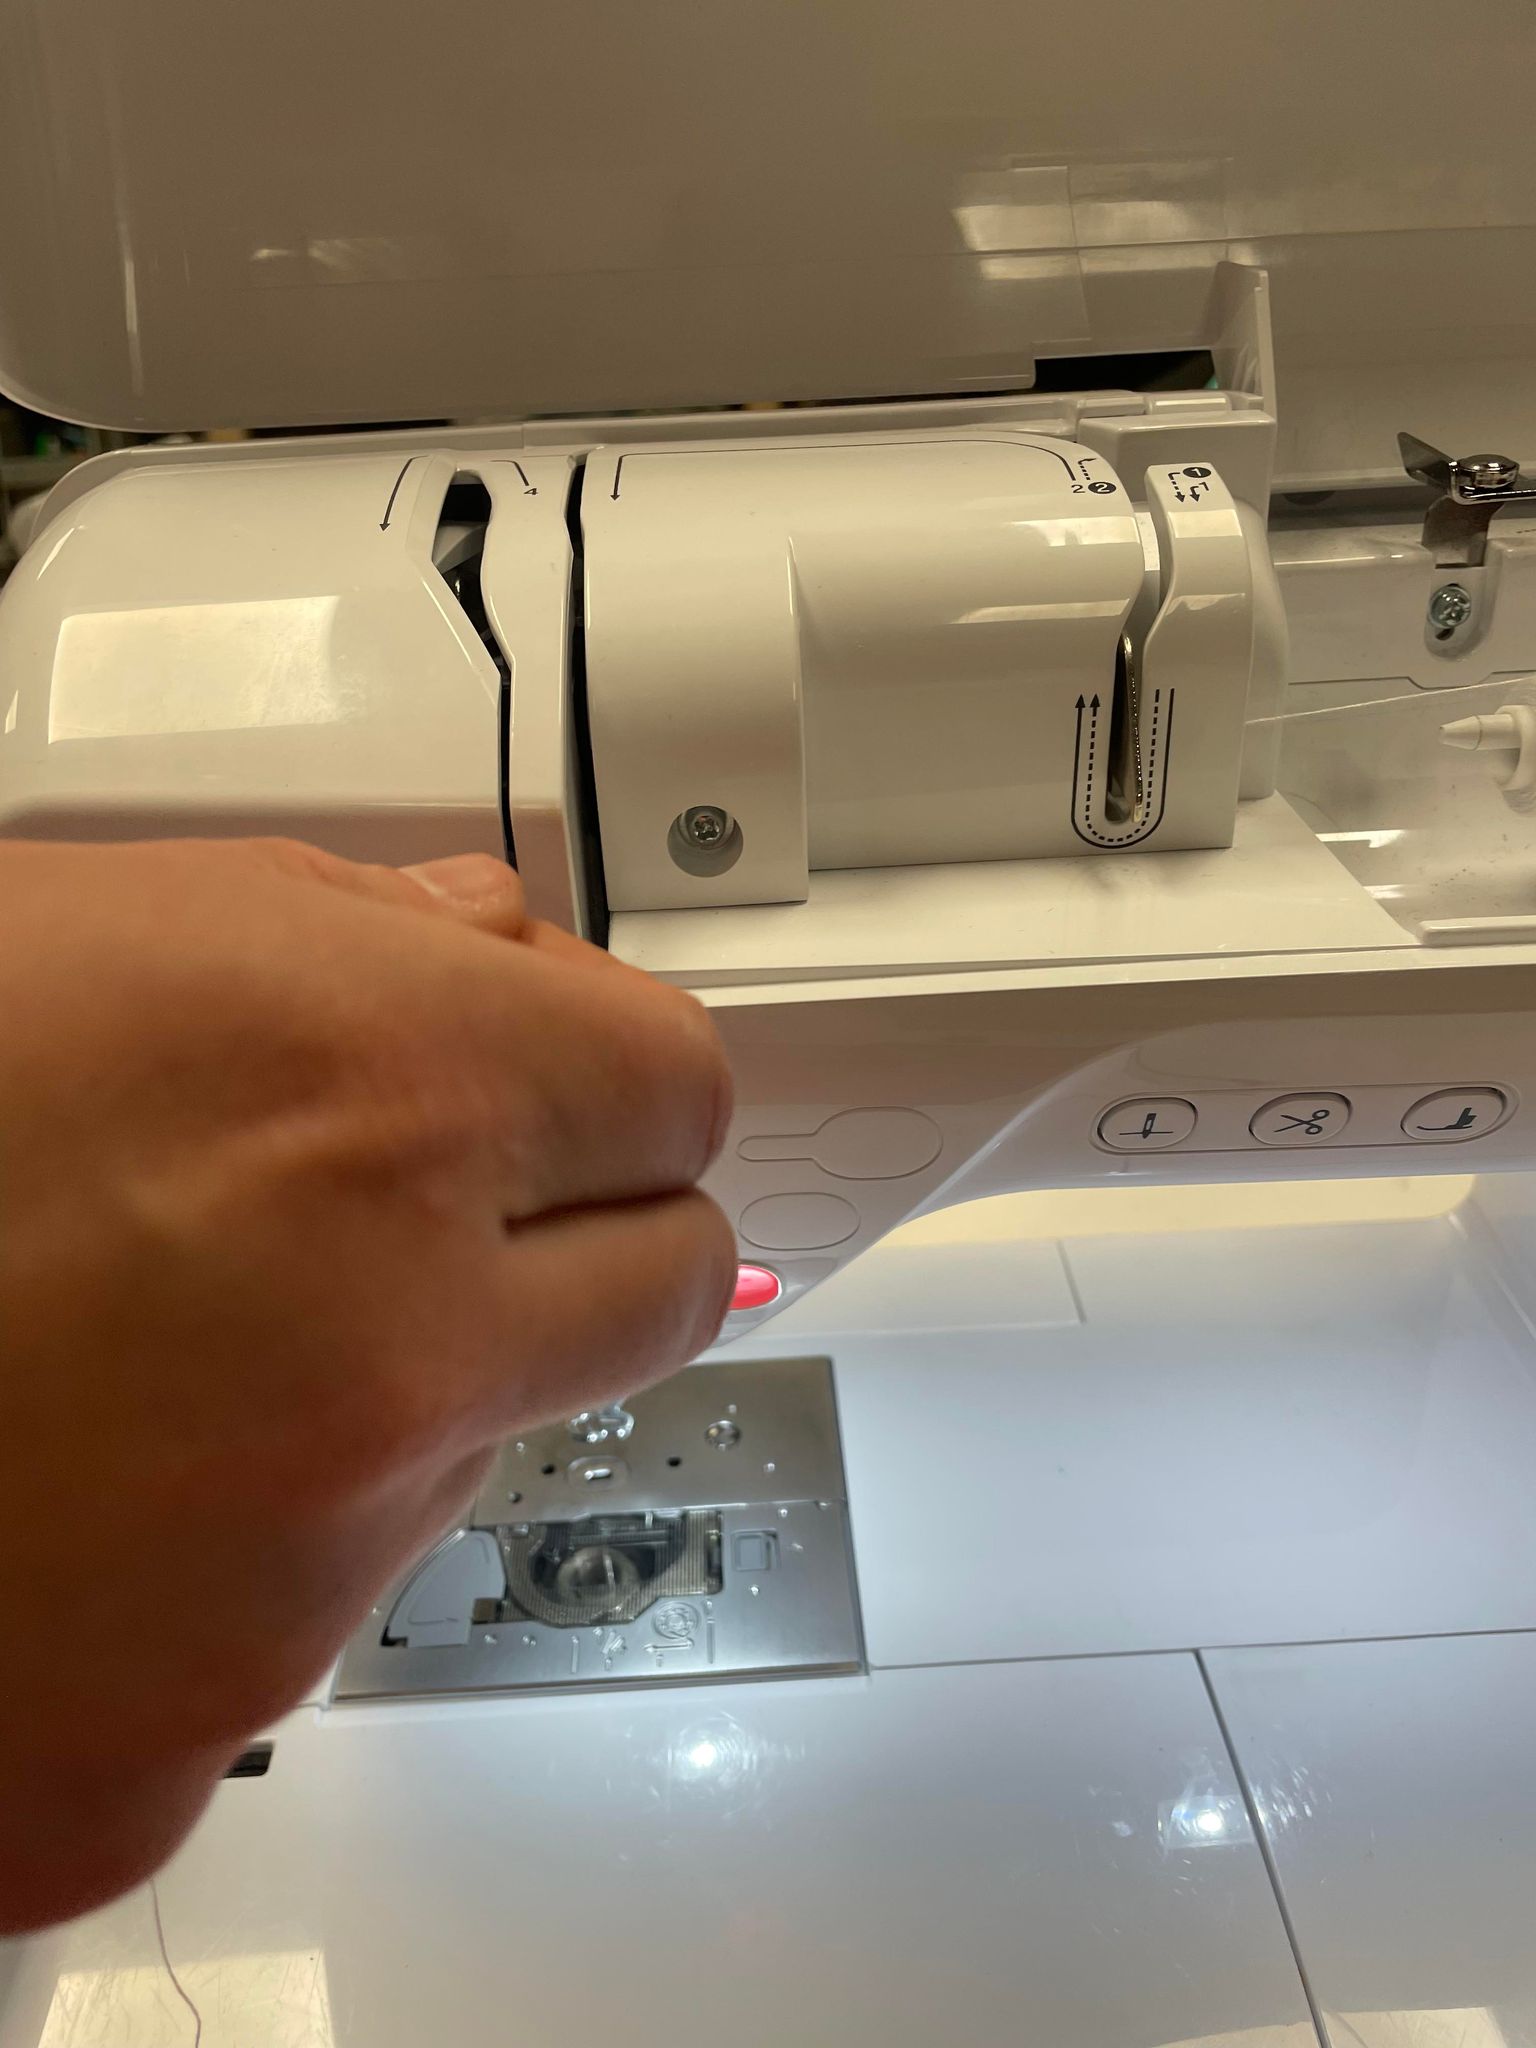 The machine has some clear indications of where to put the string, in 9 steps and it then automatically threads it through the needle!
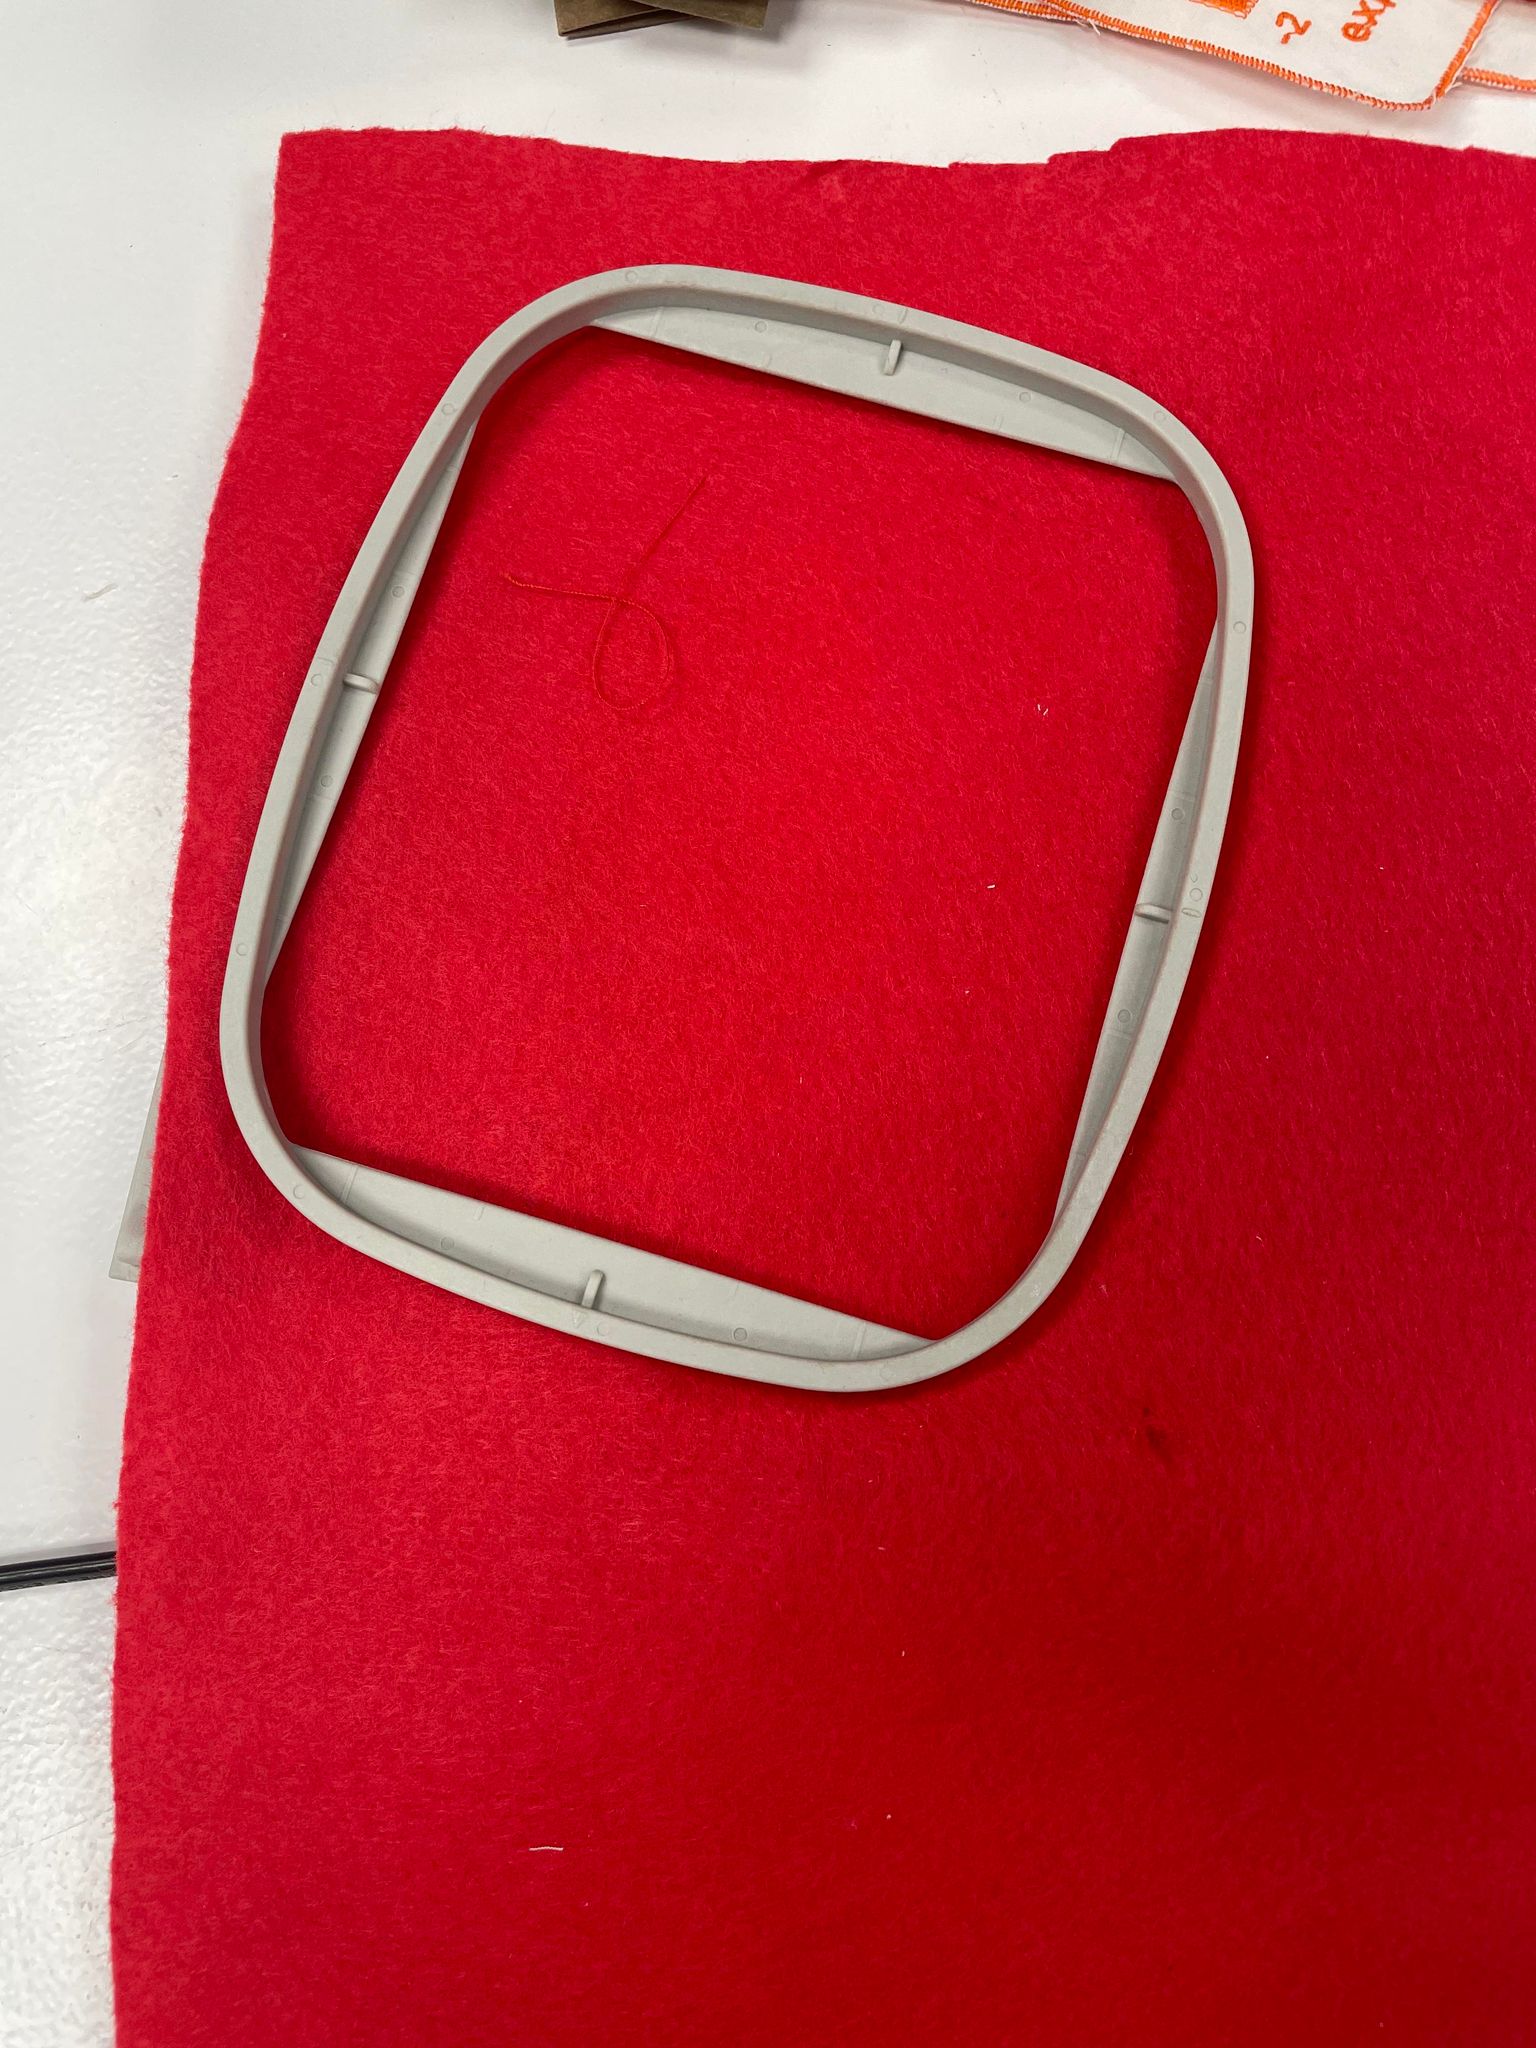
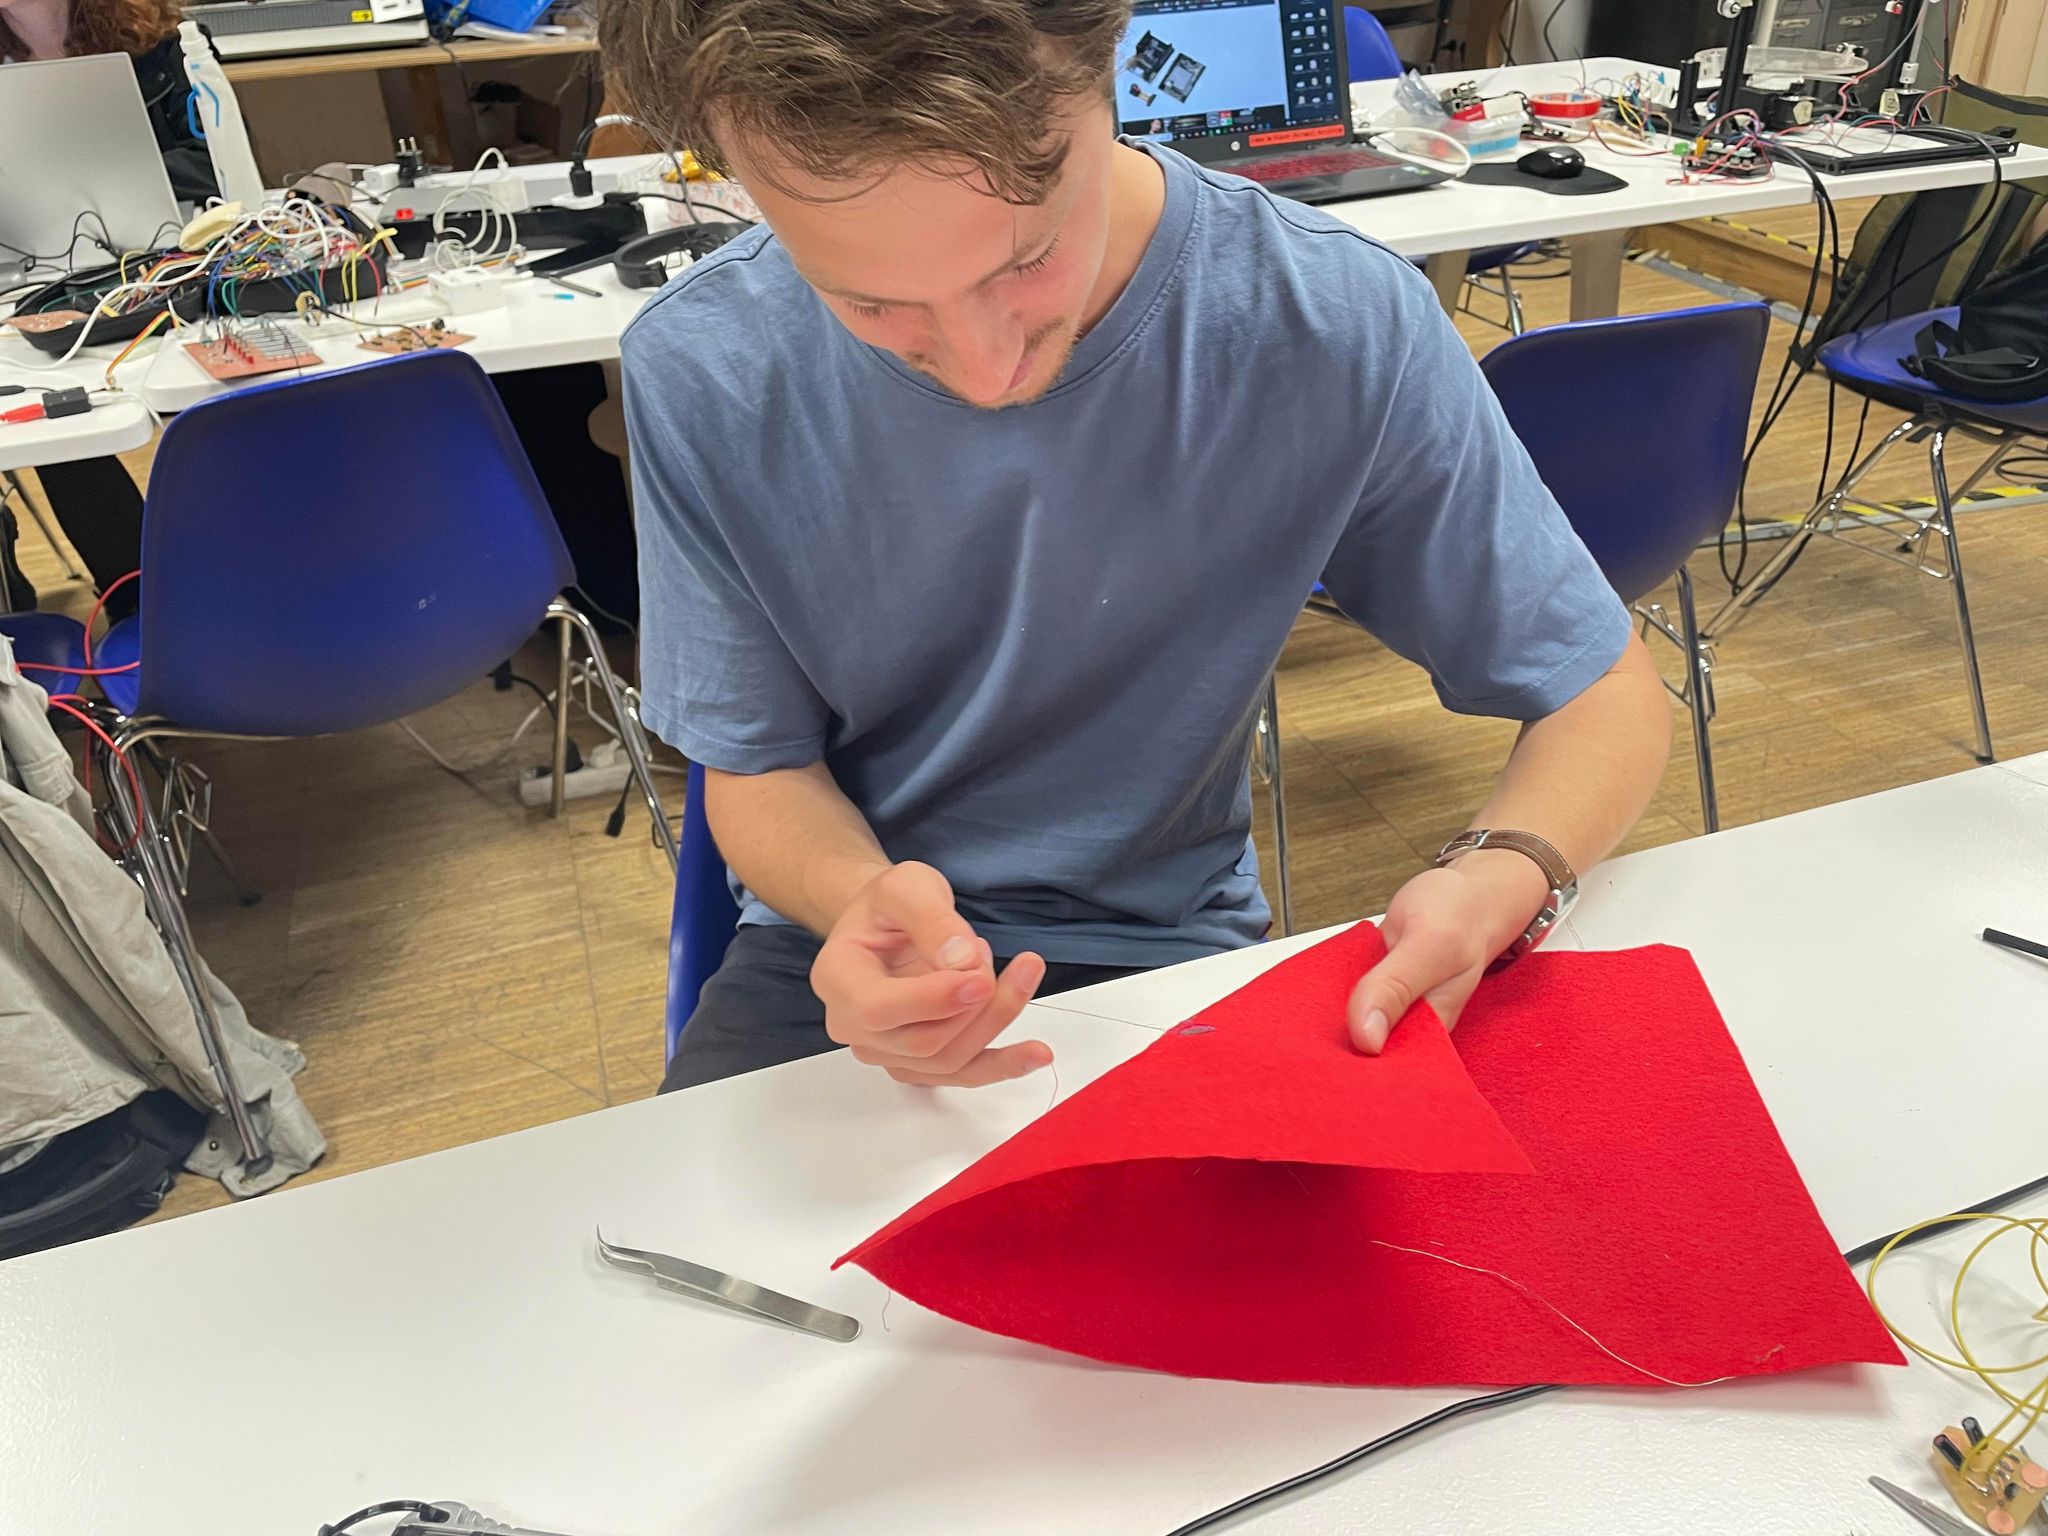
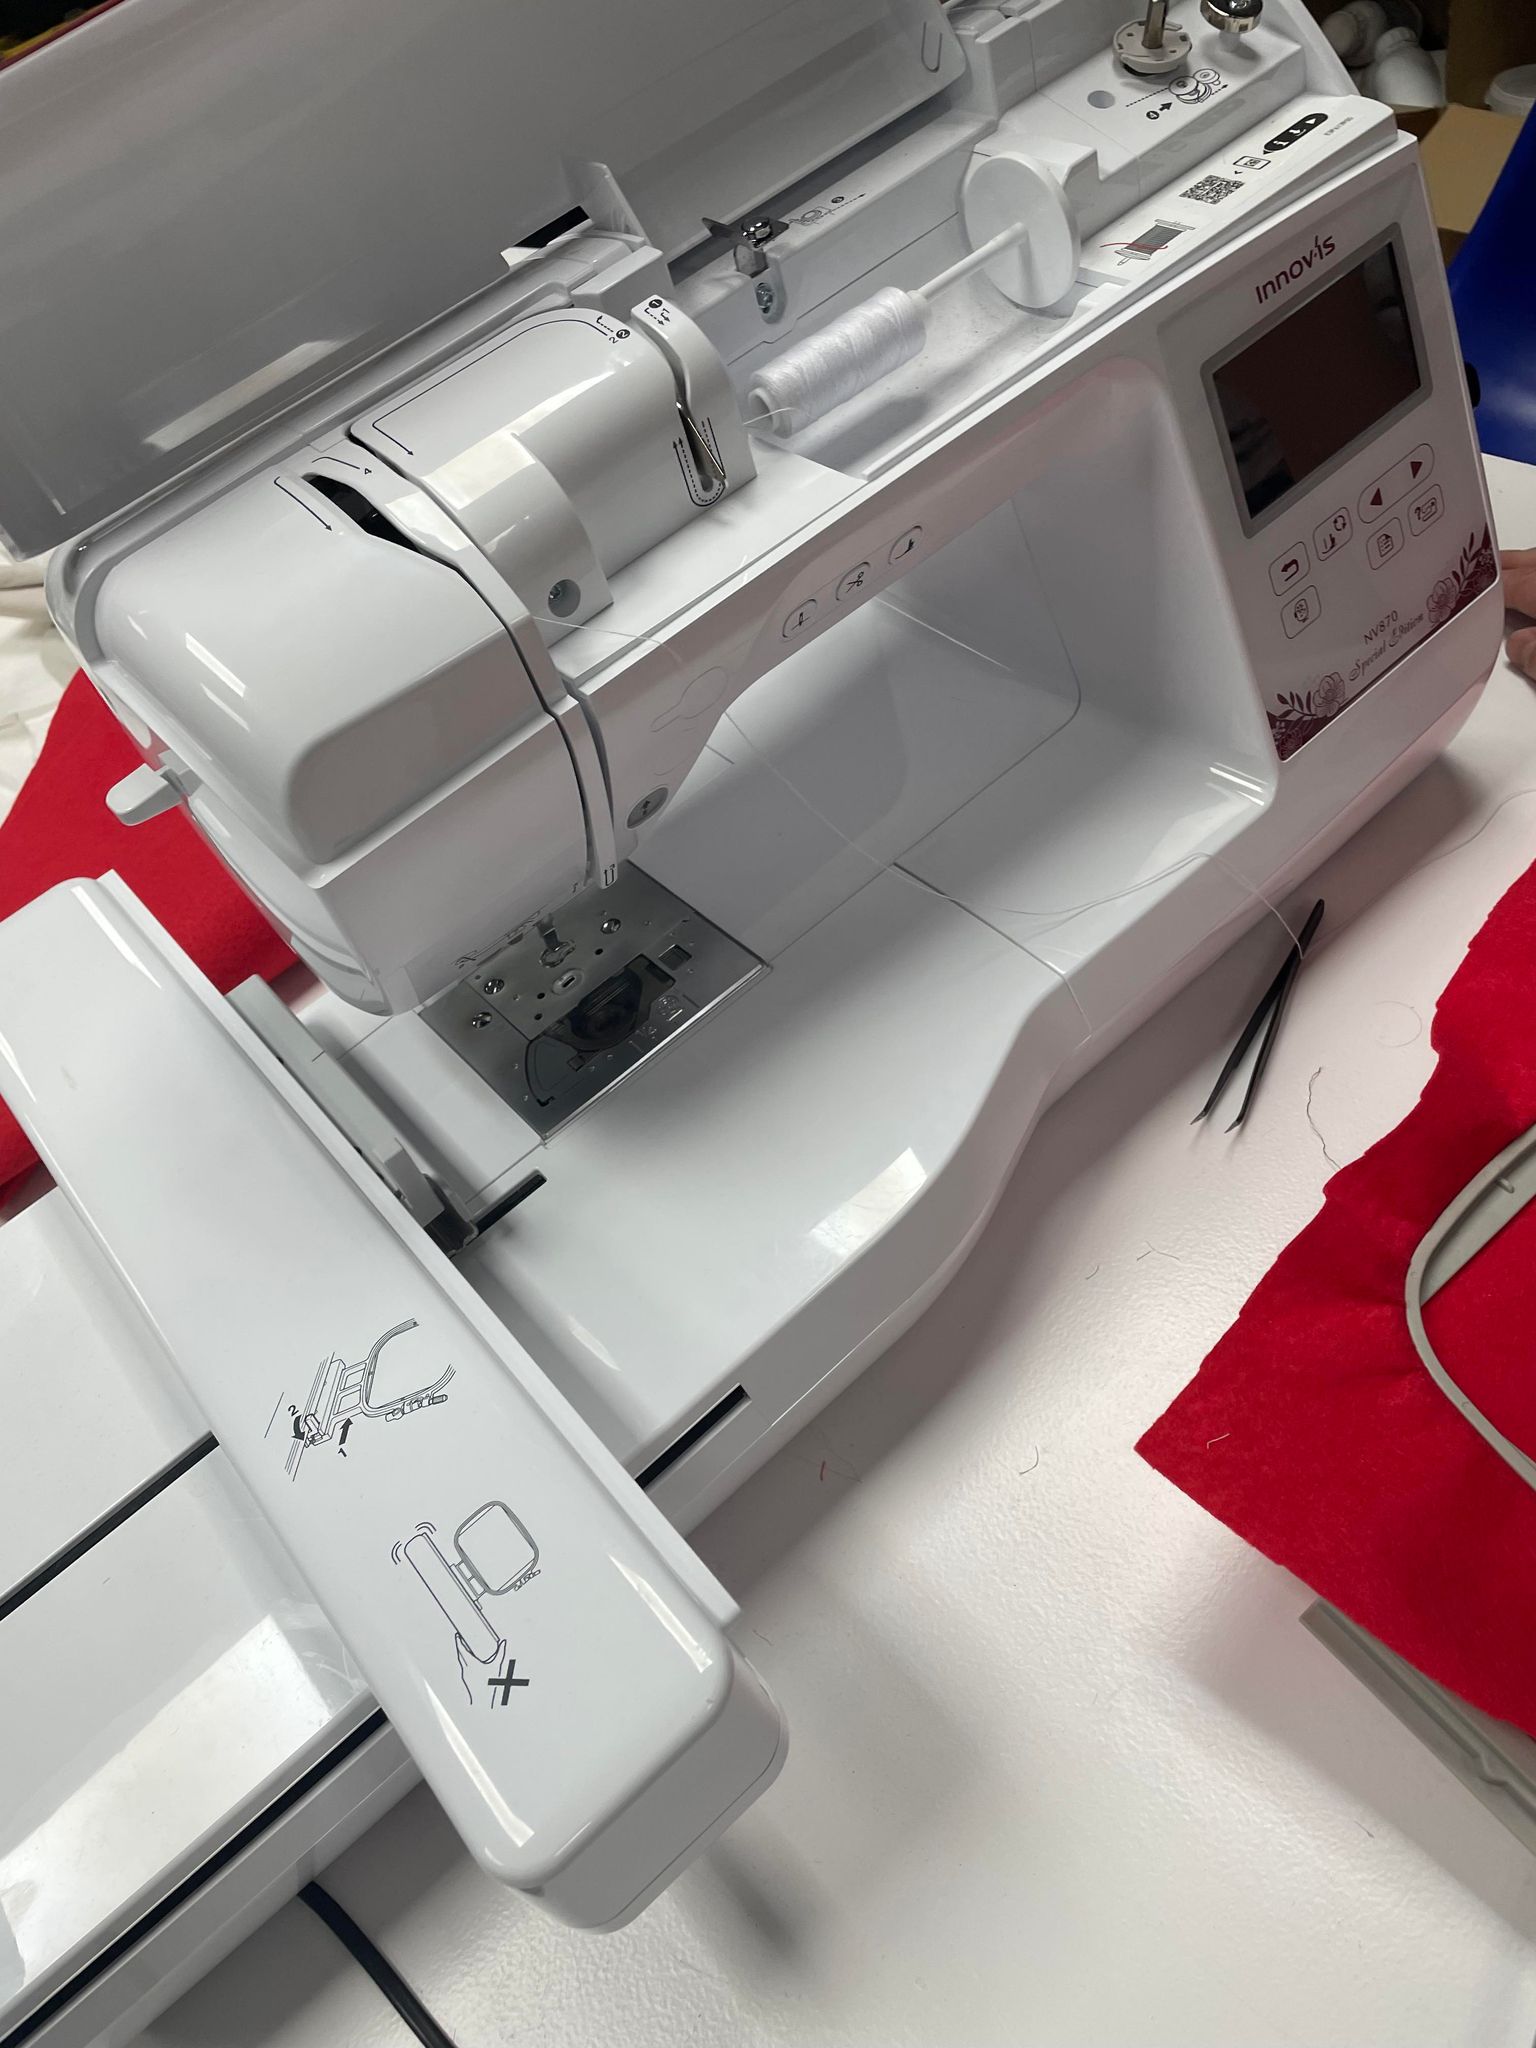 I then had to put my chosen material into the embroidery frame, and tighten it to make sure the material is not loose.
 I then inserted the frame into the slot on the machine.
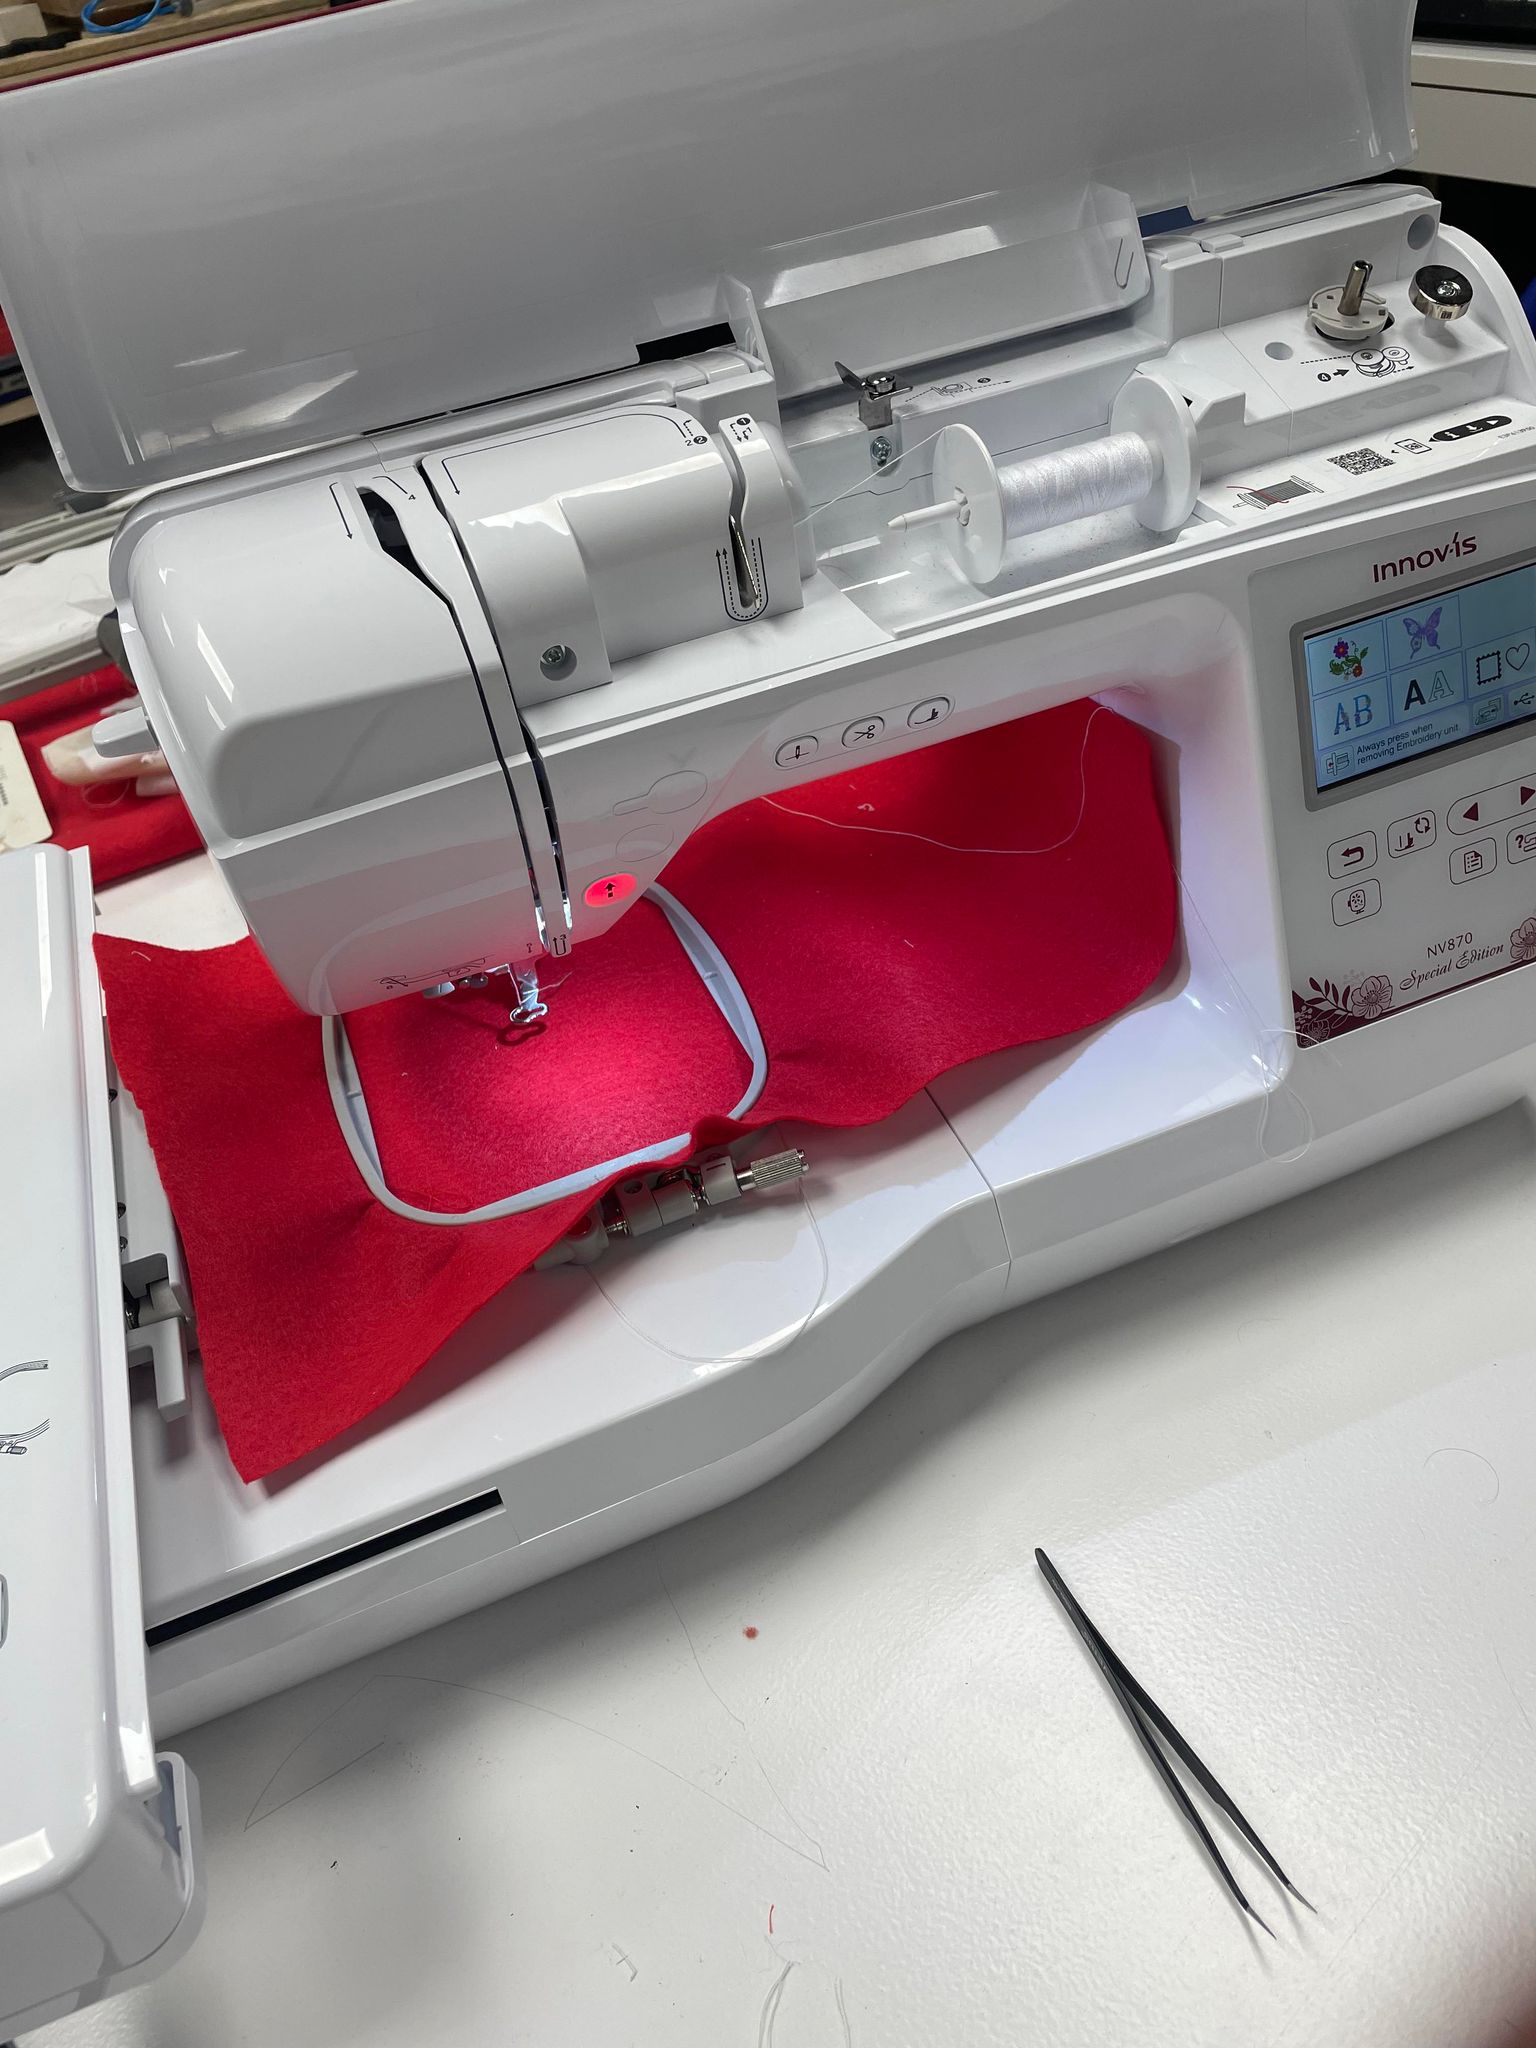 I got the file onto the machine through a USB drive, selected it on the built-in screen and started embroidering.
The string broke a few times so I replaced it with a sturdier string, and re-threaded it through.
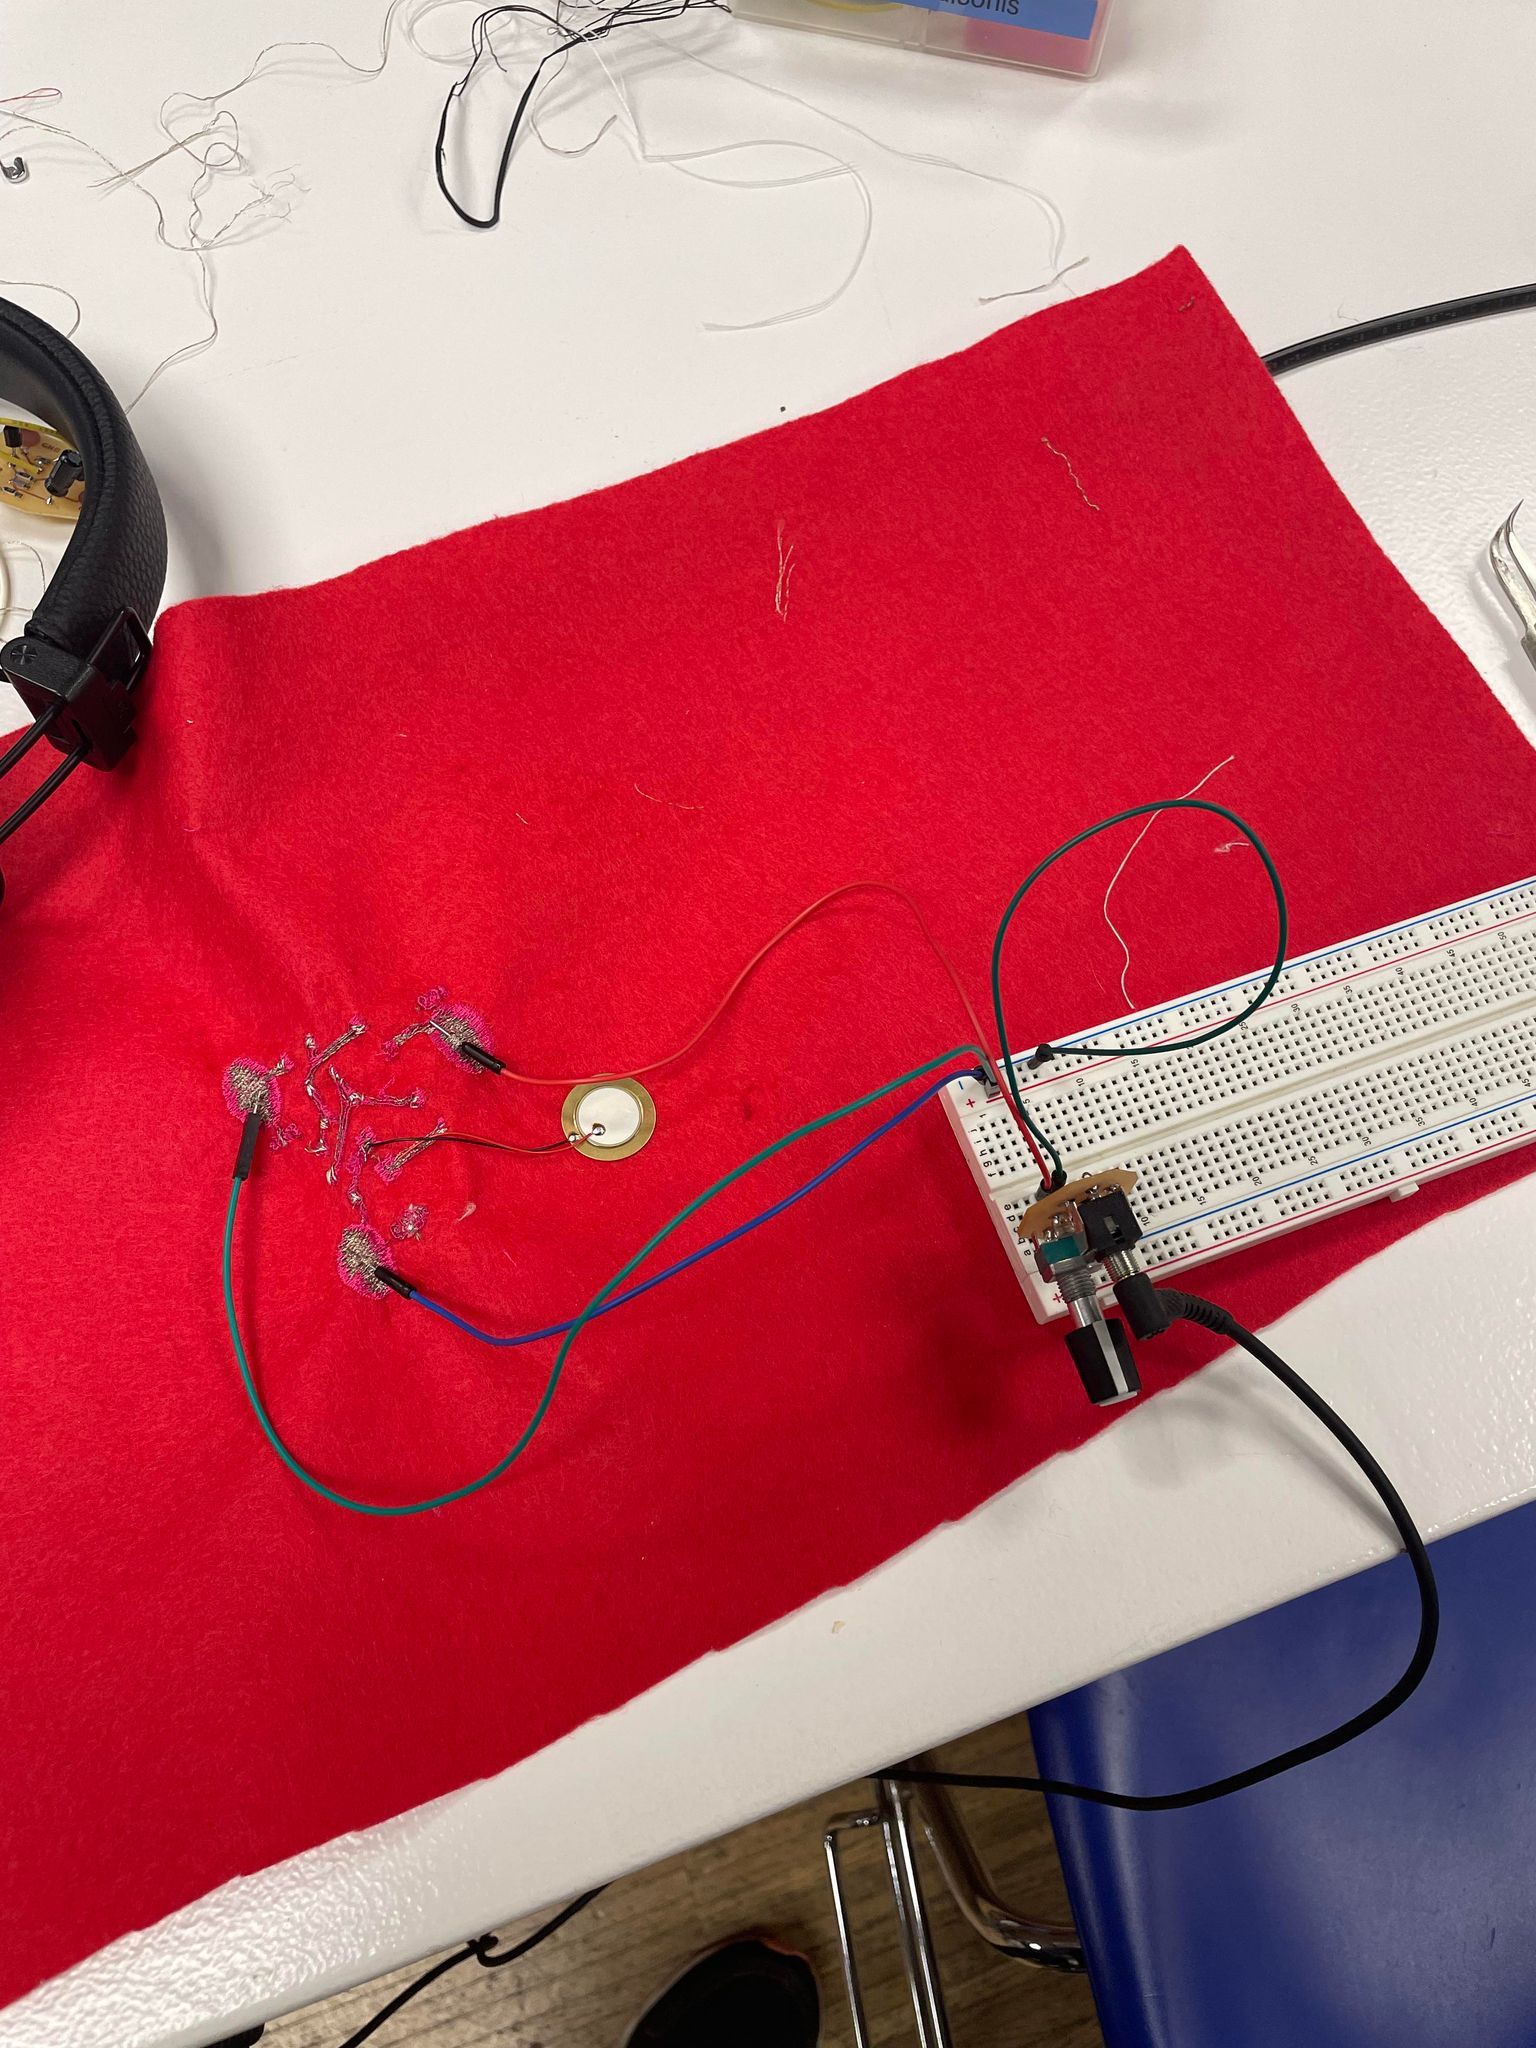
Once finished, I turned it over to check the conductive threading.
I got the file onto the machine through a USB drive, selected it on the built-in screen and started embroidering.
The string broke a few times so I replaced it with a sturdier string, and re-threaded it through.
Once finished, I turned it over to check the conductive threading.
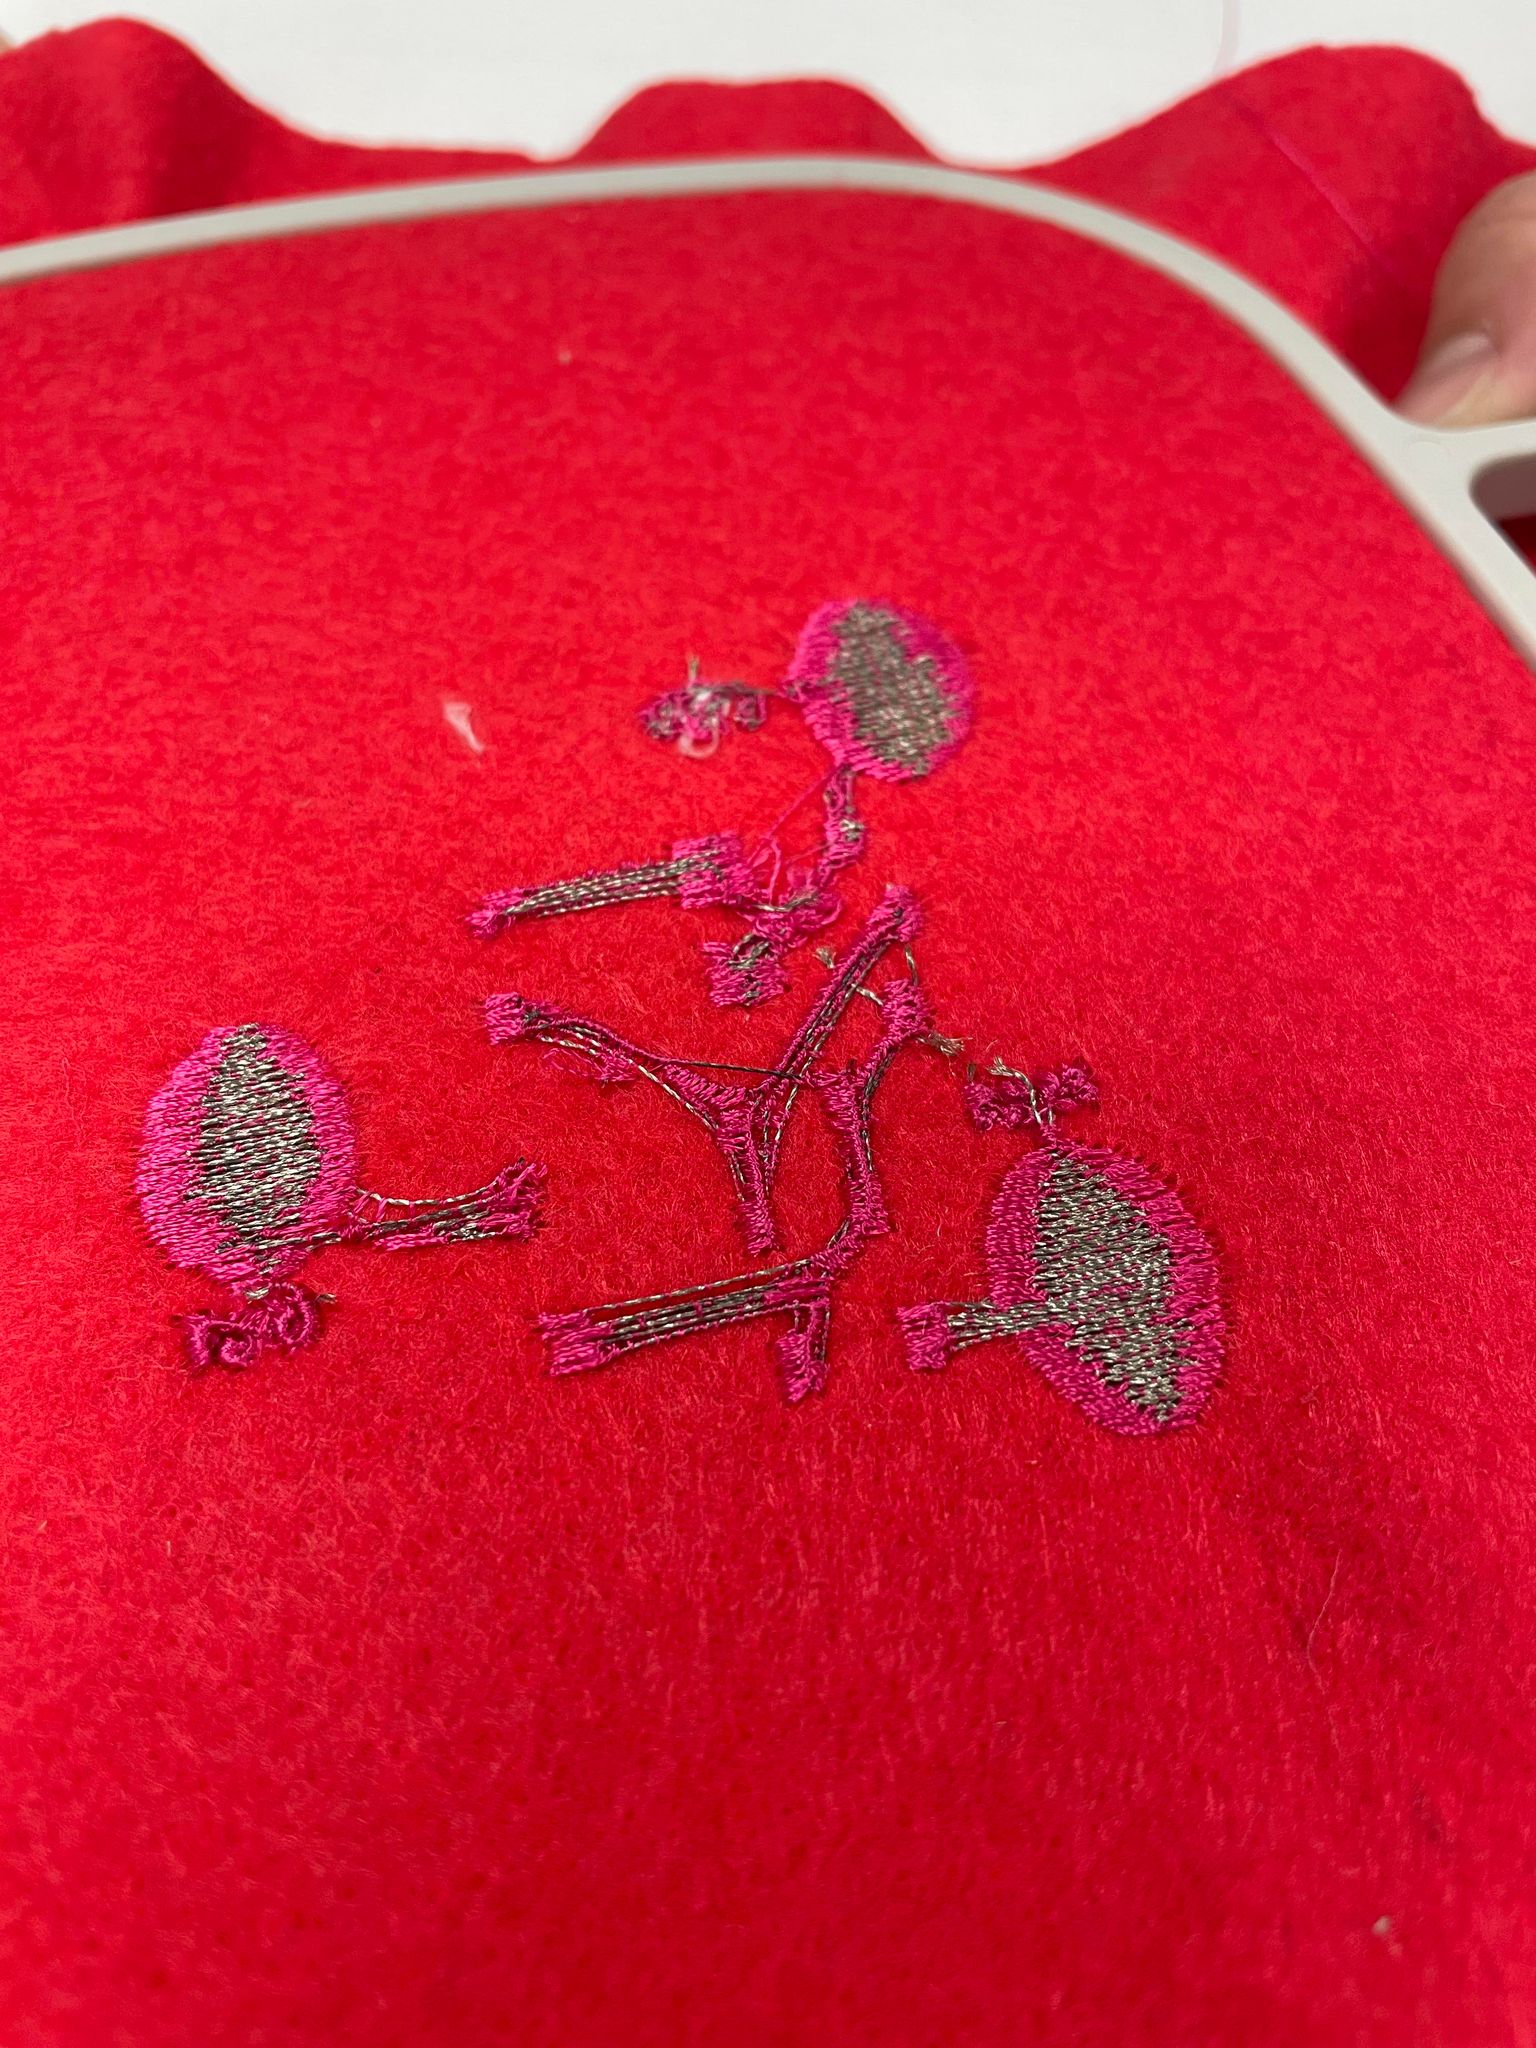 I had to cut away some loose threads and add a bit by hand to make sure everything was connected, and I then sewed in my components.
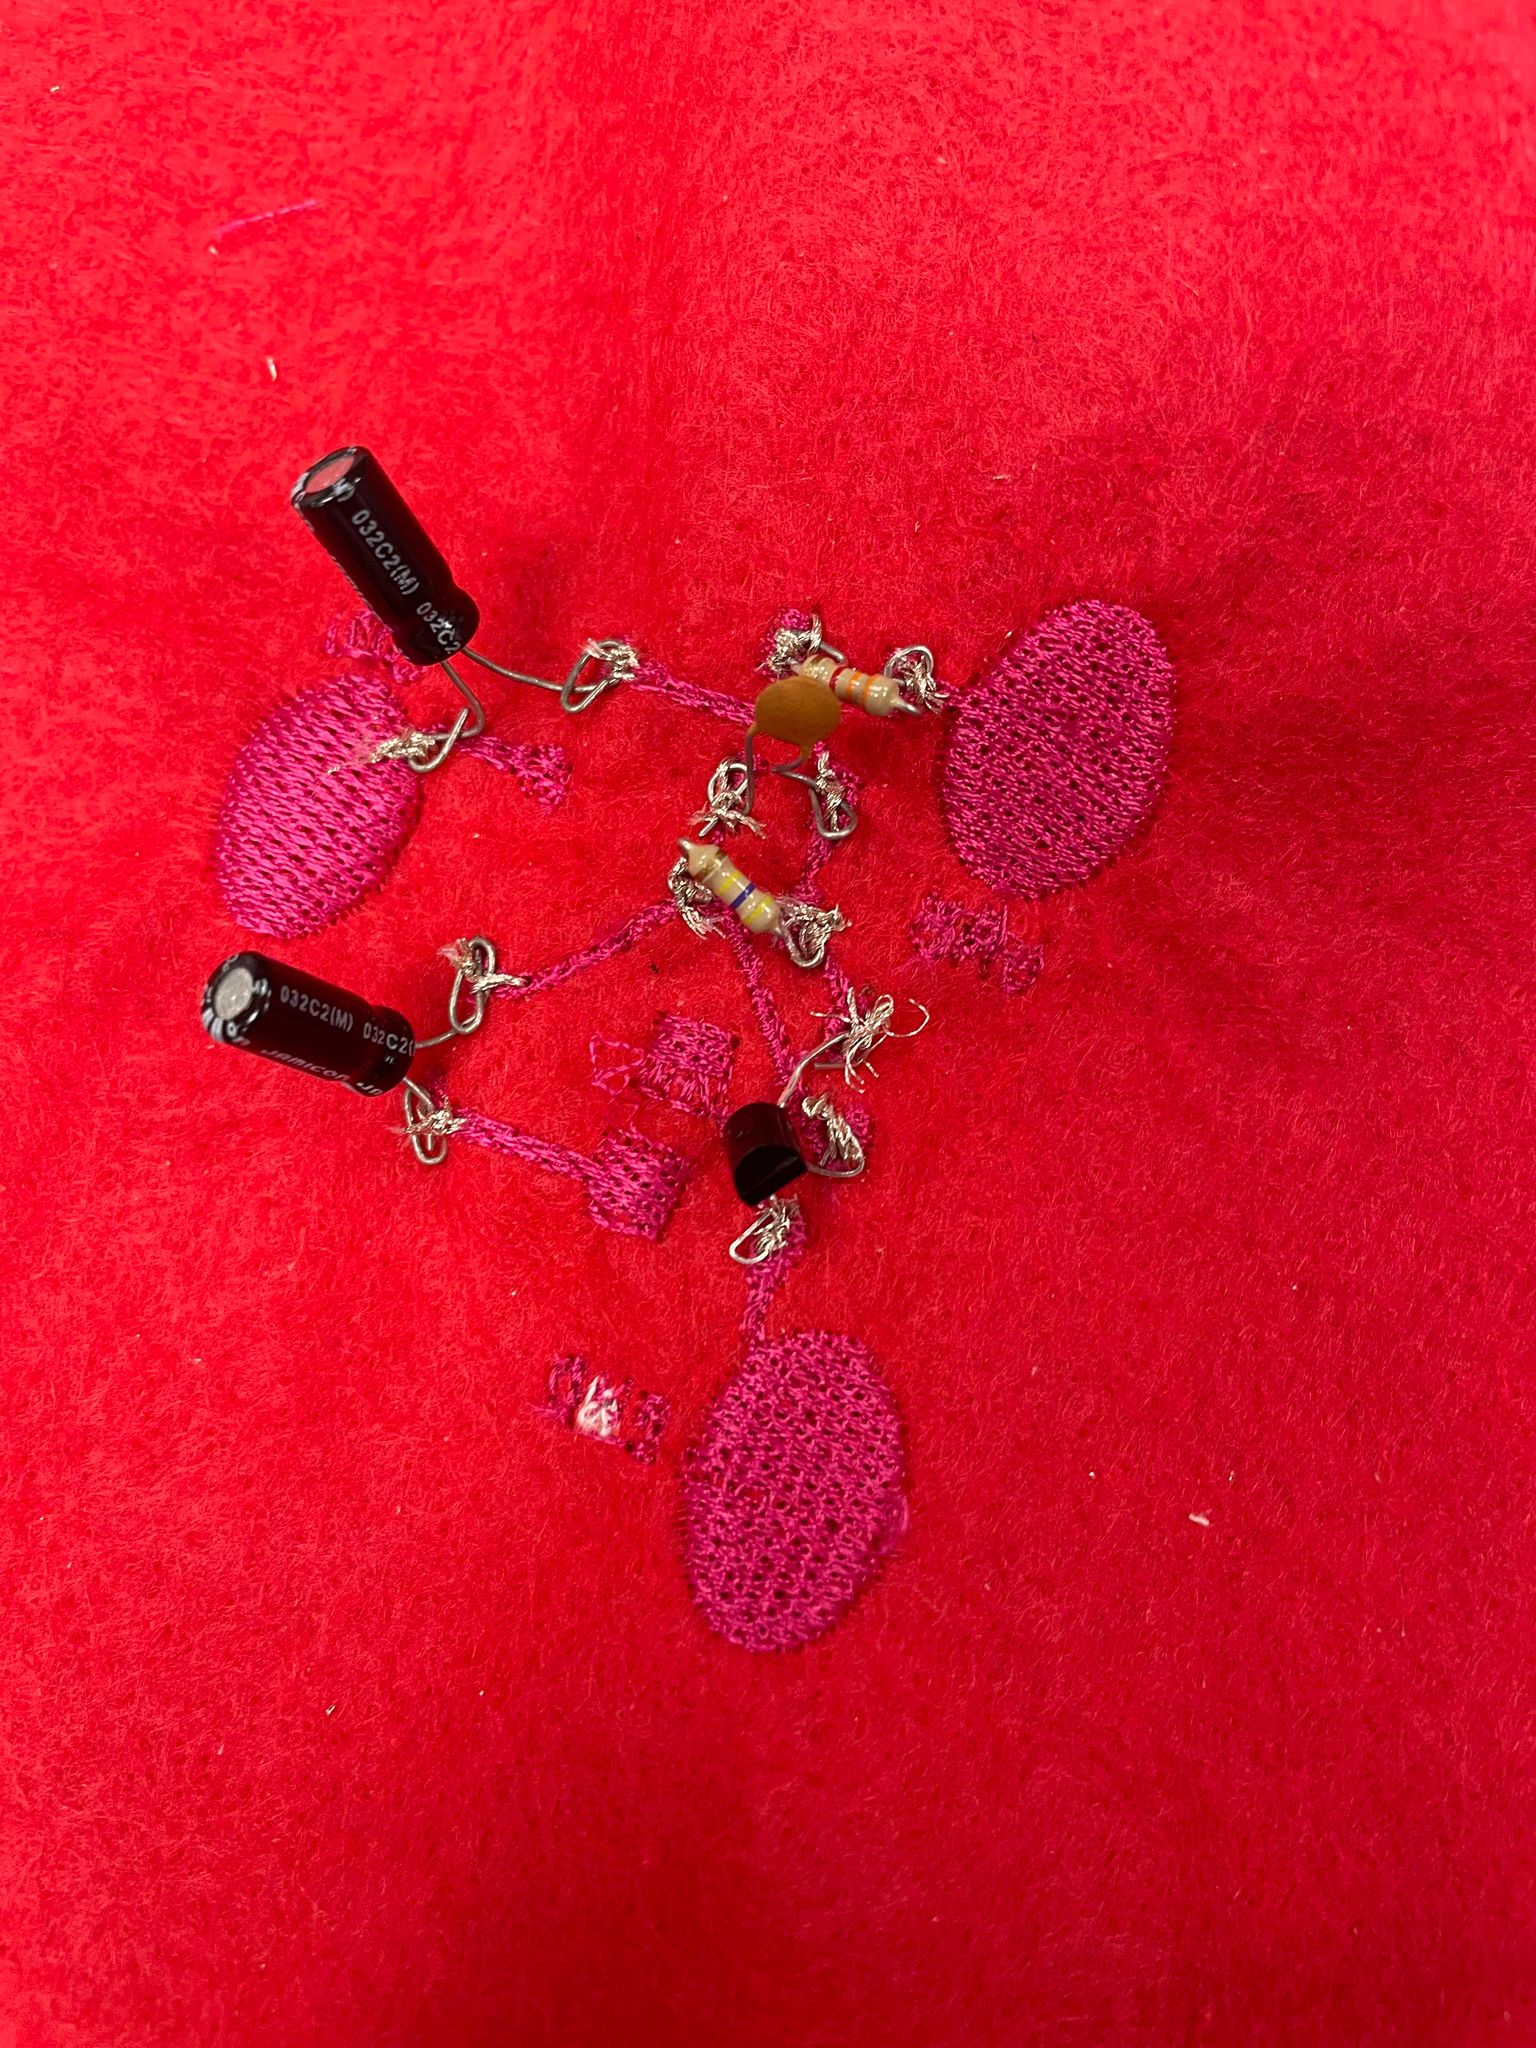
 I then was able to connect everything to power, ground and an output! And it worked!
Surprising and cool!
I then was able to connect everything to power, ground and an output! And it worked!
Surprising and cool!