1. Project management
This first week I worked on my website as well as on an example final project, as well as getting to know git and the documentation process.
Setup
Git Install
I first started by installing git and git bash from the following website: https://git-scm.com/downloads
GIT is a very powerful tool used for programming, allowing users, among other things, to store local copies (repositories) of code, as well as verifying and merging collaborative efforts so that multiple programmers can work together on the same codebase.
Visual Studio Code Install
Then I installed Visual Studio Code to use as a code editor, from here: https://code.visualstudio.com/download
Visual Studio Code is a very helpful tool, allowing many shortcuts and even simplifying certain GIT commands into a visual interface.
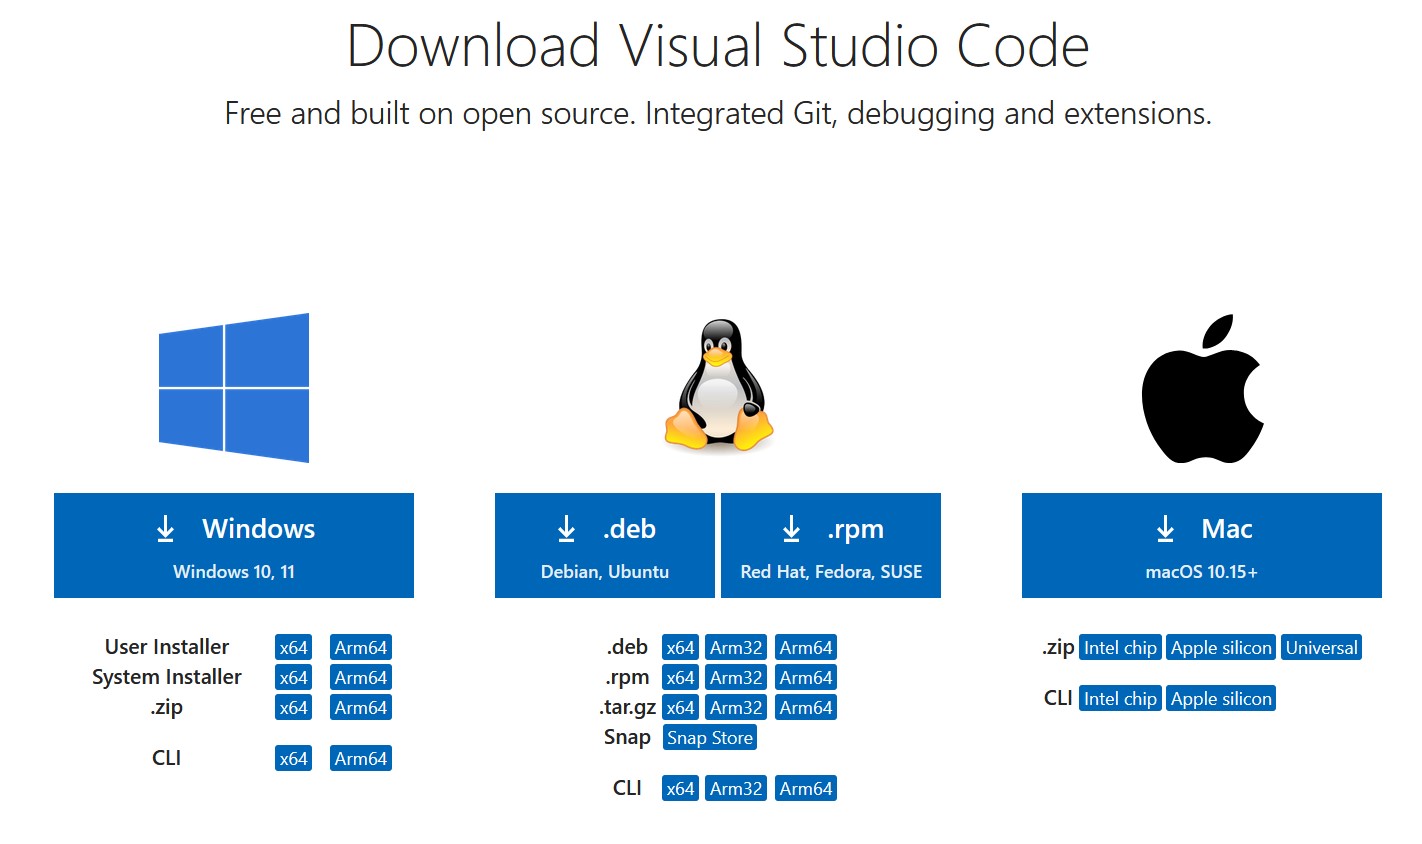 Visual studio code is a very complete IDE, which provides debugging, context-specific code completion and highlighting, as well as version control with git integration. It is also the most popular developer environment tool, according to Wikipedia!
I wanted to use it for its versatility and support for many different programming languages.
Visual studio code is a very complete IDE, which provides debugging, context-specific code completion and highlighting, as well as version control with git integration. It is also the most popular developer environment tool, according to Wikipedia!
I wanted to use it for its versatility and support for many different programming languages.
SSH key
Next, I was able to create a SSH key and get access to my website in order to document my Fab Academy progress. The SSH key is used to verify a local machine (my computer) and to use it to edit my website locally before "pushing" the changes to the web.
I did this by using the following commands in Git Bash :
ssh-keygen -t rsa -C "your_email@mail.com" (adding my own email to this instead of the sample email...)
I copied my key and added it to my GitLab account.

Git Repo Clone and Visual Studio Code Website Editing
After that I was able to clone the Git repo and start working on my website in Visual Studio Code.
To clone the Git Repo I used the following line of code within git bash in the folder I wanted to clone it in :
git clone "my git repo url"
I then started working on editing my website within visual studio.
I wanted to make it nice but simple, so I had a look at other student's websites from past years, and I fell upon the website of Willy Tay, from Fab Academy Singapore in 2023, who had designed a particle effect on his site's home page which I found beautiful. I got his code for that effect and added it to my site, changing some of the parameters and adding some colours.
After making the code more responsive to screen resizing by making the font size parameter relate to the canvas size parameter, I noticed it was taking a lot of processing power to run the page!
In an effort to optimise all this, I turned to ChatGPT for some tips, and was able to change some simple parameters, reducing the amount of particles created by around 33% as well as increasing the particle size (even further reducing the processing power required) depending on screen size.
I also wanted to add a basic dropdown menu in order to better structure my weekly assignments, and made a dropdown (container to position the content) class, dropbtn (the actual dropdown button) class, and dropdown-content (the content of the dropdown menu) class allowing me to style all of these elements separately.
I was able to add shadow effects to the dropdown, change the colour of the links on mouse hover, change the background colour of the dropdown button on hover, all in the CSS code!
Next I started working on documentation, and decided against using tools such as MKDocs, as I felt more at home using basic HTML. For large pieces of text (like here!), I used a "pre" tag to mark the text as being pre-formatted, which saves me from having to add "p" or "br" markings.
While editing the code and CSS, I checked my work locally by loading the page in a web browser from my local documents, to avoid having to add, commit and push for every change. This saves a lot of time and allows me to be very efficient. Simply saving a change and reloading the local page makes the changes appear.
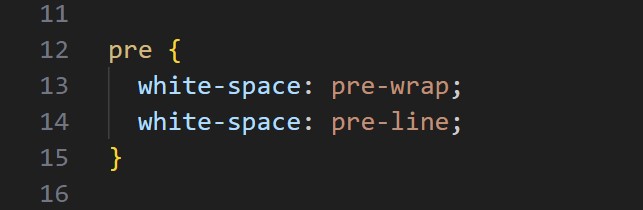
I was able to quickly check and apply CSS changes, such as deleting white spaces in the "pre" mark by adding the following code:
pre {
white-space: pre-wrap;
white-space: pre-line;
}
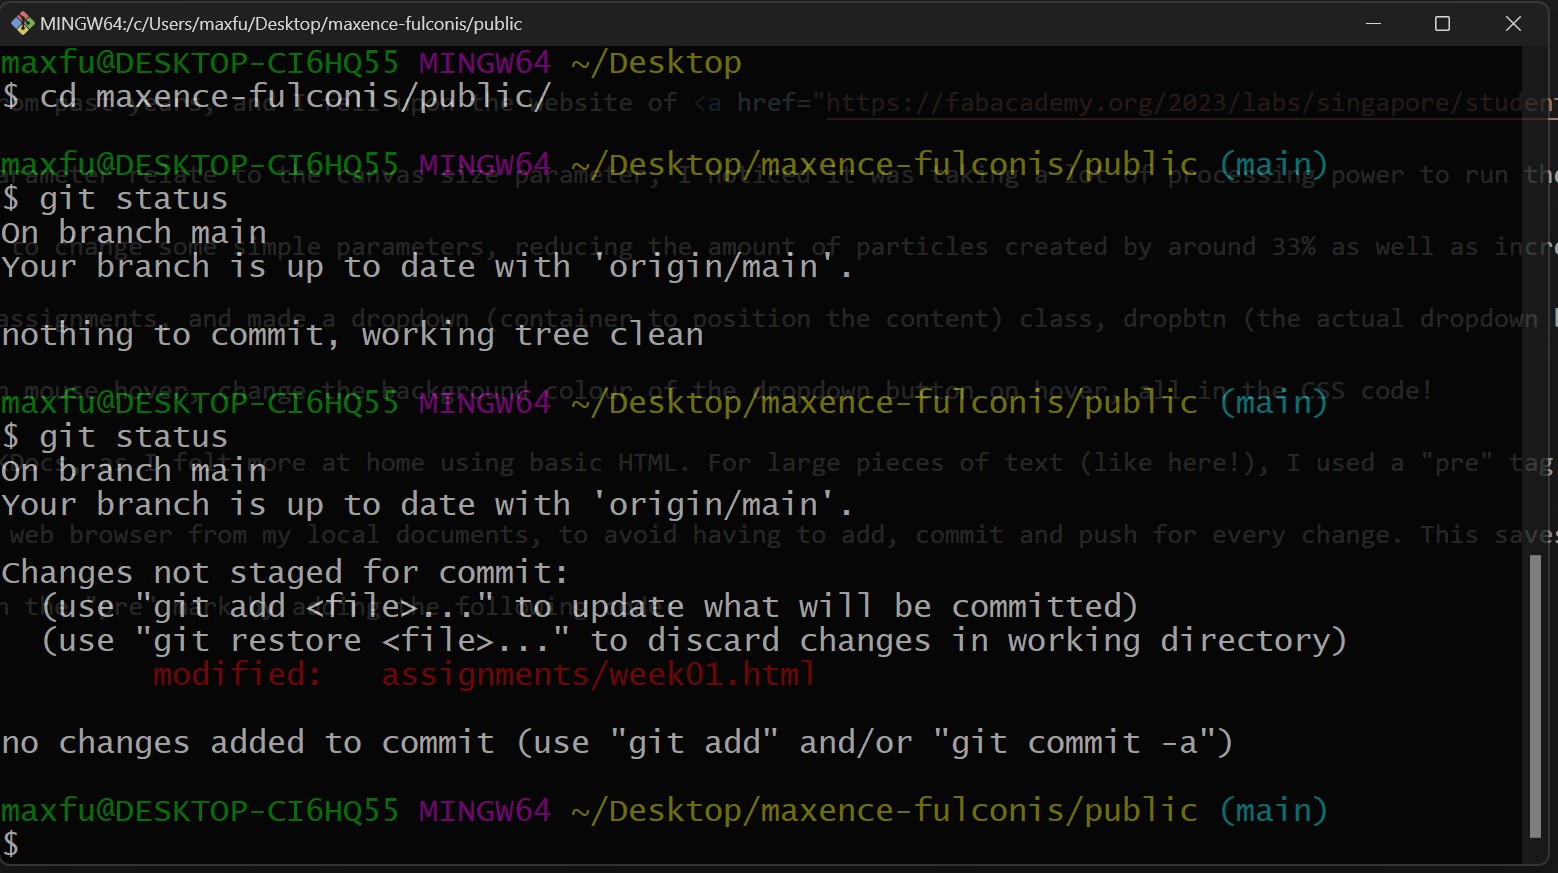
 At any point within Git Bash, I was able to see the status of my repo with the following command
git status
At any point within Git Bash, I was able to see the status of my repo with the following command
git status
 I asked some of my more design-focused classmates (thank you Lena!) for help with the colours, as it was starting to look very jumbled and messy... I am not a very colour-oriented person!
Once I was ready to push my changes to live, I simply opened Git Bash in my local Git repository's directory, and issued the following commands:
git add "names of files to add or . to add all" this adds any changes to the staging area, to get them ready to add them to the next commit.
git commit -m "message describing the current commit" this commits my changes to the local repository.
git push this pushes all my commited changes to the live repository, making them appear "live" on my website.
I also wanted to add a simple synthesizer which would play generative music changed by the X and Y positions on the screen, and started trying to implement something with help from ChatGPT, but it ended up going nowhere and seemed quite complex for this first week... Maybe I will get back to it!
I asked some of my more design-focused classmates (thank you Lena!) for help with the colours, as it was starting to look very jumbled and messy... I am not a very colour-oriented person!
Once I was ready to push my changes to live, I simply opened Git Bash in my local Git repository's directory, and issued the following commands:
git add "names of files to add or . to add all" this adds any changes to the staging area, to get them ready to add them to the next commit.
git commit -m "message describing the current commit" this commits my changes to the local repository.
git push this pushes all my commited changes to the live repository, making them appear "live" on my website.
I also wanted to add a simple synthesizer which would play generative music changed by the X and Y positions on the screen, and started trying to implement something with help from ChatGPT, but it ended up going nowhere and seemed quite complex for this first week... Maybe I will get back to it!
Final Project Idea Draft: Simple Phone
 This first week we were also tasked with coming up with an initial idea for a final project.
I looked first towards projects like the FairPhone and the Light Phone.
The FairPhone is an easily-repairable Android smartphone trying to use as many recycled and fair materials as possible.
The Light Phone is an Android-based "dumb-phone" with an e-ink screen that allows you to access simple features such as calling, messaging, a calculator, calendar synced with google, and a few others.
Both are very interesting projects but I felt that the FairPhone was too traditional in using Android and the Light Phone did not go far enough in open-source development and providing value for the users.
While researching, I came across Paxo, a fully open-source smartphone using a custom-OS.
Wanting to use some ideas from each of these projects, I thought of a simple phone to give people real access to their tech, instead of being locked behind the black box of glass, plastic and metal that we are now confronted with.
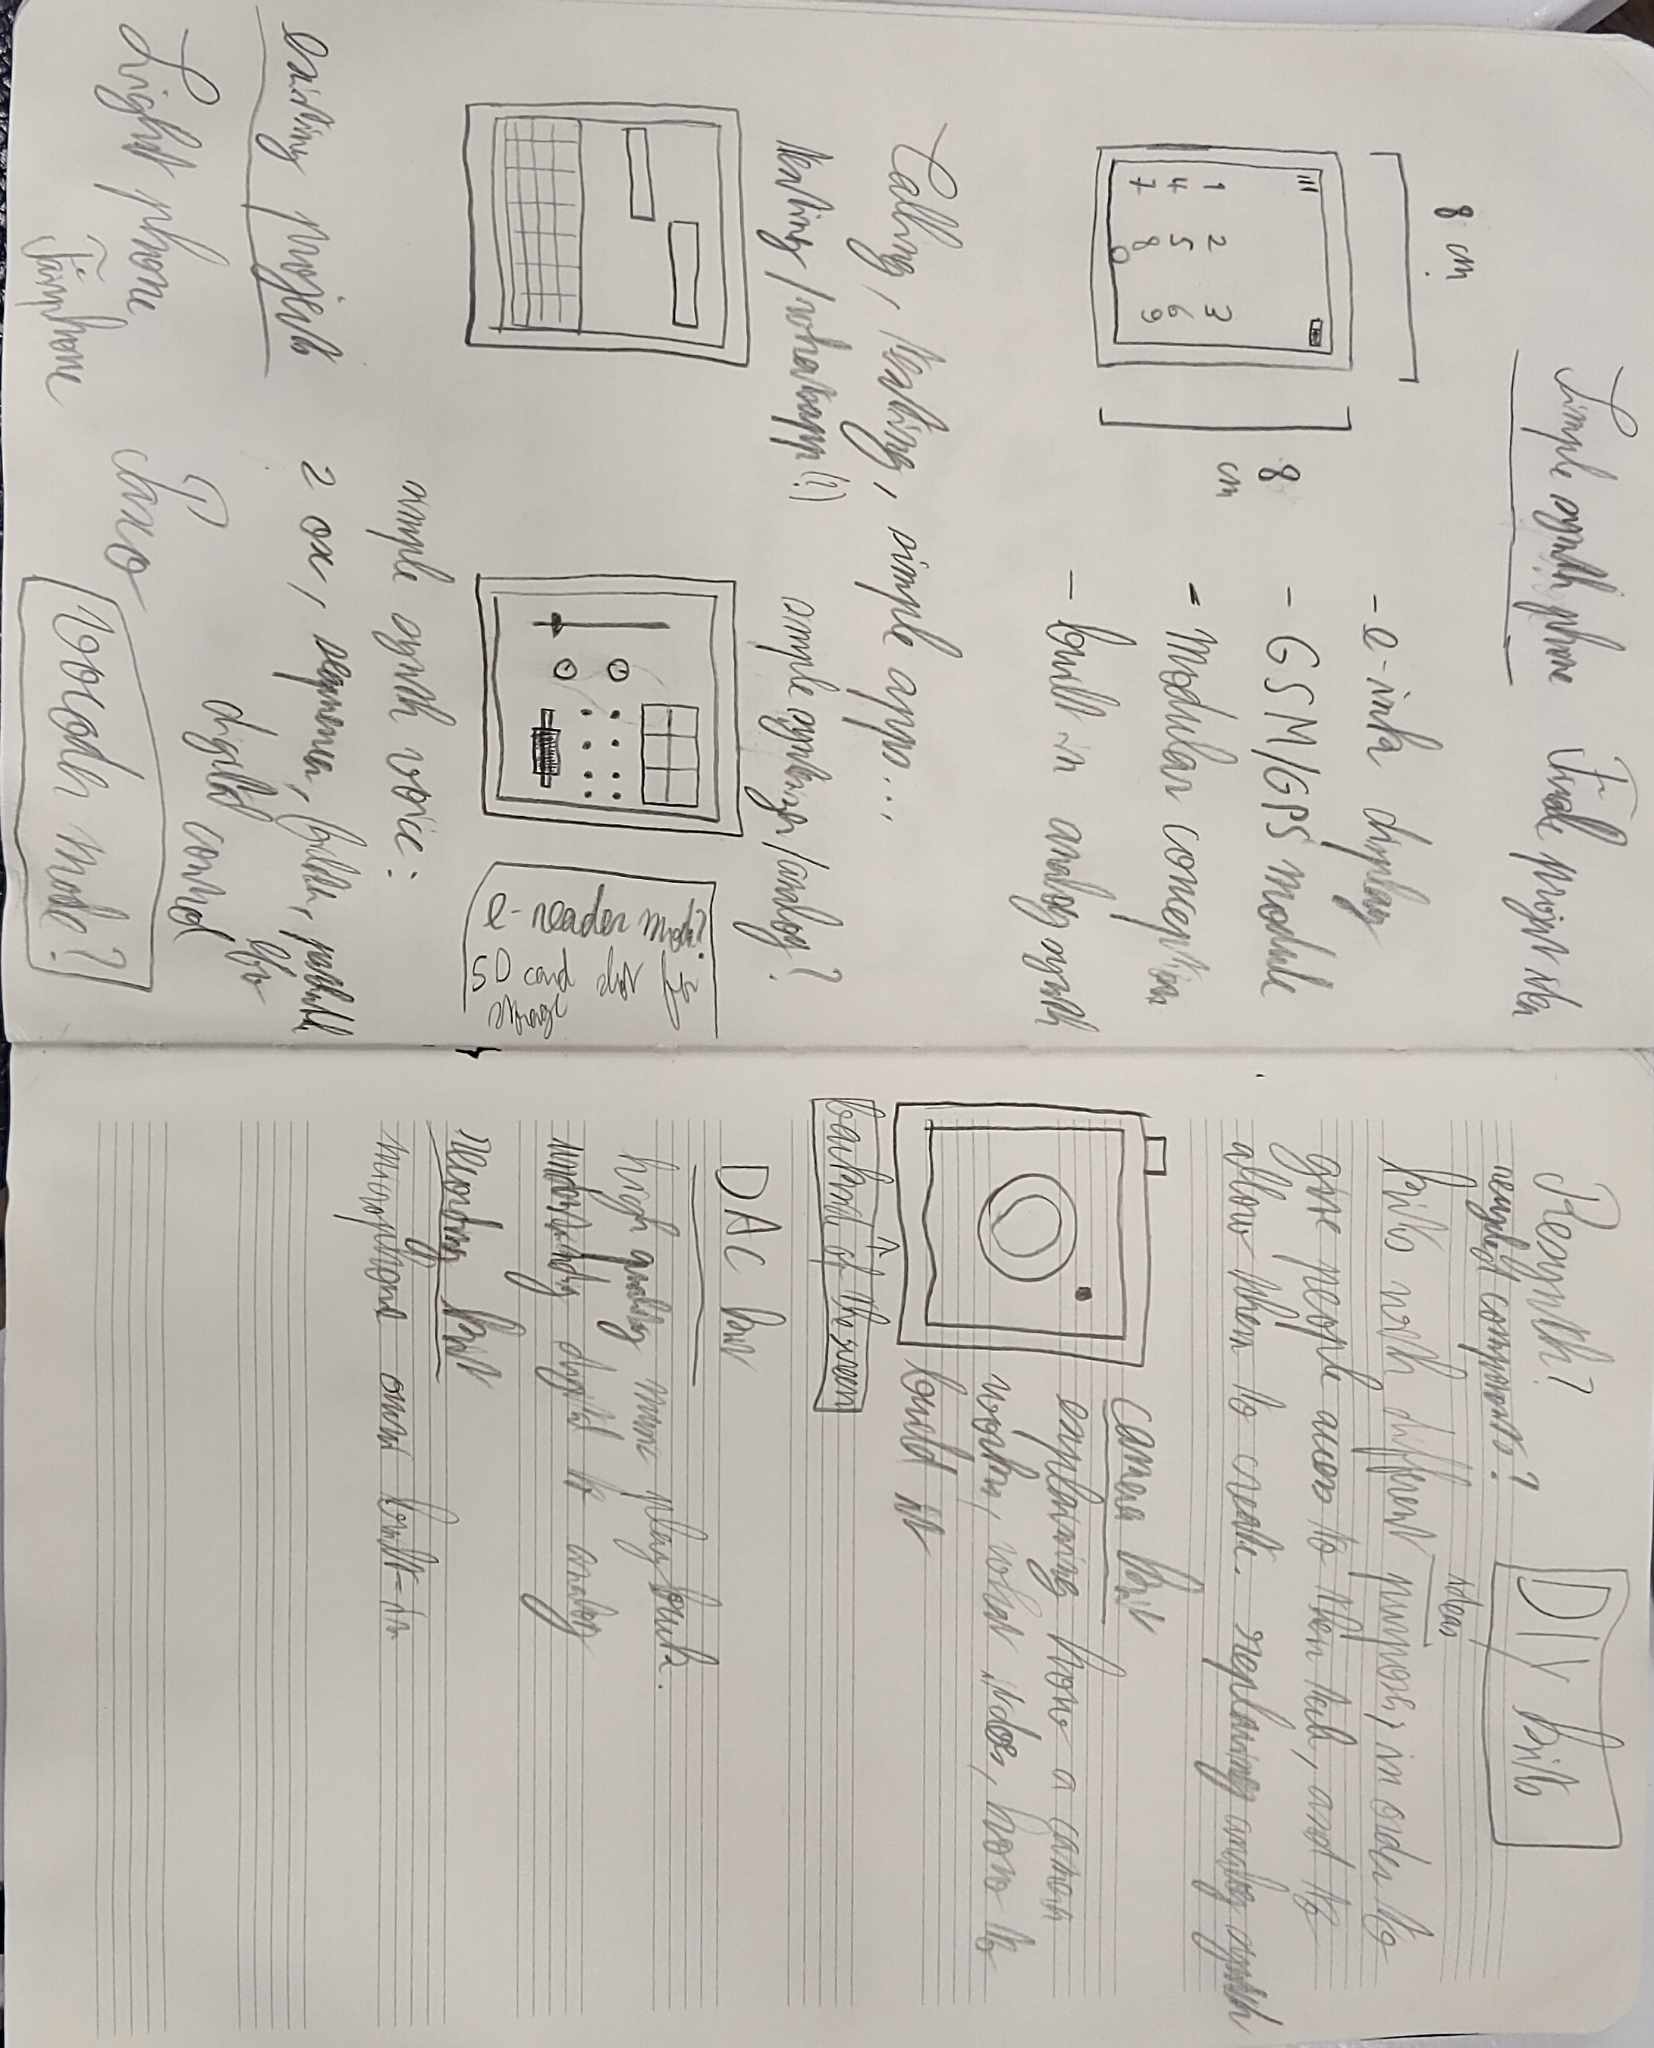
I thought of a square 1 to 1 aspect ratio that differentiates it fromm the more traditional 16 by 9 and 18 by 9 aspect ratios of current smartphones, and makes it seem more like a tool than a content-consumption machine.
With an e-ink display and simple calling and messaging capabilities, it would provide all the basic necessities of a phone, without the many distractions and attention-stealing of a traditional light emitting display.
The Simple Phone also would have some modular components, much like Arduino Shield modules.
This first week we were also tasked with coming up with an initial idea for a final project.
I looked first towards projects like the FairPhone and the Light Phone.
The FairPhone is an easily-repairable Android smartphone trying to use as many recycled and fair materials as possible.
The Light Phone is an Android-based "dumb-phone" with an e-ink screen that allows you to access simple features such as calling, messaging, a calculator, calendar synced with google, and a few others.
Both are very interesting projects but I felt that the FairPhone was too traditional in using Android and the Light Phone did not go far enough in open-source development and providing value for the users.
While researching, I came across Paxo, a fully open-source smartphone using a custom-OS.
Wanting to use some ideas from each of these projects, I thought of a simple phone to give people real access to their tech, instead of being locked behind the black box of glass, plastic and metal that we are now confronted with.
I thought of a square 1 to 1 aspect ratio that differentiates it fromm the more traditional 16 by 9 and 18 by 9 aspect ratios of current smartphones, and makes it seem more like a tool than a content-consumption machine.
With an e-ink display and simple calling and messaging capabilities, it would provide all the basic necessities of a phone, without the many distractions and attention-stealing of a traditional light emitting display.
The Simple Phone also would have some modular components, much like Arduino Shield modules.
Some Ideas for Going Further
These modular kits come in the form of DIY kits with build instructions and explanations as to their functions.
Each kit would have its own app on the phone to control it. My first thought was a simple analog synthesizer, due to my background in music. Tony gave me the idea of being able to route phone calls' outgoing voice through the synthesizer for some vocoder-style effects.
After further reflection, this led to a camera kit for taking photos, which could either be a DSLR-style camera with integrated viewfinder or a simpler digital camera (although there would be the question of how to correctly display this on an e-ink screen?)
These kits could also include a DAC (digital to analog converter) for playing high-quality audio files, or a simple recording kit with an omni-directional microphone and higher quality speaker.
Not drawn in the image above could be a solar panel and extra battery kit for charging the phone and other devices while outdoors, or even some mechanical devices such as a clock.