This week we learned about computer-controlled cutting, using laser cutters and vinyl cutters.
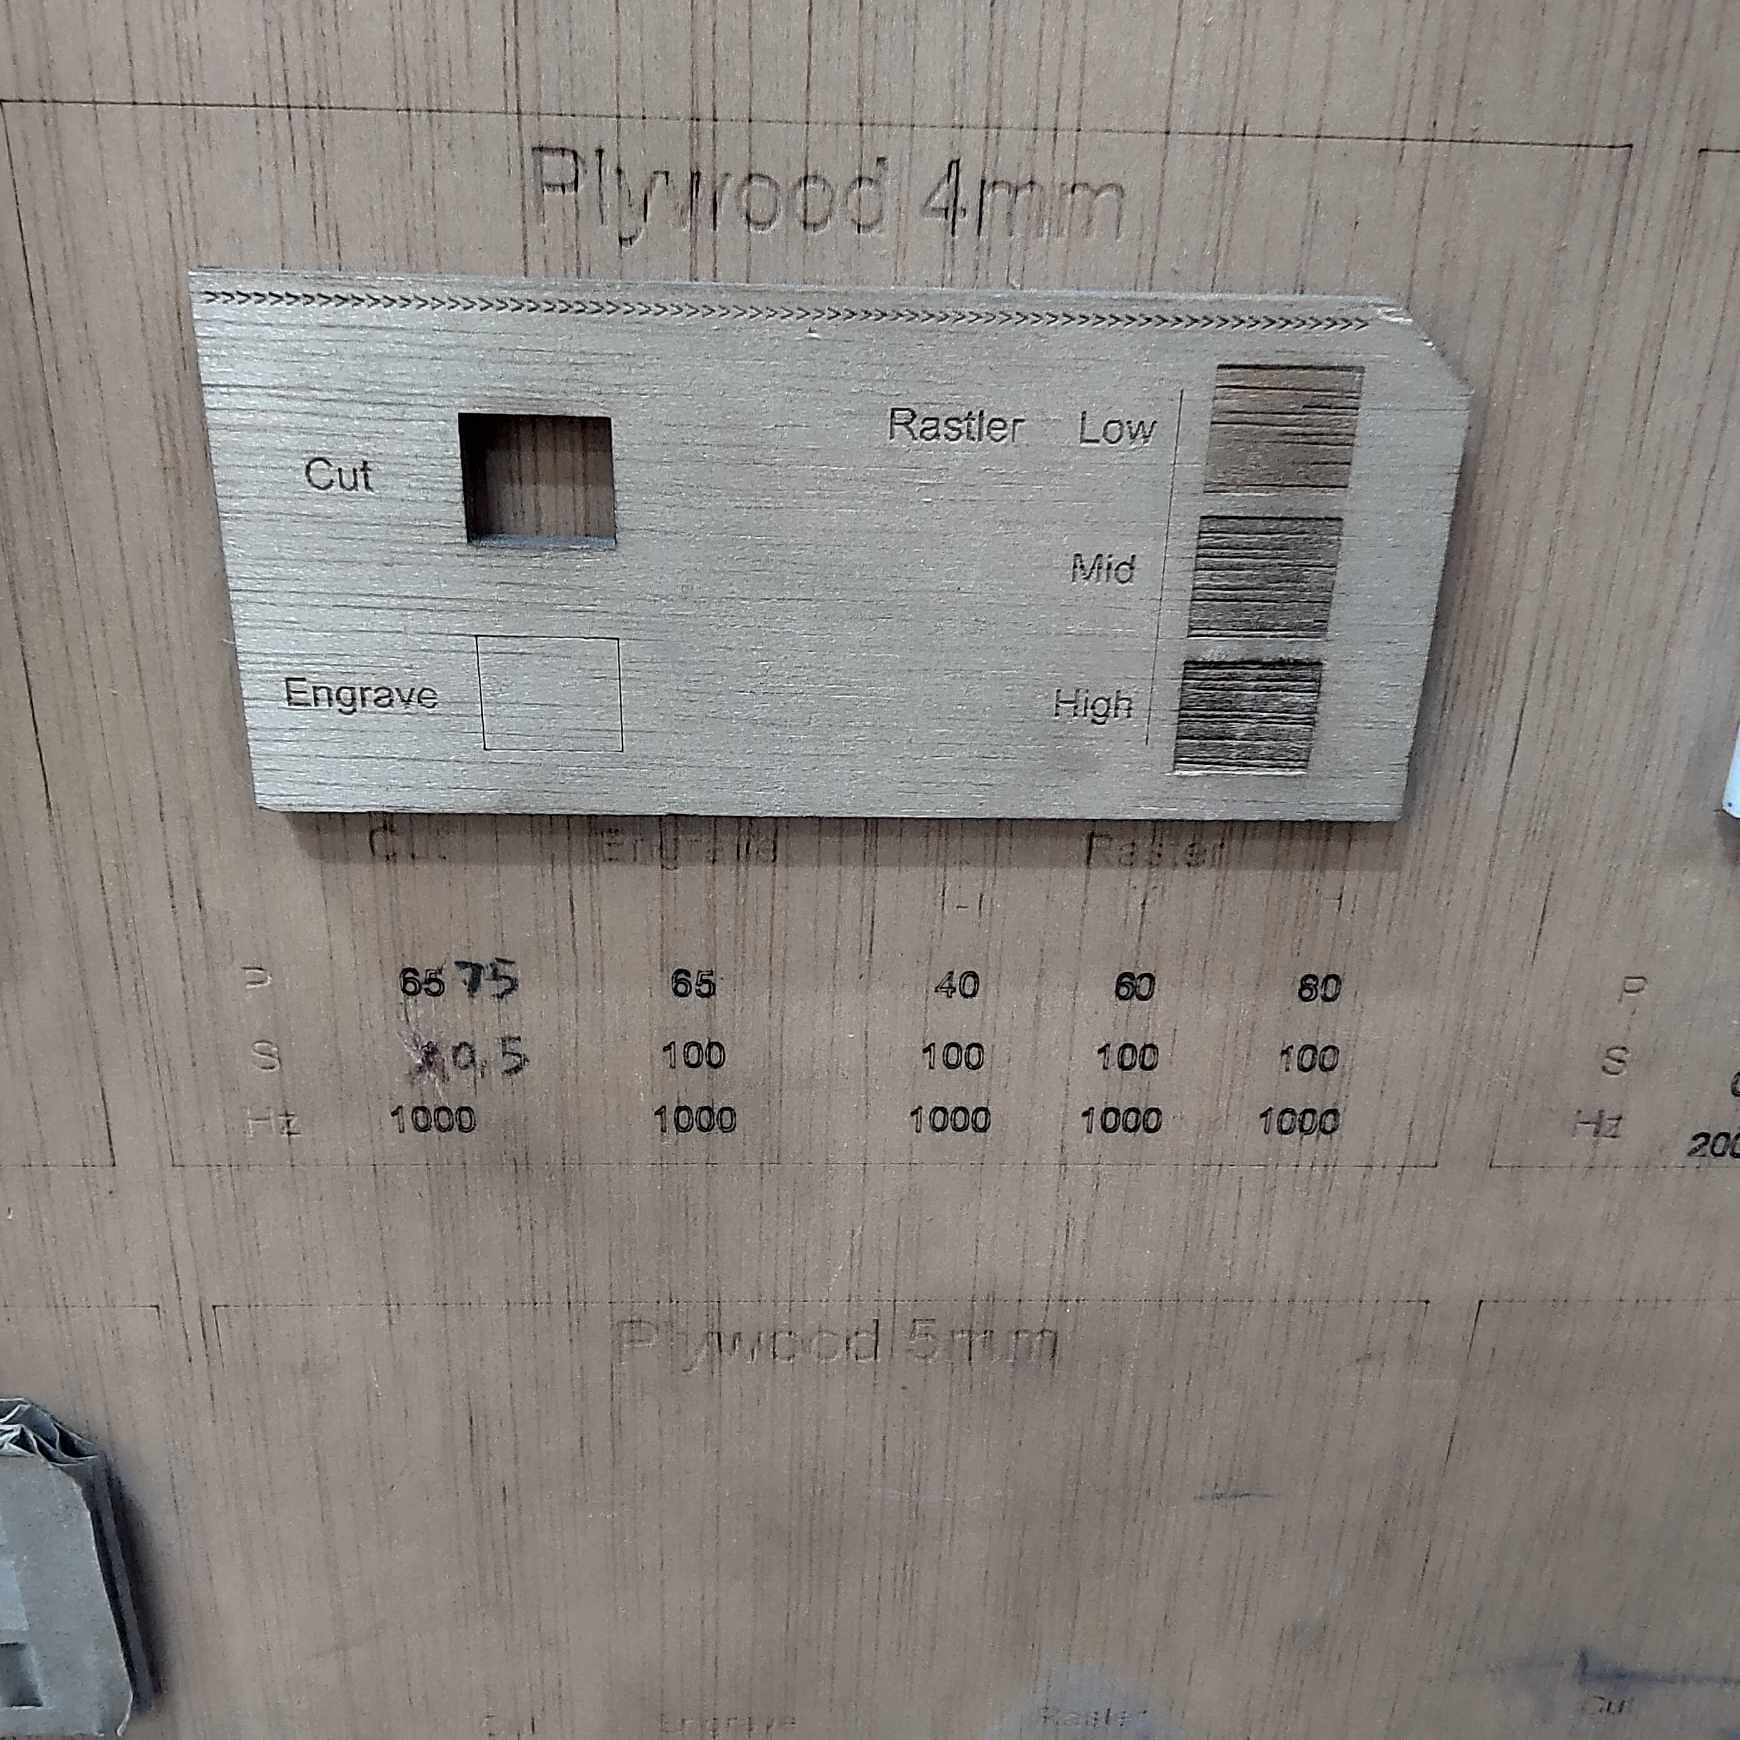
This week was the first week with a group assignment, for which we had to laser cut different materials and different shapes, using different settings in order to characterise our laser-cutters.
We also had two individual assignments, one of which was to design and lasercut a parametric construction kit which can be assembled in multiple ways. The other one was to cut "something" on the vinyl cutter.
Group Assignment
We made a separate repository for the group assignment for this week.
You can find it here!
Parametric Construction Kit and Laser Cutting
Here is the final production! And here is the Grasshopper script
In order to begin modelling parametrically, I had to decide on a parametric 3D software. I wanted to use Grasshopper as I was already starting to be familiar with Rhino. I followed this tutorial in order to get more comfortable with using Grasshopper.
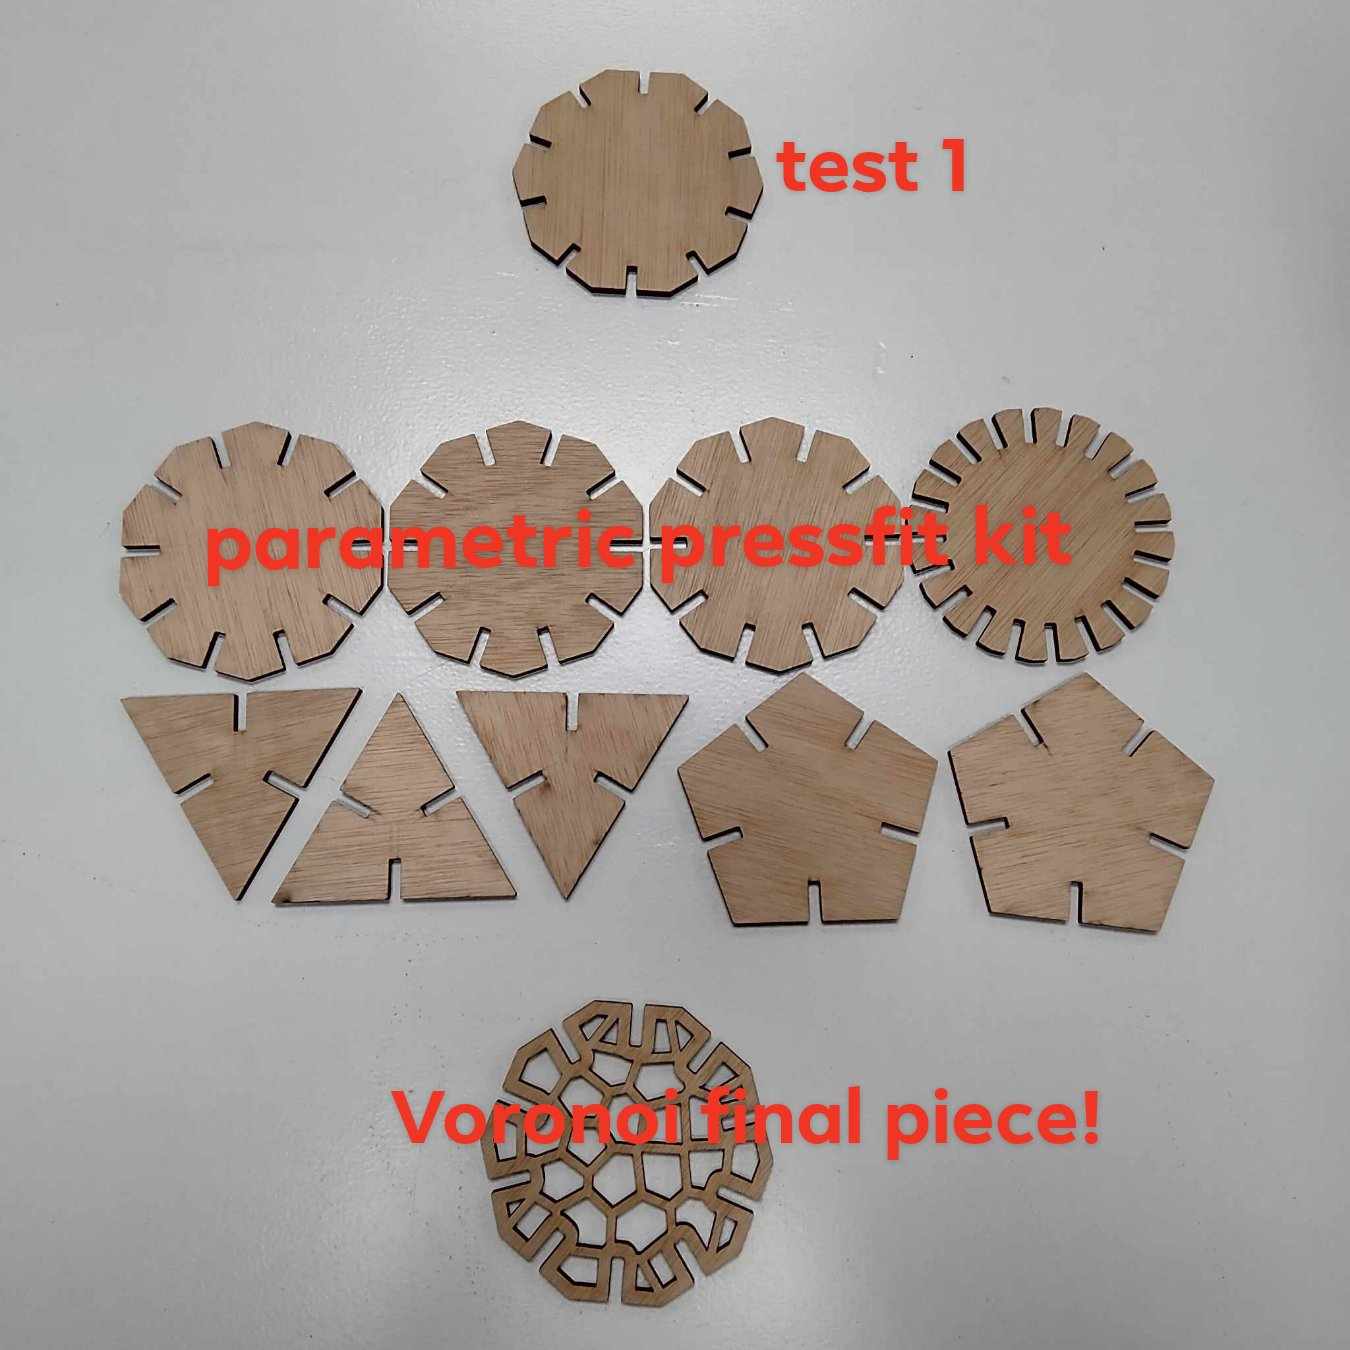
I decided to create some very basic pieces, polygons with slits so they could be attached together.
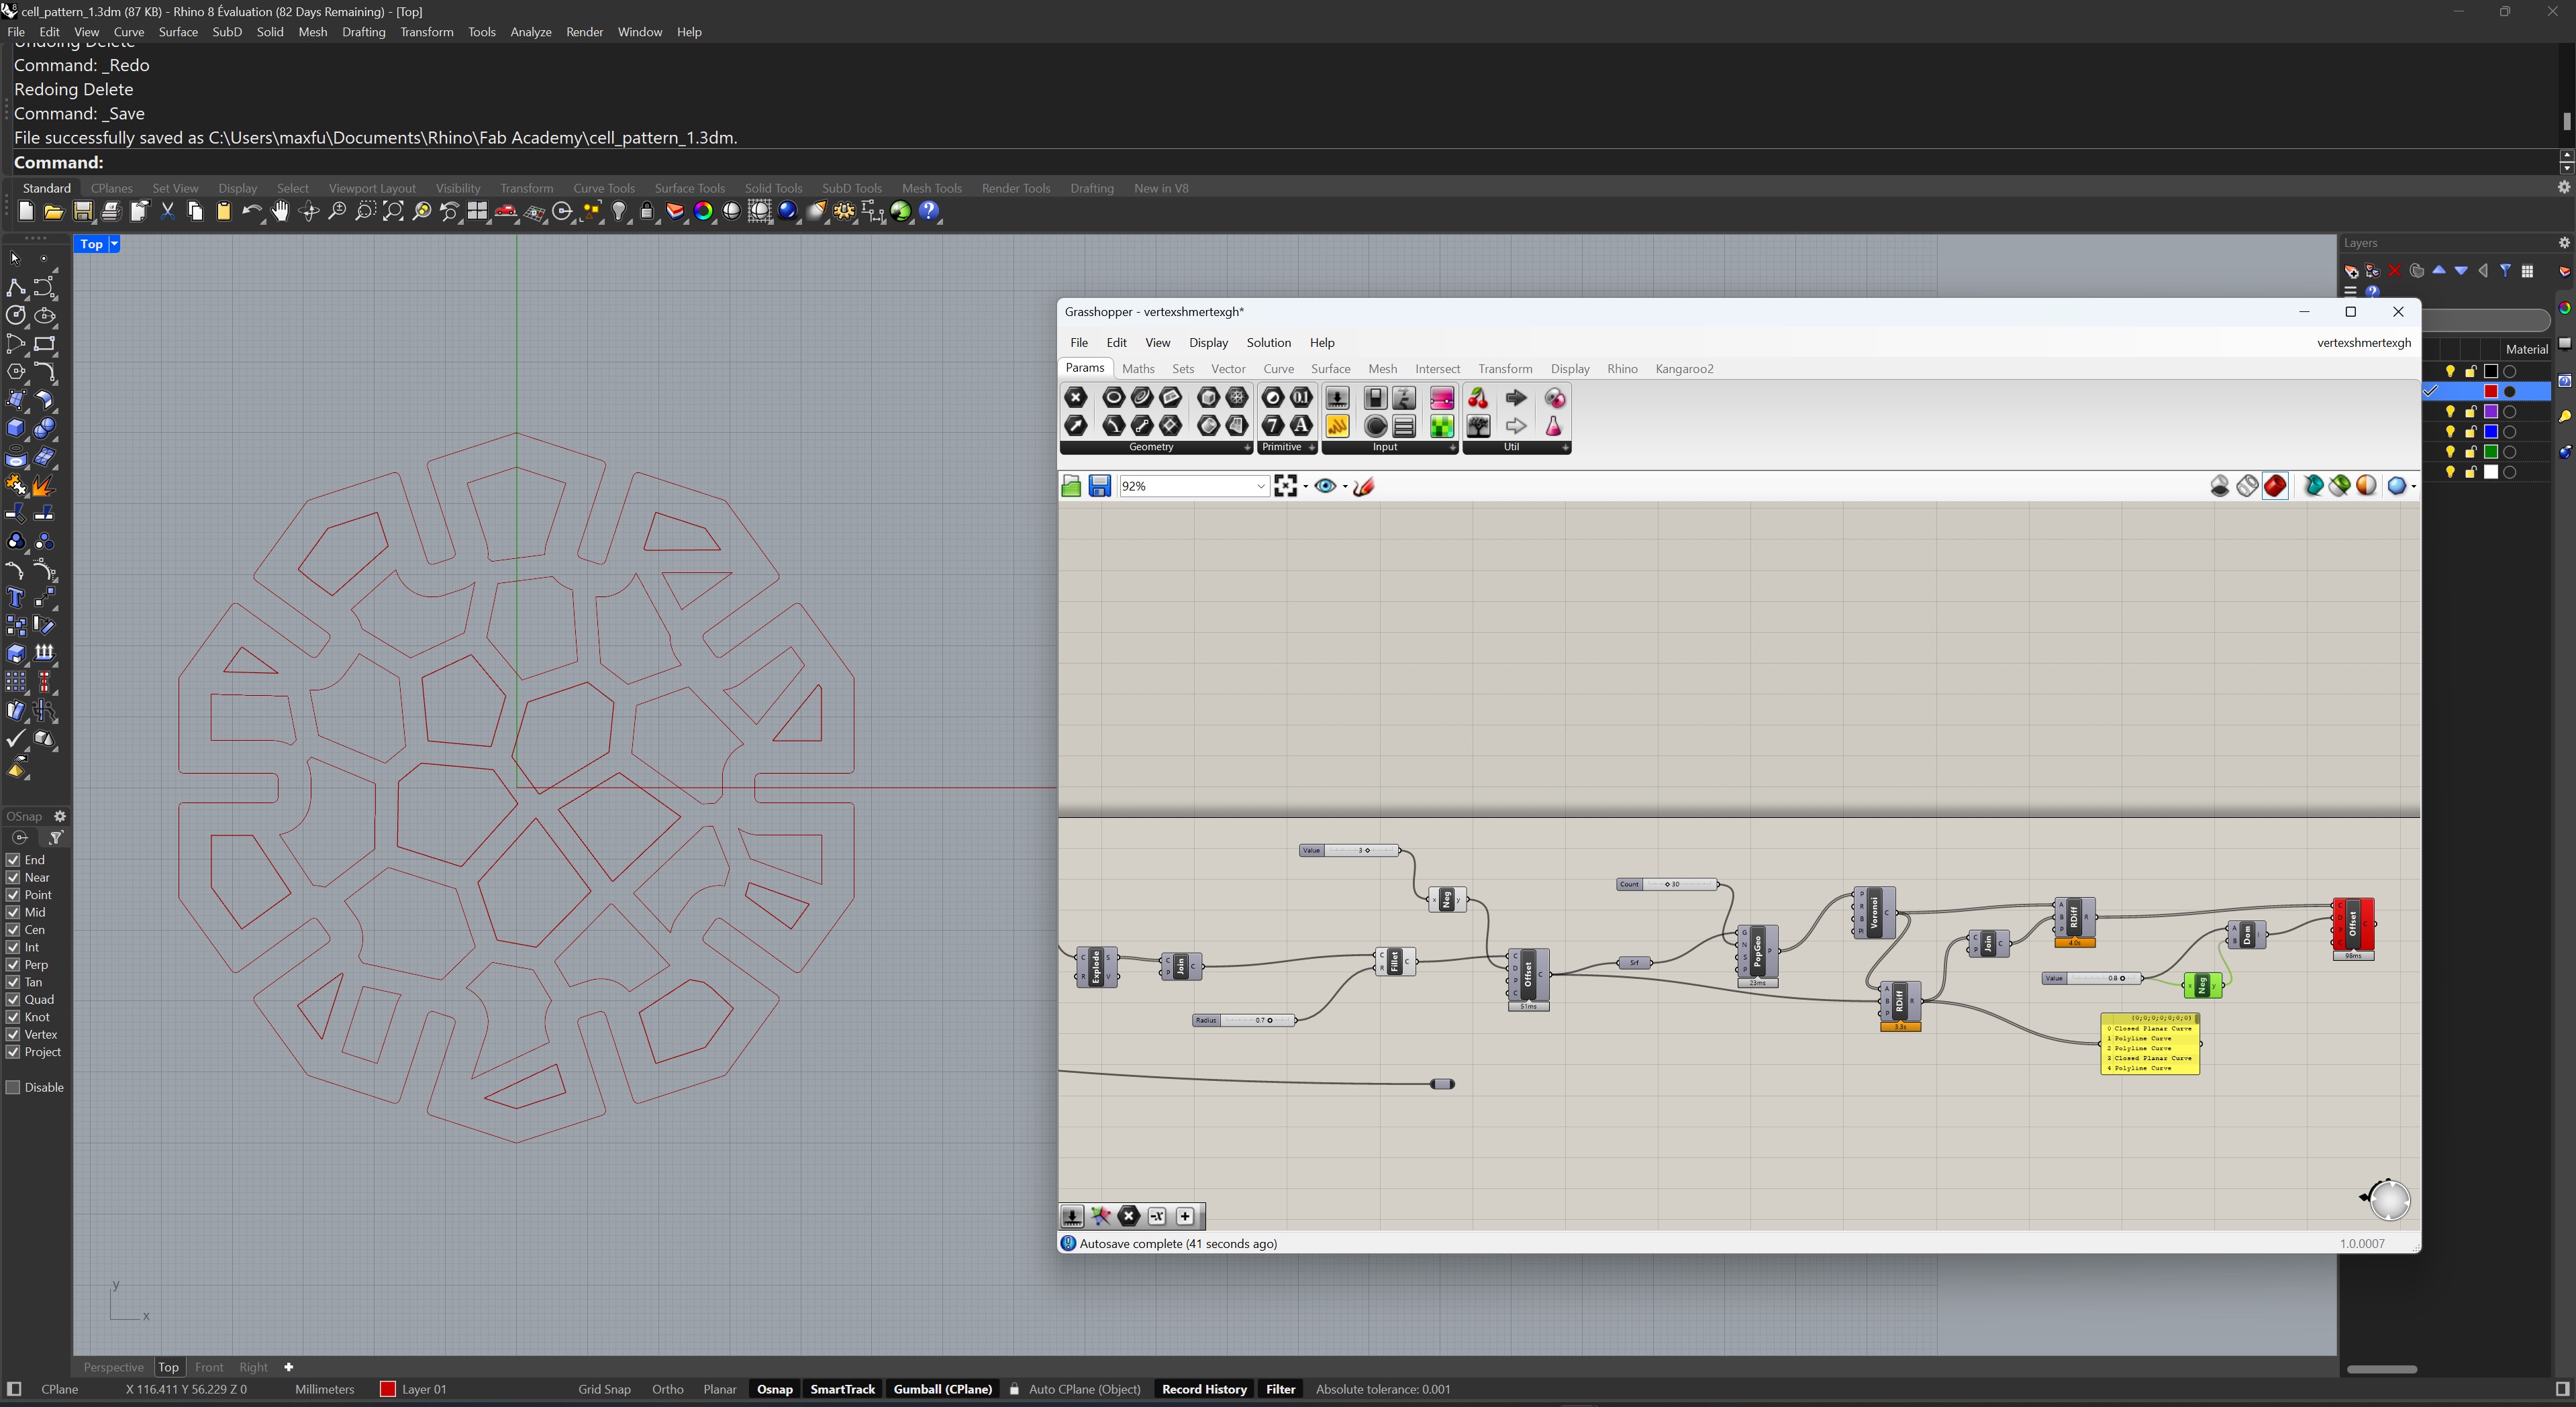
Grasshopper Explanation
The Grasshopper script is the same for every piece, but I can select how many sides, how wide the slits are, the position of the slits, etc.
The Grasshopper script is relatively simple.
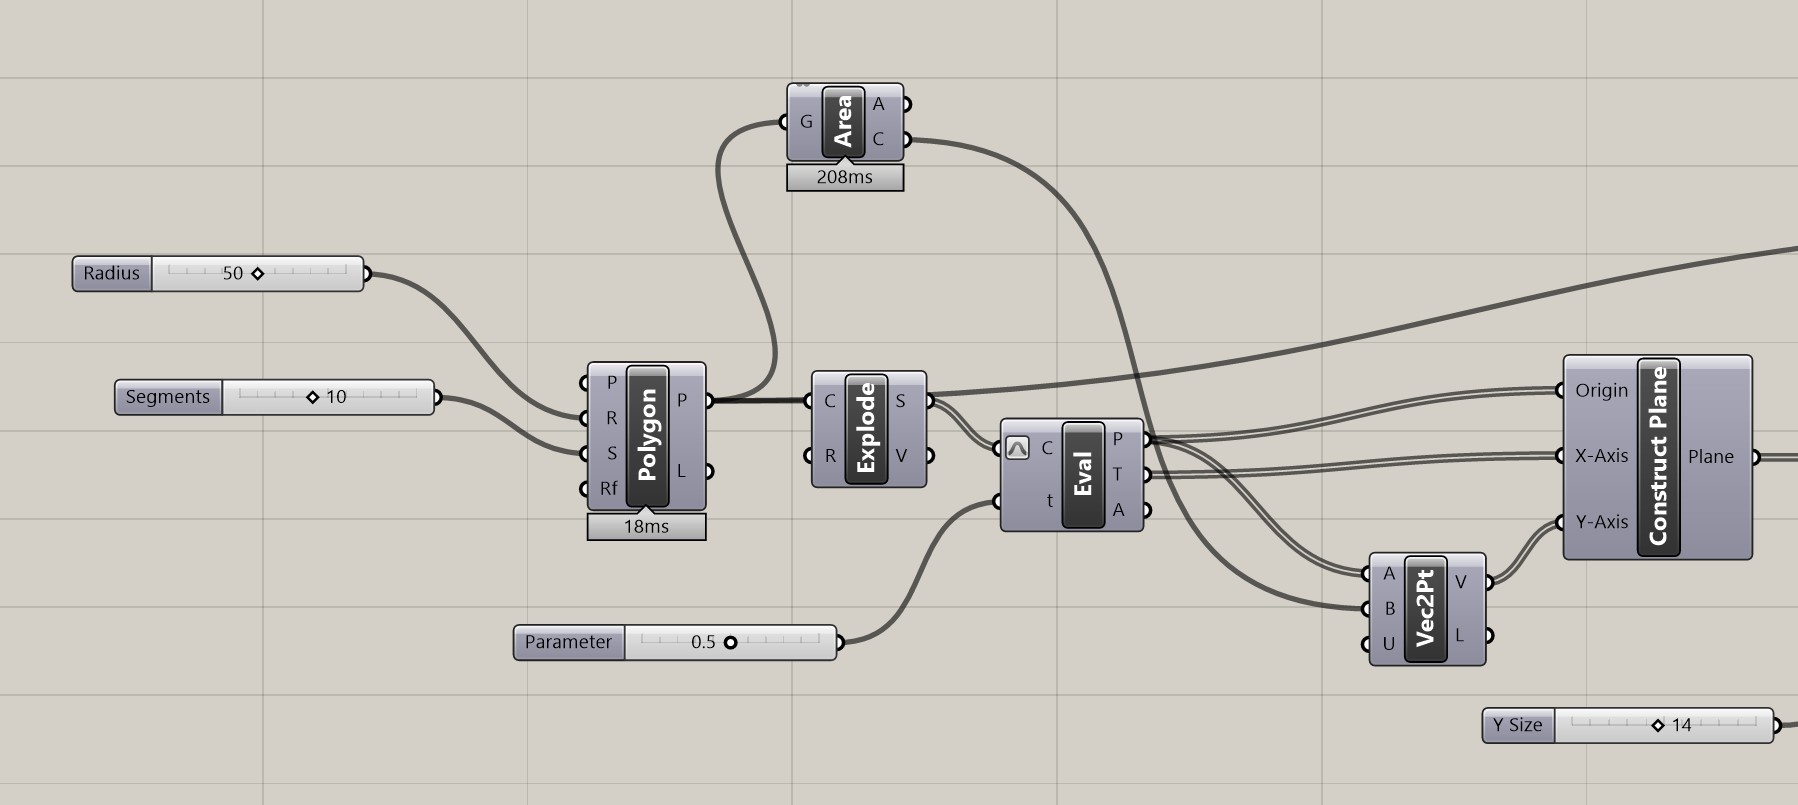
First, I create a polygon. I then explode it into its different components (segents and vertices). I also use the Area node to get the center-point of it.
Following the explode command, I use the evaluate curve node with a 0.5 parameter to point to the center of each segment of the polygon.
I then build vectors which point from these middle points towards the middle of the polygon (which I calculated using the area command above).
Using these vectors, I am able to build planes that have their origins at the middle point of the segments, their X axis at the tangents of the segments, and their Y axis as the vectors built above.
This lets me build planes that rotate along with the segments of the polygon, in order to have them alway oriented towards the center of the polygon.
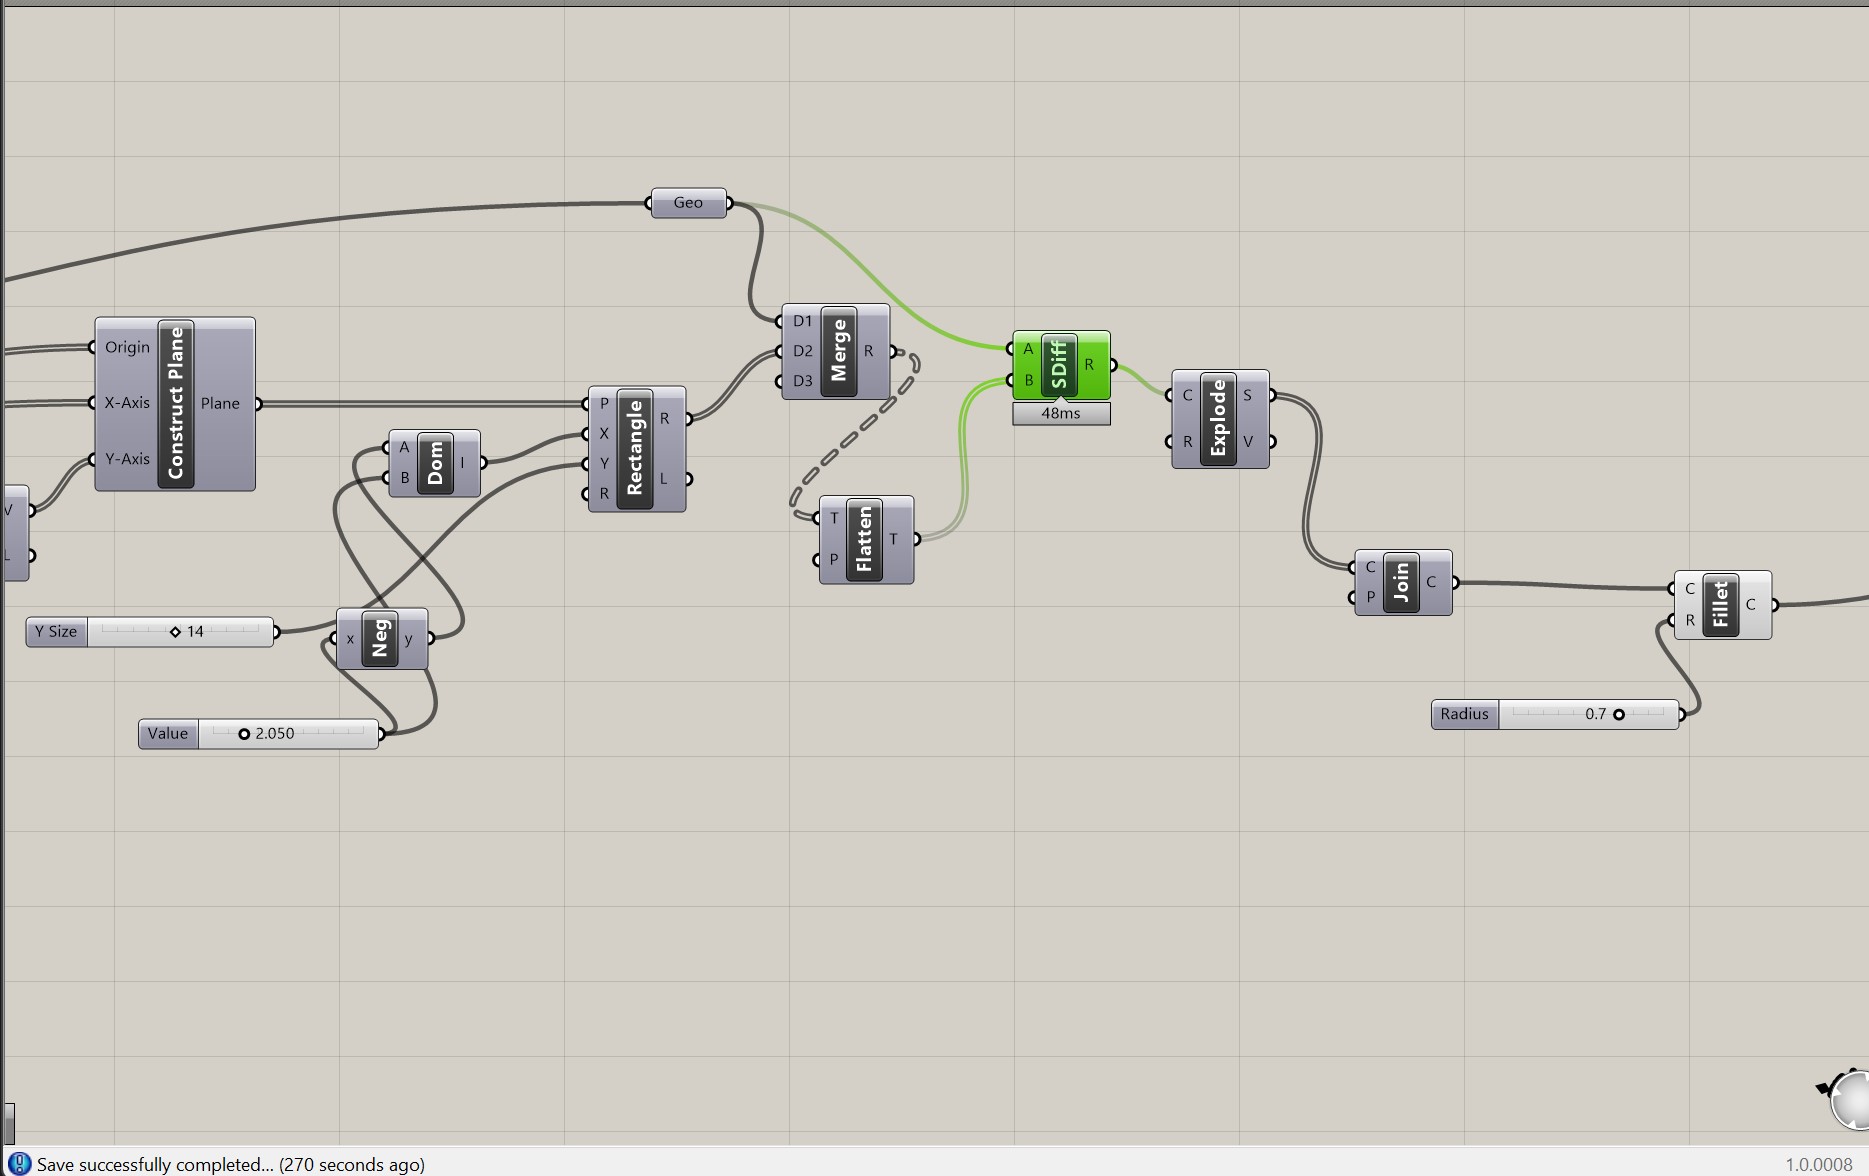
I can then build rectangles on these planes, with a width of 4.1mm (the thickness of my plywood material accounting for laser kerf).
I then merged the polygon with the rectangles, and use the solid difference node to give me the final polygon-shaped cutout, which I can then explode and join the segments together to make a polygon cutout with rectangular slits.
I can then fillet the final shape to make it smoother and ready for laser cutting!
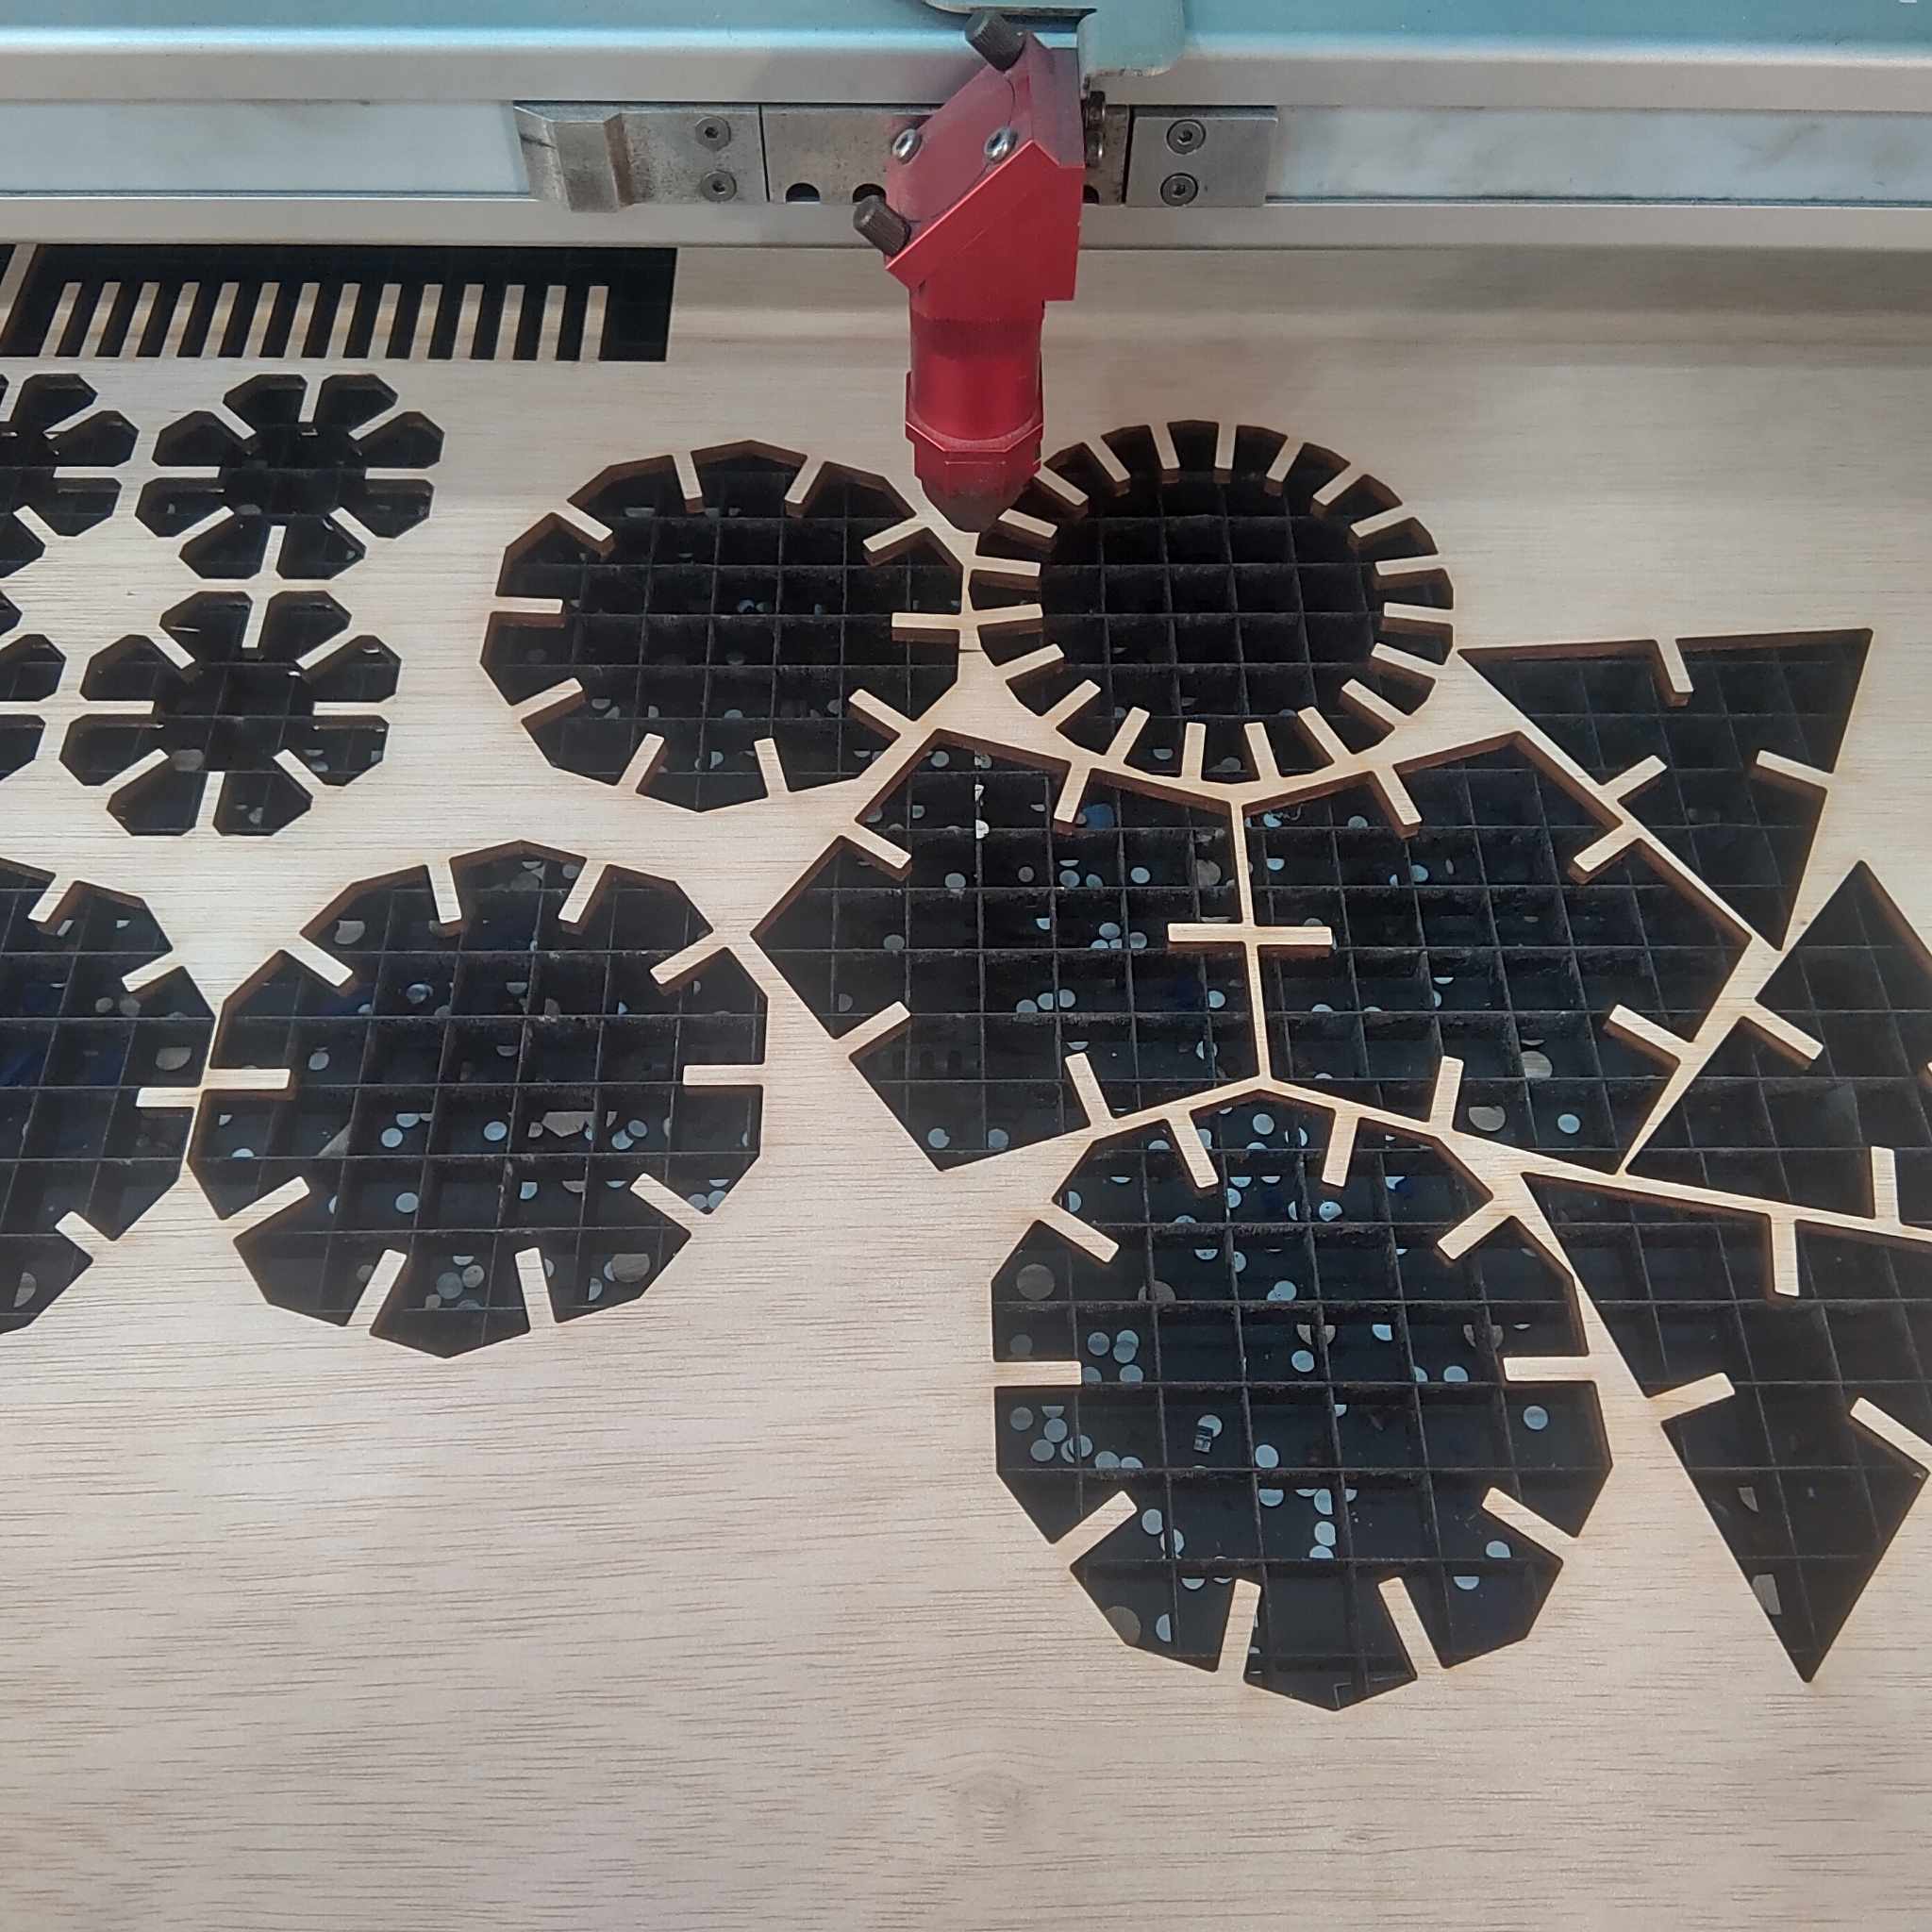
I was then able to start the laser cutting process!
When cutting, I tried to nest all the pieces so as to use as little material as possible.
I used the following settings for laser cutting plywood.
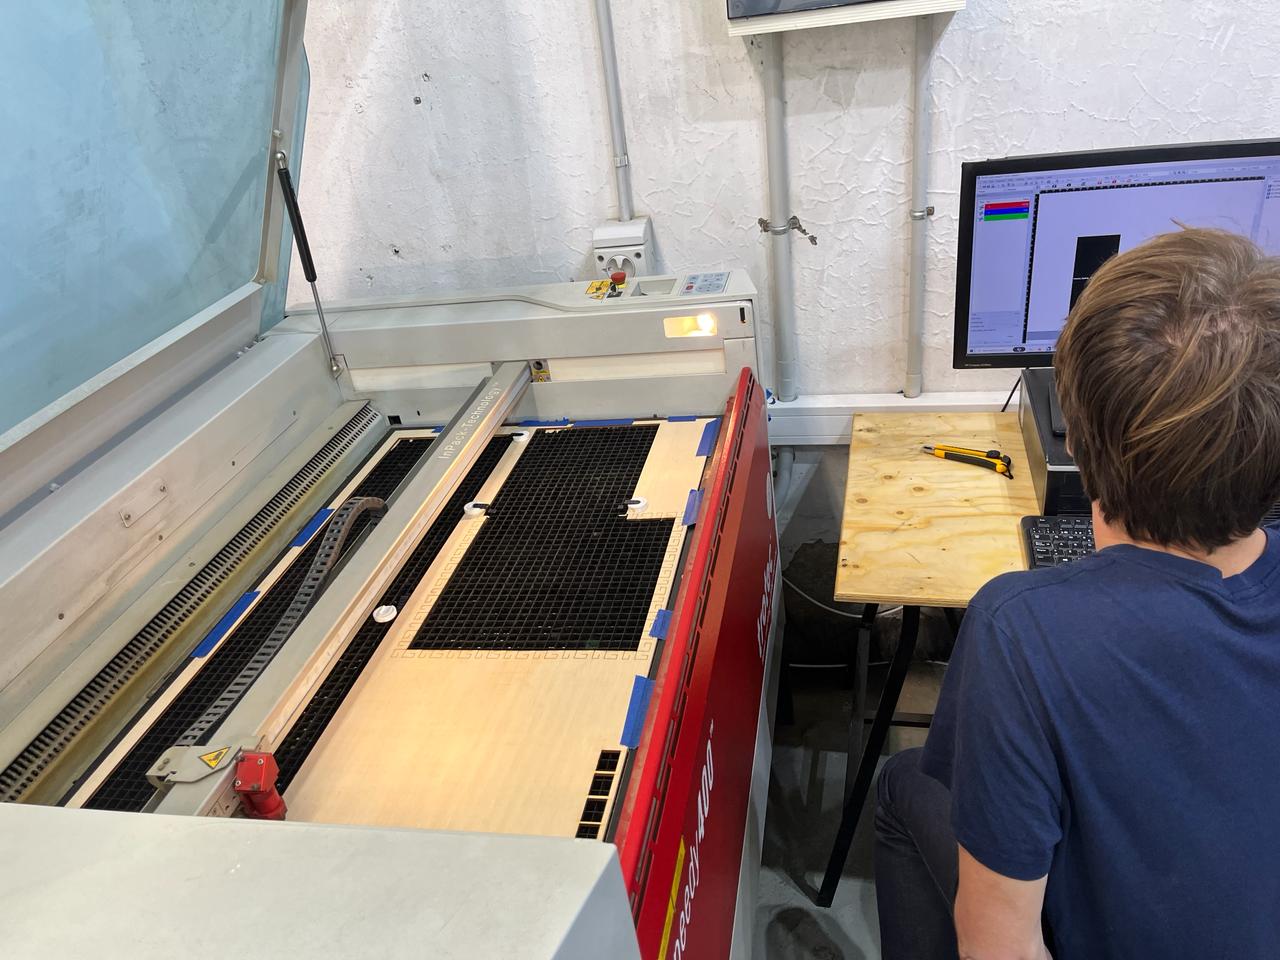
Laser cutting was as simple as sending the Rhino file to the computers in the laser cutting room and opening it over there, then printing it through Rhino.
This then opened the laser cutting software automatically (Trotec software in this case), and allowed me to position the piece and choose the settings.
Power : 75
Speed : 0,5
Frequency : 1000hz
Here is a short video of the cutting process:
Once I had these pieces cut, I was done with the laser-cutting! But I wanted to do more...
I decided to add some Voronoi designs to it, and started by watching this tutorial.
Voronoi patterns are created from a collection of points in space, by making a perpendicular line at the midpoints between each point, and separating each resulting "cell" from those resulting lines.
I made the voronoi pattern fit into a polygon, while leaving an offset and also offsetting the cells so I could laser cut it.
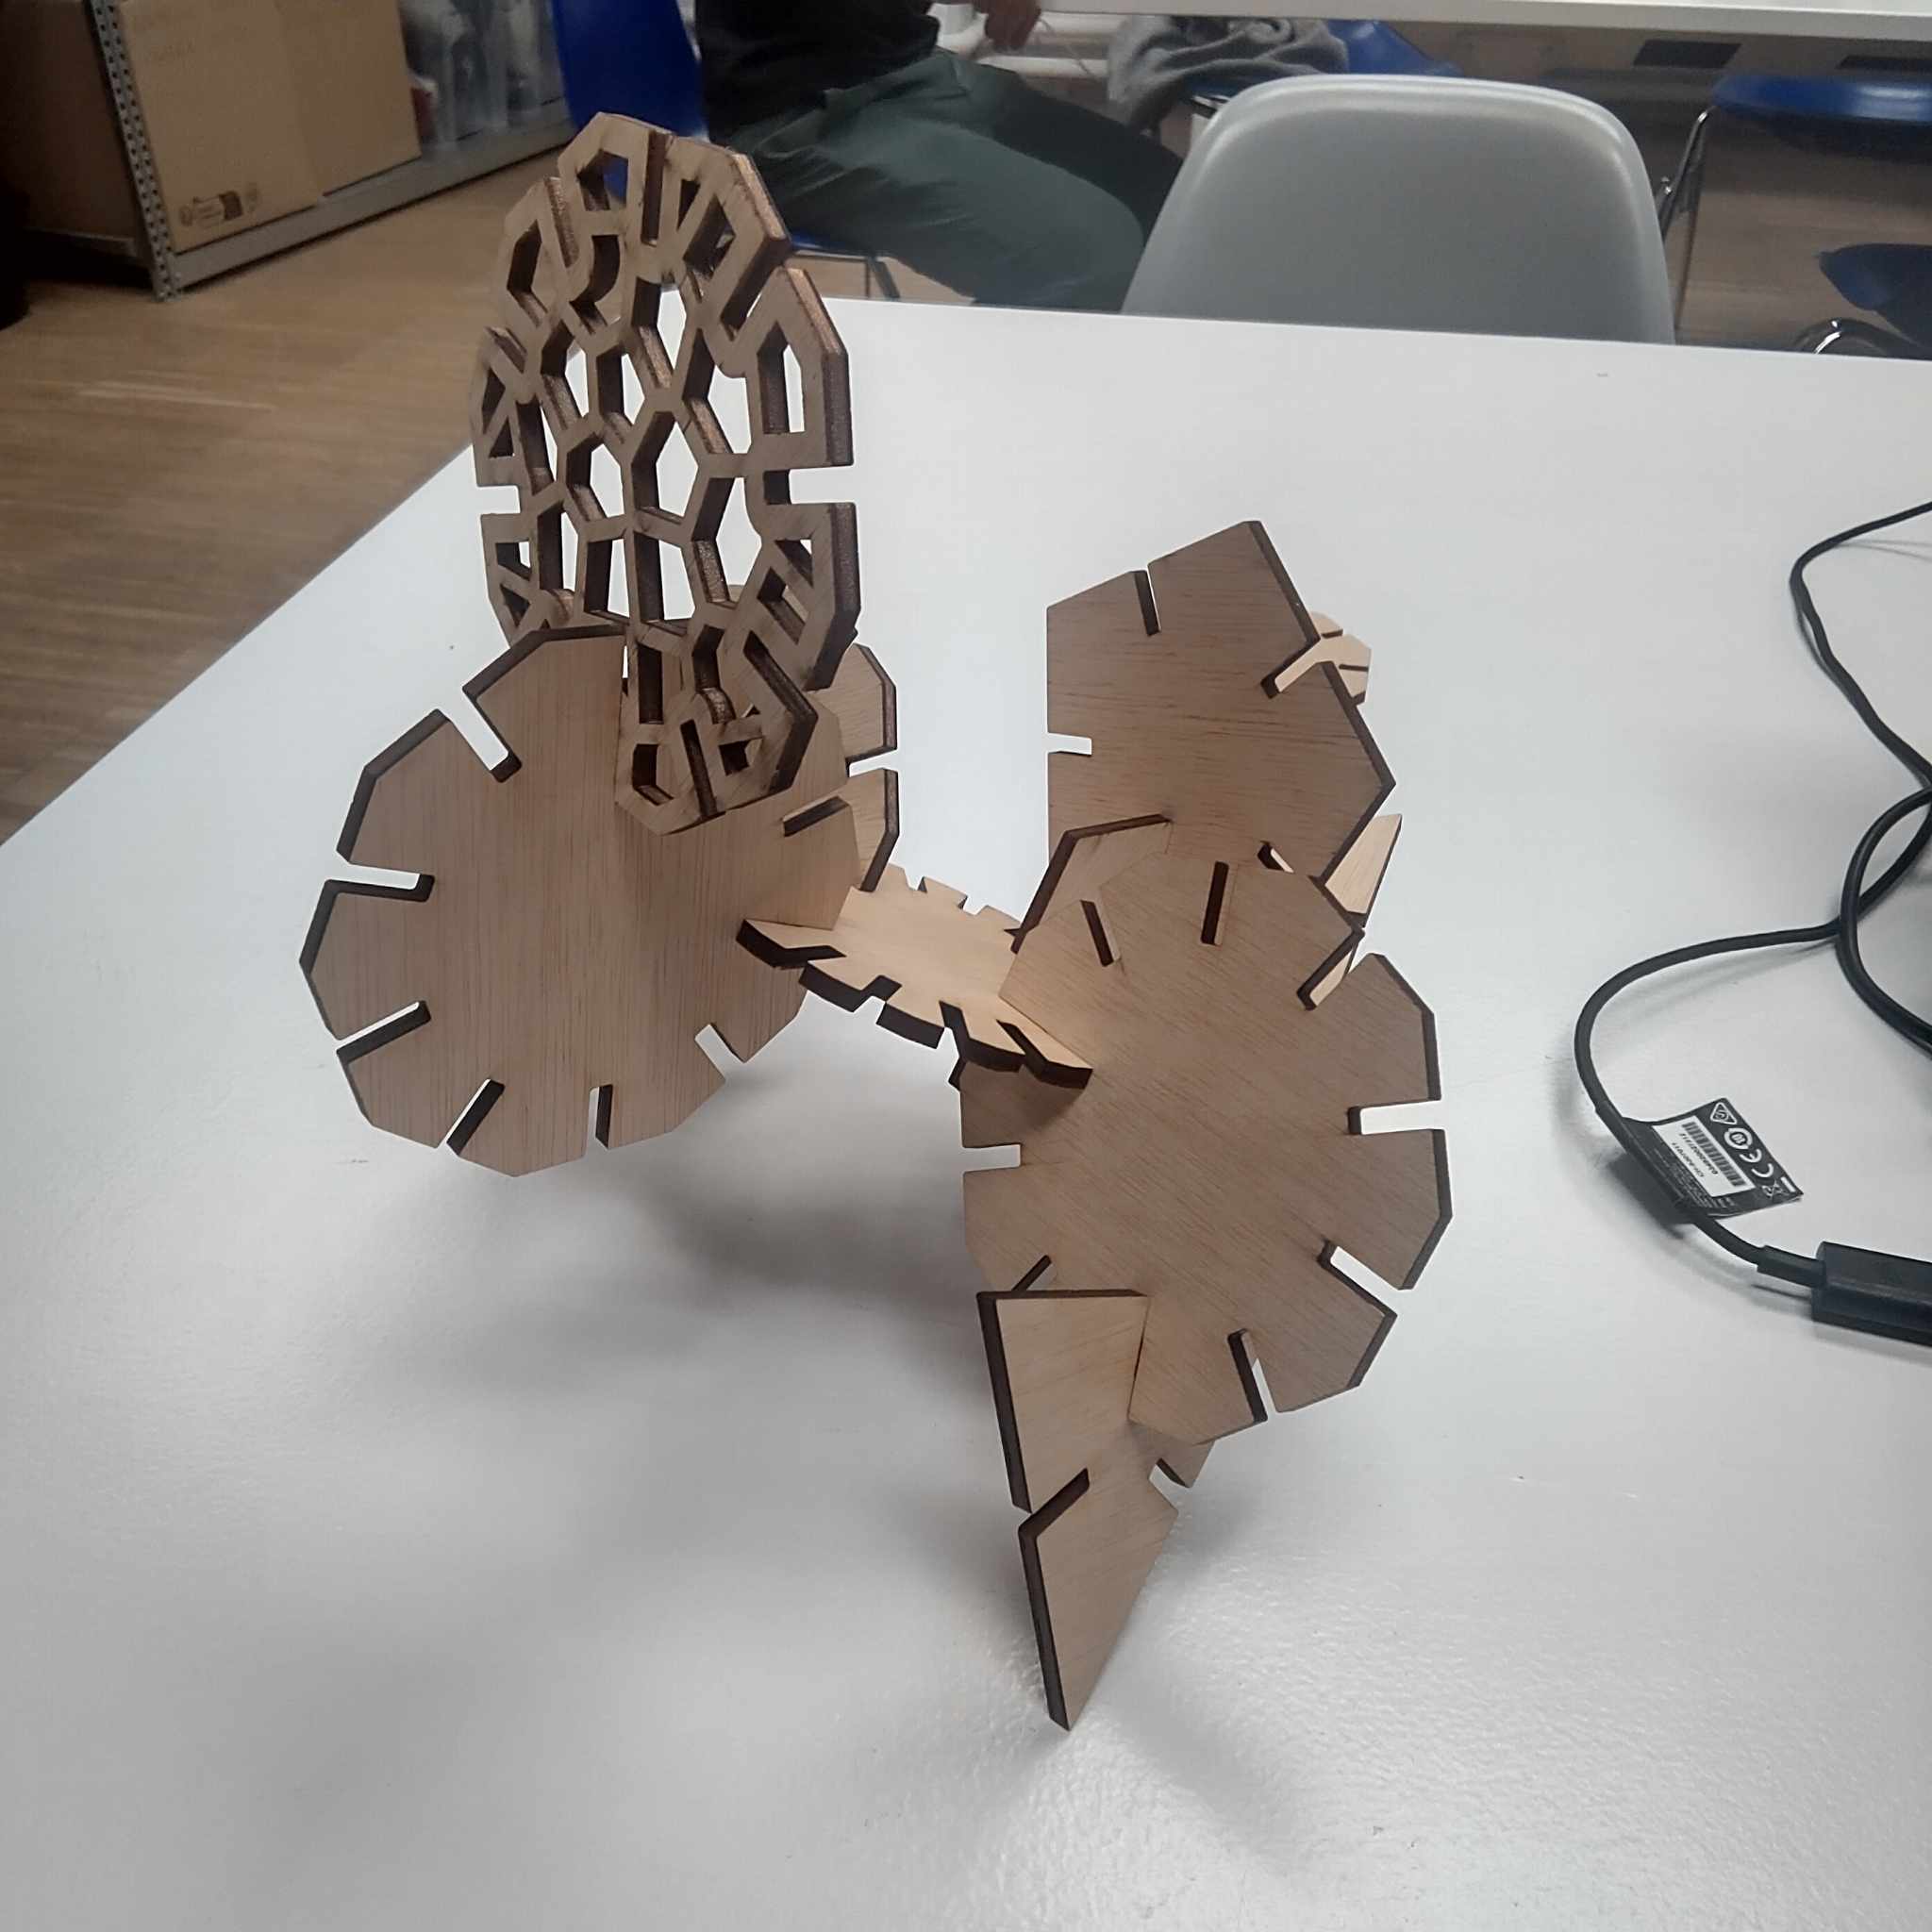
This has the benefit of greatly reducing the weight of a piece and also making it look pretty cool;
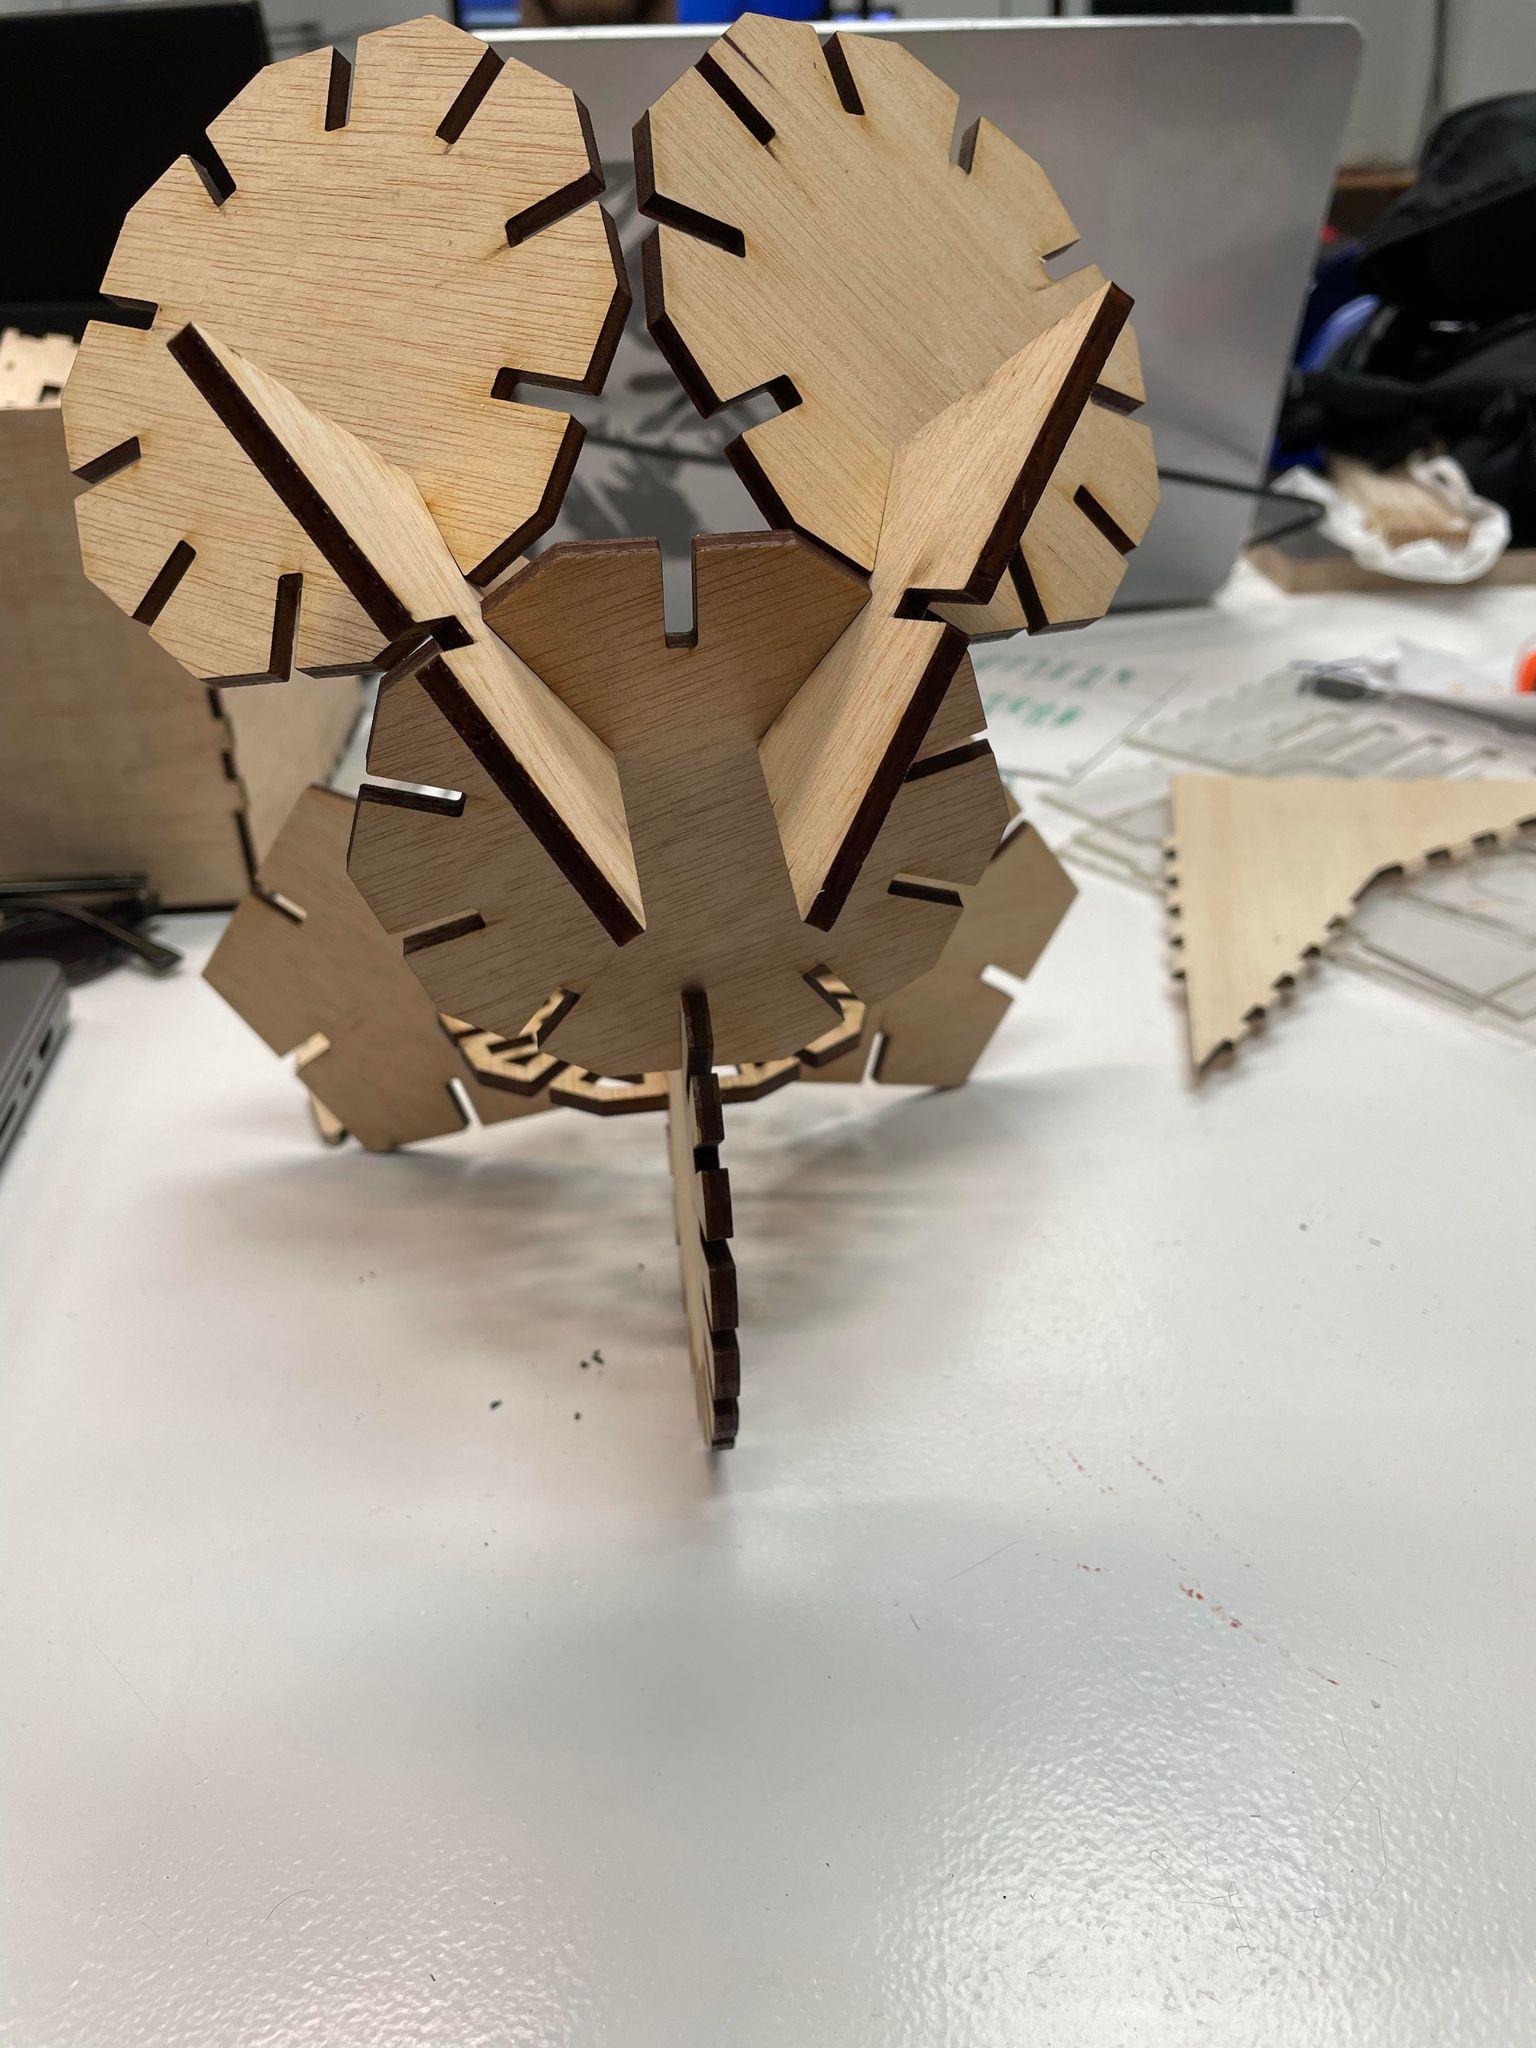
I then was able to fit my pieces all together and make a strange art-bird type of shape!
And a mickey mouse sculpture !
Vinyl Cutting
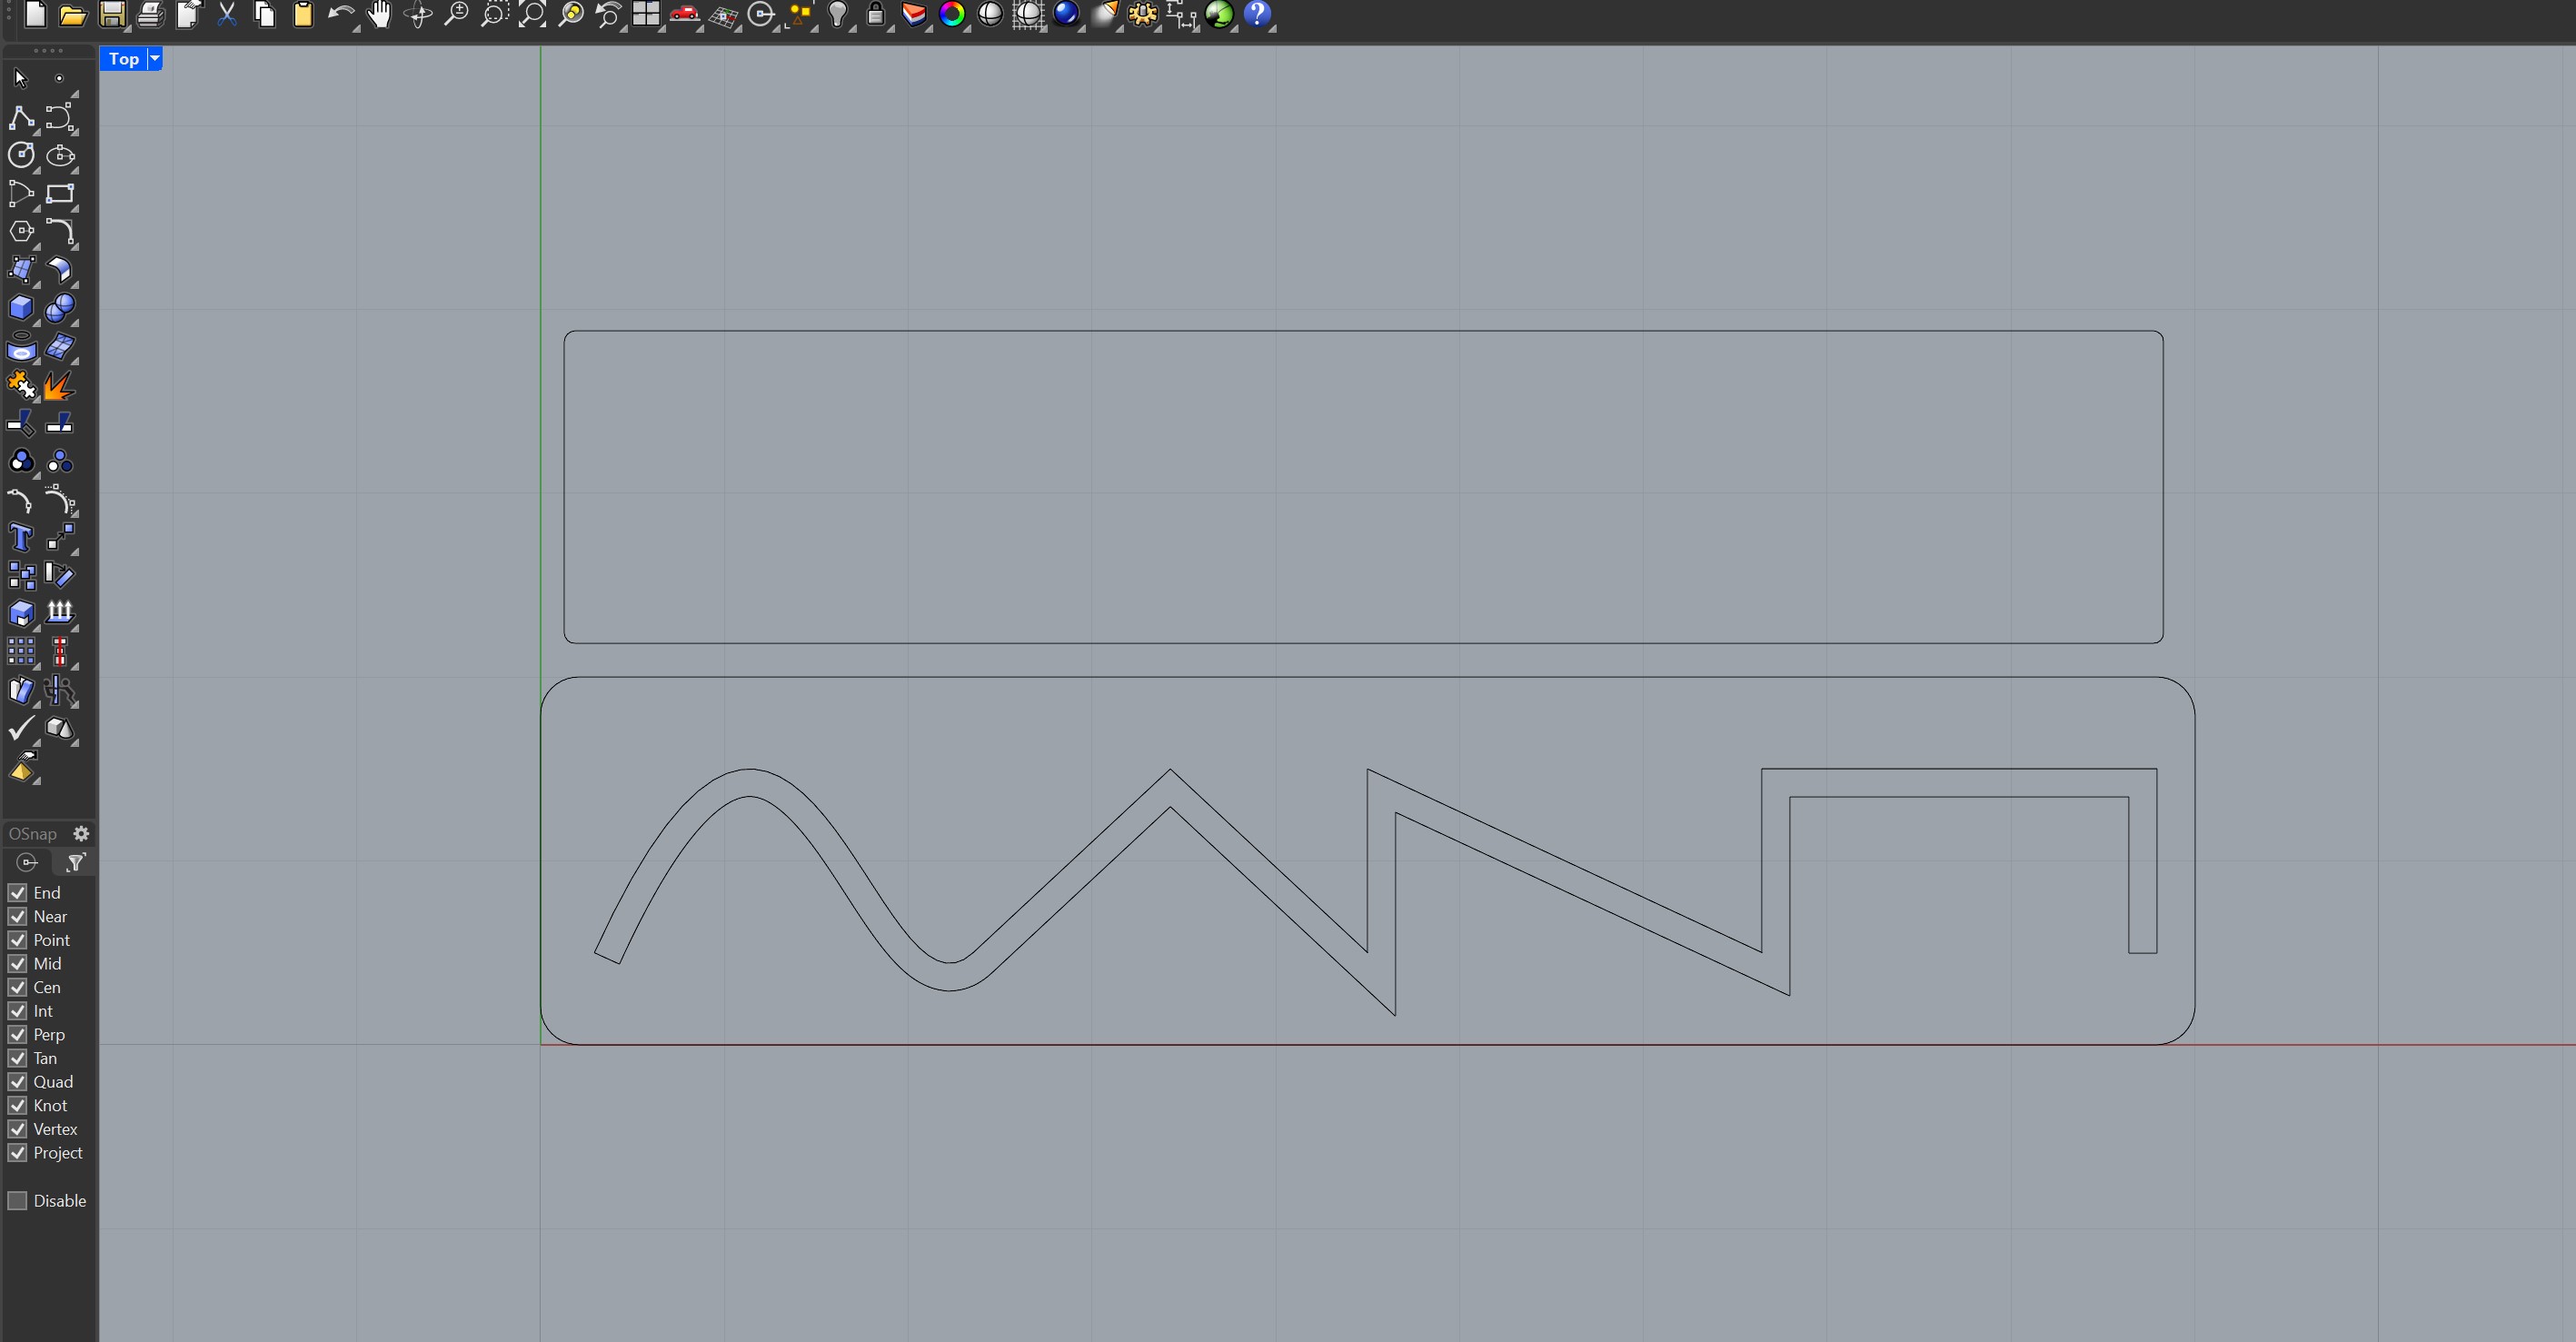
Here is the vinyl cutting design
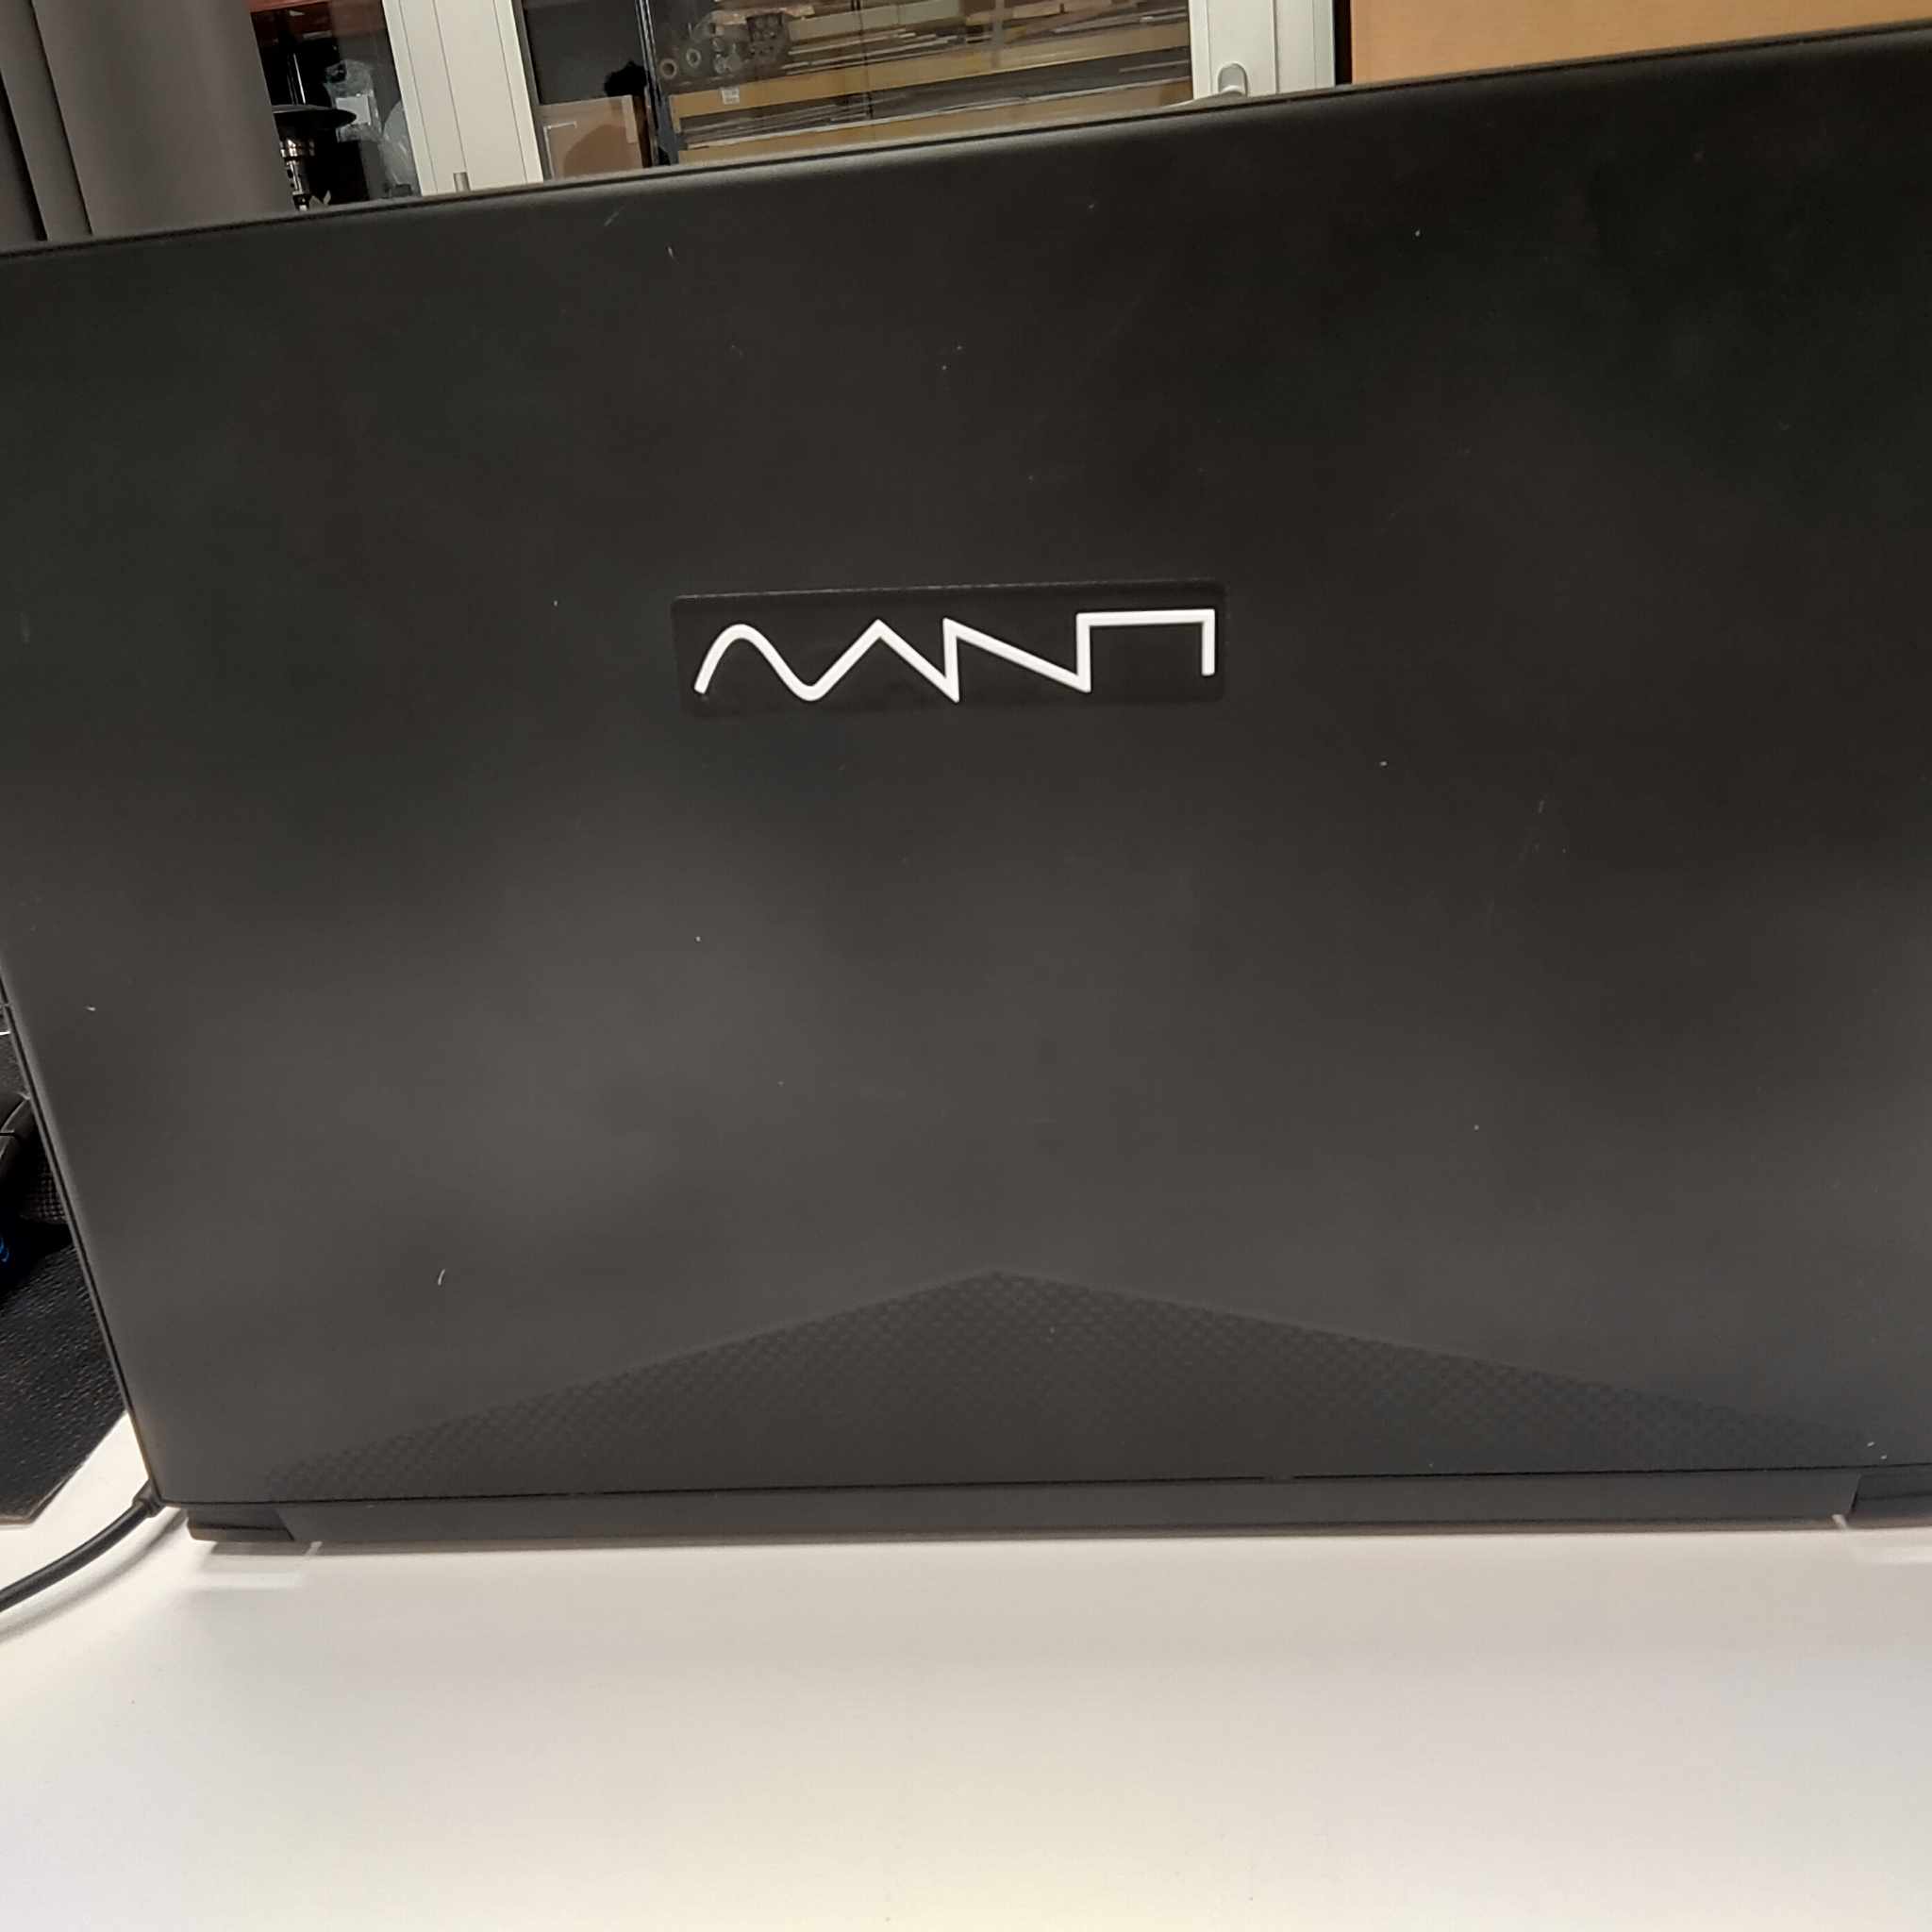
I wanted to make a vinyl design to cover my laptop's logo, and immediately thought of a design that would use the four basic waves of sound synthesis, sine, triangle, saw and square wave.
This was a very simple design in Rhino, and ended up looking like this
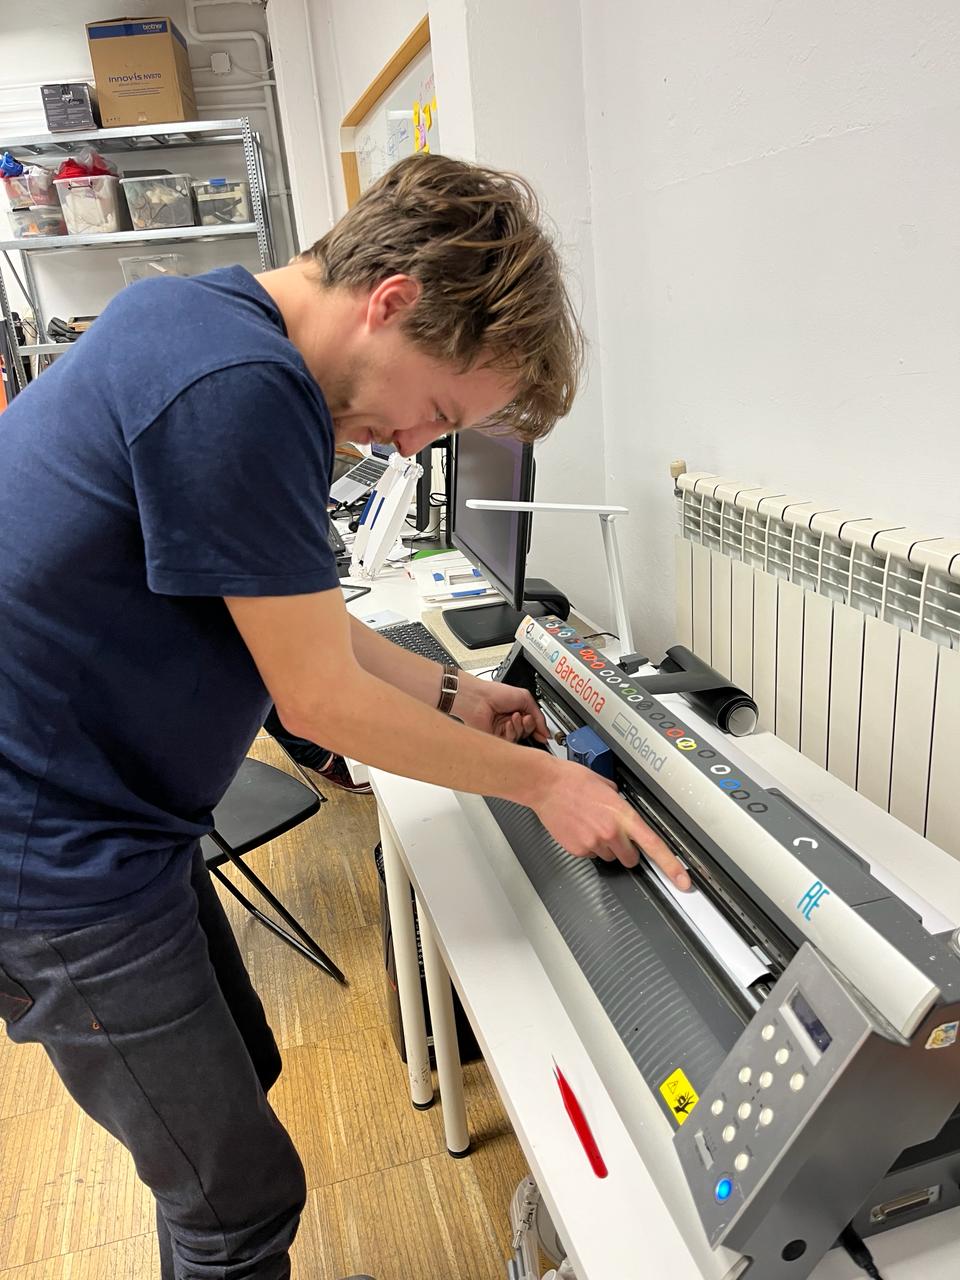
I then used the Roland Camm-1 vinyl cutter to cut it out. I cut the design with a black roll and added a white background with another roll of vinyl.
I initially had some trouble as the vinyl cutting machine was defaulting the print space to the end of the roll (top of the print window), and would go through the entire roll to get to the end.
I moved the print to the beginning of the roll (bottom of the print window) and was able to cut perfectly well.
The final piece now is on my laptop, looking like this:
Chess Board!
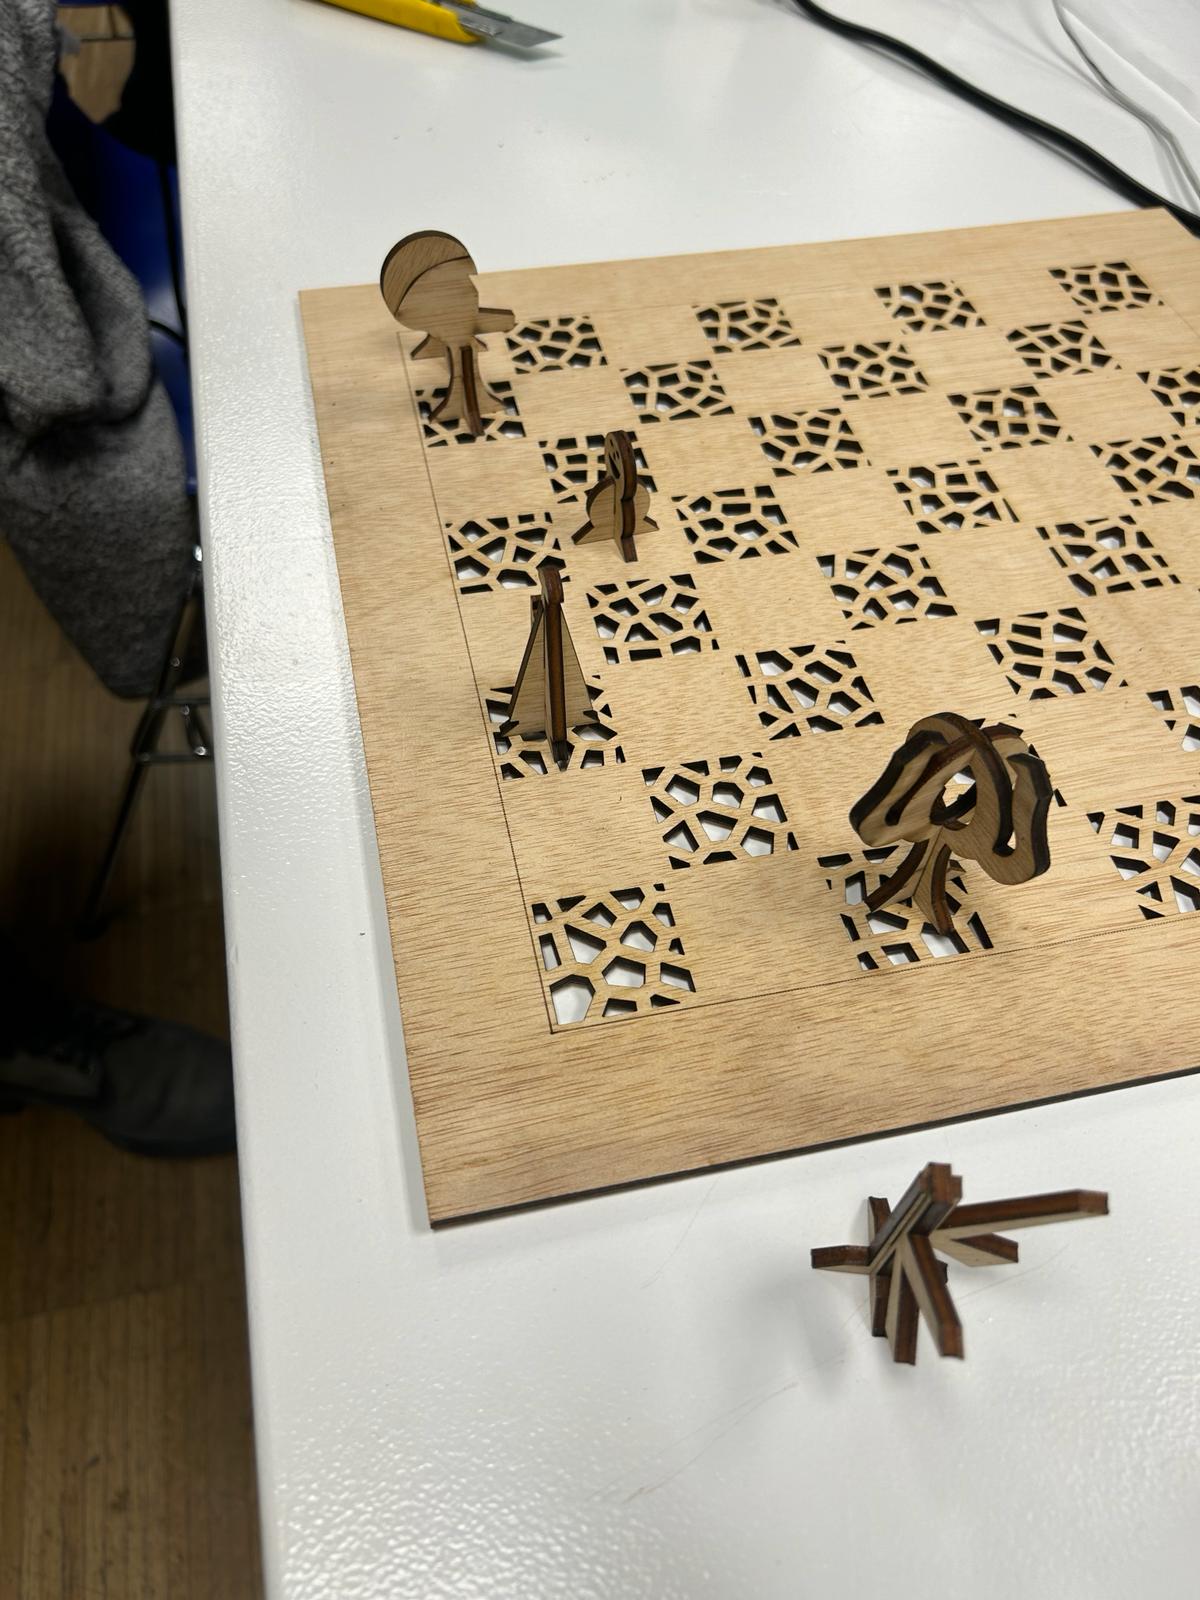
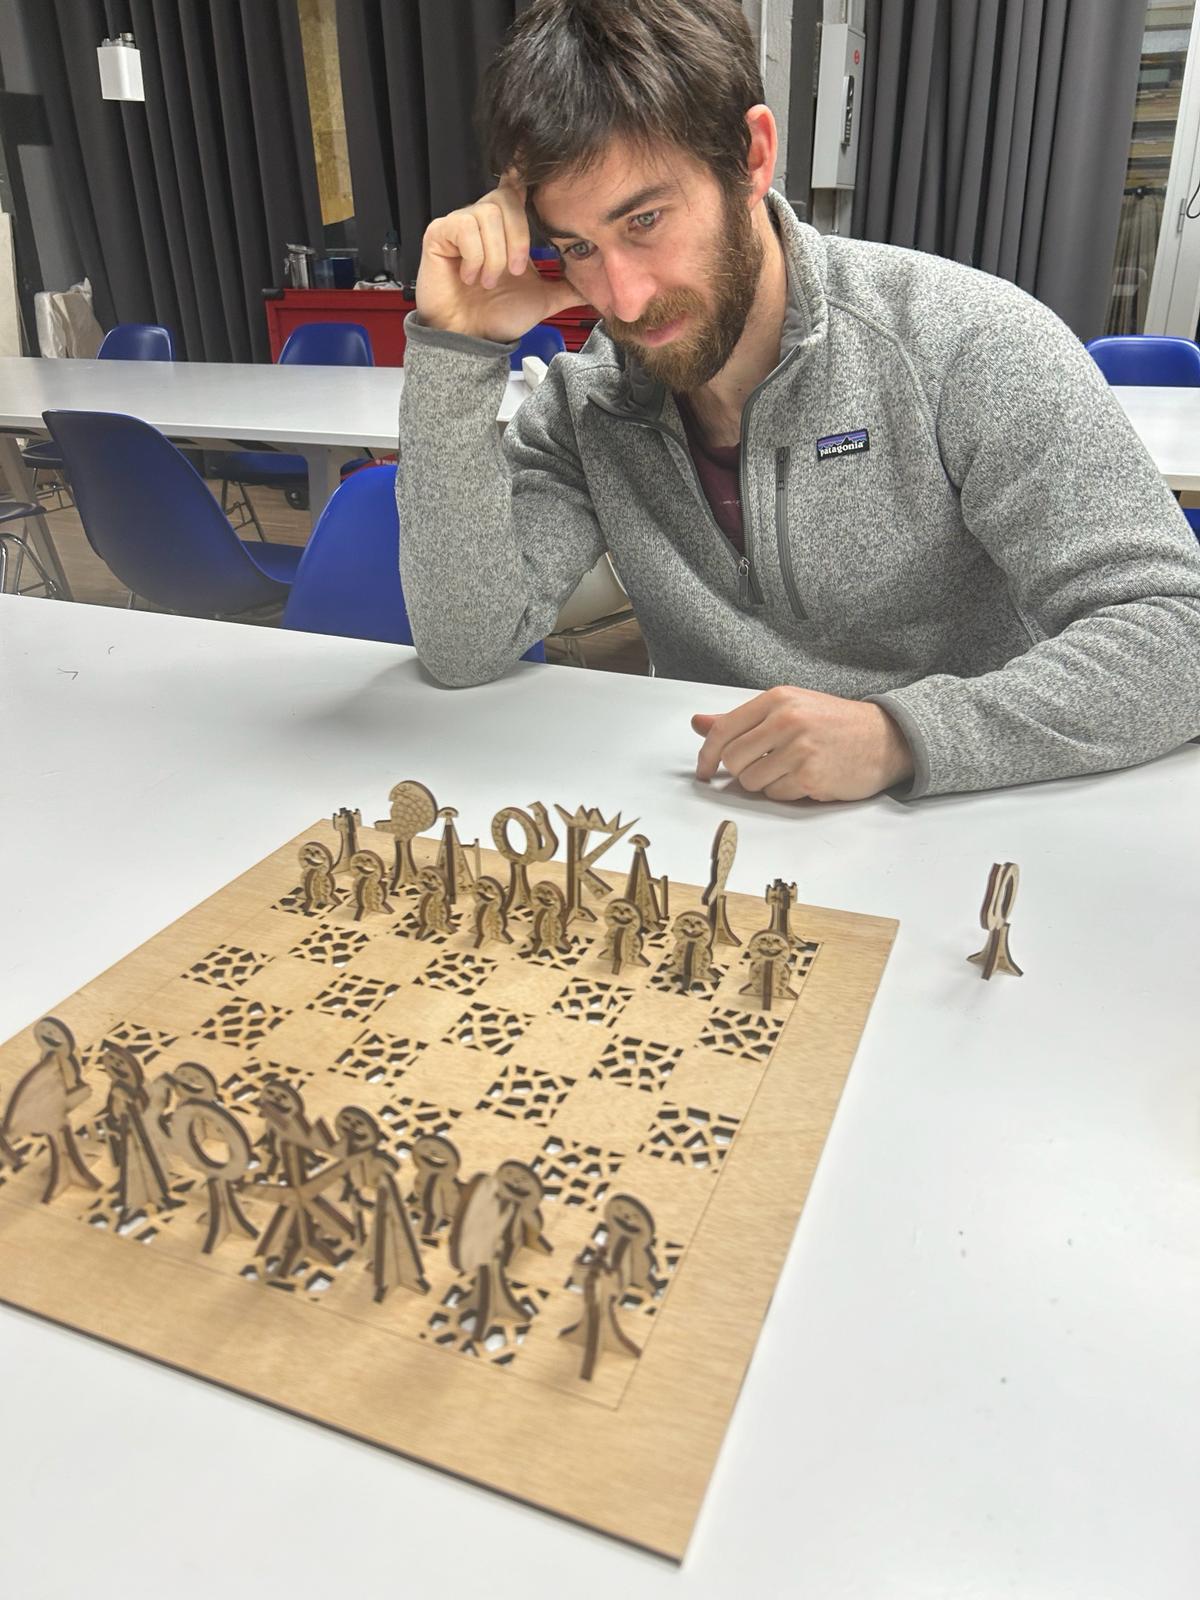
With Tony we wanted to make a chessboard and chess pieces on the last day.
We made the chessboard parametrically, you can find the Grasshopper script here
We made a Voronoi pattern to distinguish the black squares from the white ones.
We then designed the pieces and laser cut them.
Here are some photos of the final result!
 In order to begin modelling parametrically, I had to decide on a parametric 3D software. I wanted to use Grasshopper as I was already starting to be familiar with Rhino. I followed this tutorial in order to get more comfortable with using Grasshopper.
I decided to create some very basic pieces, polygons with slits so they could be attached together.
In order to begin modelling parametrically, I had to decide on a parametric 3D software. I wanted to use Grasshopper as I was already starting to be familiar with Rhino. I followed this tutorial in order to get more comfortable with using Grasshopper.
I decided to create some very basic pieces, polygons with slits so they could be attached together.
 I can then build rectangles on these planes, with a width of 4.1mm (the thickness of my plywood material accounting for laser kerf).
I then merged the polygon with the rectangles, and use the solid difference node to give me the final polygon-shaped cutout, which I can then explode and join the segments together to make a polygon cutout with rectangular slits.
I can then fillet the final shape to make it smoother and ready for laser cutting!
I can then build rectangles on these planes, with a width of 4.1mm (the thickness of my plywood material accounting for laser kerf).
I then merged the polygon with the rectangles, and use the solid difference node to give me the final polygon-shaped cutout, which I can then explode and join the segments together to make a polygon cutout with rectangular slits.
I can then fillet the final shape to make it smoother and ready for laser cutting!
 I was then able to start the laser cutting process!
 When cutting, I tried to nest all the pieces so as to use as little material as possible.
 I used the following settings for laser cutting plywood.
Laser cutting was as simple as sending the Rhino file to the computers in the laser cutting room and opening it over there, then printing it through Rhino.
This then opened the laser cutting software automatically (Trotec software in this case), and allowed me to position the piece and choose the settings.
I used the following settings for laser cutting plywood.
Laser cutting was as simple as sending the Rhino file to the computers in the laser cutting room and opening it over there, then printing it through Rhino.
This then opened the laser cutting software automatically (Trotec software in this case), and allowed me to position the piece and choose the settings.
 Power : 75
Speed : 0,5
Frequency : 1000hz
Here is a short video of the cutting process:
Once I had these pieces cut, I was done with the laser-cutting! But I wanted to do more...
I decided to add some Voronoi designs to it, and started by watching this tutorial.
Voronoi patterns are created from a collection of points in space, by making a perpendicular line at the midpoints between each point, and separating each resulting "cell" from those resulting lines.
I made the voronoi pattern fit into a polygon, while leaving an offset and also offsetting the cells so I could laser cut it.
Power : 75
Speed : 0,5
Frequency : 1000hz
Here is a short video of the cutting process:
Once I had these pieces cut, I was done with the laser-cutting! But I wanted to do more...
I decided to add some Voronoi designs to it, and started by watching this tutorial.
Voronoi patterns are created from a collection of points in space, by making a perpendicular line at the midpoints between each point, and separating each resulting "cell" from those resulting lines.
I made the voronoi pattern fit into a polygon, while leaving an offset and also offsetting the cells so I could laser cut it.
 This has the benefit of greatly reducing the weight of a piece and also making it look pretty cool;
I then was able to fit my pieces all together and make a strange art-bird type of shape!
This has the benefit of greatly reducing the weight of a piece and also making it look pretty cool;
I then was able to fit my pieces all together and make a strange art-bird type of shape!
 And a mickey mouse sculpture !
 I then used the Roland Camm-1 vinyl cutter to cut it out. I cut the design with a black roll and added a white background with another roll of vinyl.
I initially had some trouble as the vinyl cutting machine was defaulting the print space to the end of the roll (top of the print window), and would go through the entire roll to get to the end.
I then used the Roland Camm-1 vinyl cutter to cut it out. I cut the design with a black roll and added a white background with another roll of vinyl.
I initially had some trouble as the vinyl cutting machine was defaulting the print space to the end of the roll (top of the print window), and would go through the entire roll to get to the end.
 I moved the print to the beginning of the roll (bottom of the print window) and was able to cut perfectly well.
The final piece now is on my laptop, looking like this:
I moved the print to the beginning of the roll (bottom of the print window) and was able to cut perfectly well.
The final piece now is on my laptop, looking like this: