12. Molding & Casting
This week we worked on molding and casting, using a CNC machine to first cut a 3D shape into hard wax, then pouring in silicone to make the negative mold, and then casting something into the mold to make the final object.
Group Assignment
The group assignment for this week can be found here!
Idea and 3D design
The Rhino design file for the mold can be found here!
For this week, I was excited because it was one of the few weeks where I had 0 previous experience with the subject matter.
Going into it, I knew I wanted to make something useful, preferably from some kind of bio-material.
I chose to make potentiometer caps, as I expect my final project to require quite a few of those.
To do this, I started off designing the knobs by first taking the measure of a potentiometer and entering it into grasshopper.
I then designed a cap around it.
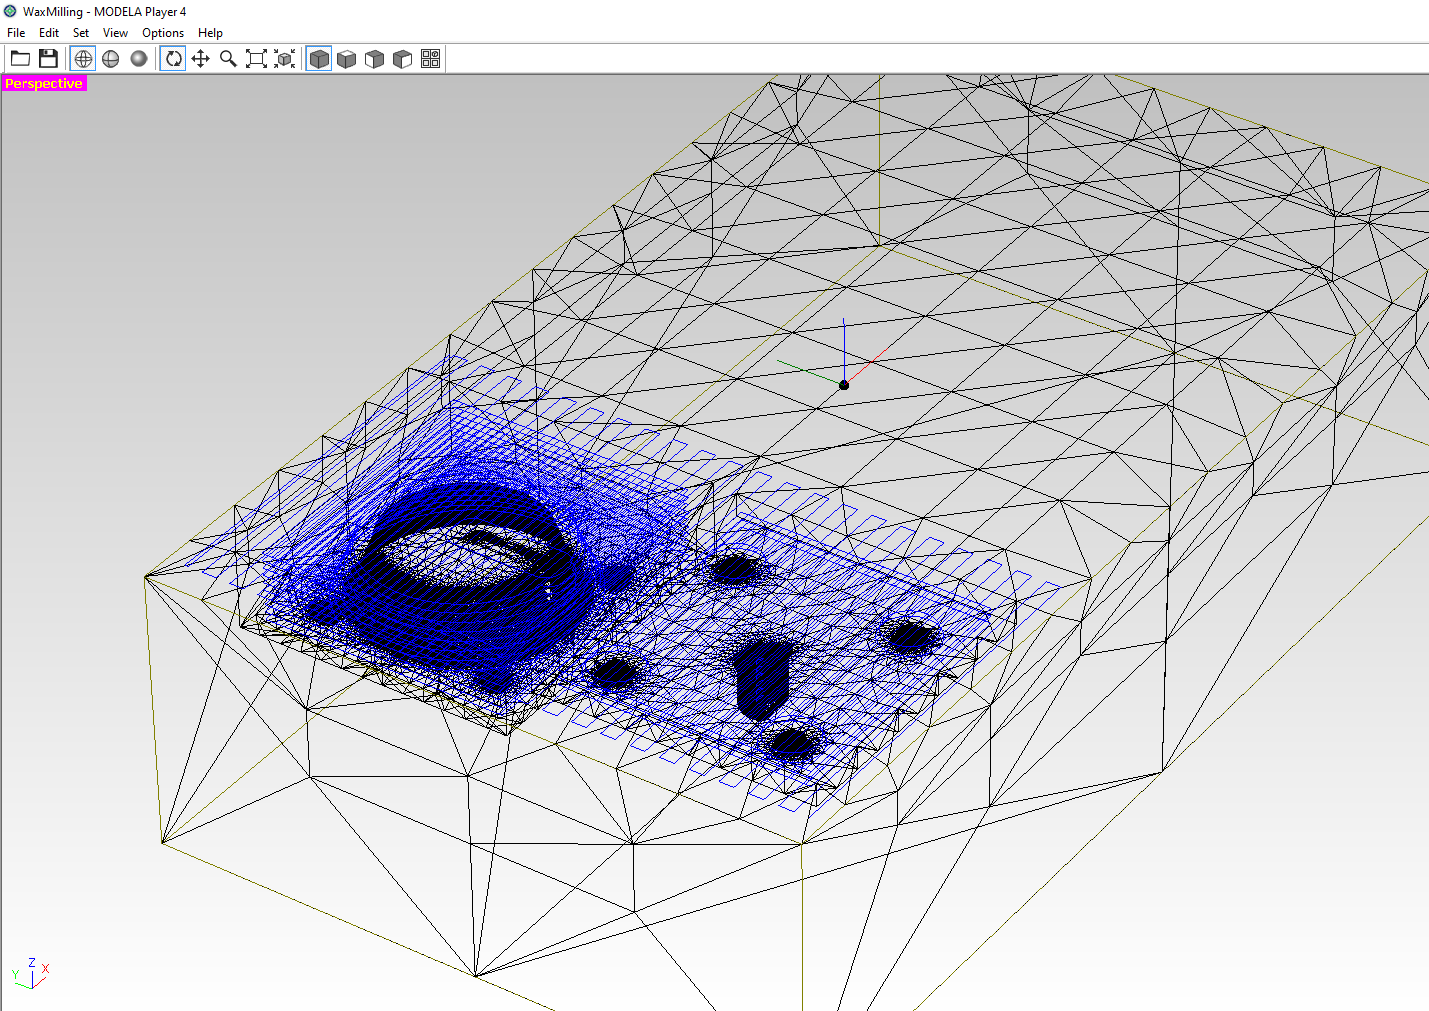
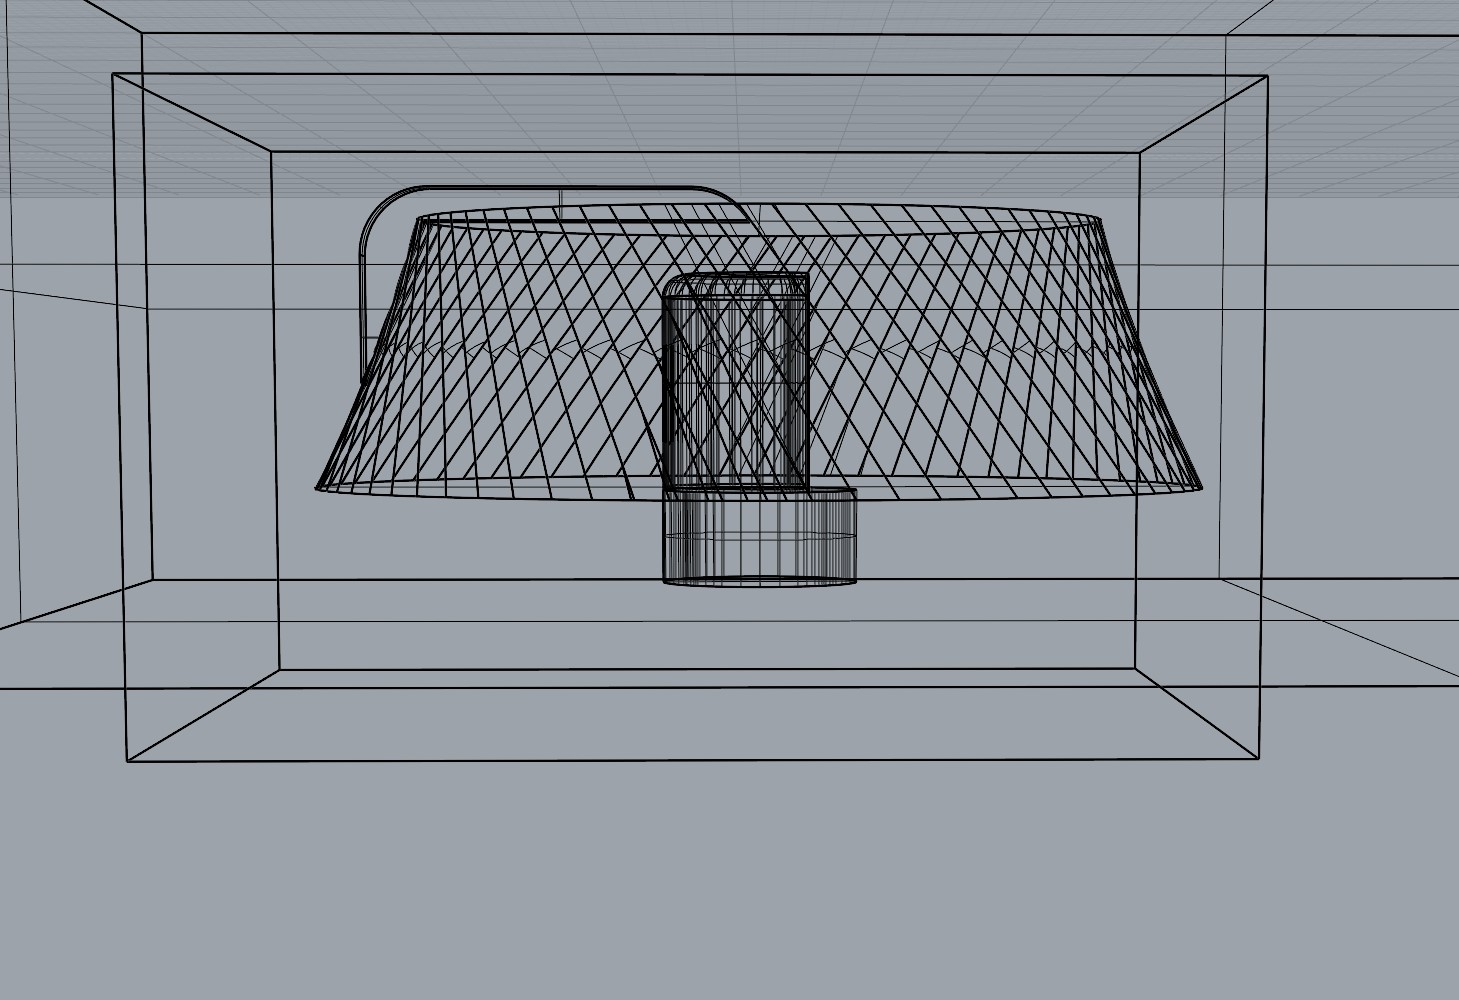 After that, I divided the cap into two parts (the knob "hole" part and the cap cover), and fit them into boxes.
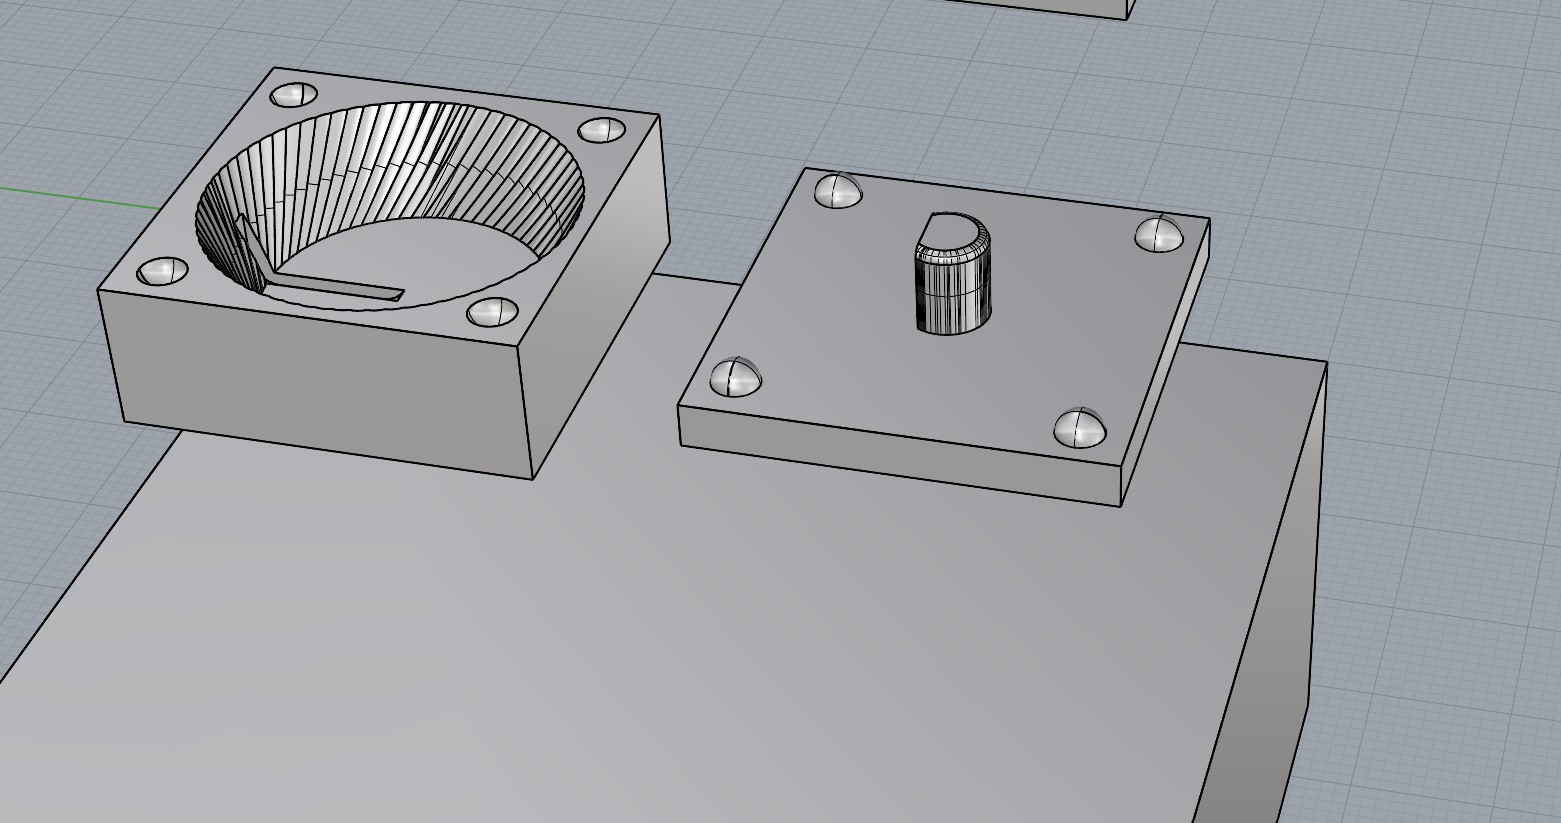 If you know anything about this topic, you'll immediately see these are backwards... I messed up during this process and had to go back and redo it.
In order for this to work, I had to first make a positive of the object in the wax, and not a negative as shown in the image above!
A simple boolean difference solved it!
If you know anything about this topic, you'll immediately see these are backwards... I messed up during this process and had to go back and redo it.
In order for this to work, I had to first make a positive of the object in the wax, and not a negative as shown in the image above!
A simple boolean difference solved it!
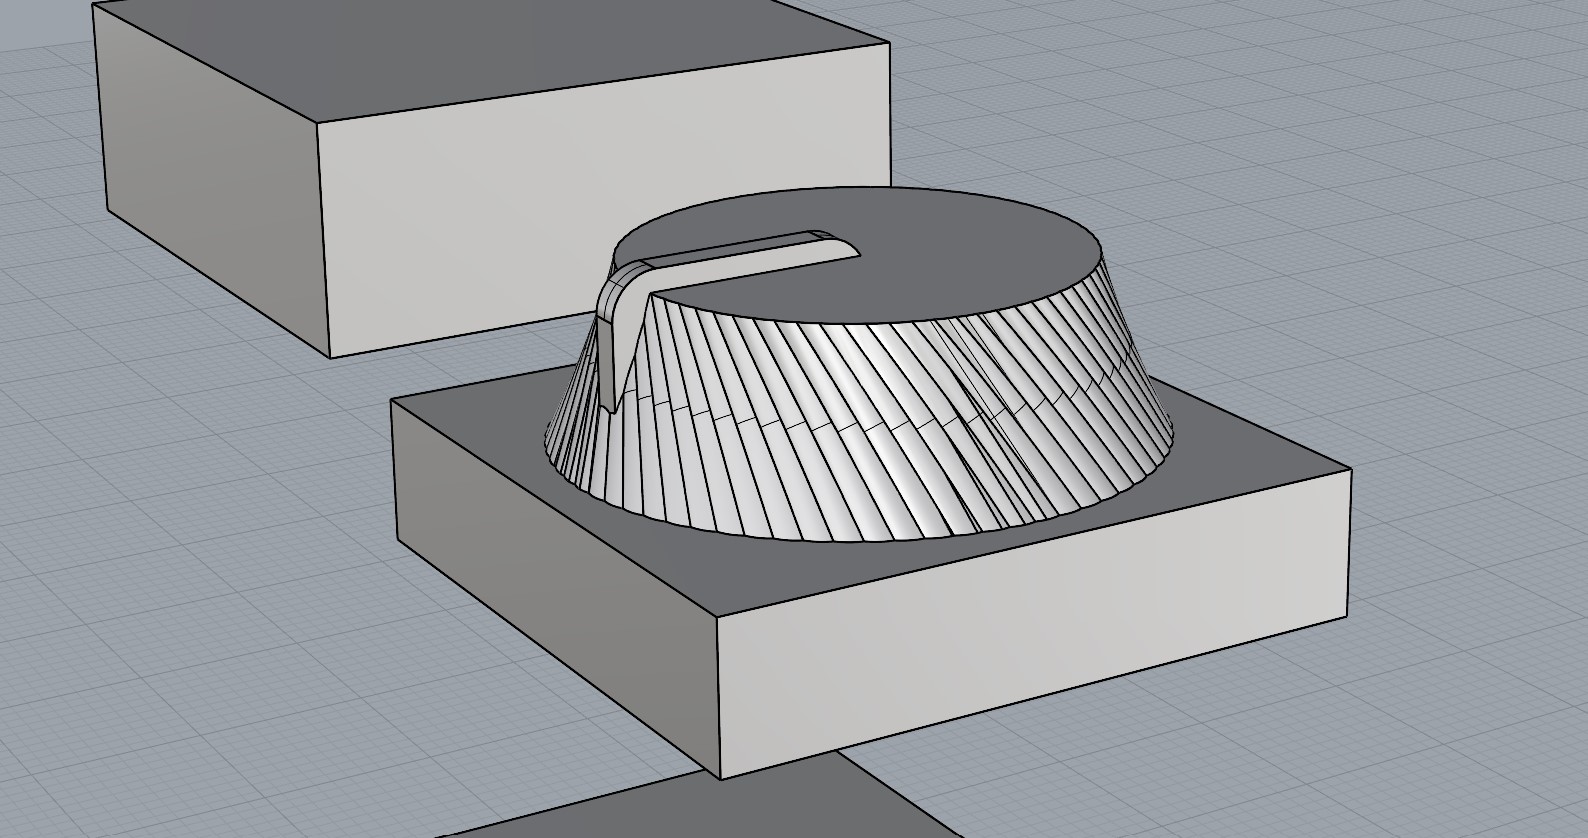 I was quite happy with this design as it meant I would not have any "injection point" or pouring spot, since I am splitting the cap at its base.
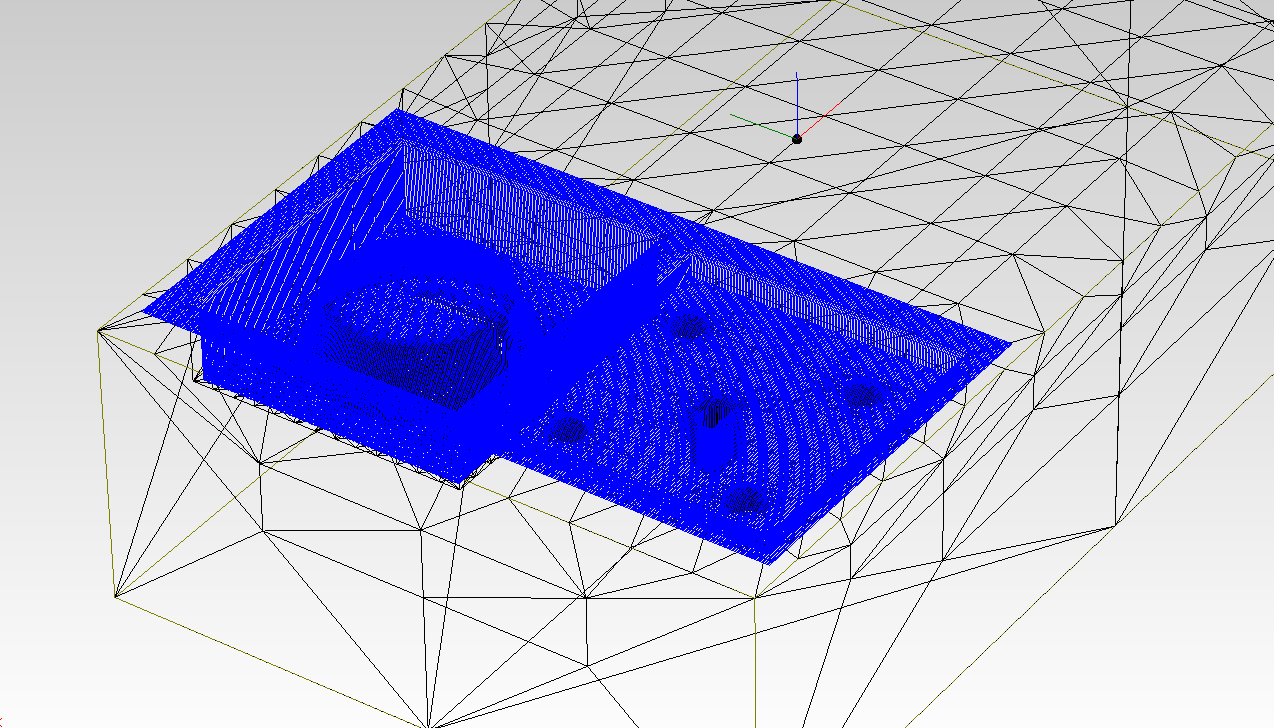
Once correctly oriented, I fit the boxes inside the bigger box that represented my hard wax.
I was quite happy with this design as it meant I would not have any "injection point" or pouring spot, since I am splitting the cap at its base.
Once correctly oriented, I fit the boxes inside the bigger box that represented my hard wax.
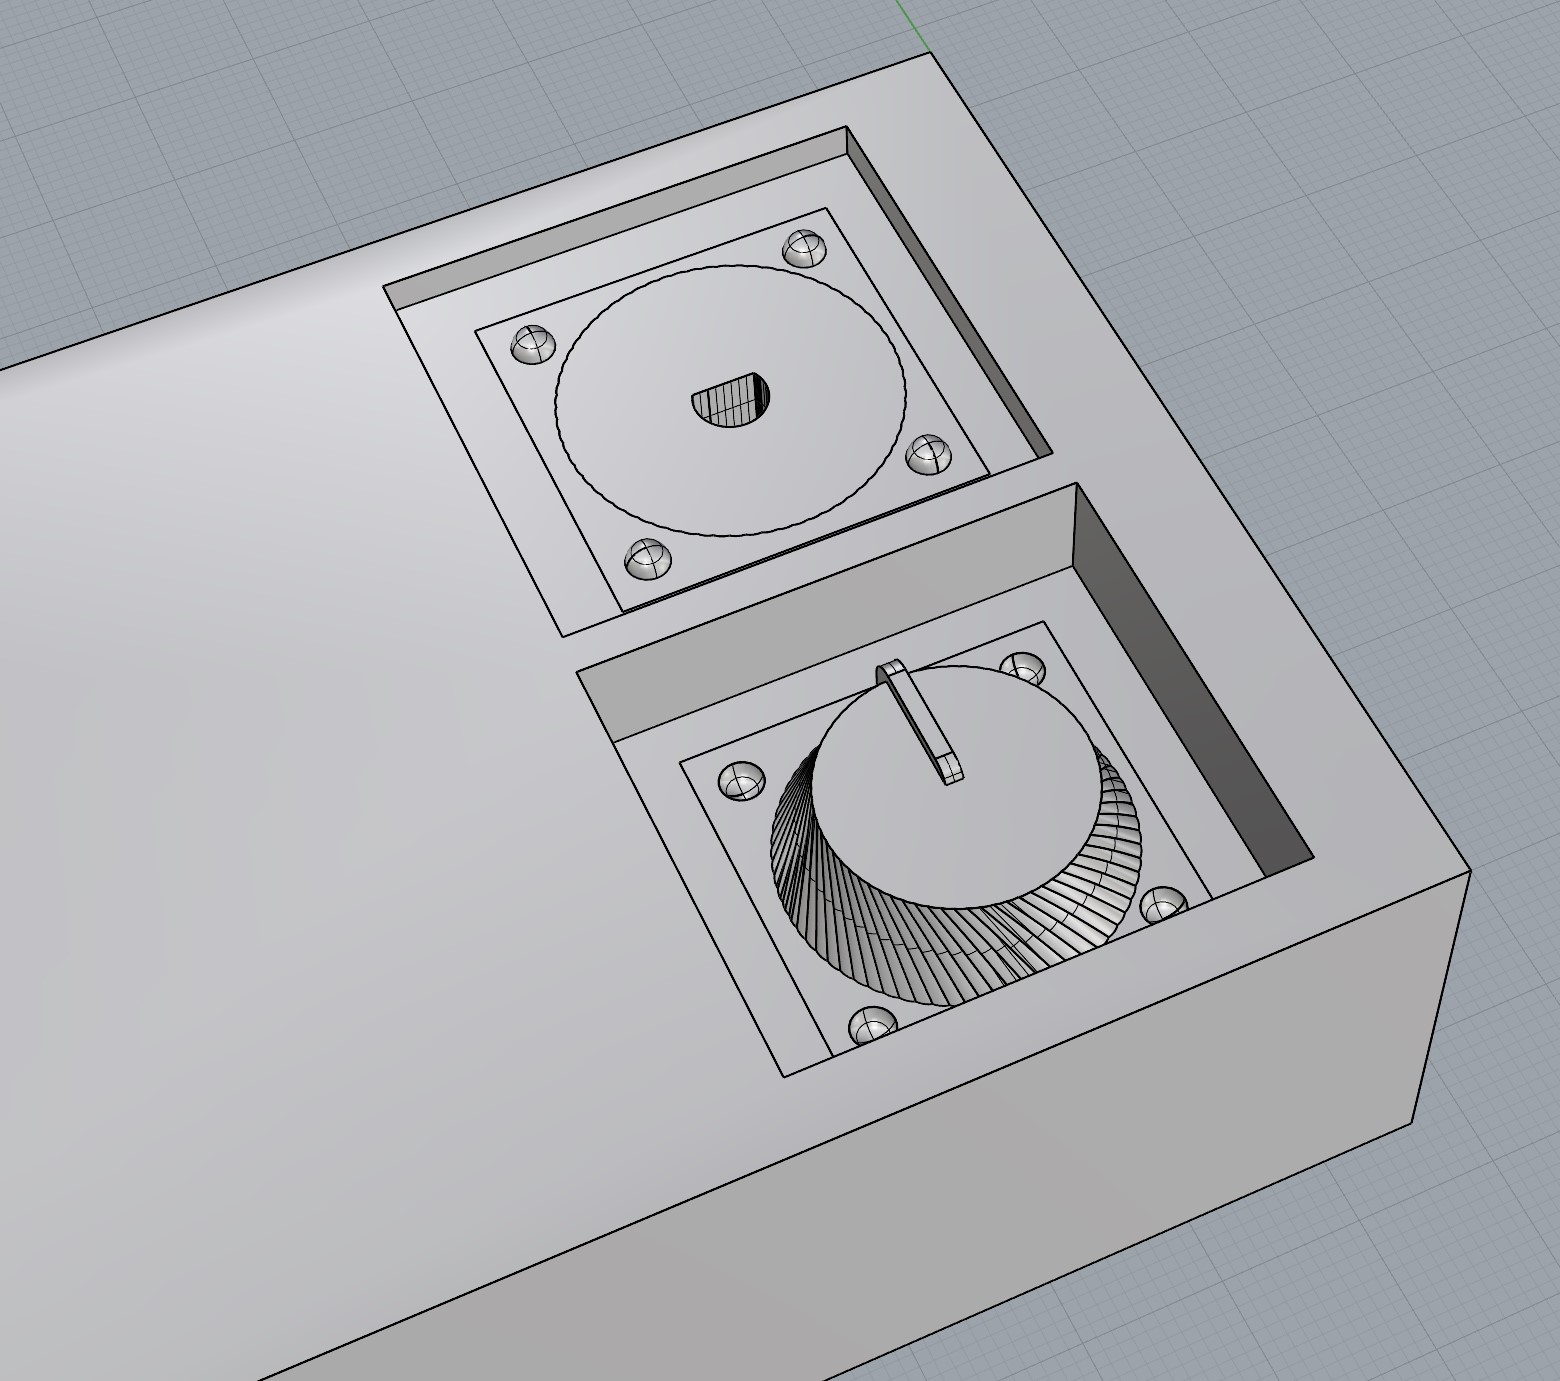 I was ready to go to the Modela 4 software to get the CNC milling ready!
Modela 4 and CNC machining
I moved on to the Modela 4 CNC software and set the parameters in order to 3D cut the hard wax.
 I then went to the CNC machine and cut my design.
To make the final cut more detailed, I decided to use a 1/8" flat endmill for the roughing and a 1/16" round endmill for the finishing.
I then went to the CNC machine and cut my design.
To make the final cut more detailed, I decided to use a 1/8" flat endmill for the roughing and a 1/16" round endmill for the finishing.
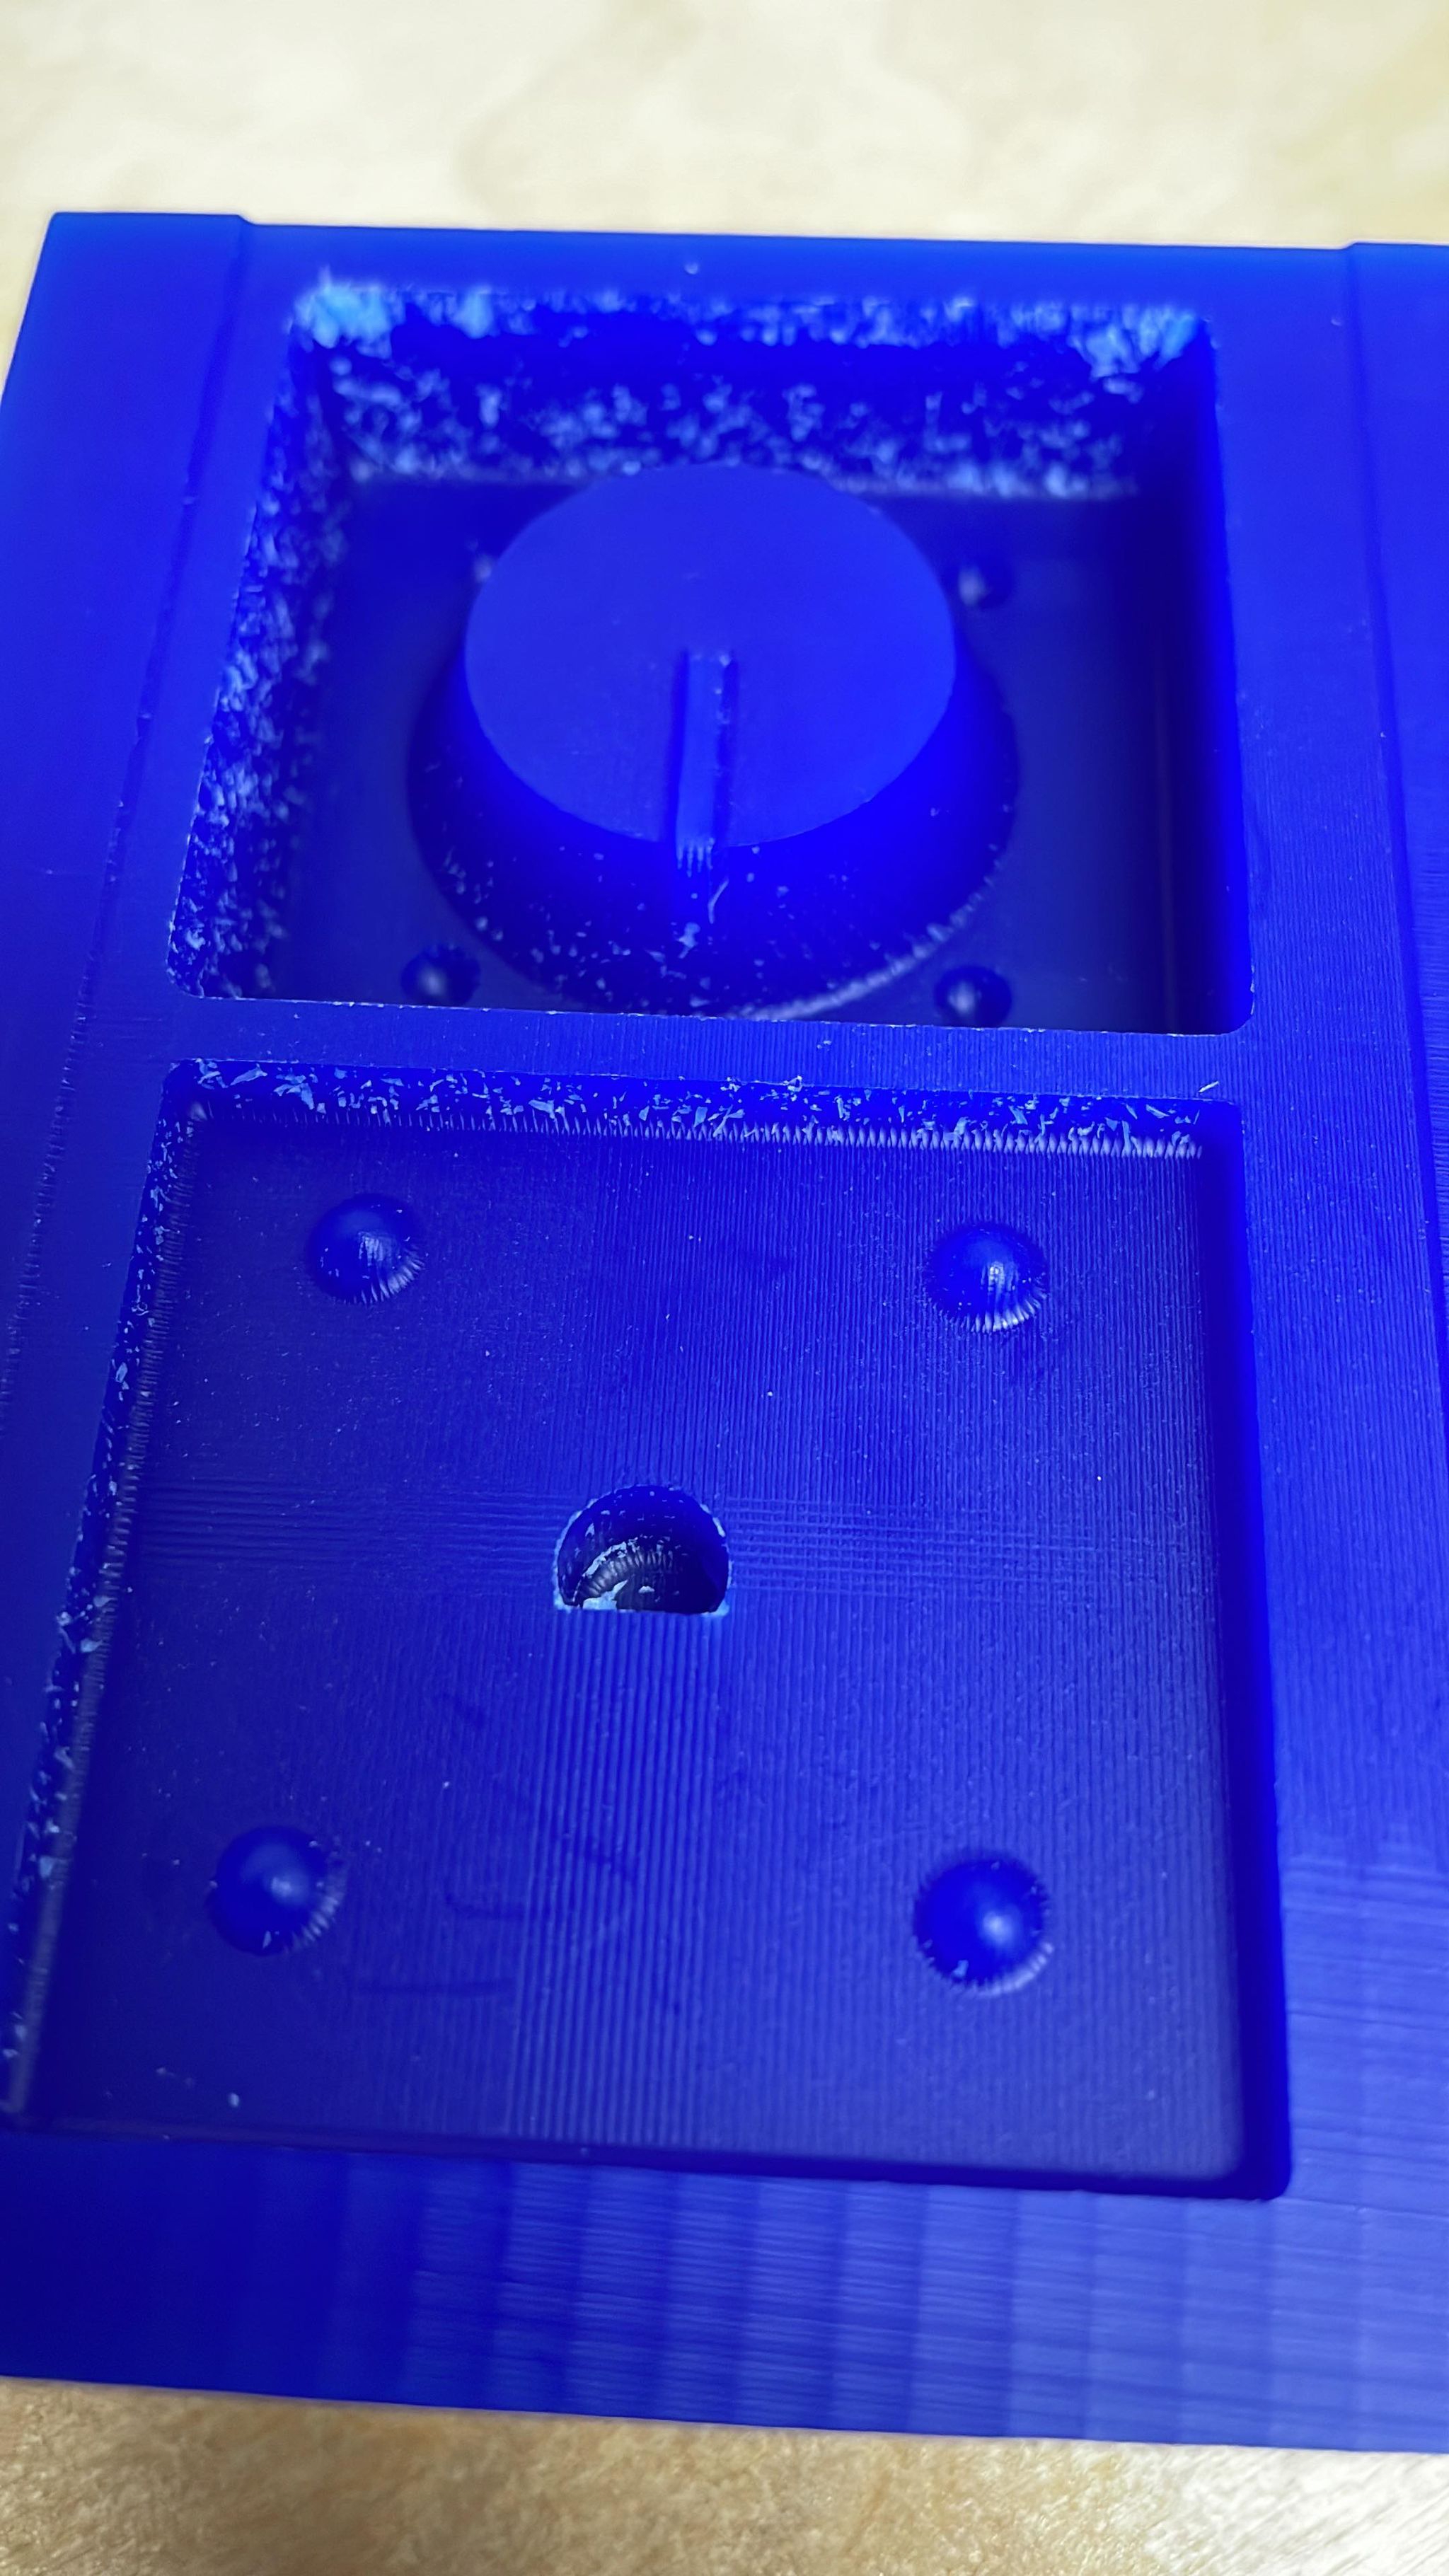
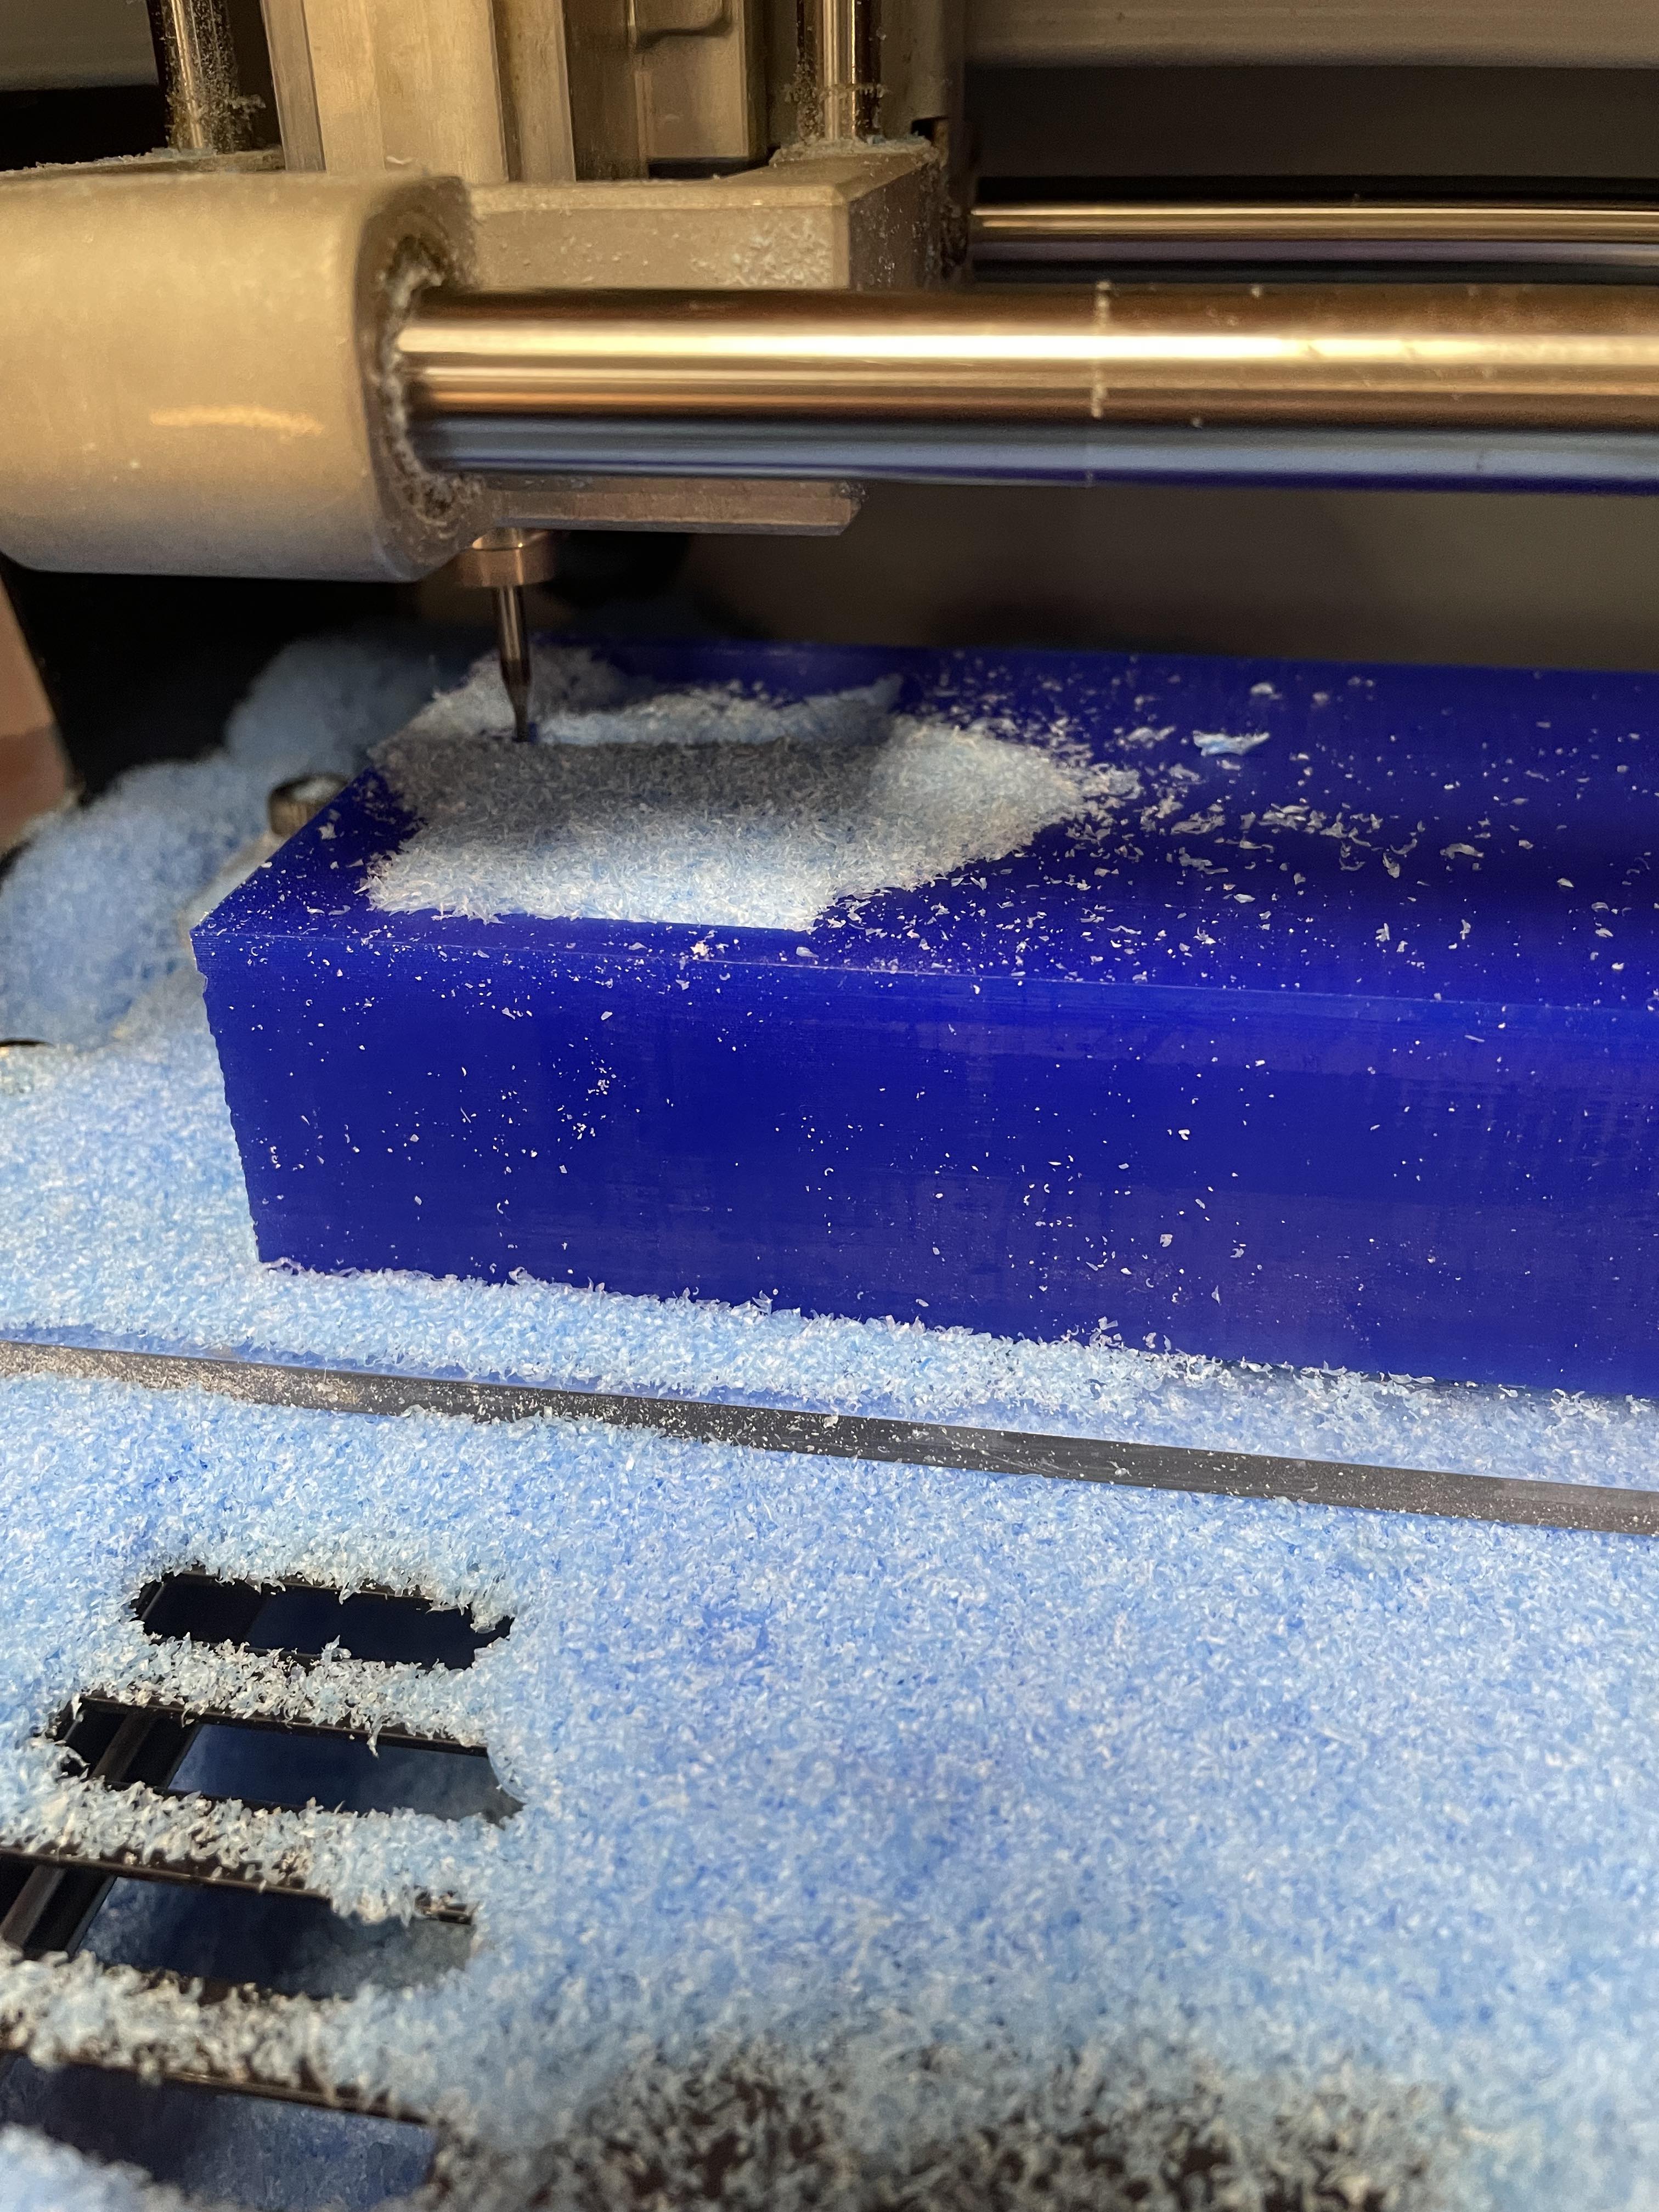 It came out very well, with all the little details included, even the curving lines I had added on the sides!
 Next, I went to the mixing room to mix the silicon for my mold! I decided to make two molds, one with softer silicon and one with a harder food-safe (pink!) silicon.
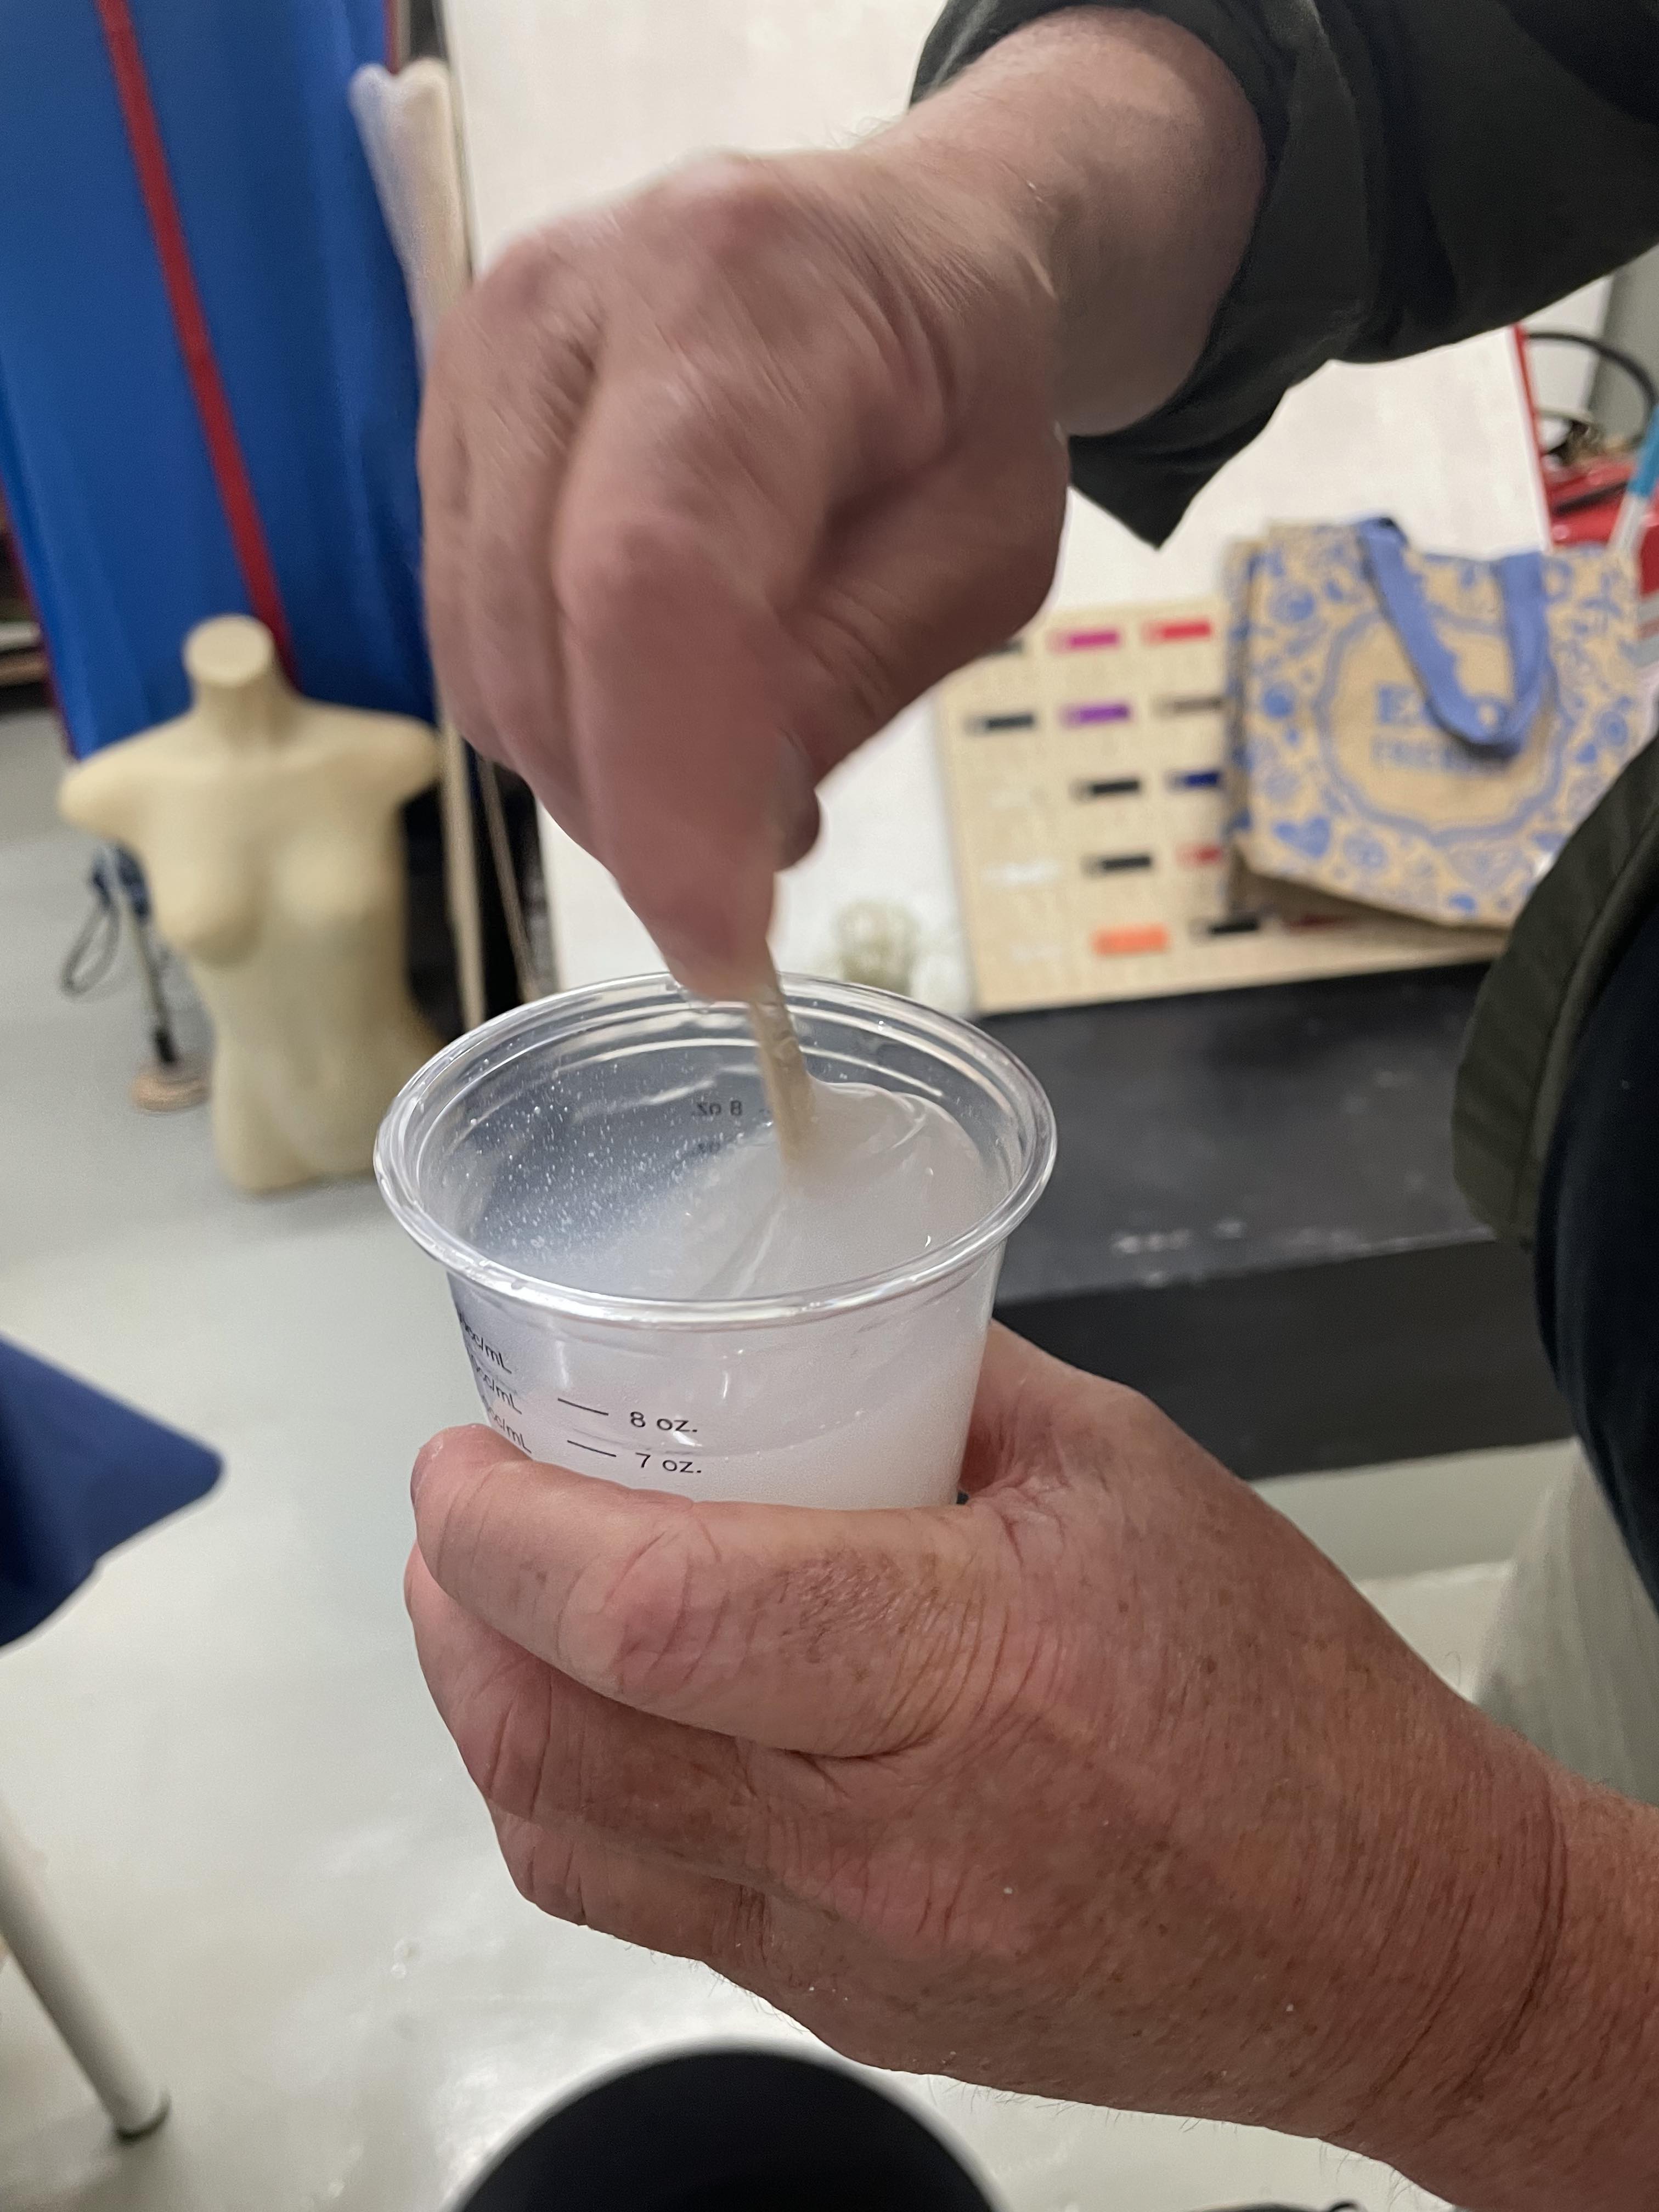 This silicon I used in the picture above is Easy Crystal, which mixes in a 1:1 ratio. The datasheet can be found here
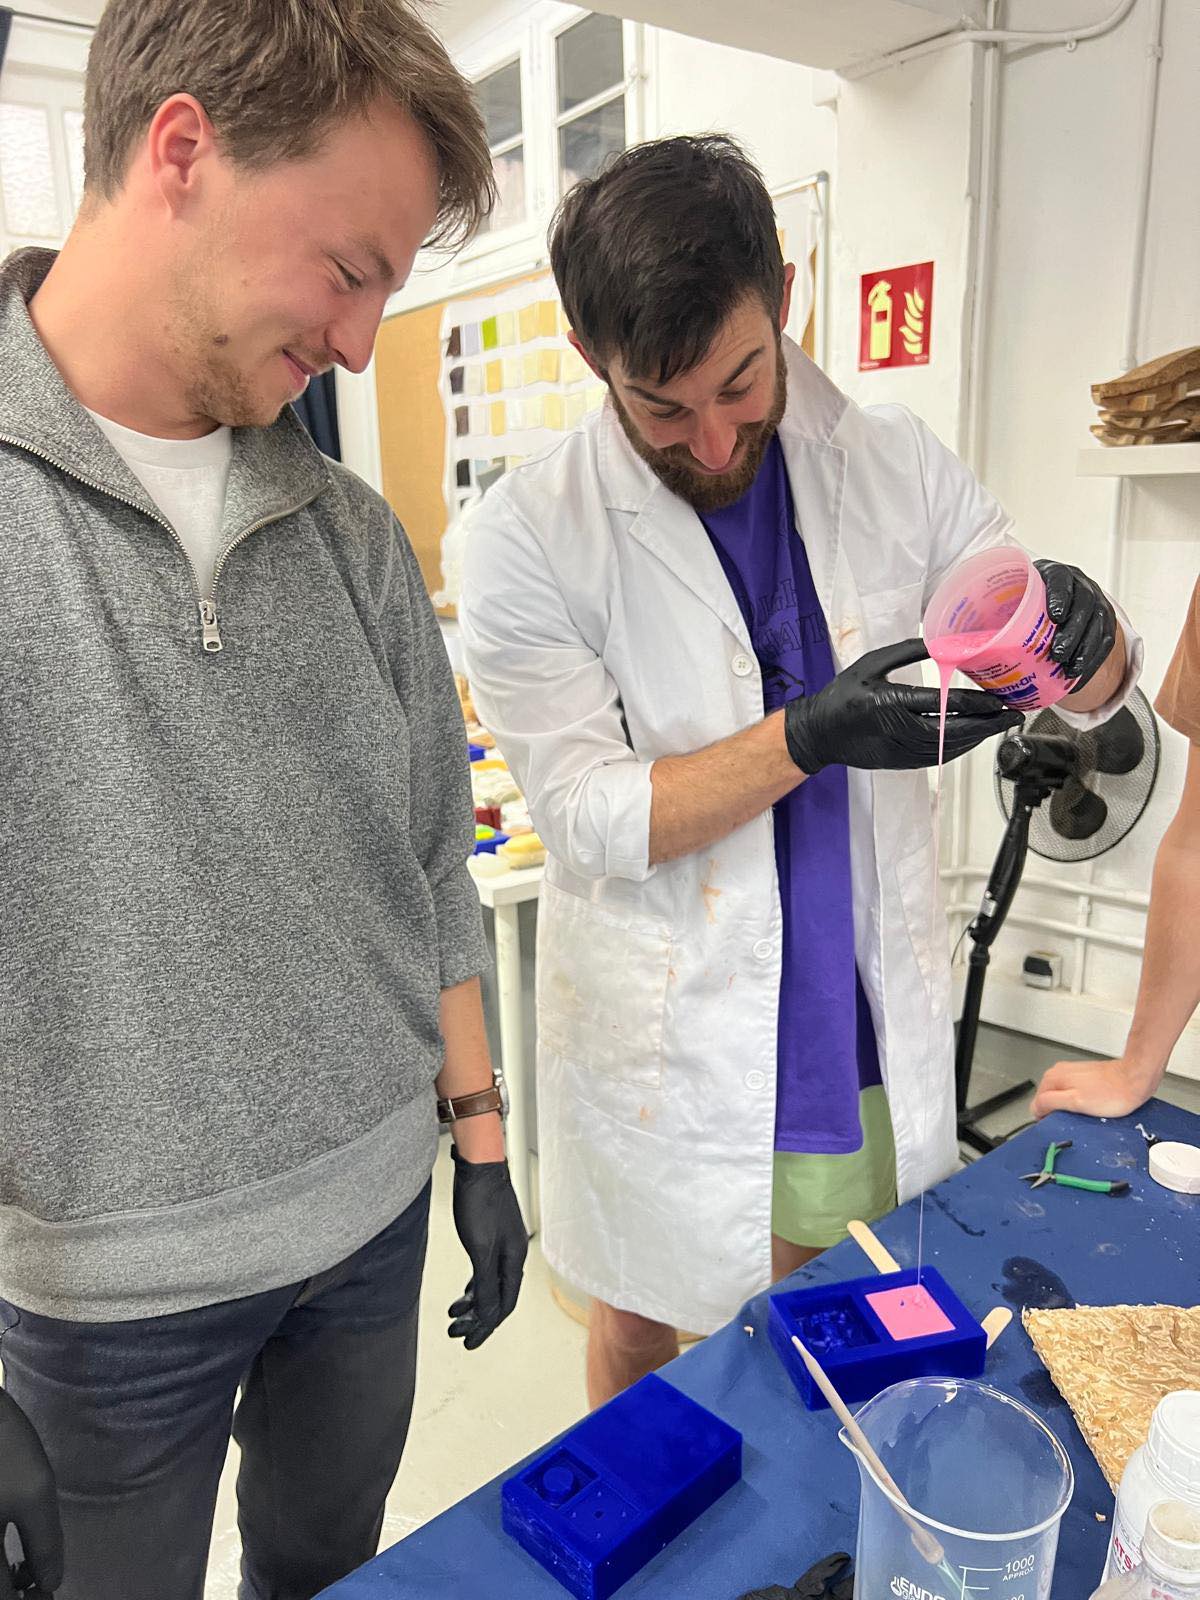
The second mold was done with food-safe silicon Easyl 940-FDA Pink, the datasheet can be found here.
This silicon uses a 1:1 ratio, has a 30 minute working time and a 3 hour demolding time.
The reason for using food-safe silicon is because it is a reasonably hard silicone and we had run out of the other harder silicone in the lab!
This silicon is also quite viscous so had a lot of bubbles, this required us to degas it by running it through a vacuum compressor several times to get all the bubbles out.
This silicon I used in the picture above is Easy Crystal, which mixes in a 1:1 ratio. The datasheet can be found here
The second mold was done with food-safe silicon Easyl 940-FDA Pink, the datasheet can be found here.
This silicon uses a 1:1 ratio, has a 30 minute working time and a 3 hour demolding time.
The reason for using food-safe silicon is because it is a reasonably hard silicone and we had run out of the other harder silicone in the lab!
This silicon is also quite viscous so had a lot of bubbles, this required us to degas it by running it through a vacuum compressor several times to get all the bubbles out.
 After mixing and pouring and waiting for the silicon to set, it was time to cook some resin so I could make some caps!
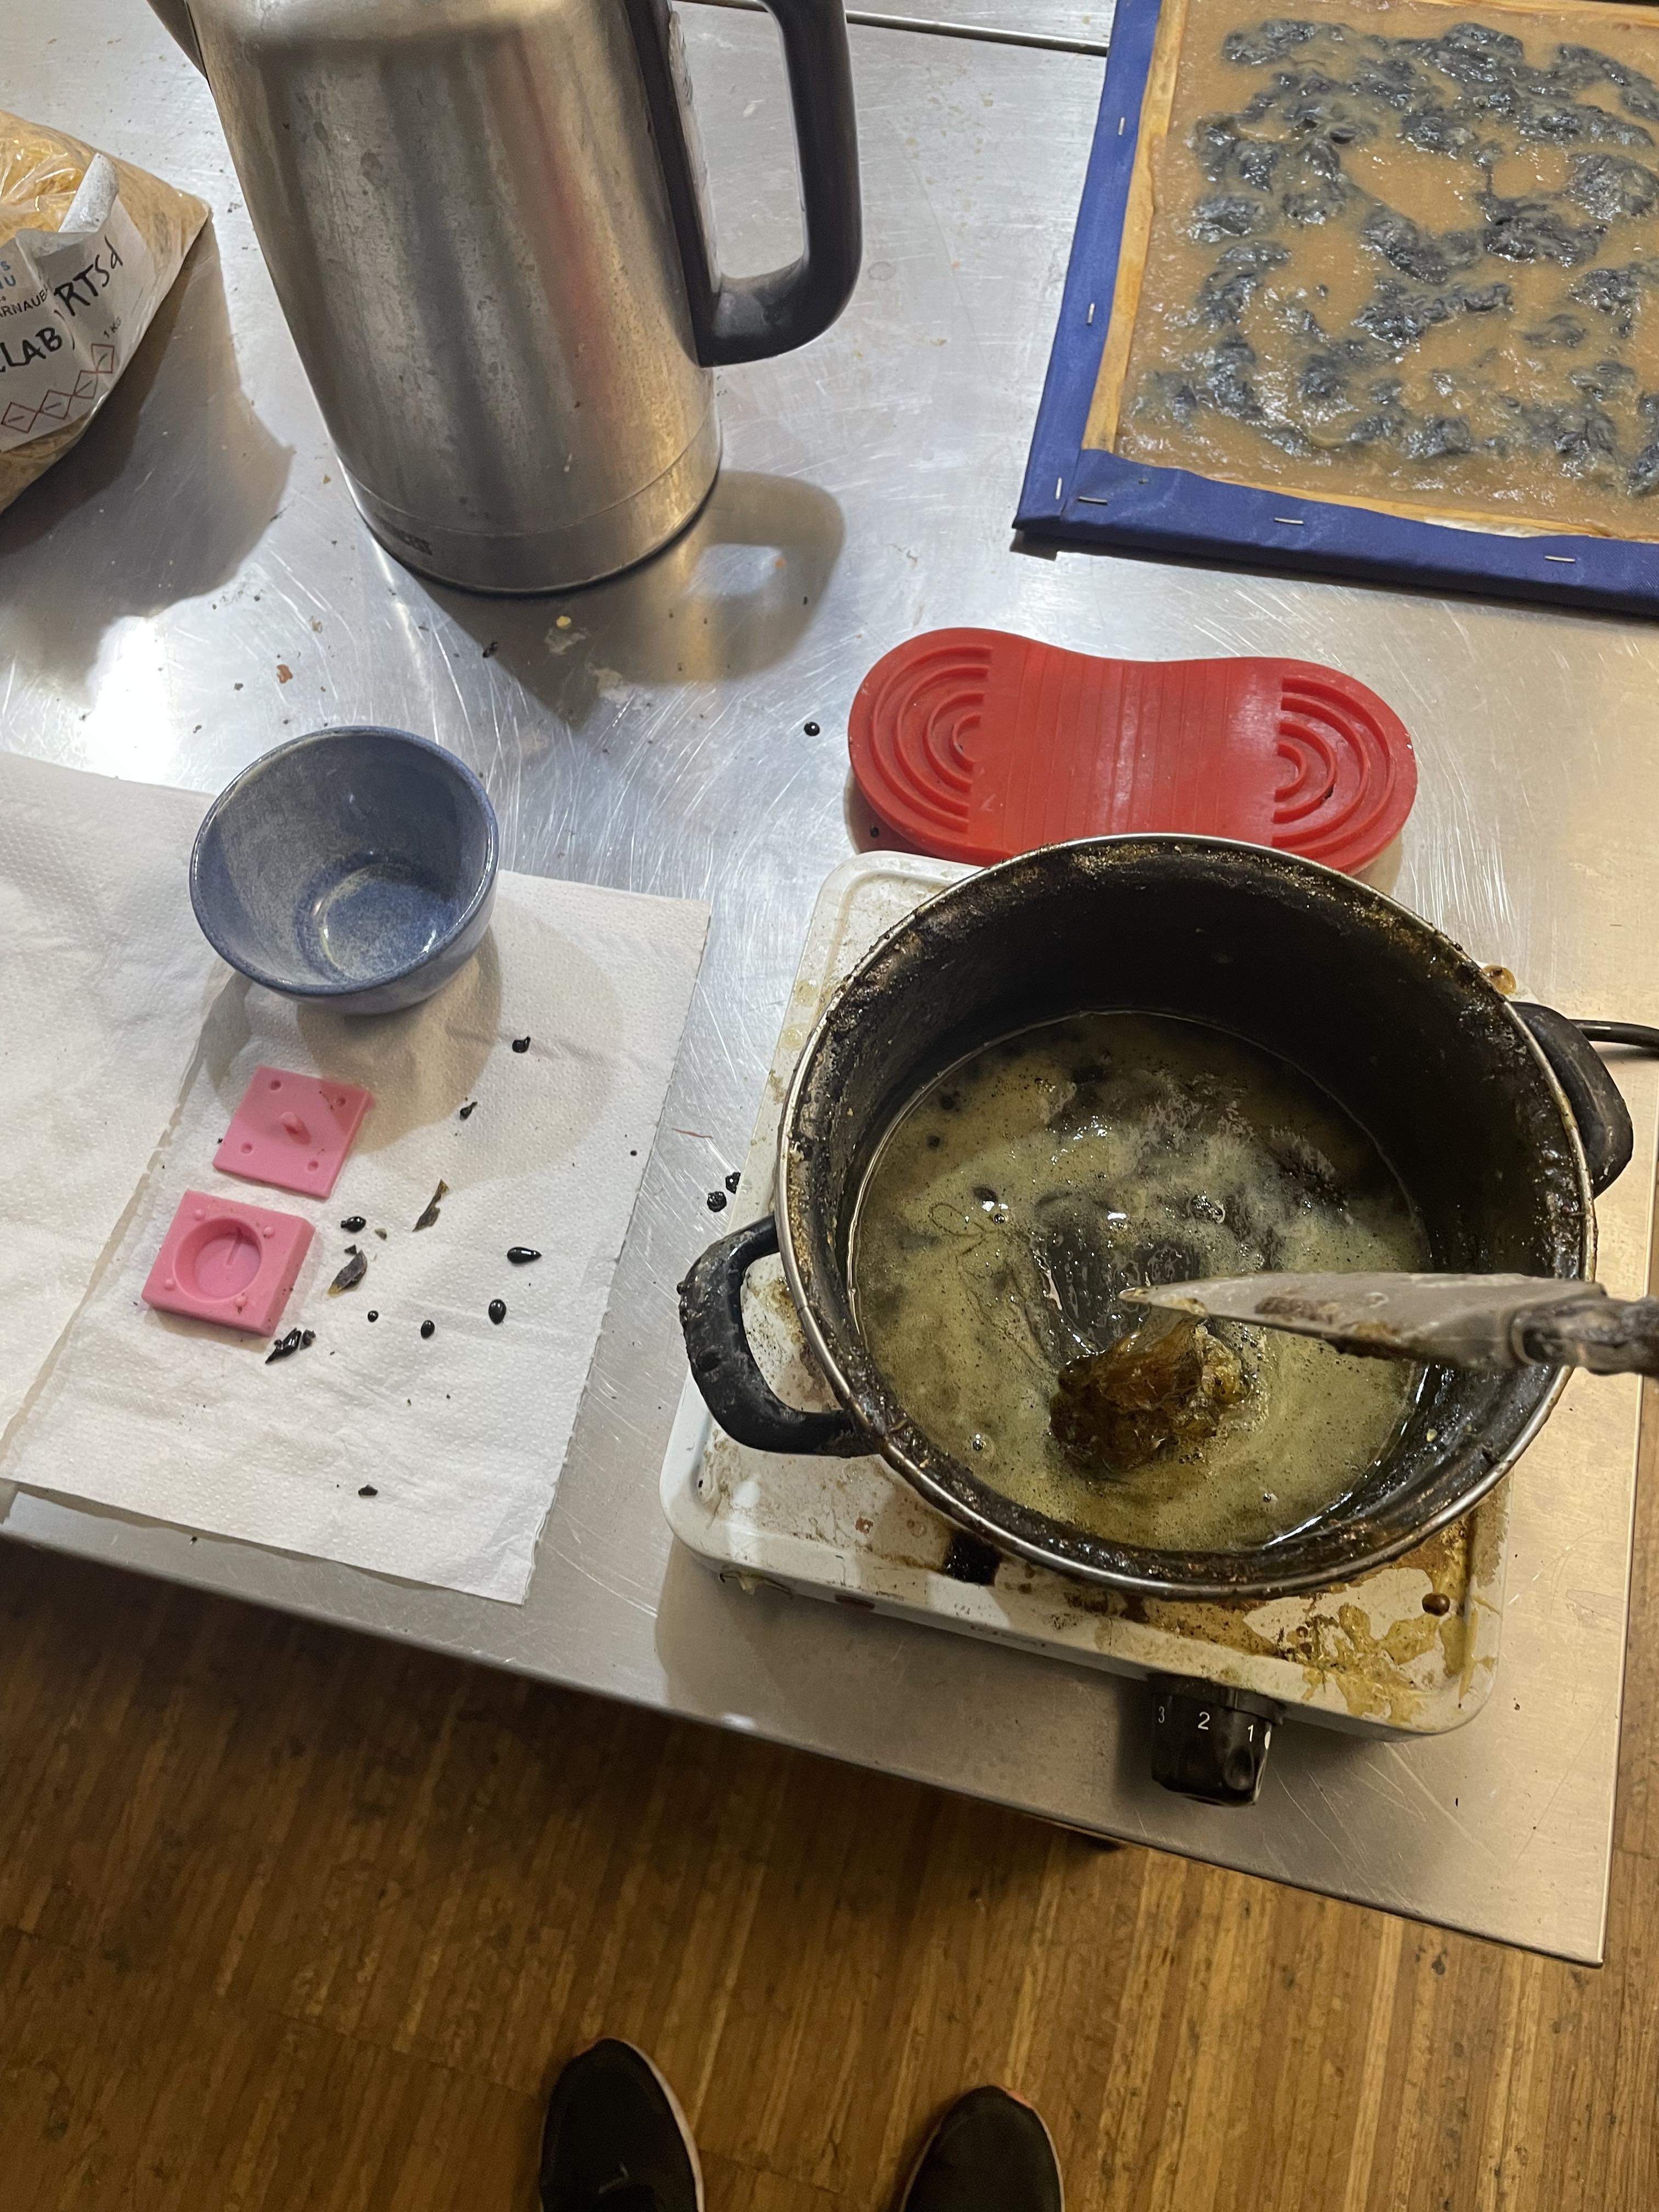 The proportions and the order used were as follows:
1. 45g of pine resin, melted in a pan over low heat
2. Once melted, add 5g of carnauba wax (I also tested with 10g)
3. Once the wax is melted, slowly add 20ml of isopropyl alcohol while mixing
4. Add 40g of filler (I only had 12g of coffee residue, which ended up being enough)
5. Once the mixture has settled down and stopped bubbling, pour into your mold and apply pressure.
6. Wait for resin to cool down, and take out of the mold! DONE!
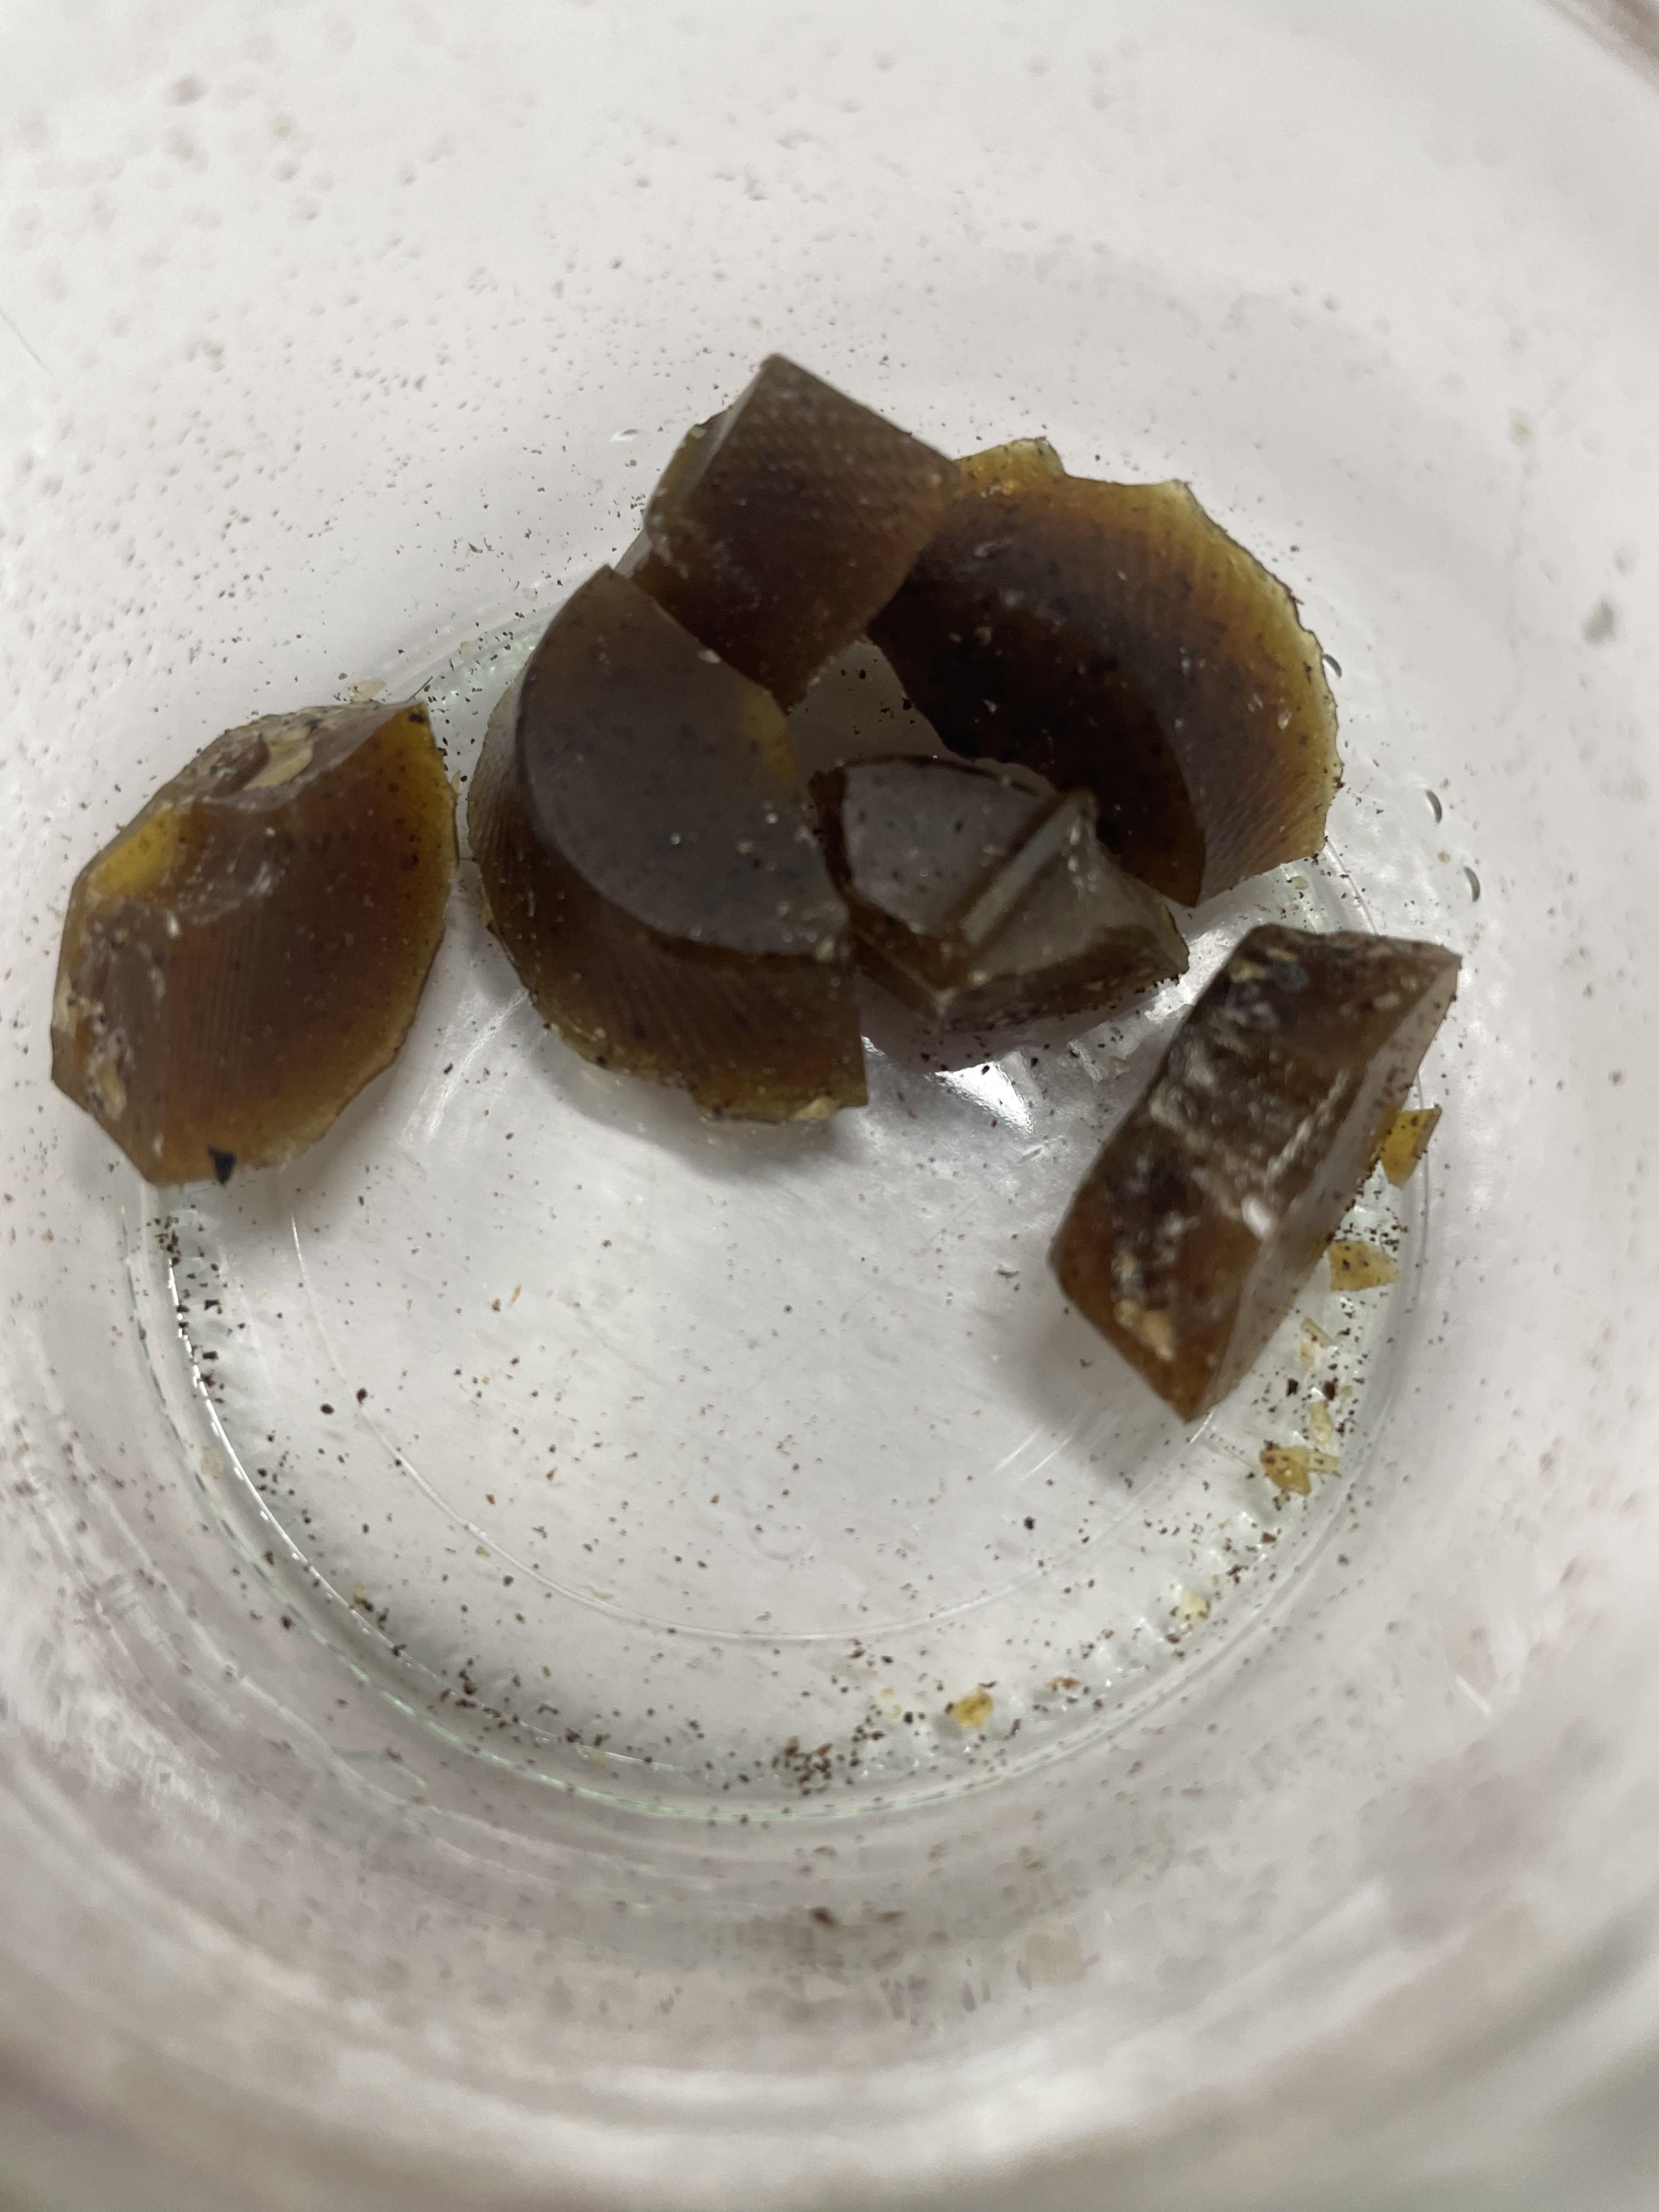
My first batch of cooking gave me 6 potentiometer caps, with one being very dark because of the coffee grounds and the others being less so because I did them afterwards.
The proportions and the order used were as follows:
1. 45g of pine resin, melted in a pan over low heat
2. Once melted, add 5g of carnauba wax (I also tested with 10g)
3. Once the wax is melted, slowly add 20ml of isopropyl alcohol while mixing
4. Add 40g of filler (I only had 12g of coffee residue, which ended up being enough)
5. Once the mixture has settled down and stopped bubbling, pour into your mold and apply pressure.
6. Wait for resin to cool down, and take out of the mold! DONE!
My first batch of cooking gave me 6 potentiometer caps, with one being very dark because of the coffee grounds and the others being less so because I did them afterwards.
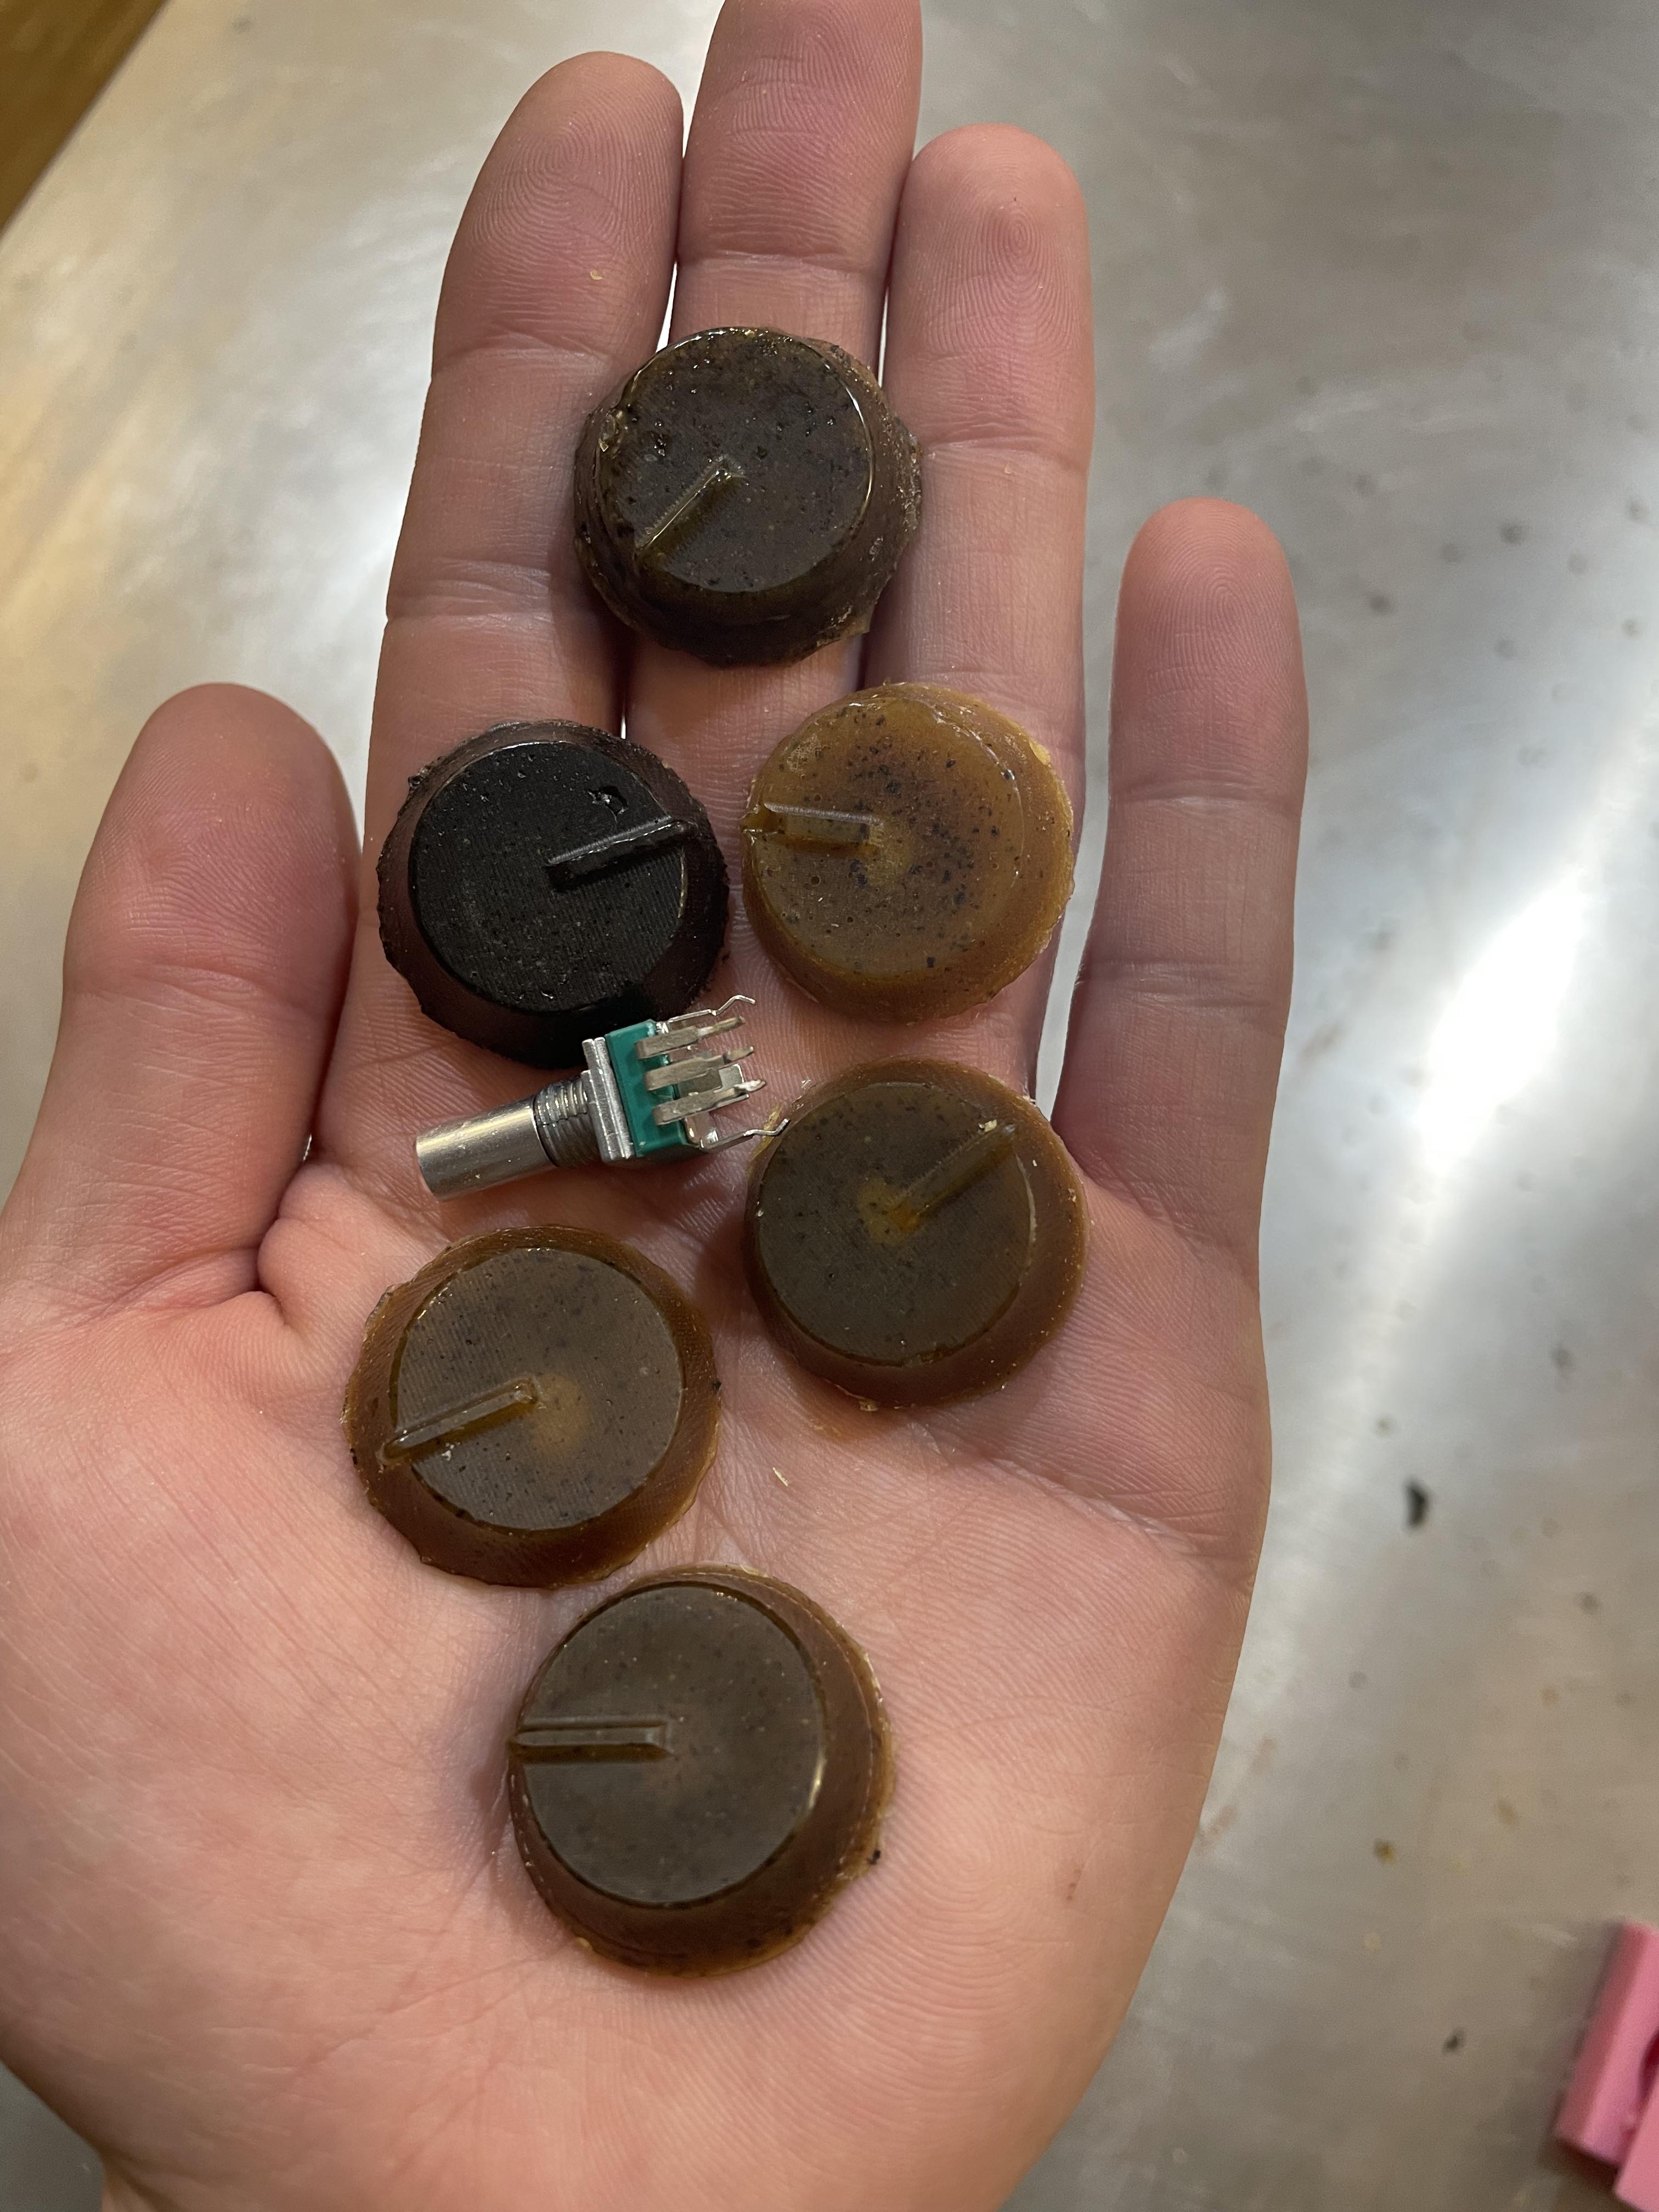 While fitting them onto potentiometers to test, two of them unfortunately broke as they were too brittle
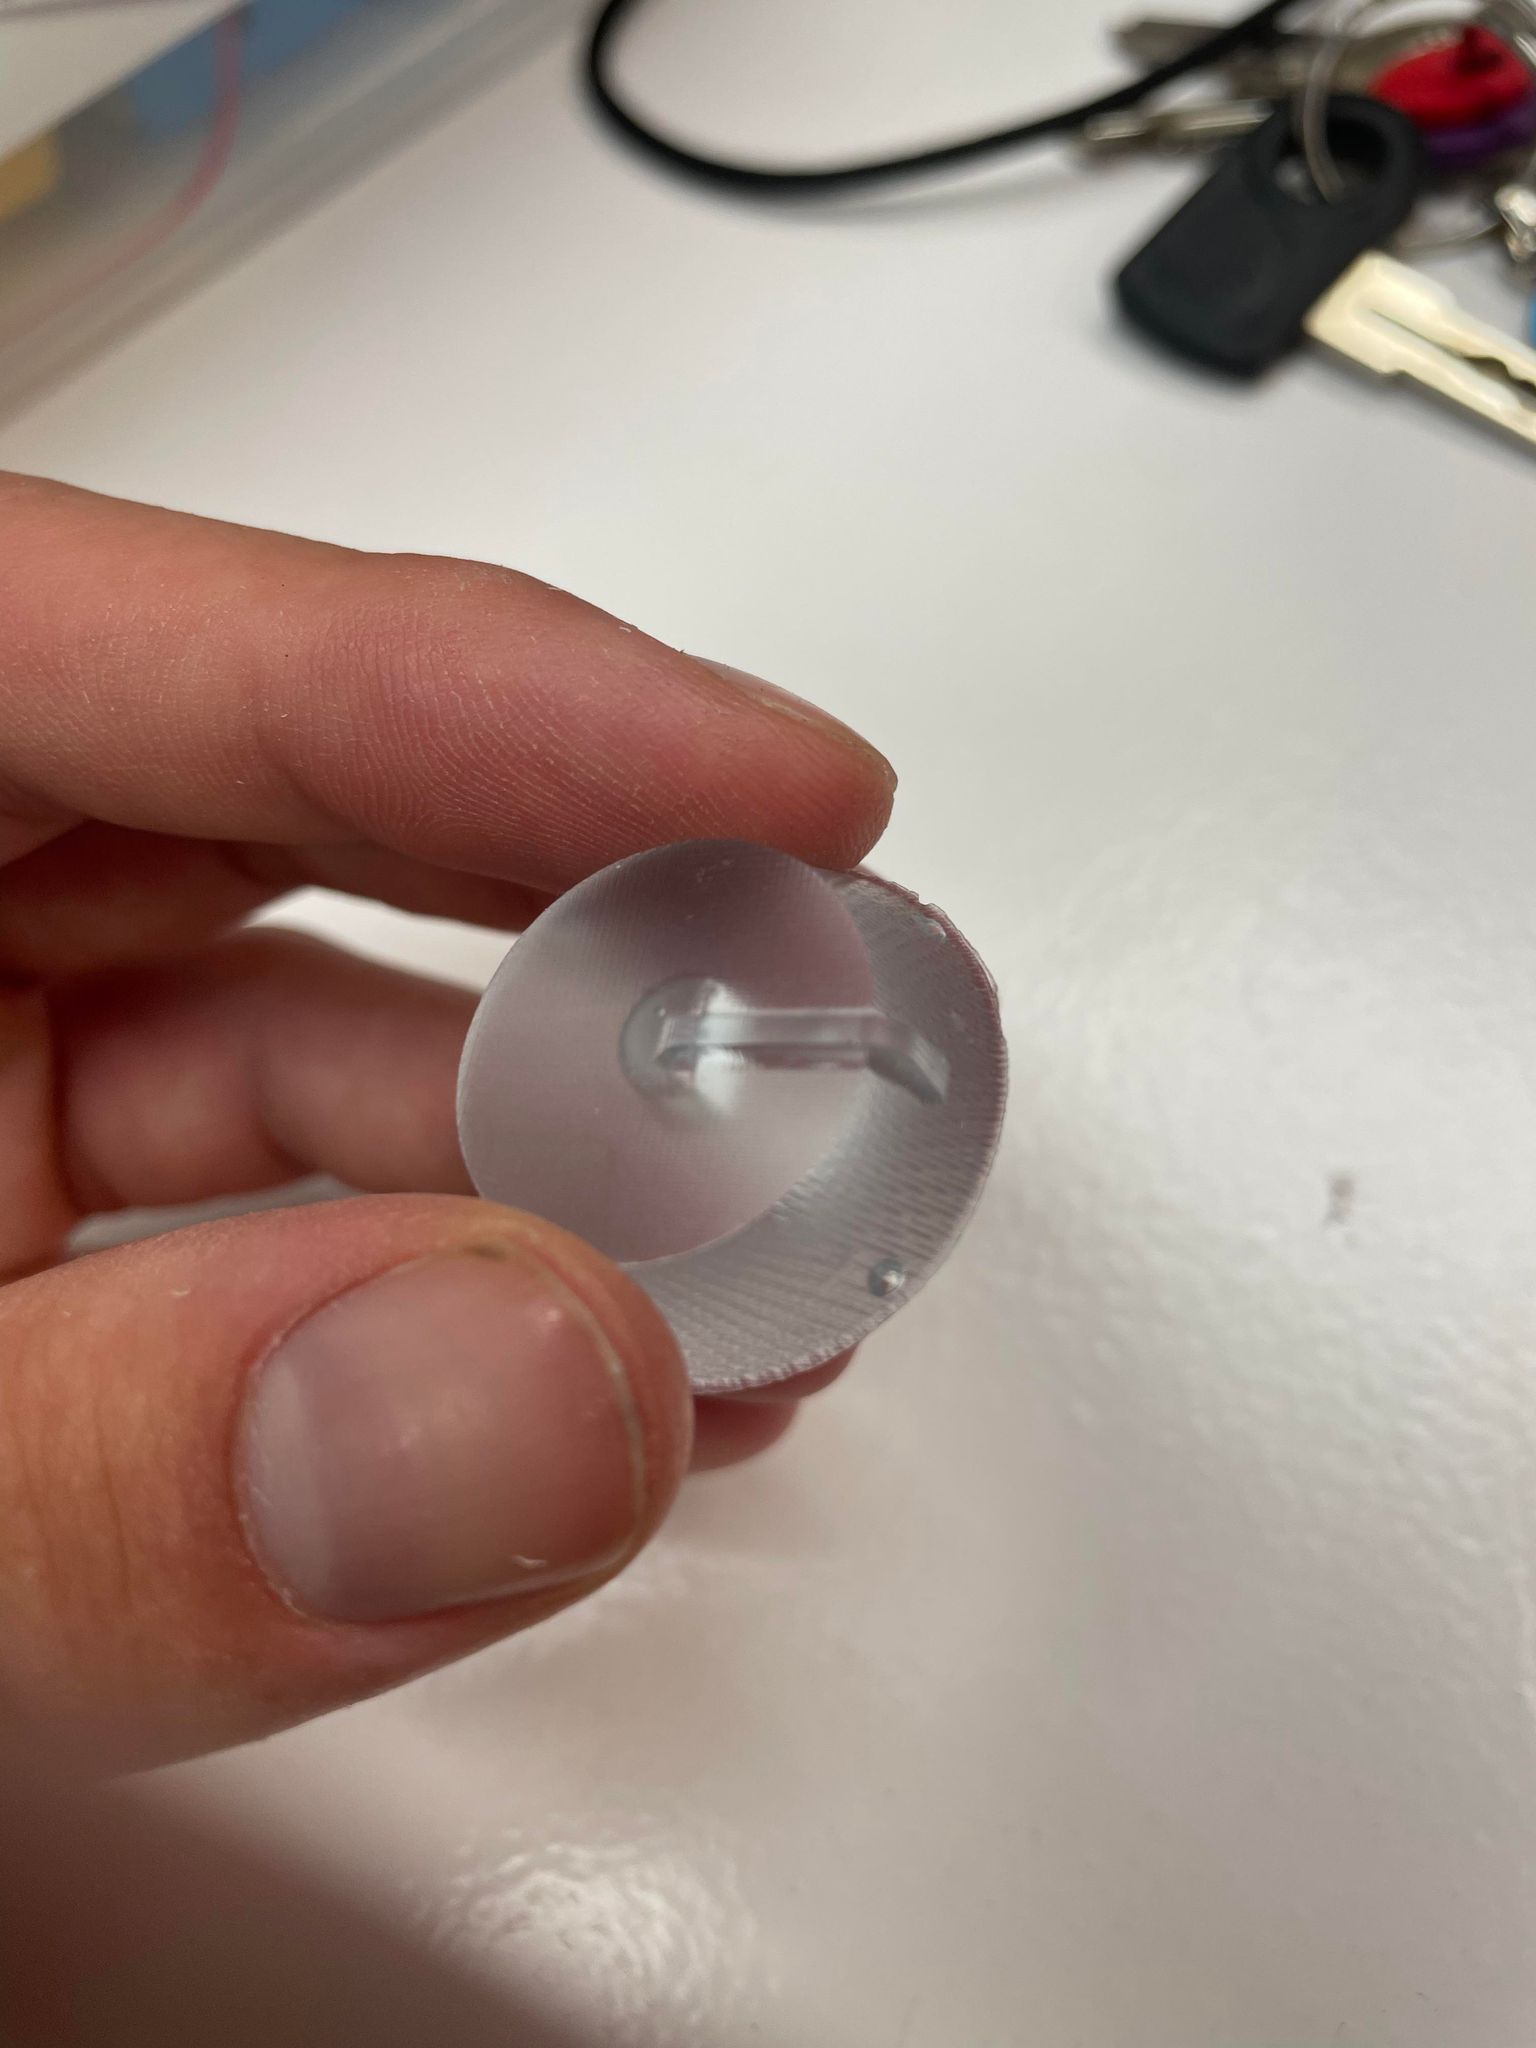
 I also made an epoxy potentiometer cap using the softer silicon mold I had made.
Going Further
I would like to try this experiment again with more filler (full 40g), a bit more wax and less alcohol (maybe even none), in order to try to make the resulting mixture less brittle.
Hopefully I can get a refined enough process to put these caps on my potentiometers for my final project!