10. Mechanical design & machine design
This week we were taasked to work as a group in order to build a machine.
The group assignment can be found here
Individual Contribution
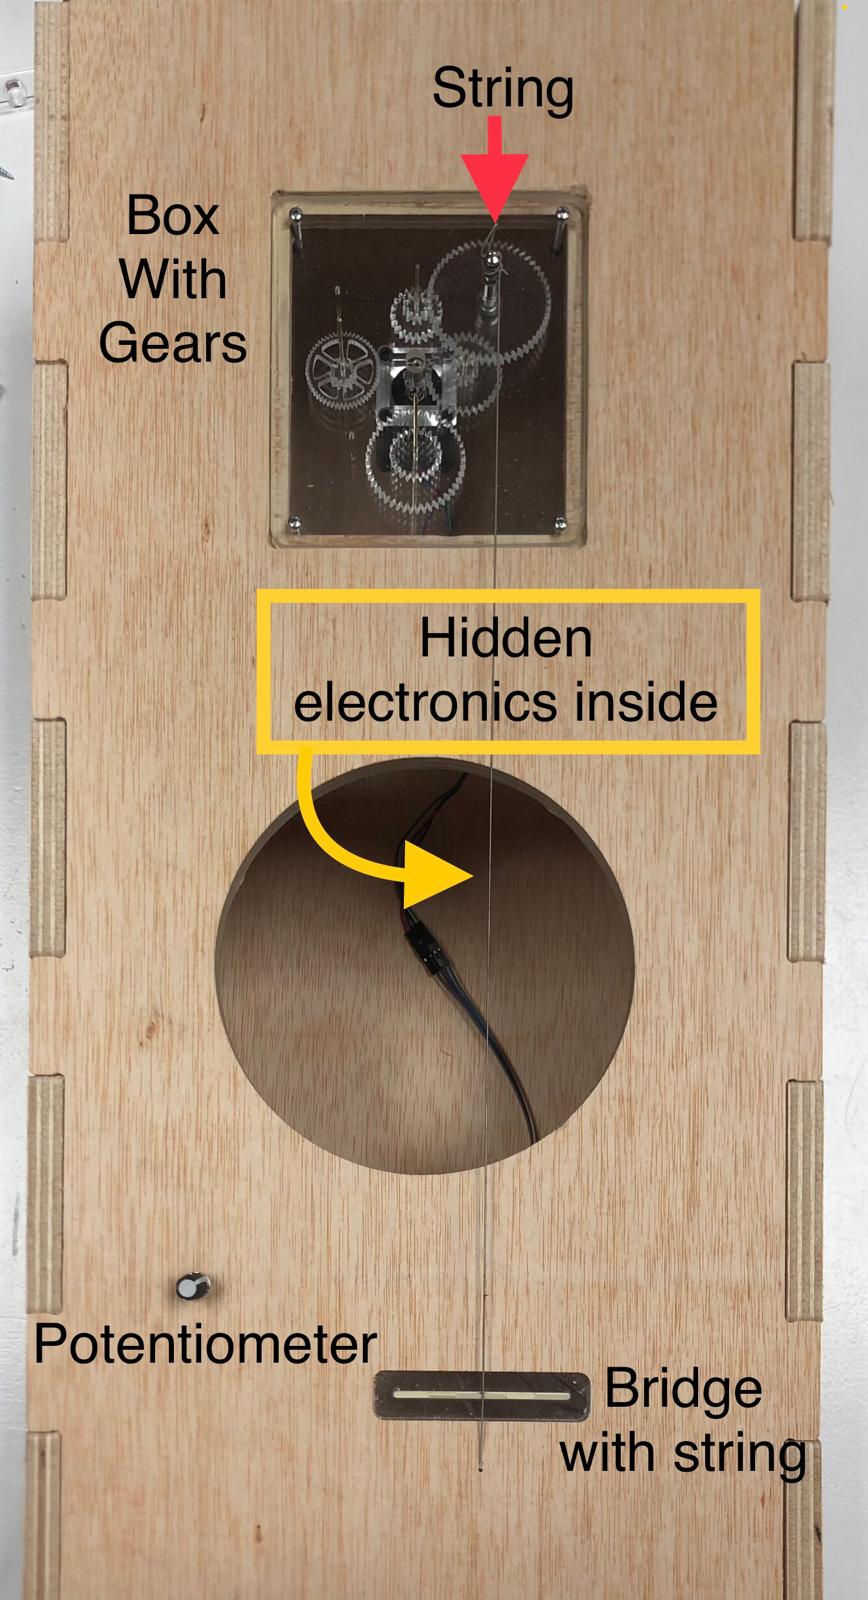
For this project, I had come up with the idea of a single-stringed instrument that can tune itself to play in different frequencies.
In the original idea, the machine could also play itself through a mechanical system, but that was dropped due to complexity.
I volunteered to work on the frequency detection and amplifier circuit, neither of which we ended up using due to time constraints.
In the end of the project, I also worked on soldering, electronics design as well as fitting the box and coding.
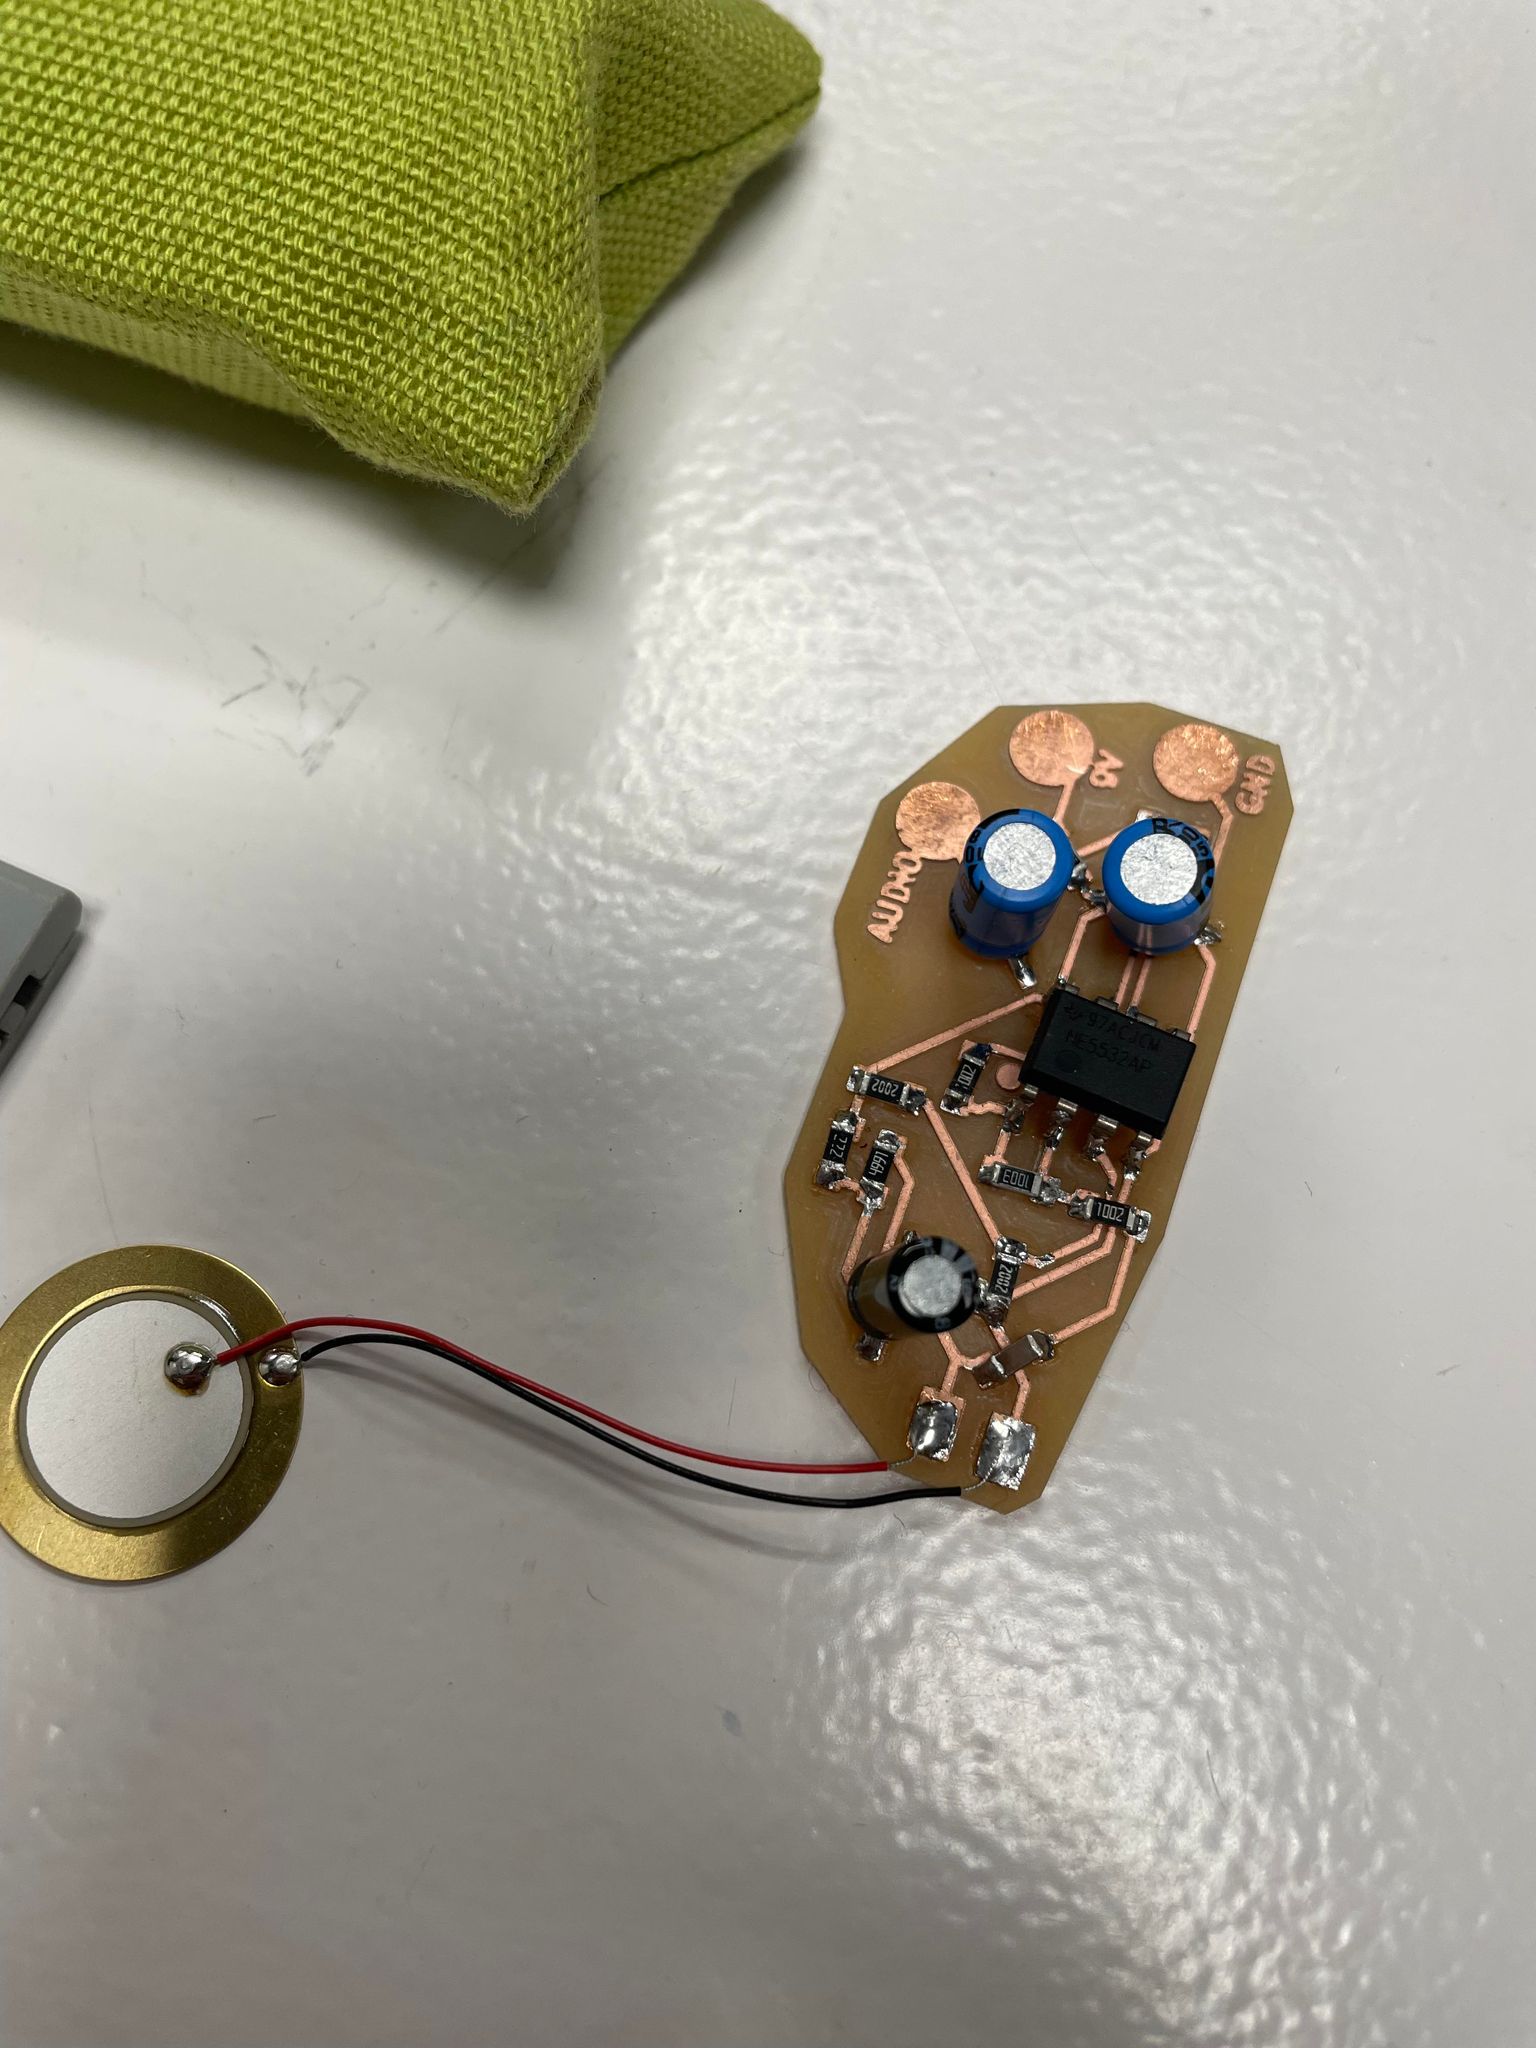
For the amplifier, I initially wanted as clean of a signal as possible, and worked with an op-amp based design from Sonelec Musique.
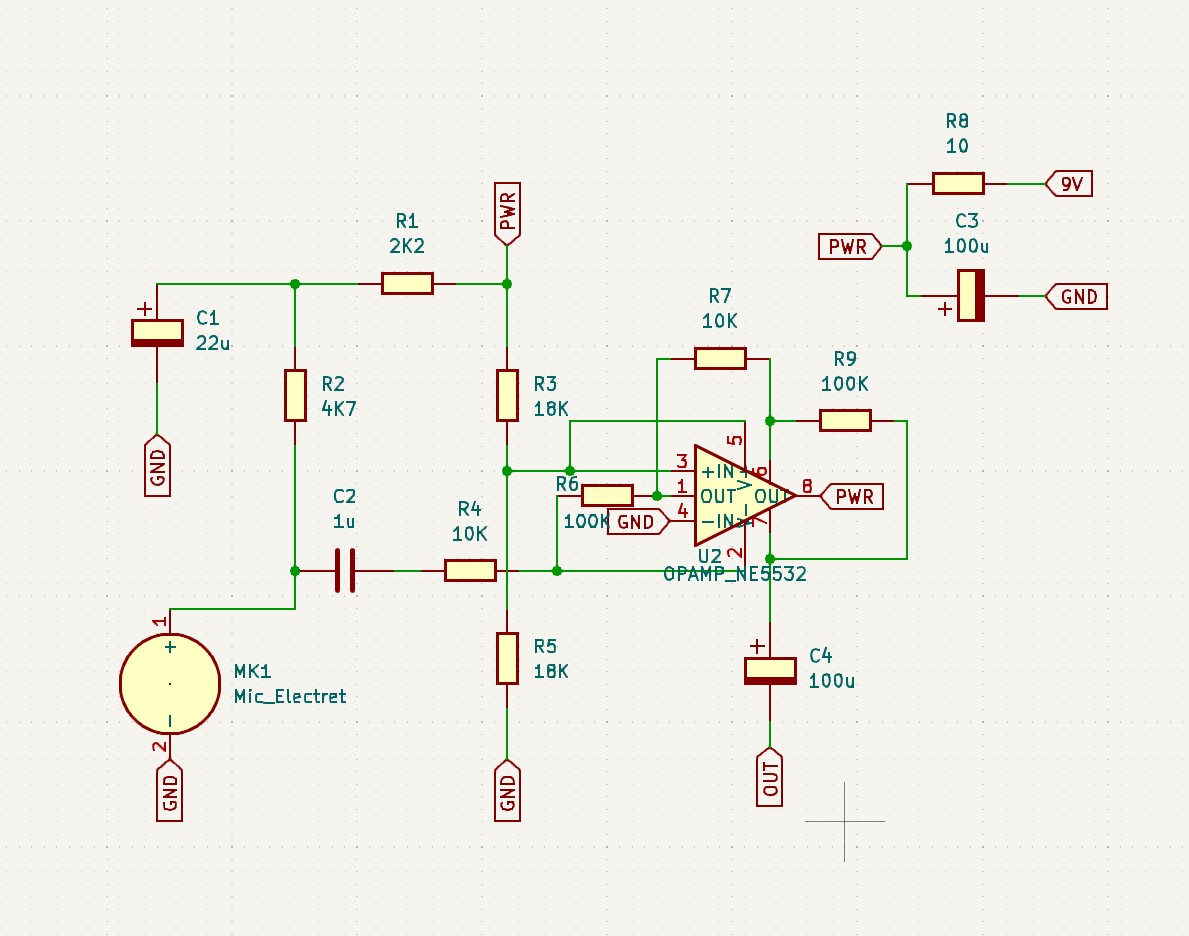 After testing the design, it was not functional, which after testing I suspect is due to a problem with the op-amp.
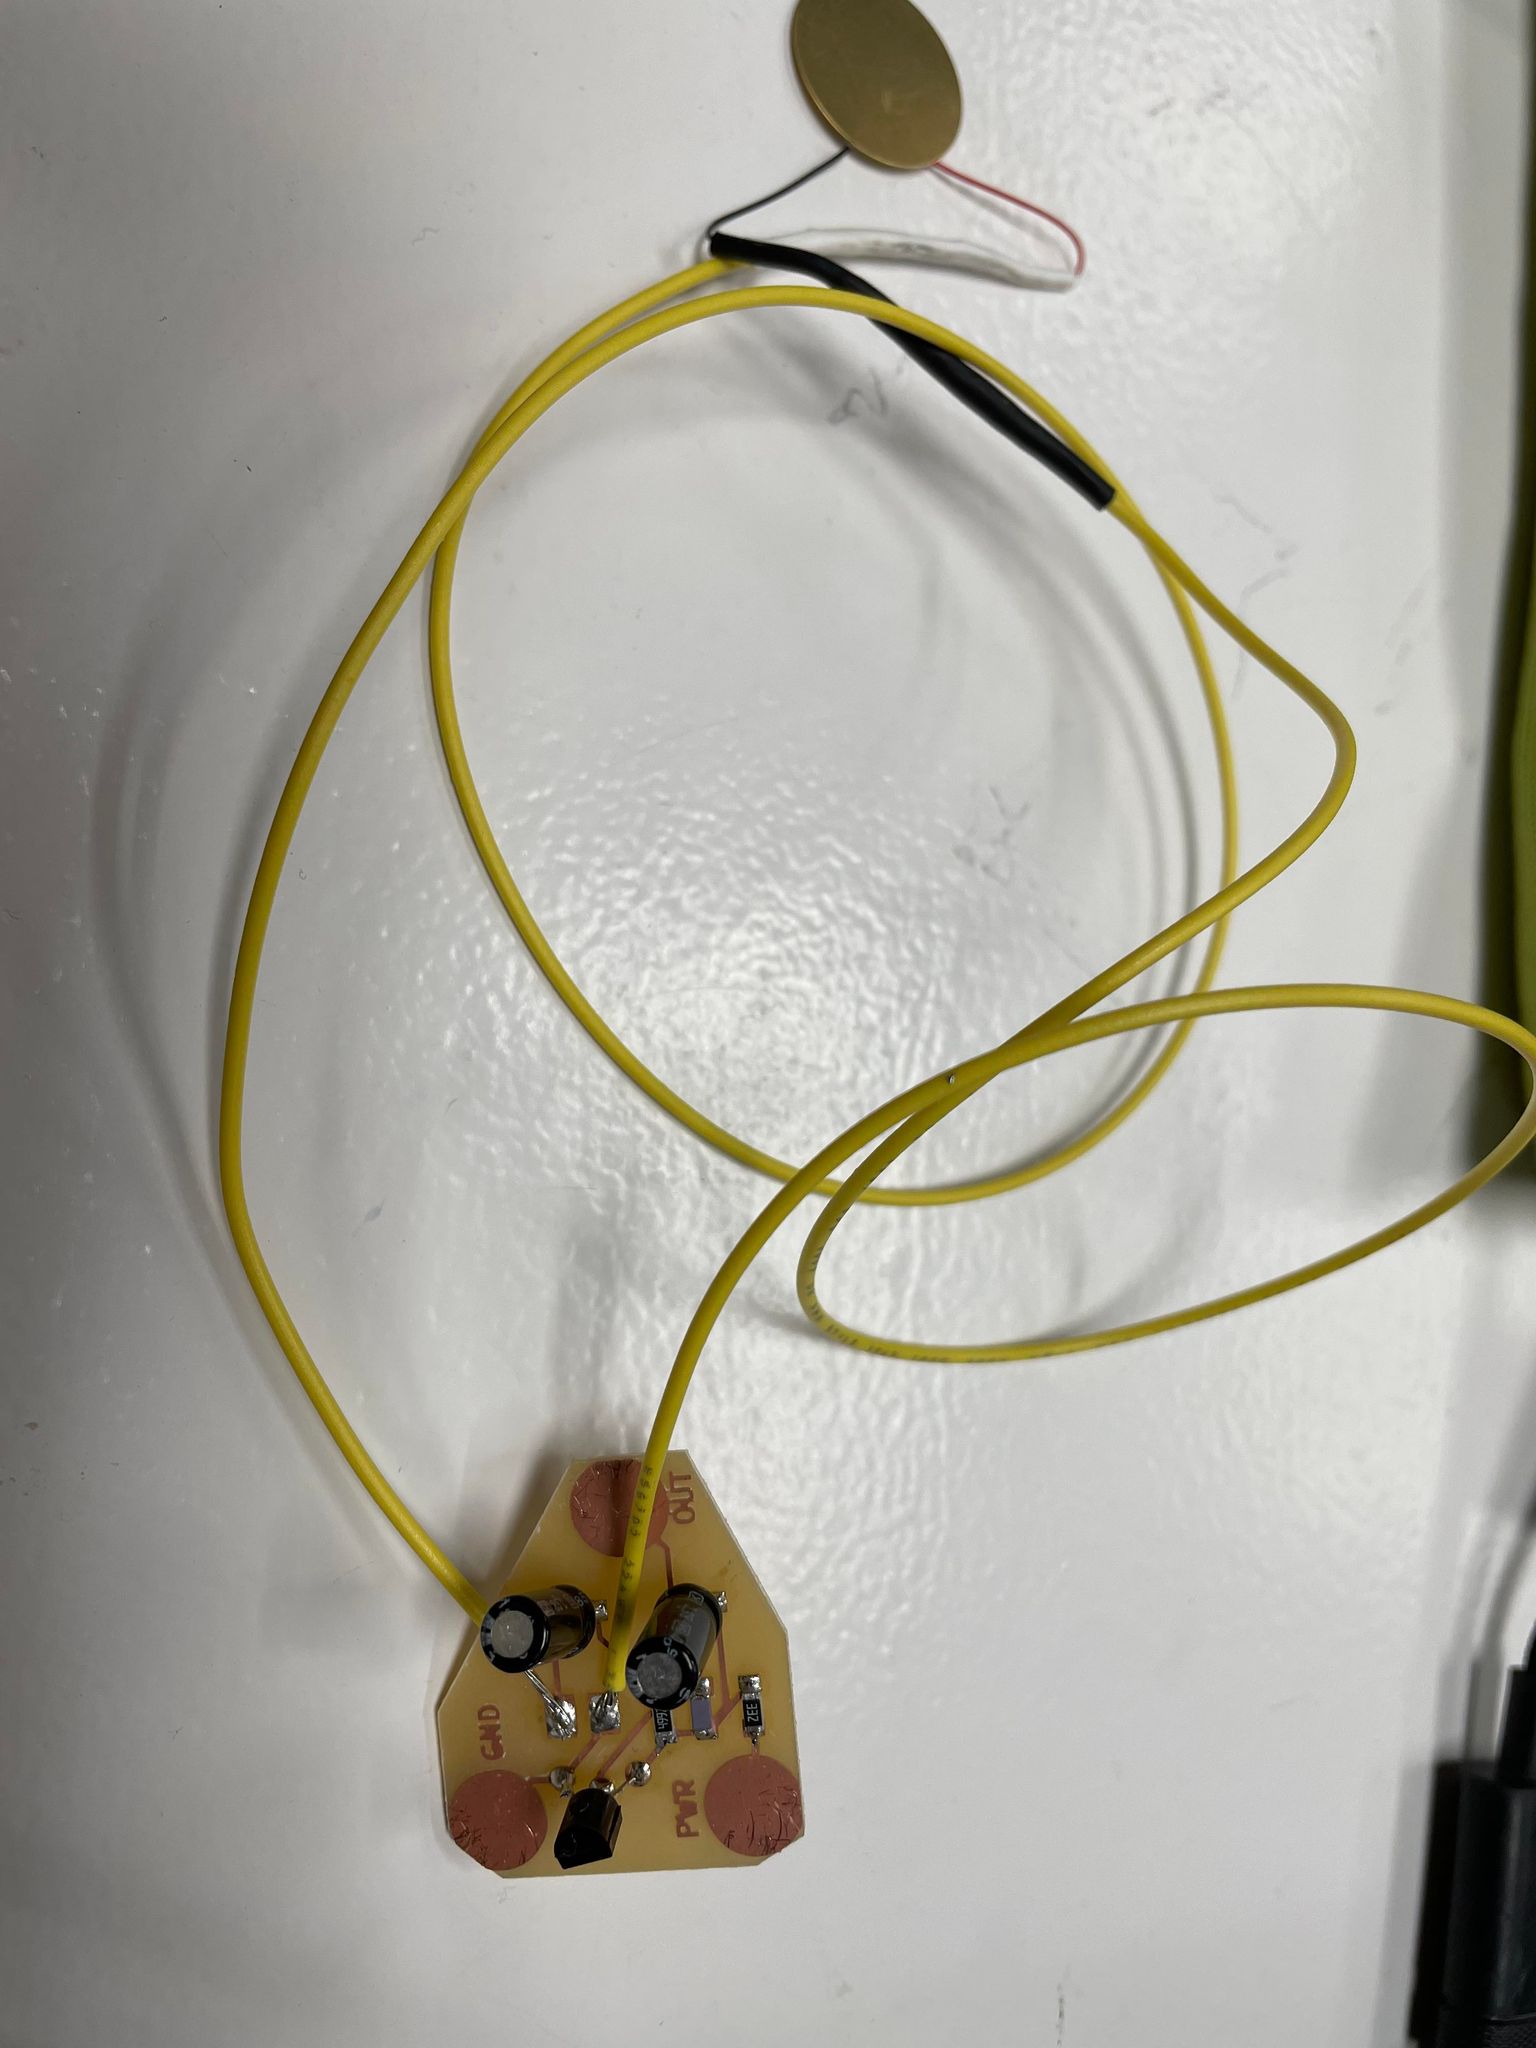
 Because of this, I remade it into a much simpler transistor-based design with just 5 (actually 6 because I added a low-pass filtering capacitor) components, also from Sonelec Musique.
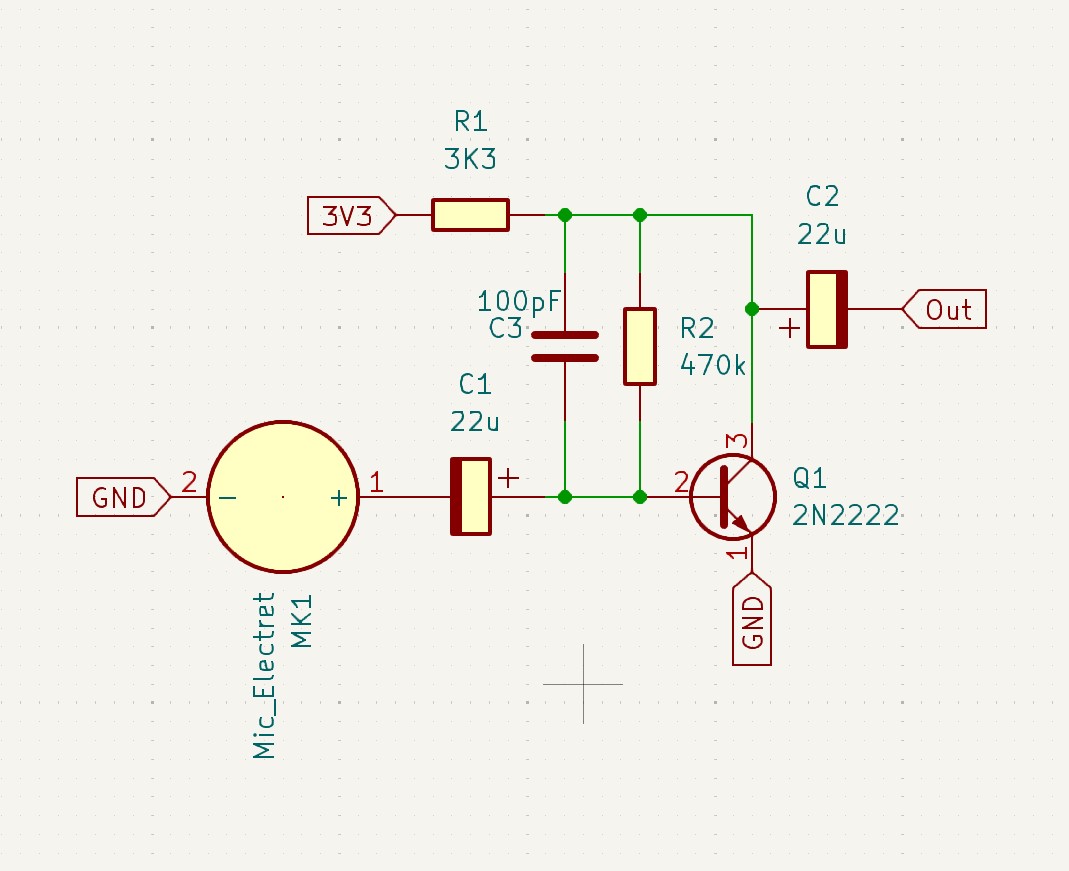 After testing this new design, it also did not work with the lab's provided electret microphones, and I realise this was because the circuit was supposed to use a microphone membrane directly, instead of the circuit built in to the electret capsules.
To make it work, I used a piezo microphone, which worked well. After playing around with the 470k resistor, replacing it with several lower values to increase the gain of the microphone, I settled fo a 49.9k resistor, with 9V input to increase the headroom before transistor saturation.
After testing this new design, it also did not work with the lab's provided electret microphones, and I realise this was because the circuit was supposed to use a microphone membrane directly, instead of the circuit built in to the electret capsules.
To make it work, I used a piezo microphone, which worked well. After playing around with the 470k resistor, replacing it with several lower values to increase the gain of the microphone, I settled fo a 49.9k resistor, with 9V input to increase the headroom before transistor saturation.
 I then plugged this circuit into my audio dev board from output devices week.
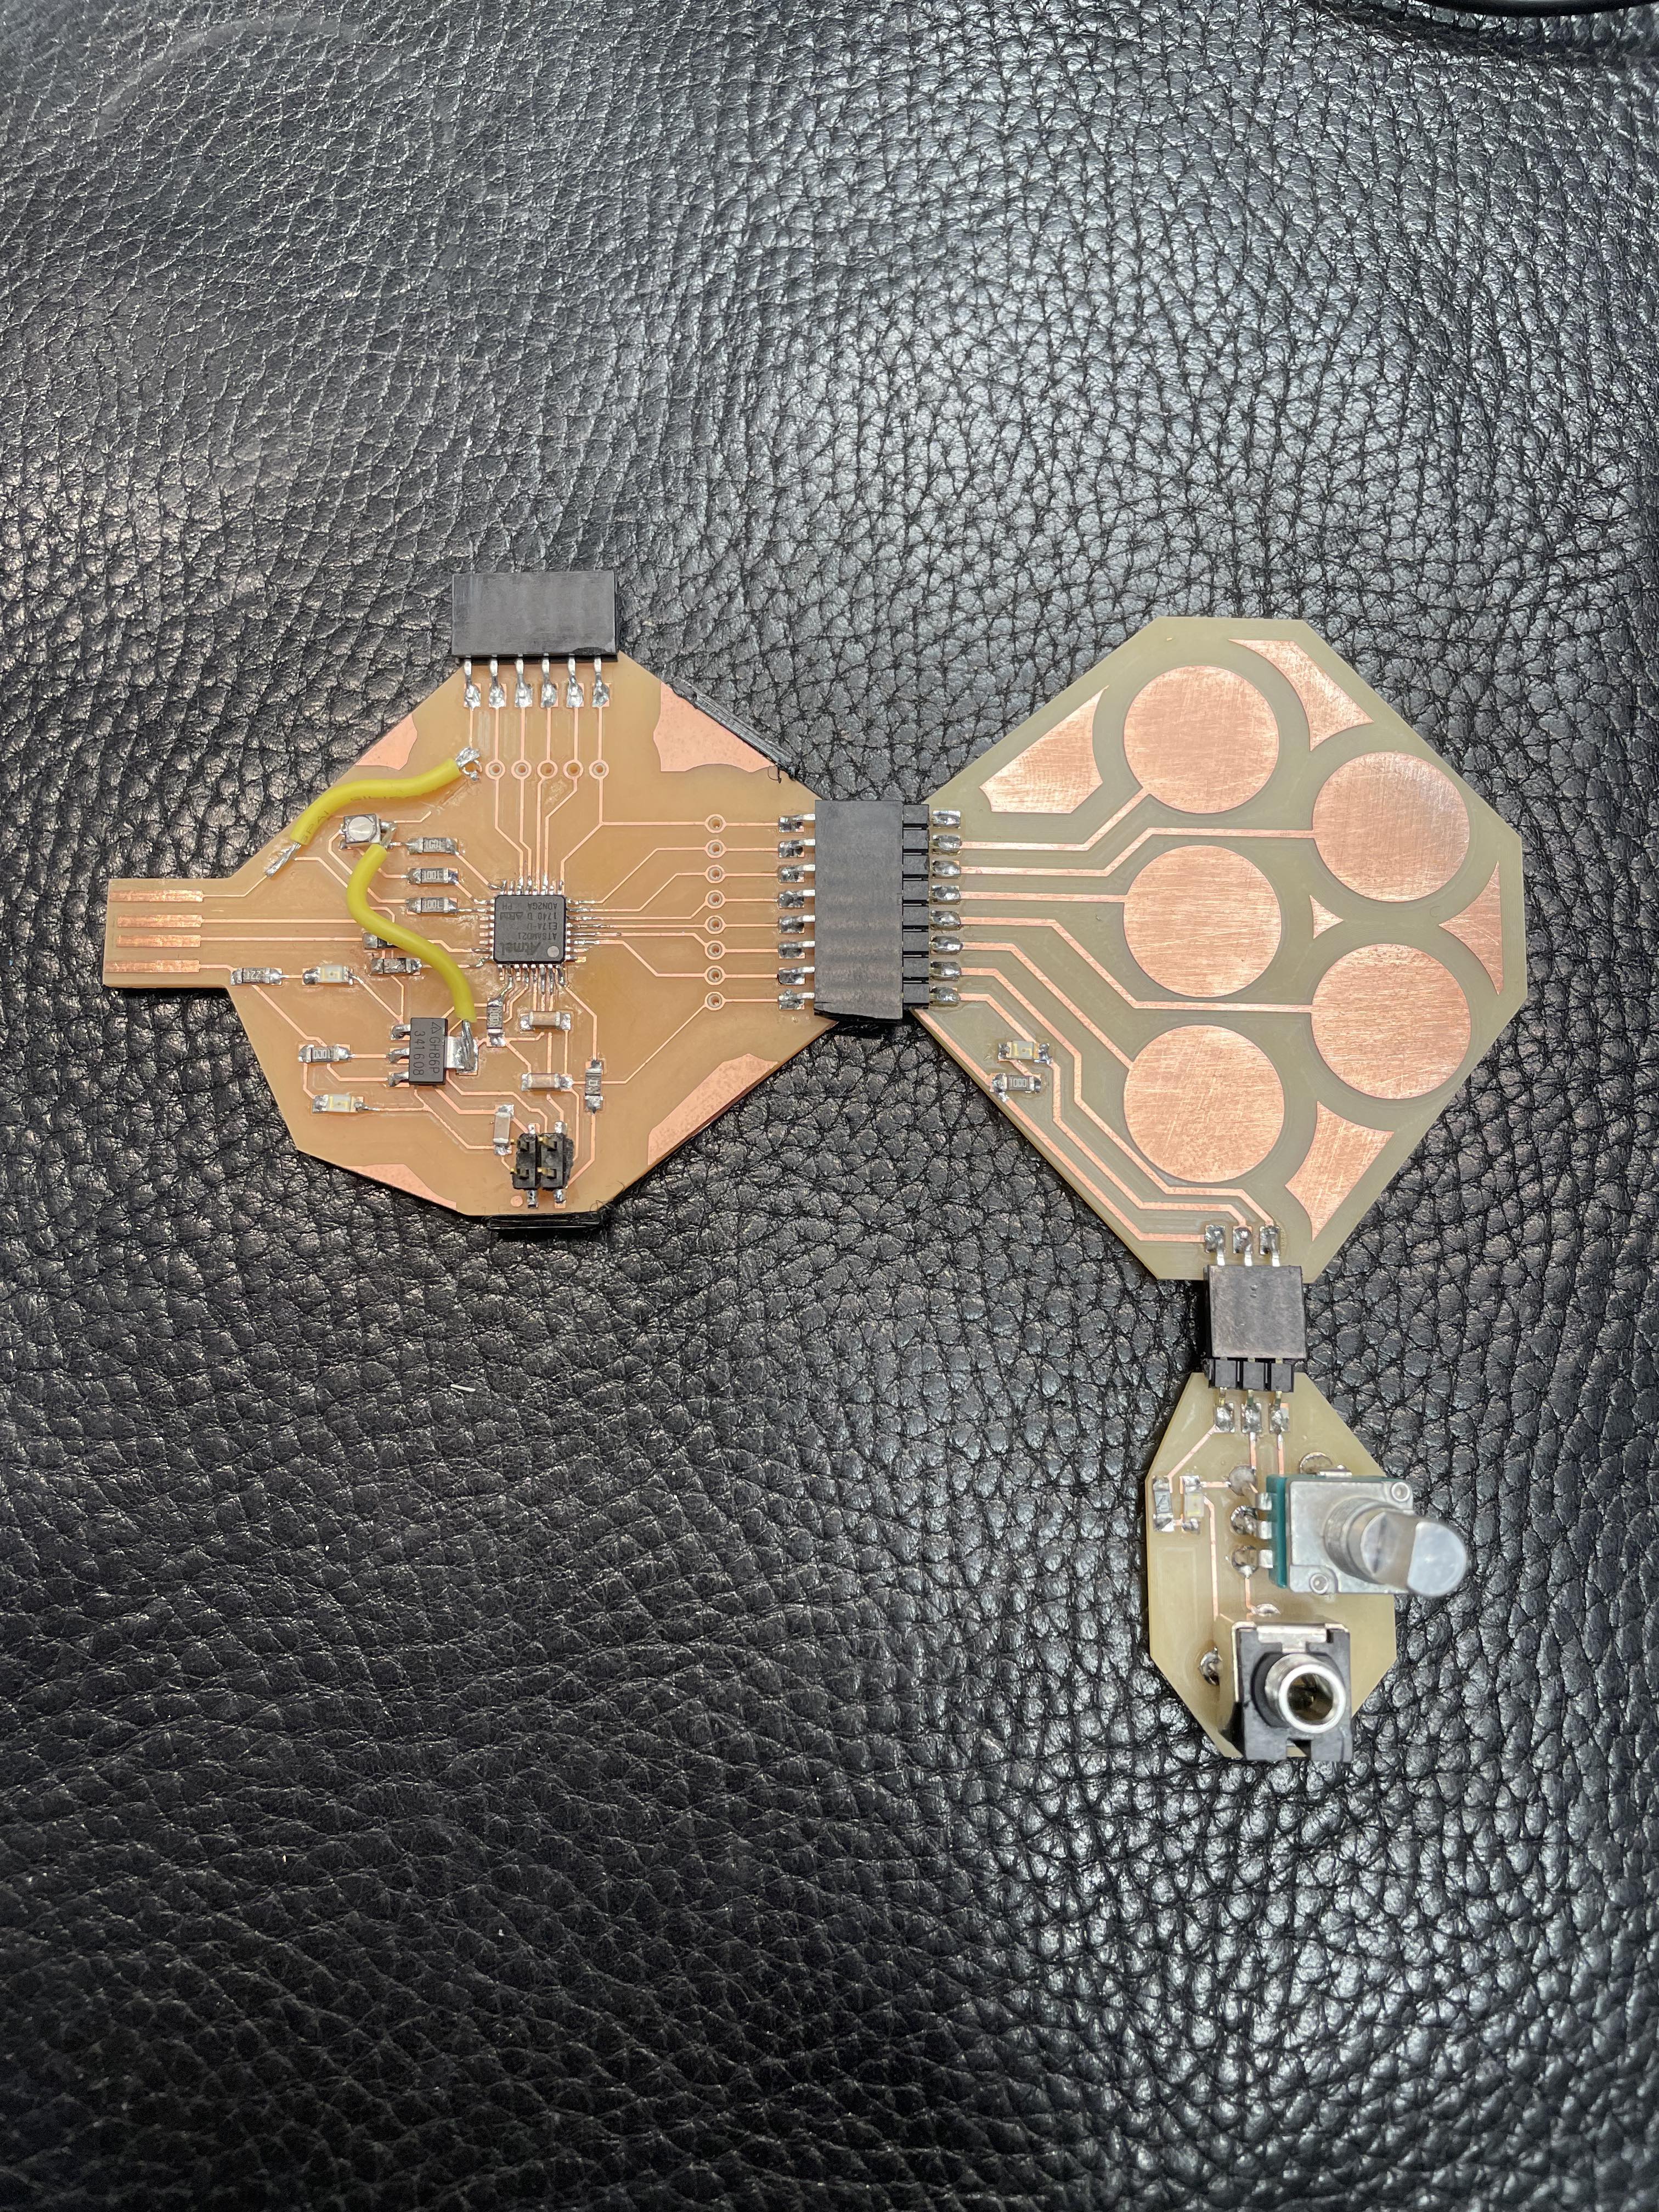 To get a frequency detection algorithm, I knew I would probably have to use the built-in ADC of the SAMD21 on the board, as well as a Fourier Transform algorithm.
I initially thought the ADC would be as simple as using analogread command, but it turns out it was a bit harder.
To learn how to use it, I followed this great guide from Stargirl Flowers which taught me a lot about registry editing.
After a lot of reading and trials and errors, I managed to get it working.
One strange issue came when trying to use the SAMD21 clock 1, it would crash my board completely and force me to reburn the bootloader each time... Before I figured that out, I had burned the bootloader about 10 times.
After that, I followed this guide from Clyde Lettsome about running a FFT on Arduino.
Putting the two guides together, I managed to get the FFT running with the preamp, detecting the frequency of the string!
Unfortunately, due to time constraints, we were not able to use my code in the project, as it would have required more time and a lot of fine-tuning.
Here are the KiCAD files for the analog preamplifier circuit.
Here is the .ino file for the FFT code.
To get a frequency detection algorithm, I knew I would probably have to use the built-in ADC of the SAMD21 on the board, as well as a Fourier Transform algorithm.
I initially thought the ADC would be as simple as using analogread command, but it turns out it was a bit harder.
To learn how to use it, I followed this great guide from Stargirl Flowers which taught me a lot about registry editing.
After a lot of reading and trials and errors, I managed to get it working.
One strange issue came when trying to use the SAMD21 clock 1, it would crash my board completely and force me to reburn the bootloader each time... Before I figured that out, I had burned the bootloader about 10 times.
After that, I followed this guide from Clyde Lettsome about running a FFT on Arduino.
Putting the two guides together, I managed to get the FFT running with the preamp, detecting the frequency of the string!
Unfortunately, due to time constraints, we were not able to use my code in the project, as it would have required more time and a lot of fine-tuning.
Here are the KiCAD files for the analog preamplifier circuit.
Here is the .ino file for the FFT code.