Week15. Wildcard week

During this 15th week, which is wildcard week. I wanted to take an interest in computer image recognition so that I could implement this feature in my final project if I had the time before the end of the fabacademy. During this freer week, we could each do a process that we liked and so our assignments were as follows:
Assignments:
Design and produce something with a digital process
(incorporating computer-aided design and manufacturing) not covered
in another assignment, documenting the requirements that your
assignment meets, and including everything necessary to reproduce it.
Possibilities include (but are not limited to)
Material
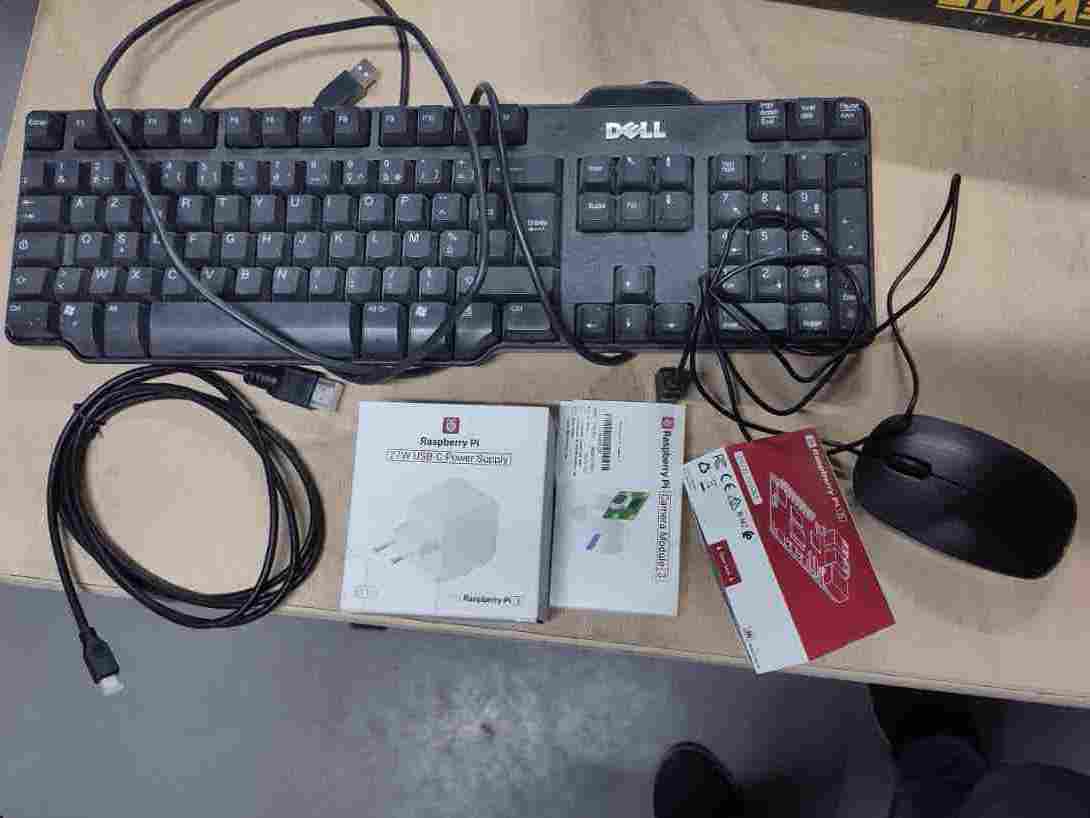
To start the week Luc, our instructor, gave me everything I needed to get started. To wit:
-A raspberry pi 5
-A raspberry module 3 camera
-A 27watt power supply
-A keyboard
-A mouse
-HDMI to micro-HDMI cable
To manage the screen display, I used video projectors, as the display did not display well on the 4K TV screens we have at agrilab and we didn't have an HDMI computer screen. It's possible to configure the Raspberry from another computer, but that's more complex and I'd never used one before, so it was simpler to use it like a conventional computer to start with.
Raspberry pi
The Raspberry Pi is a small, inexpensive and versatile single-board computer based on the Linux OS, designed to encourage learning to program and experiment with computing. It is equipped with an ARM processor, USB, HDMI and Ethernet ports, as well as GPIO pins for connecting to electronic components. The Raspberry Pi runs various operating systems, mainly Linux distributions such as Raspbian. It is widely used for DIY projects, home automation, teaching computer science and developing prototypes.(Description from ChatGPT)
Installation of the operating system
In order to use the raspberry, we first need to download an operating system. To do this, I used this tutorial very simple to follow proposed by raspberry. First of all we need to download the raspberry pi imager.
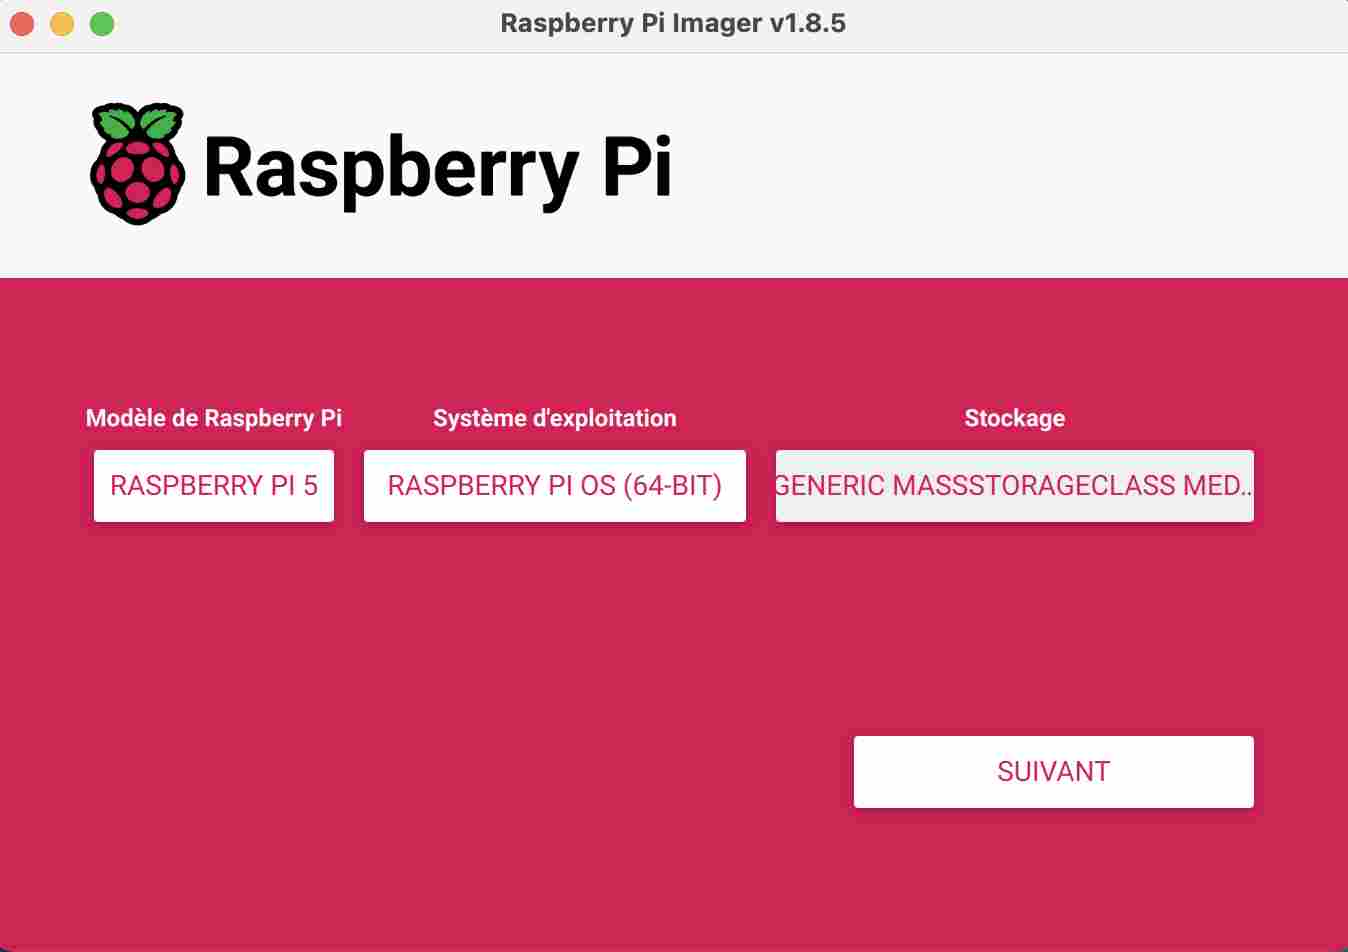
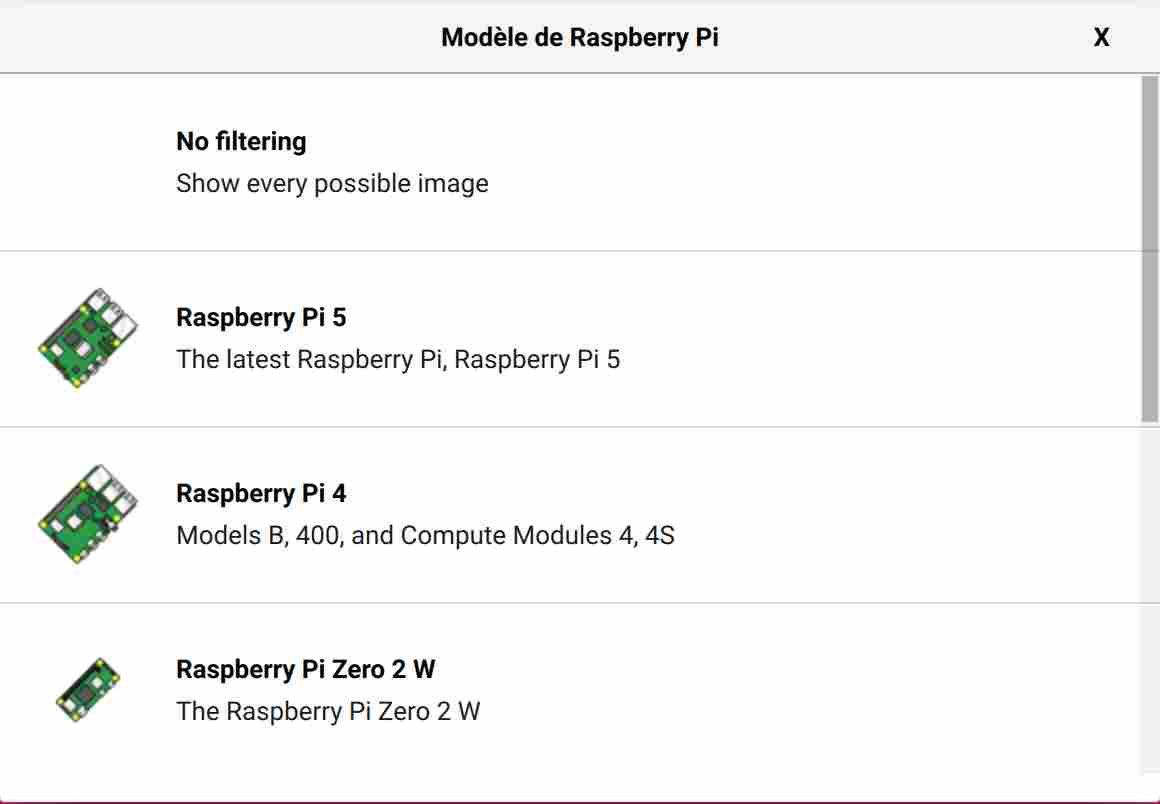
It's fairly simple to use, you just need to connect the raspberry sd card to your computer and go through the steps one by one. First, we select the model of raspberry we're using, in my case the Raspberry pi 5.
We then select the operating system we are going to use, in my case I used the one that was recommended which is the Pi OS 64bits.
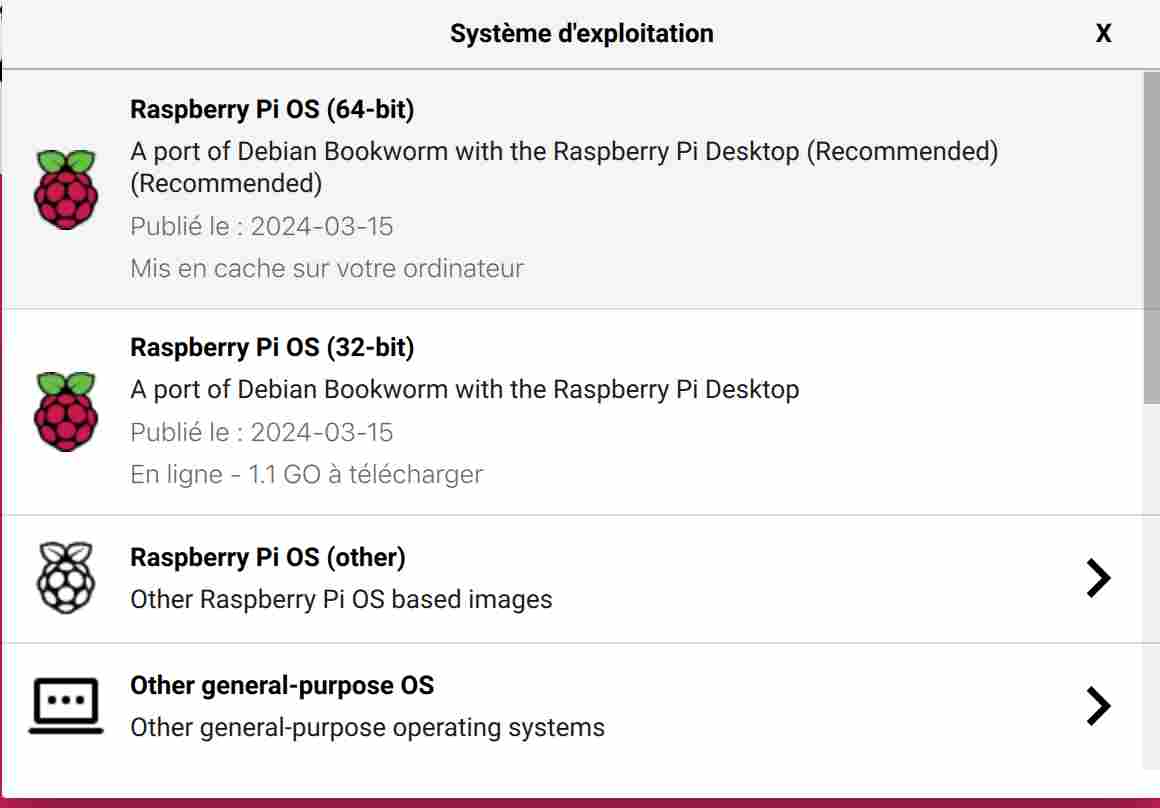
All that remains is to select our storage device and then we can proceed with customisation.
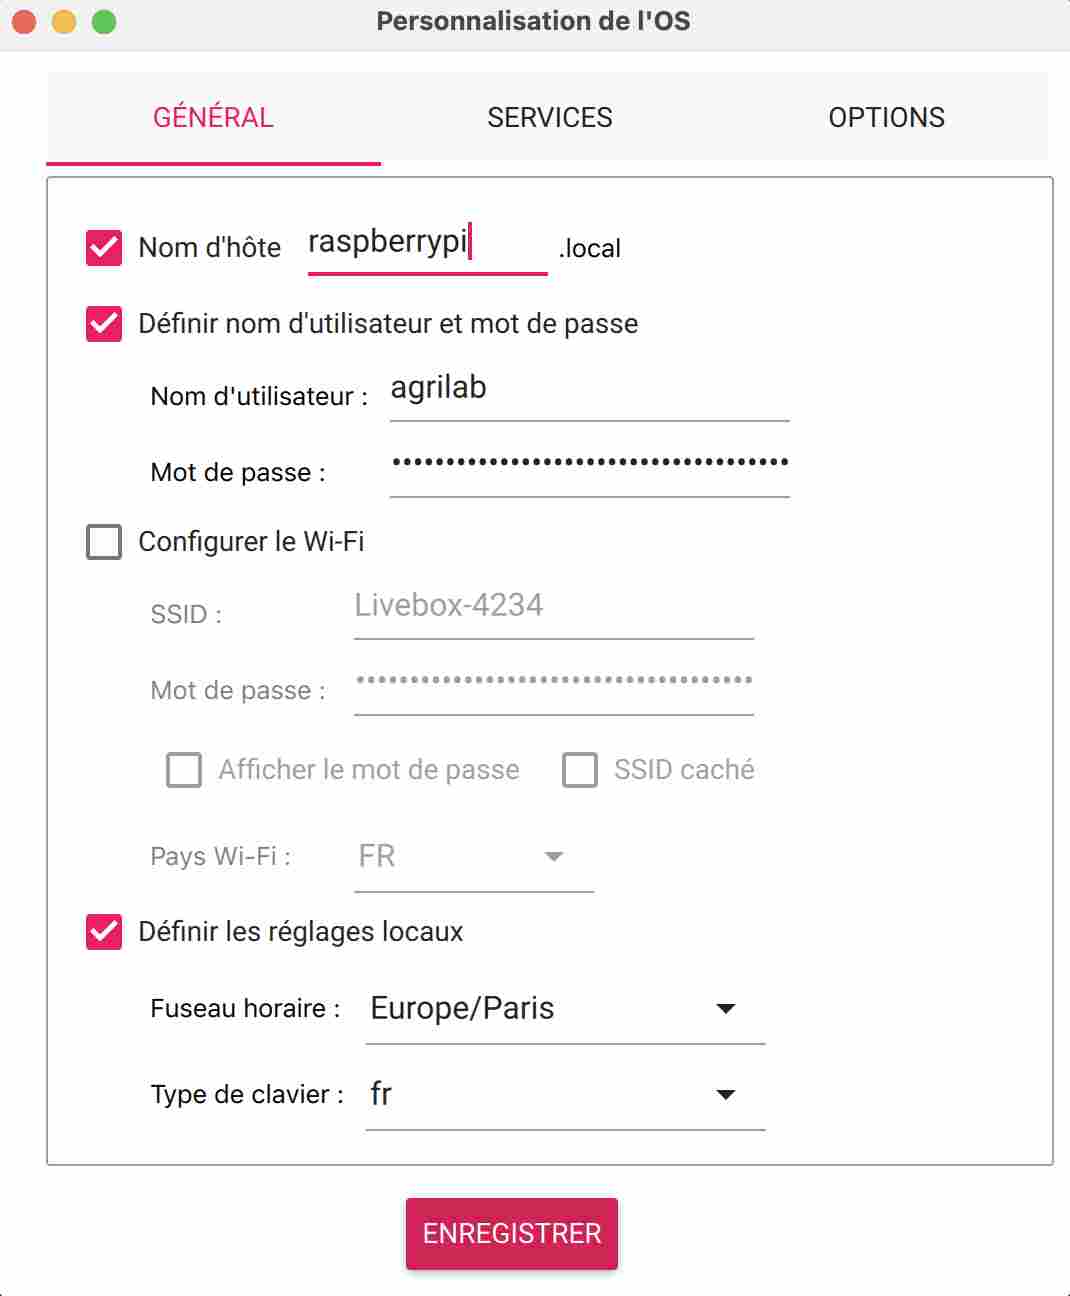
First, we'll choose the host name and user, and configure the wifi and local settings.
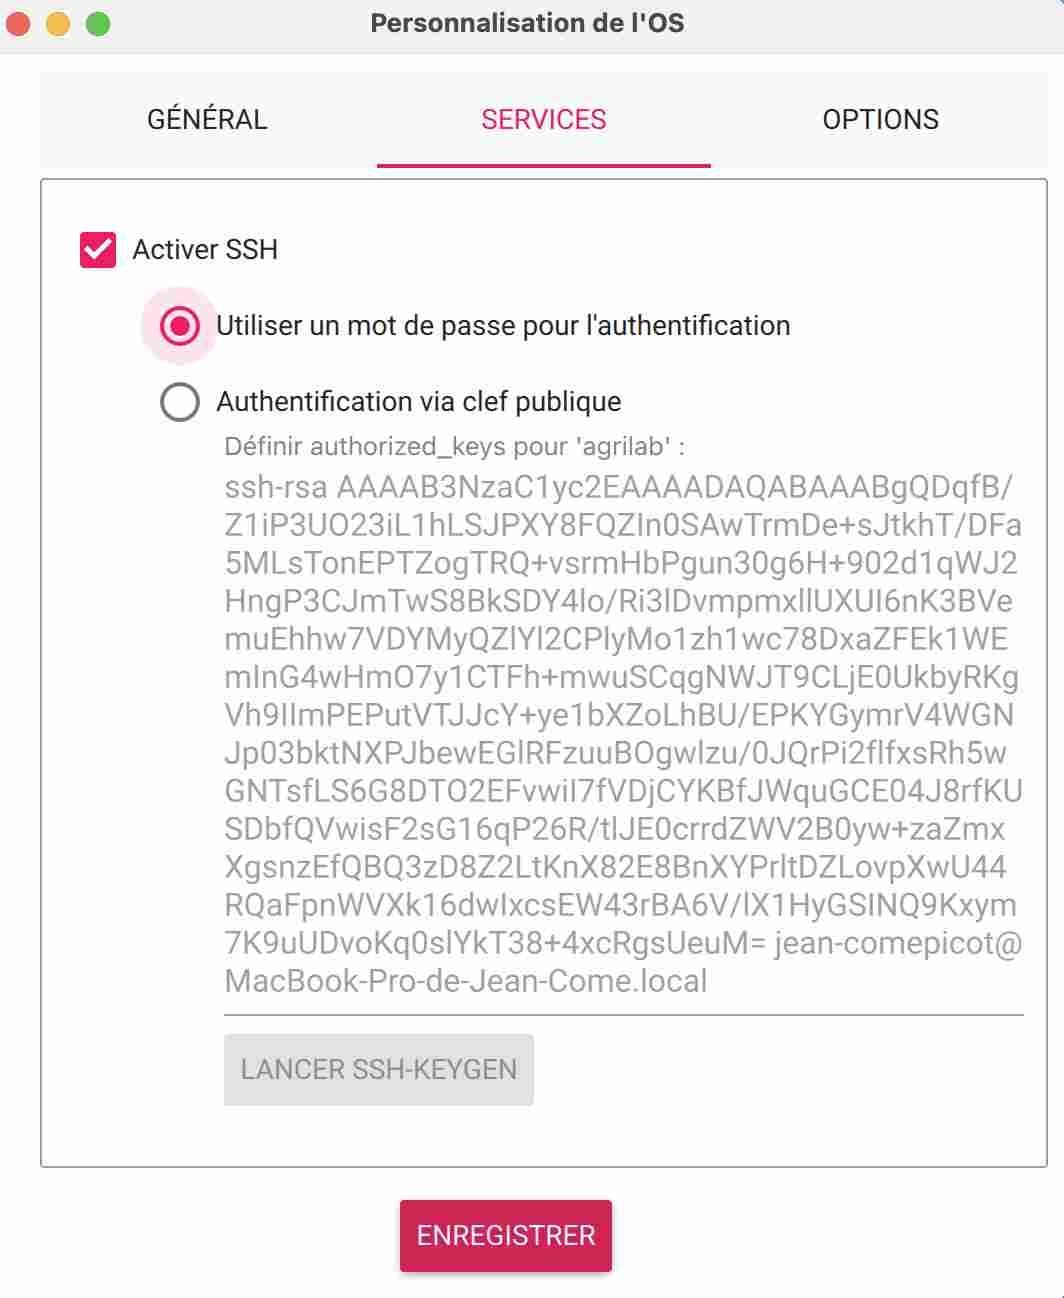
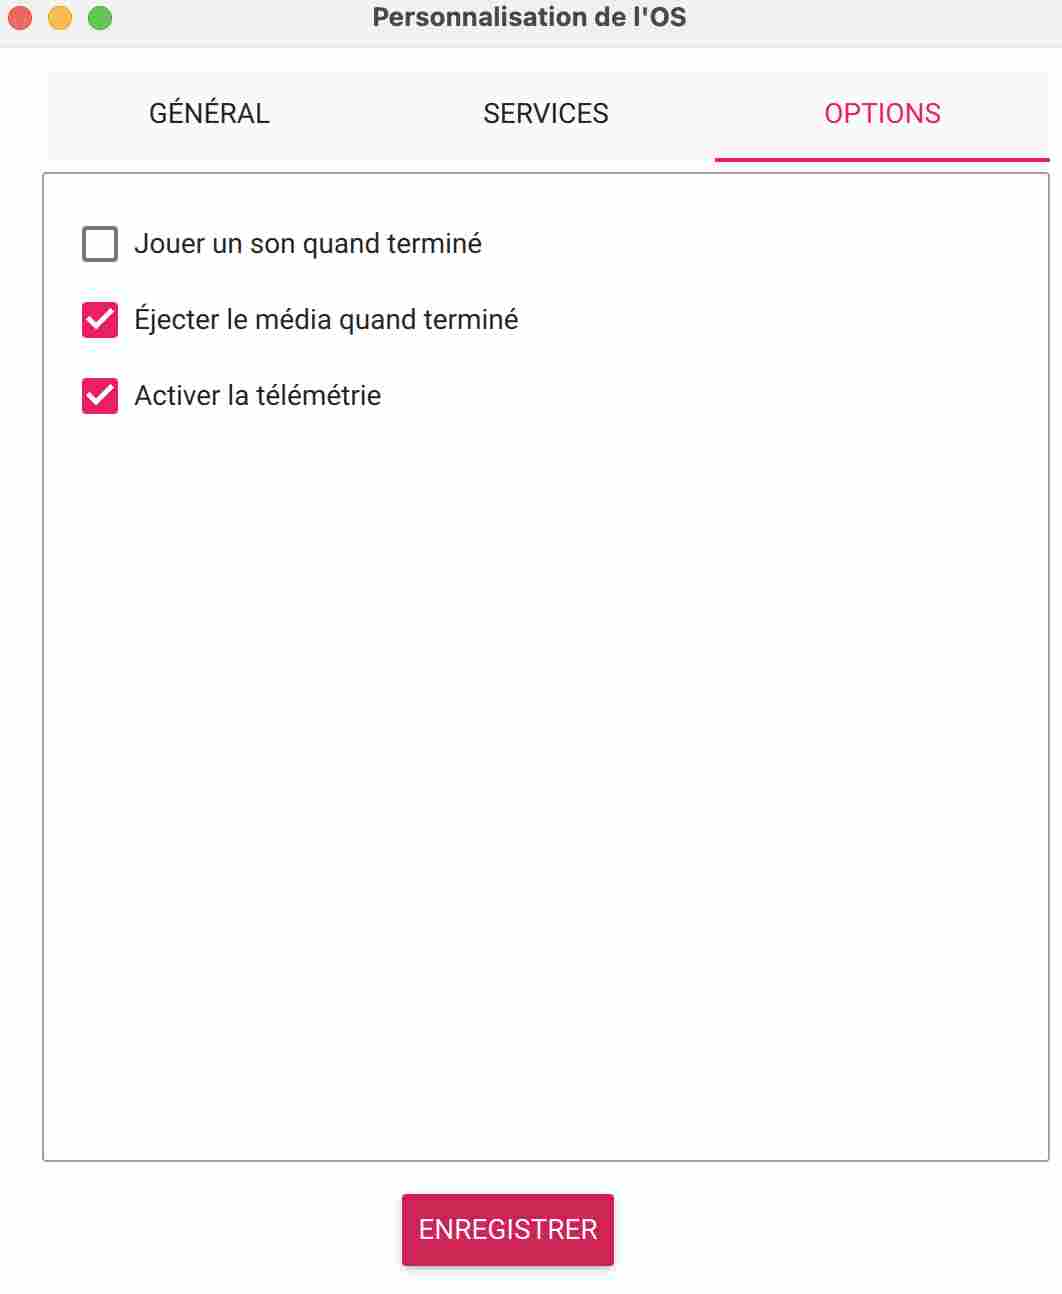
You can then choose to activate an ssh key and select certain options. We can then exit and choose to install the custom settings. Installing the OS doesn't take very long, and once it's finished you can put the micro SD card back in your Raspberry.
OpenCV
OpenCV (Open Source Computer Vision Library) is an open-source library specialising in image processing and computer vision. It offers a wide range of functions for capturing, processing, analysing and manipulating images and videos in real time. OpenCV is written in C++ and provides interfaces for the most common programming languages such as Python, Java and MATLAB. It is widely used in a variety of fields, including facial recognition, object detection, machine vision, augmented reality and robotics. Thanks to its open-source nature and active community, OpenCV is constantly being enhanced with new features and improvements.(Description from ChatGPT)
OpenCV installation
Installing the library wasn't easy, I had problems with the different methods being so diverse and varied that I found myself lost in all the online documentation. It was a discovery for me, both in terms of Linux and how to use it, and in terms of the raspberry pi. Initially, I used this tutorial from Qengineering. It's quite long and very well informed, but I got lost as I went along, no doubt entering the wrong commands. The tutorial explained how to download in python as well as in C++. Being fairly familiar with the C++ language, I initially wanted to choose this method. But then I realised that there was much more extensive documentation in Python, so I opted for that language again. So I gave up and reformatted my SD card so as not to create conflicts between the different versions of openCV that I had installed.
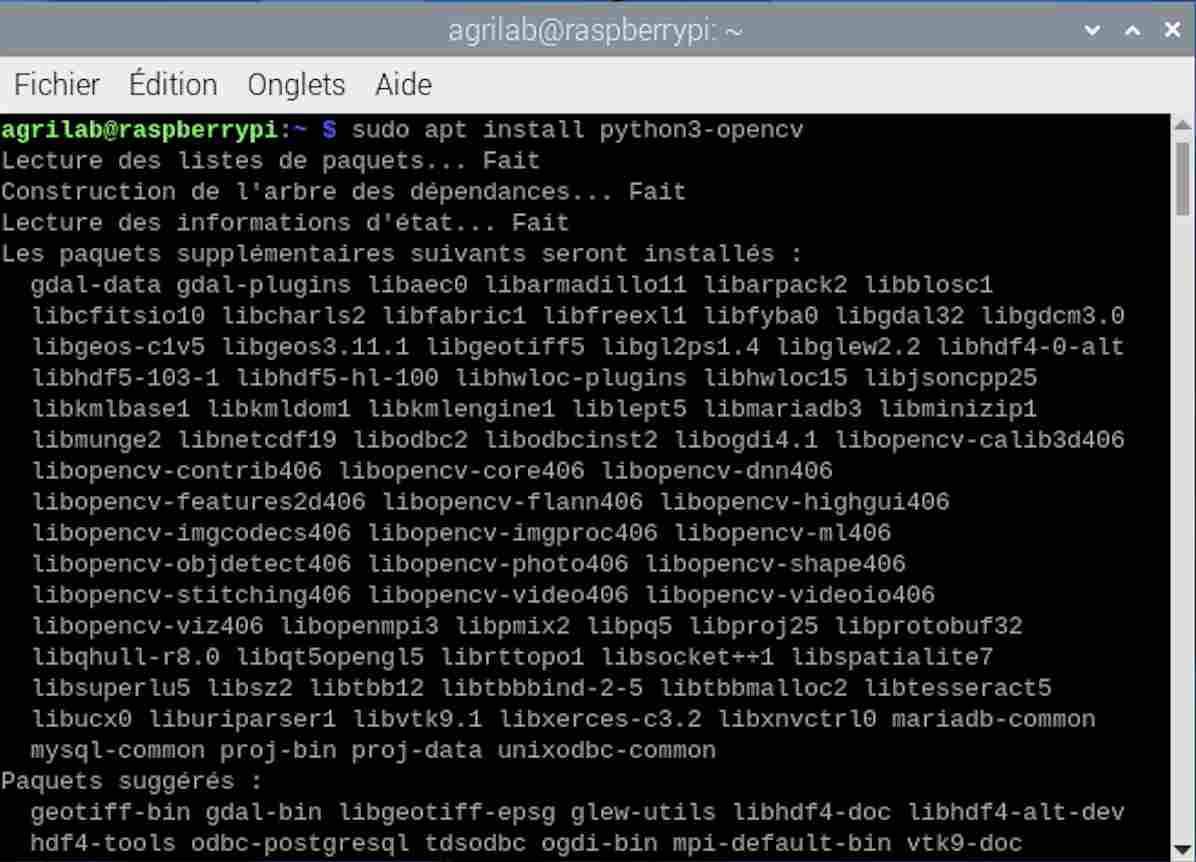
On my second attempt, I usedthis tutorial from RaspberryTips. It was much simpler to download openCV and all you had to do was enter the following command line in the terminal:
sudo apt install python3-opencv
I then continued to follow the tutorial to test whether the installation had been successful by entering the following command lines.
										import cv2
										cv2.__version__
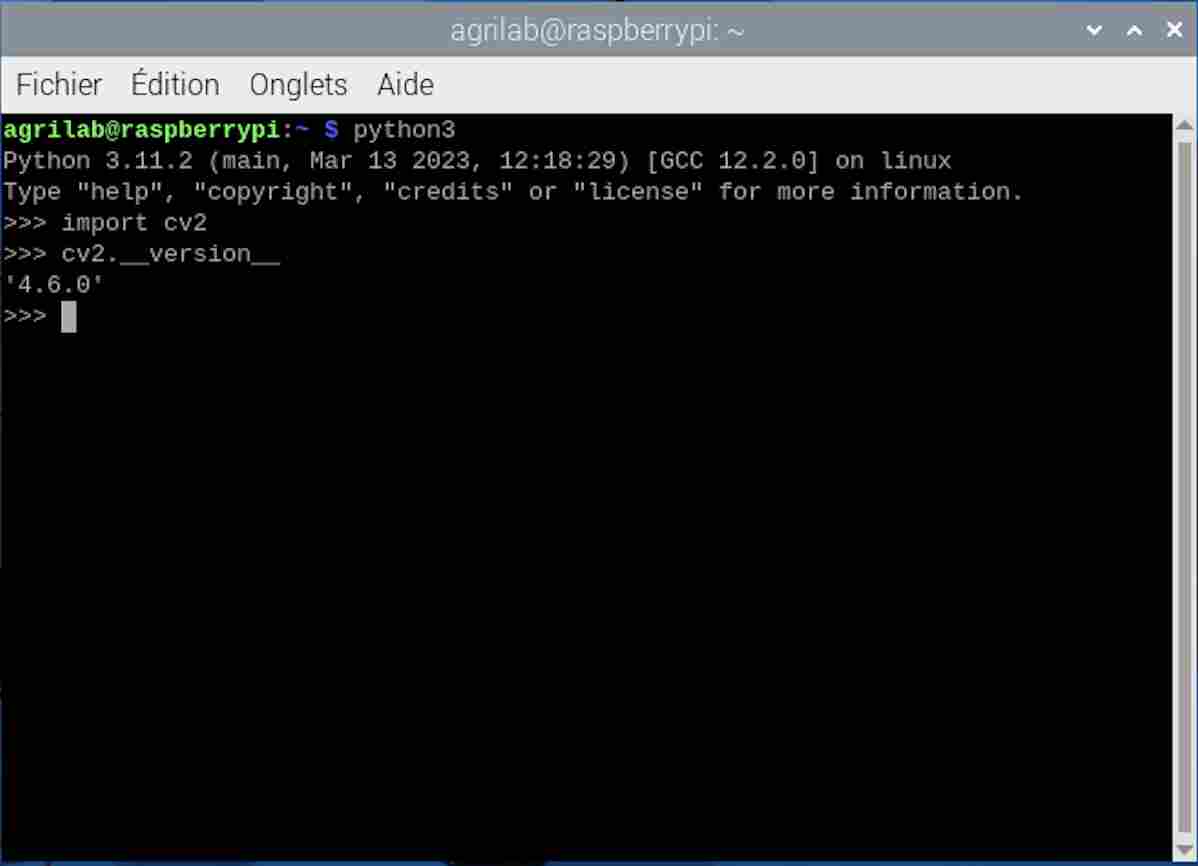
You can see that the installation was successful and that in my case I have the version 4.6.0 of OpenCV. You can enter these command lines directly in the terminal, as I did by calling python first, or by entering them in Thonny, which is installed by default in the OS.
Vision with Raspberry Cam
For try the vision with Raspberry camera, I tried to follow this tutorial from Framboise 314(french). I didn't get very far in pursuing it because it was the first time we'd used a Raspberry PI 5 with the camera at Agrilab and we didn't manage to connect it because the ribbon that connects the camera to the Raspberry isn't the same as on older generations, so I wasn't able to try using the Raspberry with the camera and had to resort to using photos from the web in the meantime. I may also try other tutorials such as this one.
Roboflow trial
I then tried to test an already pre-trained model on the roboflow site using this model which is trained on 271 images of crows. However, to install it I had to create a virtual environment to avoid any problems between different versions of the software.
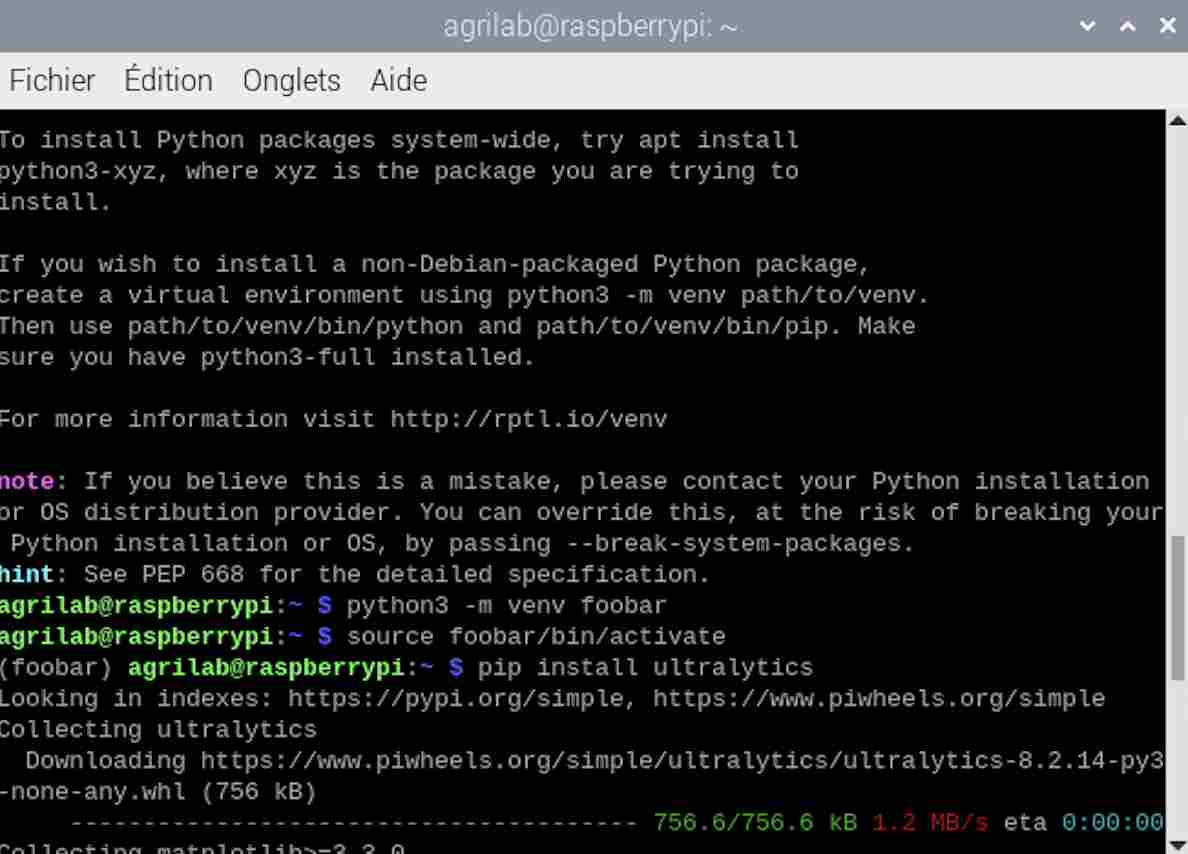
Once I had my virtual environment here called foobar I first entered this command in my monitor:
pip install inference-sdk
I then tried this code in thonny and an image downloaded from the Internet.
from inference_sdk import InferenceHTTPClient

CLIENT = InferenceHTTPClient(
    api_url="https://detect.roboflow.com",
    api_key="API_KEY"
)

result = CLIENT.infer(your_image.jpg, model_id="cigritous/1")
The result was a failure and it didn't work. I think the fact that the tool was downloaded in a virtual environment makes it more complex to use. I saw in this tutorial that it is possible to disable the security that forces the creation of a virtual environment by entering this command line in the terminal:
sudo mv /usr/lib/python3.11/EXTERNALLY-MANAGED /usr/lib/python3.11/EXTERNALLY-MANAGED.old
Spaces of colors
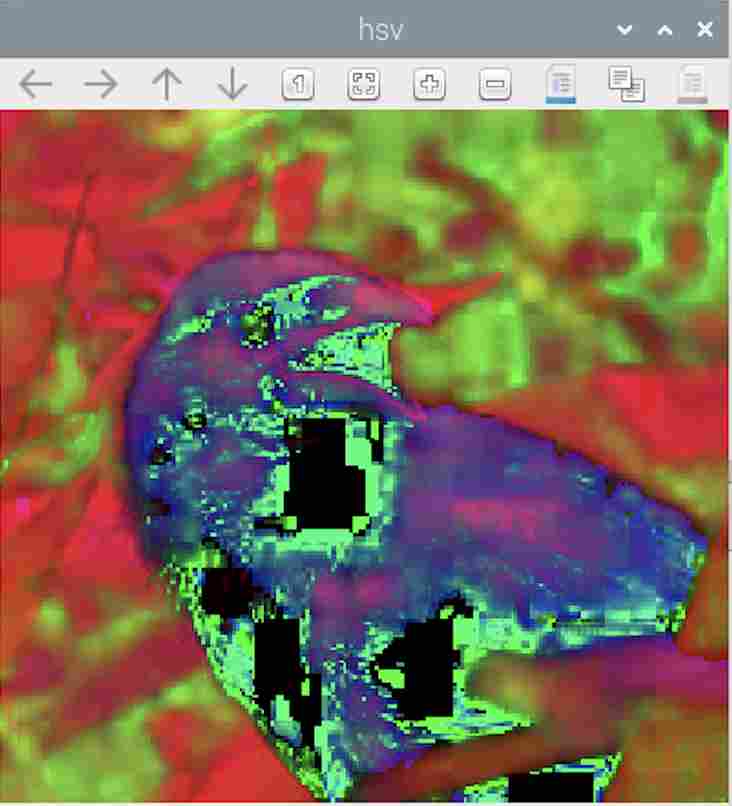
I then looked to see if there were other systems using OpenCV to determine whether they were crows or not and I came across this scientific article which tests two methods by comparing Tensorflow and OpenCV. I tried to follow it, but I tried different codes because I was having trouble downloading new libraries and using them in my virtual environment. So I used this tutorial to analyse the different colour spaces in a photo of a raven. To do this I started by trying to determine the HSV (Hue, Saturation, Value) space of my image. To do this I used the following code:
import cv2
img = cv2.imread("/home/agrilab/Desktop/original.jpg", cv2.IMREAD_UNCHANGED)
hsv = cv2.cvtColor(img, cv2.COLOR_BGR2HSV)
cv2.namedWindow('hsv', cv2.WINDOW_NORMAL)
cv2.imshow('hsv', hsv)
cv2.waitKey(0)
cv2.destroyAllWindows()
The result was quite satisfactory and was as follows:
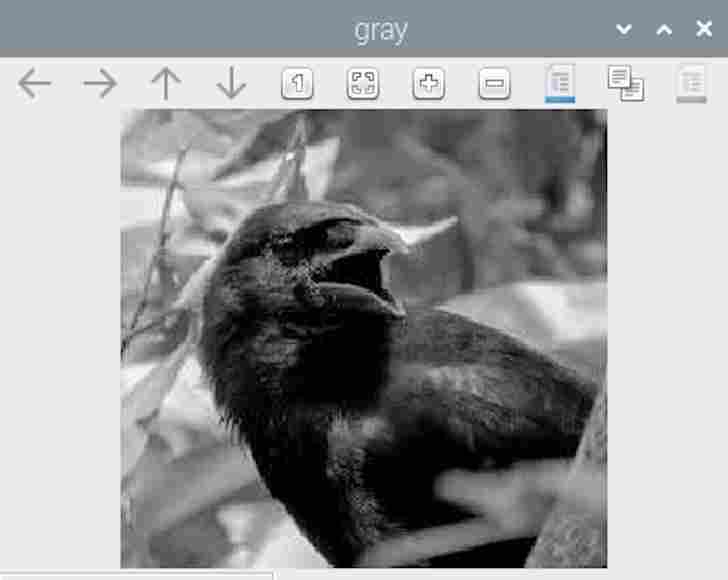
I then tried transforming the image into greyscale, using the following code
import cv2
img = cv2.imread("/home/agrilab/Desktop/original.jpg", cv2.IMREAD_UNCHANGED)
gray = cv2.cvtColor(img, cv2.COLOR_BGR2GRAY)
cv2.namedWindow('gray', cv2.WINDOW_NORMAL)
cv2.imshow('gray', gray)
cv2.waitKey(0)
cv2.destroyAllWindows()
I obtained the following result:
I then tried a code that separates the objects in an image, the code was as follows:
import cv2
import numpy as np
img=cv2.imread ("/home/agrilab/Desktop/original.jpg");
hsv = cv2.cvtColor(img, cv2.COLOR_BGR2HSV)
h,s,v= cv2.split(hsv)
ret_h, th_h = cv2.threshold(h,0,255,cv2.THRESH_BINARY+cv2.THRESH_OTSU)
ret_s, th_s = cv2.threshold(s,0,255,cv2.THRESH_BINARY+cv2.THRESH_OTSU)
#Fusion th_h et th_s
th=cv2.bitwise_or(th_h,th_s)
#Ajouts de bord à l'image
bordersize=10
th=cv2.copyMakeBorder(th, top=bordersize, bottom=bordersize, left=bordersize, right=bordersize, borderType= cv2.BORDER_CONSTANT, value=[0,0,0] )
#Remplissage des contours
im_floodfill = th.copy()
h, w = th.shape[:2]
mask = np.zeros((h+2, w+2), np.uint8)
cv2.floodFill(im_floodfill, mask, (0,0), 255)
im_floodfill_inv = cv2.bitwise_not(im_floodfill)
th = th | im_floodfill_inv
#Enlèvement des bord de l'image
th=th[bordersize: len(th)-bordersize,bordersize: len(th[0])-bordersize]
resultat=cv2.bitwise_and(img,img,mask=th)
cv2.imwrite("im_floodfill.jpg",im_floodfill)
cv2.imwrite("th.jpg",th)
cv2.imwrite("resultat.jpg",resultat)
contours, hierarchy = cv2.findContours(th,cv2.RETR_TREE,cv2.CHAIN_APPROX_SIMPLE)
for i in range (0, len(contours)) :
    mask_BB_i = np.zeros((len(th),len(th[0])), np.uint8)
    x,y,w,h = cv2.boundingRect(contours[i])
    cv2.drawContours(mask_BB_i, contours, i, (255,255,255), -1)
    BB_i=cv2.bitwise_and(img,img,mask=mask_BB_i)
    if h >15 and w>15 :
        BB_i=BB_i[y:y+h,x:x+w]
        cv2.imwrite("BB_"+str(i)+".jpg",BB_i)
The result wasn't very satisfactory, as I got a lot of images that didn't necessarily display what I was looking for, such as the following:
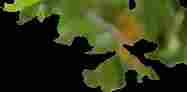
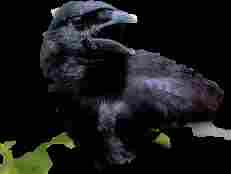


As I couldn't copy the principle of using the page any further, I finally decided not to go any further in this tutorial.
Open CV bird détectection algorythm
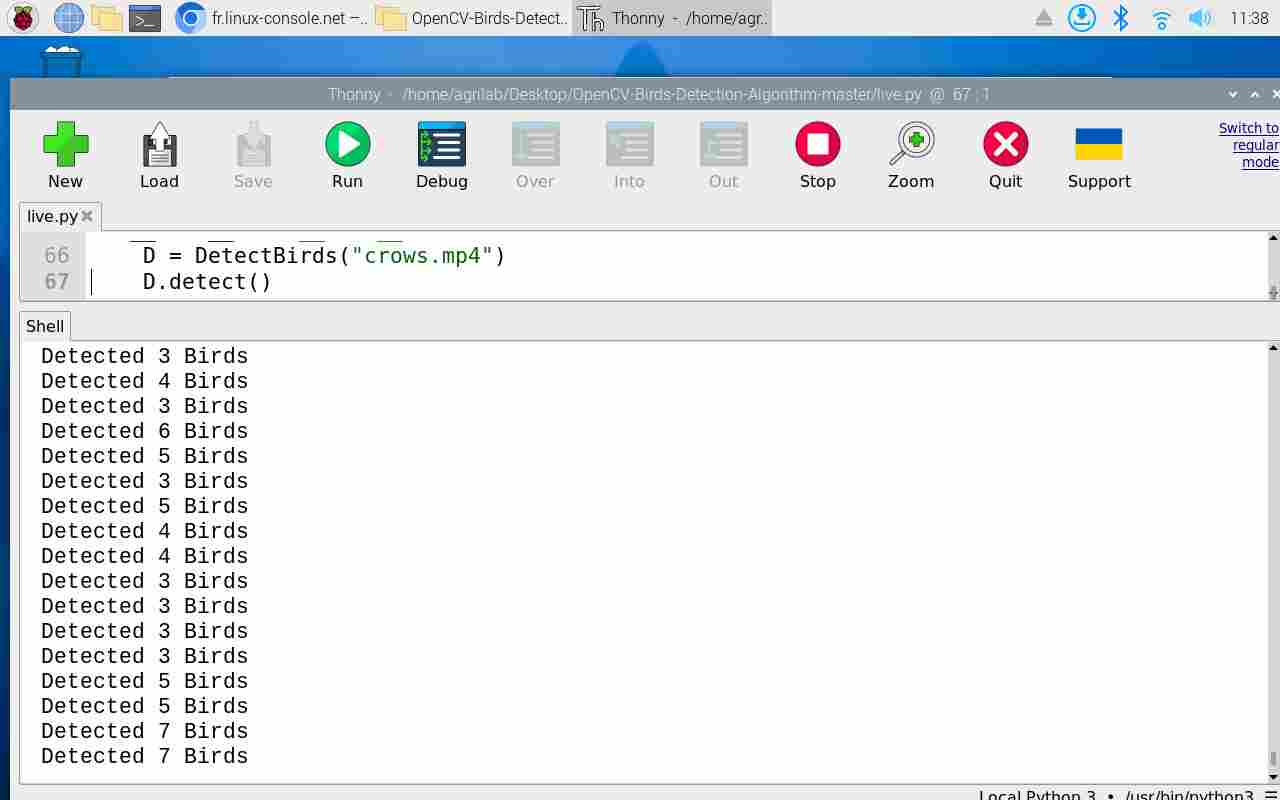
I then found this Github deposit which allows you to do bird recognition with openCV. So I cloned the github repository and tried it out on my raspberry. To do this, I went to the folder and opened the file in python then ran it, the result on the demonstration video was not very satisfactory, it took birds into account during flight but no longer detected them once they had landed, as can be seen below. It also counted the number of birds with completely inaccurate values.
So I tried testing it with other videos by adding them to the folder and replacing a line in the code with the name of the example video. I used this recording from a youtube vidéo to see how the algorithm behaved when faced with a crow, then I tried, with Luc's advice, to take a video that had nothing to do with birds and even less with animals. So I also tried a test video of the week5 or I pour water into a glass to see if the algorithm is reliable enough.
As you can see from the videos, the result is not really satisfactory. In the video of the crows, we can see that the algorithm does detect the presence of animals, but it's very random and not very effective. In the case of the second video we can see that the algorithm really doesn't work, we don't see any moving objects or animals and we see squares being displayed when there's no reason for them to be, so this test wasn't a very good lead. As for the test with the video of the crows, you can also see that the number of crows counted in the serial monitor has nothing to do with the real number of birds. I don't know why, but the video was inverted when it was processed by the algorithm.