Assignment
Individual Assignment:
- Design and produce something with a digital fabrication process (incorporating computer-aided design and manufacturing) not covered in another assignment, documenting the requirements that your assignment meets, and including everything necessary to reproduce it.
Wild Card Project
This week I will be using a Brother PRS100 embroidery machine. I will be taking the PAST Foundation Logo and our Maker Lab logo and add them to shirts for PAST employees.
Since it has been a some time since I have used Ink/Stitch in InkScape I needed to watch a YouTube video to refresh my memory. Ink/Stitch
After refreshing my memory I was able to import the Maker logo into InkScape and then use Ink/Stitch to create the embroidery file.
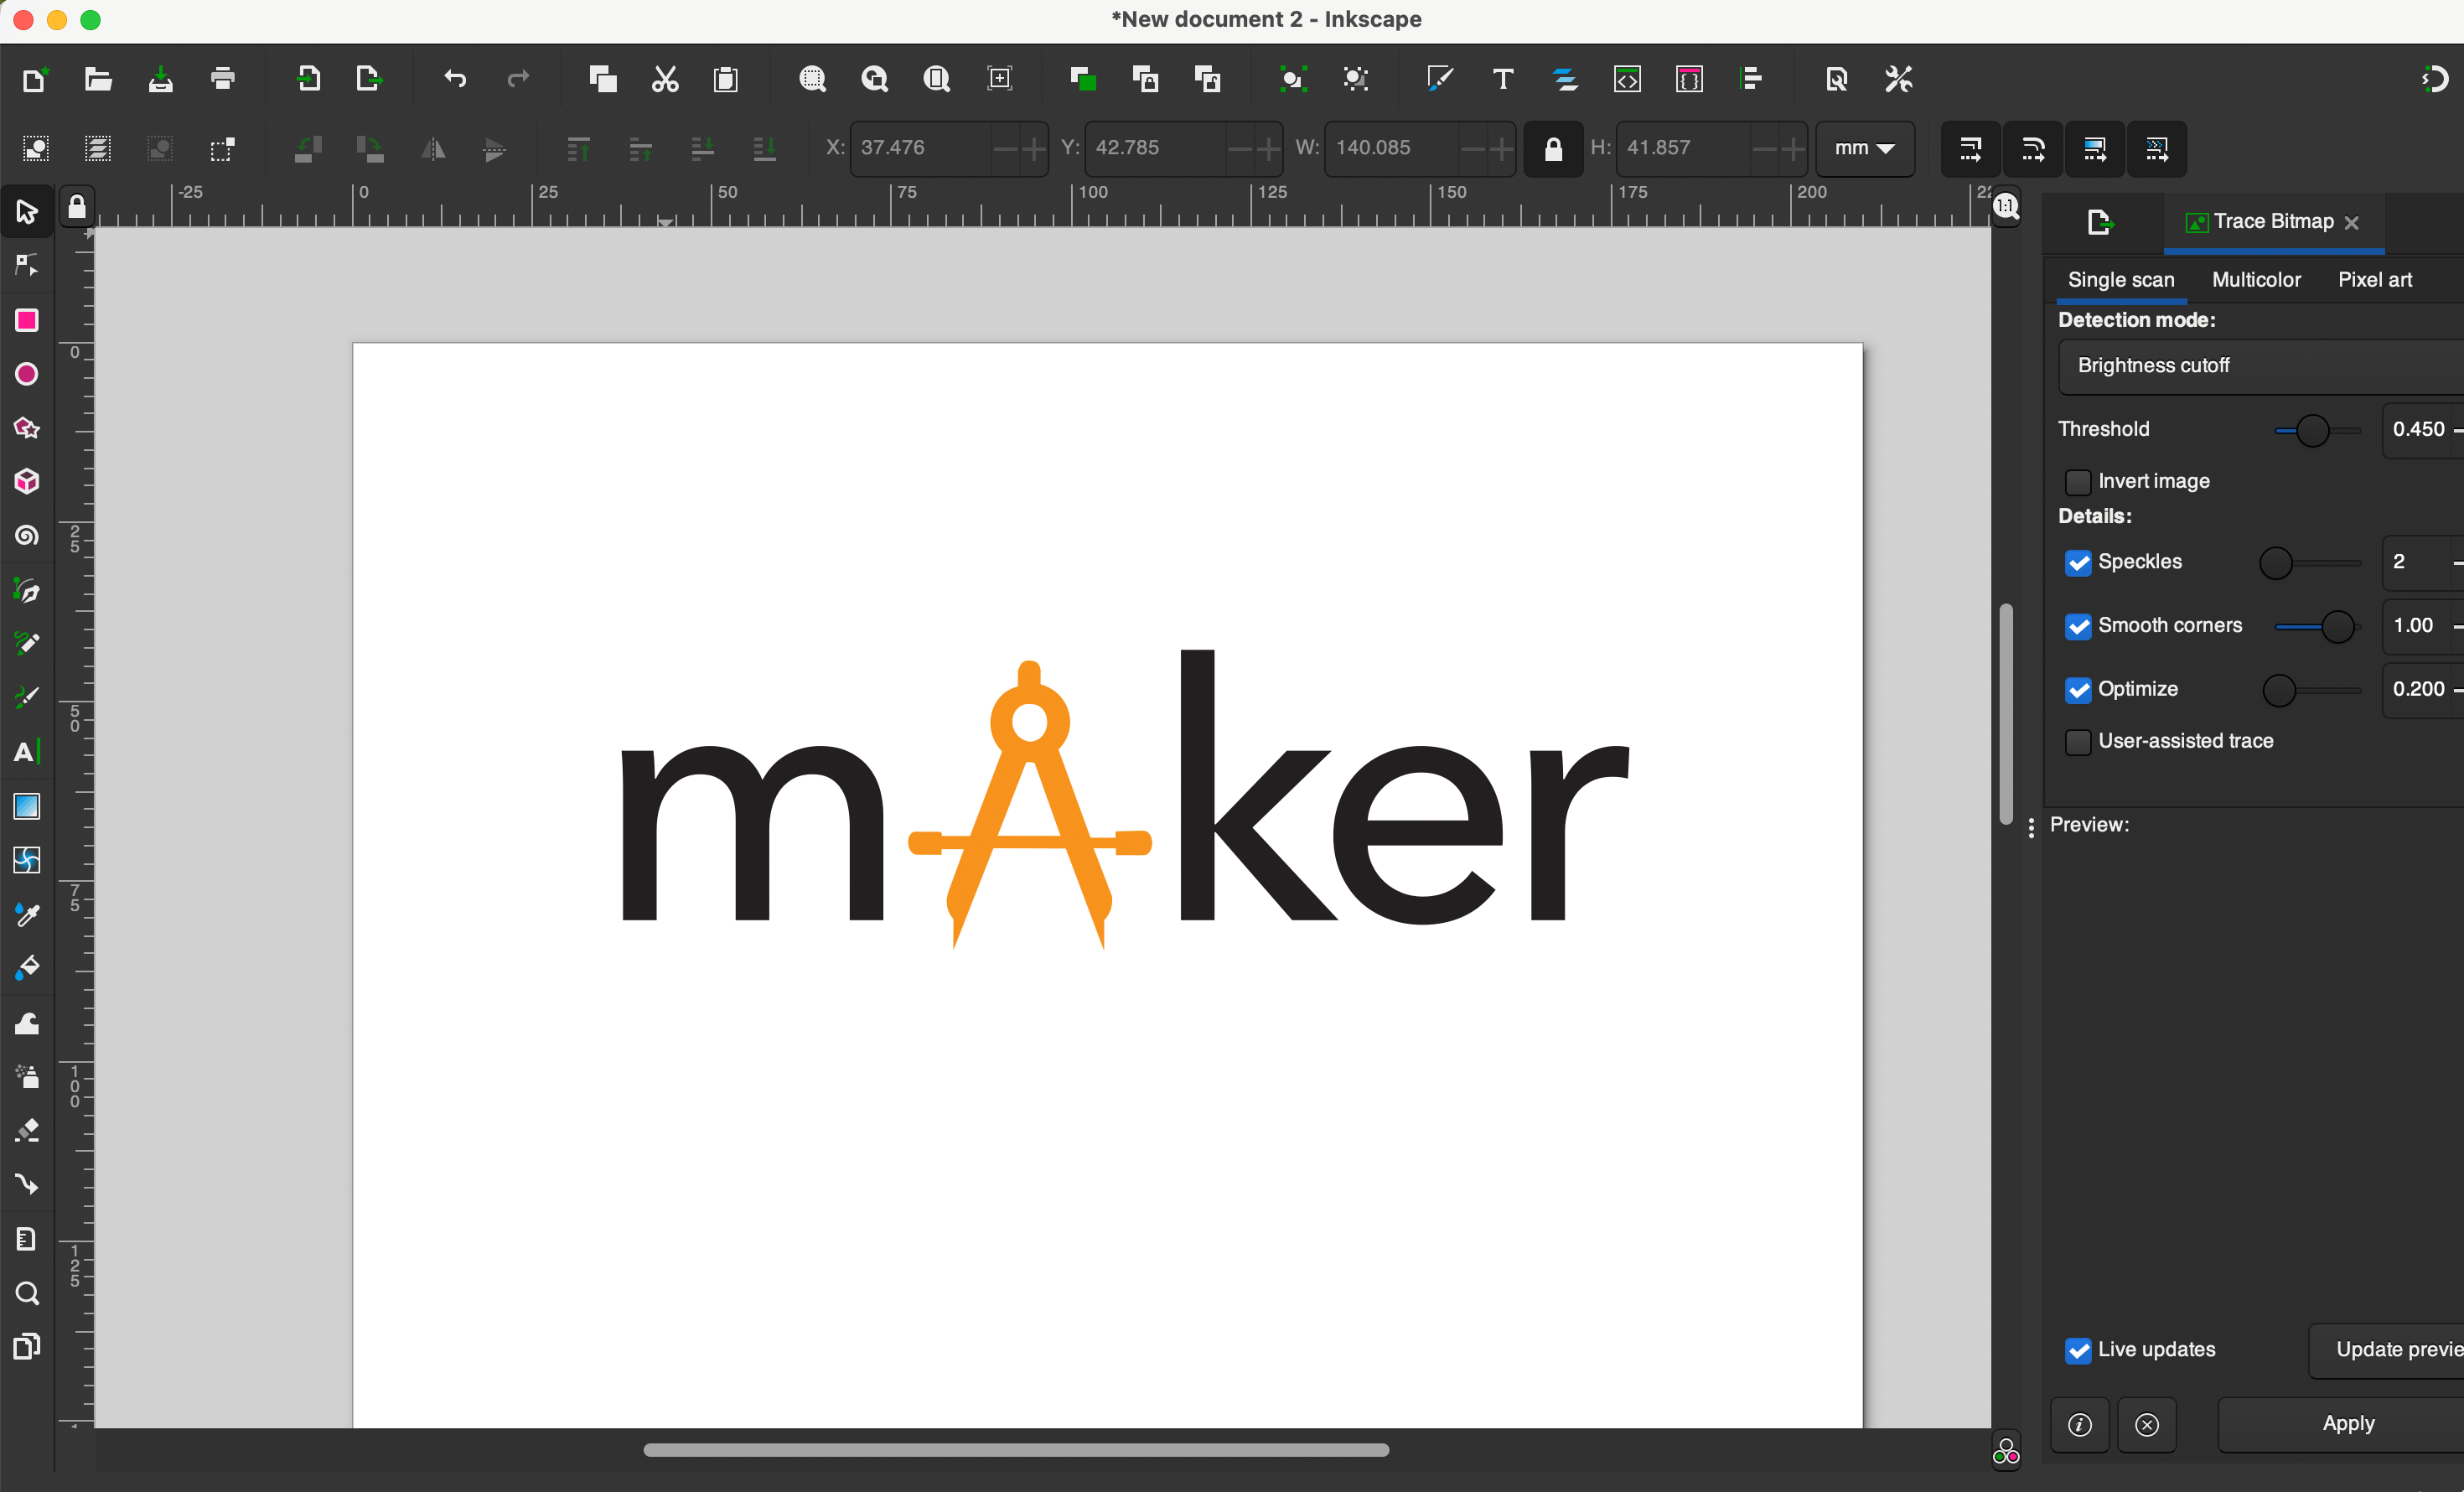
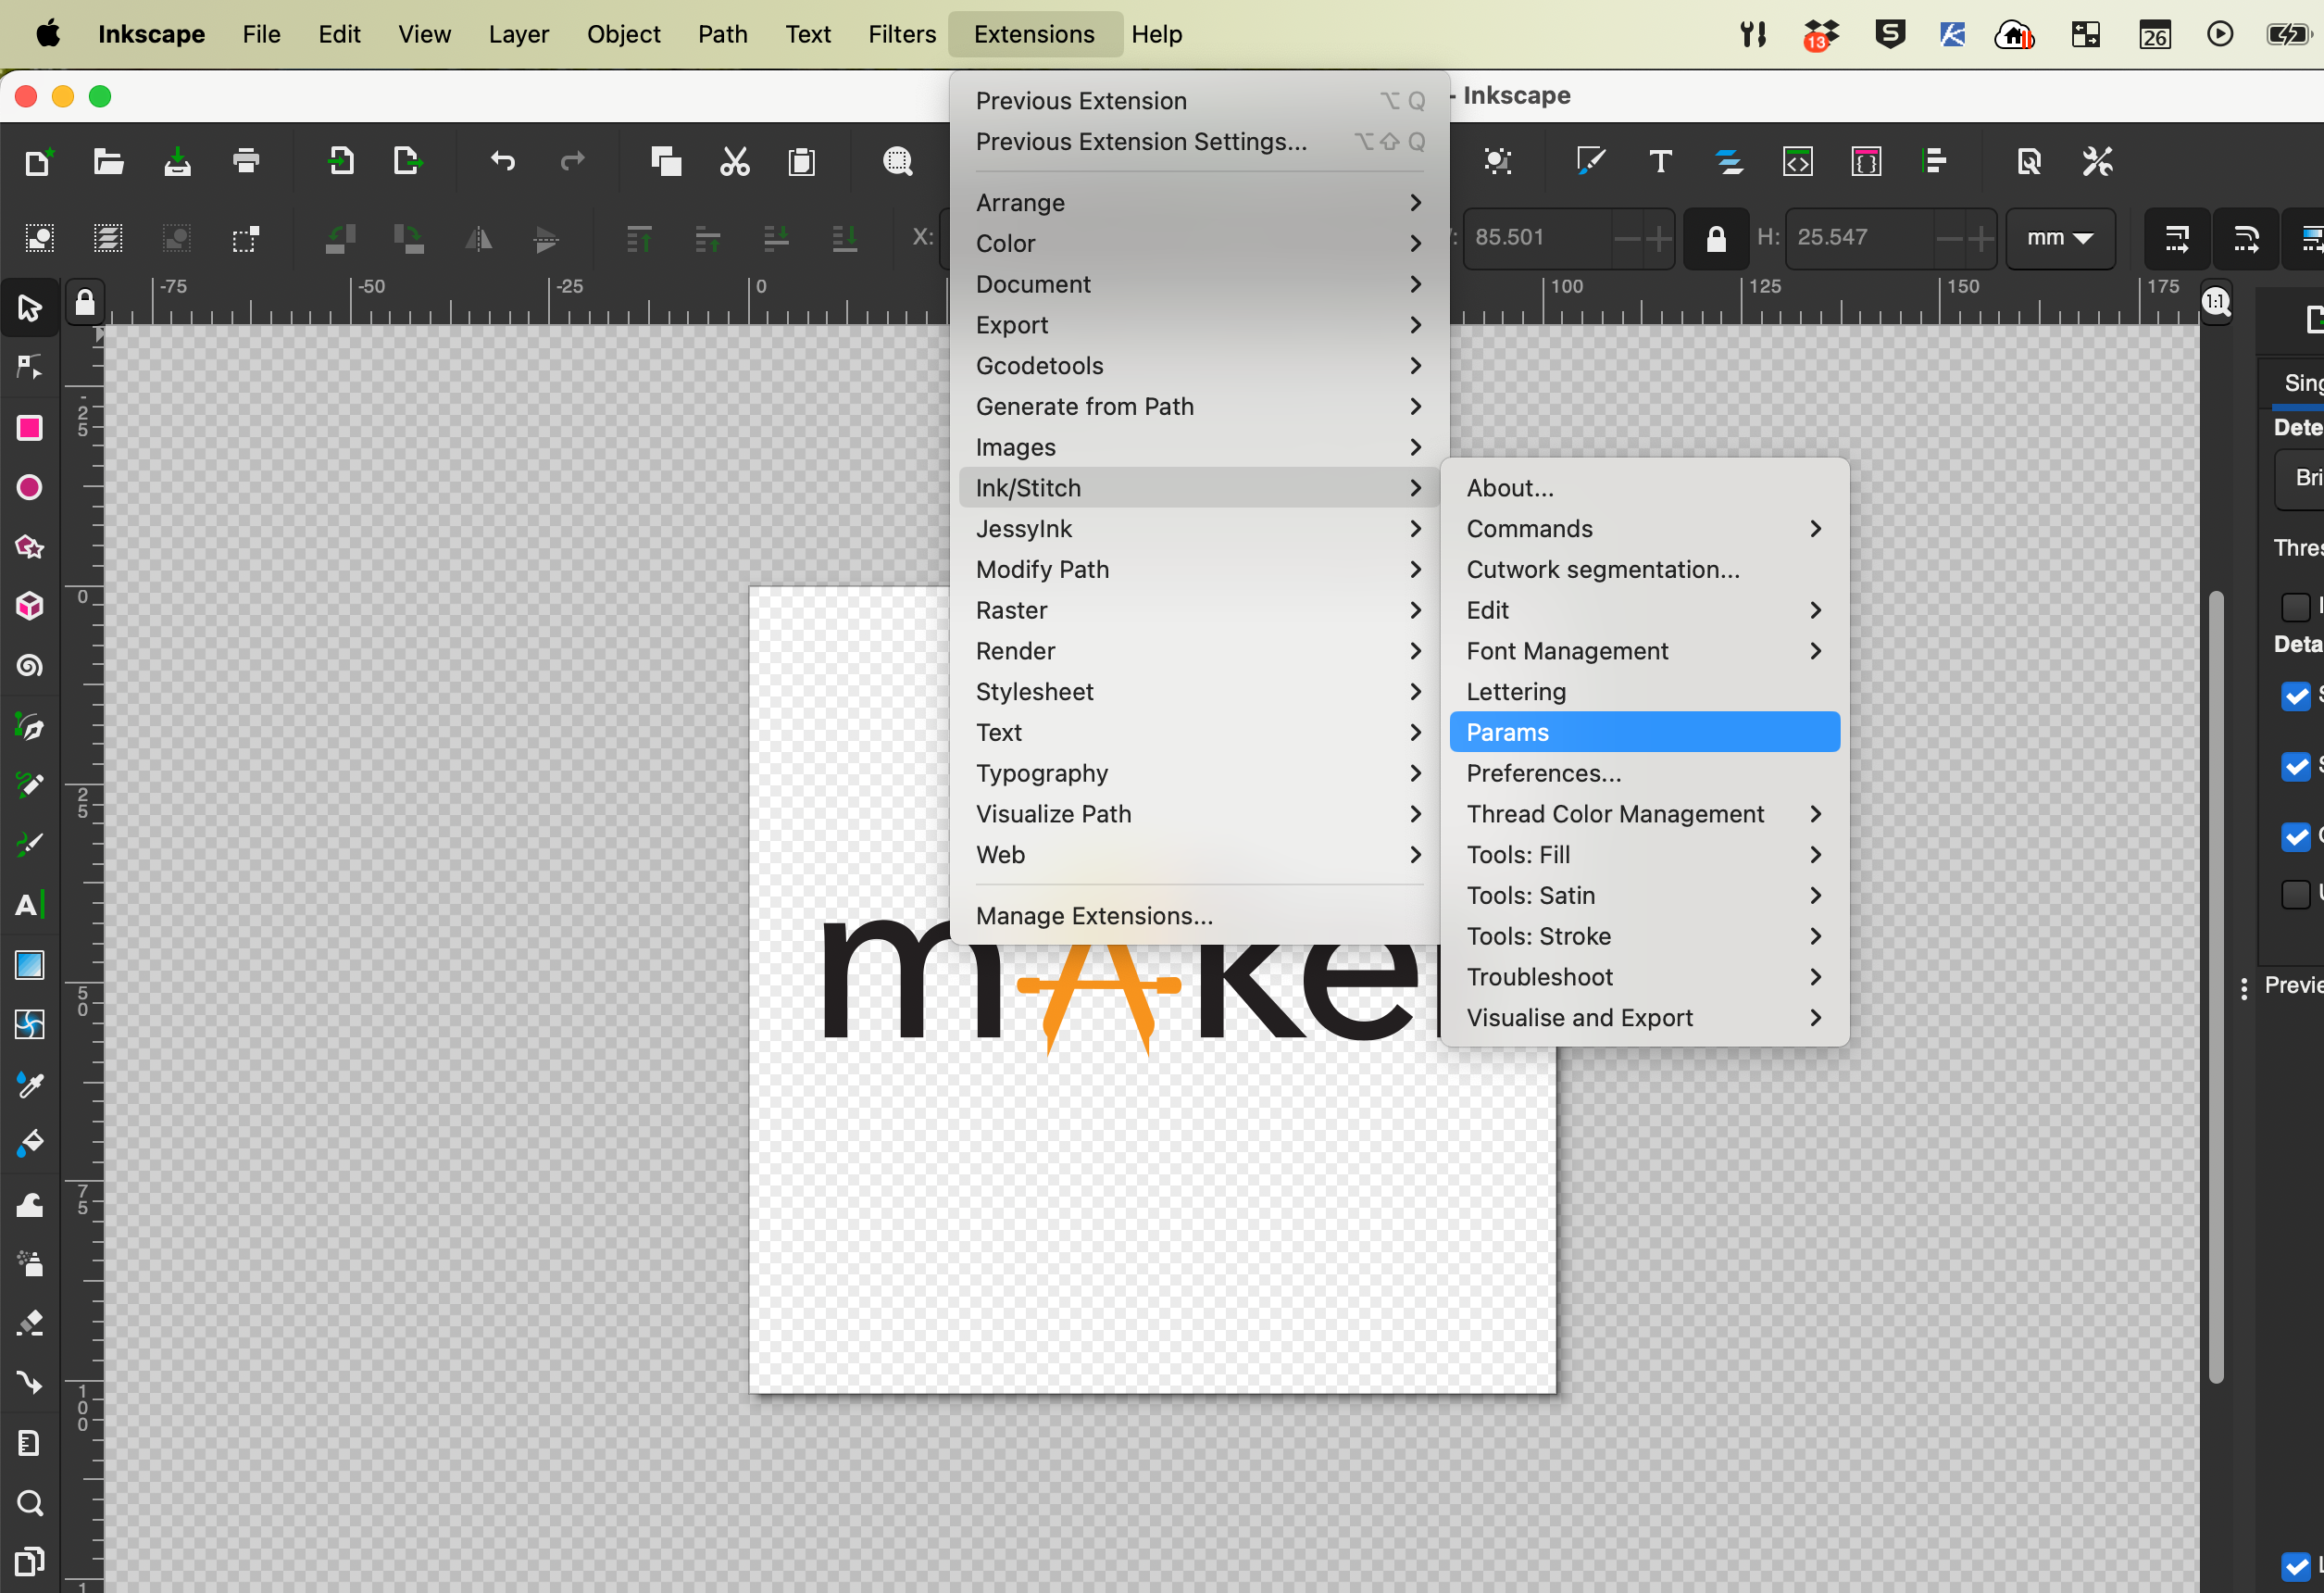

The Stitch Params allows you to adjust or modify fill patterns and other settings for embroidery.
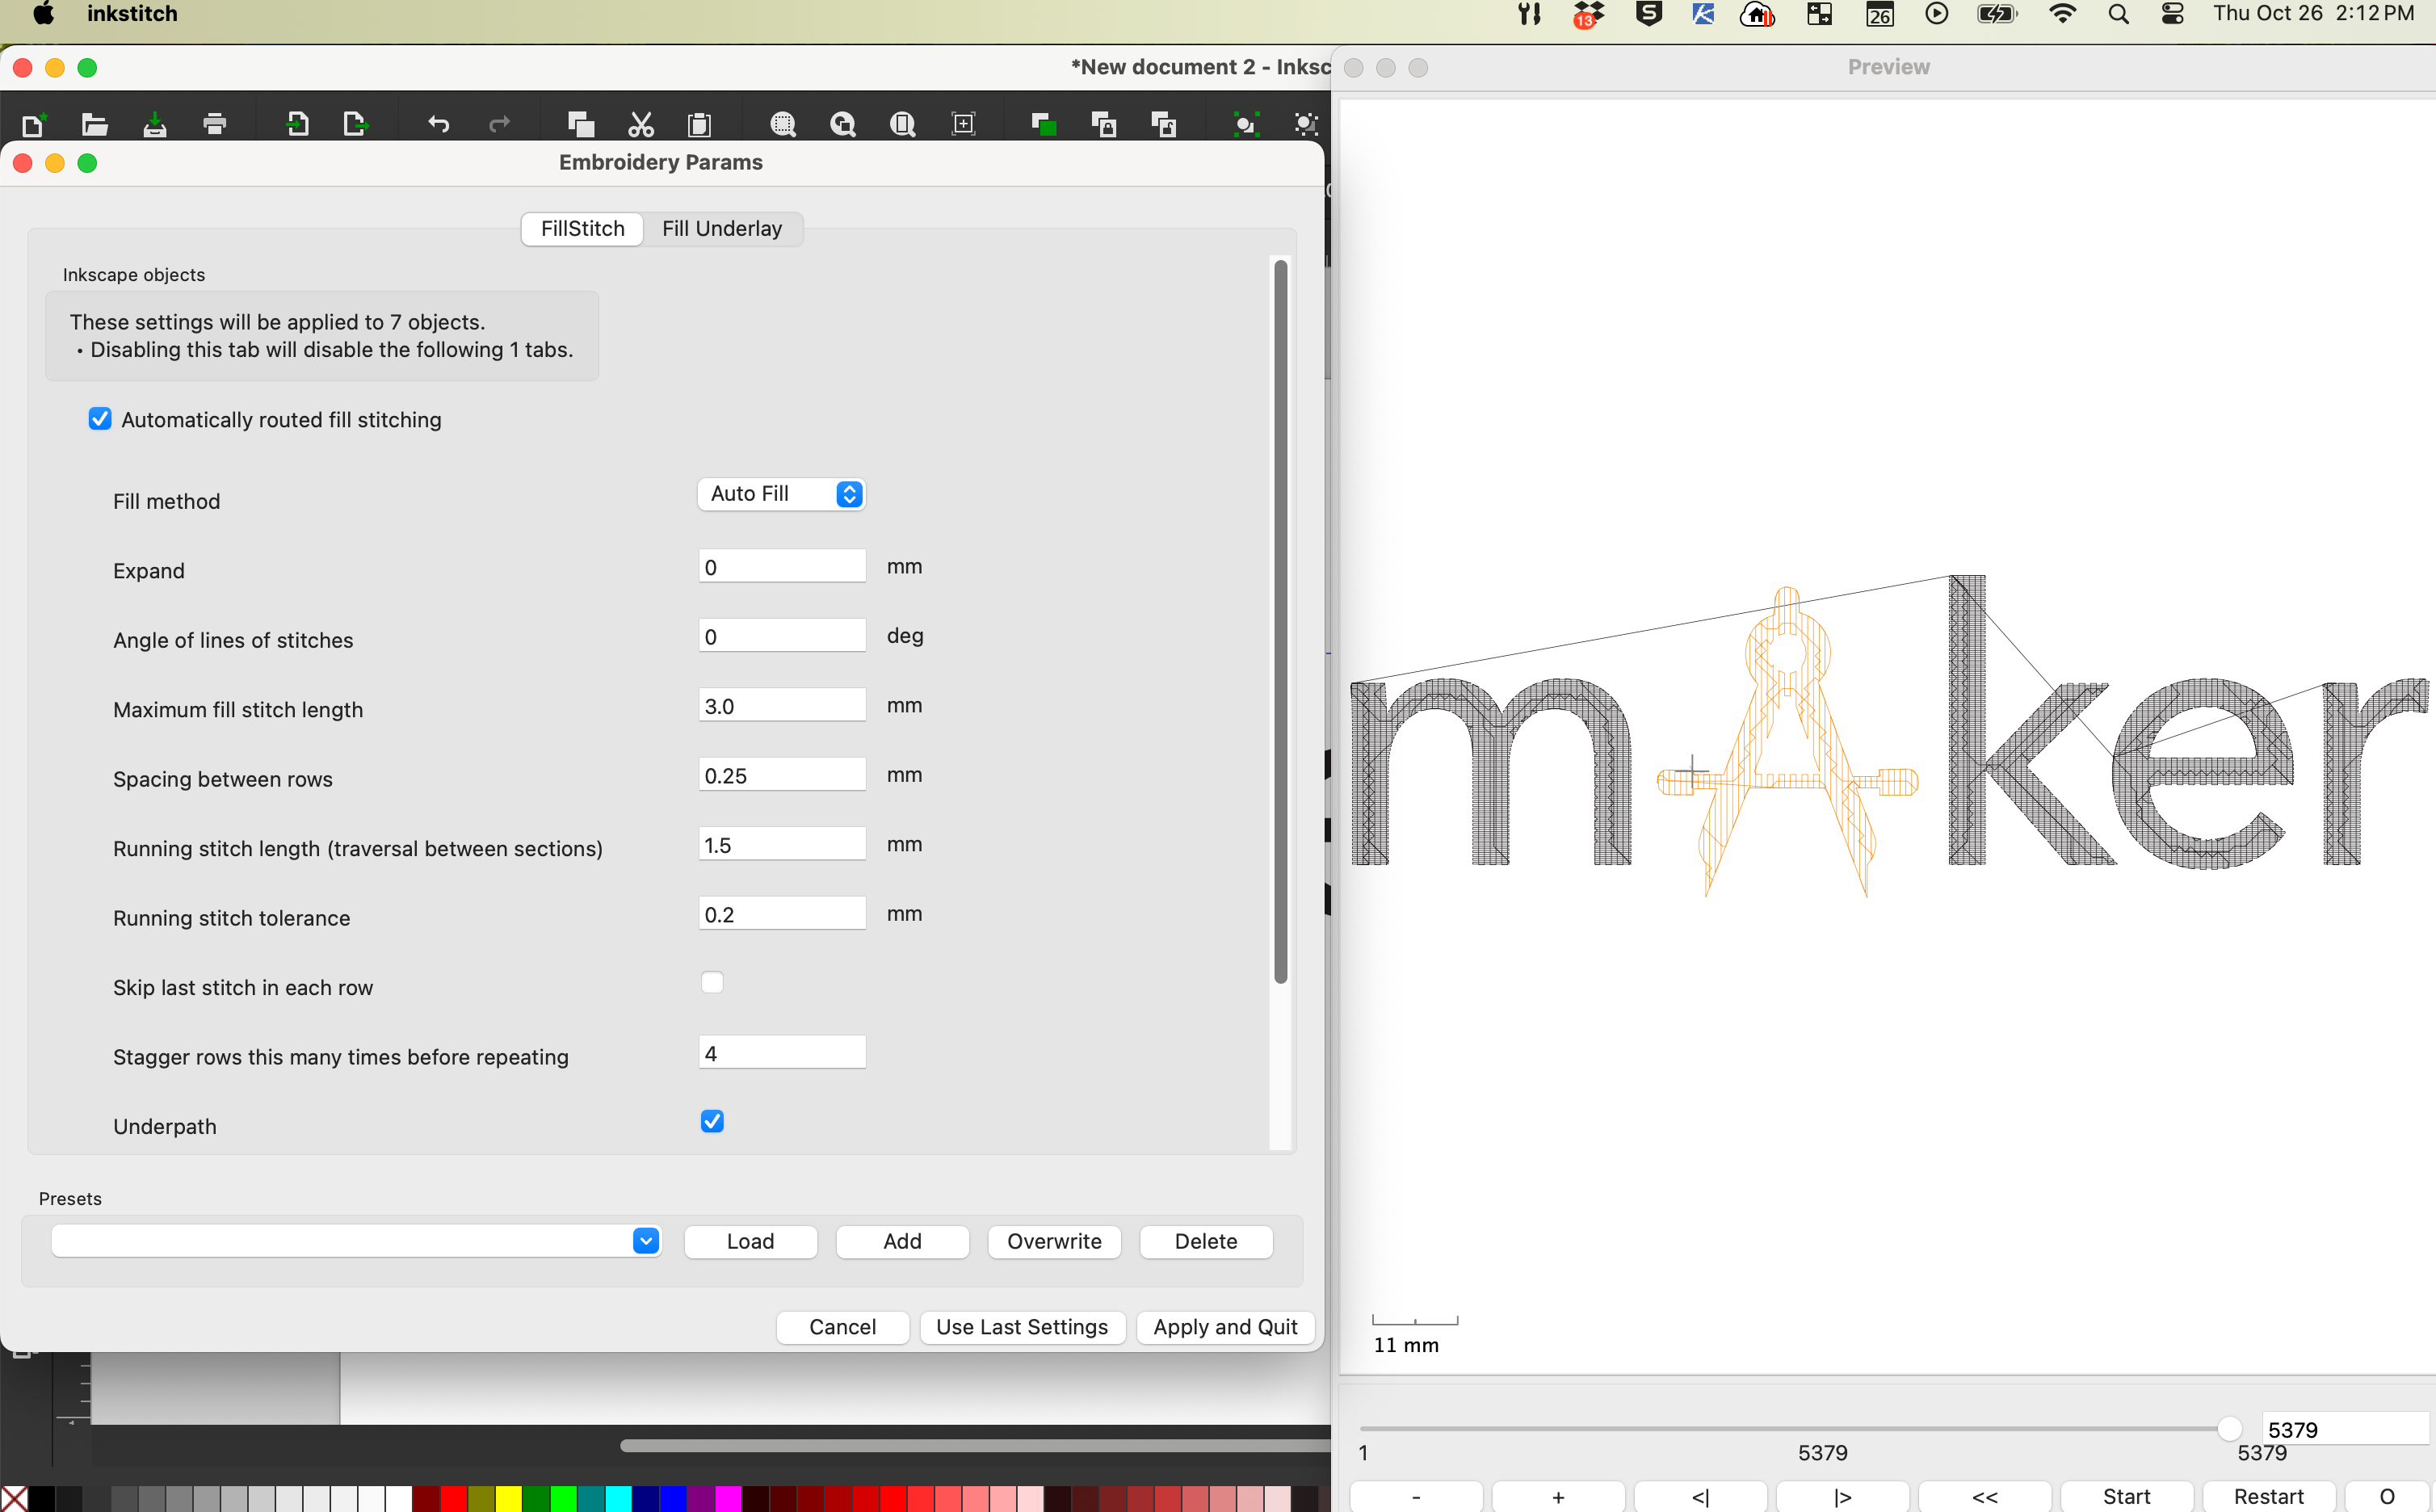
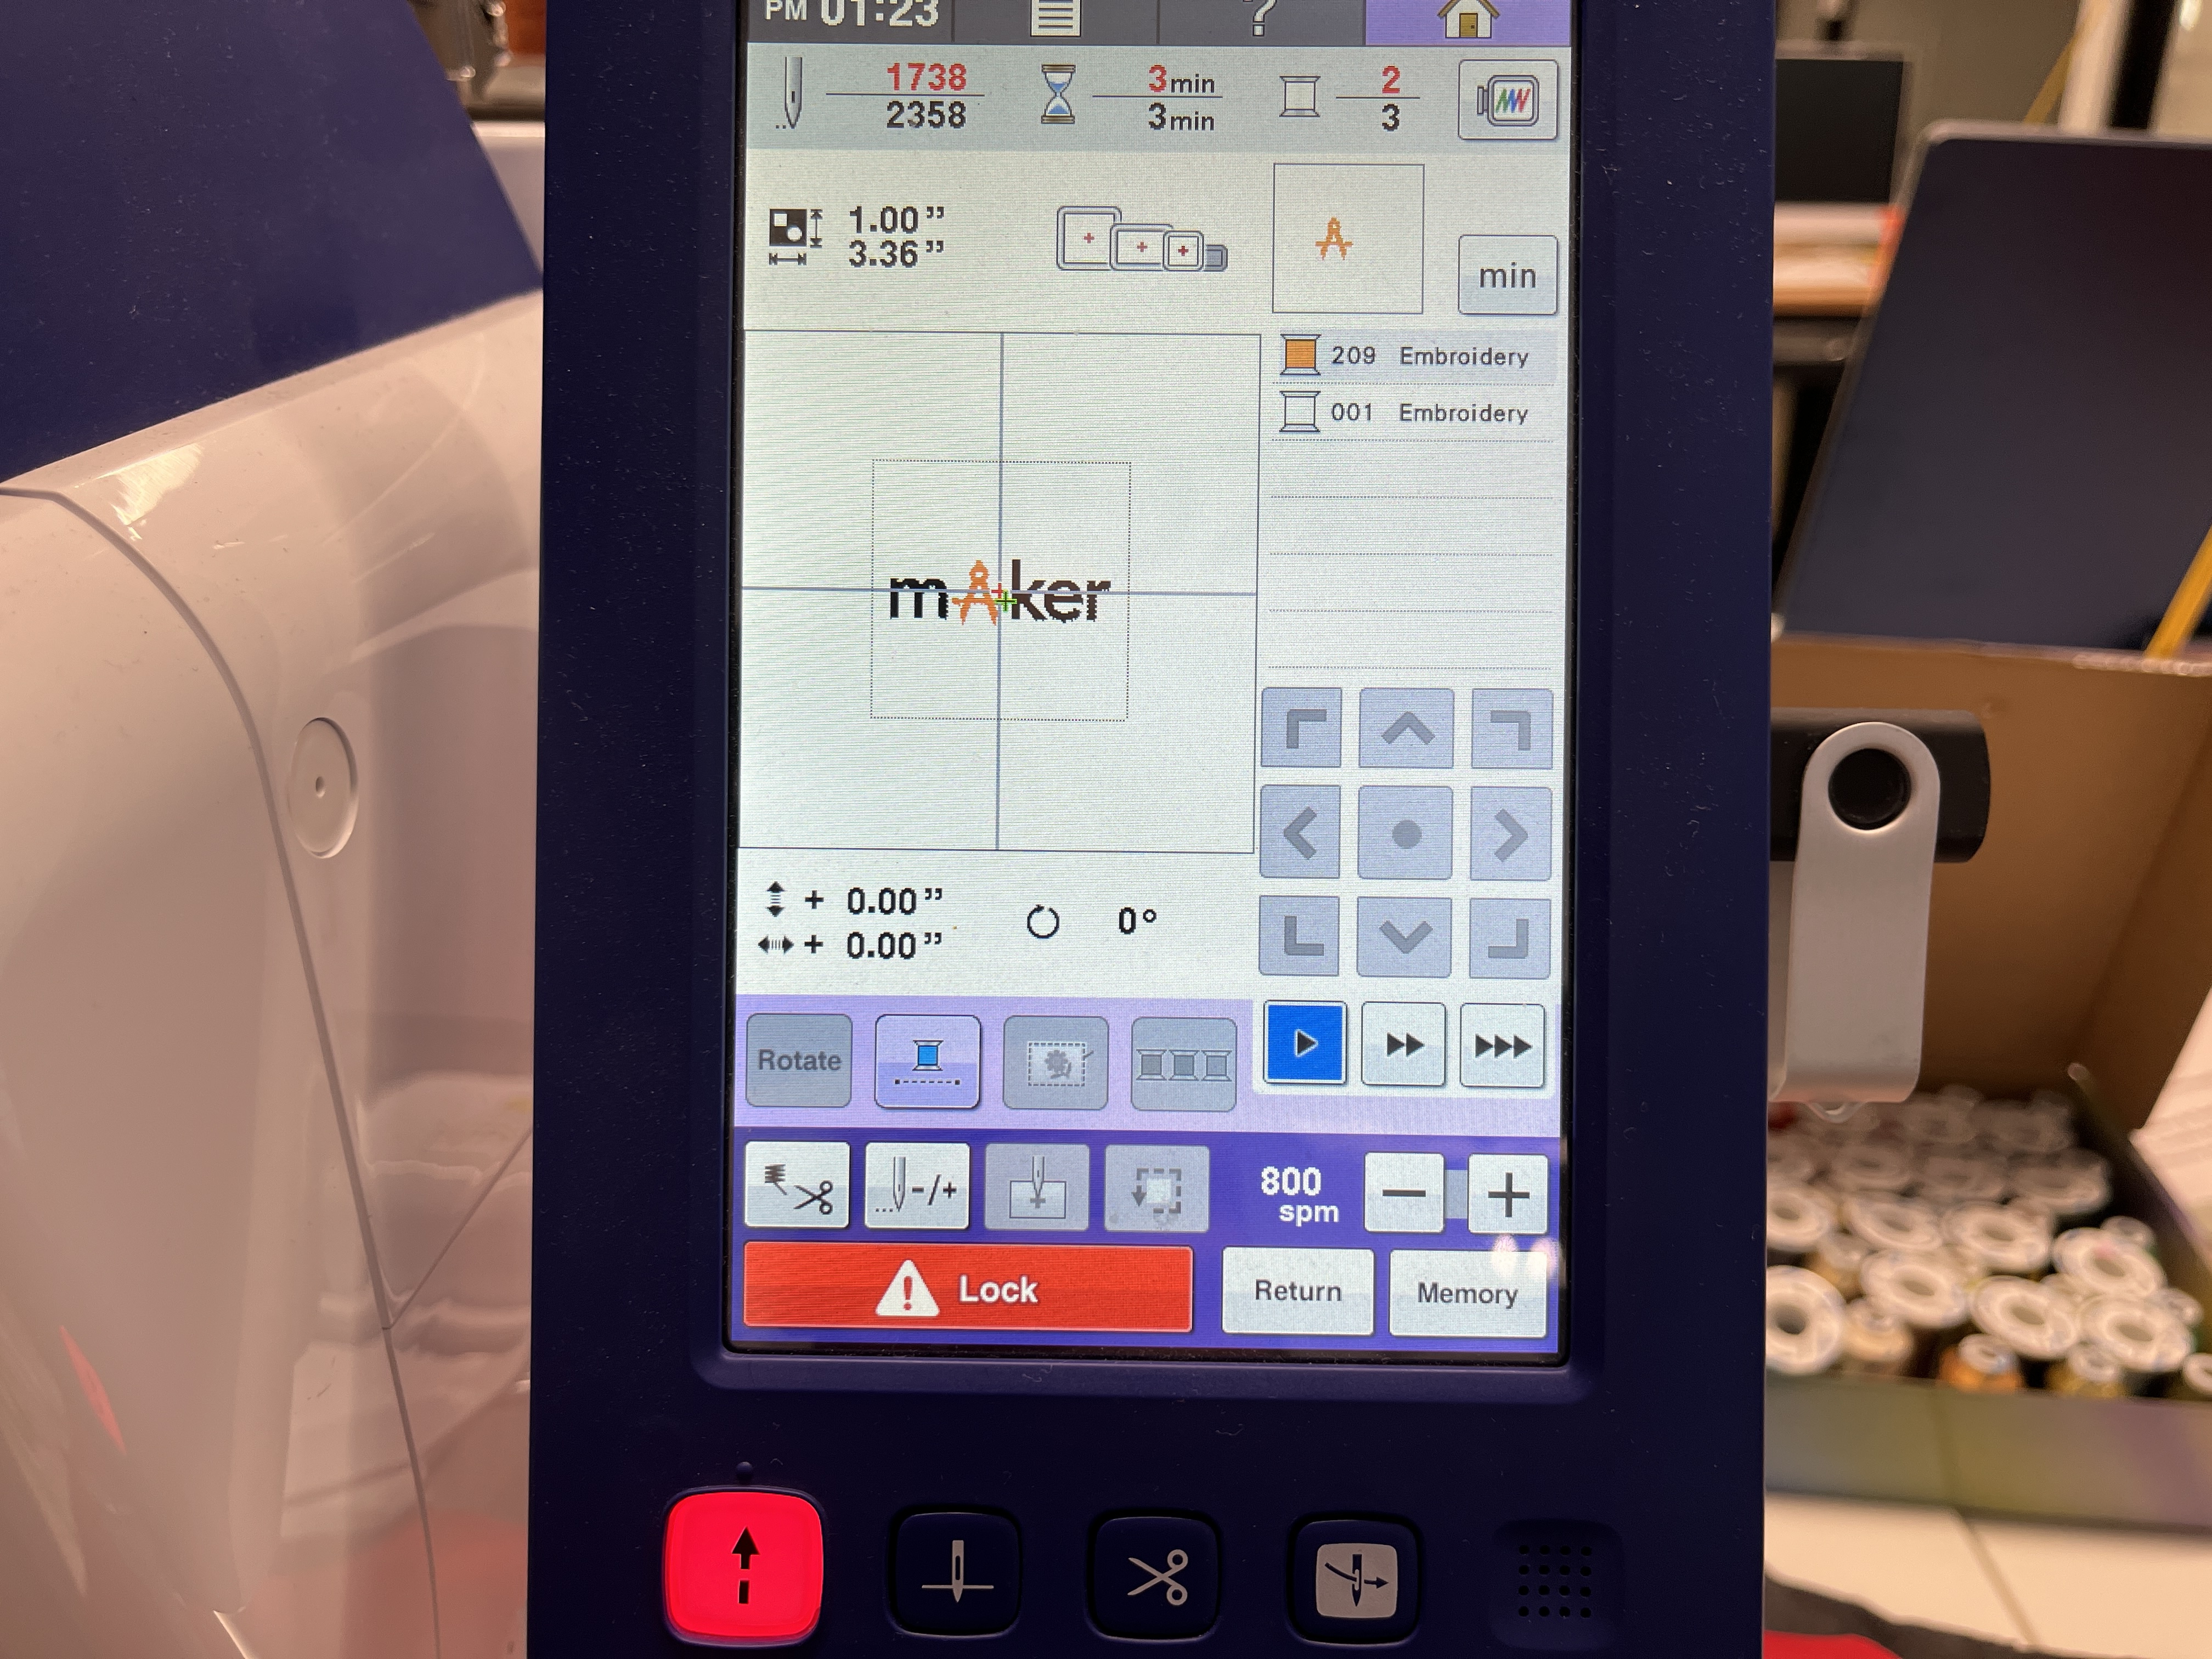
Below you will see the simulation of what the final embroidery will look like.

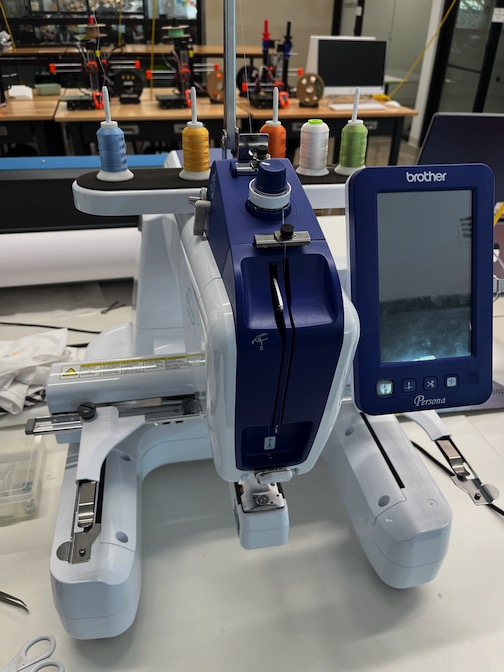
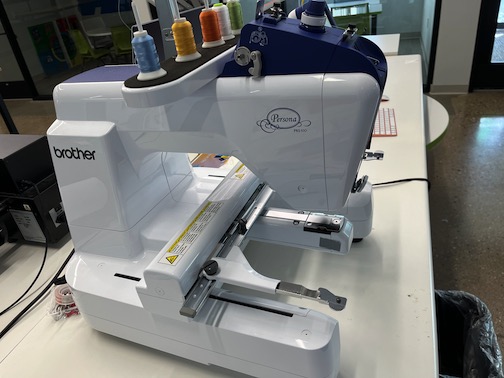
Brother PRS Embroidery Machine
The Brother PRS100 is a single-needle home embroidery machine designed for hobbyists and small businesses. It works by creating intricate embroidery designs on various fabrics and materials. Here's an overview of how it works:
- Design Creation: To use the PRS100, you first need to create or acquire a digital embroidery design. This design is typically a computer file in a format like PES (Brother's embroidery file format), DST, or other compatible formats. You can create your own designs using embroidery software or purchase pre-made designs from various sources.
- Design Transfer: Once you have your embroidery design, you transfer it to the PRS100 using a USB drive or a direct connection to a computer. The machine has a USB port for easy design transfer.
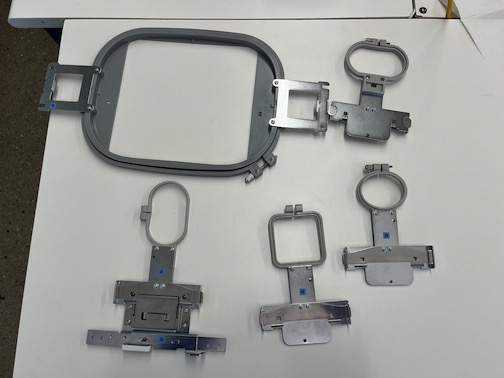
- Hooping: The fabric or material on which you want to embroider is placed in a hoop, which is a frame that holds the fabric taut. The hoop is then attached to the embroidery machine.
- Thread Selection: The PRS100 allows you to select your thread colors. You'll need to load the desired thread colors onto the machine's thread spools and thread the machine accordingly.
- Stabilizer Placement: To prevent fabric distortion and ensure the quality of the embroidery, you typically place a stabilizer under the fabric in the hoop. The stabilizer provides support and keeps the fabric in place during the embroidery process.
- Machine Setup: Before starting the embroidery, you'll need to set up the machine by selecting the design, specifying the size and placement, and making any necessary adjustments to the embroidery settings, such as thread tension and stitch density.
- Embroidery Process: Once everything is set up, you can start the embroidery process. The PRS100 uses a single needle to sew the design onto the fabric. It moves the hoop and fabric automatically, following the design's pattern. As the needle penetrates the fabric, it catches the thread from the spools and stitches according to the design's instructions. The machine will stop and pause as needed for thread color changes or other design elements.
- Completion: After the machine has finished embroidering the design, you'll need to remove the fabric from the hoop, trim any excess thread, and inspect the embroidery for quality. Depending on the design's complexity and size, this can take varying amounts of time.
- Optional Finishing: Depending on the project and the fabric used, you may need to further finish the embroidery by trimming away excess stabilizer, washing the fabric to remove any markings or stabilizer residue, and pressing the embroidered area for a polished look.
Embroidery Machine
Final Wildcard Project
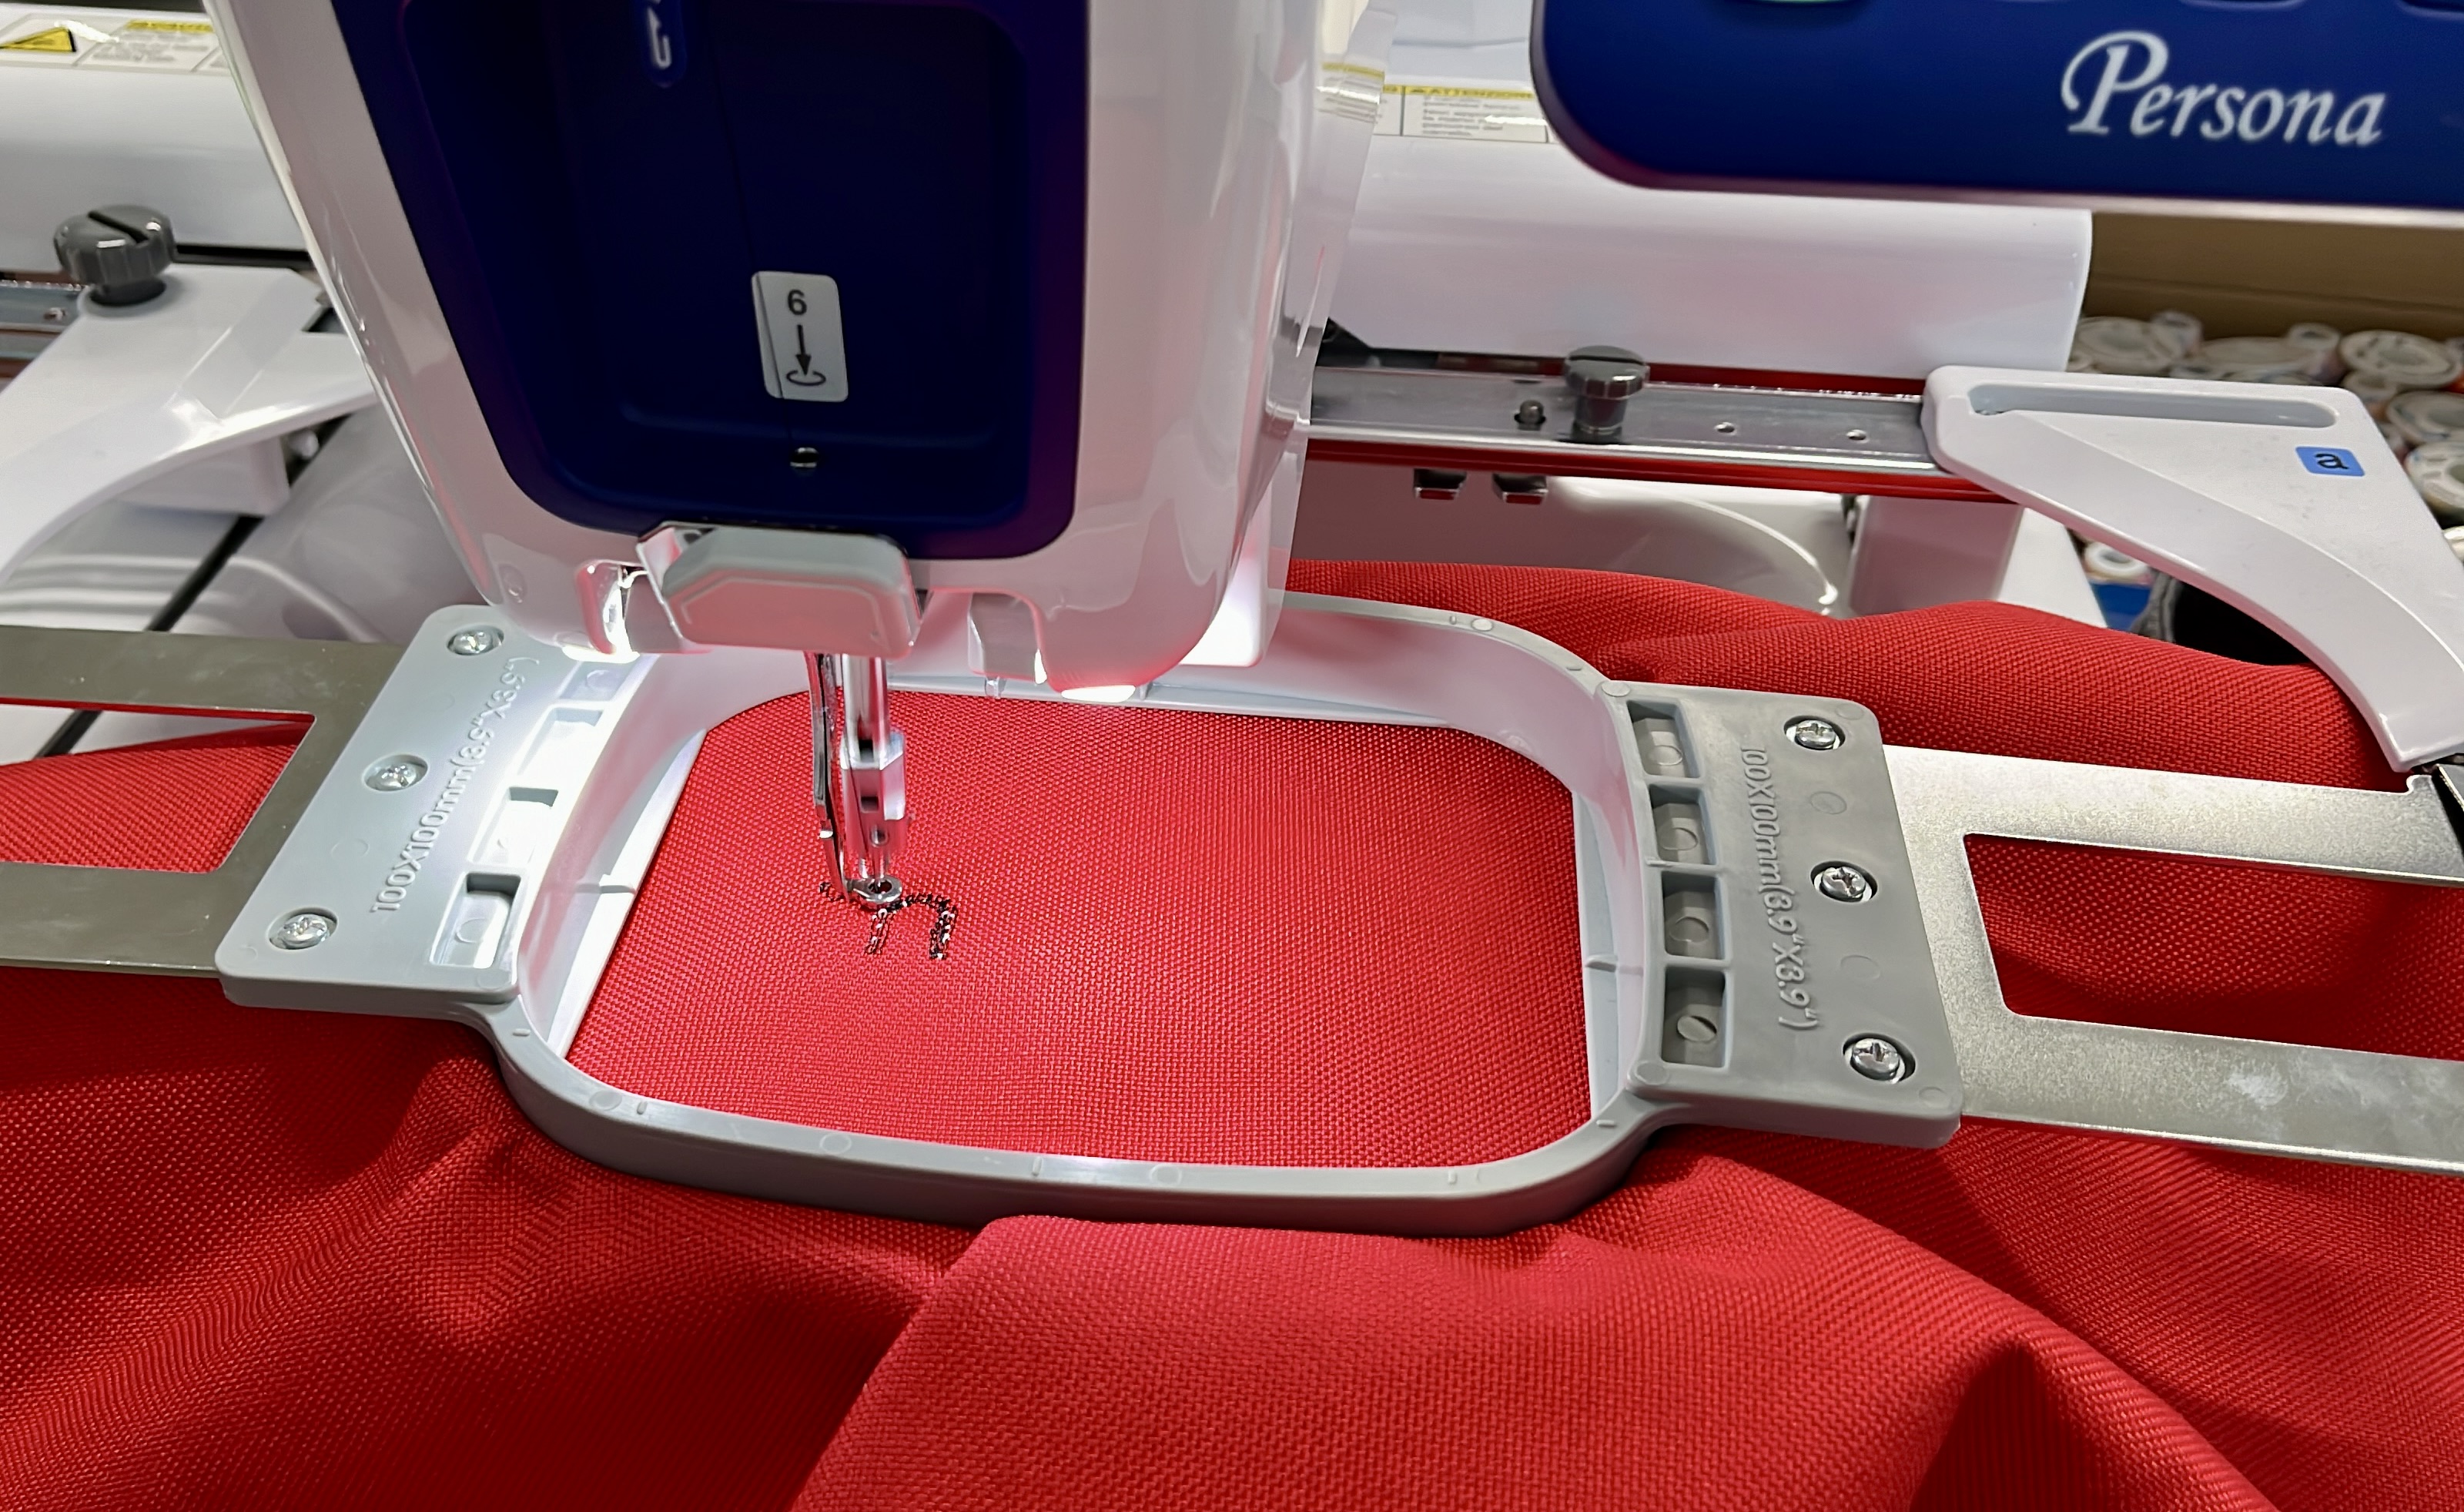

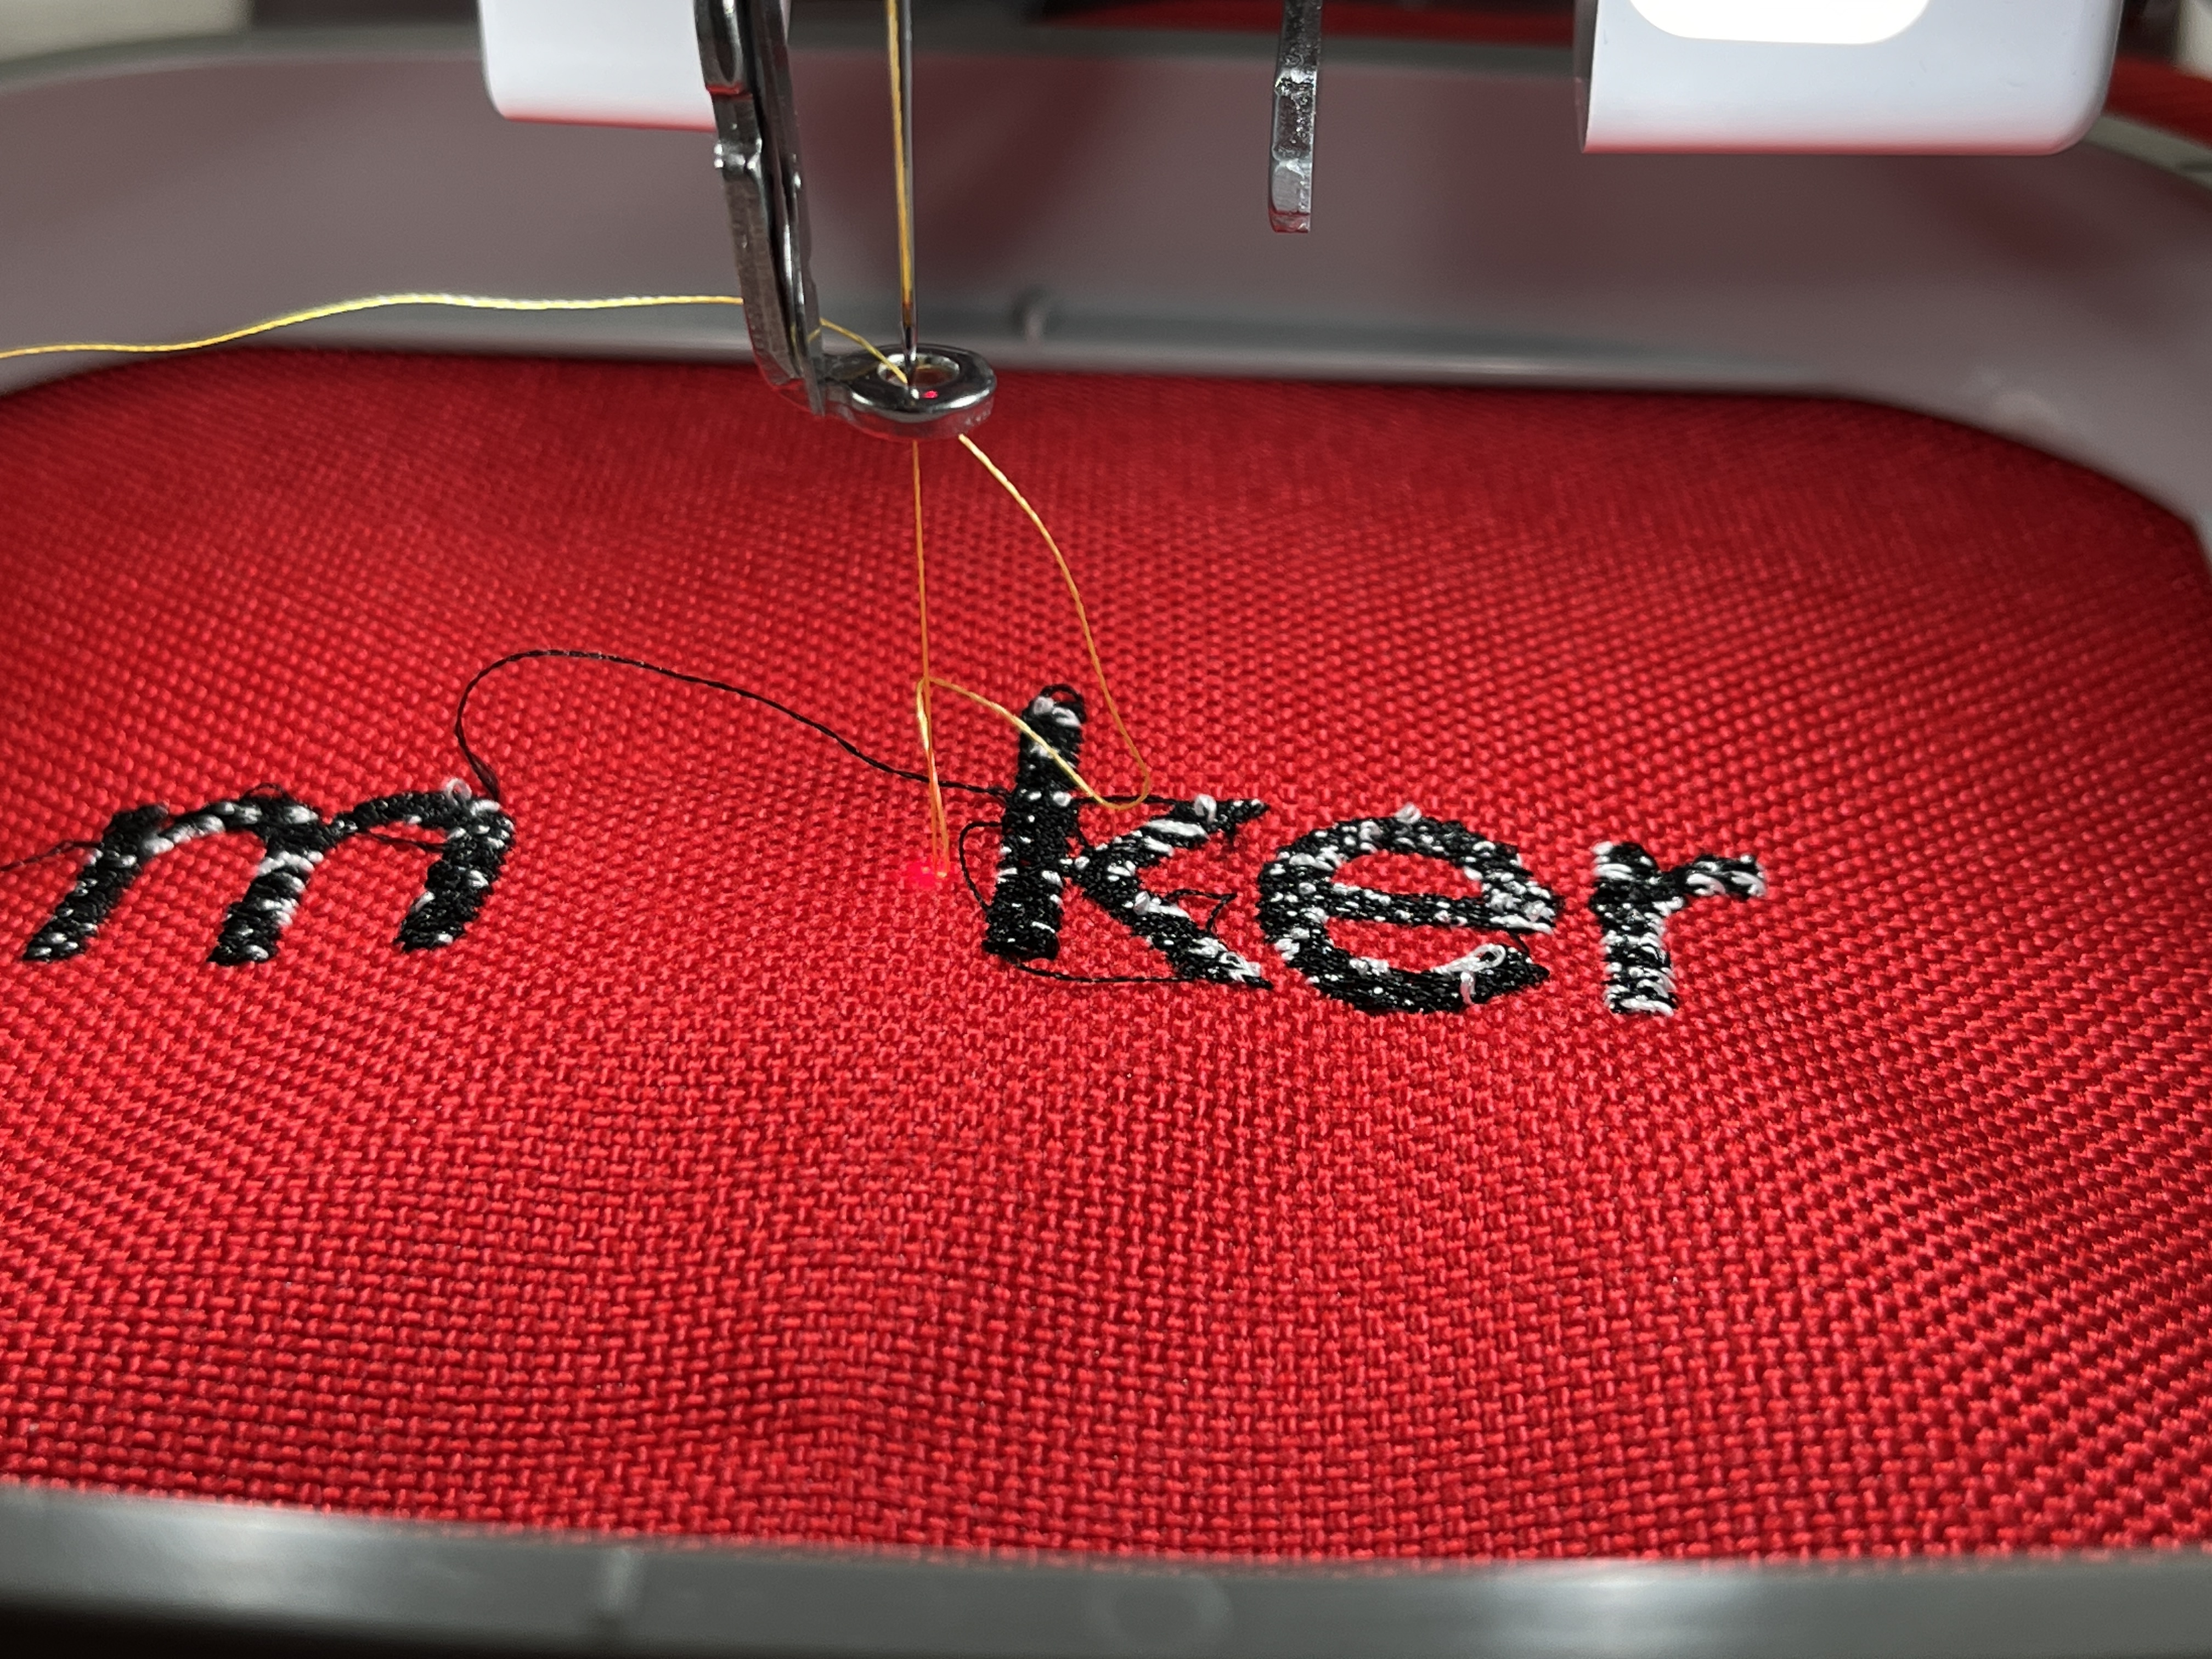
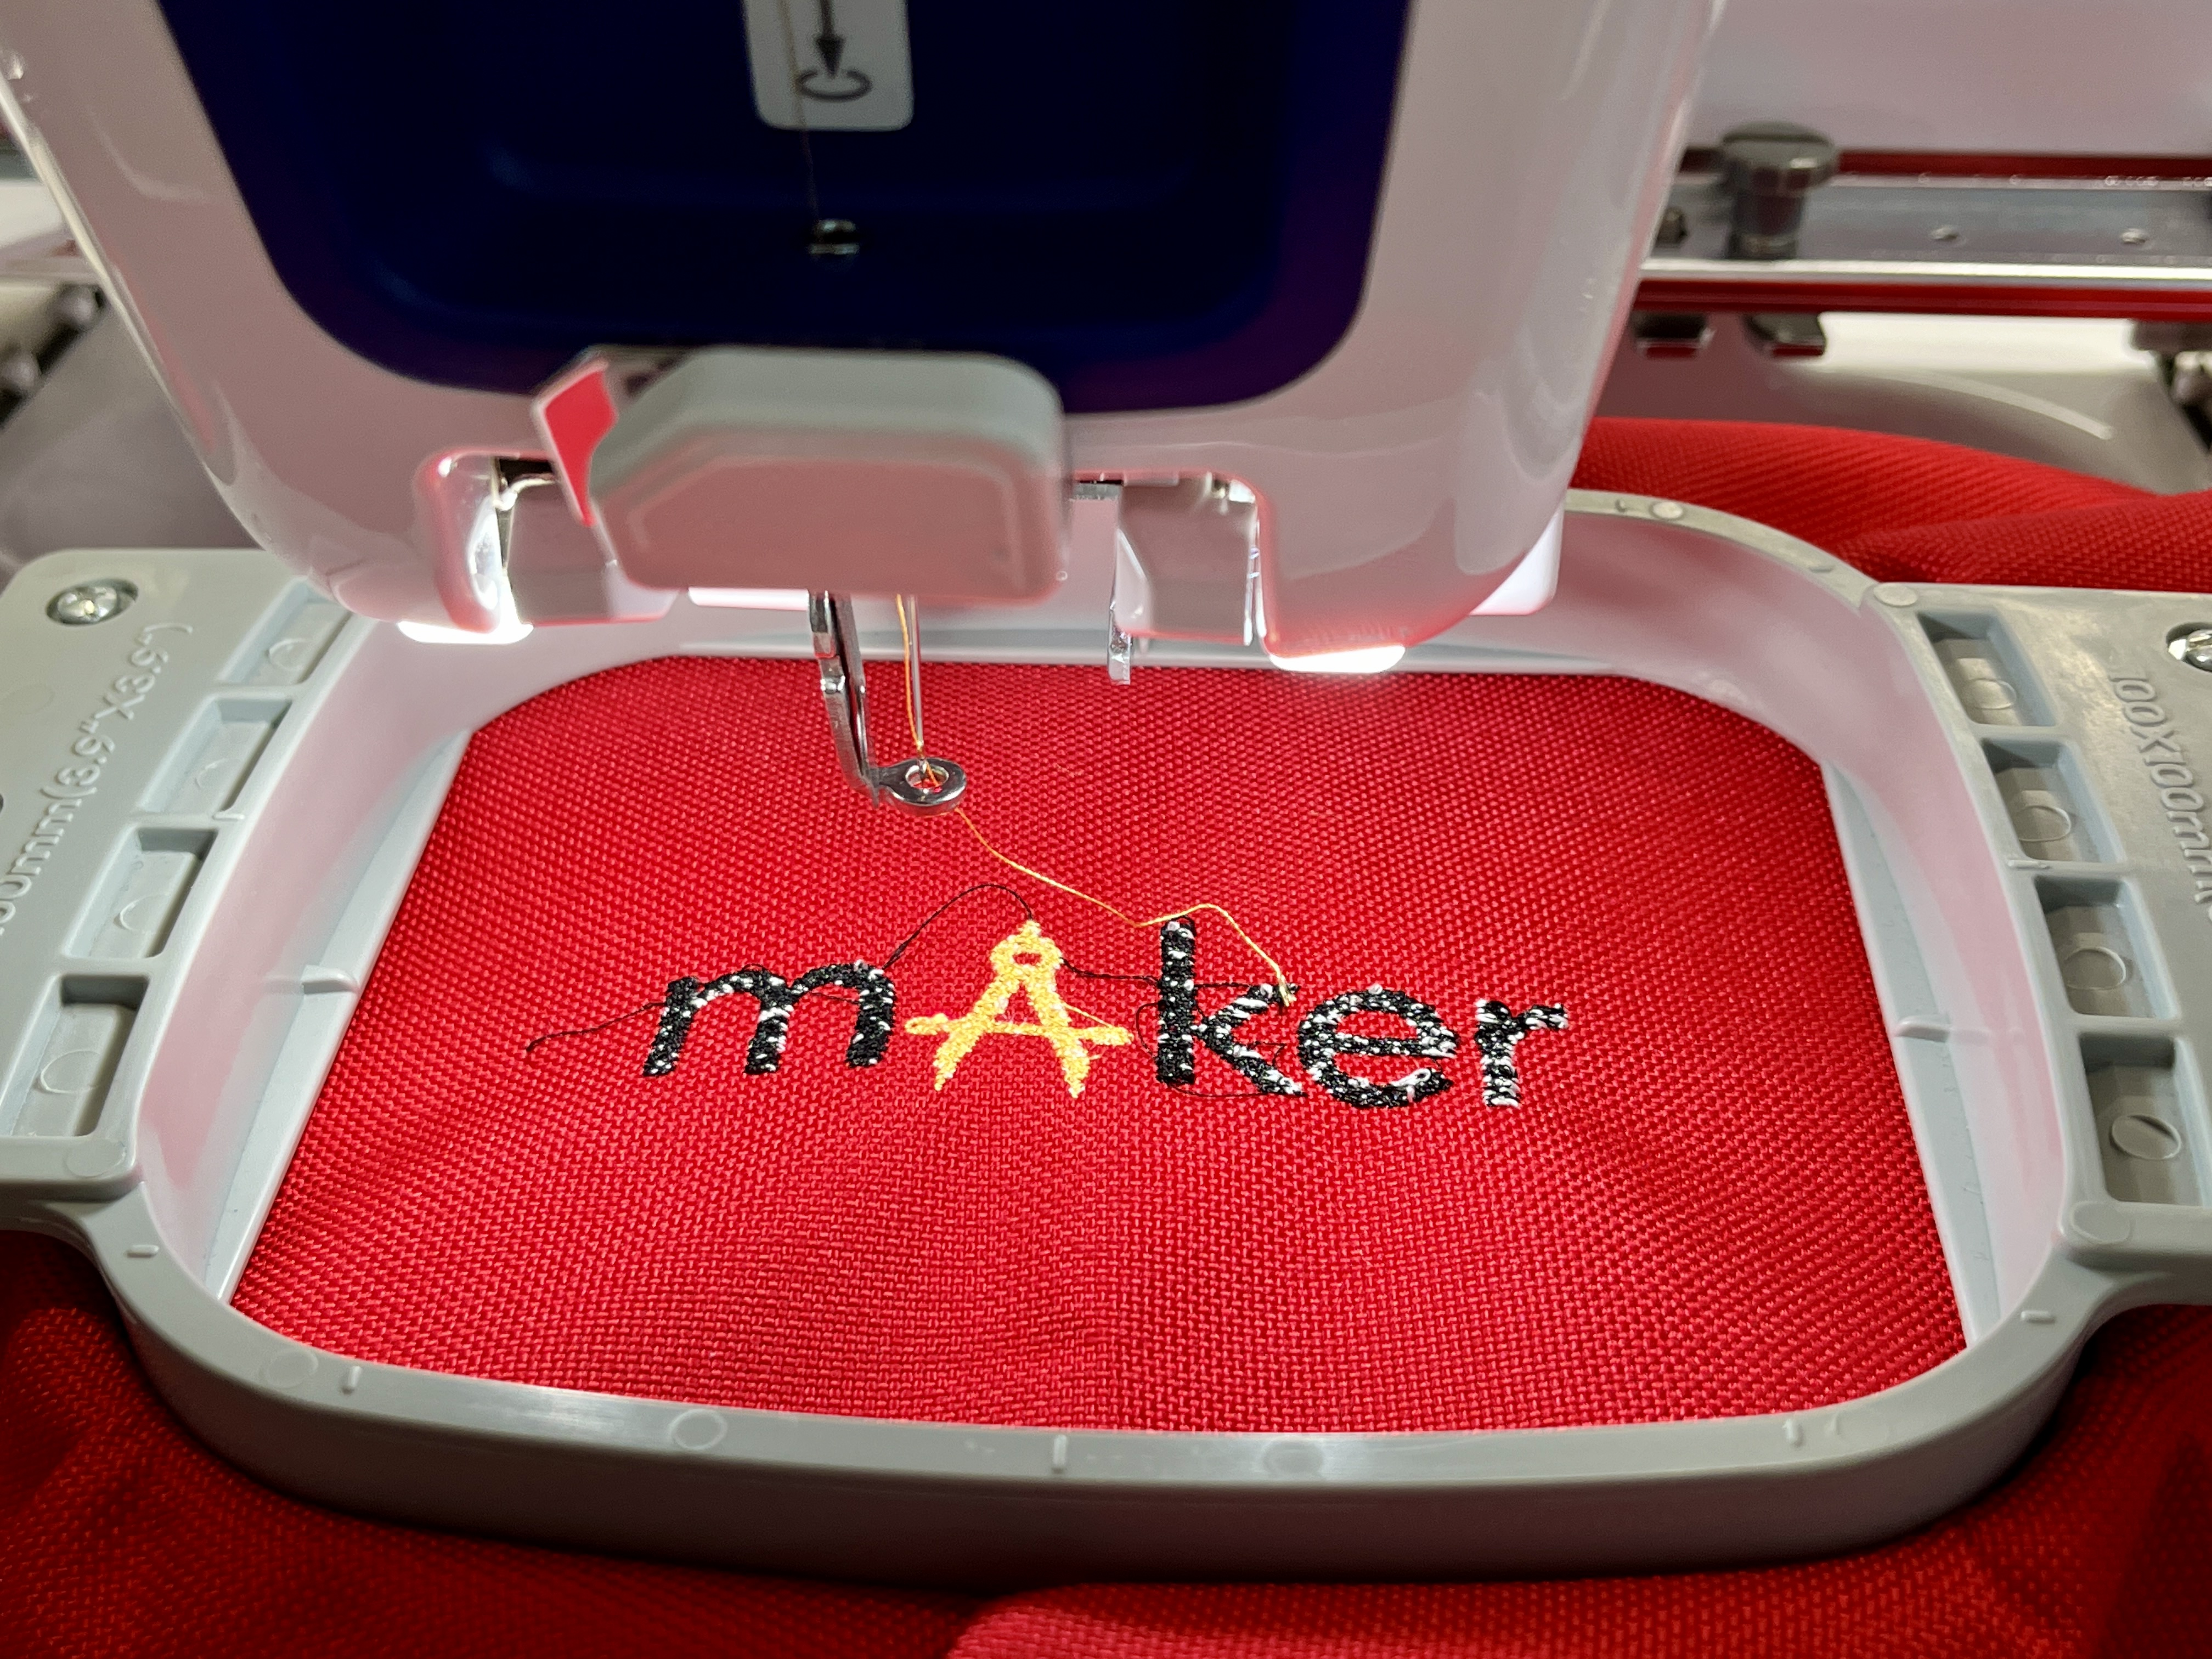
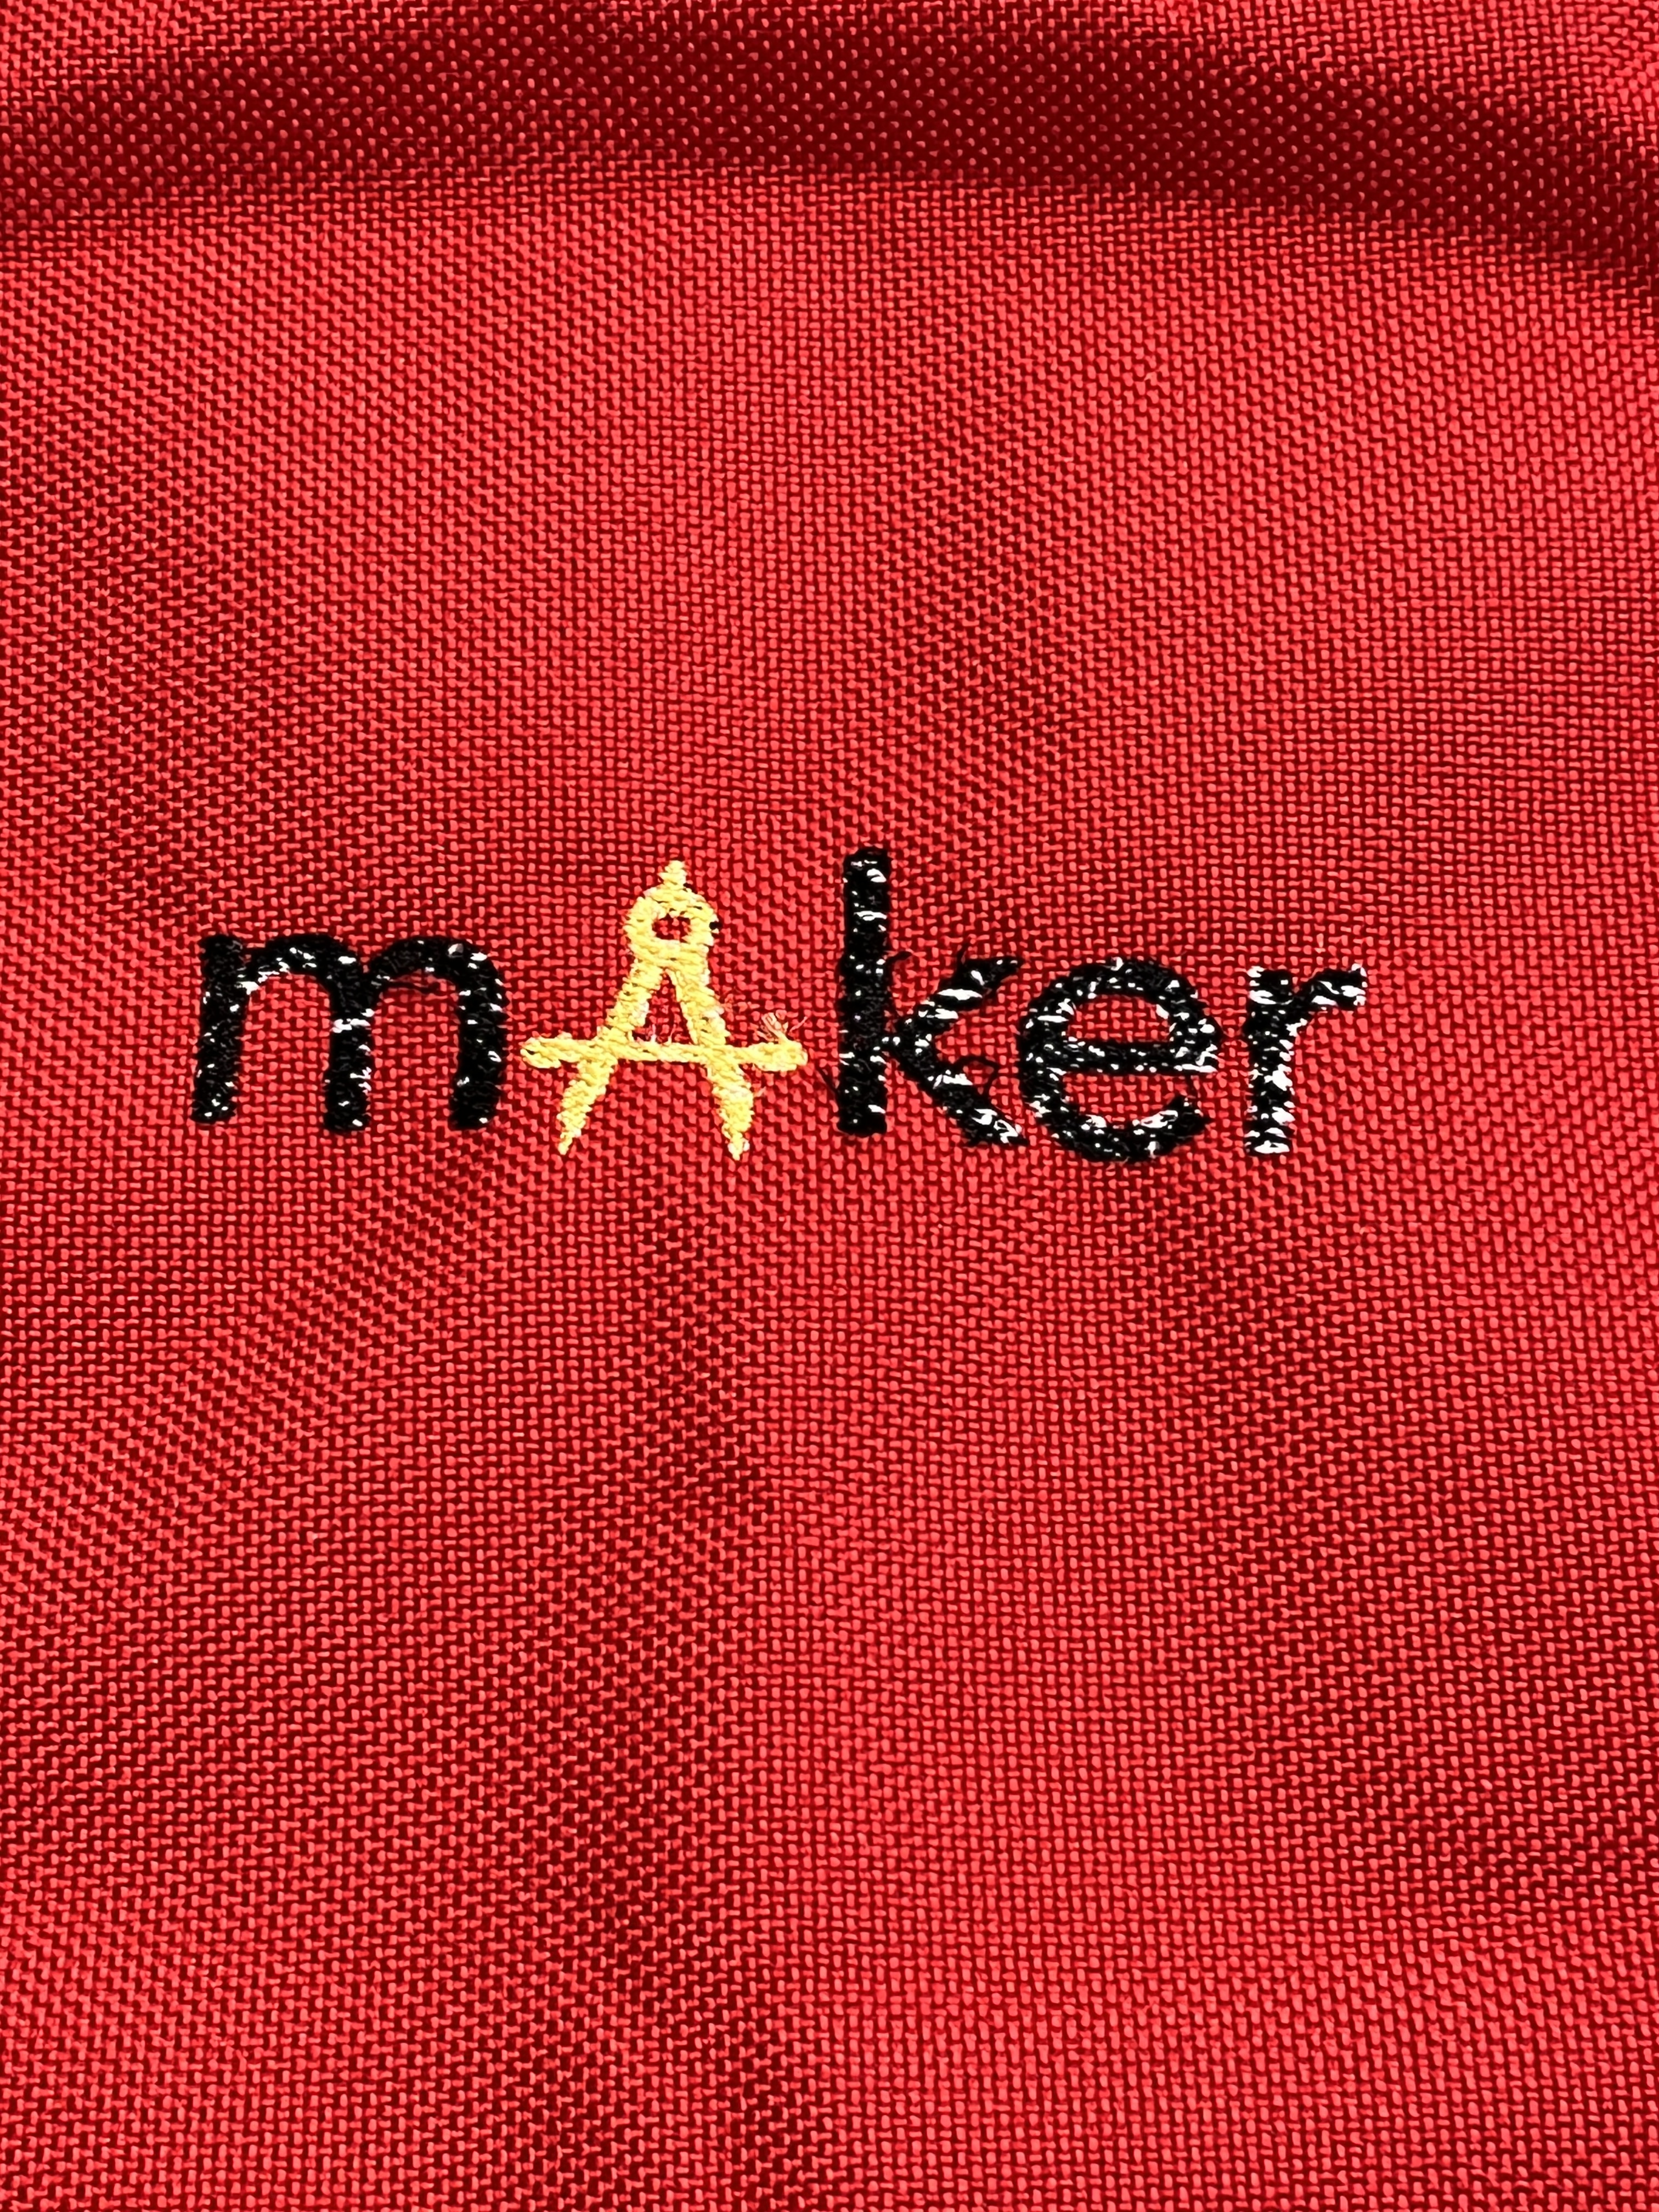
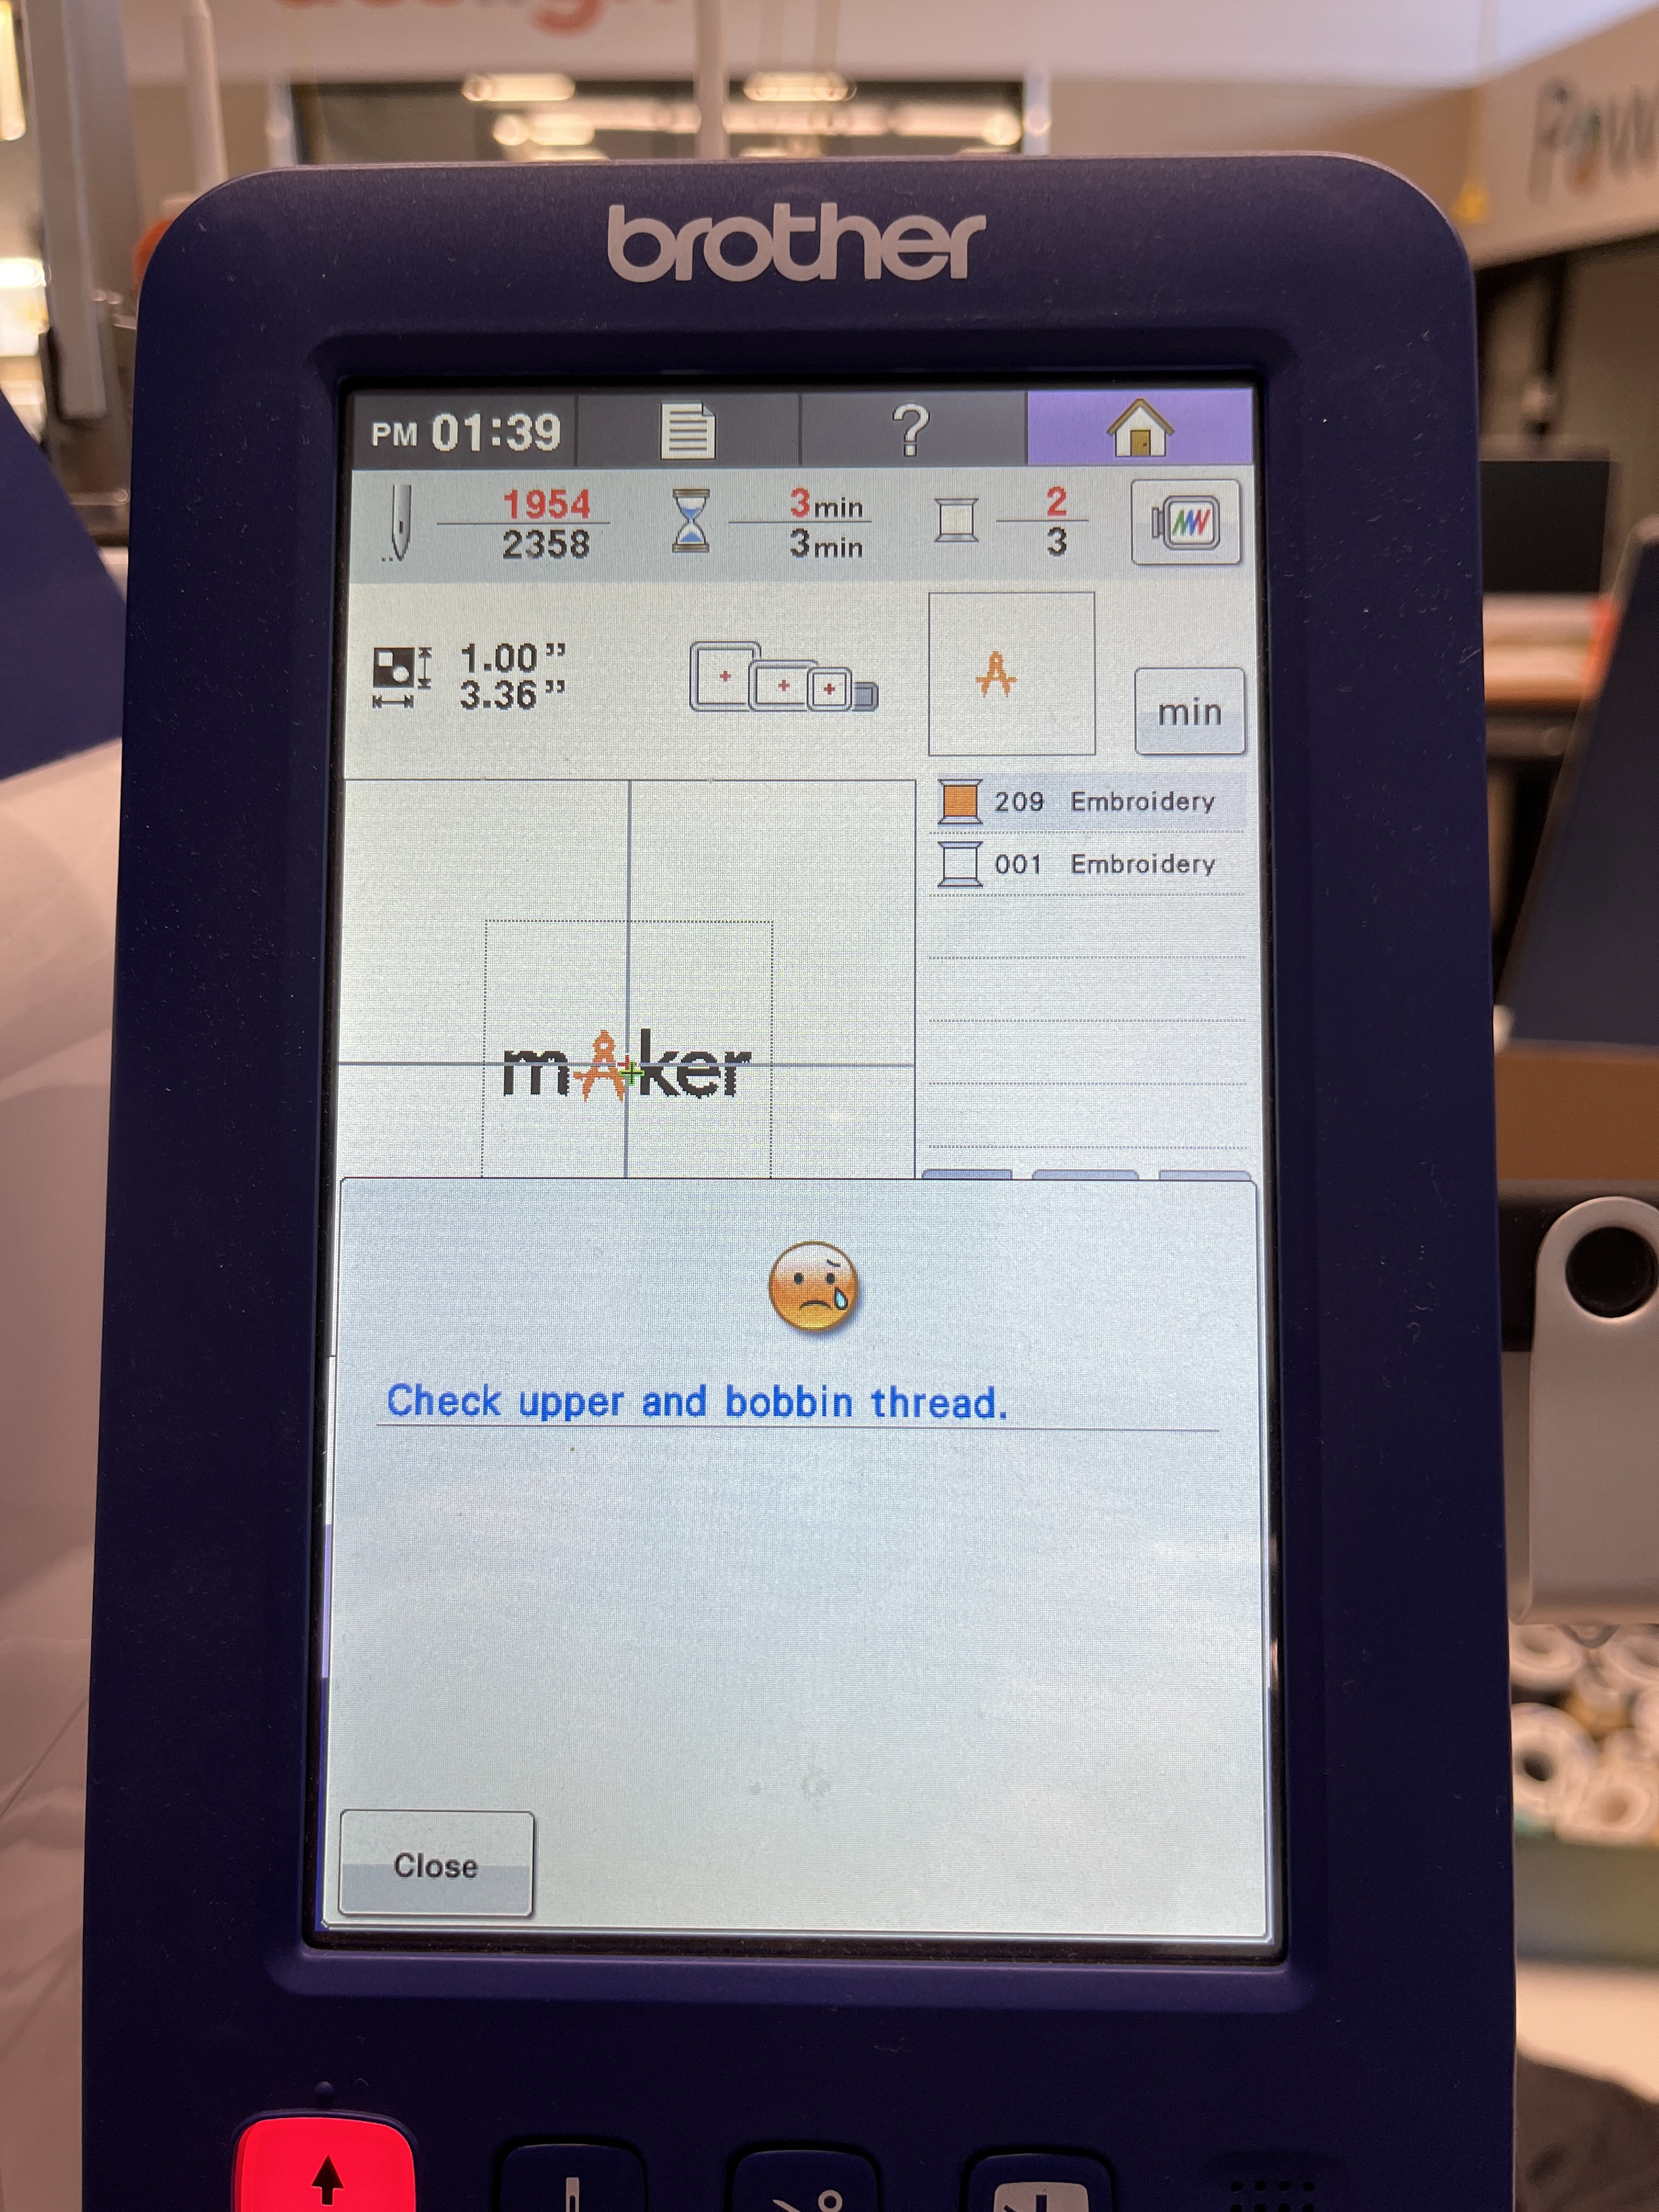
In the images above you can see the embroidery machine in action. As I was making example I realized that I forgot to change the bobbin from a white thread to black so you can see the white showing through in the final product. You can also see in the last image that I ran out of thread in the bobbin when I changed primary thread color. I will make a better version and upload soon.