2. Computer Aided Design
I have been using CAD since I 2009 when I was trained on ProE (Pro Engineer) when I was teaching engineering at Metro Early College High School. The high school had engineers from Battelle (a community partner for Metro) offer a training course for teachers. ProE was not the most user friendly application so I did not get a lot out of that course. I eventually particiapted in professional development for teachers that taught me AutoDesk Inventor and I used that in my intro to engineering classes for many years. Along the way I switched over to Fusion 360 education edition for my engineering class and my FIRST Robotics Competition team. I used F360 for several years until the Metro transitioned to iPads for the students and then I needed a web based CAD platform so I started using OnShape since it worked (to some extent) on iPads. I also learned SolidWorks as part of an additive manufacturing summer institute I ran. So I have experience using Inventor, TinkerCAD, Fusion 360, SolidWorks and OnShape for CAD modeling.
I chose to use OnShape for my Fab Academy work mostly because I have been using that more than any of the other applicaitons at this time. I also considered students that may take this course from me once we become a Fab Node. Schools in our area use Chromebooks and OnShape works well on that device. I was thinking a head when a student may look at my documentation site so it might be easier for others to follow.
During the week I began developing 2D and 3D concepts of my ideas for my final project. Below you will find sketchs, drawings, images and OnShape part files that represent various ideas.
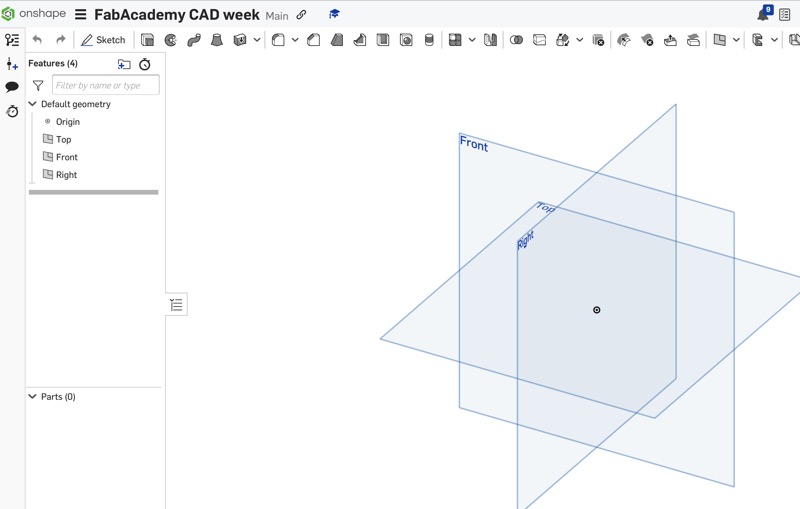
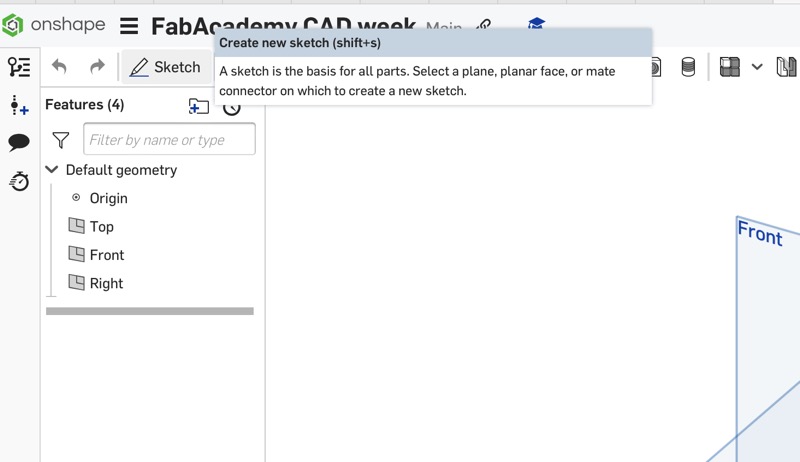
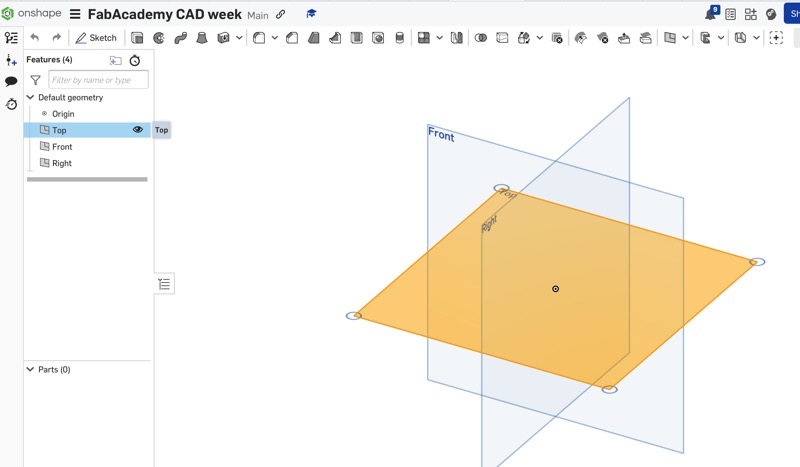
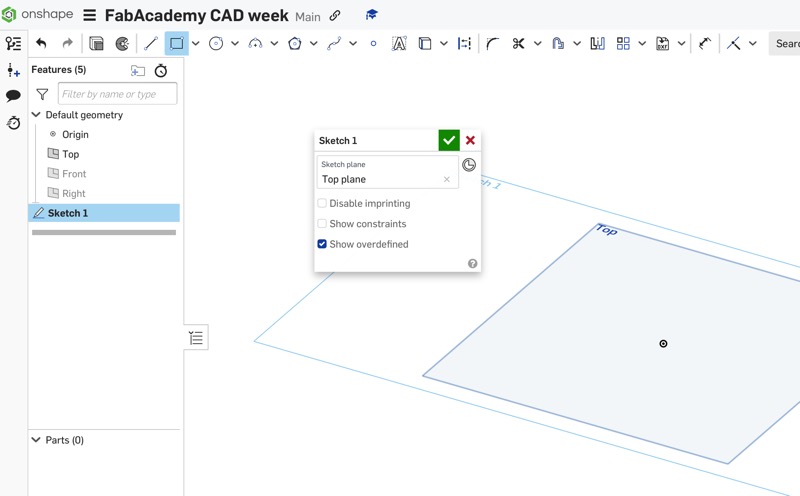
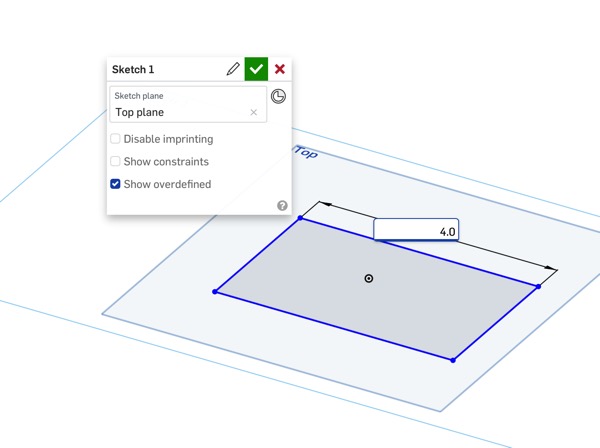
My process of designing in OhShape consisted of opening OnShape and creating a new document and naming it for the project it was applied to. Onshape offers different workspaces, such as Part Studio for creating parts, Assembly for assembling multiple parts, and Drawing for creating 2D drawings. I started with the "Part Studio" workspace for creating a 2D drawing. First, click on the "Sketch" button to start sketching and then choose a plane (Front, Top, Right) to sketch on. Once in shetch mode I used sketching tools to draw the basic shapes of my concept. I was careful to include dimensions and constraints to define the size and position of the sketch. Over the years, I have seen many students forget to dimension the initial sketch and then the final part does not work out as planned.
After sketching, I used the "Extrude" tool to turn the 2D sketch into a 3D object. I started by selecting the sketch I wanted to extrude. Then determined the extrusion distance for the 3D object. I continued this process until I had the "final" 3D object that would end up in my assembly. Multiple parts can be created by starting from the creation of "new document" then opening one of the part files and importing the other files in the assembly window.
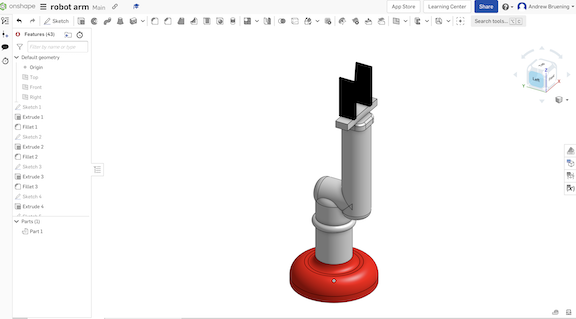
Below is a rough concept of robotic arm in OnShape. The actual arm would have more degrees of motion than this simple model
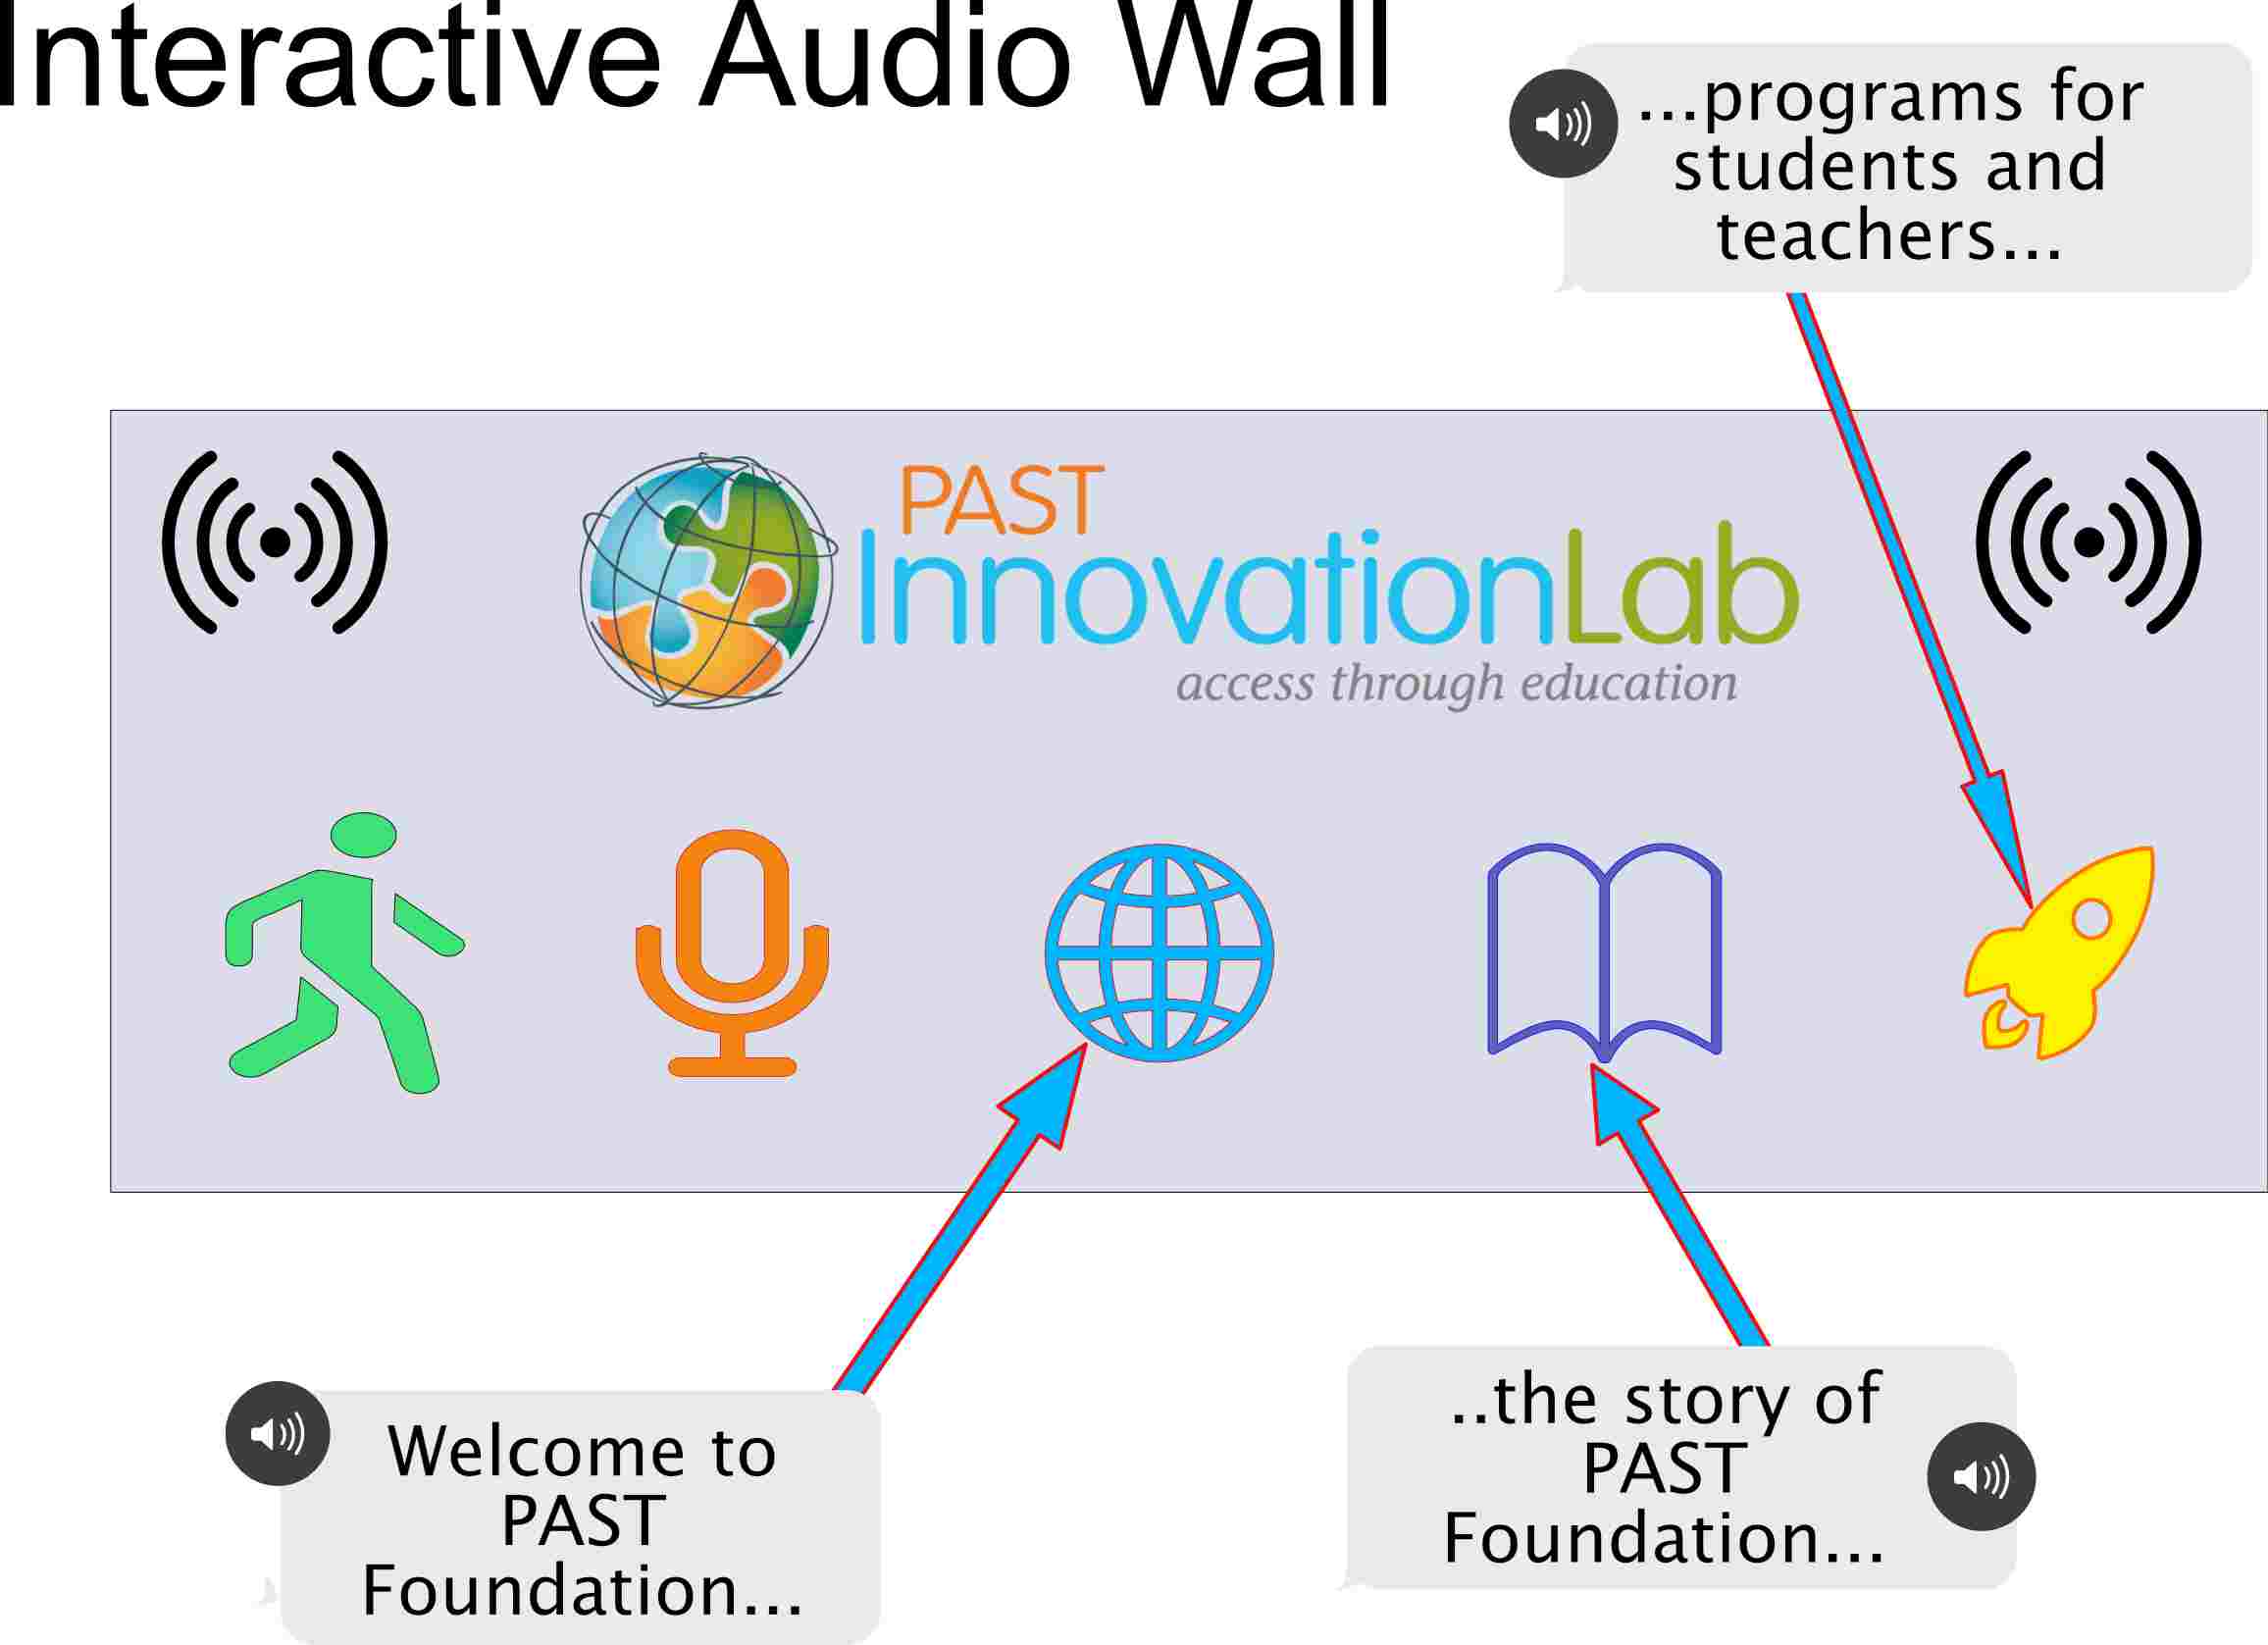
Concept drawing of interactive sound wall. Guests of PAST Foundaiton can interact with the wall by pressing one of the objects on the wall then an audio recording will play describing or explaining what that object represents. For example the 'Globe' in the middle could be the voice our PAST CEO/president explaining what PAST is all about. Or the other objects will have voices of student participants talking about their experience at PAST.
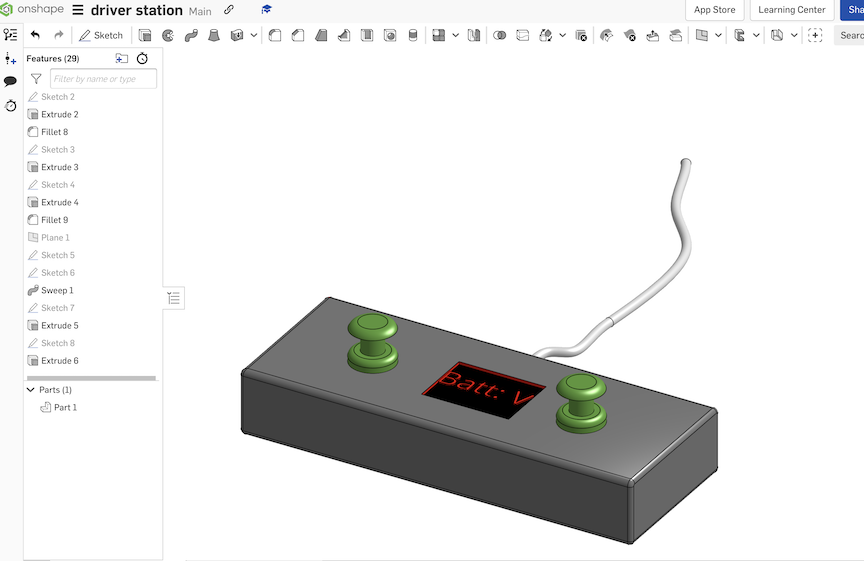
We are creating STEM kits for middle school students and one of the kits is an underwater ROV. For the ROV I want to create driver/operator stations for the students so the can focus on the design and build of the ROV and not have to worry about how they will operate the vehicle.