1. Project Management
This week I worked on defining my final project concepts and started to getting used to the documentation process. In the end these concepts did not make it as my final choice for final project. This was partly because I was not fully invested in these ideas.
Research
This is where I will be documenting my work for week 2 of FabAcademy.
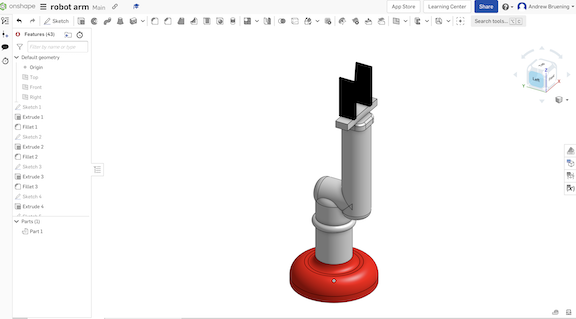
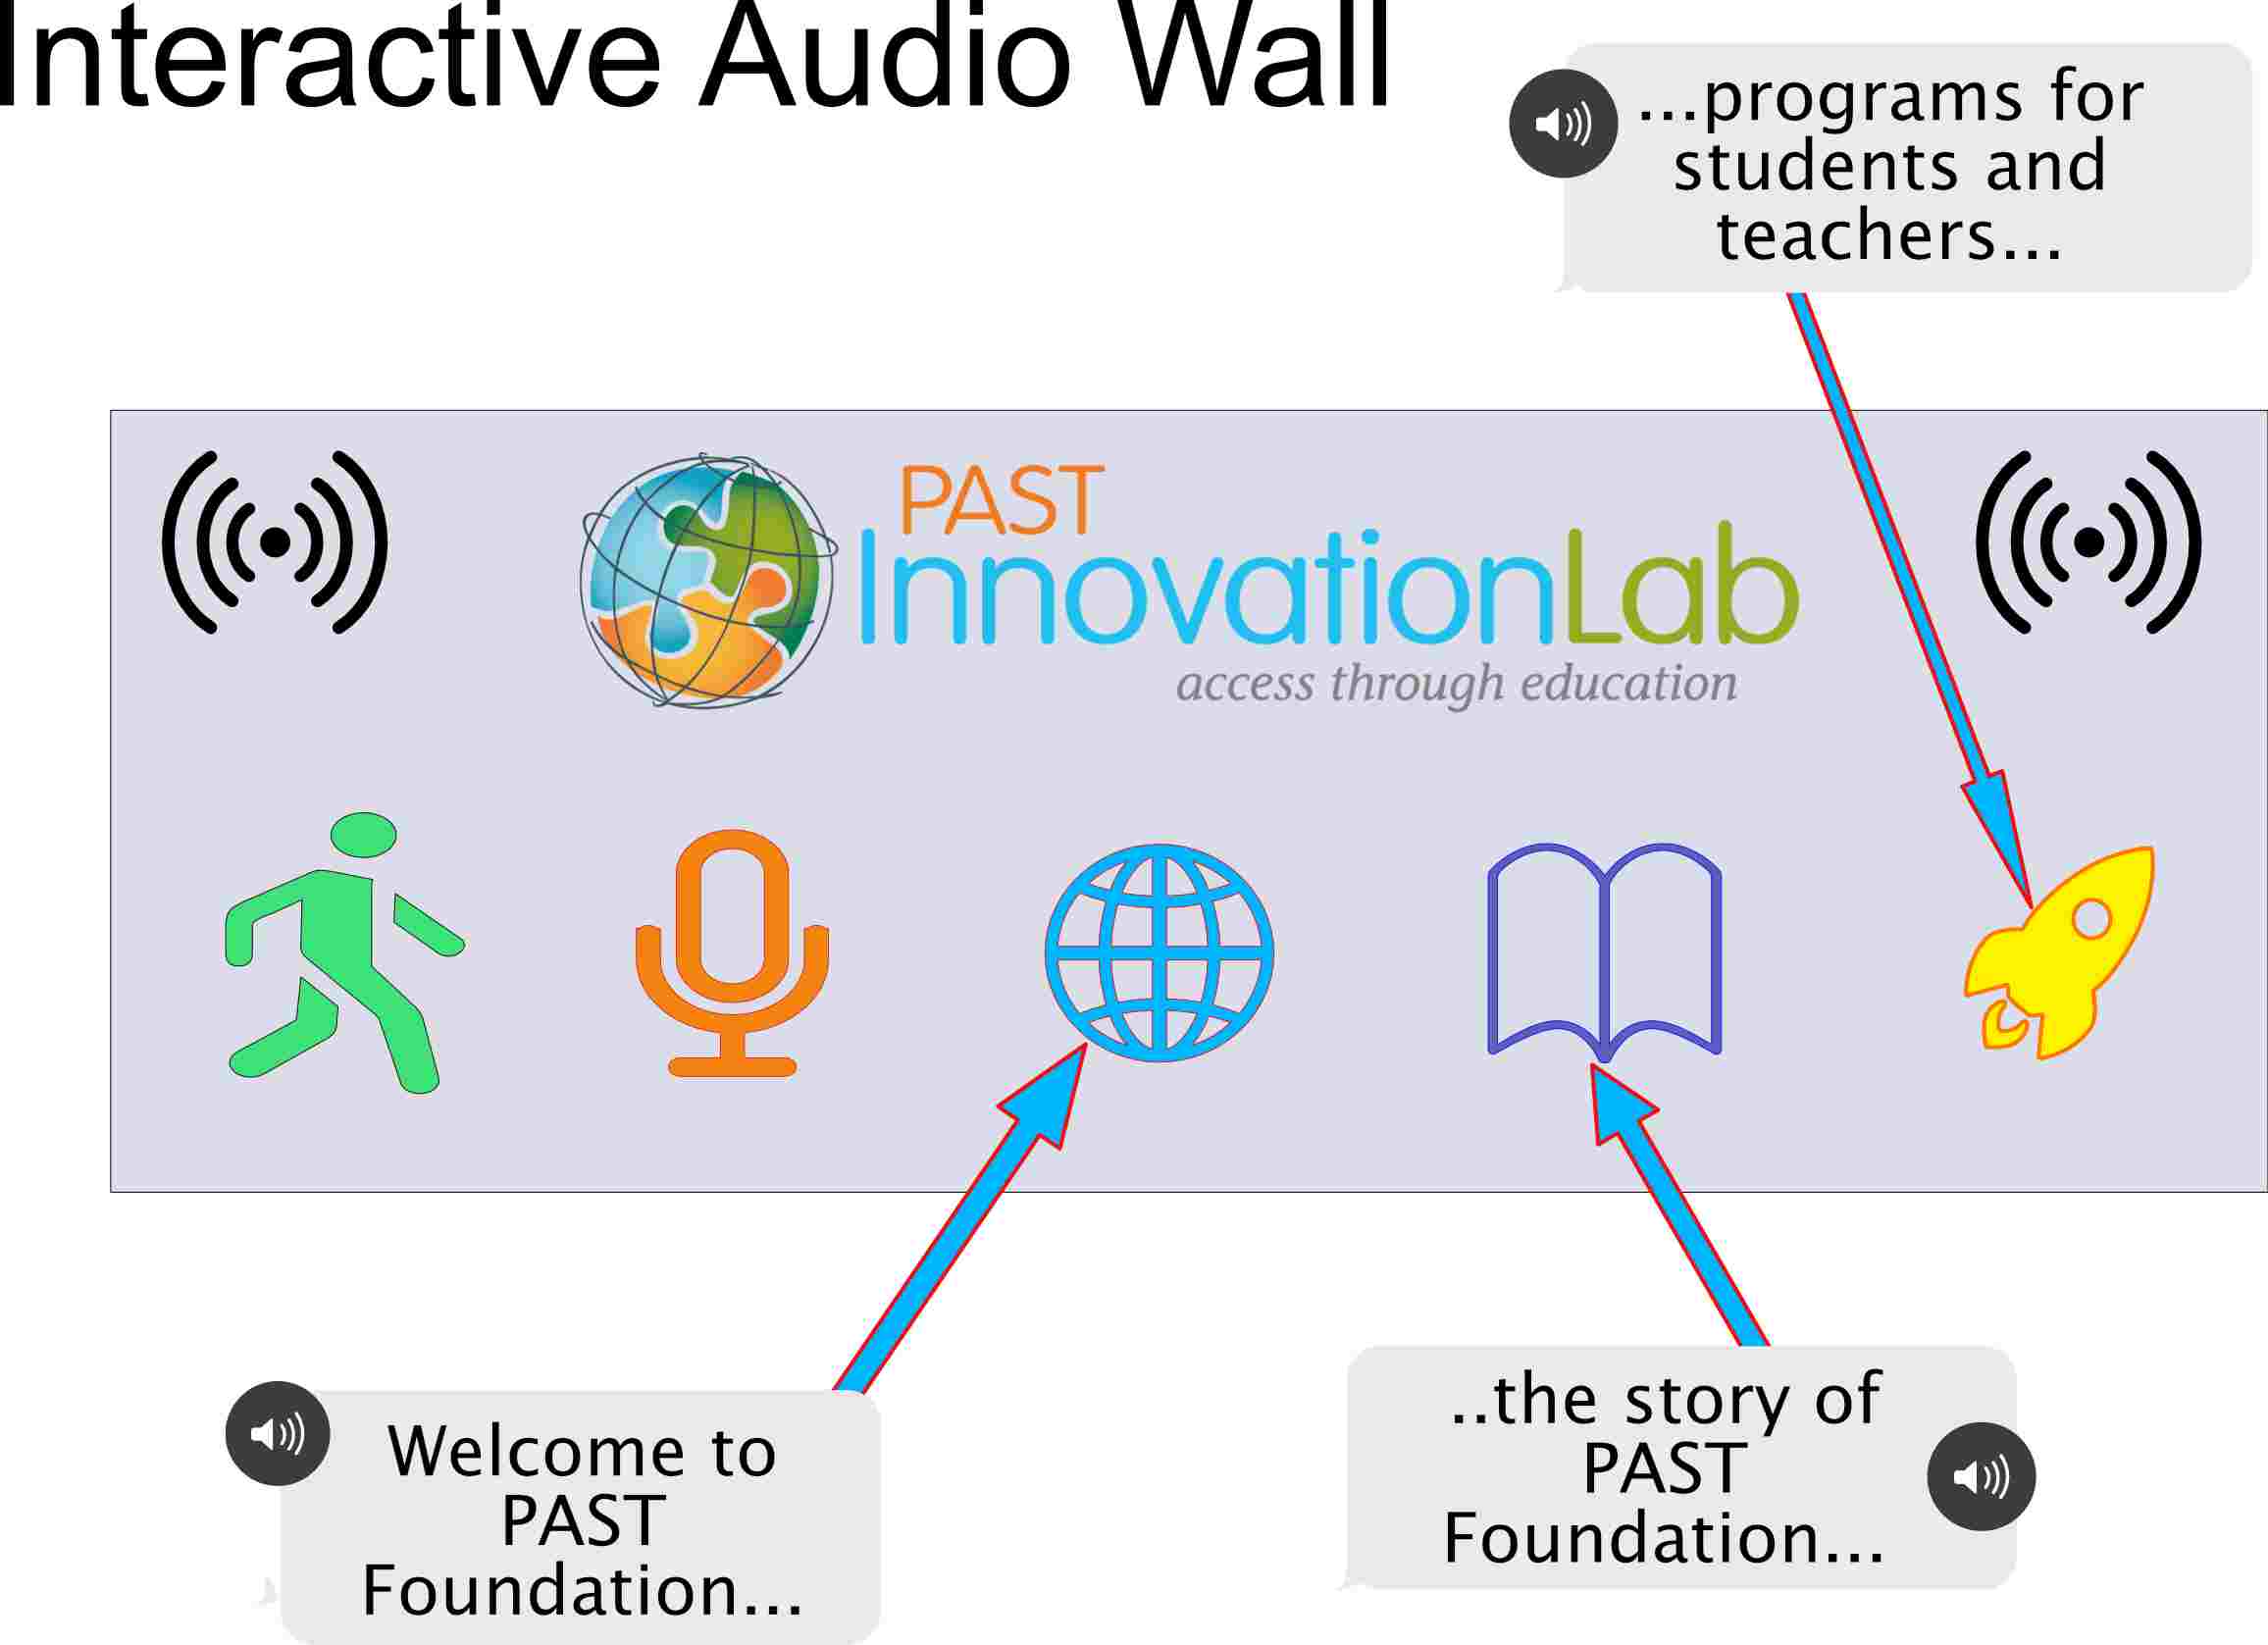
I have several concept ideas for a final project that involve making things around our Innovation Lab. I have considered making a robot arm that could eventually be use as part of our summer camps for middle school students or an automated vertical garden that would be modeled after the Farmbot. Another idea involves creating an interactive sound wall that serves as part of a tour of PAST. This sound wall would be made up of 2D images and 3D modles that a visitor cound interact with and then hear a description or story about some aspect of our work. This could include voice recordings of students that participate in our programs or parents of students or even community partners that support our programs.Robot Arm Idea
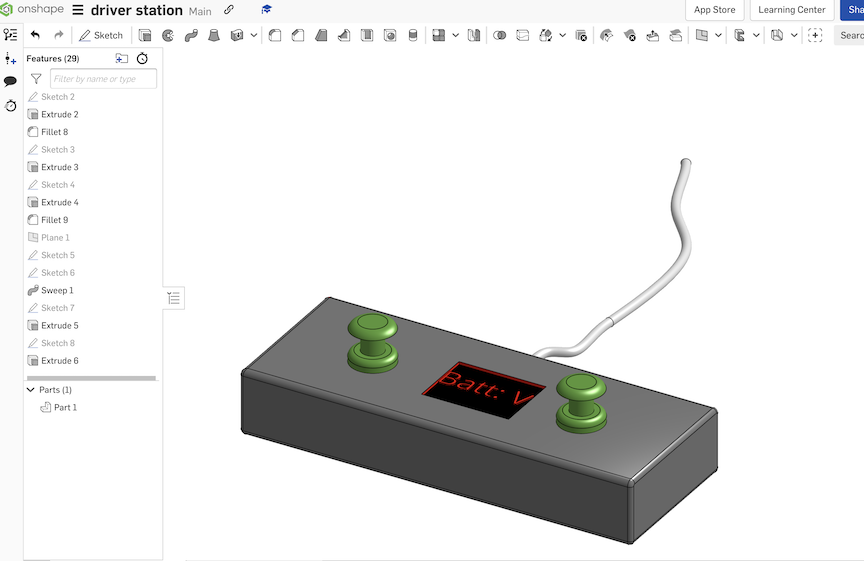
ROV Driver Station Idea
Interactive Audio Wall
Useful links
Code Example
I have had major difficulty getting my code to push from my local computer but after many attempts and lots of *&%?!*% I finally got it to work...I hope. Below is a sample of code with errors and success!
  // Please make sure you have the correct access rights
  and the repository exists.
  and-MacBook-Pro-7 public % git add "about.html"
  and-MacBook-Pro-7 public % git commit
  [main fc7e7c3] :#
   1 file changed, 1 insertion(+), 1 deletion(-)
  and-MacBook-Pro-7 public % git commit
  On branch main
  Your branch is ahead of 'origin/main' by 1 commit.
    (use "git push" to publish your local commits)

  Untracked files:
    (use "git add ..." to include in what will be committed)
      ../.DS_Store

  nothing added to commit but untracked files present (use "git add" to track)
  and-MacBook-Pro-7 public % git commit -m "add files"
  On branch main
  Your branch is ahead of 'origin/main' by 1 commit.
    (use "git push" to publish your local commits)

  Untracked files:
    (use "git add ..." to include in what will be committed)
      ../.DS_Store

  nothing added to commit but untracked files present (use "git add" to track)
  and-MacBook-Pro-7 public % git push
  Enumerating objects: 7, done.
  Counting objects: 100% (7/7), done.
  Delta compression using up to 10 threads
  Compressing objects: 100% (4/4), done.
  Writing objects: 100% (4/4), 355 bytes | 355.00 KiB/s, done.
  Total 4 (delta 3), reused 0 (delta 0), pack-reused 0
  To gitlab.fabcloud.org:academany/fabacademy/2023/labs/vancouver/students/andrew-bruening.git
     46dd40c..fc7e7c3  main -> main
  and-MacBook-Pro-7 public %
  }
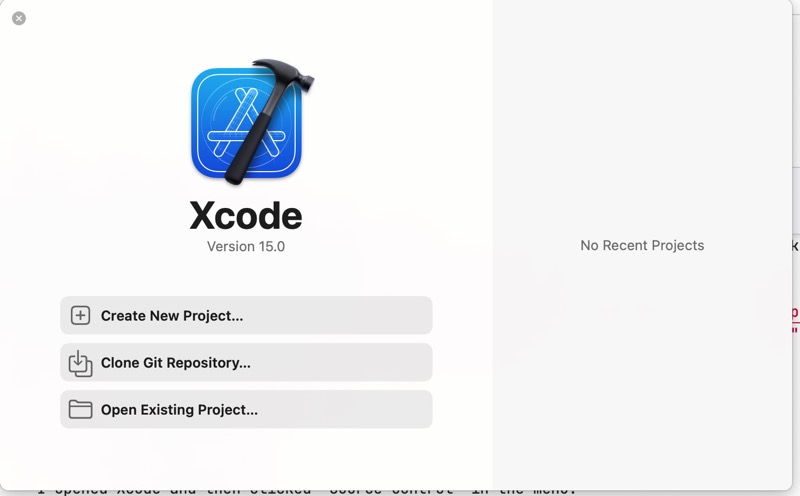
I had a lot of trouble at the beginning of the stage of the project. I really wanted to use a HTML template for my site but for some reason I was not able to get the templates to work. I searched for solutions but did not have much luck. I ultimatley, just used the base layout that was created for us by Fab Academy. In the end I was more concerned with getting my work for each week documented rather than worry about how to get the HTML template to work. I know that if you didn't document then it didn't happen so basic layout was what I went with. After a lot of trial and error and mistakes I have decided to use Xcode for editing my Fab Academy documentation.
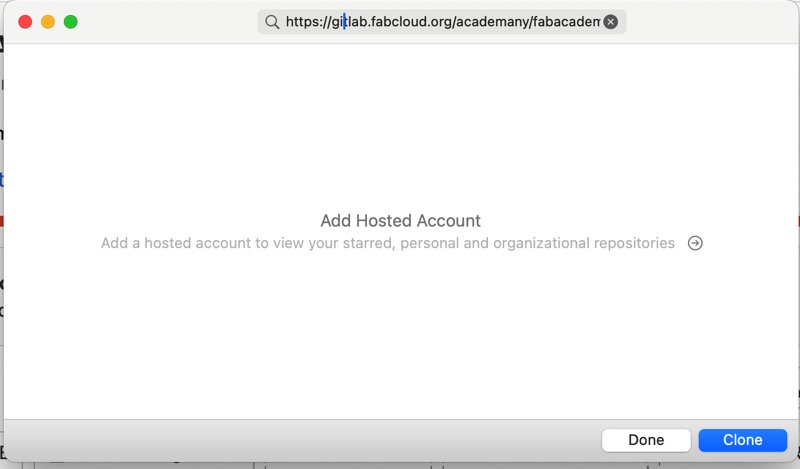
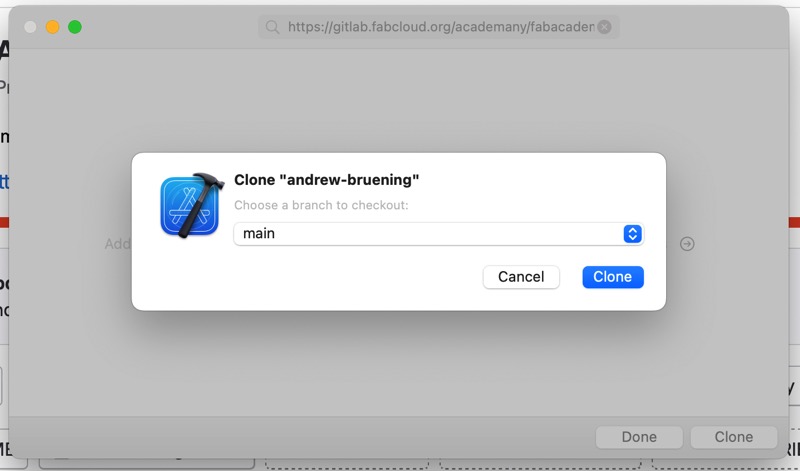
Setting GitLab set up in Xcode was a trick at first but I watched this video and this video as well to figure it all out. General steps were.
Open GitLab Repository created by FabAcademy:

Clone the Repository in Xcode:

- I opened Xcode and then clicked "Source Control" in the menu.
- Next, select "Clone" and enter the repository URL from GitLab.
- I chose a local directory on my computer for the project and click "Clone."
Set Up SSH Keys: (secure communication between your computer and the GitLab server.)
Generate SSH Key:
  --Open Terminal on your local machine.
  --Run the following command to generate an SSH key:

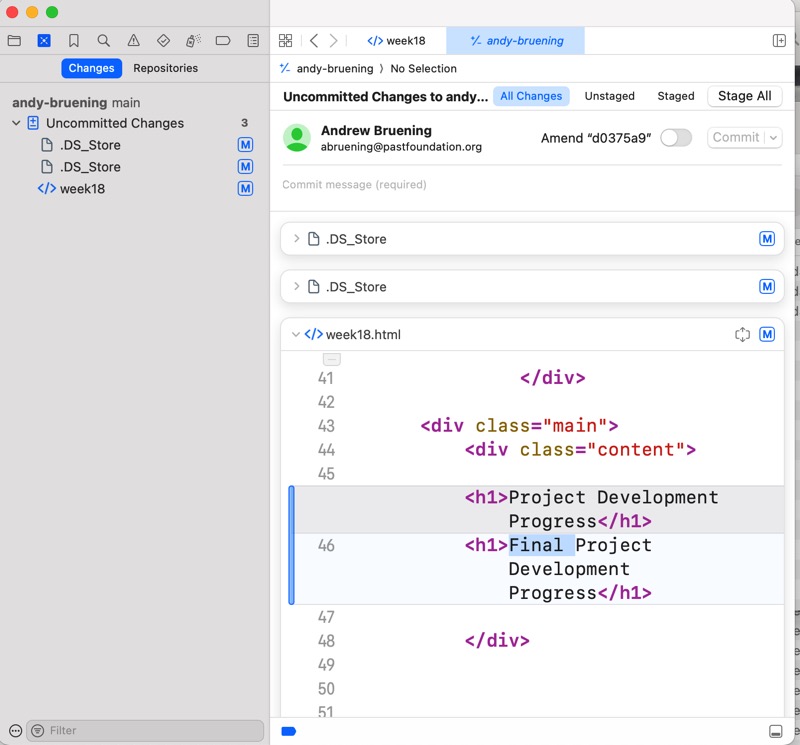
Go to your GitLab account settings -> SSH Keys and paste the key.

I tested the SSH connection and it worked so I was then able to
Push and Pull Changes:
- Make changes to your Xcode project.
- Use Xcode's Source Control features to commit changes locally.
- Push your changes to GitLab using Xcode's Source Control.