Mechanical Design
Group assignment
- design a machine that includes mechanism+actuation+automation+application
- build the mechanical parts and operate it manually
- document the group project and your individual contribution
Individual assignment:
Document your individual contribution. Machine Design
Group assignment:
Actuate and automate your machine.
Document the group project
Group assignment link found Here
Individual assignment:
Document your individual contribution. Group Assignment¶ For our Group assignment we were tasked with designing a machine & automating its components and document.
The Group Assignment page can be found at this following Link
Group Members consists of:
-
Terrence Carew
-
Christopher Proute
-
Nervene Bhagwandass
-
Marvin Holloway
Machine Description
Automated Cookie Cutter
For this assignment, my group designed and built an automated cookie cutter. The machine uses an actuator that pushes a cookie cutter unto a circular conveyer which the cookie dough is placed. The cookie dough is cut to shape, the actuator retracts and the conveyer turns with another piece of cookie dough. The cookie cutter shapes can be switched with different shapes.
Individual Assignment
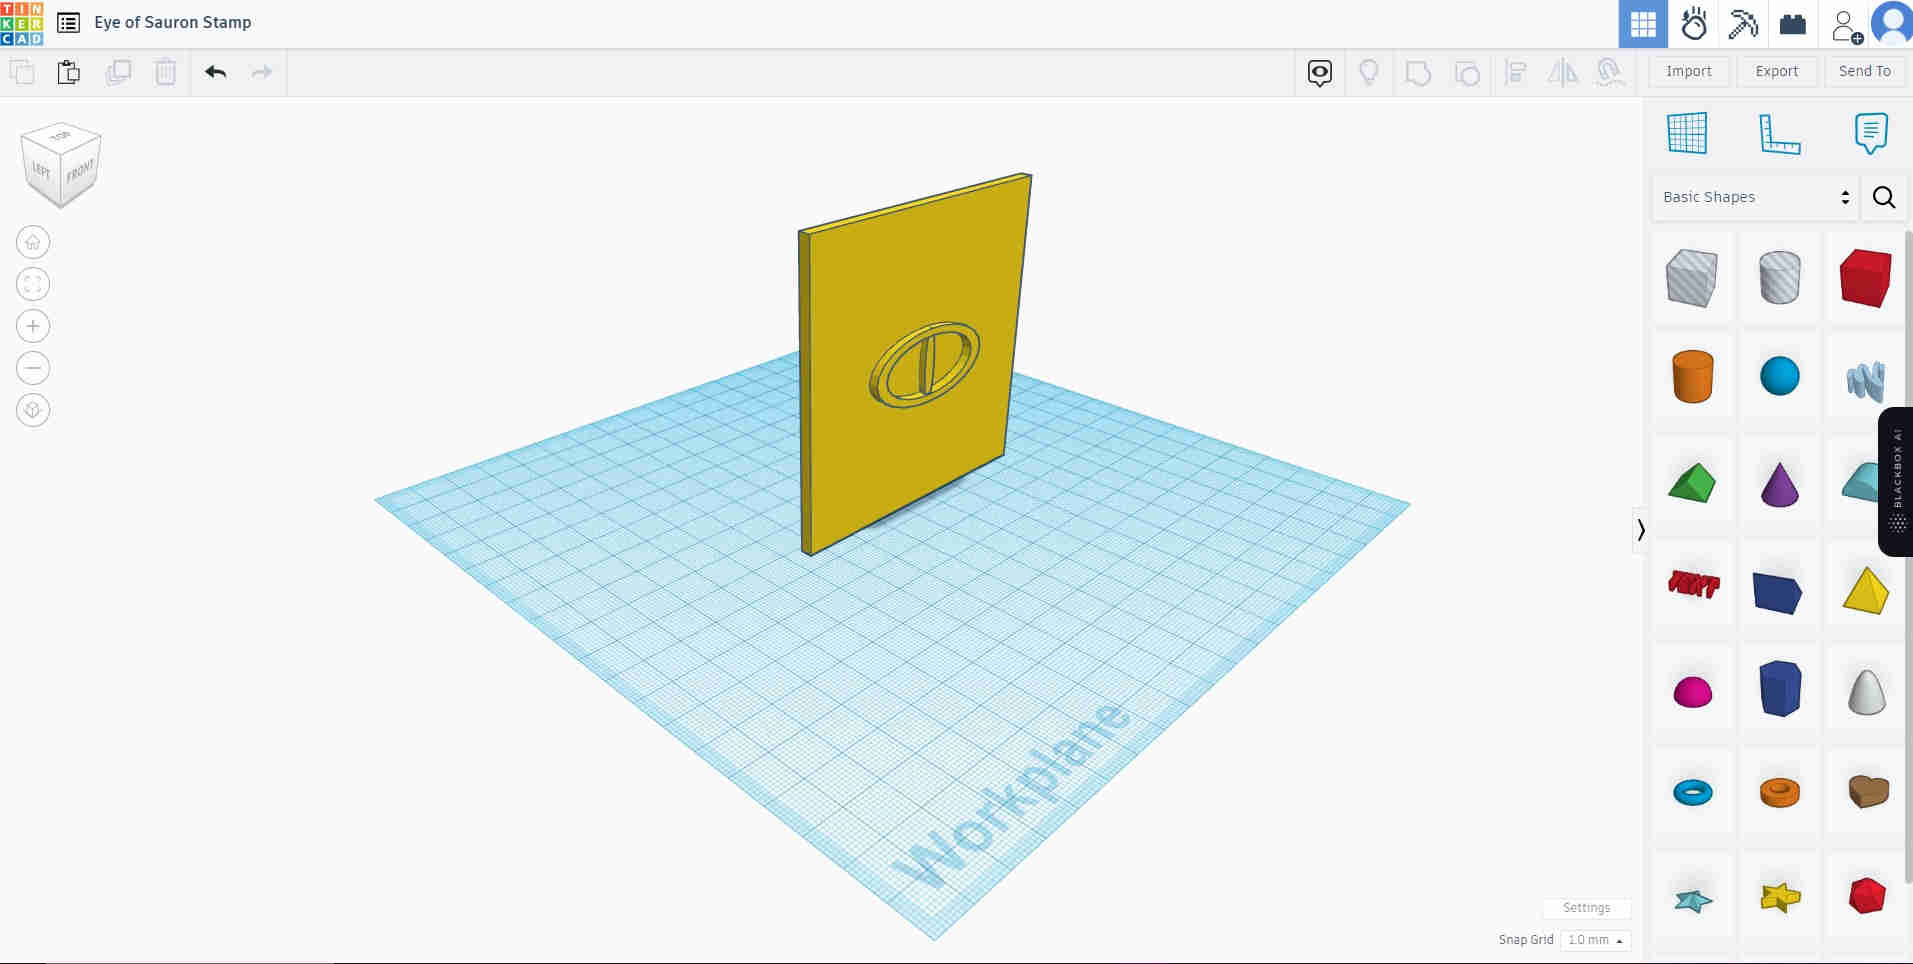
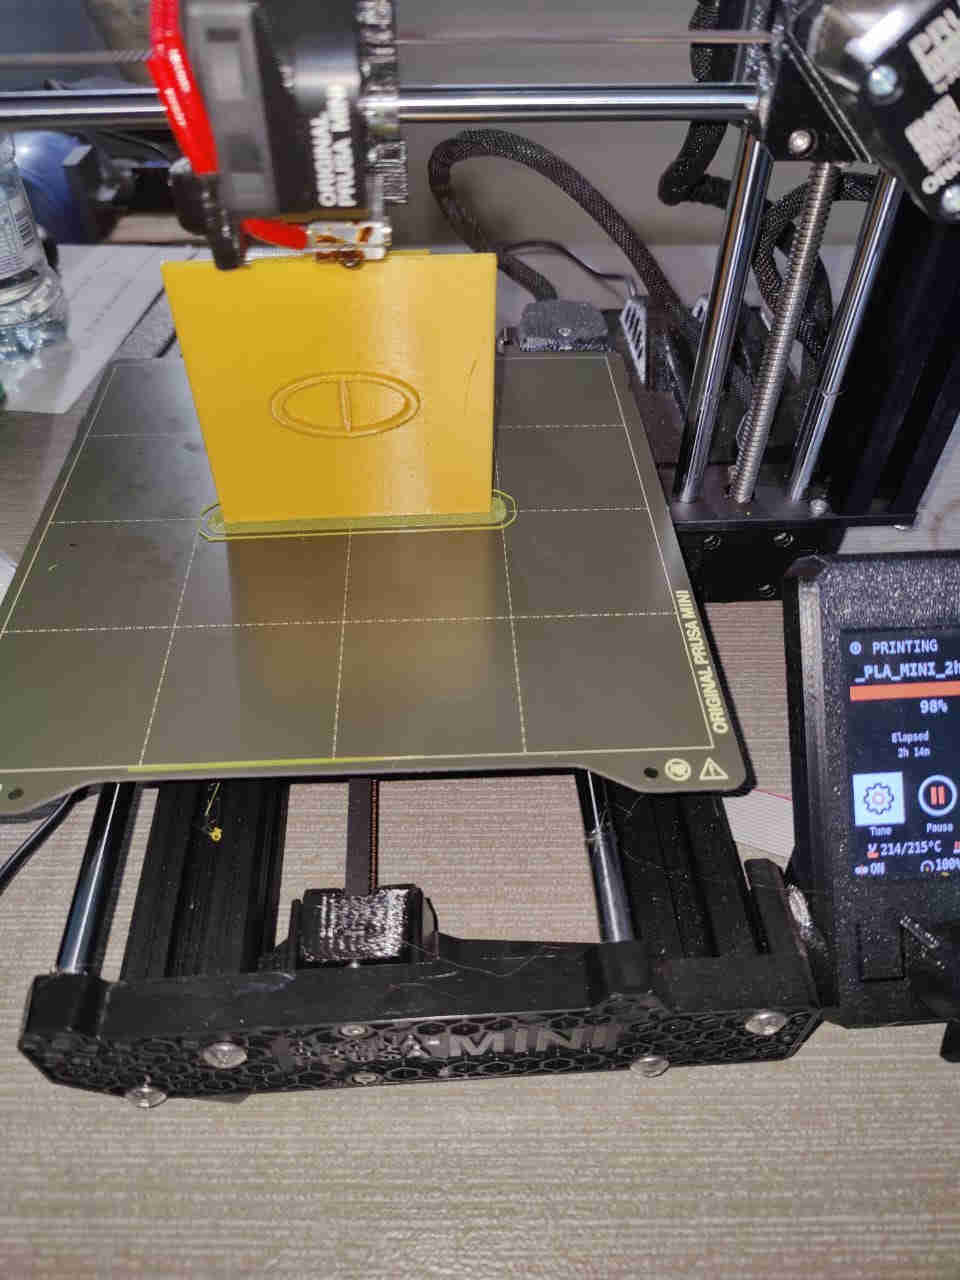
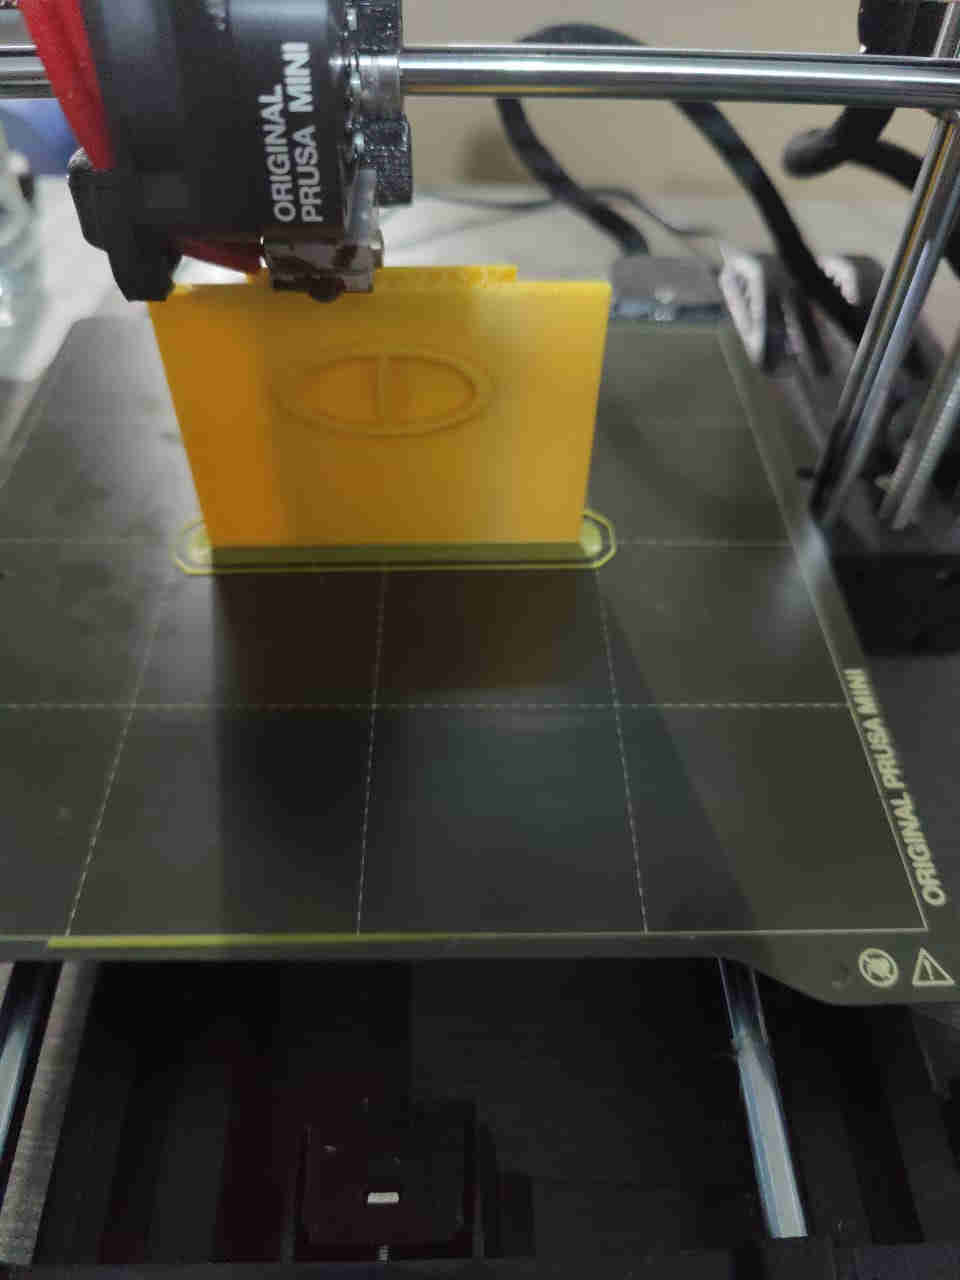
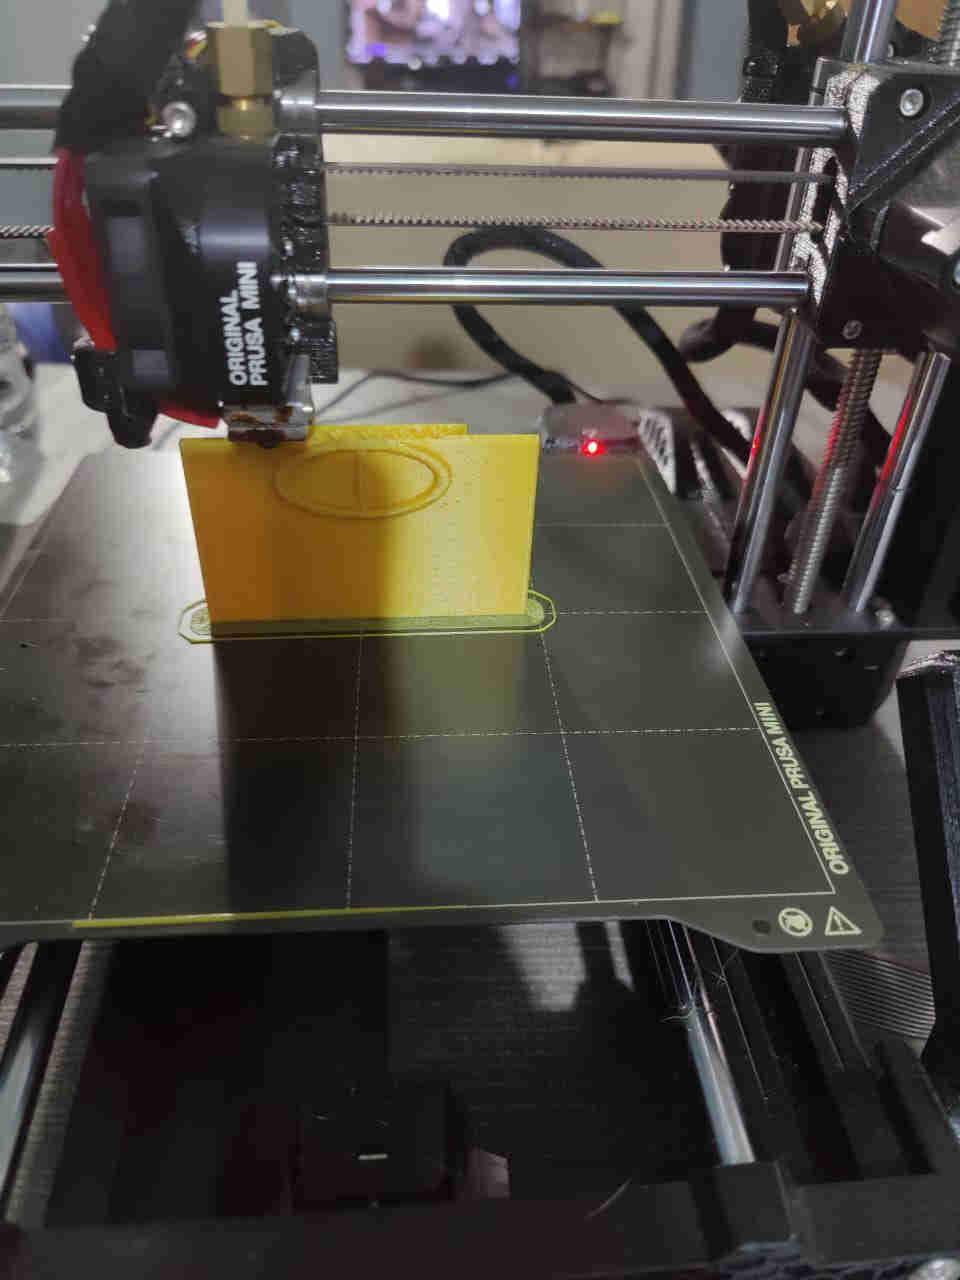
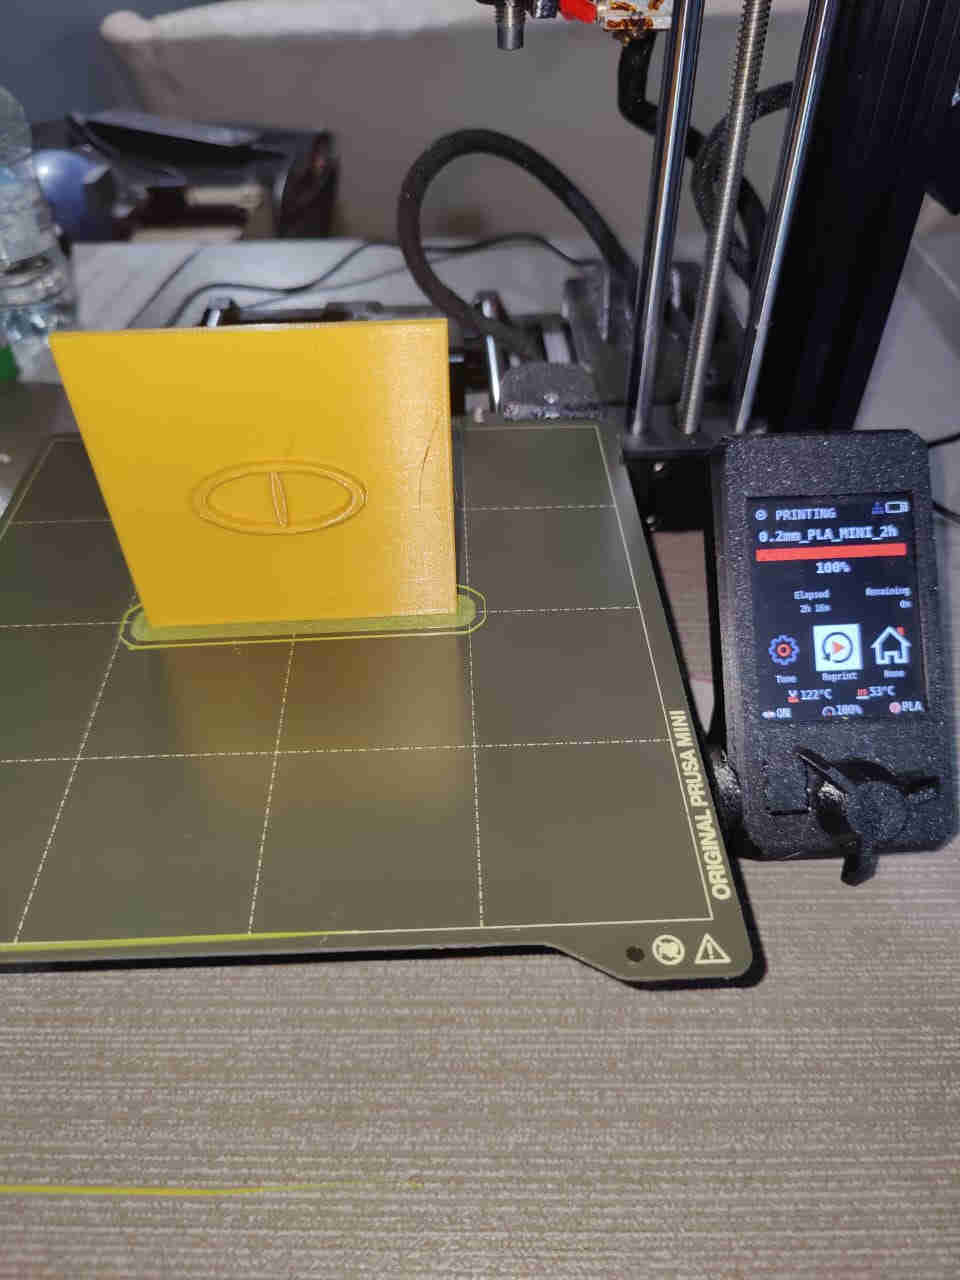
As a group member, I was tasked with designing and printing a cookie cutter for the flat horizantal plate, that engages with the pliable material, the dough.
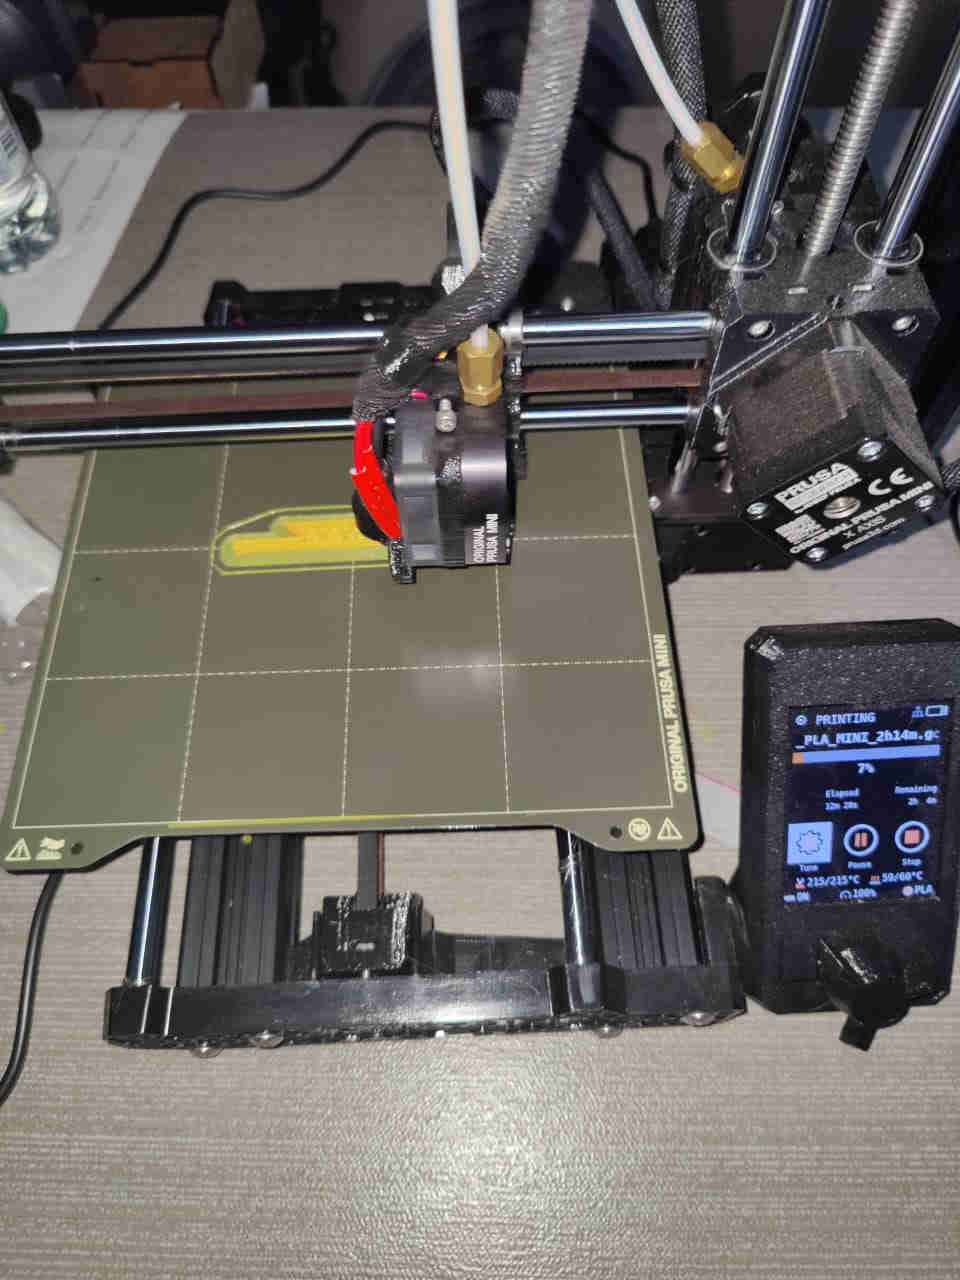
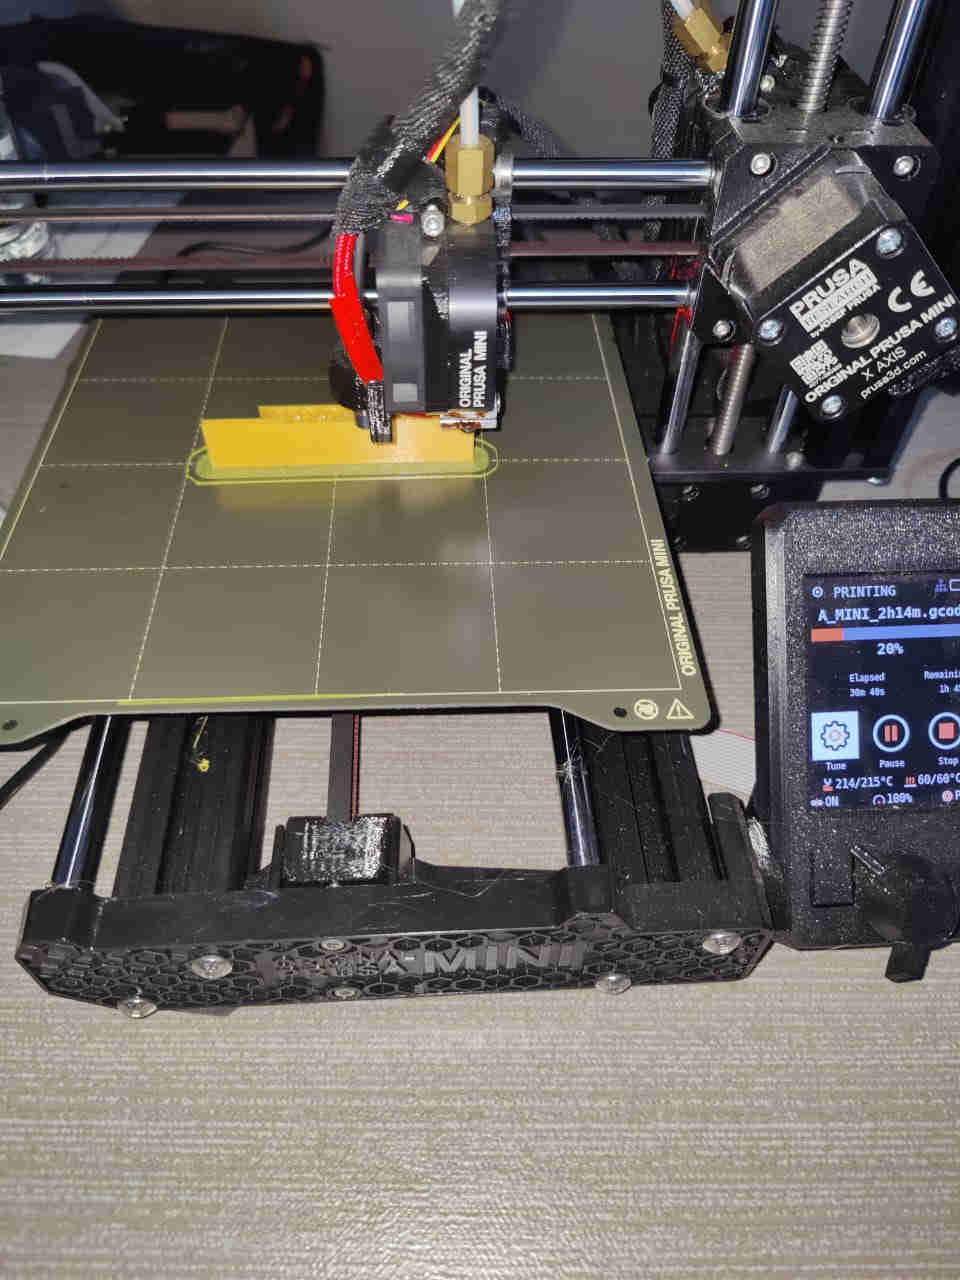
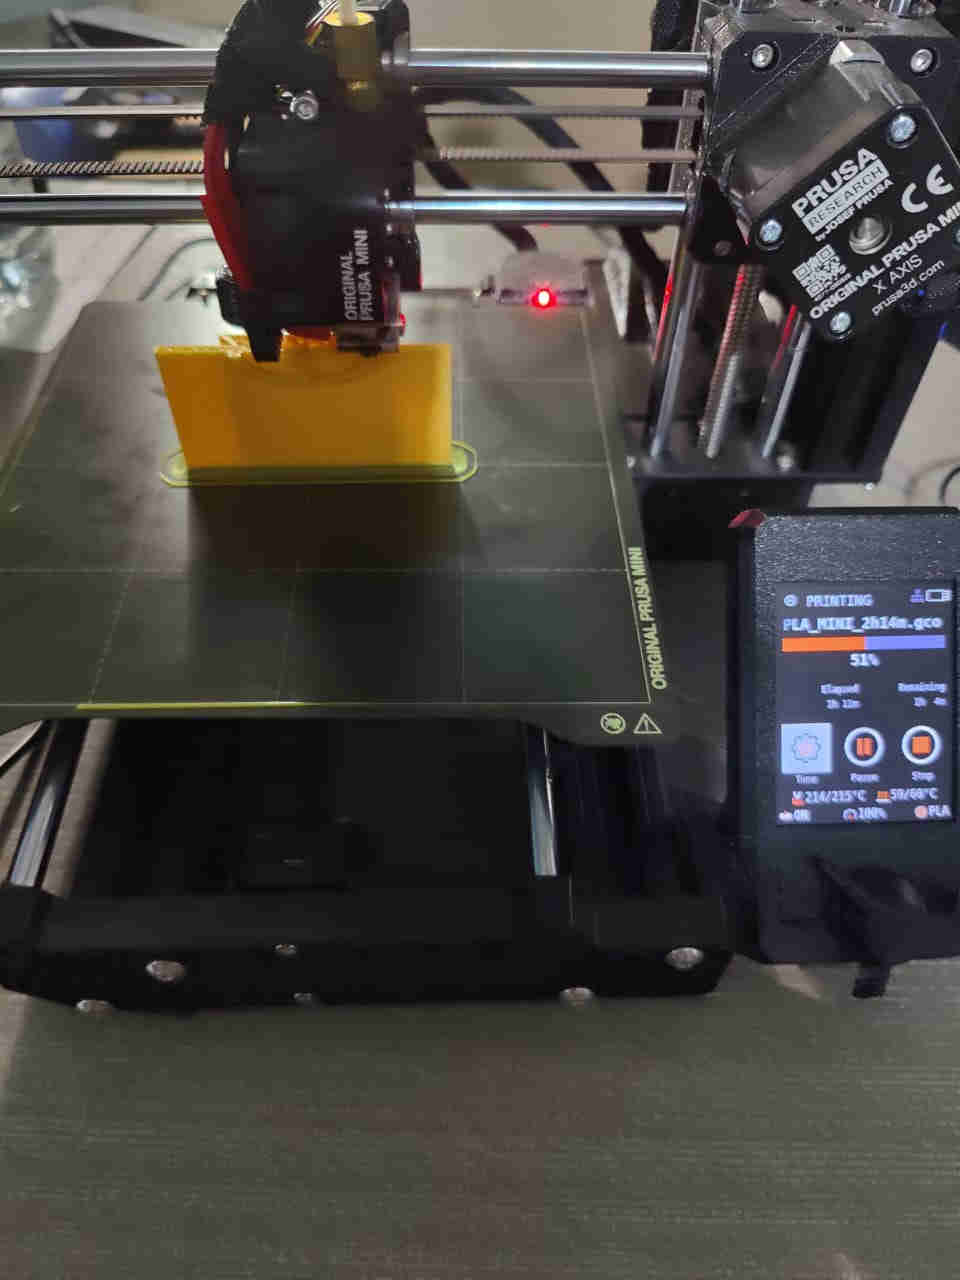
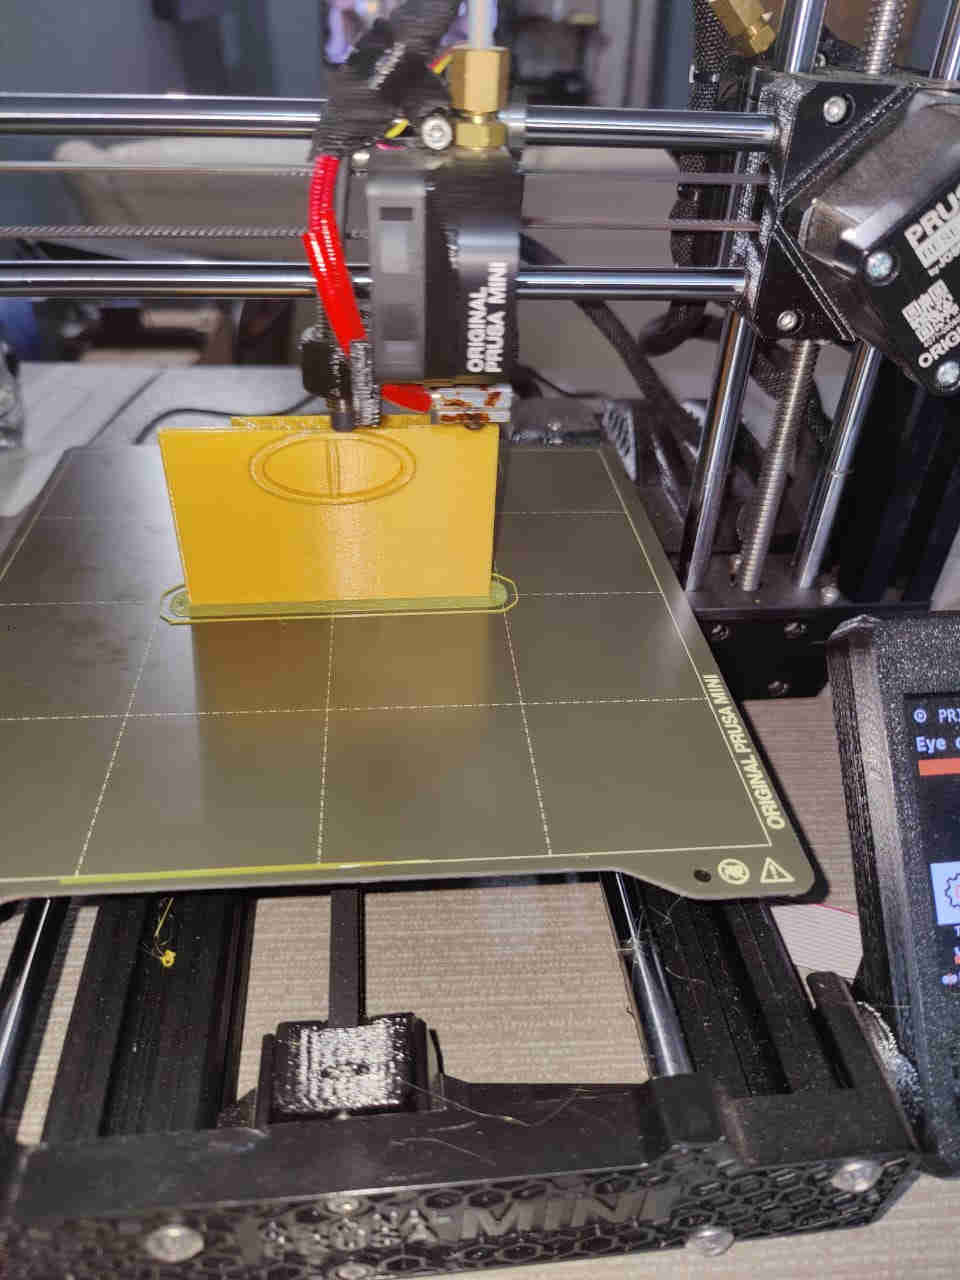
TinkerCAD was used to design the cookie cutter----> The Pusa Slicer was used to convert the .stl file from the design to G Code----> and finally, the MINI Prusa was used to 3D print the design.
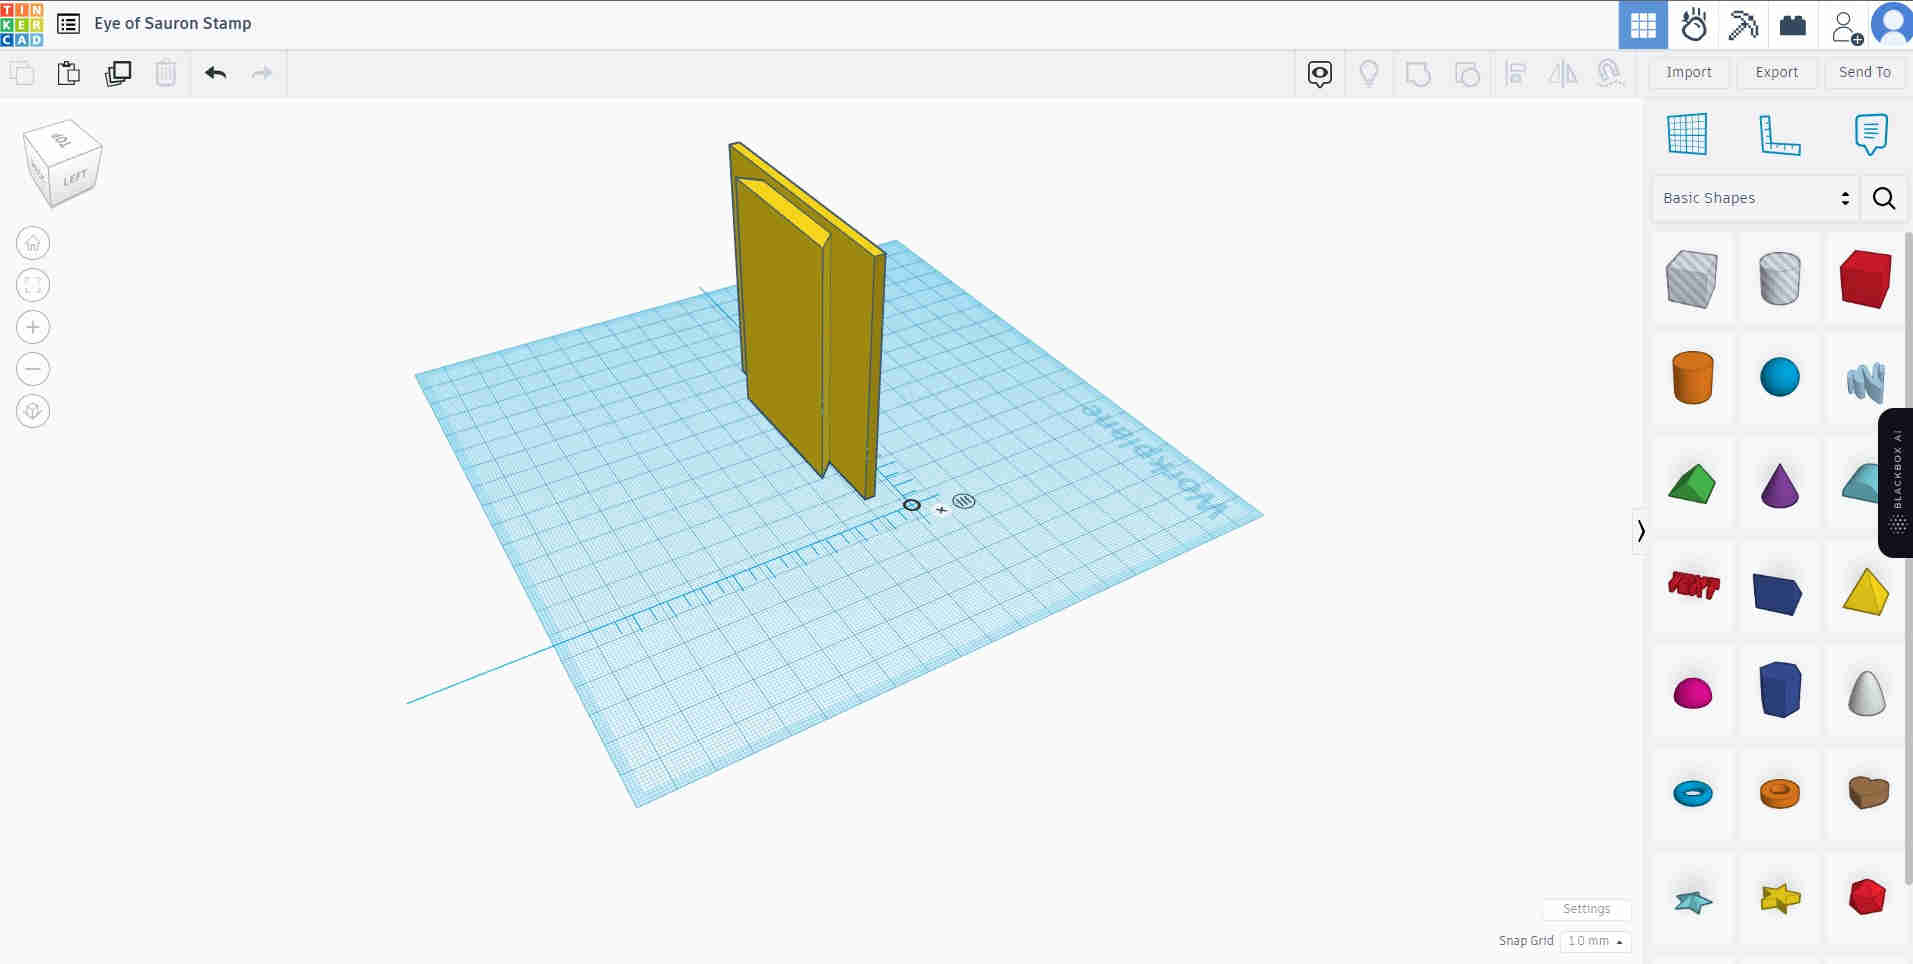
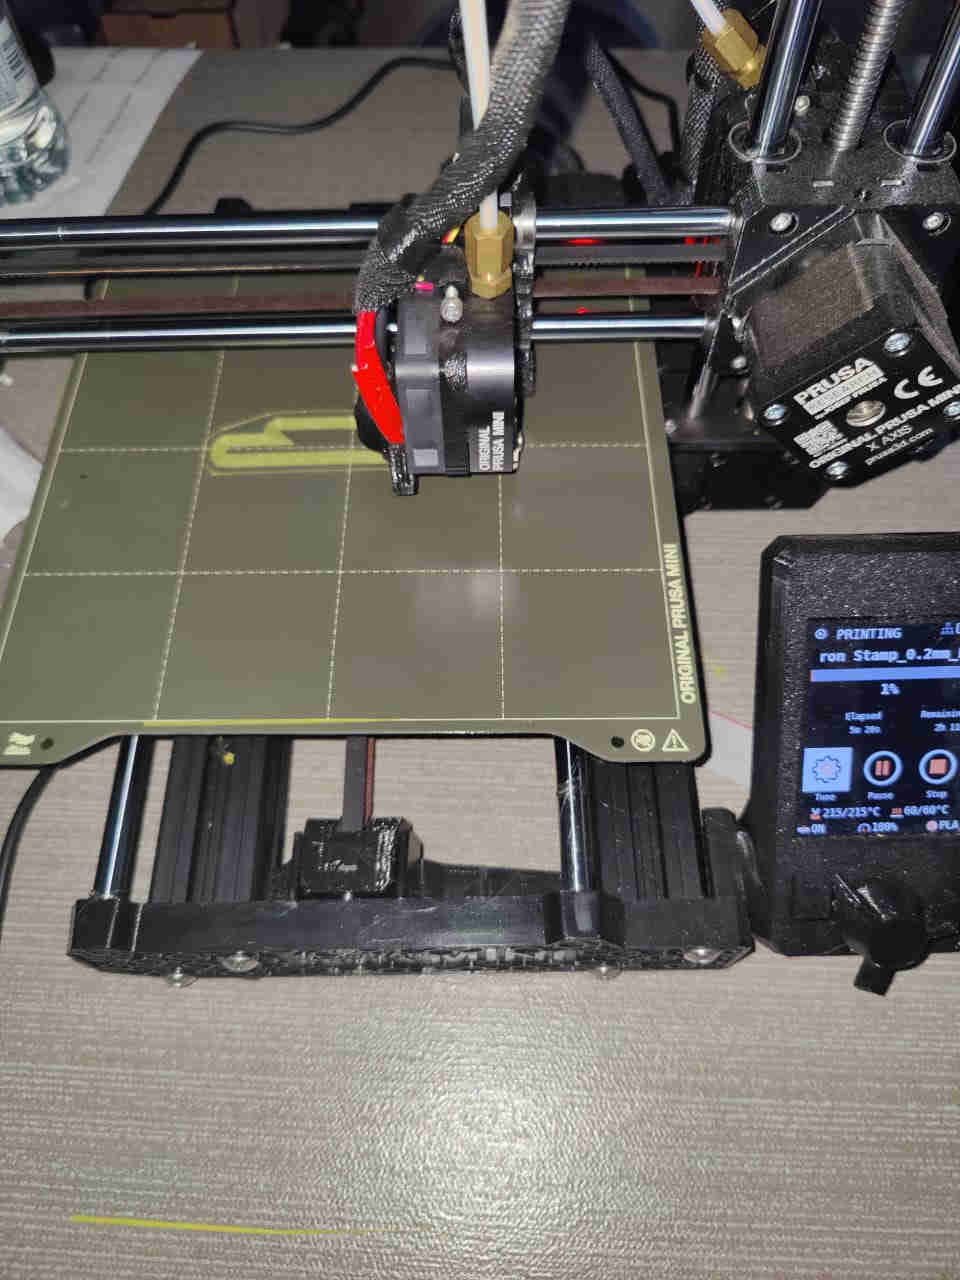
Here are some shots of the process:
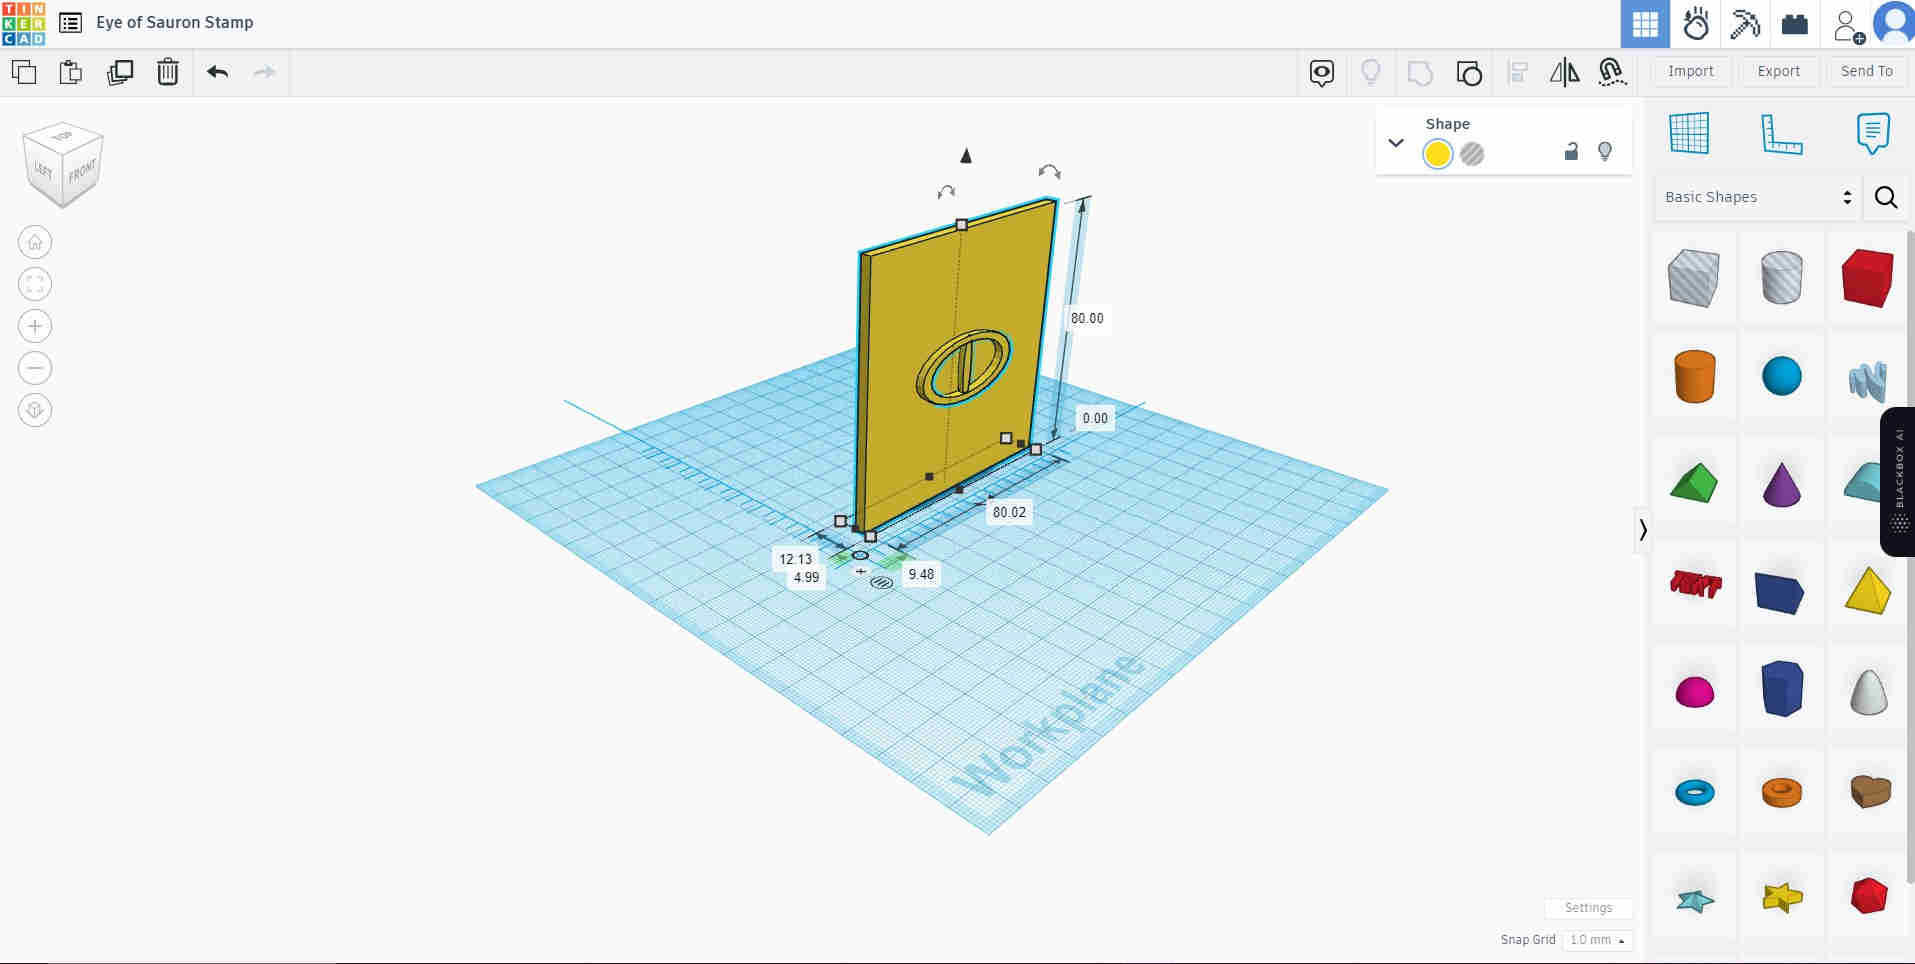
Here is the Design converted to GCode through the Prusa Slicer

Here is the design of the cookie cutter being printed, estimated time is 2 hours 11 minutes
Gears/ Conveyer Design
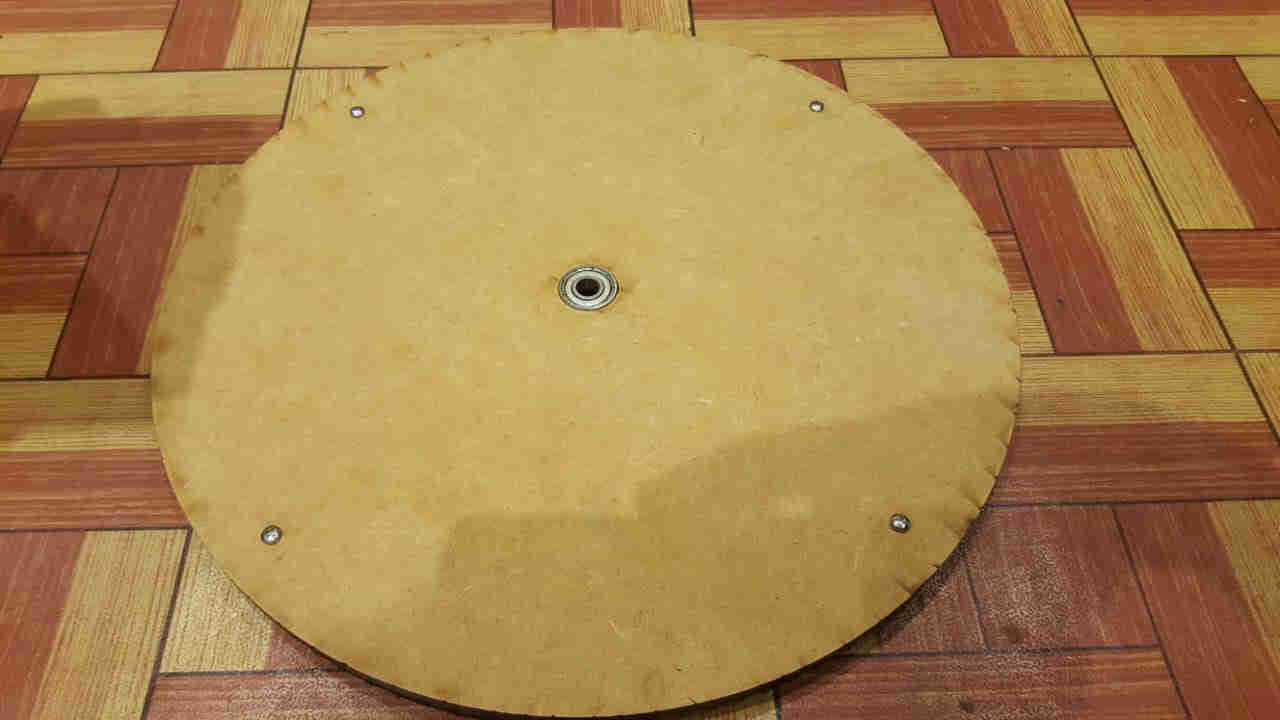
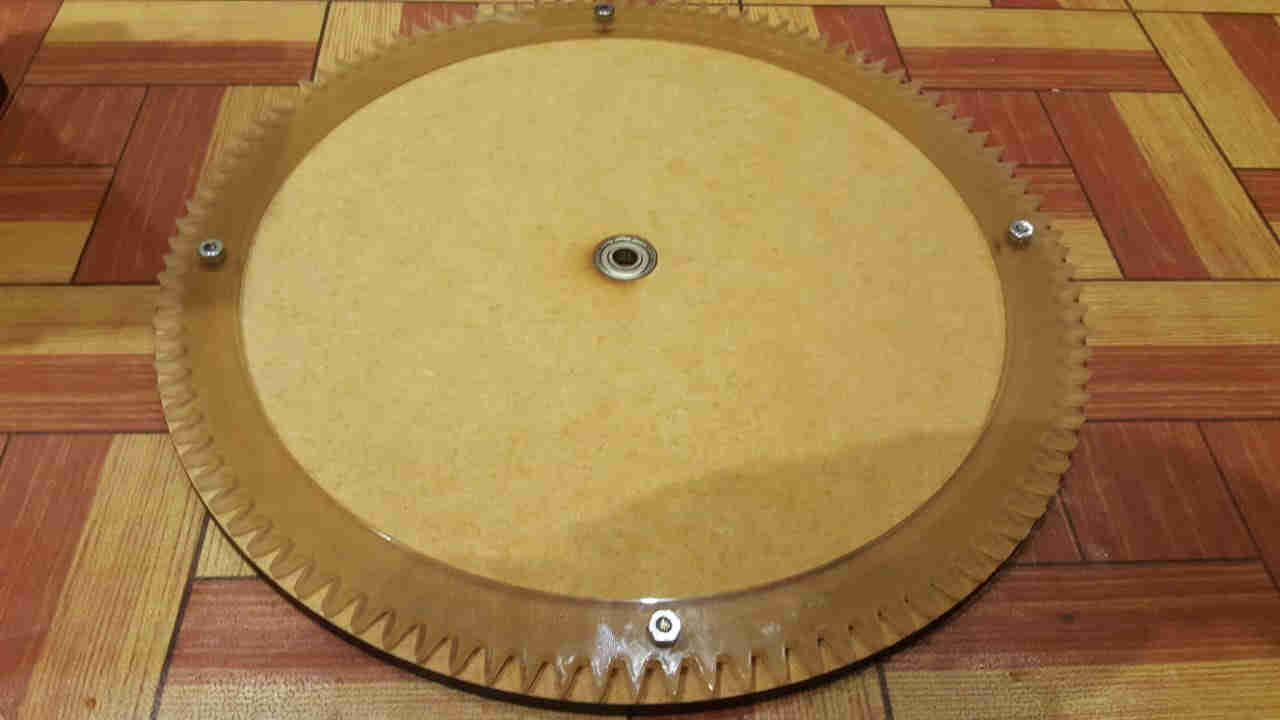
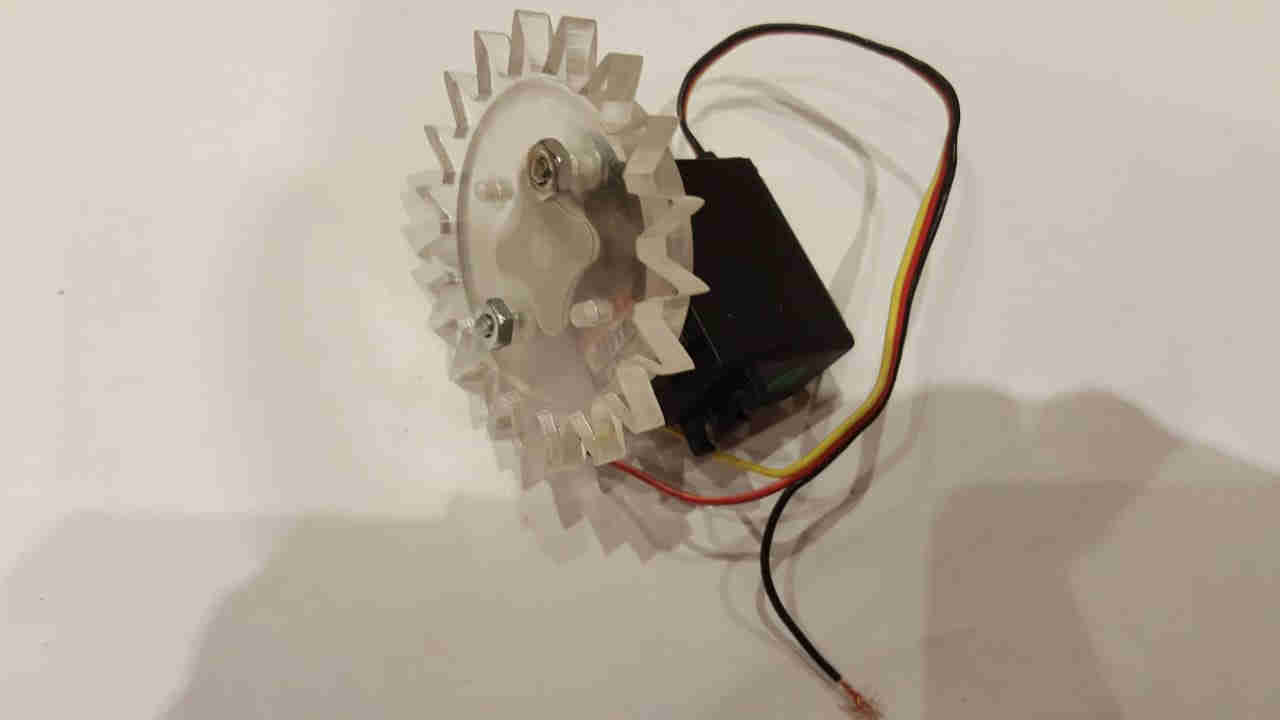
In addition to this, I was also tasked with designing and producing the Gear for the Conveyer, the Conveyer plate as well as the gear mounted upon the servo motor, to drive said conveyer plate. For the material, I utilised plexi glass (acrylic glass) 1/4 inch thickness, as well as MDF Board of same thickness for the conveyer’s base plate. Initially, I was going to use the traditional conveyer belt, to move he dough along, then I realised to economise on space, I made the decision to make it circular instead, a circular conveyer (as seen in the design). The gears as well as the base plate, were all designed using Fusion 360, and were all cut via the Epilog Laser cutter.
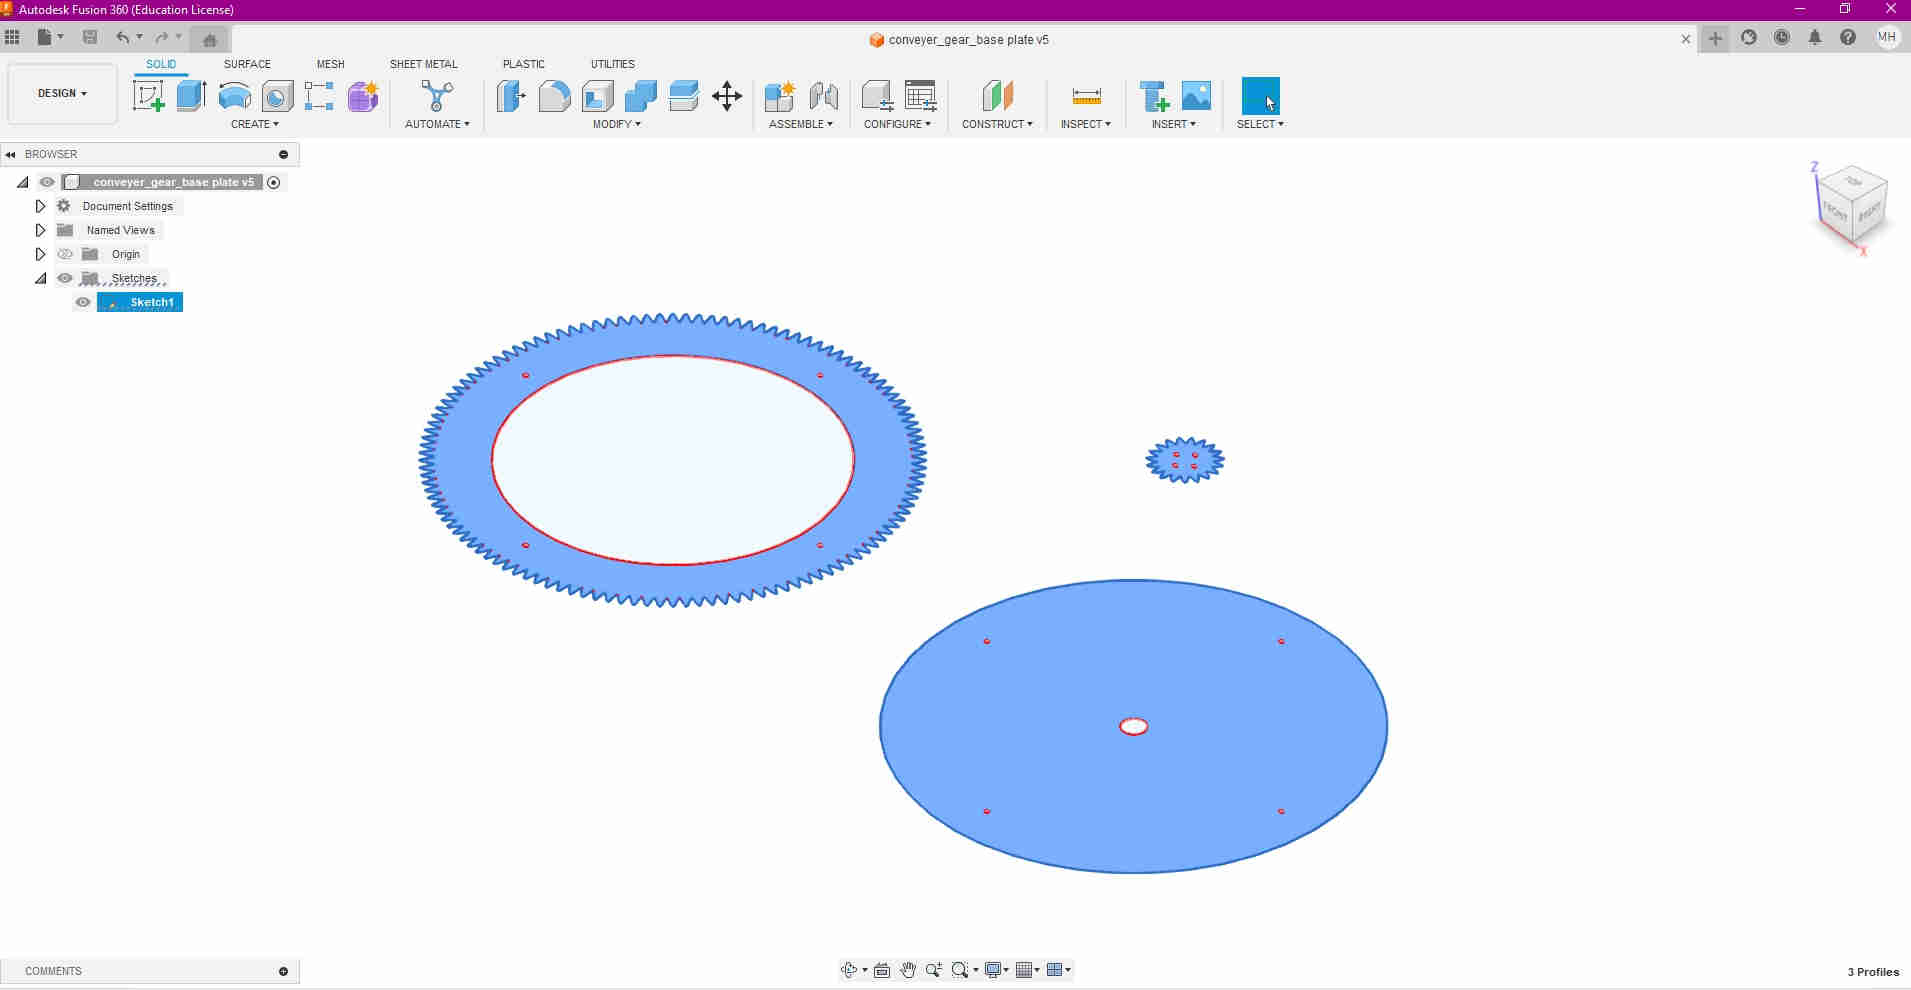

When I attempted to do a rough mount, I then realised that I had to manually cut into the machine’s body, to make it fit. This was neccessary, as I intended to use a linear shaft that Terrence made, to run through it’s center, and enable it to move, with the bearing so it couldv’e rotated around that shaft. The operation is , when the cookie cutter press comes down, it would directly press into the dough, then the cutter goes back up, the base plate turns, and the process is repeated.
Now for the smaller motor, my colleague Terrence msde a flange for another motor on the machine, so he essentially replicated the very same flange, using the laser cutter, to allow me to attach the small gear directly to the motor.
To download design file, click Design DXF File