15. Wildcard week
For my wildcard week assignment, I decided to utilise our embroidery machine, The Brother PE550D 4” x 4” Embroidery Machine with Built-In Disney Designs.
Assignment
Design and produce something with a digital fabrication process (incorporating computer-aided design and manufacturing) not covered in another assignment, documenting the requirements that your assignment meets, and including everything necessary to reproduce it. Possibilities include (but are not limited to):
- textiles
- fiber processes
- knitting
- embroidery PEmbroider Ink/Stitch
- Fabricademy
Process/ Procedure
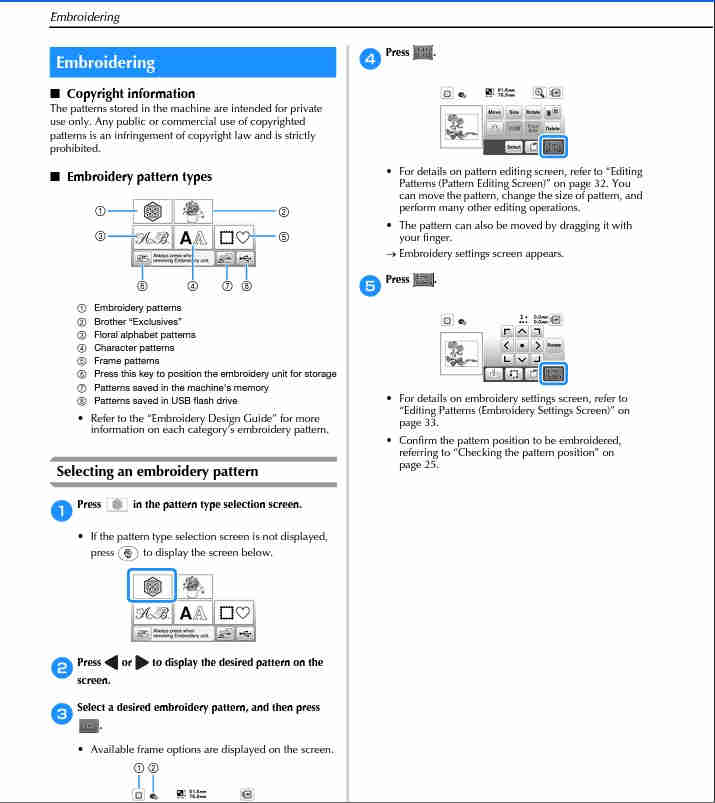
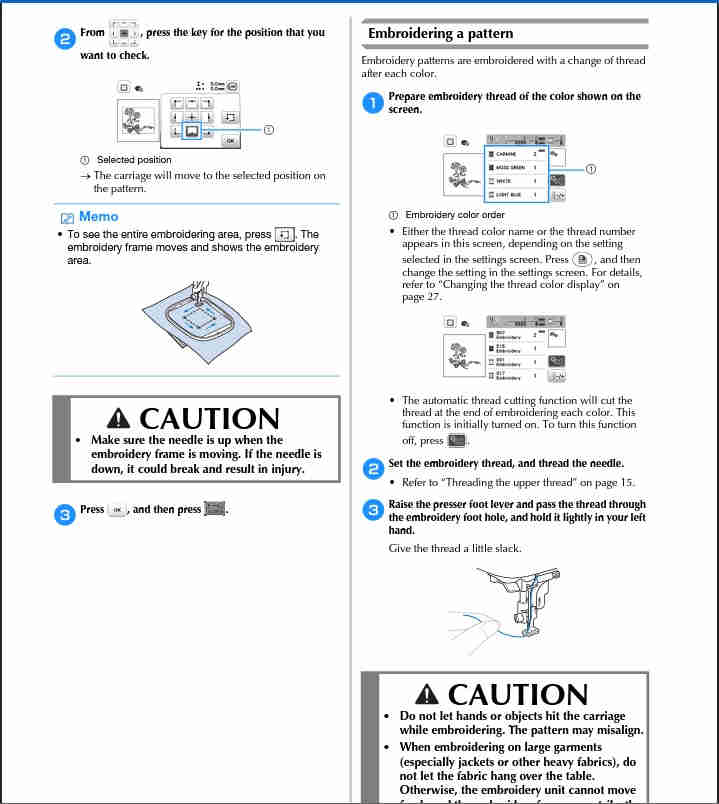
My first order of business was to familiarise myself with the Brother Embroidery Machine operation process. To do this, I read the bundled manual. This proved very useful/ helpful, as I am “NOOB” to embroidery.
I purused key chapters within the Brother Operation Instruction manual to accomplish this as well as a short instructional video (How to use Inkscape/ Inkstitch by Project Anonymous). It was relatively easy and straight forward, even for an inexperienced guy like myself.
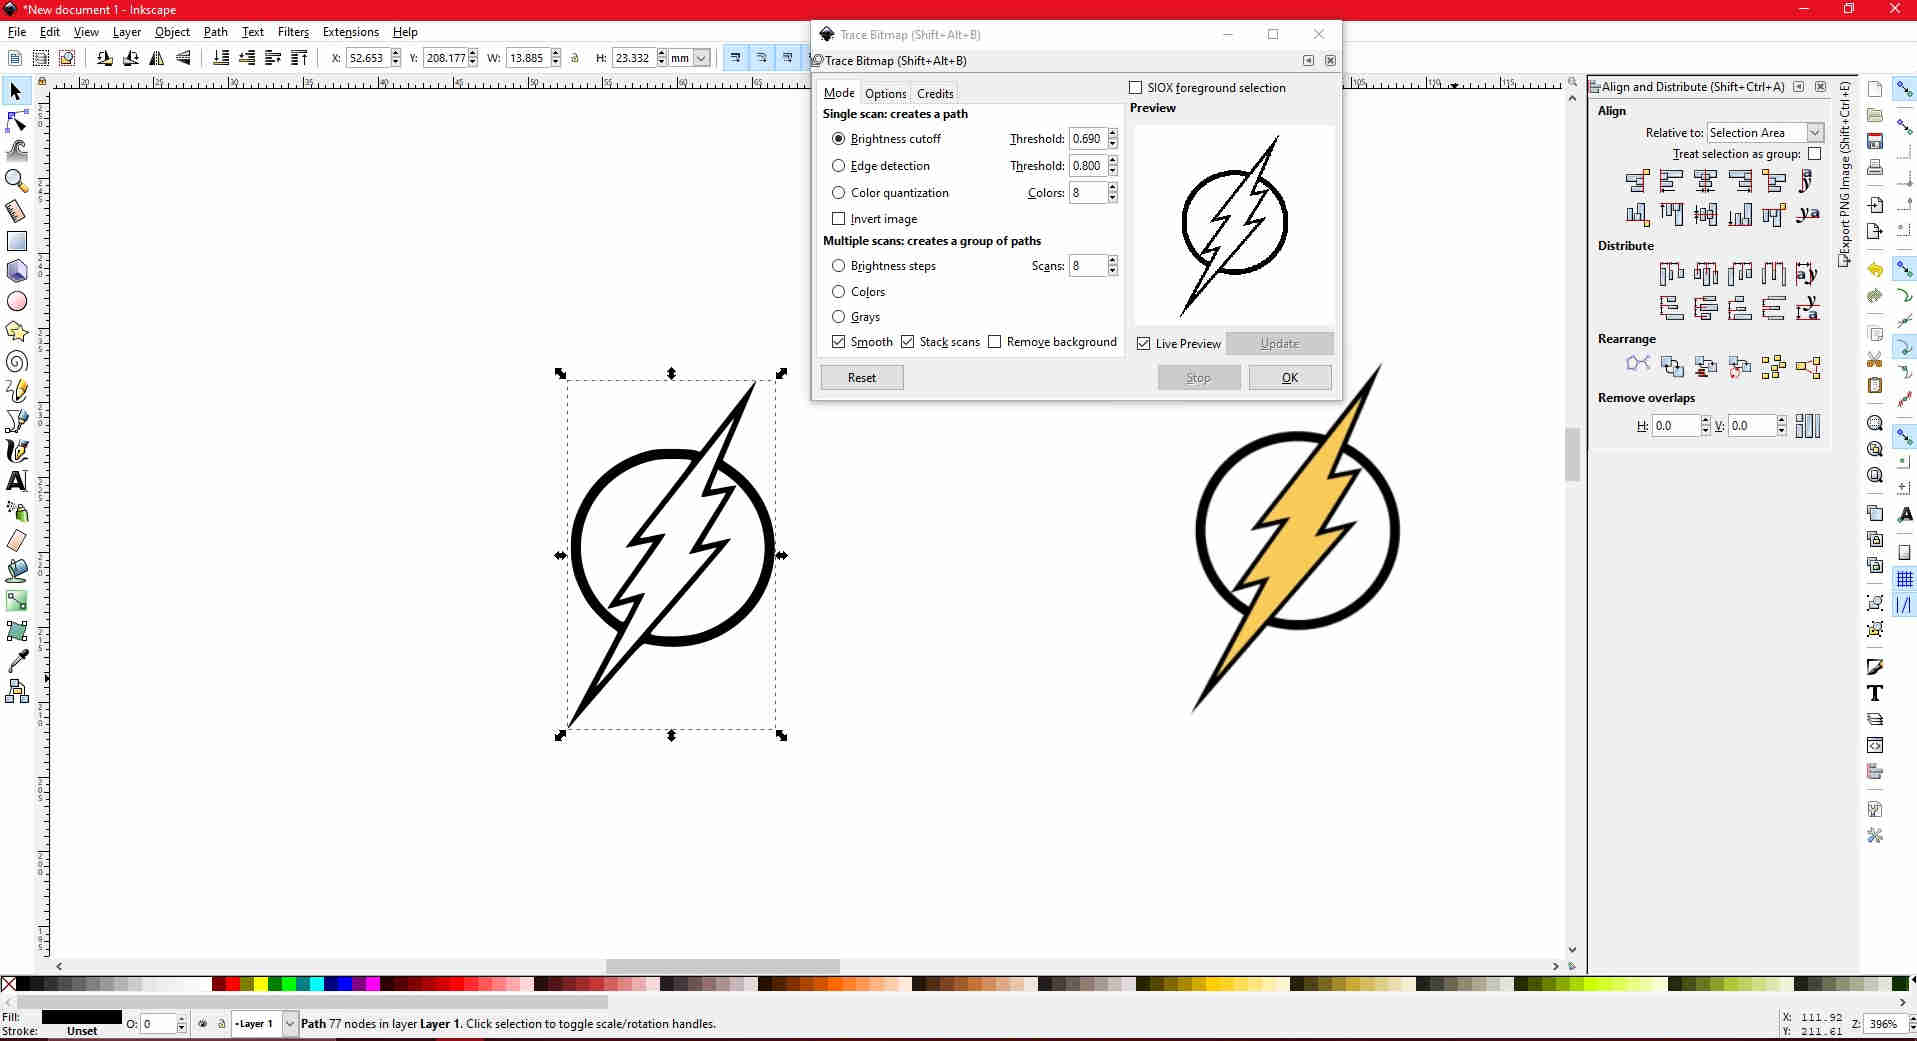
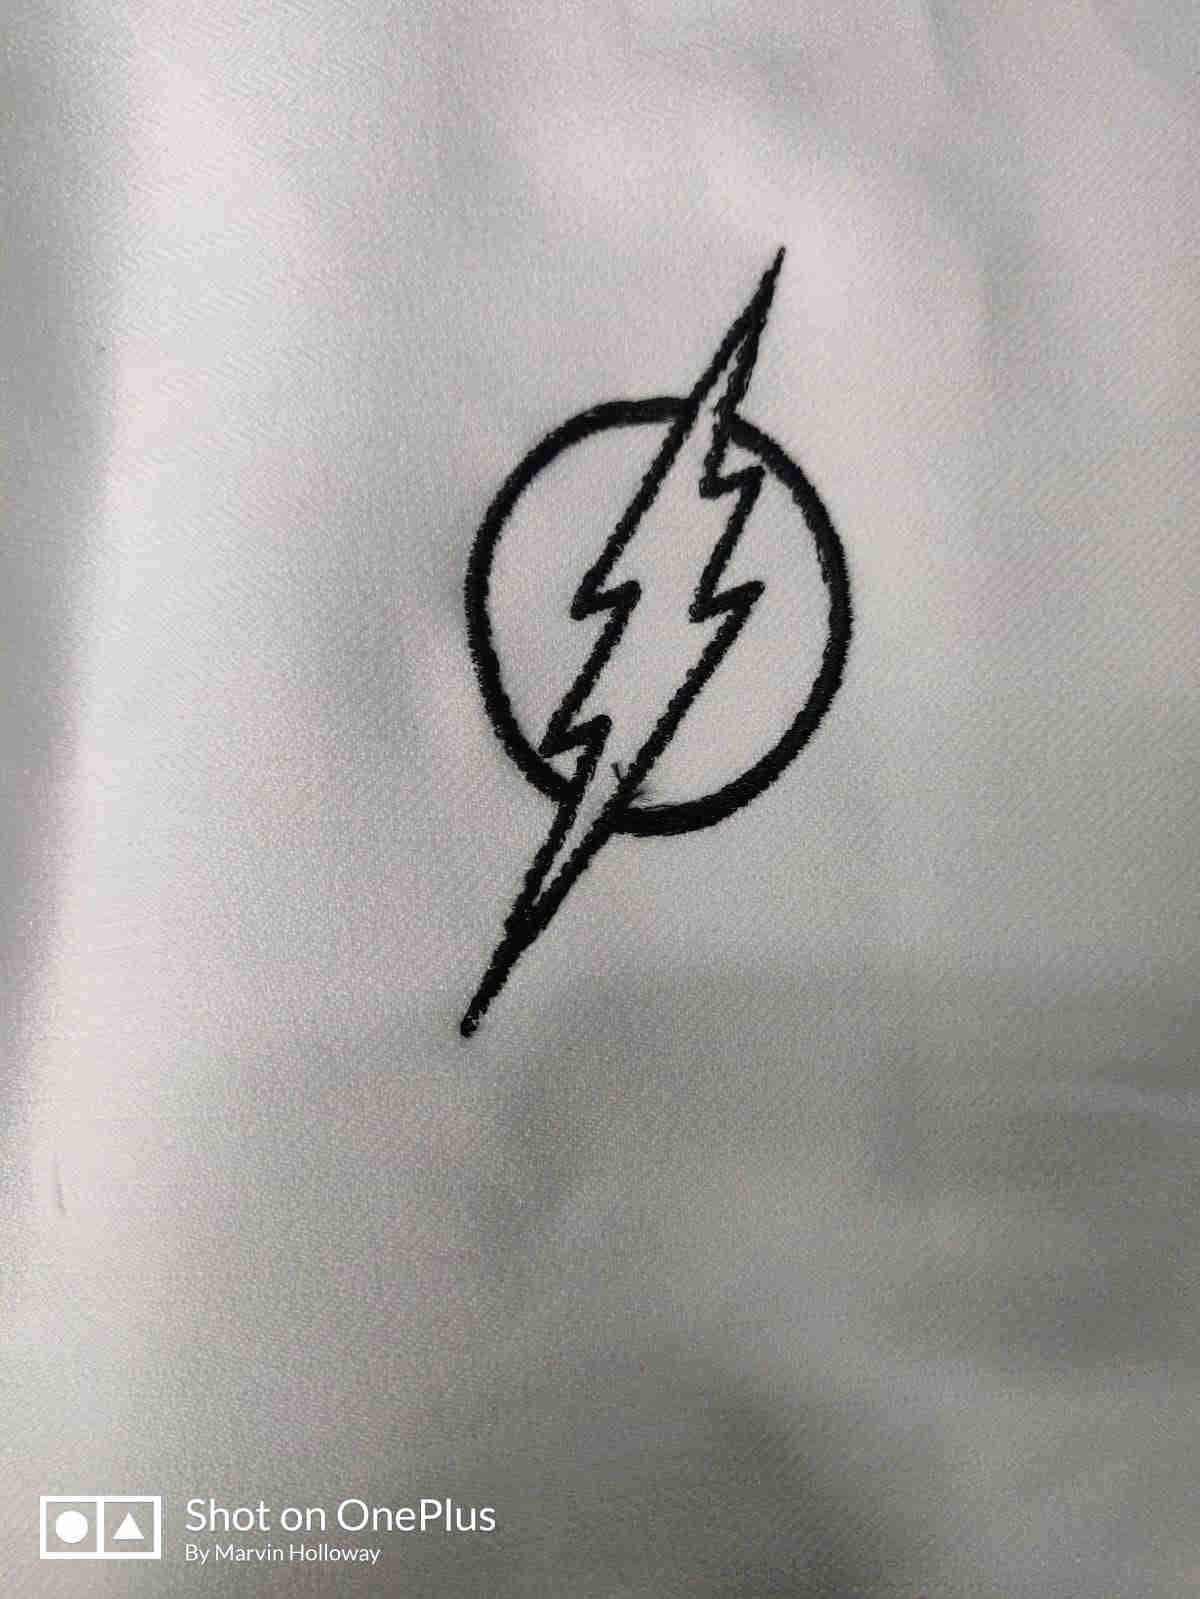
Upon reading the manual, I proceeded to use InKscape, to convert my Flash Image File, which was in this case DC’s “The Flash” logo, by tracing it as a bitmap image. An ad on, by the name of InkStich, for the InKScape software was needed to aid with this process.
After the image was traced as a bitmap I was required to set the params (paramaters) for the embroiding needle to stitch. Within this, I had an option to adjust the spacing between the thread/ stiching which as a result, determined the boldness of the image well as the overall time taking to complete the embroided pattern. I left all of the settings in this as defalut, with the exception of changing the spacing between rows to 0.07, as it was a recommended test and proven ideal for image enbroiding. Lastly, the desired image was converted to a PES FILE type, to be read by the Embroidery Machine.

Embroiding using the Brother PE 550 D
As mentioned before, the actual embroiding process was simplified by the manual bundled with the machine. Thankfully, there was not really a need to go through all the pages of the manual, page by page and read off the instructions verbatum.
Instead, I opted to just focus on the pages that directly linked and illustrated the embroidery process. The following below is a step by step illustration of what I did:
Operating the Brother Embroider PE 550 D
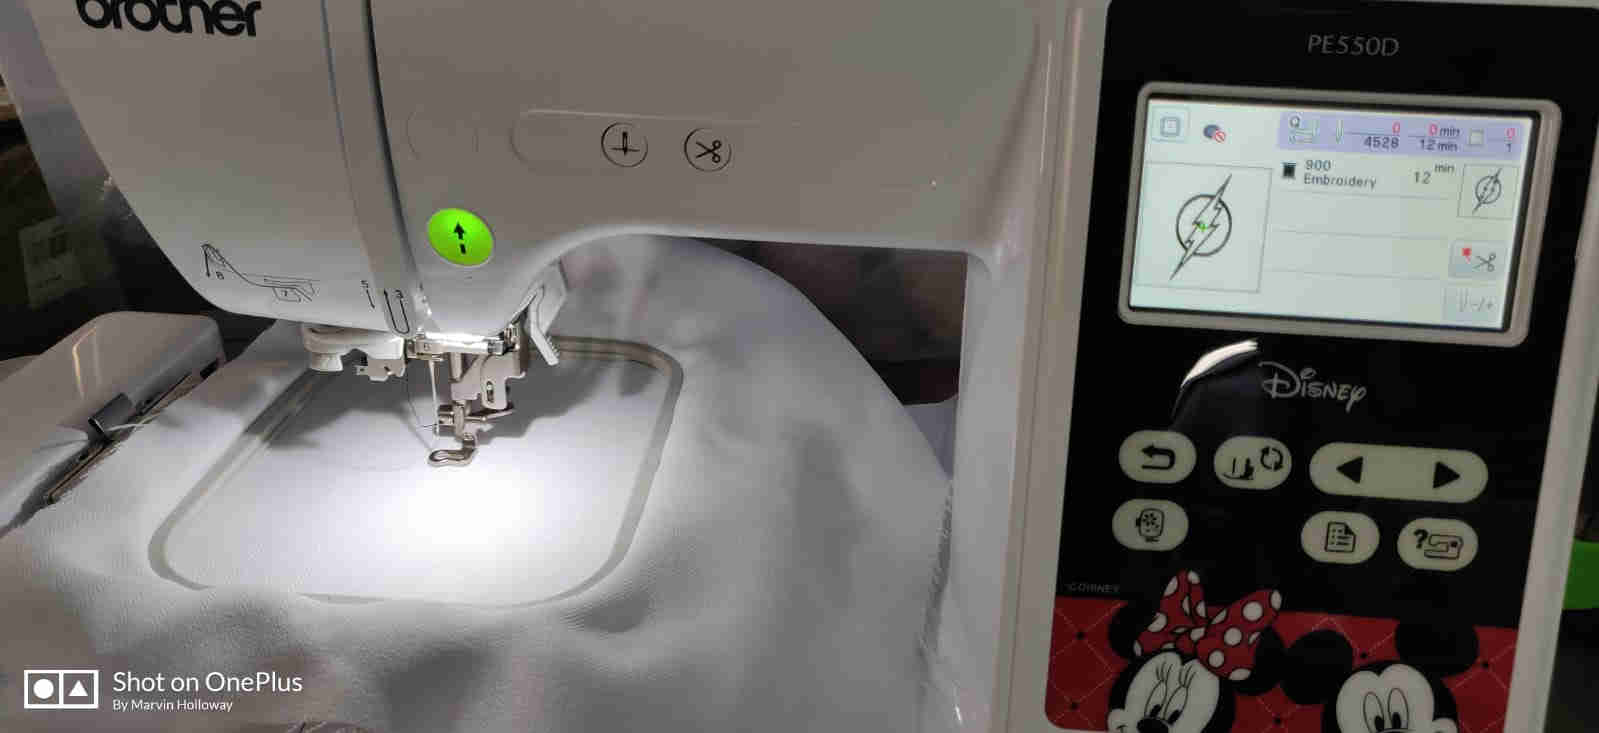
Operating the actual machine itself felt like a breeze, given how accurate and informative the manual’s content was. Only one major issue was encountered, and that was a thread jam within the chamber beneath the pressure foot.This was done by the precious user, but quickly rectified with a couple strategic snips here and there.
So my first step was to to upload my digital file to a USB “Flash Drive”, see what I did there, in the PES format, and pan it into position.
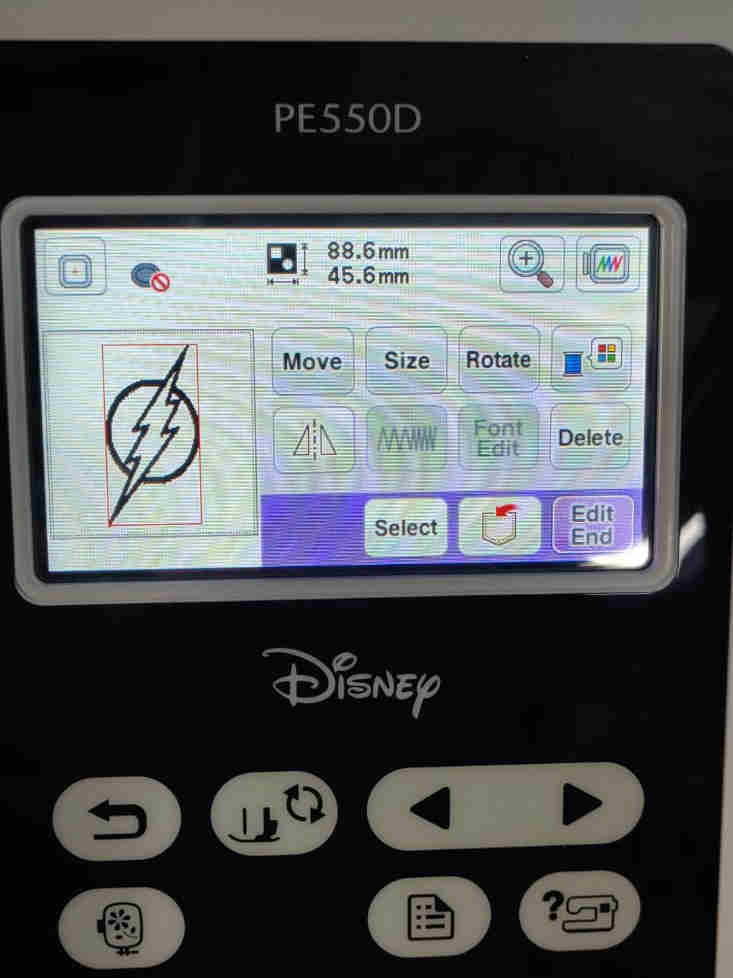
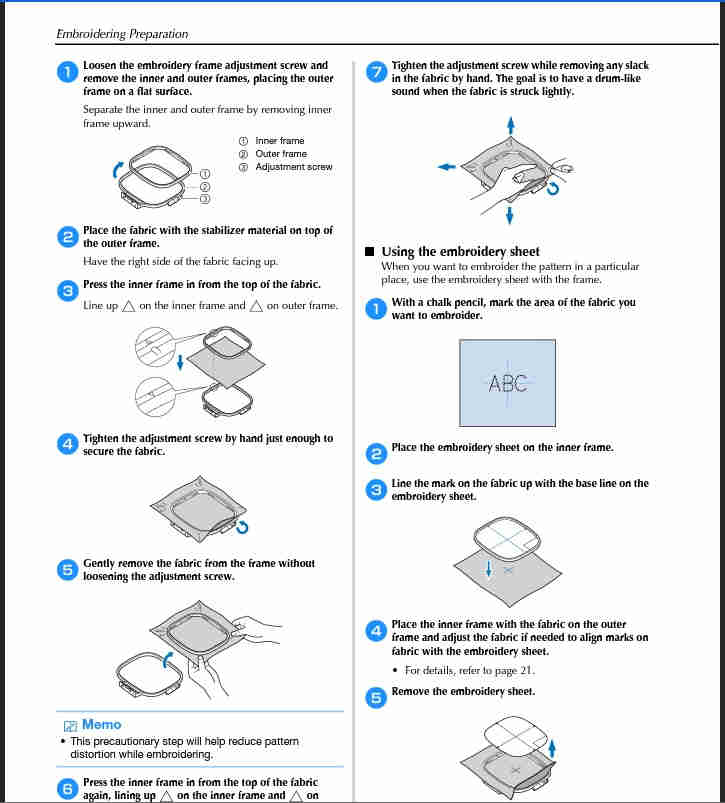
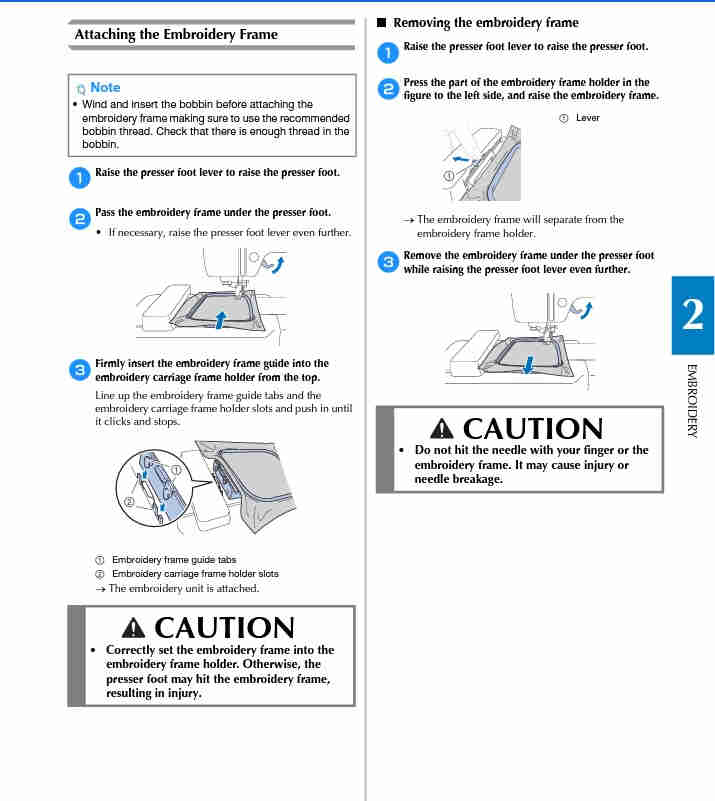
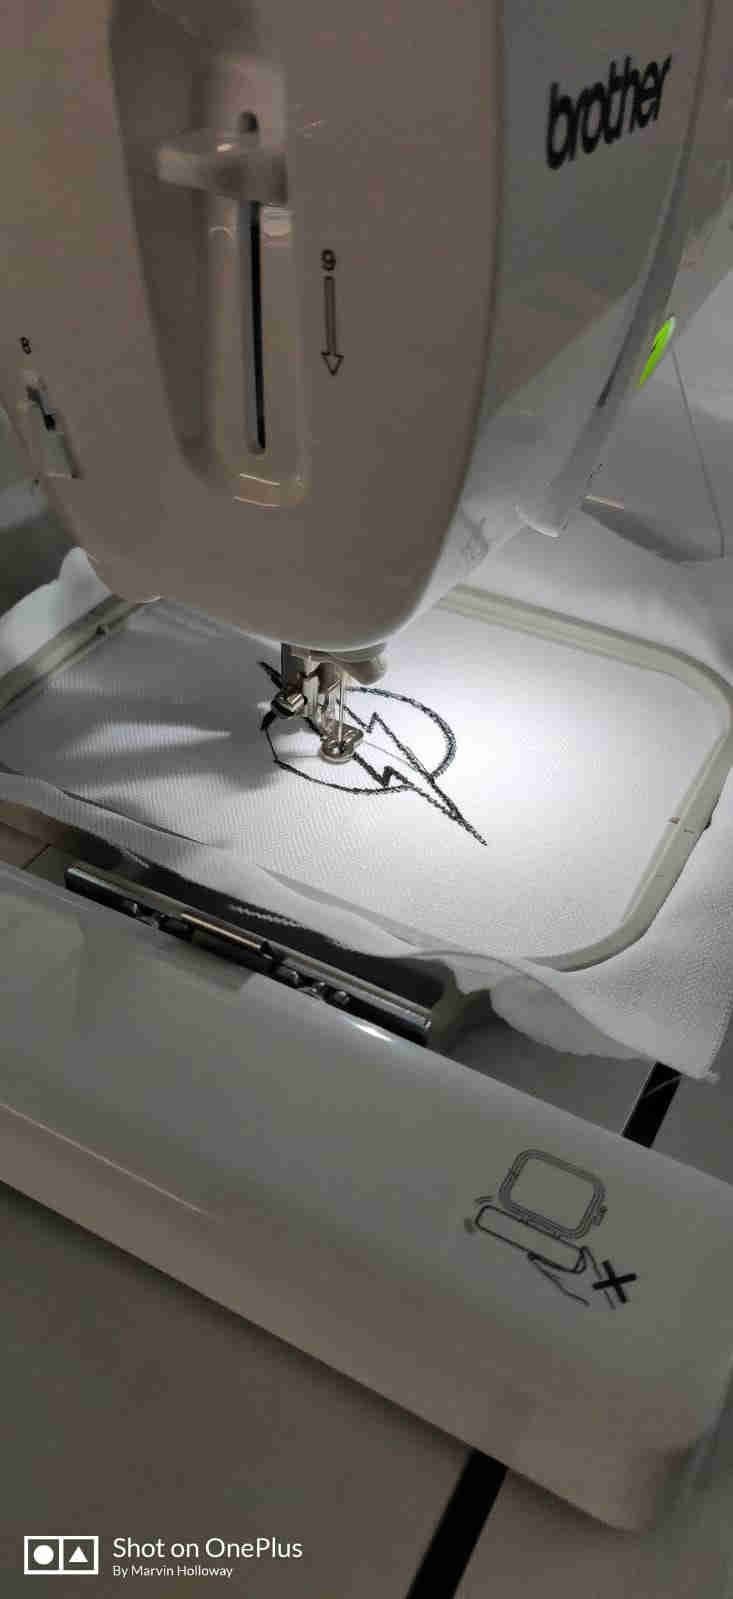
Once the graphic was in the ideal position I was ready to do final checks. these invloved ensuring the desired thread is threaded properly, as well as the safety mechanisms are in operating positions, for example, the frame is holding the fabric tightly, as well as the presser foot is in the desired orientation. Once these paramaters are satisfied, I pressed the start operation button and began the process (The Green Lit Button with the upward pointed arrow as seen in picture below)
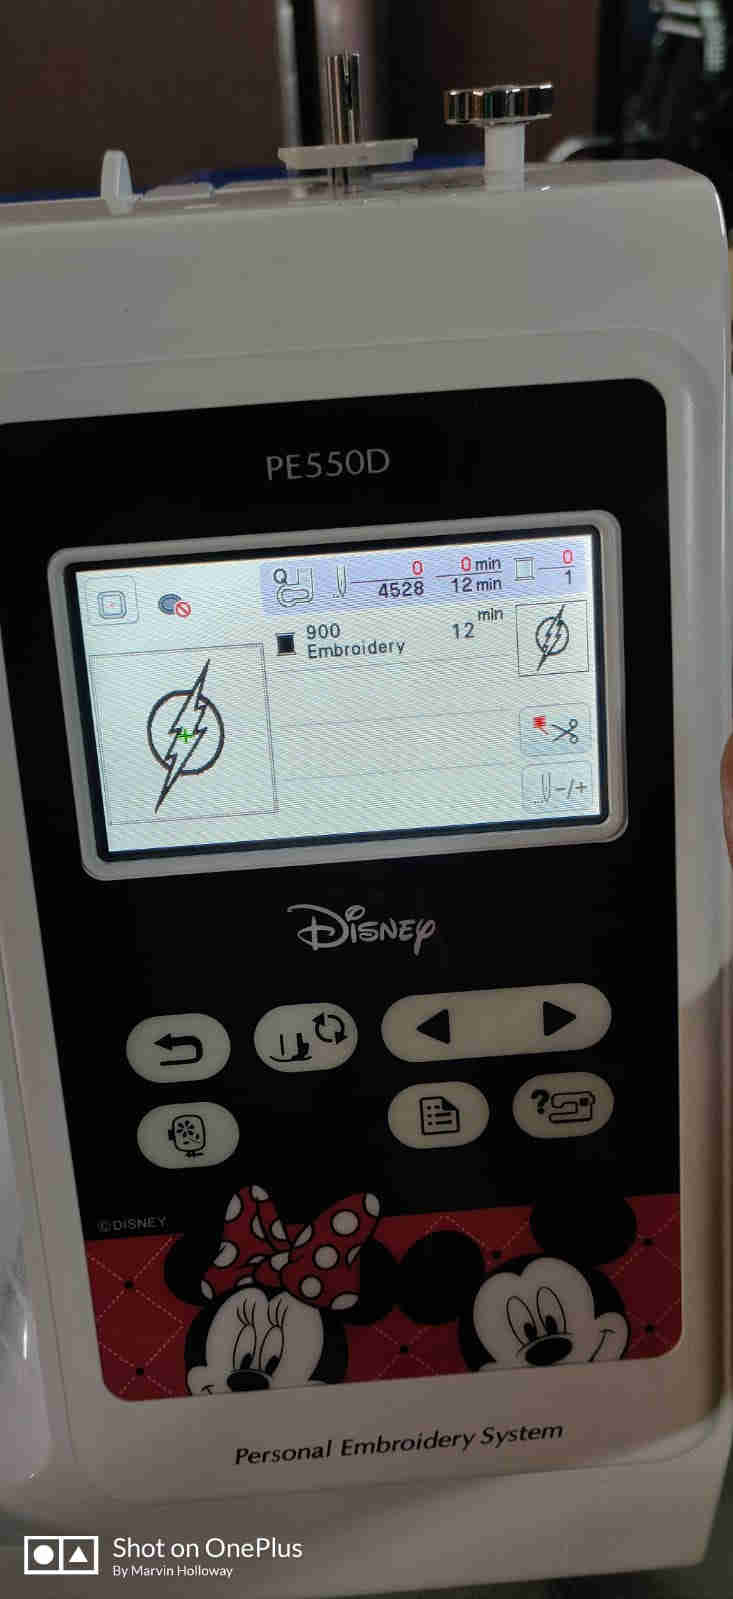
Below, we can see significant progress being made with the design.
And here the completed design. A couple snips here and there and we’e good to go!
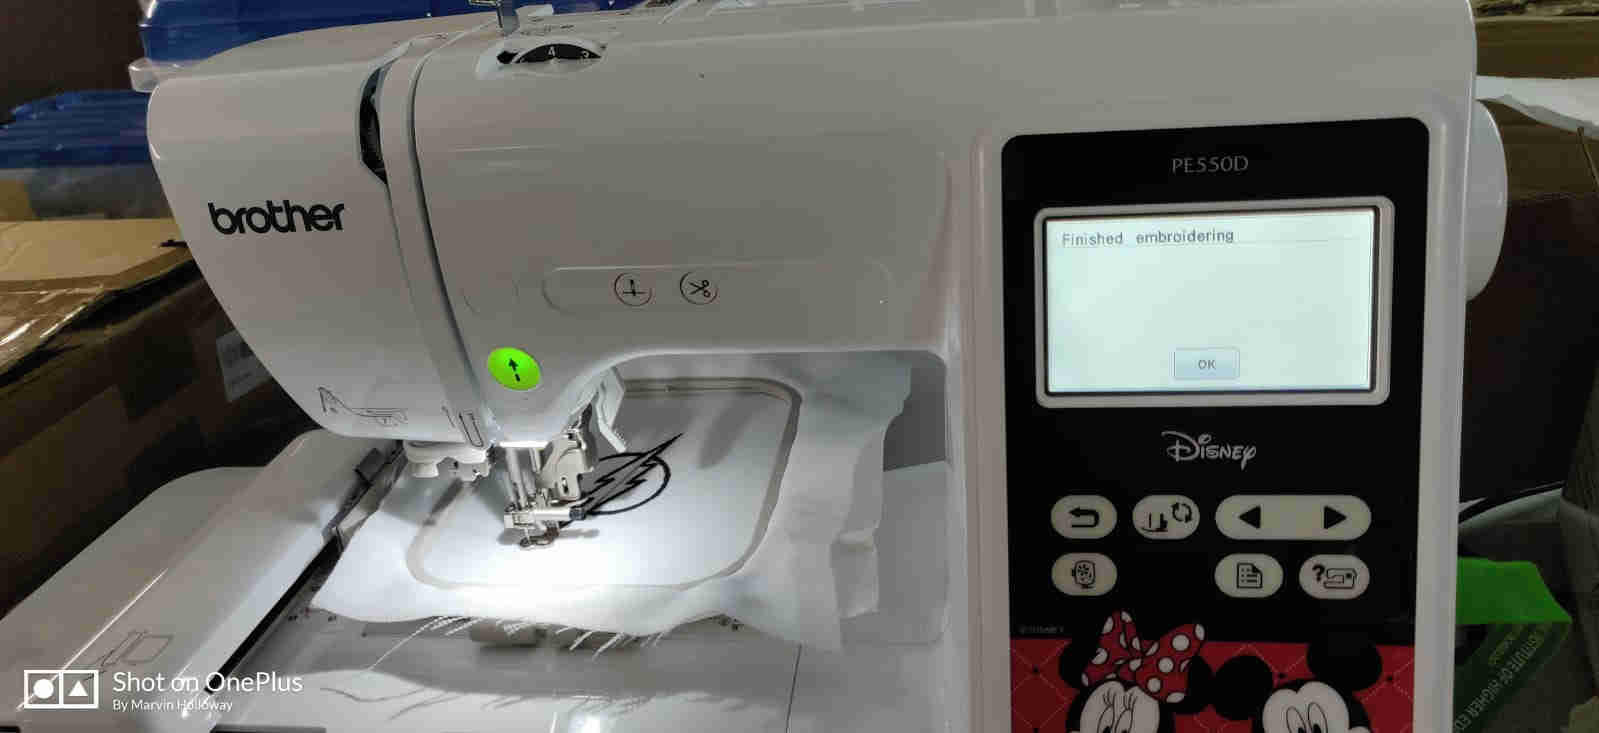
All in just 12 minutes? Outstanding!
Here we can see the result of the knot encountered on my first attempt. Remedied by removing bundled knotted thread under the presser foot mechansim.
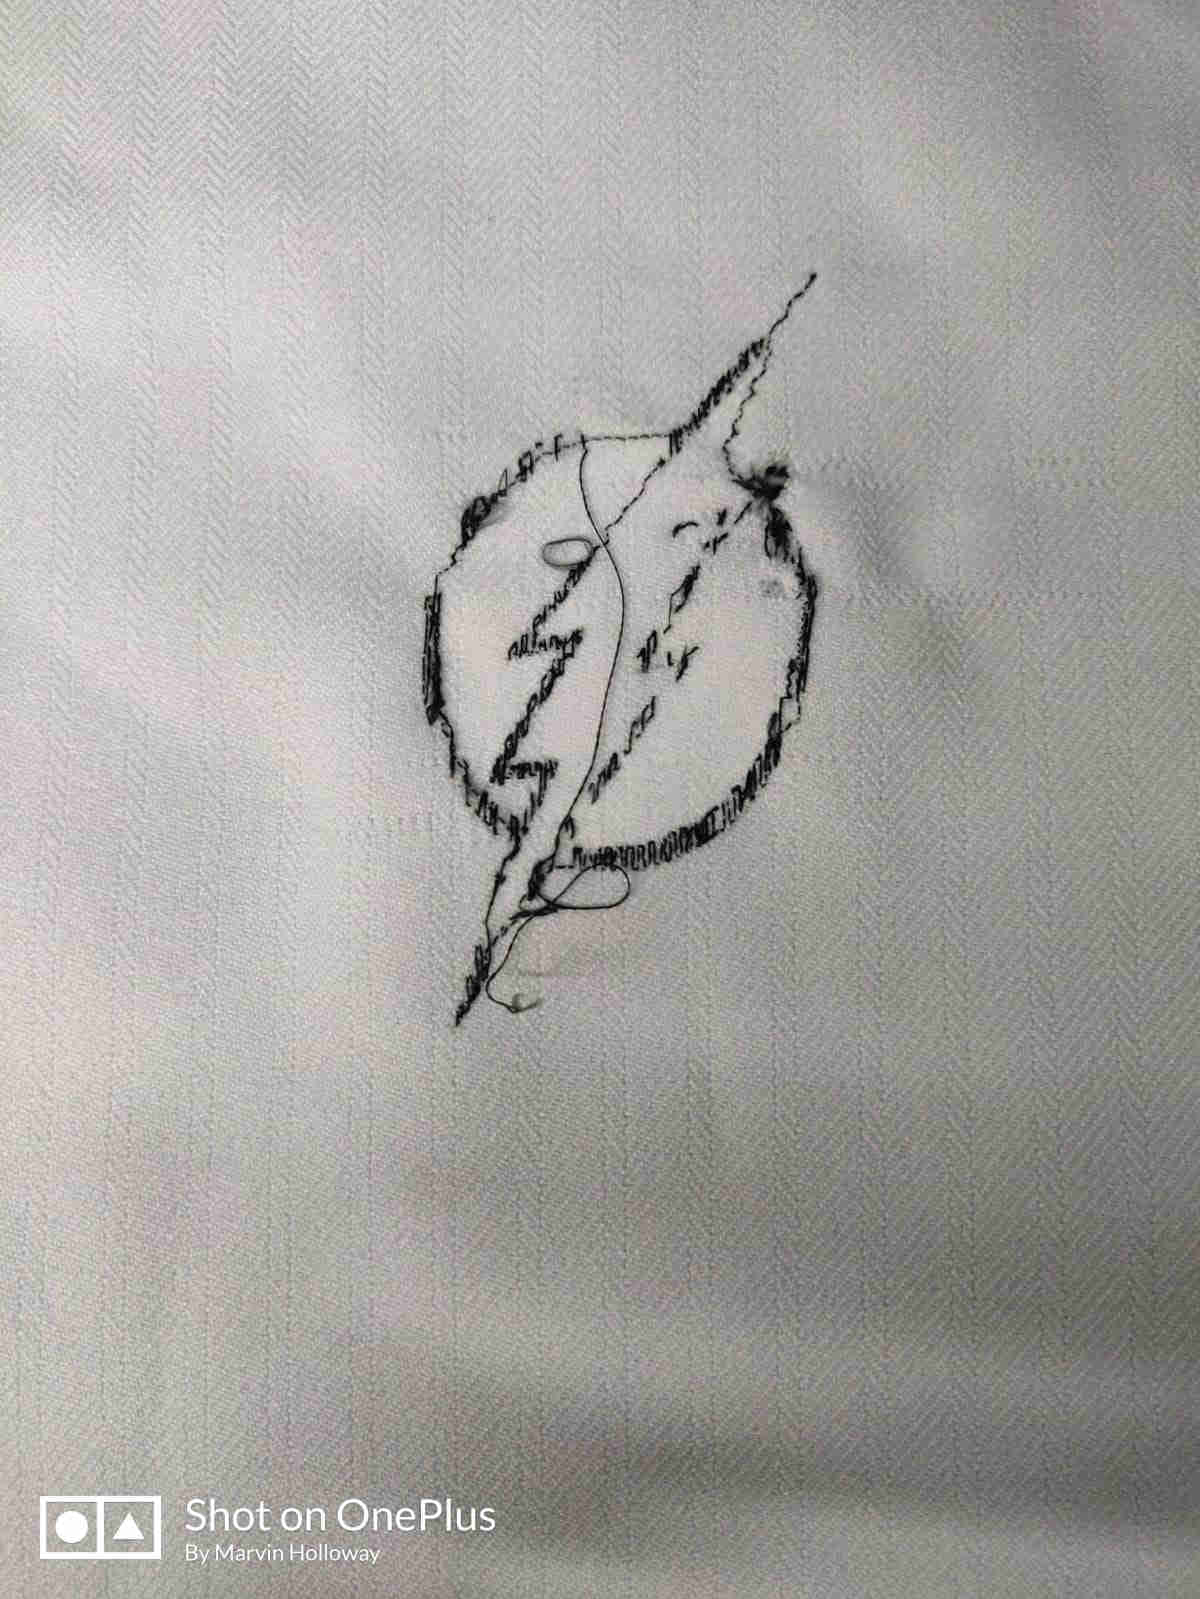
And here’s the final design!
Bonus
Below is a very short video of the Embroidering process in Action!
Useful links
Helpful Tutorial
From Youtube
The below video aided significantly in the overall process of embroidery, but more specifically, guided me with the Ink/ Stitch process.