7. Computer controlled machining
This week I worked on defining my final project idea and started to getting used to the documentation process. I focused on routing my design of a side table.
Group Assignment
Do your lab’s safety training test runout, alignment, fixturing, speeds, feeds, materials, and toolpaths for your machine
Done by Terrence Carew
Individual Assignment
Make (design+mill+assemble) something big (~meter-scale)
  extra credit: don't use fasteners or glue

  extra credit: include curved surfaces
Design
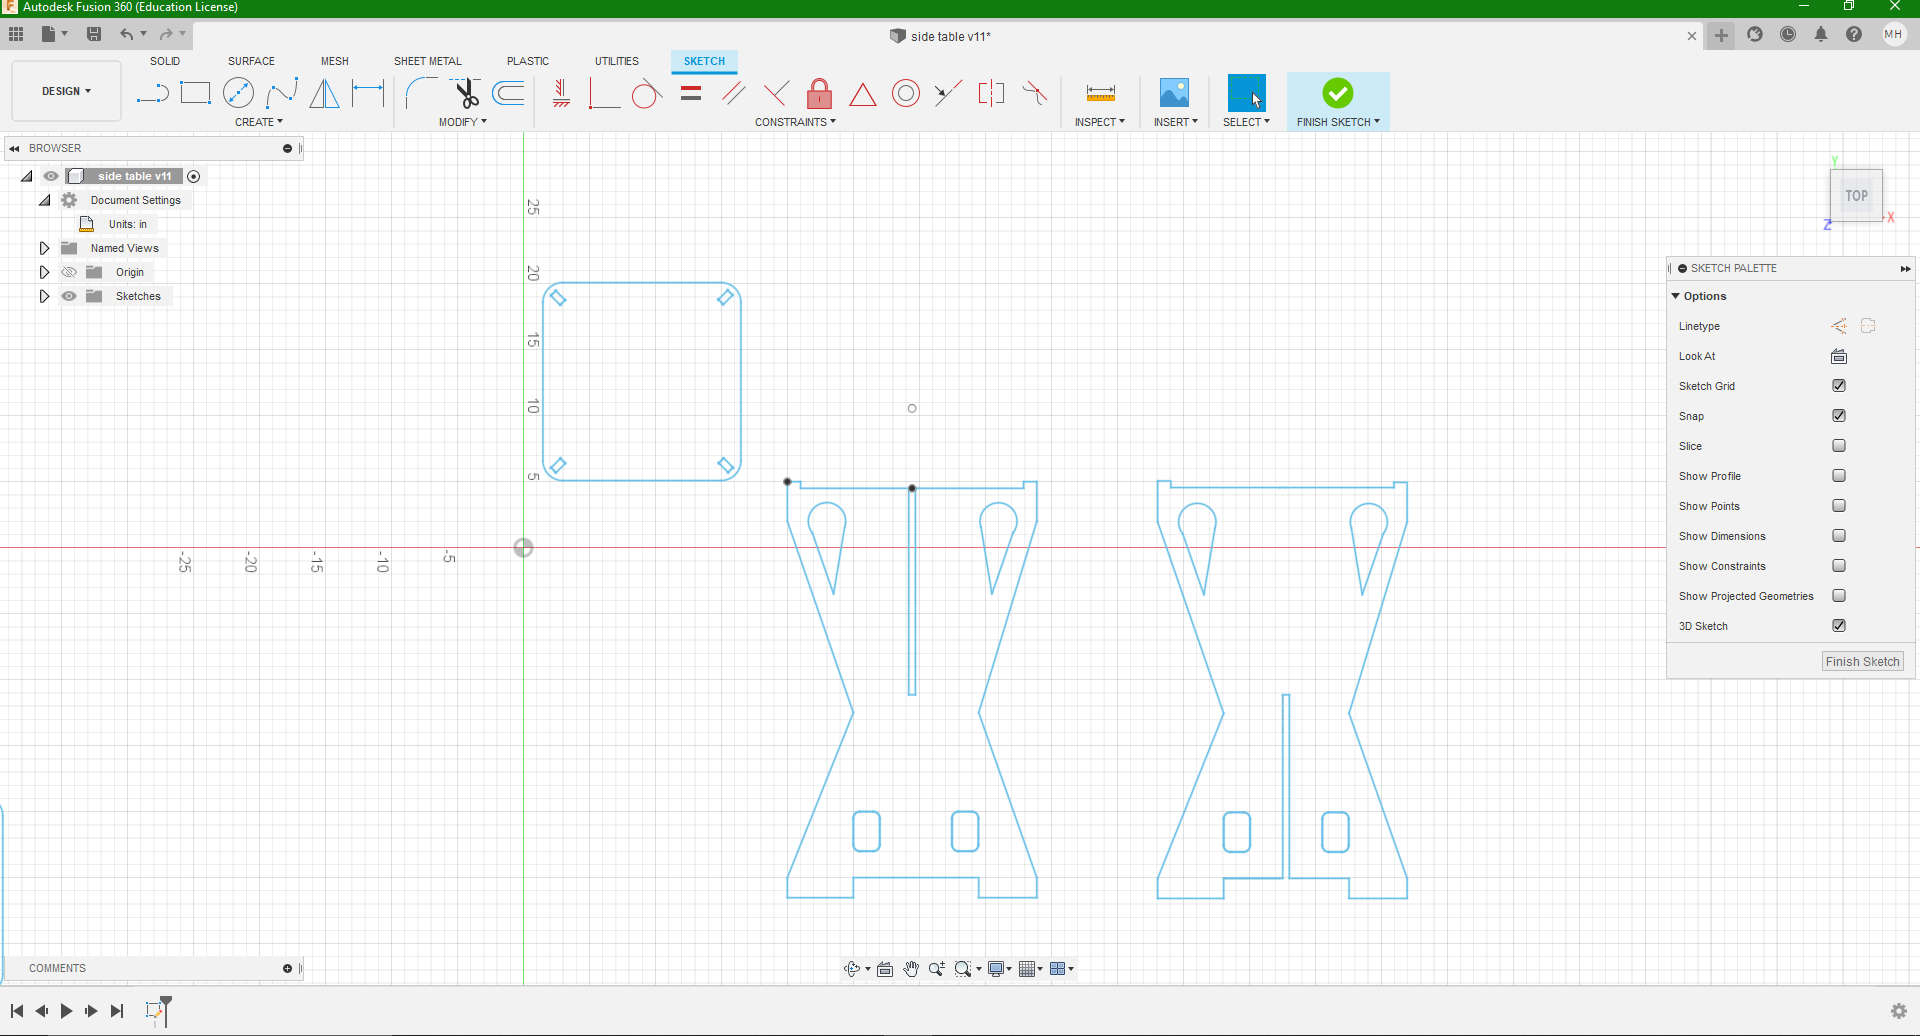
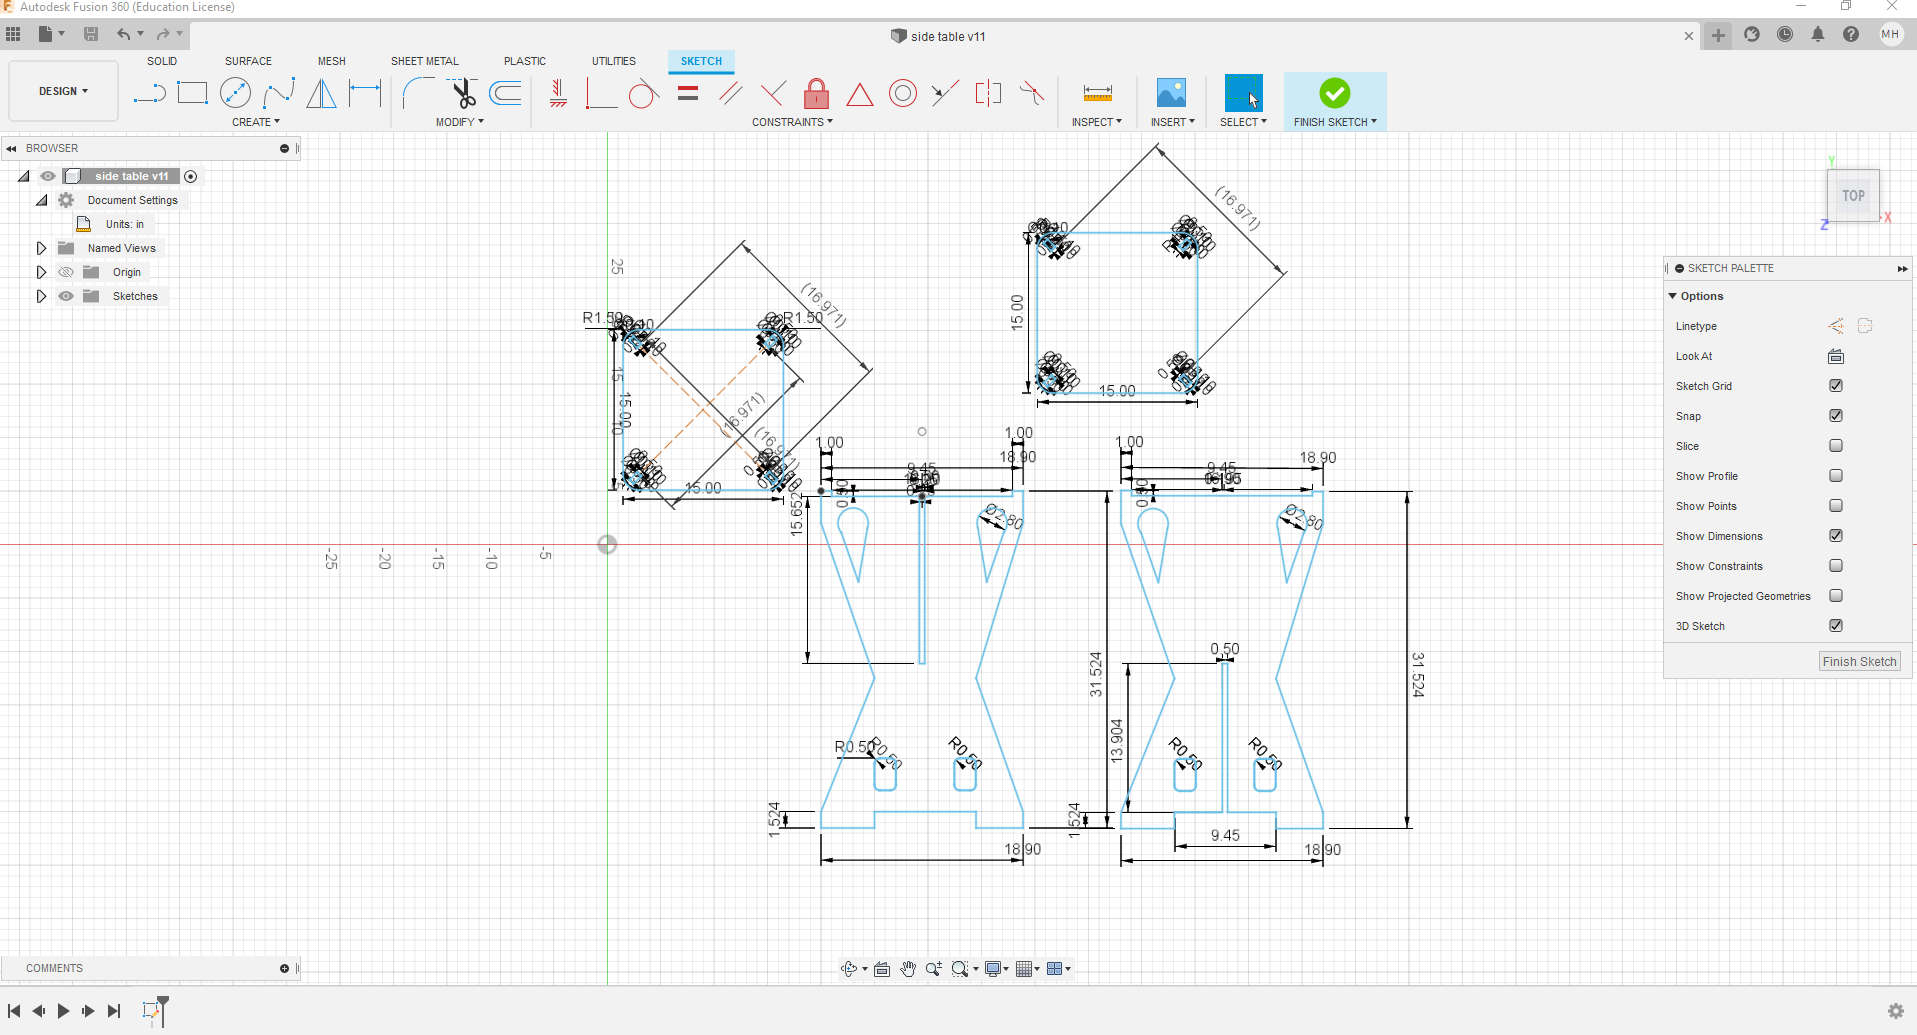
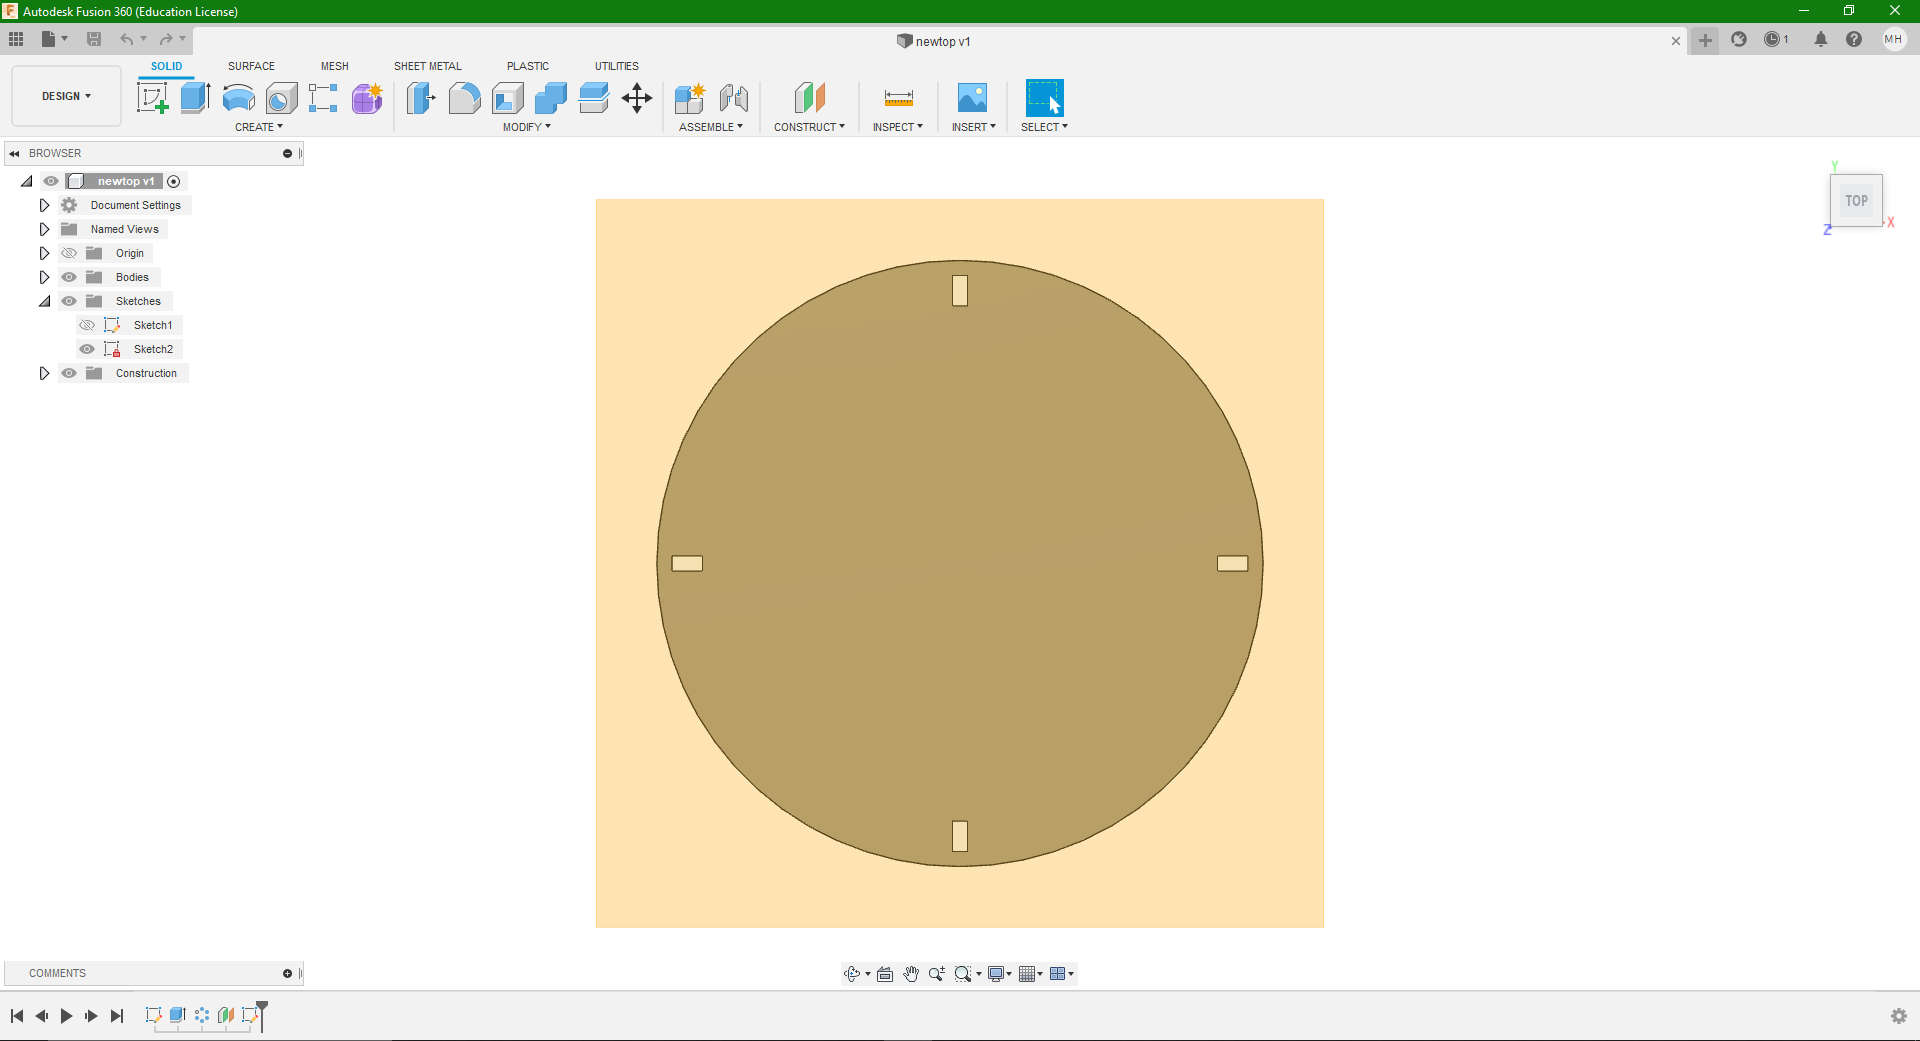
For my design, I decided to utilise the Fusion 360 software to create a simple, yet somewhat stylish piece of furniture that can be scaled to a metre. With that in mind, I utilised the X Carve CNC Routing machine from Inventables. A first for me using the machine, I still understood the basic principles of how the machining of material was done. And this was due in no small aprt to my brief experience with 3D Printers and the Nomad 3 Milling machine I used for my PCB design.
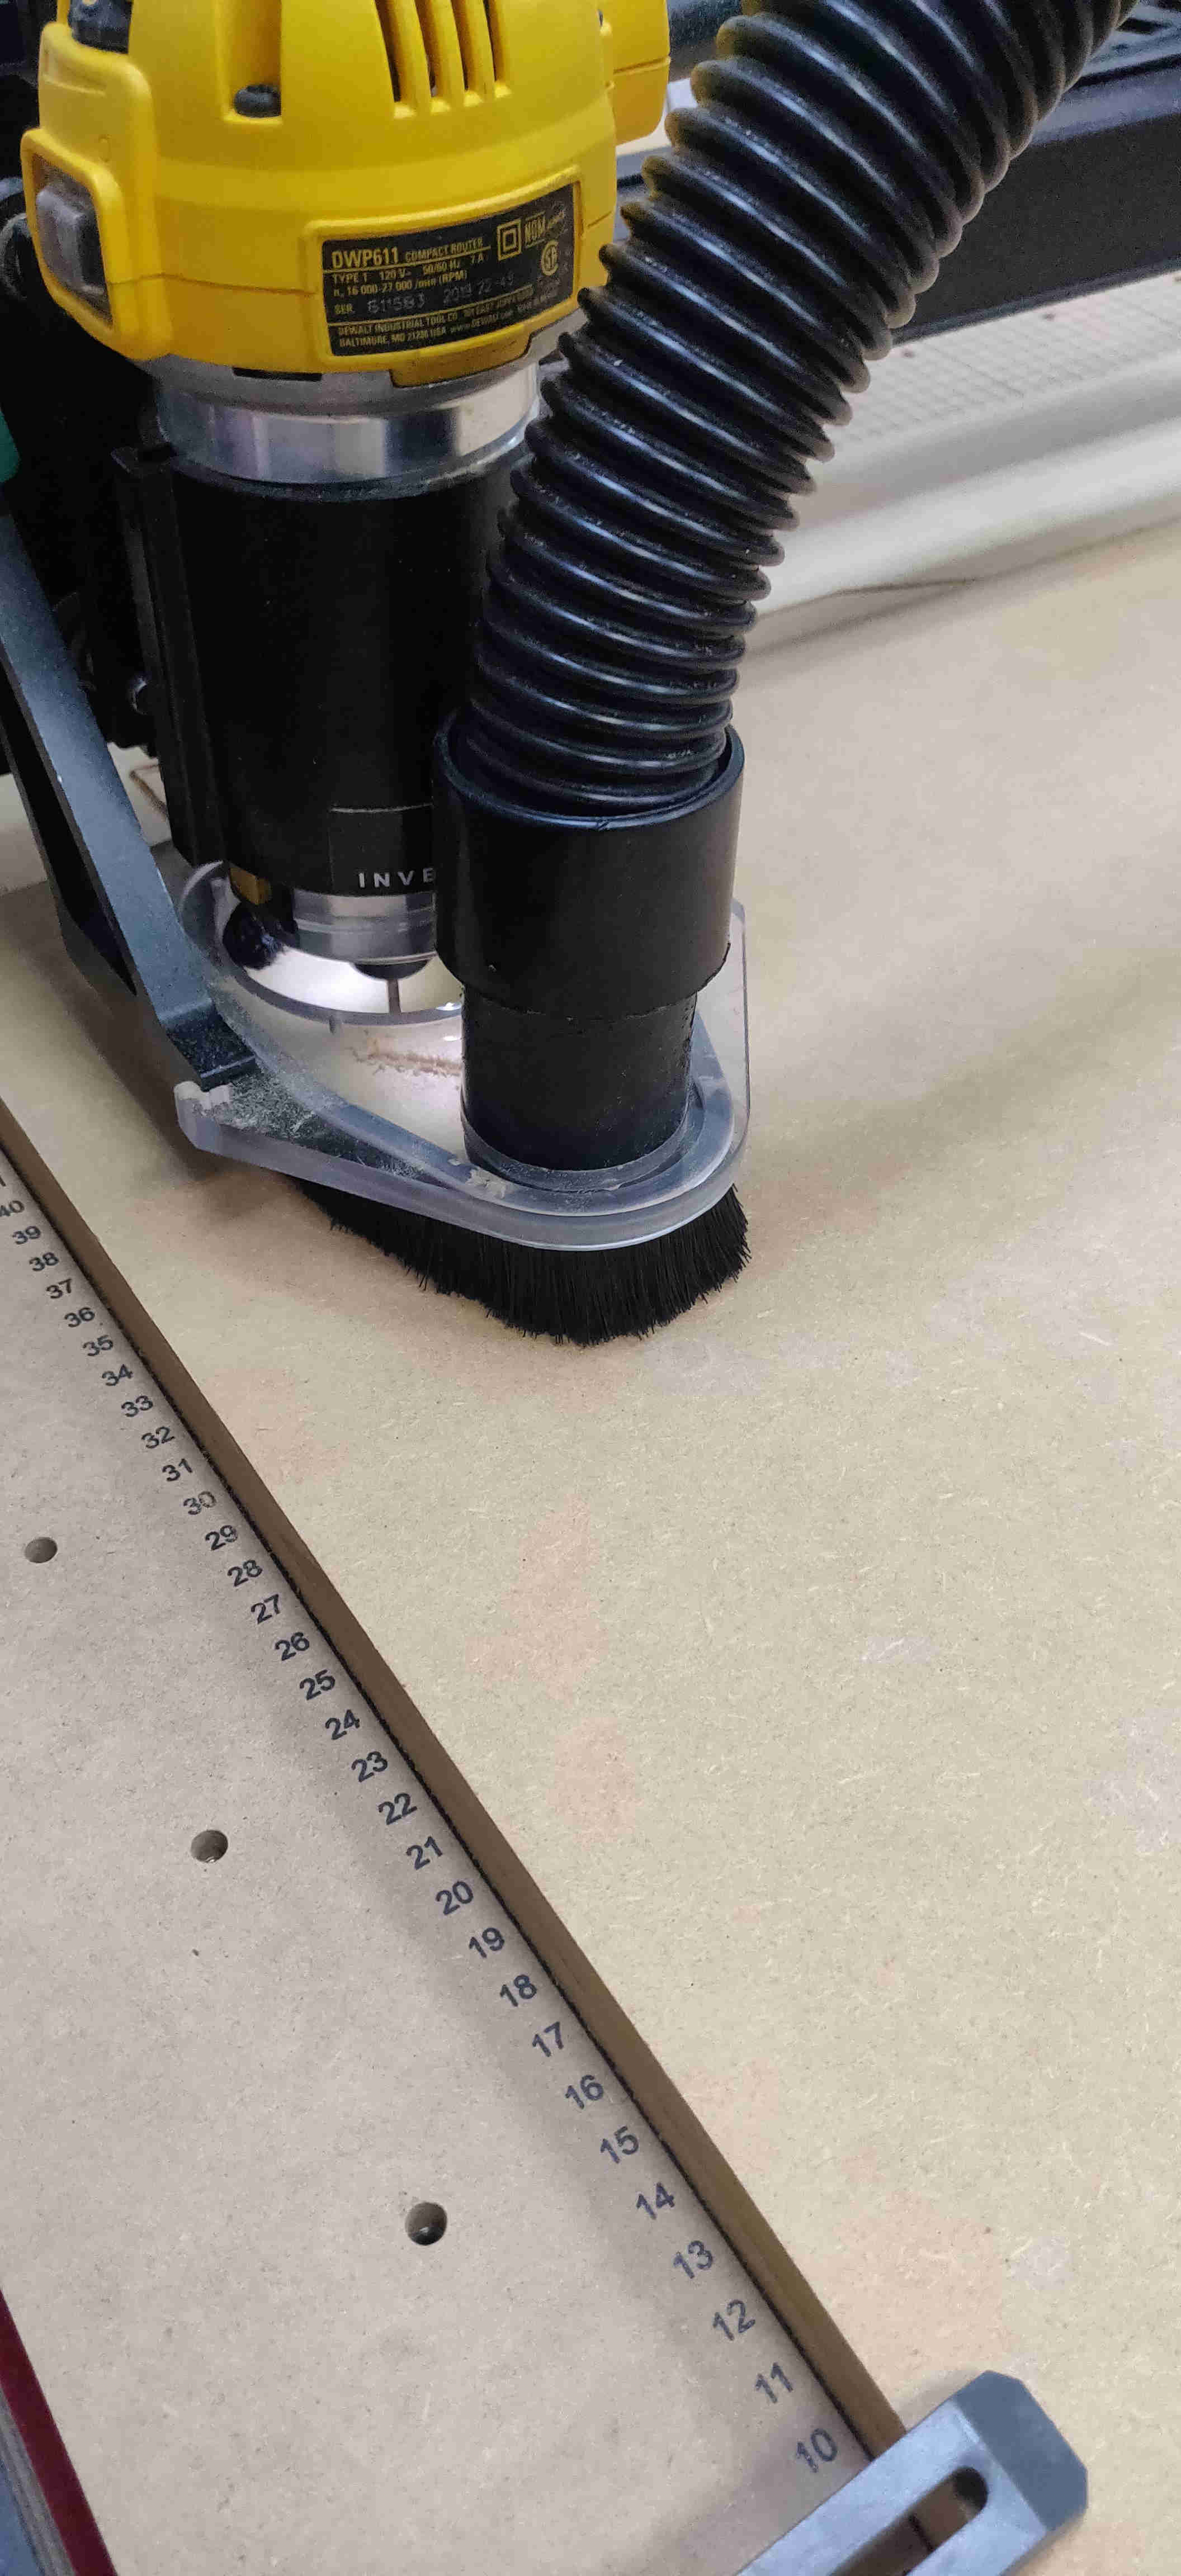
Undserstanding what role the kerf plays when cutting was very important, especially with this assignment. The kerf is the width of the material that is removed during the cutting process. As such, the bit size and type should be selected with given compensation for the thickness of material. In simple terms, cater for the thickness of the bit prior to cut/ routing, as it will determine how tight of a fit the pieces would connect when assembled.
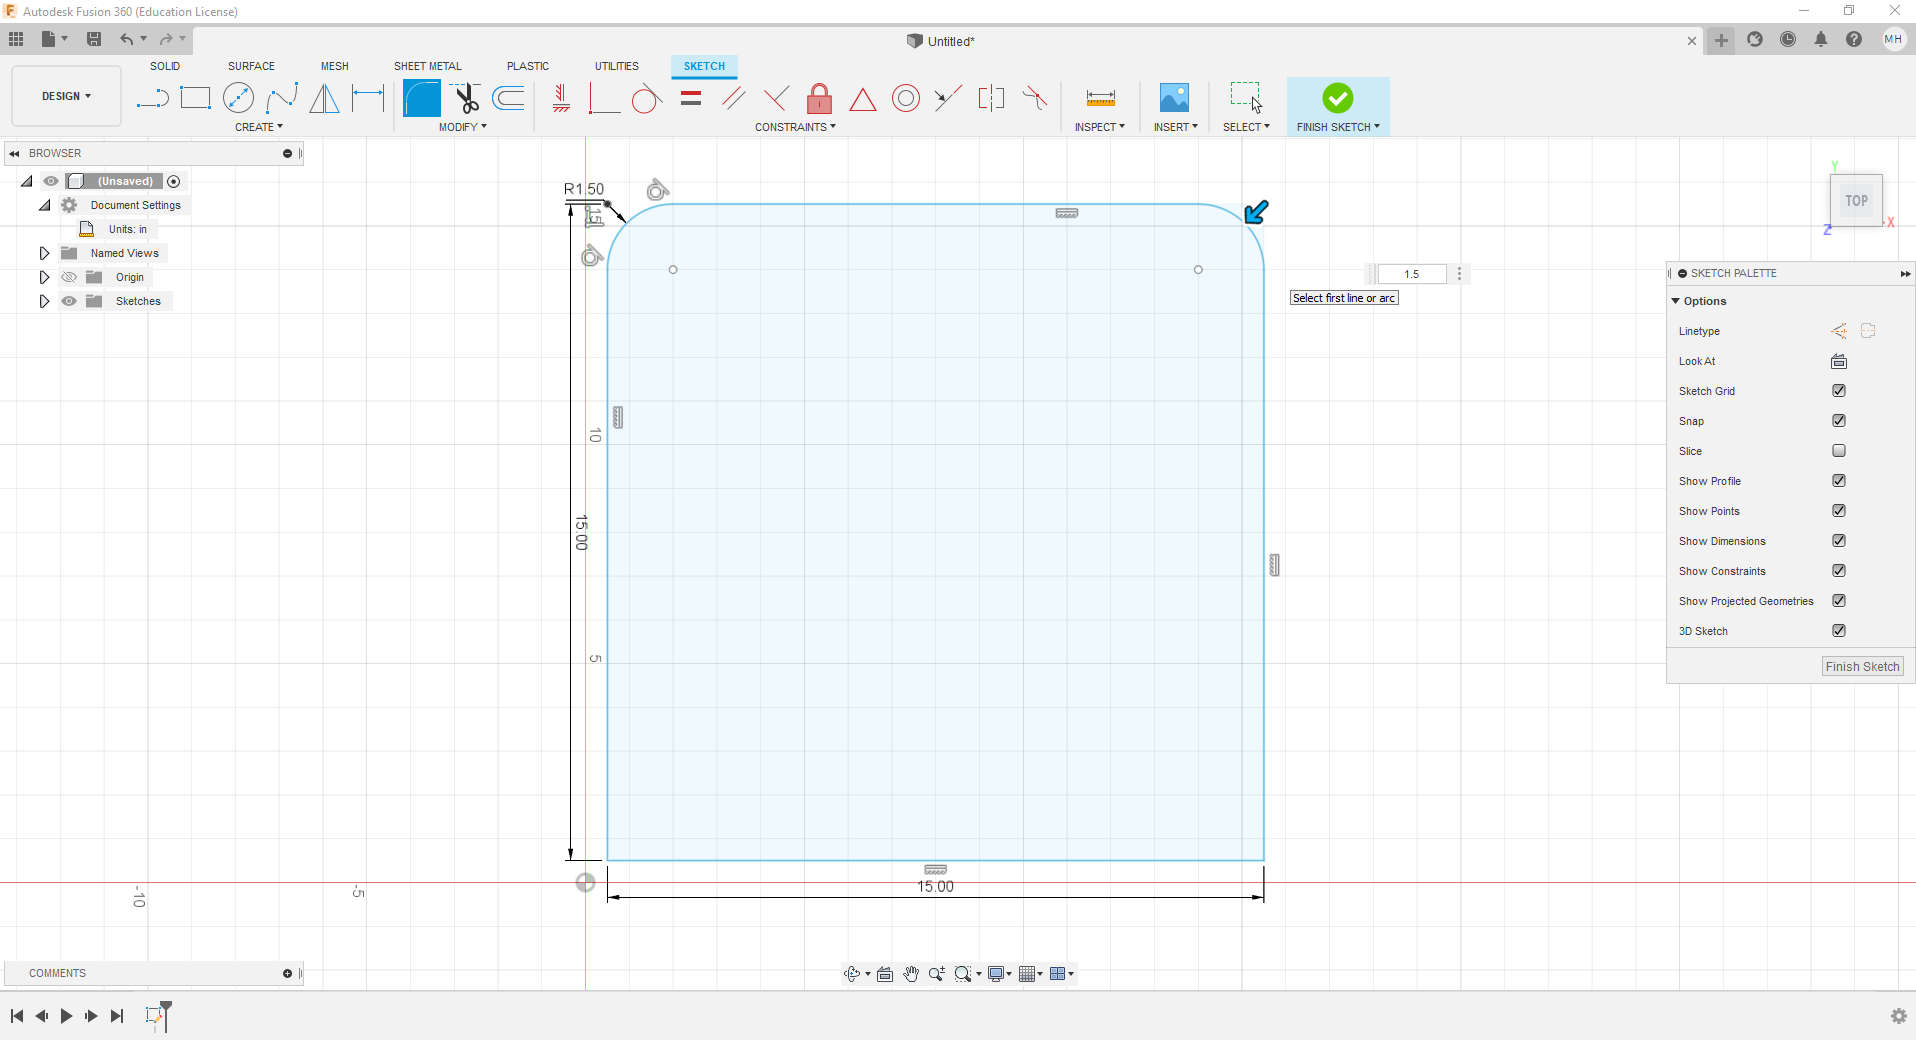
Here is the first design I used for my table (did a bit of modifying later on as you would see)
DXF File Side Table
DXF File New Tabletop
Machining
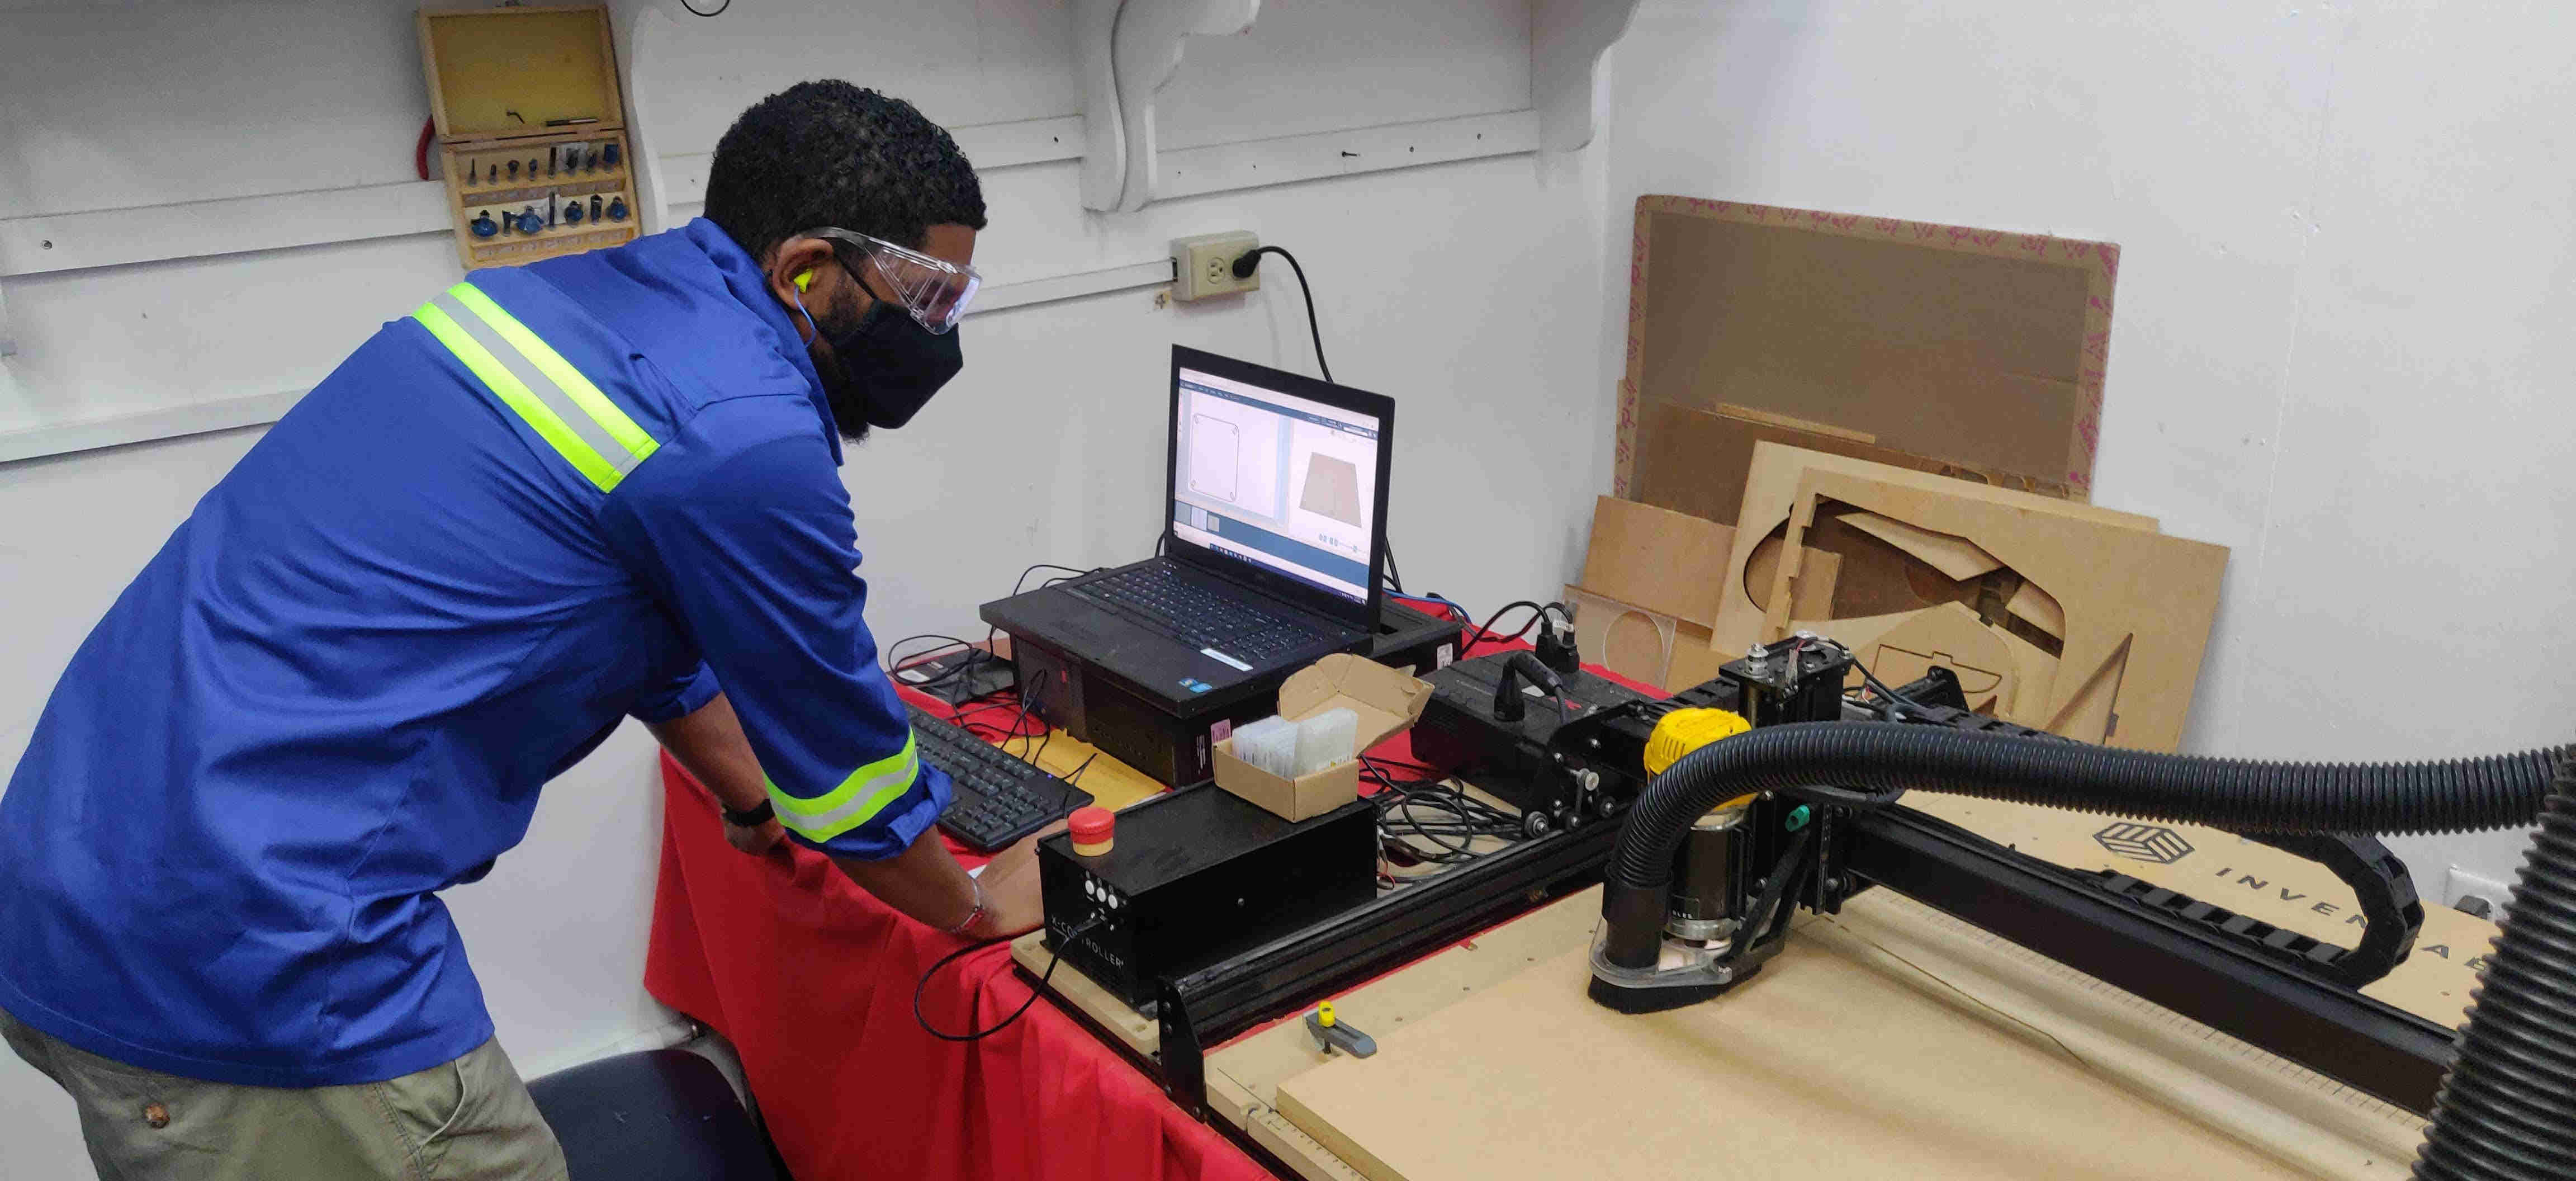
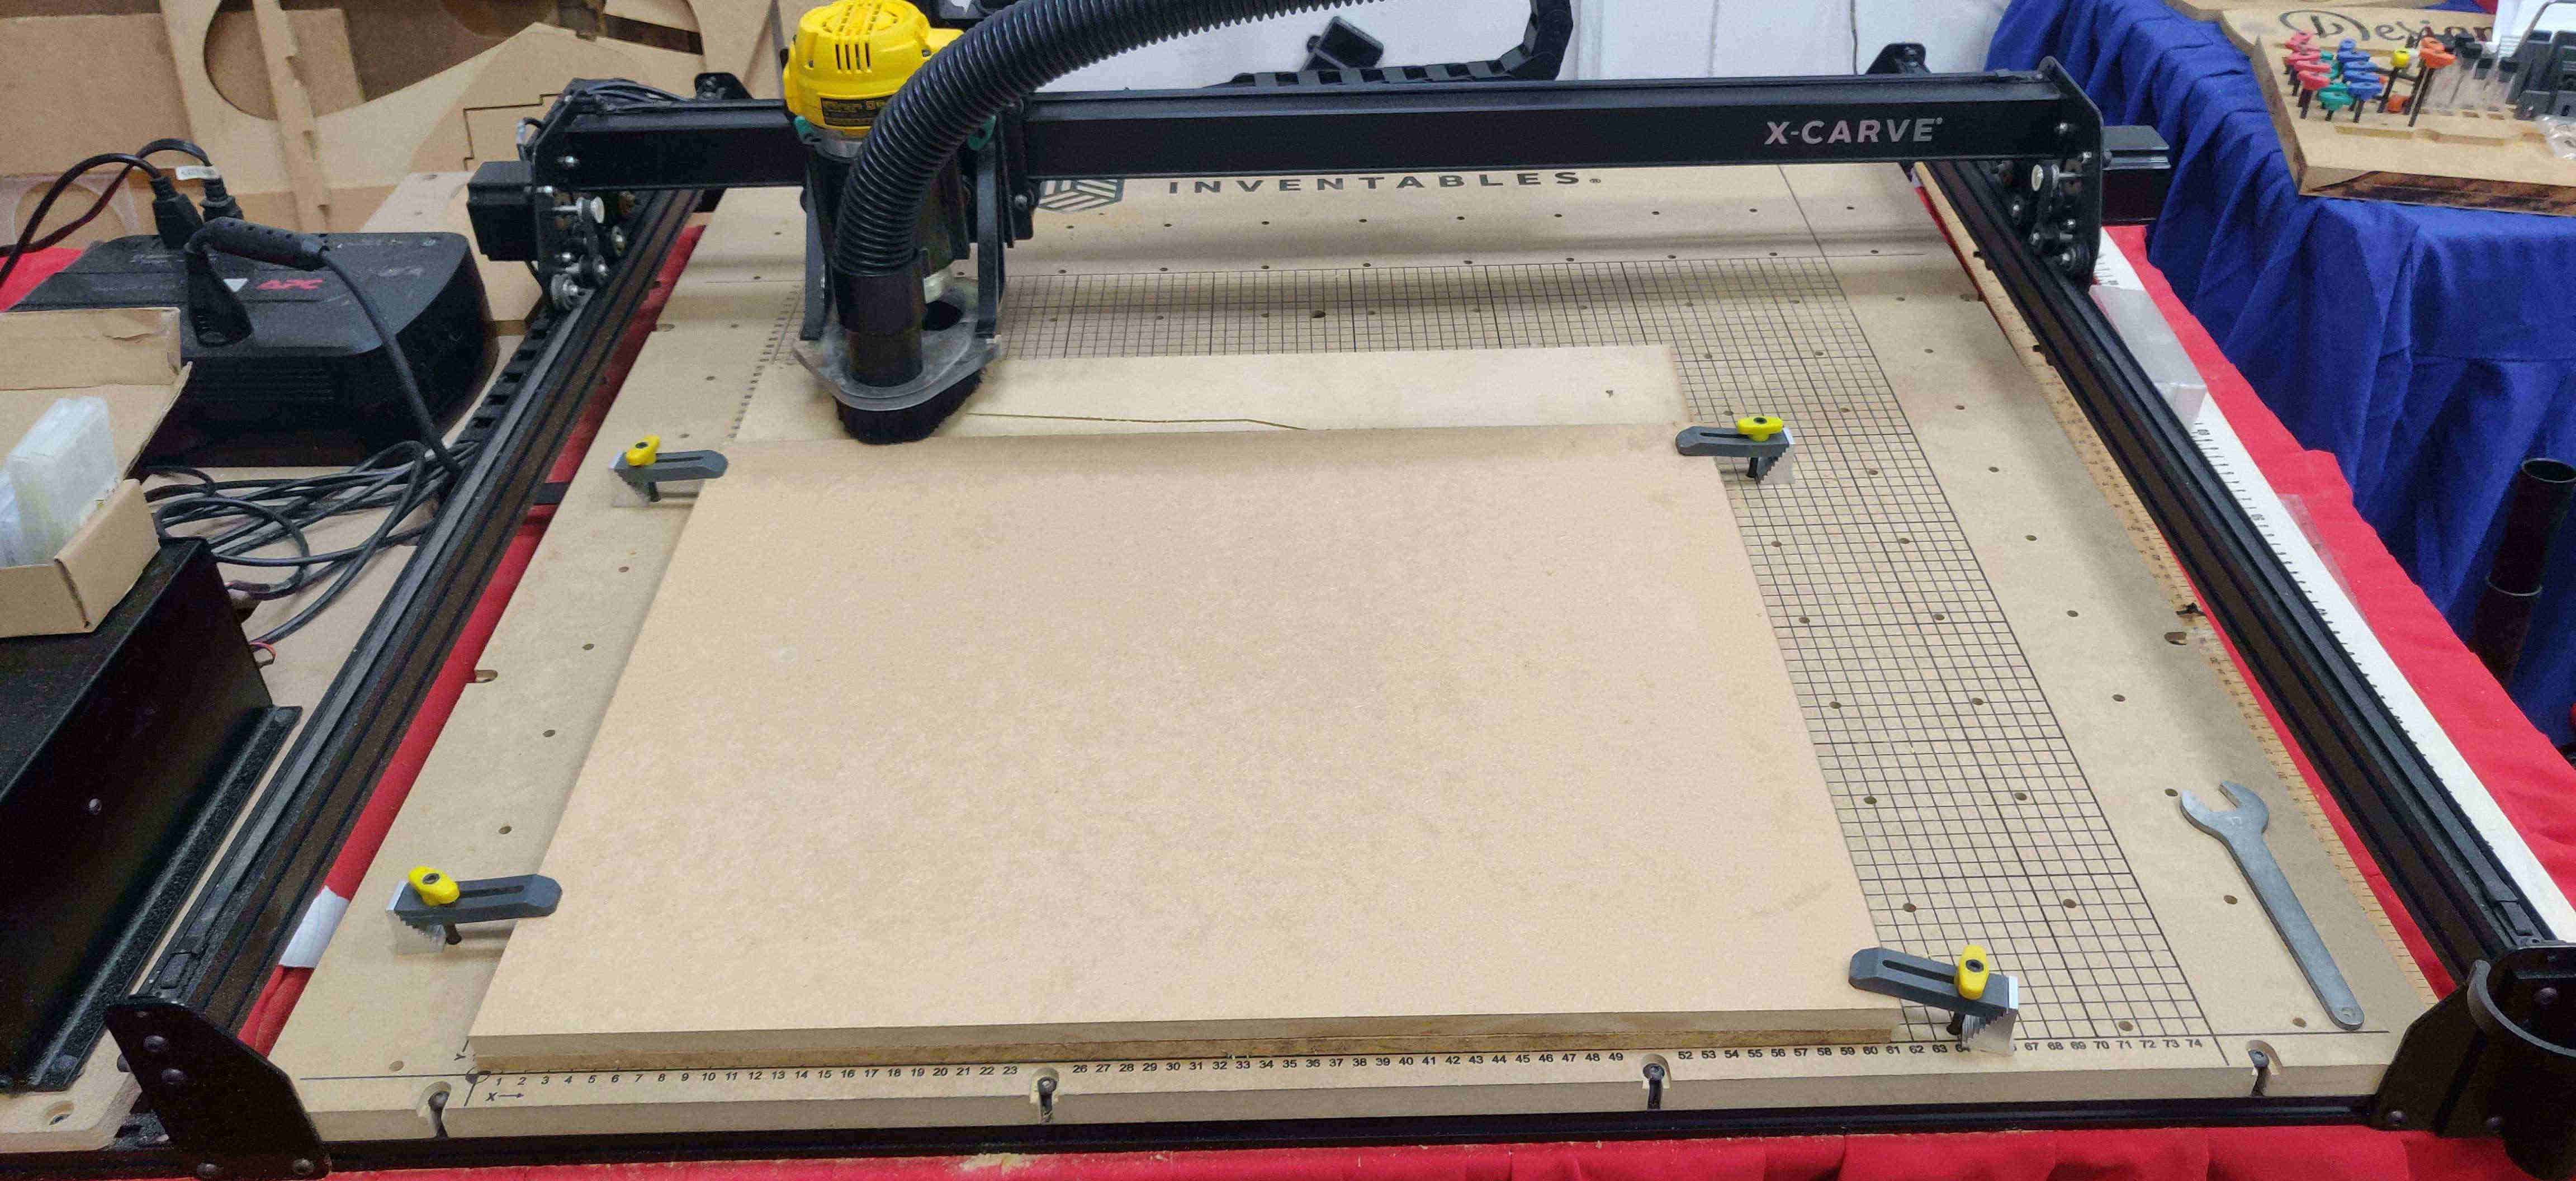
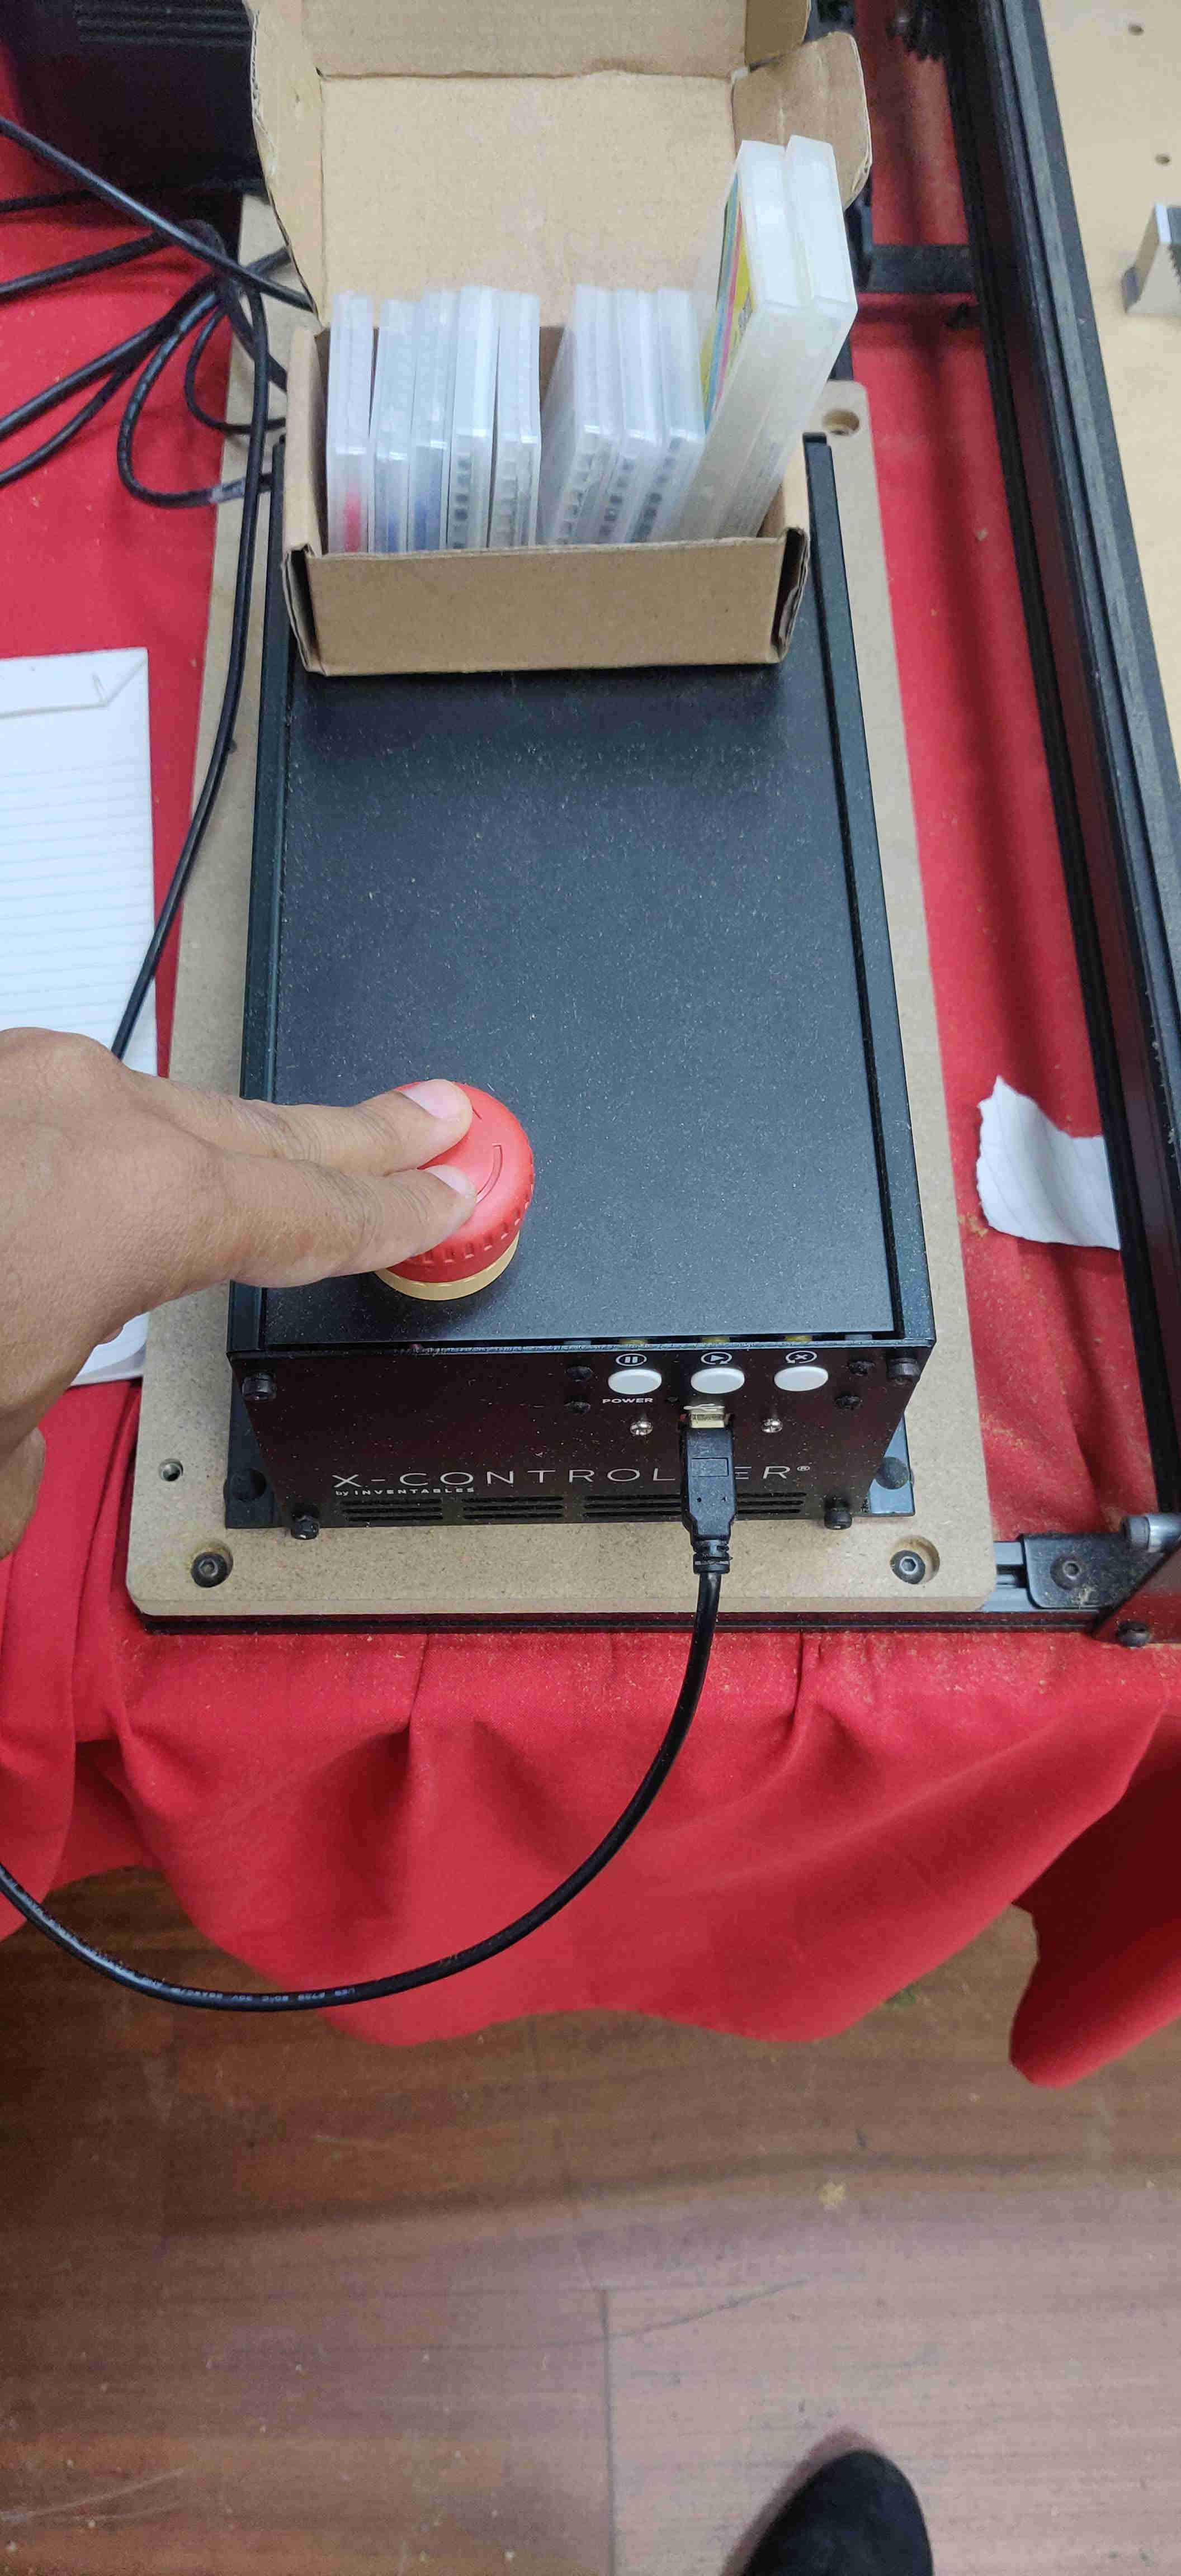
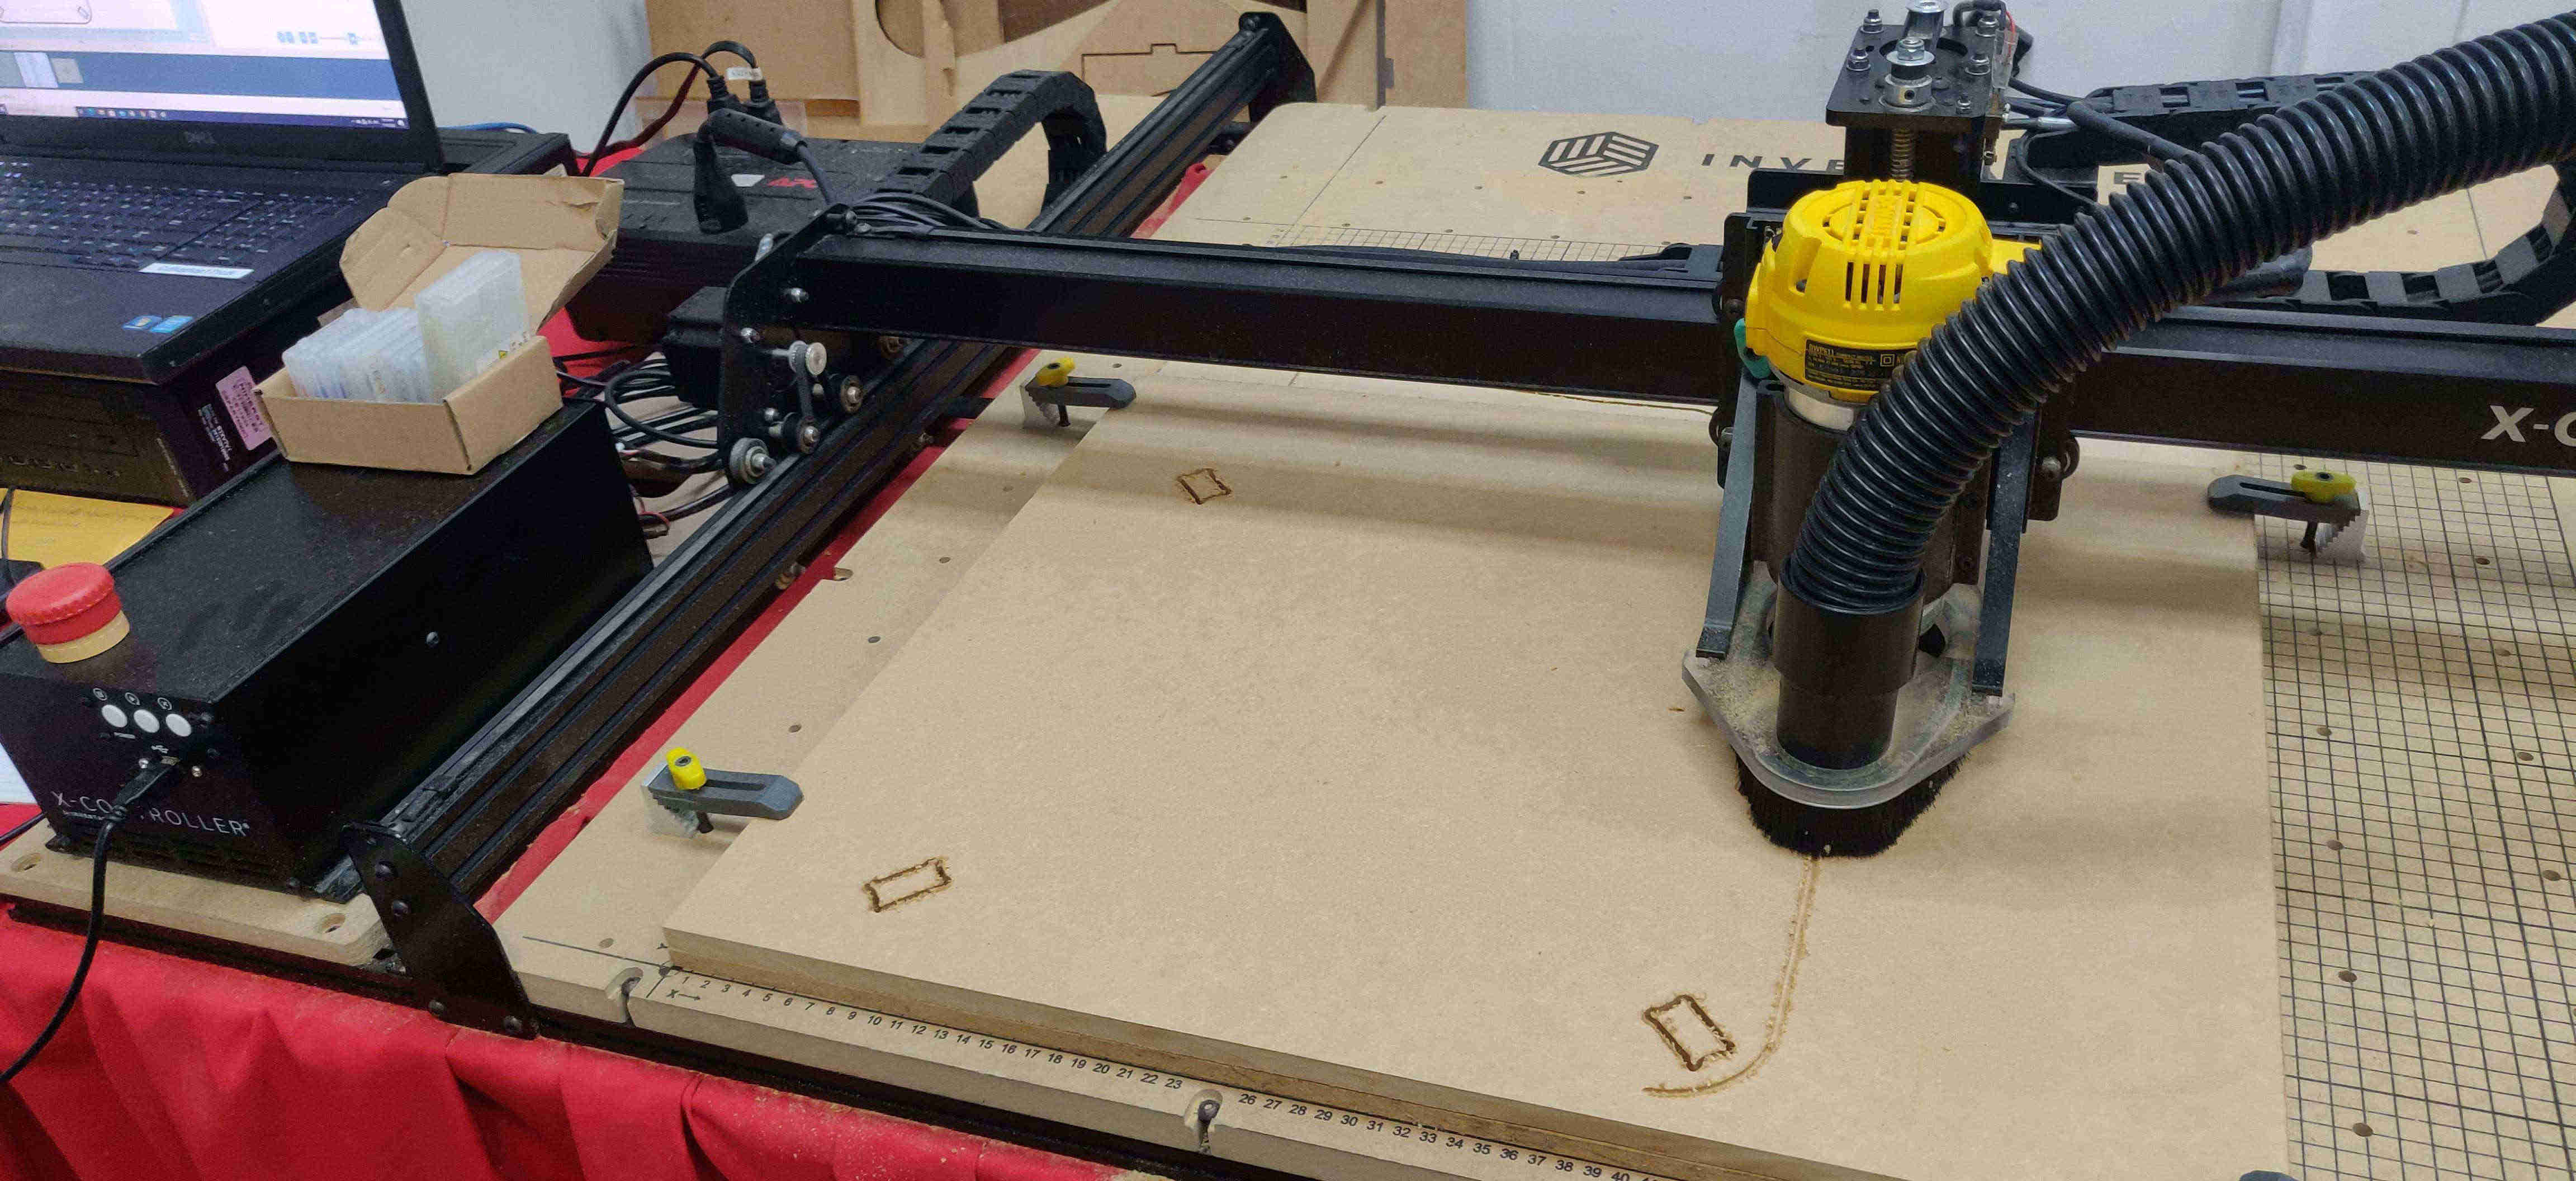
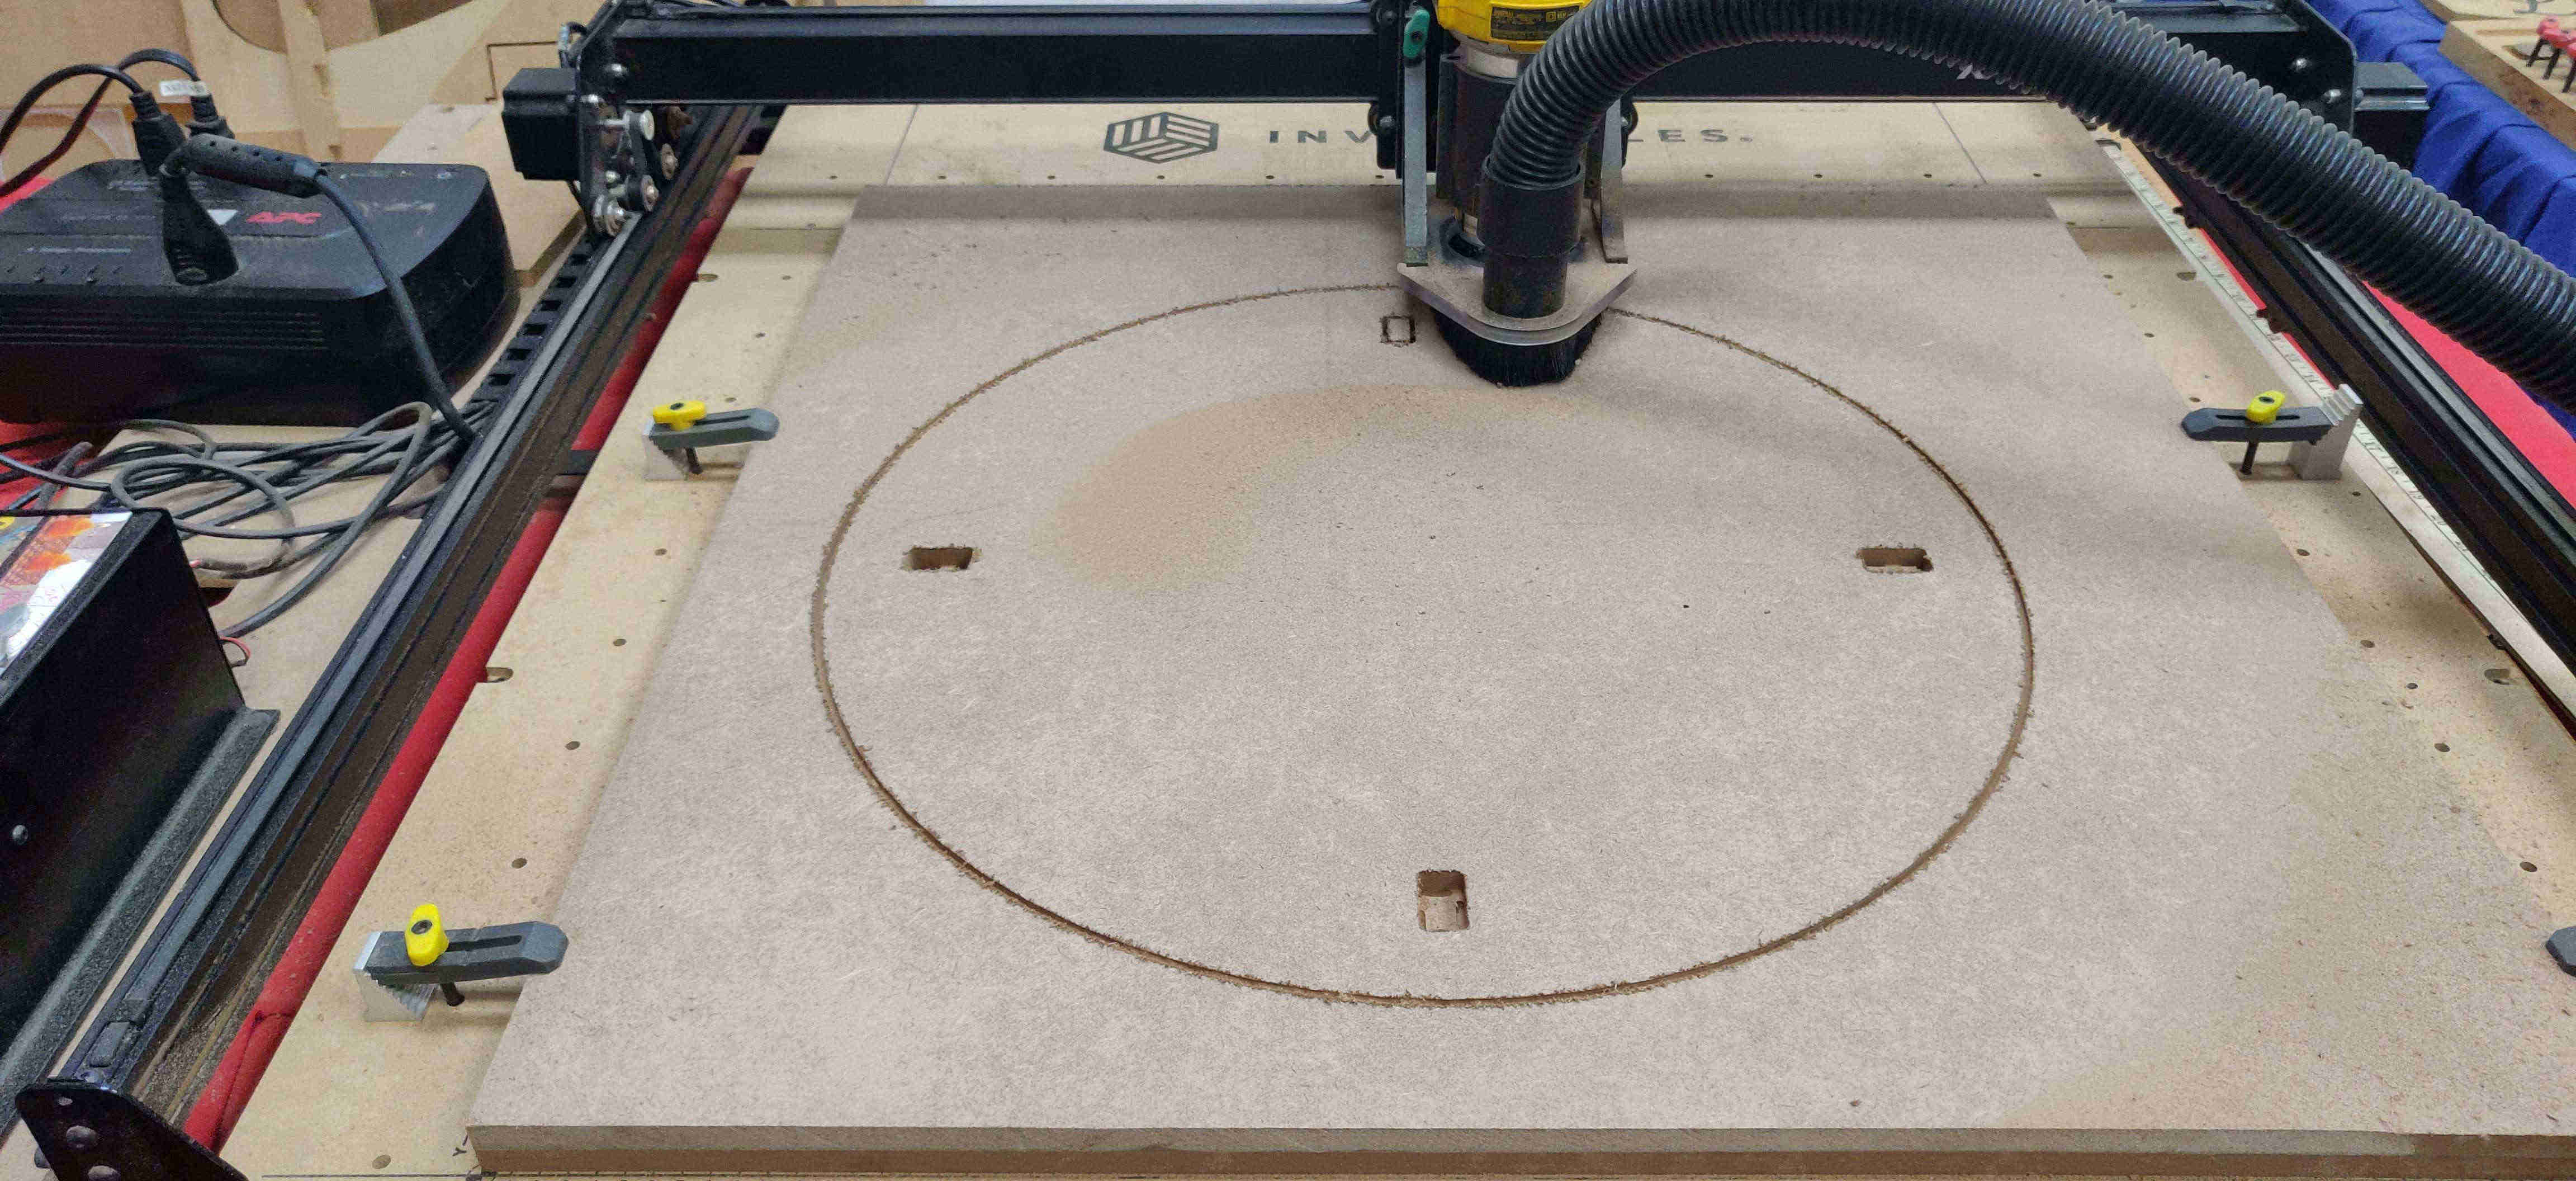
I then did a last minute safety check, to ensure that the X-Carve was in good working condition prior to exporting my design (note: safety gear is being worn as this machine tends to produce alot of dust and debris when machining is being done, it also generates a significant amount of noise so earplugs was also recommended, as well as safety googles)
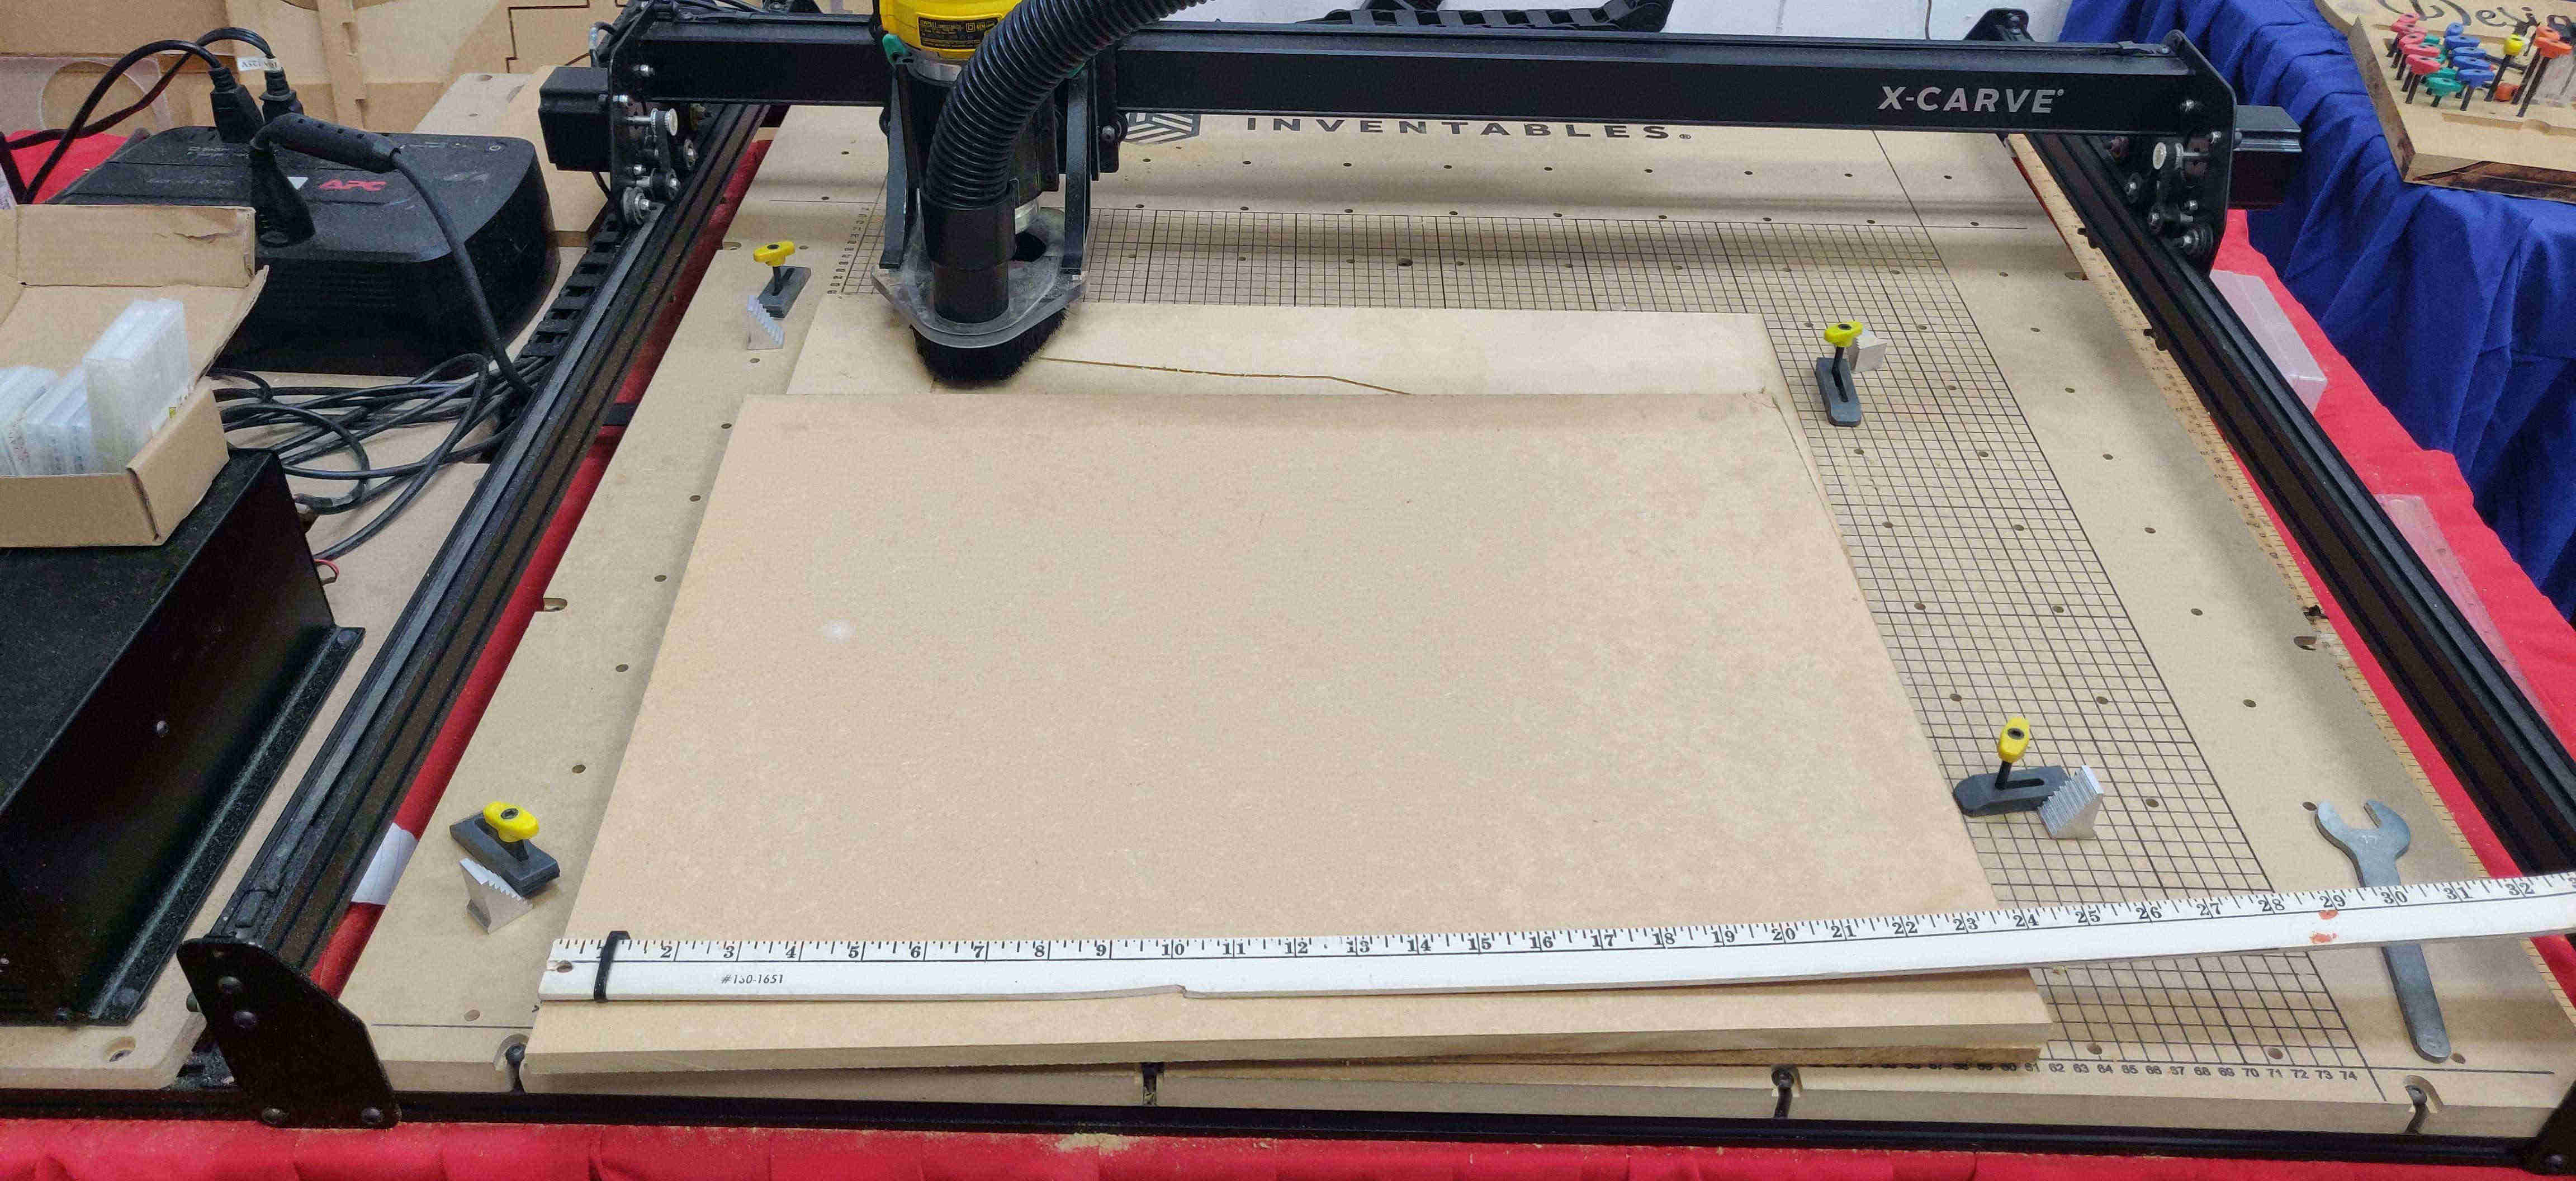
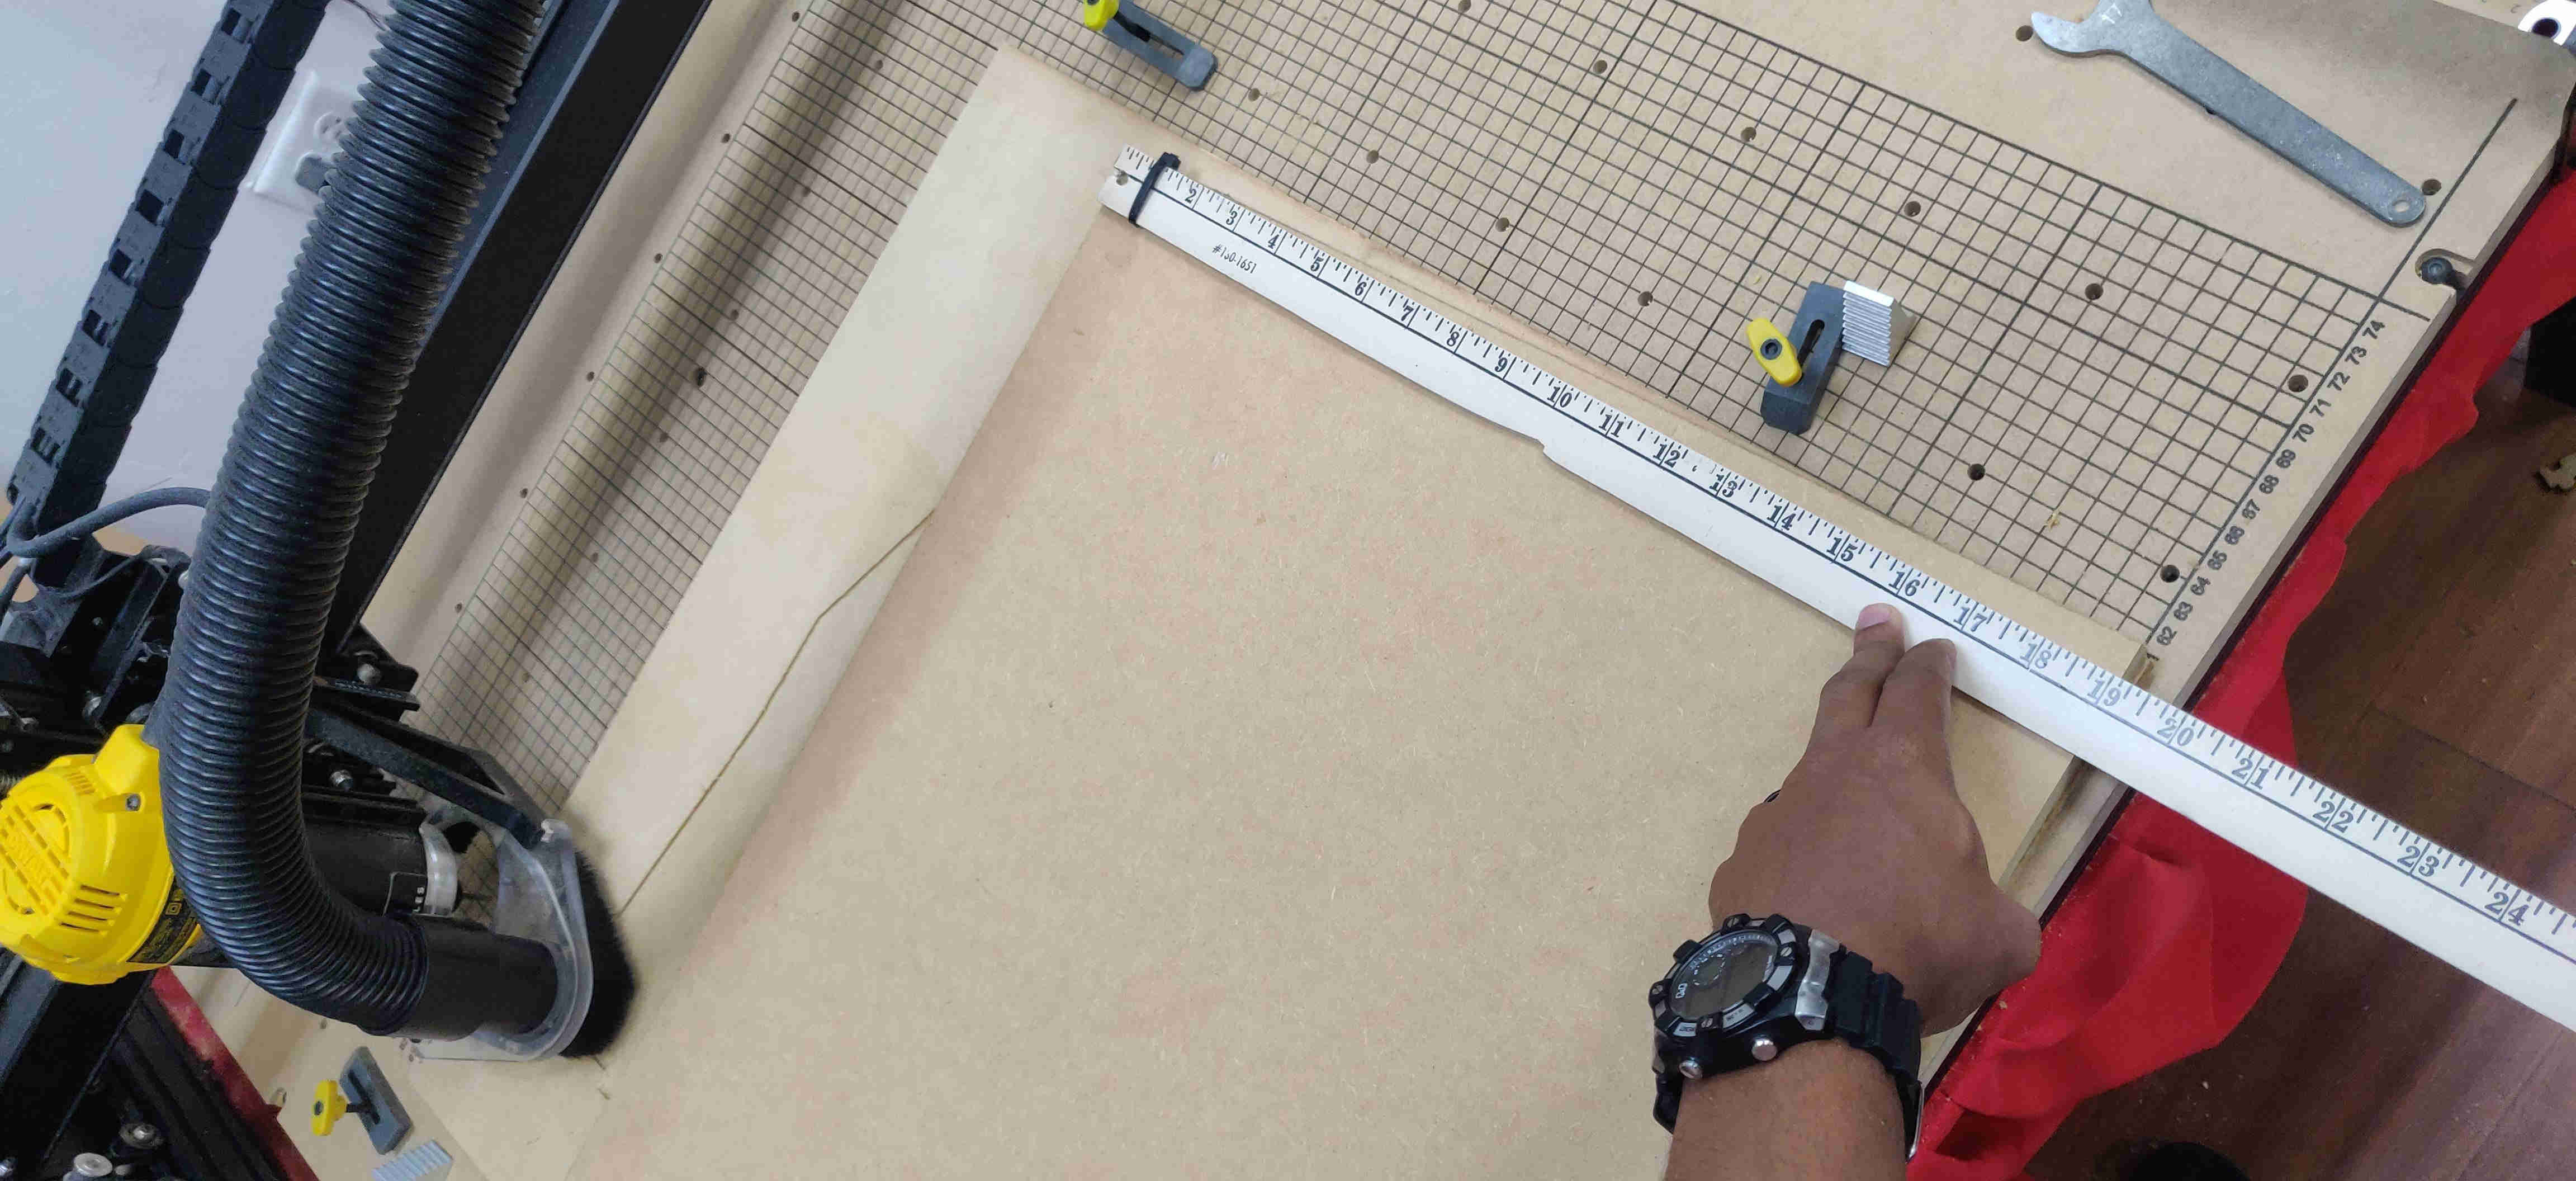
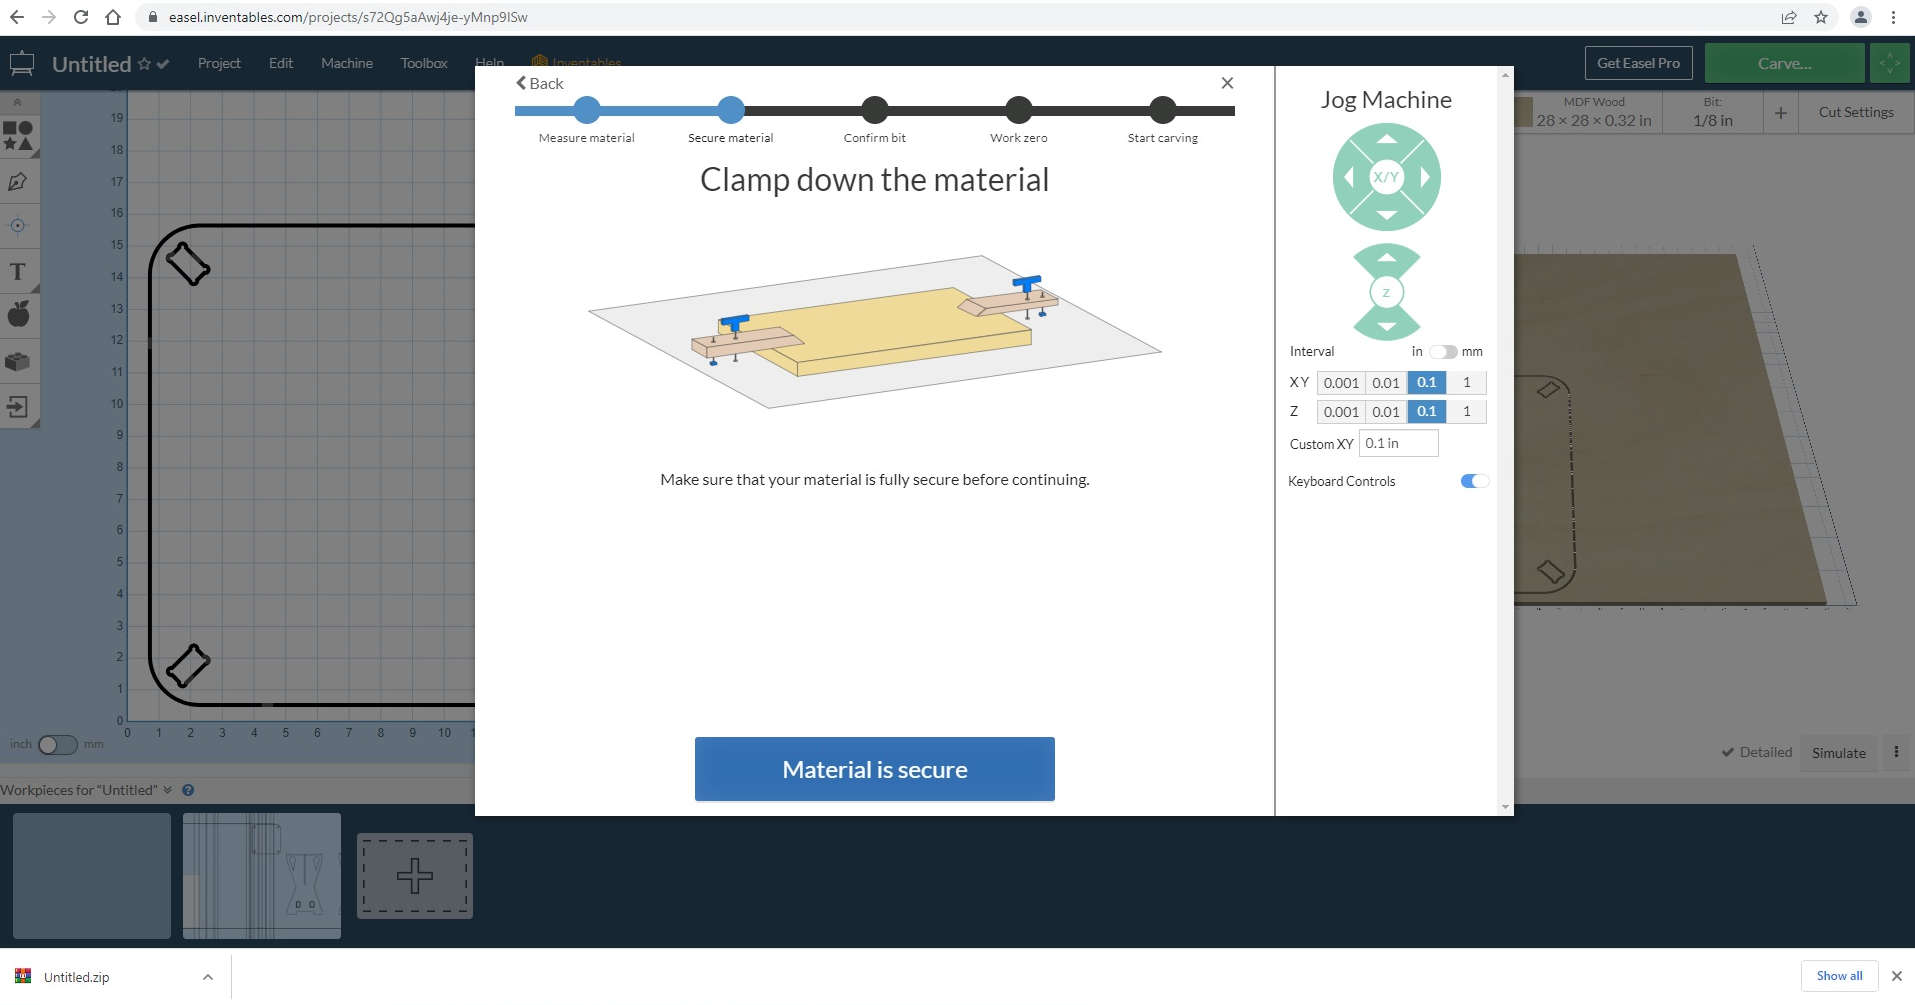
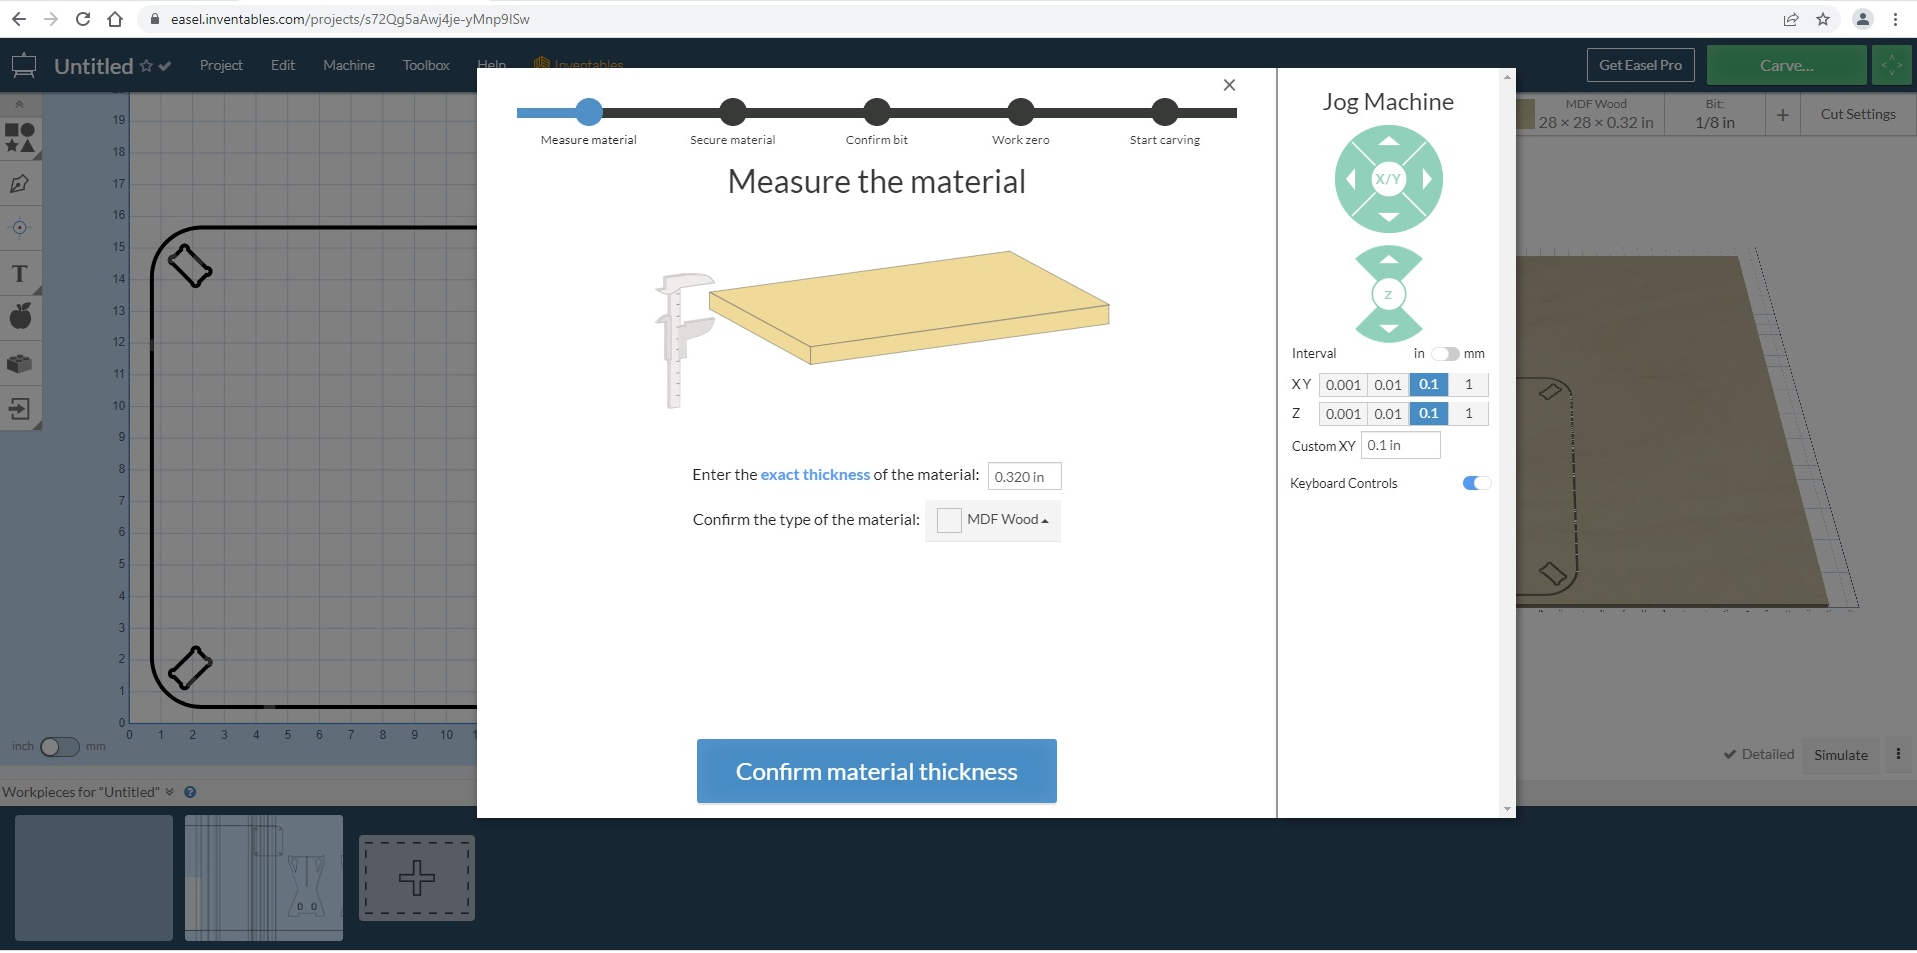
Upon completeion of this, I measured to bed size (mentioned within the group assignment), as a precaution to ensure my material (MDF Medium Density Fibreboard), would fit for machining. In addition this this I clamped my material in place securely for machining.
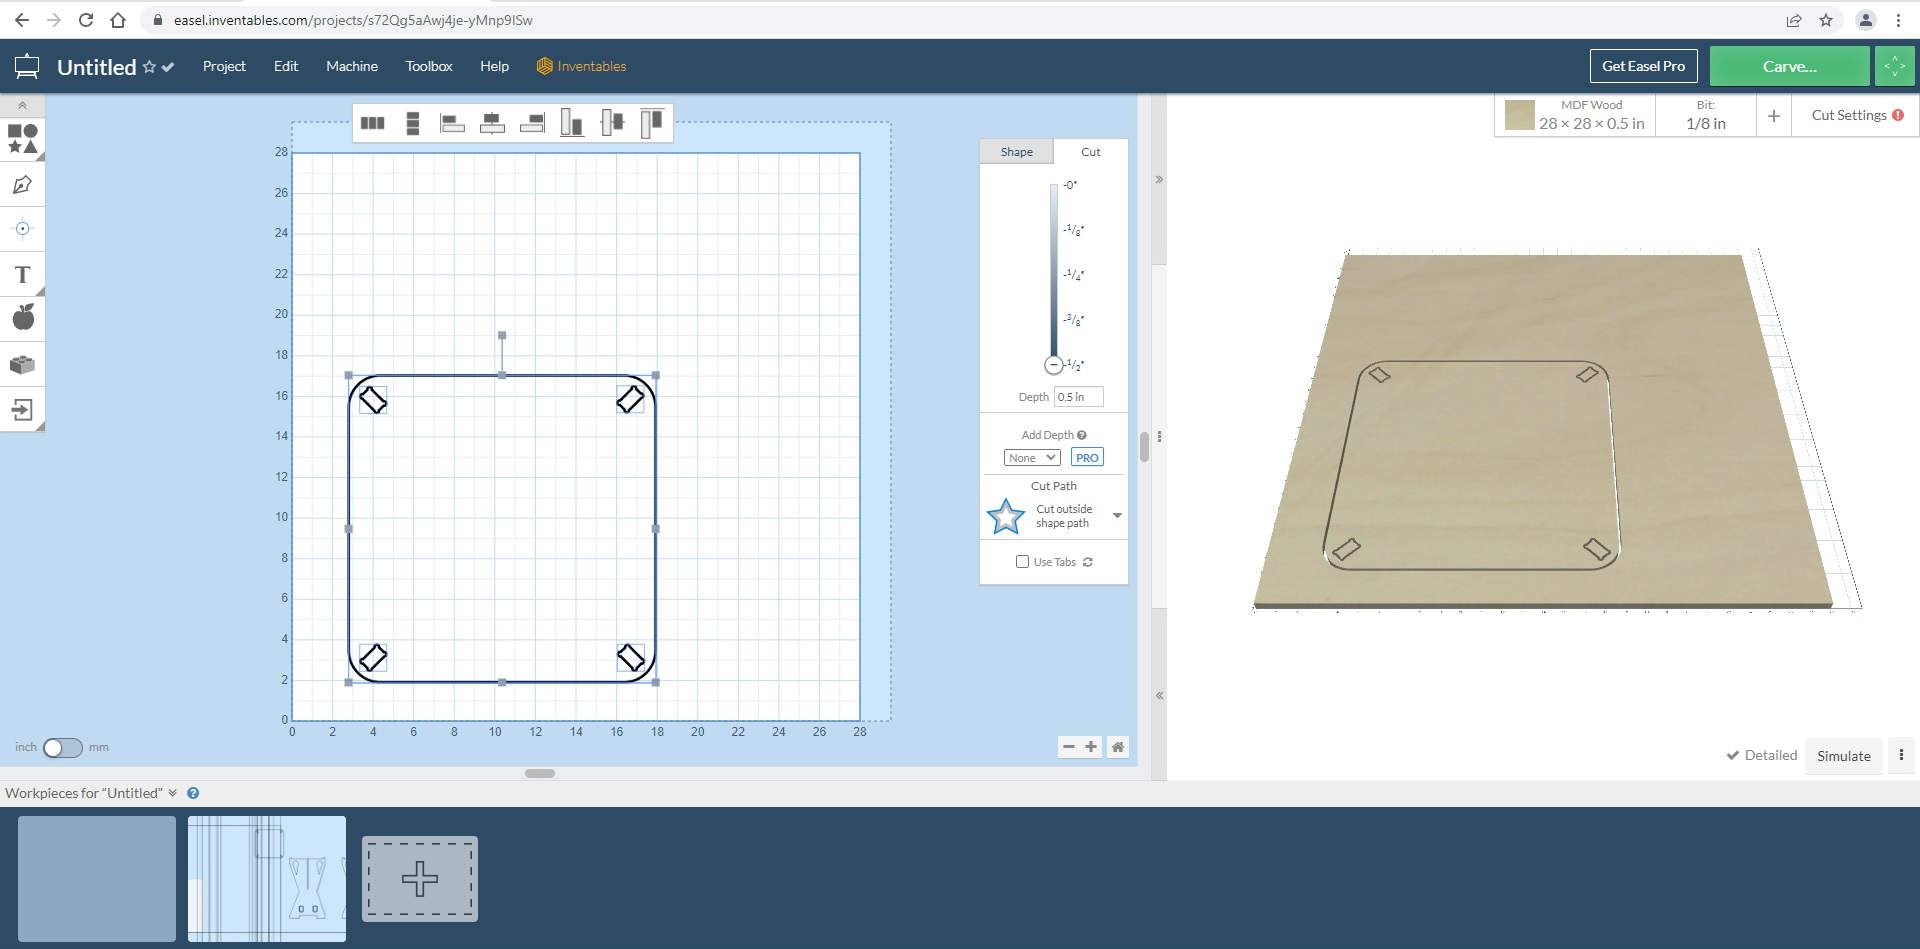
Once those checks were done, I imported my Design into the Machining software, which was EASEL, Free version. It allowed me to not only see a realistic rendering of the material, it’s dimensions, set parameters for cutting, i.e; feedrate, inside cut, outside cut, etc., but also provides a simulation of the toolpath whilst machining is in operation. Similarly to the Nomad 3, I had to jog the tool, to establish proper material thickness and origin starting point. This was done manually.
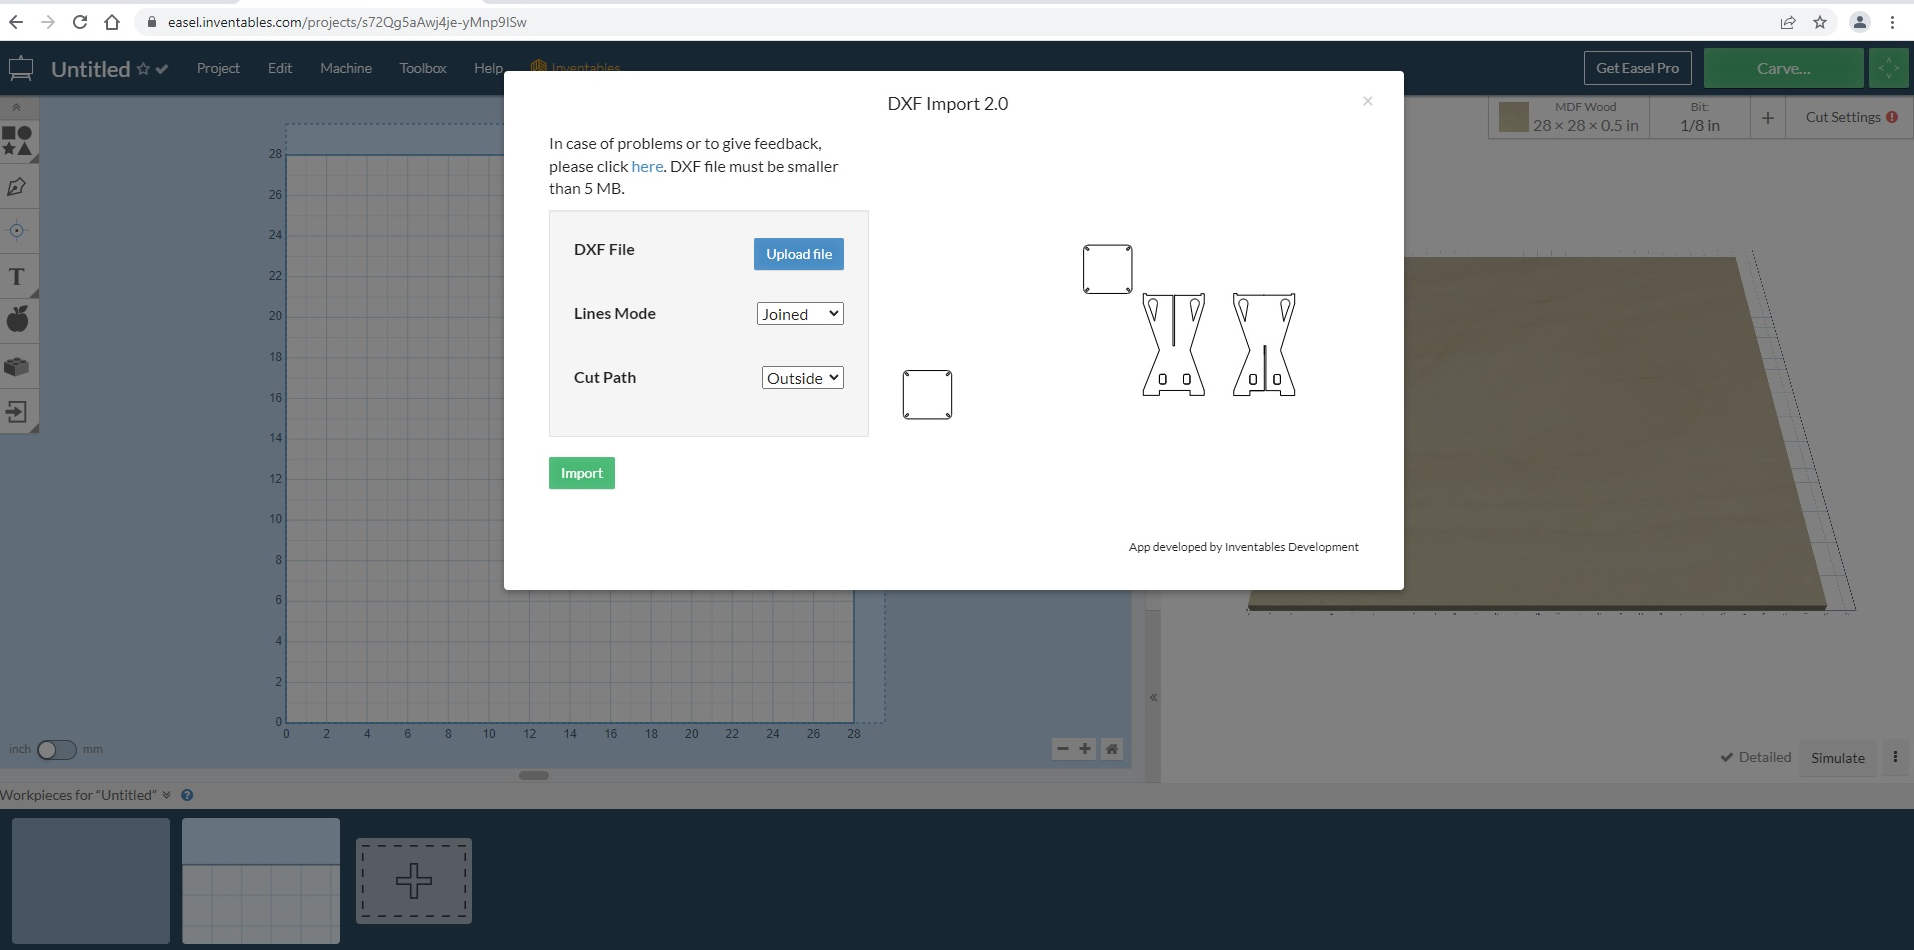

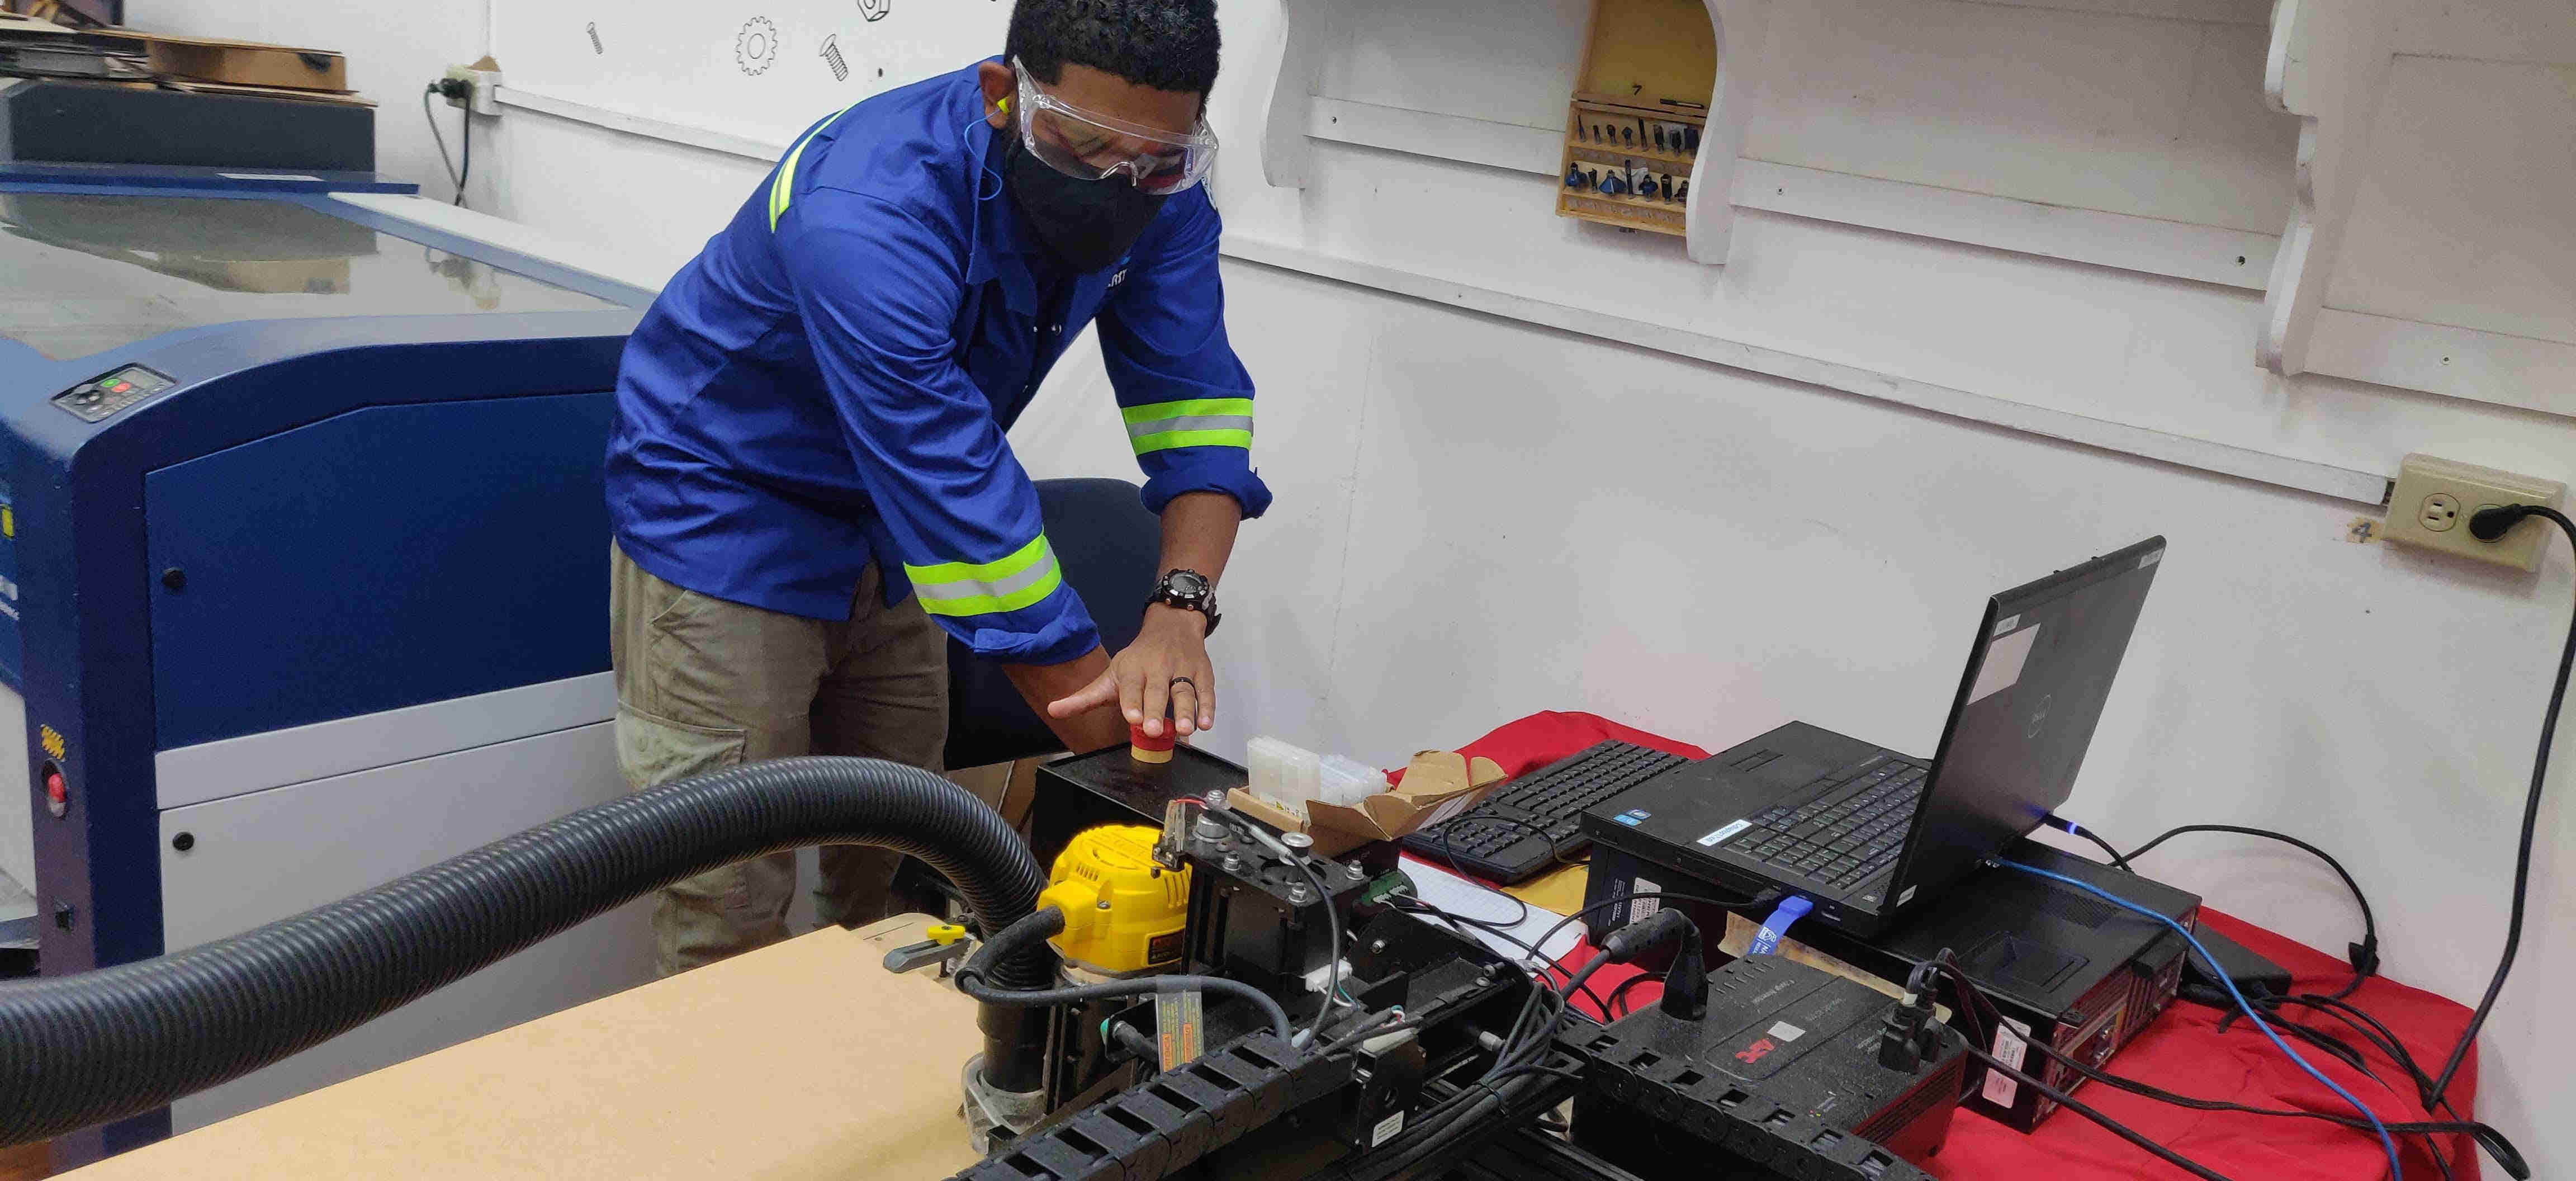
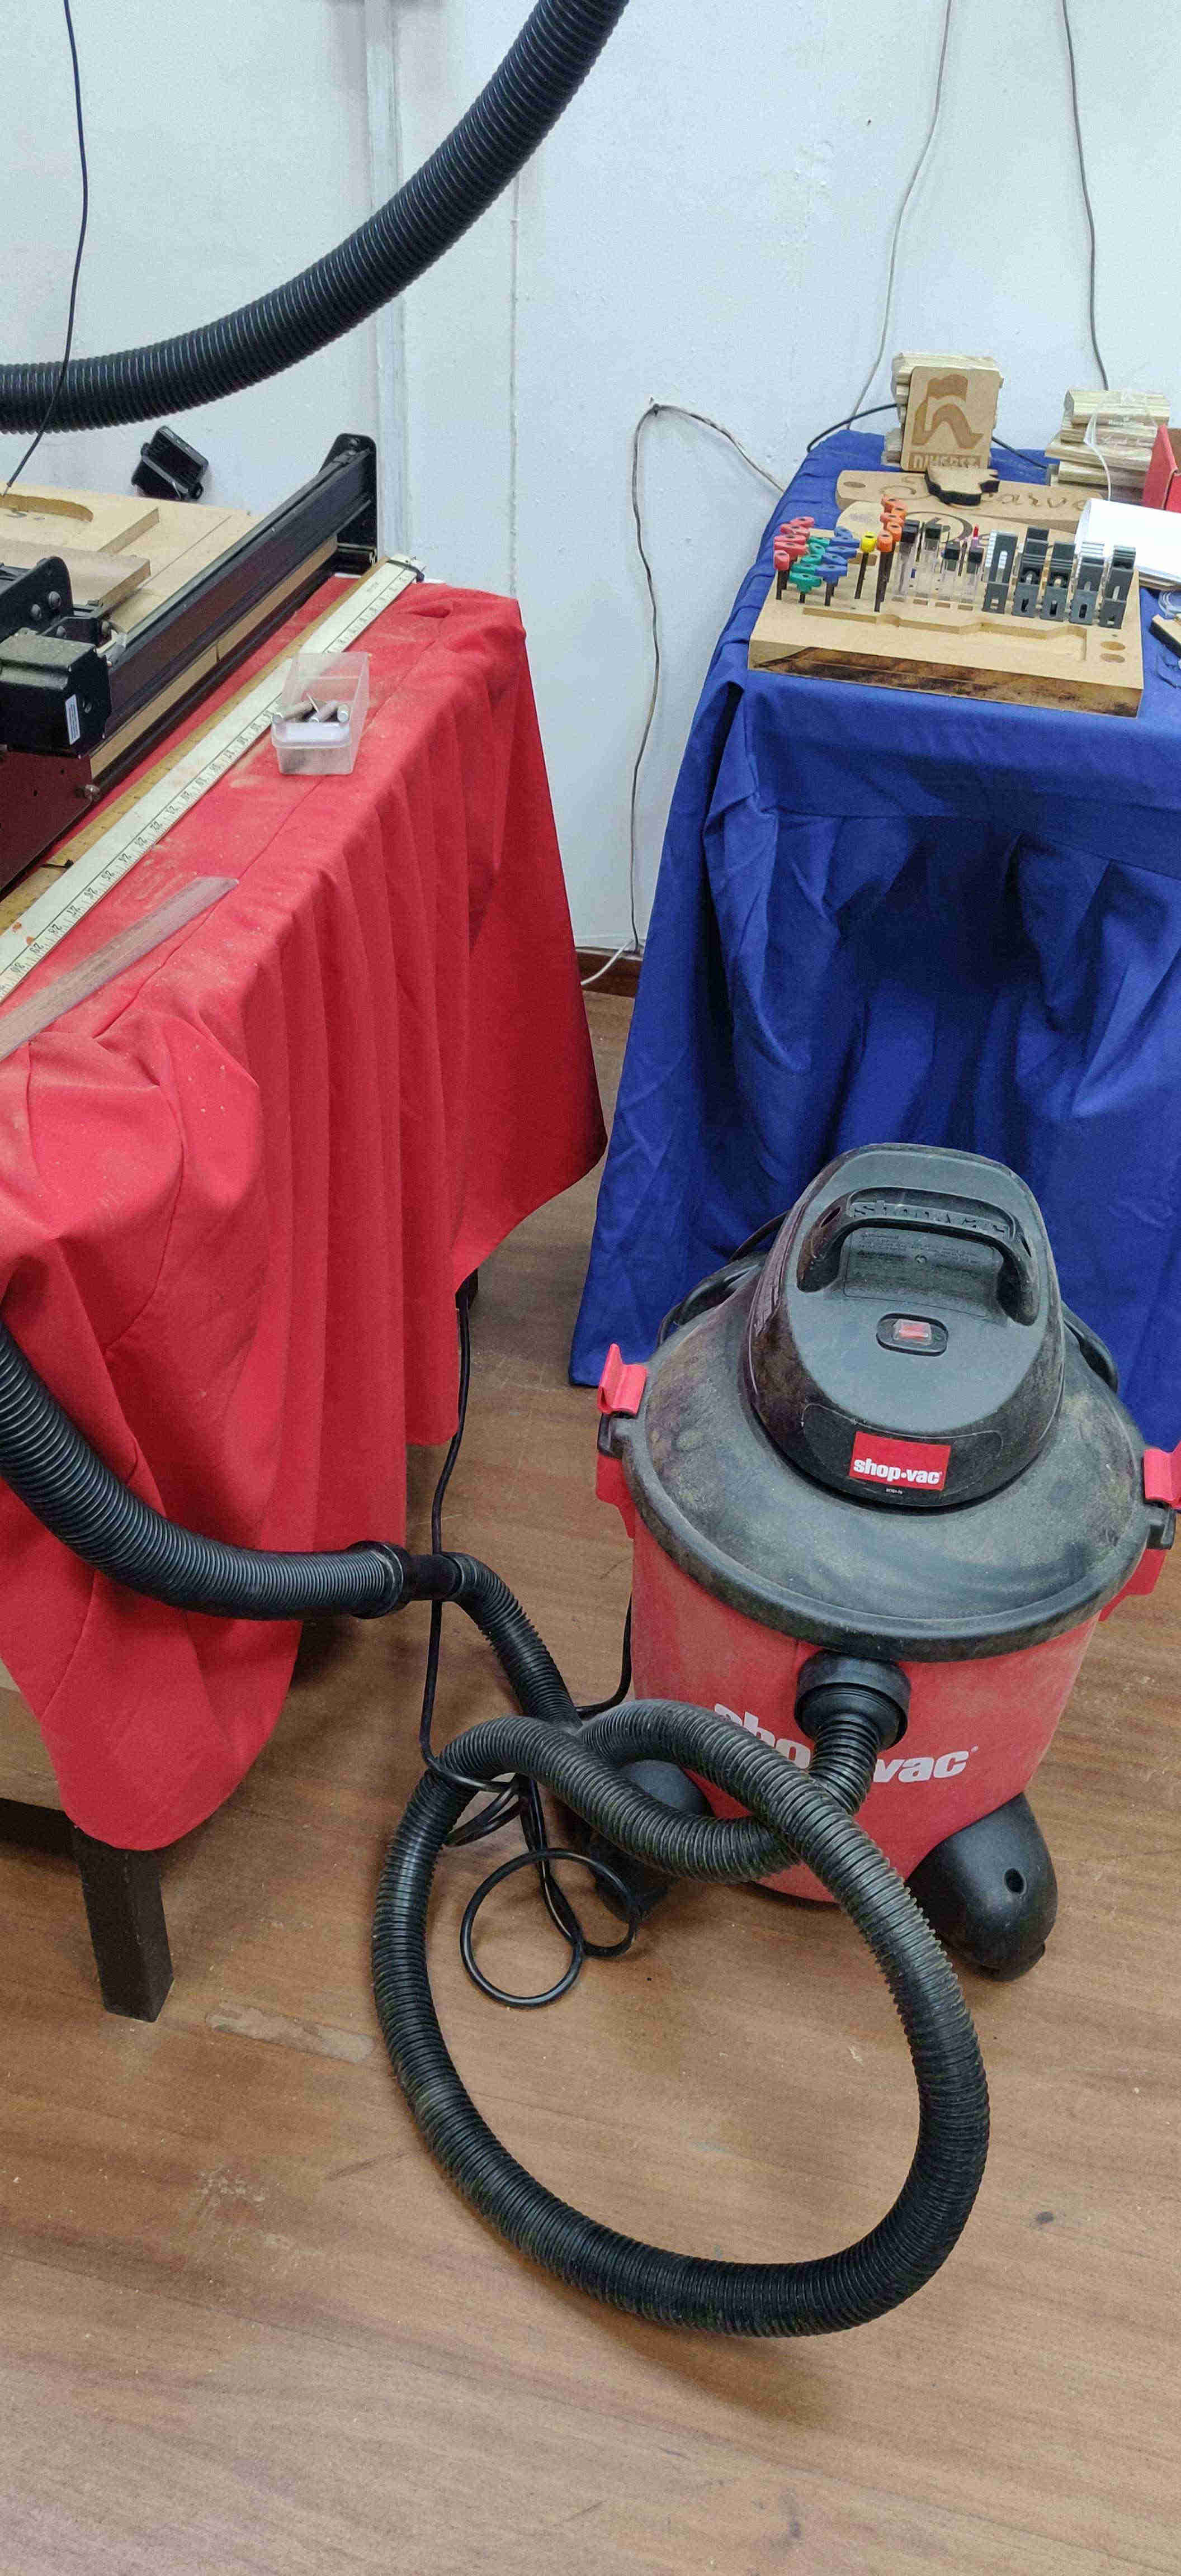
The Easel software required there own safety checks. In addition to this, a ShopVac was used to minimise debris circulating. (Note: I kept my hand “at the ready” on the emergency stop, just in case)
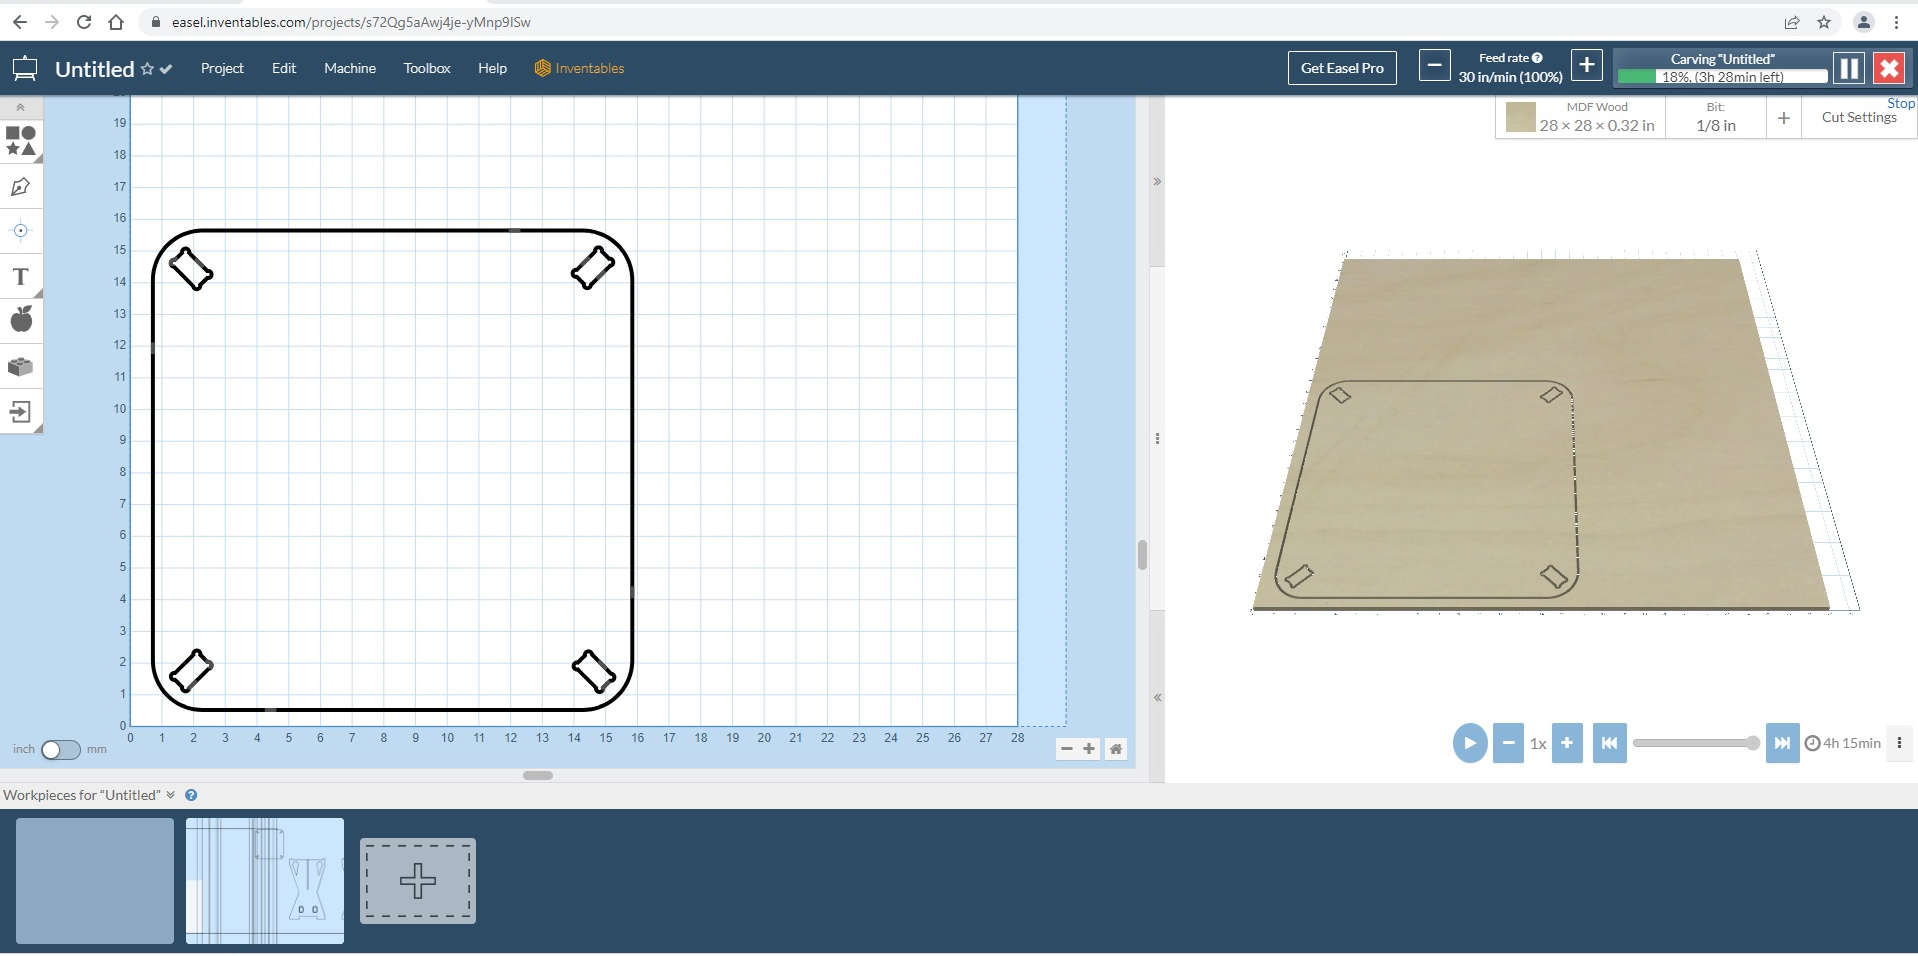
Cutting/ carving/ Routing is initiated!
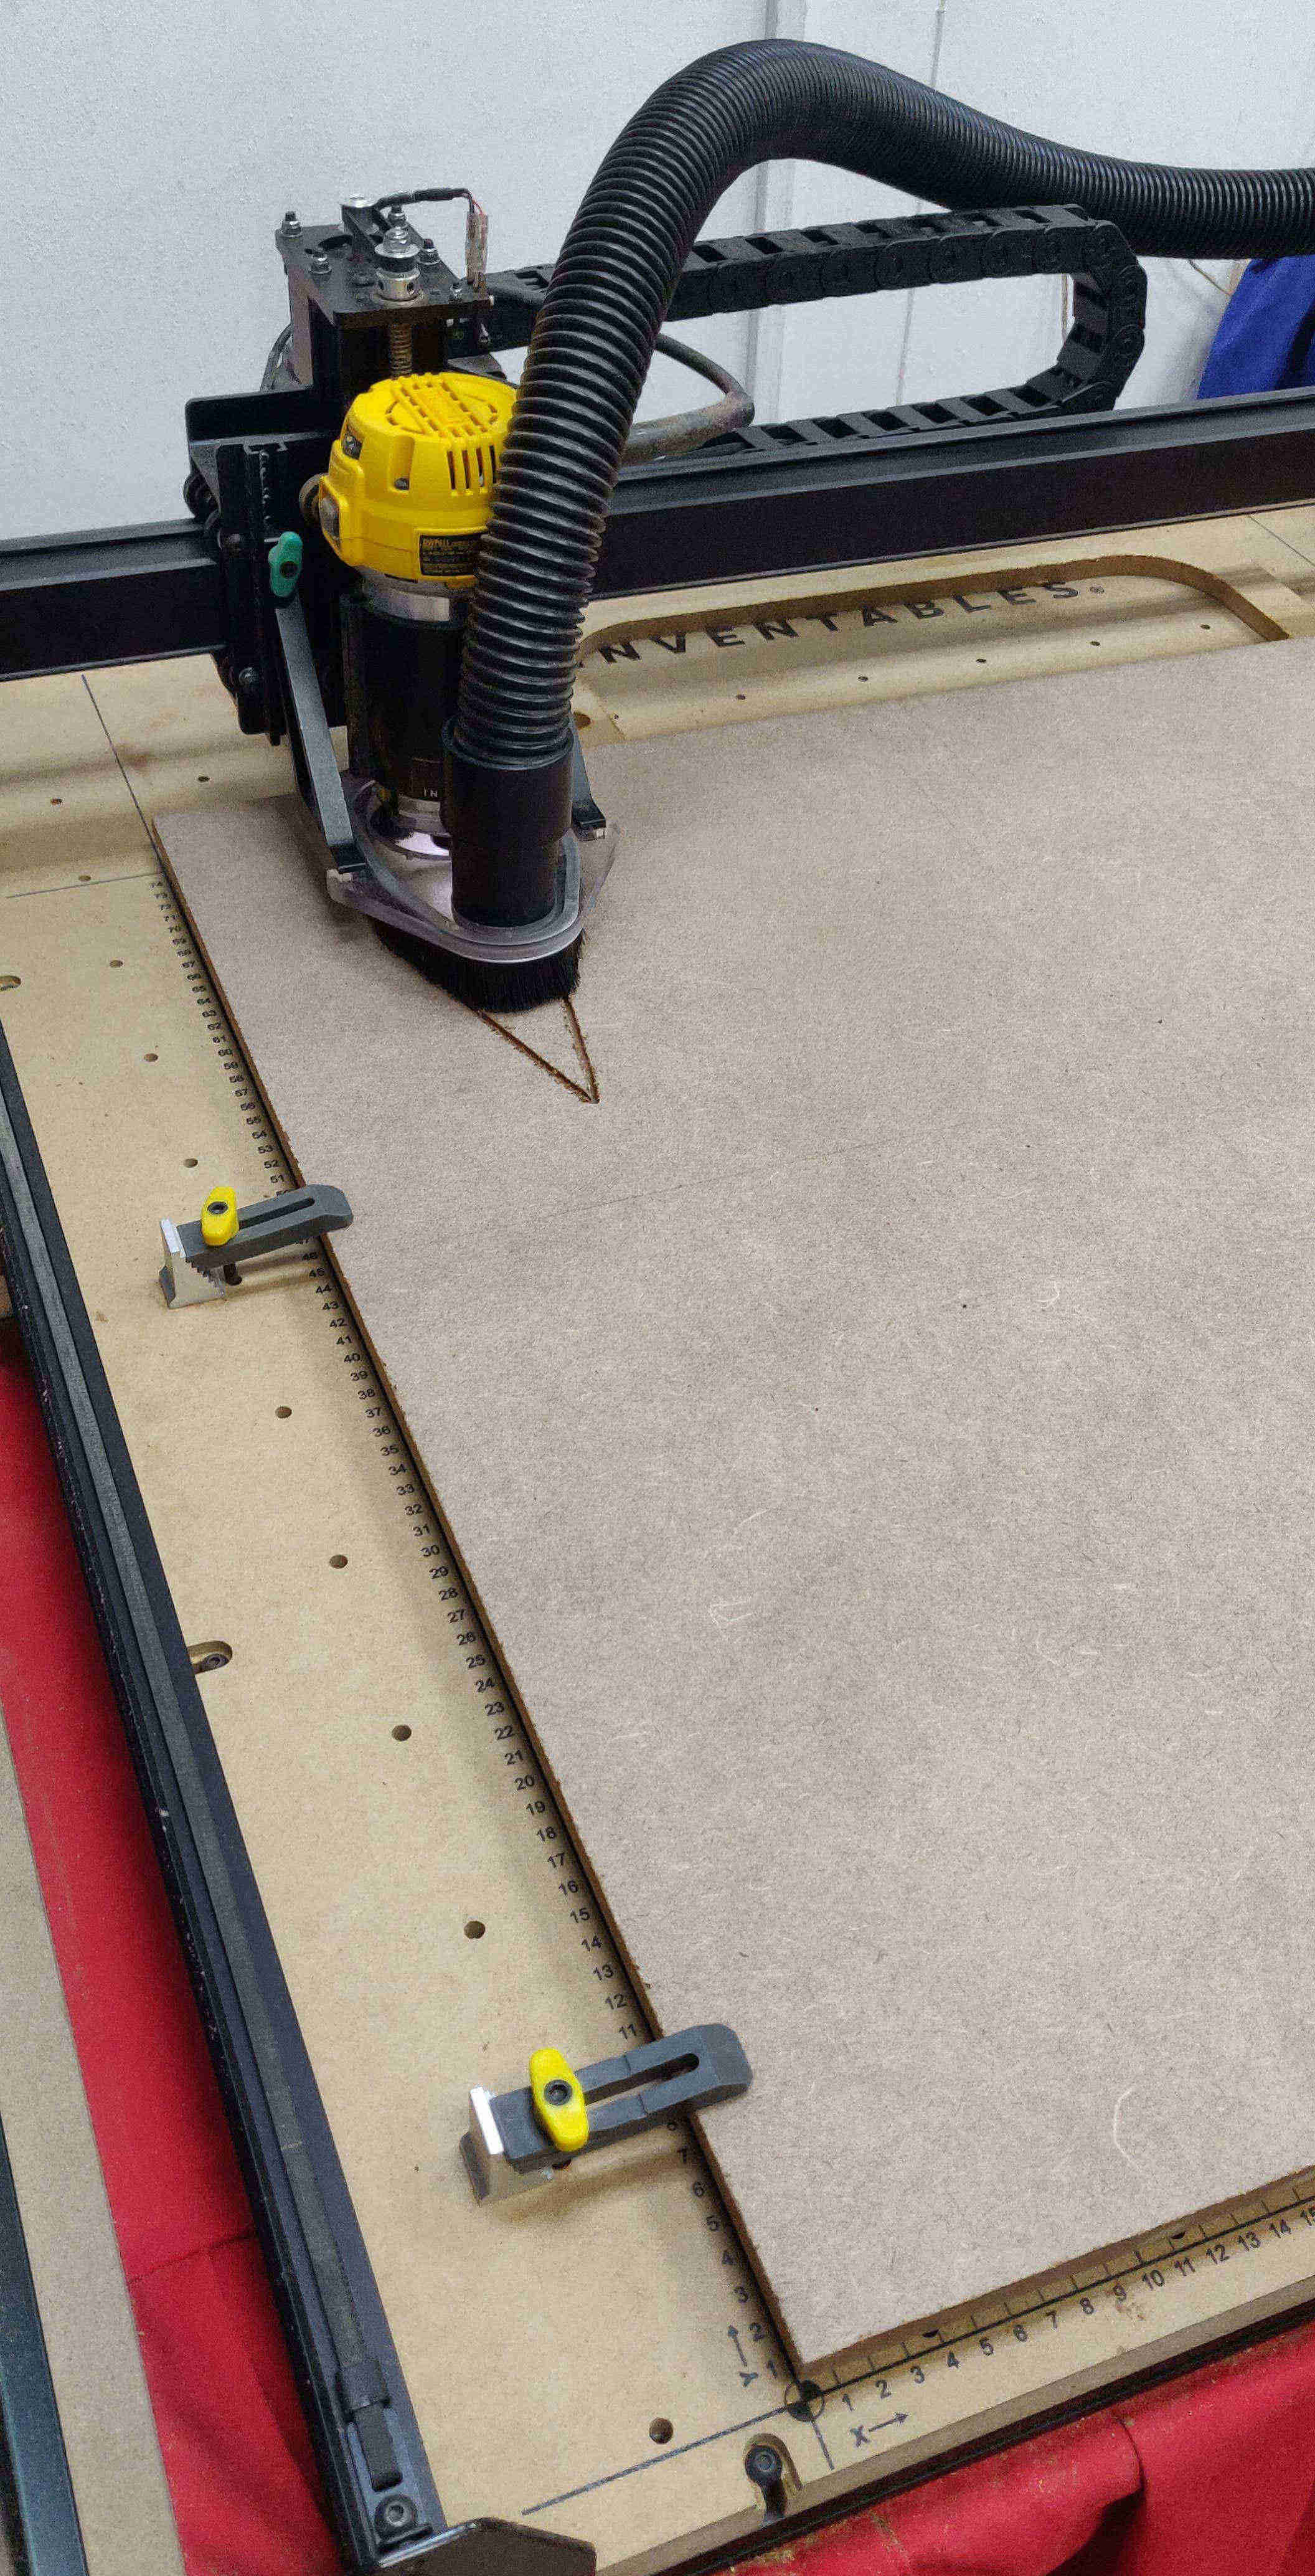
As mentioned earlier, I had to modify my design, more specifically, the tabletop, as my initial cut ran into some design flaws.
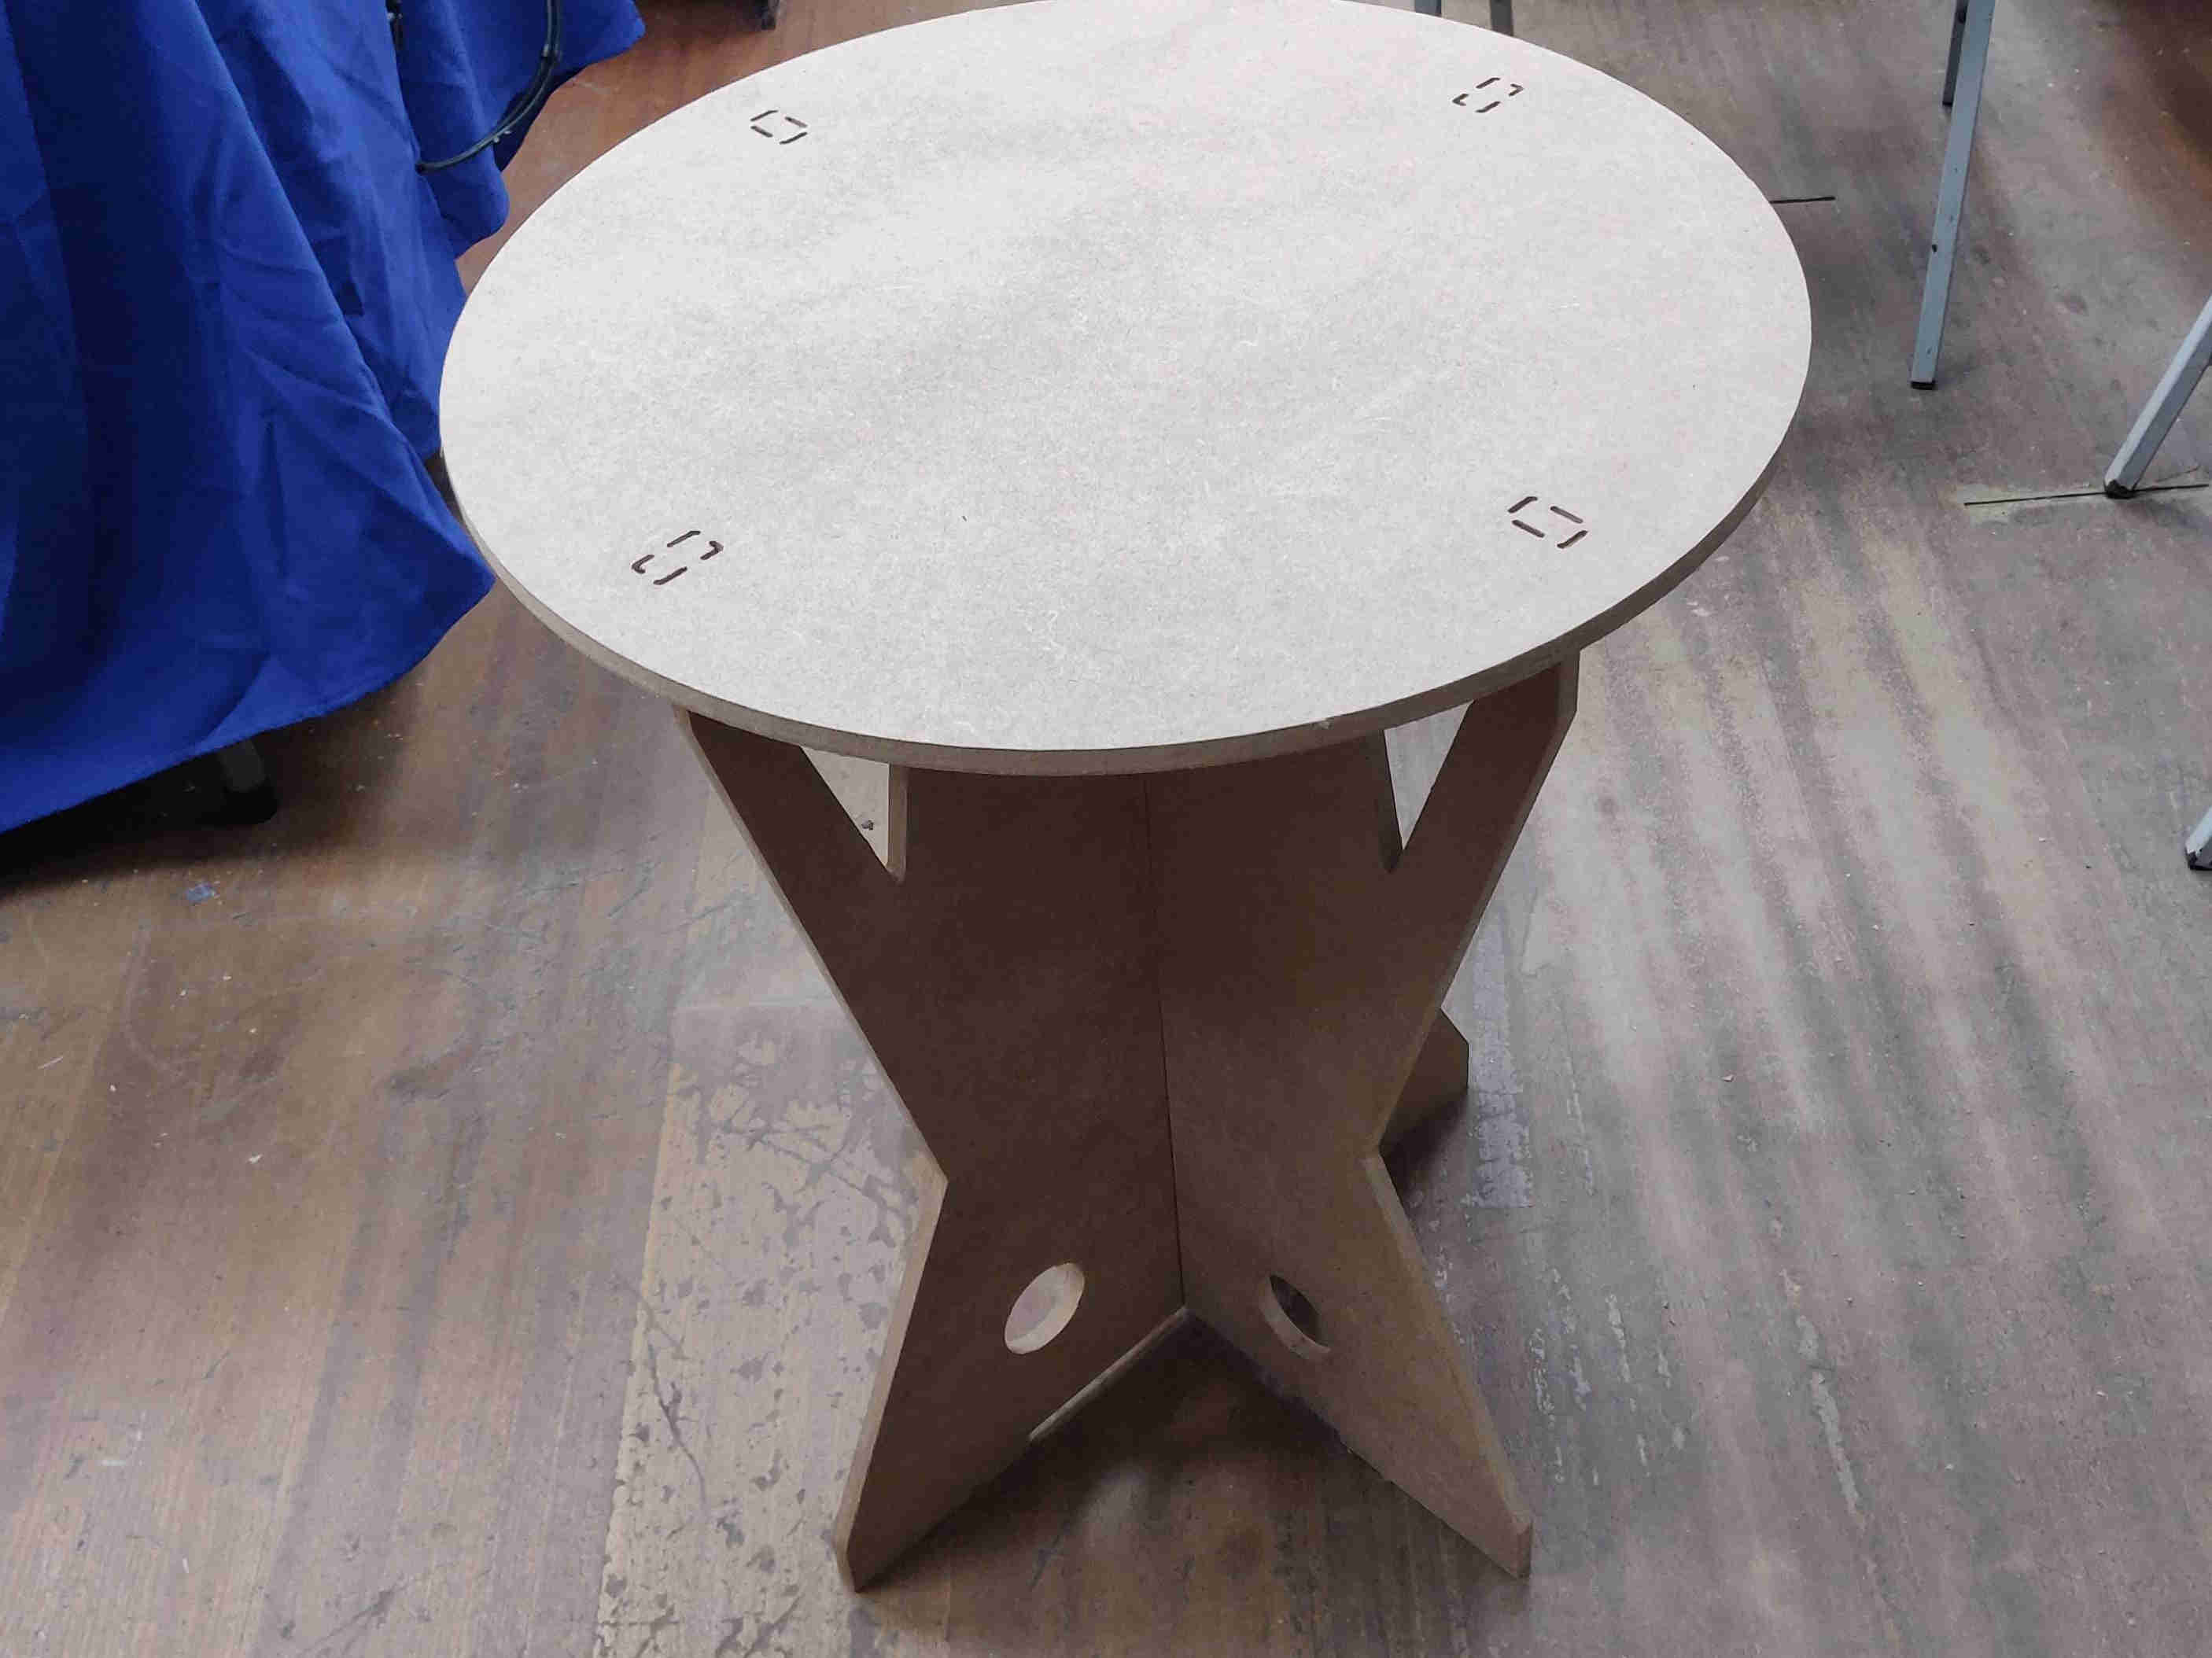
And the finished piece, assembled and readyfor use!