10. Molding and casting
This week I worked on:
Individual assignment:
- Review the safety data sheets for each of your molding and casting materials, then make and compare test casts with each of them
Group assignment:
- Design a mold around the stock and tooling that you’ll be using, mill it (rough cut + (at least) three-axis finish cut), and use it to cast parts
INDIVIDUAL ASSIGMENT
- Before we start dealing with the design and the whole molding process, I think it is necessary to know some terms:
What is a Molding?
Molding is the process of manufacturing by shaping pliable raw material using a rigid frame or model called a pattern. A mold is a hollowed-out block that is filled with a liquid like plastic, glass, acrylic, metal, or ceramic raw materials. The liquid hardens or sets inside the mold, adopting its shape. A mold is the counterpart to a cast. The manufacturer who makes the molds is called the mold maker. A release agent is typically used to make removal of the hardened/set substance from the mold easier.Typical uses for molded plastics include molded furniture, molded household goods, molded cases, and structural materials.
What are the different types of Molding ?
There are several types, I will explain only two:
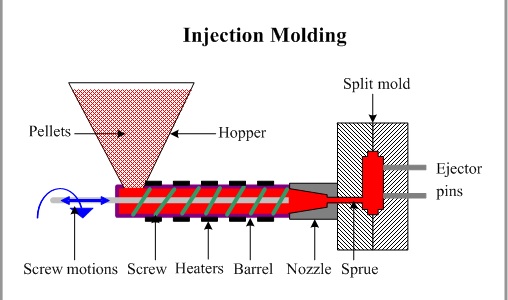
Injection Molding
Injection molding is used for creating high-quality three-dimensional objects, that can be commercially reproduced. The molding process begins by melting plastic in a hopper. Then the plastic is injected into a tightly closed, chilled mold. The plastic quickly takes the shape of the surrounding mold. Once it has completely set, the mold is opened and the plastic object is released. Yogurt pots, butter tubs, toys, bottle caps among others are made using this process.
Compression Molding
The most labor-intensive type of molding process is compression molding. Therefore, it is only used for large-scale production purposes, and not for mass production. For example, boat hulls and car tires are made using this method. Molten plastic is poured into a mold. Then a second mold is pressed into it. This squeezes the plastic into the desired shape before being left to cool and removed from the mold.

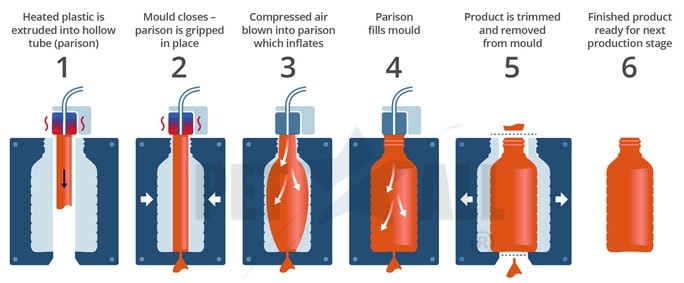
Blow Molding
Blow molding is a process used for making piping and milk bottles. Plastic is heated until molten. Then it is injected into a cold mold. The mold has a tube set within it, which has a particular shape when inflated. So, while the plastic is molten, air is blown into the tube and the plastic is formed around the tubing. It is then left to cool and removed from the mold.
What is a Casting?
It is a manufacturing process in which a liquid material is usually poured into a mold, which contains a hollow cavity of the desired shape, and then allowed to solidify. The solidified part is also known as a casting, which is ejected or broken out of the mold to complete the process. Casting materials are usually metals or various cold setting materials that cure after mixing two or more components together; examples are epoxy, concrete, plaster and clay. Casting is most often used for making complex shapes that would be otherwise difficult or uneconomical to make by other methods.

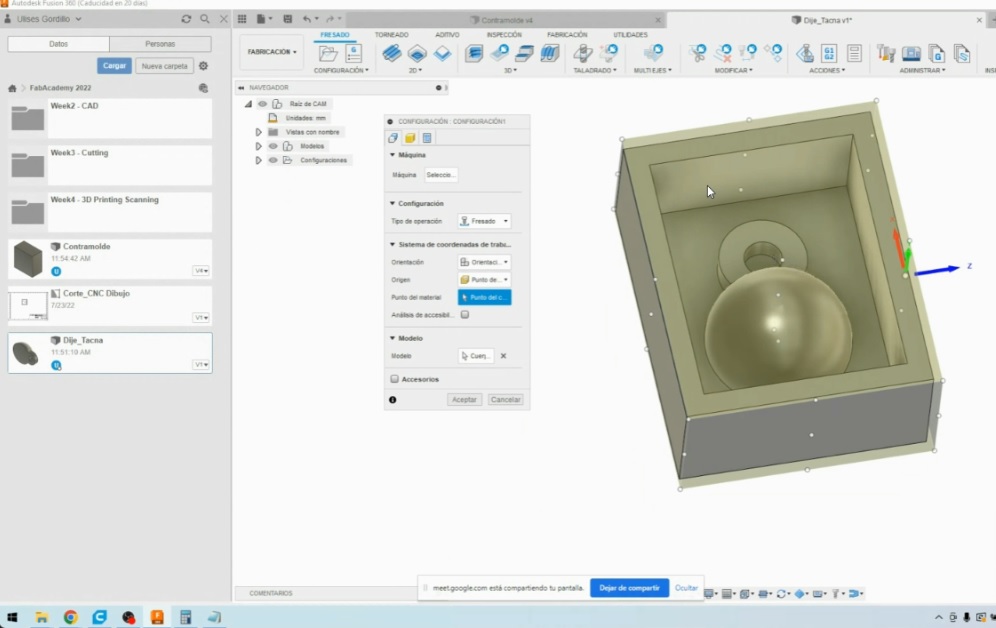
Design: Fusion 360
I decided to make something one-sided, a keychain.
- Start by making a circle of radius 11 mm.
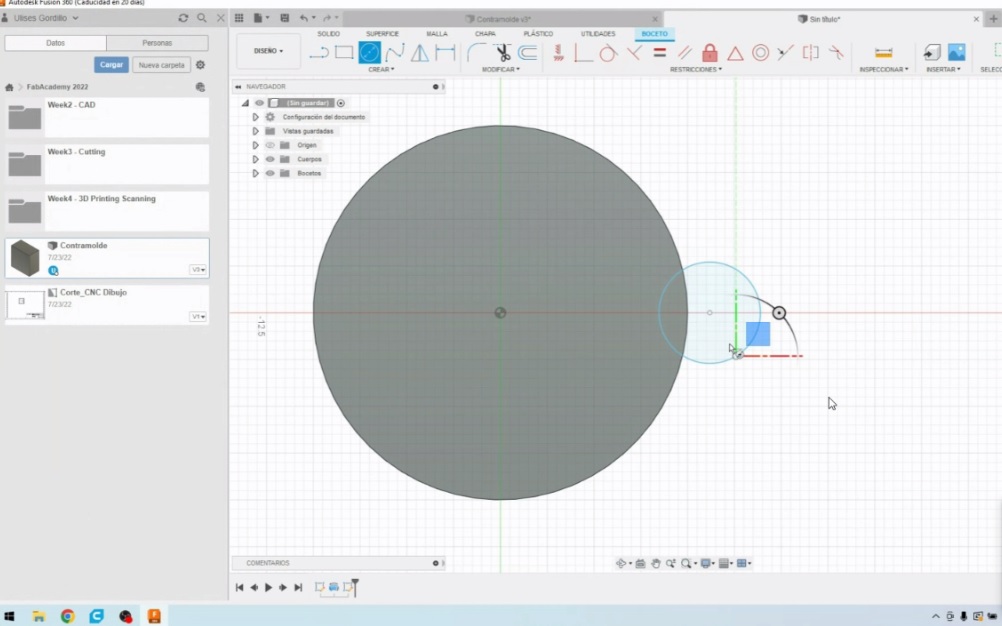
- Then a 6 mm radius pin (12 mm diameter) was added.
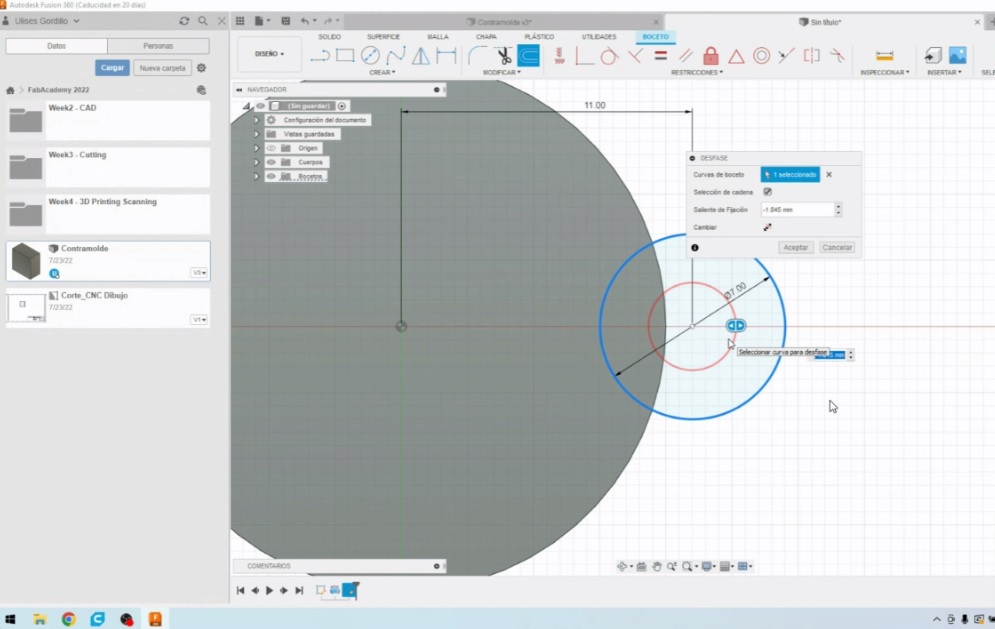
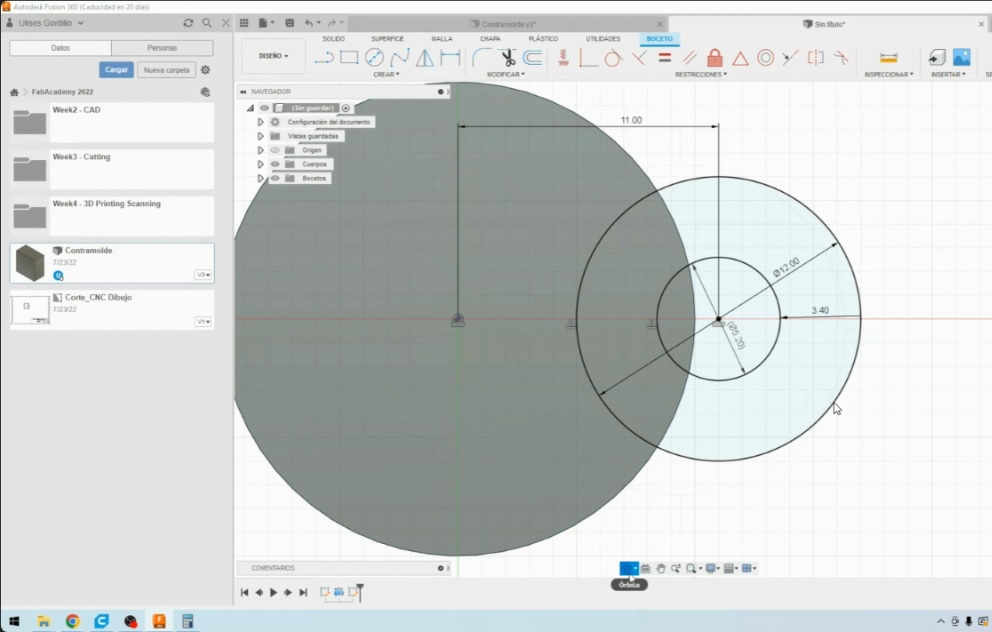
- Both the circle and the 3.4 mm pin are grooved.
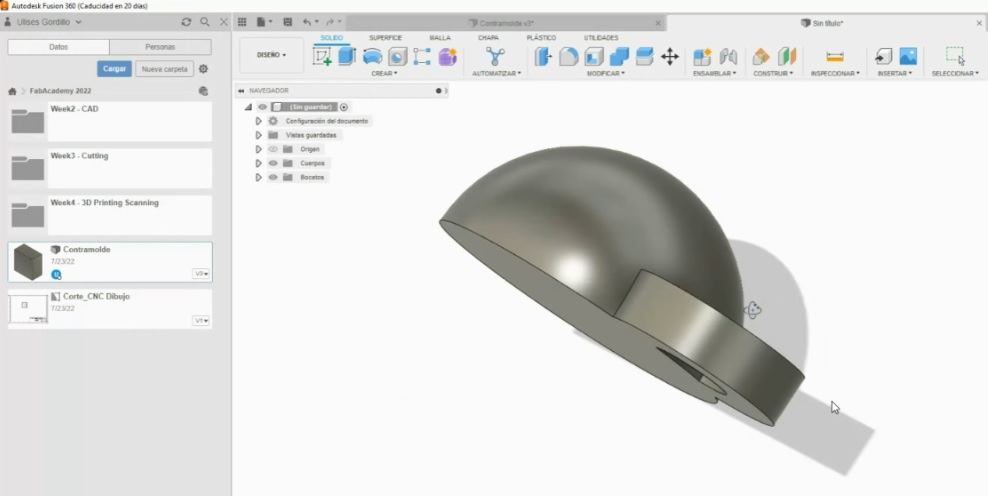
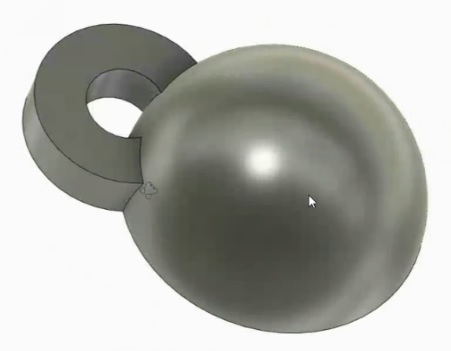
- This is another view.
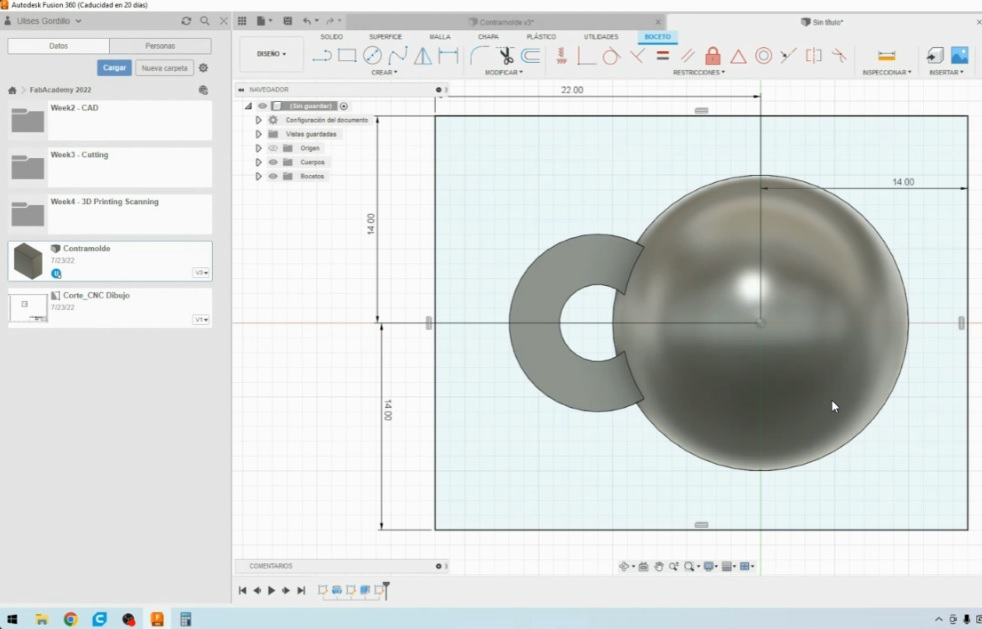
- A stock is created where I would include my design using a 36 mm x 28 mm rectangular sketch and I extruded it..
- Then, extrude while keeping the tool body that is the key ring.

- A view of the underside of the rectangle body

- For the stock walls I used the offset option and extruded these walls to cover the mold height correctly.

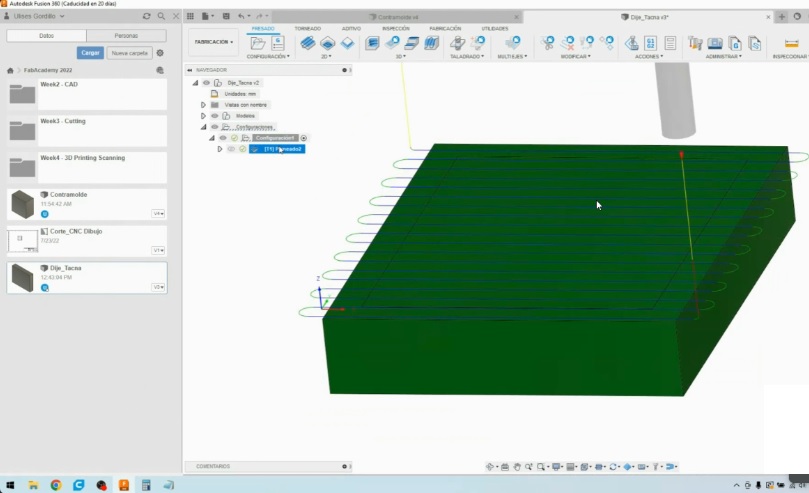
Fabrication:
- We start manufacturing
- We add the tools that we are going to use for facing.
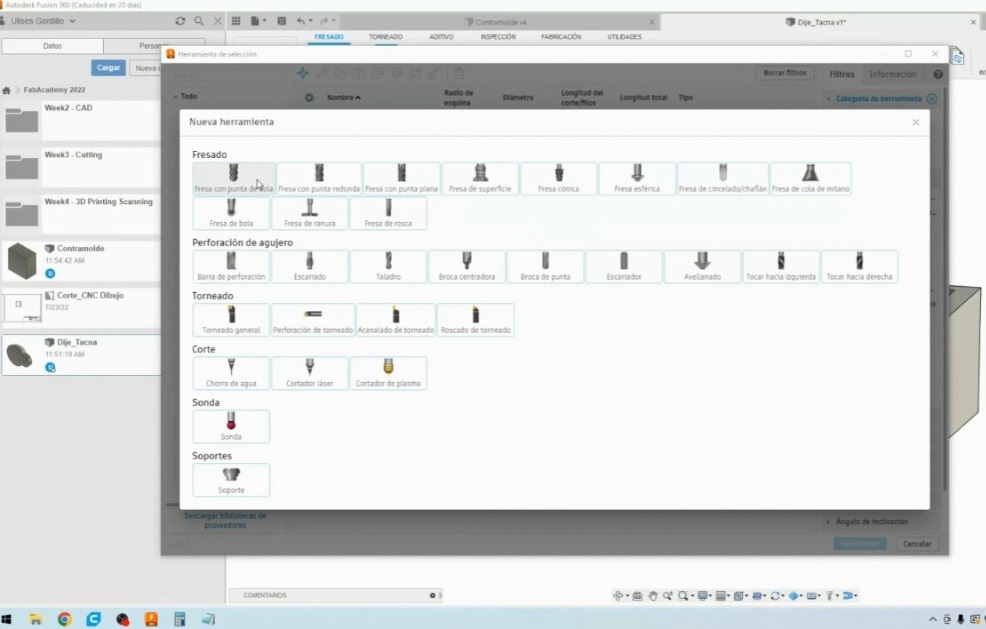
- We give the dimensions of the burs 3.175 mm diameter:
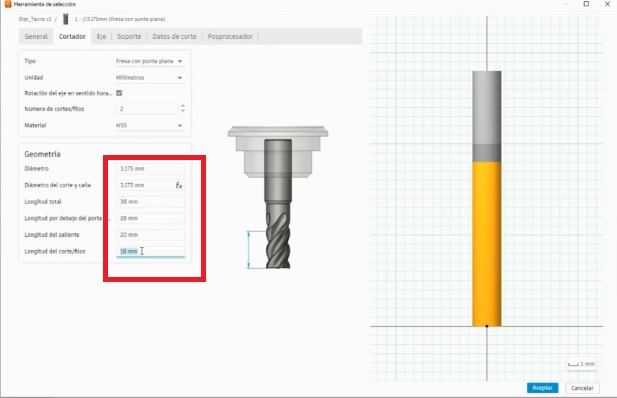
- To give it a fine finish we used a smaller tool that we had on hand, so I chose a 0.8 mm diameter tool.

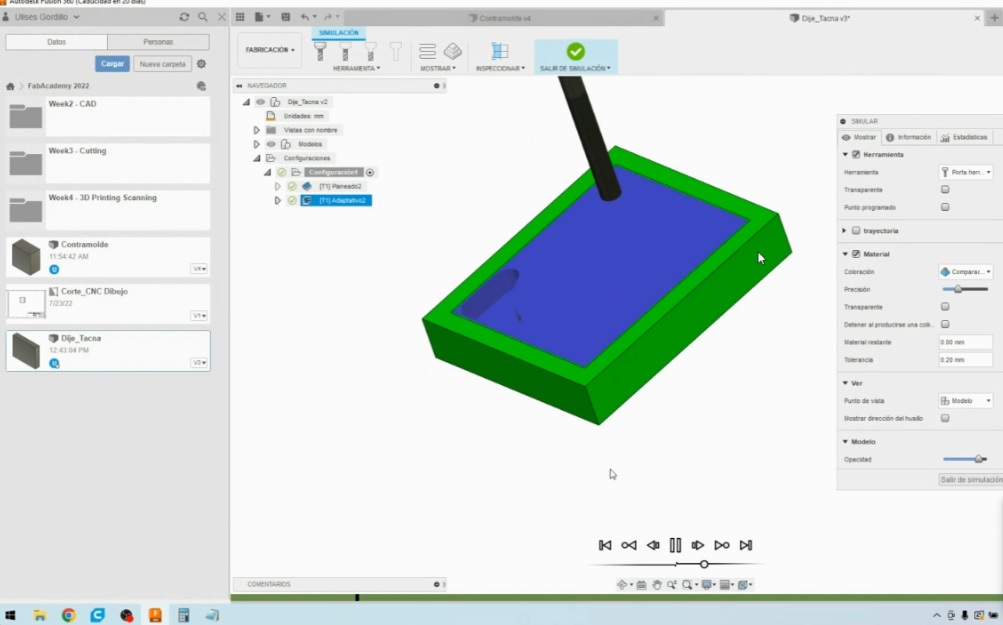
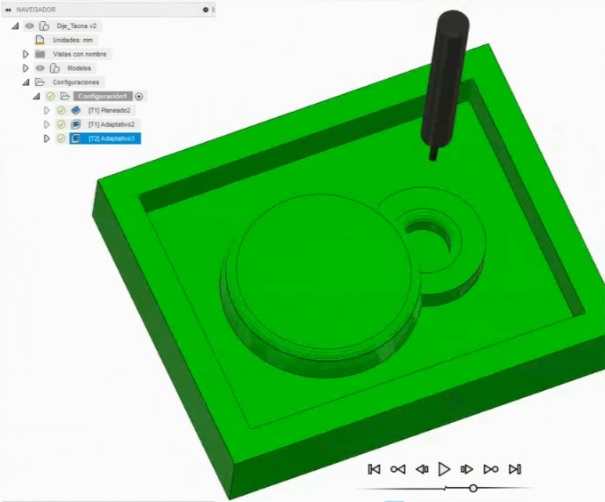
- I decided to simulate the whole setup to see if everything went well with the tools and parameters.
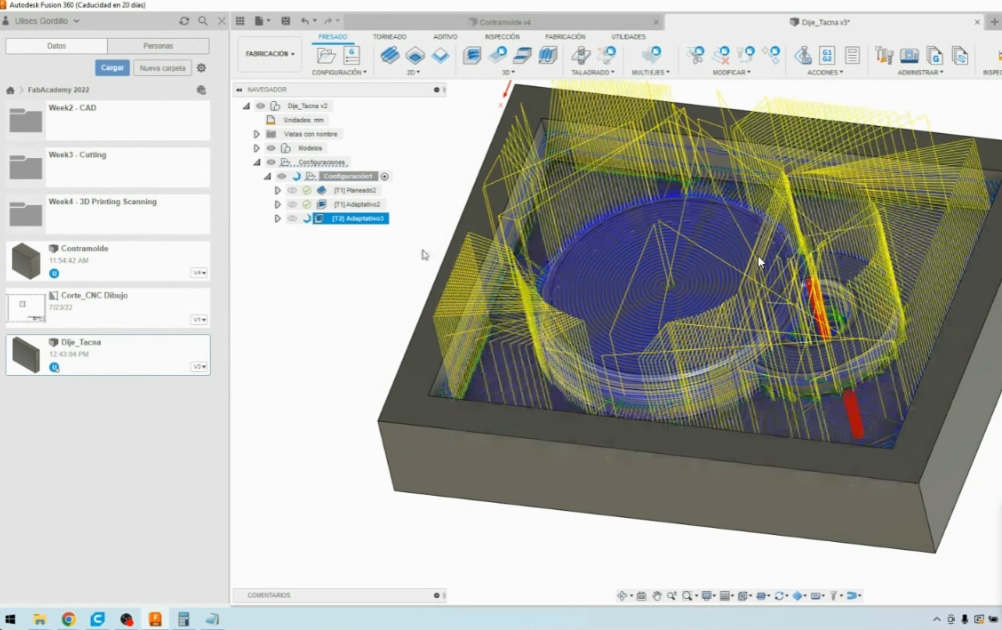
- First is facing with the 3.75 mm coarse bur.
- Then milling with a coarse milling cutter.
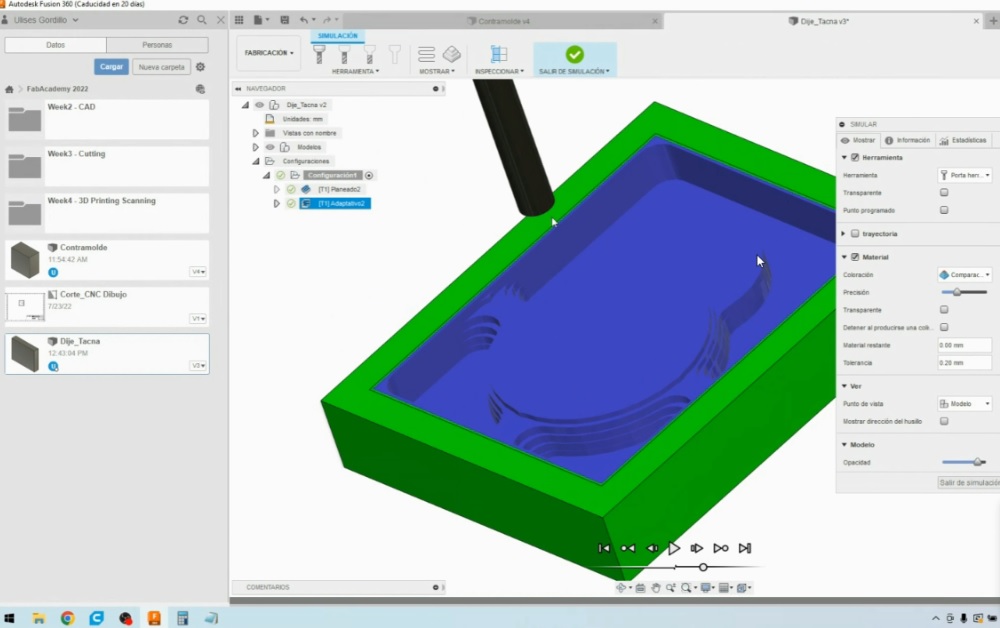
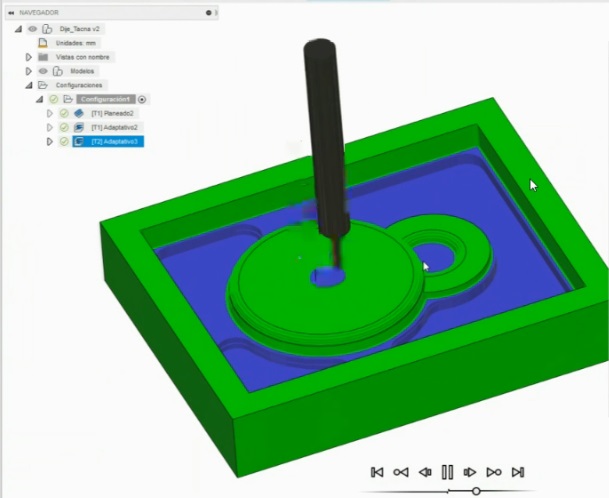
- Finally I use the thinner milling cutter 0.8 mm
Milling
- First pass from facing
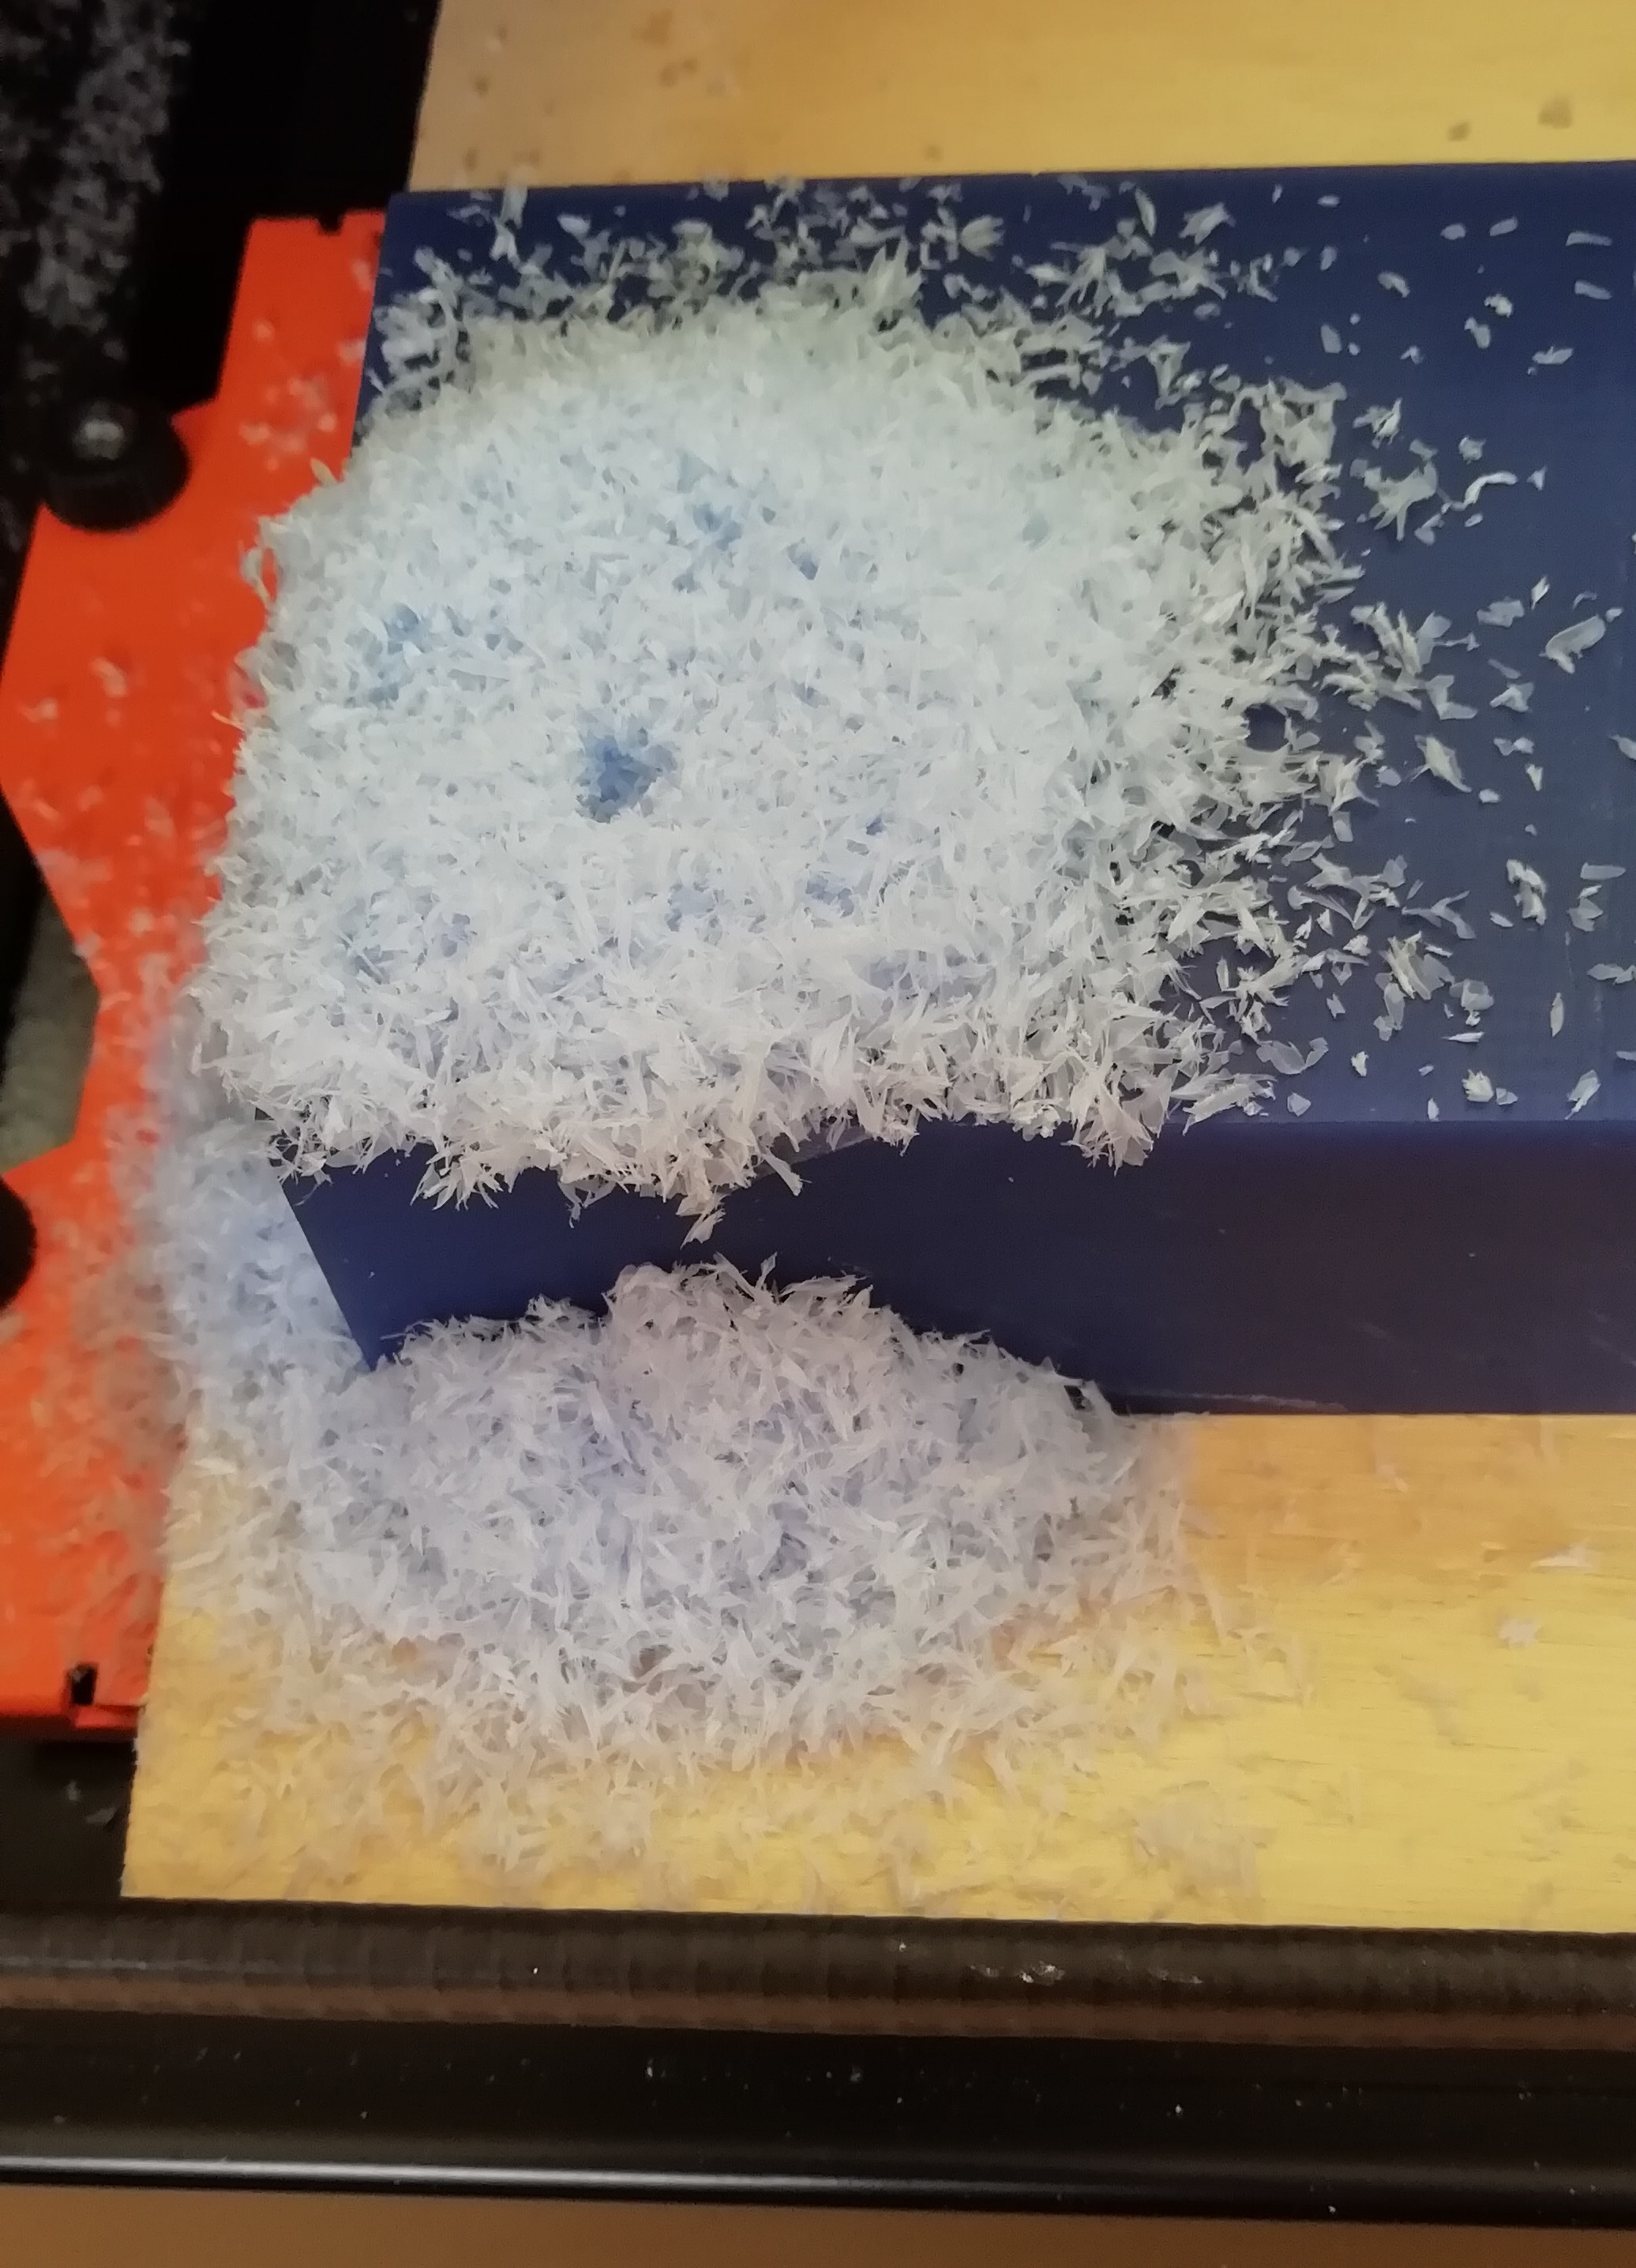
- I extract all the shavings with the extractor, this is how it looks like:
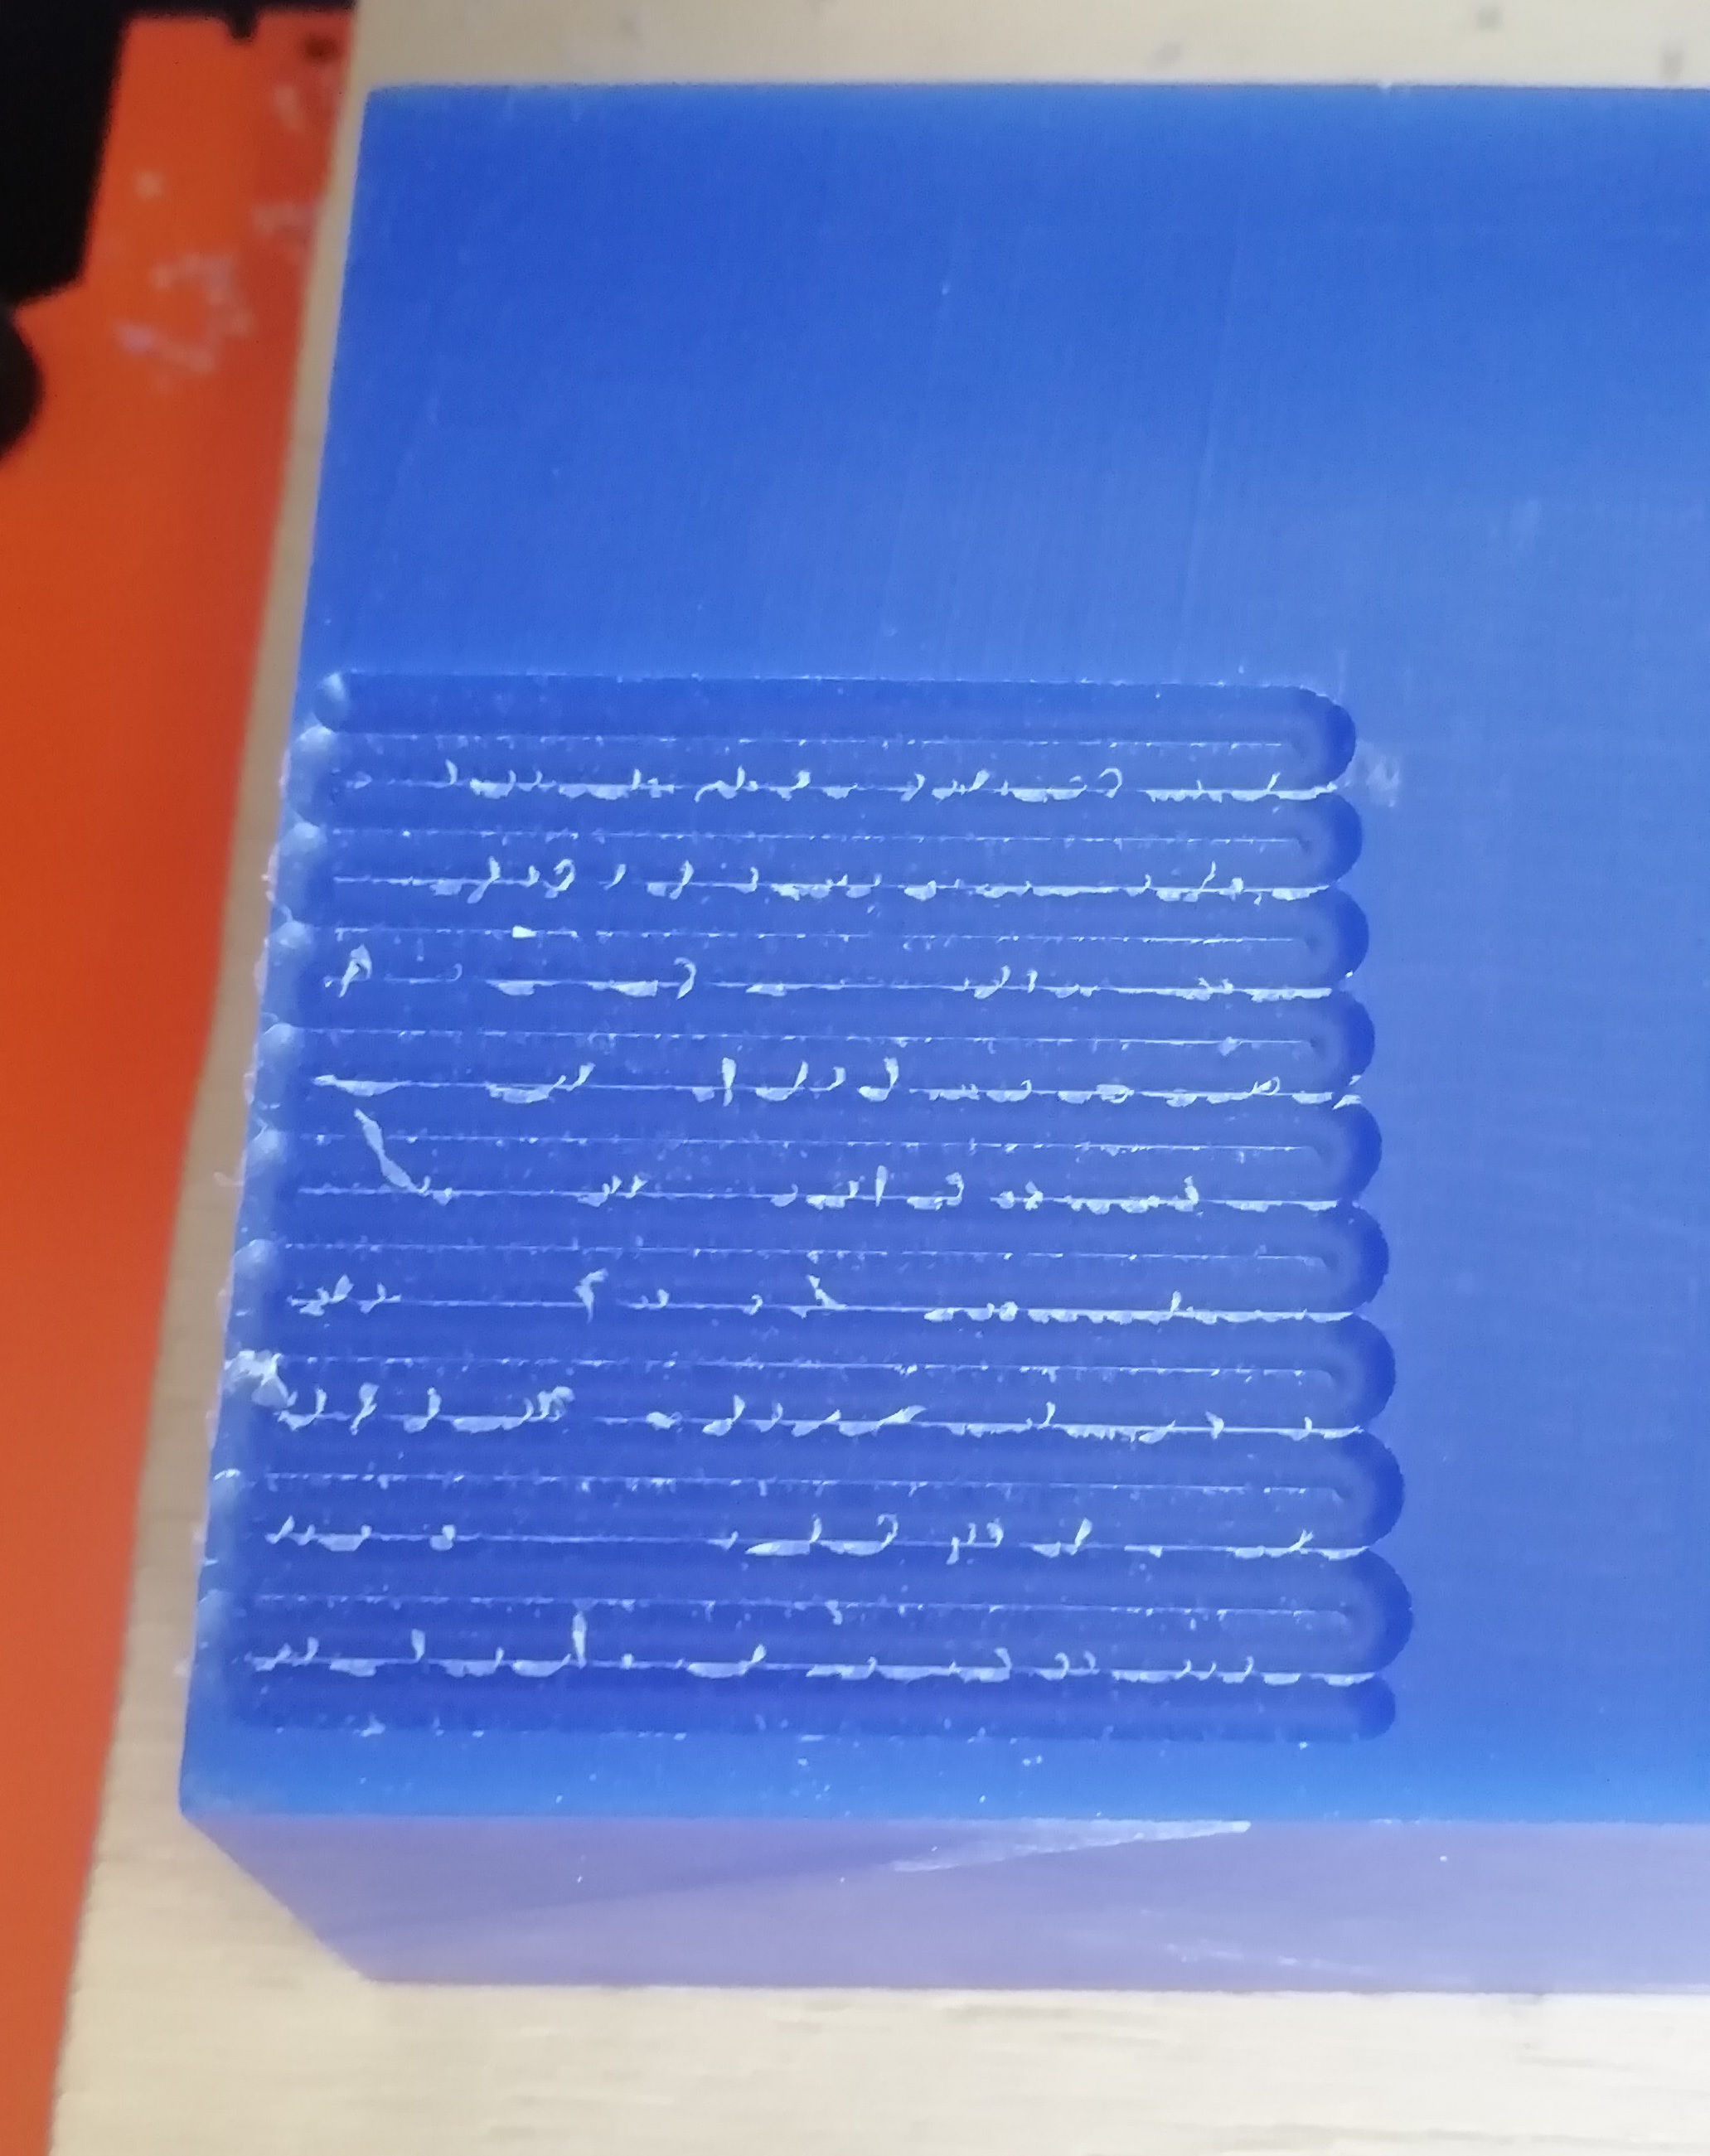
- Second pass from facing
- This is how it looks like:
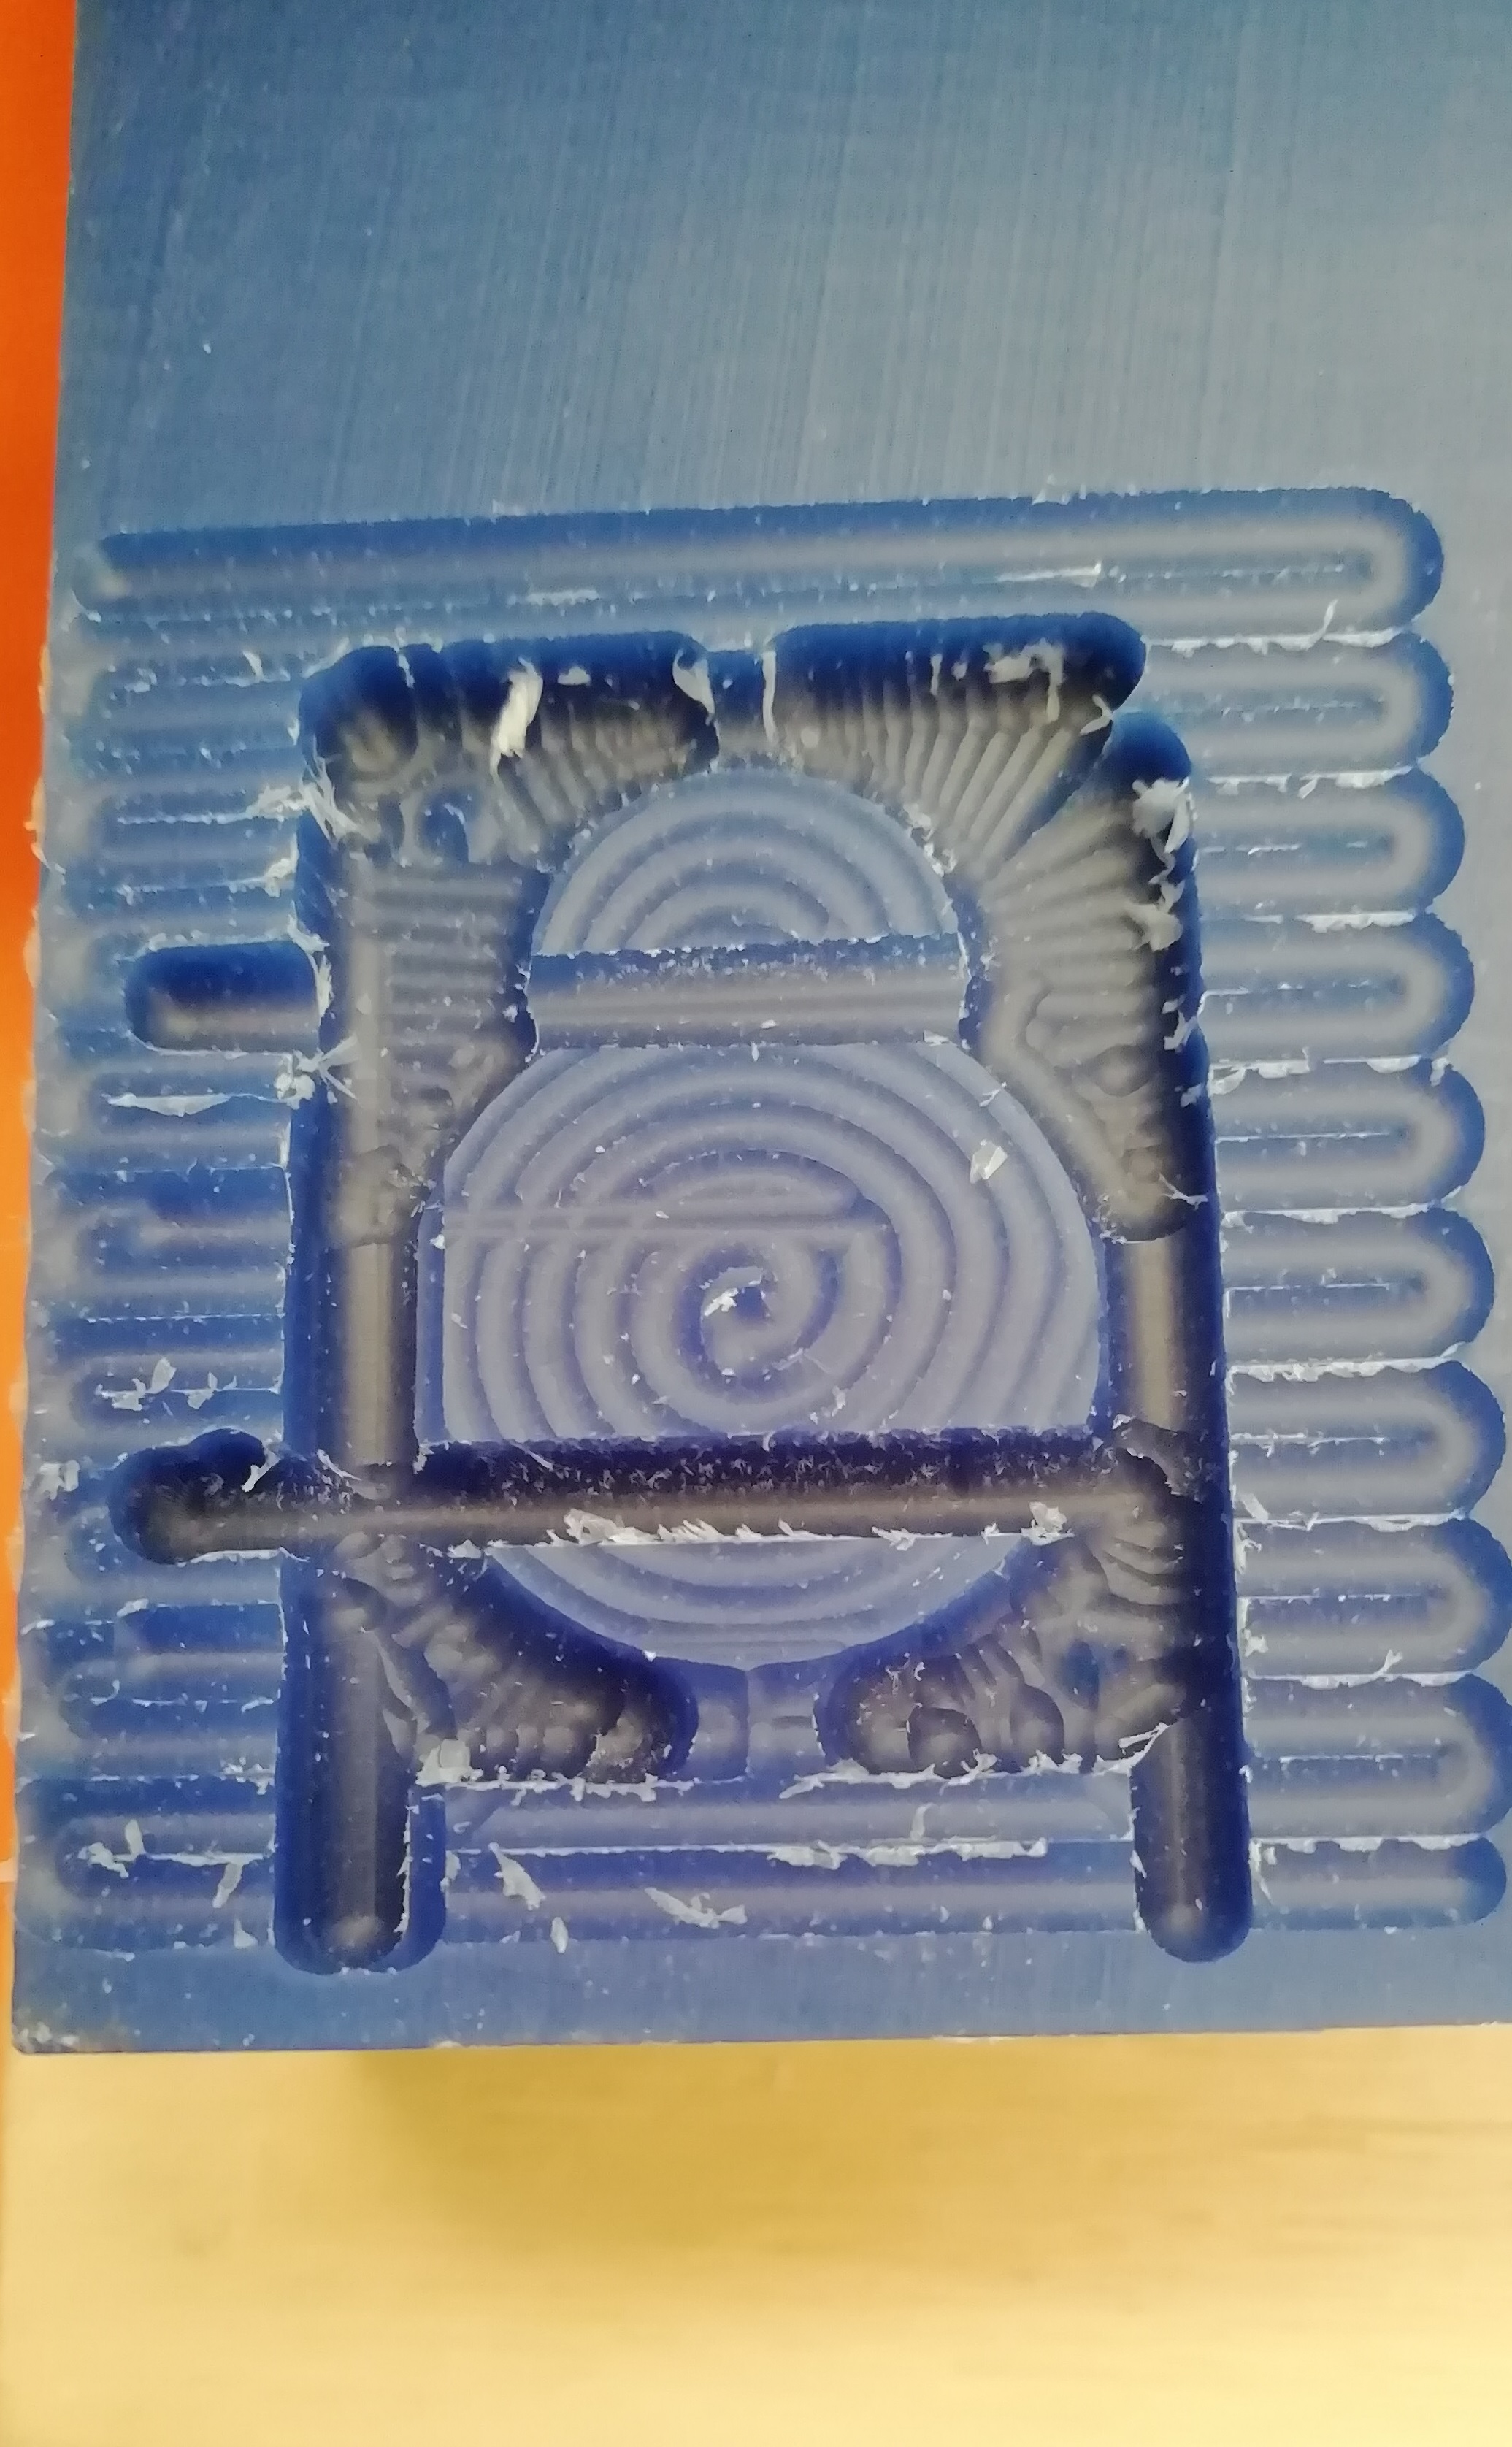
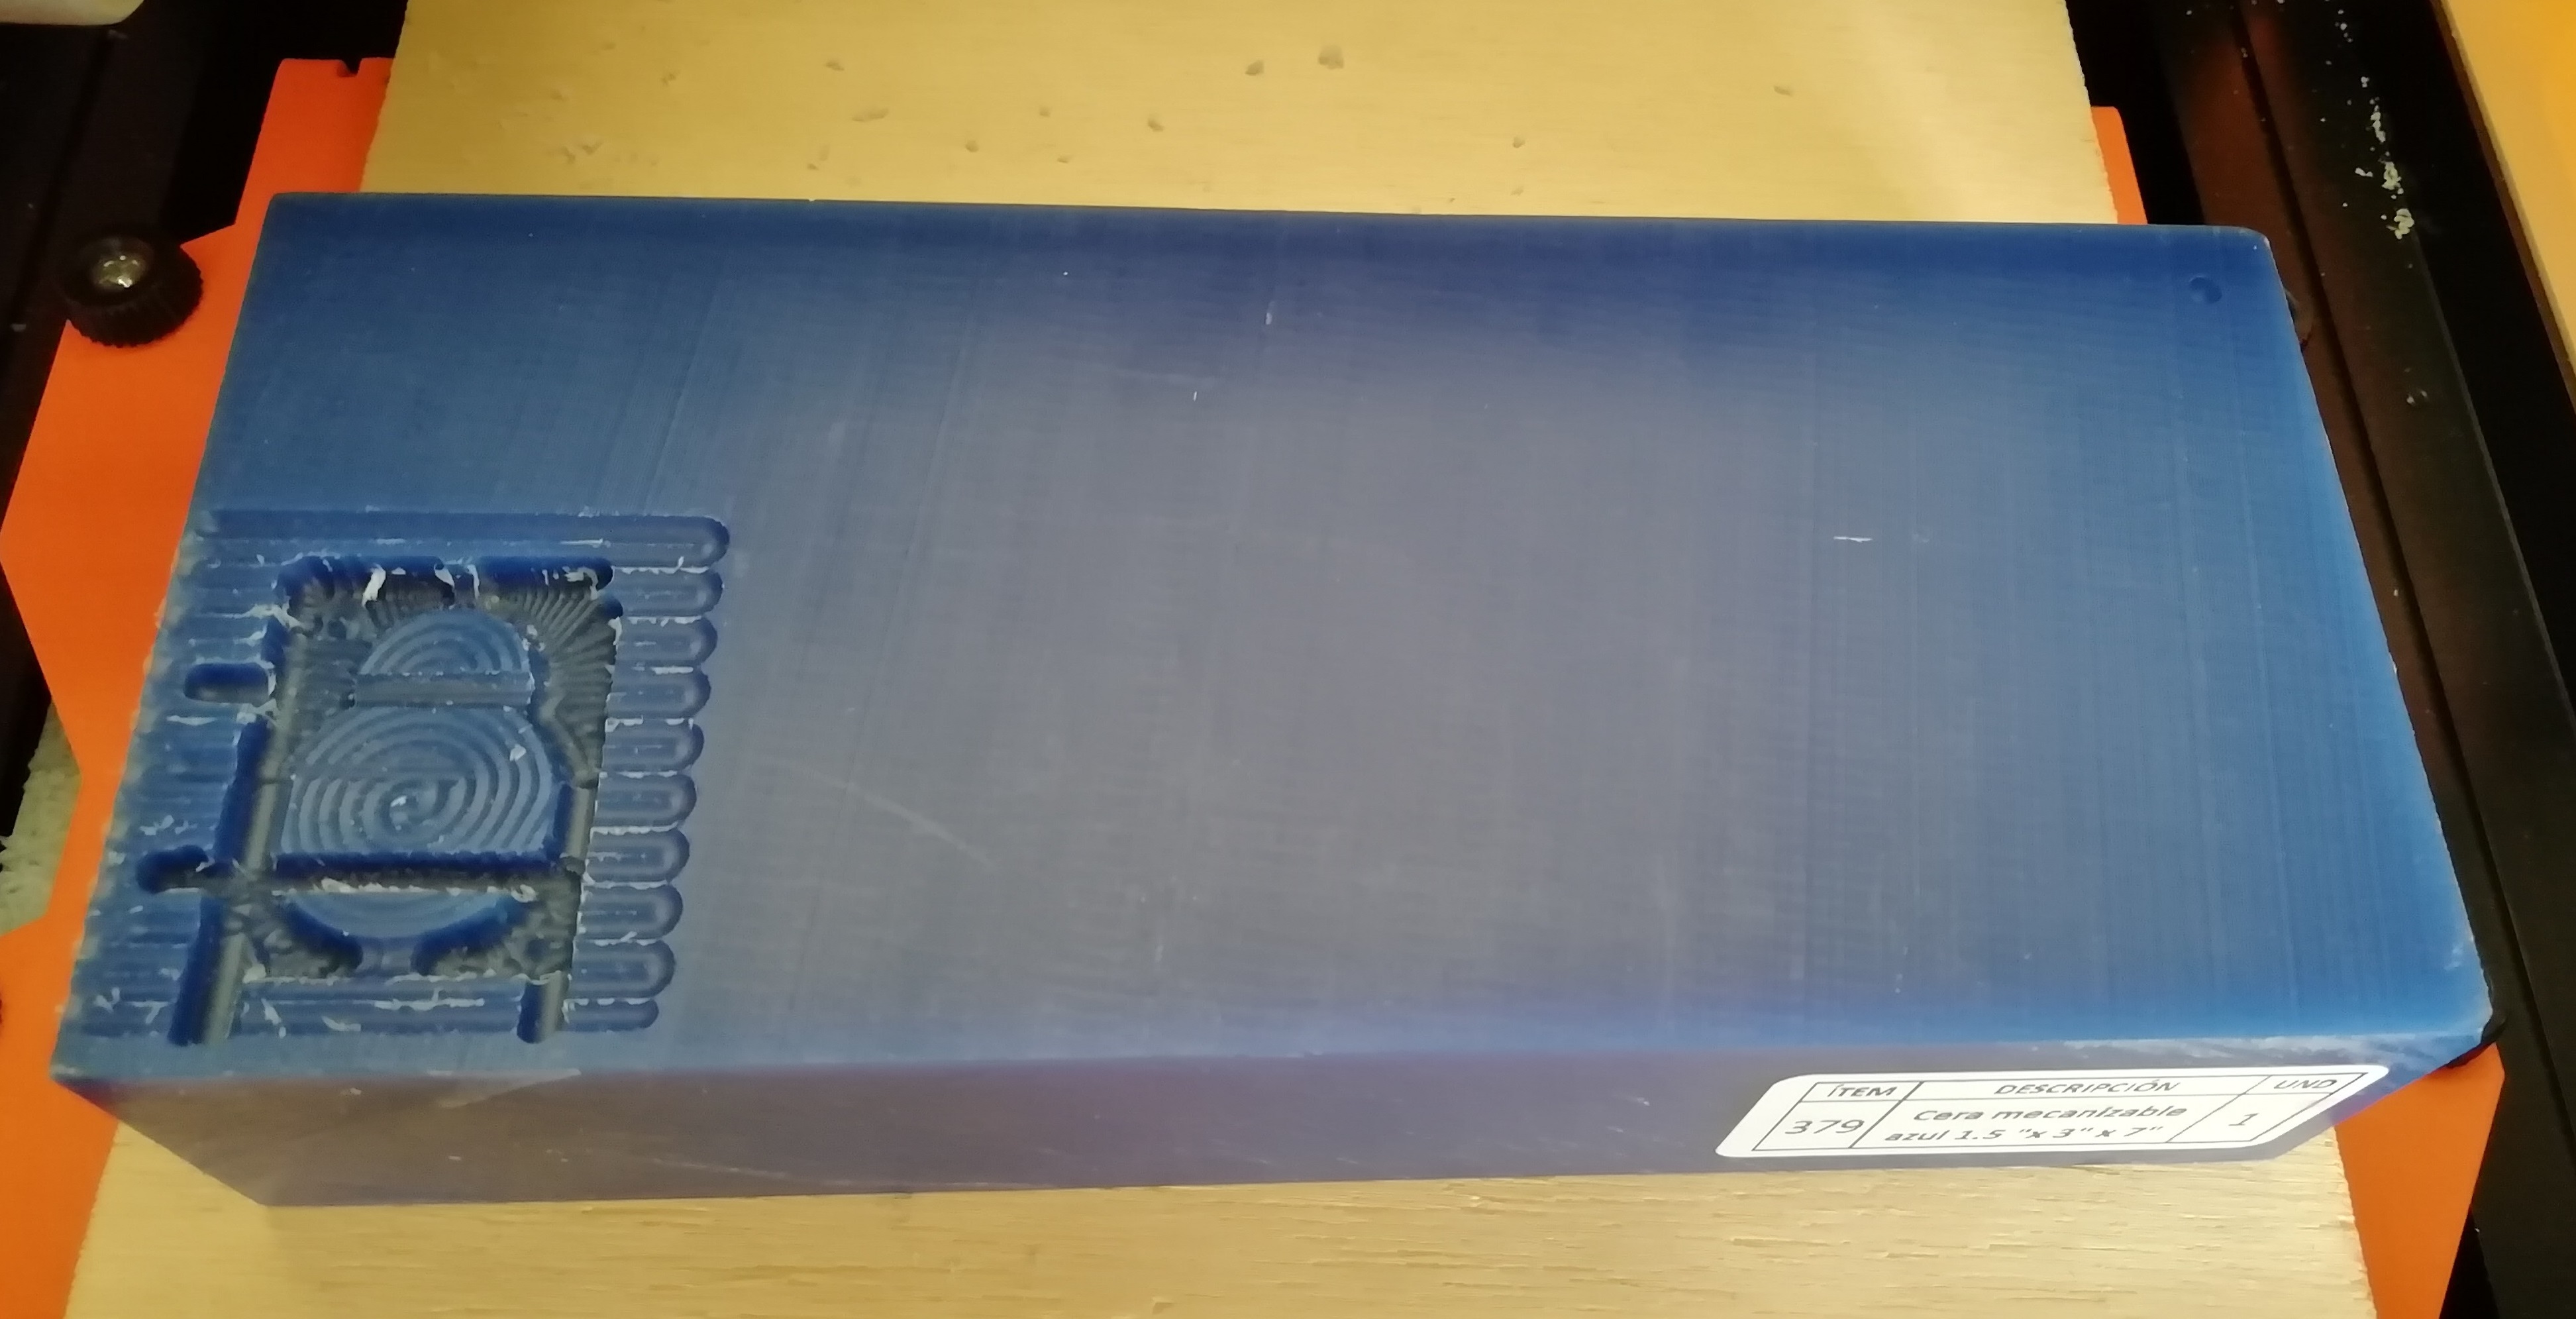
- The third step, after the preliminary cut, gives the finish. I kept my X, Y position and just set up the Z origin. Not to forget the tool change!
- It looks like I have my final mold.
Mold making
To make the mold, it is essential to follow the instructions and parameters shown in the technical data sheet of the materials. Such as mixing ratios, shelf life, curing time, etc.
They explain the environmental conditions and the mechanical, chemical and food properties.
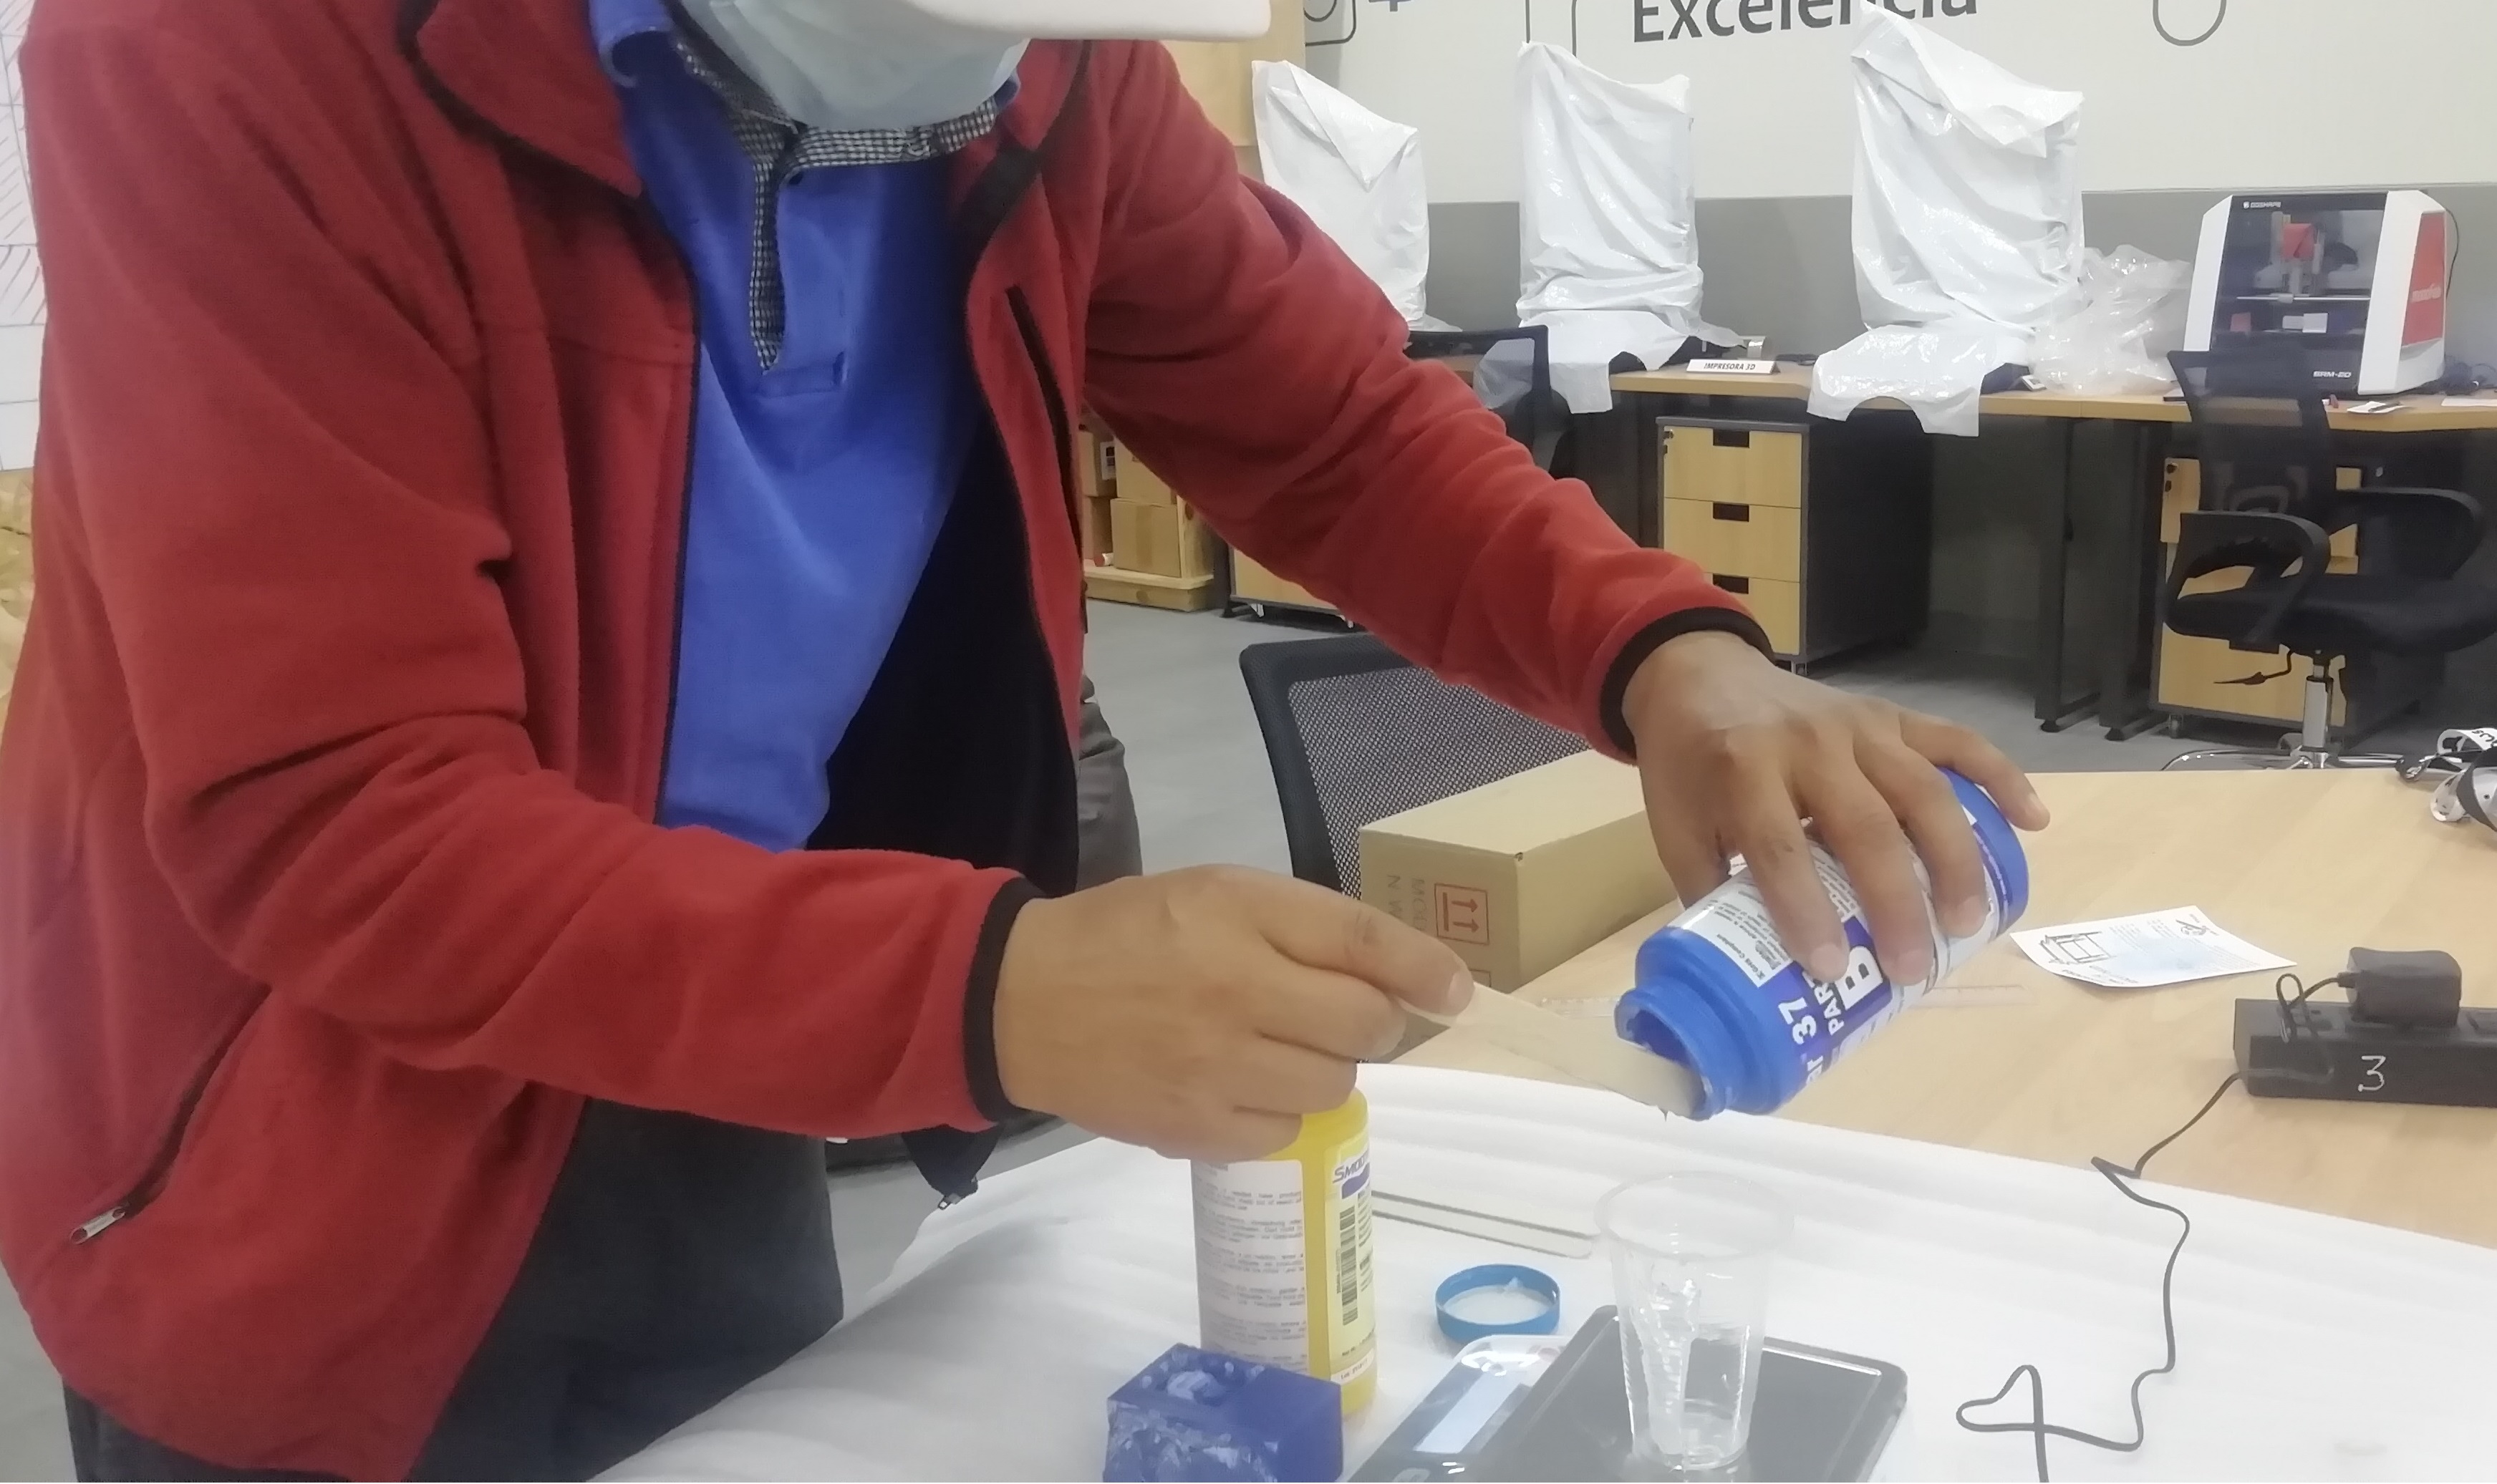
Throughout the working process there are several rules to follow such as the use of gloves, masks and goggles, as well as a clean area to work in with good ventilation.
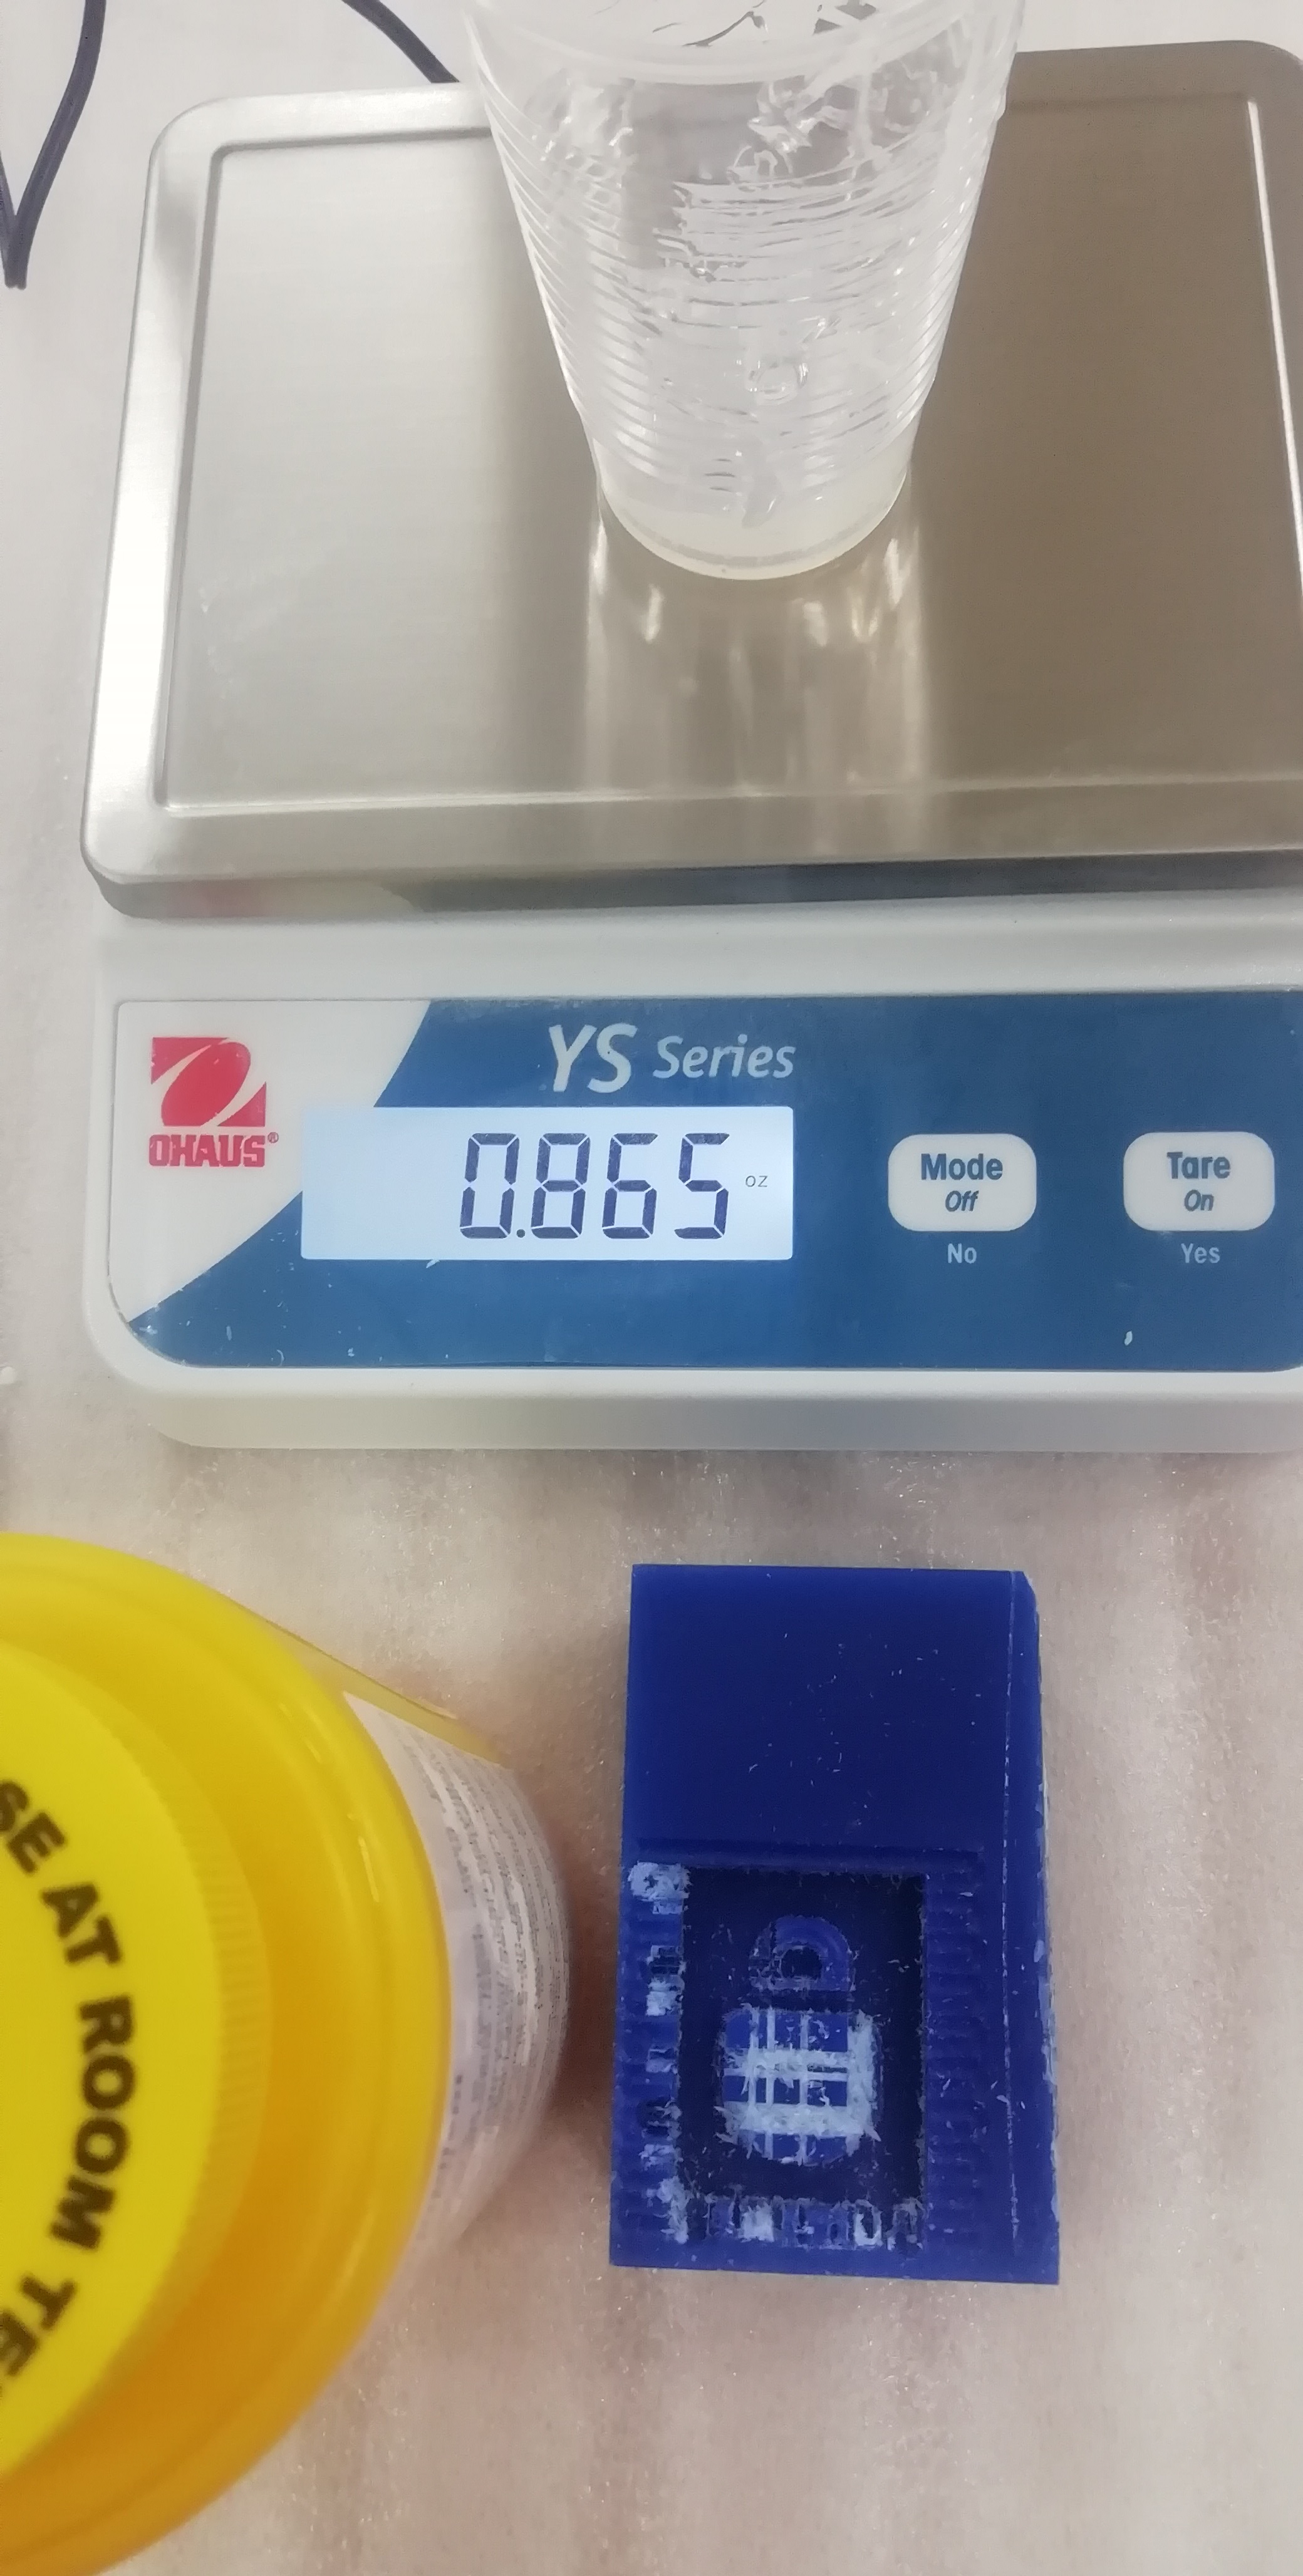
- First I had to shake the two bicomponents (base and catalyst) a bit before using them. Then I had to measure a similar amount of each within the 5% error range.
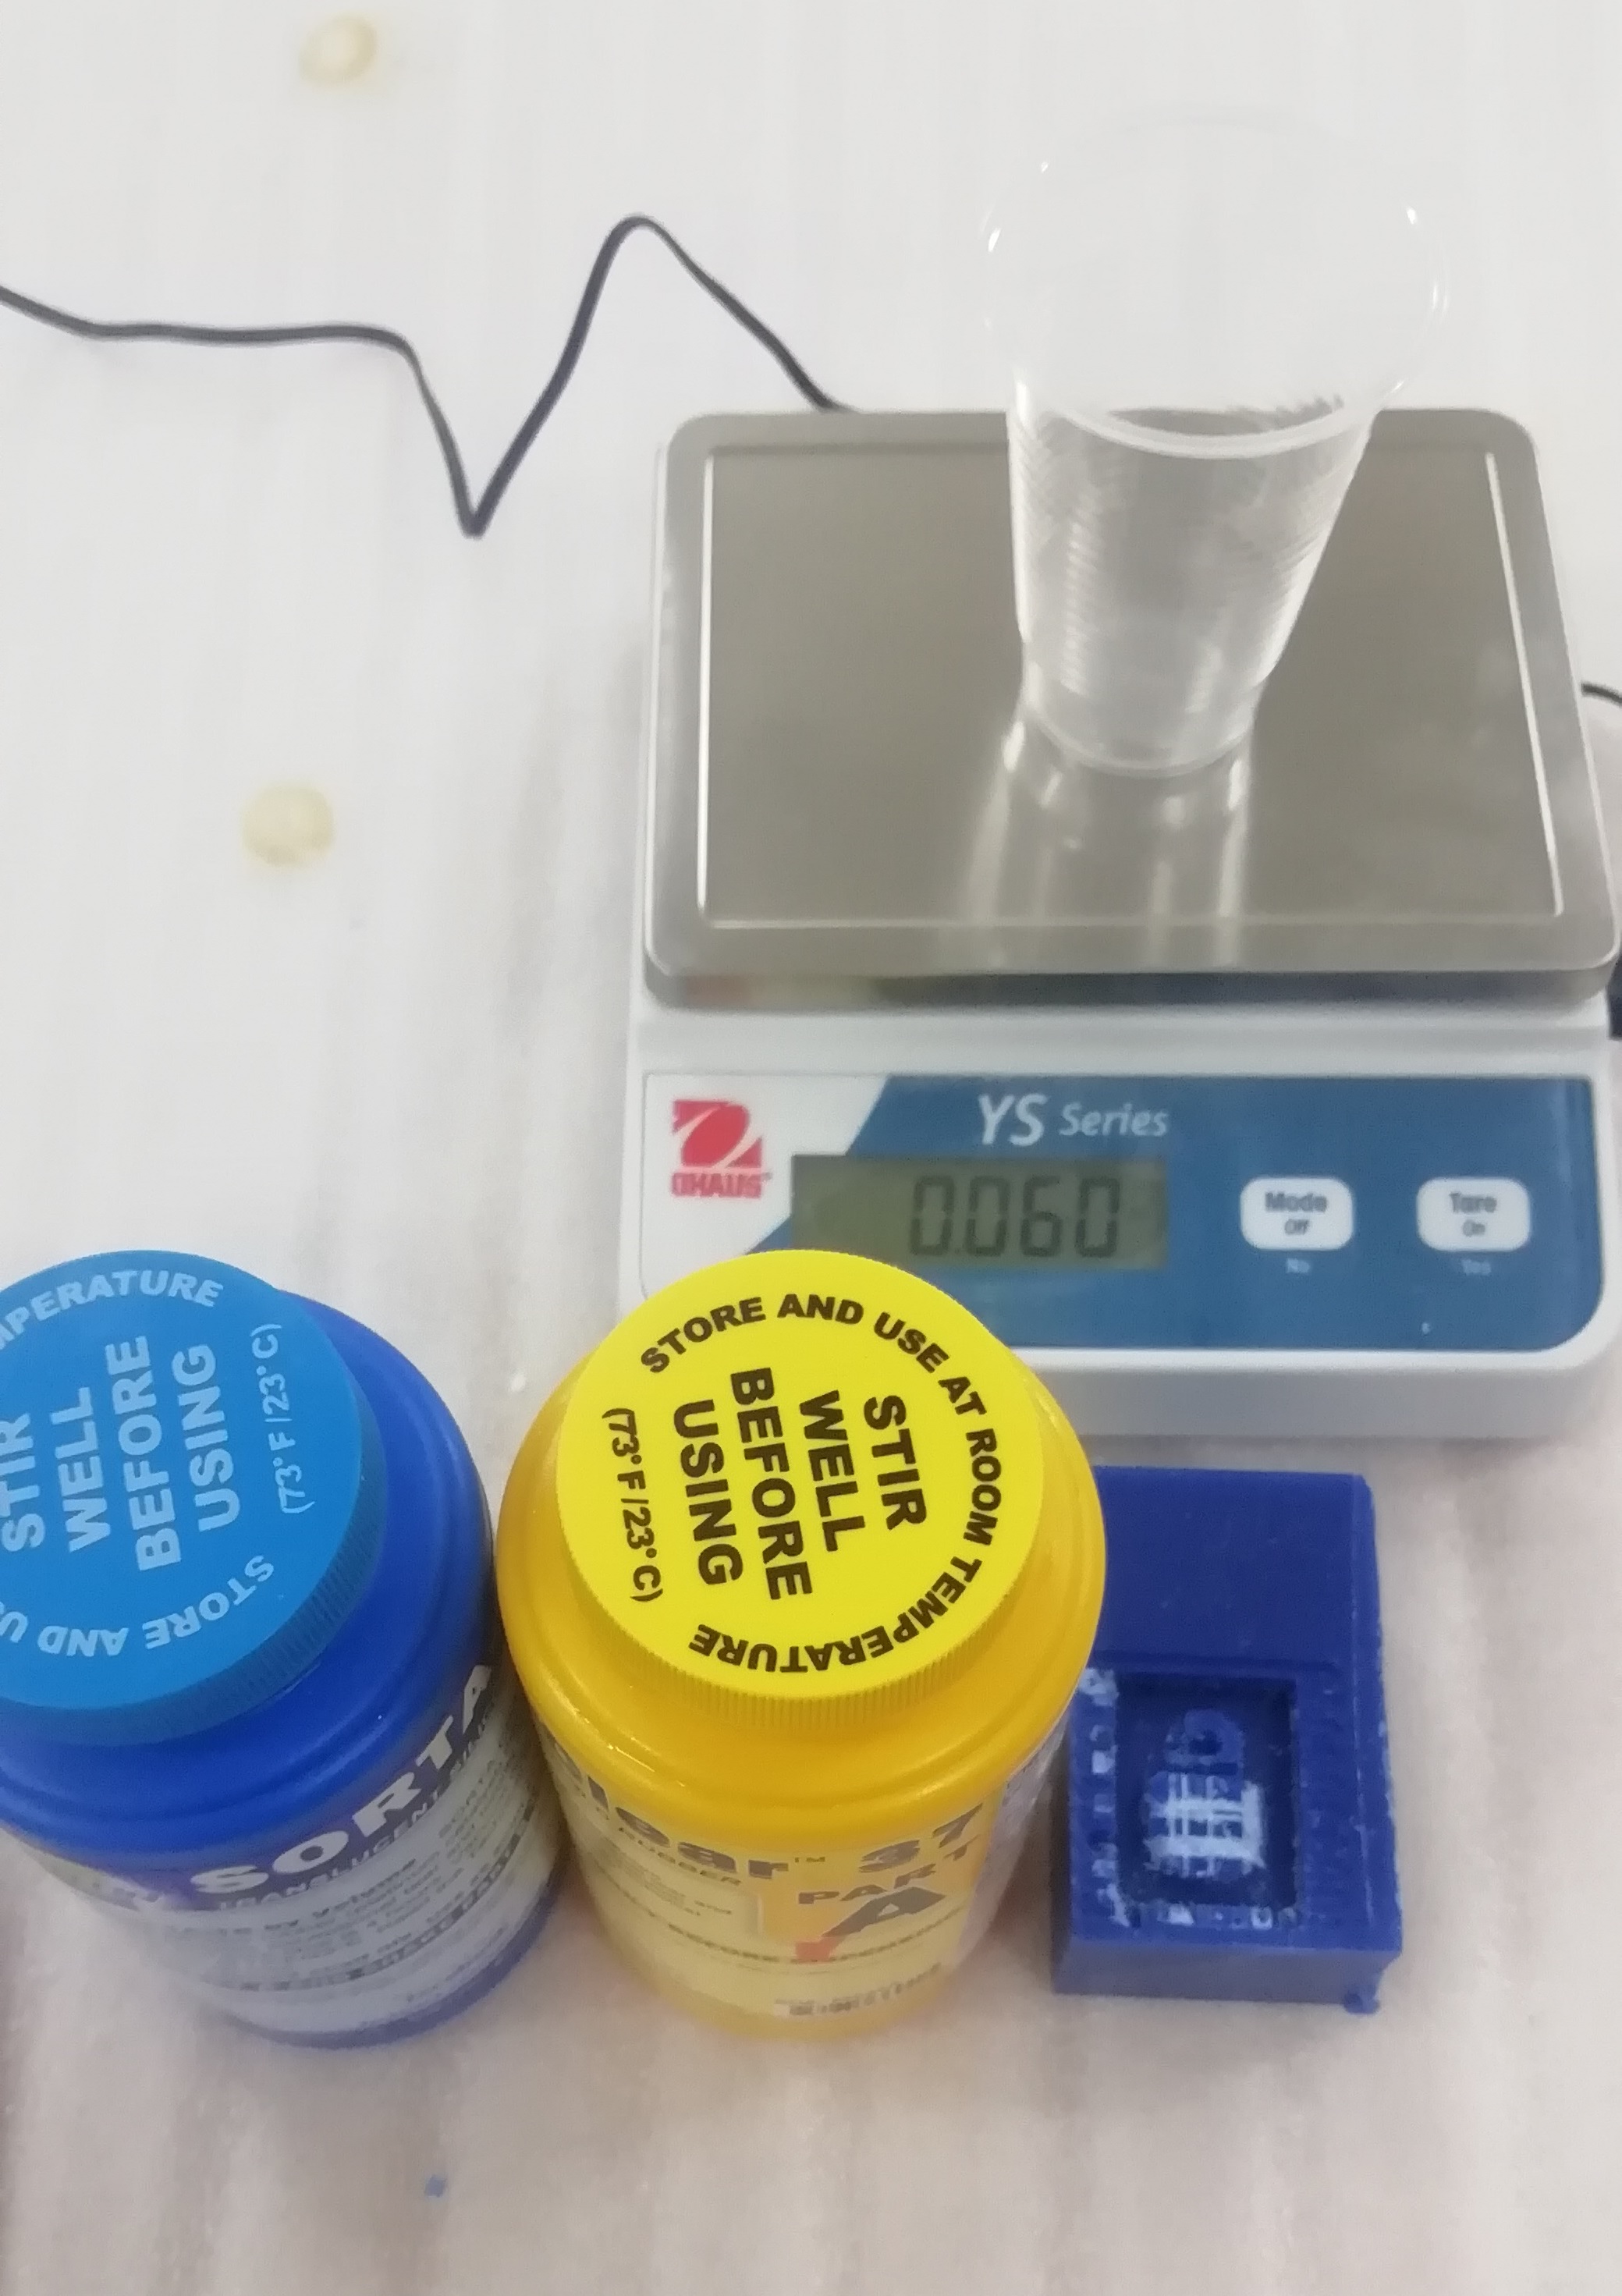
- Weight in beaker 0.865 oz of component A.
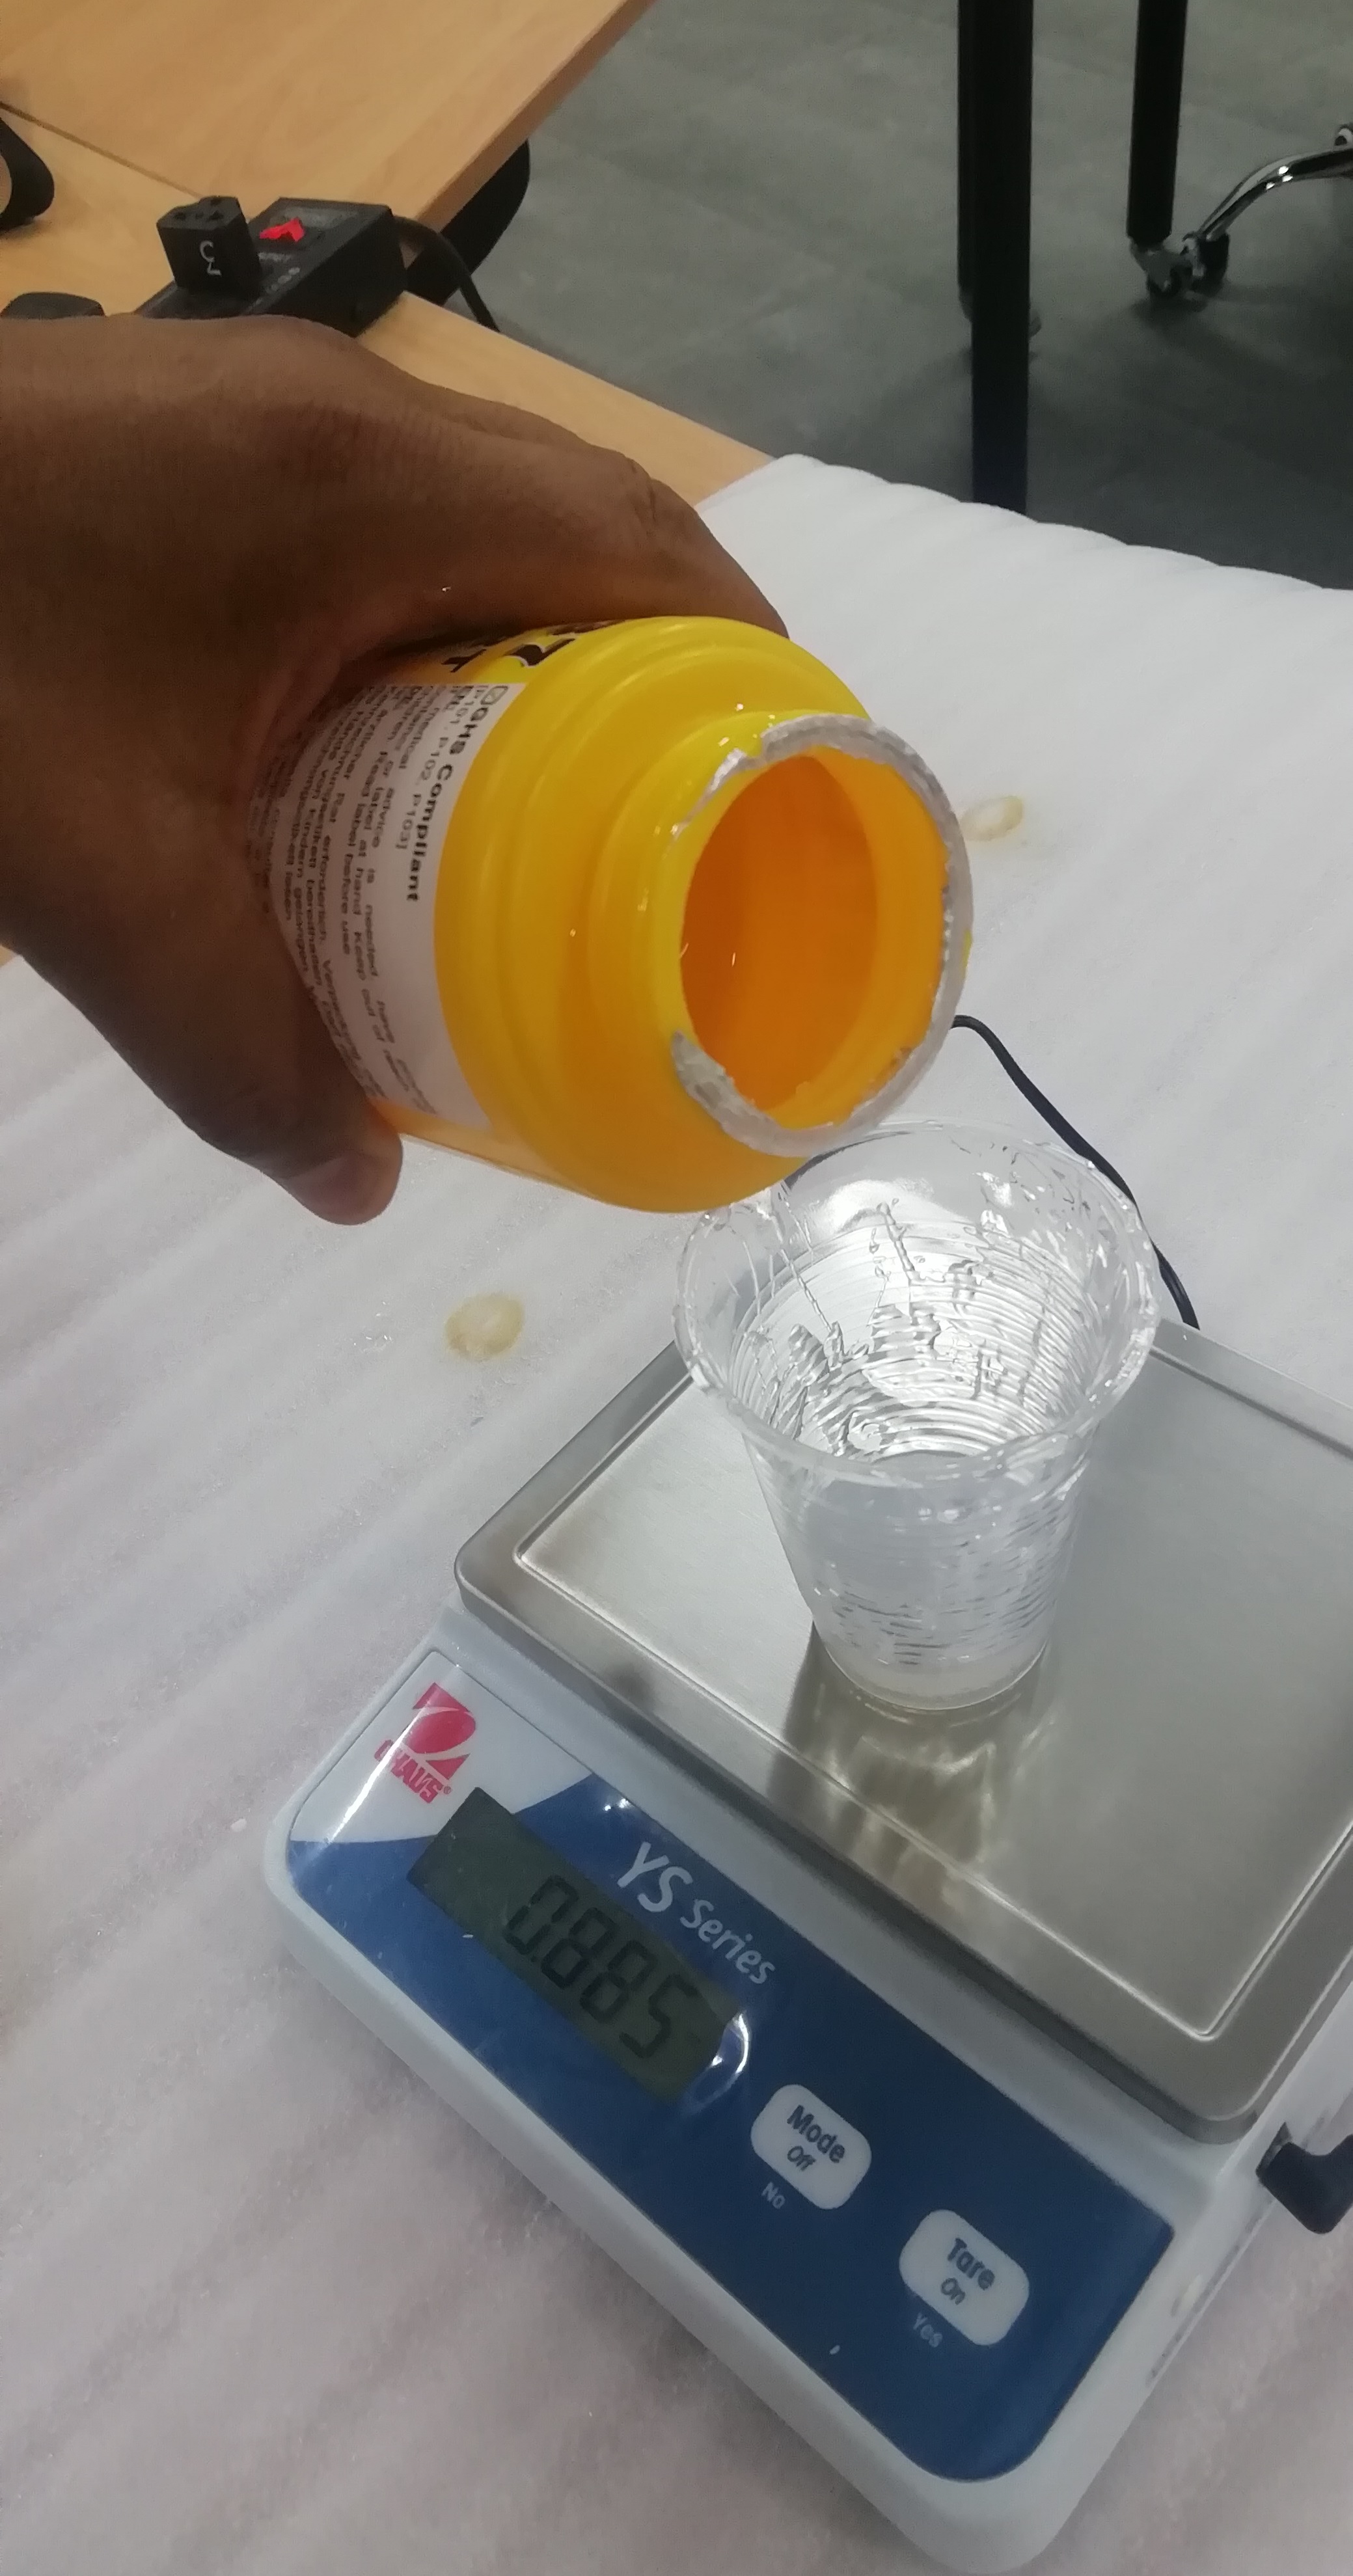
- Then I weigh 0.885 oz of component B.
-
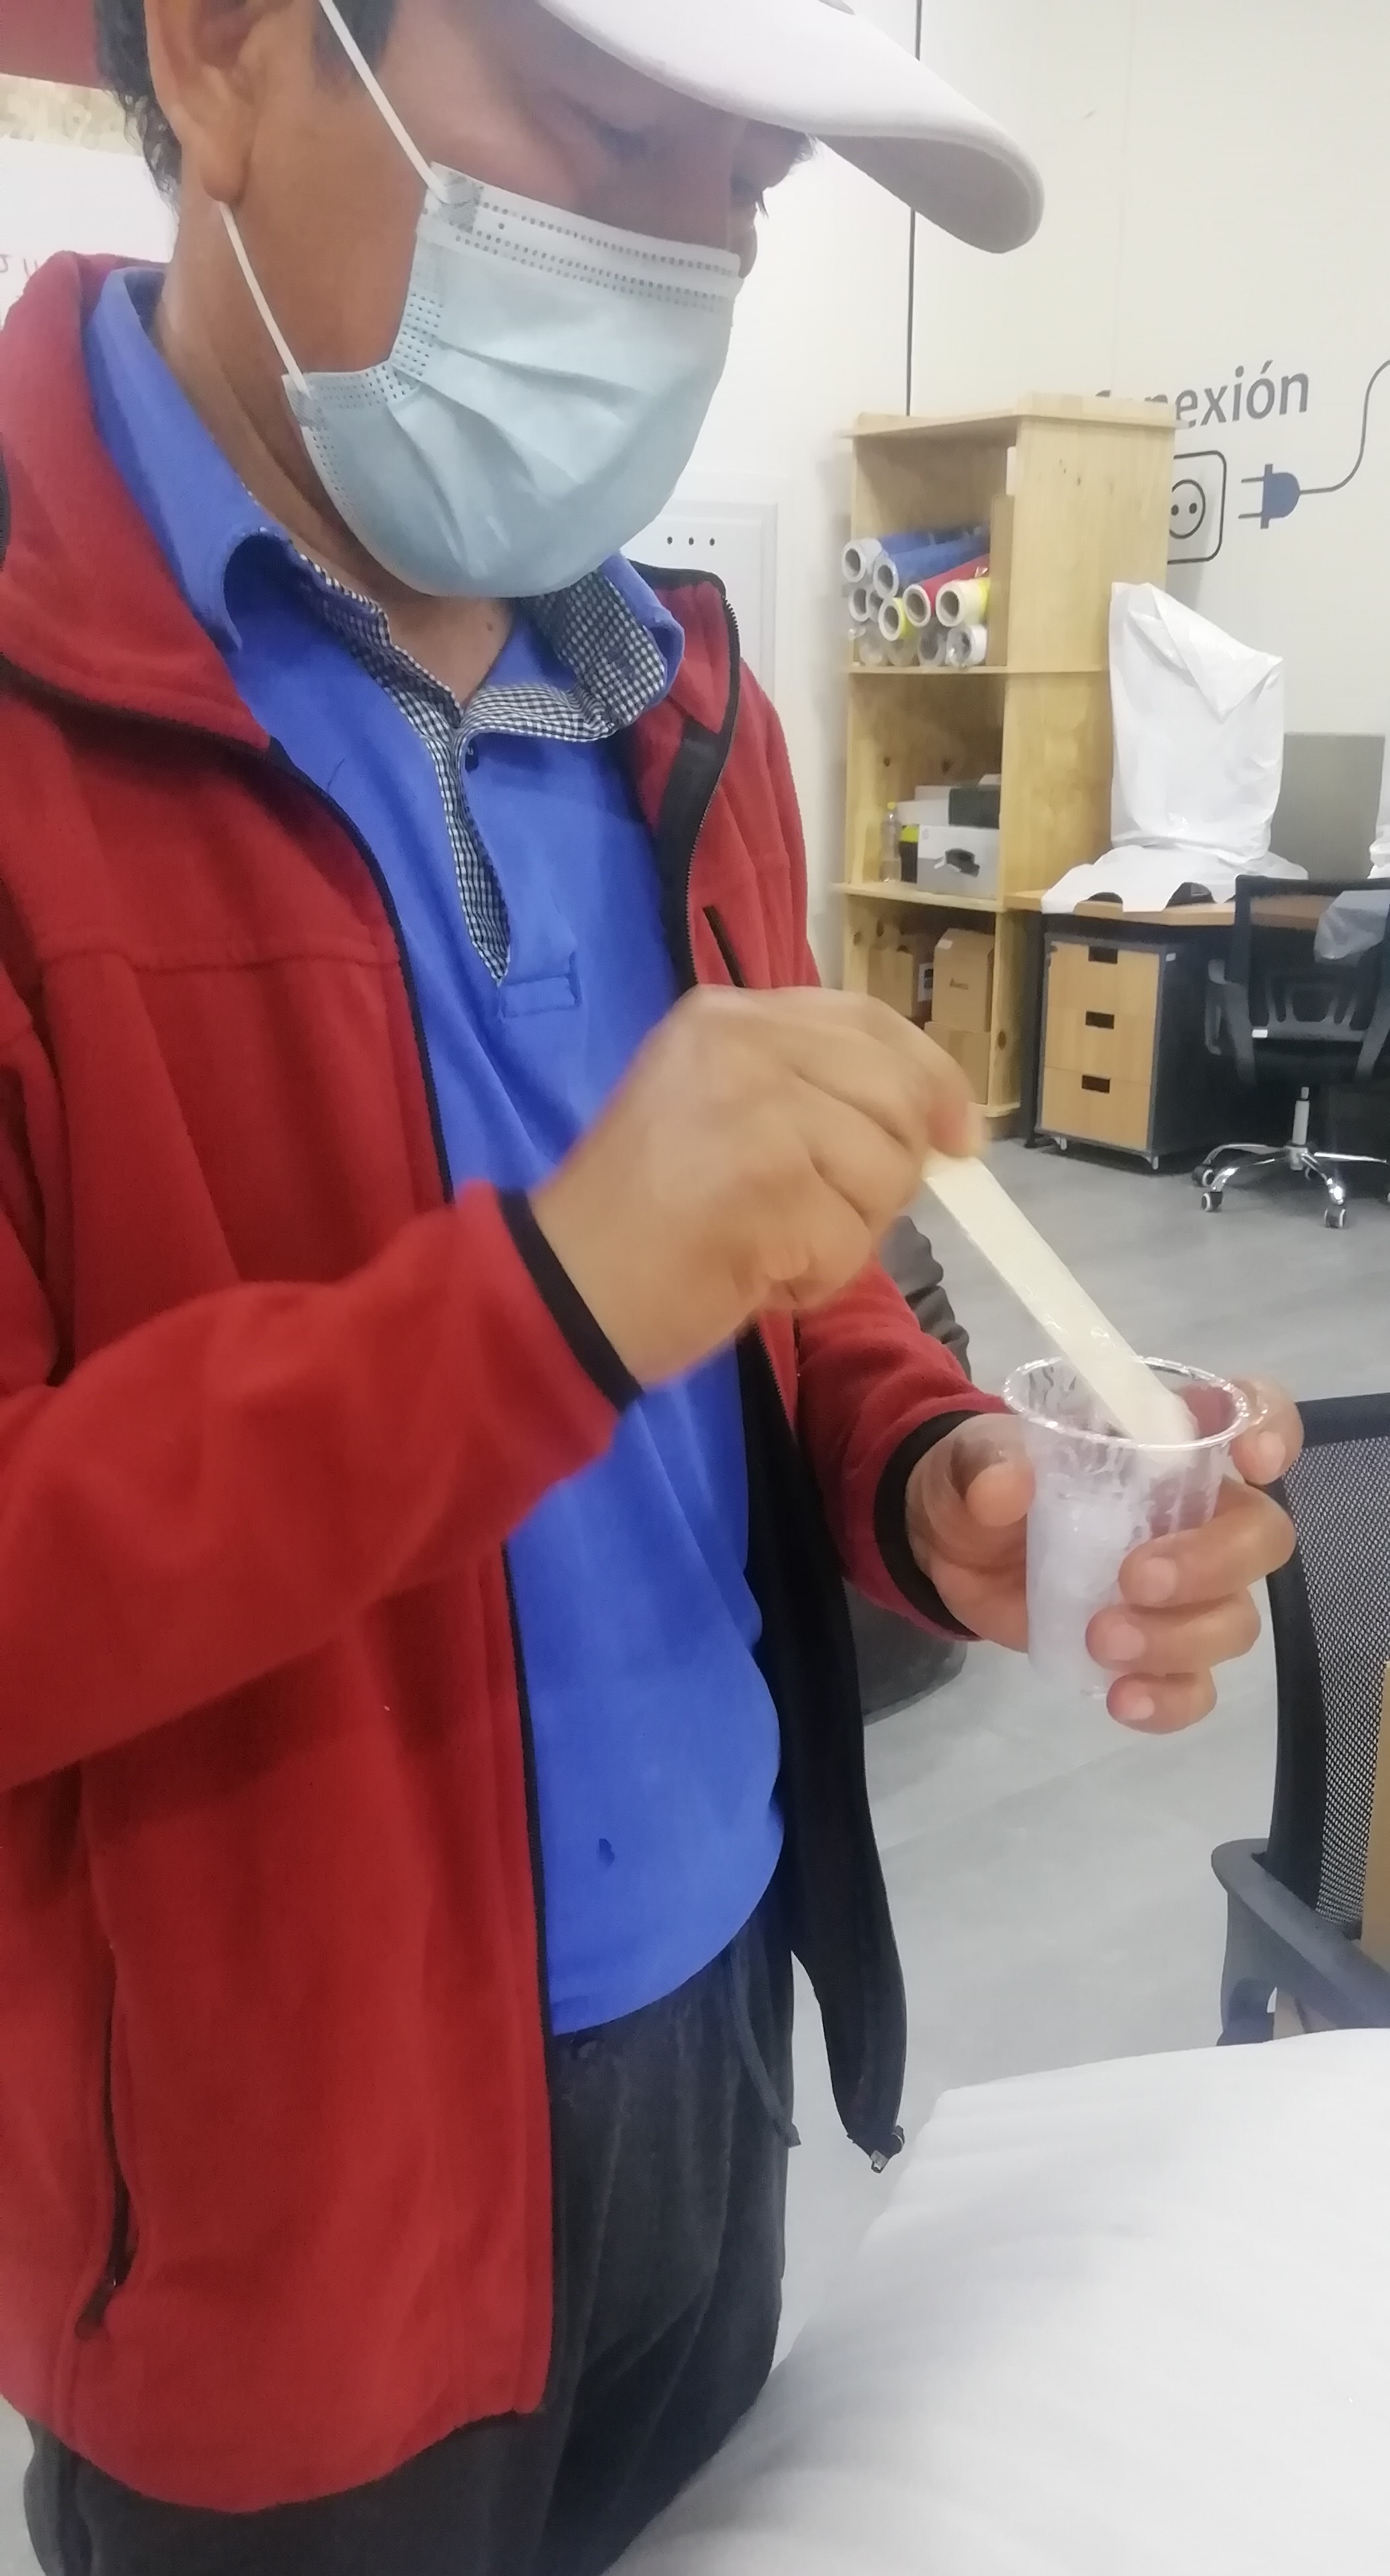
Once I checked that the catalyst (A) and the base (B) were equal, I put them in a container and mixed them well. It is important to check during mixing that there are no residues on the base and walls of the container.
-
Mix vigorously until the color of the product is homogenized.
- Once the product is mixed without air bubbles, it is poured, preferably 3 mm above the container in the mold.

- Then I level it and press it with a 3mm MDF board.

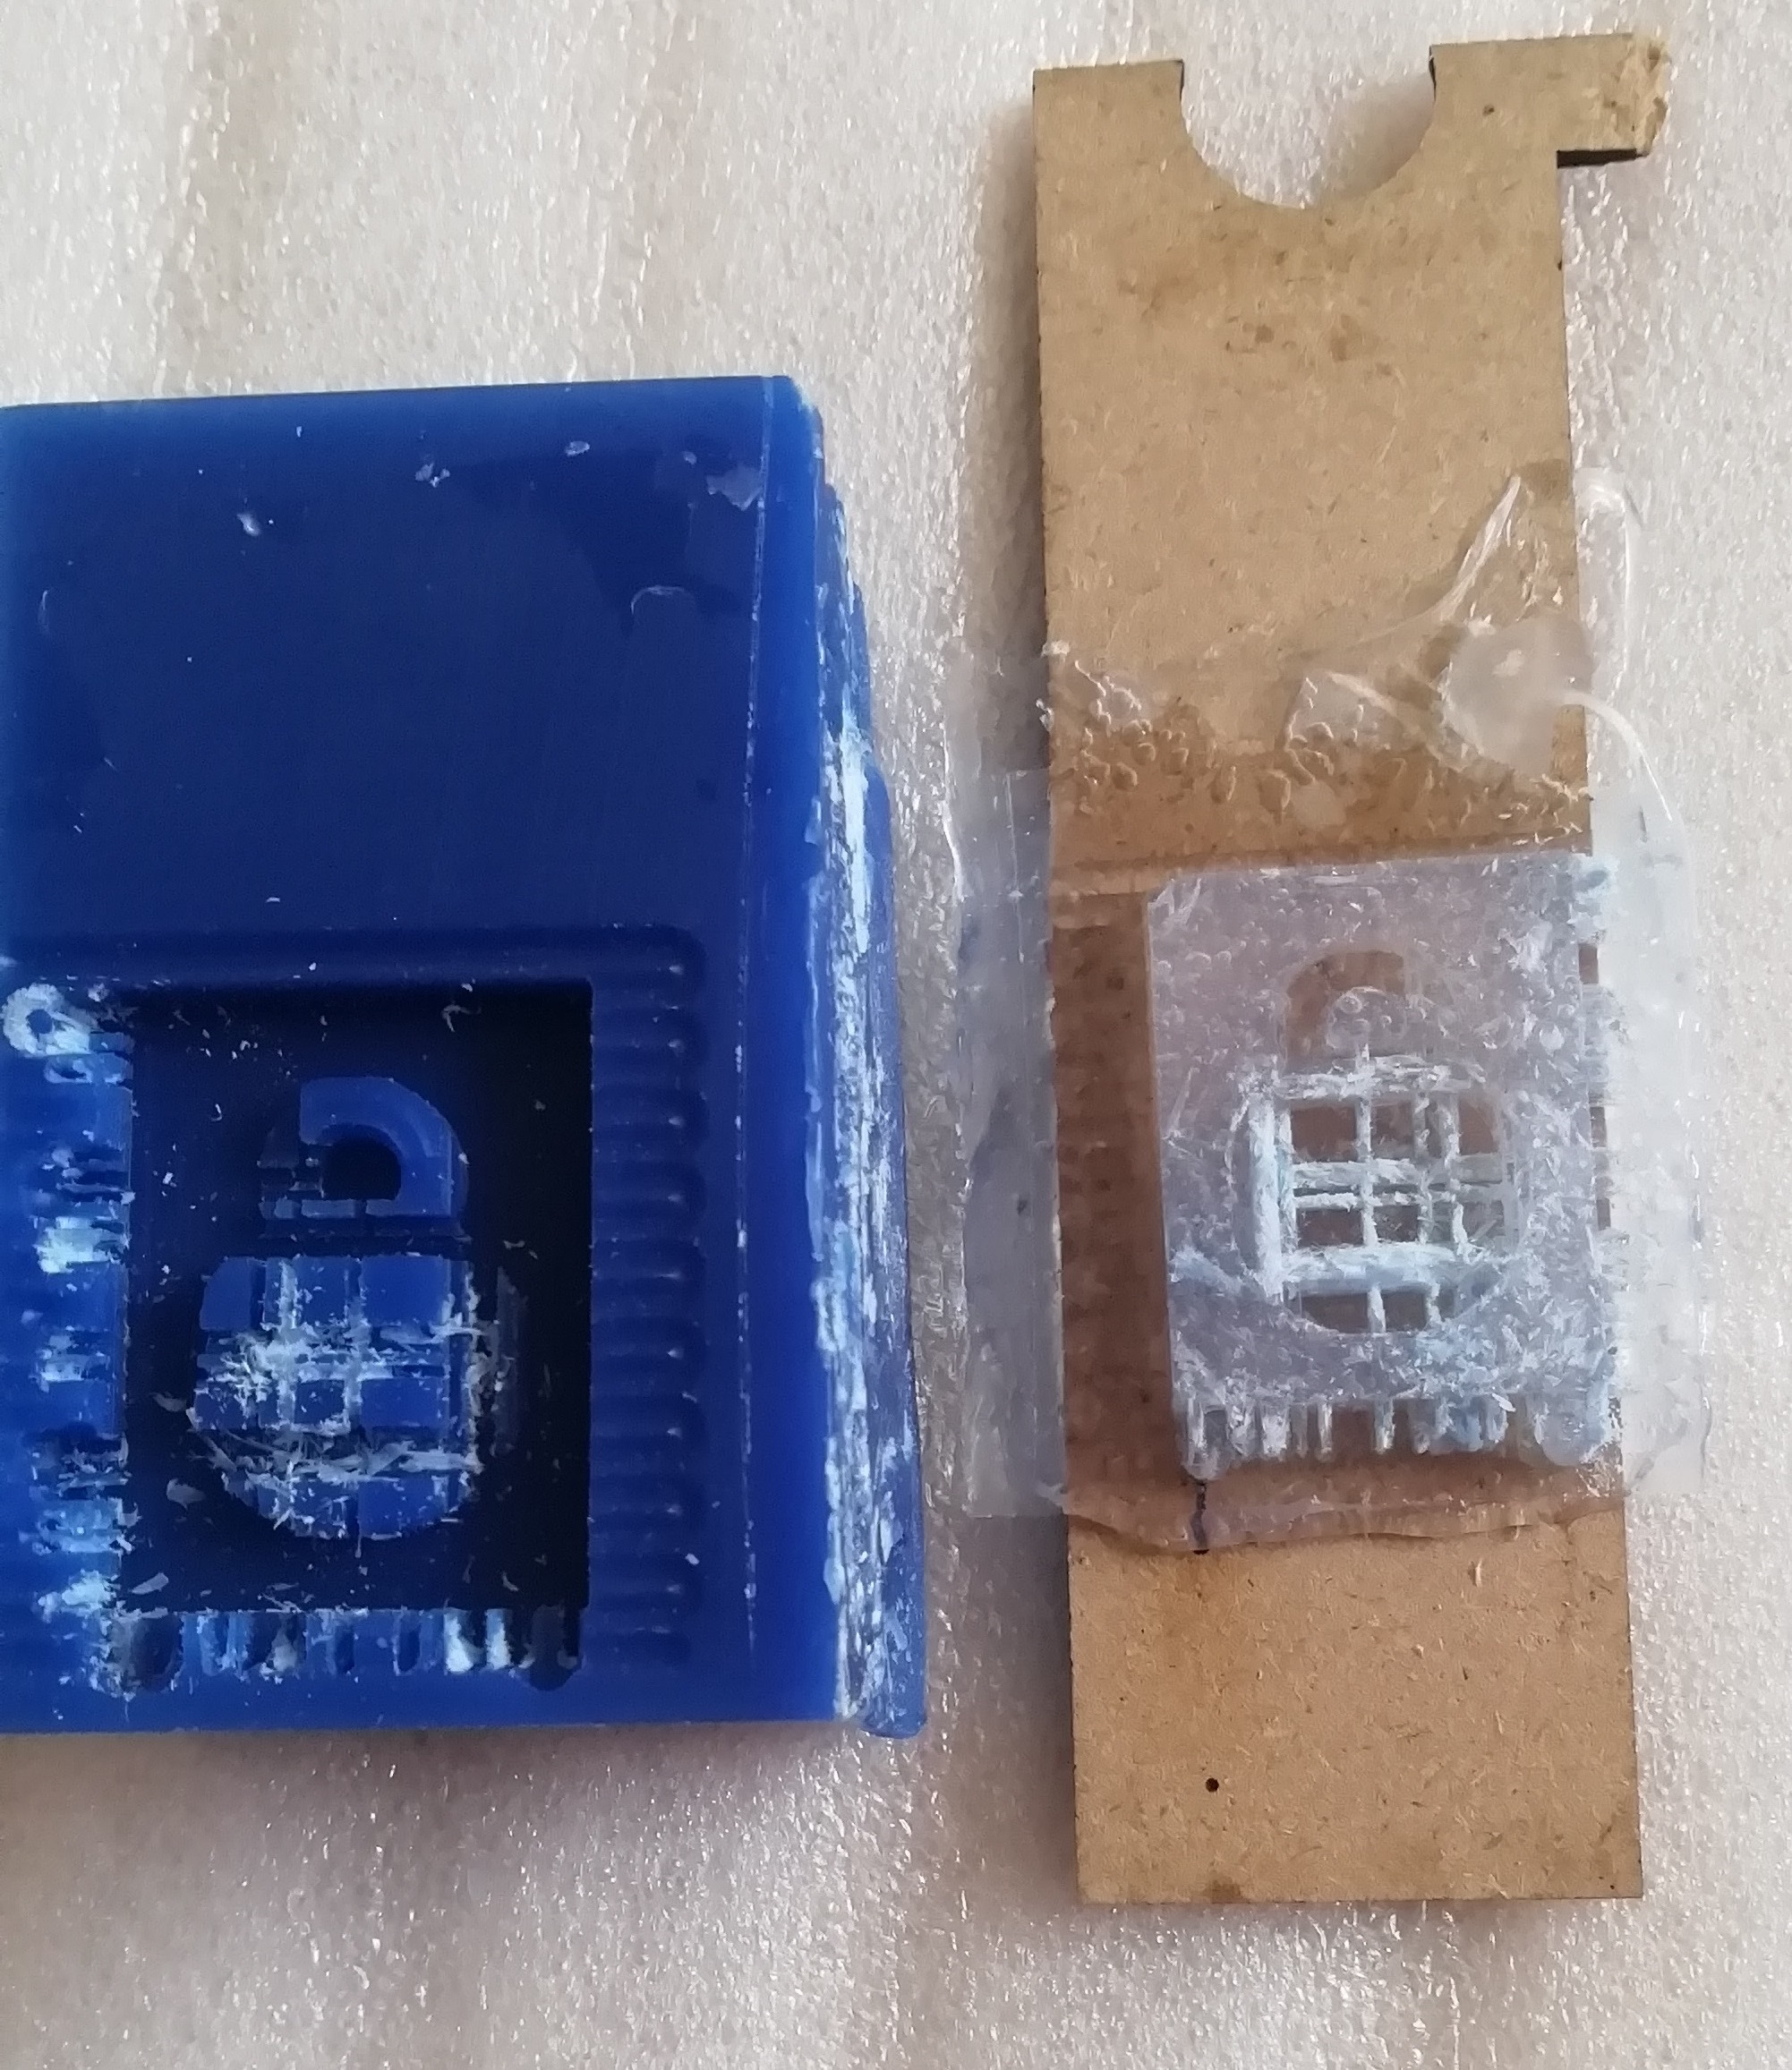
- I preferred to let it dry until the next day. After waiting so long and following all the instructions, I can say that I found a good result.
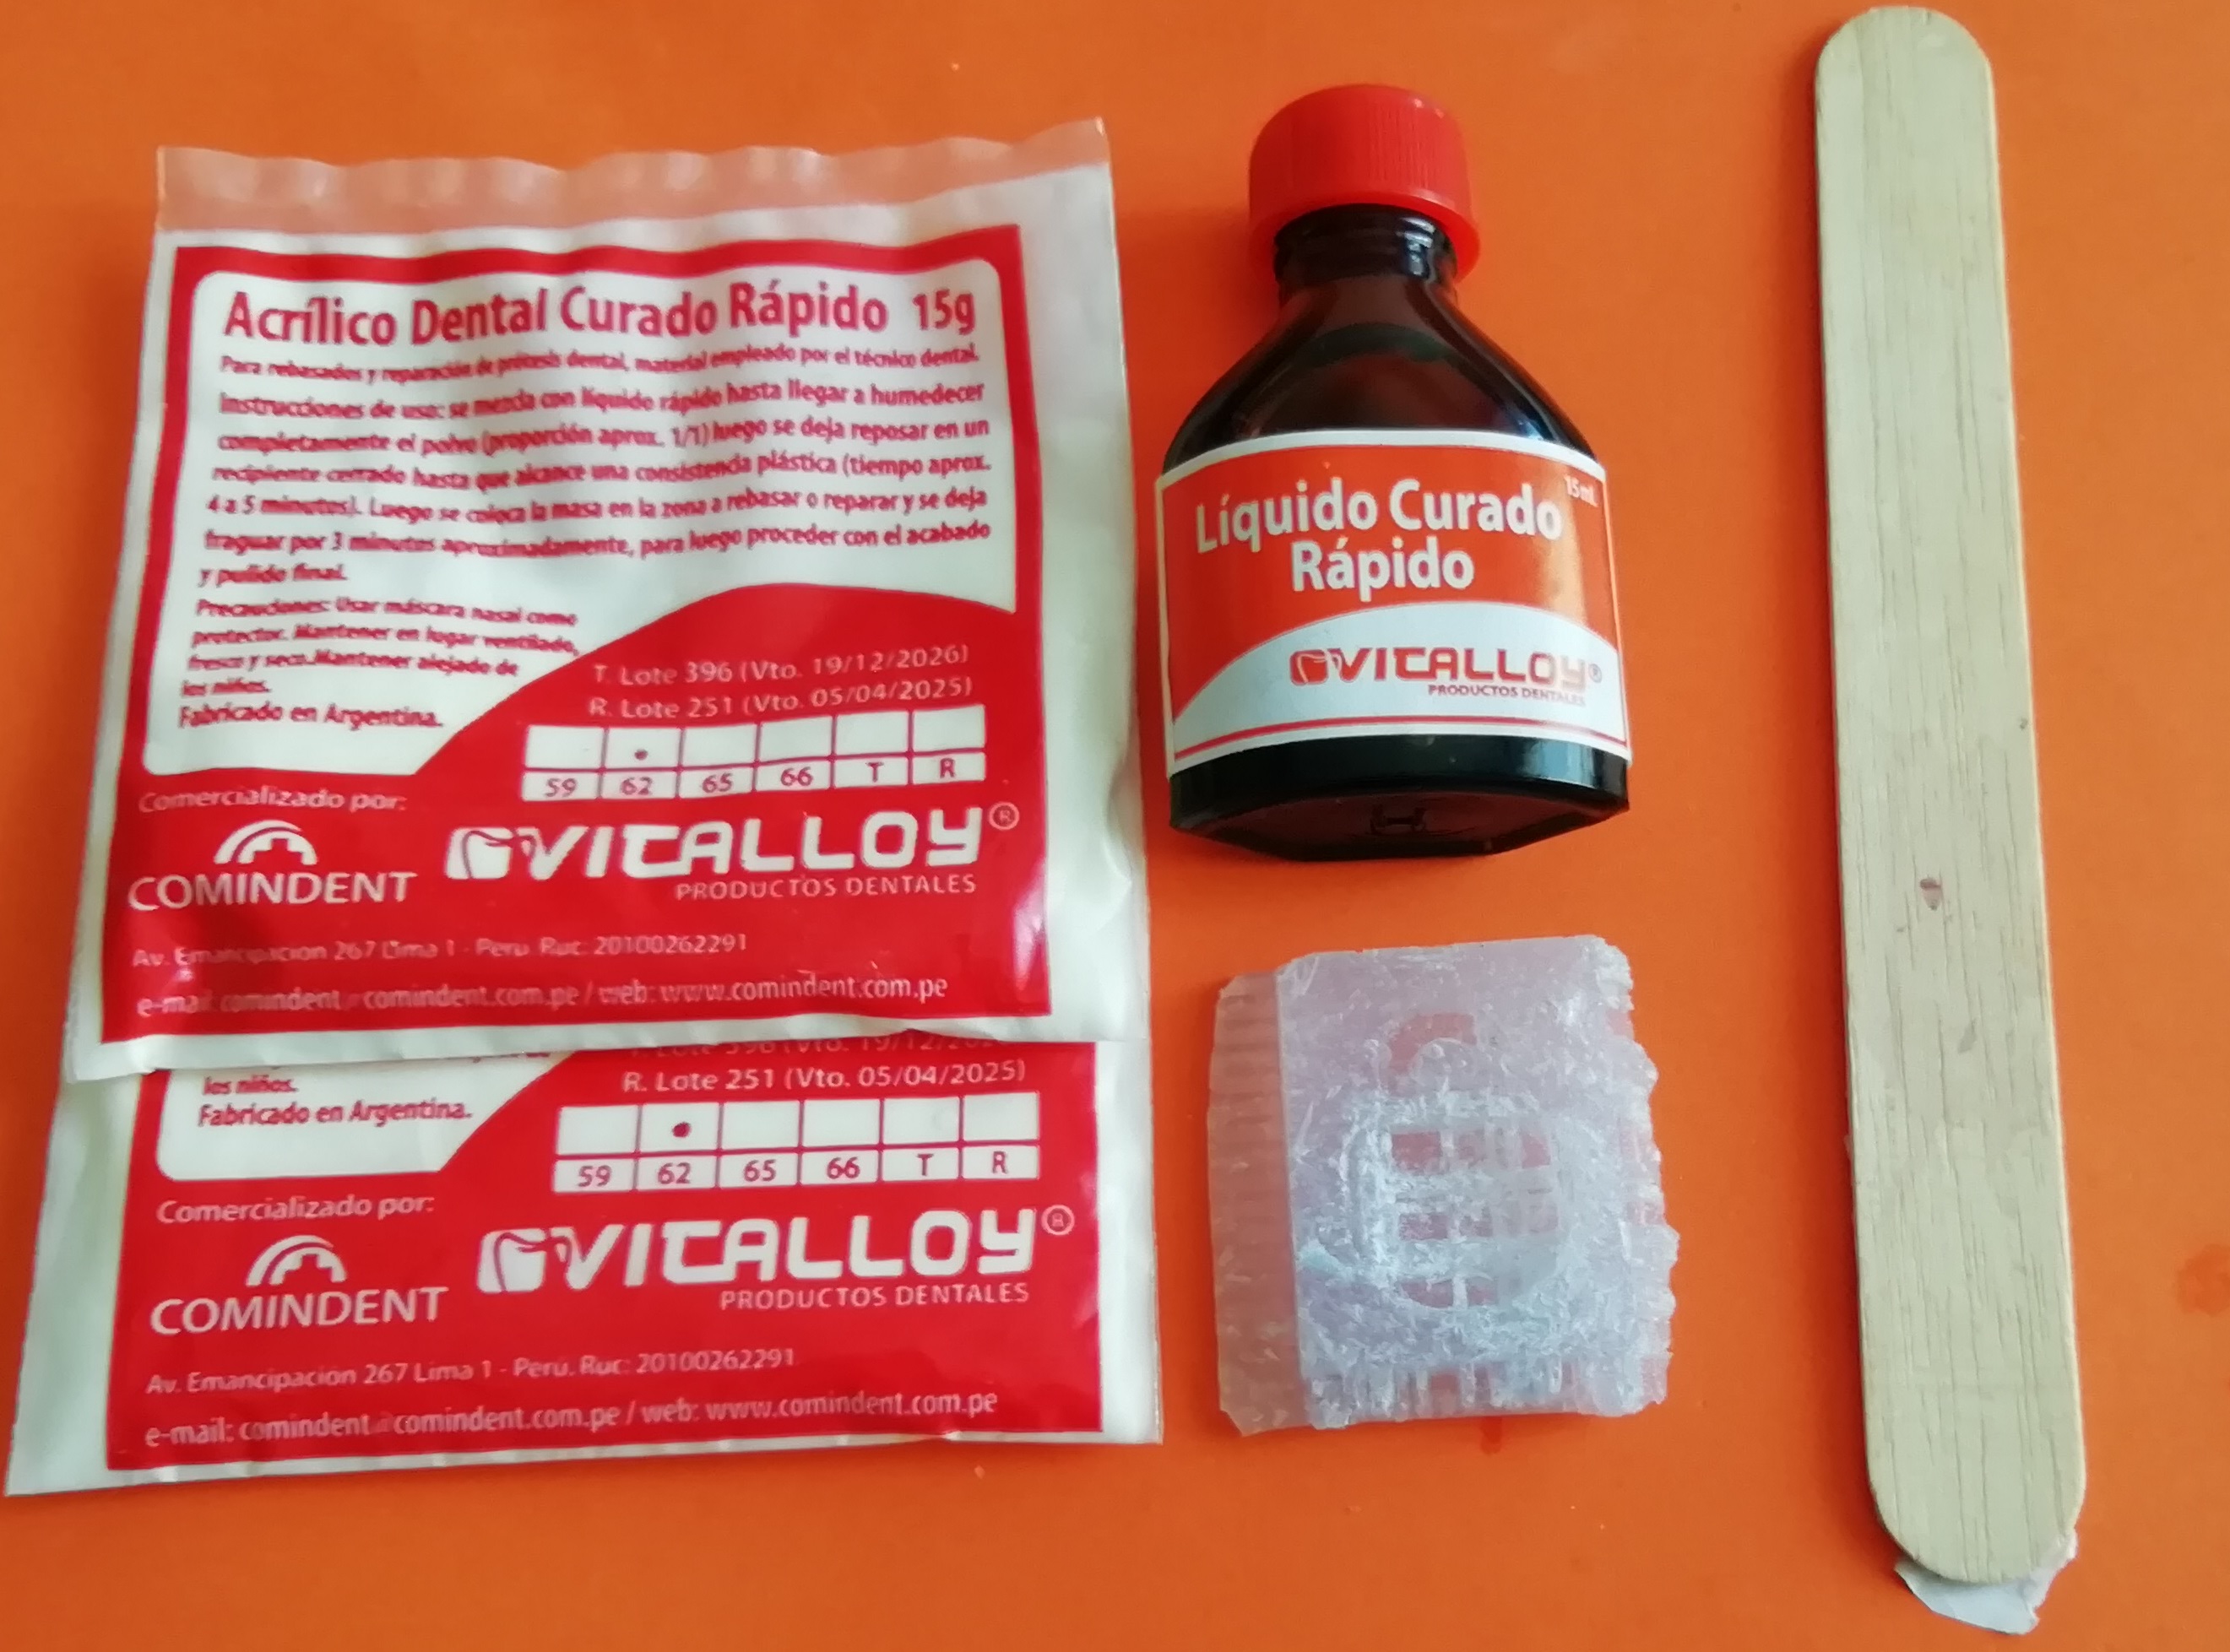
- Now it’s time to have a real little 3D keychain, for that I used fast curing dental acrylic.
-
Instructions for use: It is mixed with rapid curing liquid until the powder is completely moistened (approximate proportion of 1/1) then it is left to go over in a closed container until it reaches a plastic consistency (approximate time of 4 to 5 min). The mass is then placed in the area to be resurfaced or repaired and allowed to set for 3 min. approximately, to then proceed with the finishing and final polishing.
-
Precautions: Use nasal mask as a protector. Keep away from children.
-
I made the mixture, you have to be careful because it dries quickly.
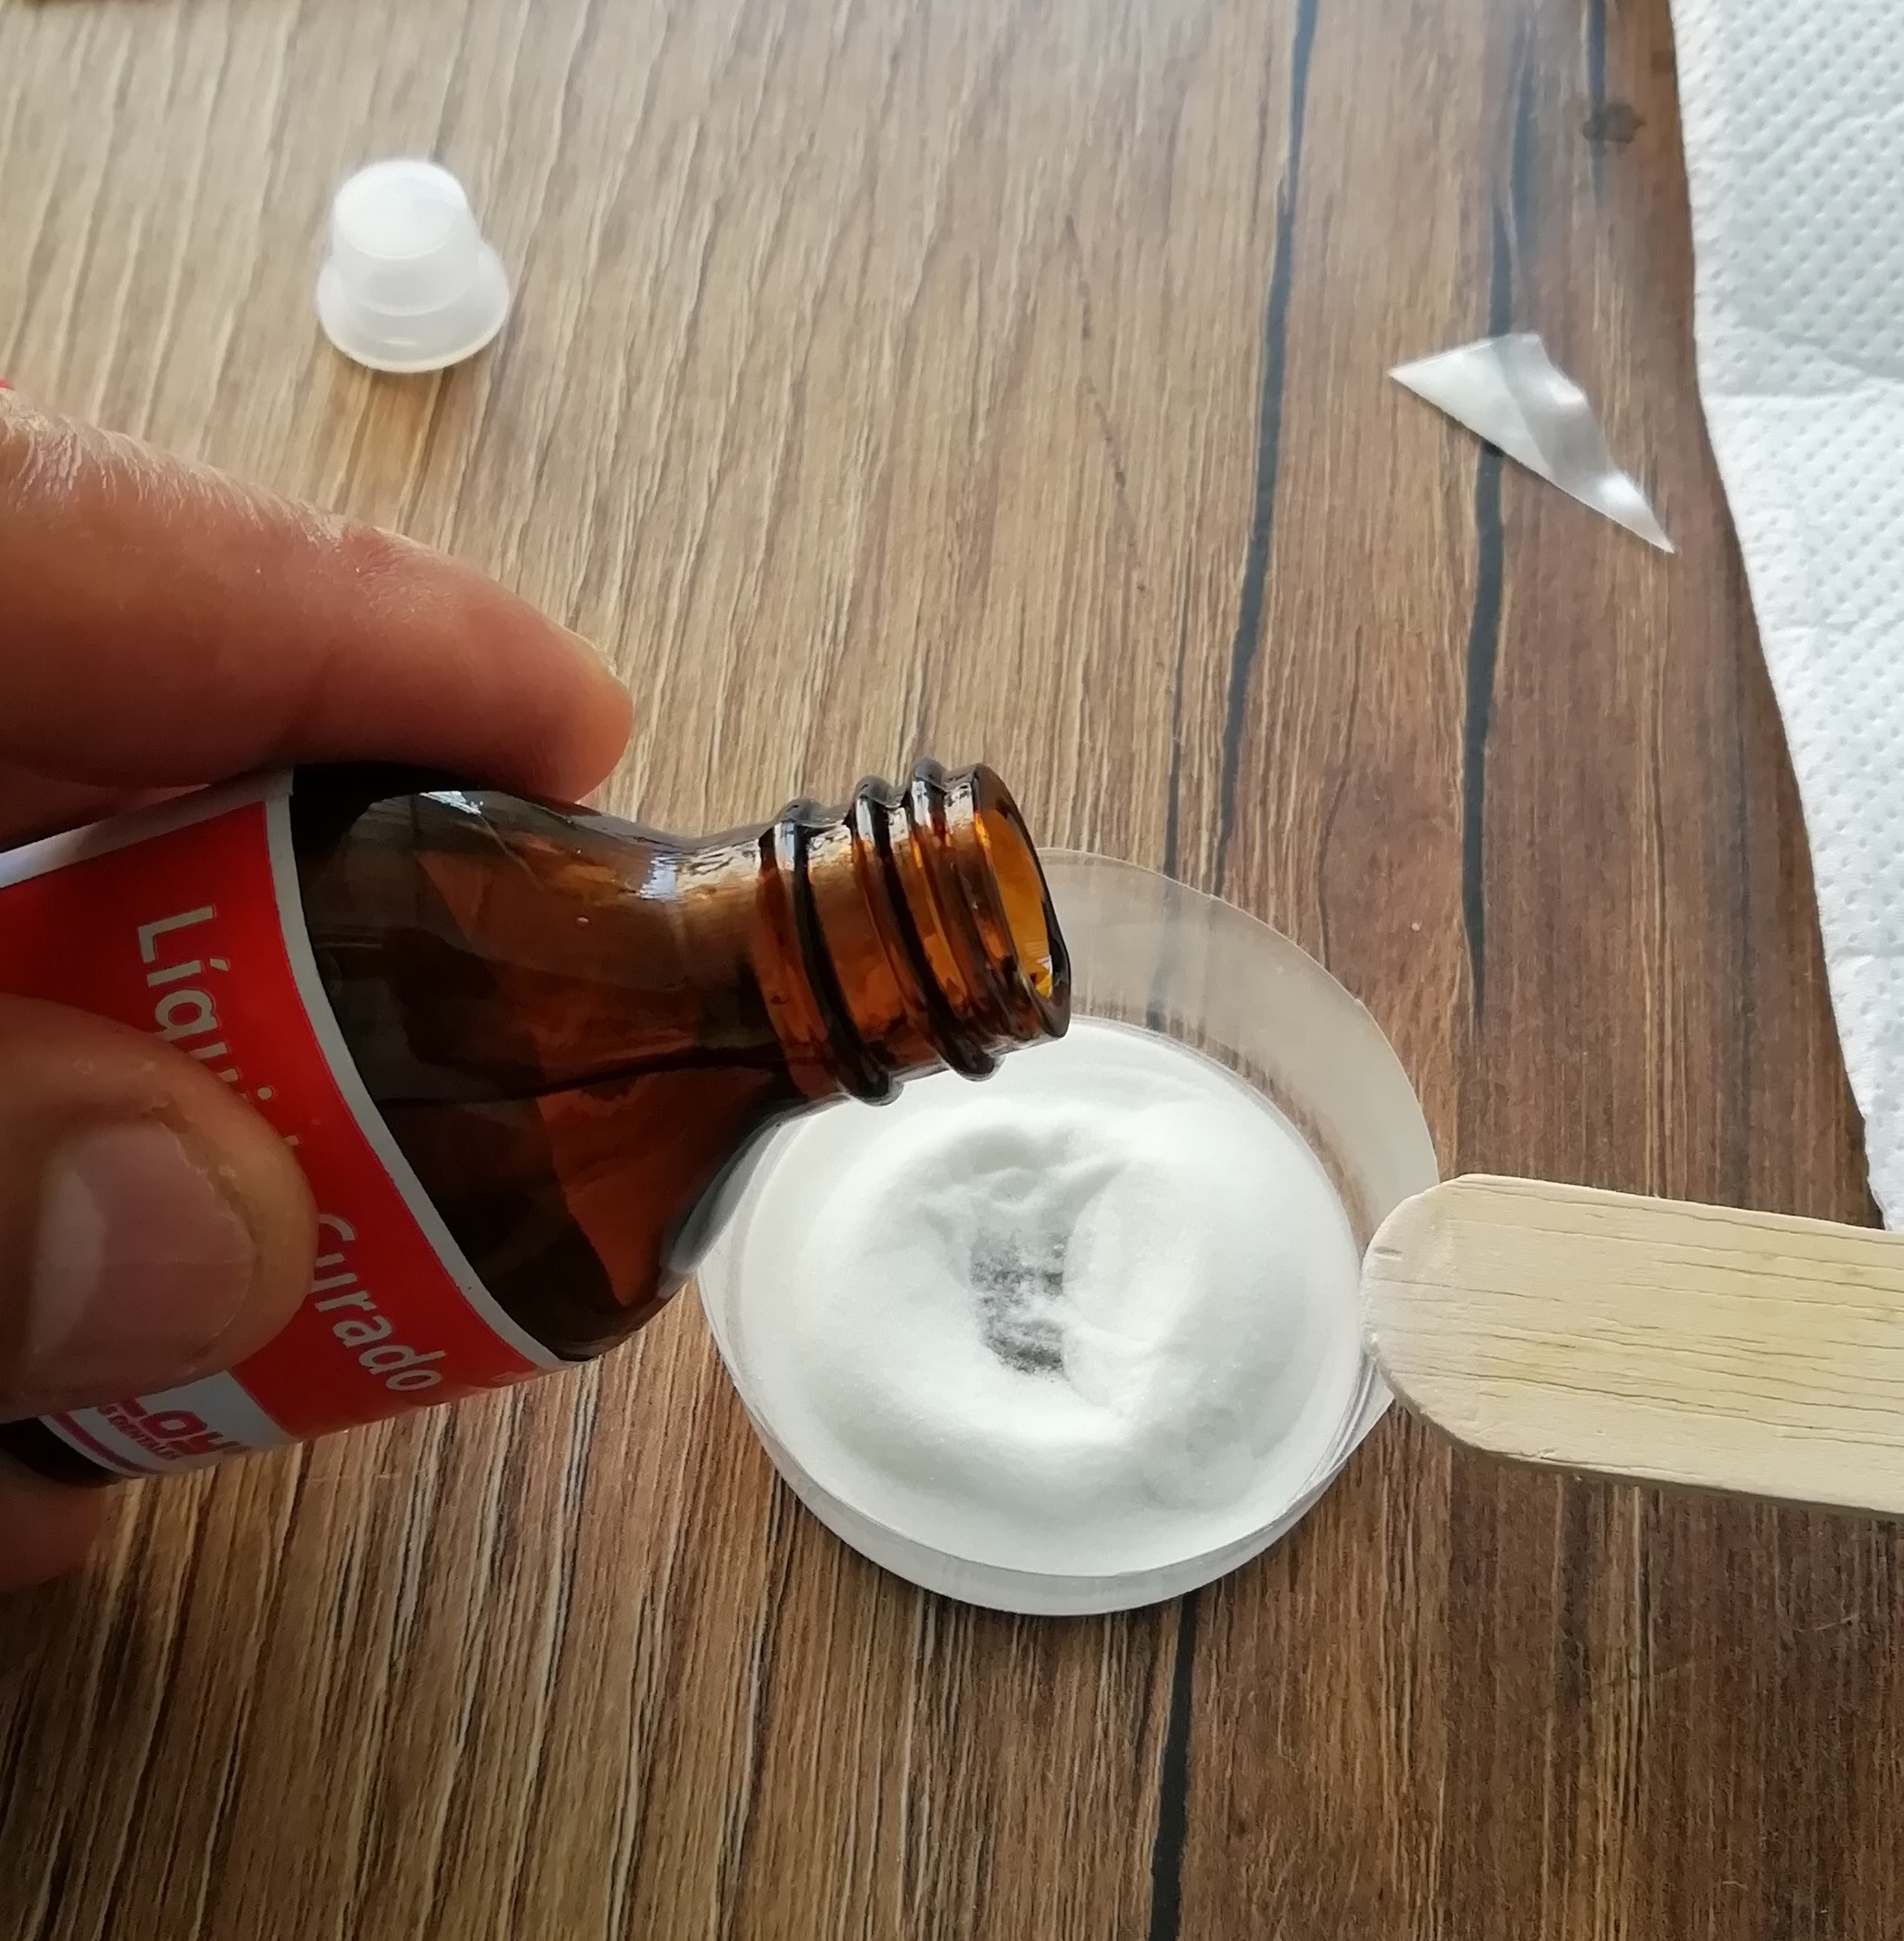
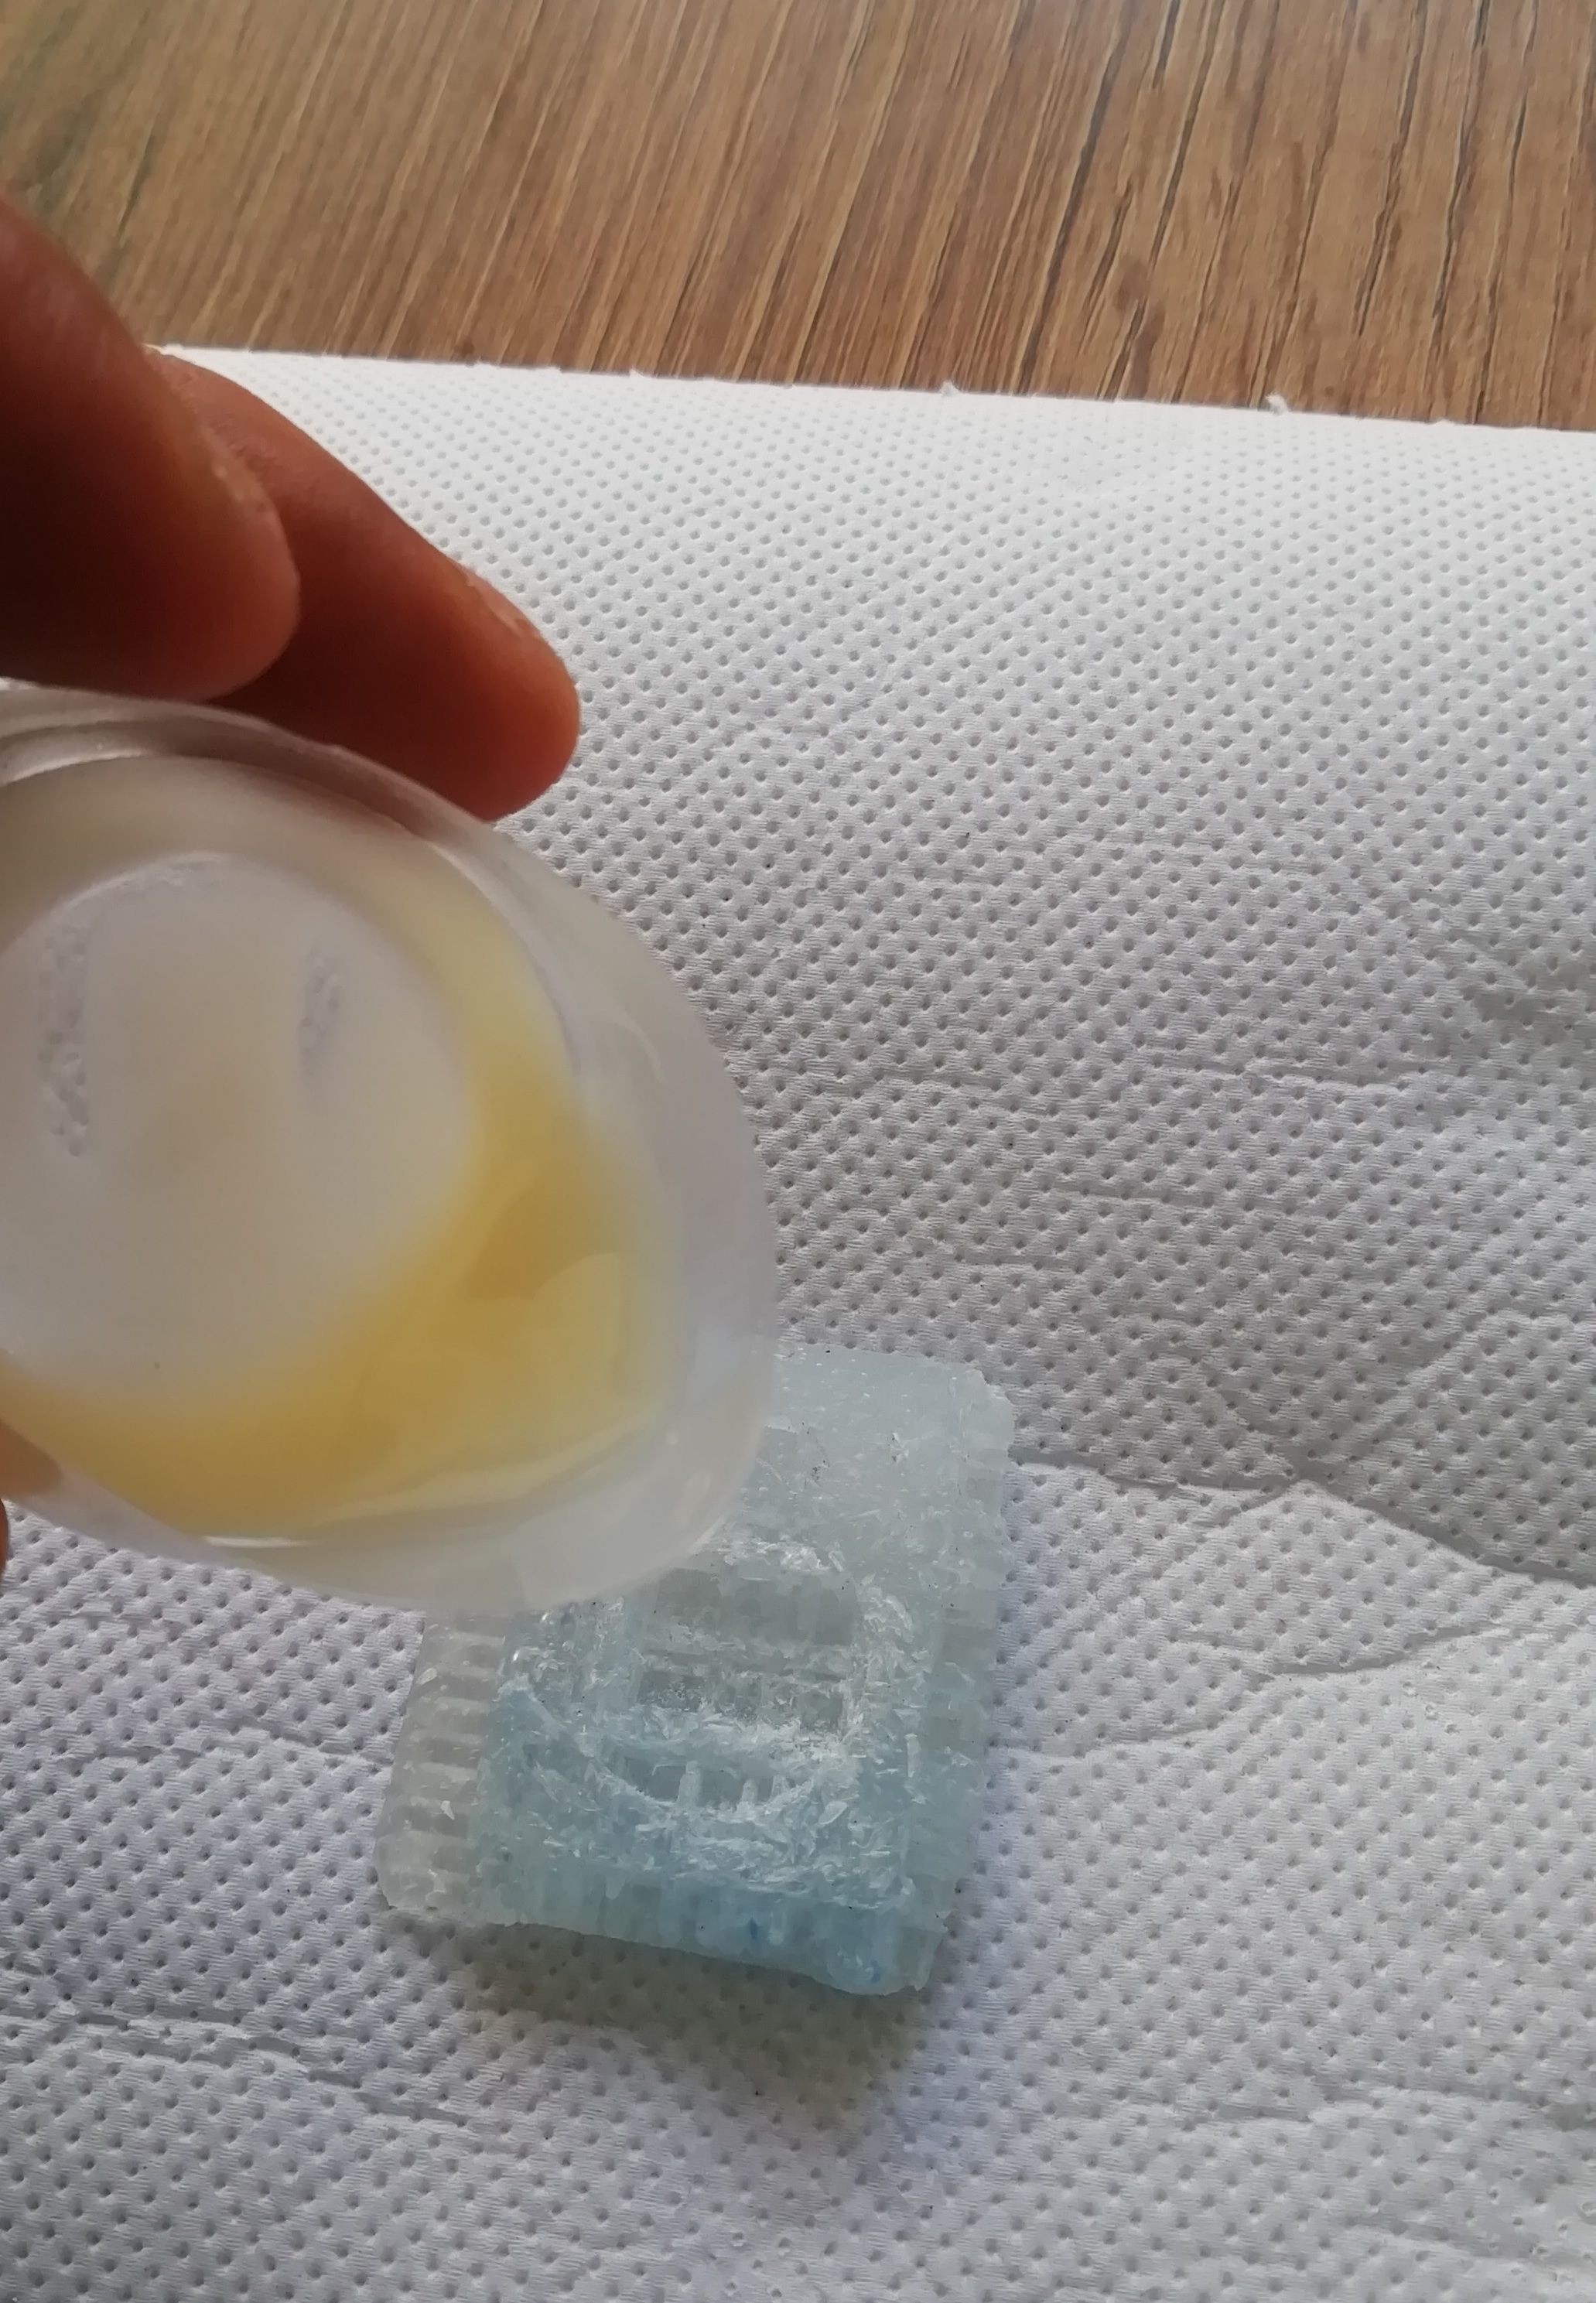
- Then, I slowly poured the liquid into the mold and poured the entire top as shown in the picture.
- This is short video:
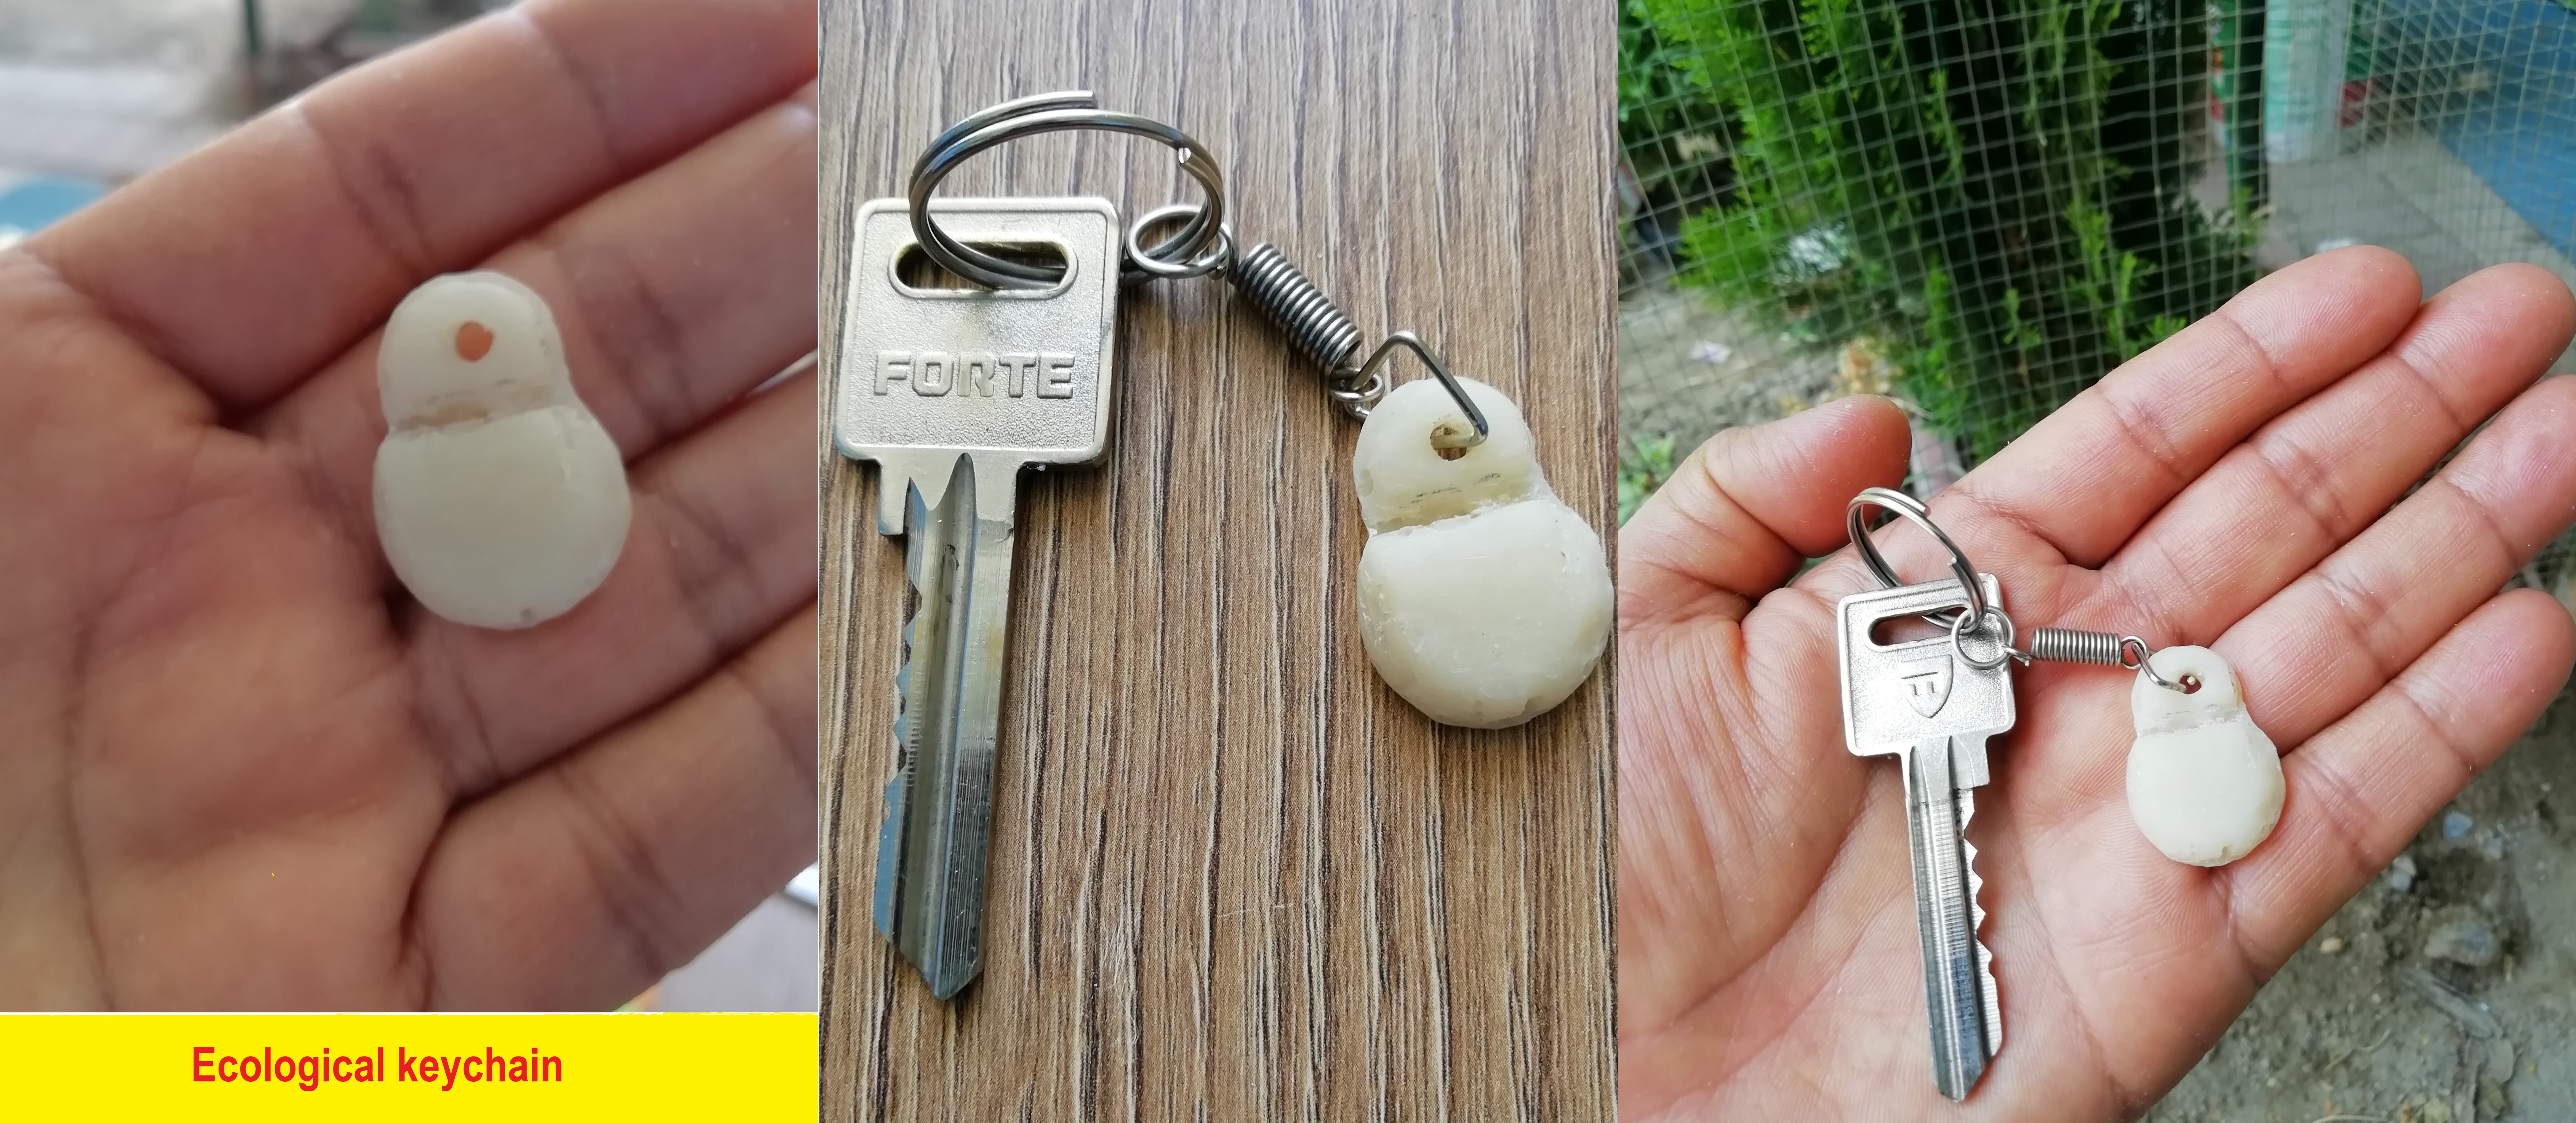
- After about 10 min I found a fabulous keychain on the mold, it was a great job the result.
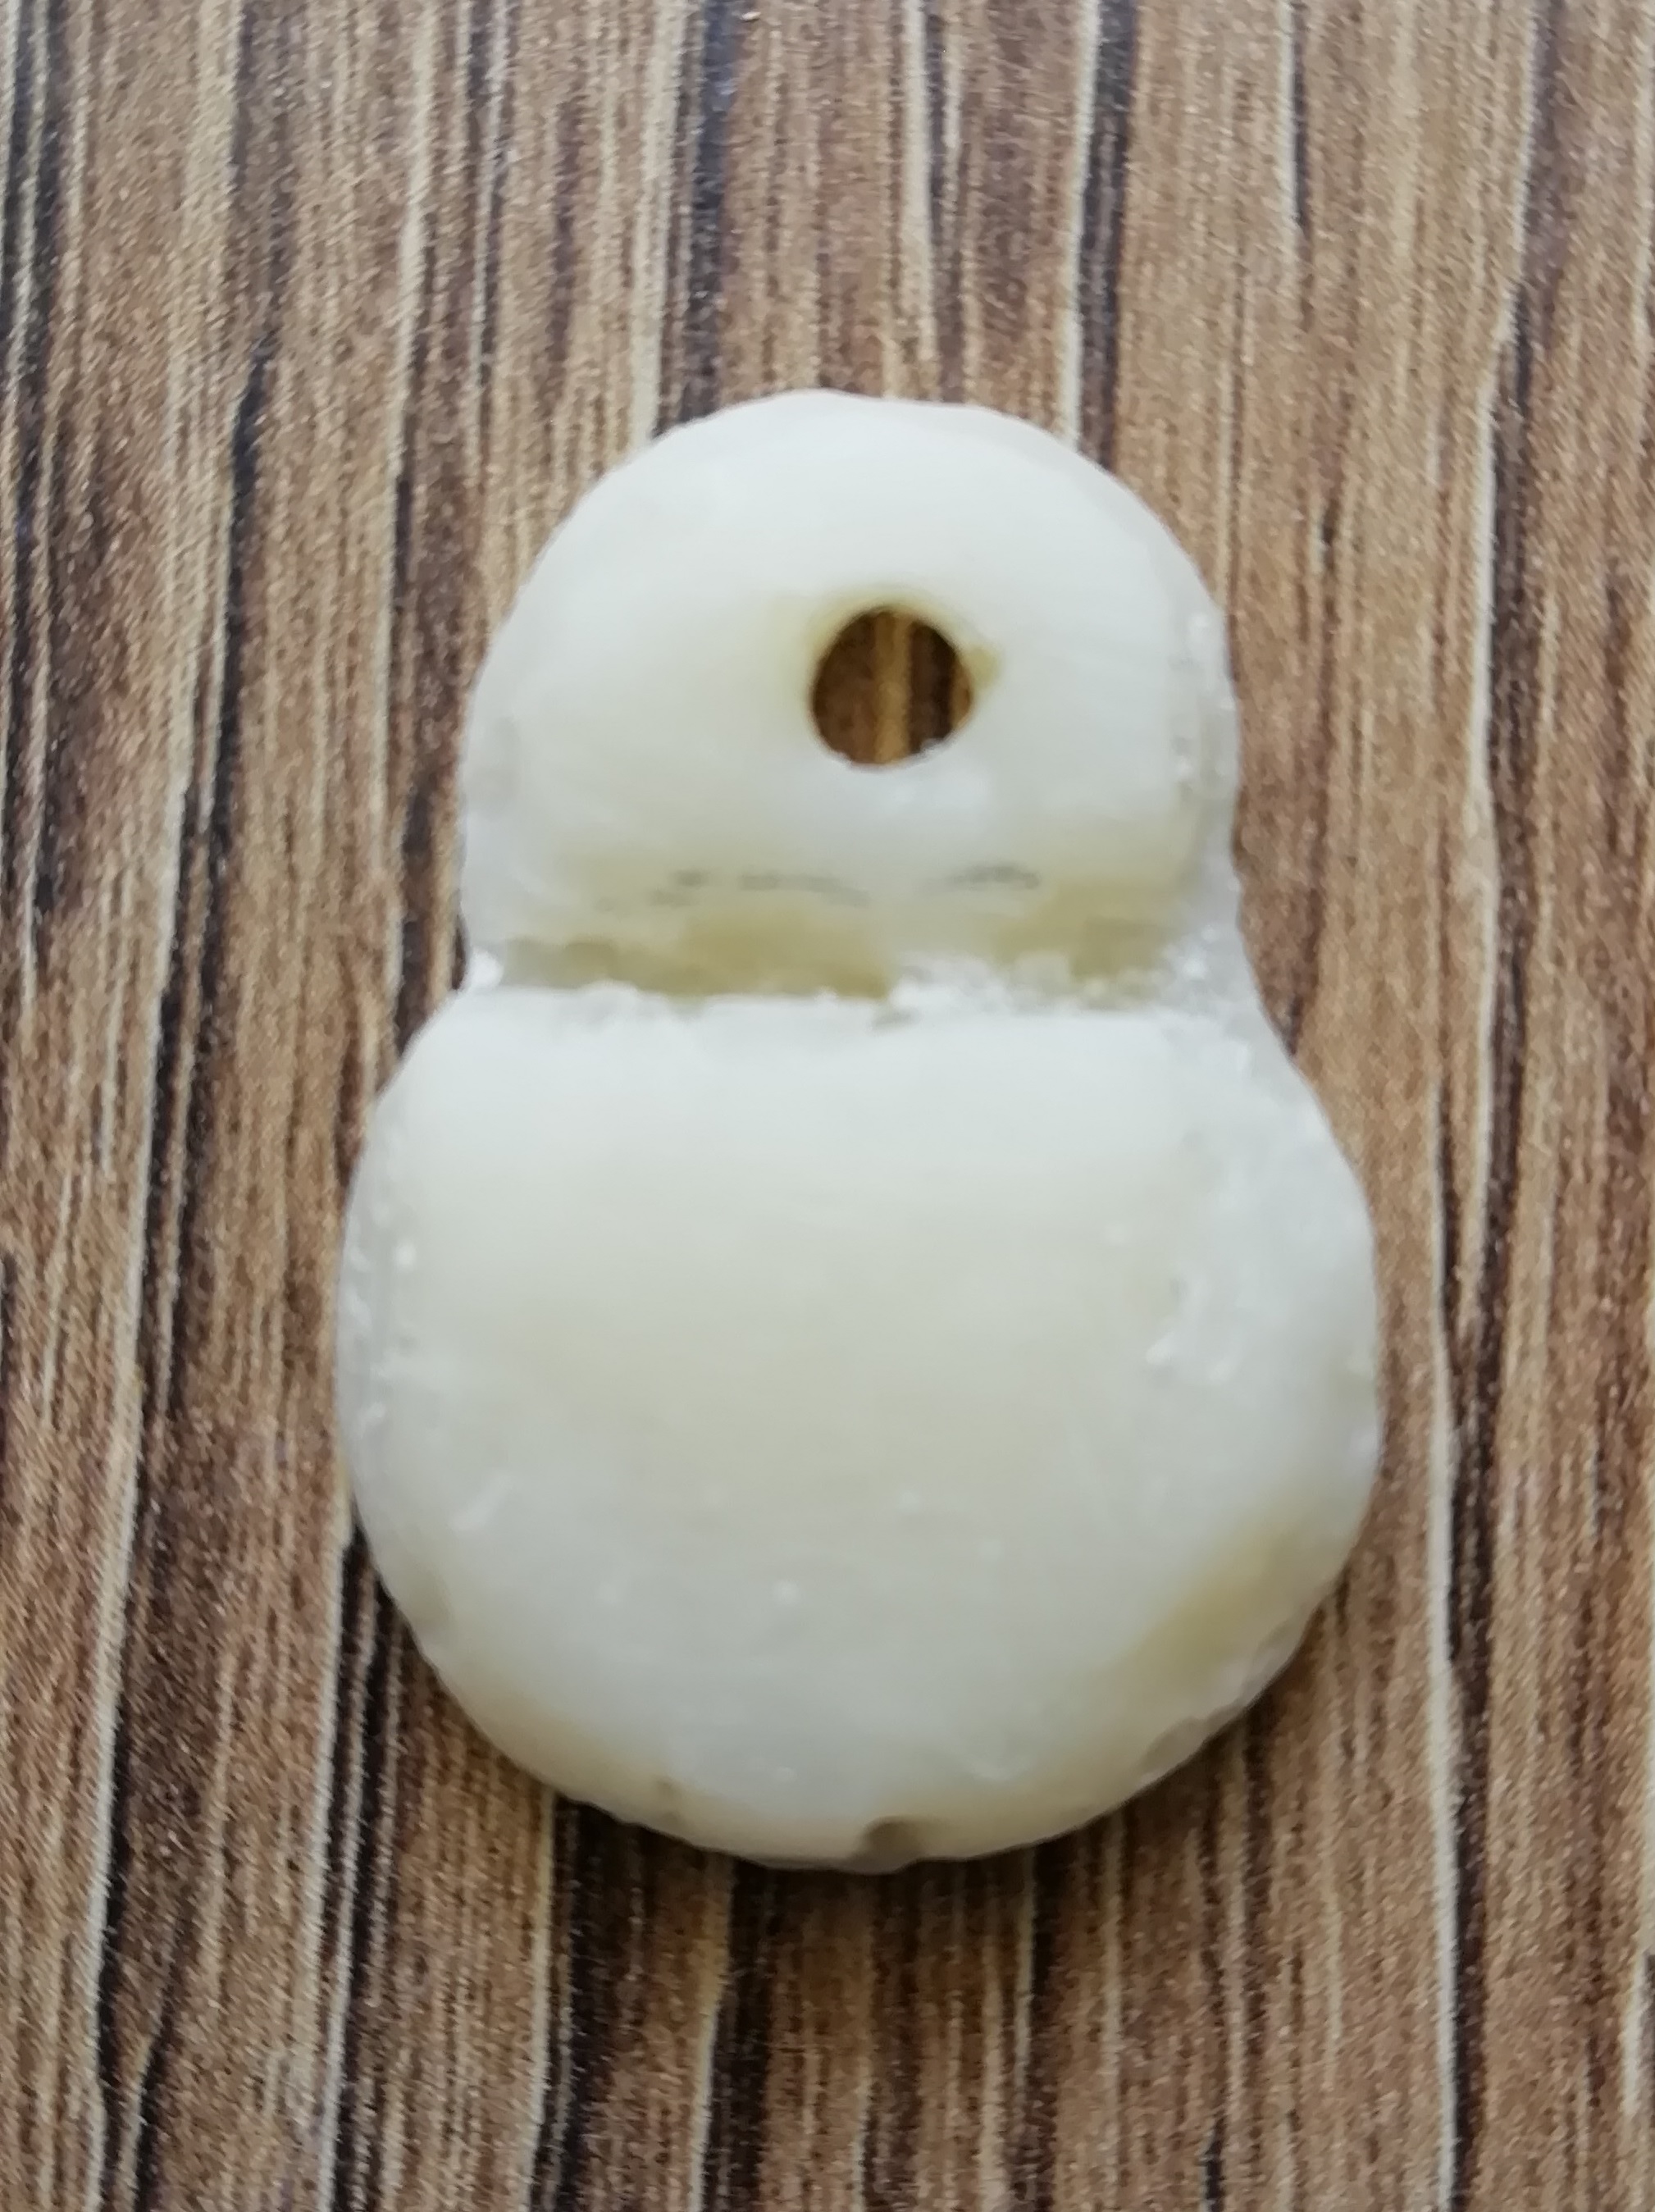
- To make it useful I place it a bedroom key.
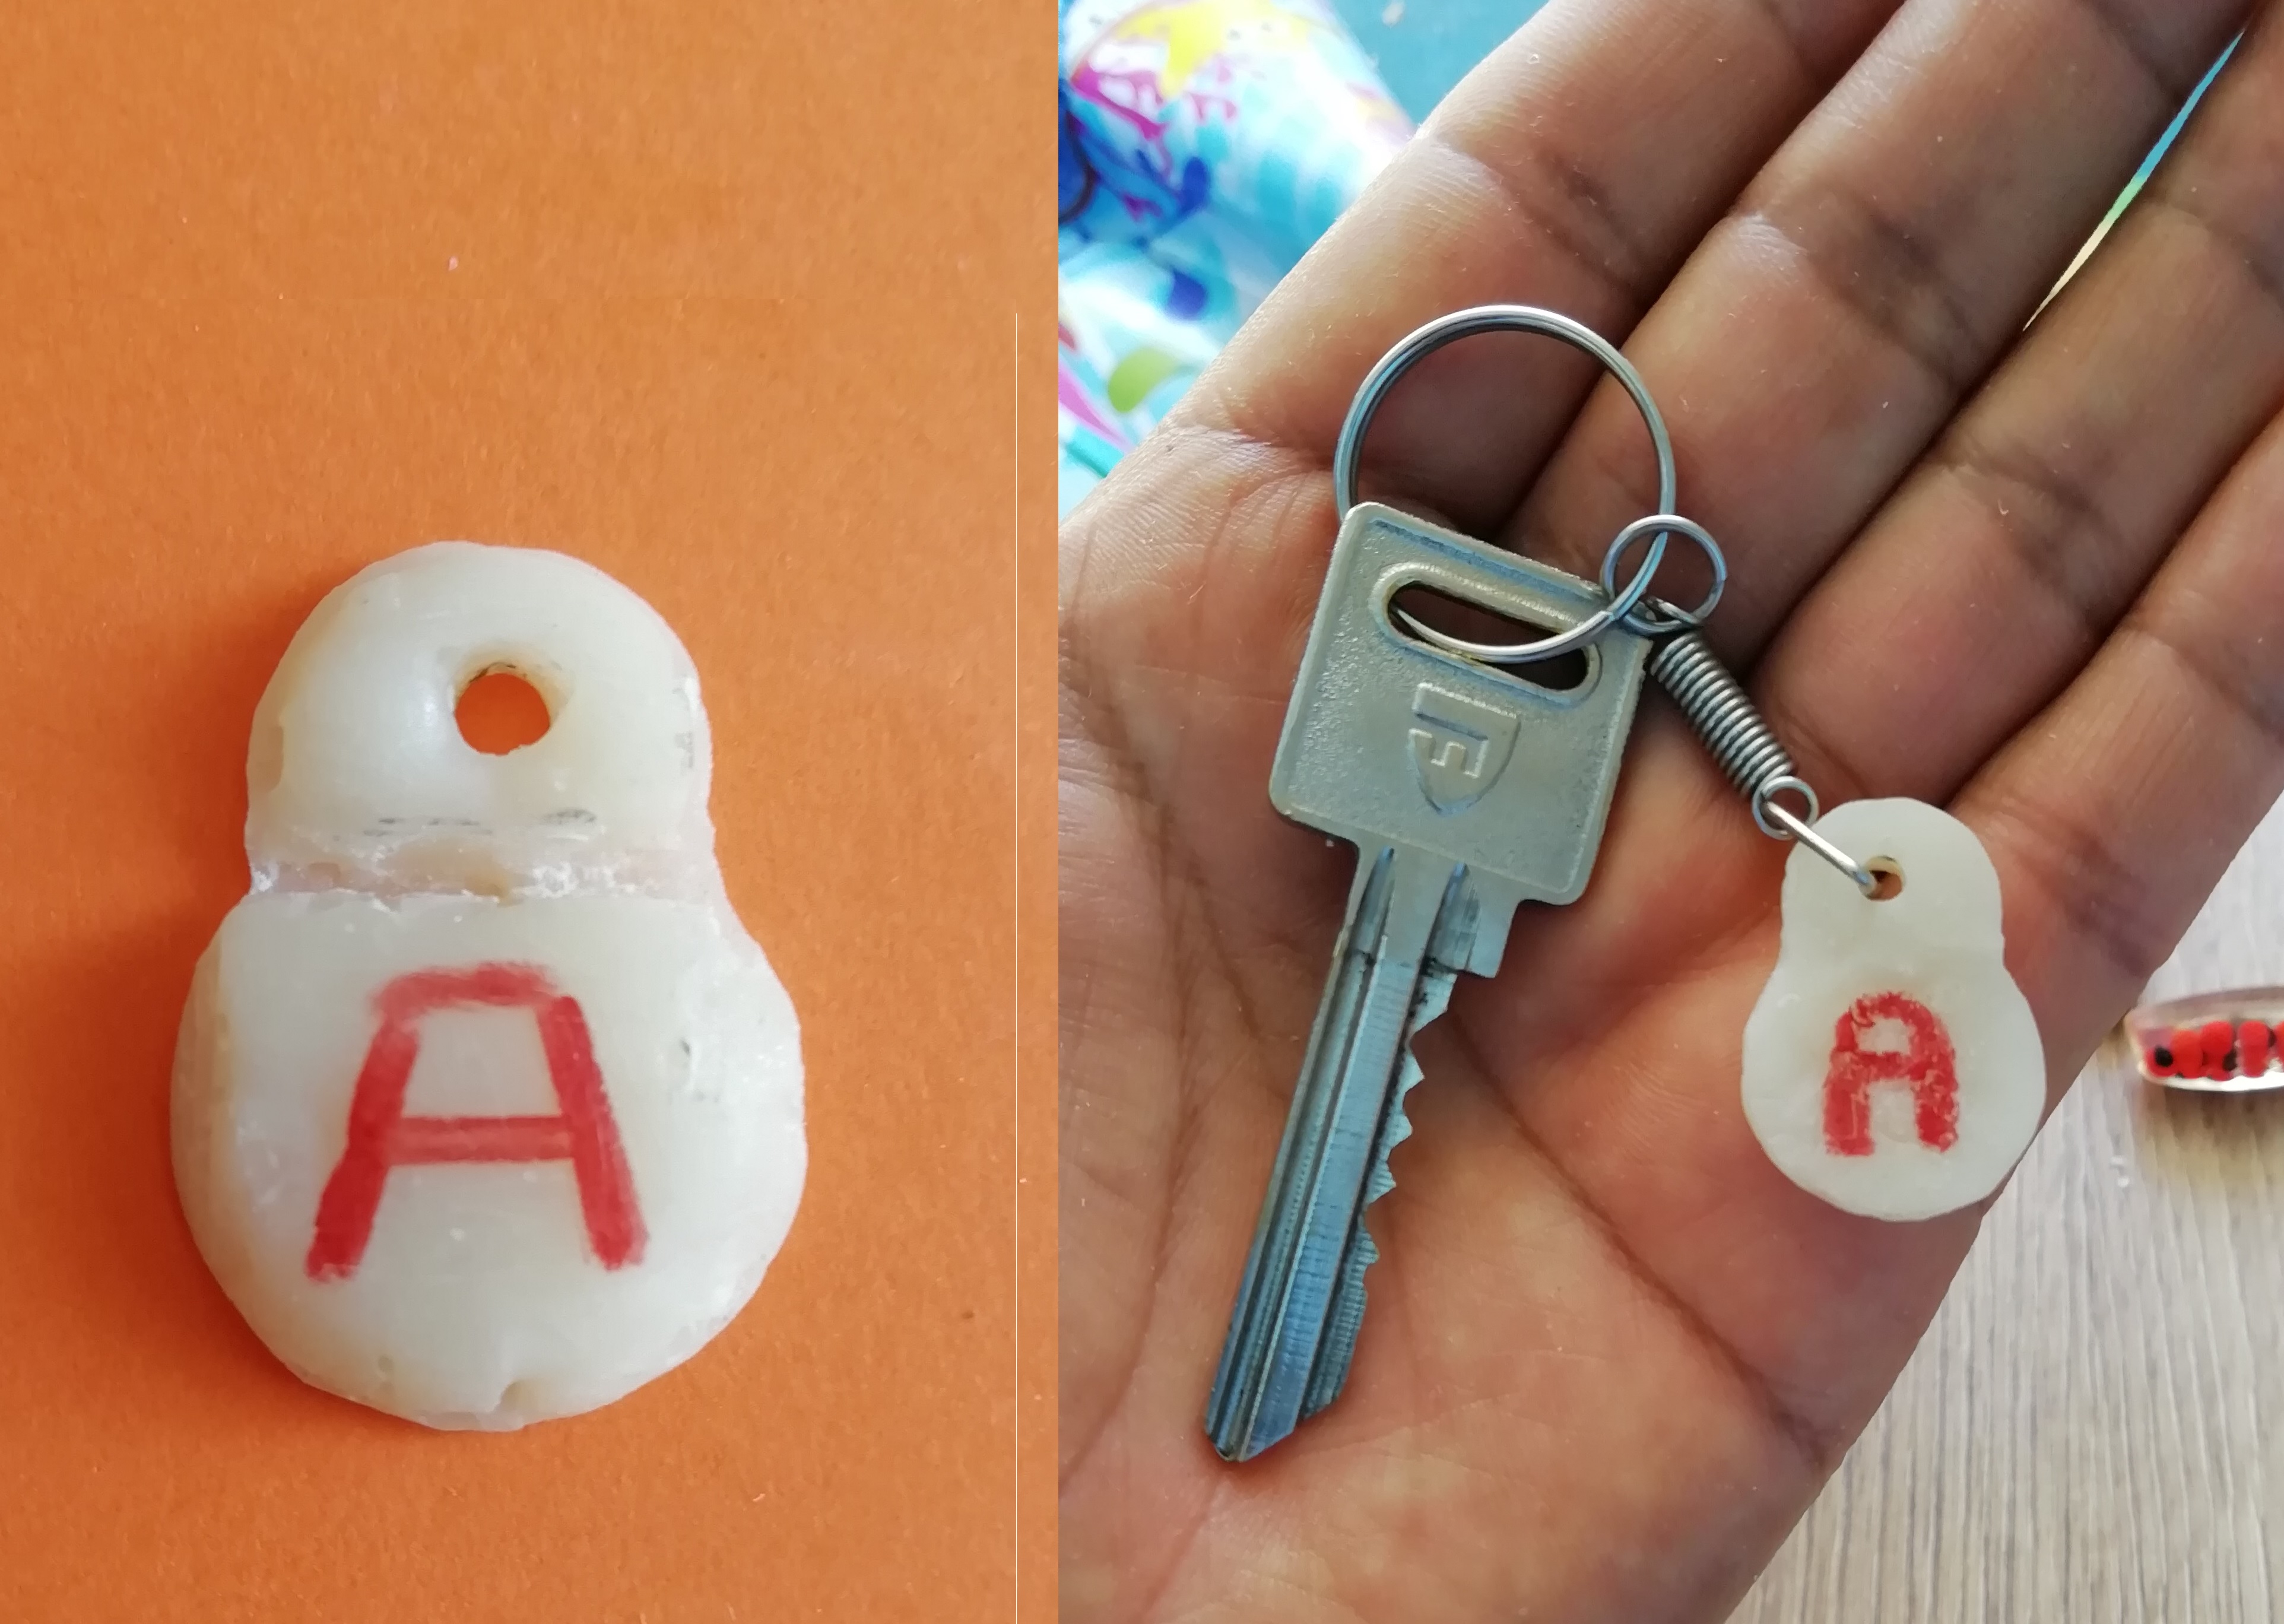
- To improve, I painted the letter “A” to give it more life. It looks excellent.
GROUP ASSIGMENT
-
Review the safety data sheets for each of your casting and molding materials.
-
While we were developing the topic of Molding and casting in the Fab Academy, the Vigil Institute still did not have a digital manufacturing laboratory, which was worrying for us how to fulfill this task.
-
It was not possible to obtain liquid silicone in the city of Tacna, material that we would use to make the molds. For now, what was done, according to the references given to us in the meetings, was to use Fast Curing Dental Acrylic (material basically used for dental prostheses), this as the material of the final product to be obtained. This material would not work alone but mixed with the Fast Cure Liquid.
-
Due to not having the necessary materials, equipment and tools for molding and casting at the moment, we put our work on hold.
-
It is already the month of April (18), when the equipment and materials arrive at our Institute, but for reasons of administrative processes, we were only able to make use of it from the month of June.
-
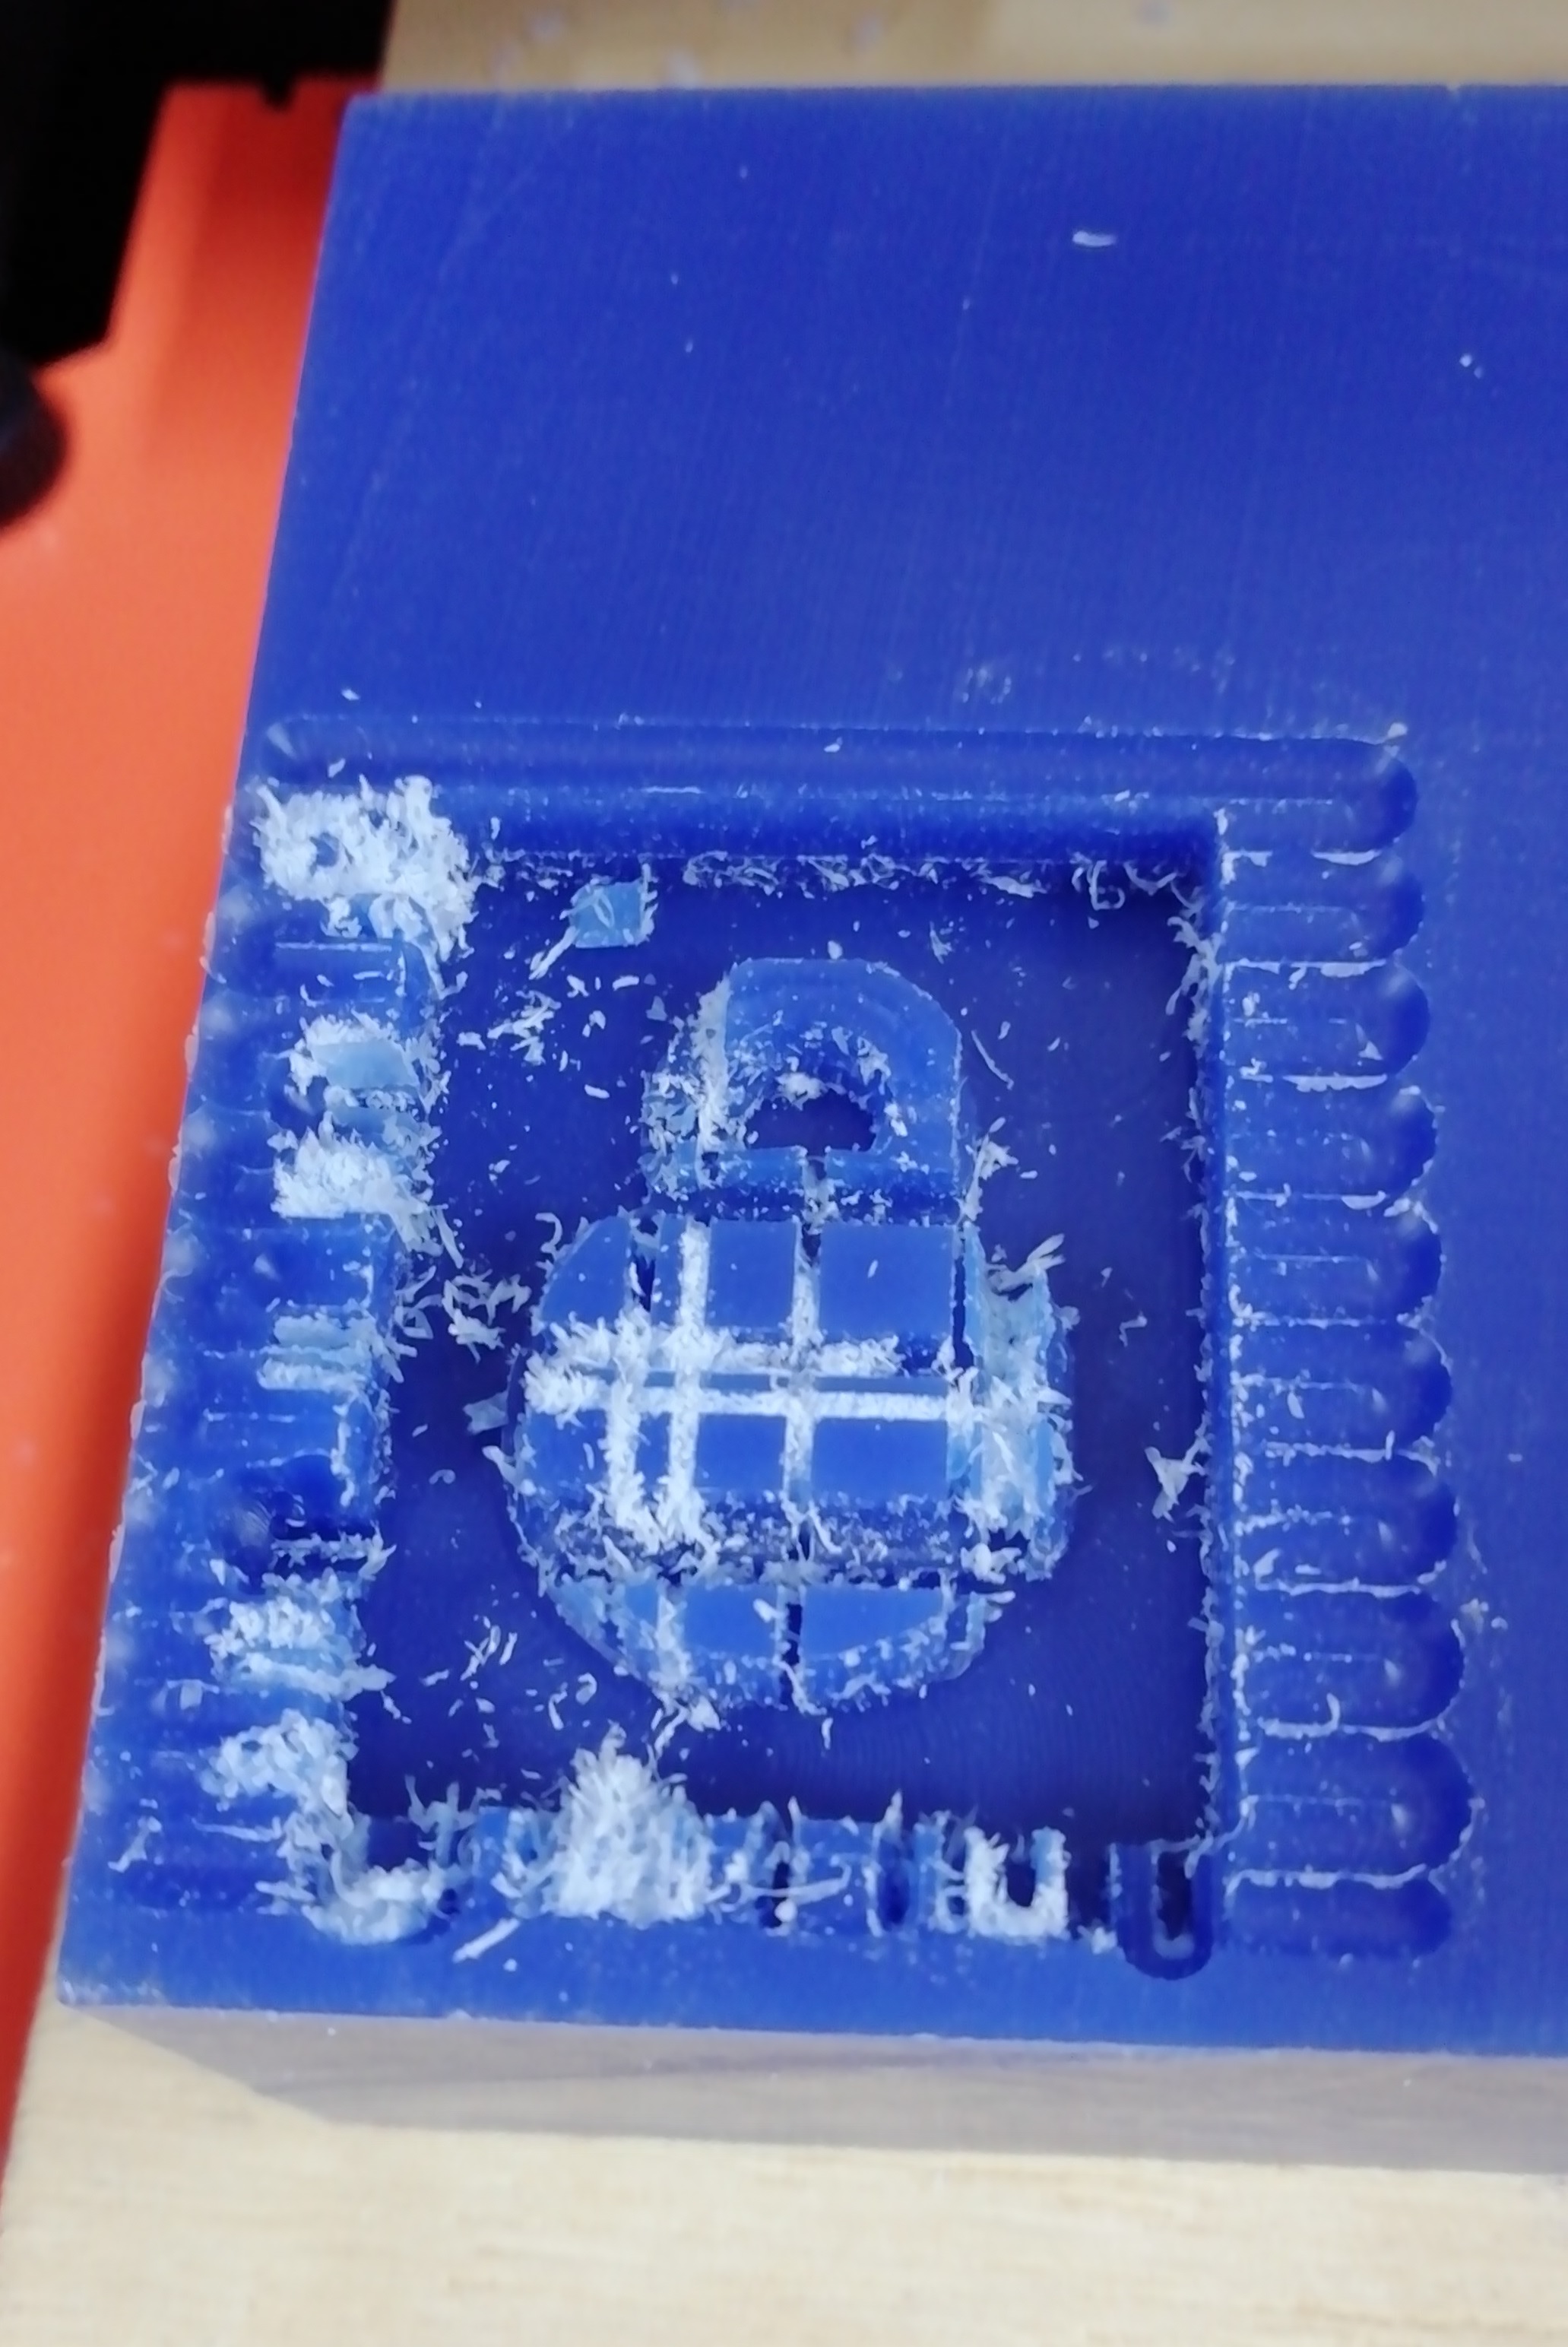
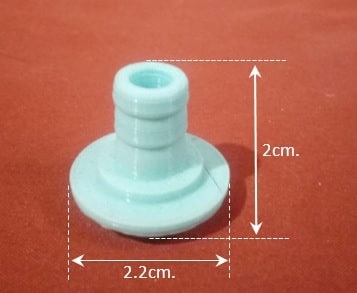
Starting with the development of molding and foundry work implied, in the first place, deciding on the mold for a certain object. The object should be small and with well-defined edges, to ensure fast and good work. We opted for one of the 3D printed parts that was in our manufacturing lab, it is a water jack adapter. Small object, which would not require much material for molding and would also require little time to work on.
-
Taking advantage of the fact that we already had molding material in our manufacturing laboratory, we prepared everything necessary to make the molding.
-
Taking advantage of the fact that we already had molding material in our manufacturing laboratory, we prepared everything necessary to make the molding.
Materiales:
- Silicone rubber
- Fast Curing Dental Acrylic
- Liquid Fast Cure
- Electronic balance
- Disposable gloves
- Wooden tongue depressors
- dropper
- Containers

- You can see the group assignment in this link: Group Assigment
Design Files
| Description | Files | |
|---|---|---|
| Facing | Facing3.nc | |
| Grueso3.nc | Grueso3.nc | |
| Fino3.nc | Fino3.nc |