6. 3D Scanning and printing
- Group Assignment:
Test the design rules for your 3D printer(s)
- Individual Assignment:
Design and 3D print an object (small, few cm3, limited by printer time) that could not be made subtractively 3D scan an object (and optionally print it)
GROUP ASSIGNMENT
This week I worked on calibrate the 3D Printer Machine and 3D Scanner Machine, test the design rules for your 3D printer(s)
1. Characterization of the printing rules of your 3D printer(s)
This week it is our turn as a group to characterize the printing of the 3D printer. To do this we searched the web for some patterns that meet specific details such as bridges, angles, cylinders of different diameters, conical tips among others.
We found many shapes, some simple and others more complex. After several hours of searching, we were left with the open source evaluation model, which employs numerous elements, in order to test the accuracy, resolution and alignment of 3D printers.
The image below shows the 7 descriptive elements of the pattern part.
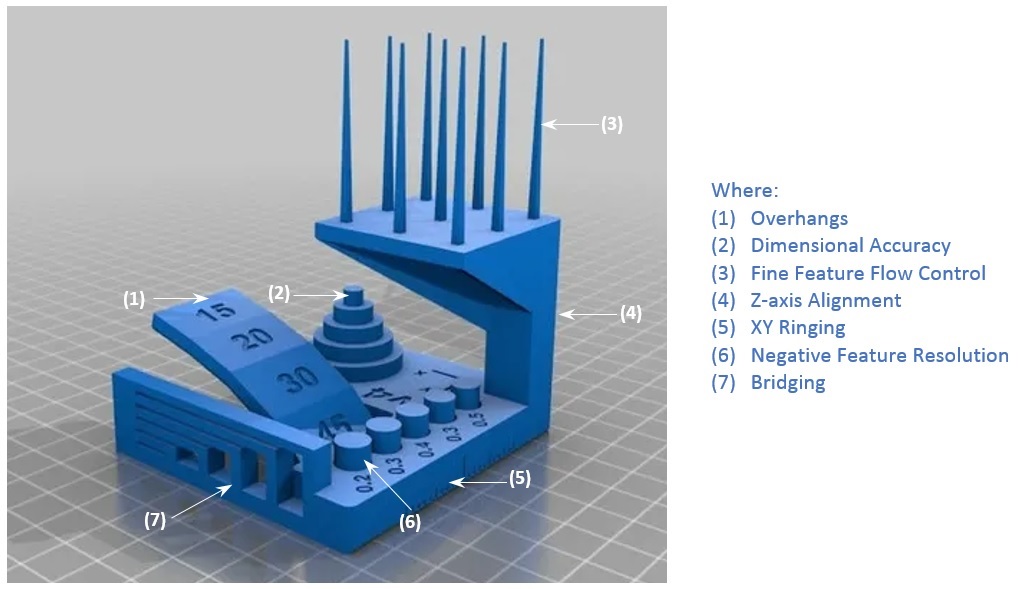
This open source model offers a standard test to evaluate the performance of 3D printers, i.e. when printing this is subjected to extreme test of their movements, speed, roughness, nozzle heating, minimum angle of the stepper motors, among others; but the interesting feature is that the pattern model is small in size.
We locate on the internet the pattern file with .stl extension in the link https://github.com/kickstarter/kickstarter-autodesk-3d/tree/master/FDM-protocol, download it and open it in the popular software for 3D printers, Ultimaker Cura (there are several).
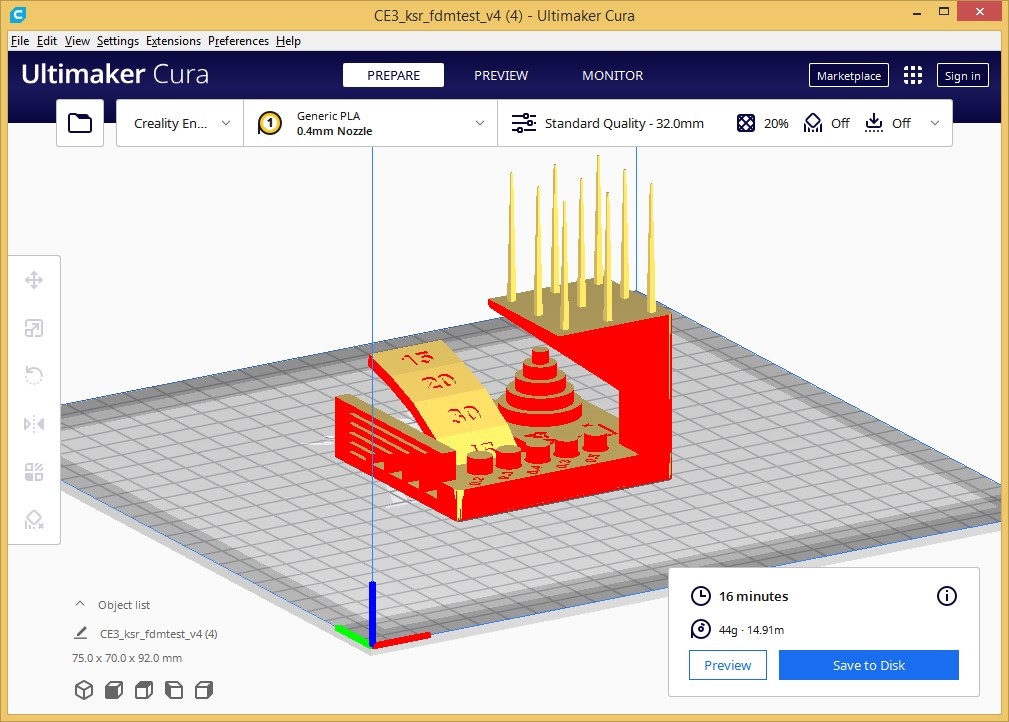
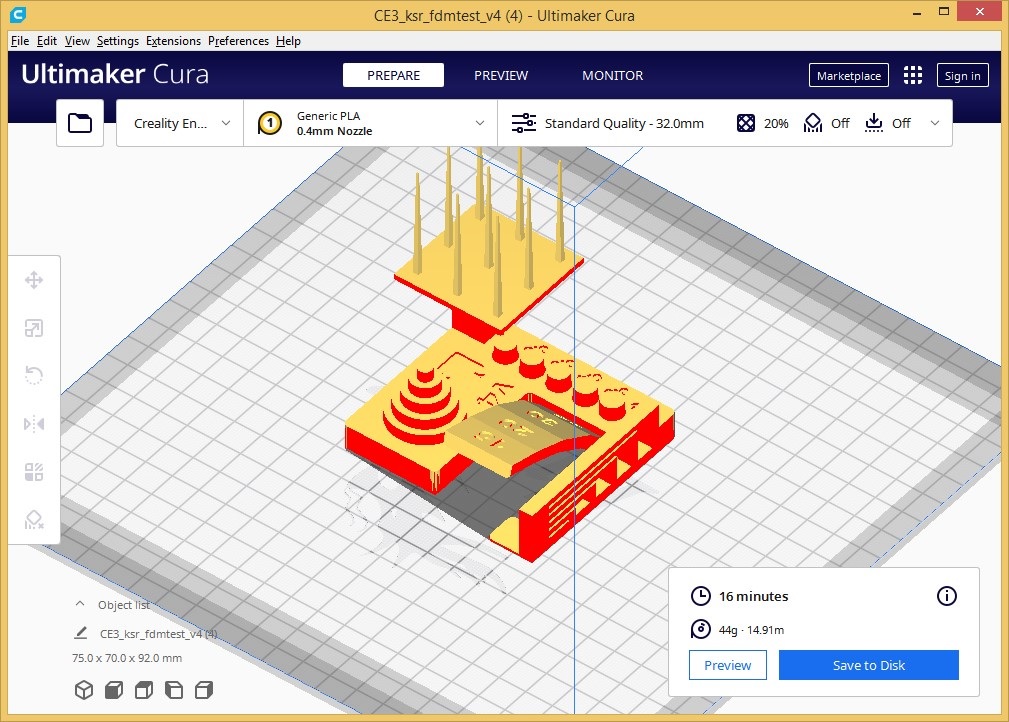
We customize it for printing is done through the assignment of properties.
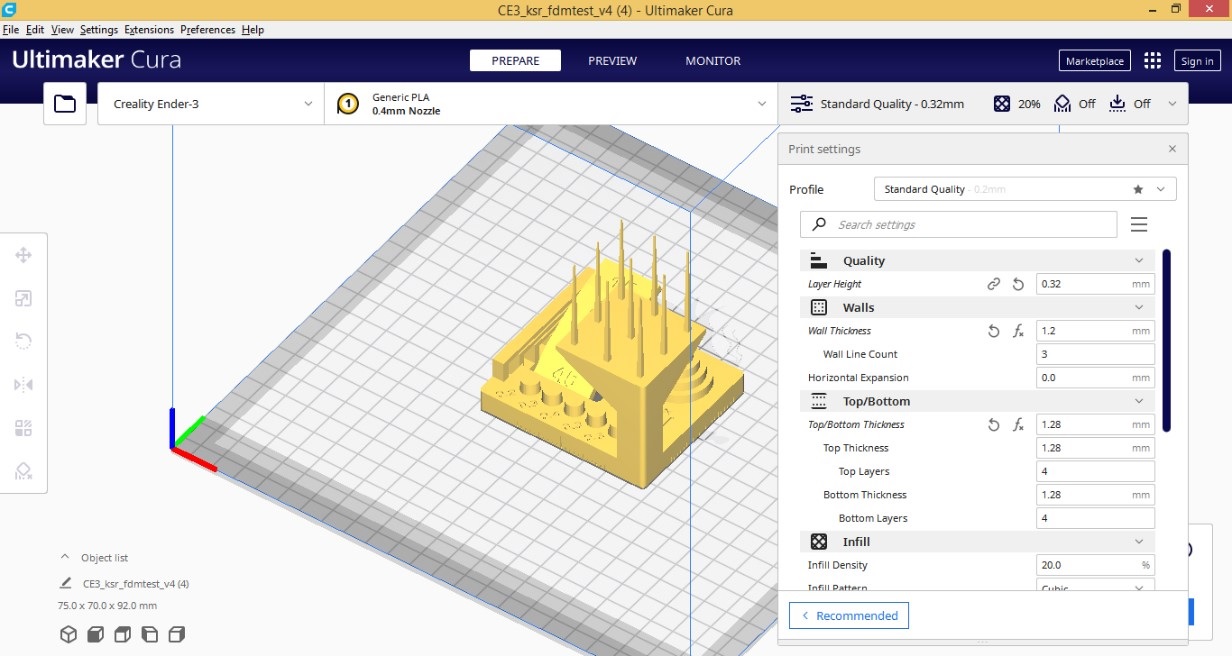
We finally have the pattern, we know the printer settings and we are ready to 3D print it.
2. Testing with Pattern
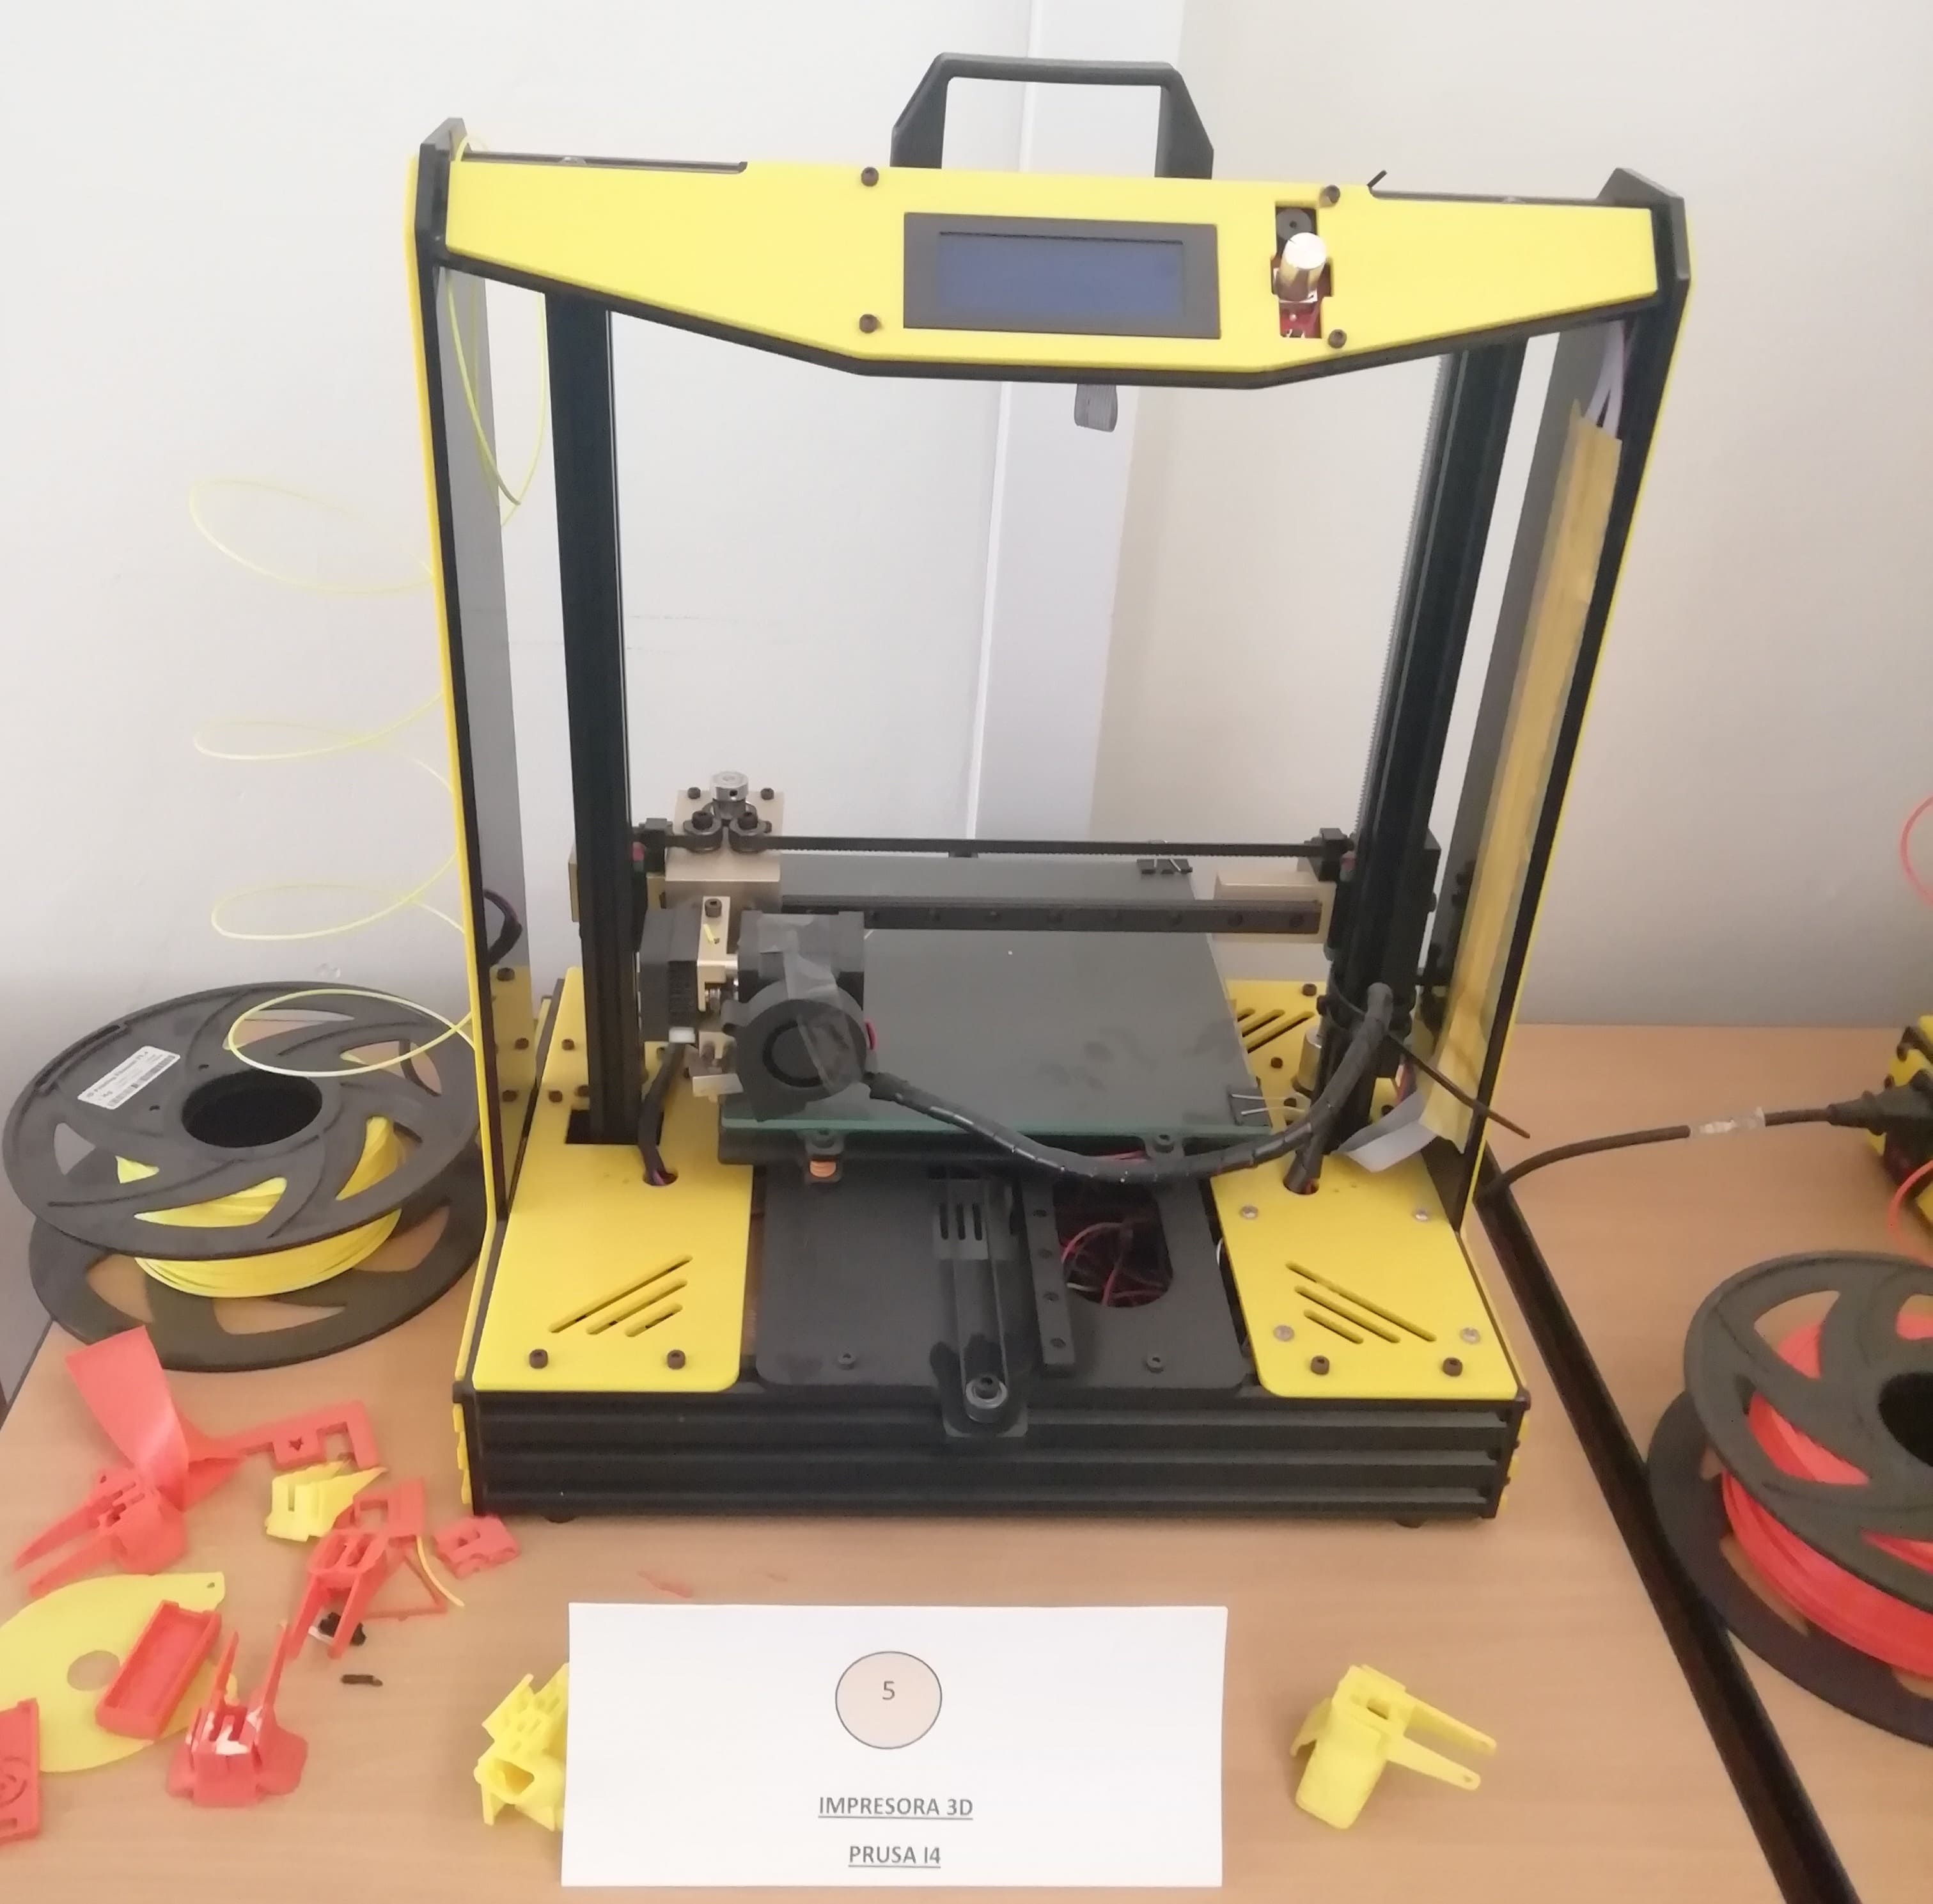
- The 3D printer is a Prusa i4 model (Chinese manufacturing) and its program with which it works is the Repetier Host V2.2.4
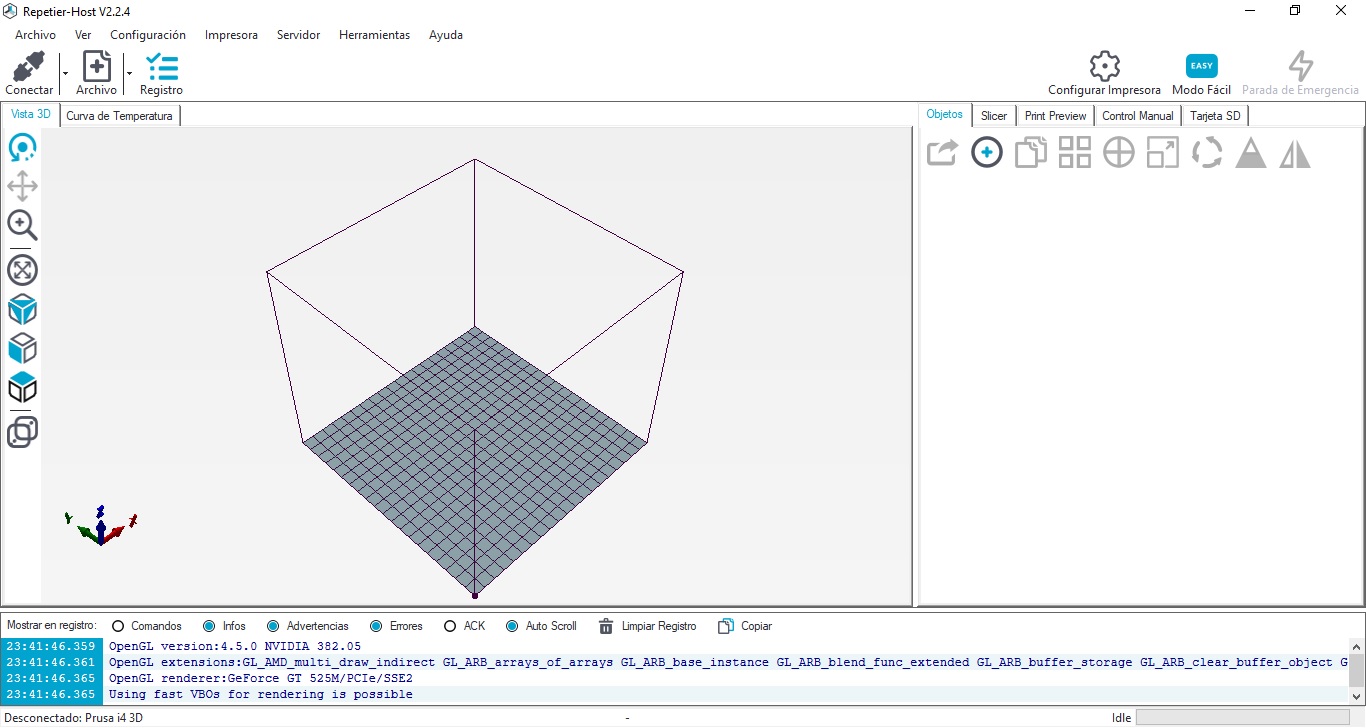
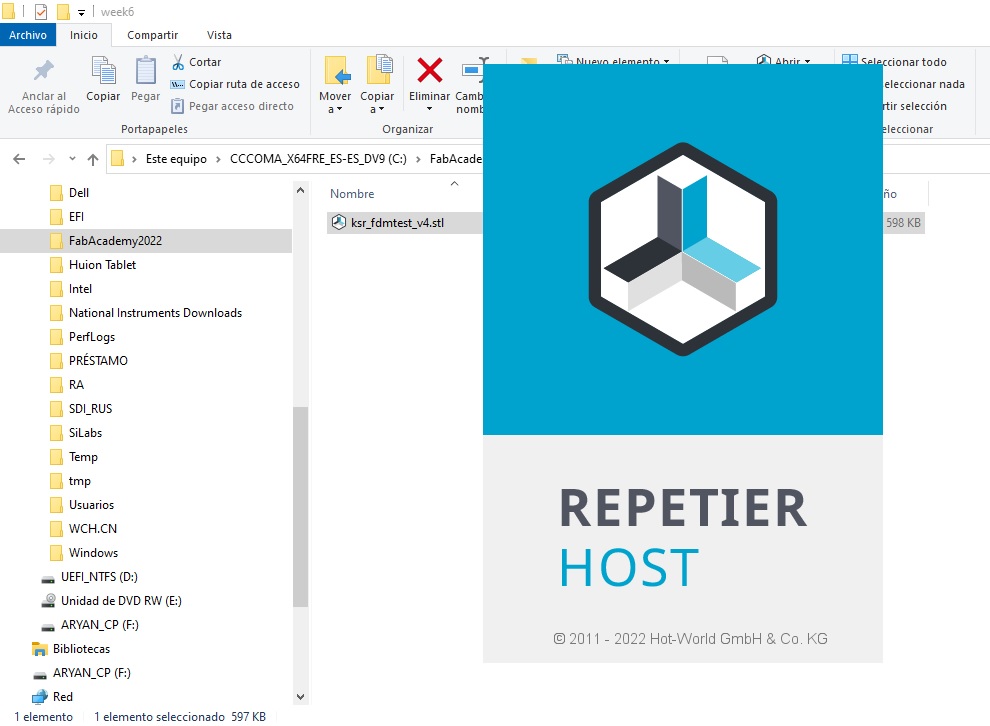
- I locate the 3D test file and open it with Repetier Host.
- Click Connect,

- Transfer the Slicer and Print.
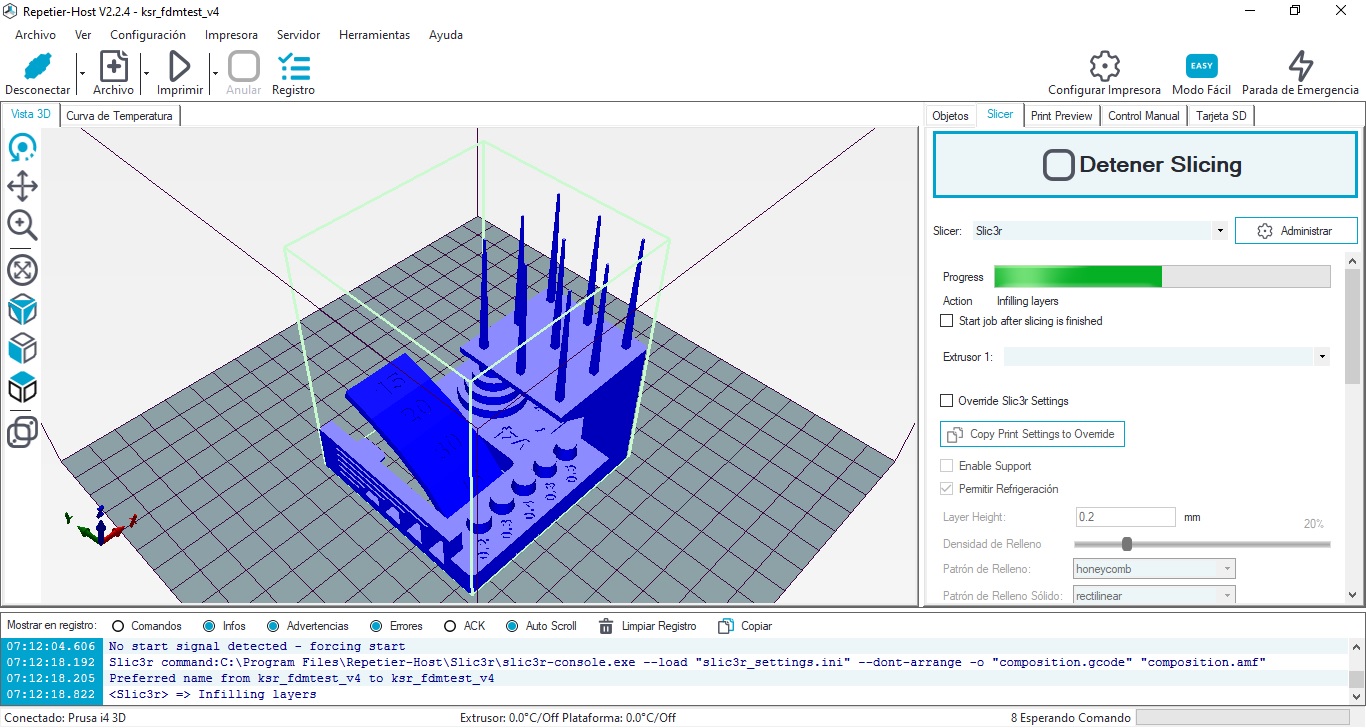
- Printing the Test File
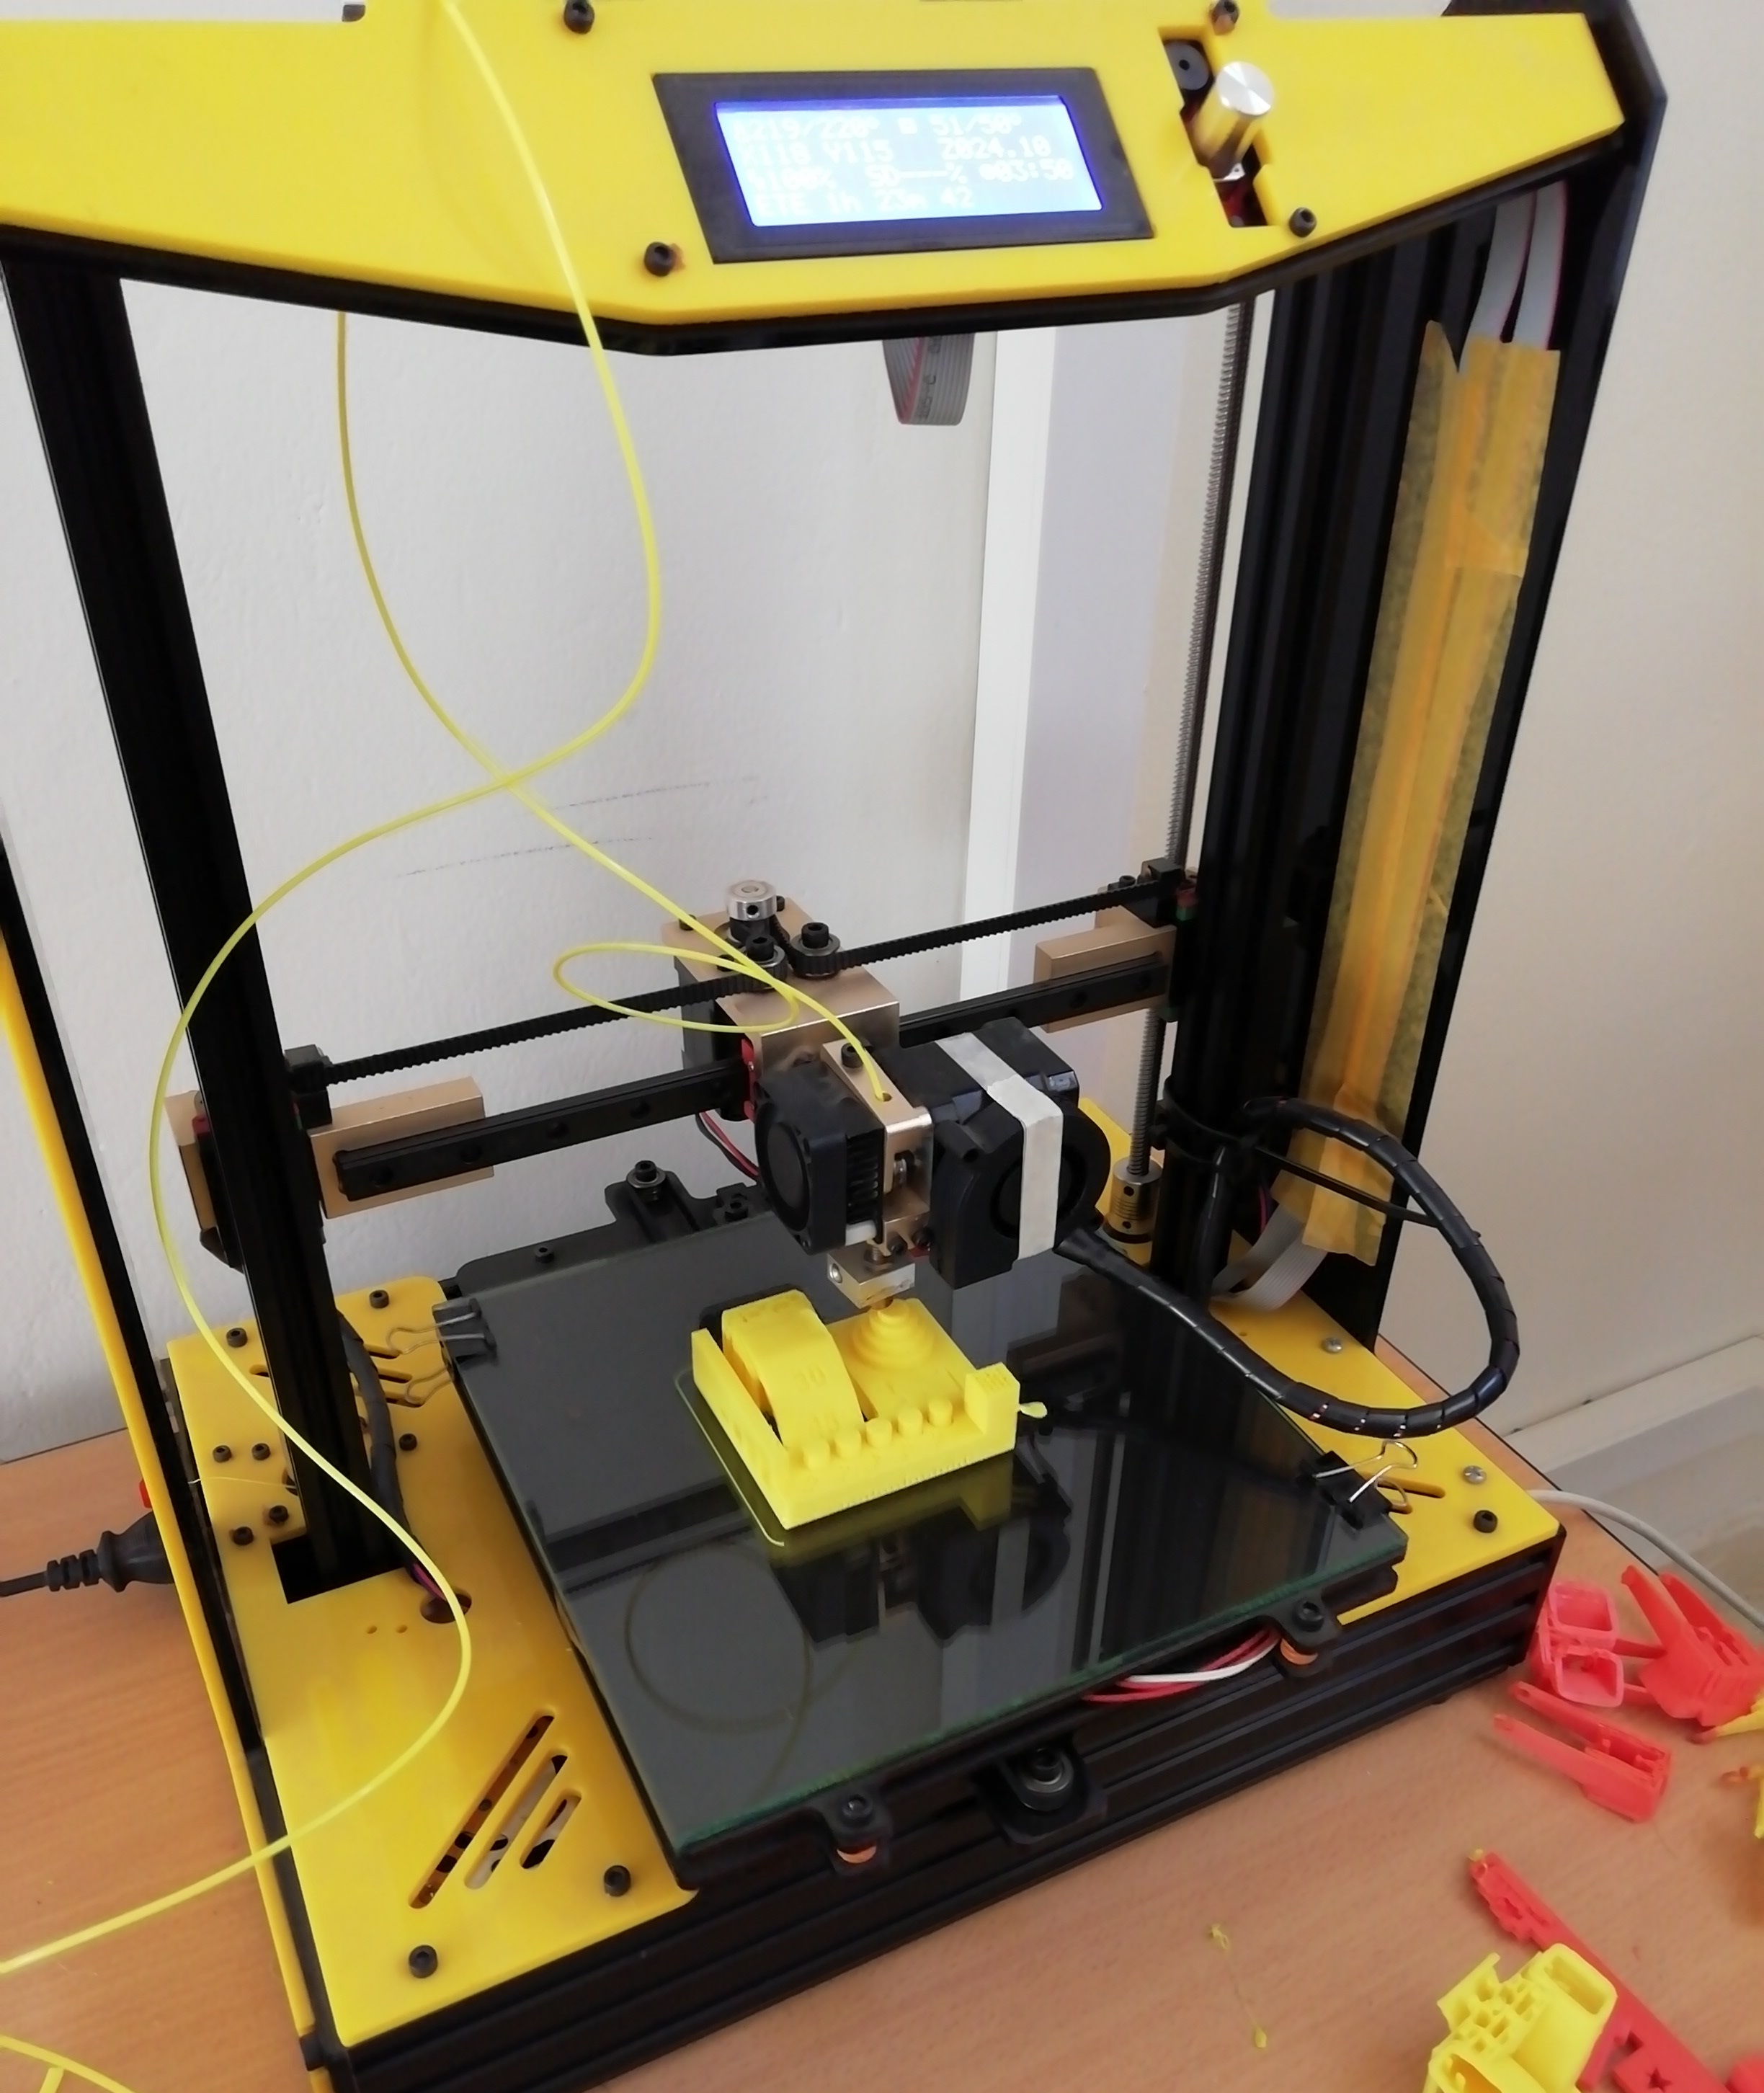
- After 4 hours and 25 minutes I finish printing.
- With the vernier we verify that the measurement is 2 cm.

- As a team we managed to make the 3D pattern.

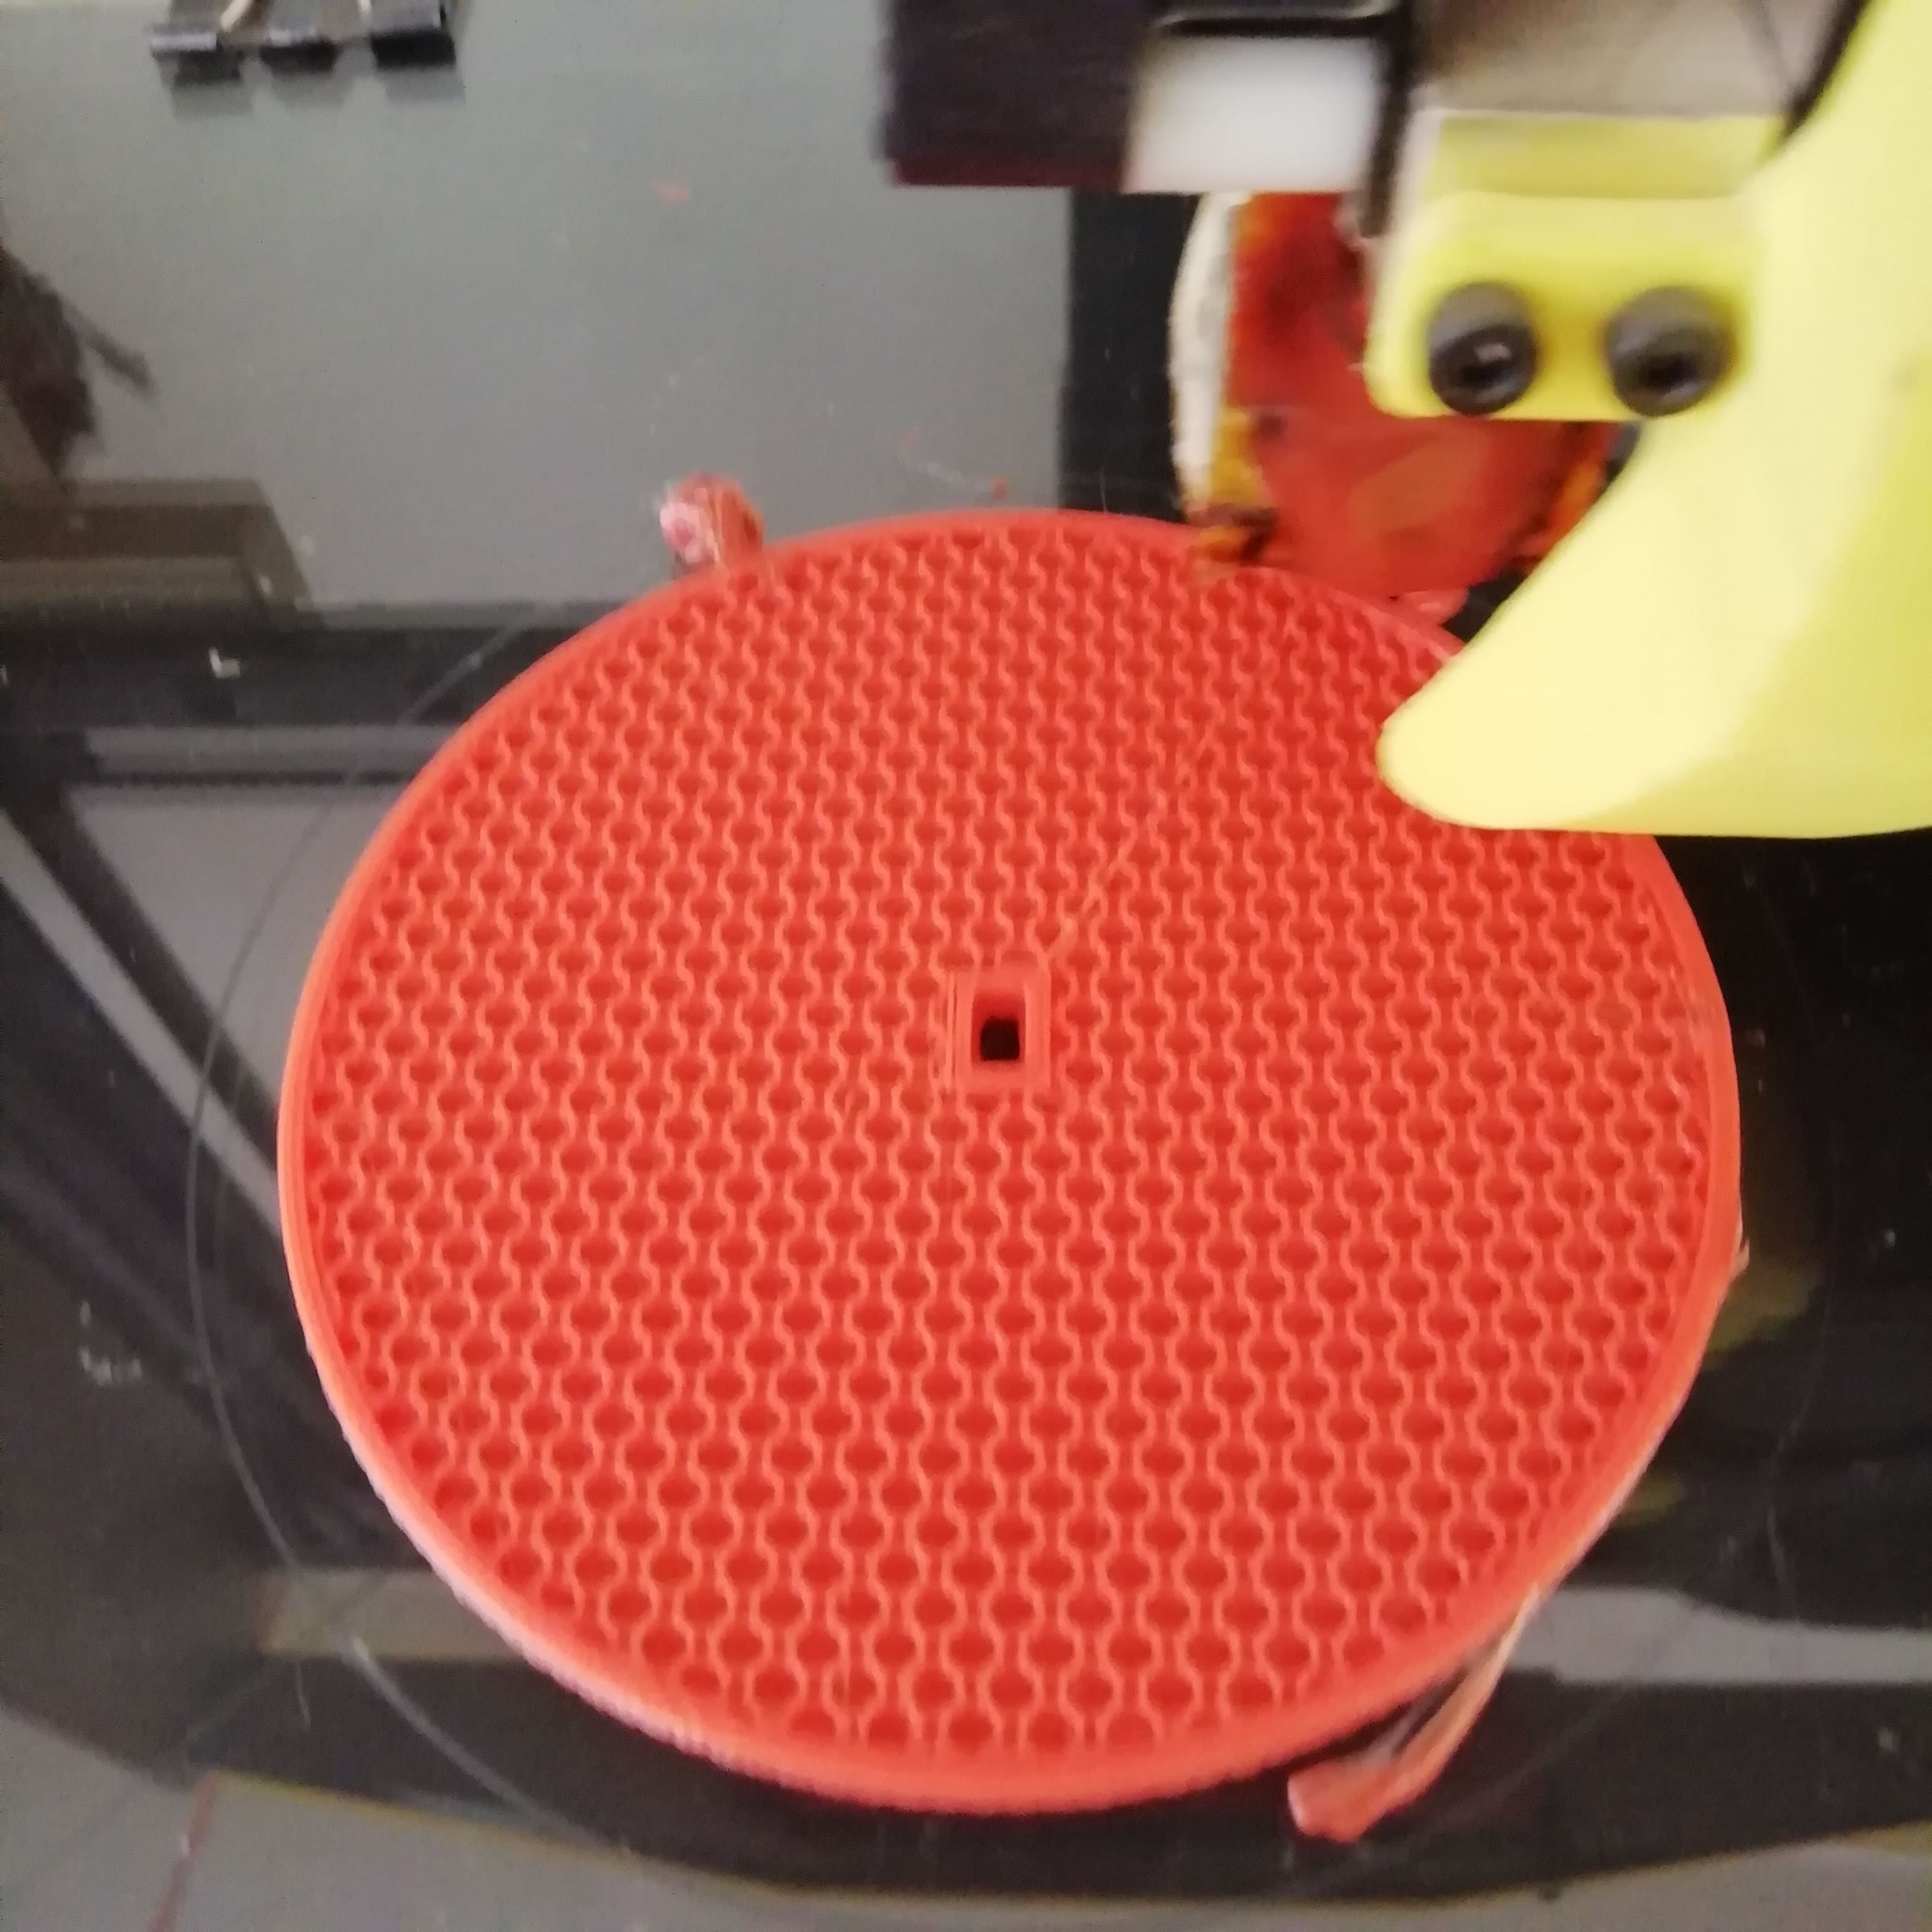
- The printing process of the 3D pattern is shown (the printing took a little more than 4 hours)
- Short Video - 3D Printing Pattern
INDIVIDUAL ASSIGNMENT
-
This week we had access (because we started working) to the environments of our work center “Francisco de Paula Gonzales Vigil Institute of Higher Education” (IESP FPGV). There are two Prusa i4 printers from China. It should be clear that these two printers are not part of the FabLab equipment that should arrive approximately in May 2022.
-
I feel happy because we already have access to the 3D Printer. This is an image of the printers we have (it has been almost two years since March 2020 to 2022 that the IESP FPGV environments are closed due to the Covid-19 pandemic).
1. Design and 3D print an object
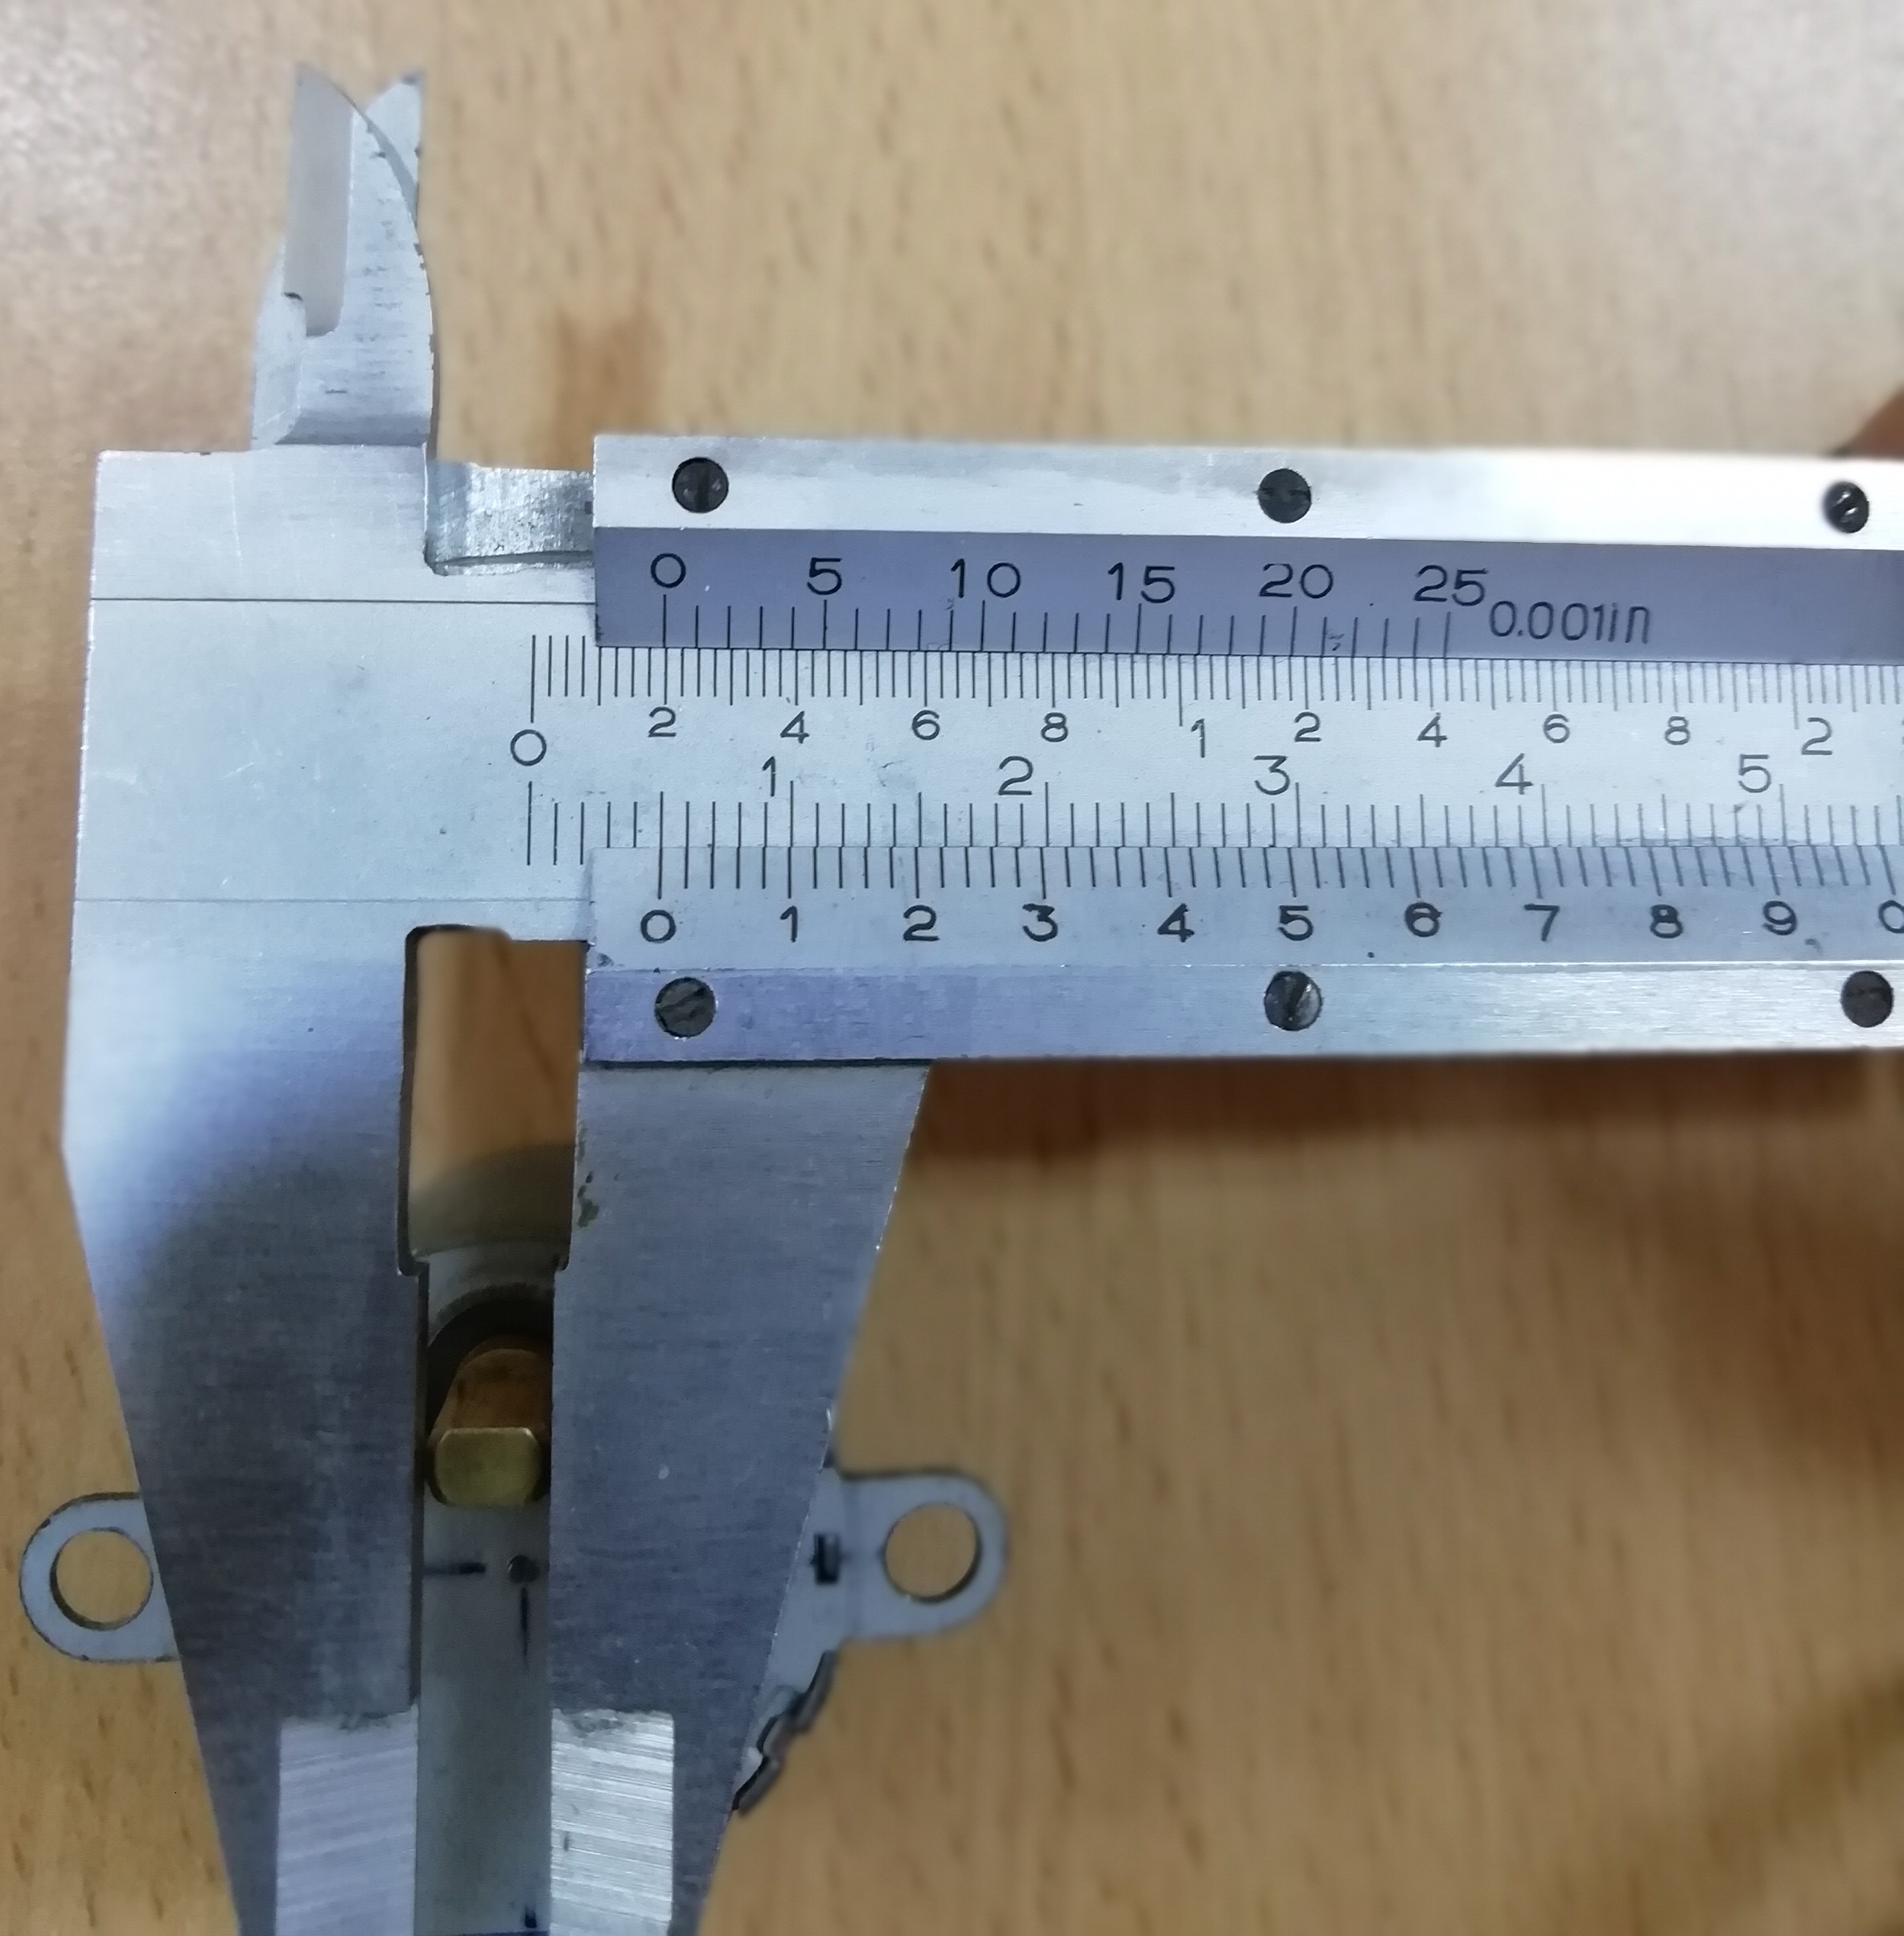
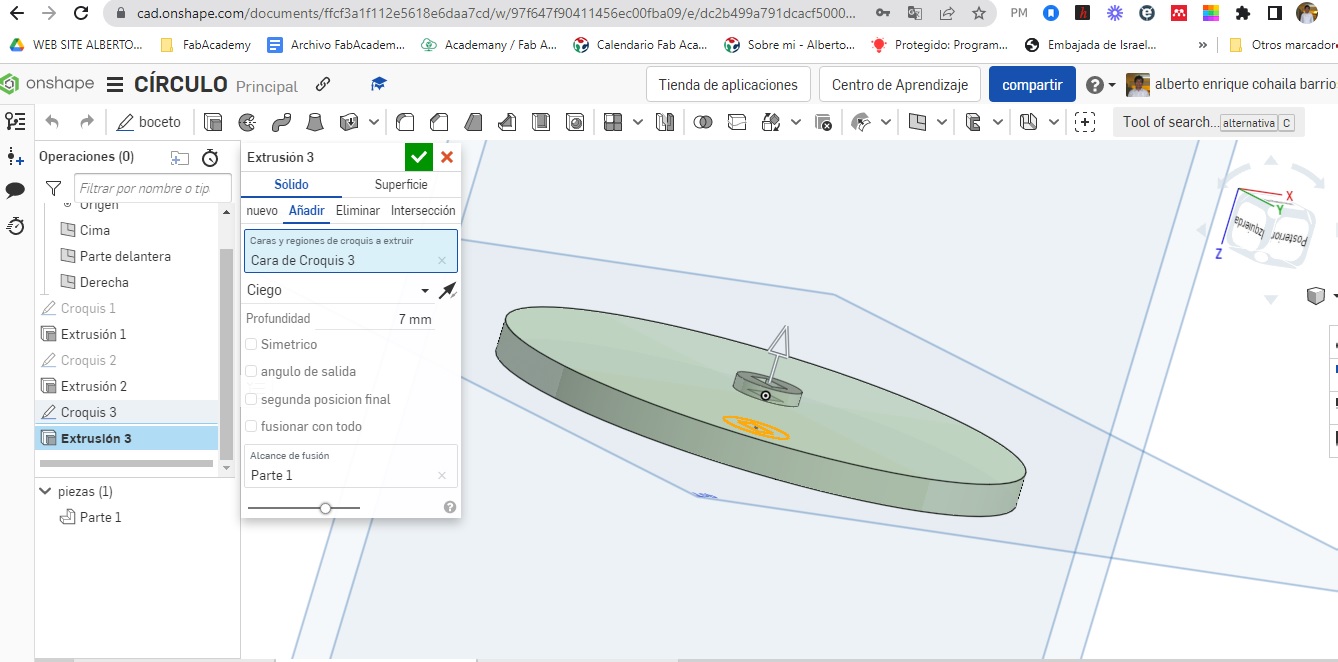
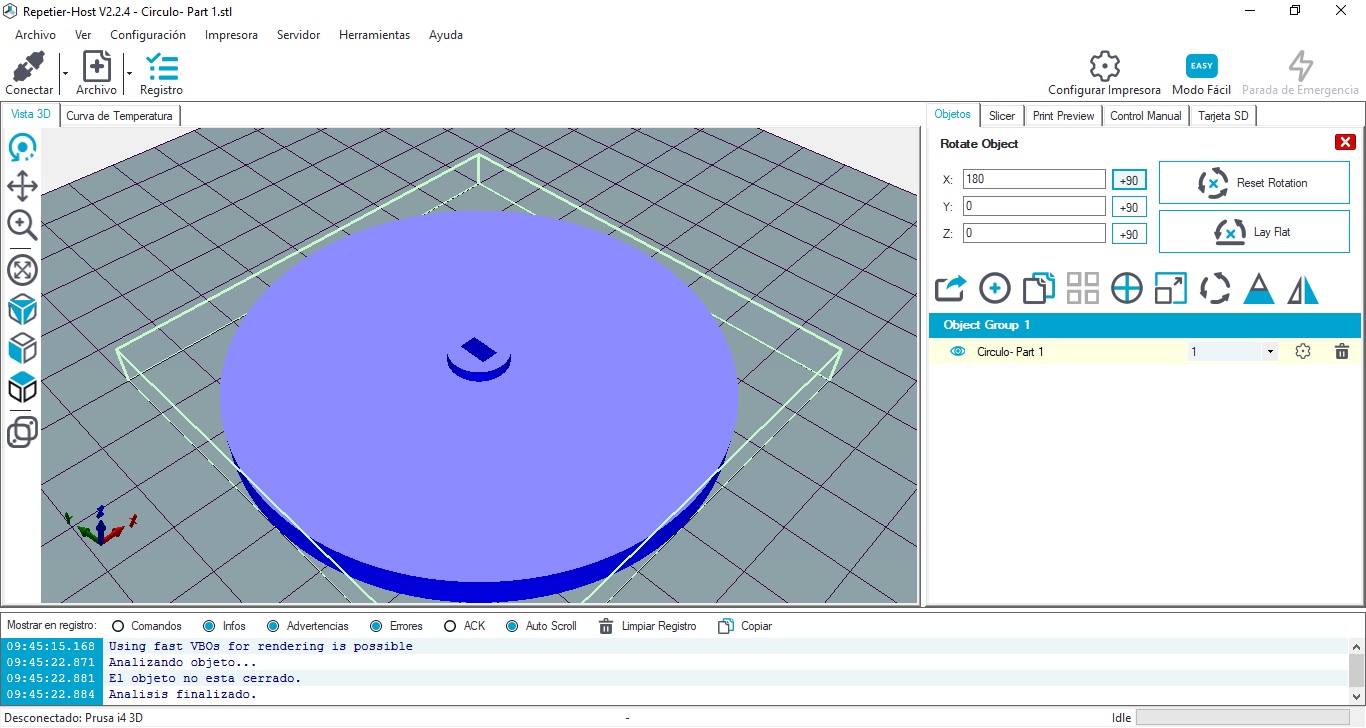
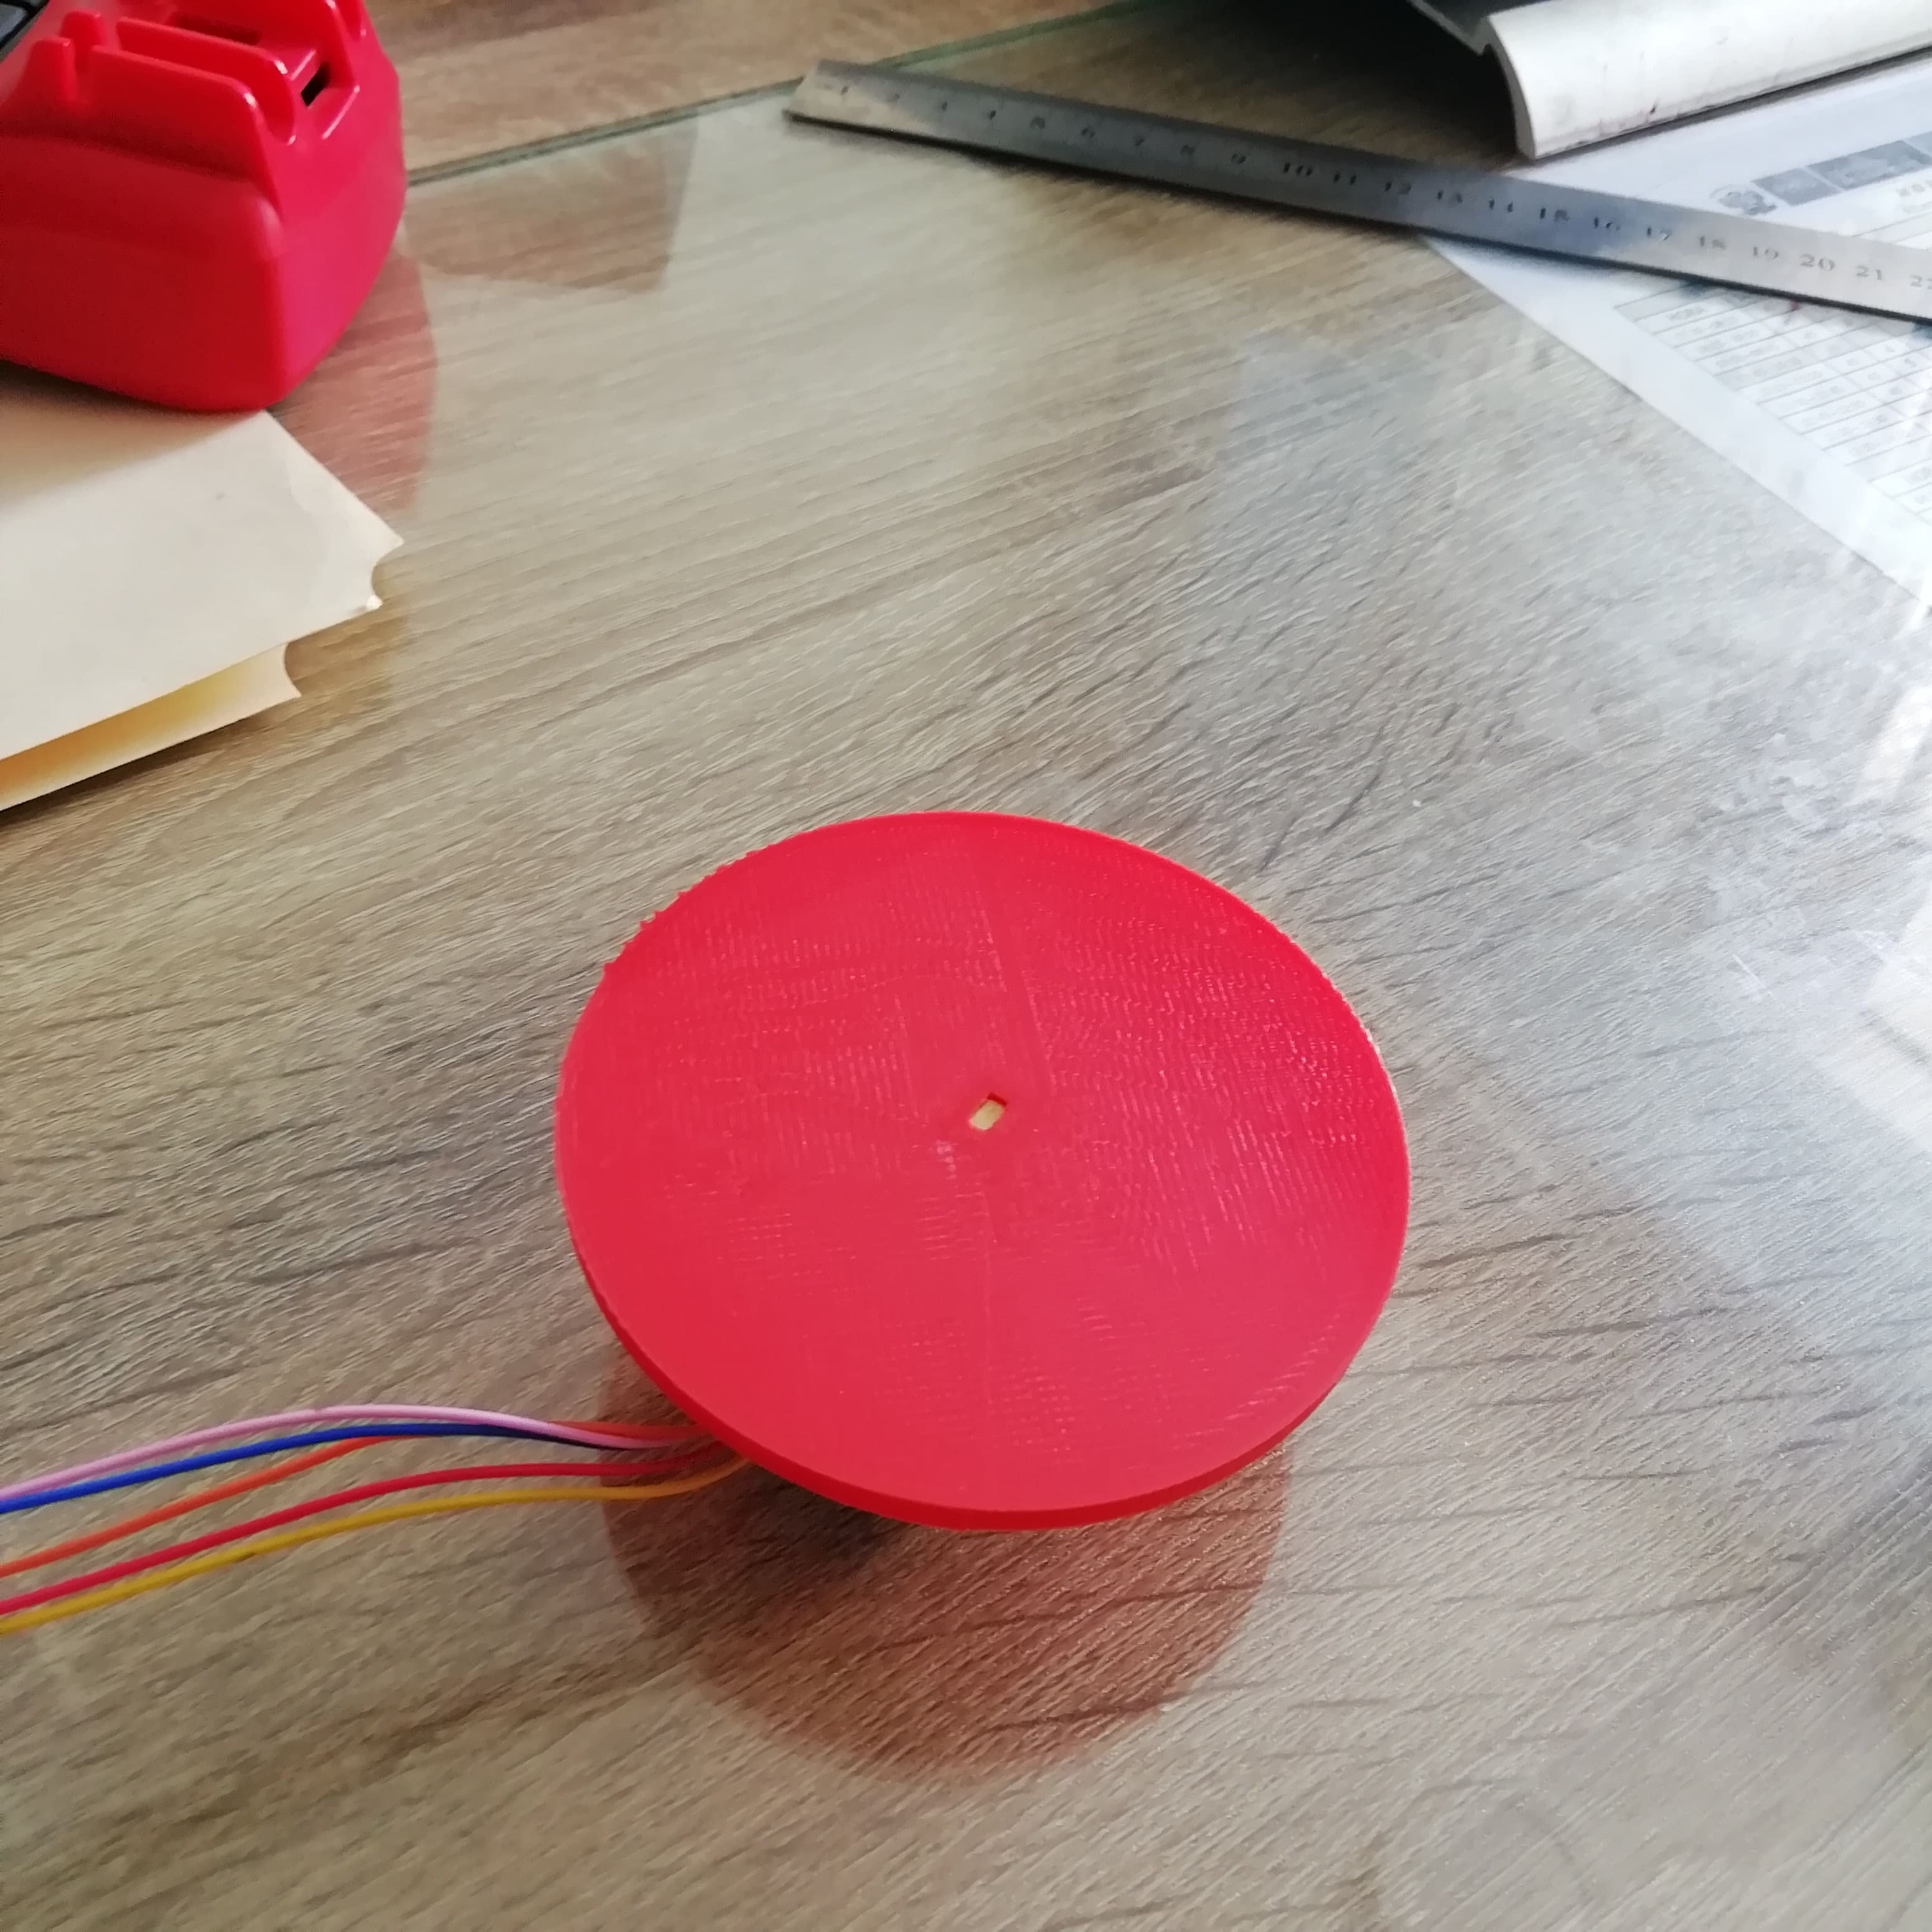
- Since I wanted to make a circular base of 8mm diameter that rotates 360° by means of a stepper motor, I measured the (irregular) axis of the motor with a CLA00 Caliper and 0.02 mm.

- Having the measurements, I proceed to make the design in Onshape.
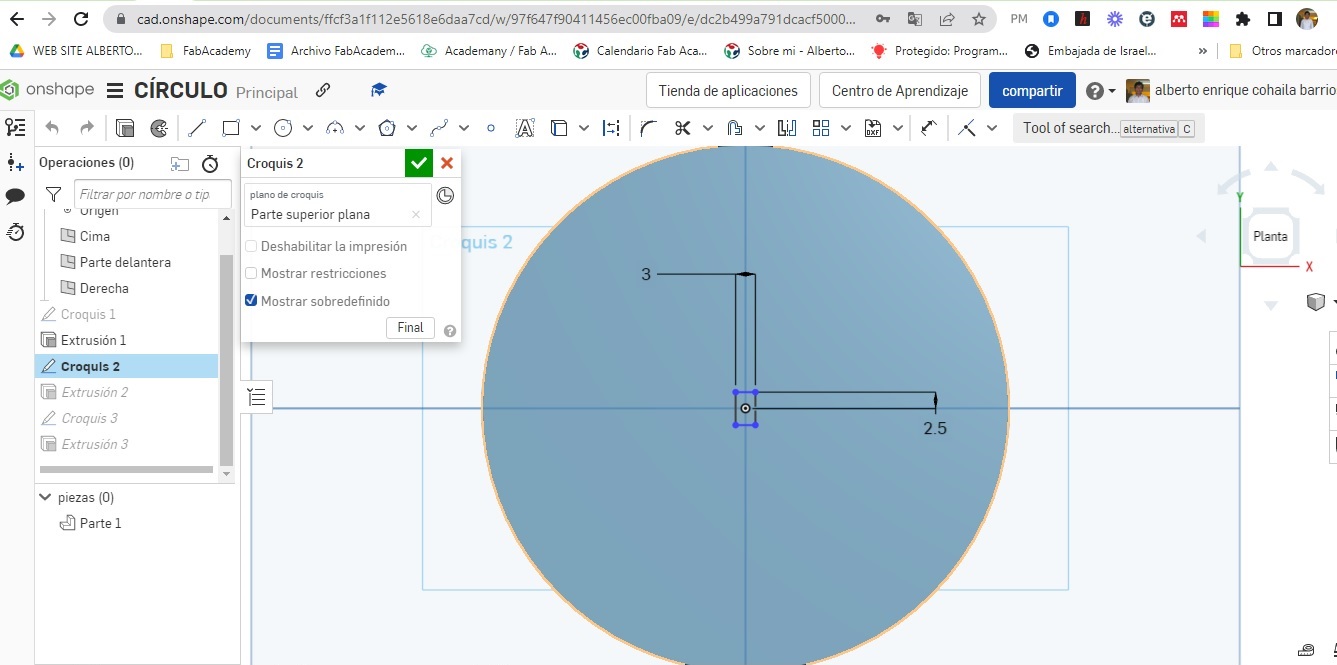
- I give it a 5mm extrusion.

- As the height of the motor shaft is 6 mm, I add a 2 mm protrusion to the disc. (5mm + 2mm=7mm extrusion)
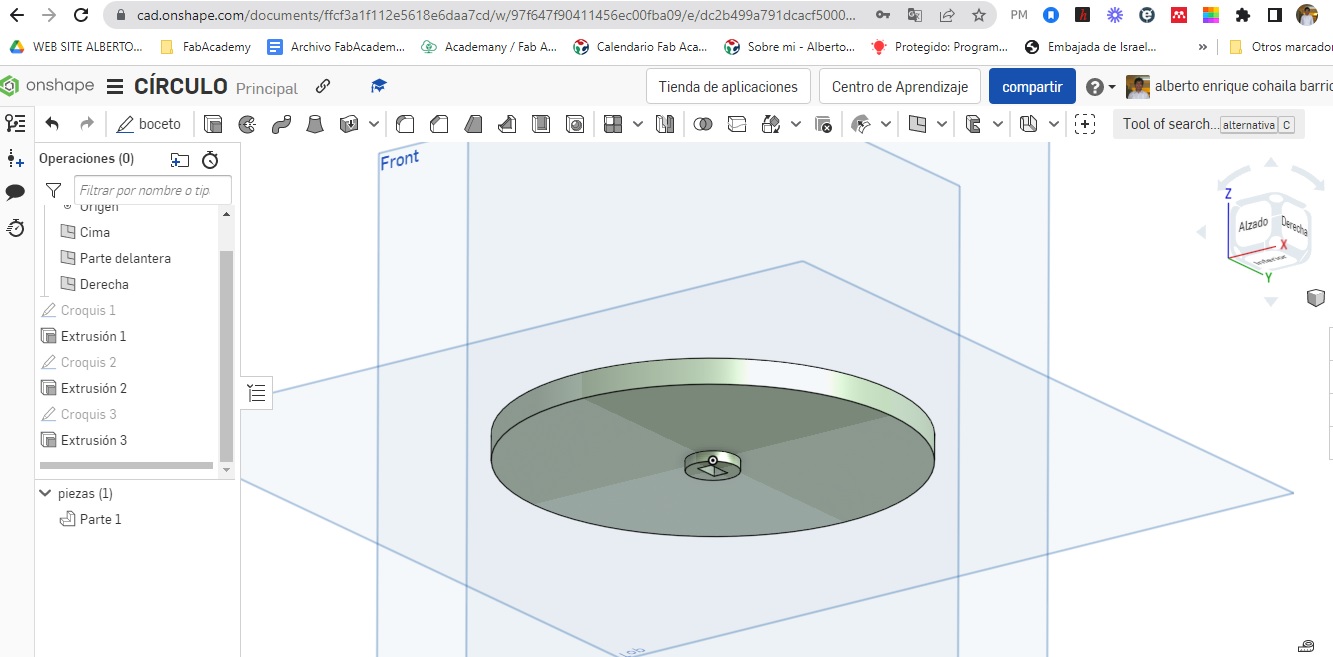
- I already have the 3D piece ready to print.
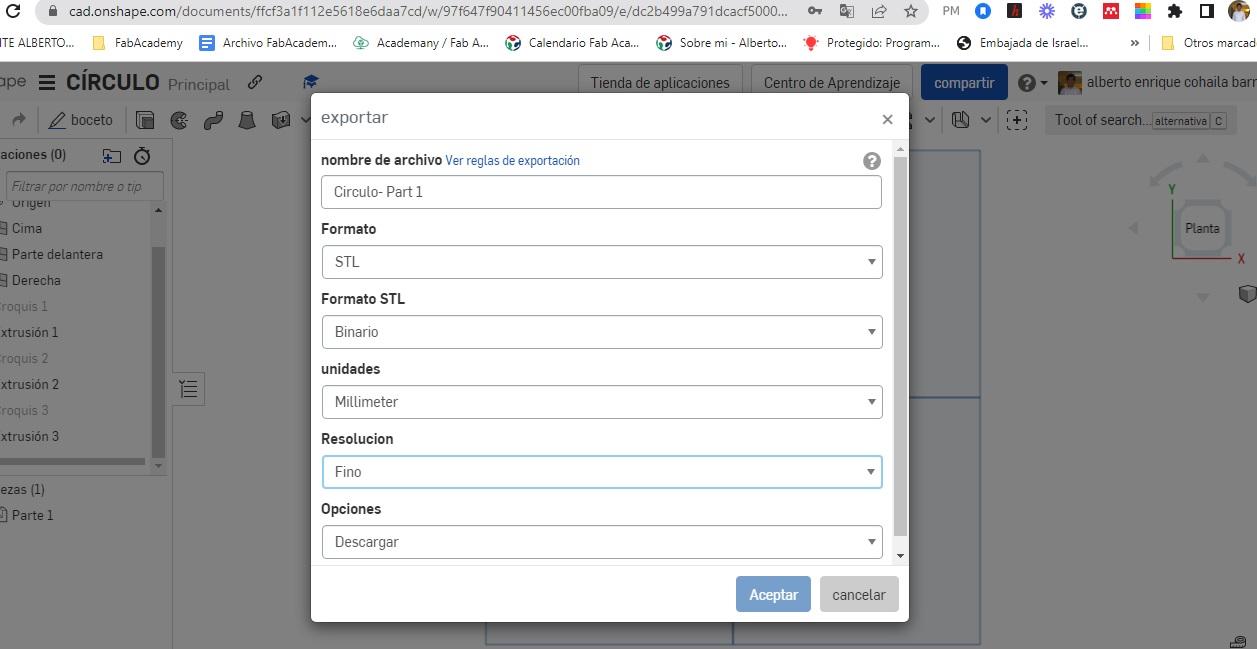
- Export the file in .stl extension format
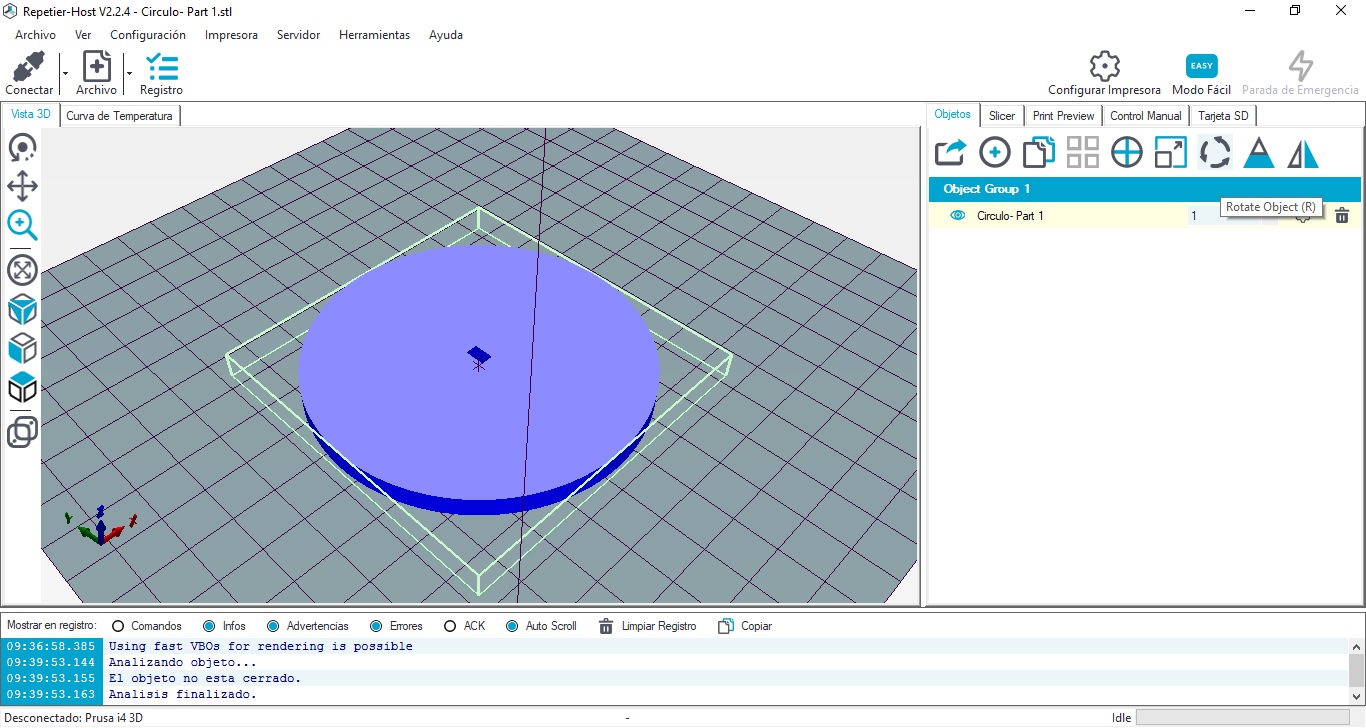
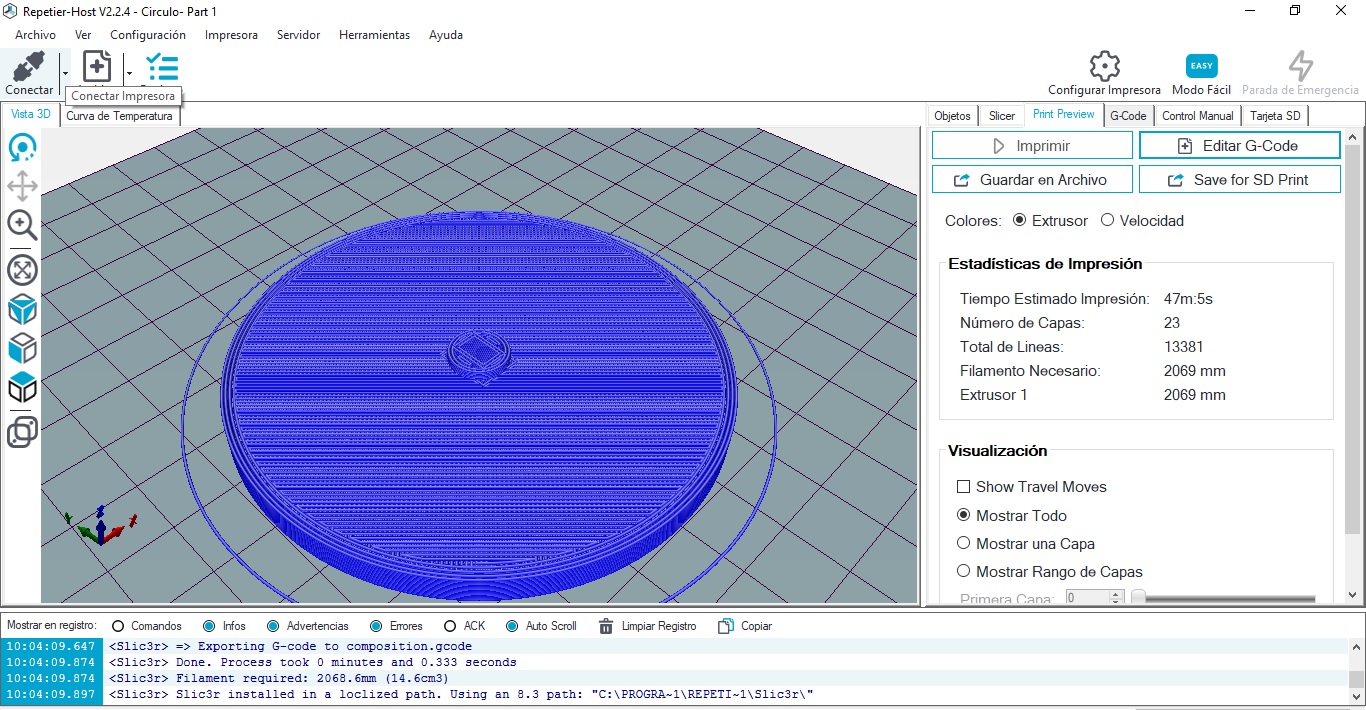
- The Prusa i4 printer uses the Repetier-Host software. Load the .stl extension file.
- For ease, I rotate the piece 180 degrees, so the flat surface is level with the bed. Then proceeded to print.
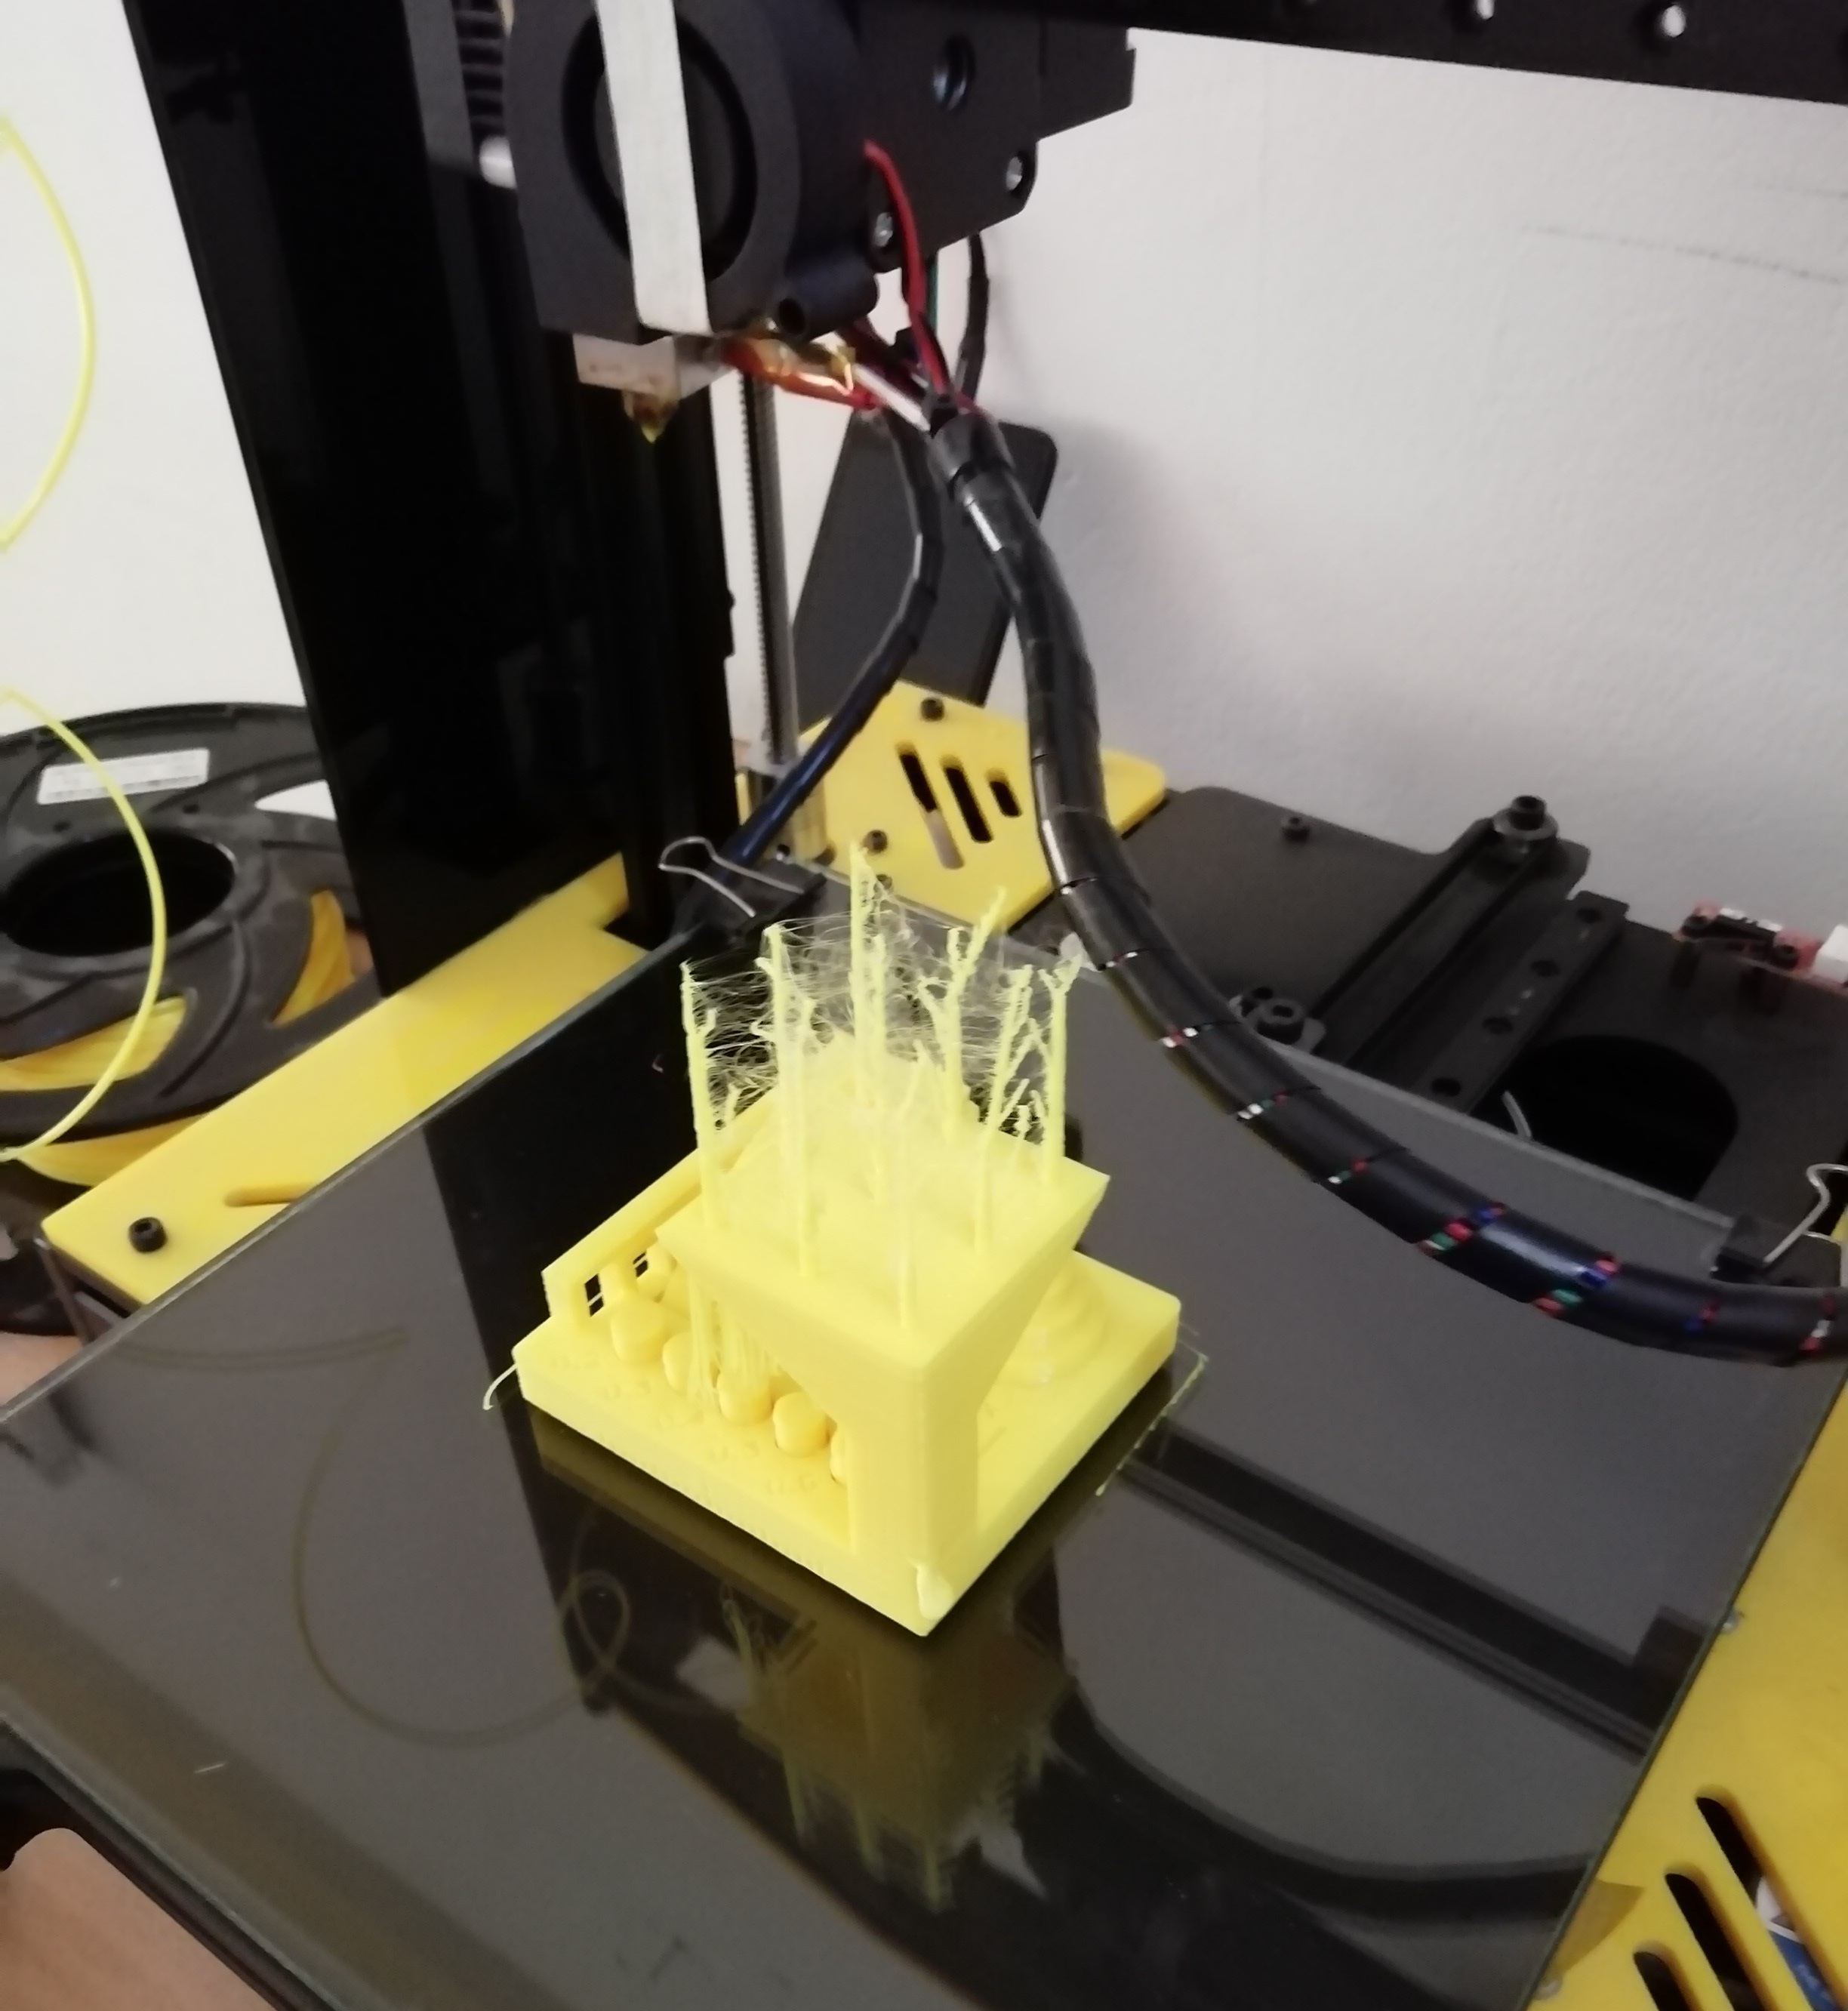
- The time it took to print was 47 min.
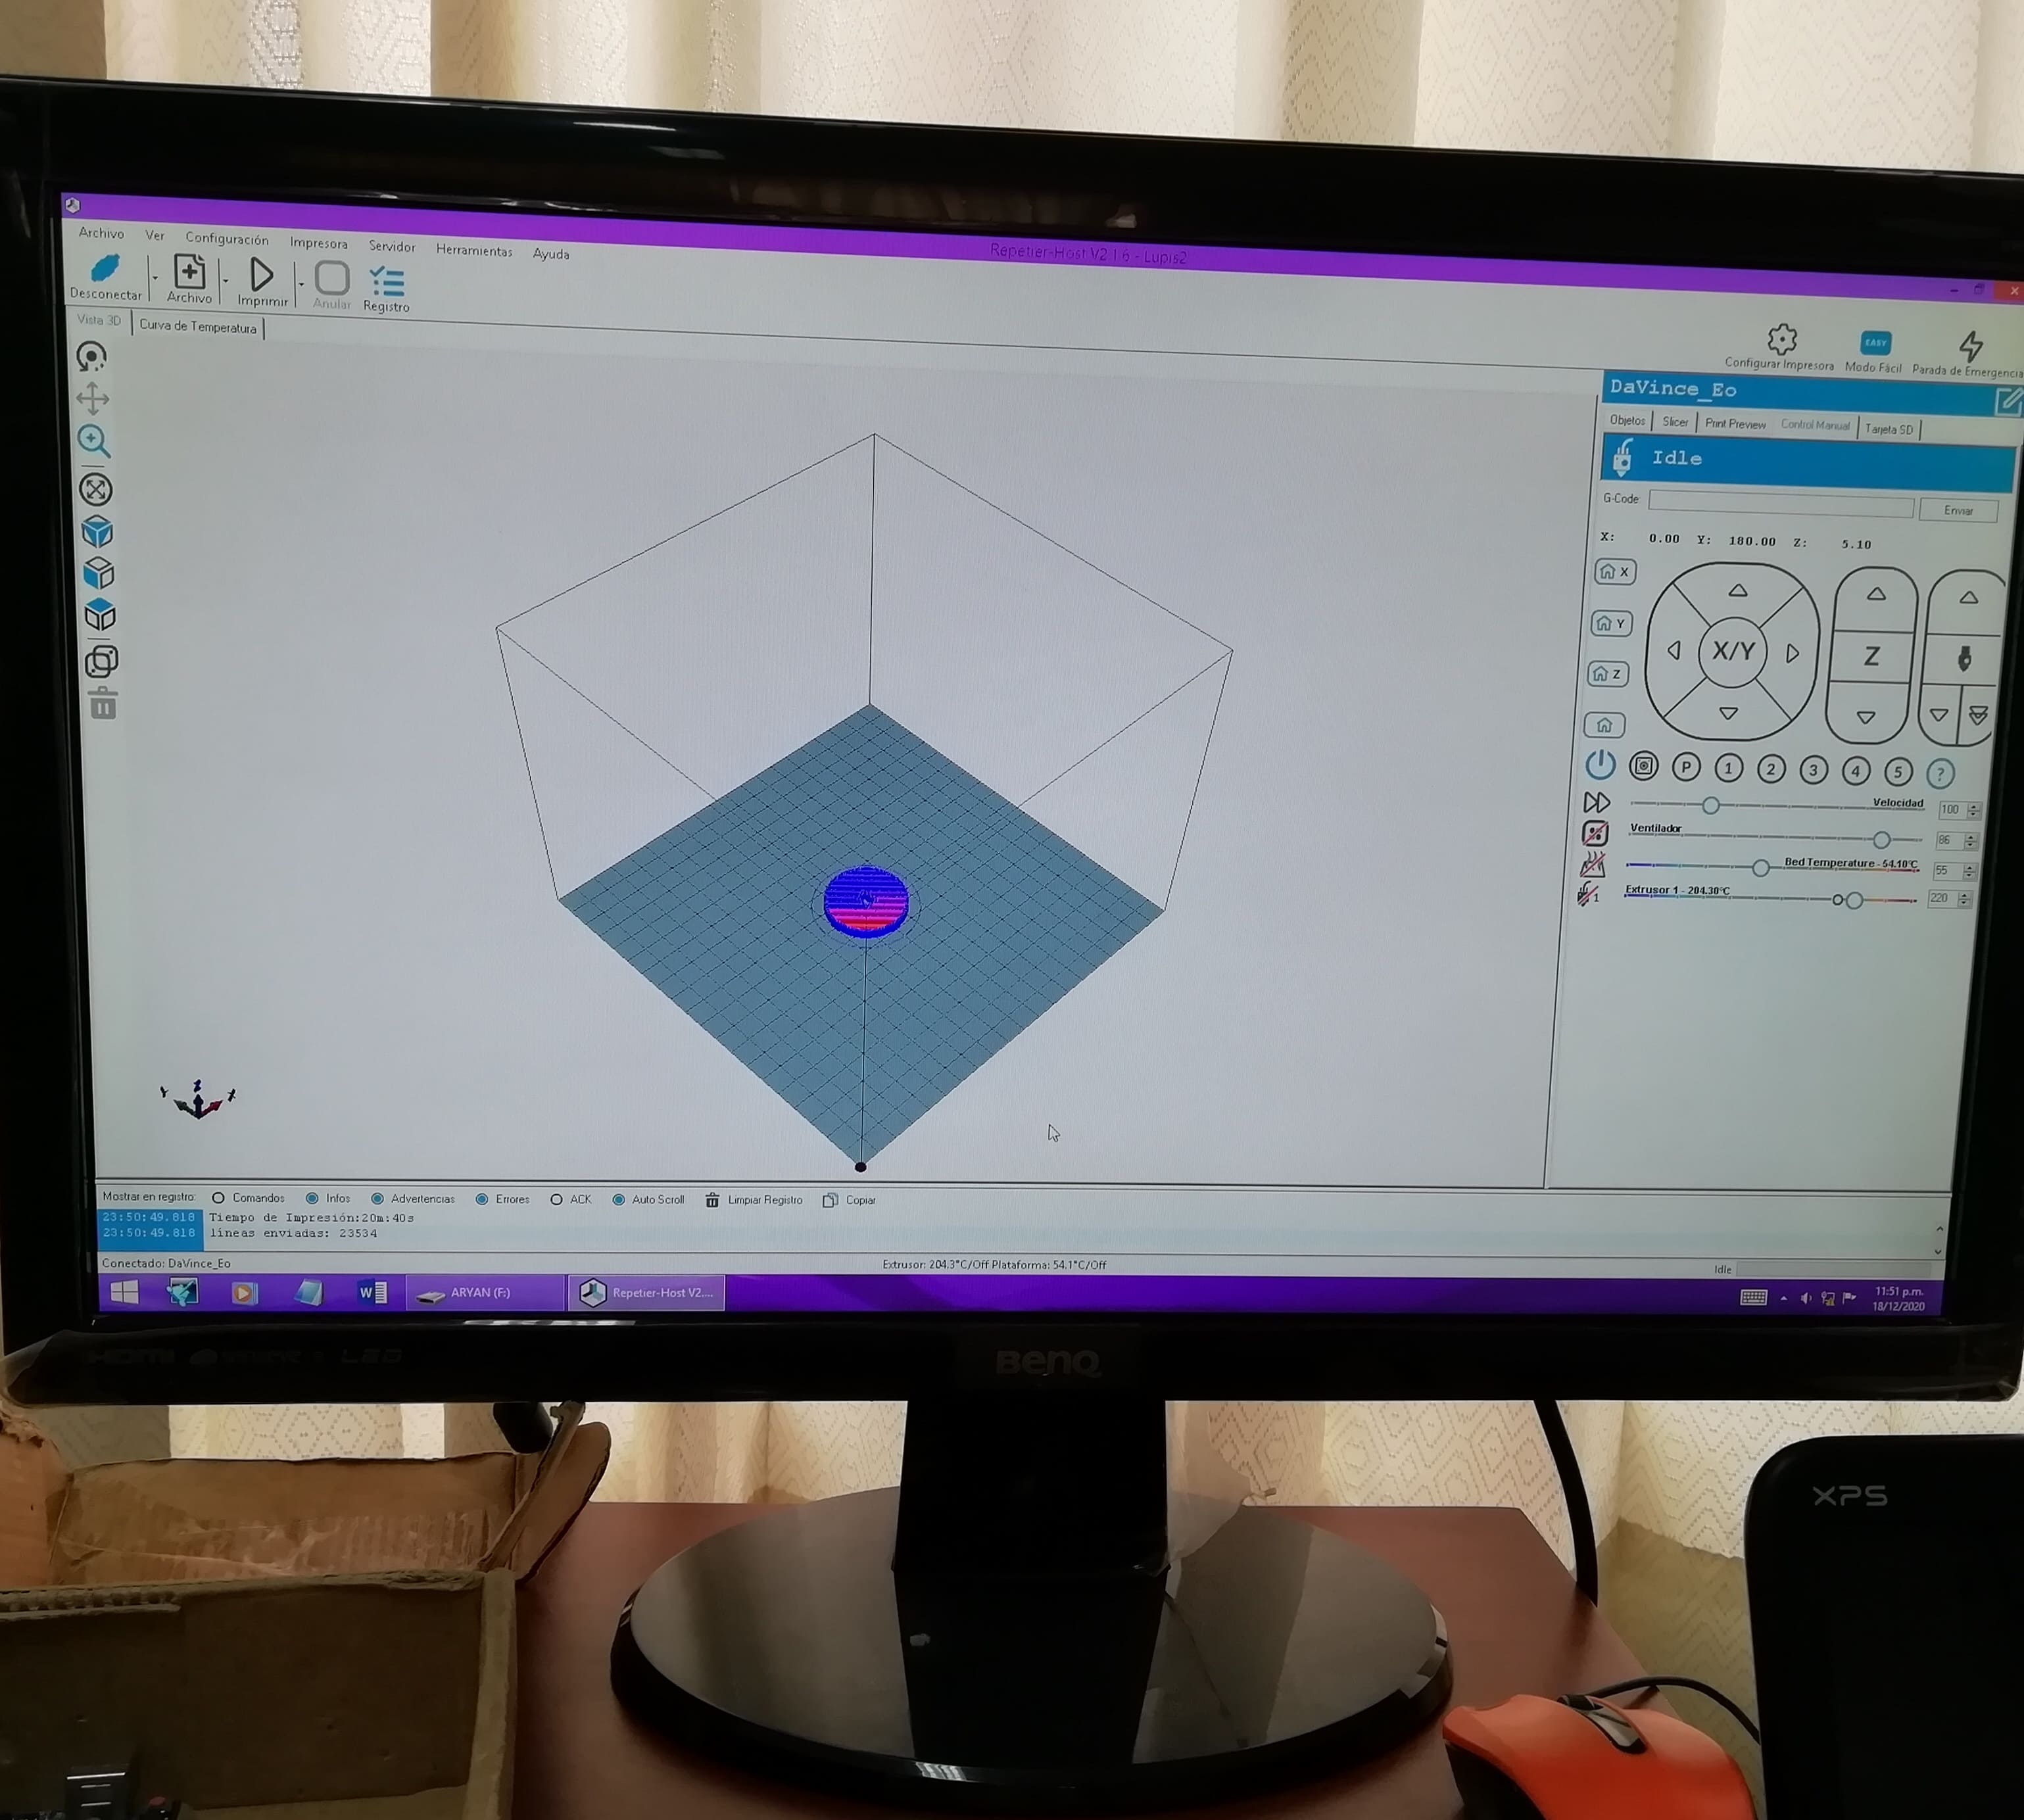
- The Repetier-Host indicates that 20 min of printing has elapsed.
- Isometric view of 3D printing.
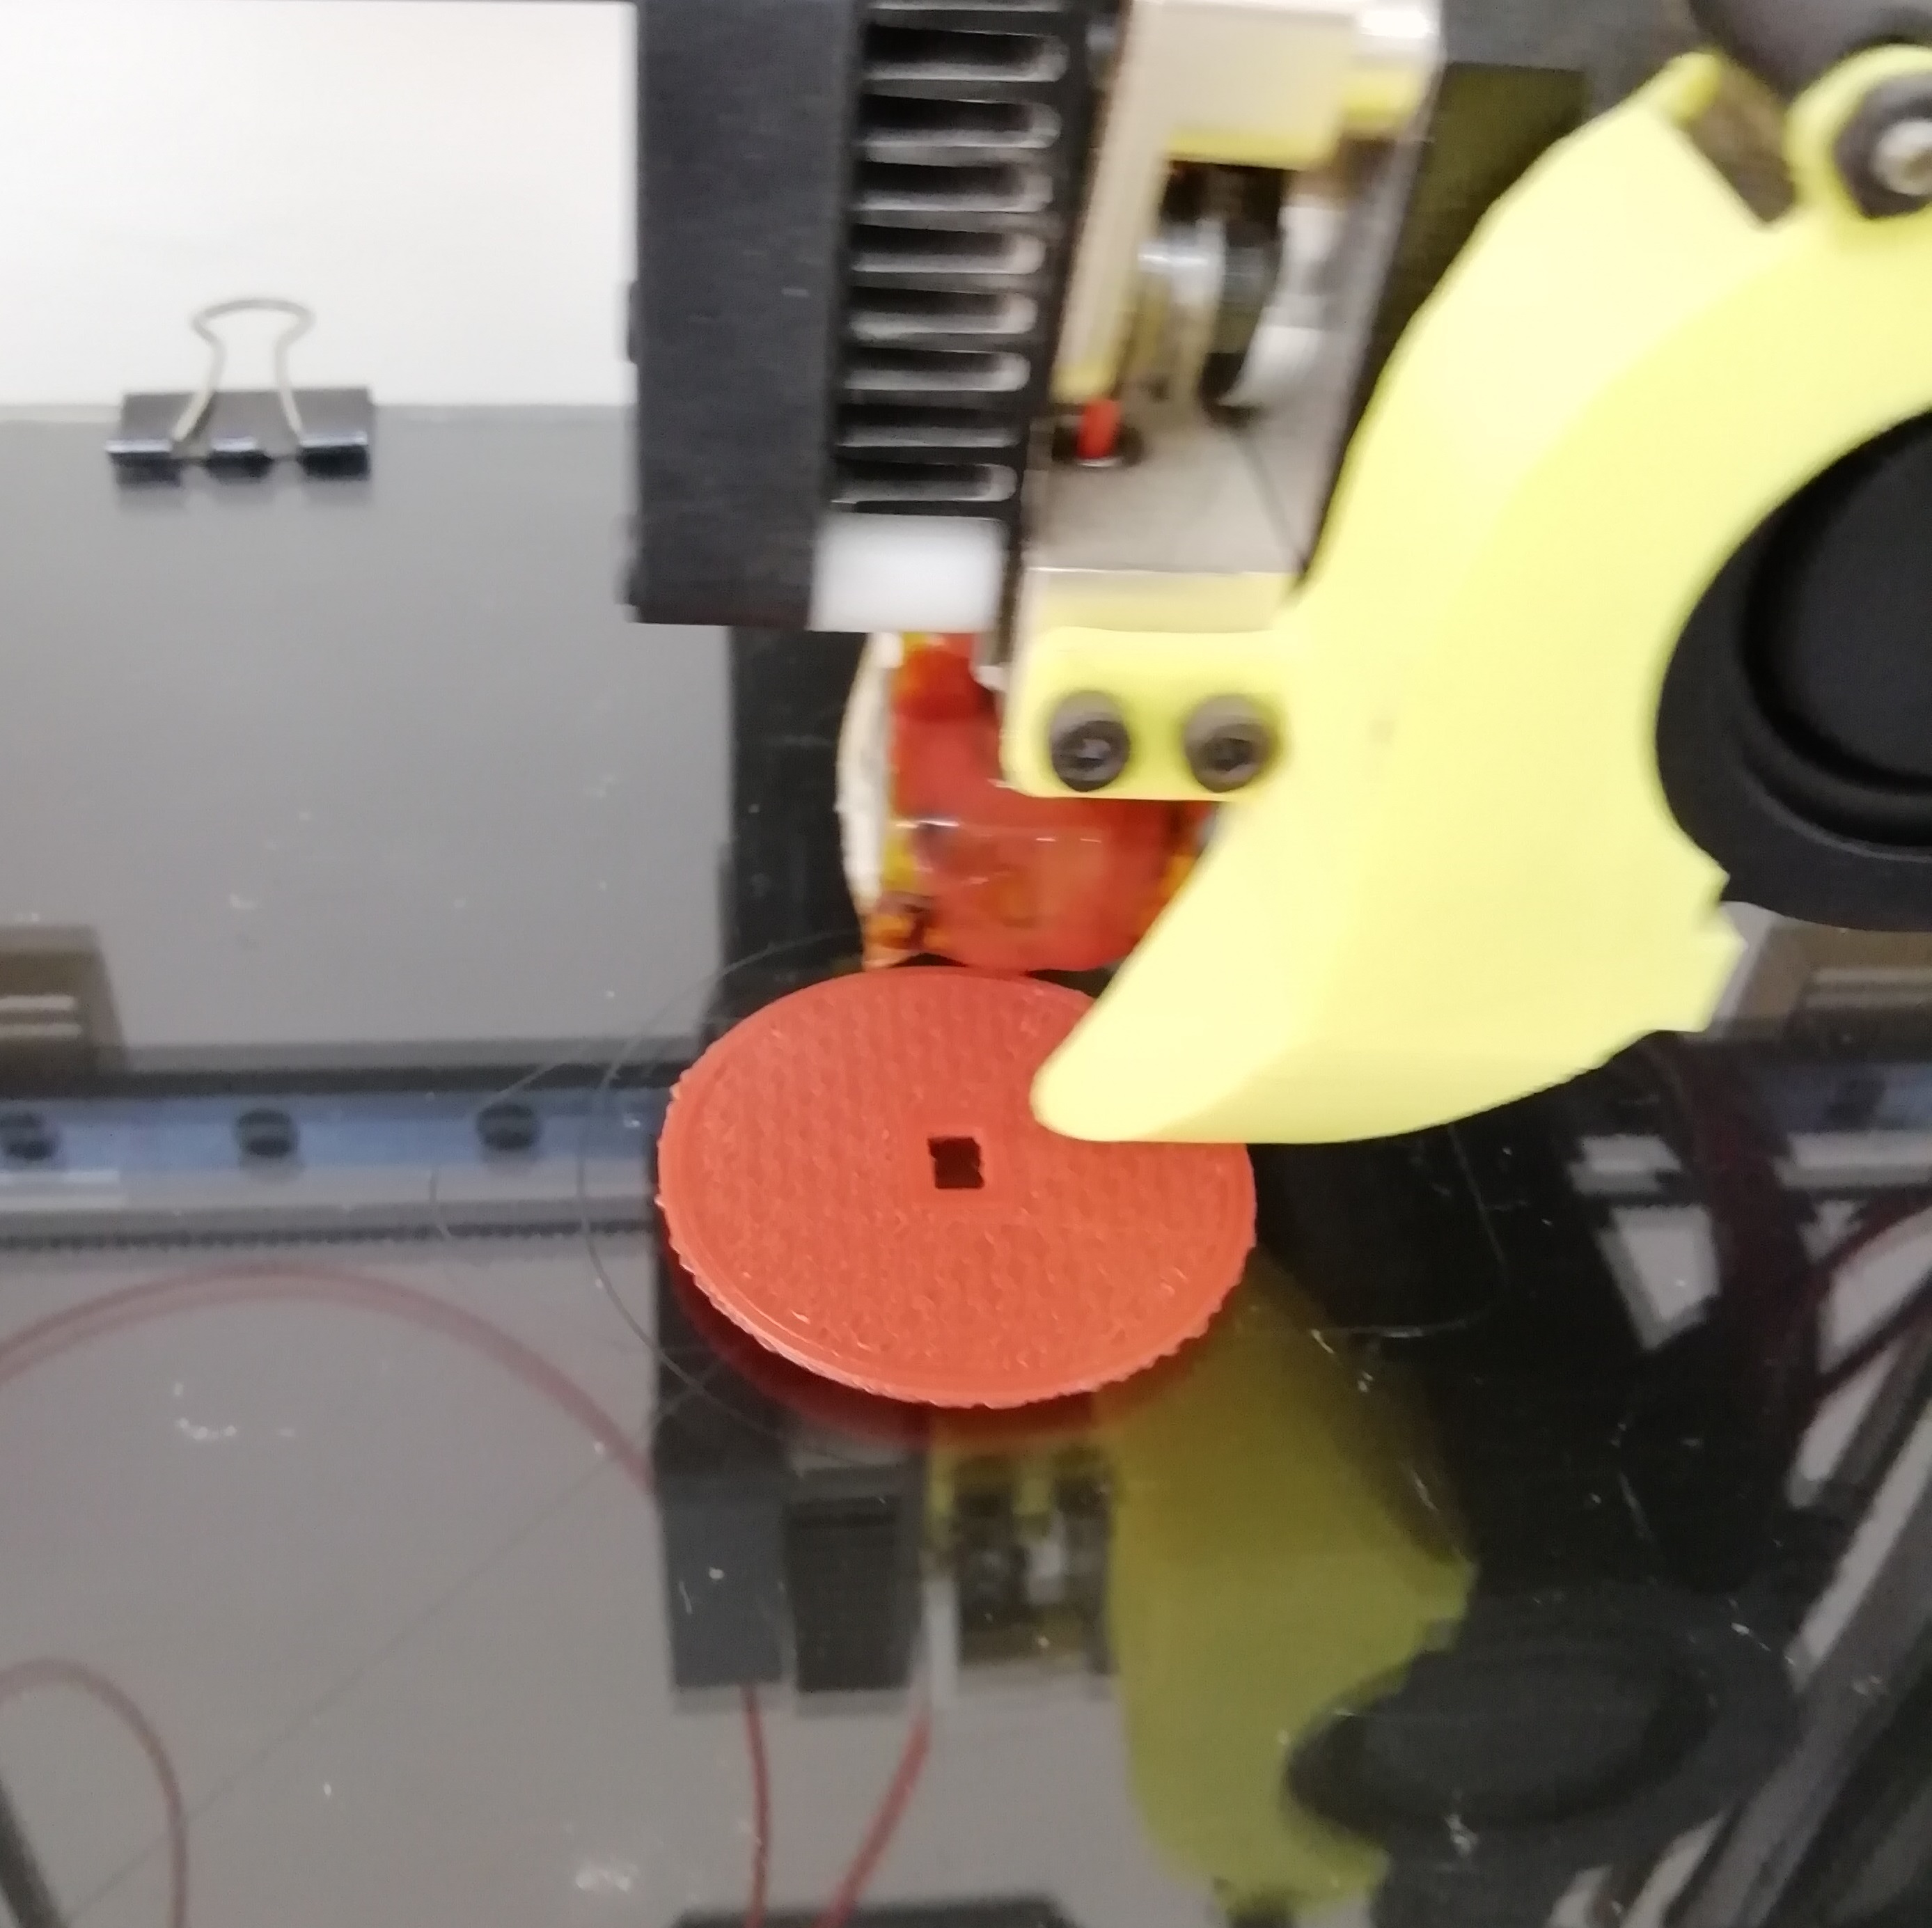
- A close up of the image shows how the mesh is done internally of the solid surface.
- The video shows what 3D printing looks like at this stage.
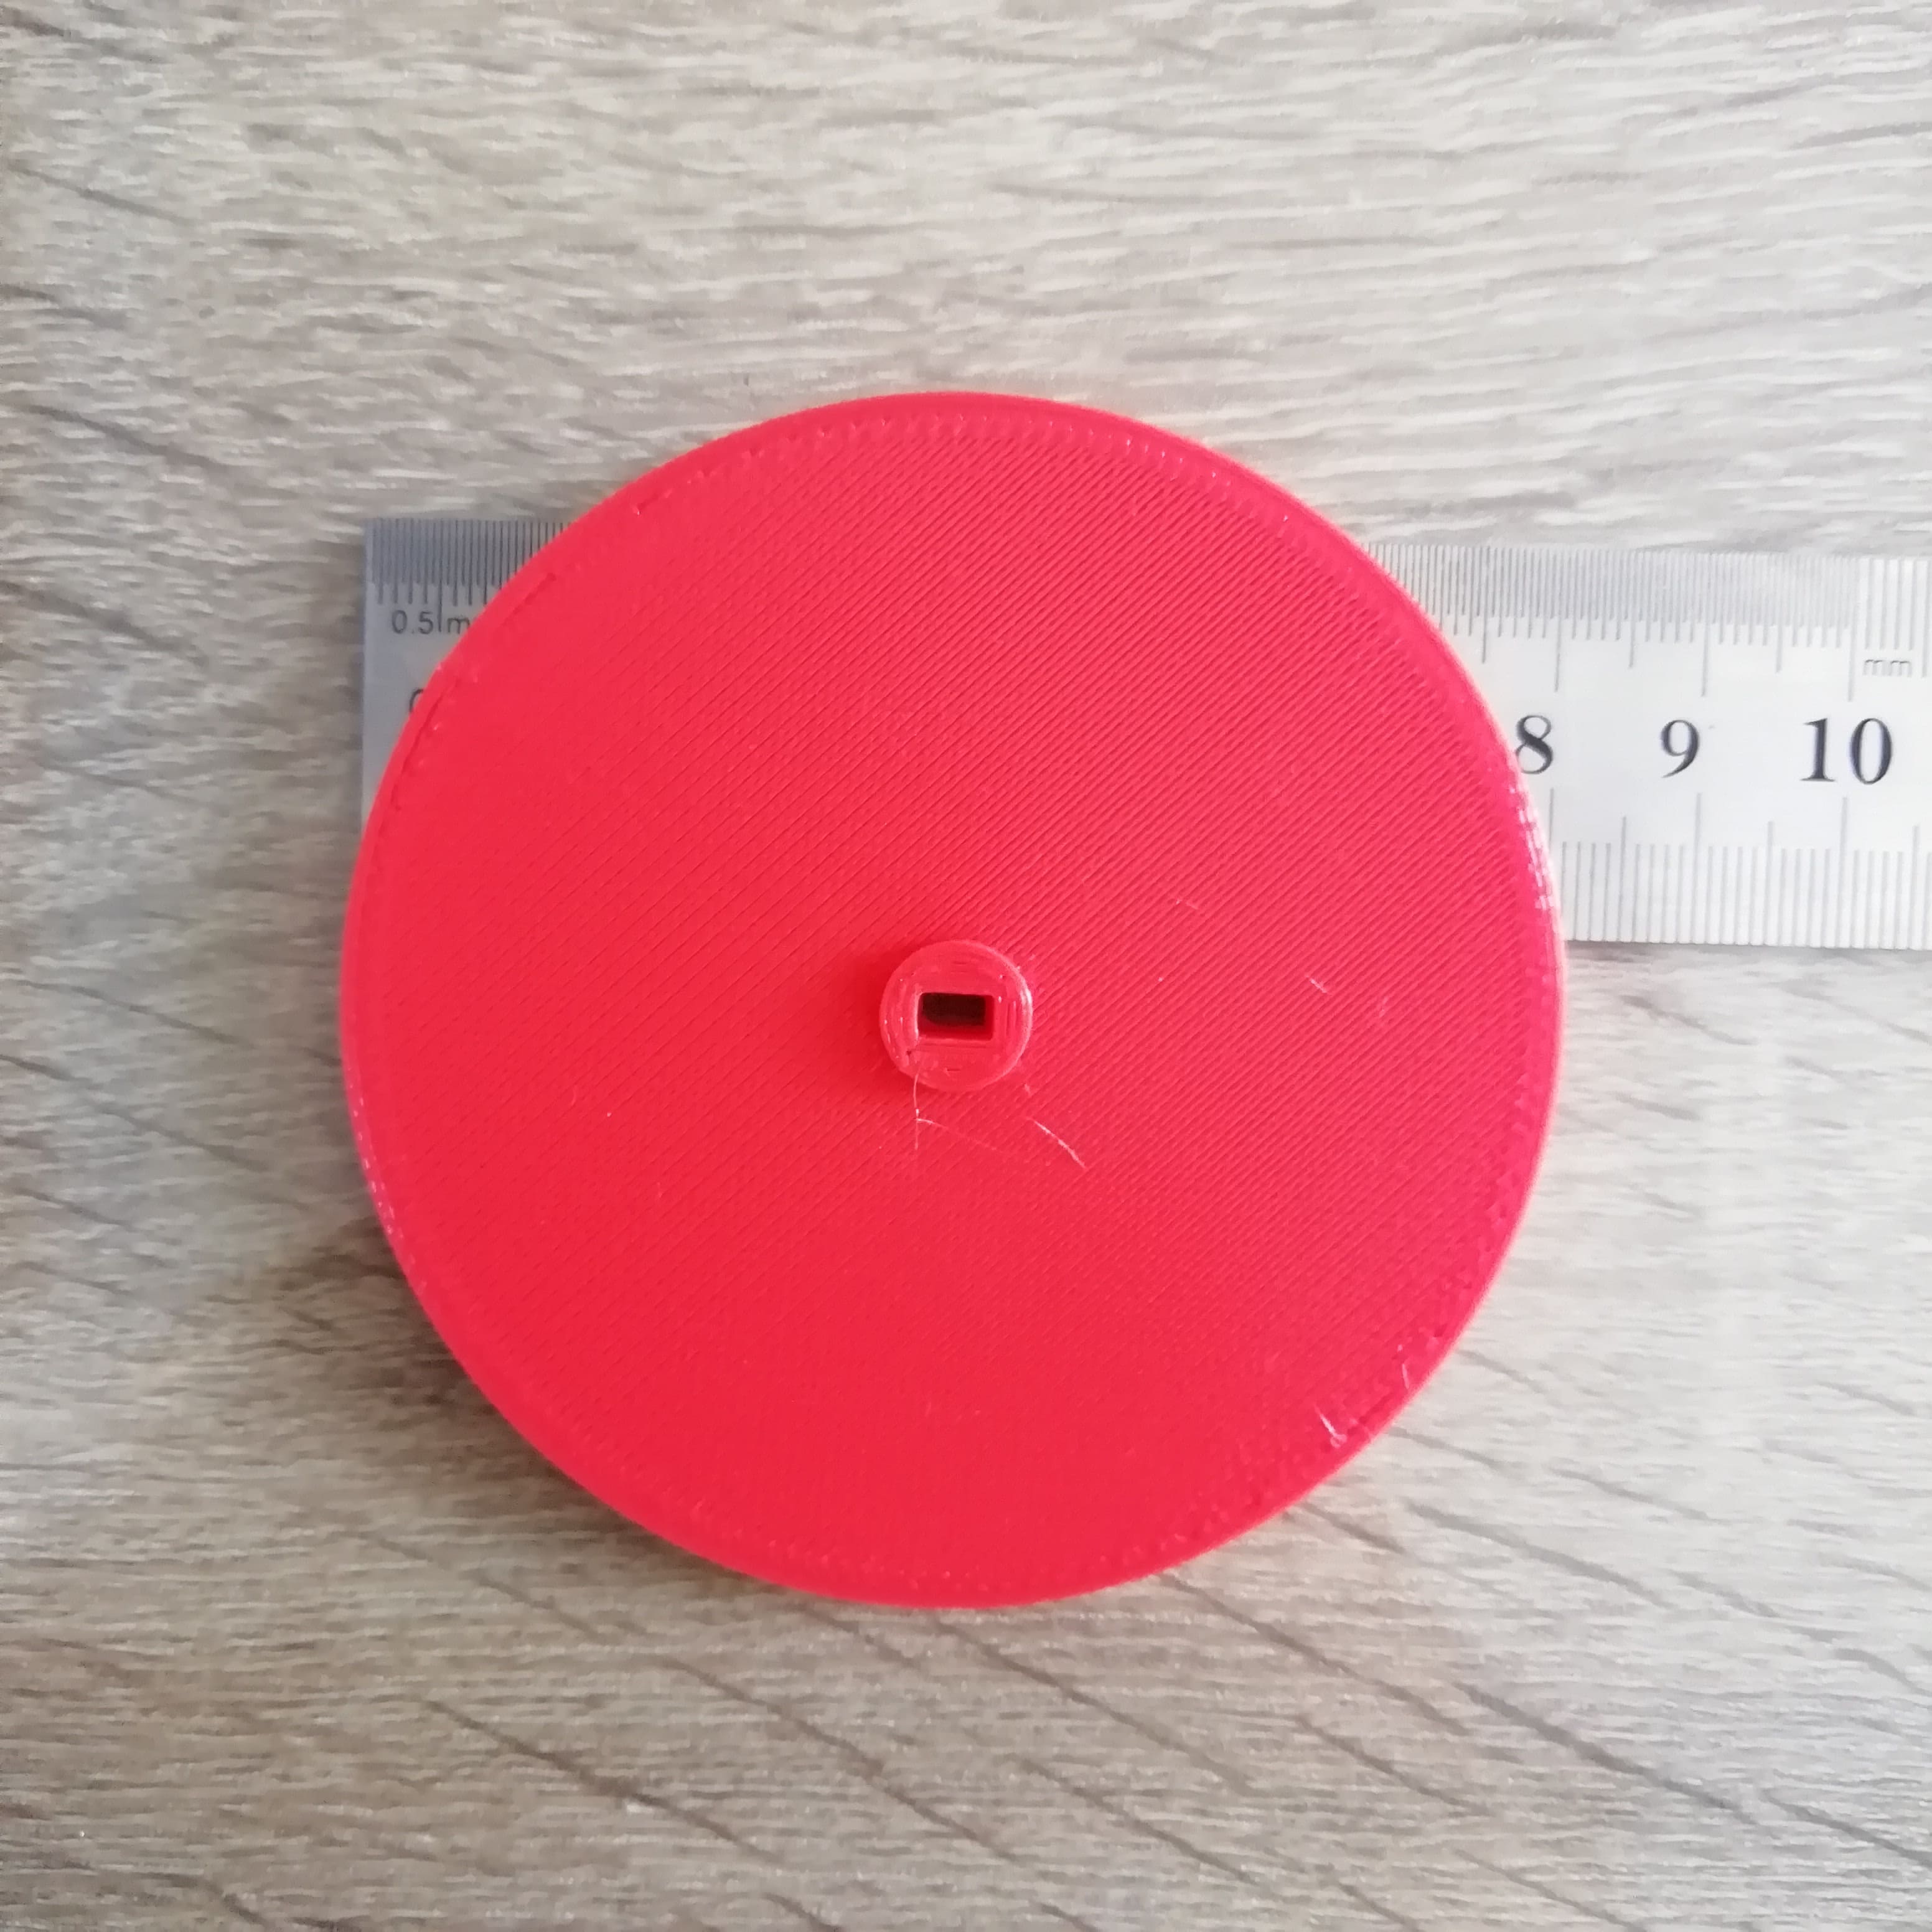
- Finally the 3D printed circle is ready,

- I proceed to verify the diameter measurement. The ruler indicates 8 cm.
- I proceed to place it on the motor shaft,

- Apply a little pressure and
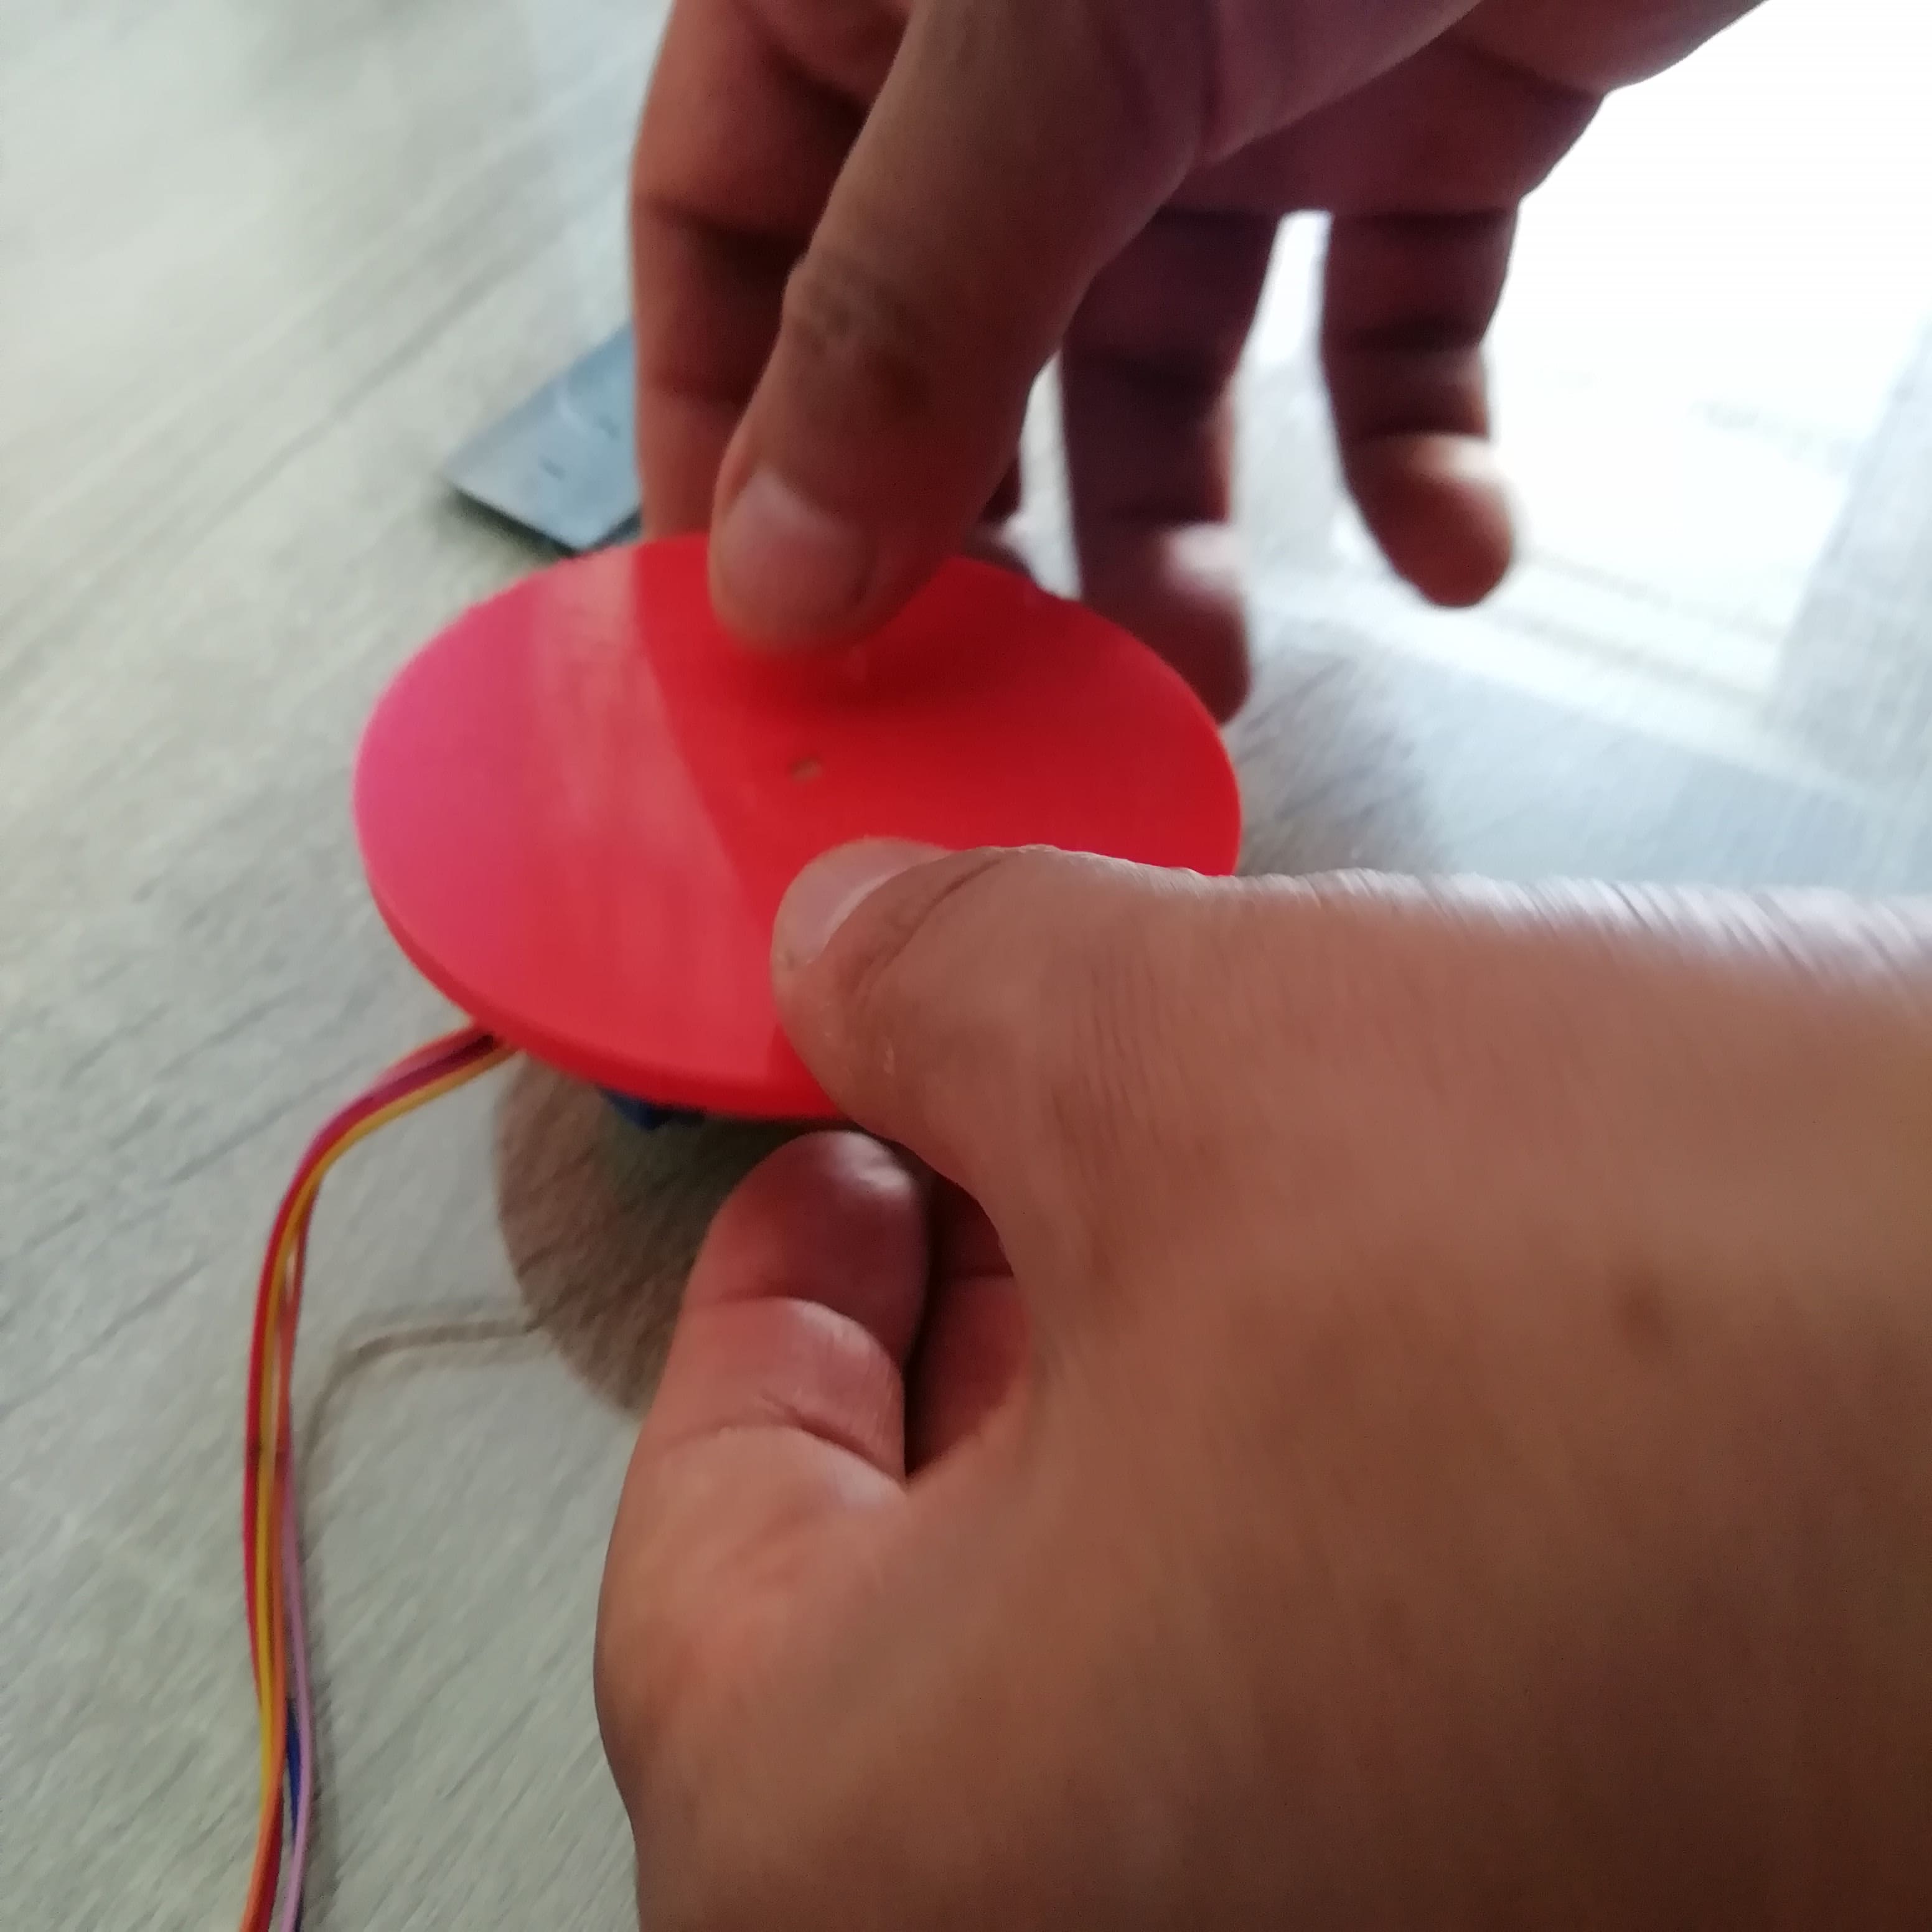
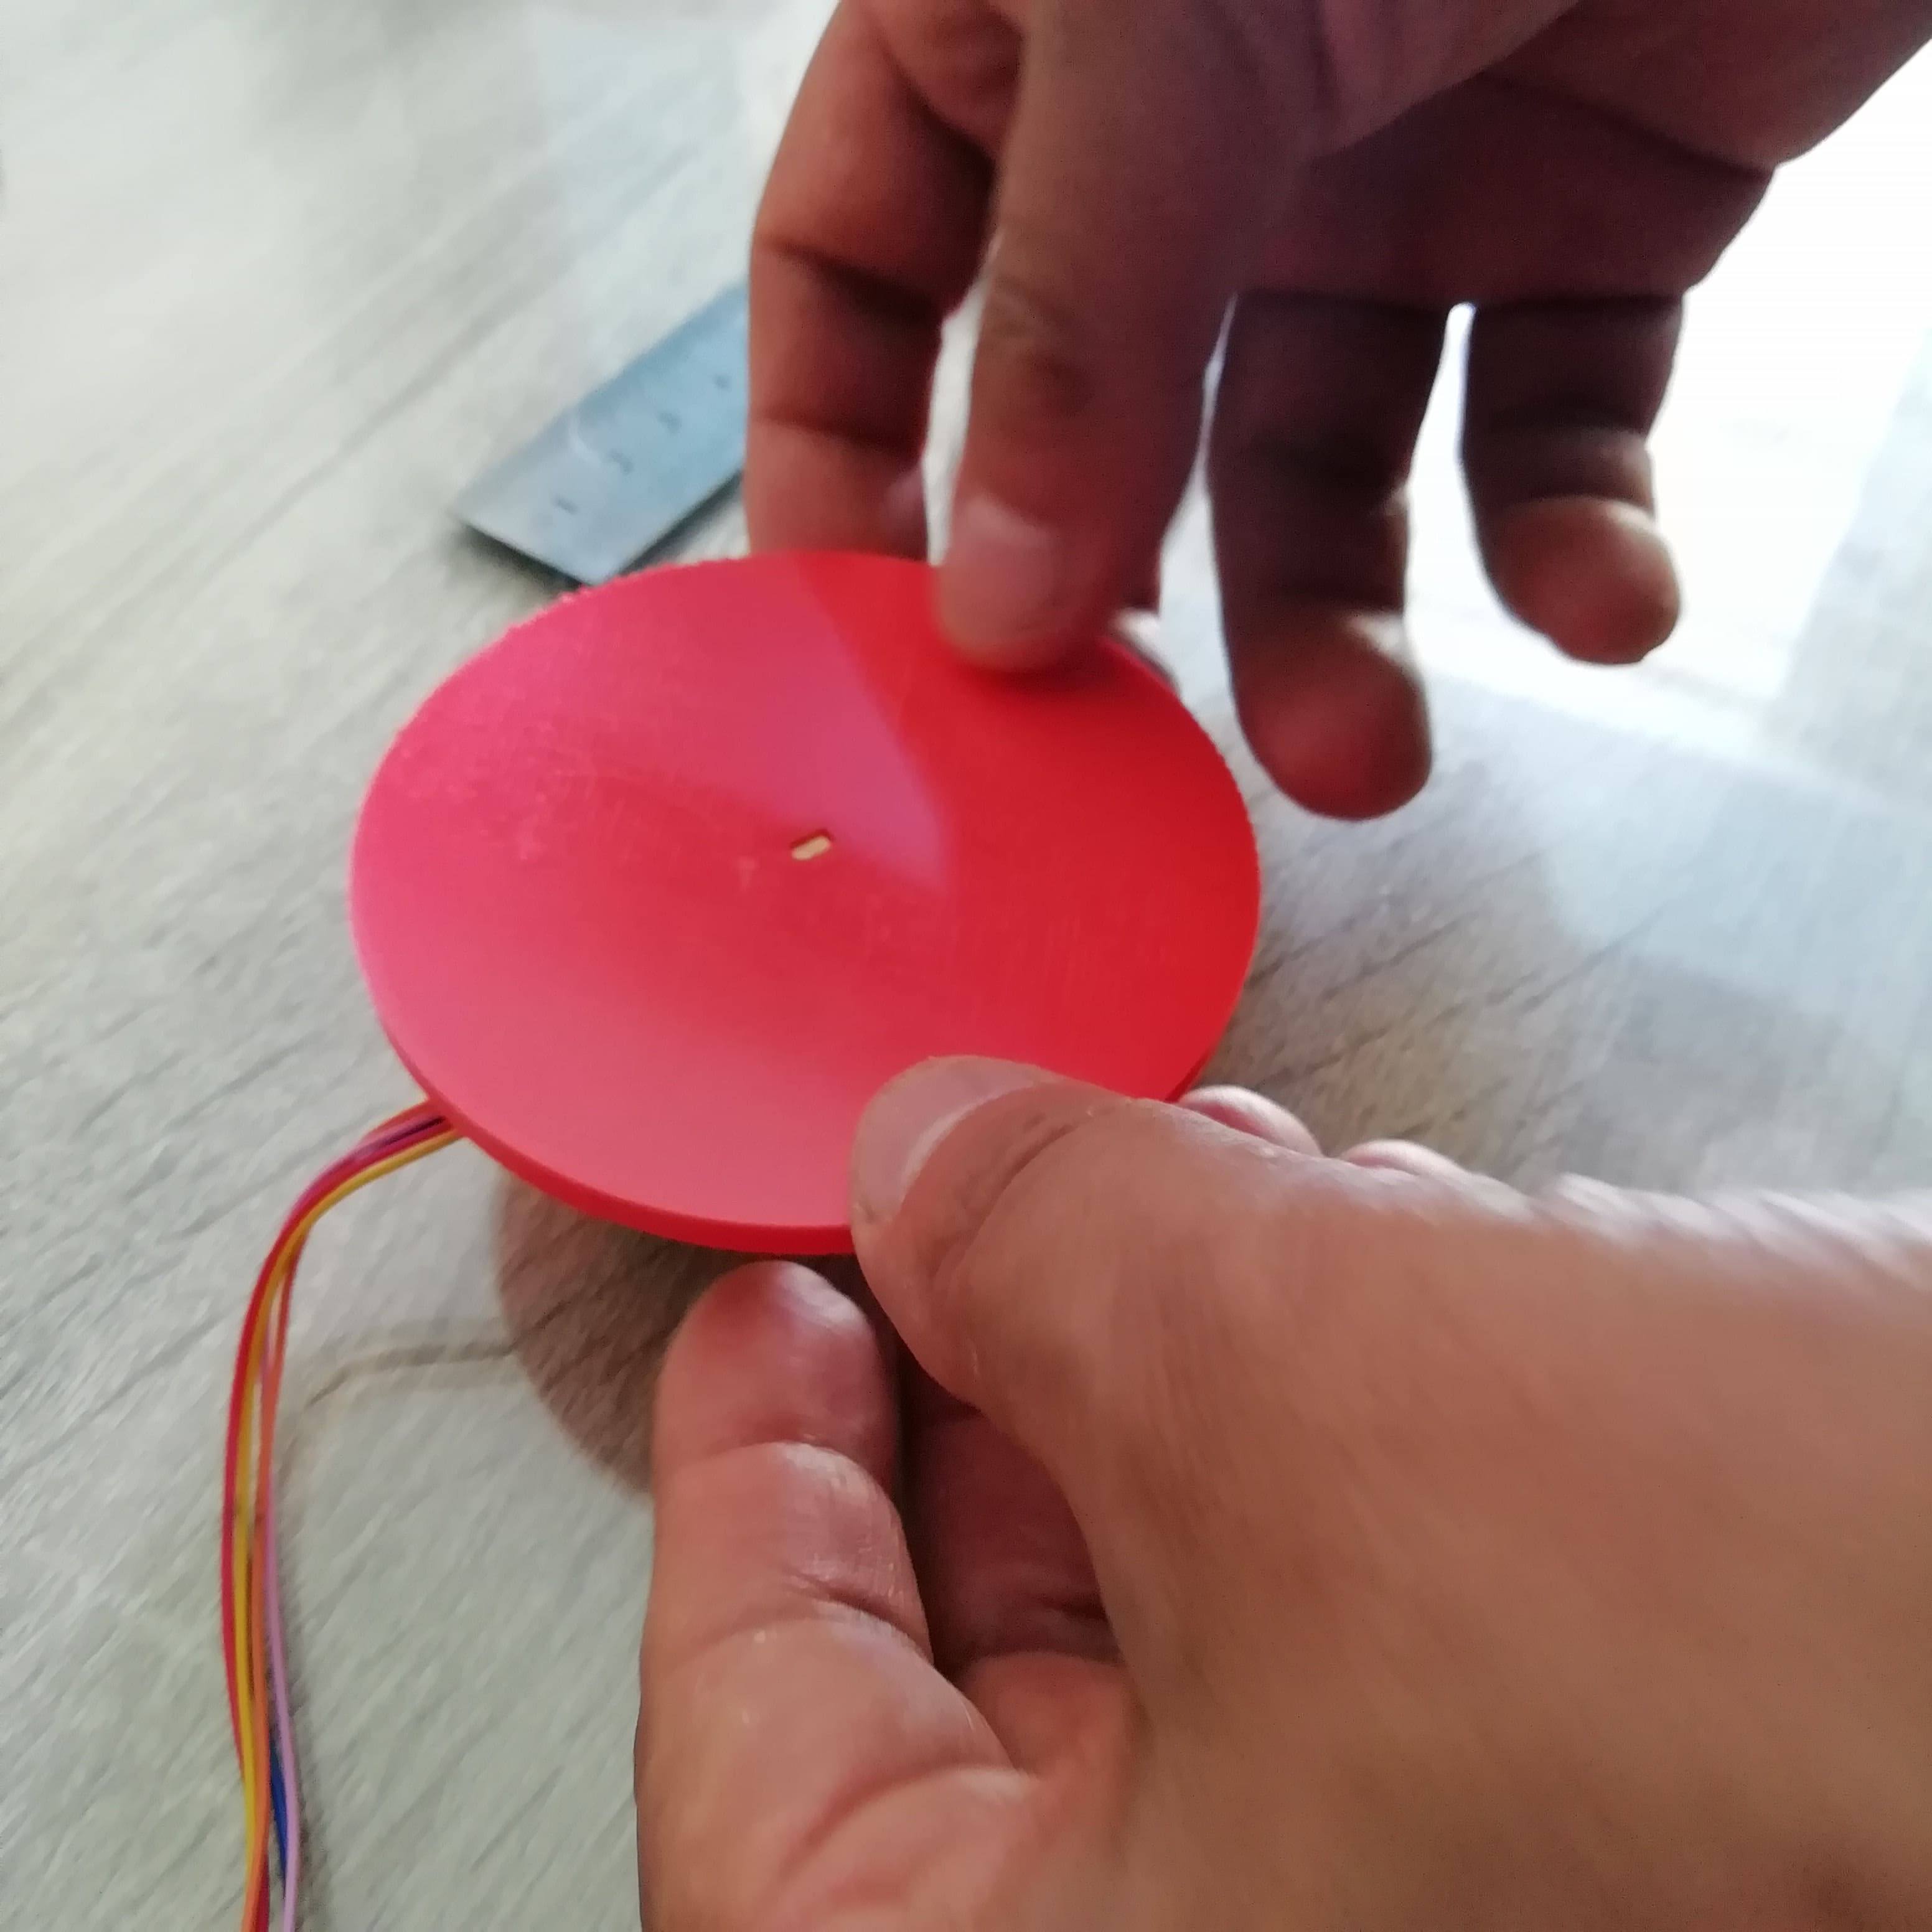
- Perfect fit.
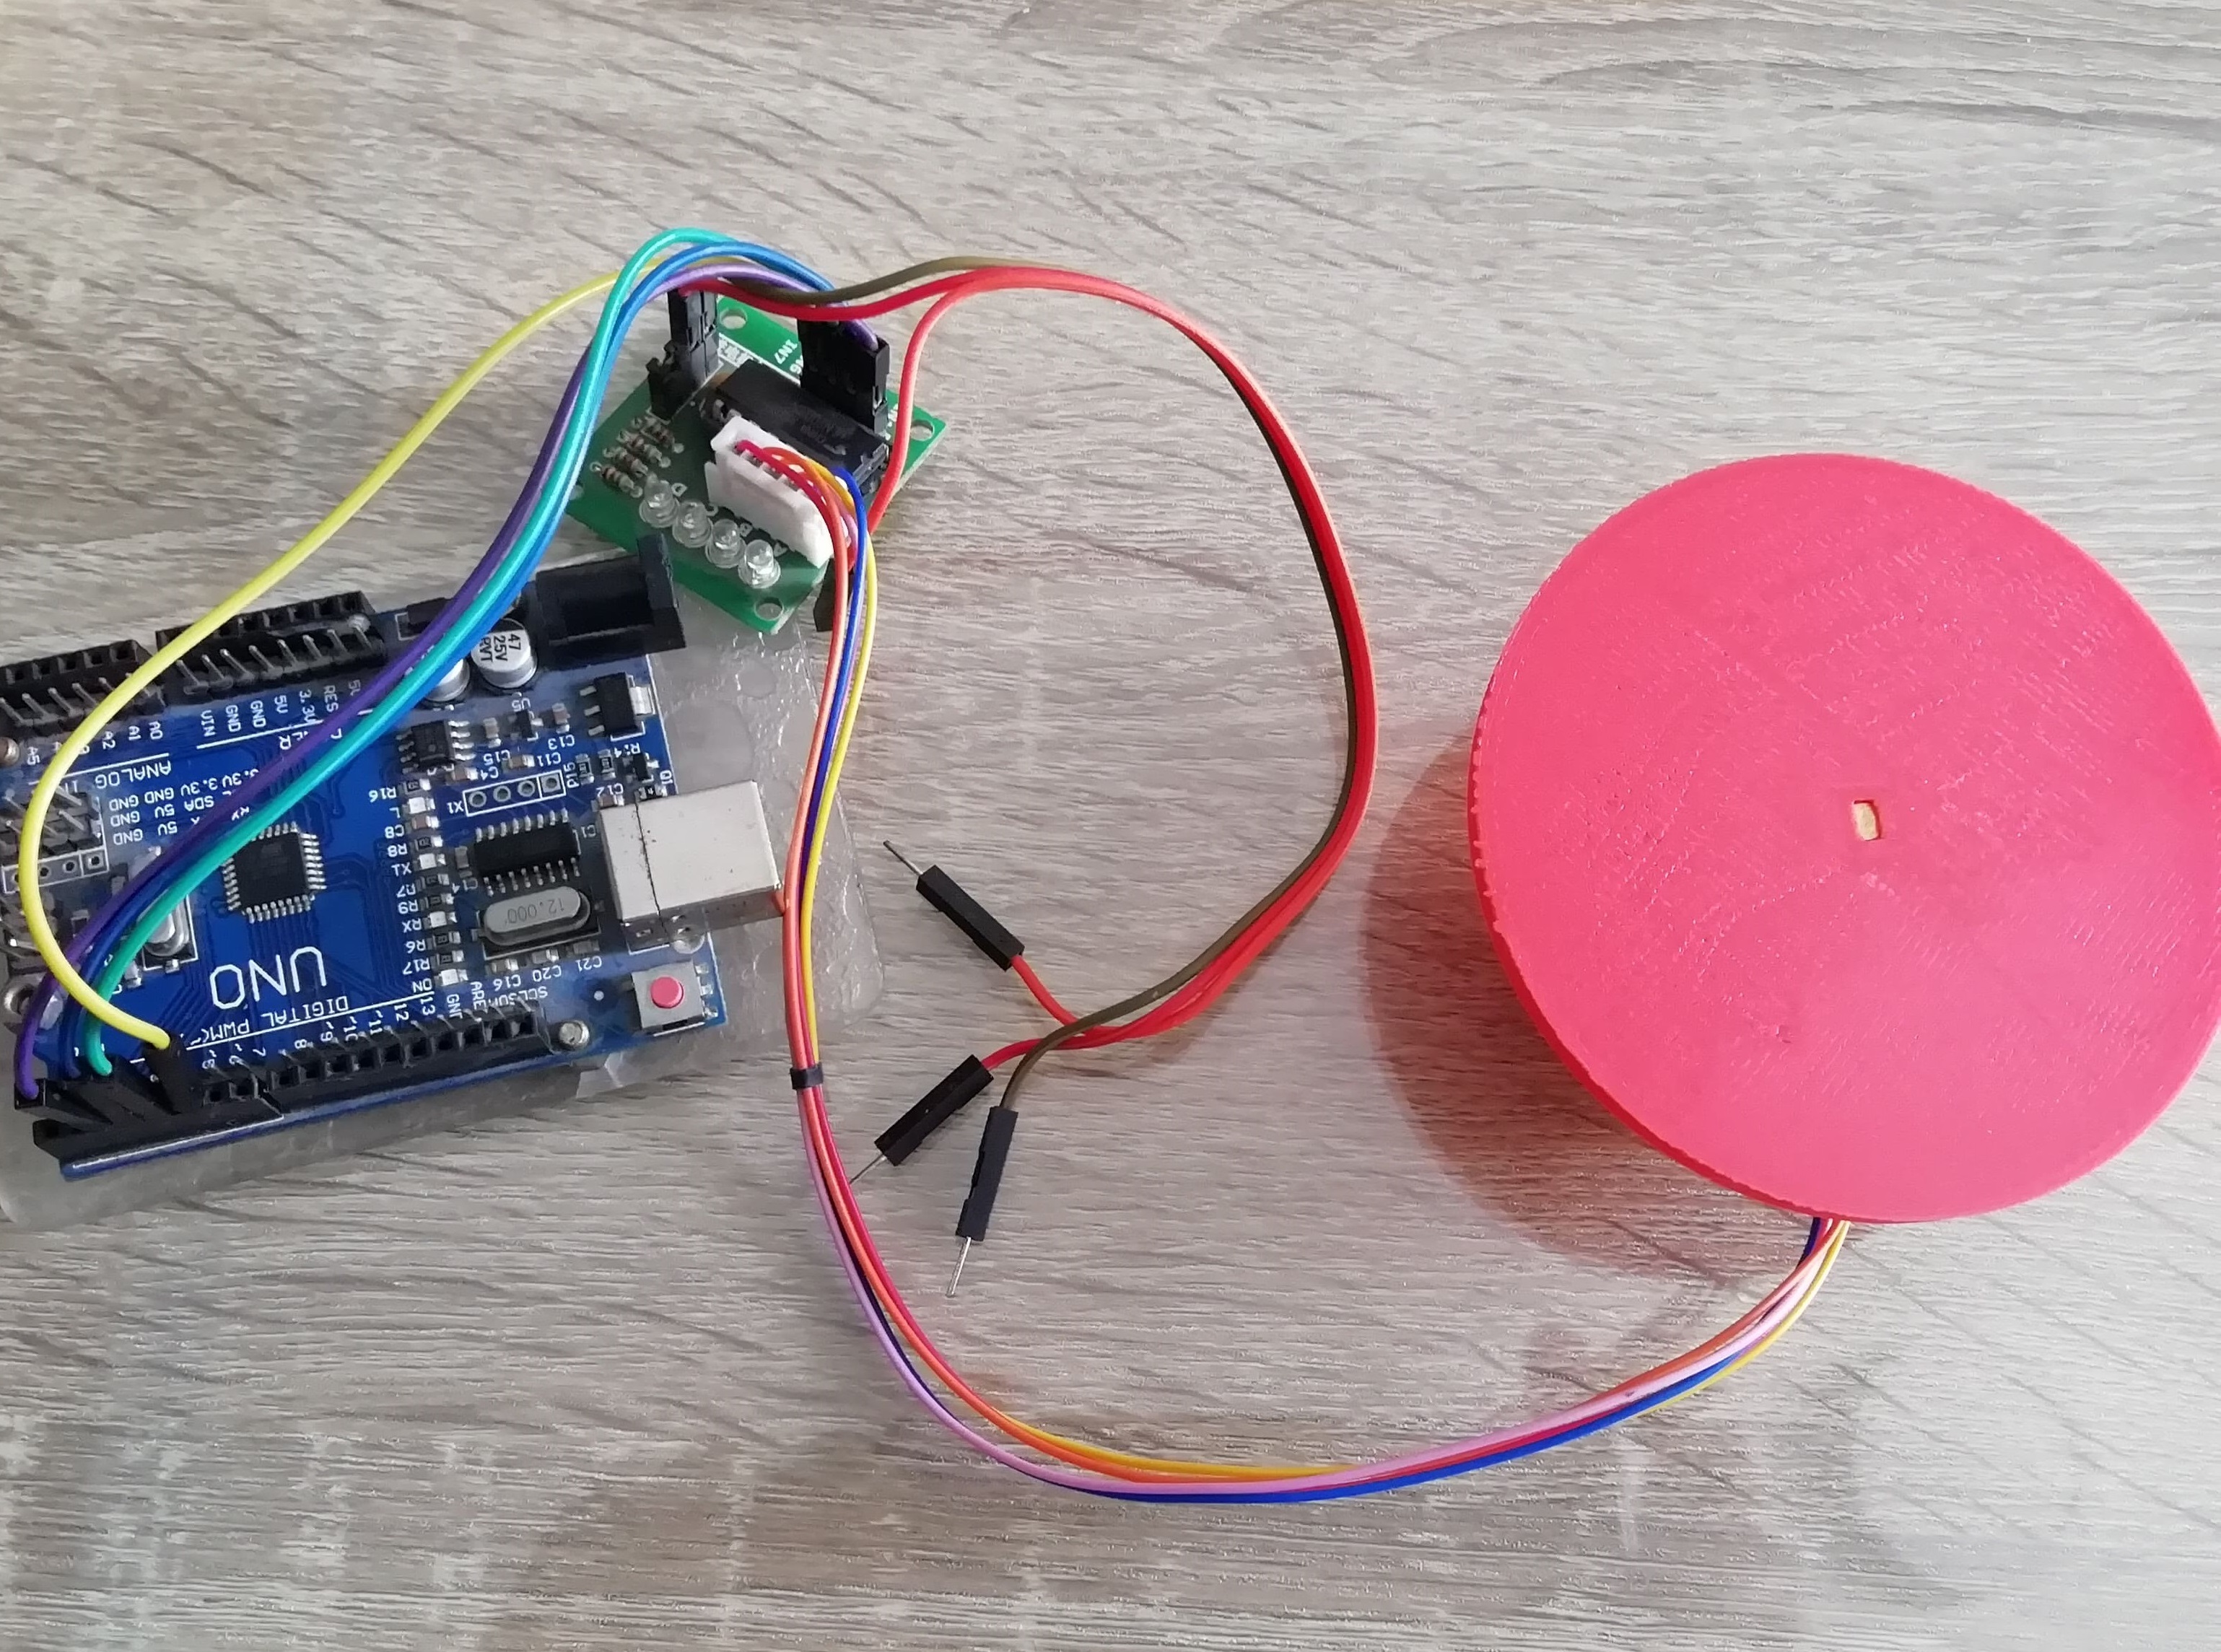
- The disk (designed and manufactured) with the motor and the Arduino card is ready, the program is missing and the 3D scan is done.
- Finally, I show a part of the 3D printing on video and I can conclude that it is important to take into account the temperature of the nozzle and the bed before proceeding to print. The temperature values I work with are:
Nozzle (extruder) = 210 °C
Bed (platform) = 50 °C.
Retract = yes
2. 3D scan
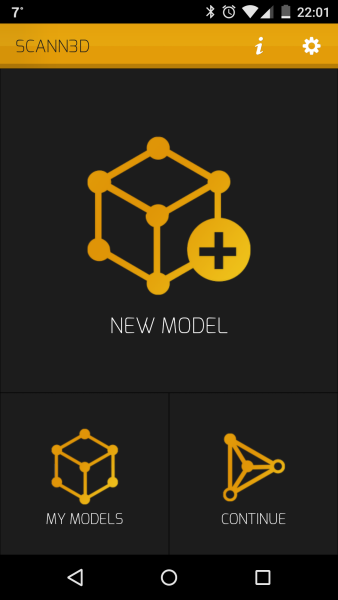
- As we still do not have the 3D scanner, so we use the cell phone and the SCANN3D application for this assignment. The download link is at the end of the assignment.
- I used the rotating disk to rotate at low speed and in a first attempt I took photos with the SCANN3D App but I was not successful in processing the scan. I show some photos taken from the 3D scanning process of the chess knight. Capture 23 photos from different positions.

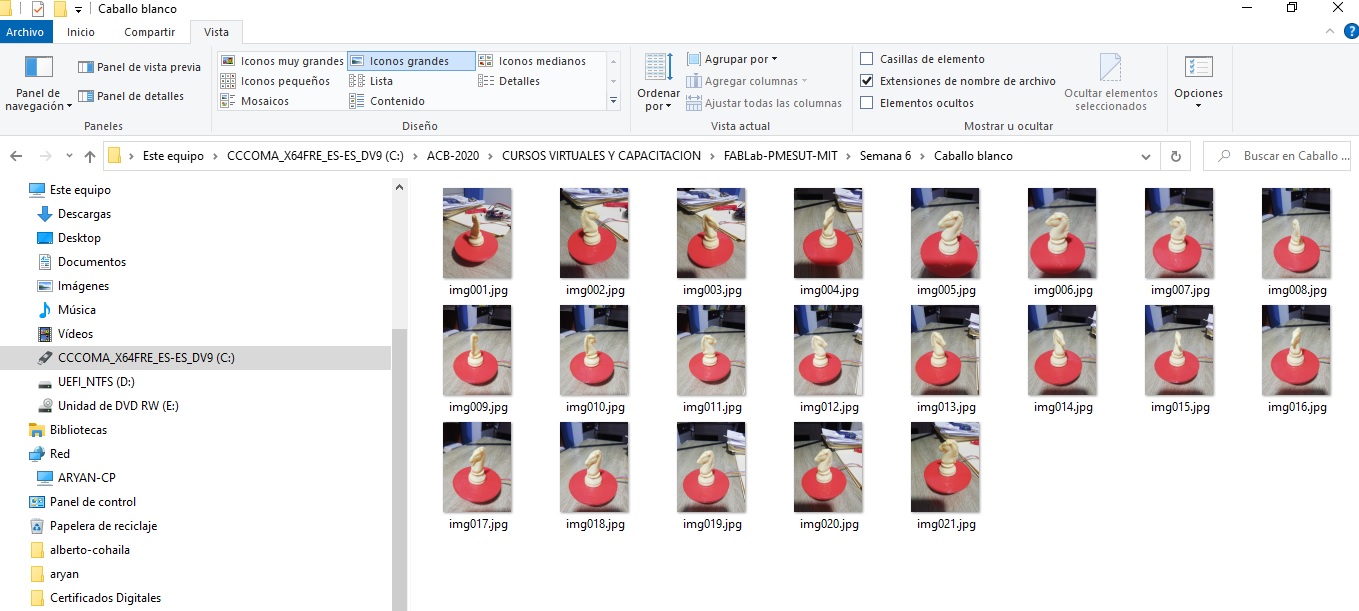
- Try the same process with the white horse. For this case, capture 21 photos from different positions, trying to get more green dots around the image.
- The process is simple, I rotate the disk with a stepper motor 360° while I take photos at intervals of approximately 4 seconds. Watch the video.
- The result is a starry image.
- Reviewing the characteristics of the SCANN3D App, it is not useful when the objective is mobile (there must be others, but for the time being do not check). I conclude that with the mobile phone the objective should be circled with reasonably uniform light (natural light).
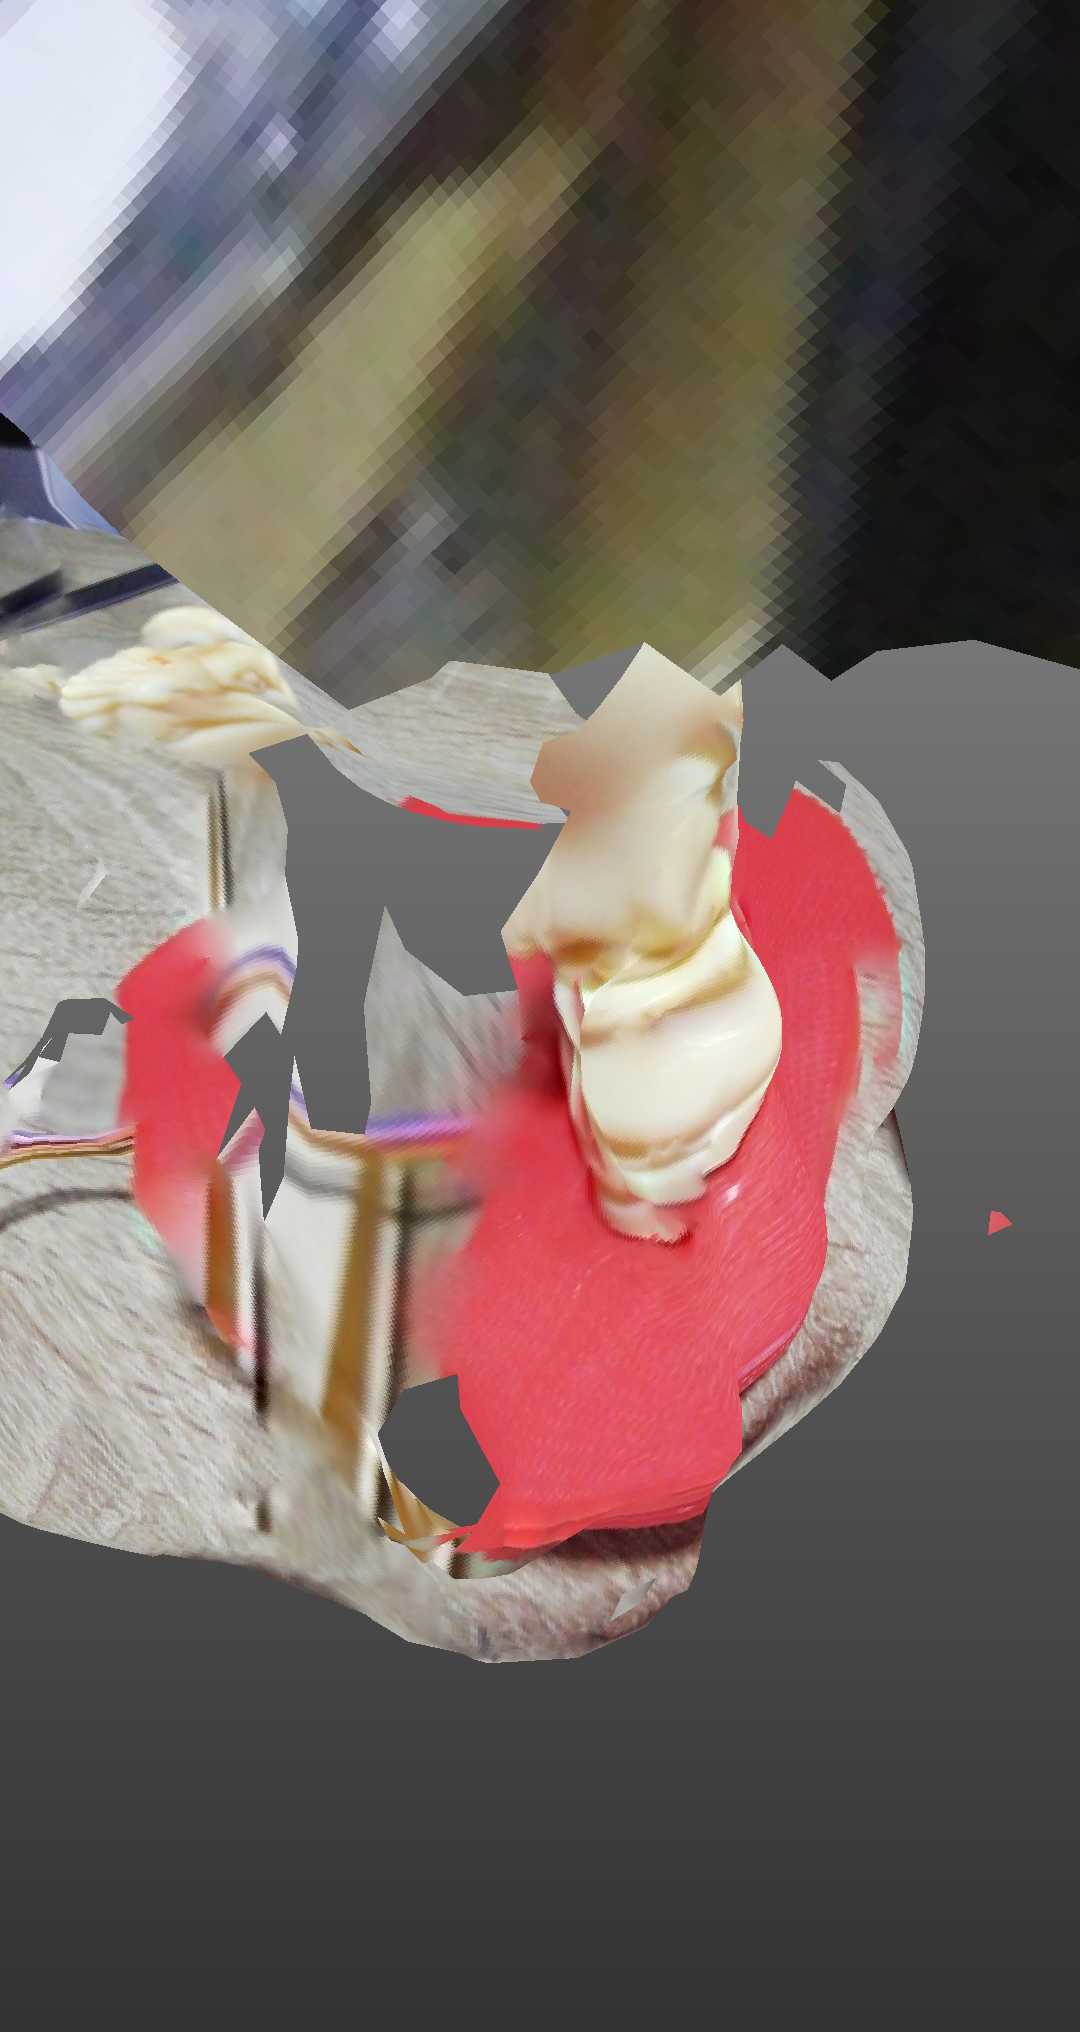
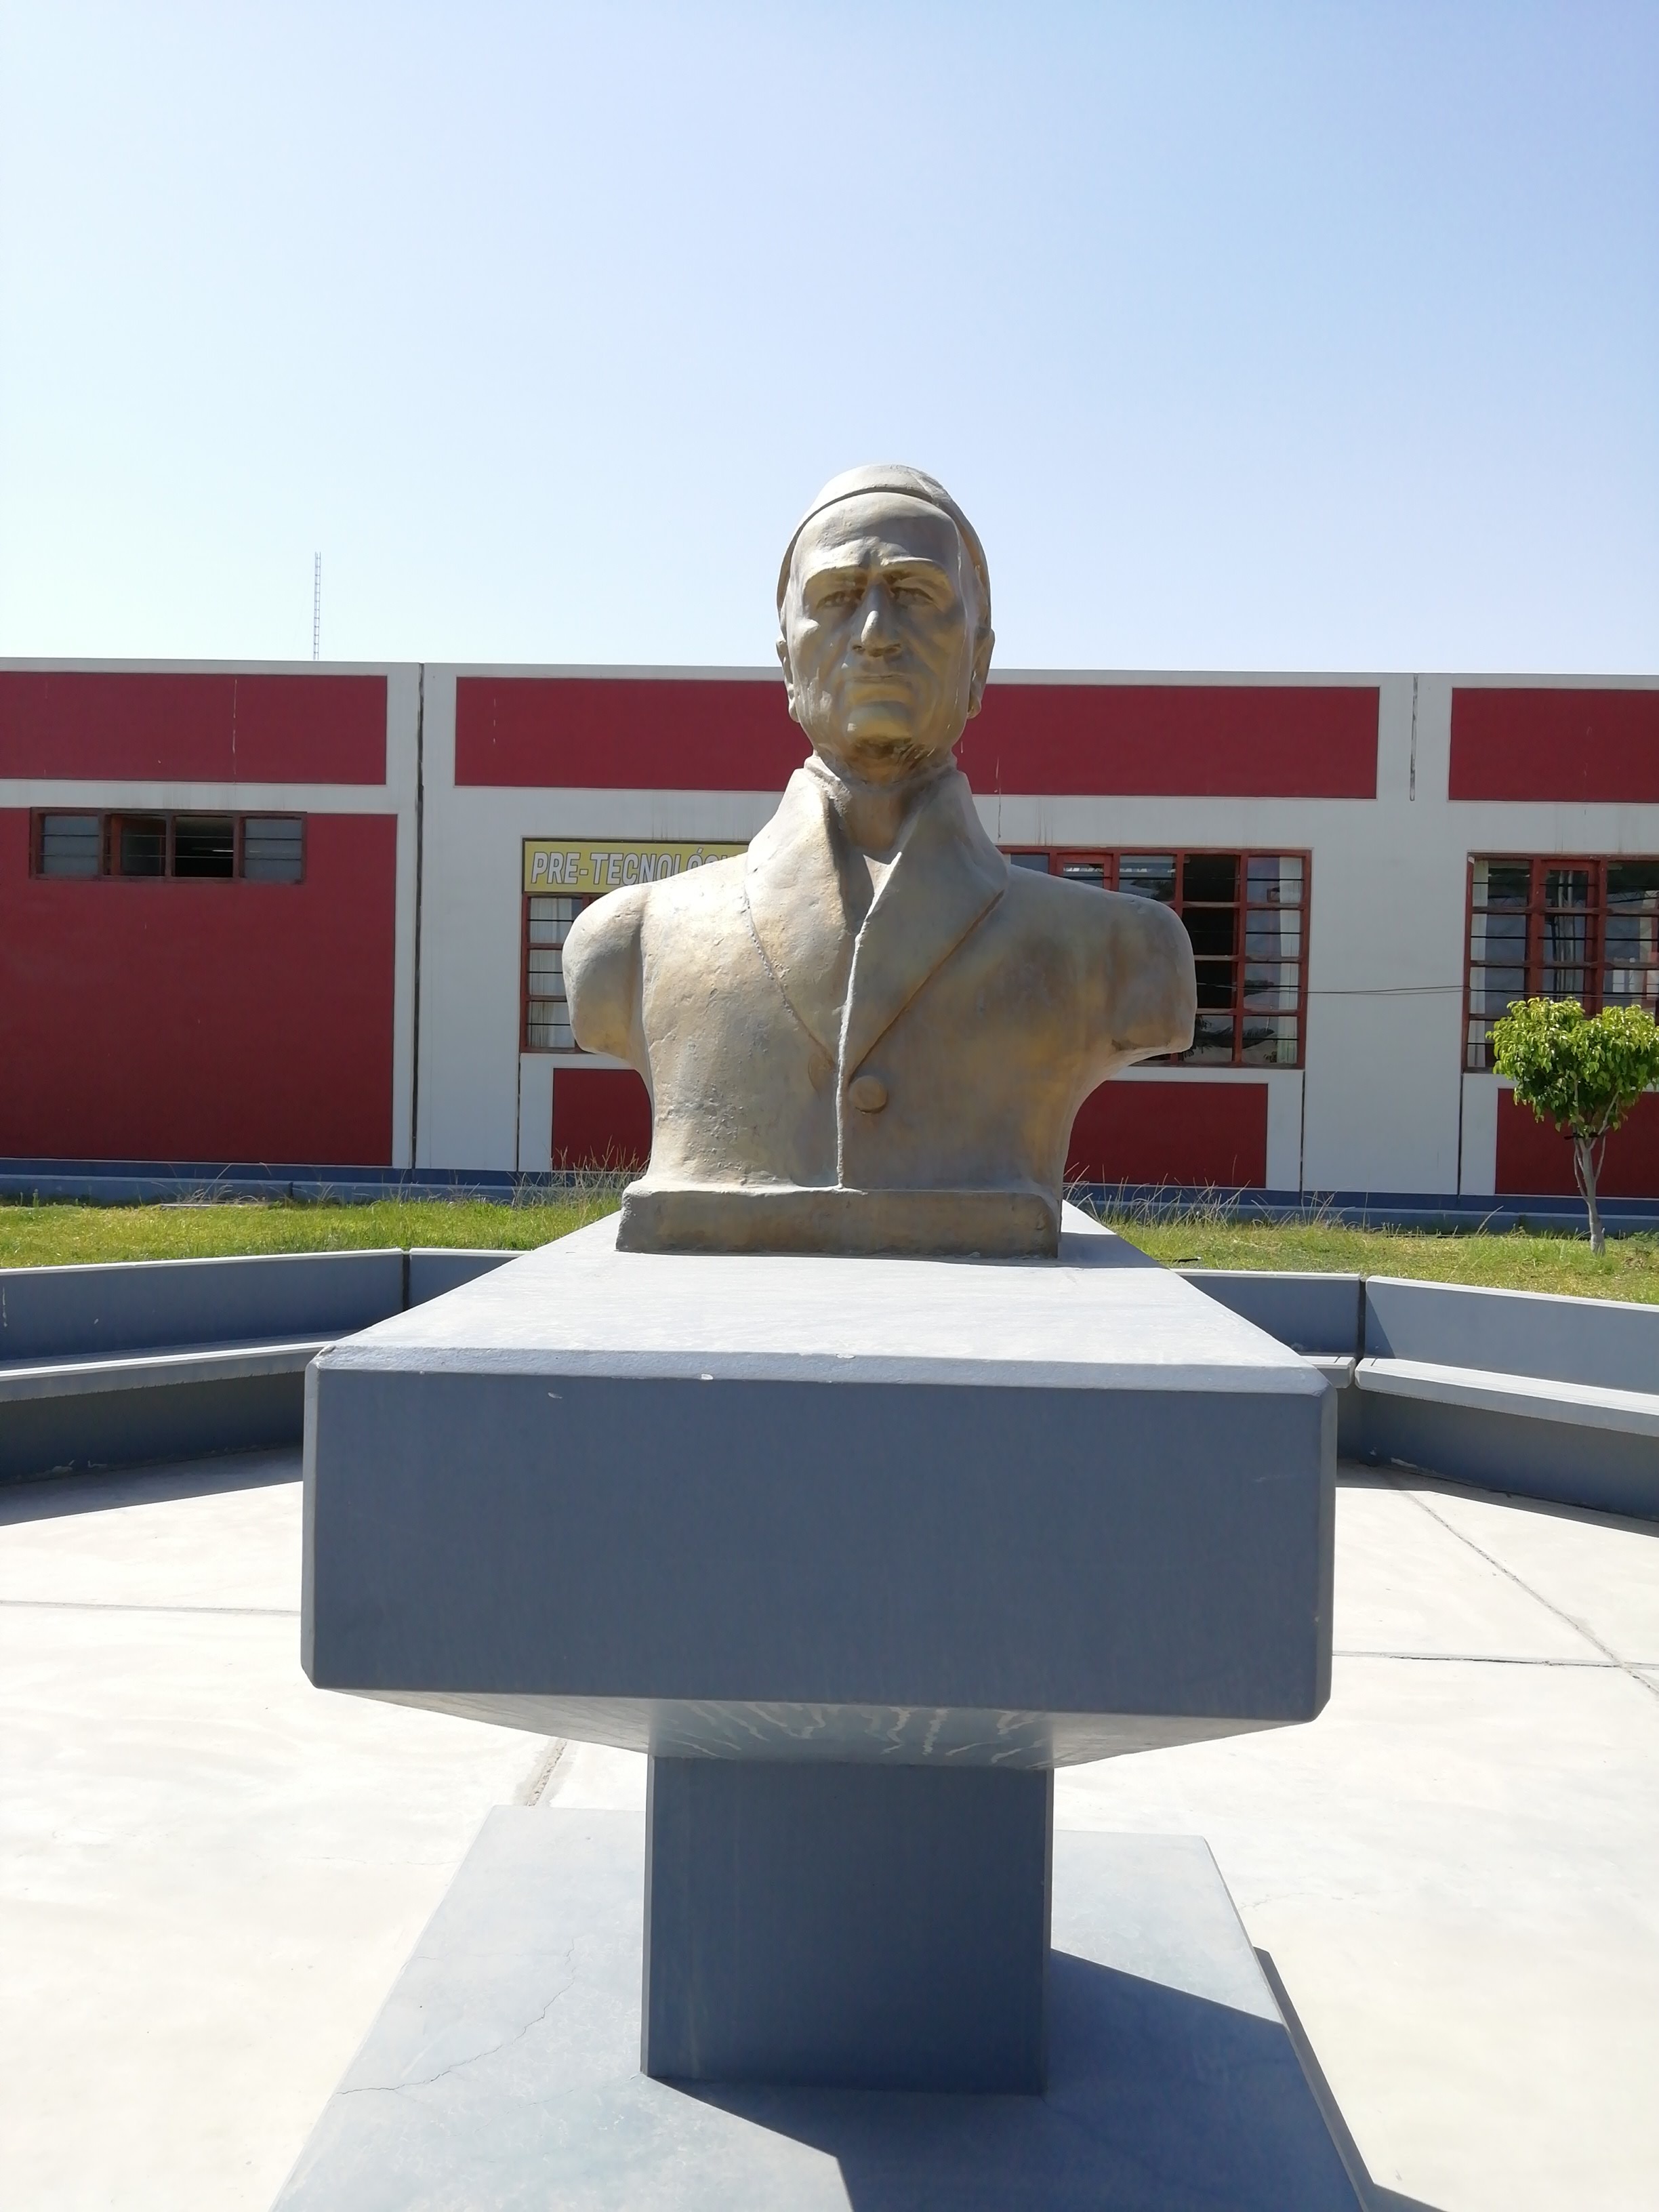
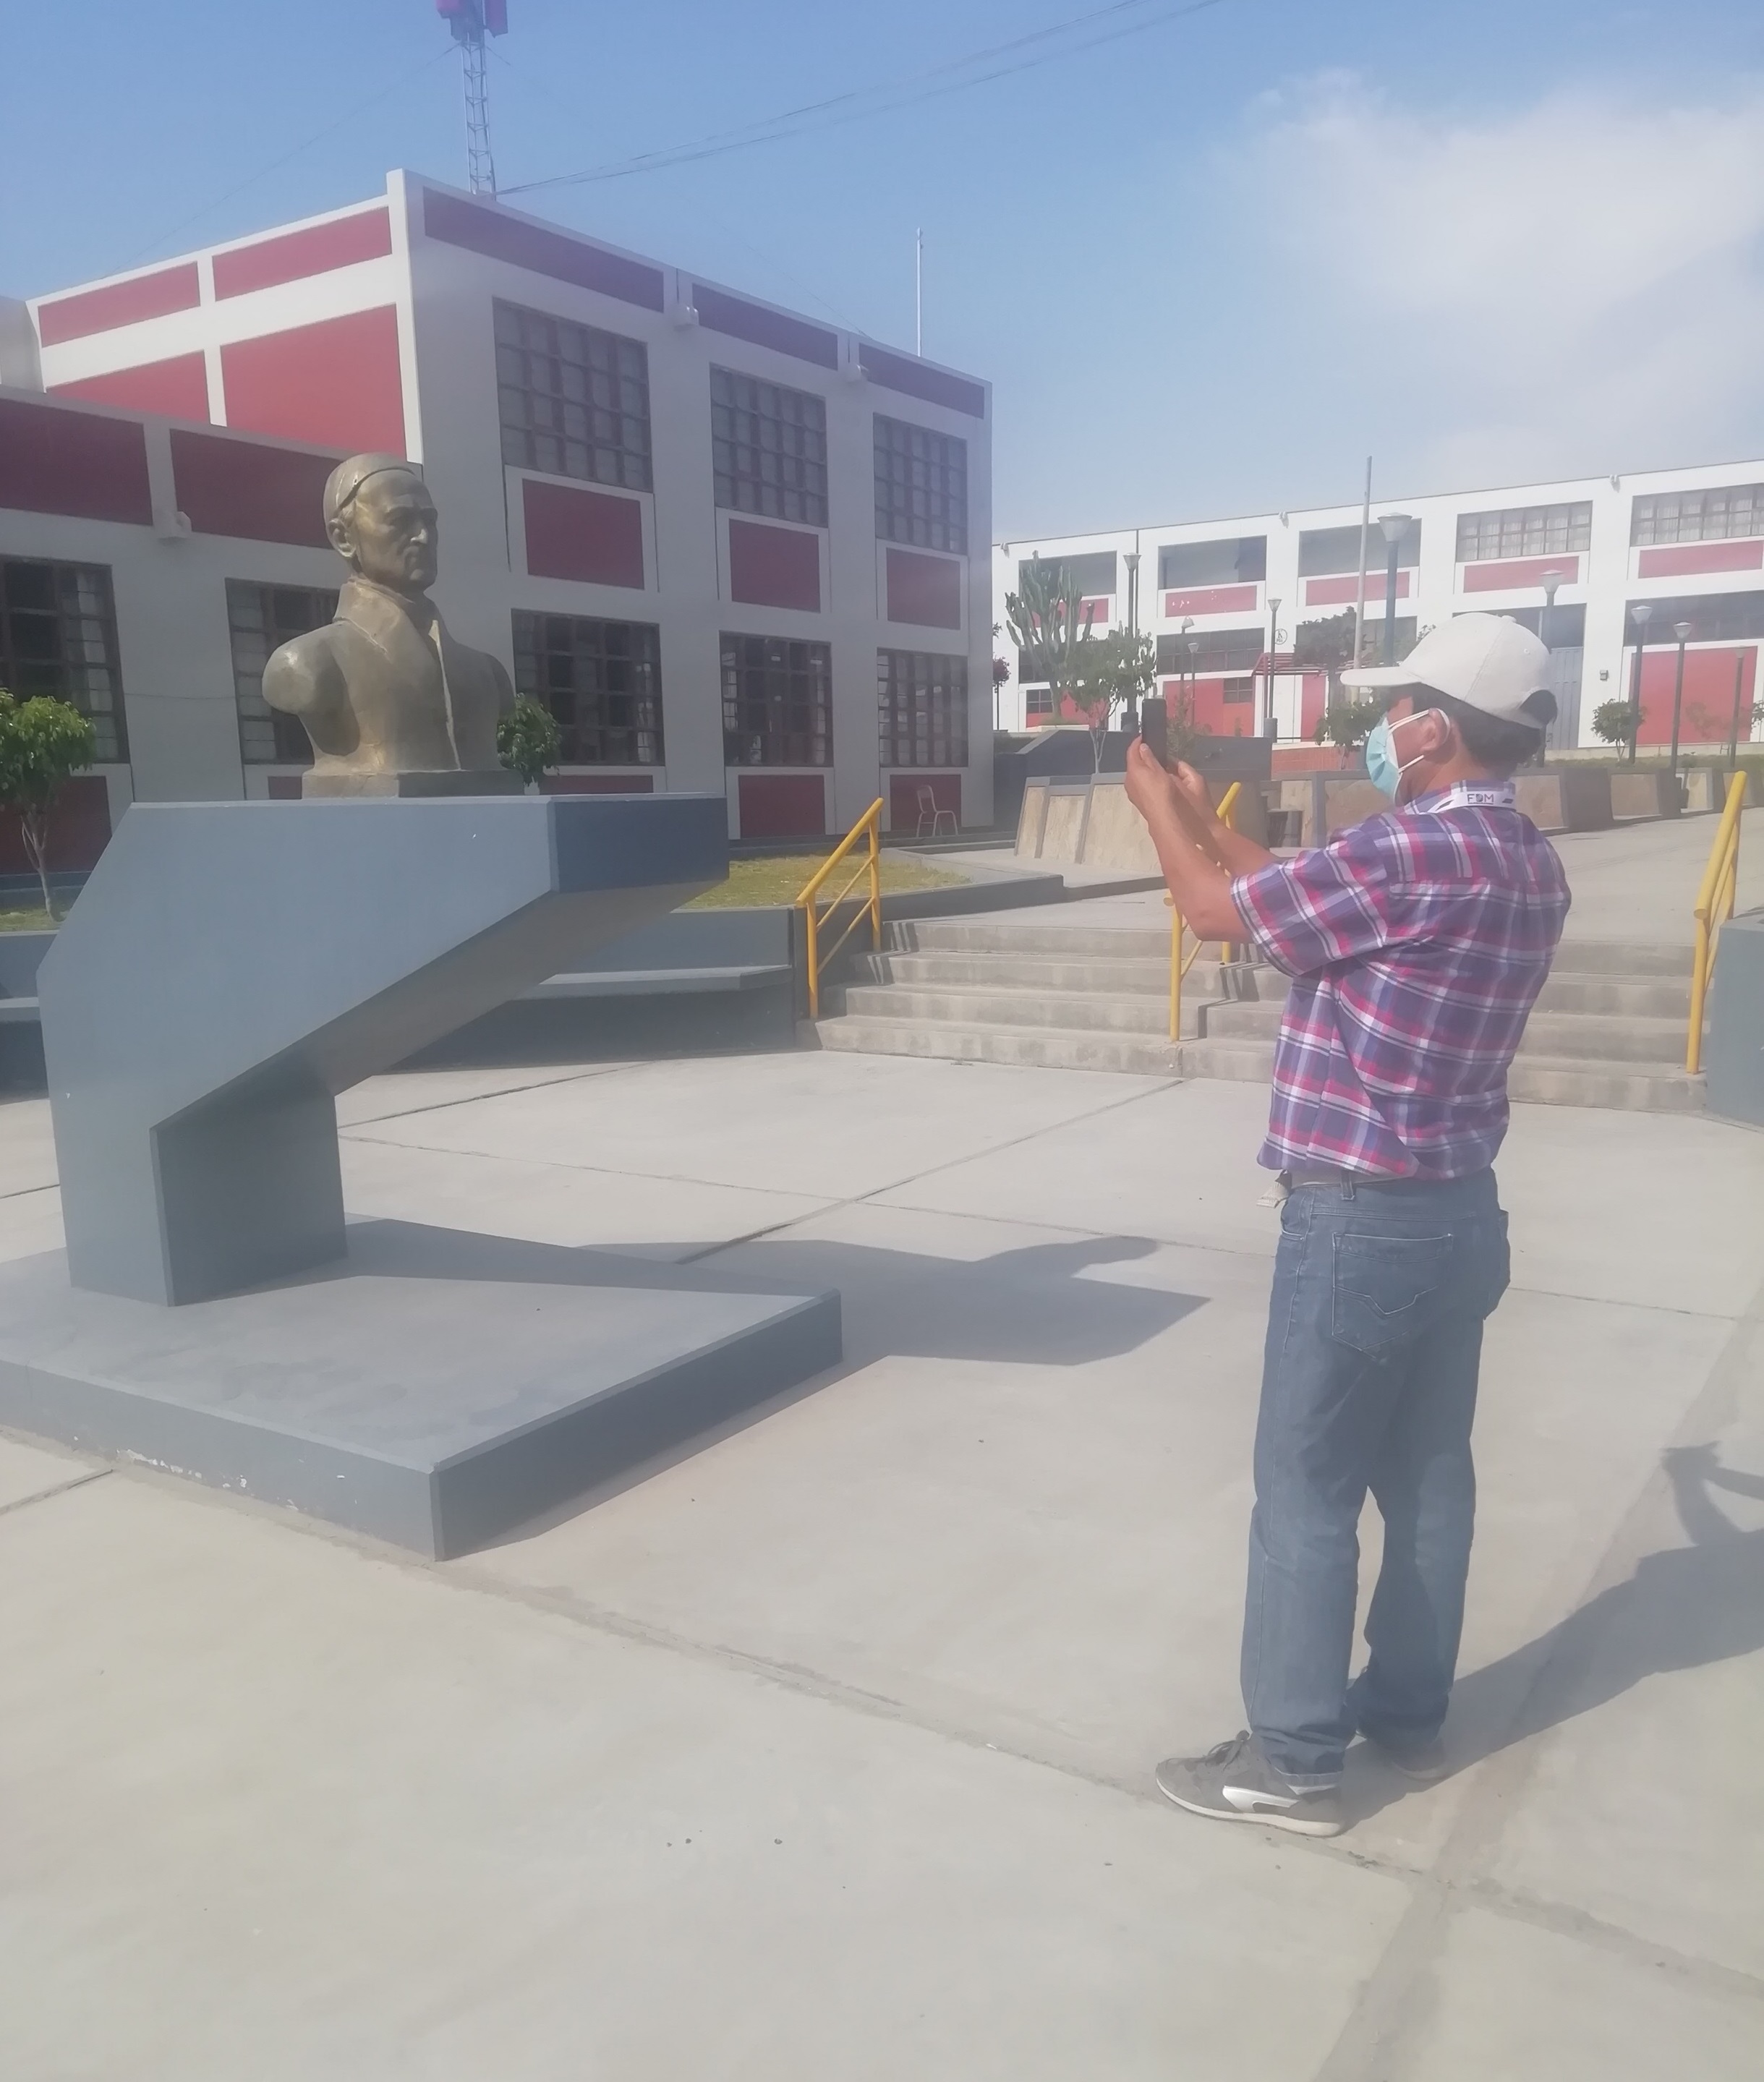
- As I was not successful with the previous scans, I try to scan something big, in this case it would be the bust of the Illustrious Francisco de Paula González Vigil.
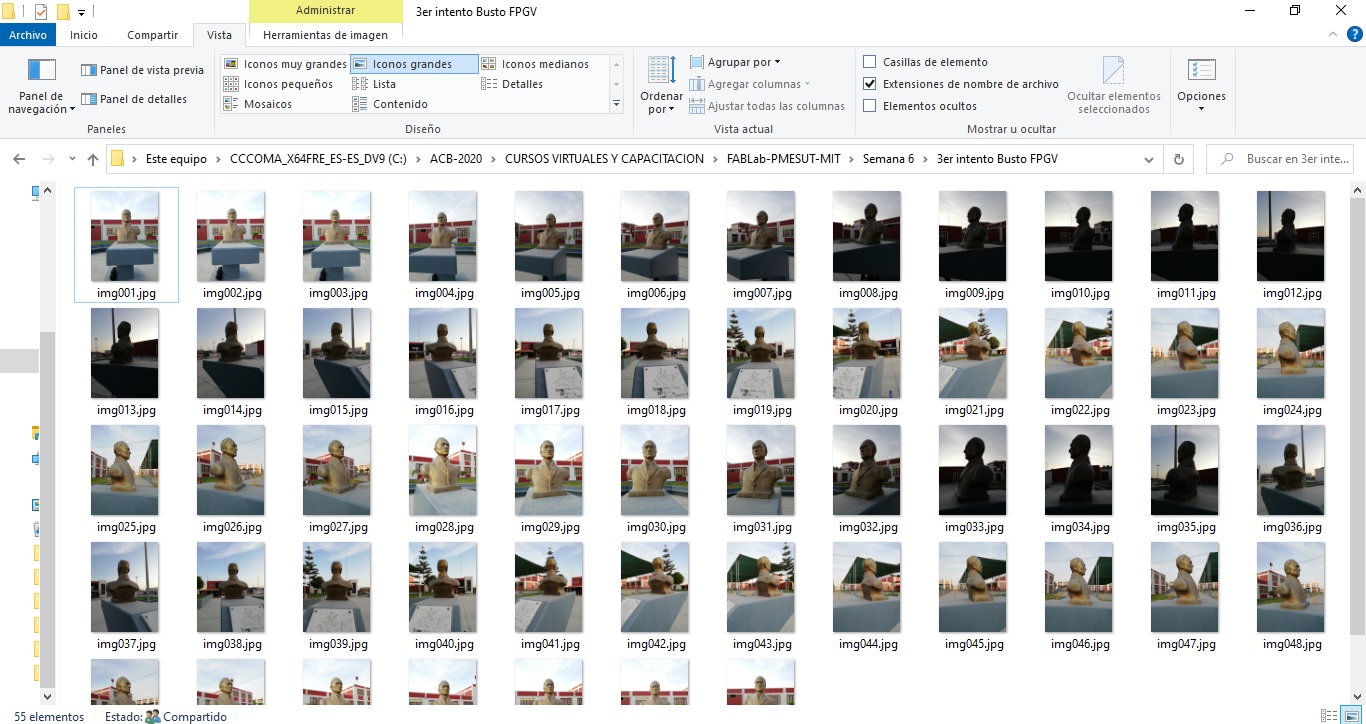
- Take 55 captures around the bust around 4pm. Process the images in the SCANN3D I only obtained the back of the bust that was with the greatest amount of light.
- I noticed that the previous 3D scan had many errors, I reviewed the photogrammetry aspects and I realized that the light (in this case the sun) should not reflect shadows. So I decided to take photos at noon. Make captures before two in the afternoon. I processed the images with the SCANN3D and I had an excellent result after 4 attempts.
- These are the 41 images that I captured around the bust. This time when capturing them they contained more green points, in some photos I combined green points with orange, but not red. I realize that the images are clearer with the previous cases.
- I present 6 captures of different points of the bust in 3D processed by SCANN3D.
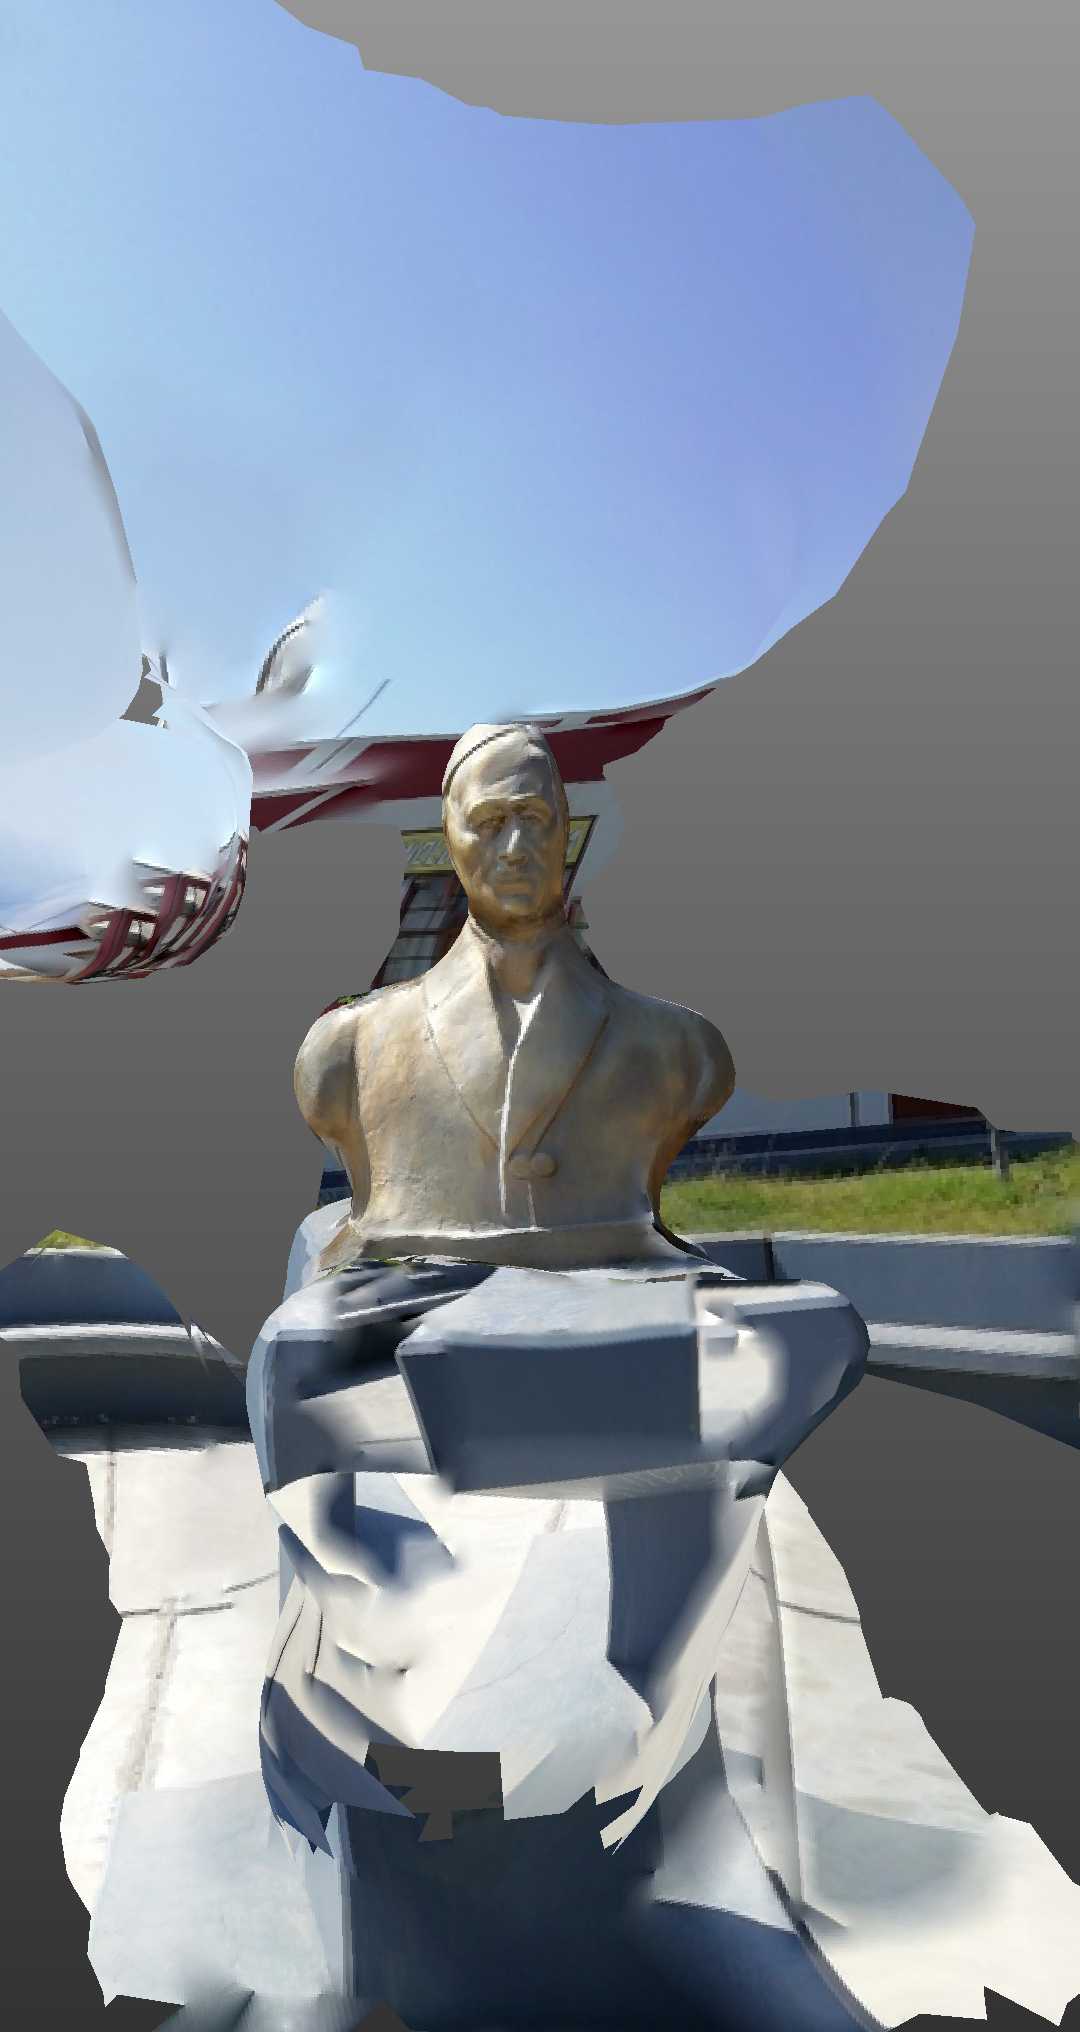 (a)
(a)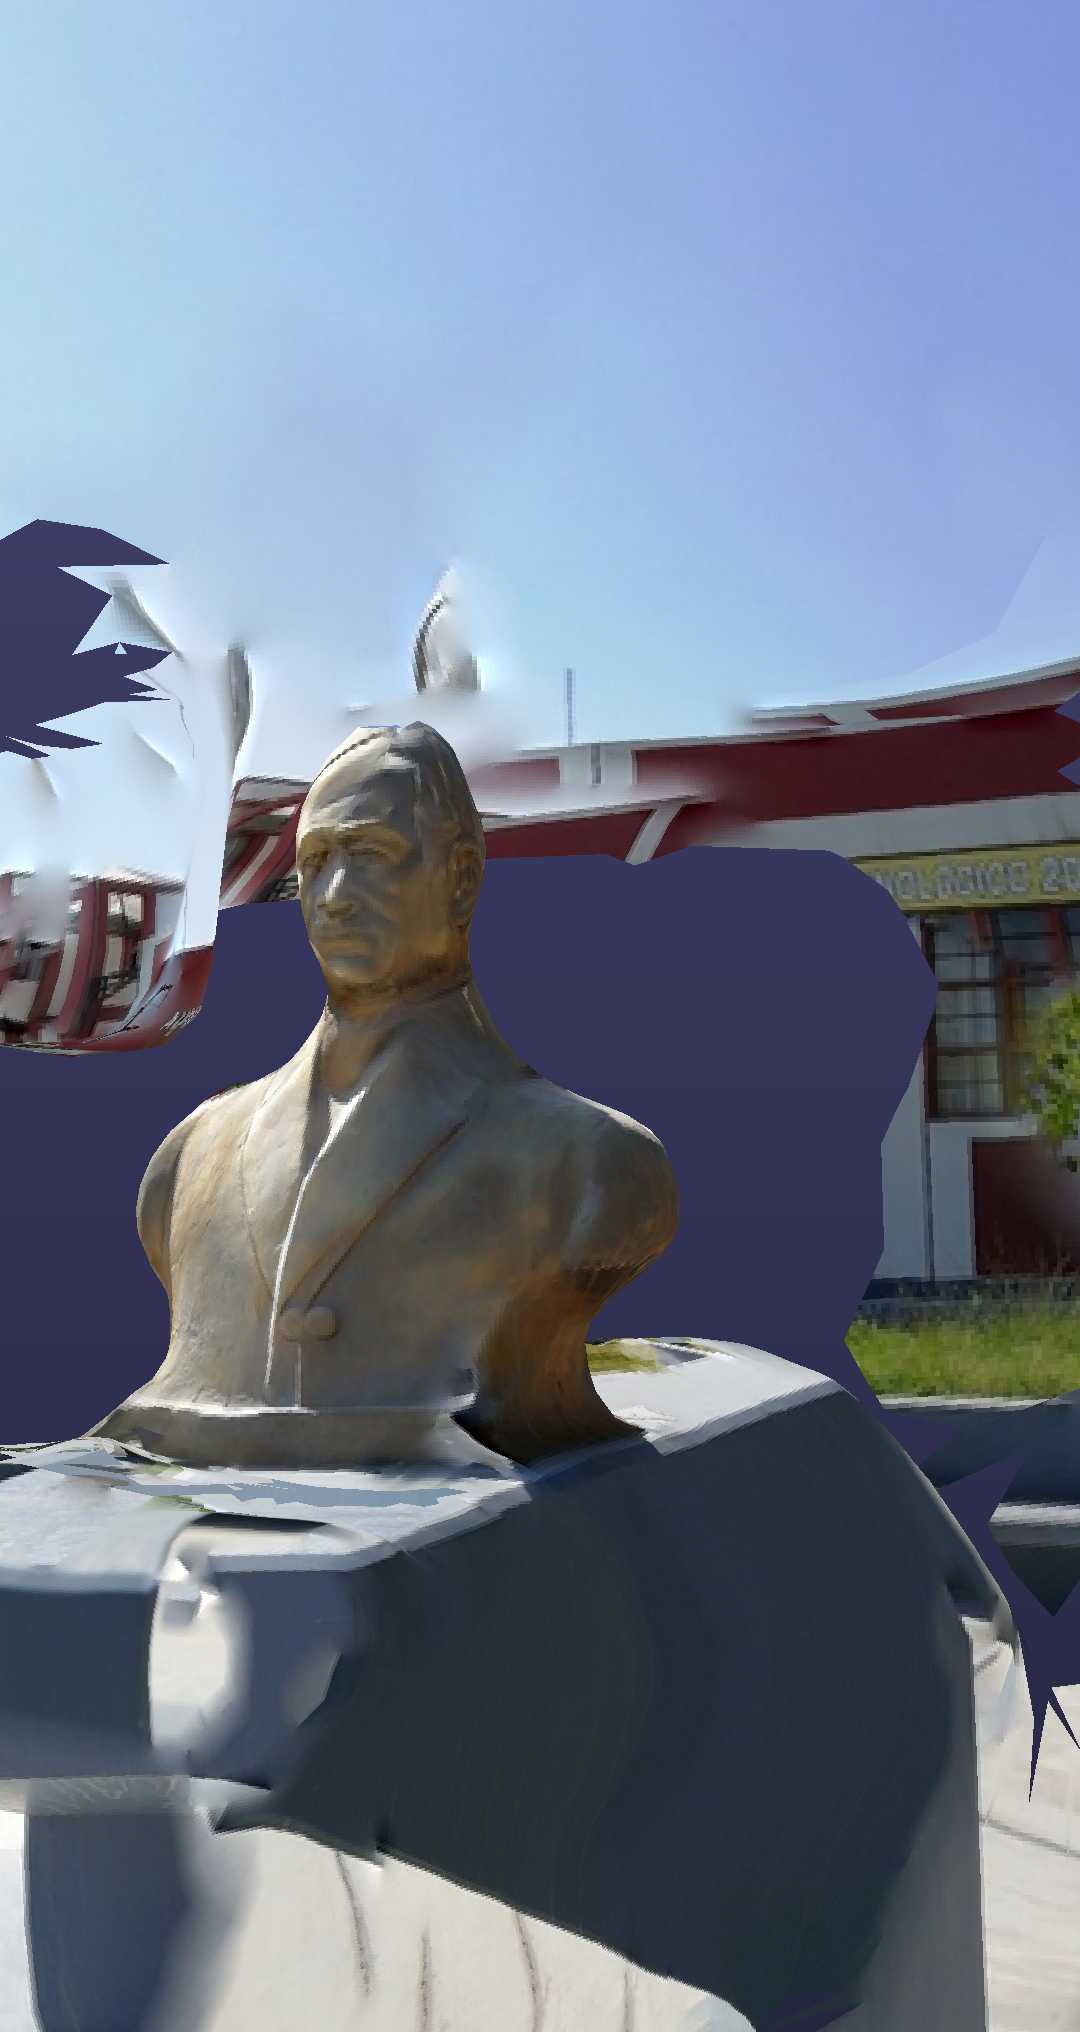 (b)
(b)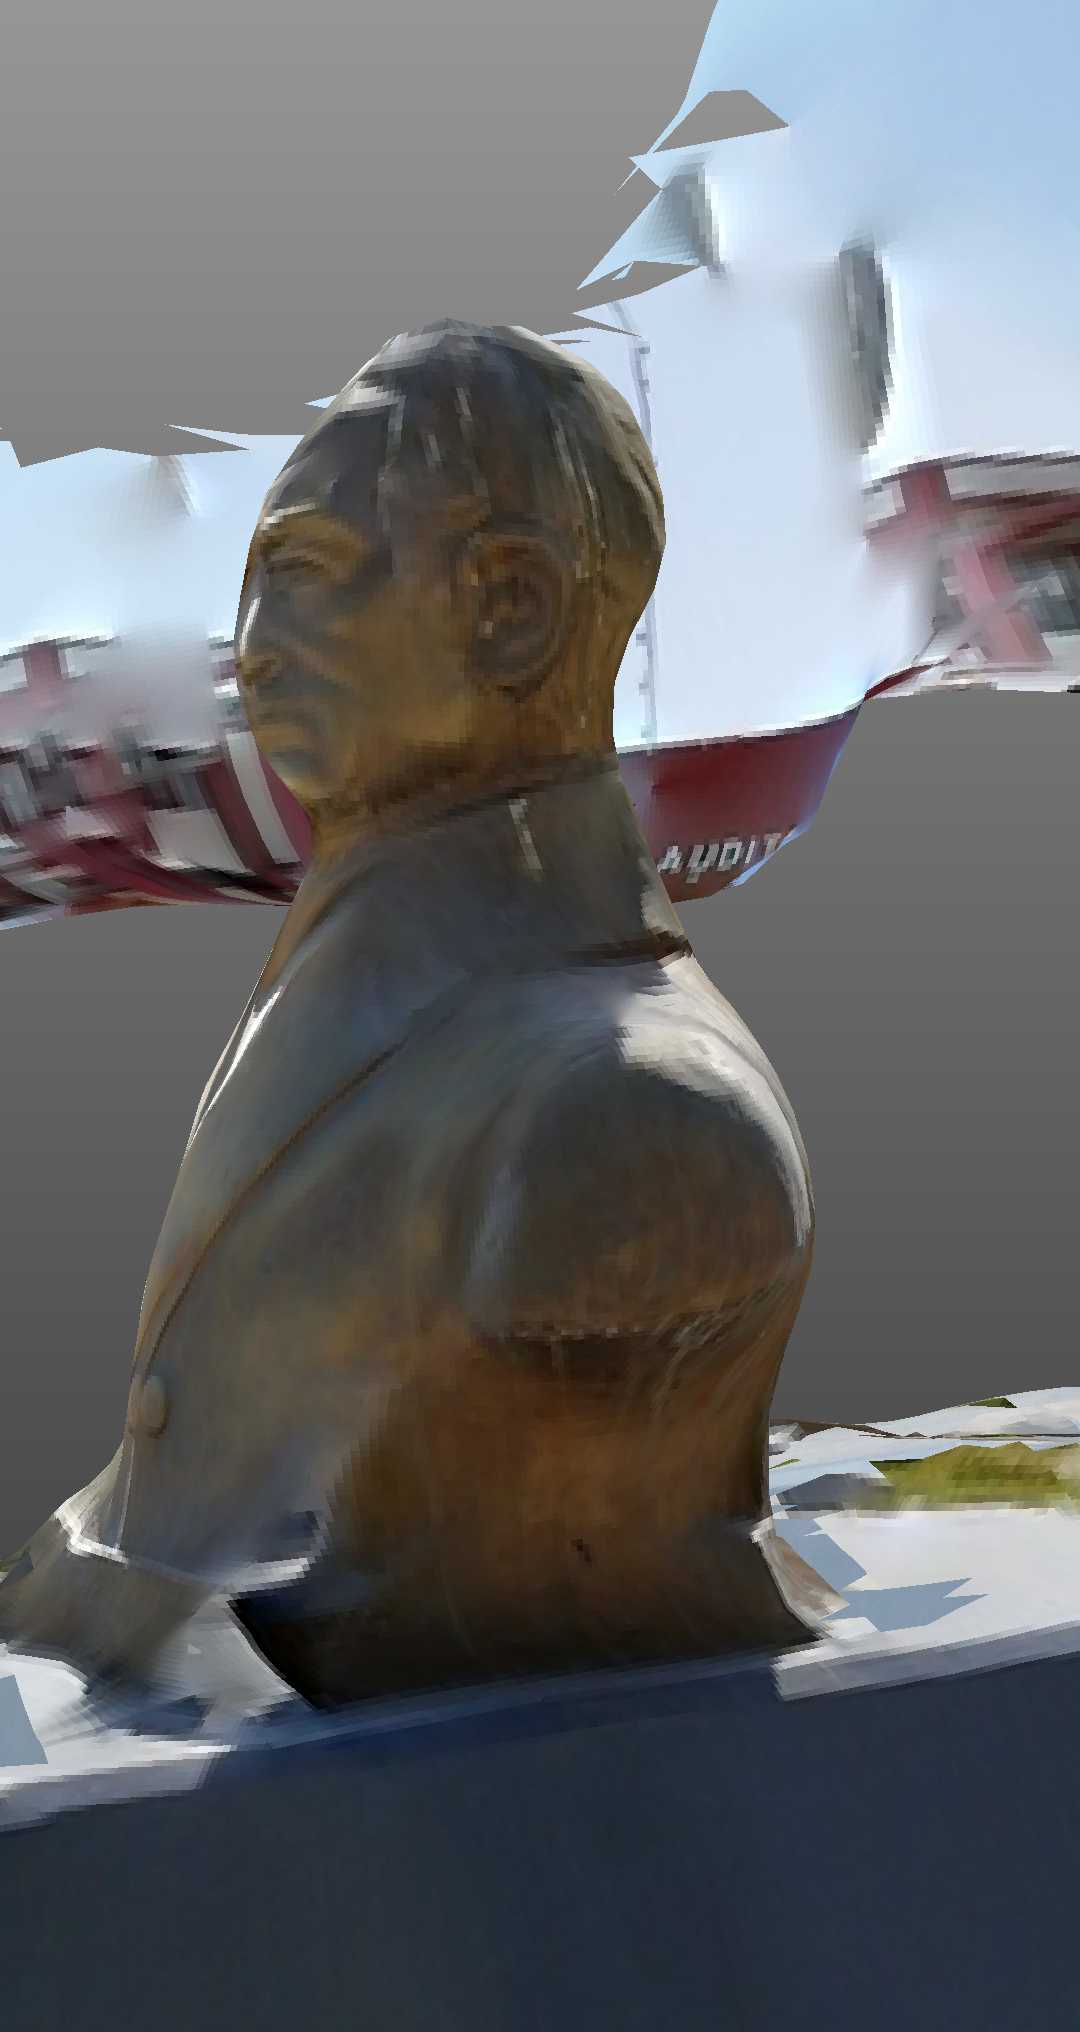 (c)
(c)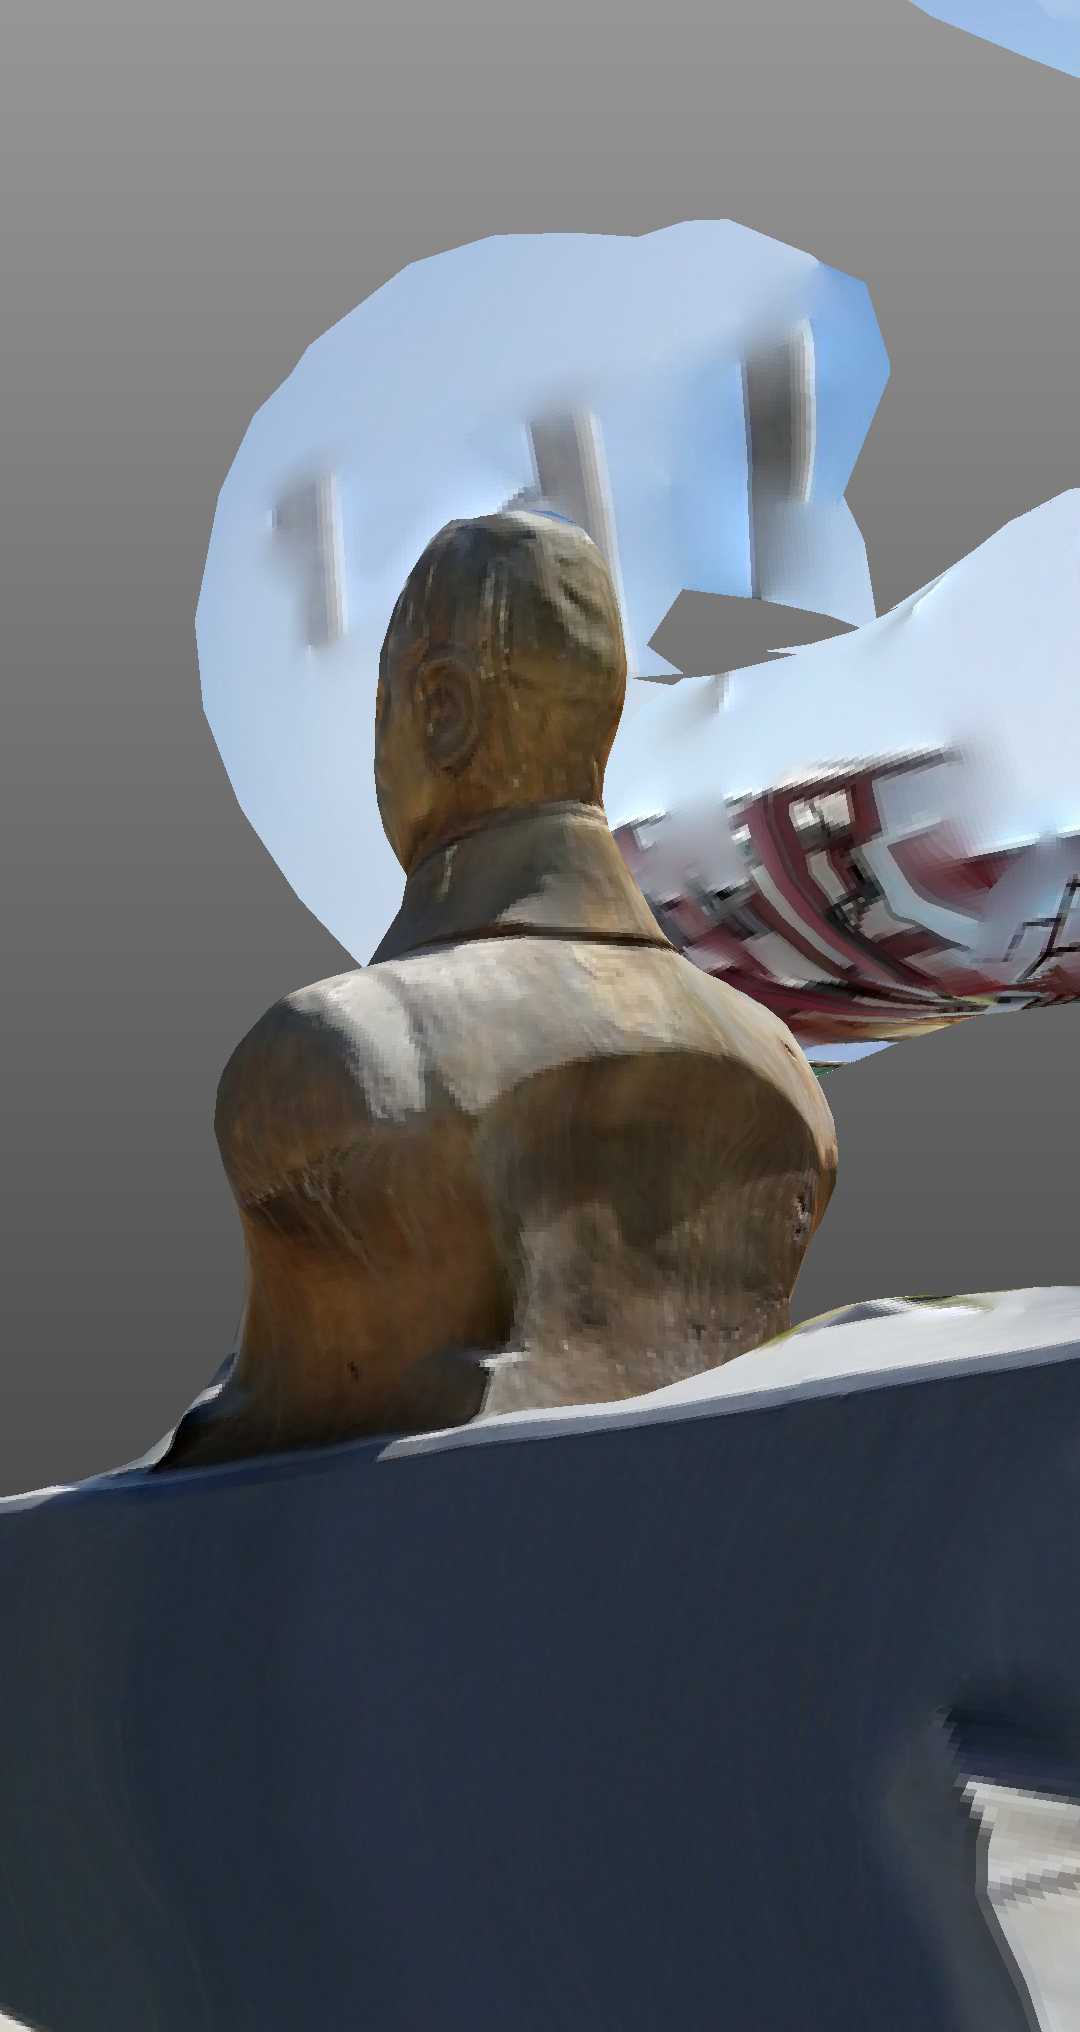 (d)
(d)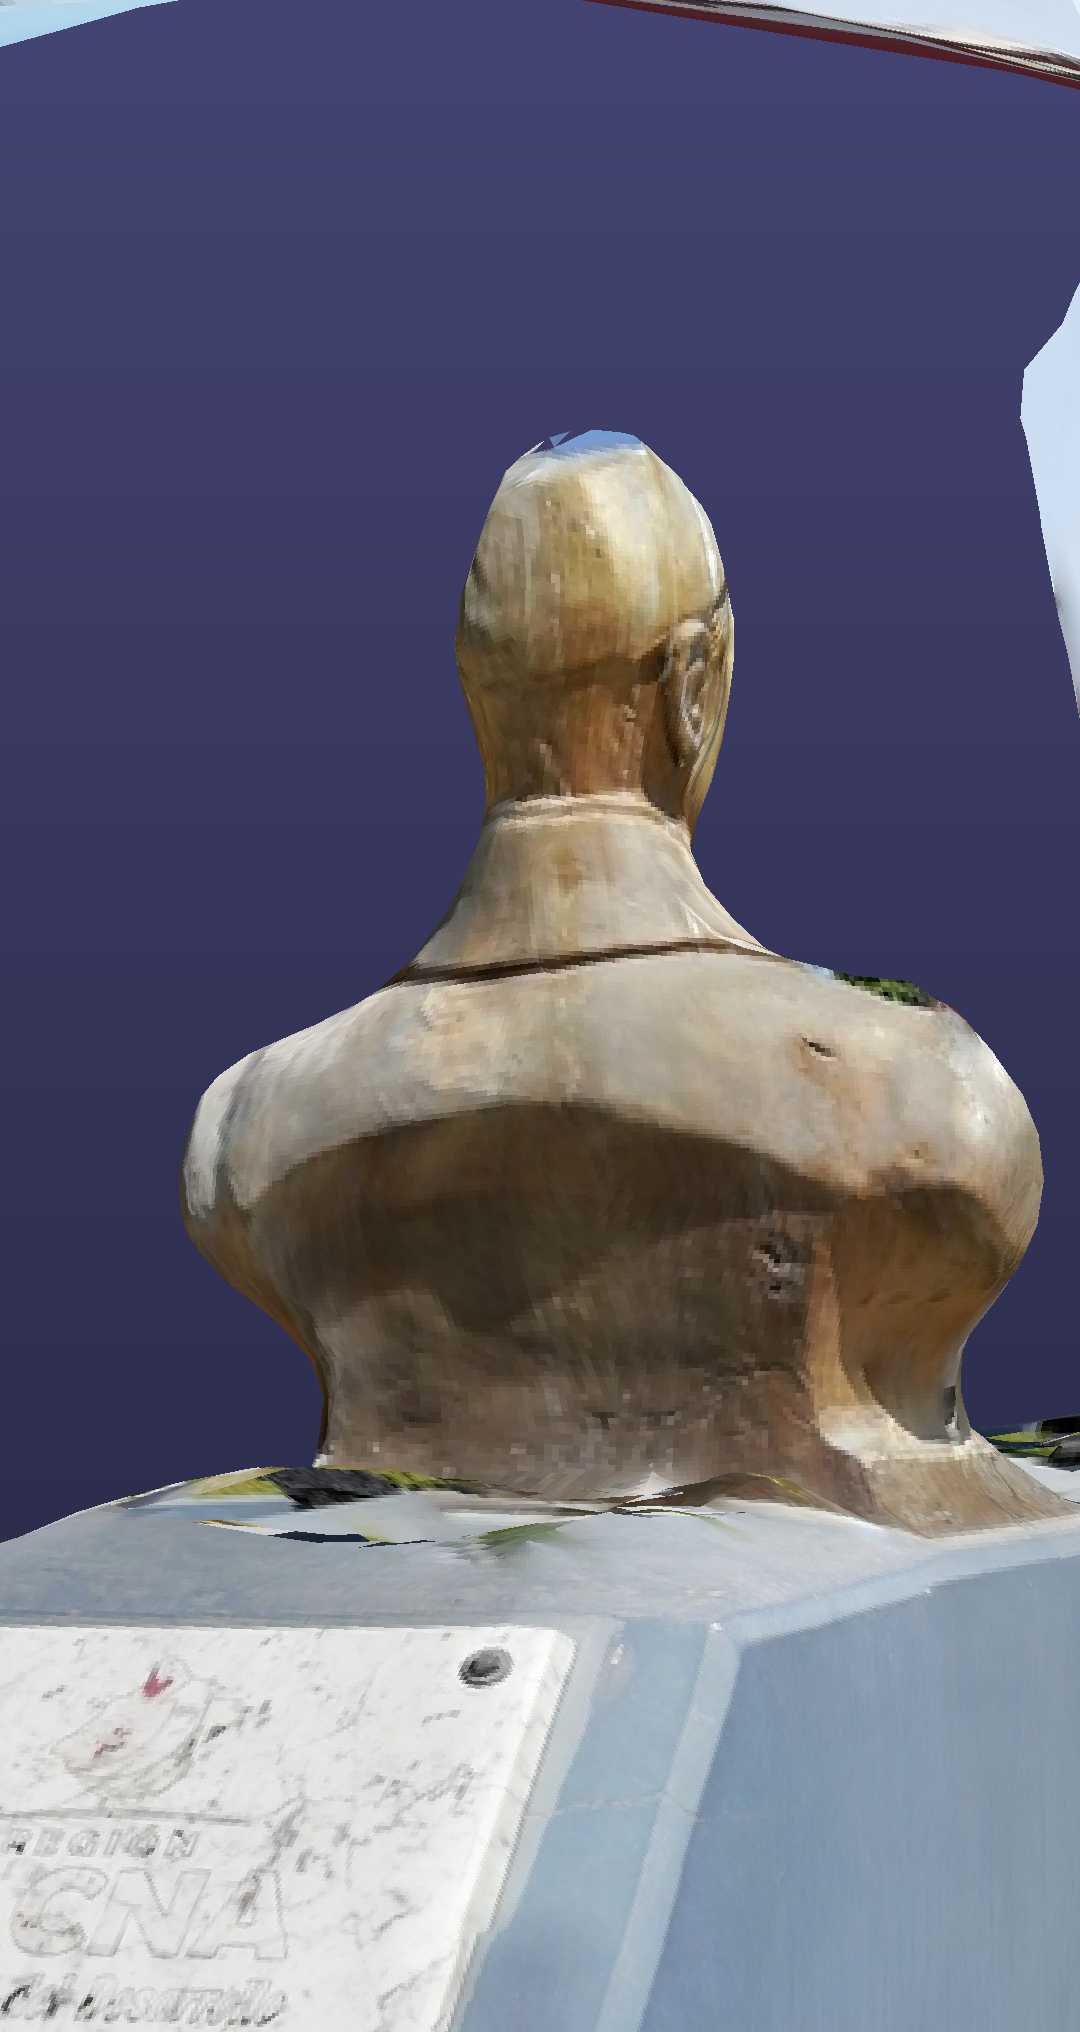 (e)
(e)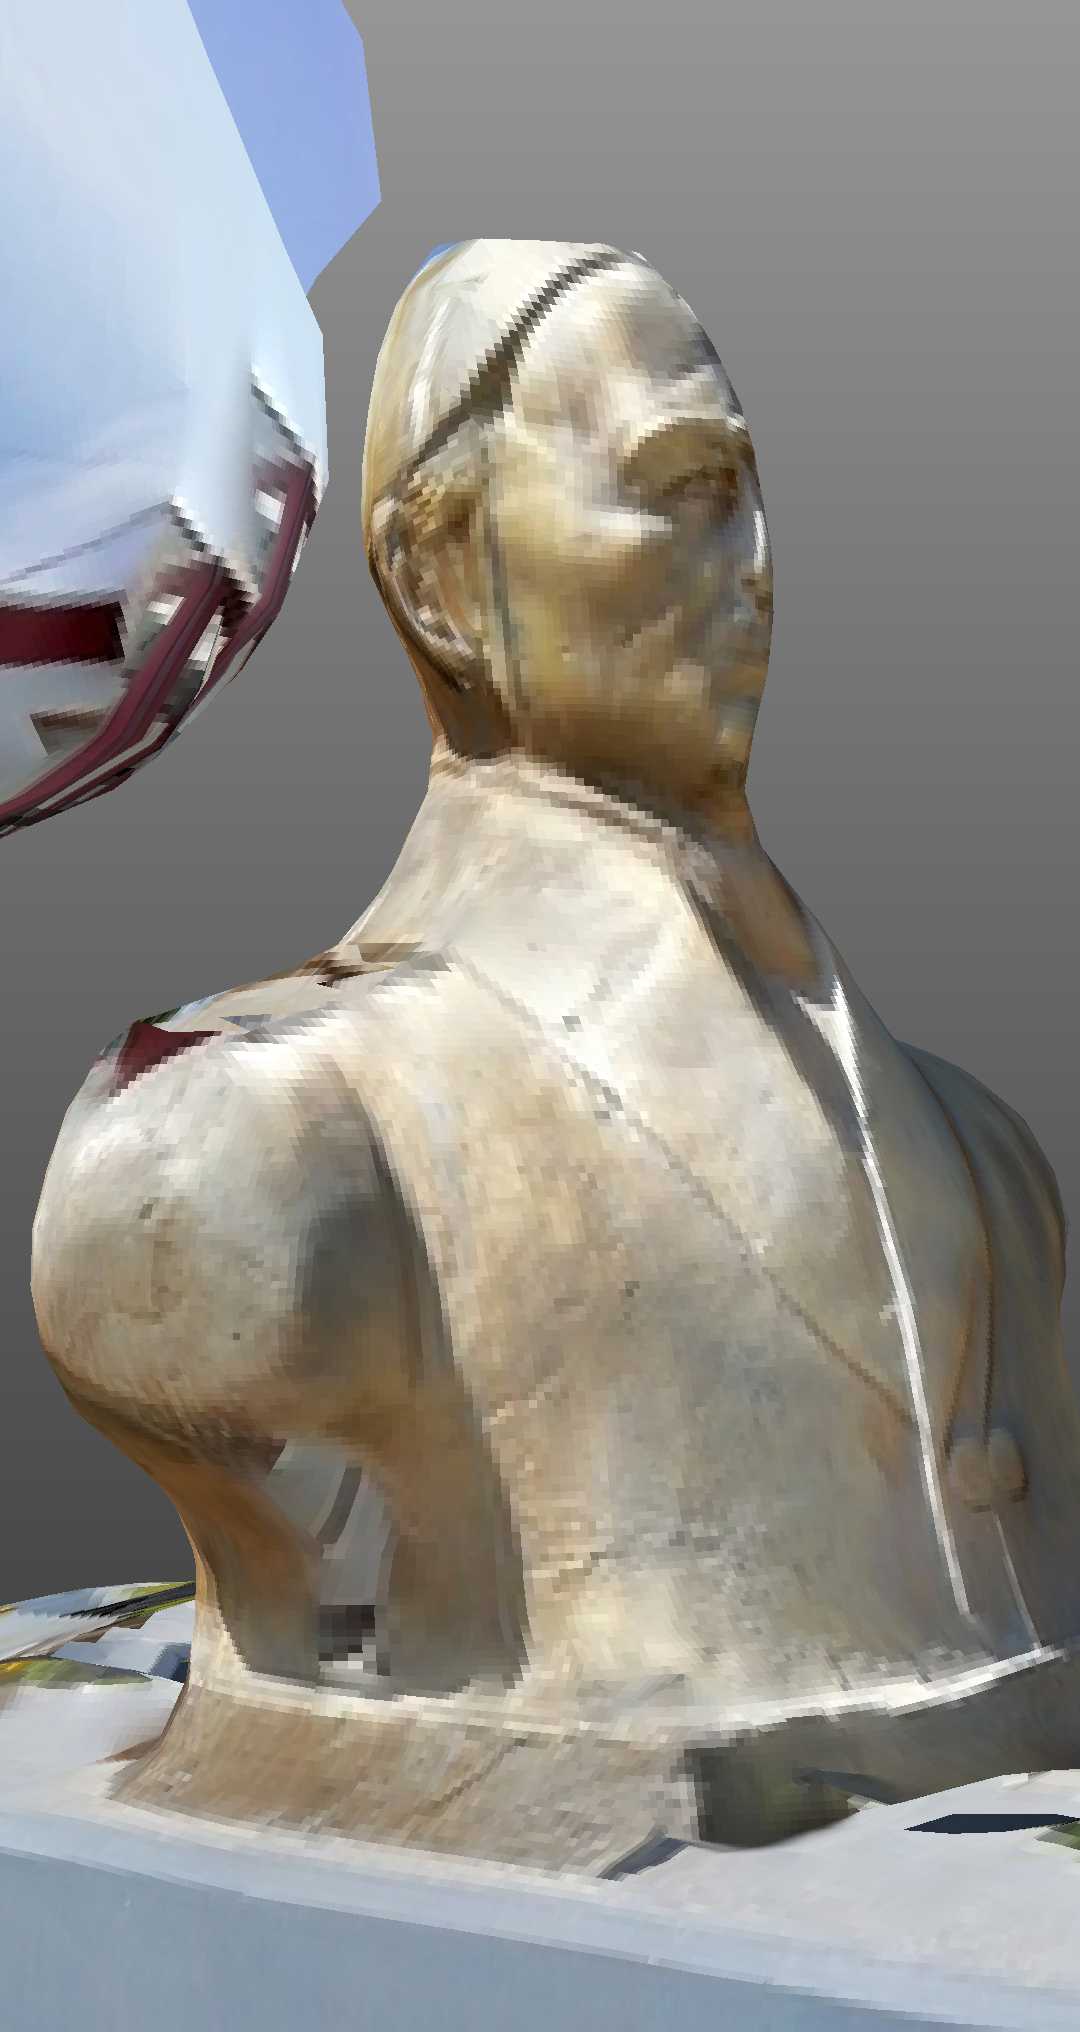 (f)
(f)- I finally have the 3D bust of Francisco de Paula Gonzáles Vigil captured by SCANN3D.
-
SCANN3D allows downloading in: .obj, .pod, .ply and .stl format. The file in .stl format, which is my case, I could not download it from the APP because a credit card is needed, at the moment I do not have it at hand.
-
Finally, I can conclude that this assignment helped me a lot to understand the aspects of 3D design and printing and that if a 3D scanner can be done without having a professional scanner at hand.
Useful links
Design Files:
| Description | Files | |
|---|---|---|
| - Test | ksr_fdmtest_v4.stl | |
| - Circle 3D design | Circulo- Part 1.stl |