3. Computer Aided design
Assigment
- Model (raster, vector, 2D, 3D, render, animate, simulate, …) a possible final project, compress your images and videos, and post it on your class page.
In this page I will explain how the design of different tools on 2D and 3D designs because I will need it to work in the laboratory.
I will also work with the design progress of the final project.
Final Proyect Advance
2D Design: Inkscape
What is Inkscape?. Inkscape is professional-quality vector graphics (vector drawing) software for Windows, Mac OS X, and GNU/Linux. It is used by professional and hobby designers around the world to create a wide variety of graphics such as illustrations, icons, logos, diagrams, maps, and web designs. Inkscape is free and open source software that uses SVG (Scalable Vector Graphic), the W3C open standard, as its native format.
You can export and import various file formats including SVG, AI, EPS, PDF, PS, and PNG. It has very easy to understand features, a simple interface, multi-language support and is designed to be extensible, users can customize the features of Inkscape with its multiple extensions.
History: Inkscape is a member of the Software Freedom Conservancy, a US 501(c)(3) non-profit organization. Contributions to Inkscape are tax deductible in the United States. For this first part, I had to sketch the project in some 2D software to solidly conceptualize the initial idea before modeling it in 3D software. There are very powerful 2D software, but I decided to use Inkscape because it is flexible and user friendly.
Editing VI to SVG
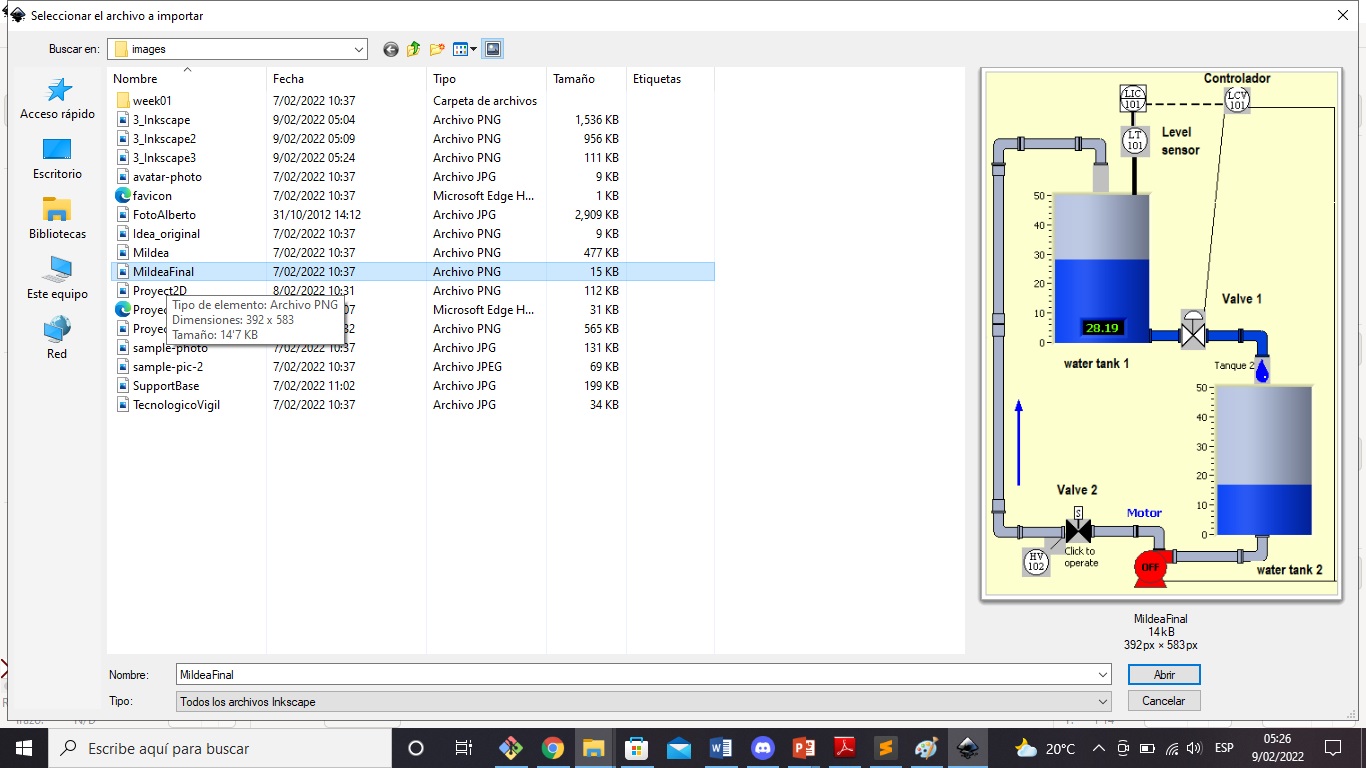
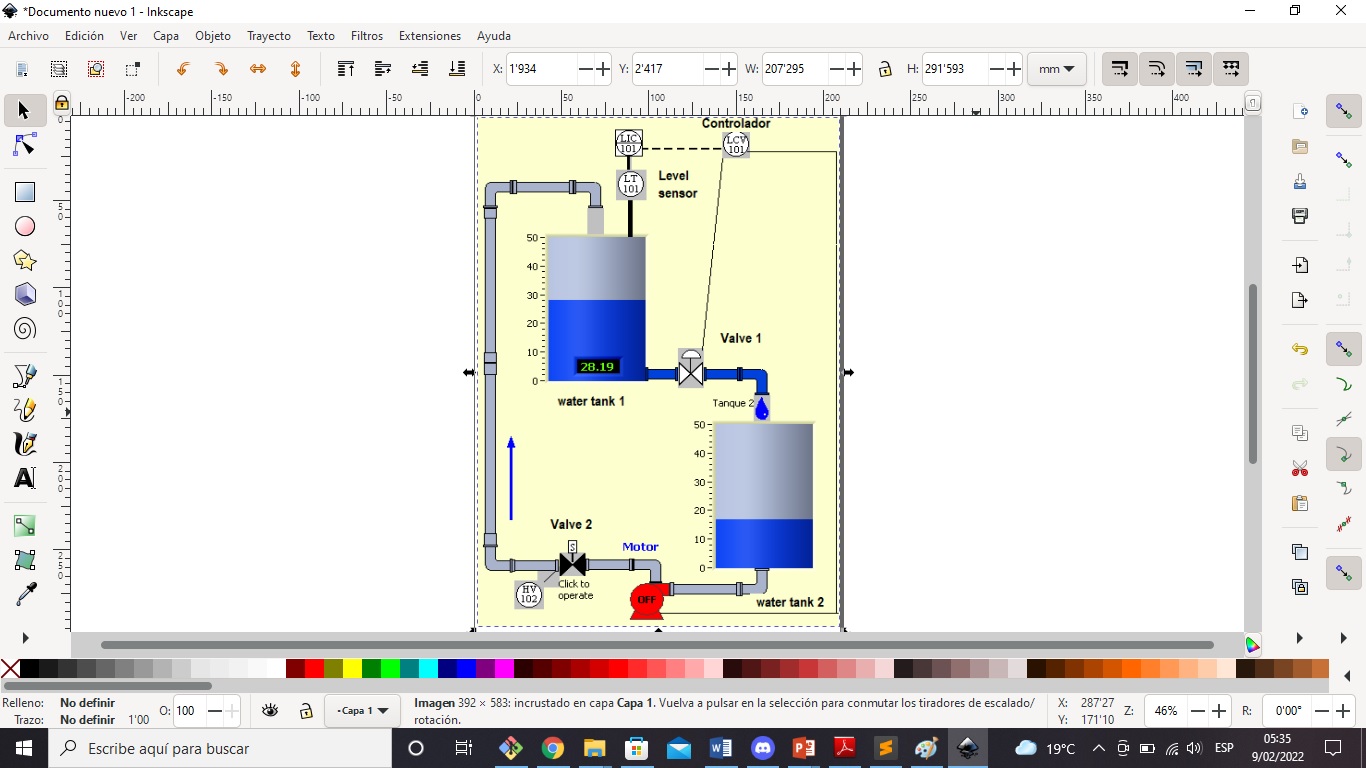
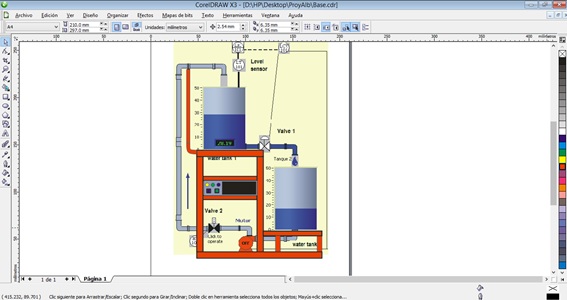
- I remember that previously, before participating in the FabAcademy, I had simulated the outline of the project with LabVIEW (Process Control and Instrumentation software).

-
Taking as reference the previous image, I must draw the support base of the tanks and the support arm of the pipes, as well as the cabinet that contains all the electronic and control parts.
-
I execute the software en the Inkscape icon:
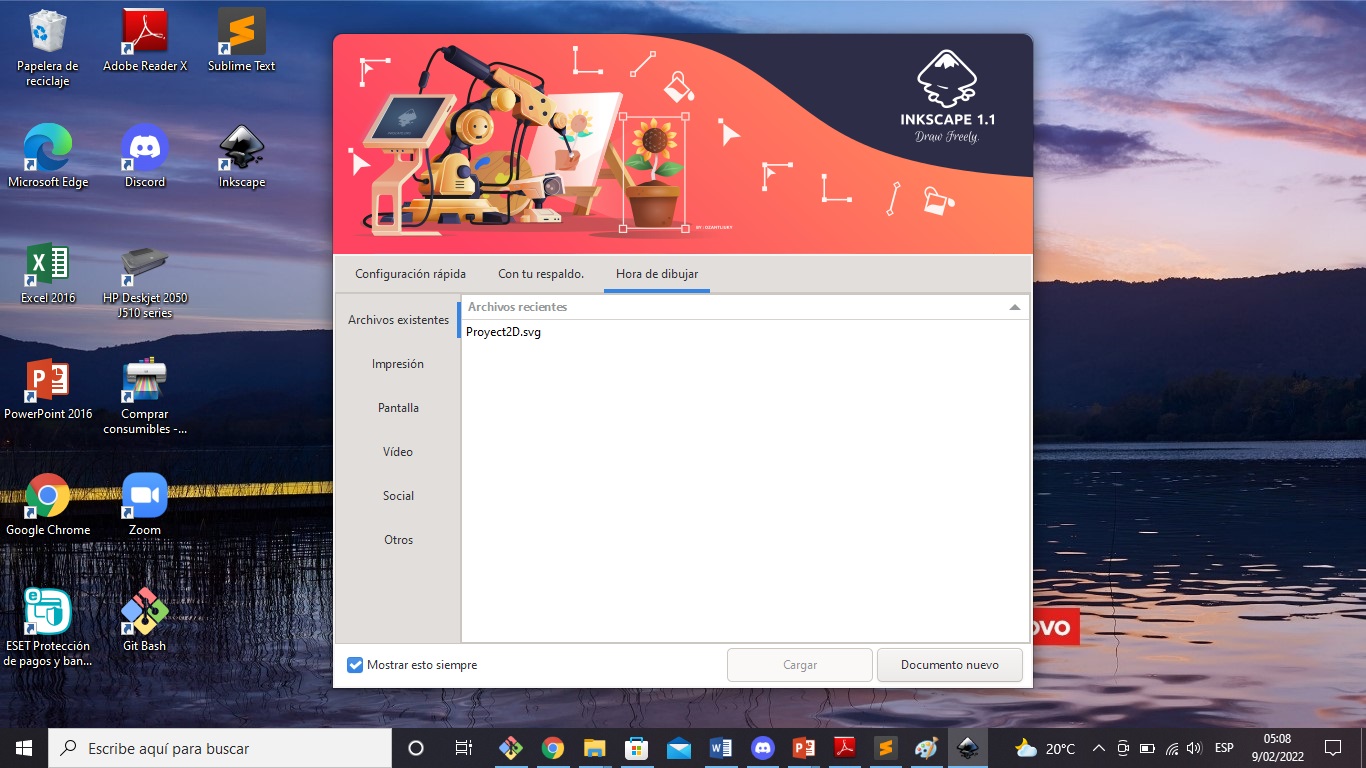
- The program shows the begin windows de Inkscape ver1.1.
- Then click on New Document
- Next, I import the image of the file created in LabVIEW, it is a png file.
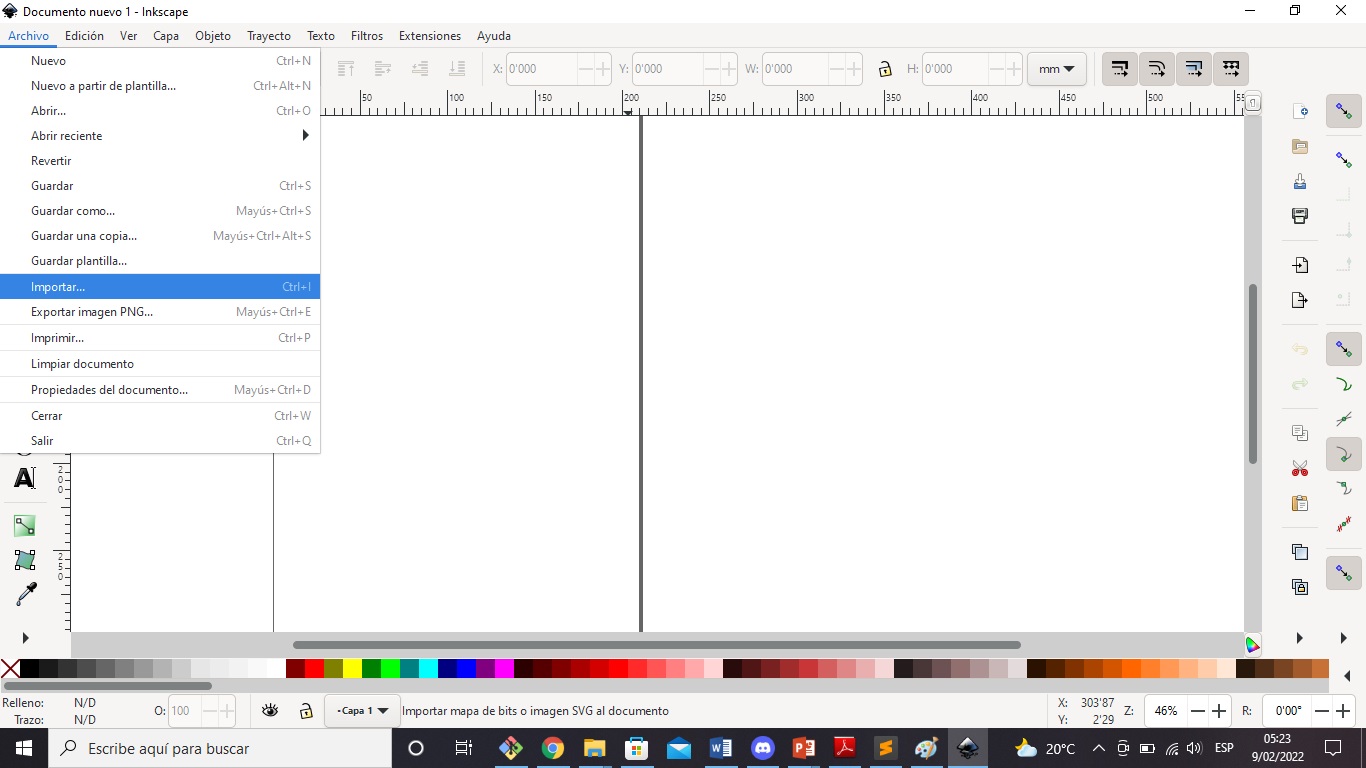
- I choose the PDF file to import.
- Then I adjust the image on the sheet.
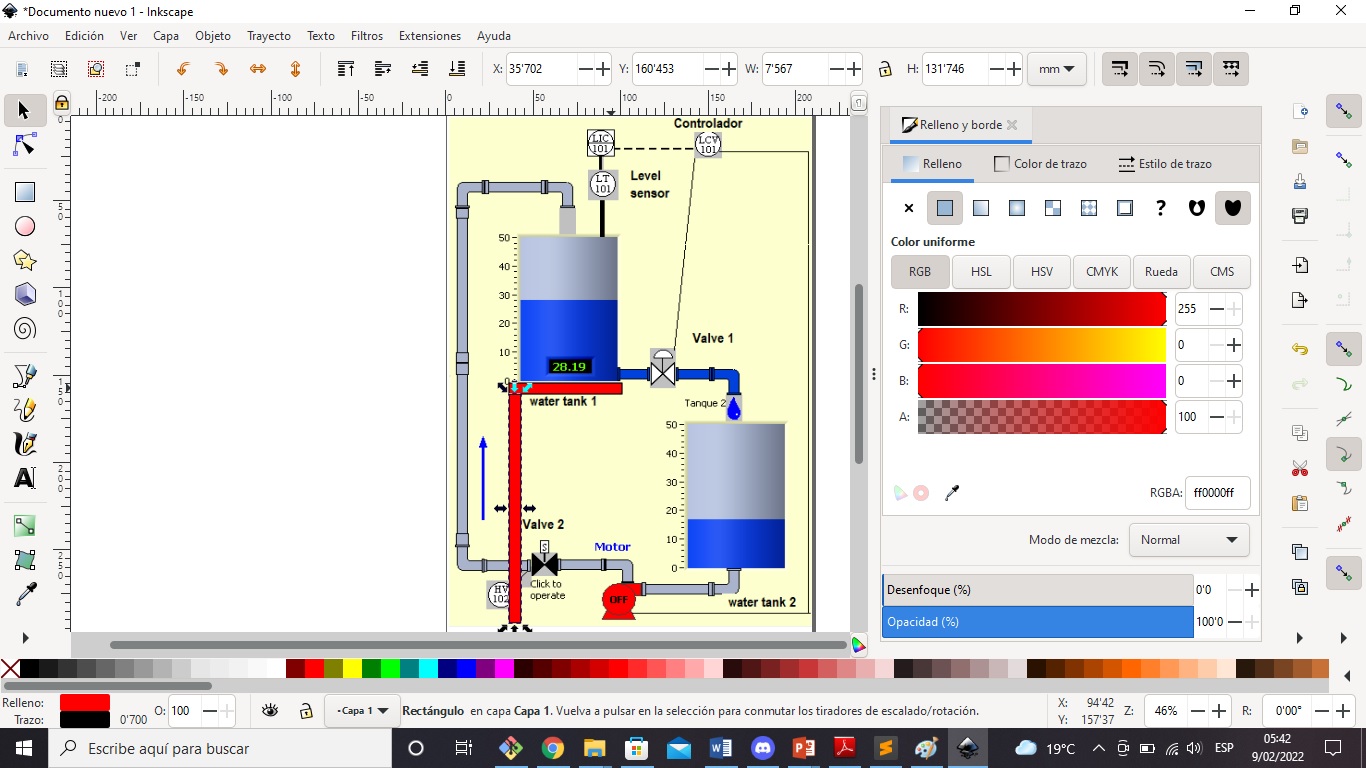
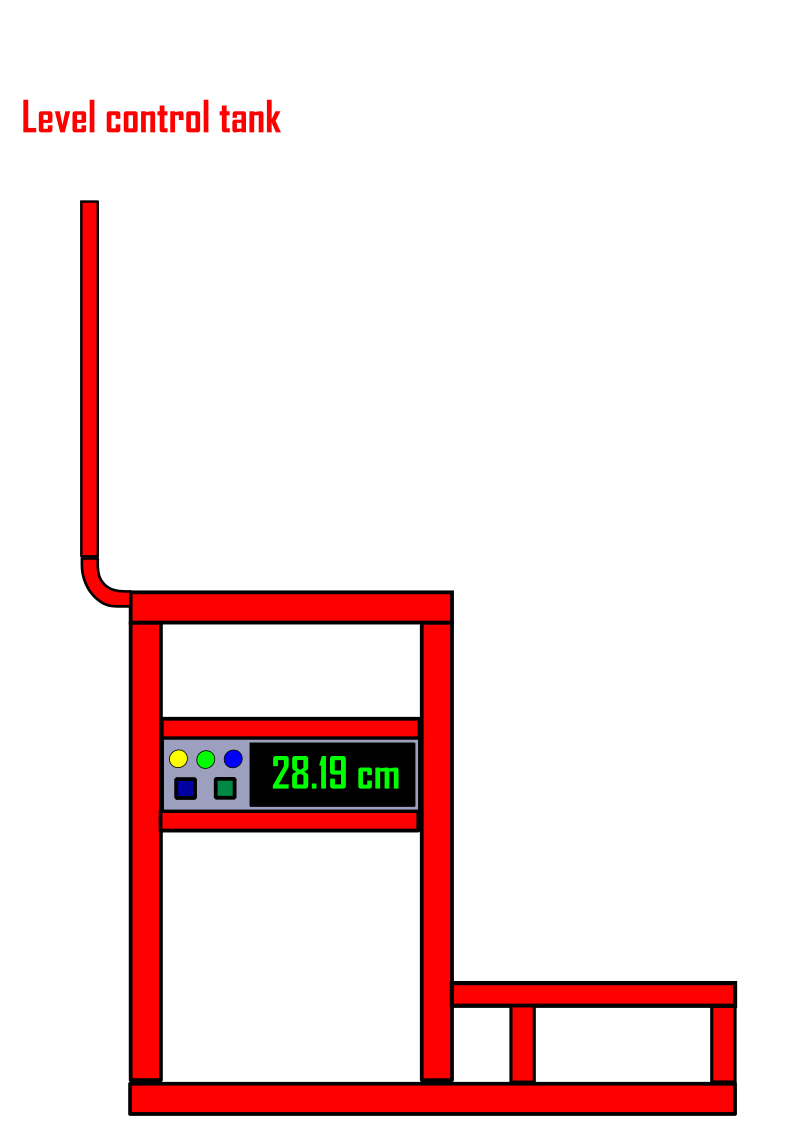
- I go forward with the support base of the tanks and paint it red to enhance what is to be printed.
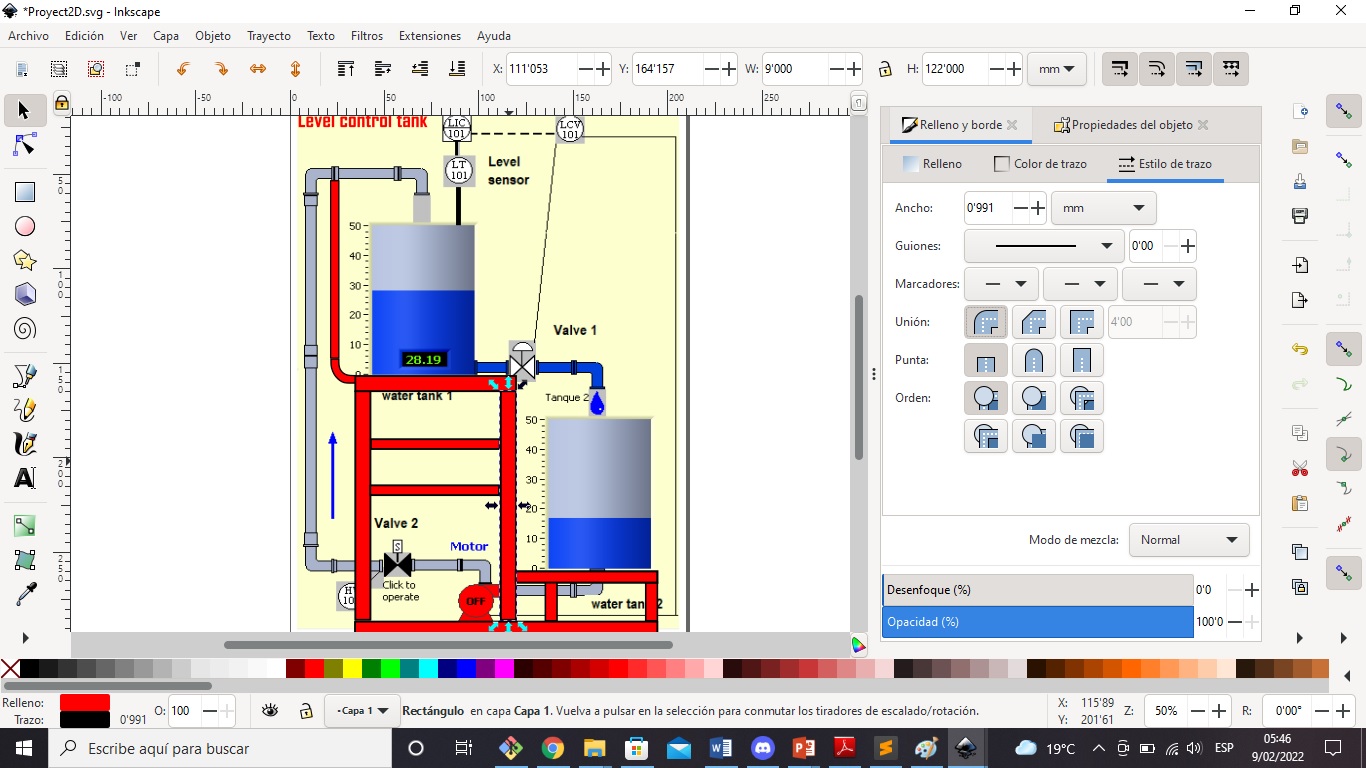
- The support base is almost ready, it remains to add the cabinet that will contain the necessary electronics.
- Now i’m ready to export the SVG file to use in digital fabrication.
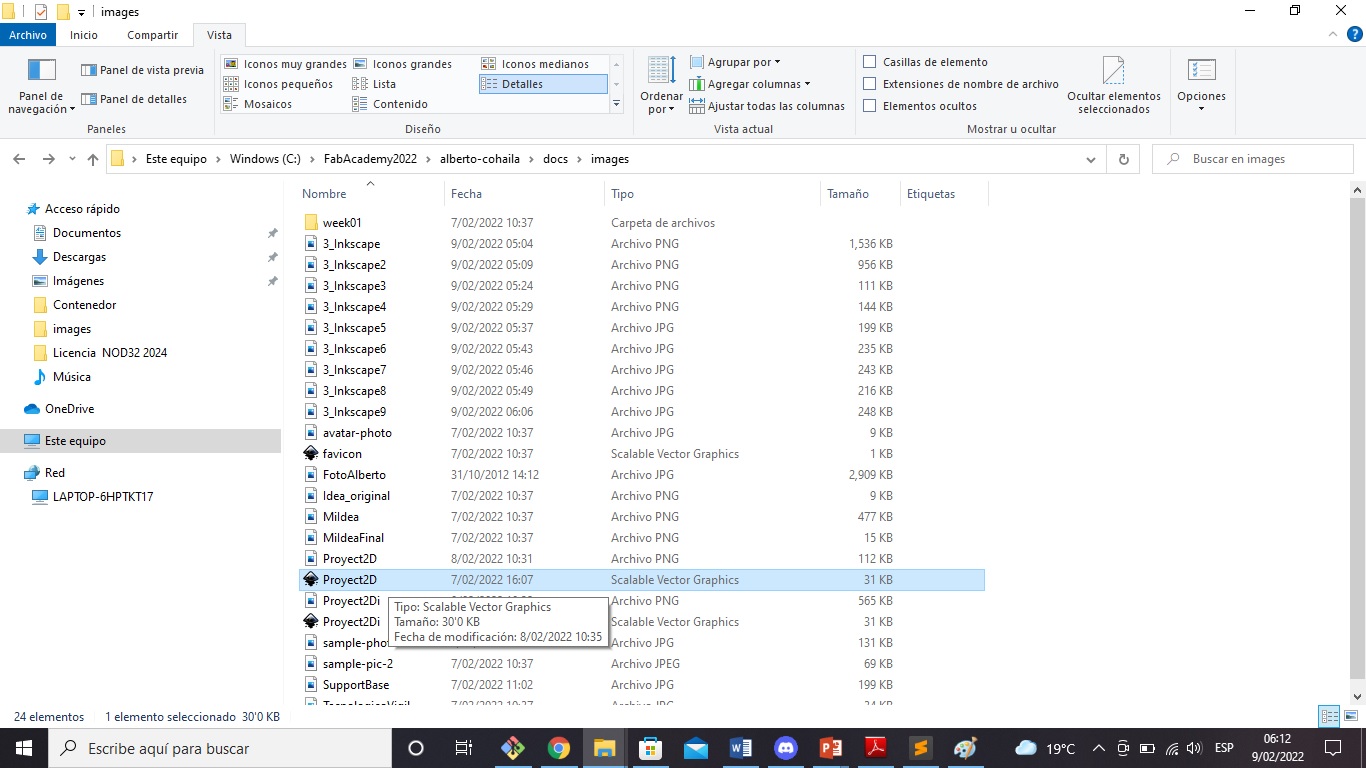
- I put the nome to the file and click on the Export button.
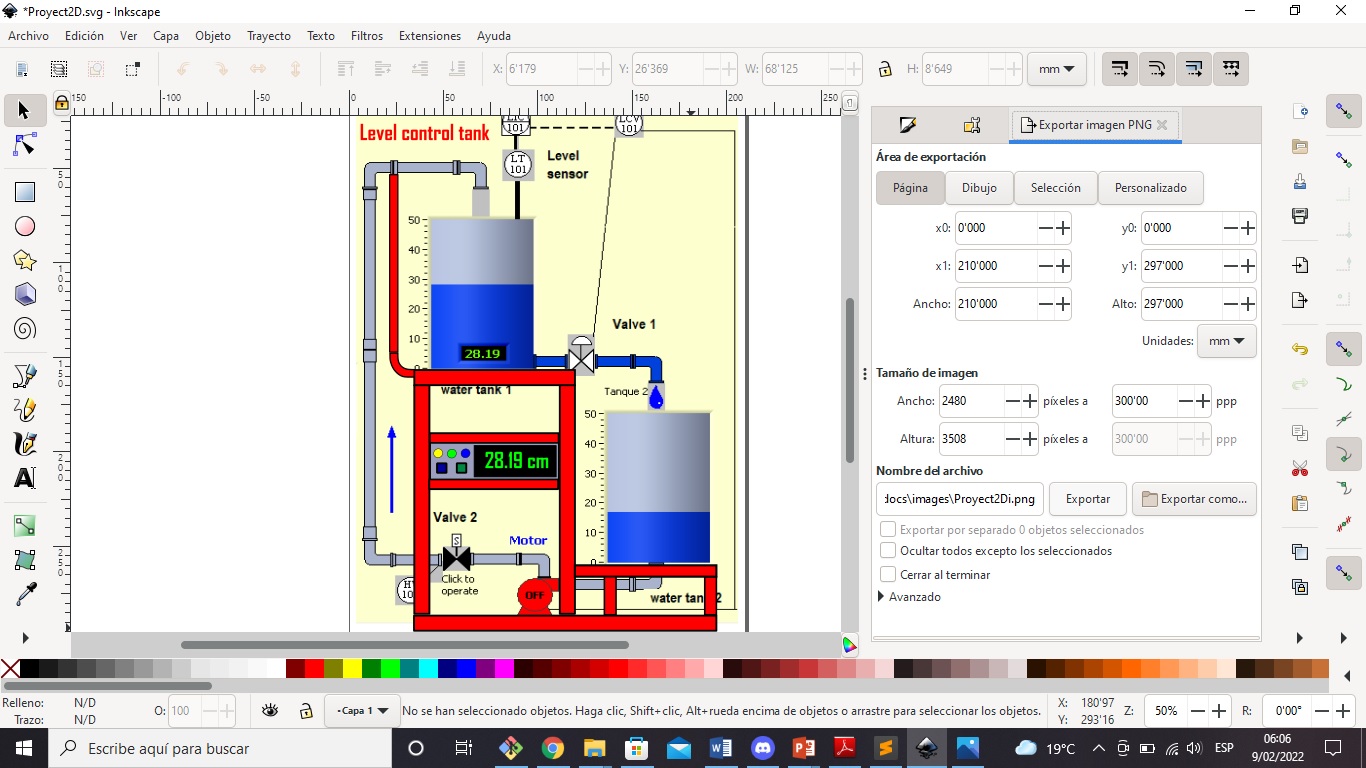
- And finally, i can see the SVG file to work in Digital Fabrication in any machines.
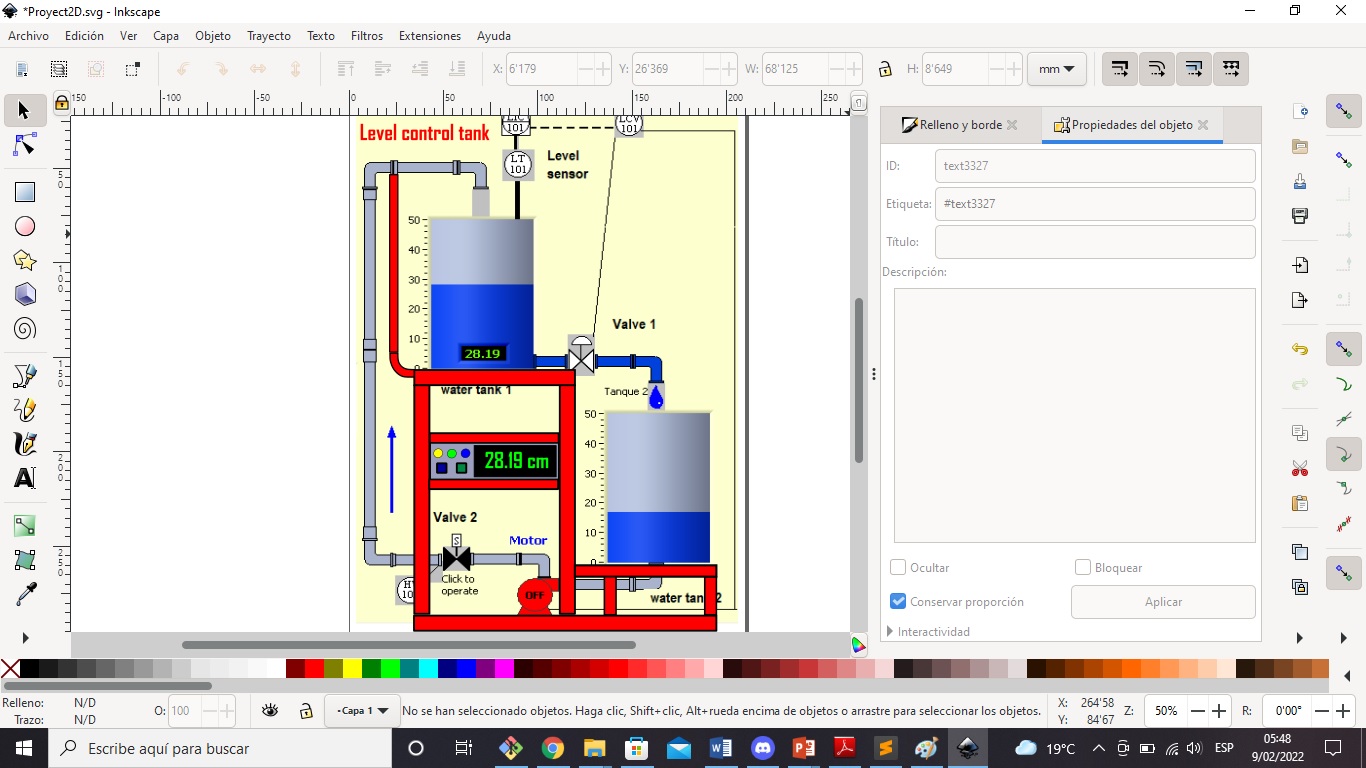
- Final 2D view of the structure of the final project to be manufactured.
2D Design: Corel Draw
- For purposes of comparison between 2D design software, Corel Draw was considered, a vector-type graphic designer that is affordable, but can be overlooked when it comes to basic or simple jobs. For its part, Inkscape is free software, open source, at no cost that we find it available on the internet.

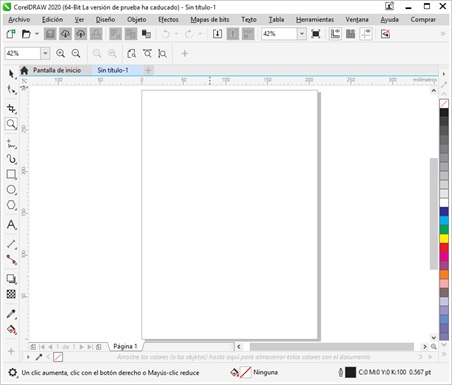
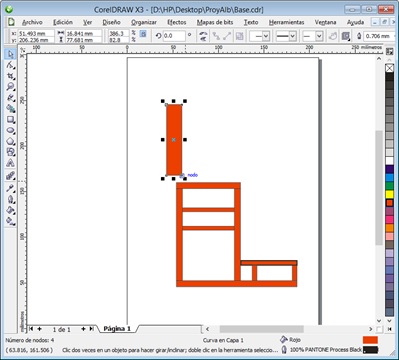
- Regardless of the version, the Corel Draw interface does not present significant differences, its presentation is similar to the following screenshot:
- From the procedural point of view, Corel Draw presents quite friendly tools that allow you to design all kinds of objects in a short time, starting from scratch or editing those of already defined shapes. This is where another difference between both software stands out; In Corel, editing the contours of objects, based on nodes, is much more flexible than in Inkscape.
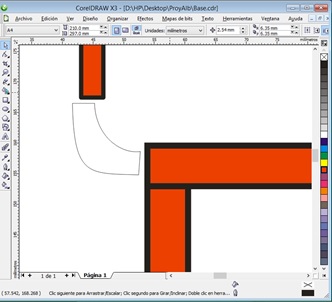
- They provide resources that allow you to easily shape the object in design.
- However, apart from presenting a lighter interface, Inkscape presents a color palette with greater variability than Corel Draw.
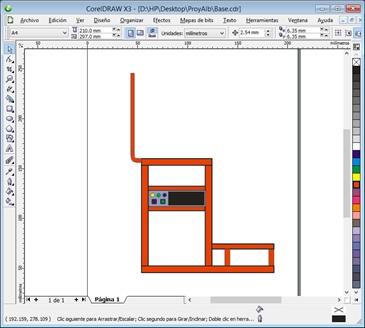
- Completing the design is finally with a presentation quite similar to the one obtained in the Inkscape.
- Both software have advantages and disadvantages in the elaboration of designs of all kinds in 2D. The most important thing is that they make available to the user the necessary and sufficient tools to obtain designs with a professional appearance.
3D Design: OnShape
What is Onshape?. OnShape is cloud-based CAD (computer-aided design) software. Through the use of Internet-based servers, software users can collaborate on the same model, editing and interacting at the same time. The program is aimed at a multitude of industries that seek to design products, machine parts, industrial equipment, etc.
History: It was created in 2012 by two former Solidworks CEOs, John Hirschtick and John McEleney, who, along with a team of six professionals, launched the Belmont Technology program that would later be renamed OnShape. Later in 2015, the program released the beta version of its cloud CAD software publicly. The app for iPhone and Android was also announced, offering cloud-based CAM, simulation, rendering and other tools. It was not until November 2019 that OnShape agreed to be acquired by the company Parametric Technology Corporation (PTC), dedicated to the development of advanced software.
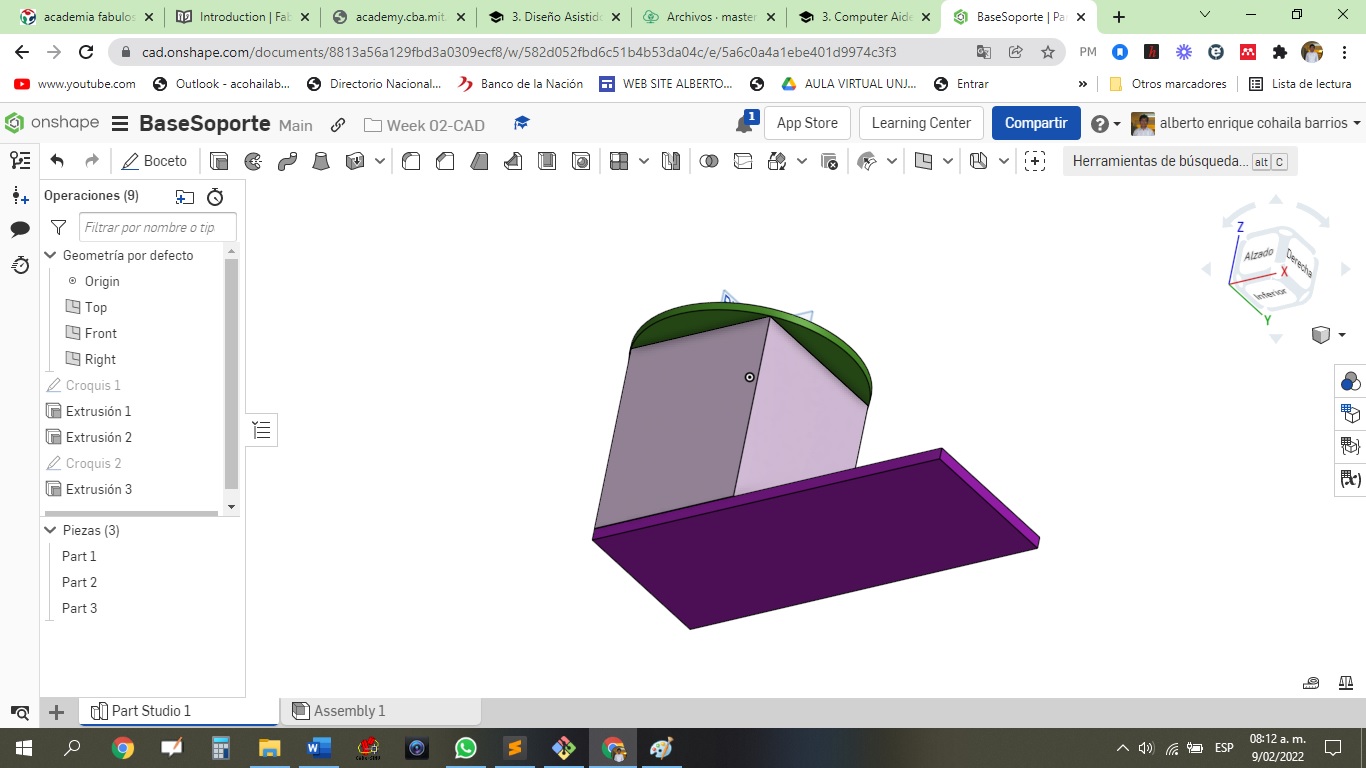
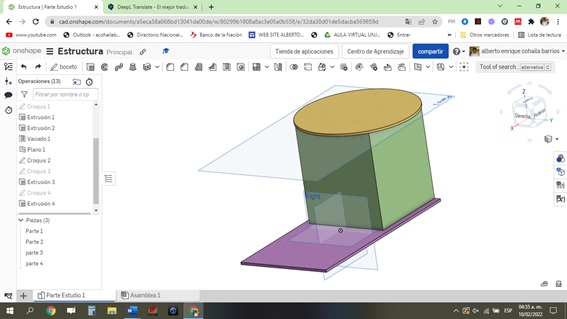
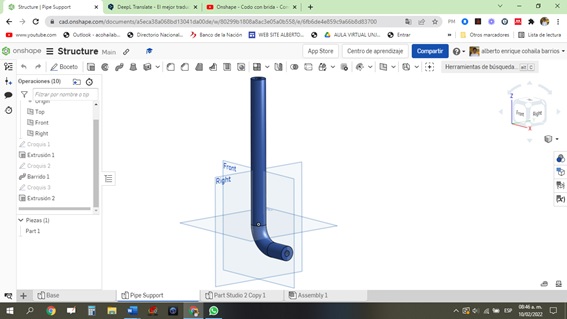
- In this advance, the work is to design the support base for the liquid tanks and the control board where the necessary electronics will be housed. I used Onshape for the 3D design because I can work in the cloud.
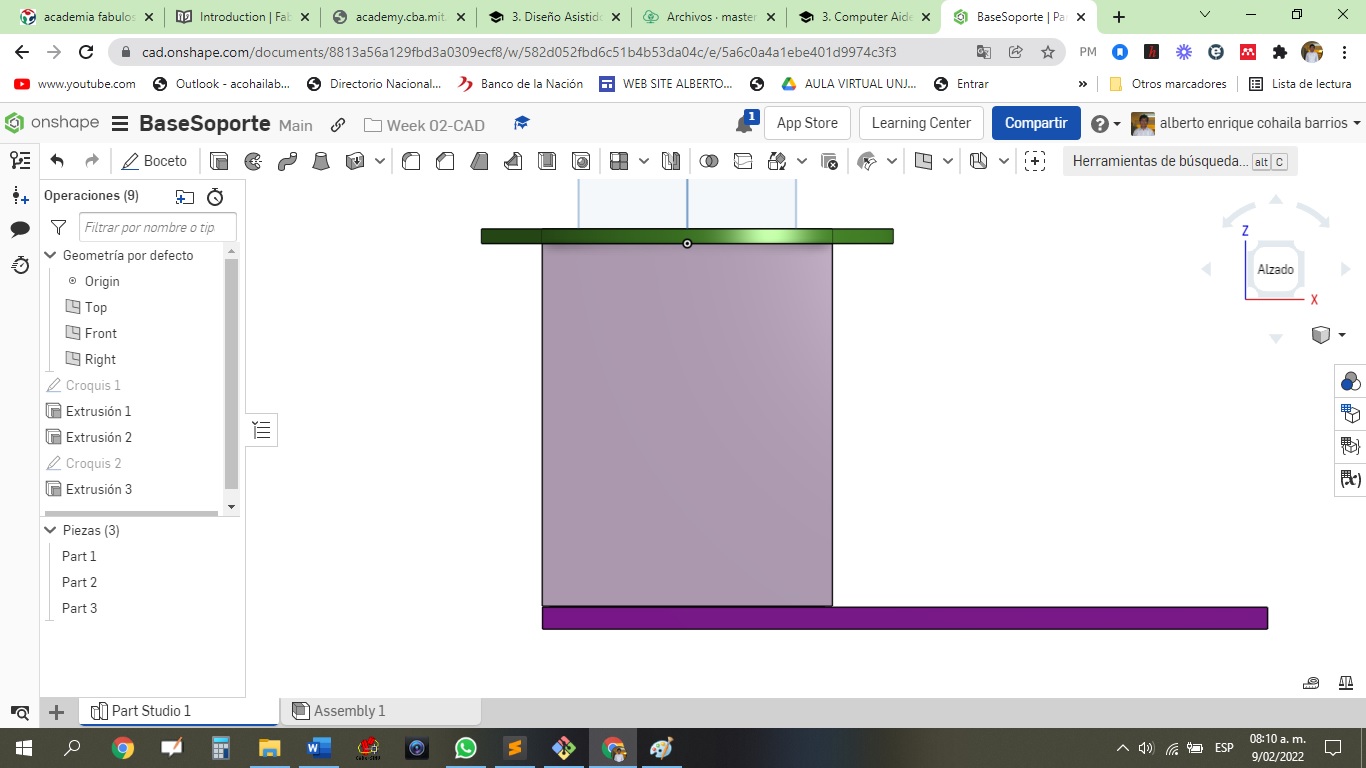
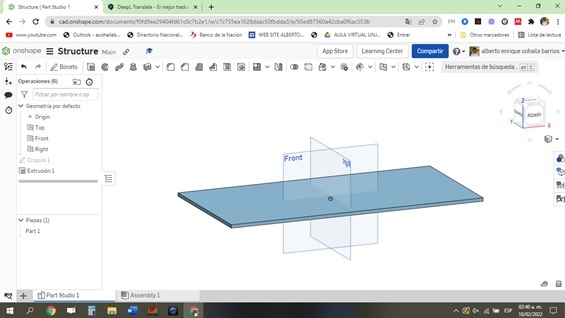
- A lower isometric view is shown below. The 3D design still needs to be improved, but this is a breakthrough for me. It is the first time I use this software, I must get used to its use and try to learn it quickly.
Starting my design
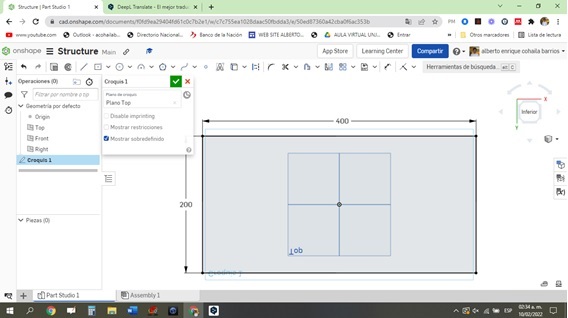
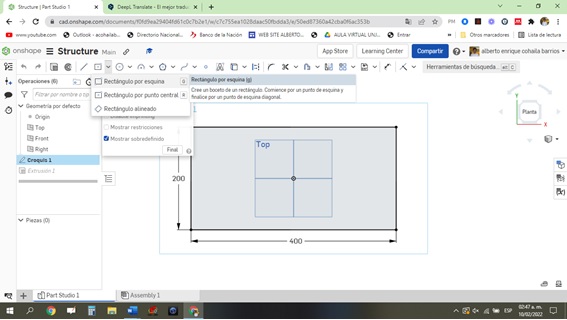
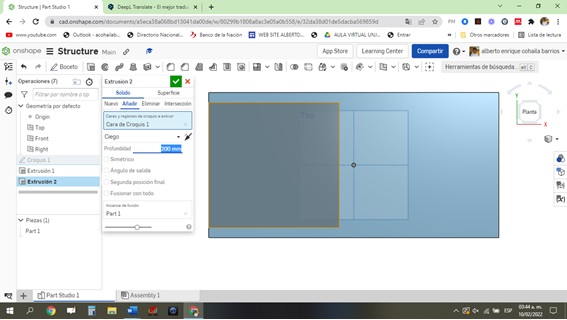
- First, we design the support base with measures of 40 cm x 20 cm (thickness 5mm). We do this on the floor plan below.
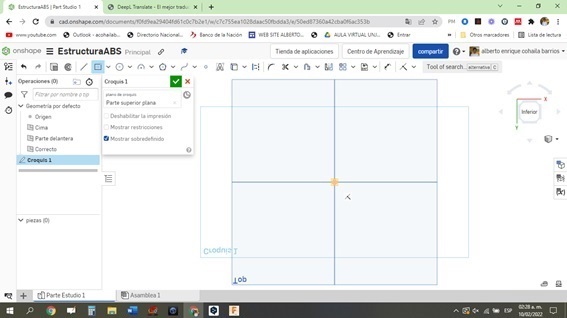
- We create a Sketch and add a central rectangle.
- Using the extrusion button, we give it a thickness of 5mm.
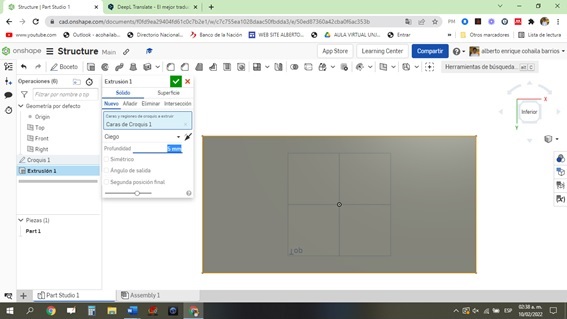
- The base should be as follows.
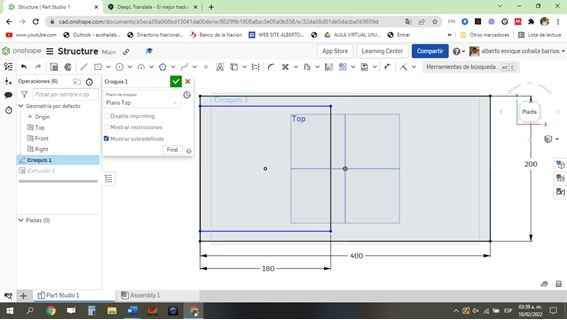
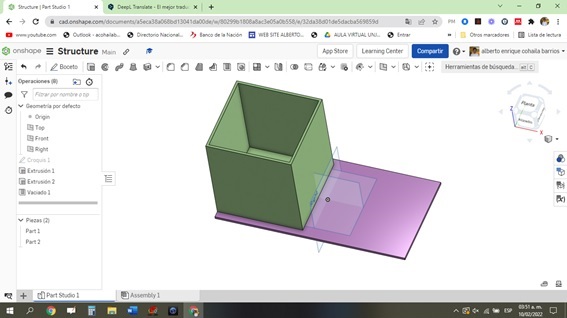
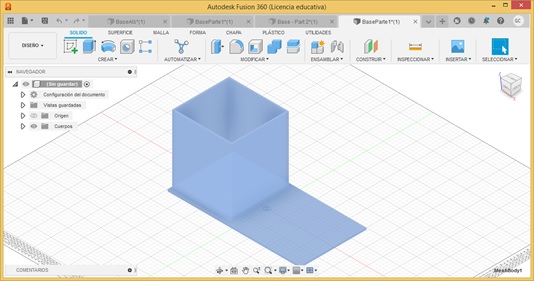
- Then we add an elevation of 20 cm height x 18cm x 18 cm. For this we add a sketch on top of sketch 1.
- Again we make the extrusion to 20 cm as a new piece.
- Then we add a 5mm thick casting.

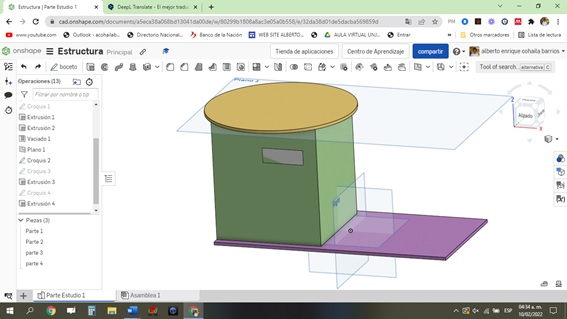
- I am ready to see my progress, it should look like this:
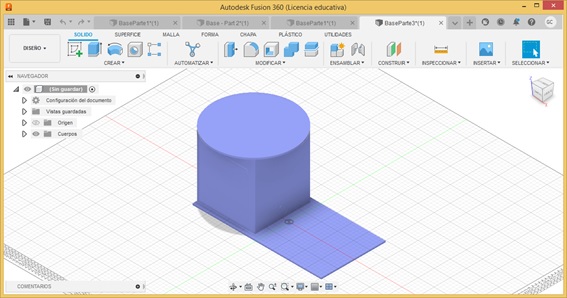
- Then we must design the circular lid of 24.9 cm in diameter, where we will place the upper tank. To do this we must add a plane 1 equidistant 20 cm from the lower floor plan (i.e. this will be our reference).
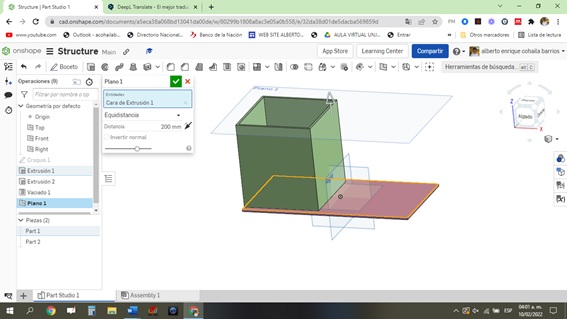
- On plane 1, we create a circle of 24.9 cm in diameter and 5 mm thick.
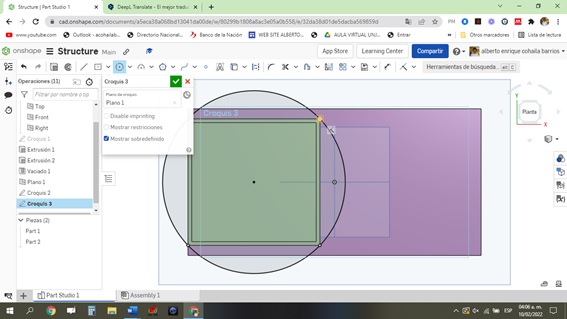
- It should look as shown:
- I must drill a 7 cm x 2.5 cm hole in the side of the front piece where I will place a 16 x 2 LCD screen, which will display water tank level and status data among other things.
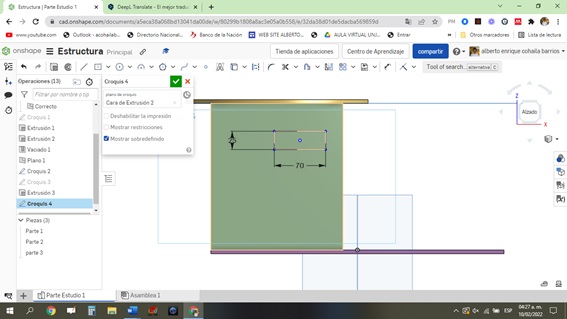
- Again we make a 5 mm extrusion.
- We make the inlet and outlet holes for the pipe.
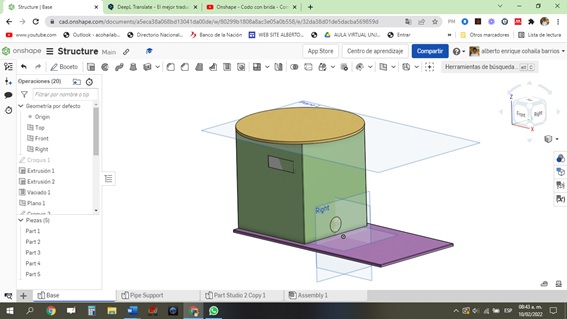
- Finally we create a new pipe support element that goes to the upper tank.
- Se muestra un video corto del proceso del ensamble …
3D Design: Fusion 360
-
Fusion 360 is the 3D design software selected to work with and compare with Onshape; software with which the design of the project has been elaborated.
-
Fusion is apparently easier to use, has better support and can be stored on a computer or in the cloud, which is not the case with Onshape, which is only available in the cloud. However, Fusion 360 requires a web application to access the cloud while Onshape does not require its users to install or download anything to get the software. One of the advantages of Fusion 360 over Onshape is that it offers simulation and visualization functions, and also allows you to develop CAD and CAM applications, while Onshape only works with CAD designs.
-
Now if we try to compare the interface of both software, it can be seen that to a certain extent, Fusion 360 has an interface similar to that of Onshape. Moreover, it has similar resources or design tools.
-
The appearance of the Fusion interface is similar to the following presentation:
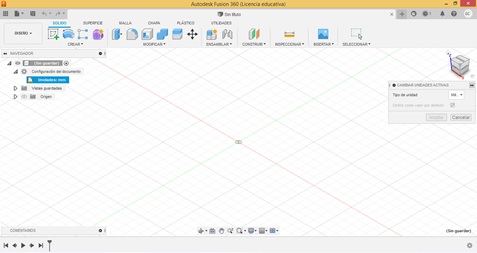
- Fusion’s design resources and tools are available at a user’s glance, through drop-down lists or toolbars.
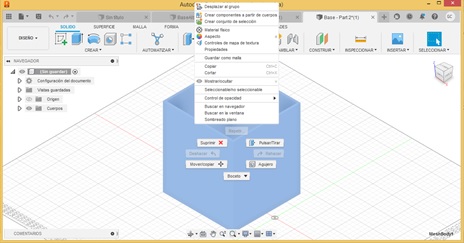
- Depending on the selected object, each one of them presents fairly friendly contextual menus that can be used to obtain the design, simply and quickly.
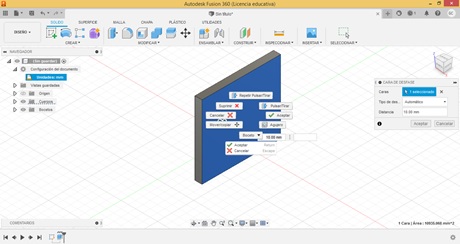
- Apart from the fact that Fusion 360 has practically the same design tools as those of Onshape, what’s more, some keep the same names, which makes it more understandable for the user who manipulates Onshape, also to manipulate Fusion.
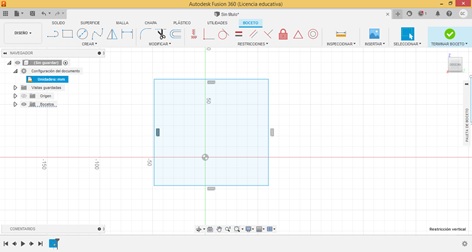
- It has the resources sketch, extrude, fillet, among others.
- In the same way, their angles of view are the same:
- After an exploration in Fusion and comparing it with Onshape, it can be concluded that both software make available to the user enough resources to allow a 3D design to be shaped. Both with certain limitations that do not prevent obtaining the product design.
Useful links
“In conclusion, I can rest assured that I have achieved my 3D design in Onshape and Fusion; and 2D design in Inkscape and Corel Draw. I know that I have to improve it, which makes me very happy.”
Design Files
| Description | Files | |
|---|---|---|
| - 2D design in Inkscape | proyect2D.svg | |
| - Suport base 3D in Onshape | Structure | |
| - 2D design in CorelDraw | Base.cdr | |
| - Suport base 3D in Fusion360 | ProyecAlb.f3d |