2. Project management
Assigment: This week what I developed was:
- Build a personal site describing you and your final project.
- Upload it to the class archive.
- Works through a git tutorial.
- Signed and uploaded Student agreement.
This week I will work on the documentation about the GitLab installation. I will detail step by step how to install it on my machine. Finally I link to my website to upload information about my weekly progress. I will use GitLab as the engine and Sublime text editor to design the personal site.
Working Control Version Git
Git is version control software designed by Linus Torvalds with the efficiency, reliability, and compatibility of application versioning in mind when applications have a large number of source code files. Its purpose is to keep track of changes to computer files including coordinating the work that several people do on shared files in a code repository (source Wikipedia)
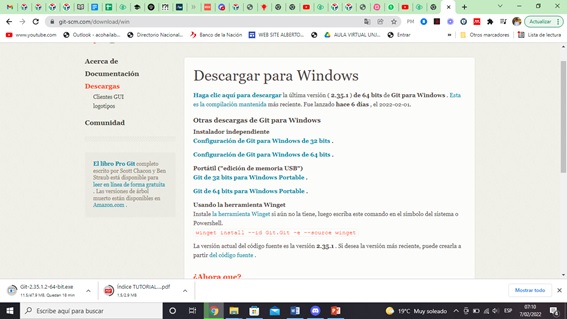
First things first: Install Git
- I knew my repository and the link of my web page that we must update every week according to our progress.
a) I need to download the installation file from the official page https://git-scm.com/download/win for Windows, choose the Git installation file for 64-bit Windows.
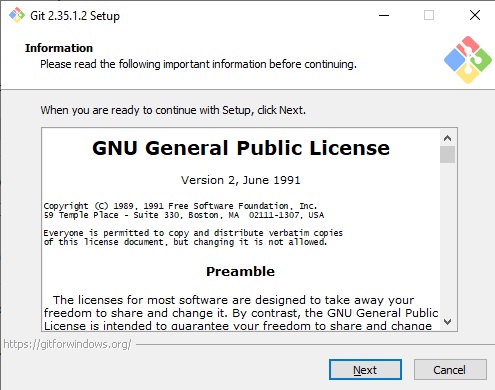
b) I start the installation. Click Next.
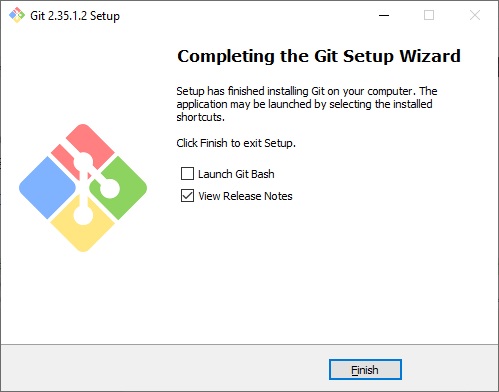
c) The installation is ready
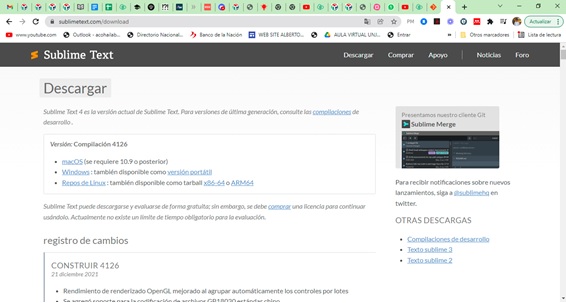
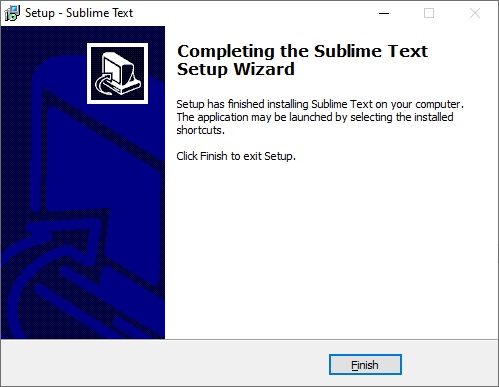
d) Then I download the Sublime Text, I will use it to edit my web page.
e) I install it on my computer.

f) It is now ready to use.
Clone Gitlab’s Project:
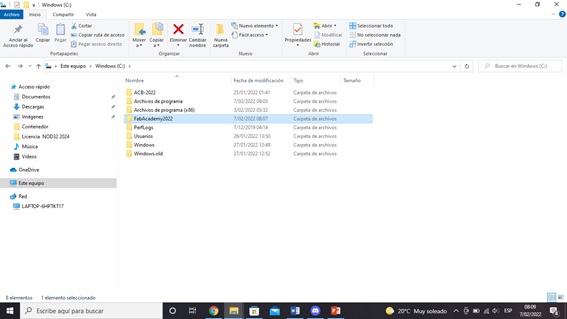
- First I created a Folder where I will work my FabAcademy’s website.
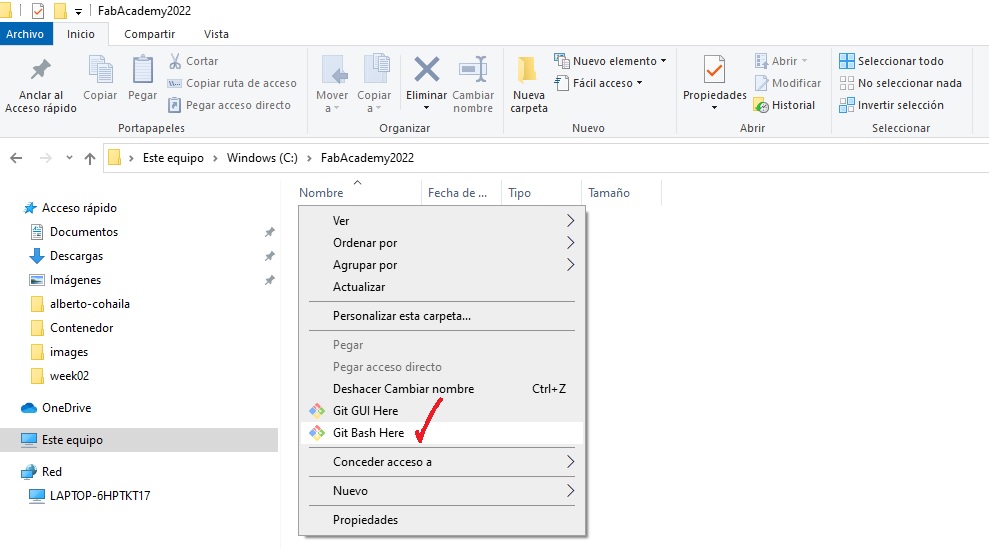
- Then, run the Git Bash into the path.
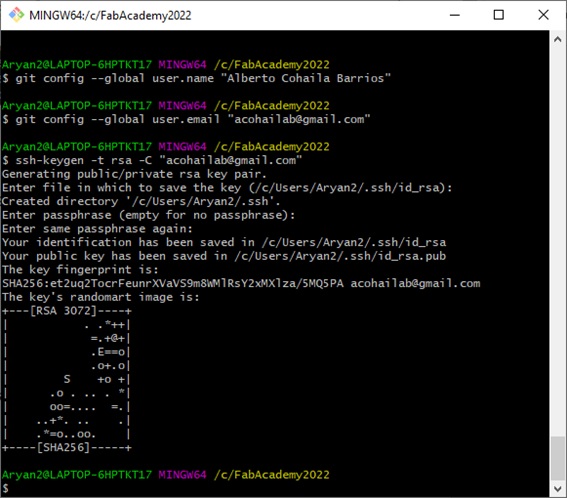
- I used the command to create the global config to login:
  git config --global user.name "User's Name"
  git config --global user.email "User's Email"
- I can check the configuration with the following command:
  git config --global user.name
  git config --global user.email
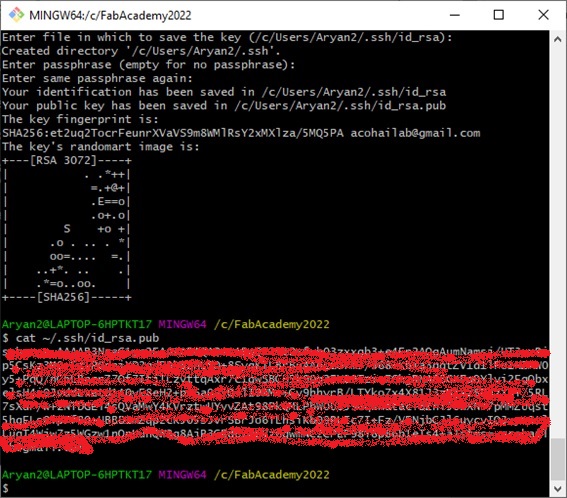
- I check the SSH Keys of my computer, it does with the follownig command:
cat ~/.ssh/id_rsa.pub
- Enter the security code:
- I had some errors, but I fixed it.
I login Gitlab:
- Add the SSH Key to work; first Sign In Gitlab in the following url https://gitlab.fabcloud.org/academany/fabacademy/2022
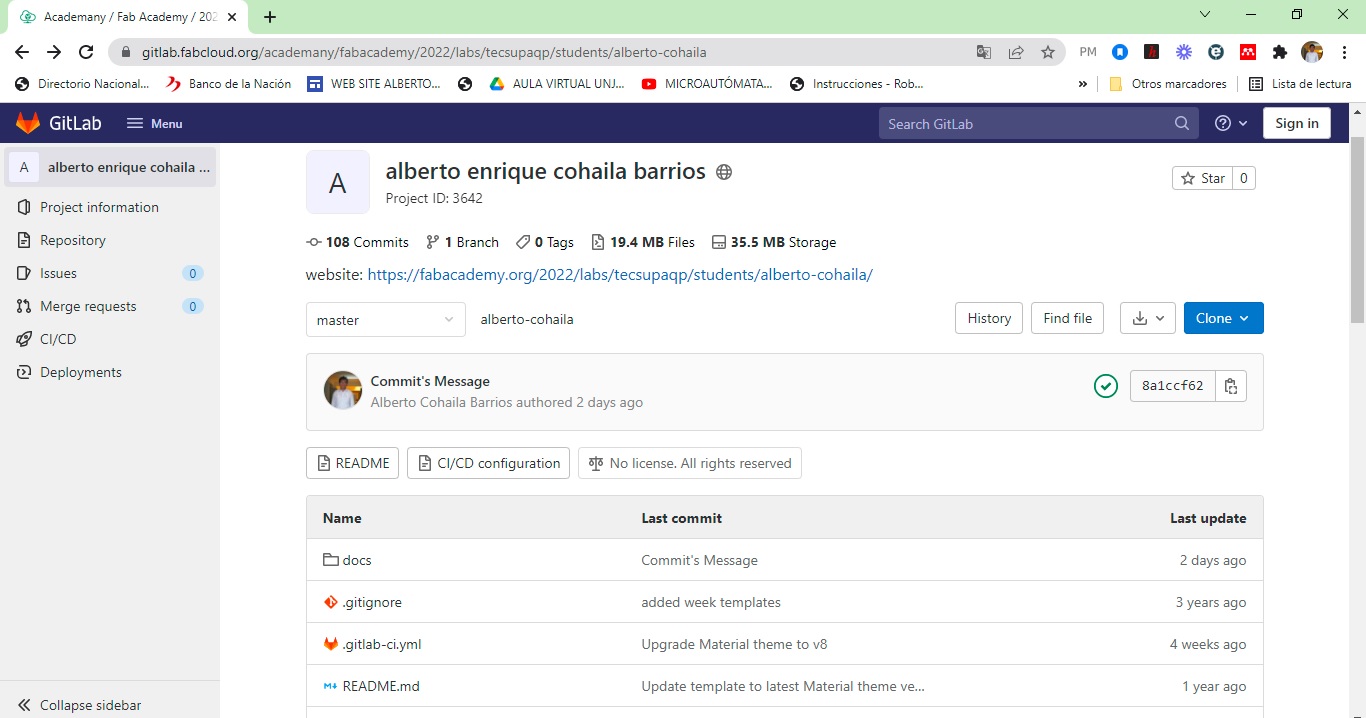
- After Login, I choose the Projects button to get in the student’s website of Fabacademy:
- Now, To add the SSH Keys in Giltab I choose button Settings from my user’s option:
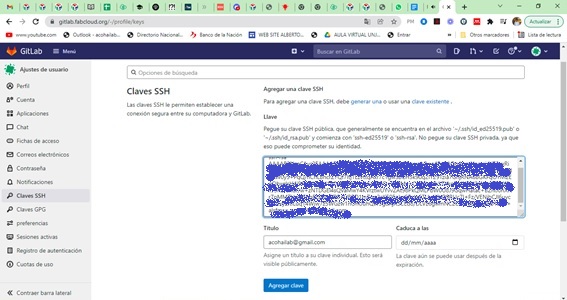
- I have a permission to work GitLab and publish in my Website.
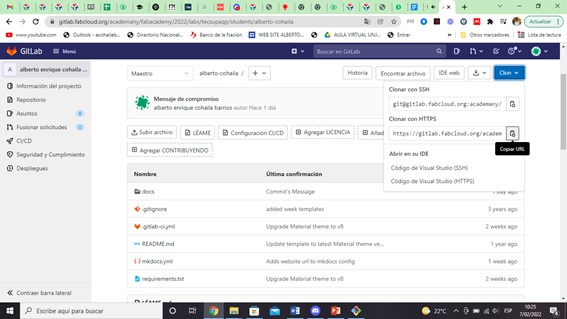
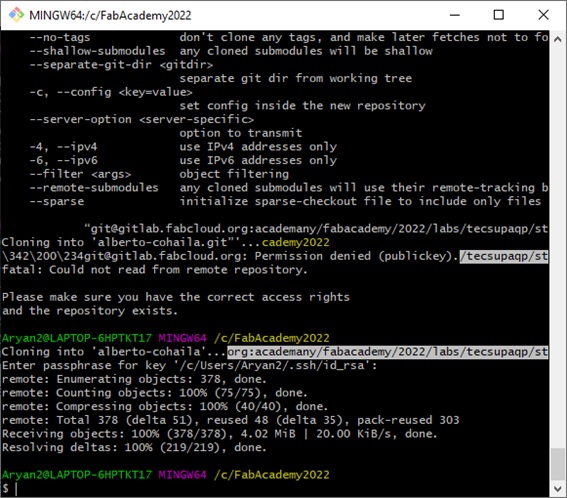
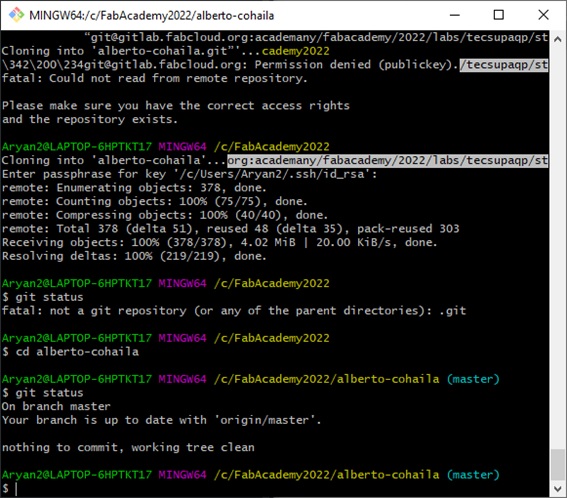
- I clone my website in my computer, it does with the follownig command:
git clone "url_your_website_in_gitlad_by_SSH"
- Then I have the file ready to work and document my progress every week.
- I check some commands and voila.
Online work website with Gitlab:
To update the changed in my computer to my Website’s Gitlab, I must perform the following steps:
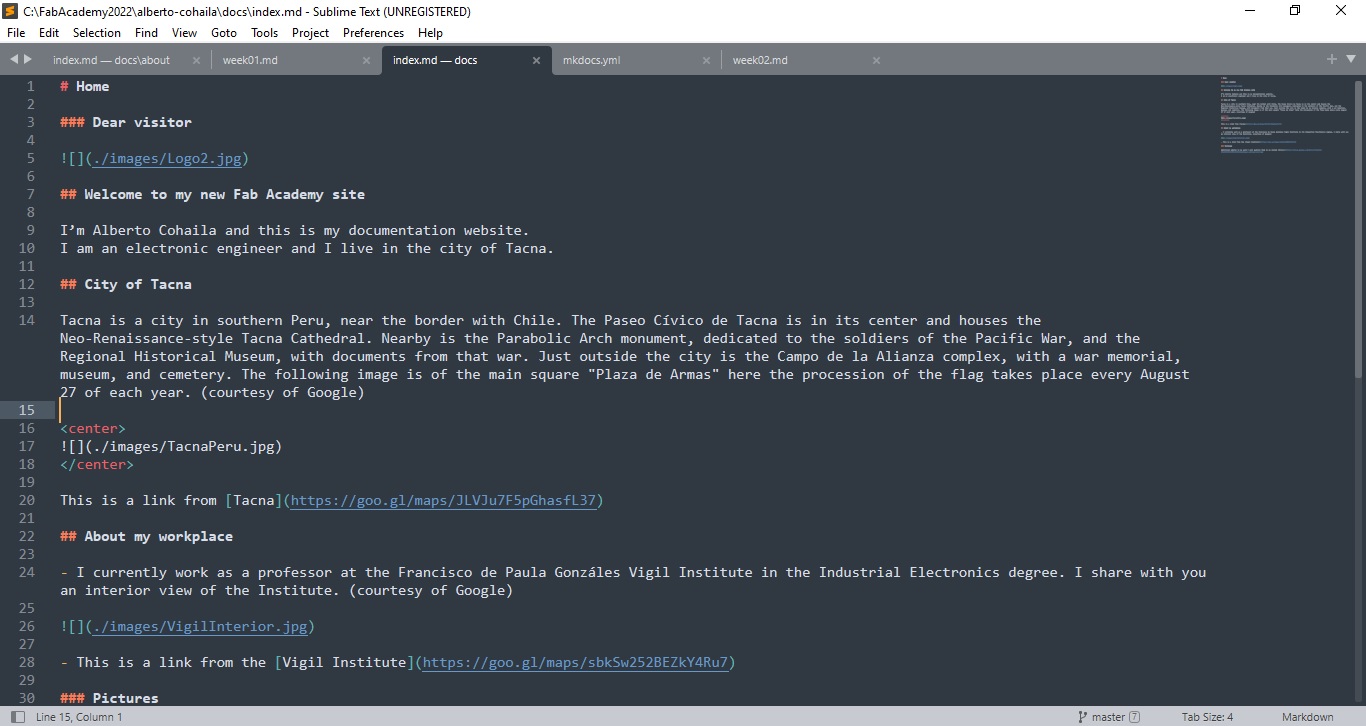
- I use the Sublime text to change the content of the web. I find this program interesting, I know there are many, I will try to see how it goes for me.
- Afterwards, I add the changed files to update; it does with the follownig command:
  git add .
  git commit -m "Commit's Message"
  git push
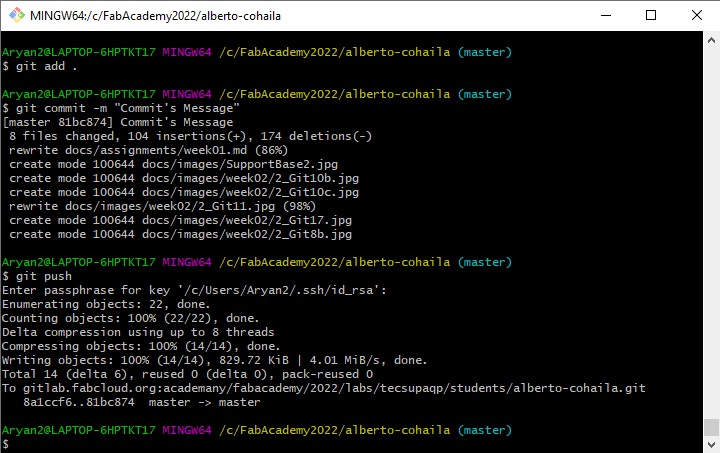
- I finally managed to see my website in google. It was the first time that I clone a website and from my machine I am updating it.

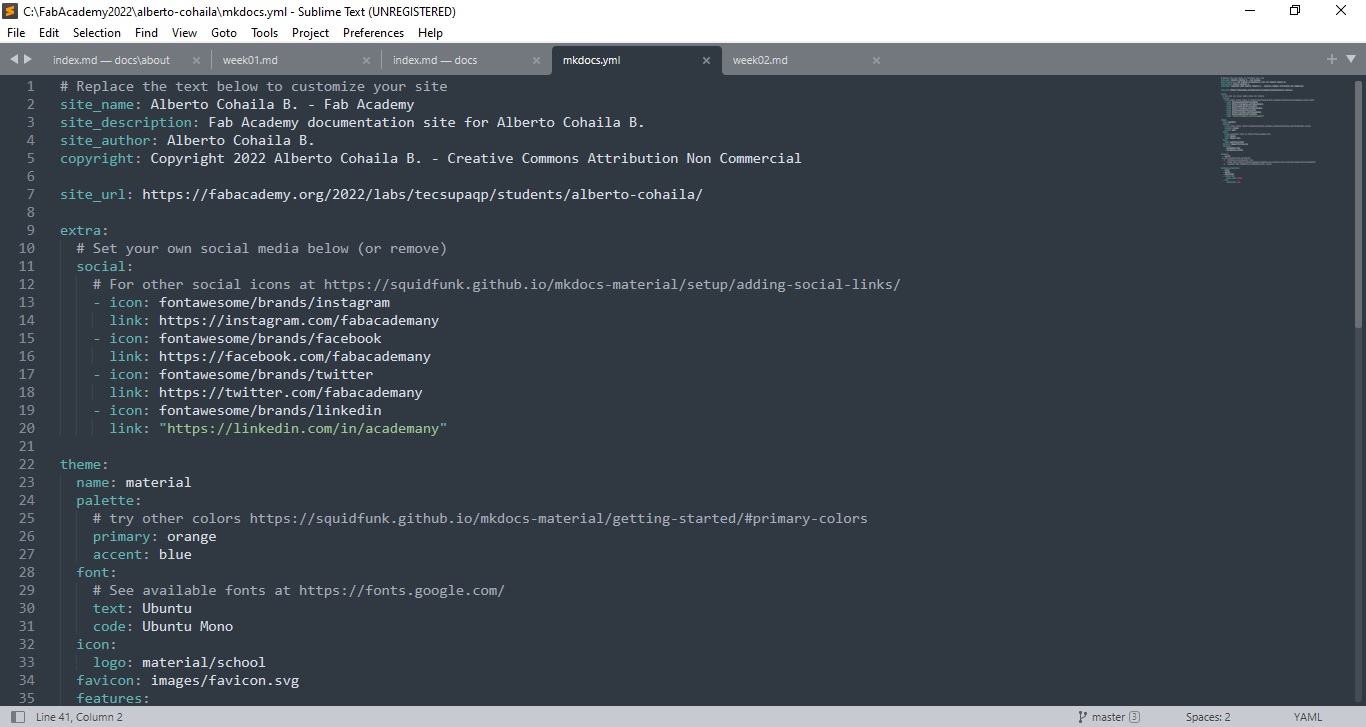
- Reviewing the mkdocs.yml, I was able to realize that there I can modify the color palette, modify the name, description and author of my web page; among other interesting details for me.
Website in local mode with MKDOCS
a) Install Python ver 3.10
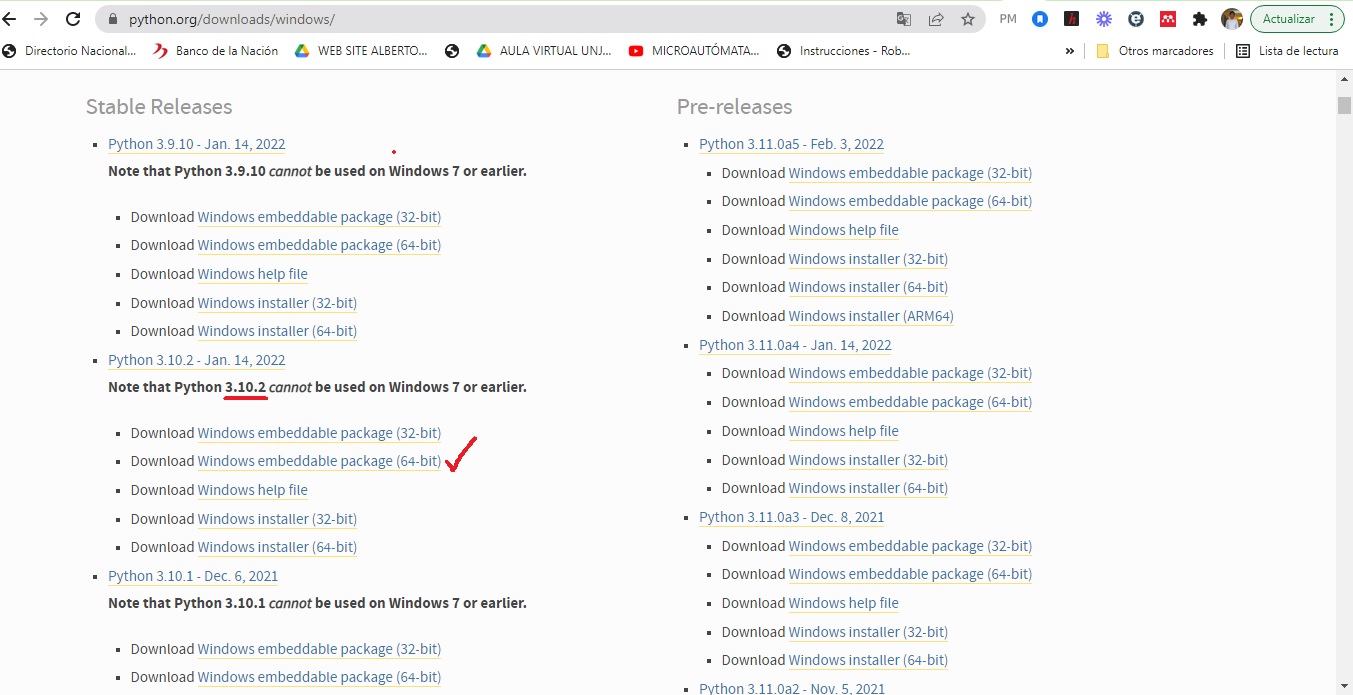
To work in local or offline mode, I must first install Python for window (64 bits) in my case.
- Download the install’s file of official page: https://www.python.org/downloads/
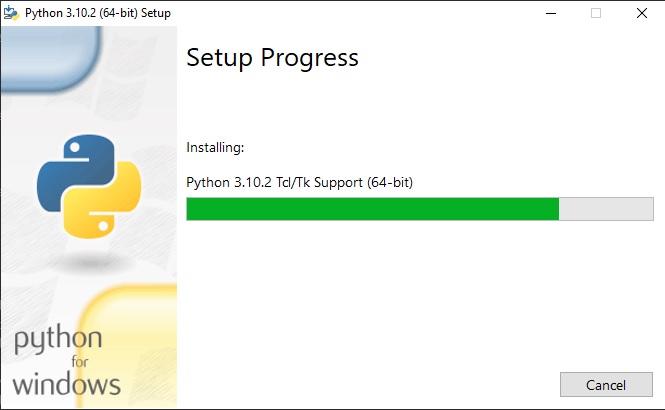
- I execute the installer file as Administrator.

- Clic in Install Now:
- Finally, I close the last windows to installation.
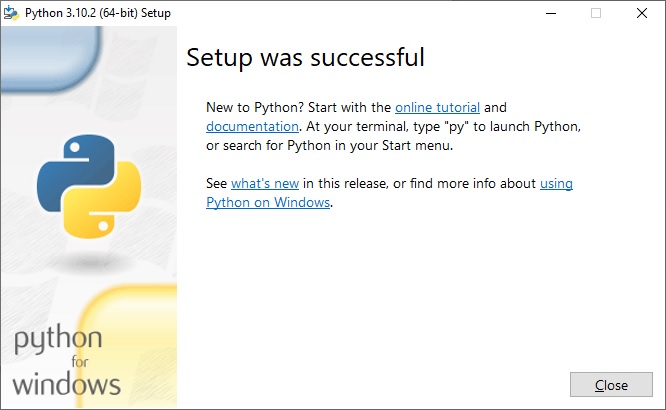
- Now, I have the Python’s software ready to work on local mode:
b) Install MKDOCS
-
Next we will see how easy it is to get a website for offline documentation using MkDocs. There are many other similar static site generators, but this one has one of the easiest setup and implementation. A normal user could also use this software to create a local platform to take notes for himself or something similary.
-
Searching the net I found what MKDOCS is used for. This software is a static site generator aimed at creating documentation platforms. It’s pretty simple, pretty to look at, and easy to set up and deploy. It is written in Python and simply requires you to create your files in Markdown format.
-
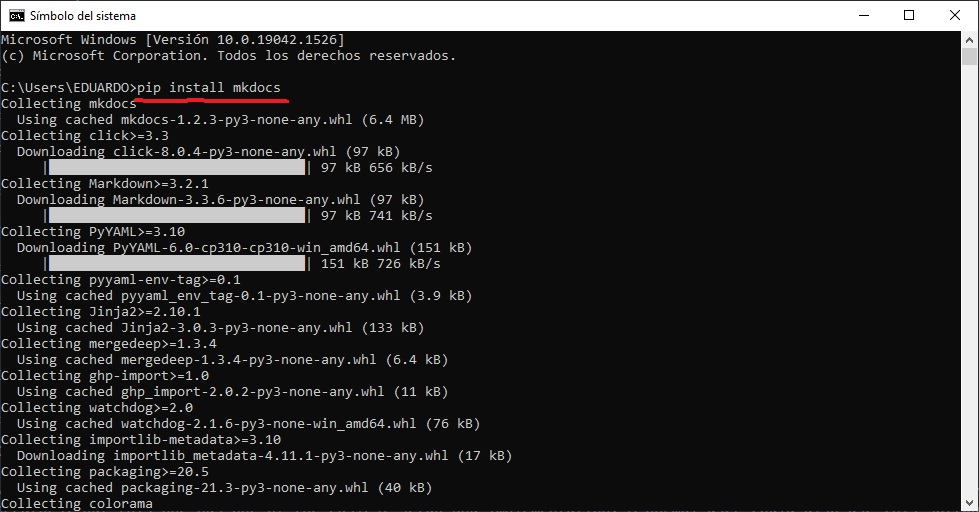
To install the MKDOCS tools, you have to do it over Python, so I used the PIP Python tool to install the files, I run the CMD of windows:
pip install mkdocs
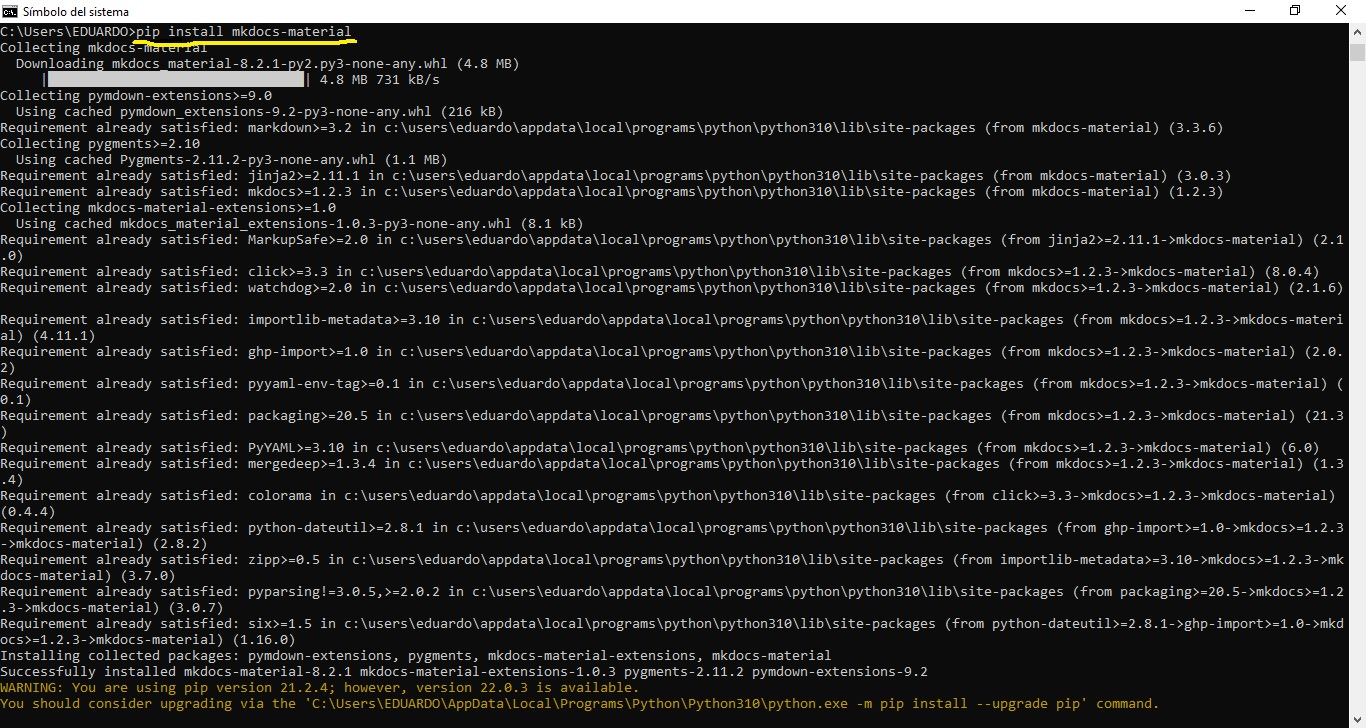
- Among the tools for designing the website, the Fab Academy Staff prepared the files to work with the MATERIAL library; this tool is for making a website with a good appearance, I used the CMD tool and write the following command:
pip install mkdocs-material
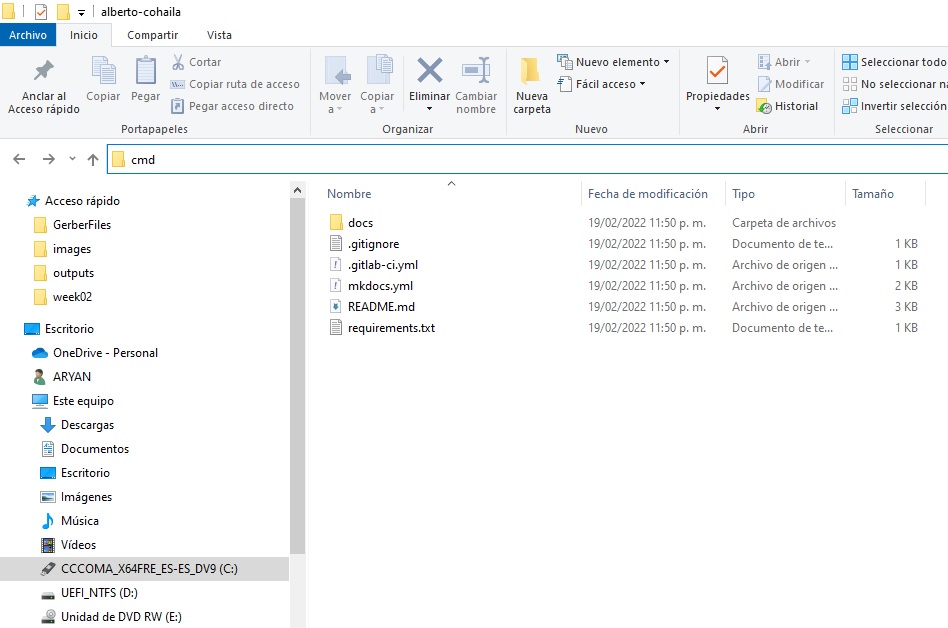
- After installation, in my working directory I place the mkdocs.yml file, run the following cmd right there to initialize my website (I type CMD in the path and hit enter).
- And then, to start serving it, run:
mkdocs serve
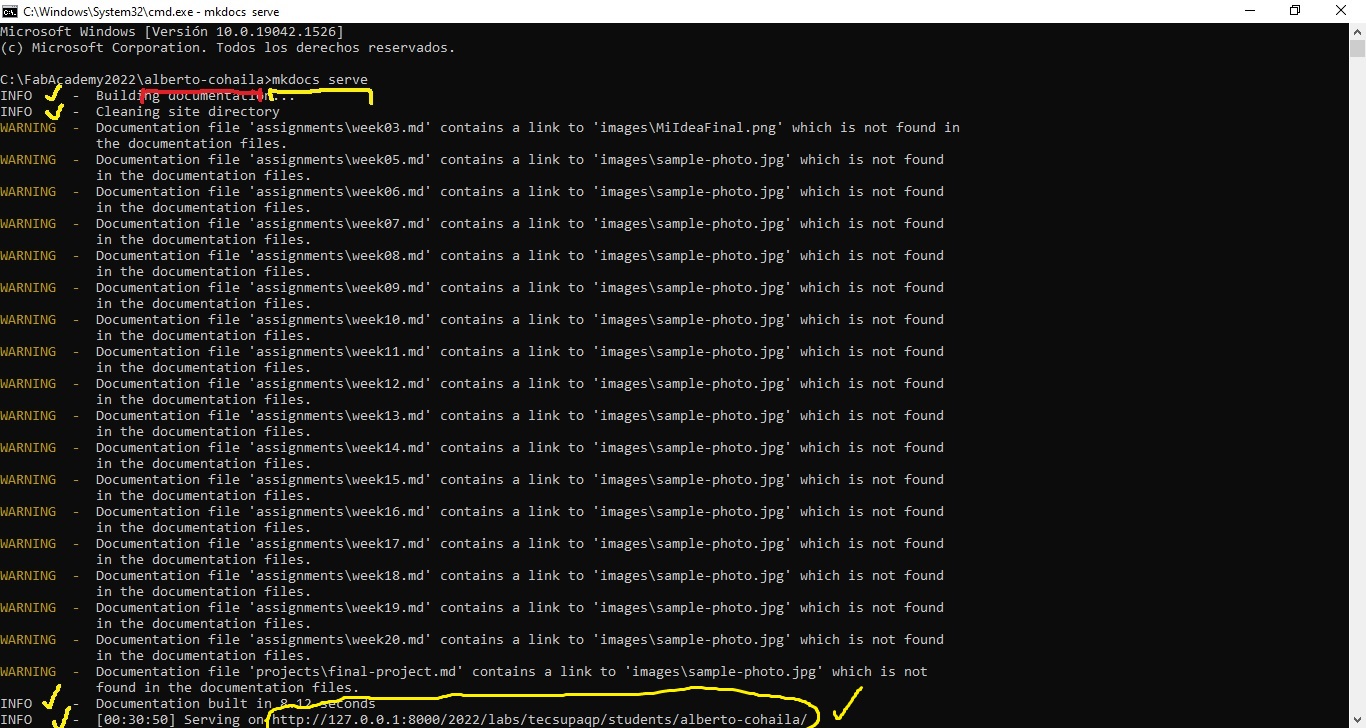
-
I get some alerts but nothing serious.
-
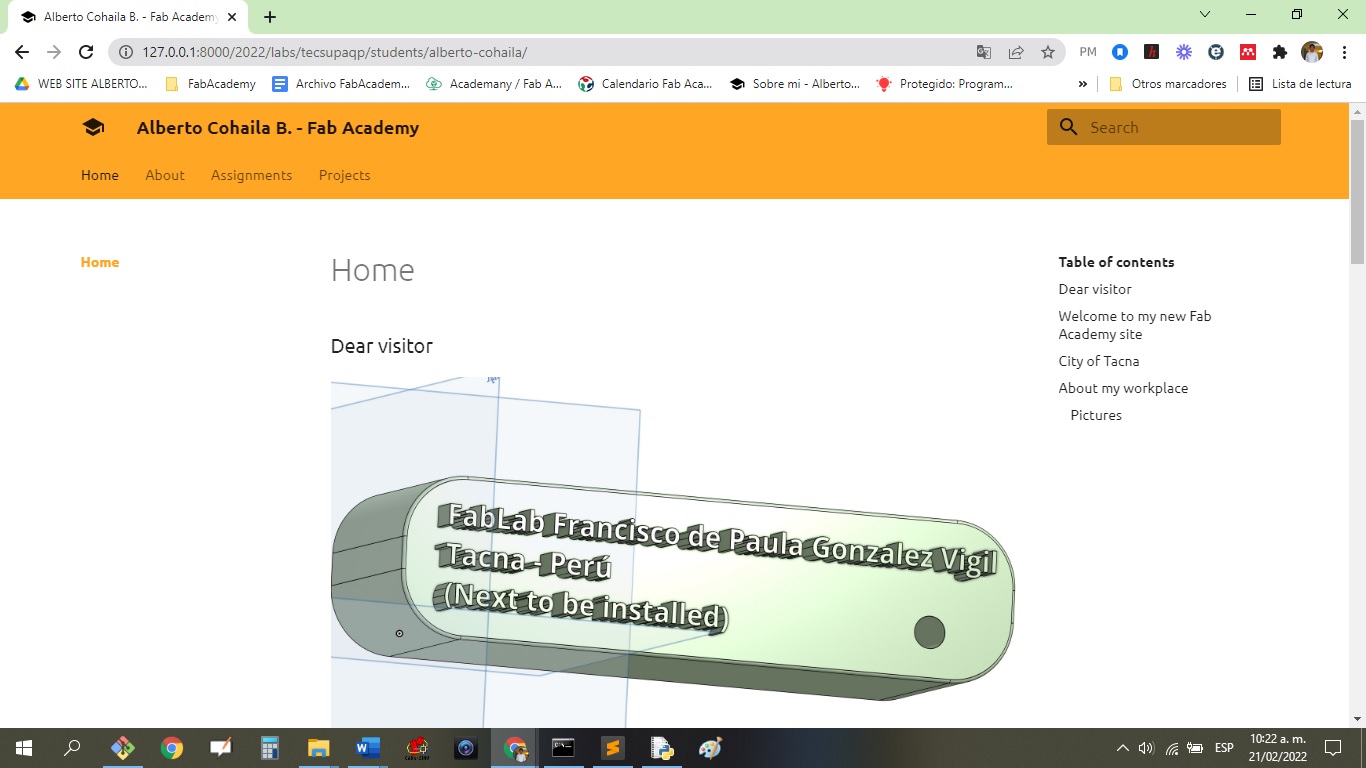
Now, I am ready to work offline in my website design. Now I can go to localhost:8000 (or your IP address / hostname with port 8000) to see how MkDocs works.
- In my case it is: http://127.0.0.1:8000/2022/labs/tecsupaqp/students/alberto-cohaila/
- Finally, after many hours, I achieved the purpose of the task.
Useful links
“In conclusion, this week I learned new things for me, for example to install a server locally and connect through gitlab to connect to the FabAcademy server to update my repository for all tasks from now on.”