10. Molding and casting
Working in group
While we were developing the topic of Molding and casting in the Fab Academy, the Vigil Institute still did not have a digital manufacturing laboratory, which was worrying for us how to fulfill this task.
It was not possible to obtain liquid silicone in the city of Tacna, material that we would use to make the molds. For now, what was done, according to the references given to us in the meetings, was to use Fast Curing Dental Acrylic (material basically used for dental prostheses), this as the material of the final product to be obtained. This material would not work alone but mixed with the Fast Cure Liquid.
Due to not having the necessary materials, equipment and tools for molding and casting at the moment, we put our work on hold.
It is already the month of April (18), when the equipment and materials arrive at our Institute, but for reasons of administrative processes, we were only able to make use of it from the month of June.
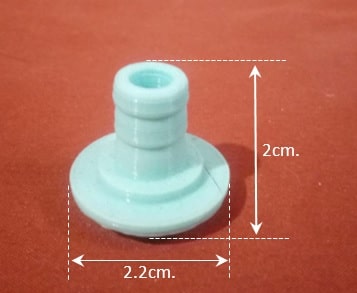
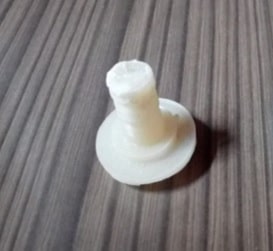
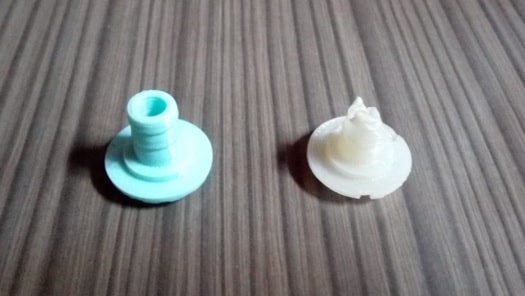
Starting with the development of molding and foundry work implied, in the first place, deciding on the mold for a certain object. The object should be small and with well-defined edges, to ensure fast and good work. We opted for one of the 3D printed parts that was in our manufacturing lab, it is a water jack adapter. Small object, which would not require much material for molding and would also require little time to work on.
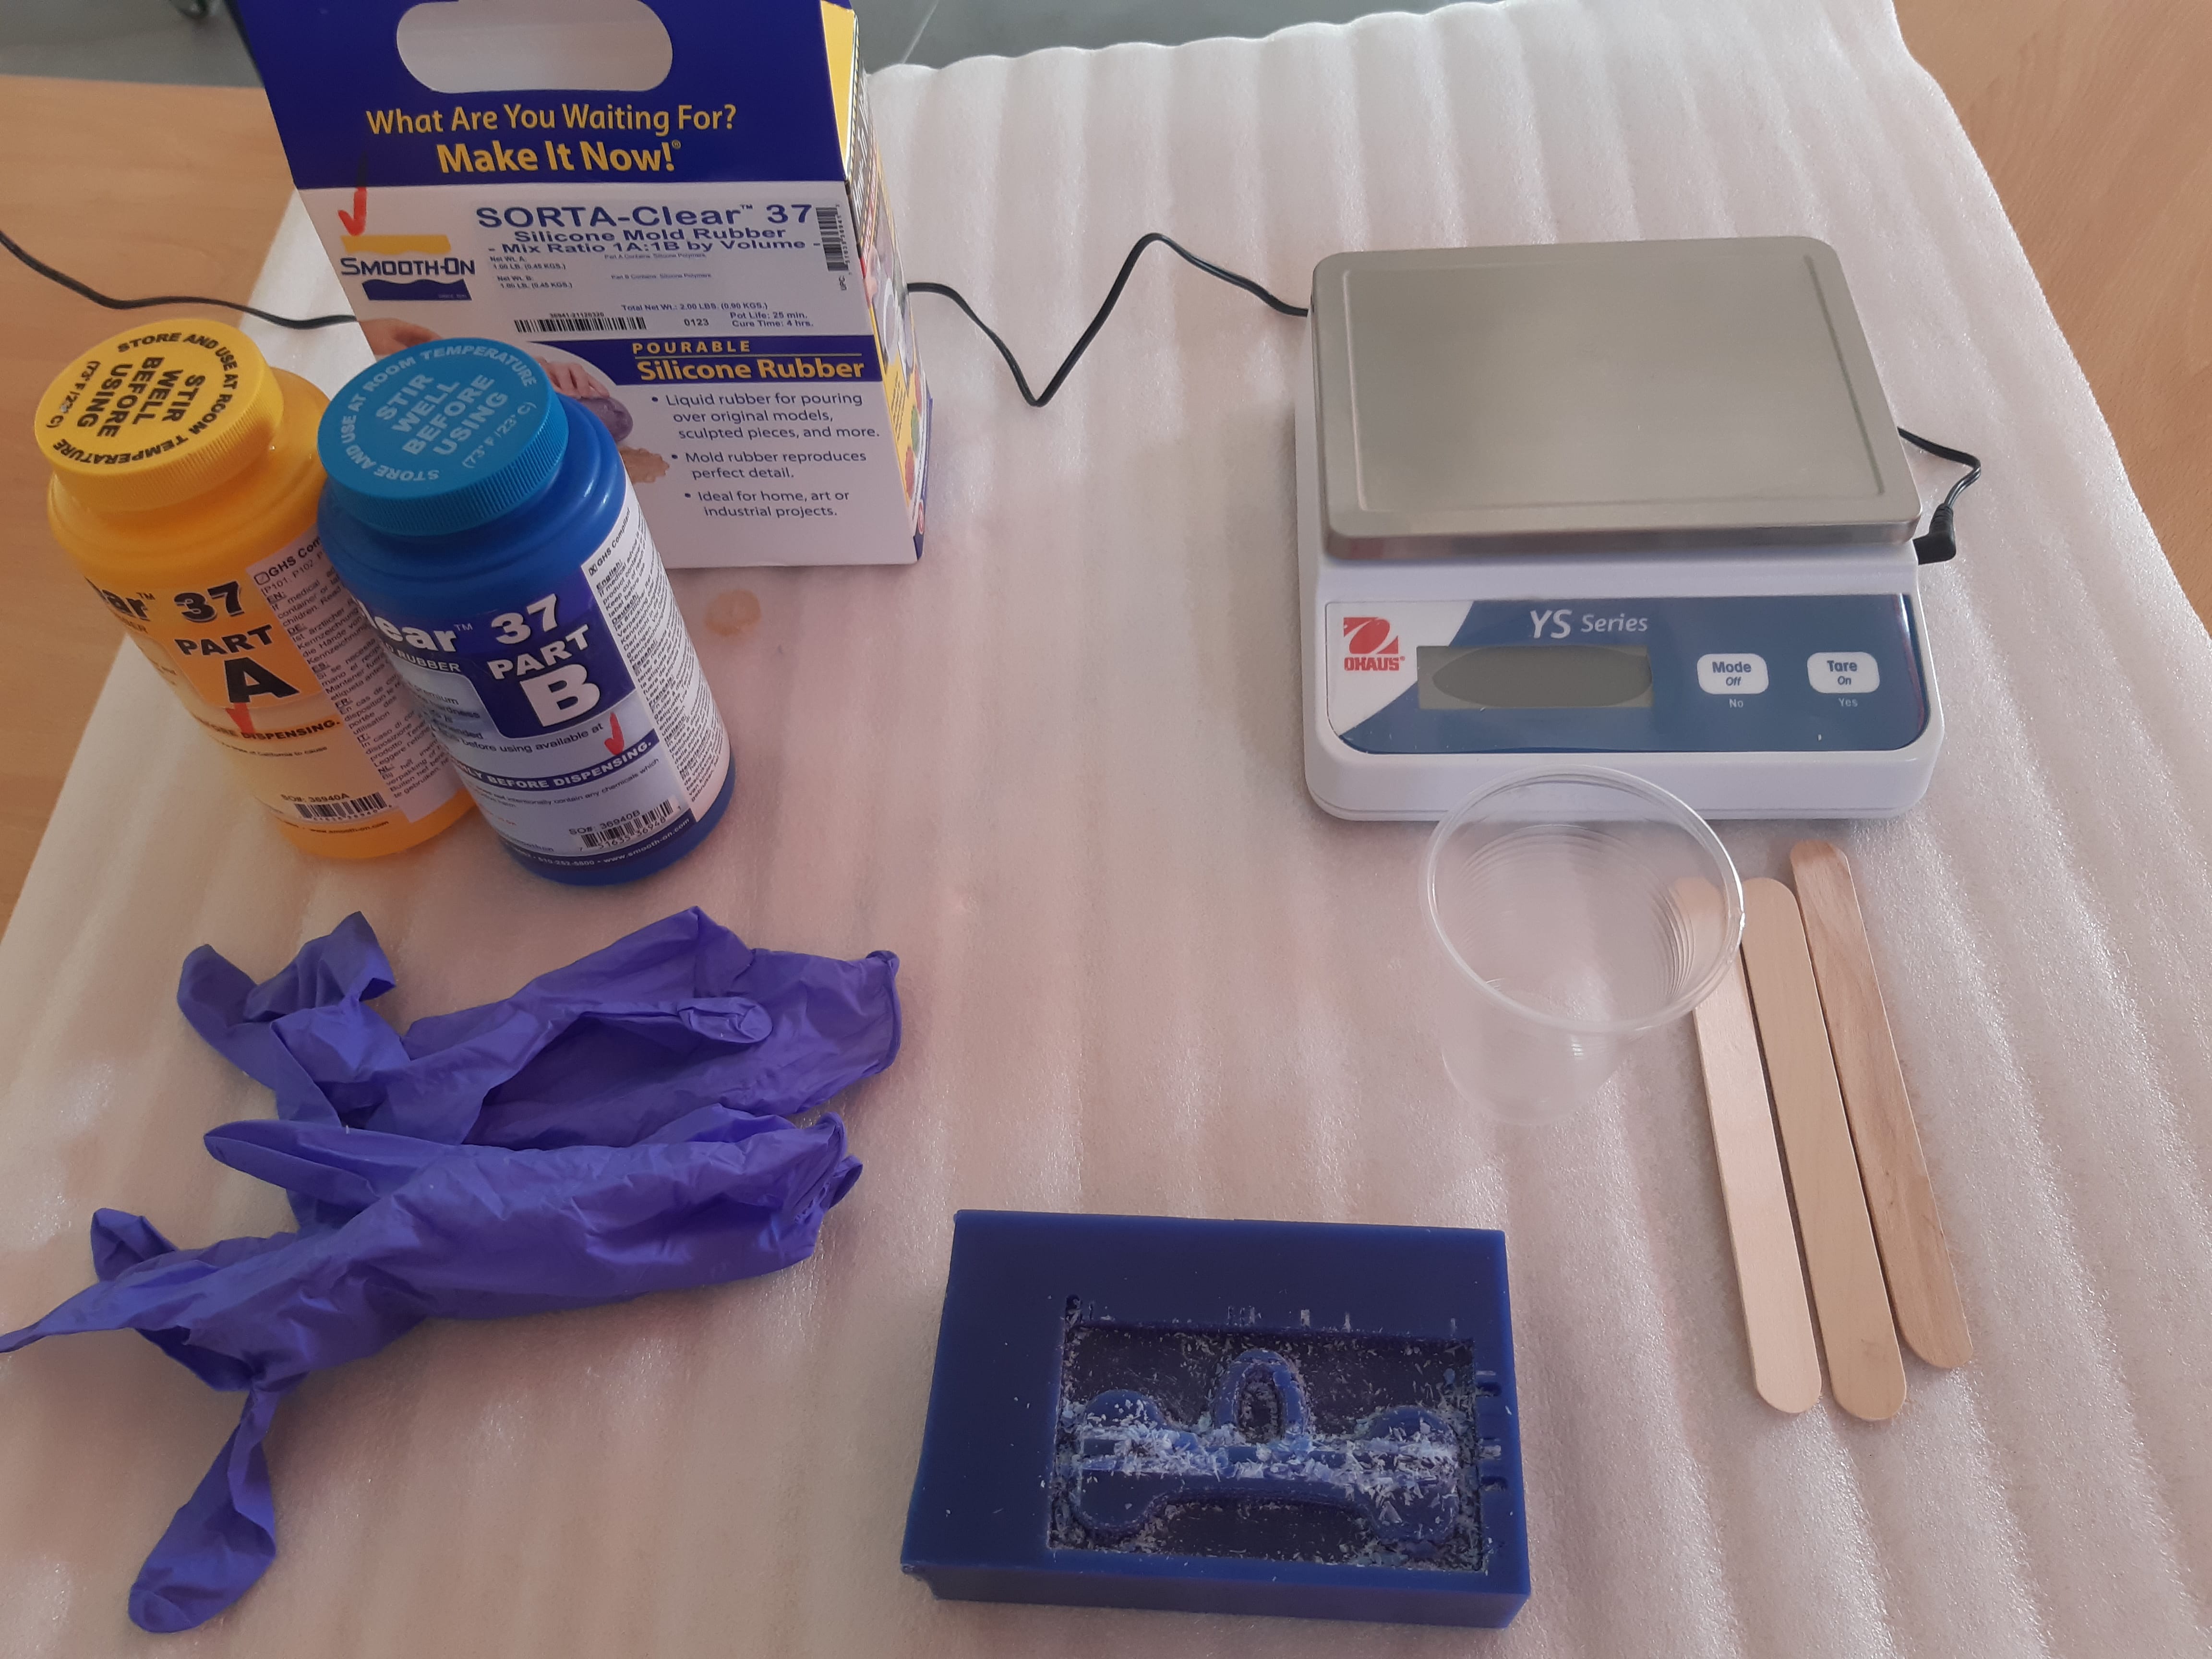
Taking advantage of the fact that we already had molding material in our manufacturing laboratory, we prepared everything necessary to make the molding.
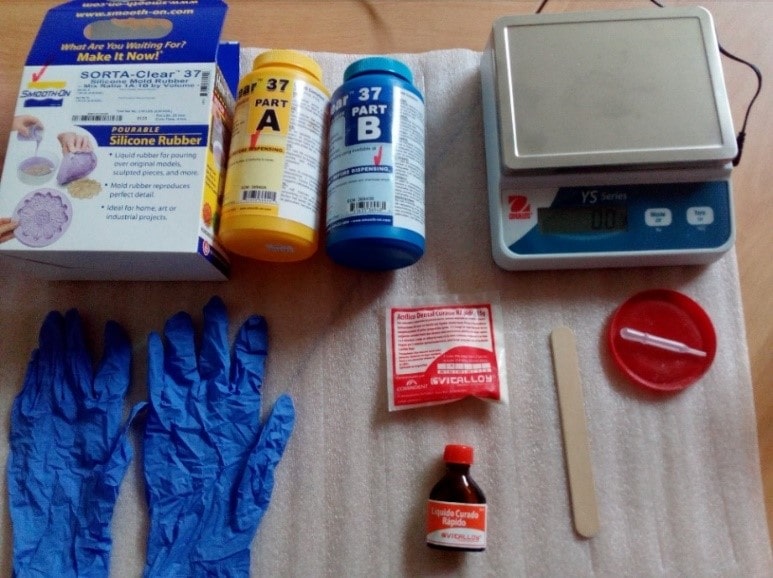
Materials
-  Silicone rubber
-  Fast Curing Dental Acrylic
-  Liquid Fast Cure
-  Electronic balance
-  Disposable gloves
-  Wooden tongue depressors
-  dropper
-  Containers
Before starting to work on everything related to Molding and casting, it is extremely important, first of all, to find out about the safety measures that we must take into account while handling the material to be used.
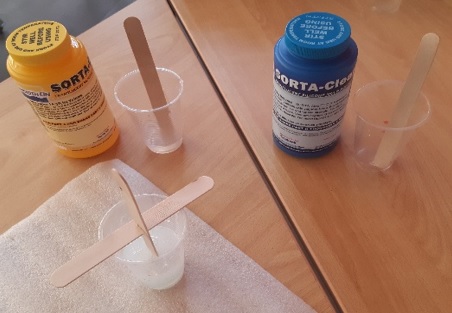
Material in the mold making
The material or consumable used to make the mold was SORTA Clear silicone. Material that arrives in a couple of containers: PART A (Contains: Oxirane) and PART B (Contains: polyoxypropylene diamine).
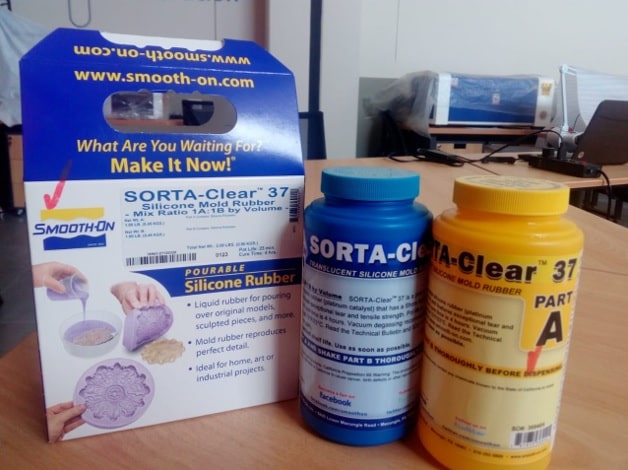
The safety indications are located on the back of the SORTA Silicone box.
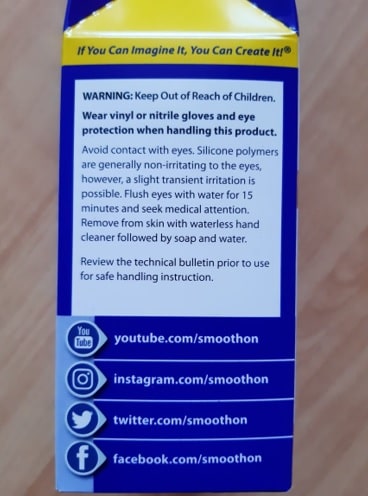
Where they point:
- The material must be kept out of the reach of children.
- Wear vinyl or nitrile gloves and eye protection while handling the material.
- Avoid eye contact. Silicone polymers are generally not irritating to the eyes, however, slight transient irritation may occur. If so, we should flush the eyes with water for 15 minutes and then seek medical attention.
- Remove the remains of the material that remain on the skin with a waterless hand cleaner followed by soap and water.
- Check technical bulletin before use for safe handling instructions.
Material in the product obtained from the mold
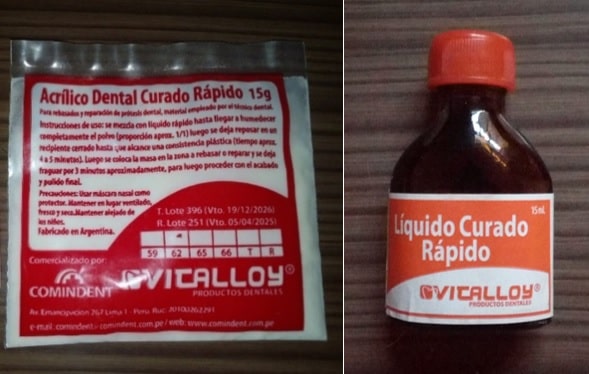
The material used for the final object extracted from the mold is Fast Curing Dental Acrylic, which for its use must be mixed with Fast Curing Liquid, both of the VITALLOY brand.
Fast Curing Dental Acrylic
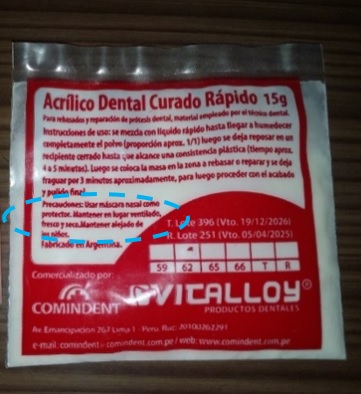
In the same envelope they indicate the following security measures:
- Use nasal mask as a protector.
- Keep the product in a ventilated, cool and dry place.
- Keep away from children.
Fast Cure Liquid
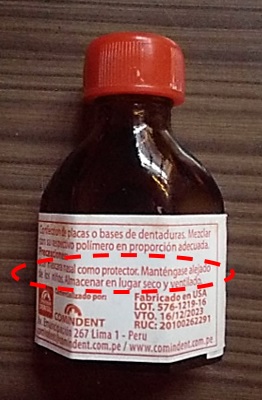
On the back of the bottle there are indications:
- Keep away from children.
- Store in a dry and ventilated place.
1) Mold making
Considering the safety measures of the SORTA-Clear silicone, we proceeded to make the mold according to the procedure indicated on the same container.
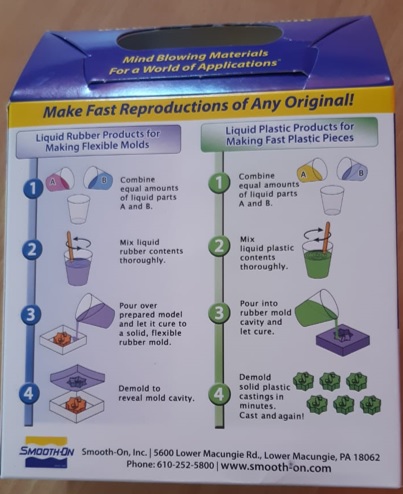
Steps
a) Combine equal amounts of liquid parts A and B
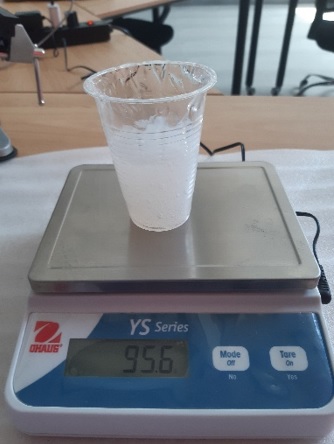
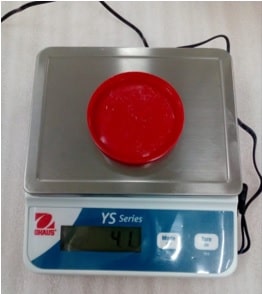
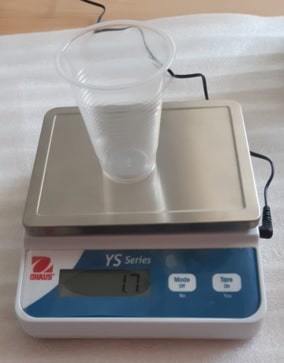
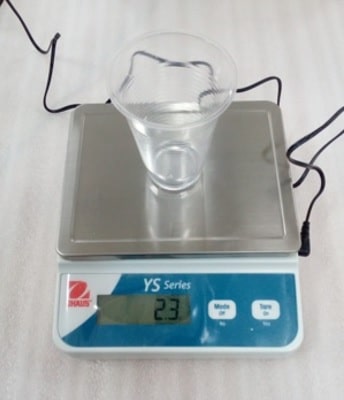
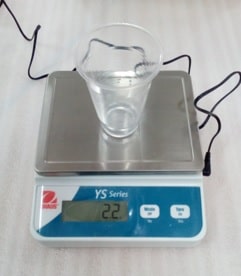
As it is a disposable cup where the silicone is going to be poured, it is weighed on the electronic scale.
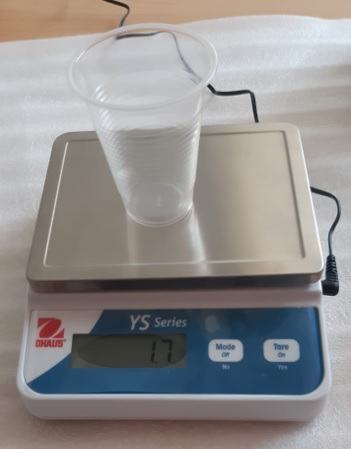
The weight of the glass is 1.7gr. From it, it is fixed again at 0.0 gr.
Next, a quantity of SORTA-Clear silicone, Part A, was poured into the beaker at the stone.
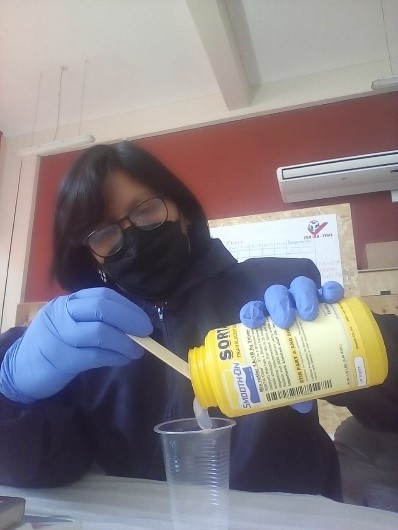
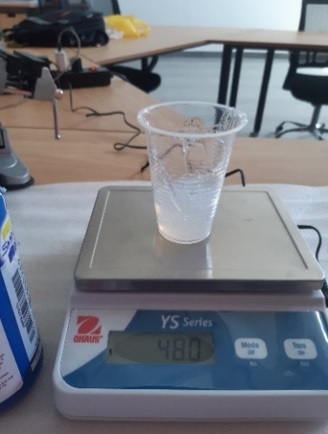
And it was weighed again.

The corresponding weight was 48 gr.
The same was done with the PART B silicone.
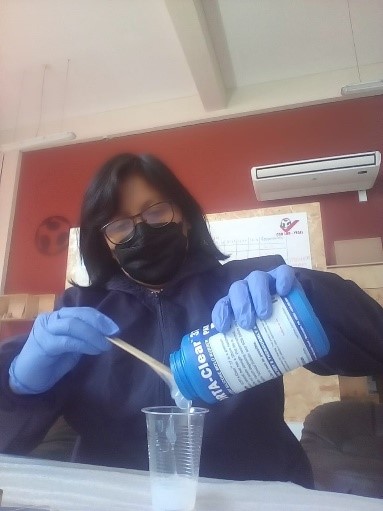
Corresponding weight was made.
The weight is equal to 48gr.
In one of the glasses both substances were combined. The difference of the 0.4gr. they are found in the remains left in one of the glasses.
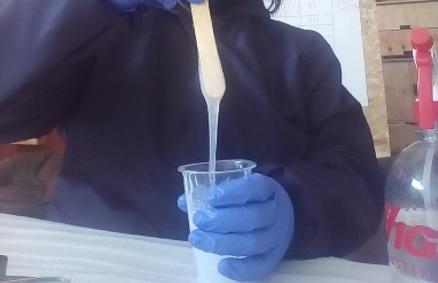
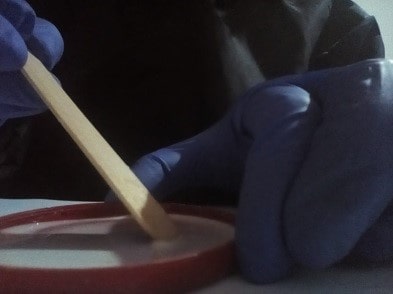
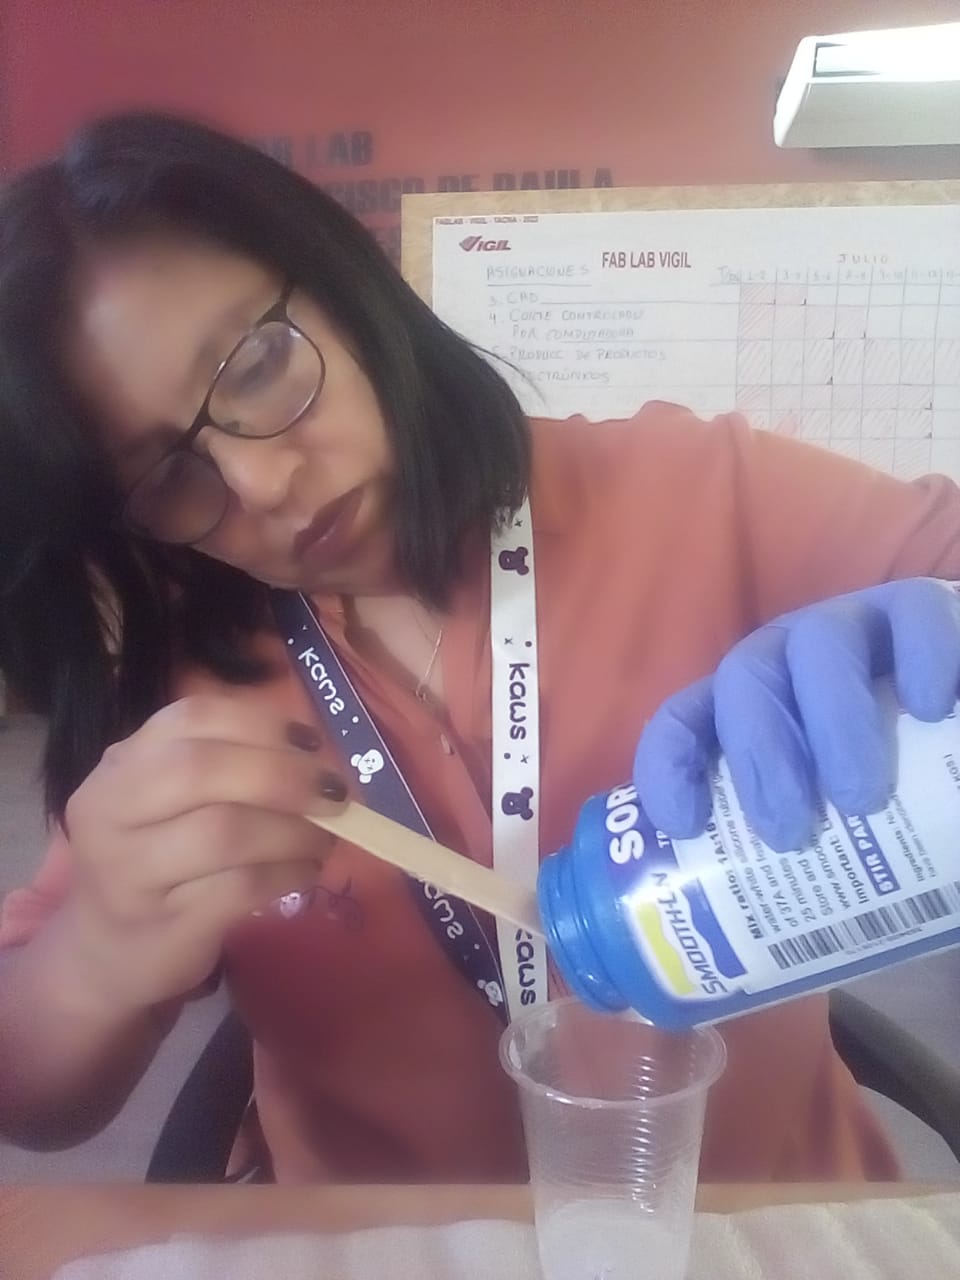
b) Mix the content well
With the help of a wooden tongue depressor, both substances were mixed for over 3 minutes. The thickness of the mixture decreased.
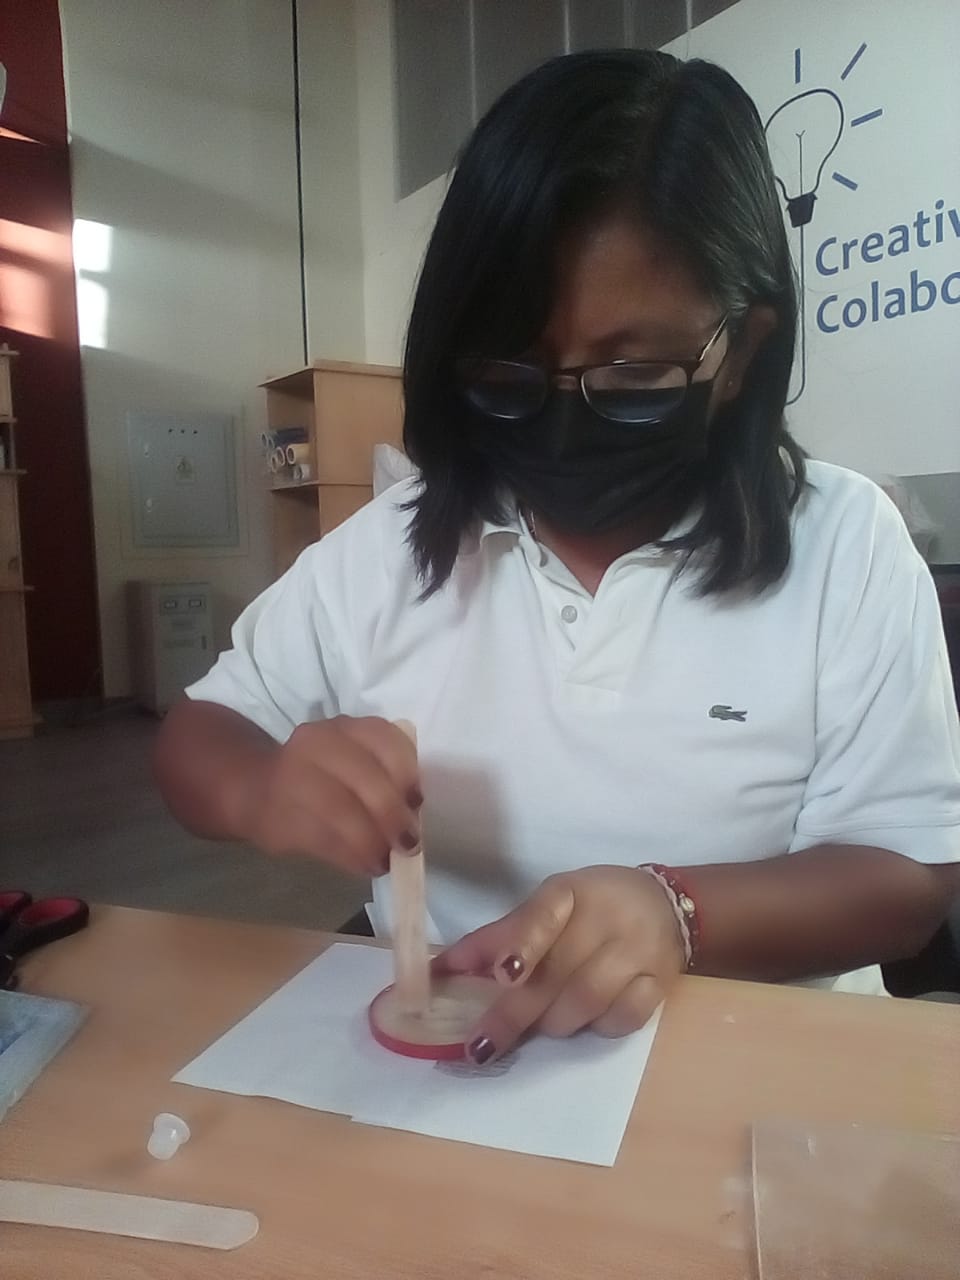
c) Pour the object into the mold and let it cure
The adapter was introduced into the mixture.
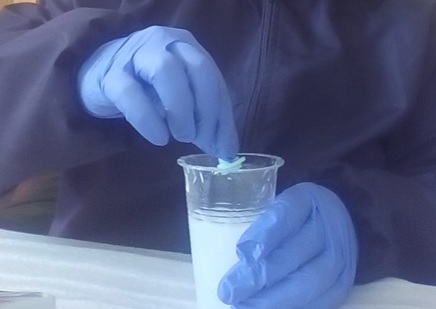
With the help of a tongue depressor we place the adapter almost in the middle of the glass.

And with another we put it as a support to prevent the adapter from moving or floating.
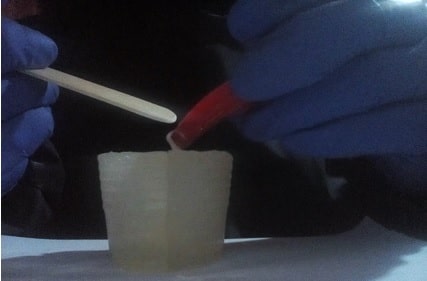
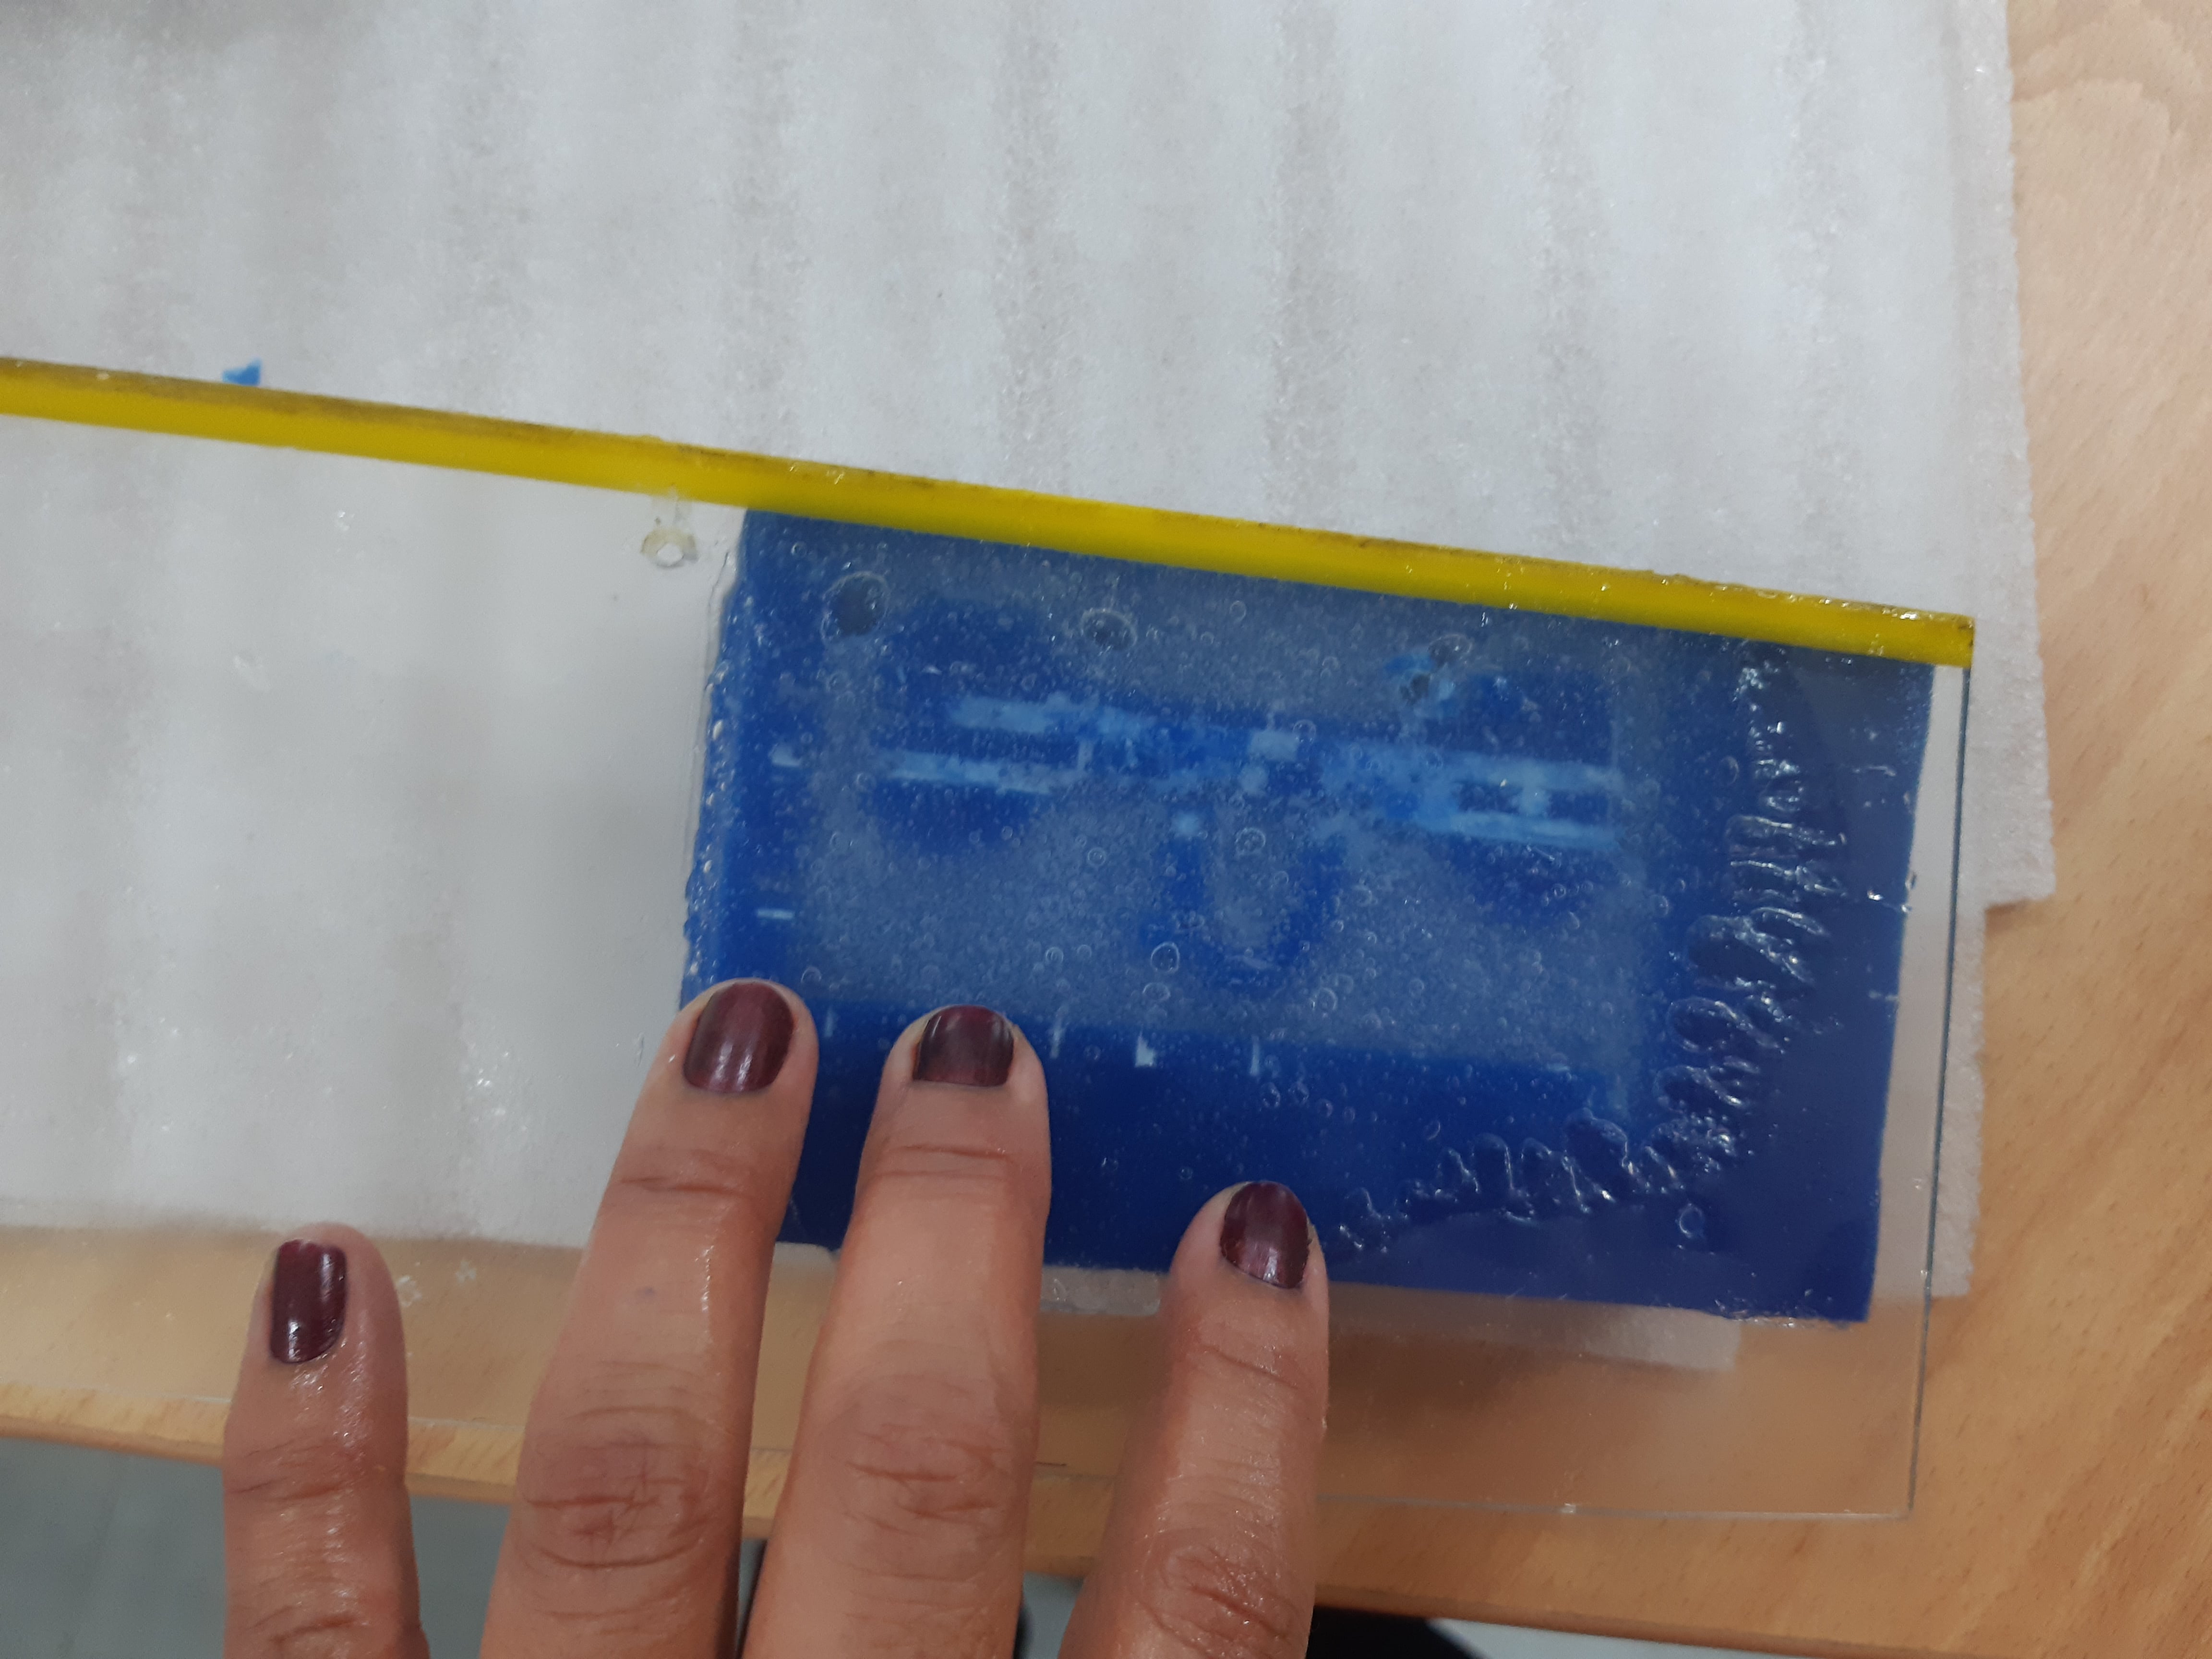
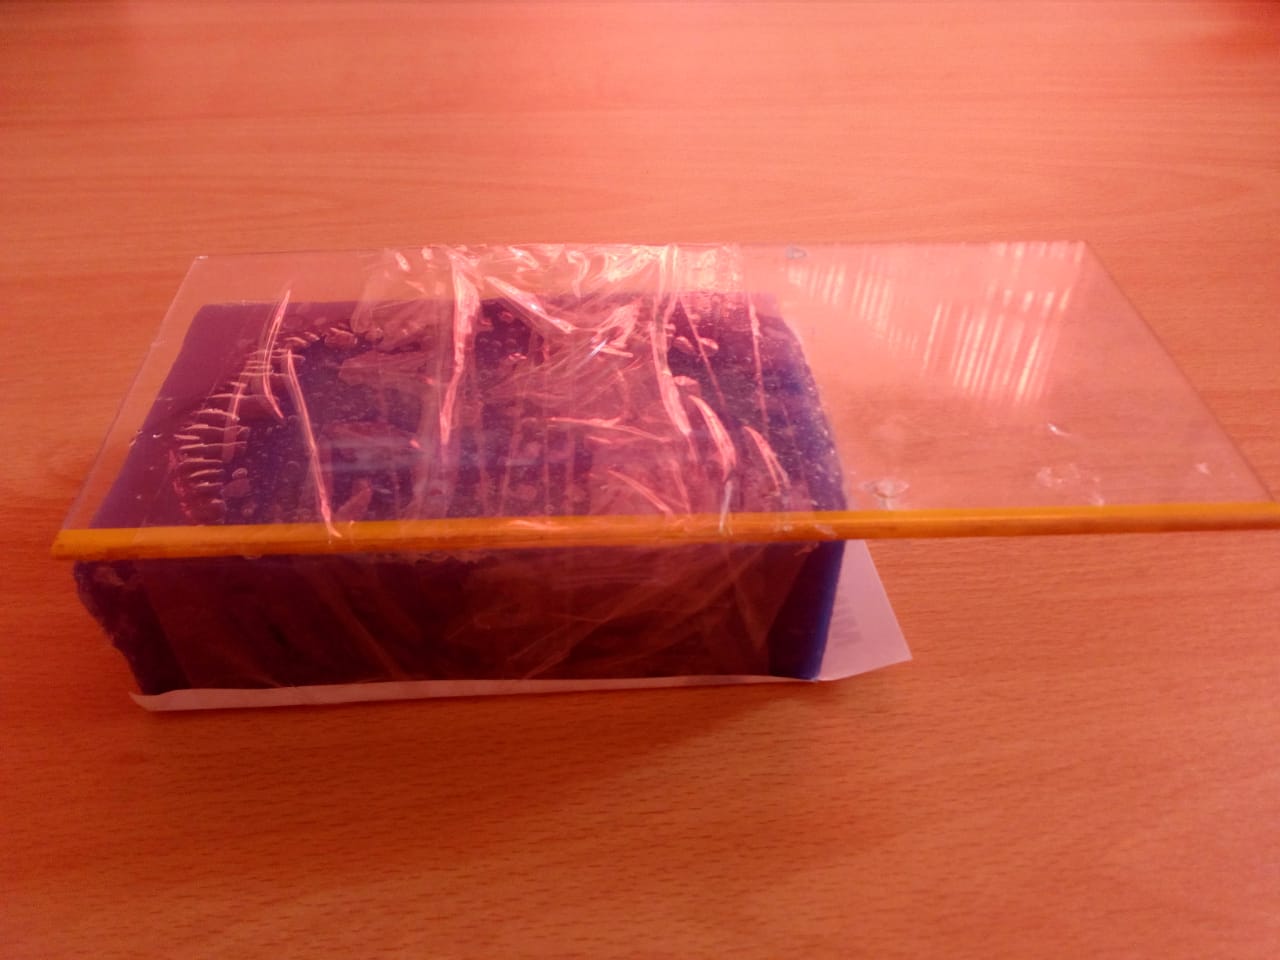
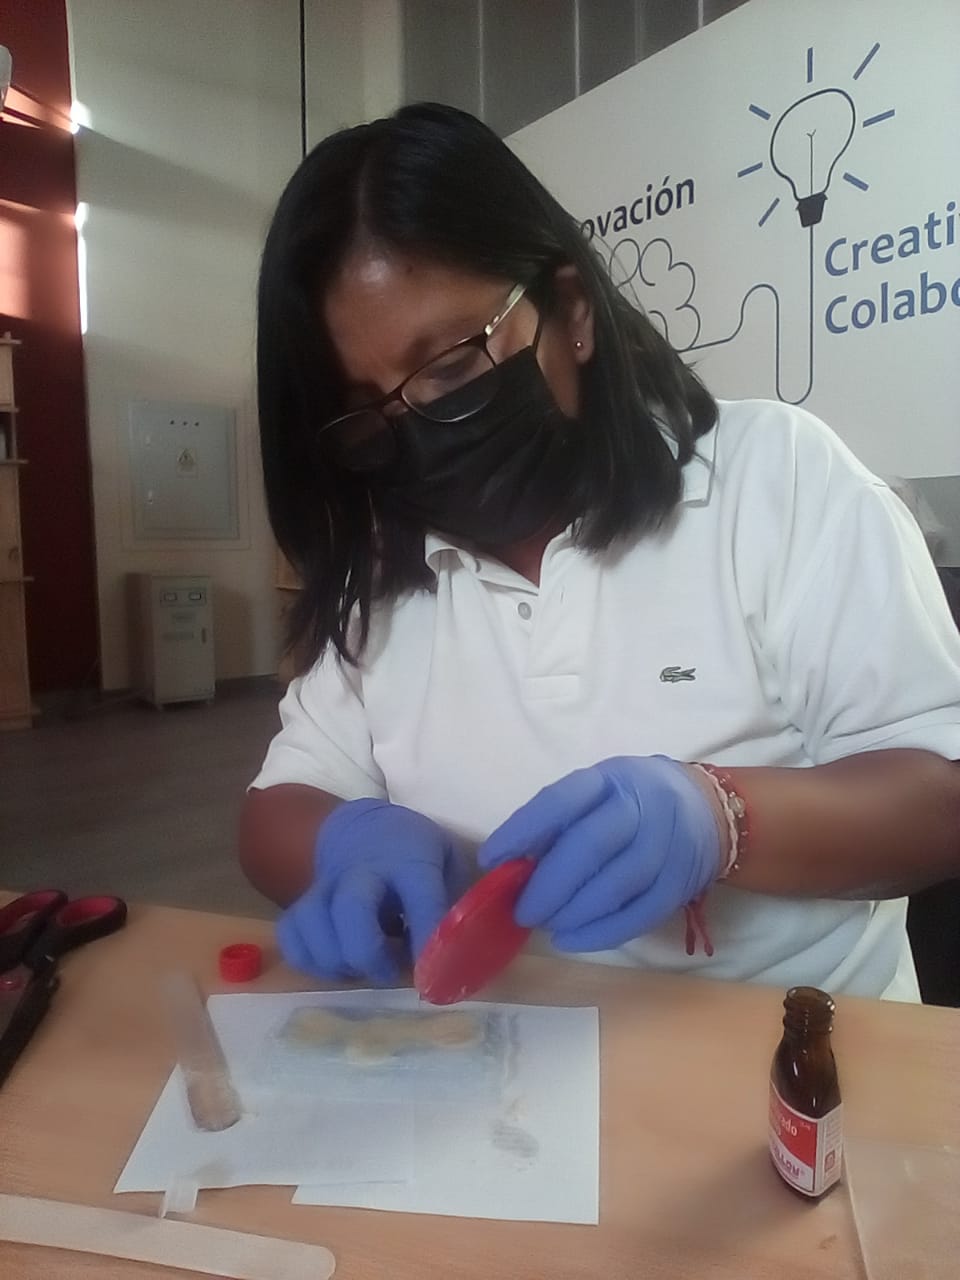
d) Unmold
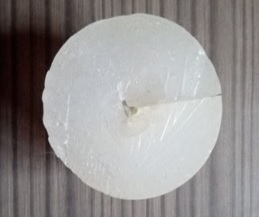
Having exceeded 4 hours of curing (minimum), the mold was removed. The tongue depressors and the disposable cup were removed, and then the silicone adapter was removed, after cutting.
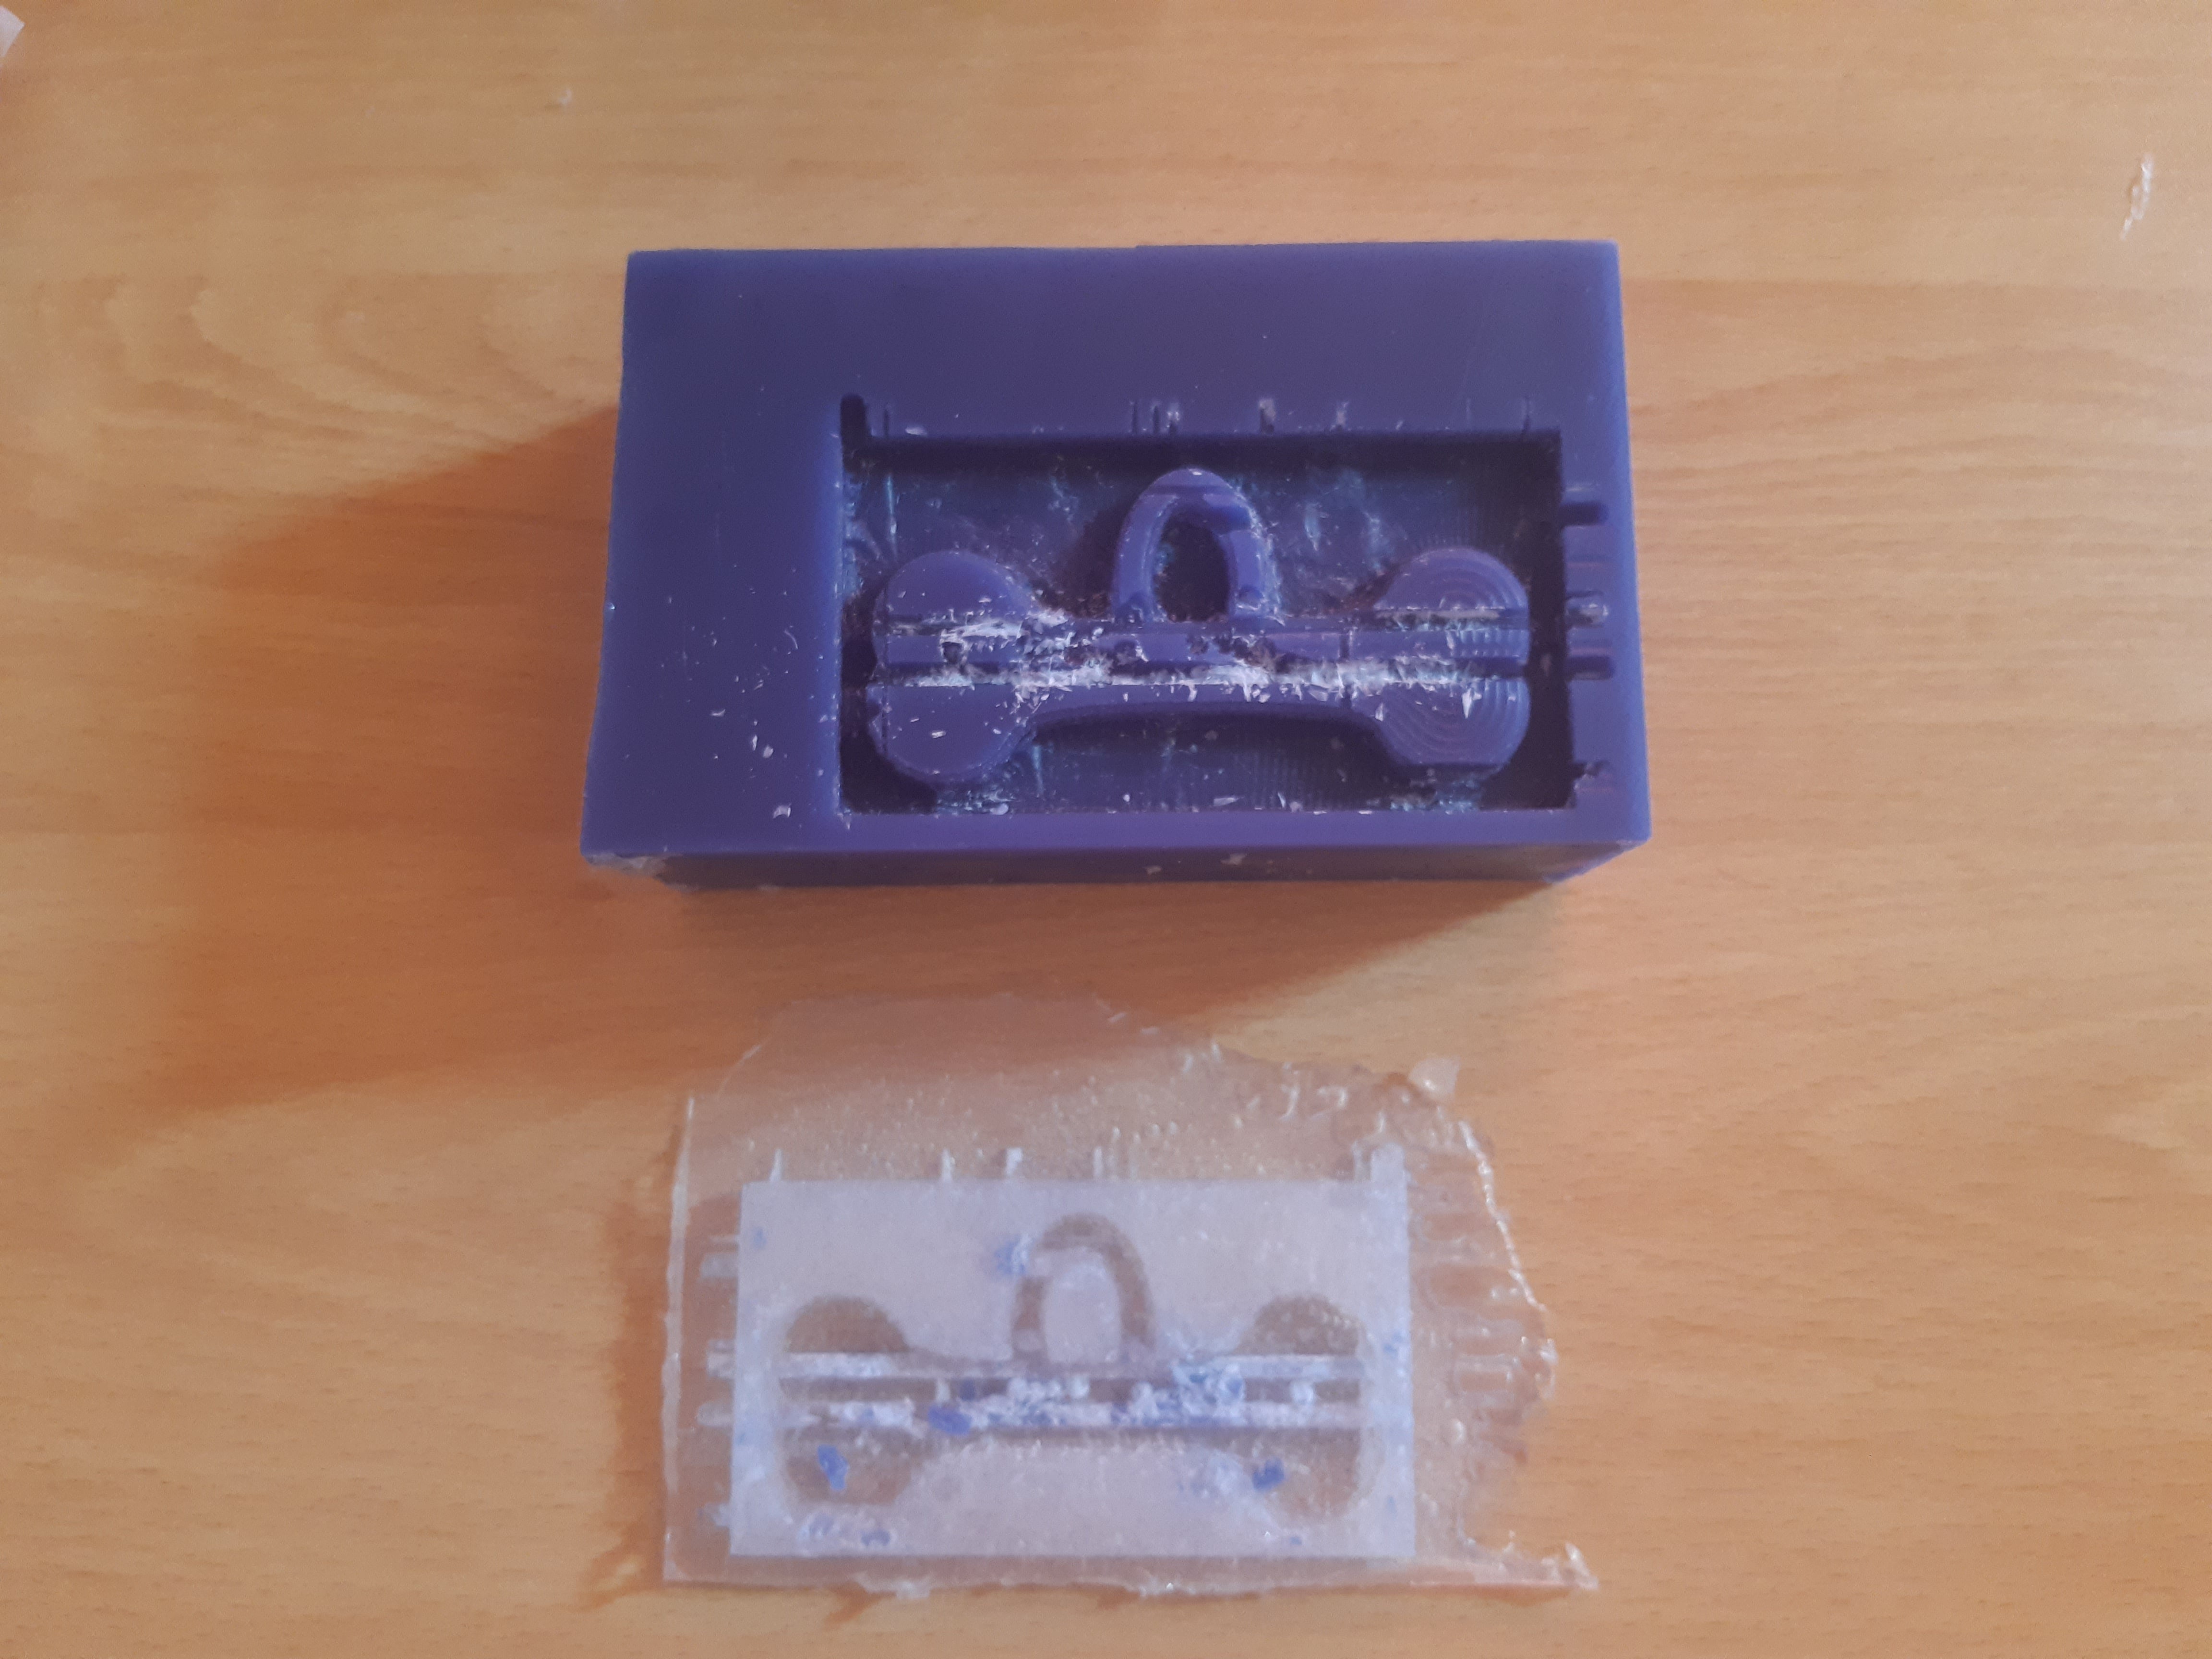
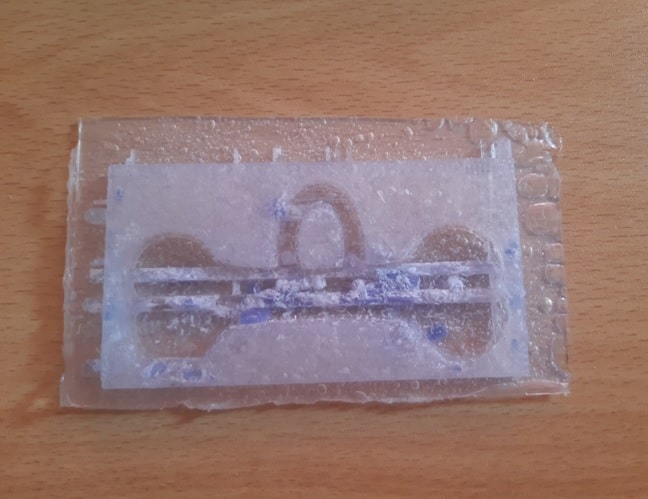
View of the adapter in the mold.

Once the adapter was removed from the mold, with the help of a cutter, a small hole was made in the upper part, so that the substance to be used to make the object based on the mold could be introduced through it.
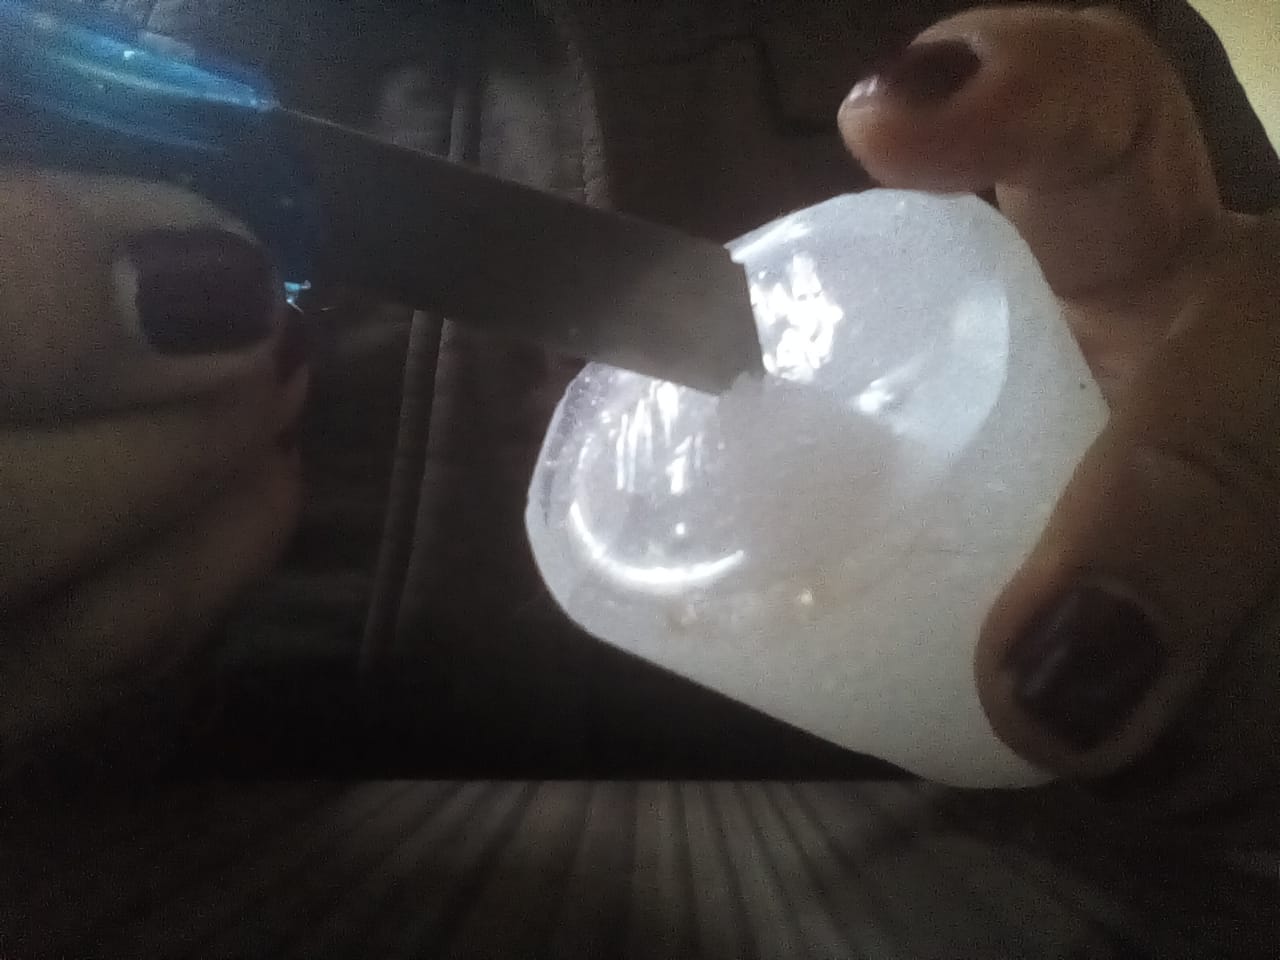
Finally, the mold is ready to make objects.
2) Manufacture of the object from the mold
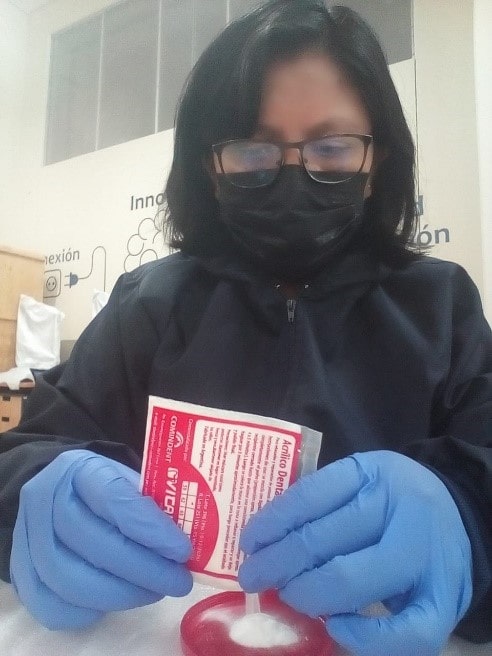
Taking into account the security measures of the acrylic and the liquid, we proceeded to manufacture the water connector adapter based on the manufactured mold and the procedure indicated in the same containers.
Among the instructions indicated on the Fast Curing Liquid envelope, it is stated that to work with both materials, there must be a 1:1 proportionality between the acrylic powder and the fast liquid.
Steps
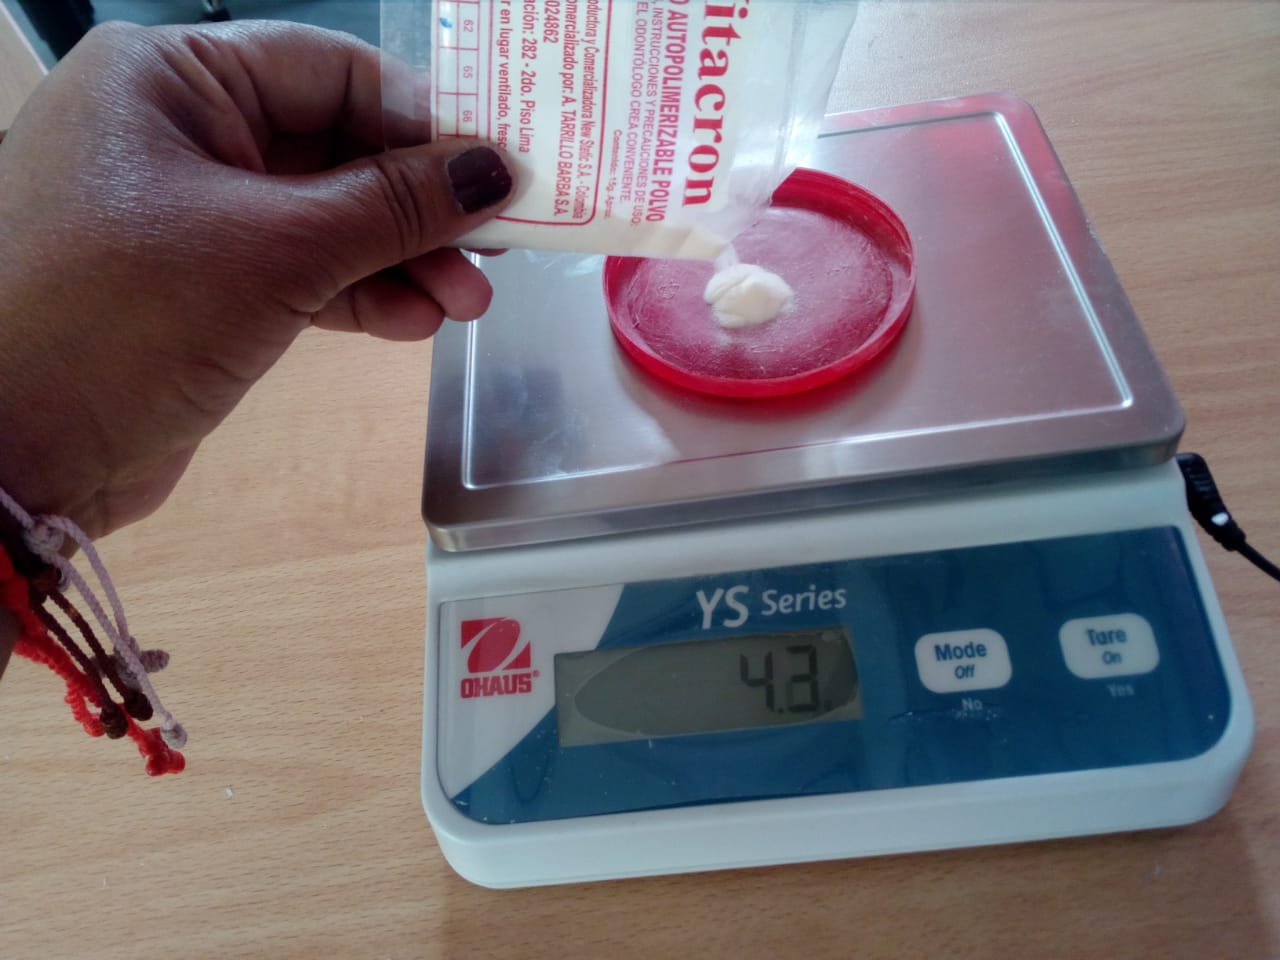
a)Pour the acrylic powder into a container
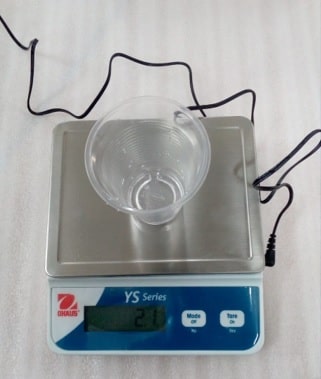
Before completing the first step, we took a small container into which the material of the object to be manufactured is going to be poured and we weighed it.
The weight of the container is 4.1 gr. We set the balance to 0.0 gr.
We pour, to the calculation, the Quick Curing Dental Acrylic powder on the container.
Then we weigh it on the electronic scale.

The weight of the acrylic is 2.1 gr.
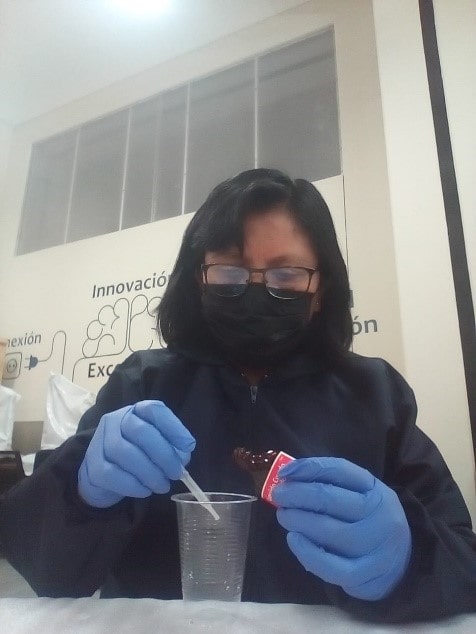
b) Add the Fast Curing Liquid
A disposable cup was used as the container for the Fast Curing Liquid. In the same way as in the previous case, the empty disposable cup (1.7gr) was weighed.
The weight was set at 0.0gr.
The Fast Cure Liquid was poured into the disposable cup. This went to calculus. With the help of a dropper, the weight equal to that of acrylic powder was leveled.
Checking the weight.
The weight is 2.1gr.
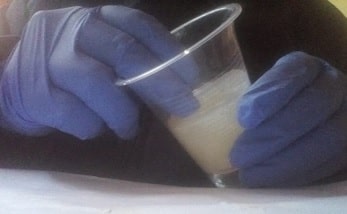
c) Mix the acrylic powder and the Cured Liquid
We pour the liquid contained in the glass, to the acrylic deposited in the container.
Now mix until the acrylic powder is completely moistened.
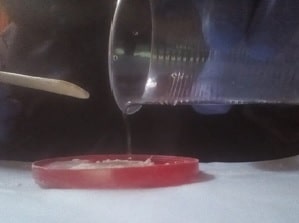
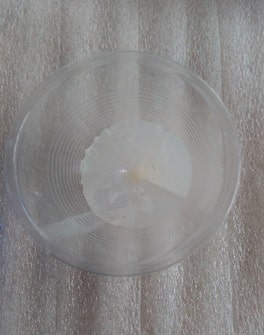
d) Pour the mixture into the mold and let it cure
Pour the mixture from the container into the mold, making sure that the mixture covers absolutely the entire area of the adapter mold.
The mold is placed back in the disposable cup for greater firmness of the object.
Now to wait for the cure for a space of 3 to 4 minutes.
e) Extract the replica
A 10-minute cure time was allowed to ensure that the manufactured object had a well-defined shape, then we simply removed the object from the mold.
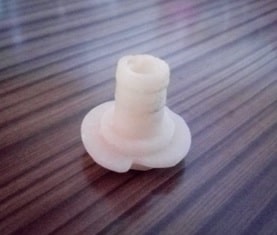
This is how the adapter was removed from the mold.
The crafted item cheesed like this:
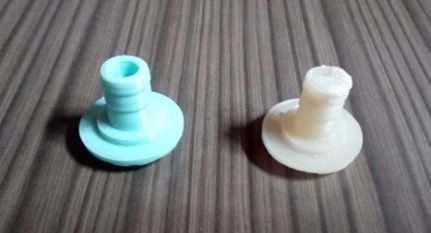
Comparing it with the original object.
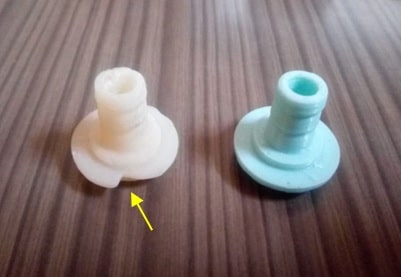
In the photo it can be seen that the replicated object is acceptable. Although it has quite defined edges, it is not complete. It could be that this is due to the fact that the mixture was emptied very slowly, thus causing, while it was being done, the curing process was already taking place or a greater amount of Rapid Curing Liquid should be added.
In search of a better result, other tests were carried out, where only the amount of fast-curing liquid was changed.
For the second test with the same amount of Fast Curing Dental Acrylic (2.1gr.), 2.3 gr. of Fast Cure Liquid (Increased value; approximately 12 drops).
Following the same previous procedure; mixing, emptying, curing and demoulding, it was possible to manufacture the object shown in the following photo:
Comparing it with the original object.
Replica also acceptable. Although the edges of the upper part of the object are not very defined, the one at the base is.
As the adapter was removed from the mold, it was noted that the adapter was already experiencing some wear on the top. As can be seen in the original piece, the upper part is a perforated cylinder, so the walls of the material are thinner. That could be one of the reasons for mold wear.
In a third and final test, 2.2gr was used. Fast Cure Liquid (Previous amount reduced).
Once again, the same process was repeated and the result after the cure was the one shown in the following image:
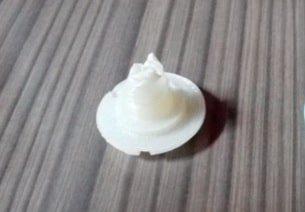
Comparing it with the original piece.
Here, manufacturing no longer turned out well. The base of the crafted object is quite good, the problem was, again, in the upper part of it. Already the mold had worn more.
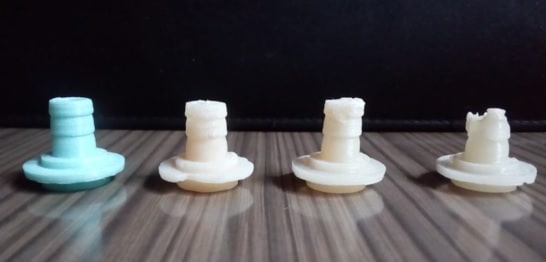
Comparing results
A comparative image between the manufactured parts and the original part (Water adapter connector).
A view from above:
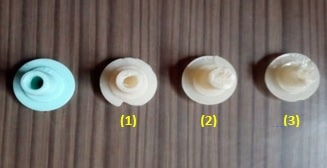
Observing the replicas of the water connector adapter, we can rescue replica number 1. It has quite defined edges, although it is not complete. For a better result of this, greater care must be taken when pouring the mixture into the mold. It must be done quickly since the cure is immediate.
In addition, when introducing the object to the mixture to obtain the mold, it must be ensured that the mixture completely covers the area of the object to be replicated. In this way, the reuse of the mold could be ensured.
Individual assignmen
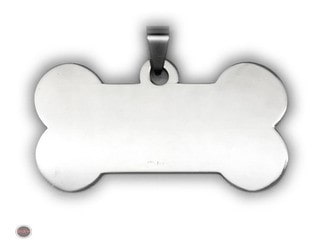
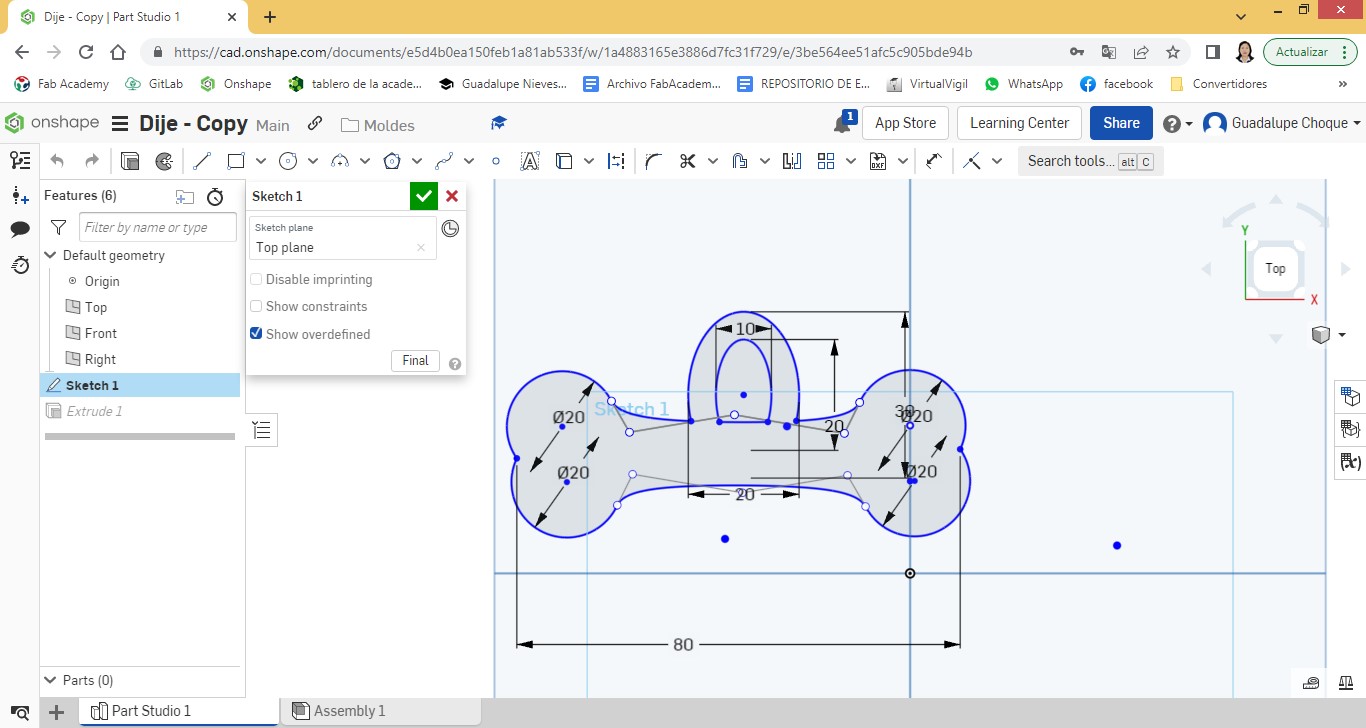
I am a lover of puppies and it is from there that the idea arises to make a pendant in the shape of a bone. More or less so:
Design
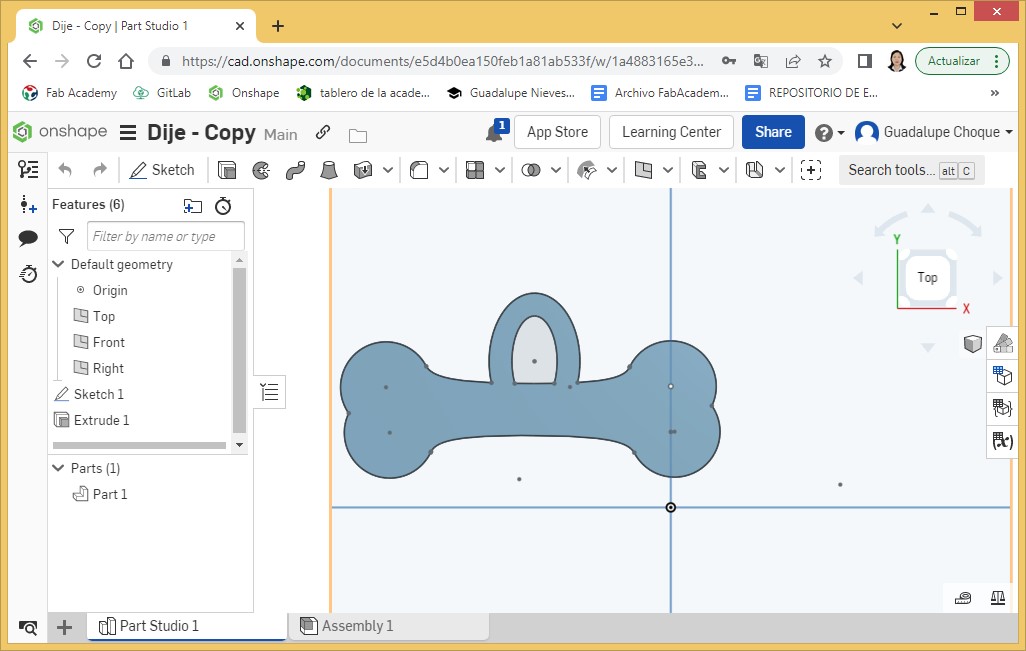
I worked on the design at Onshape, which using its resources I obtained the design of the pendant.
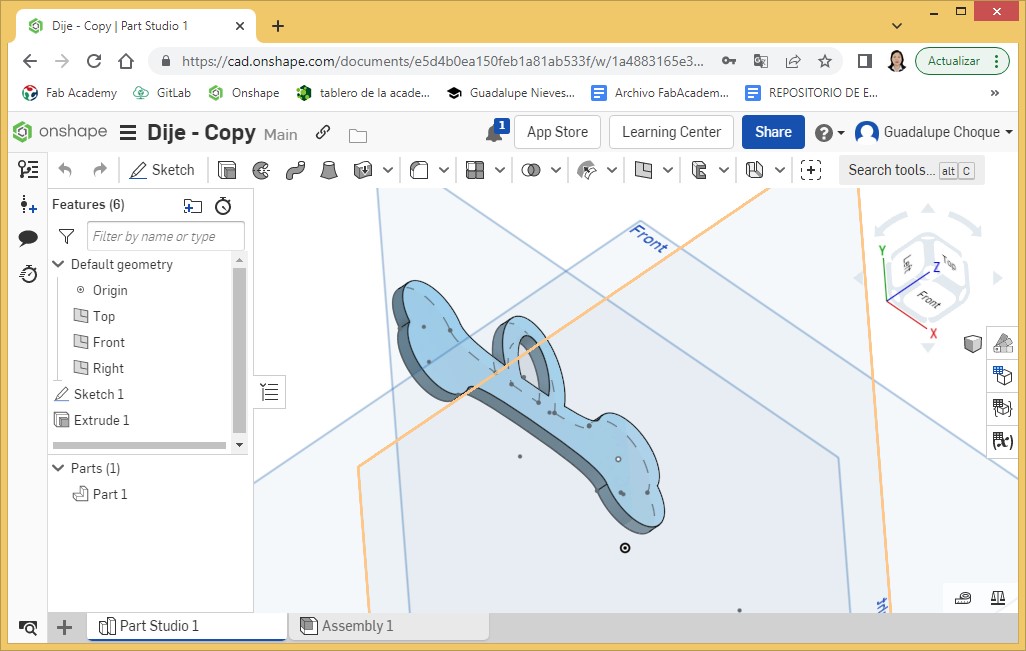
Finally it was like this:
The said seen from another angle:
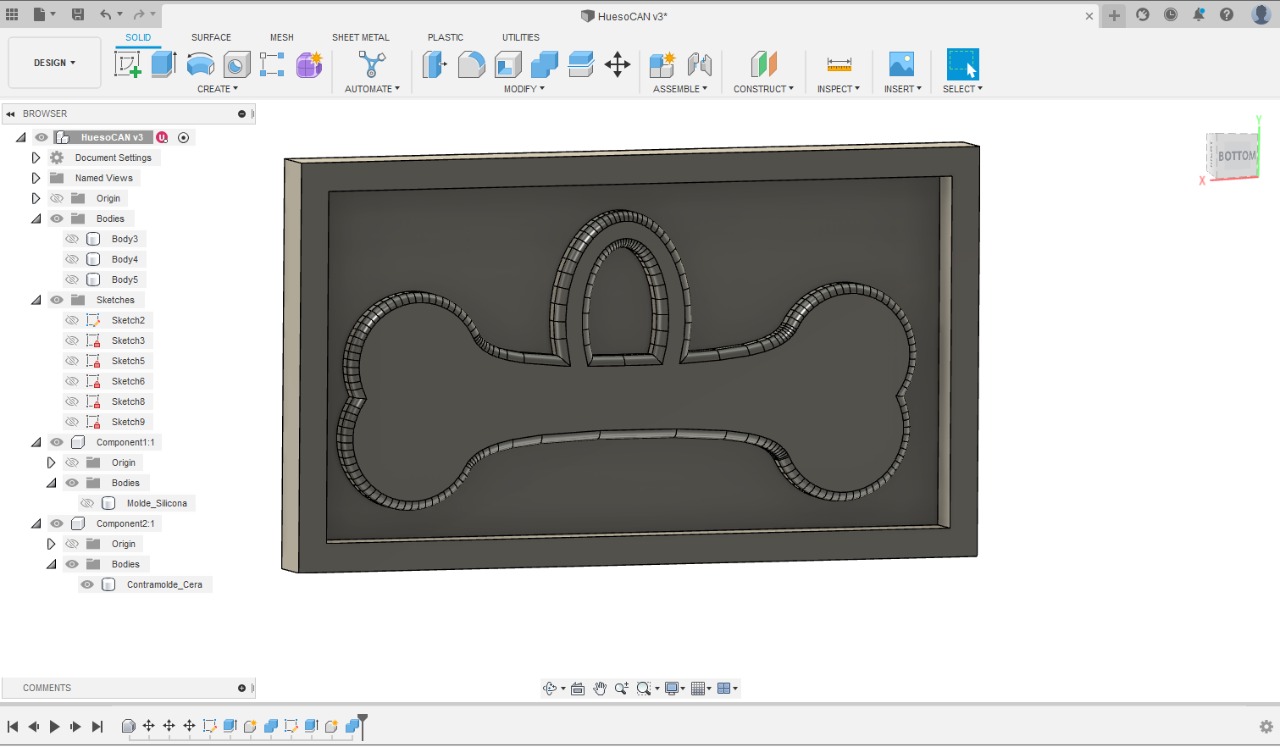
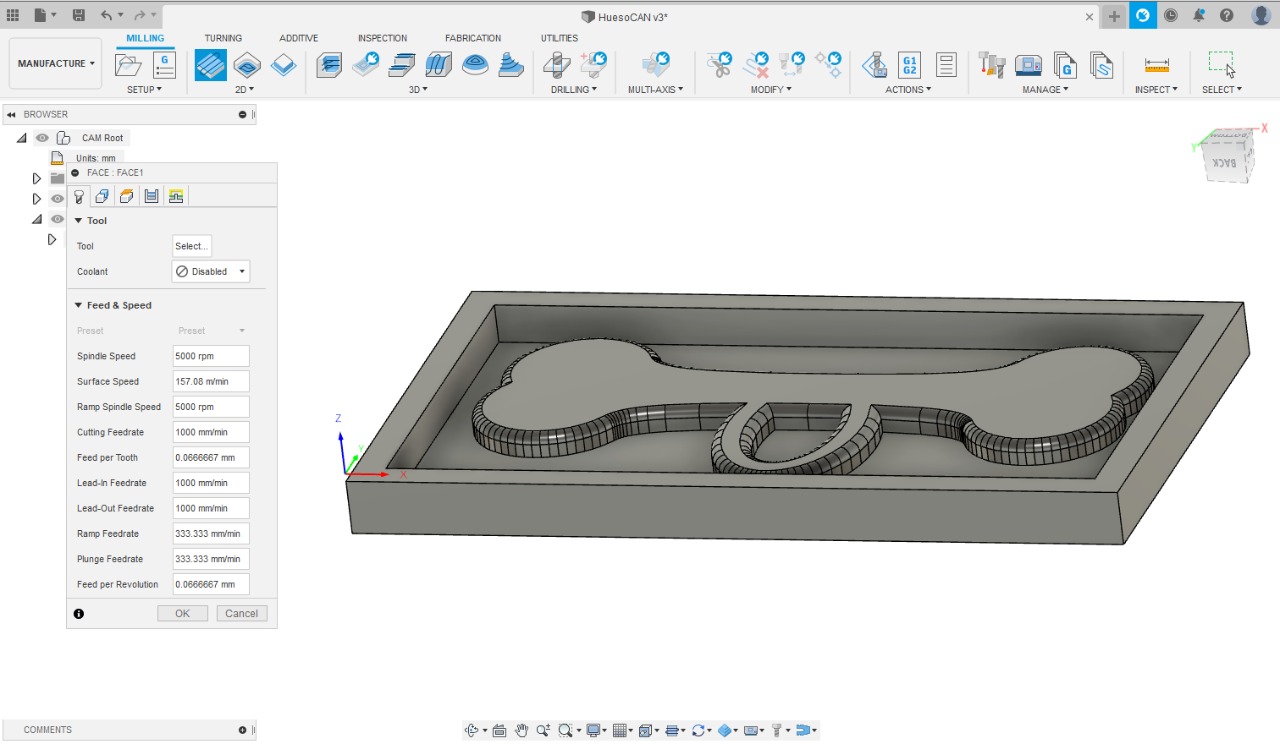
To create the mold and be able to see the simulation of its cut, it was exported as an STL file and recovered in Autodesk Fusion 360.
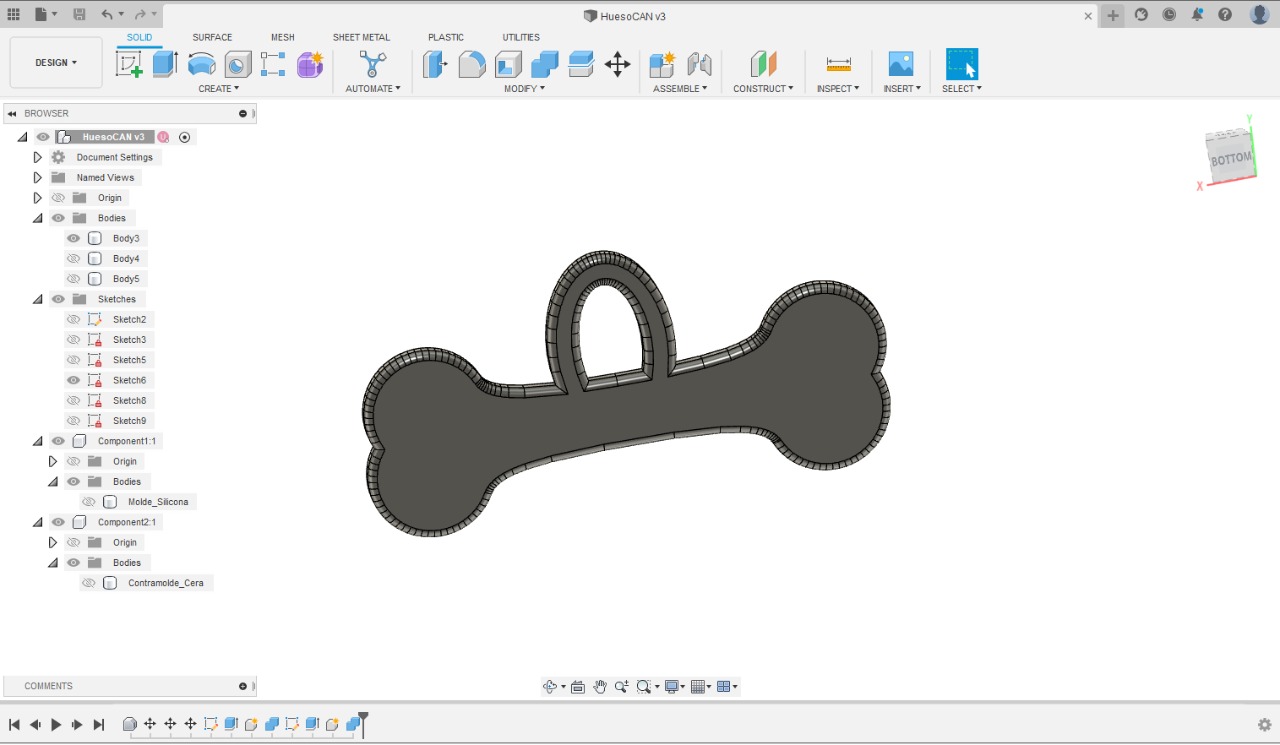
Creating the countermold.

Marking the edges.
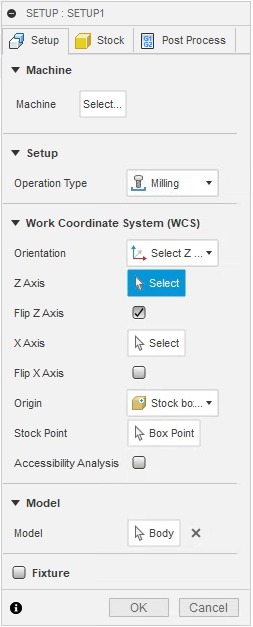
Customizing the position of the coordinates.
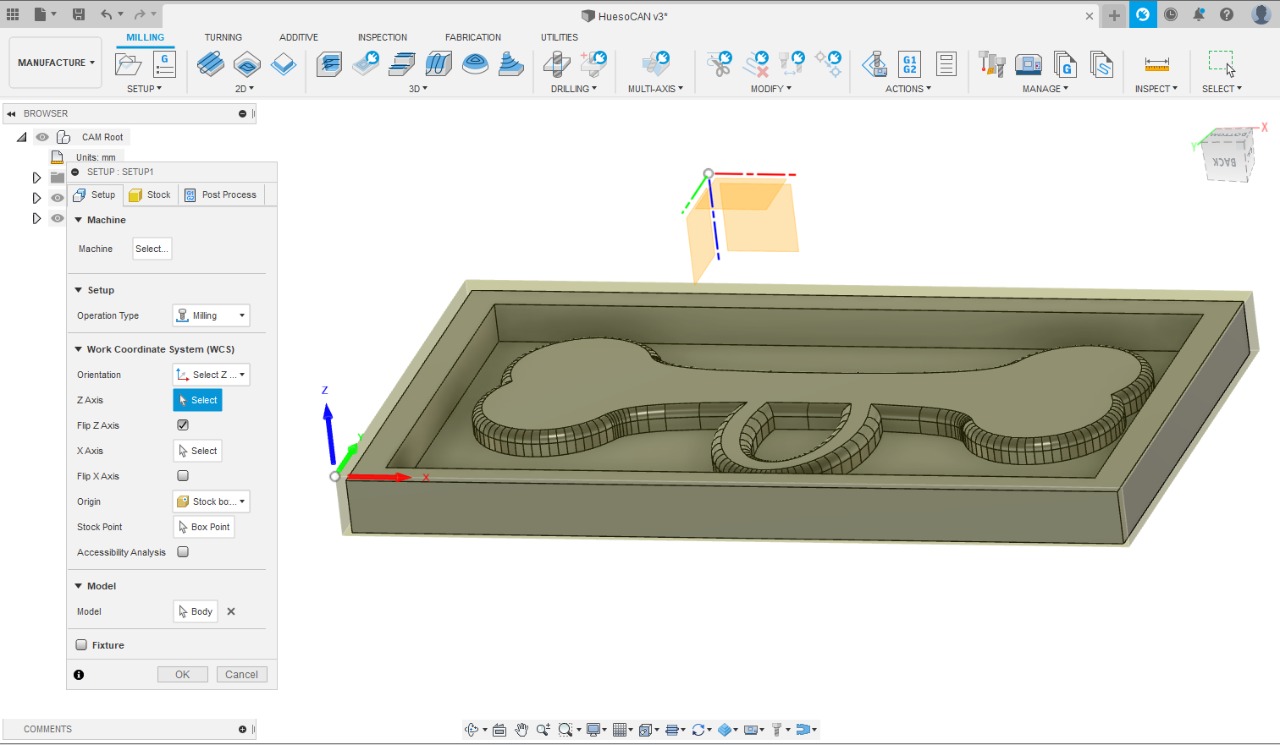
Specifying the values of the mold milling settings.
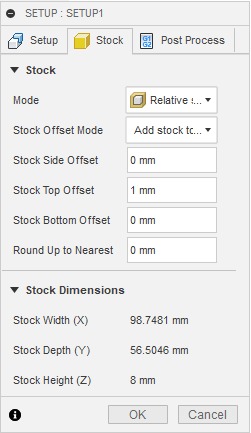
Specifying the speed and cutting values, among others.
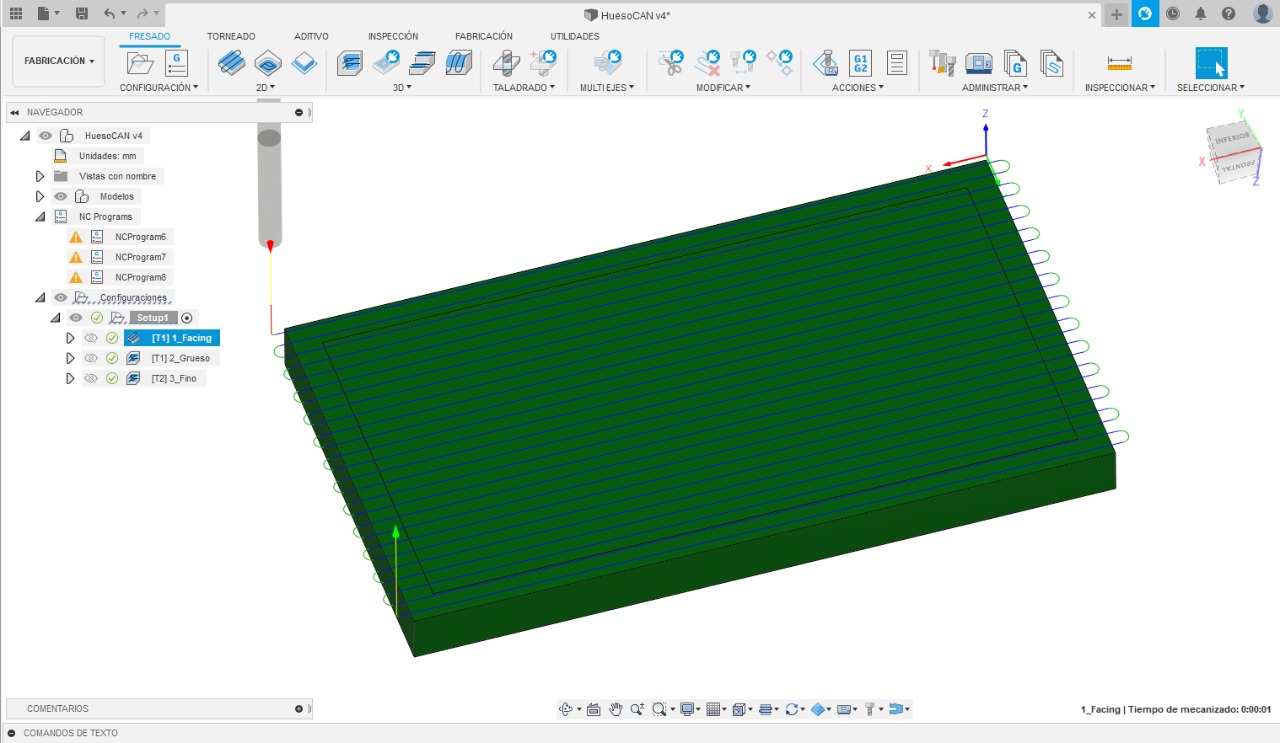
The facing milling toolpath
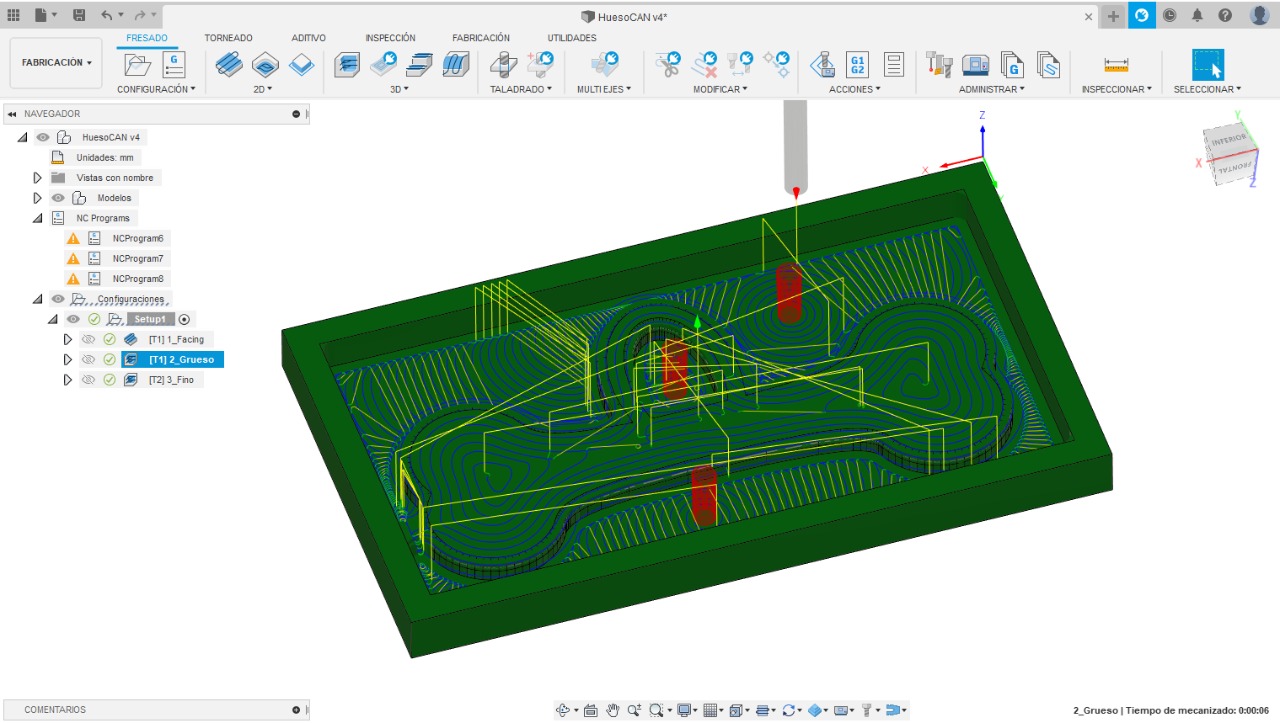
The coarse milling toolpath
The fine milling toolpath

Milling
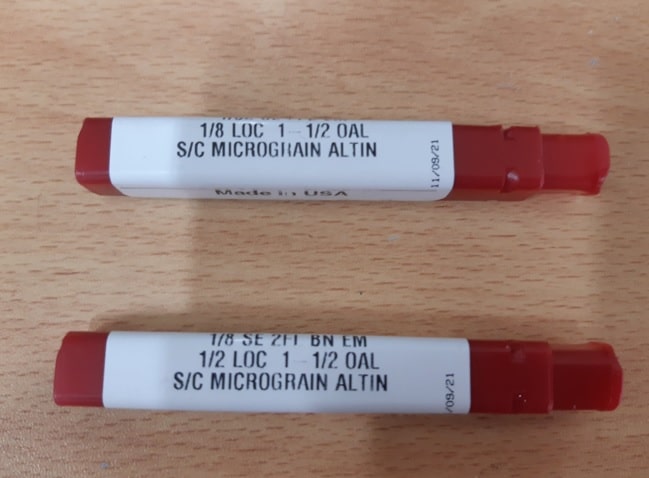
Before starting with the milling we must take into account that for each type of milling a certain type of milling cutter is needed.
Facing: 1/8
thickness: 1/8
Fine: 1/2
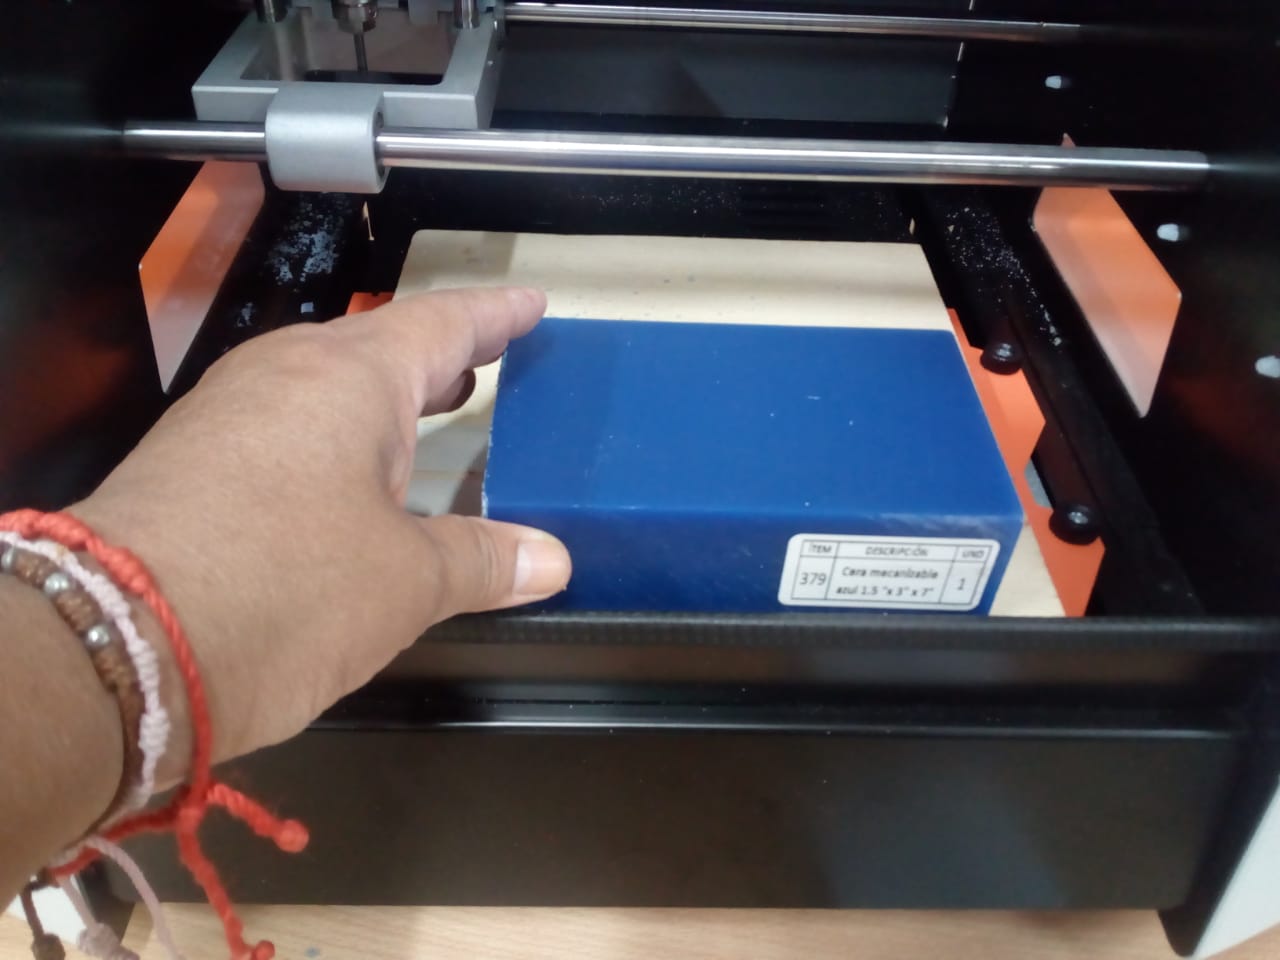
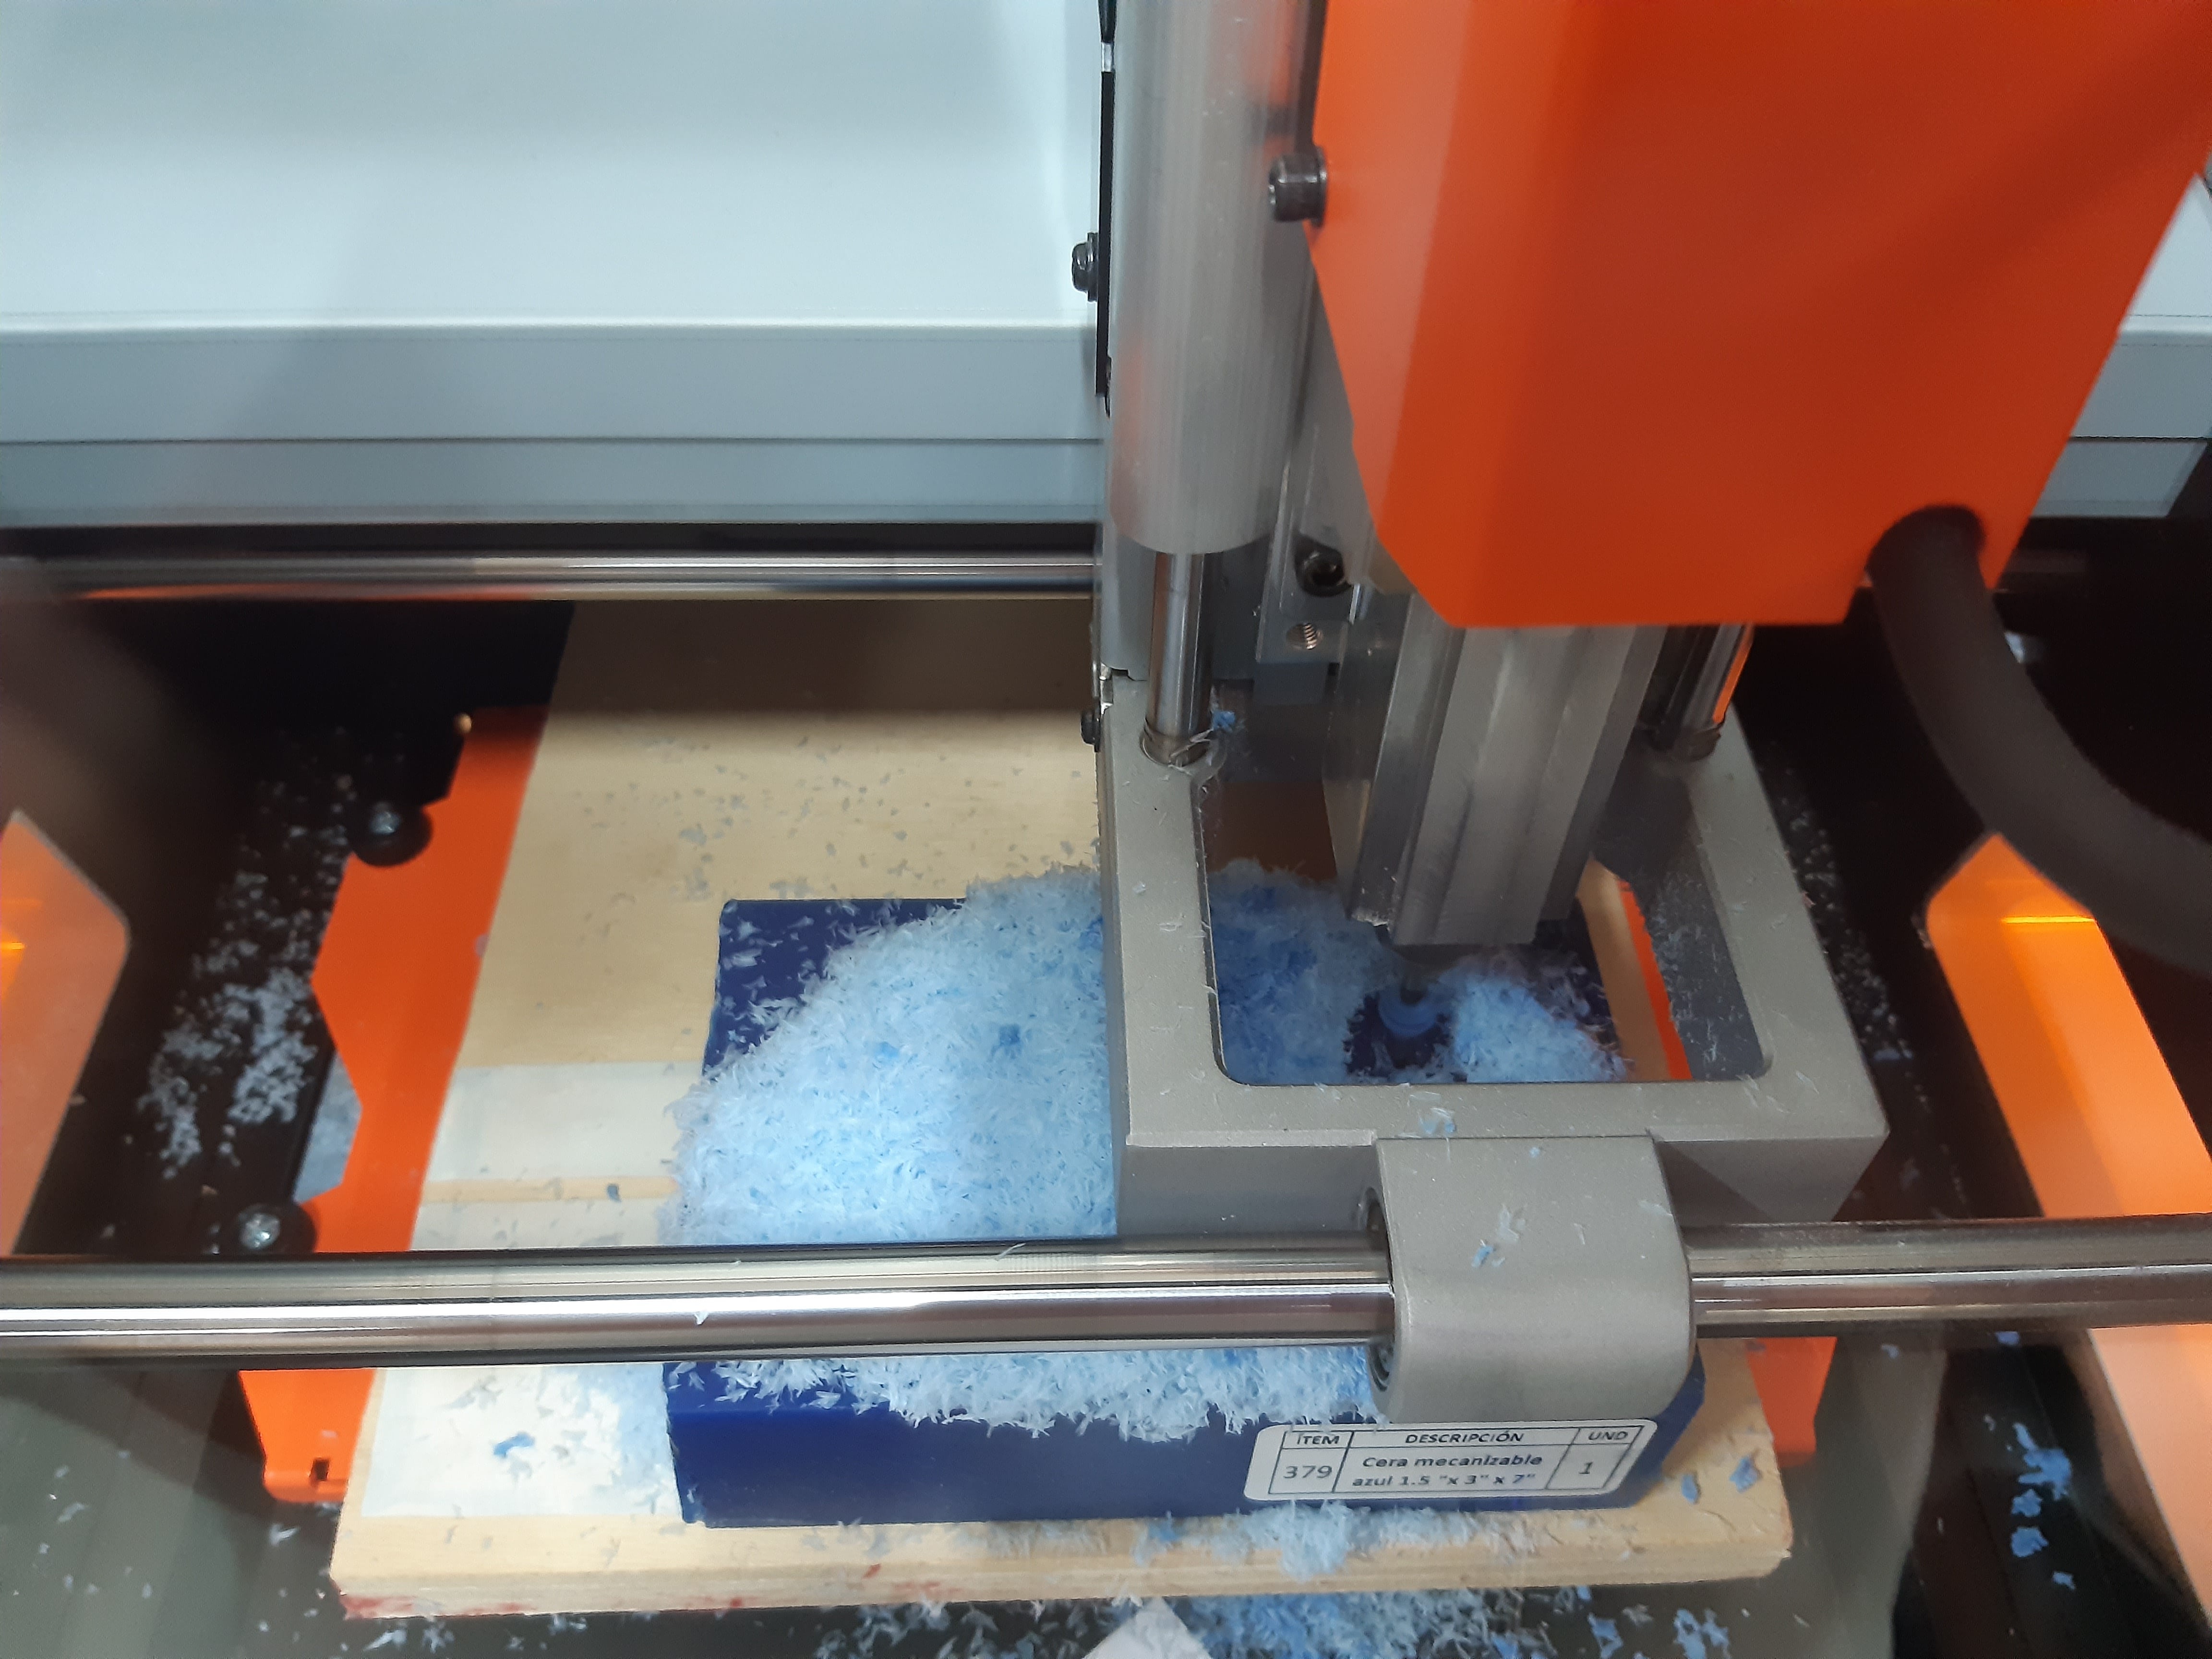
Introducing the wax, which is the material where the counter-mold is going to be milled, into the Monofab mini-mill.
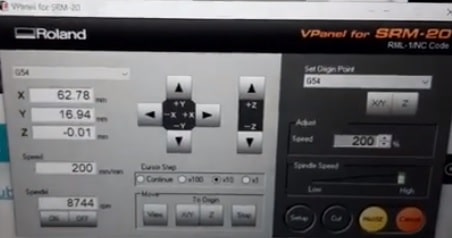
Assigning the positions of the X, Y and Z axes and ordering the milling.
Execution of coarse milling.
Drilling lasted approximately 2 hours and the final result was:
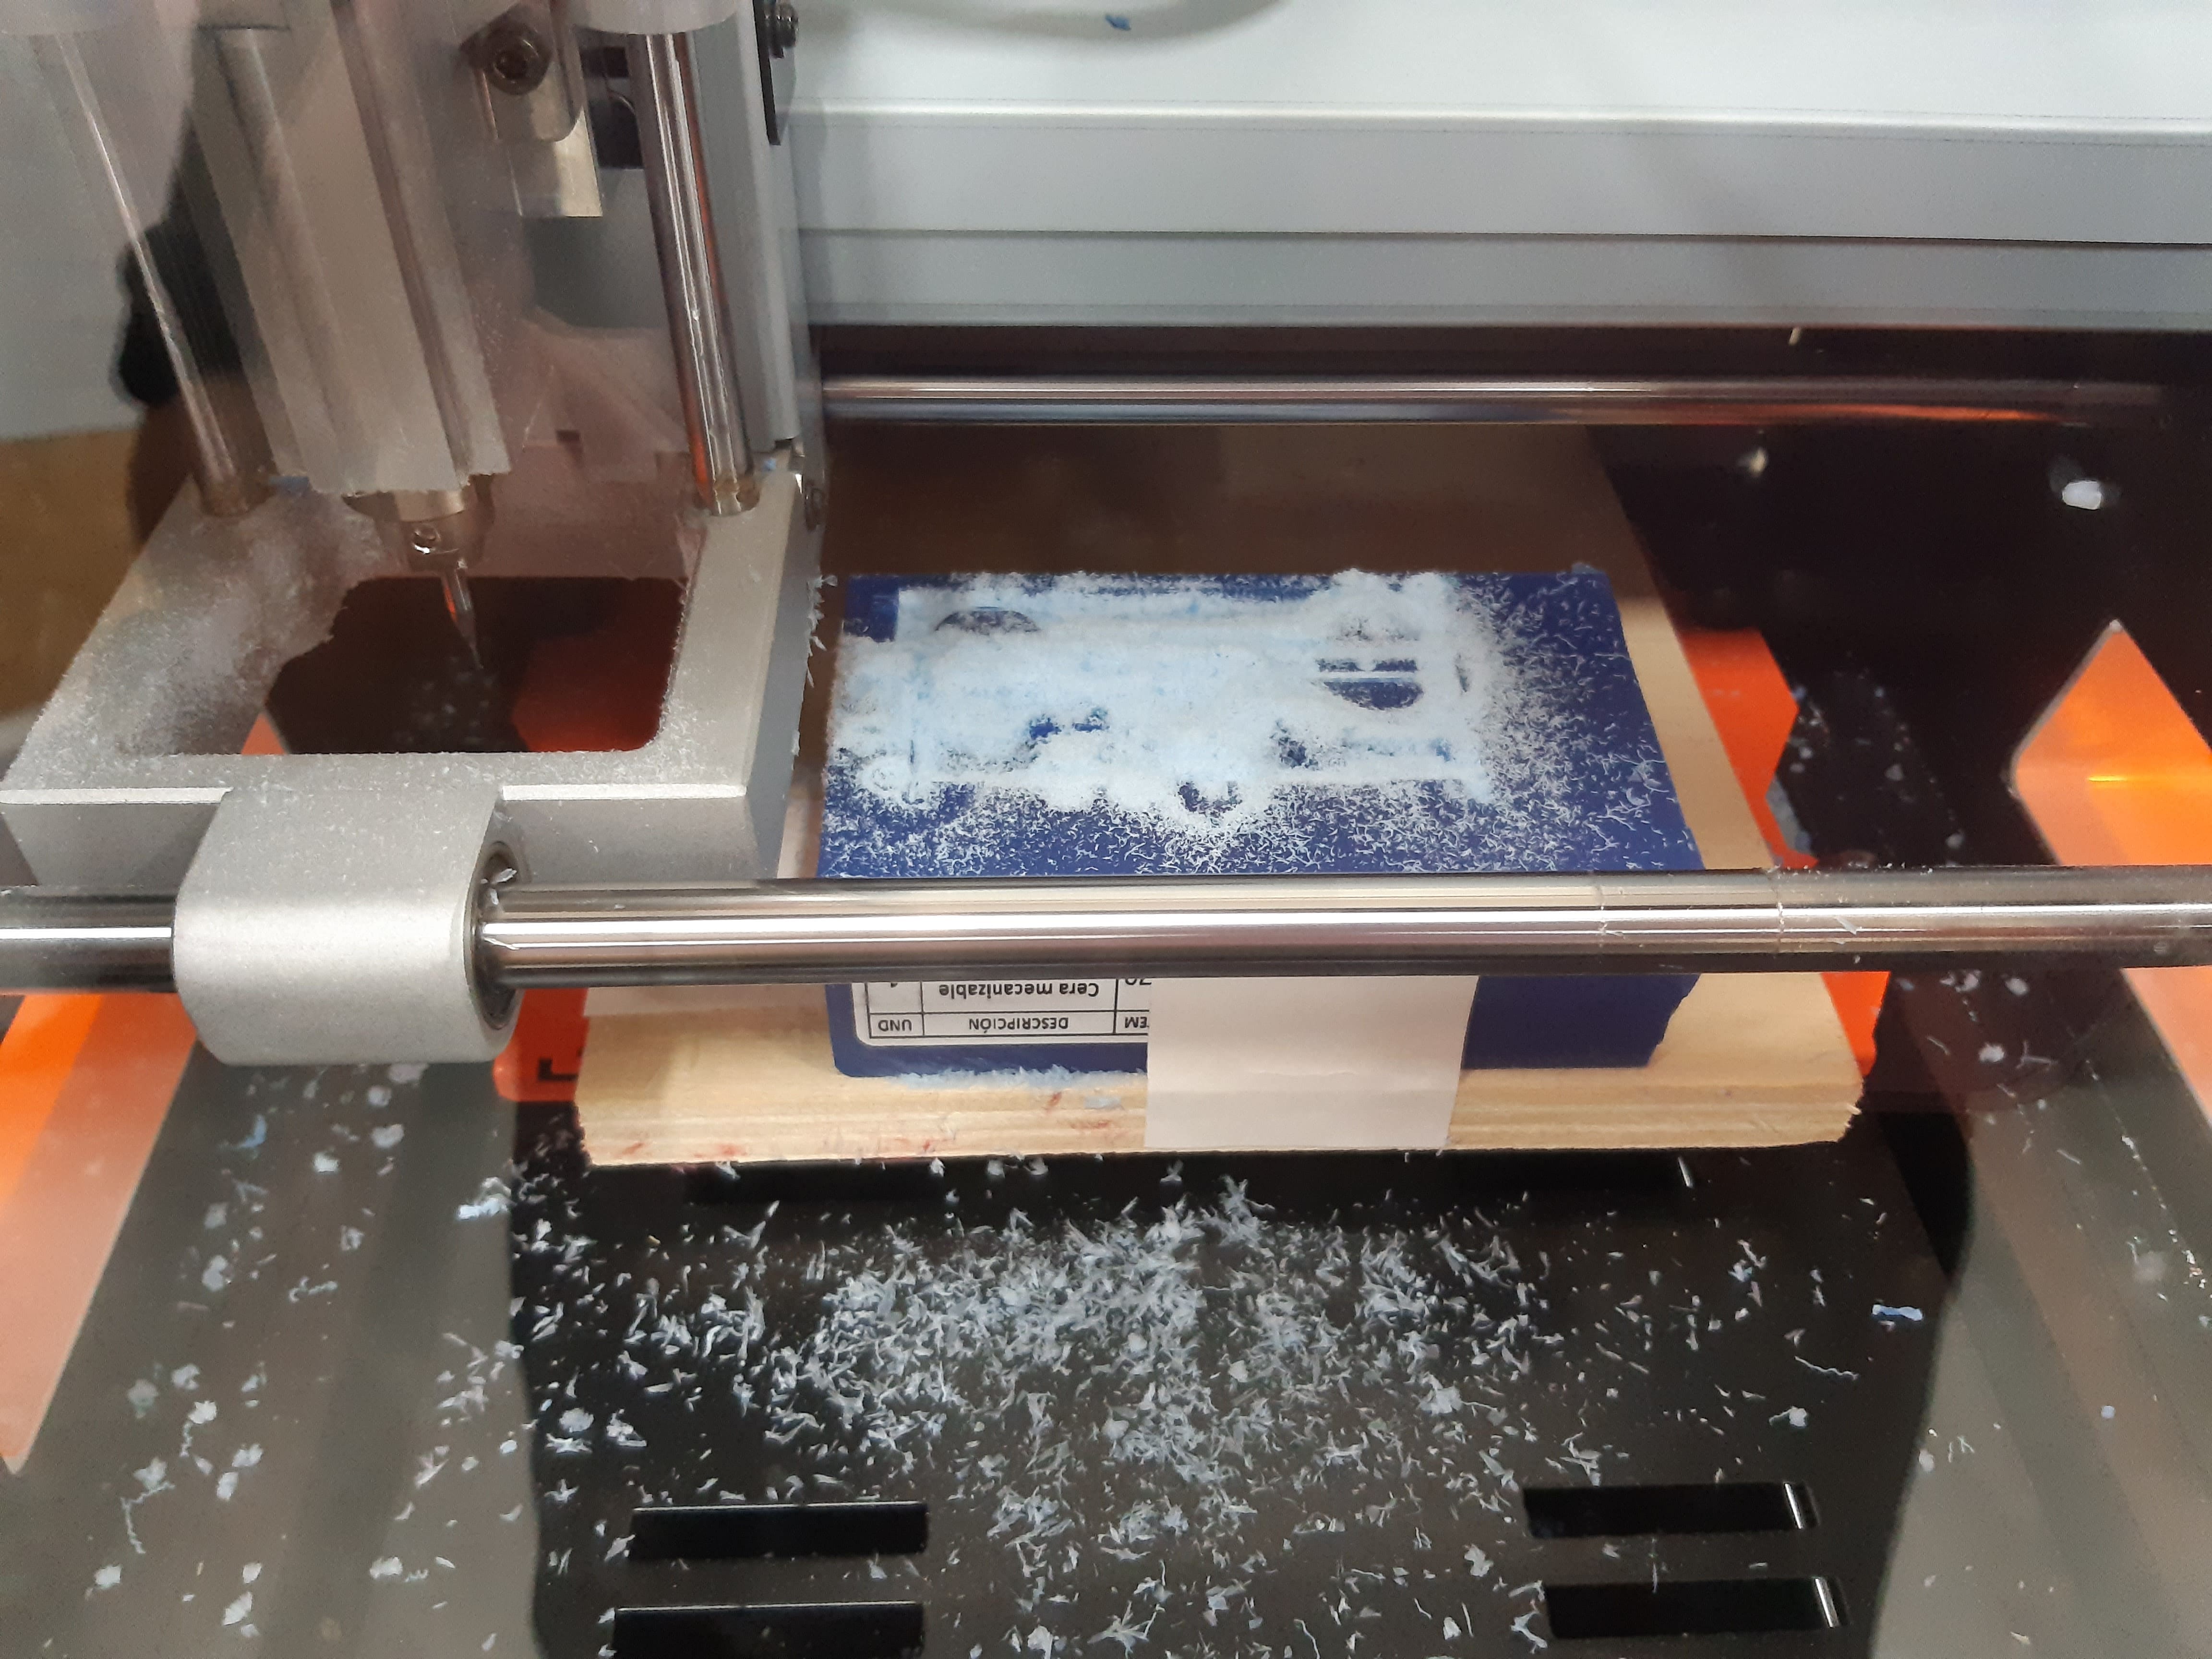
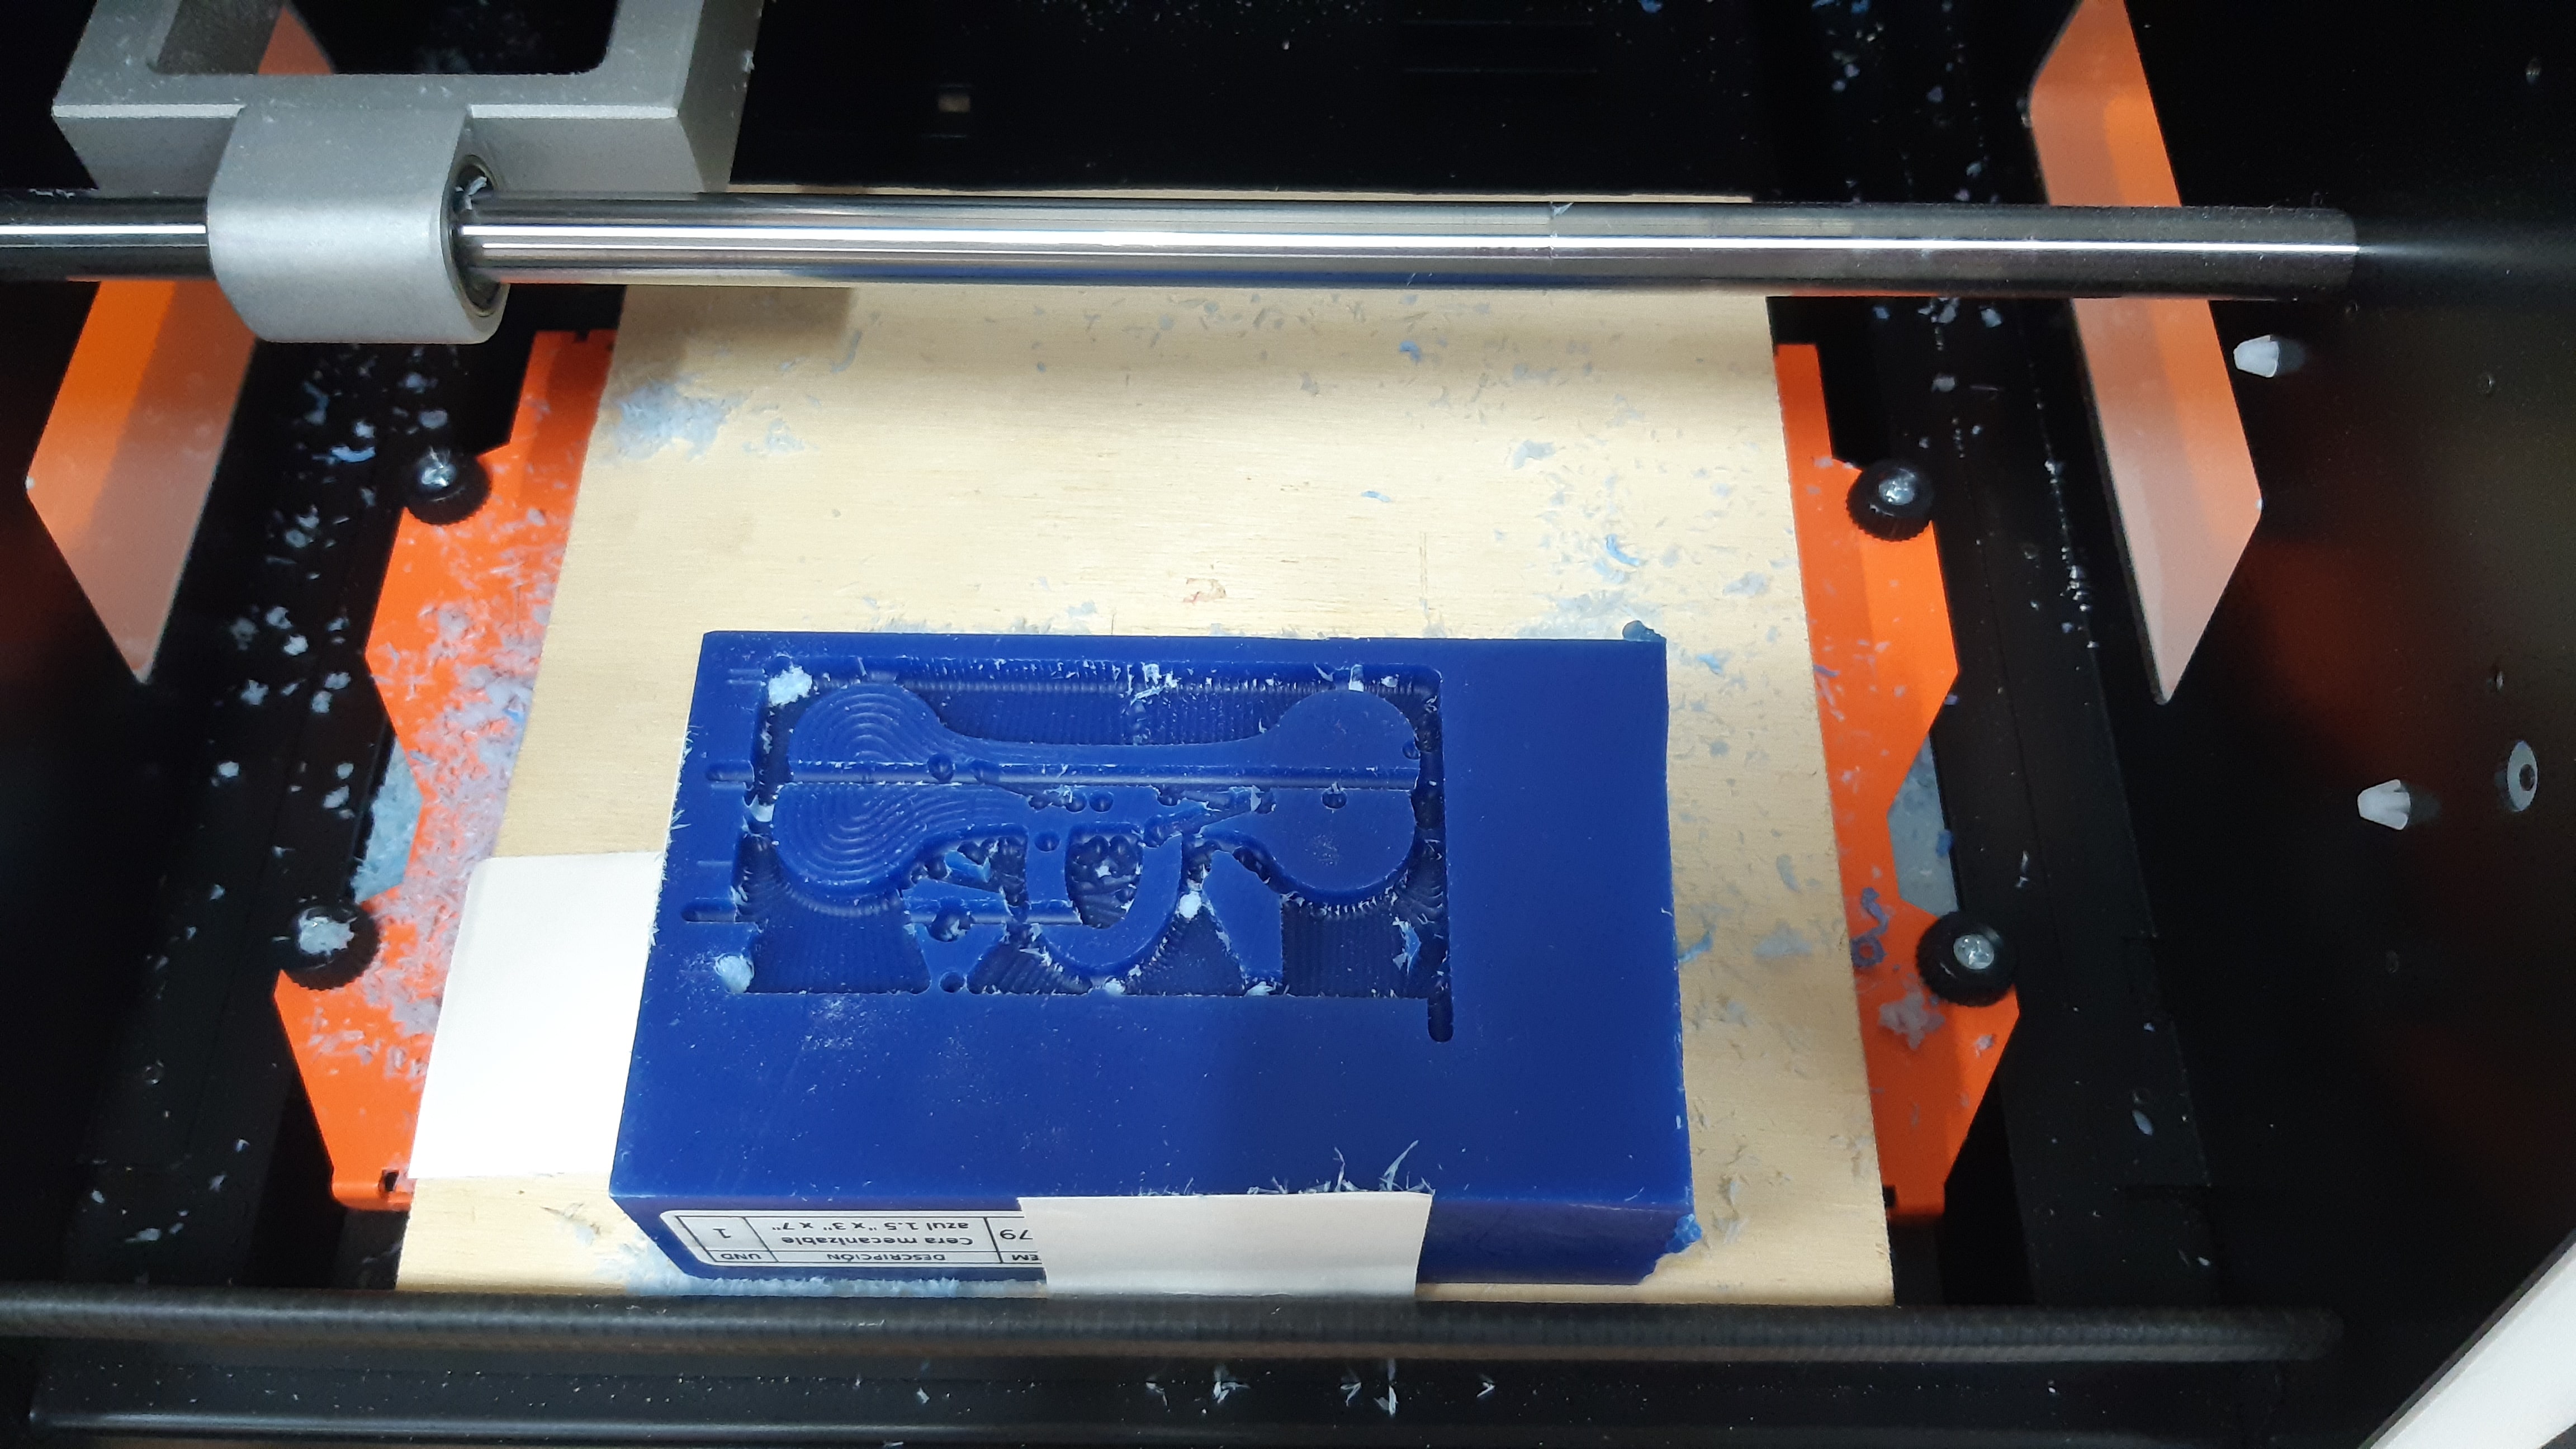
Execution of fine milling.
Observed milling.
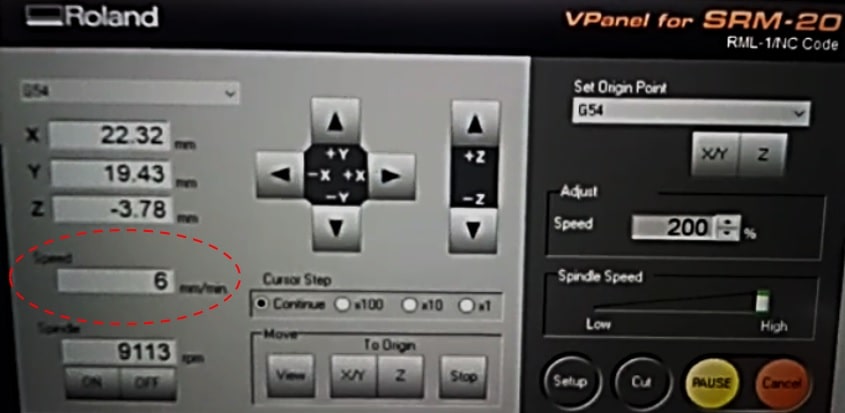
After approximately 20 hours of milling, due to a speed of 6mm./sec. (very slow) the following is left:
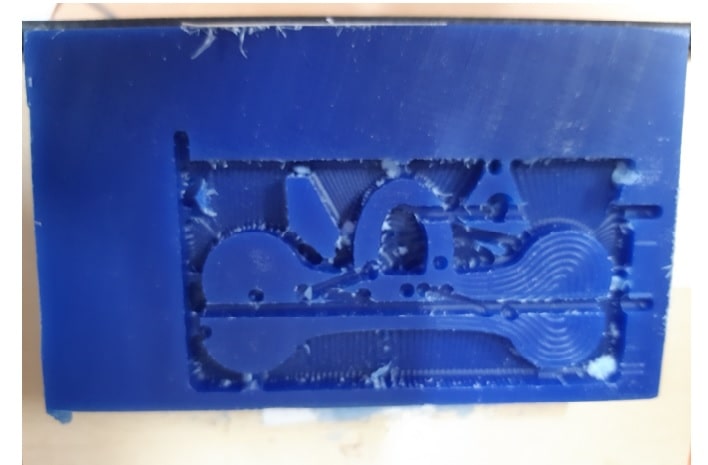
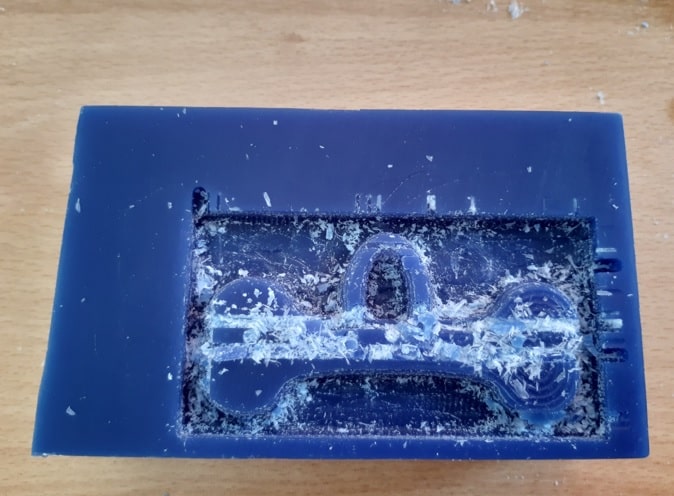
Vacuuming the shavings, the mold remains like this.
Removing the wax from the mini-mill, it can be seen that there are leftovers in the counter-mold.
Removing the leftovers with the help of a cutter.
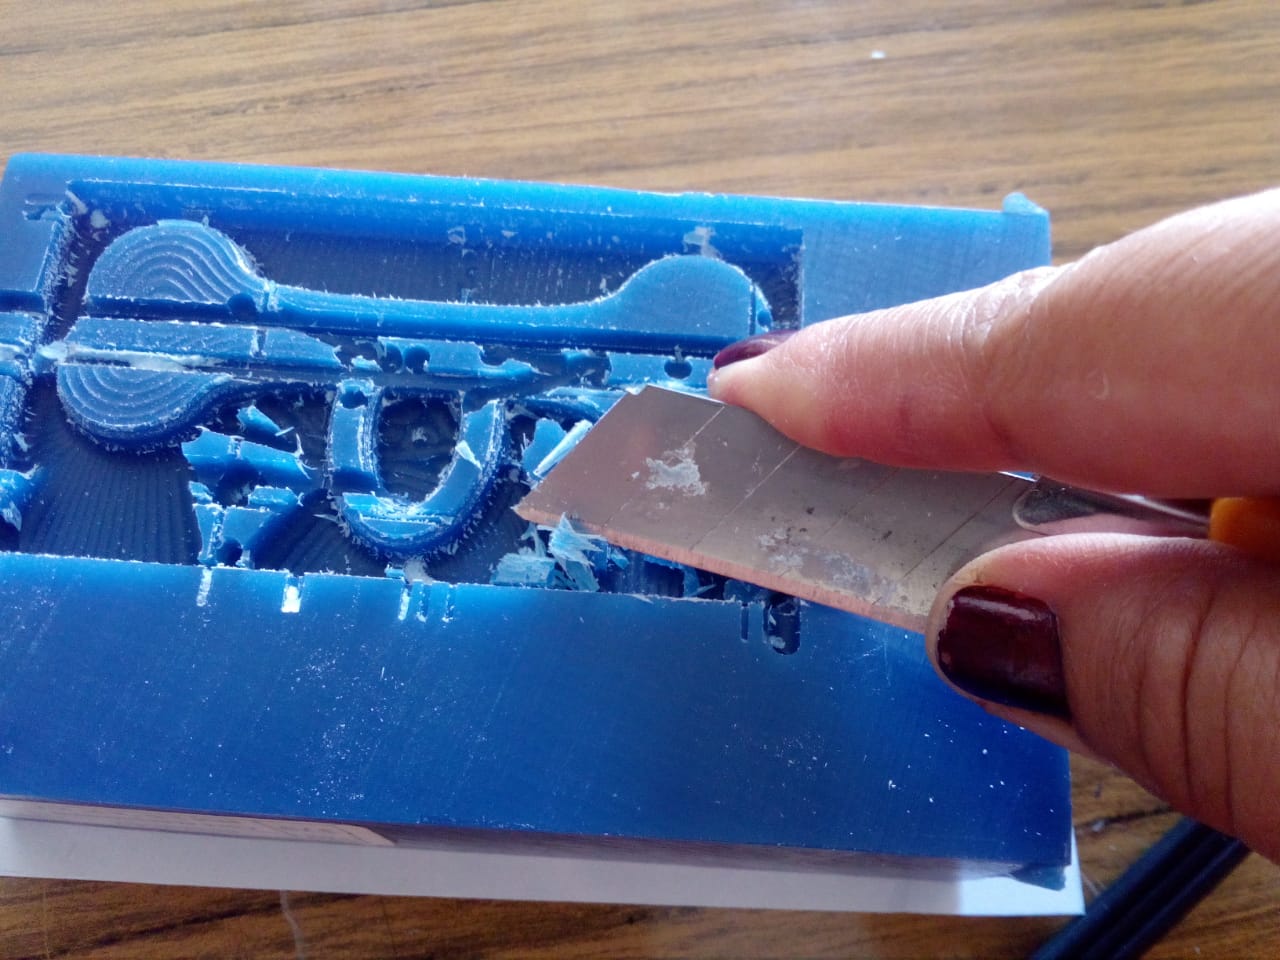
The countermold was much better, ready to be used.
Preparing the necessary materials and equipment to manufacture the mold.
The mold will be worked on based on the SORTA Clear input. Material that we have previously worked on. Therefore, we repeat the same procedures.
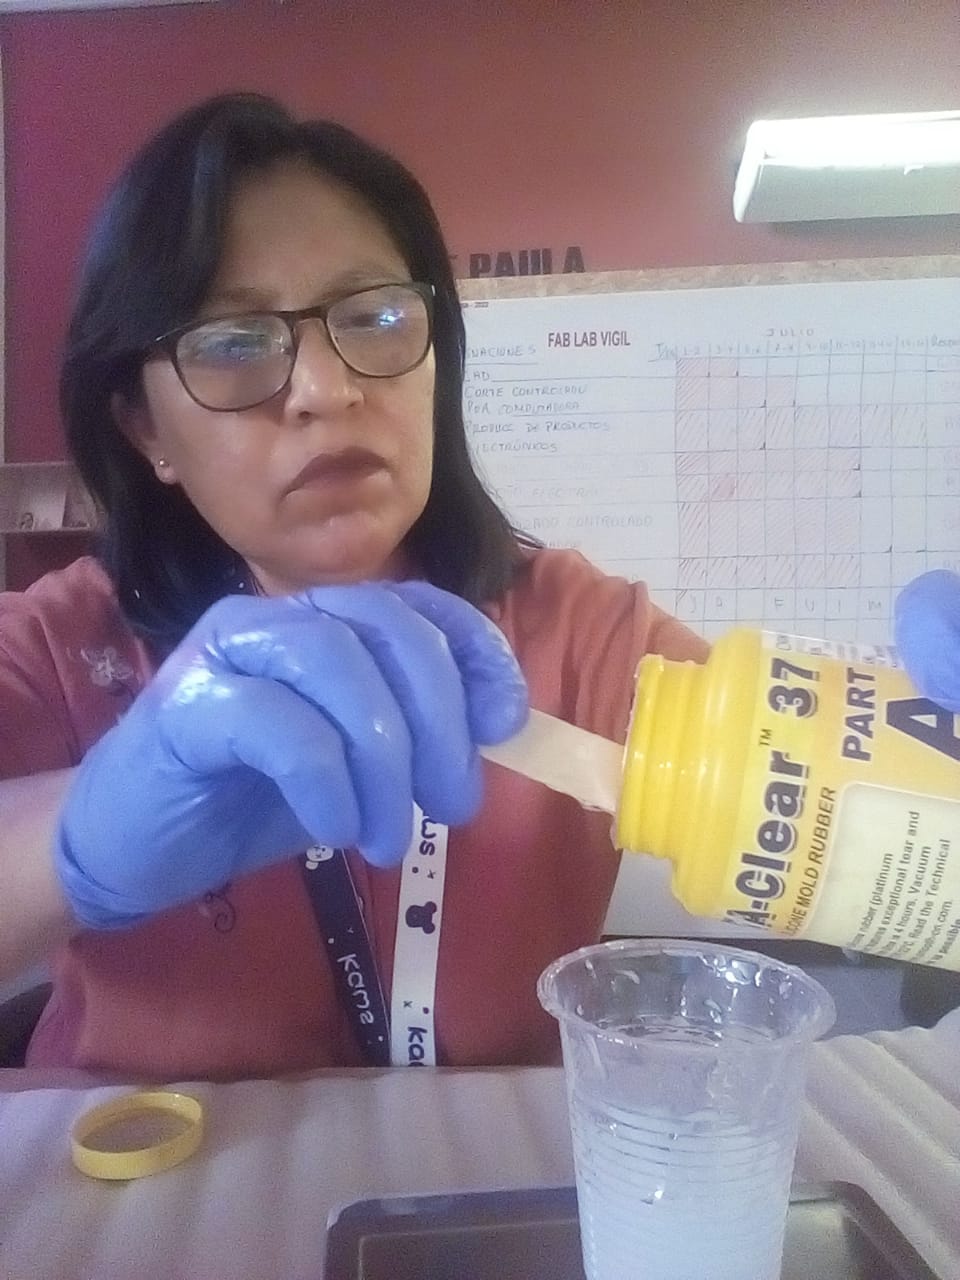
Knowing that the quantities to be mixed must be proportioned (1:1). We pour, to the calculation, the same volume of both parts in a disposable glass.
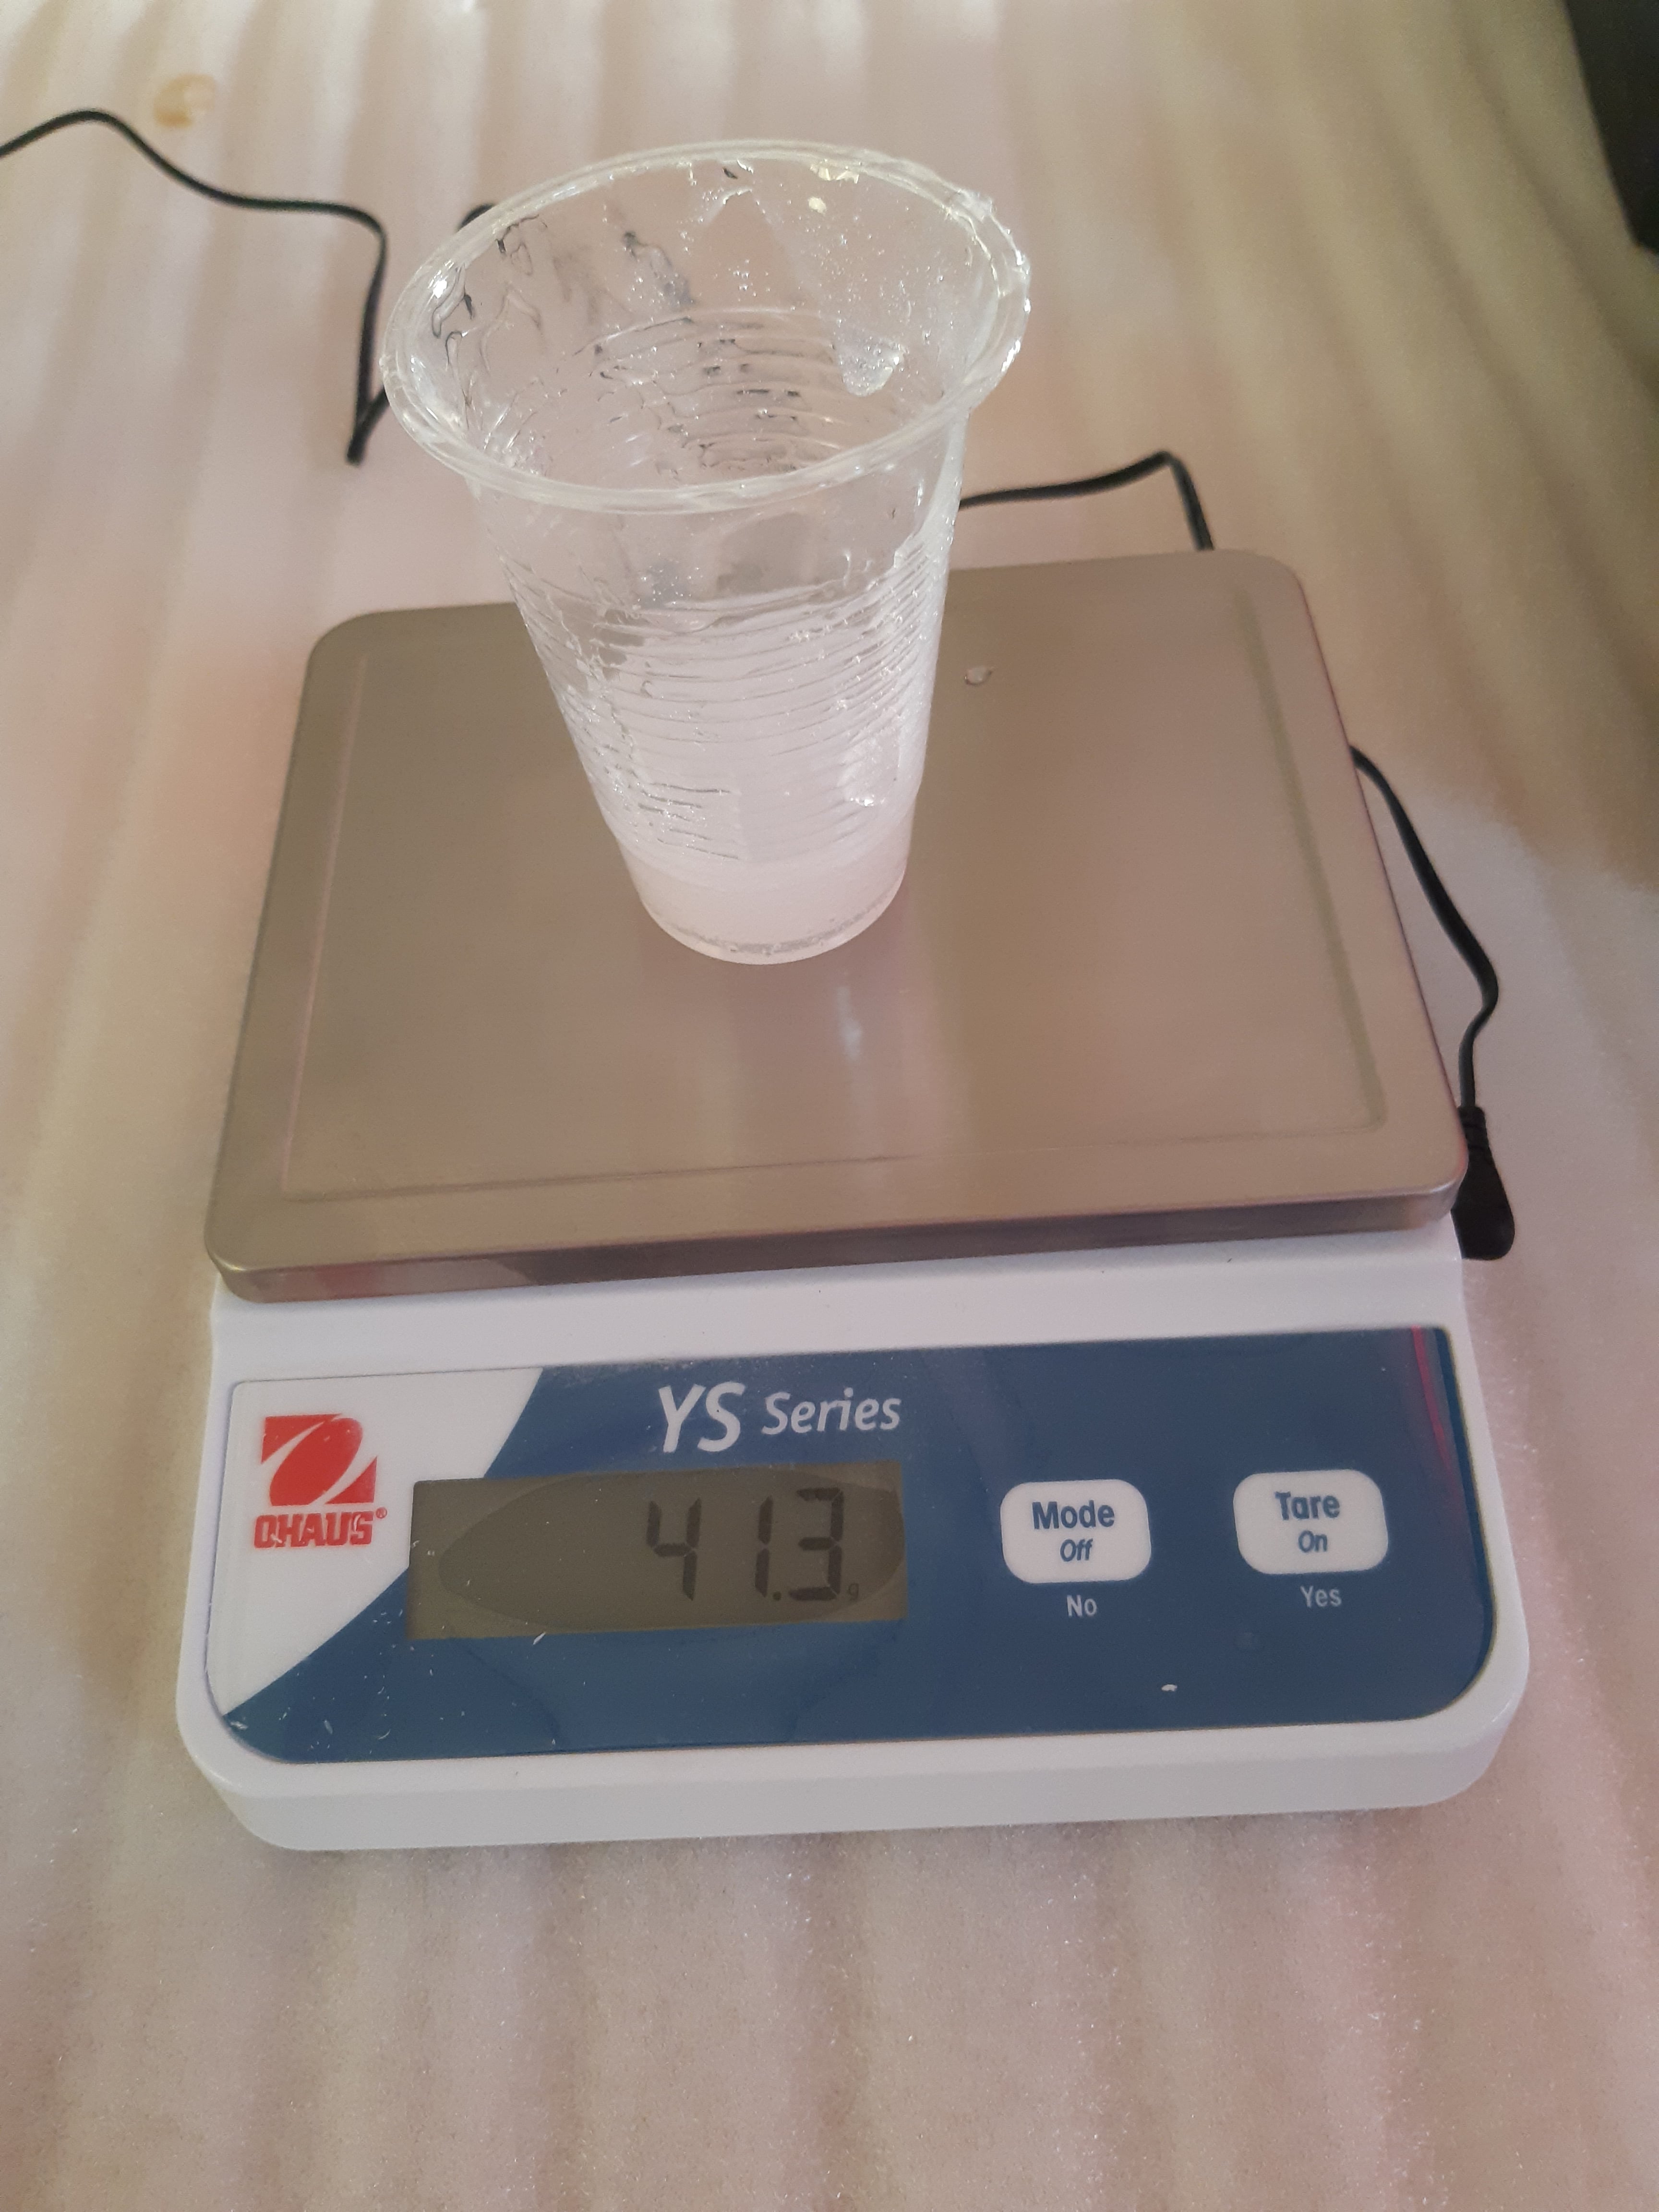
We start with the bottle PART A.
Taking it to the electronic scale, the weight of the first part is 41.3g.
We proceed in the same way with the input PART B.
And we weigh it, it must be double.
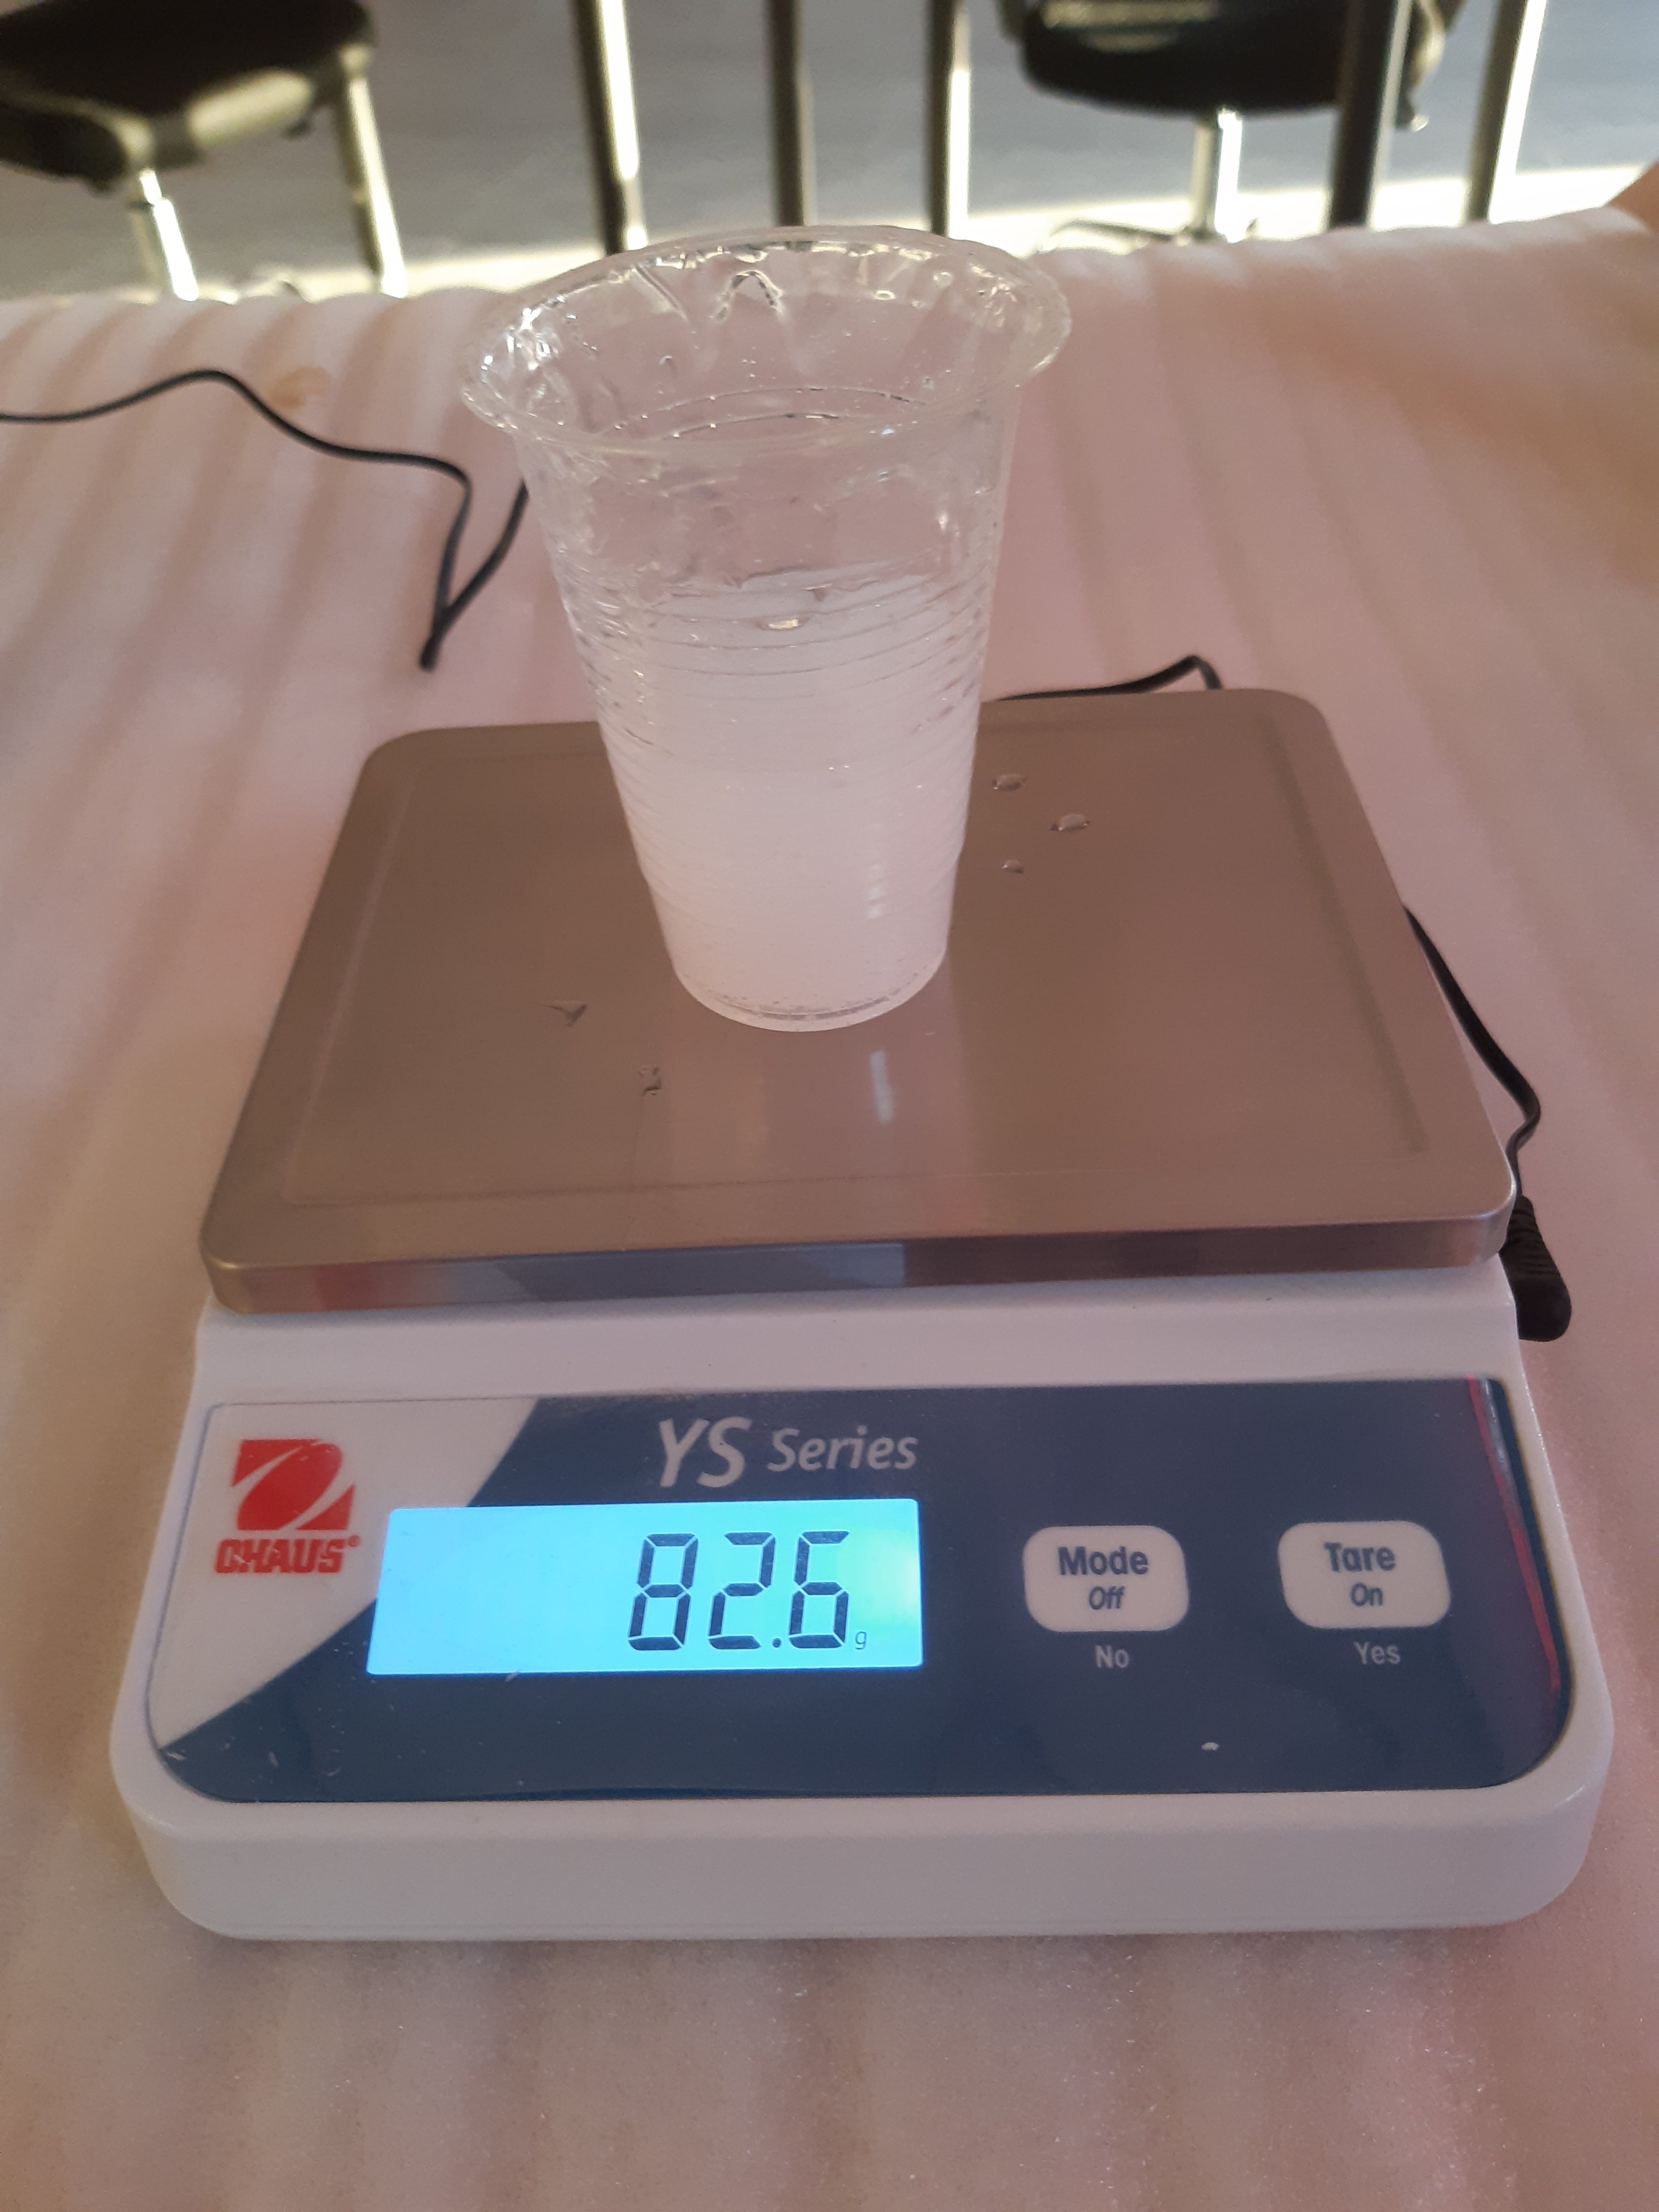
The weight is 82.6 g.
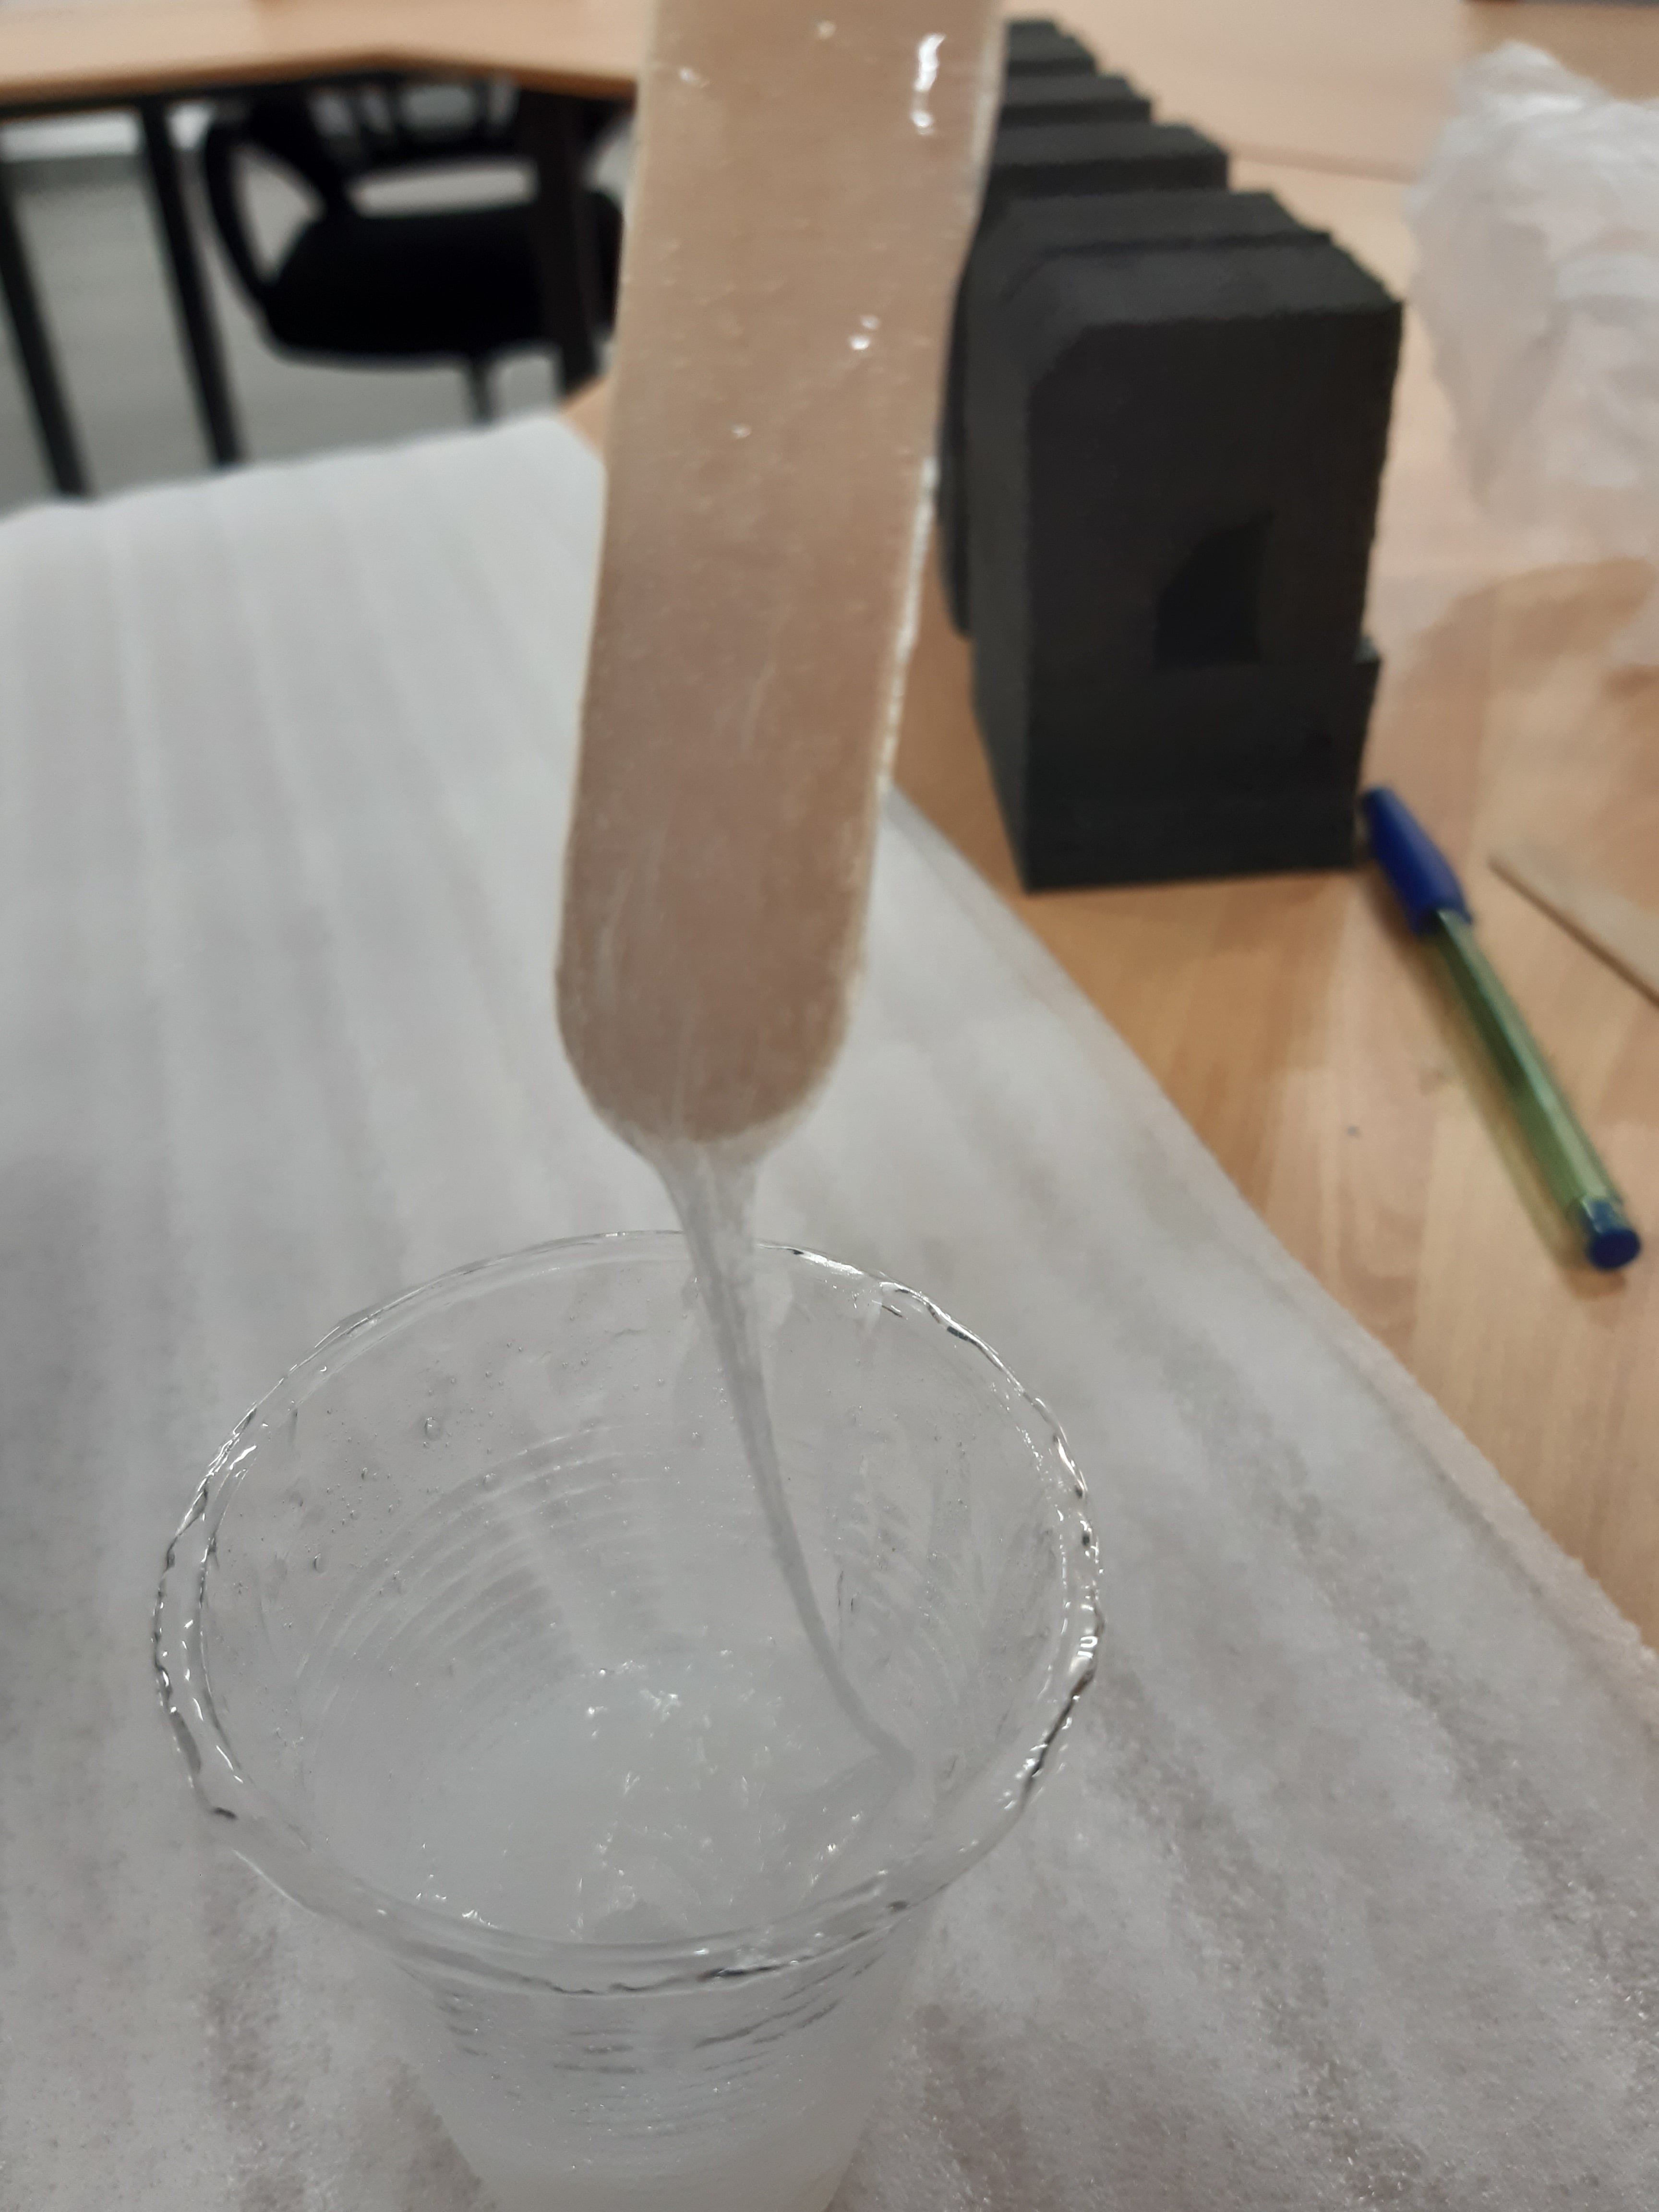
We proceed to mix it well until it reaches a consistent shape.
We pour the mixture into the countermold, making sure that the mixture reaches all corners.
For a better finish on the mould, we cover the surface with a piece of leftover acrylic.
And we let it cure for a space of 4 hours.
After the indicated time we proceed to separate the silicone mold from the wax.
Video)))
And so it was:
Now work with the silicone mold.
What I said is going to be manufactured is going to be Fast Curing Dental Acrylic and fast curing liquid. Also worked previously. Then we proceed to repeat the same procedure applied.
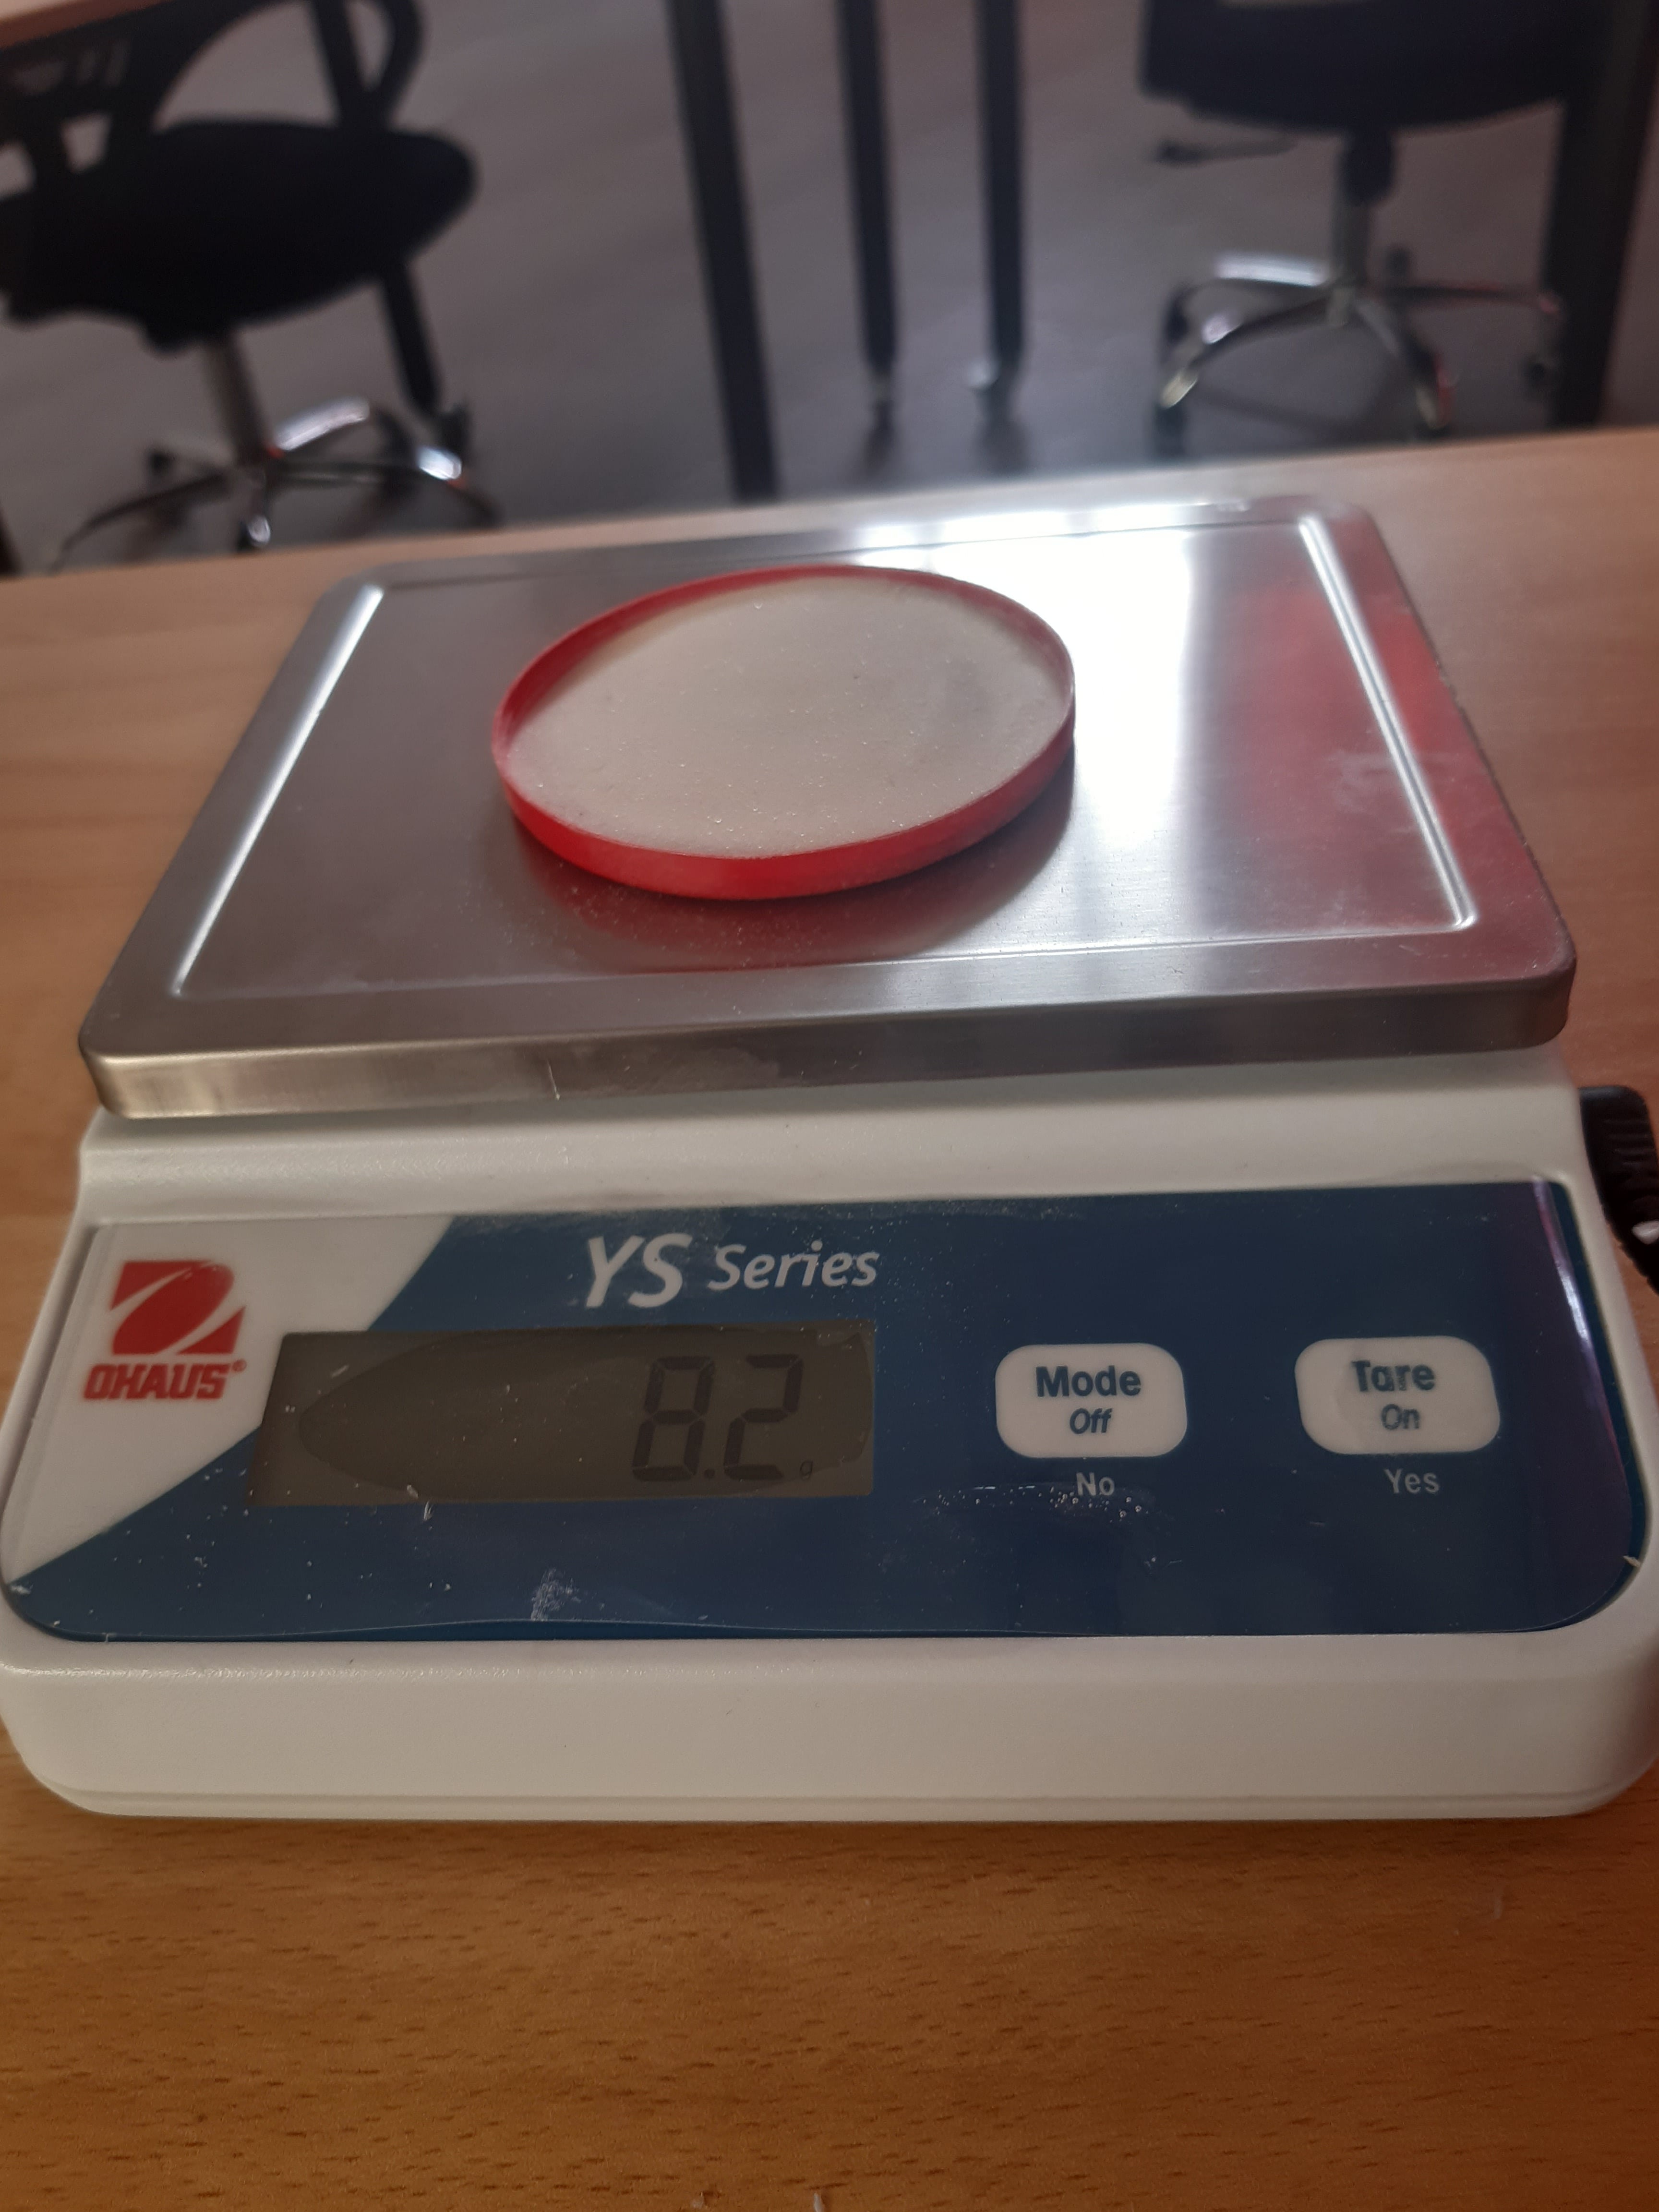
Remember that the quantities to mix are also 1:1. Then we proceed first of all to pour the acrylic powder into a container.
And we weigh it; 8.2g.
We do the same with the cured liquid.
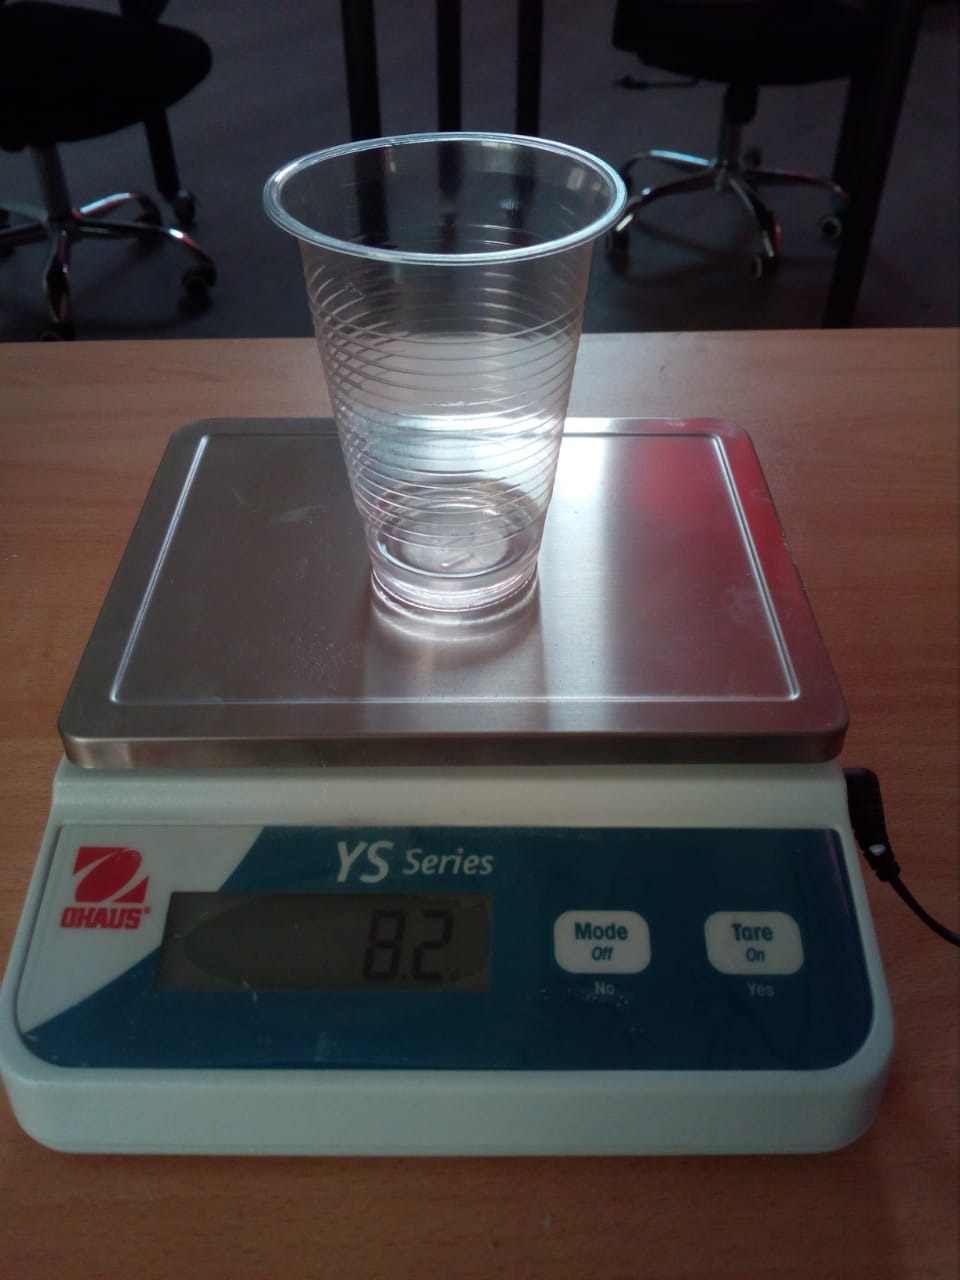
We pour the liquid into the container that contains the acrylic.
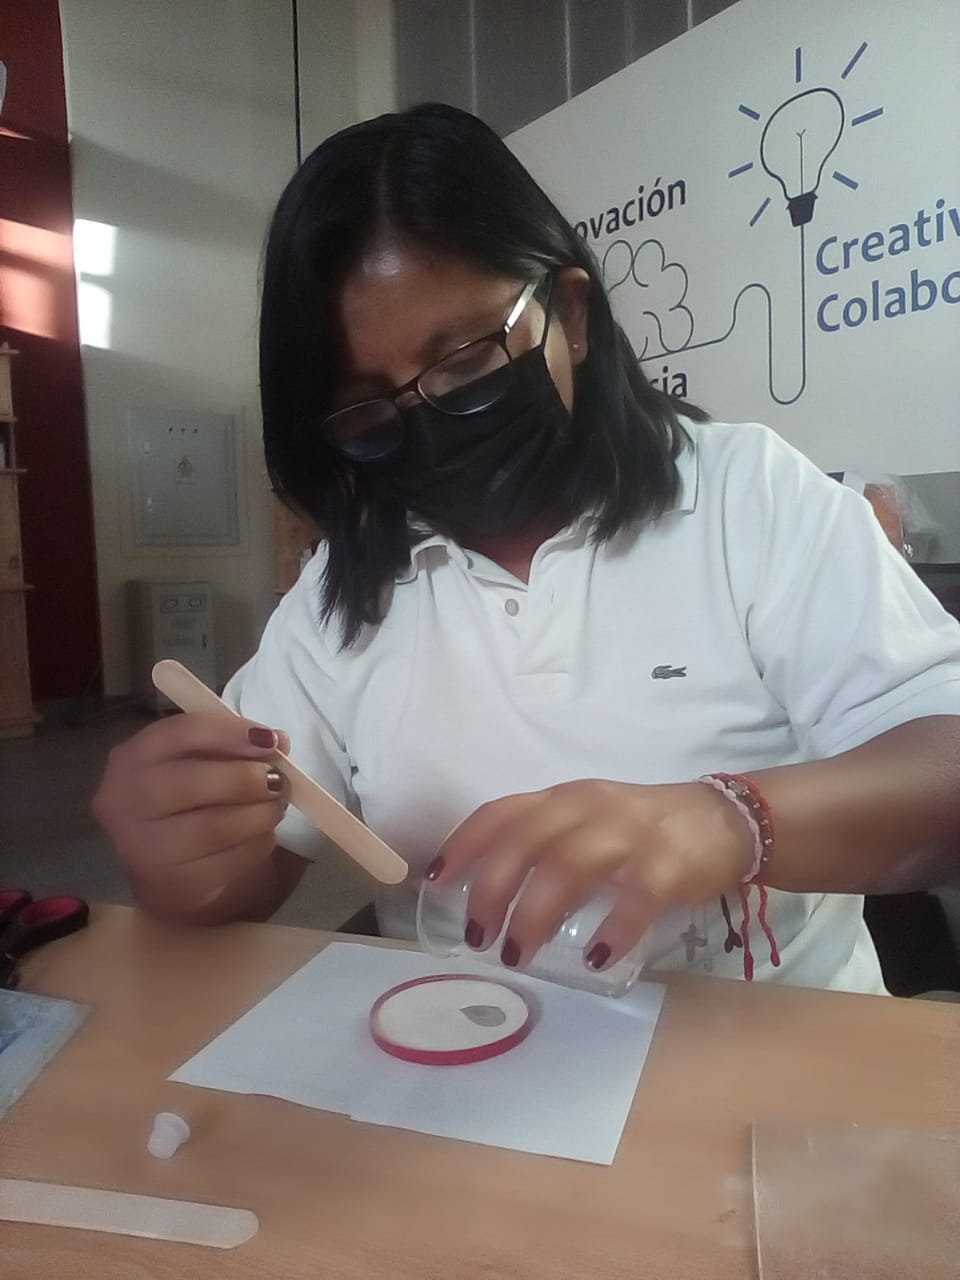
Mix the liquid well with the acrylic in the same container.
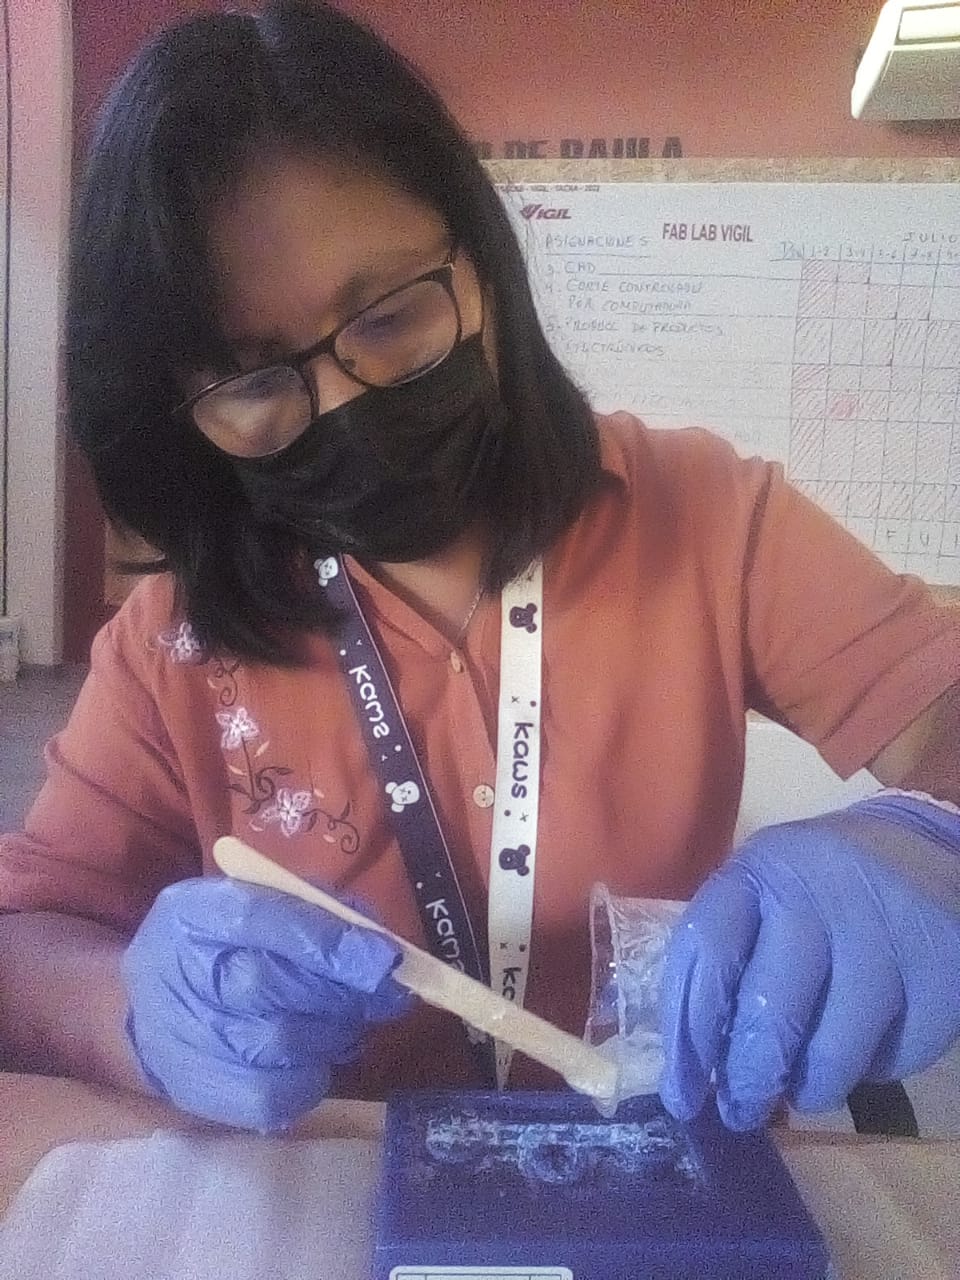
Finally we pour the mixture into the mold. We have to do it fast, because this one heals fast.
We make sure that the mixture is well matched in the mold.
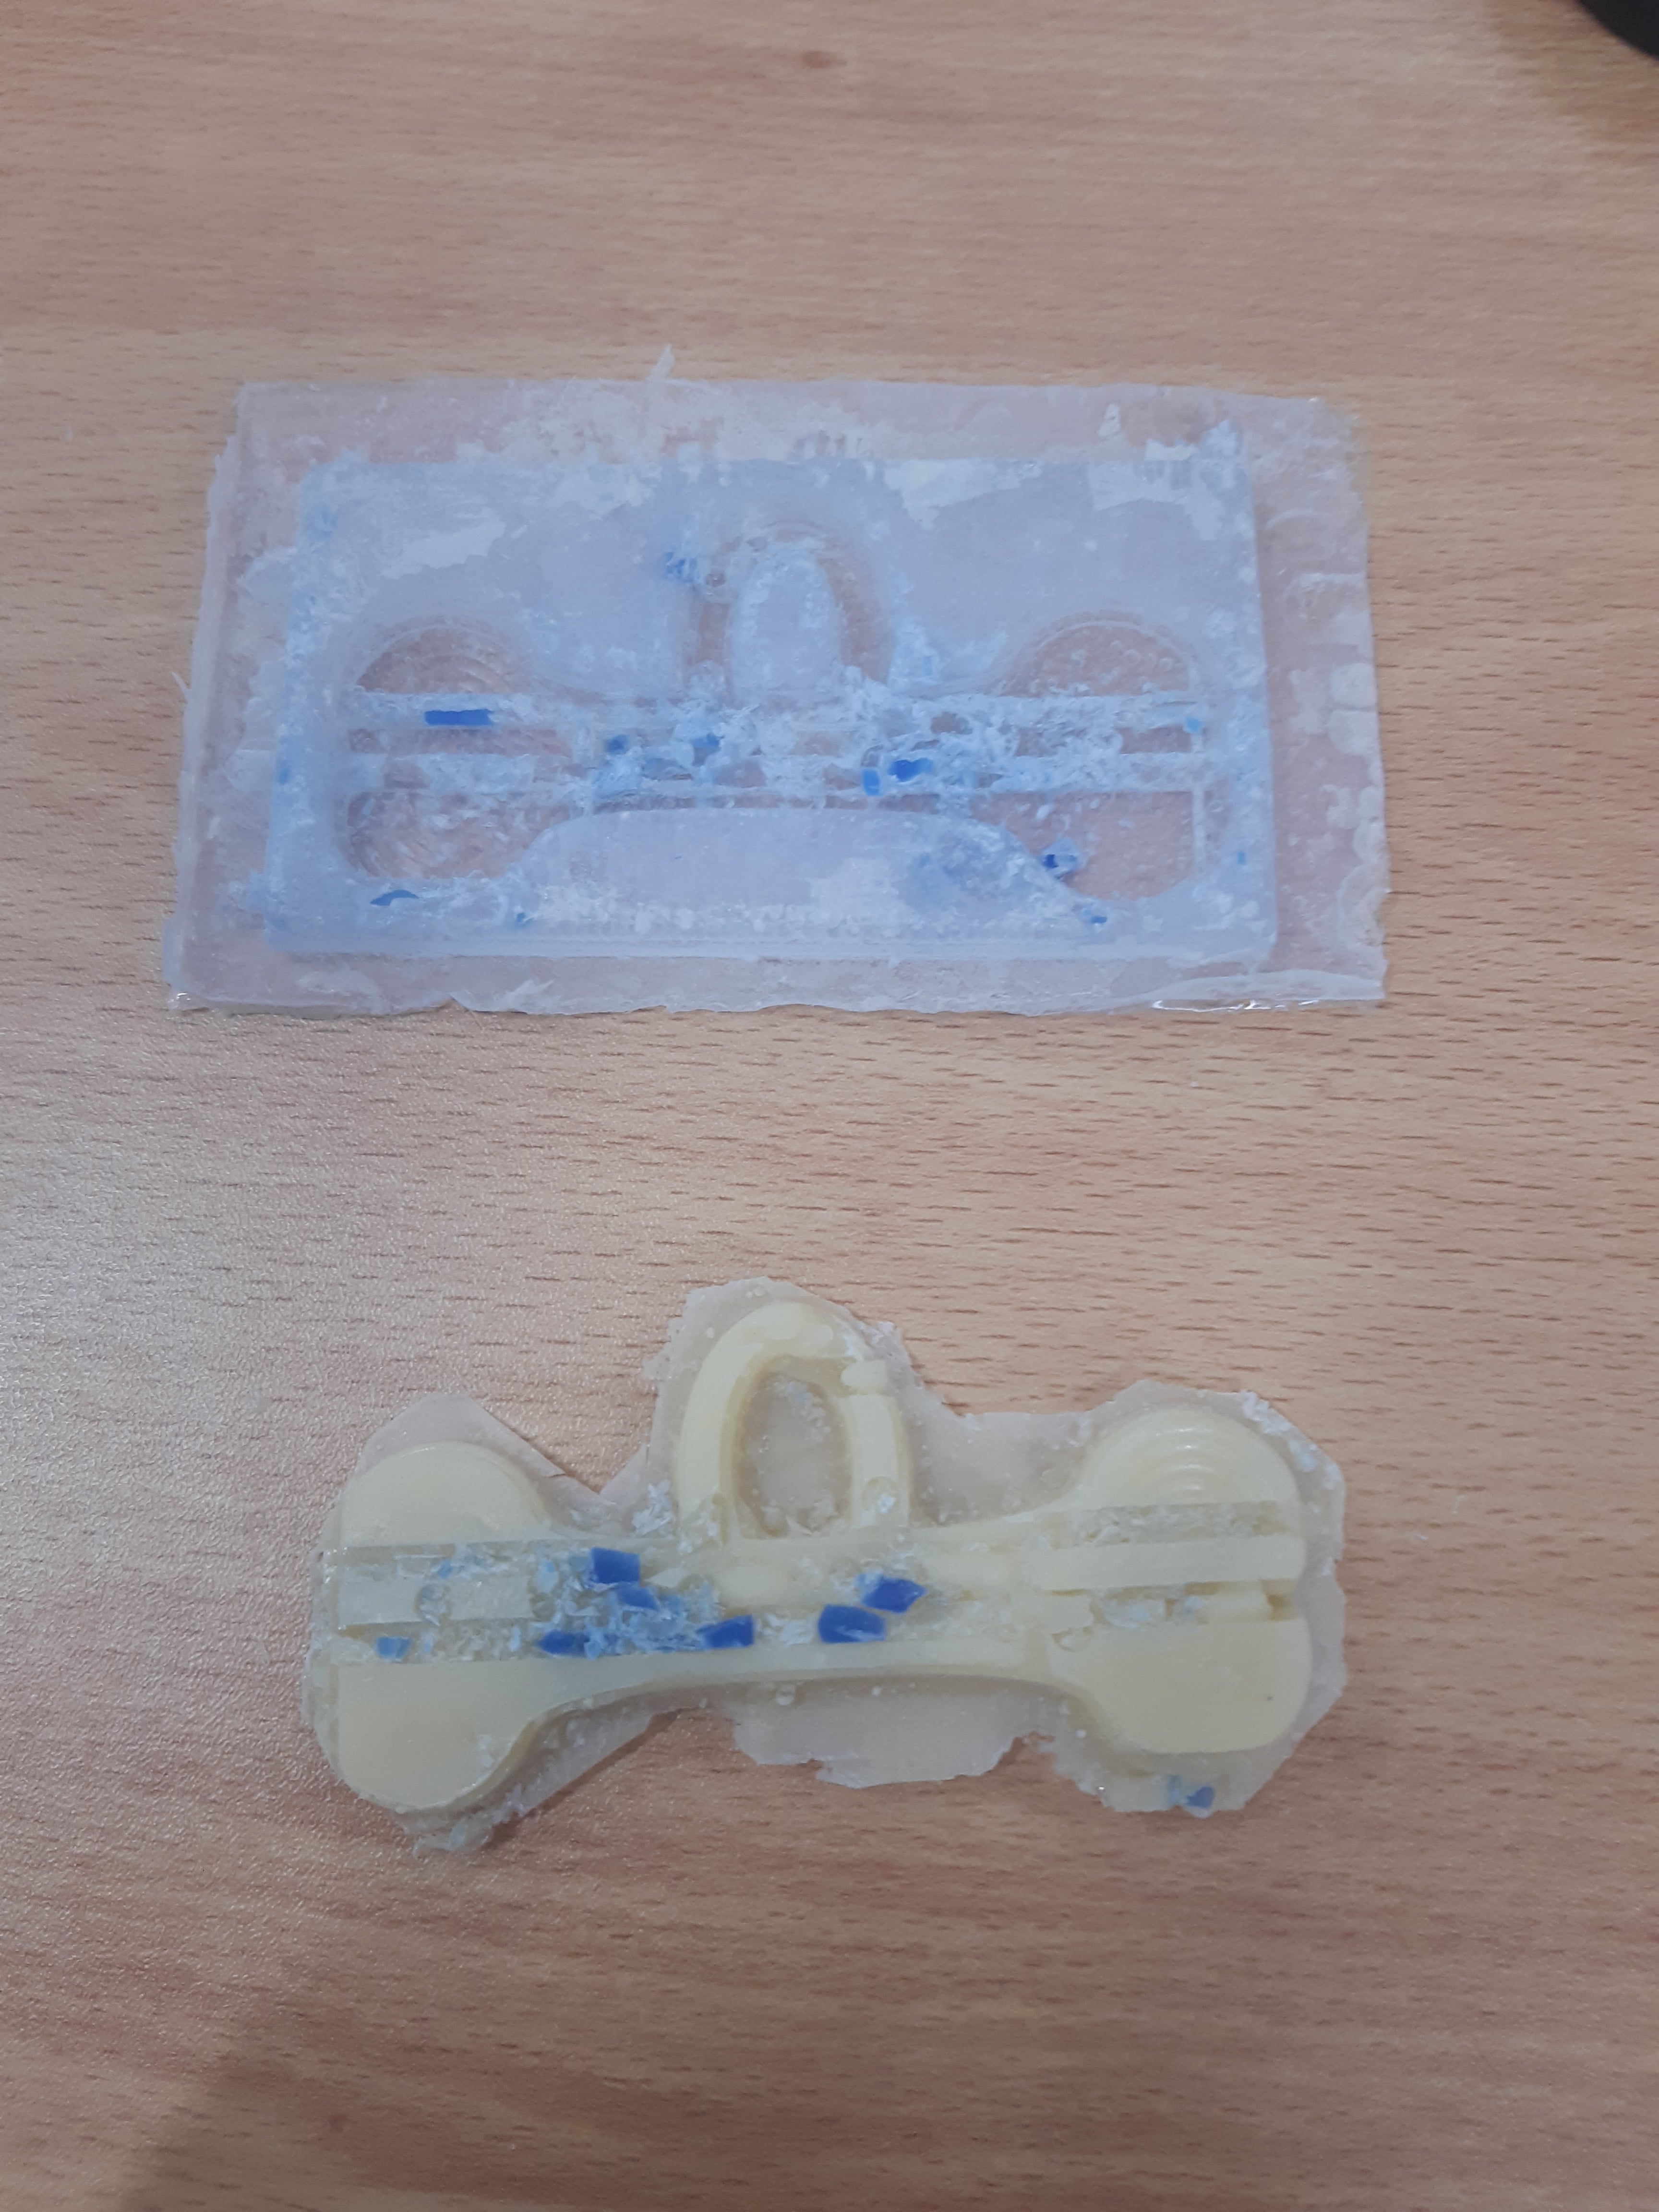
After the 4 minutes have elapsed, we proceed to separate the manufactured part (I said) from the mold.
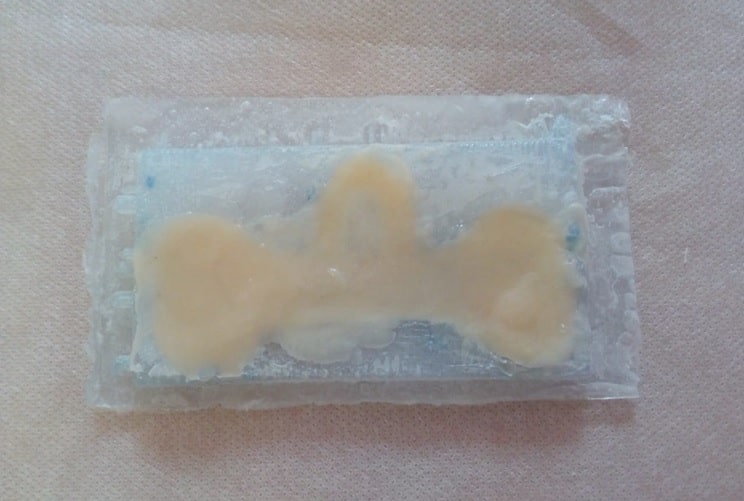
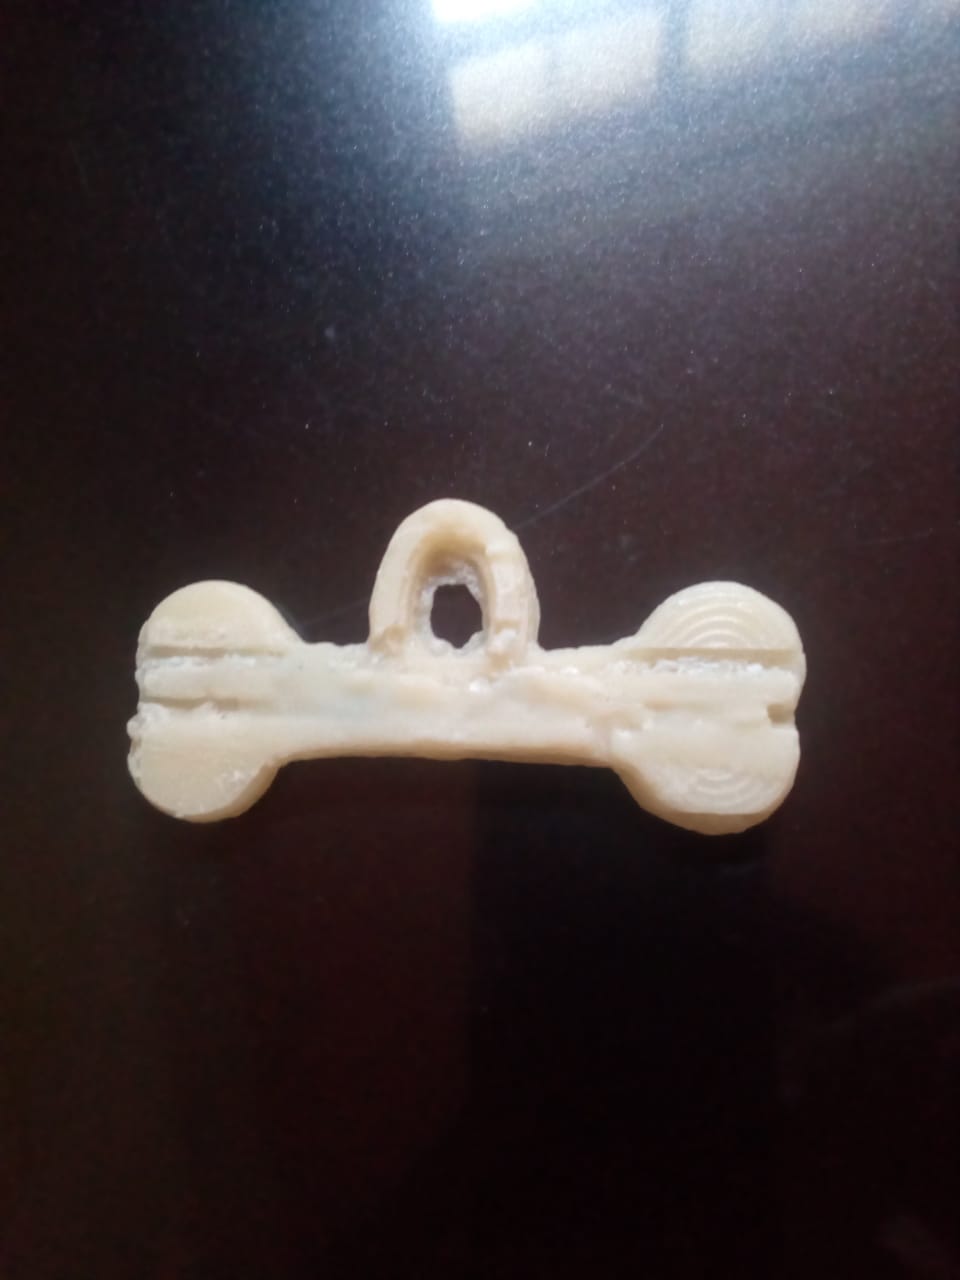
Once the pendant has been separated from the mold
The charm was left with a lot of residue, so now all that remains is to remove it, to begin with the help of scissors.
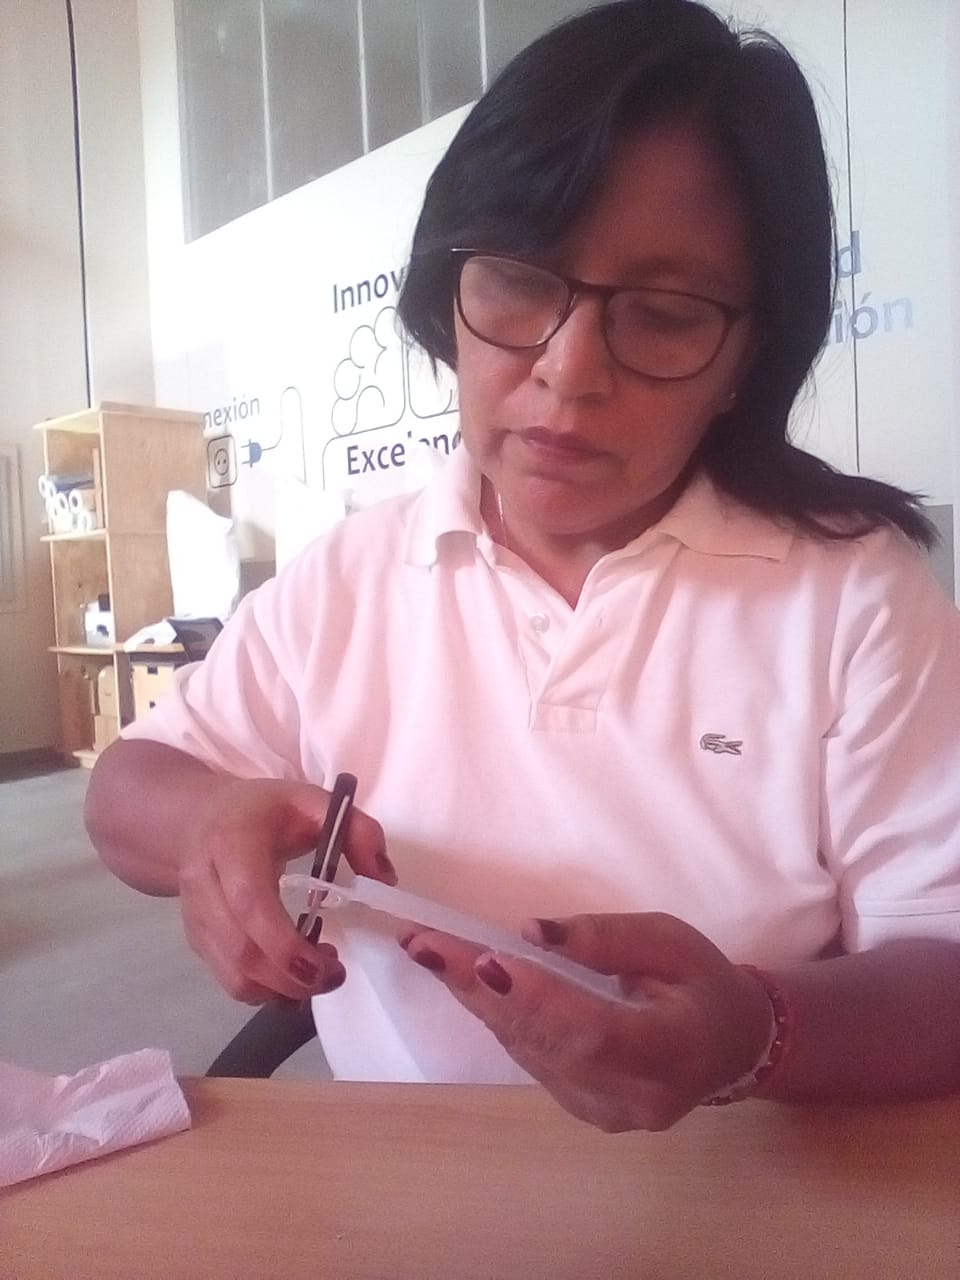
Now to see the result. It turned out well, although the surface is not completely smooth.
It was better. Now to add a ring.
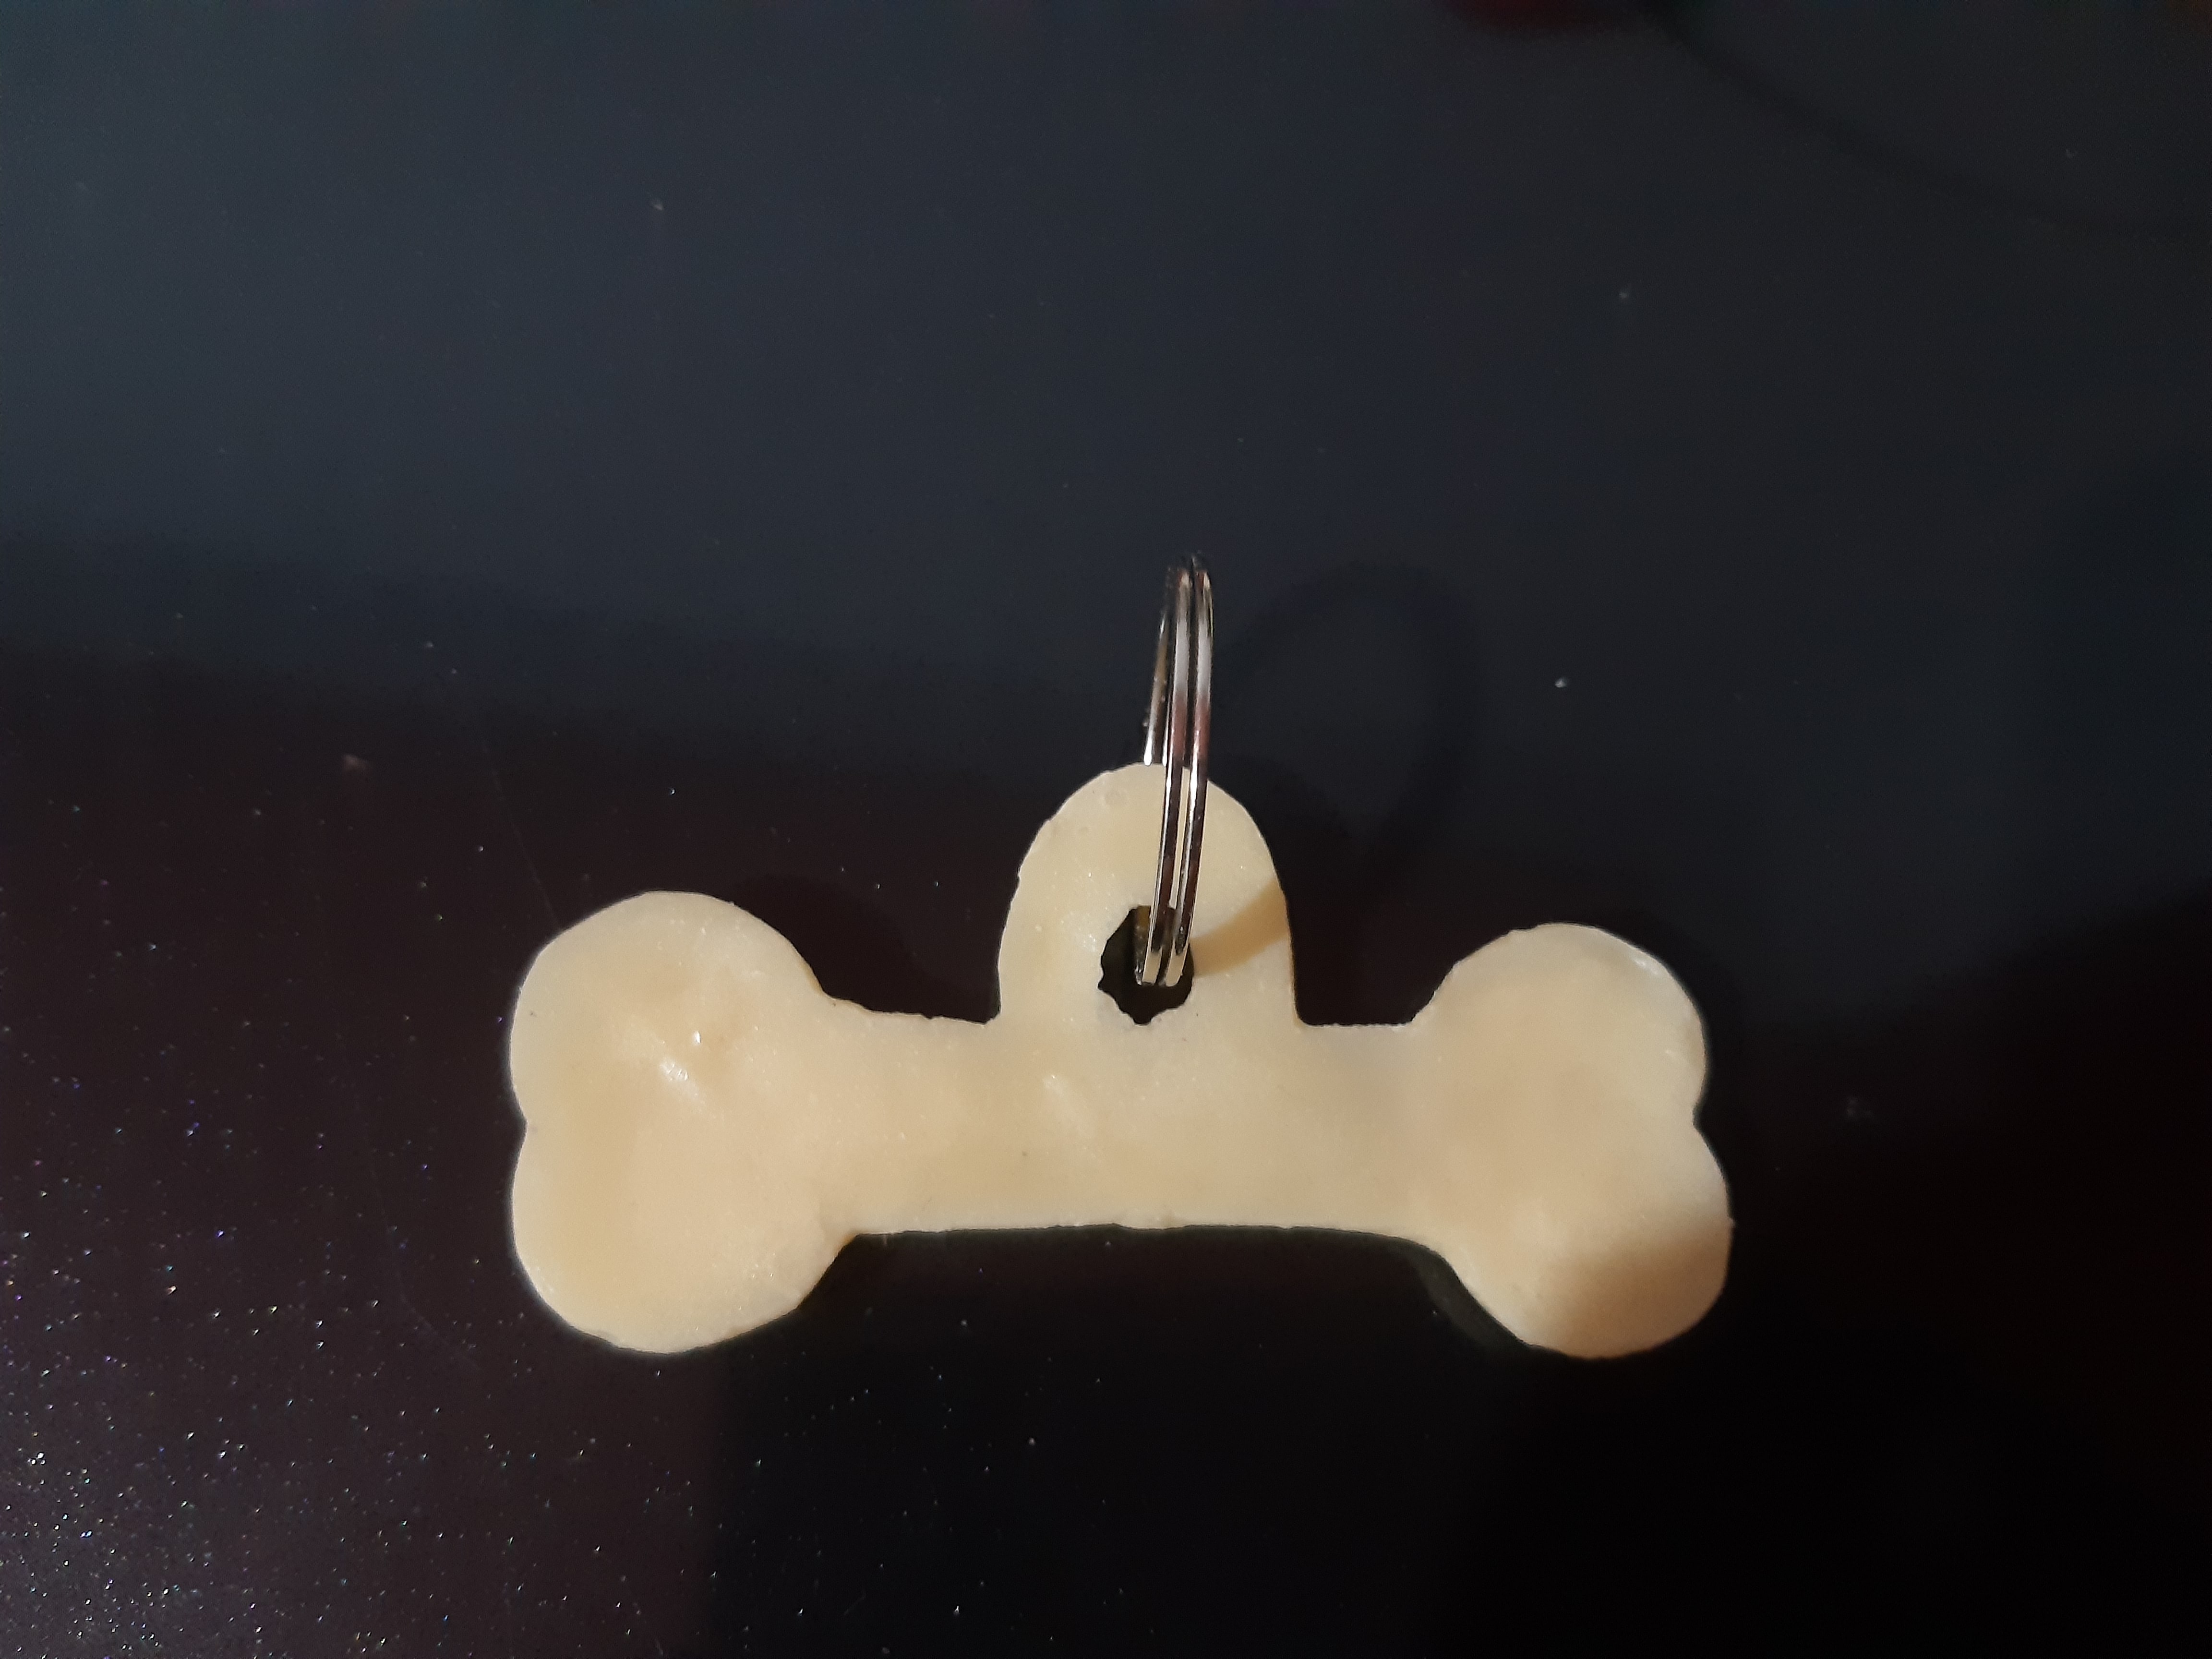
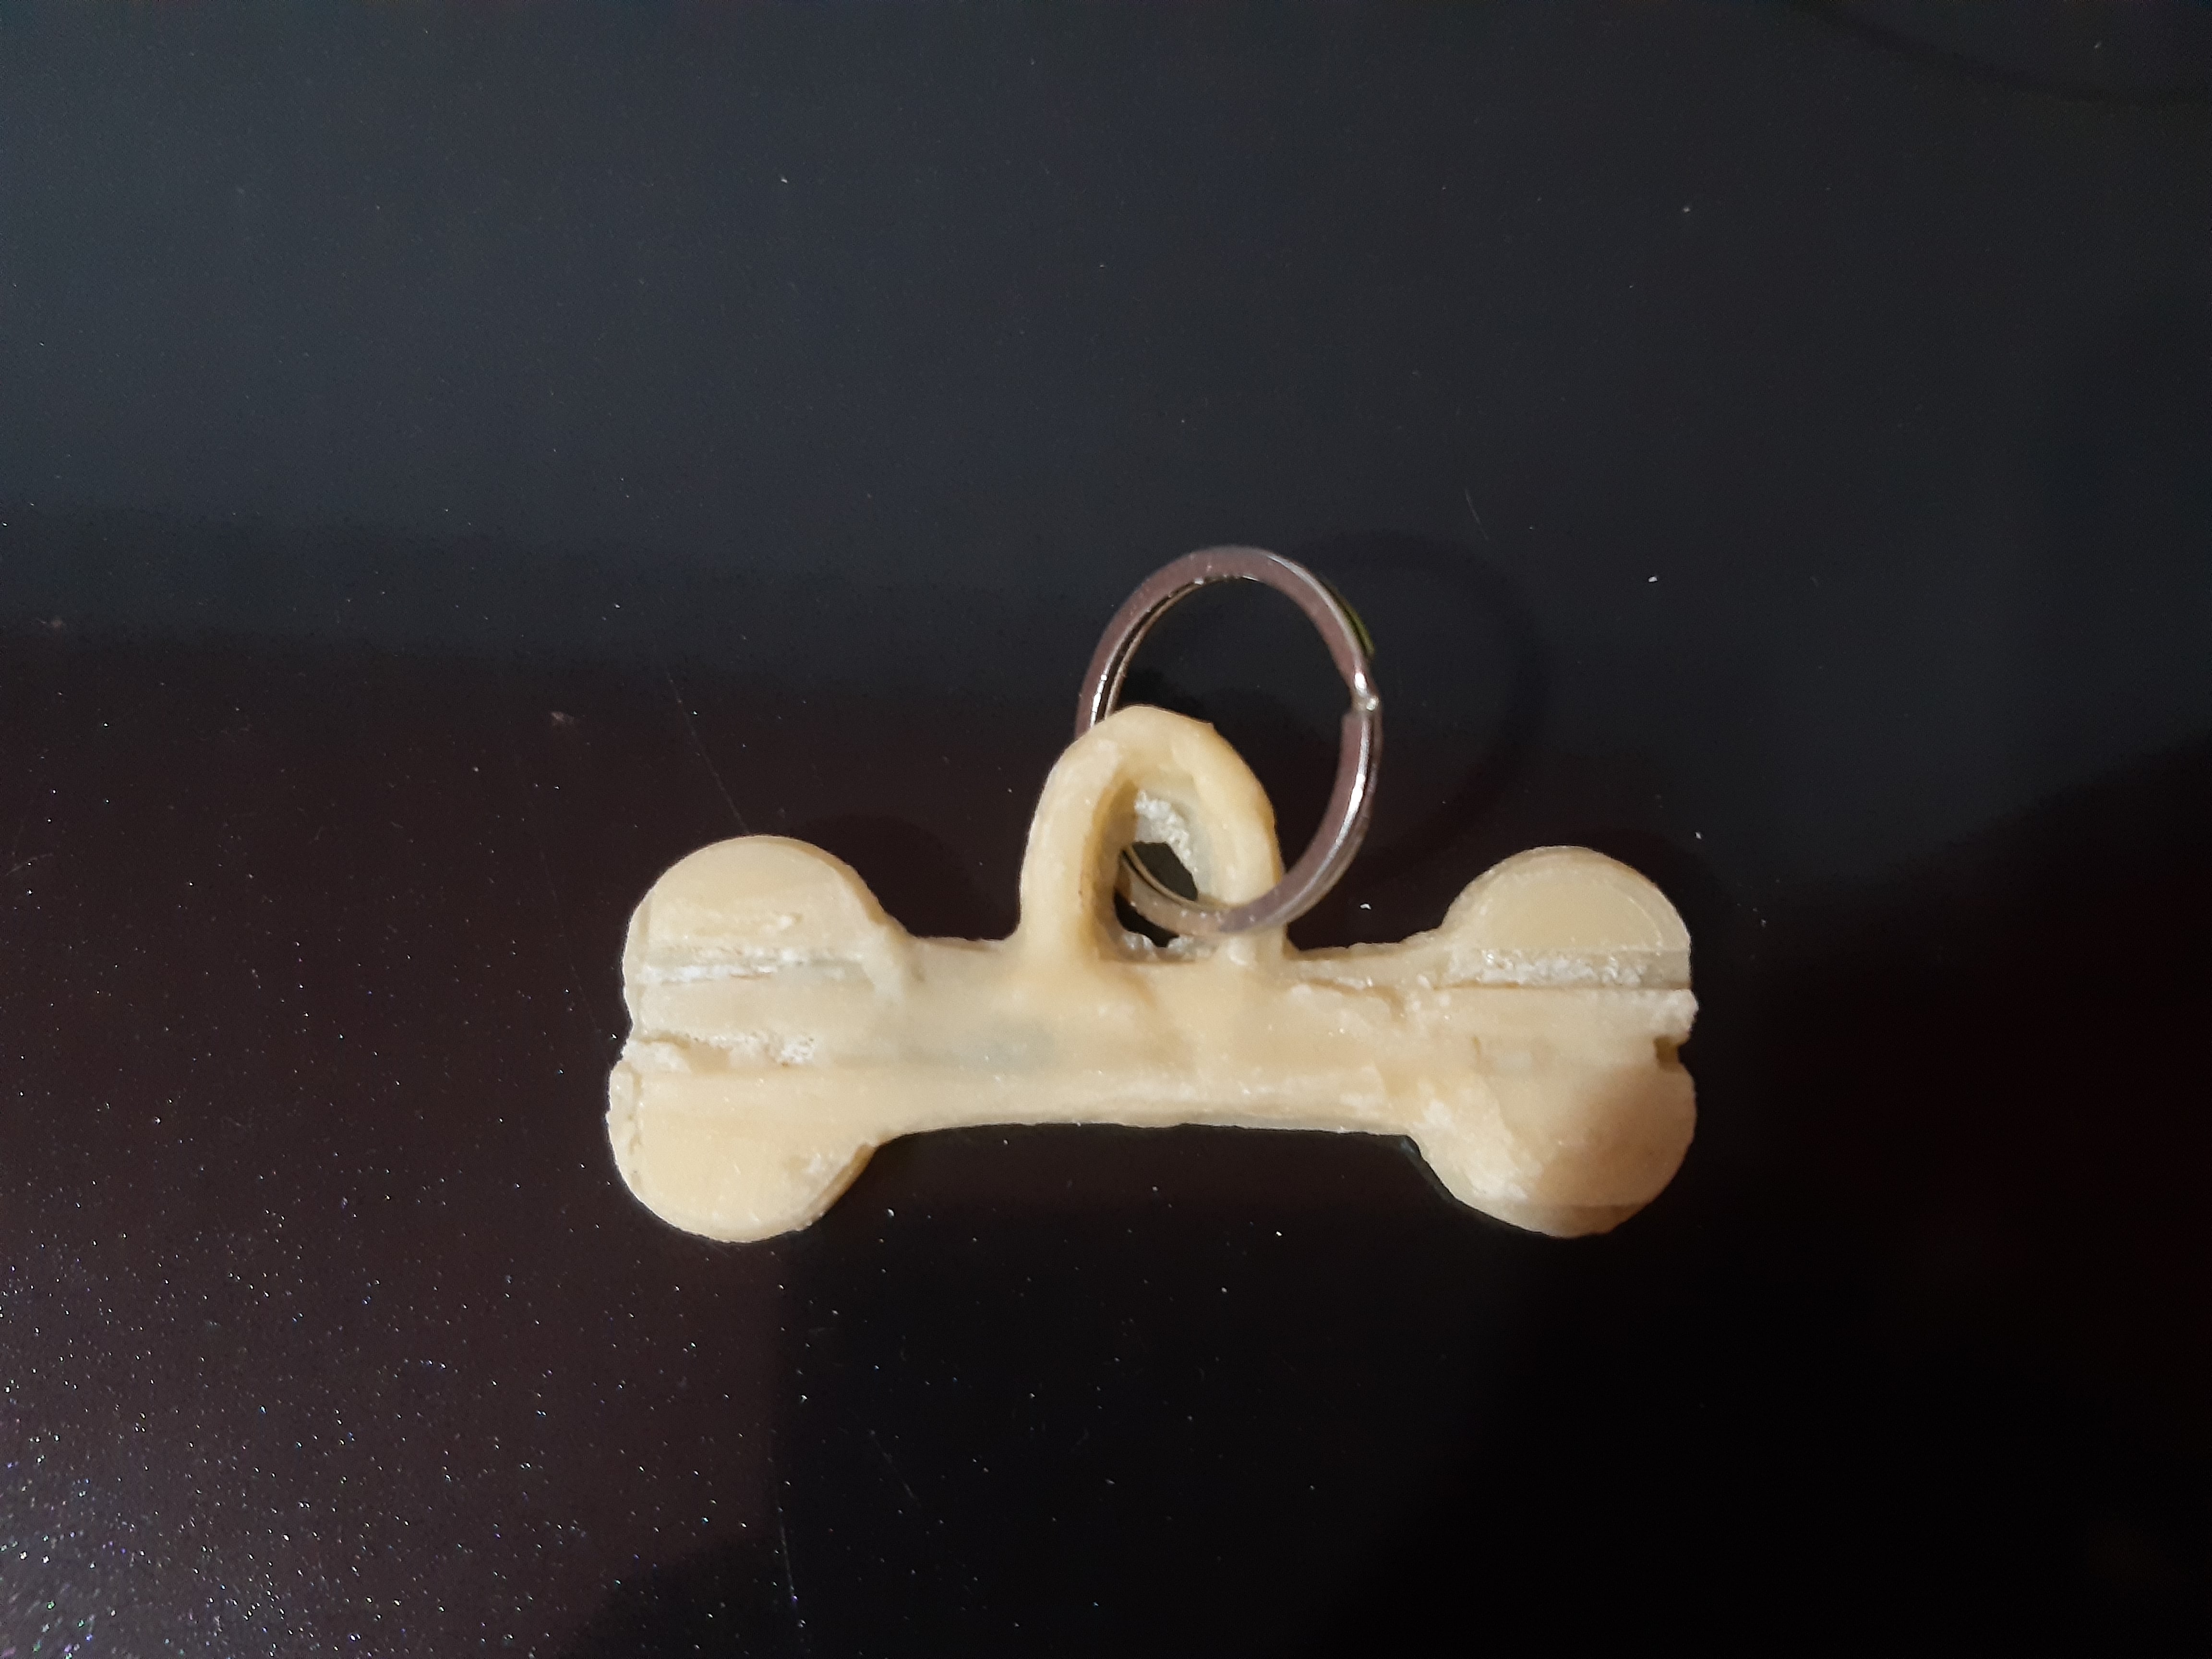
Pretty.
Let's see now the final result; place it to one of my blessings; my beloved POPEYE.
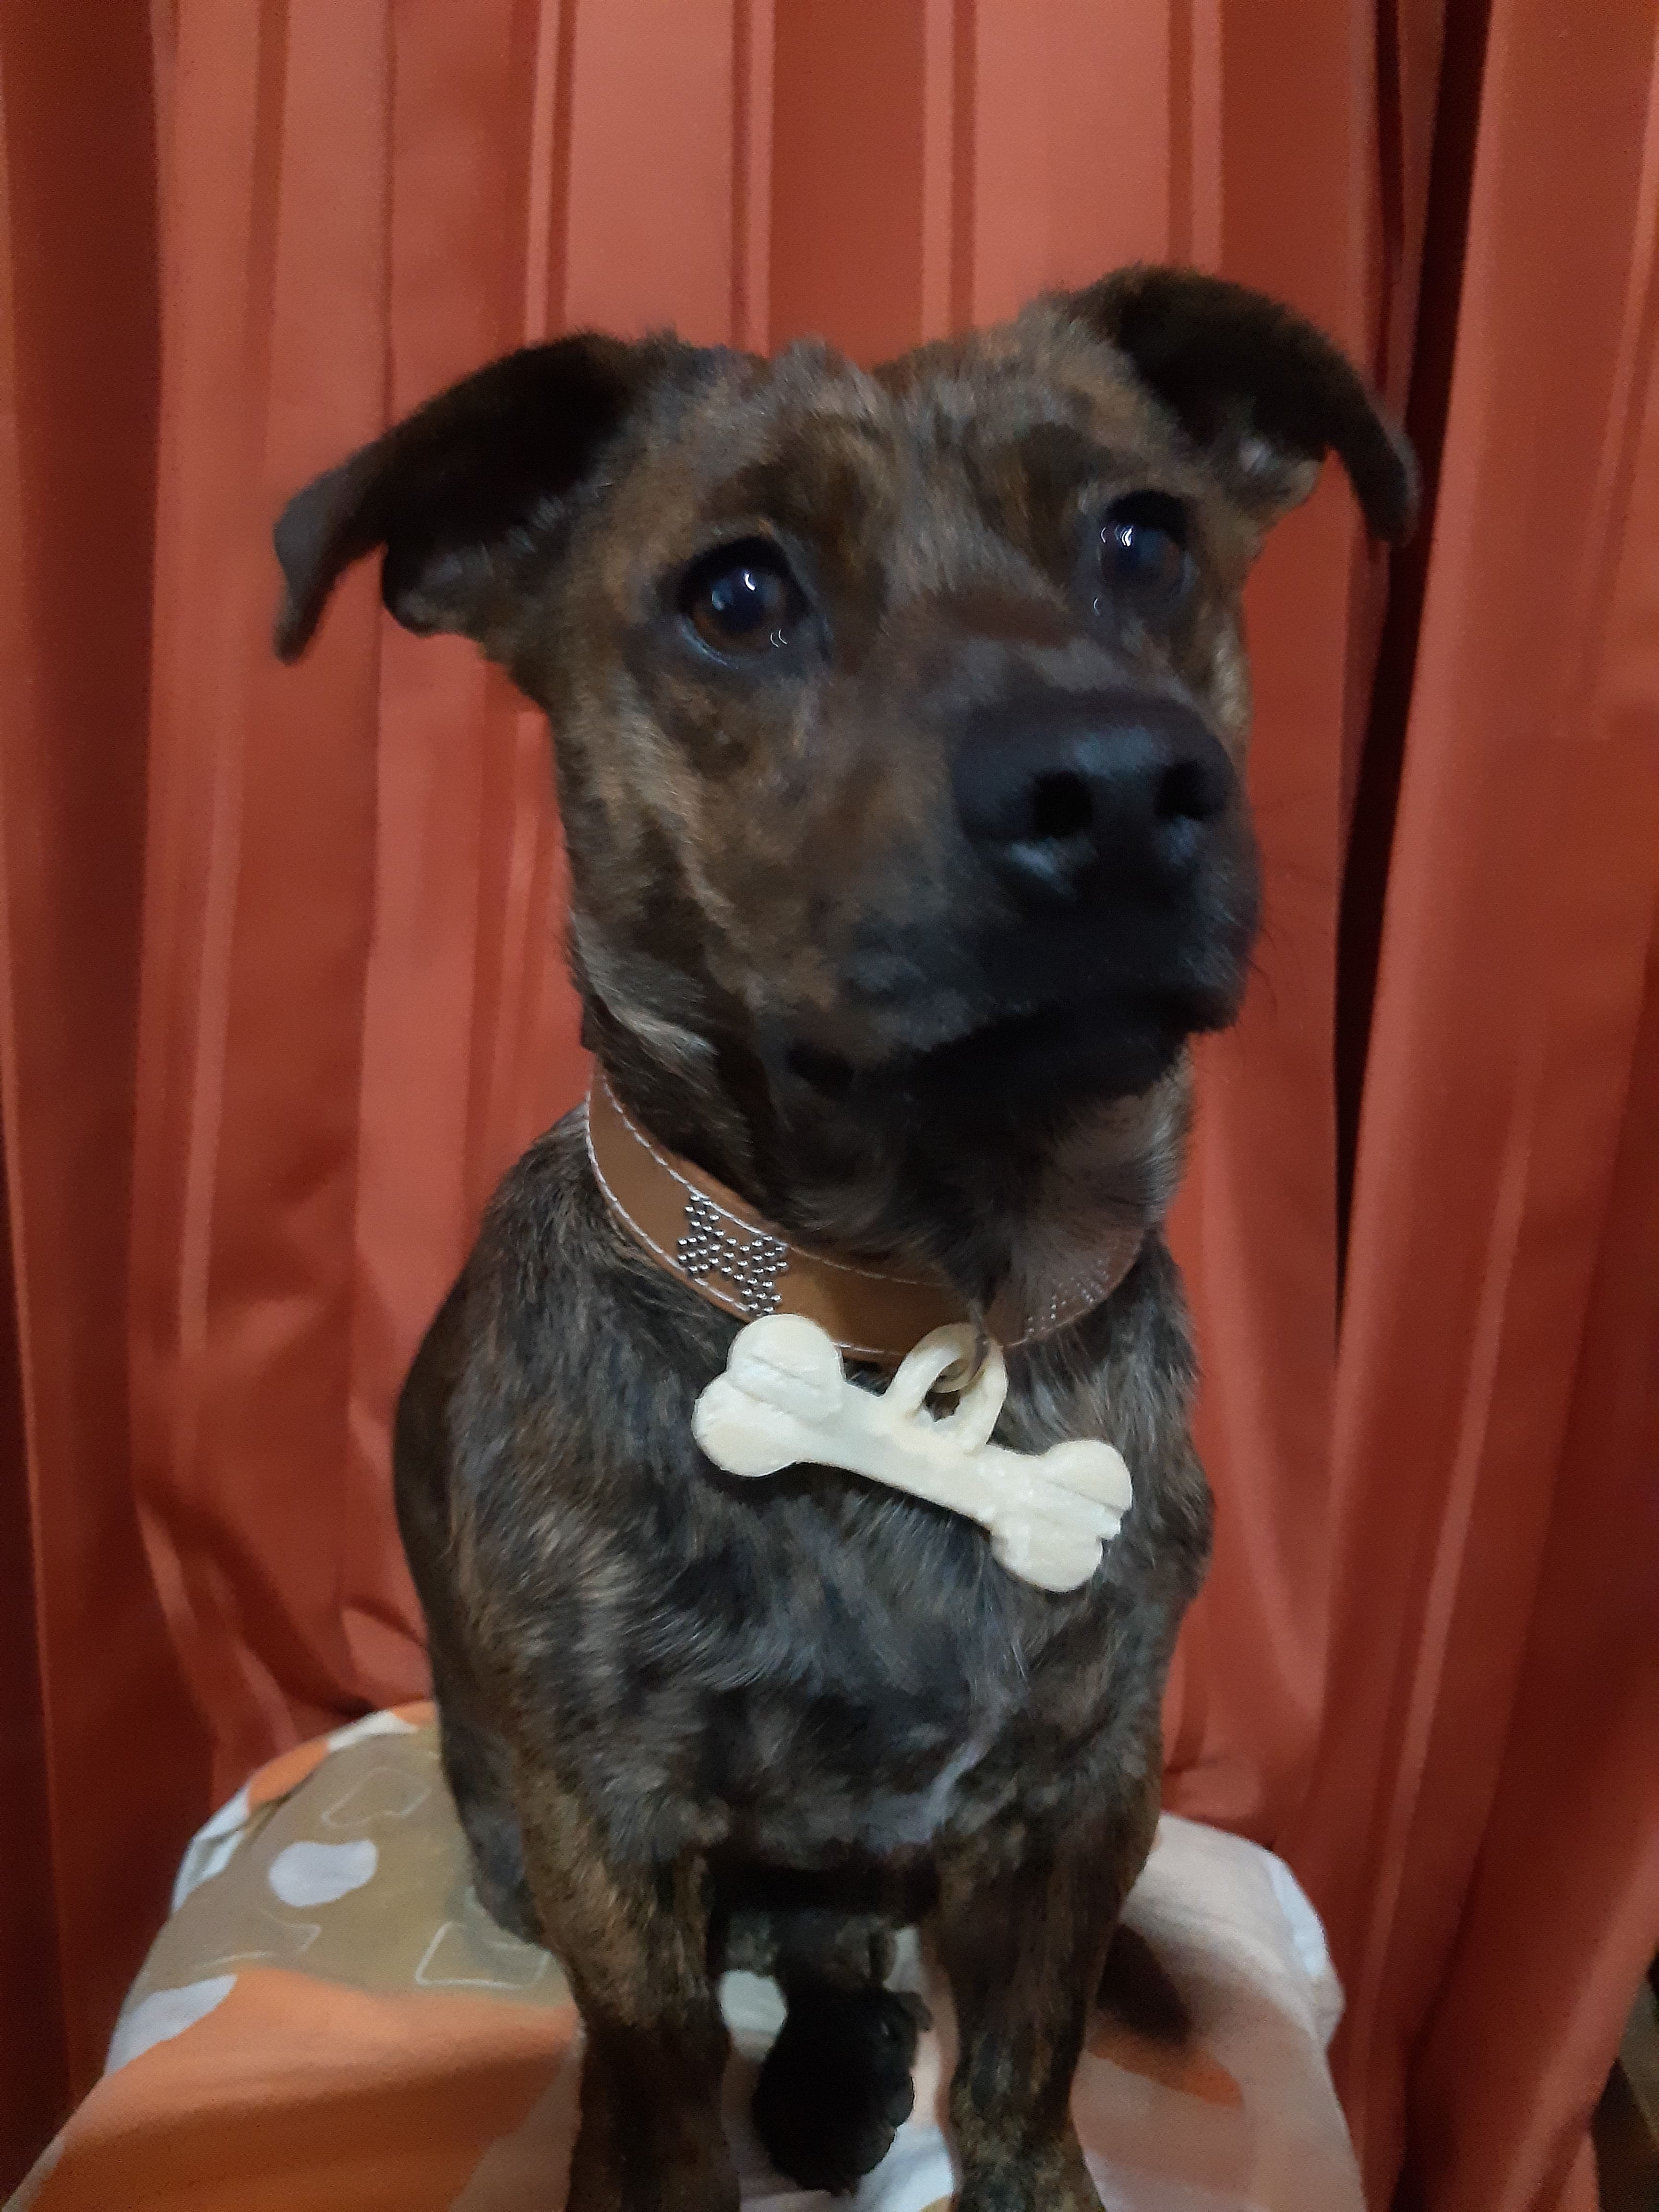
Precious!!!
I will take advantage later to manufacture two more for my other two blessings.
Natives files
| Ord | Description | Files |
|---|---|---|
| 1 | Facing | Facing.nc |
| 2 | Fino | Fino.nc |
| 3 | Grueso | Grueso.nc |