16. Wildcard week
Design and produce something with a digital fabrication process (incorporating computer-aided design and manufacturing) not covered in another assignment, documenting the requirements that your assignment meets, and including everything necessary to reproduce it.
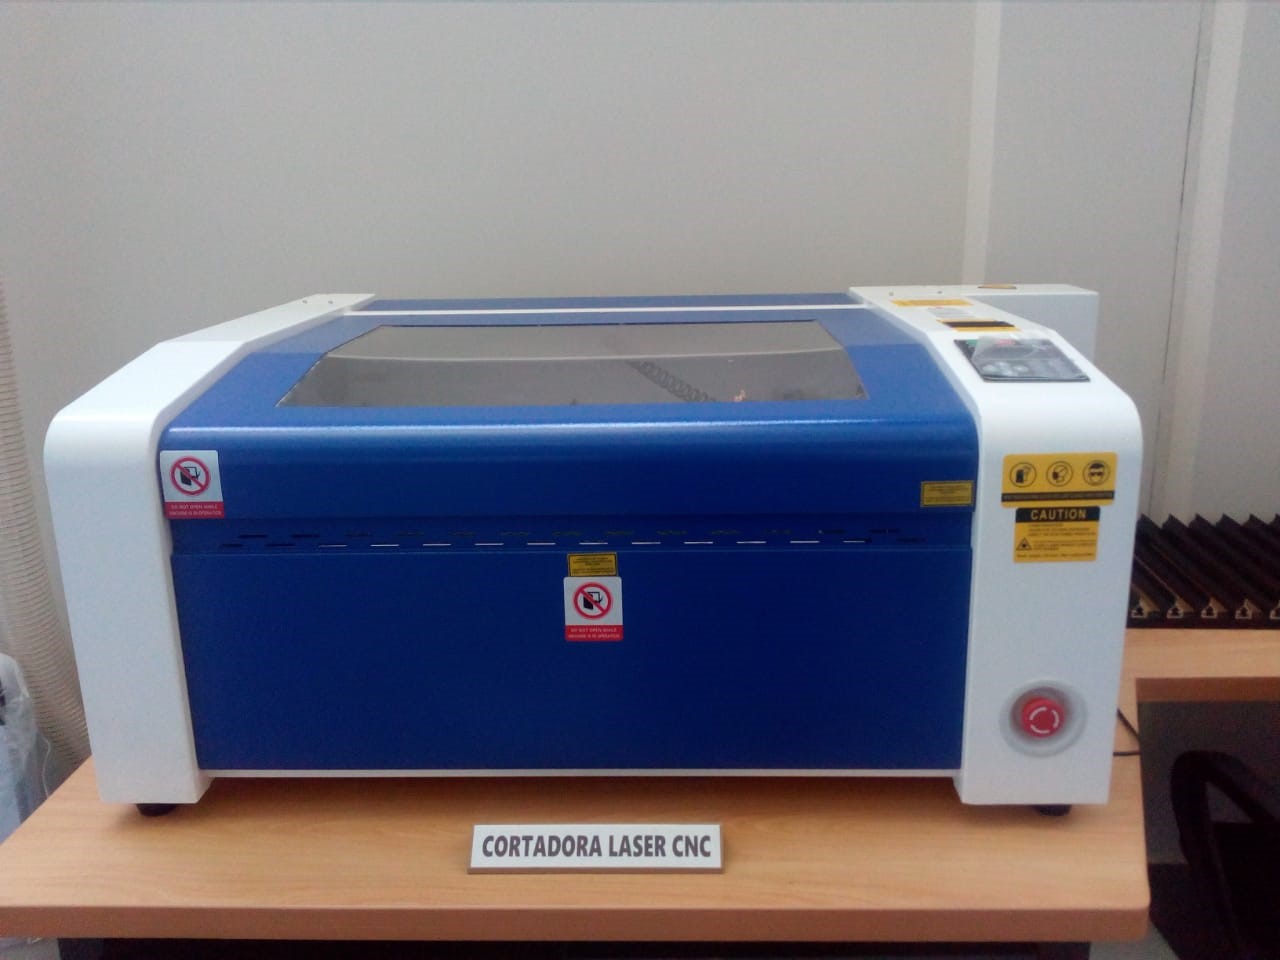
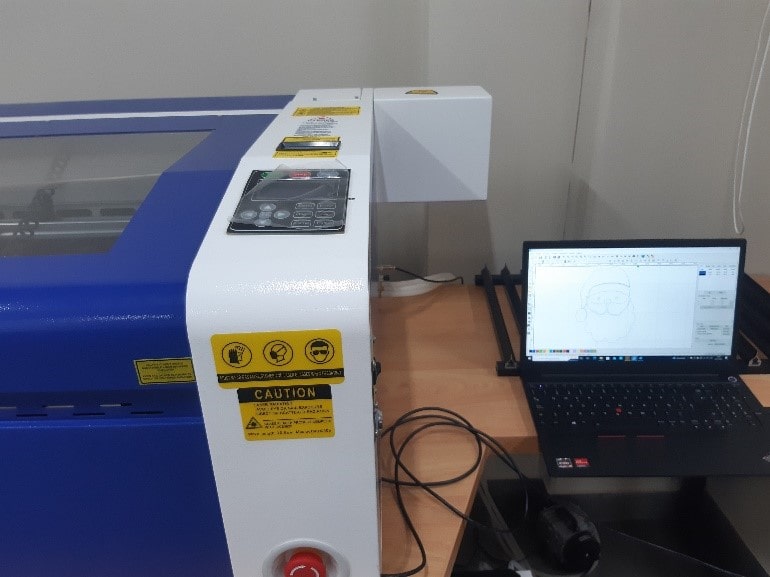
One of the pieces of equipment found in the IES Vigil digital fabrication laboratory is the Storm 600 model laser cutter.
Among the indications that appeared in the laser cutter manuals were the materials that could be used for cutting, among which were: acrylic, MDF, fabric, leather, rubber and paper. But, it didn't say anything about glass or mirror. Looking for other sources I found a video where mirror cutting was done, although it was not precisely with the same laser model with which I was going to work. Despite this, I wanted to try.
So what corresponded now was to choose the object to design. As the festive dates of the end of the year are very close, it came to my mind that the object to choose is within the Christmas theme.
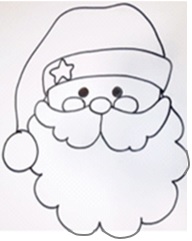
Let's review then a reference model, simple and beautiful.
I really liked this one:
Design
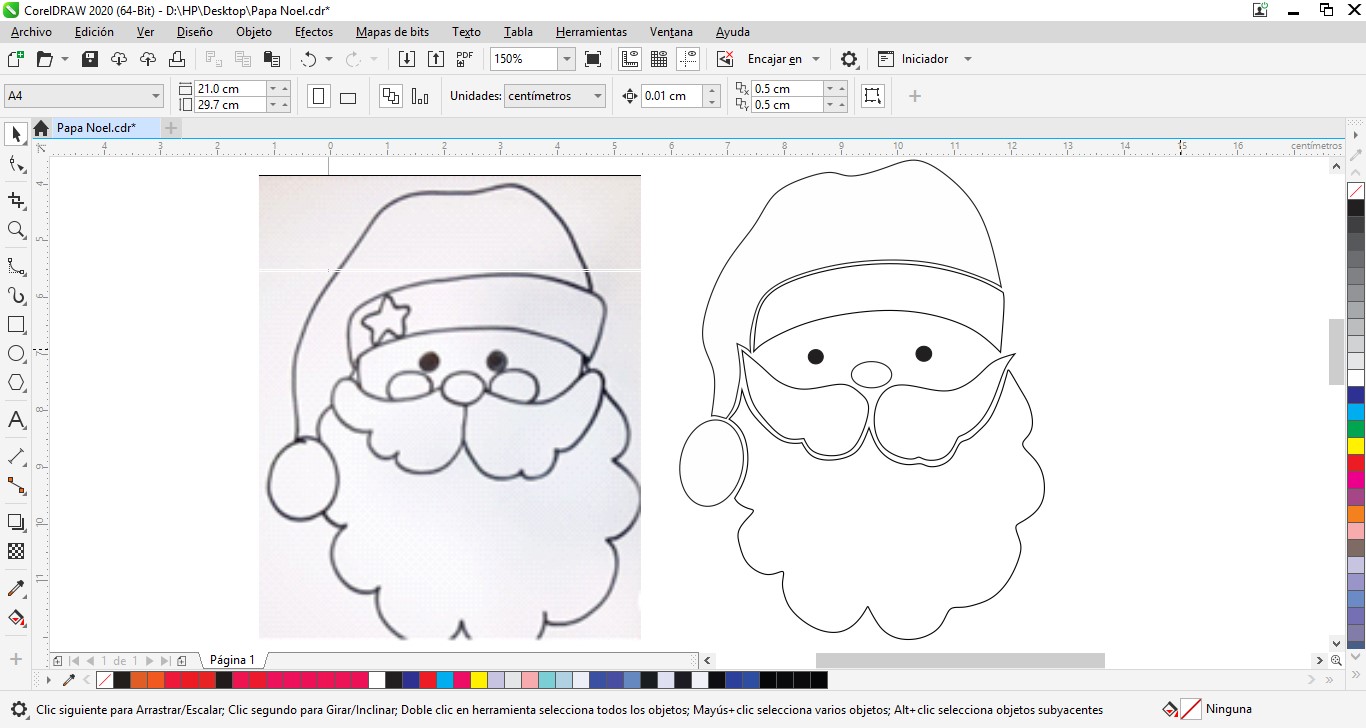
Using Corel Draw software, I started with the 2D design.
With the support of the B-Spline tool I traced the design freehand.
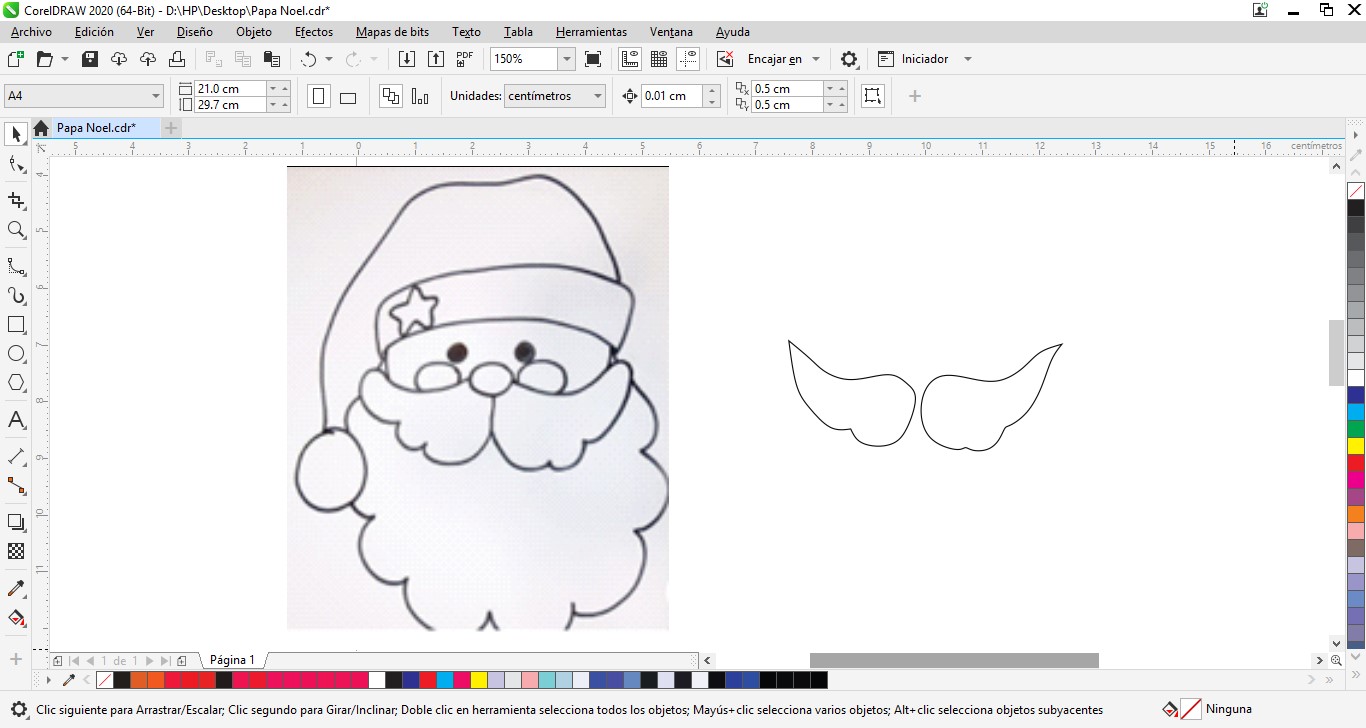
It began by drawing the parts that are intended to be highlighted when using the laser cutter (Mustache and beard, most outstanding features in Santa Claus)
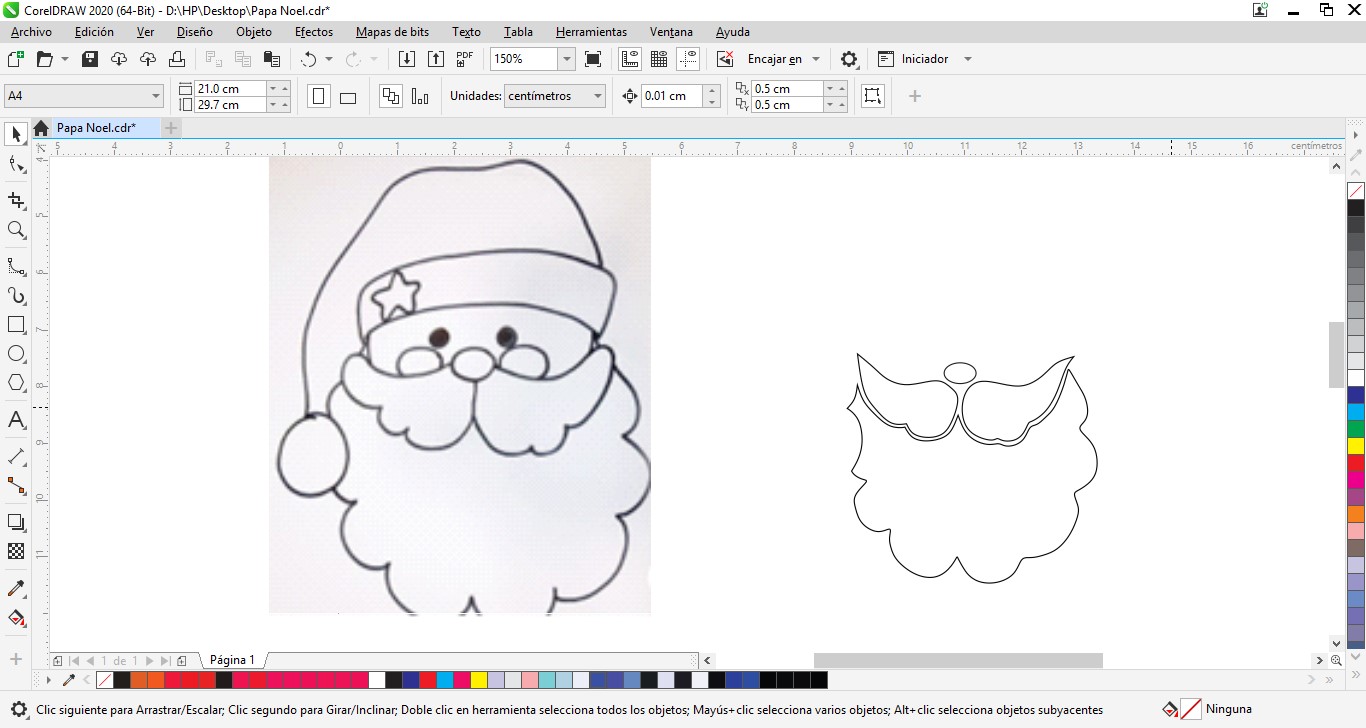
Already concluded with the work and comparing it with the original. Leaving aside some objects not very characteristic of Santa Claus.
A total view of the final product in design.
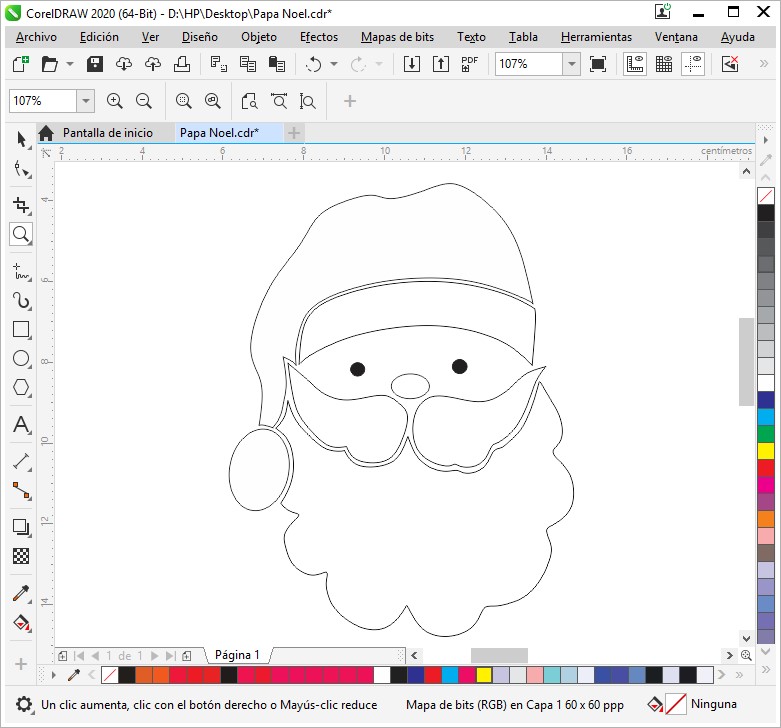
After recording it, it corresponds to export it in DXF.
File management on the laser cutter
We load the CNClaser software
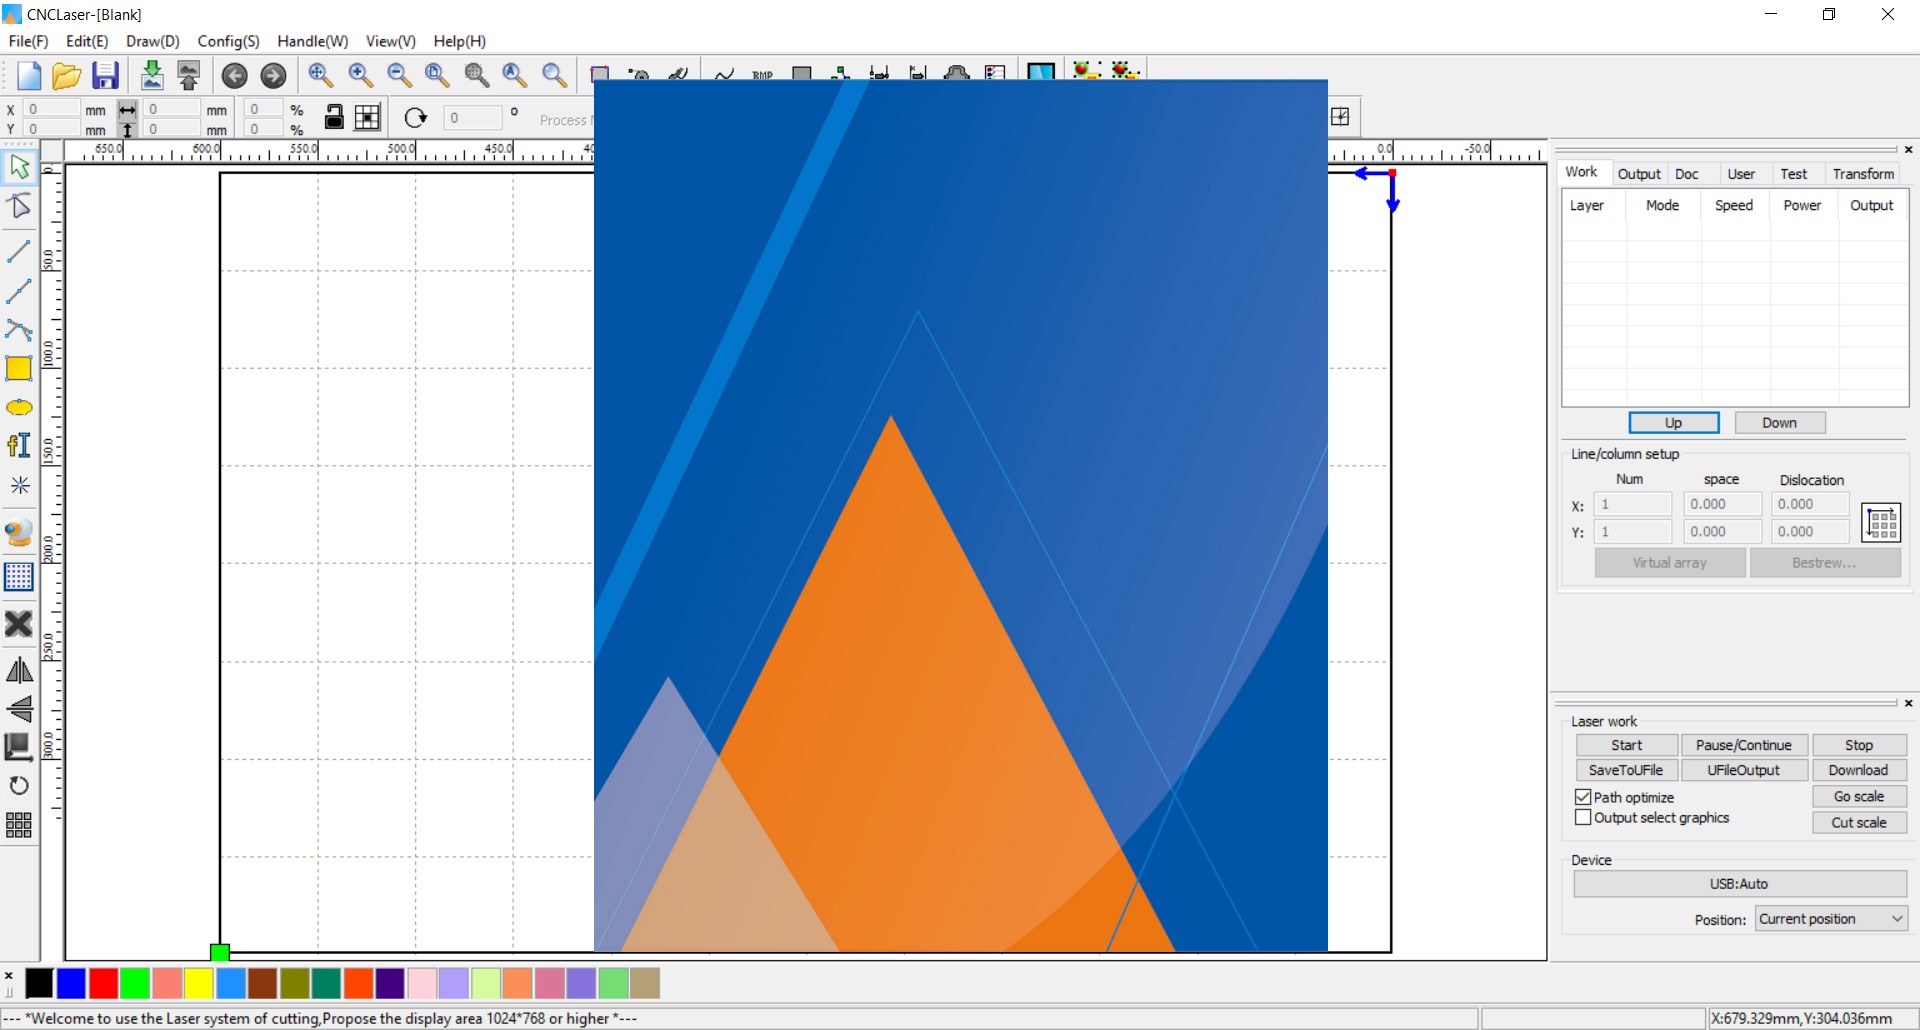
CNCLaser is the software that is in charge of the administration and feeding of the laser cutter.
We import the previously exported file.
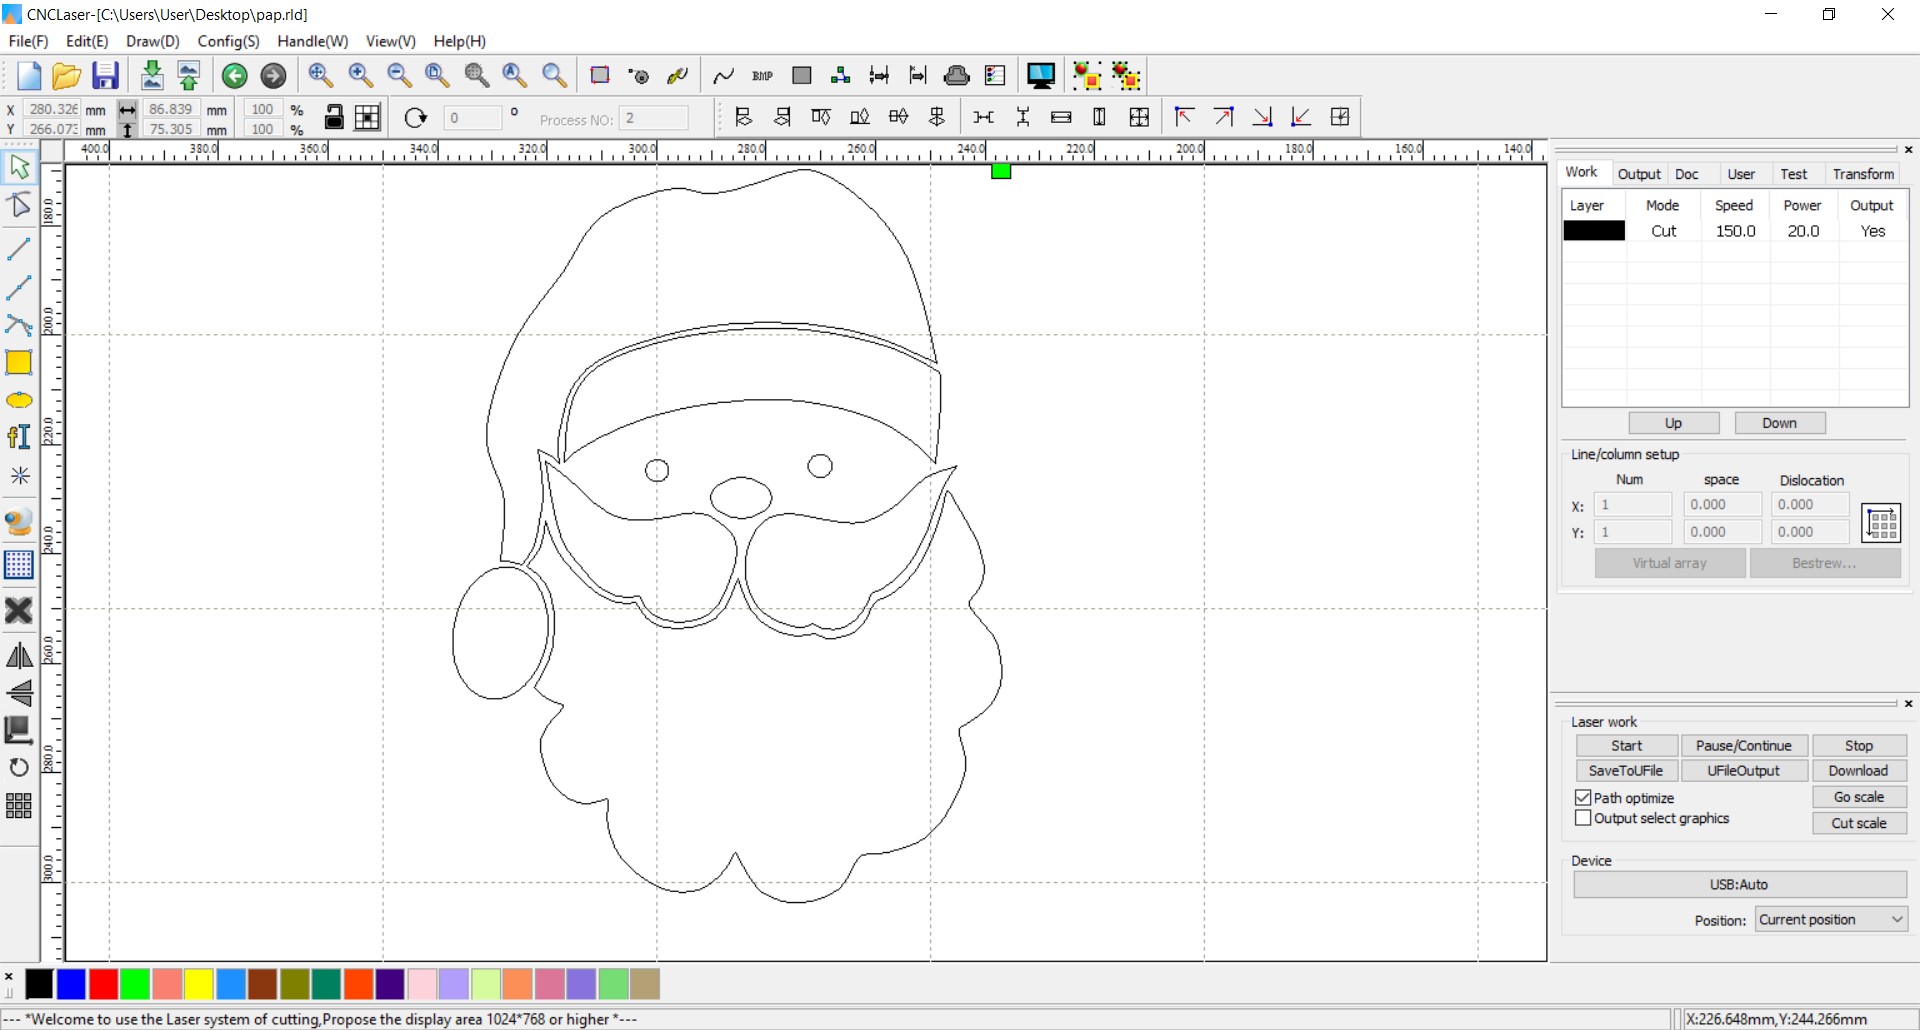
Selecting the entire design I can specify its dimensions, dragging it with the help of the mouse or specifying the measurements in the toolbar.
All the lines of the design are going to be engraved. But, as it is intended to highlight the mustaches and beards of Santa Claus, the lines of these areas will be of a different color (Blue, it is my selection). The rest would remain black (default color assigned by the software).
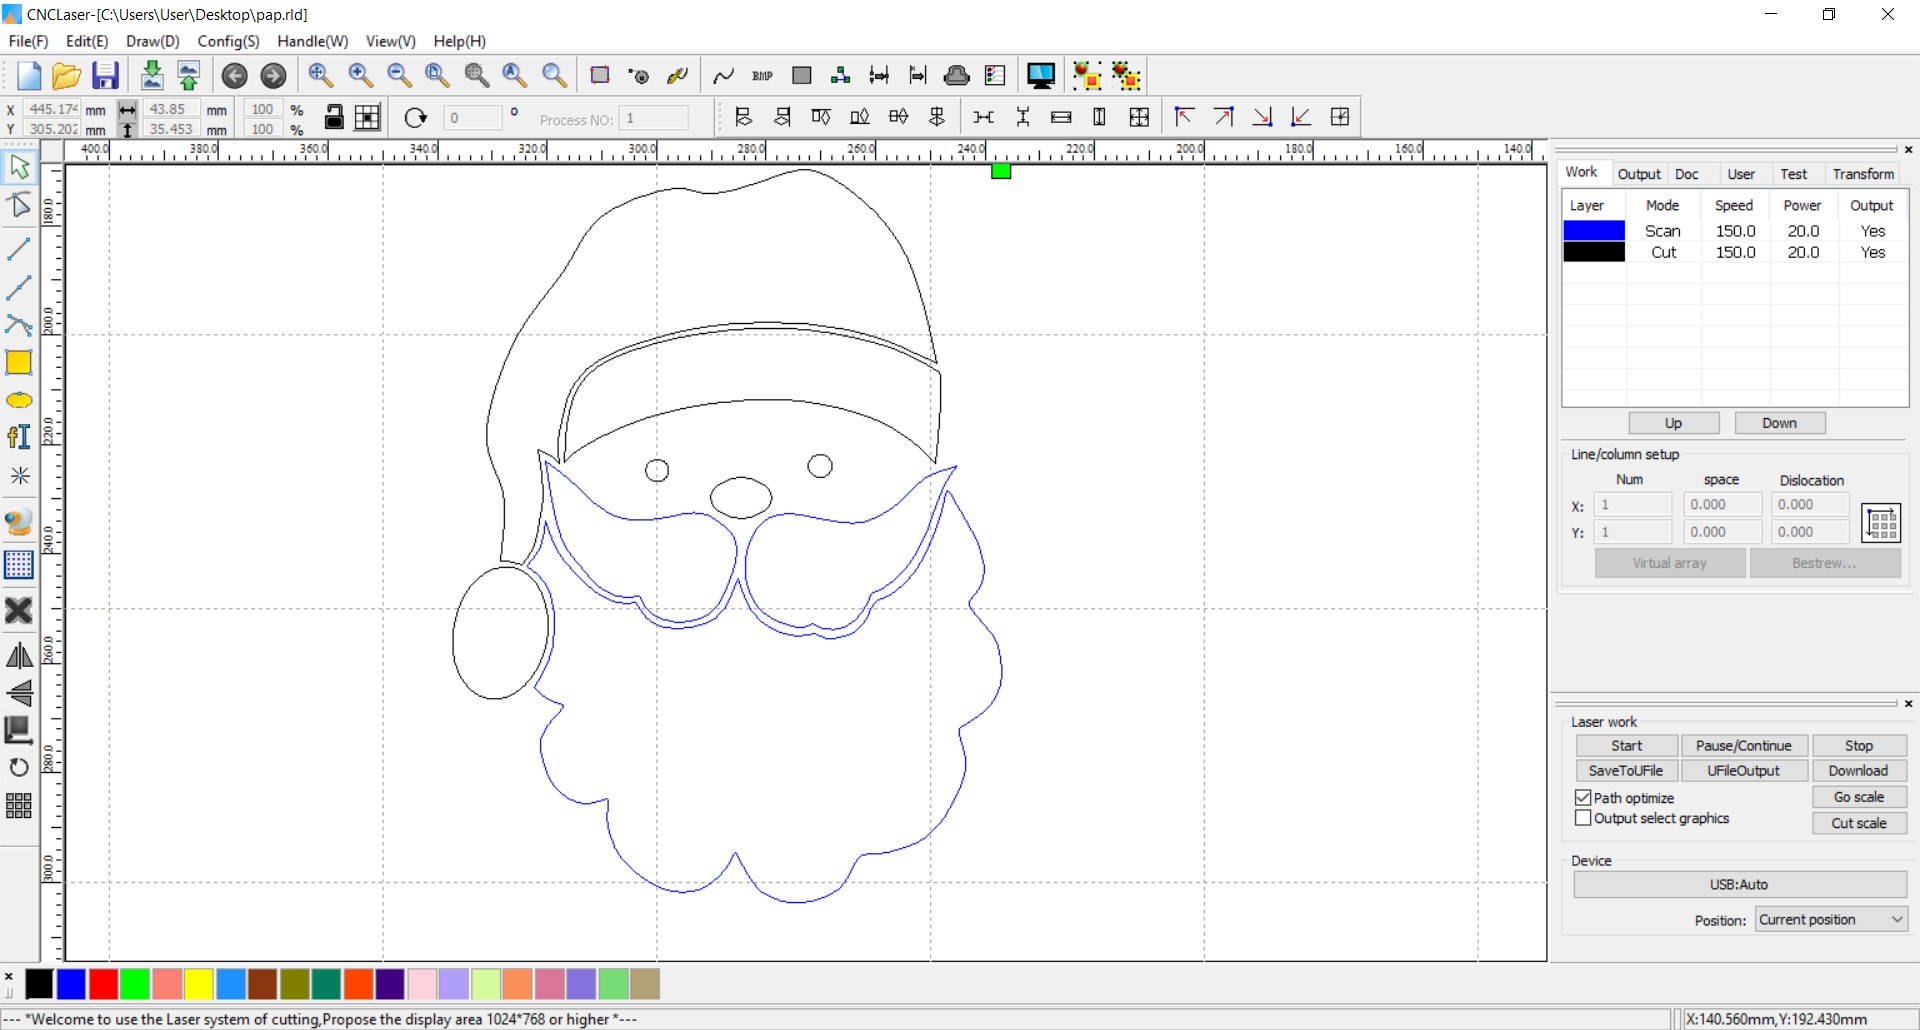
As you can see, the colors that are worked in the design area automatically appear in the Personalization Panel.
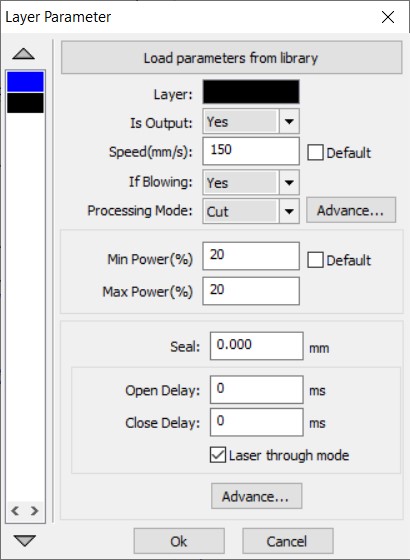
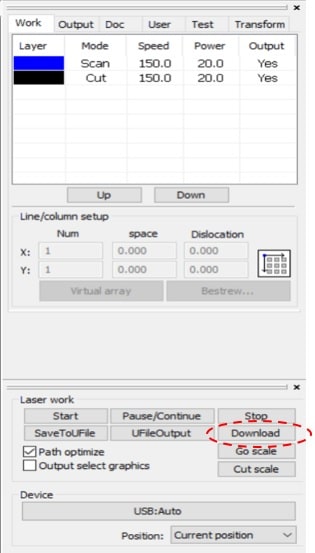
Color configuration is done in the Work tab. Once the color is selected, the parameters that correspond to the processing mode, speed and power are specified.
I begin to specify the parameters to customize the areas that are black. In processing mode I select cut, in speed 150mm/sec. and in power; 20% (maximum and minimum). The idea is to get only a smooth line engraving in the corresponding area.
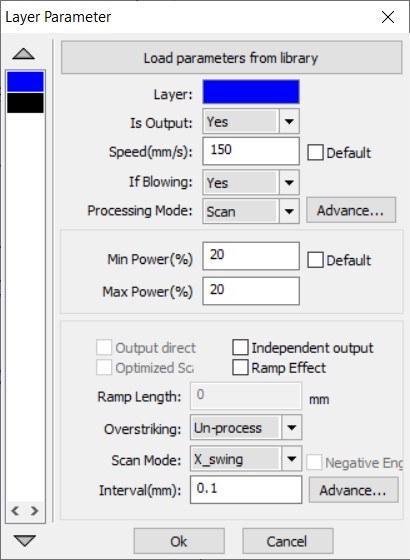
I continue to customize the areas that are drawn with blue lines. As a smooth scraping appearance is intended, Scan, speed 150mm/sec is specified as processing mode. and power, 20% (maximum and minimum).
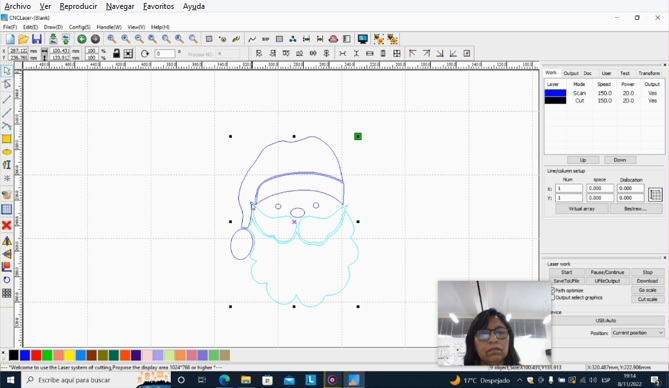
Finally, the dimensions of the designed object are fixed; 100mm x 130mm.
Now it is time to download the file. For this, you must be sure to have the laser cutter turned on and connected to the laptop.
The file is downloaded by clicking Download.
The dimensions of the mirror design to be cut is 100 mm. x 130mm.
Preparing the material
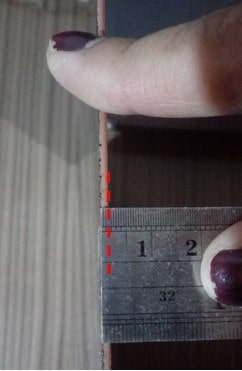
Before ordering the cut it is very important to prepare the material to be used. It is a 20cm x 20cm mirror.
With a thickness of 3mm.
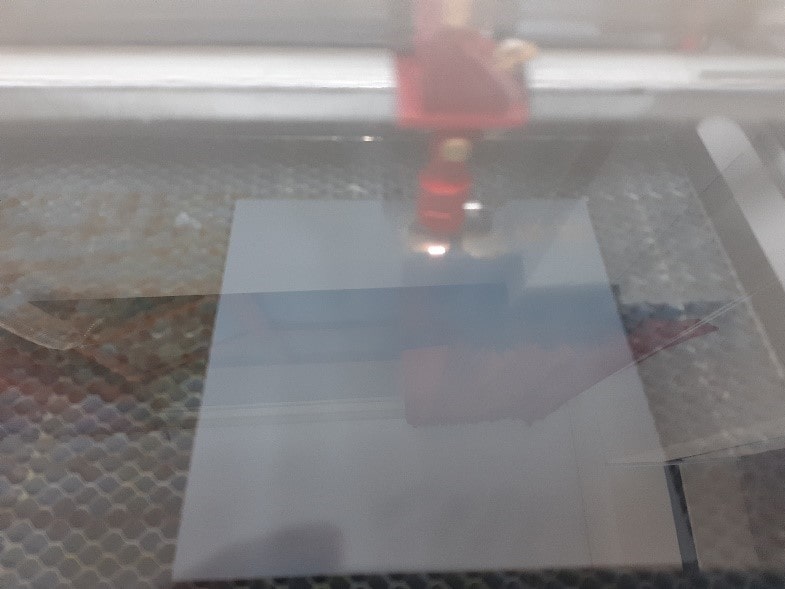
The mirror is placed with the front part towards the platform, in such a way that the cut is made with the back part of the mirror, thus reducing the probability of any problem caused by the reflection of the laser in front of the mirror.
I open the door of the laser cutter and place the mirror on the platform.
The nozzle is located at 4mm. above the mirror.
Execution of the cut
Now what corresponds is to order the cut and I do that through the Dashboard or Control Panel of the laser cutter.
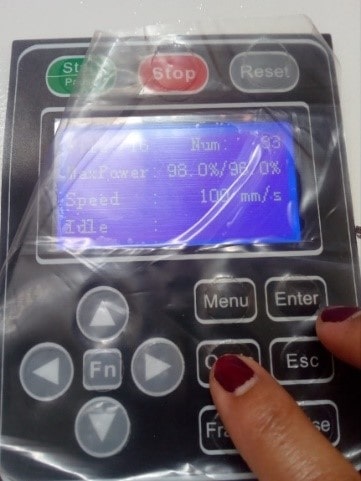
The actions to be carried out on the control panel are: set the origin or starting point of the cut, select the file worked on, indicate the cut area and execute the cut.
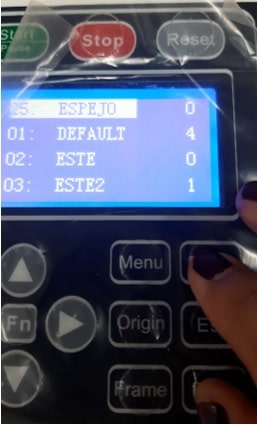
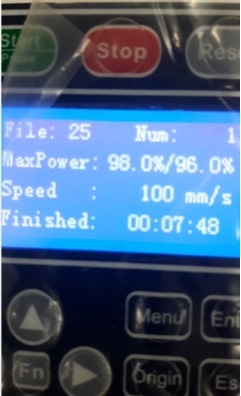
Selecting the file in the Dashboard.
After 7min.48sec. the court ended.
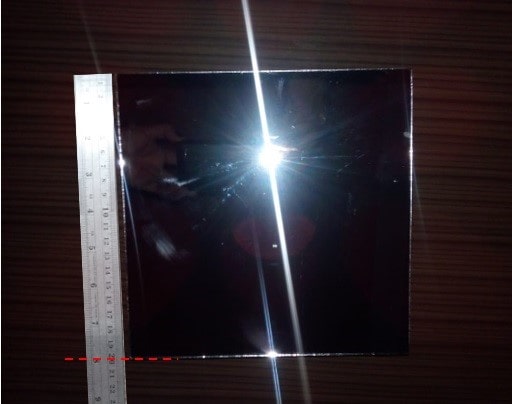
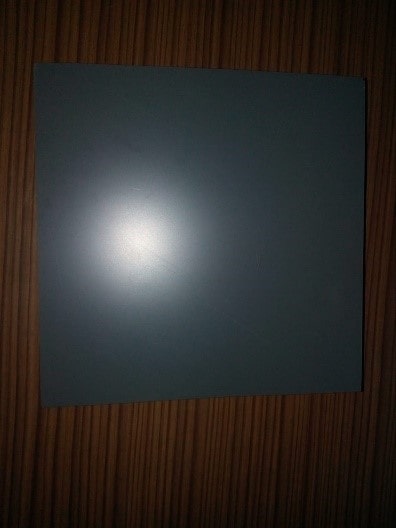
Showing the cut.
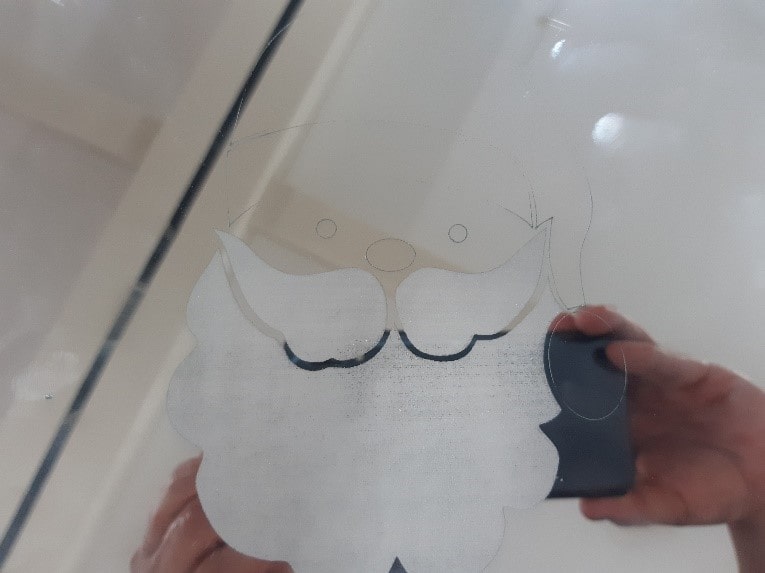
Unfortunately, due to artificial light, the edges at the top are not clearly visible.
But yes by placing it in front of artificial lighting.
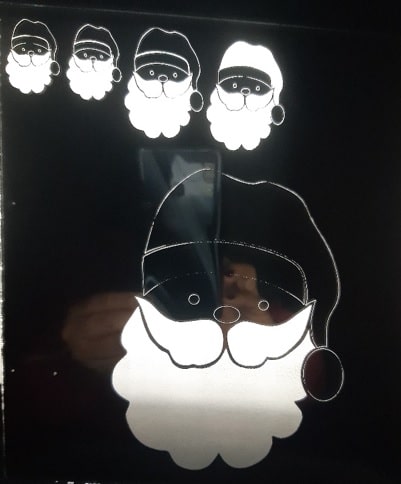
Nice!!!
The small engravings that appear on the mirror correspond to tests that were done previously.
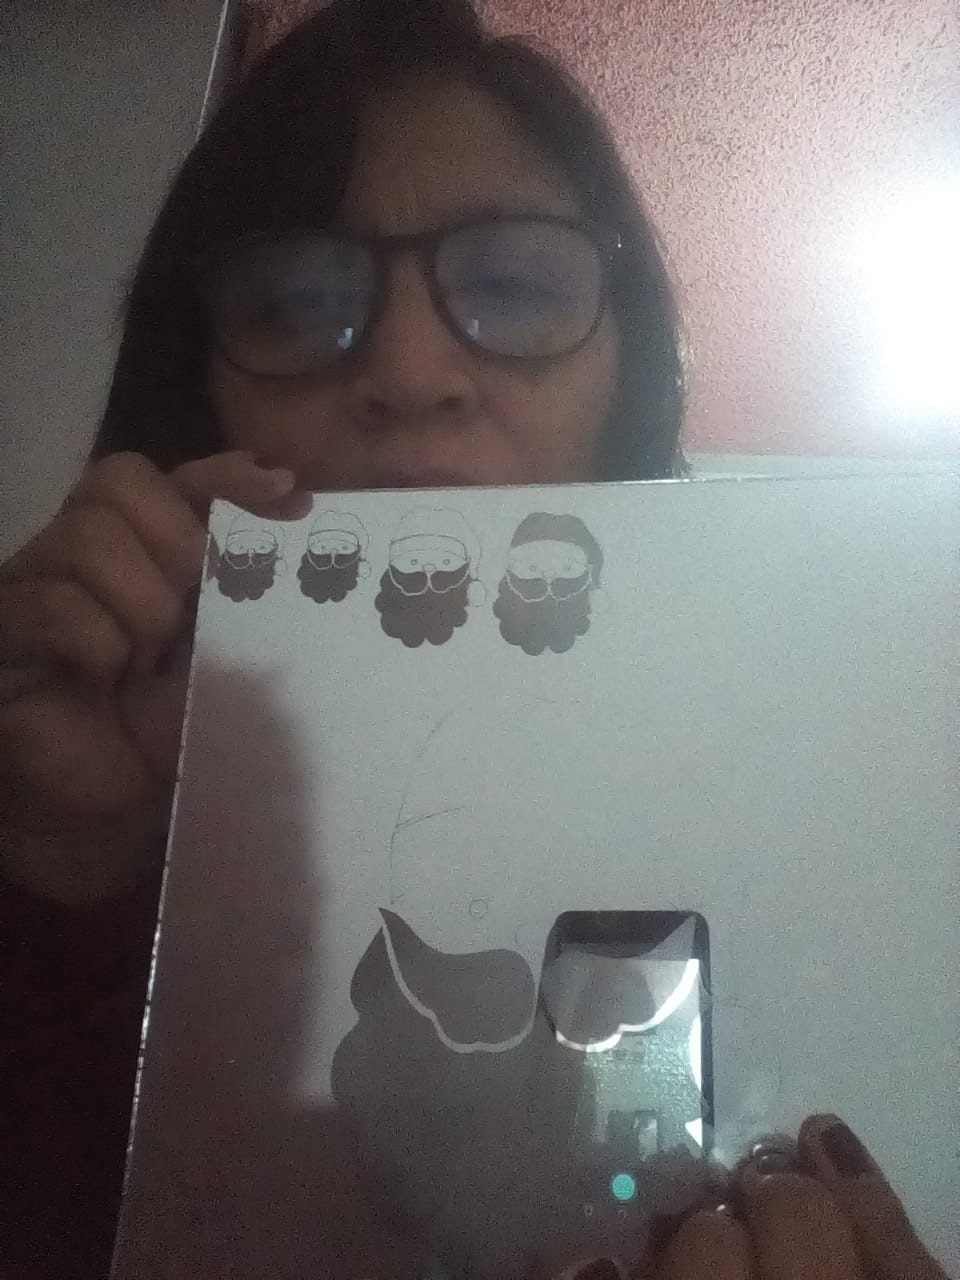
With the cut in my hands.
Natives files
| Ord | Description | Files |
|---|---|---|
| 1 | Santa Claus | Santa_Claus.dxf |