Coding
Adding adafruit library
The PWM Servo Driver is incredibly simple to use with any microcontroller or microcomputer because it is controlled over I2C. Although we'll demonstrate utilizing it with the Arduino IDE in this demonstration, the C++ code is easily portable.
From the IDE open up the library manager...
 And type in adafruit pwm to locate the library. Click Install
 Test with the Example Code
First make sure all copies of the Arduino IDE are closed.
Next open the Arduino IDE and select File->Examples->Adafruit_PWMServoDriver->Servo. This will open the example file in an IDE window.

when upload this code if everything is good the first 8 servo should sweeping in order.
To git the Source or additional information click here
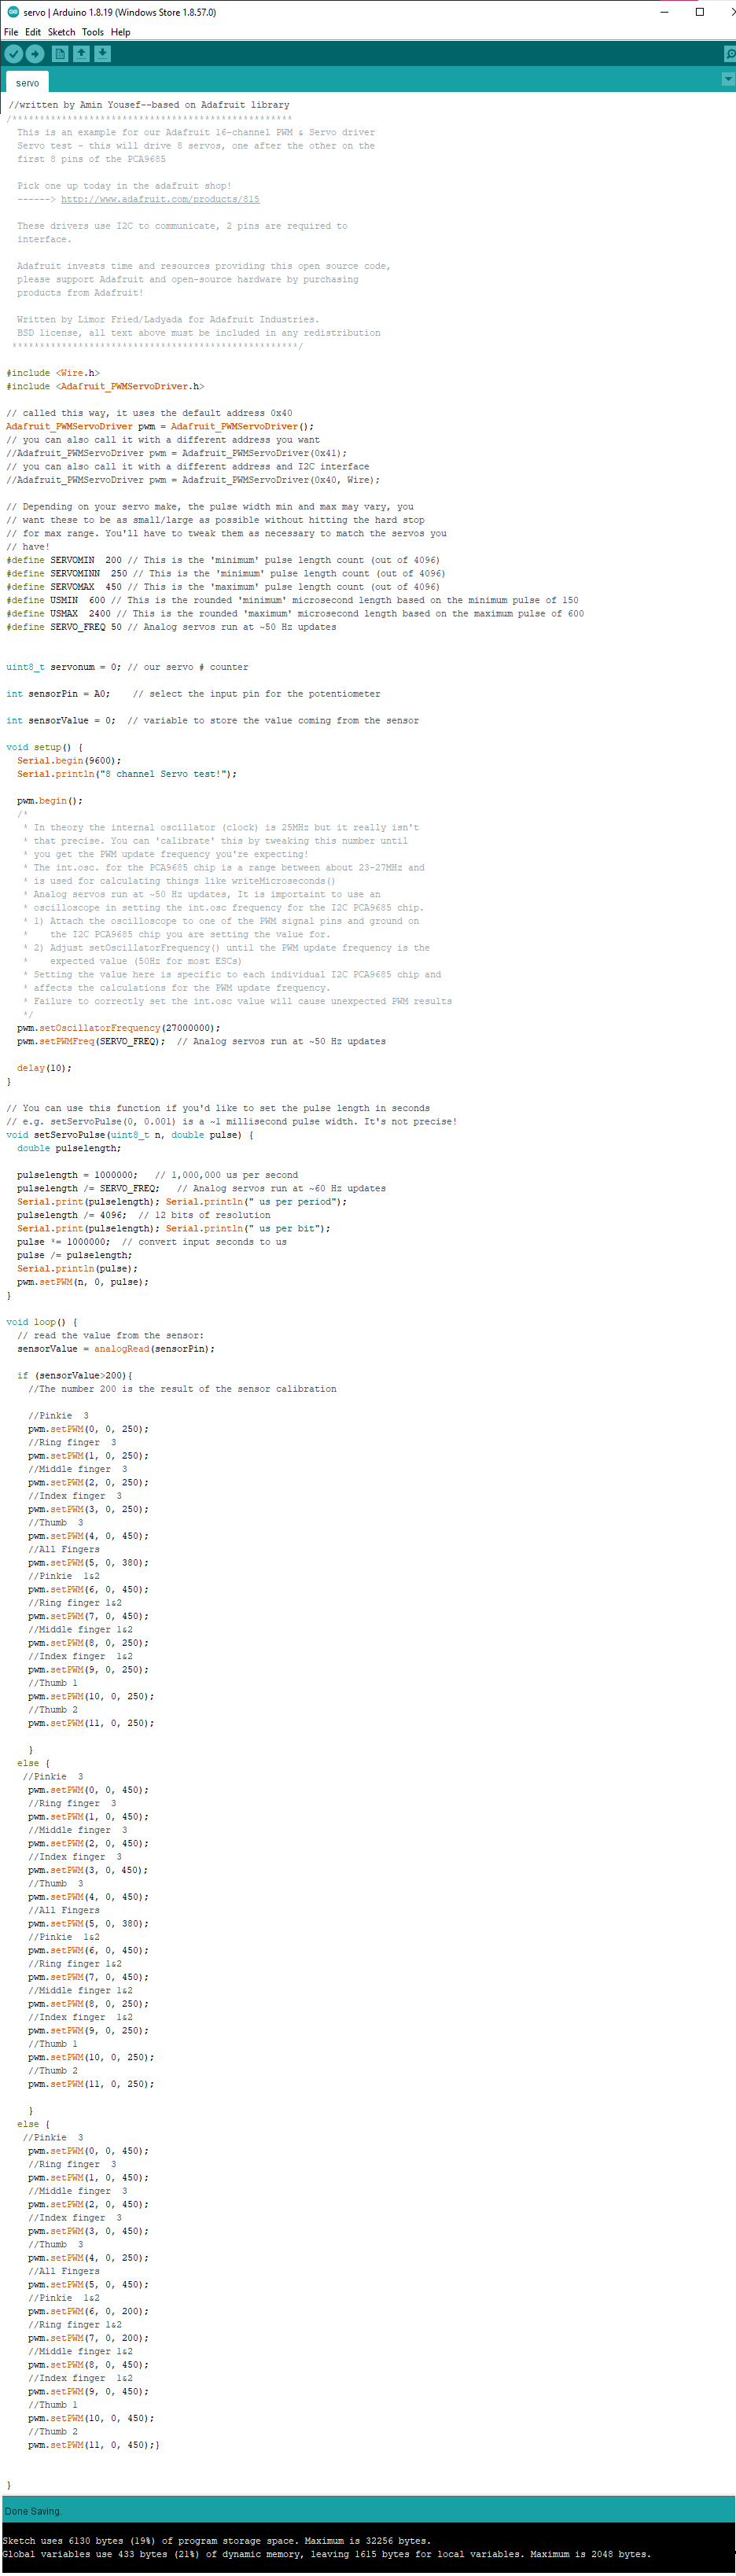
Code
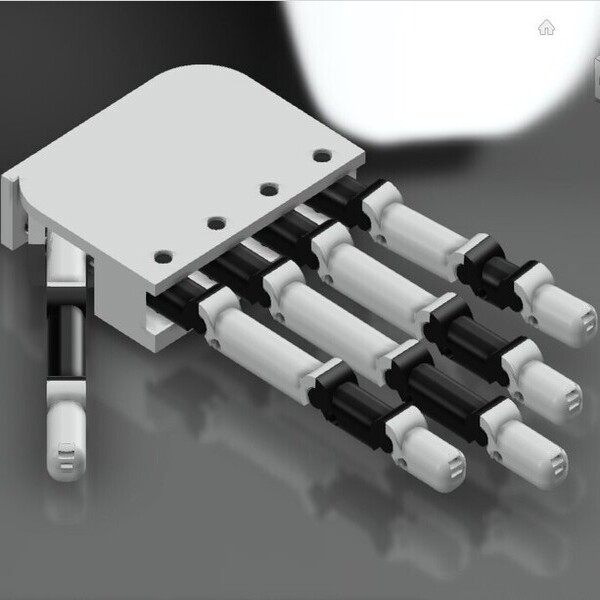
To get started, use a servo tester or Arduino with a potentiometer to label the servo wire, Then order them as follows
| Finger Name | joint number | Pin Number |
| Pinkie | 3 | 0 |
| Ring finger | 3 | 1 |
| Middle finger | 3 | 2 |
| Index finger | 3 | 3 |
| Thumb | 3 | 4 |
| All Fingers | - | 5 |
| Pinkie | 1&2 | 6 |
| Ring finger | 1&2 | 7 |
| Middle finger | 1&2 | 8 |
| Index finger | 1&2 | 9 |
| Thumb | 1 | 10 |
| Thumb | 2 | 11 |
As mentioned previously, it was supposed to work with three sensors for the muscles, each sensor responsible for a position that it does when it receives the signal. It can also be used the intersection of signals to do a new position, but due to the lack of time, I was worked with one sensur which was responsible for closing the hand when it have signal from the sensor.
 File to download.
Servo test Code
Prosthetic-Code