Assembly
Assembly Instruction For The Prosthetic Hand
Hand
We ended in the design and printing page, hand printing in this way, and as we mentioned earlier, the nylon support was not a good choice and that breakaway filament or pva filament should be used, but Lapp had some problems using it as a result removing the nylon support was a challenge.

Remove The Support
The video below includes how I removed the nylon brace. It took a lot of effort and time. The video also contains the first movement of the joints after removing the Support.
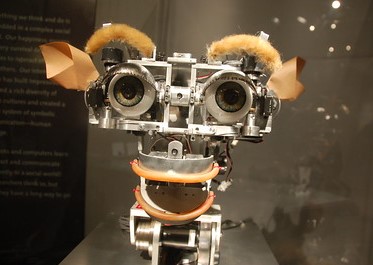
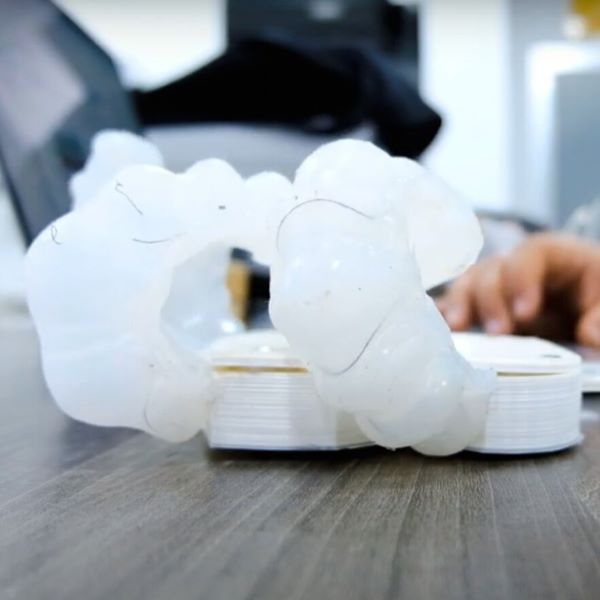
This image was produced after a lot of hard work
Put The Strings
After removing the supports, the rubber and threads must be placed inside the finger canals as shown in the picture below. The end of the thread must be knotted, making it stuck at the beginning of the channel. To facilitate the subject, cut all the thread with a length of 70 cm, and in the end it can be shortened to the desired length
 You can watch the video below to see how to extend the thread inside the channels. Tools and techniques were used in the video.
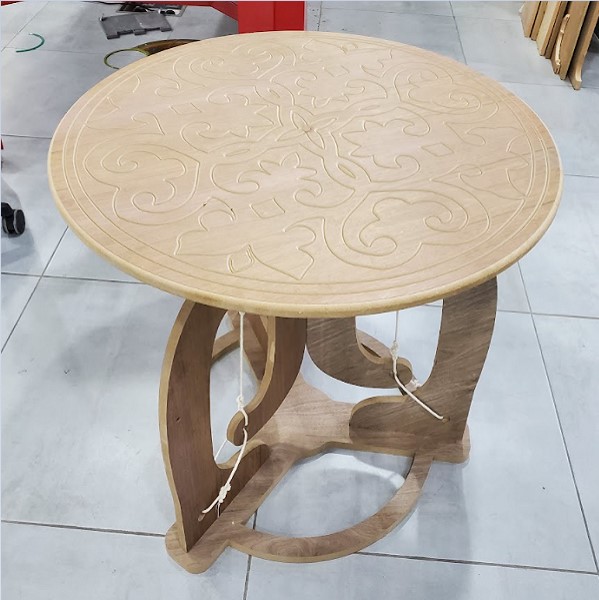
Finally, after placing a lot of threads, it should appear as follows.

Arm
At first, the nut must be added to the main piece of the arm, as it contains 24 M5 nuts and 5 M3 nuts. The video below shows the locations of the nuts in the piece and how to install them.
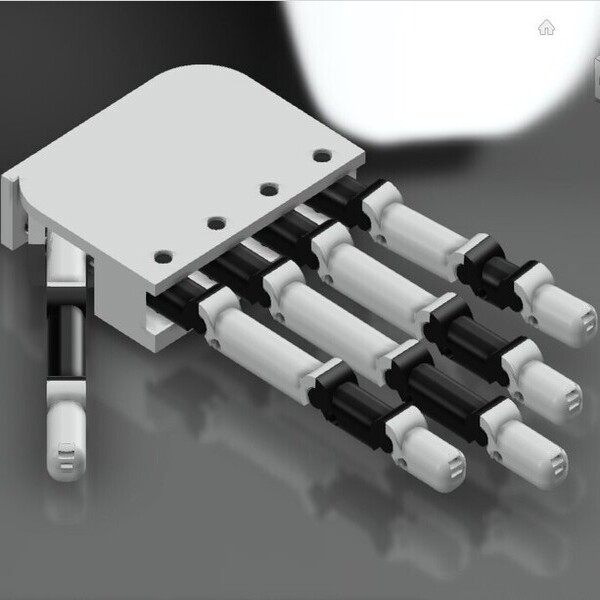
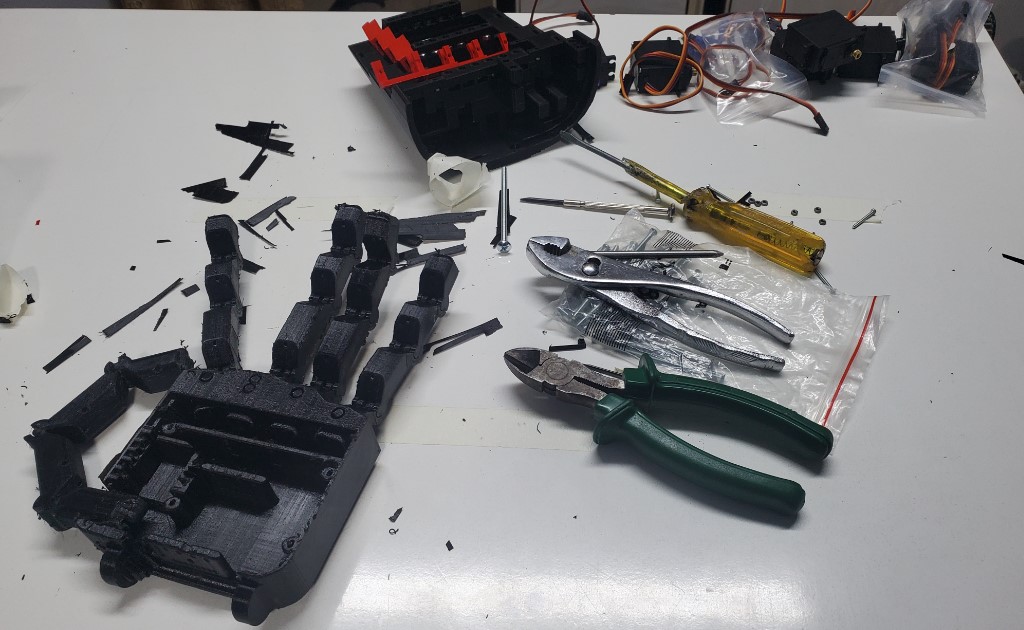
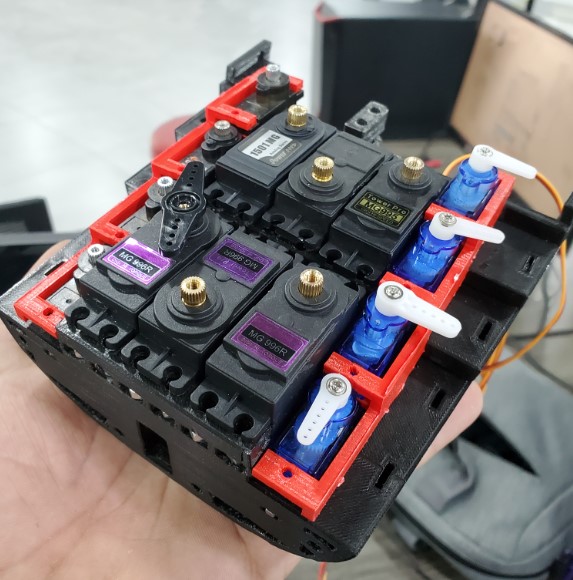
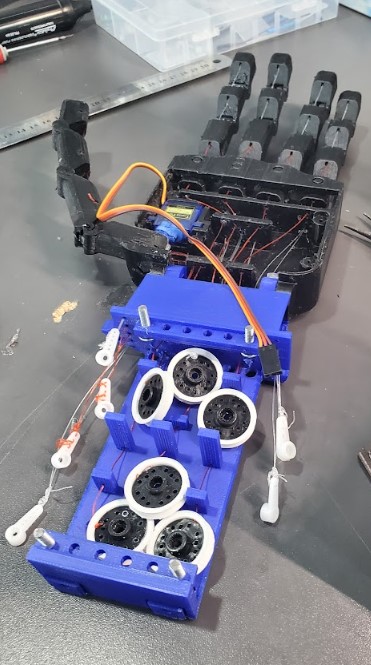
After adding the nut, the motors must be added to their place as shown in the picture. All pieces that fix ti the shaft to the motor must be removed.
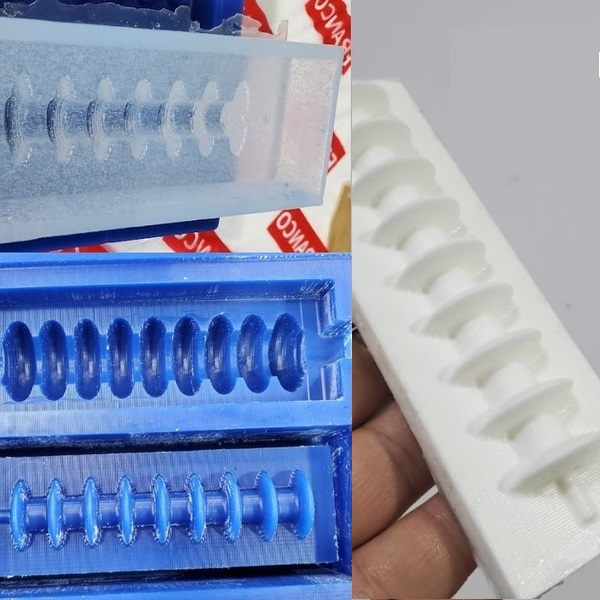
Cut a rod with a diameter of 8 mm and length of 12 mm and use the look pliers to press the rod to fix the Hand with a String spacer as shown in the picture below.

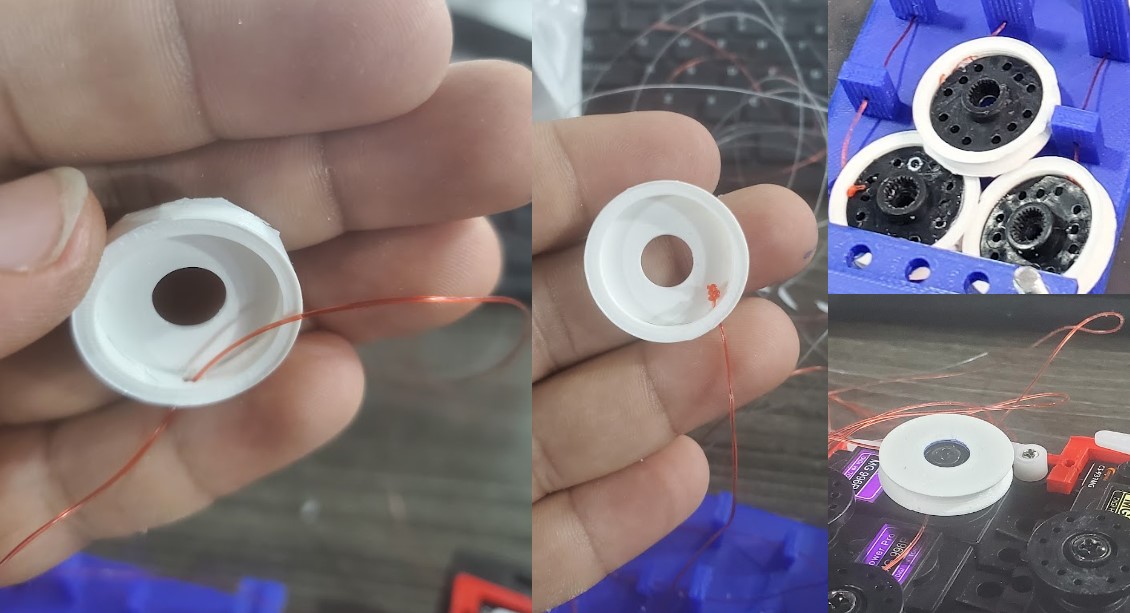
Now extend the threads inside the String spacer so that the threads of the first joints in all fingers and the thread responsible for the angle between the fingers are connected to the main six servo motors, and connect each two threads of the second and third joints with one micro servo except the thumb each joint with a micro servo
After extending the threads, attach the end of the thread to the pieces installed on the motor shaft as in the following two pictures
Cut the thread roughly so that it is a little longer than required because when the installation is finished, the thread can be pulled from the other end (from finger side ) and tied.
Problem
I forgot in the design to add holes to access the screws of the main motors, so I made it manually.
It's a crucial moment. Install the String spacer on the main part of the arm. Tighten the screws a little bit at first (make sure the threads don't get tangled with each other), then install the servo motor heads and then tighten all the screws well.
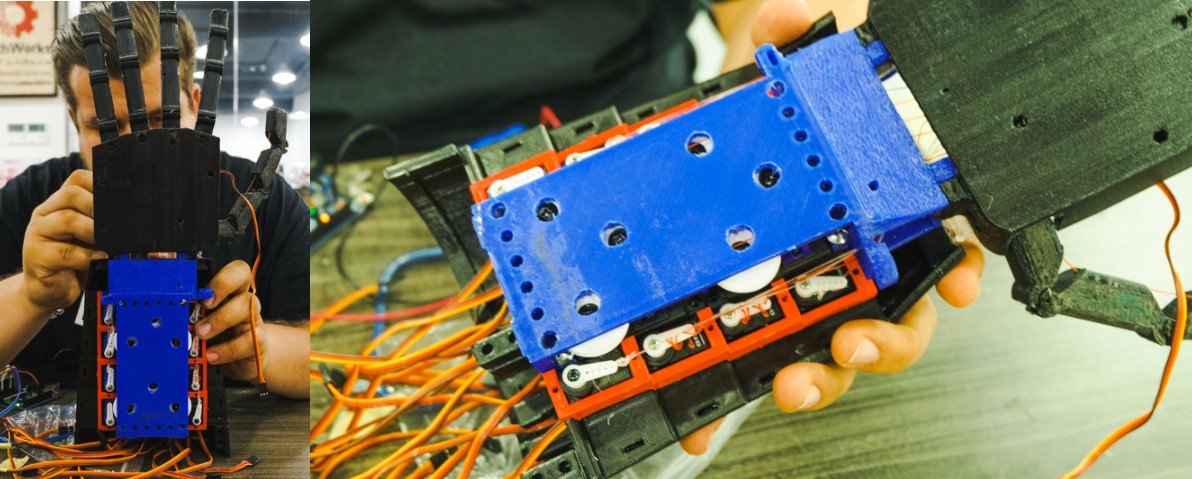

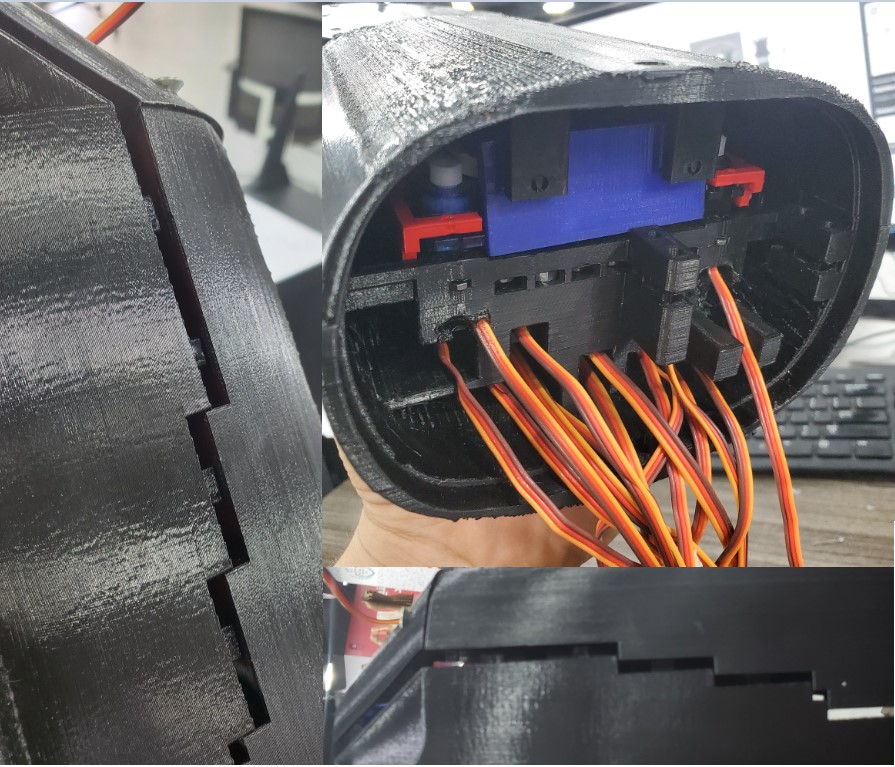
Cover the arm,Pay attention to the pins, align it well so as not to break it.
 Results
Finally, install the Arm Socket and put the sponge pieces with the fabric inside it and add the tension rope on the side ends of Arm Socket sa in the picture below