16. Wildcard Week
Welding
I didn’t really have anything planned for this assignment. I stumbled into Welding because a friend of my father that does some welding odd jobs was around and I just asked for a quick tutorial. He was kind enough to give me an hour or 2 overview… I then figured that if I got some iron laser cut and I could weld it into a structural support thing for my final project.
There are a few different types of Welding processes and techniques. Usually between 2 parts of the same material and also most frequently metals. For Plastics it’s common to use Ultrasonic Welding.
My favourites are grouped into Friction Welding. They need special machinery but almost seem like magic.
Friction Stir Welding might be the coolest:
A similar process gives us Friction Drilling which is also pretty neat.
Honorable mention to Rotary Friction Welding.
Here’s a nice clip about starting to weld from a great youtube channel with a lot of engineering content:
Shielded Metal Arc Welding
For this assignment I’ll be deling into the Arc Welding group of techniques as that’s what practiced with my father’s friend and my father also has an old power supply.
Specifically I’ll be doing Shielded Metal Arc Welding
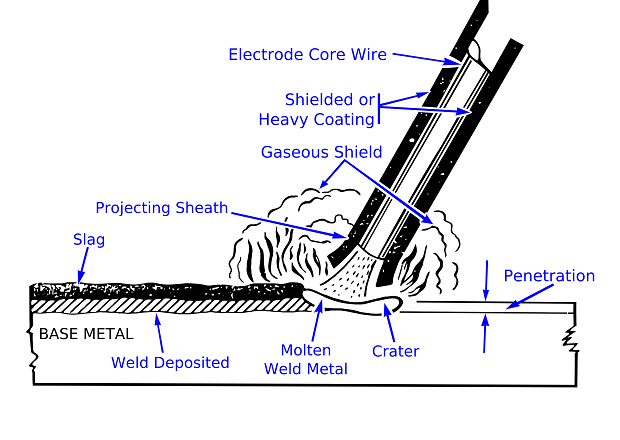
The basics of arc welding is to close a very powerful electric circuit and use that energy to heat up a rod Electrode and once that melts its projected onto the material. It’s hot enough that the underlying material can also melt if it’s too thin. It’s always important to adjust Power Supply settings depending on hear dissipation. The shielded in the name comes from a gas shroud that forms as the electrode core is being discharged and both protects the weld from oxigen and other atmospheric gases.
Modeling
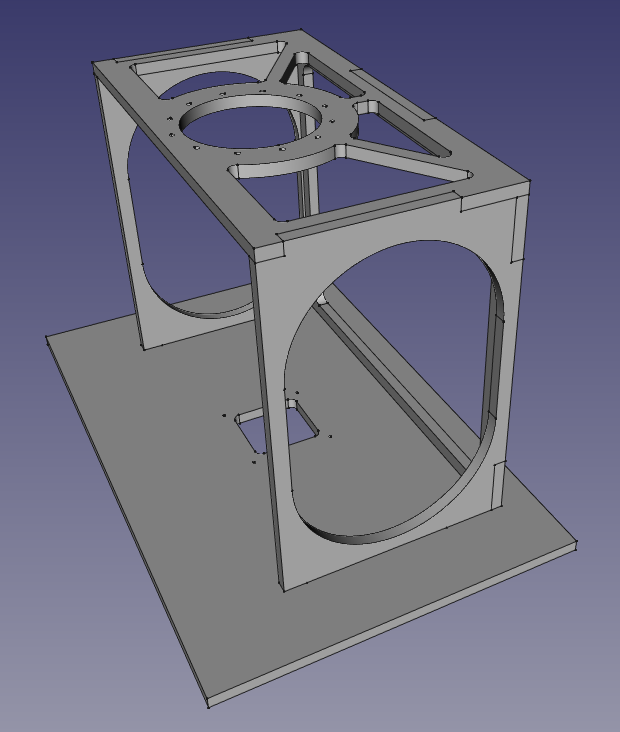
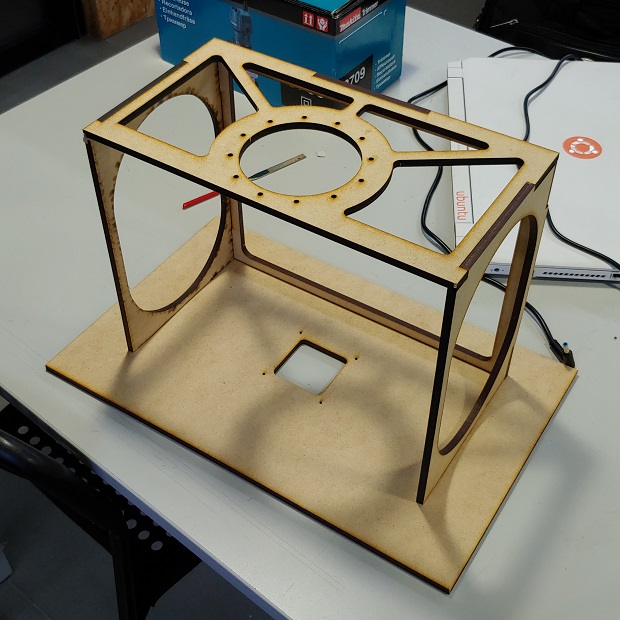
But before any of that I need to model something.
I quickly put something together giving myself a bit of extra room since I hadn’t finished the mechanism yet. I was still looking for flat coil springs as I tested printing them so I needed enough volume for holding the printed springs that’d be a bit large.
MDF Mockup
As I was having a bit of trouble first finding a place to get the parts cut and then to schedule a day that I could be present to film the Laser cnc doing it’s thing; my instructor told me to cut in MDF. Just in case so I at least had a structure to present.
I used the same process I used in Computer-Controlled Cutting to export some flat .svg files to feed the laser cutter.
It went well.
Because the CO2 tube was worn out the laser had some lag turning on so some line starts and mostly holes wouldn’t be cut the 1st try. Cutting again would have the same results so the best course of action was to overlay 2x svg’s to try and force the laser to cut the same shape twice without stopping. Worked most of the times. In the end it wasn’t a big deal to just force and hold-outs with a screw-driver.
As I was aiming for 6mm sheet metal and the MDF was 3mm thick I cut everything twice and glued them together.
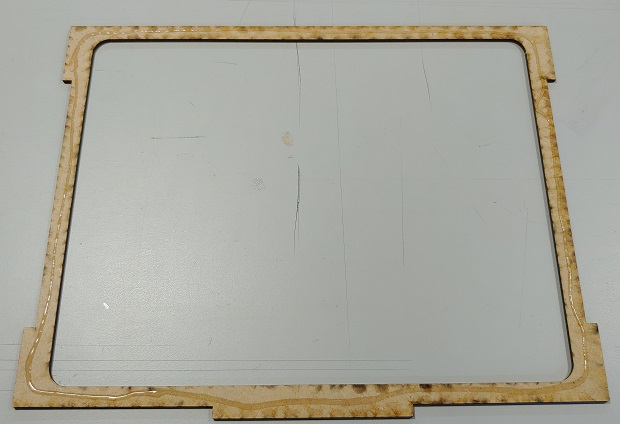
Worked out great.
Technical Drawings
Since I was getting this made somewhere else I had to export some Technical Drawings. A random .svg wouldn’t cut it. Pun very much intended. #heh
FreeCAD has a workbench for that. It’s called TechDraw Workbench. Easy to figure out, just pick a face and throw in some measurements but here’s the video I saw first:
That should do it.
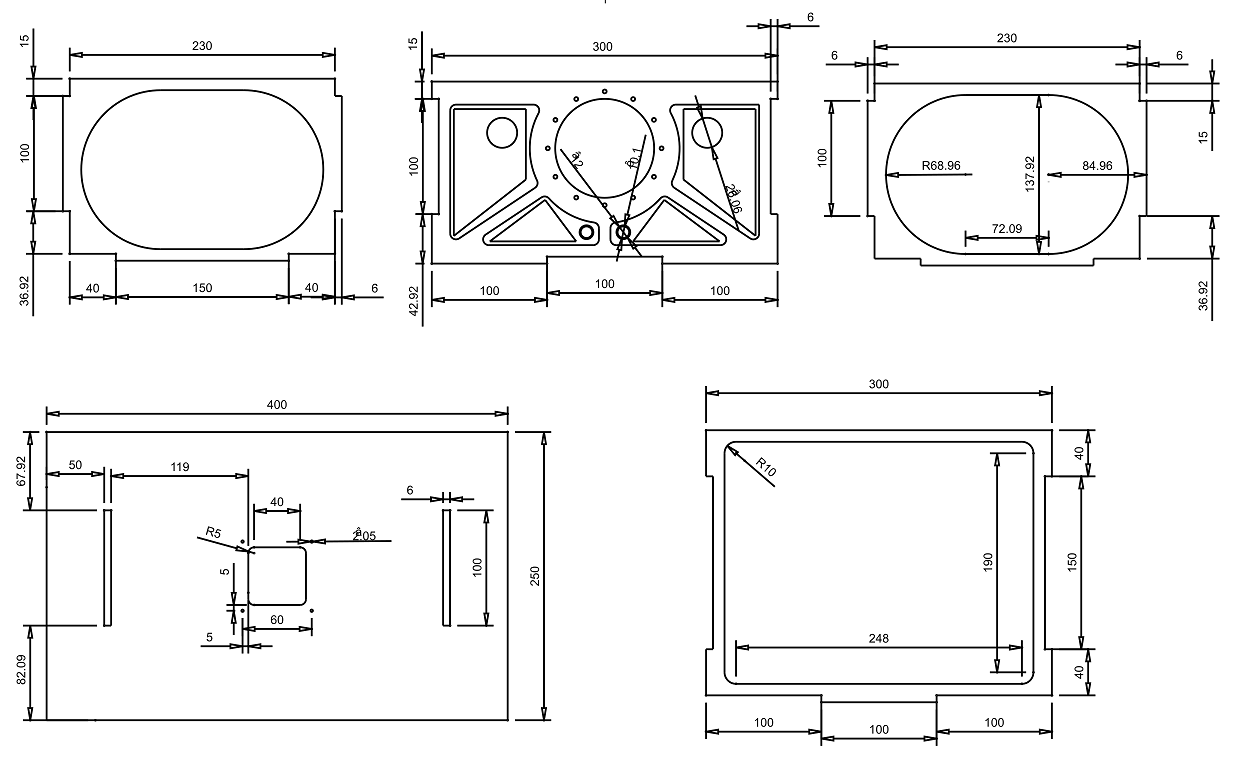
Although just in case I threw in a .step file so that they could re-check anything or if they wanted to export a specific file type to send to the machine controller.
Laser Cutting
The machine they have is a Bodor A-Series Fiber Laser although I forgot to ask how powerful it was. If I had to take a guess at least 6KW as it didn’t break a sweat cutting the 6mm sheet.
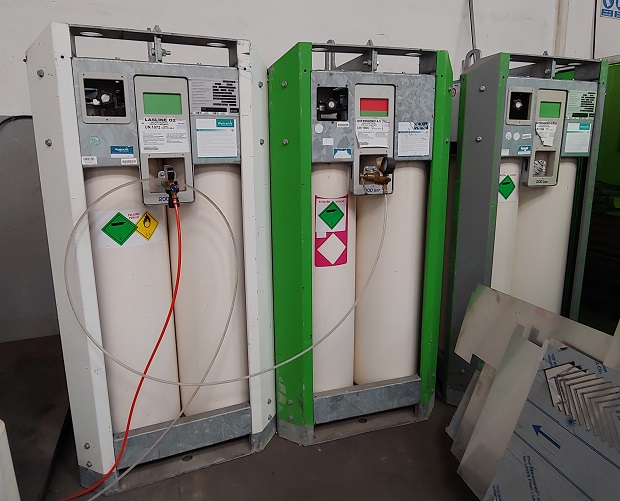
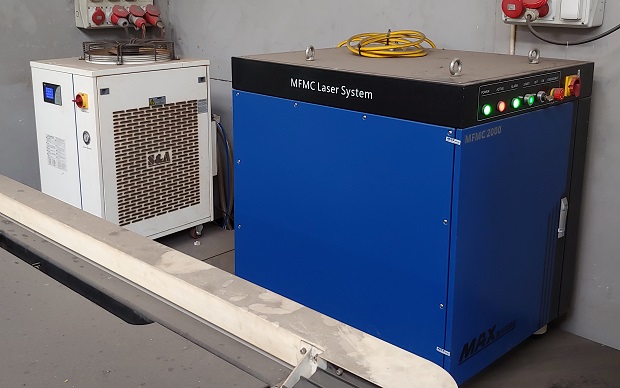
It’s a big machine with a lot of extra side components.

Oxigen and Nitrogen canisters.
Gigantic powersupply and water chiller to keep it cool.
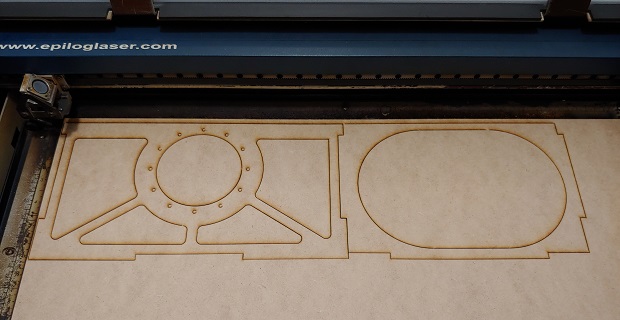
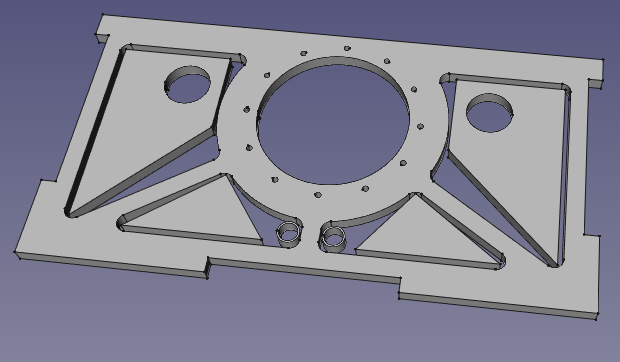
I also decided to throw in some smaller parts to get some use out of the scrap. The larger parts could be used for what ever but the irregular ones would just be recycled.
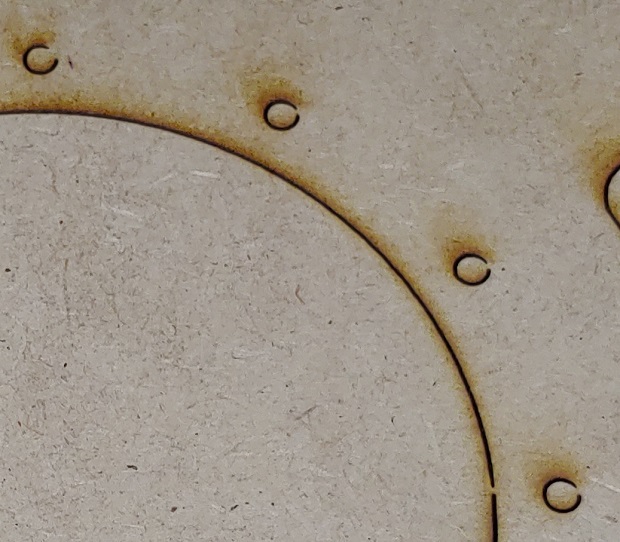
The small rings were a test because I wanted something similar to maybe fix an issue on my fathers tractor but unfortunatly they are too small to laser cut. The heat from the beam would have nowhere to dissipate and they melted away. The triangles could be used to weld some perpendicular faces someday and the other 2 with the holes I’ll make into a solder wire holder. The holes fit a roller bearing perfectly and I’ll model and 3d print something when I have some free time.
Let’s do this!
Small montage there. After getting the sheet on top of the machine the software had an auto-nesting feature. Once the cutting area was set it was possible to tell the machine to do an outline to make sure none of the cut would fall outside the sheet to be cut.
One initial cut and inspection to make sure everything’s in order. Before every incision the sparks that fly are a safety feature meant to test the thickness of the material. If the test hole is too fast or takes too long it’ll throw an alarm.
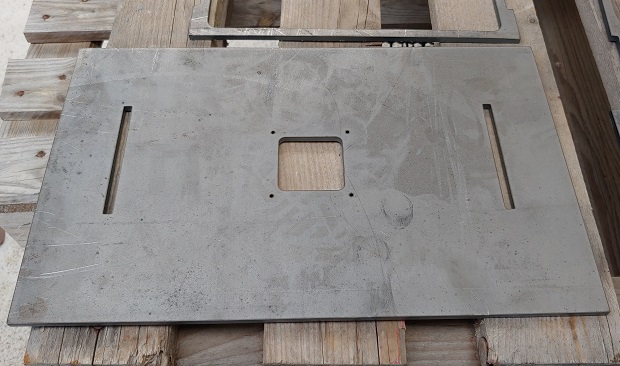
The base.
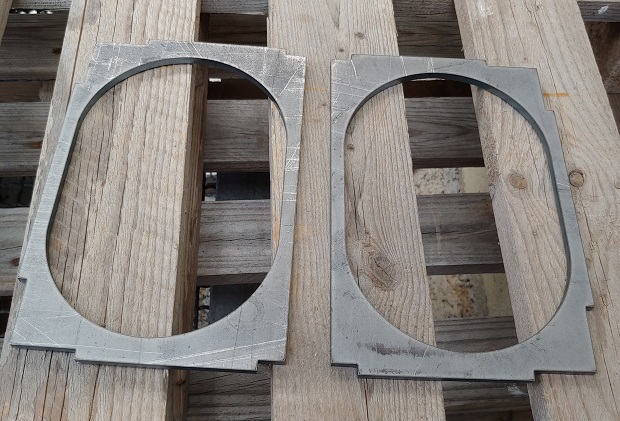
Sides.
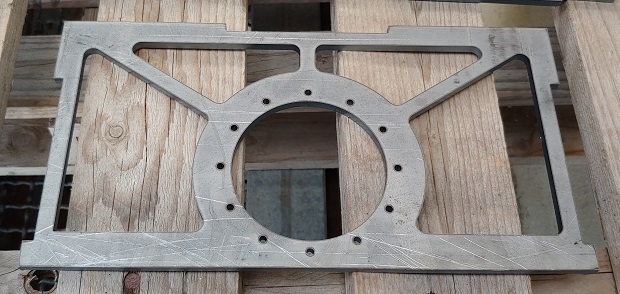
Back.
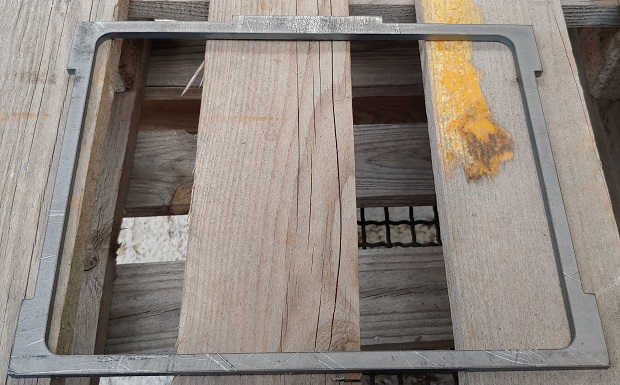
And top.
Hands on Tutorial
Learning time.
The electrodes we had are Lincoln Electric.
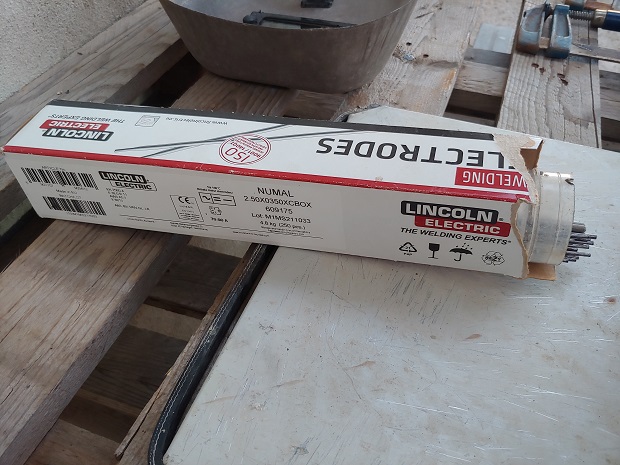
Specifically Lincoln 6013.
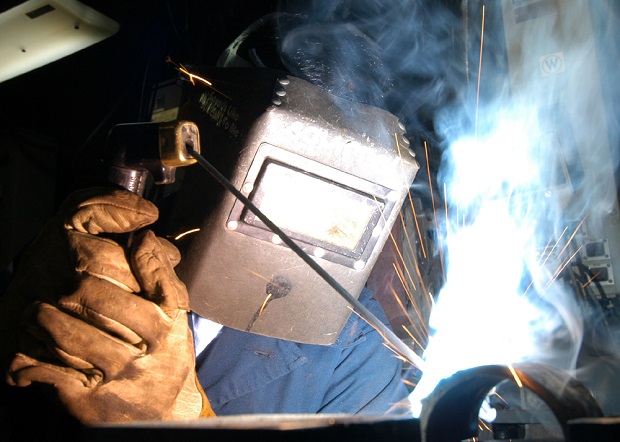
You’ll need at least a mask to protect both your eyes from the intense light that also has plenty of UV wavelengths in there. Also gloves.
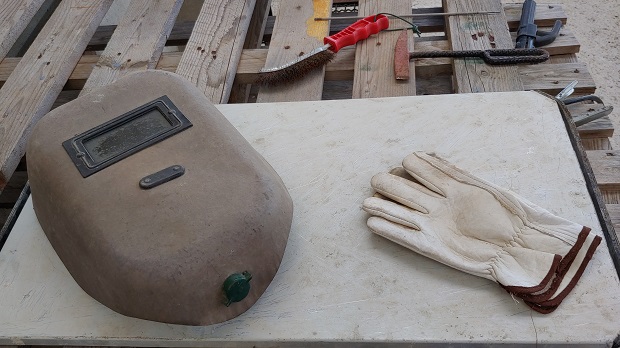
I don’t think it’s noticeable but I didn’t have gloves for my first runs and unlike my tutor’s hardened hands I can tell you things get very hot very quickly… Use gloves.
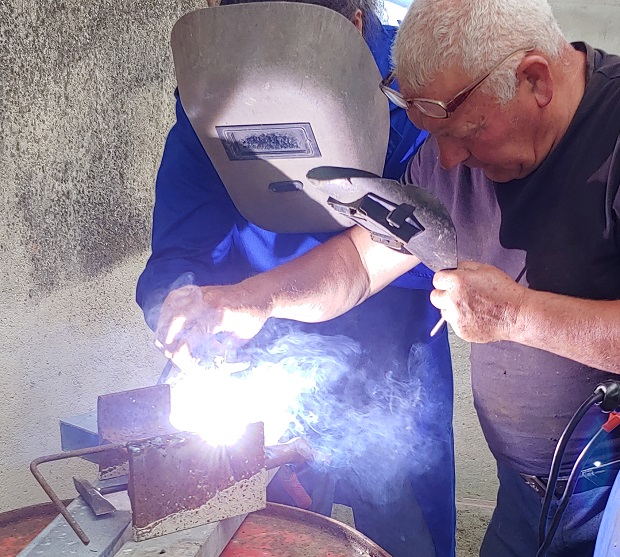
My first welds! My tutor said welding dirty and rusty scrap isn’t the best place to start but it’ll do.
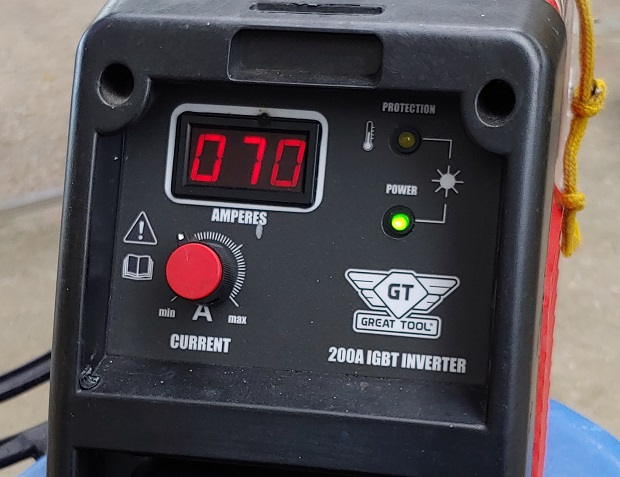
We played around with the settings a bit but settled on 70 Amps.
Actual Welding
Time to fly solo…
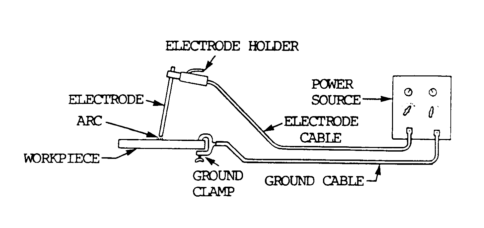
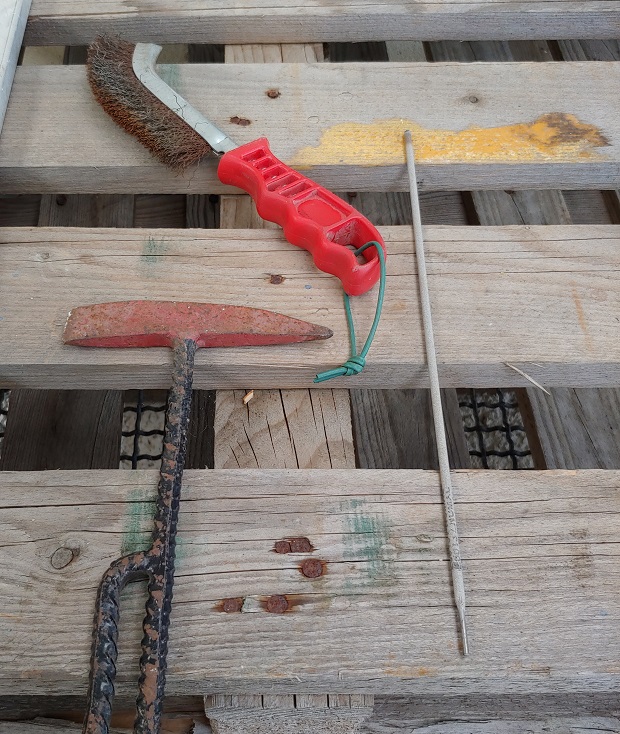
You’ll need a Chipping Hammer to break of all the slag that’ll form leftover from some now useless electrode components. A metal brush will also help both clean out smaller slag particles as well as other contaminants. Many, many electrodes. They go fast…
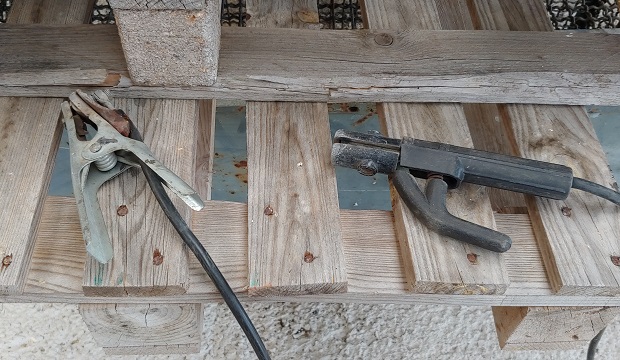
Ground clamp and electrode holder. If you have a hands free mask it’ll be much easier to grab the holder, you can put your other hand on the electrode while it’s long to help aim.
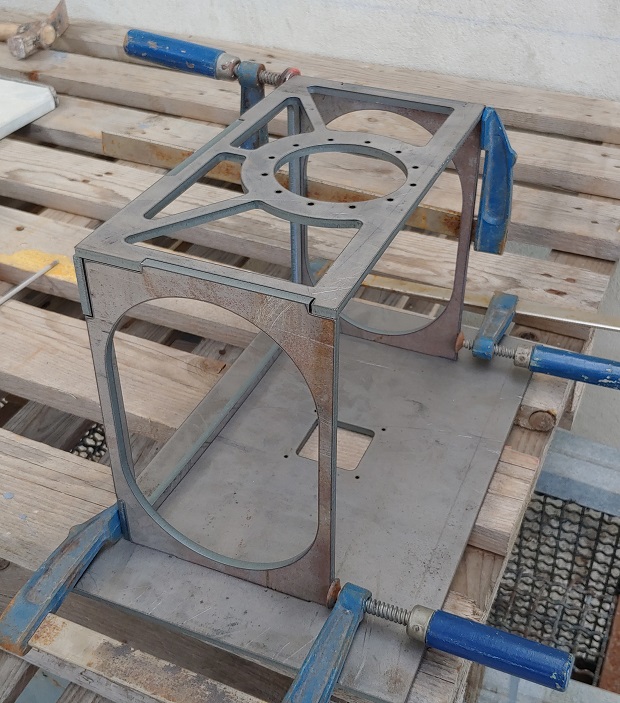
Clamp all the parts. Some more wouldn’t hurt.
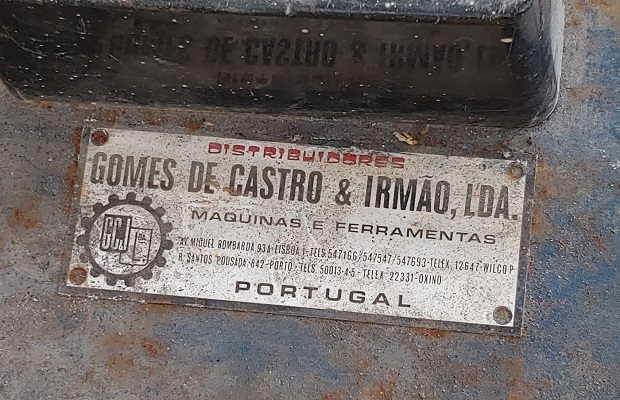
My father doesn’t really weld but he had an old power supply laying around. It’s old.
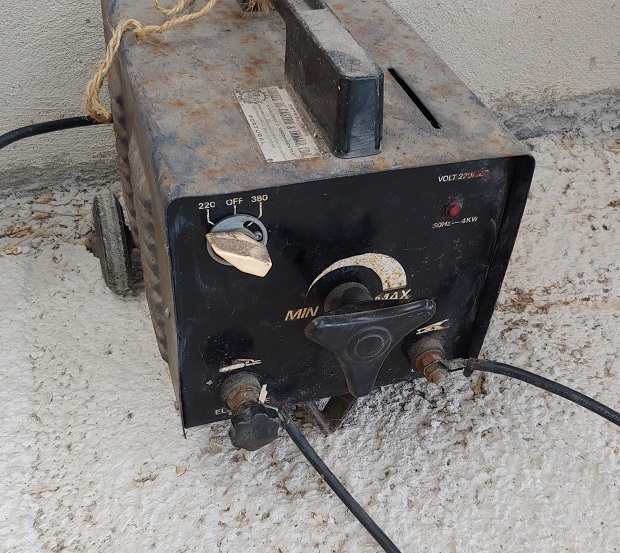
Very old. The salesman phone number is still 7 digits so before 1999. Franquily it looks older than me lol. It did the job though. Only problem was being a bit blind to what value we’re using so repetability is hard.
Go! Go! Go! Go! Go!
Tap. Tap. Tap. Tap.
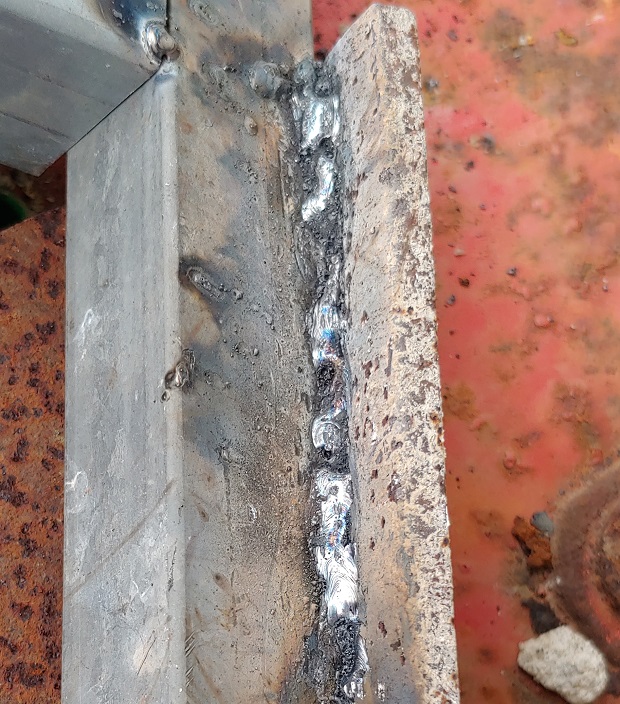
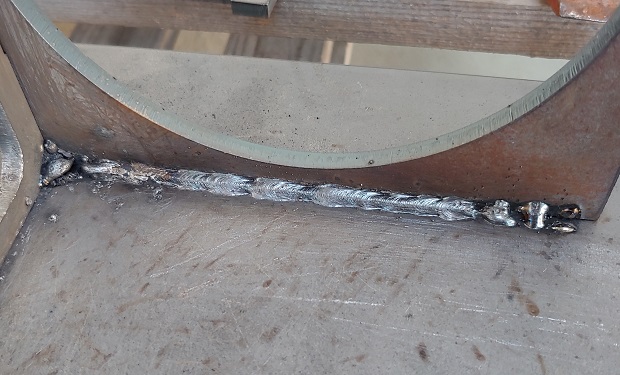
Some didn’t look too bad.
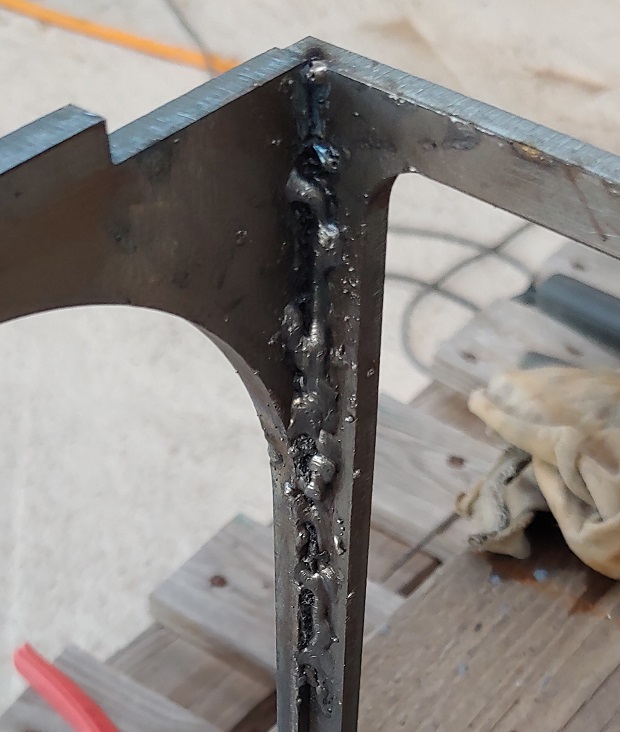
Some looked awful. The electrode kept sticking to the sides. Hard to get angles might have played a part but my father also said the electrodes weren’t new and not stored in perfect conditions so they might not be dry enough too. I’ve also ordered something much larger from the place that cut these for me and they also welded it for me. They said full length welds can cause warping and other issues so I left those up to them and they did a few of them spaced and it was more than enough.
I might have forgotten to take a picture of everything put together so here’s the structure as I tested some of the mechanical components…

Bonus
Wikipedia had a cool shot of a woman welding in 1943.
