12. Molding and casting
Editor’s note 2023
This was previously assignment 10.
Group Assignment - Safety
Silicone
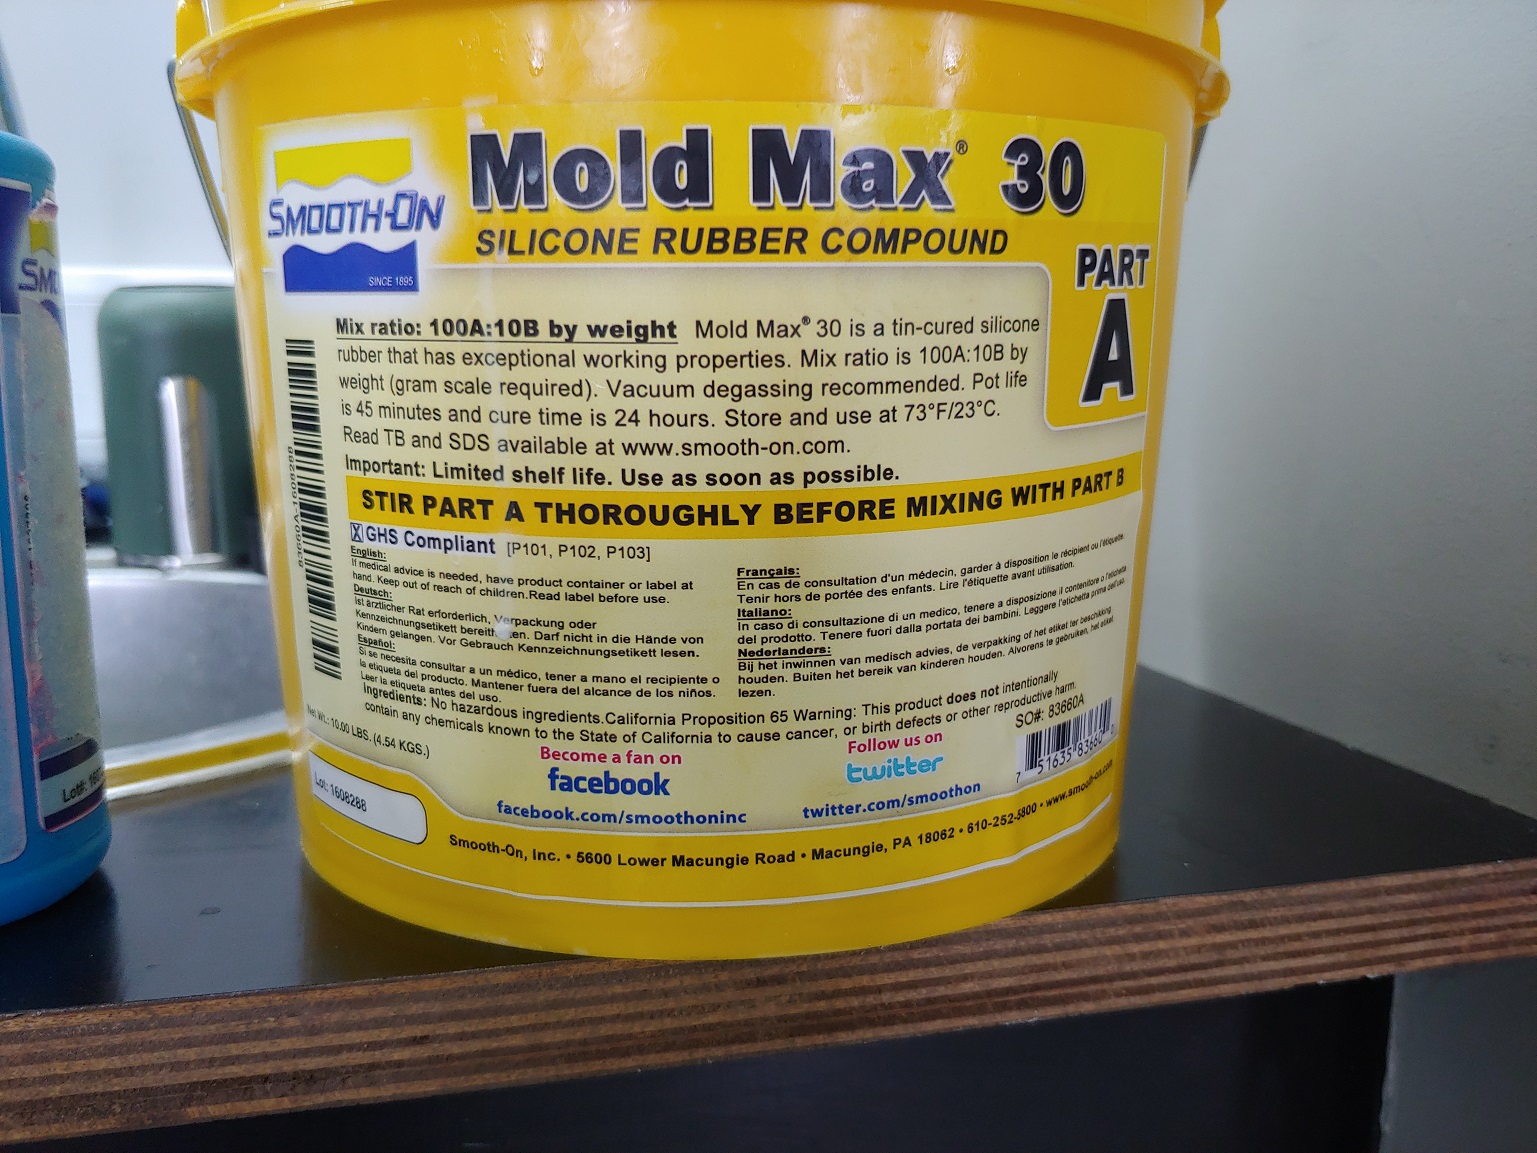
The silicone I’ll be using for the soft mold is Mold Max 30
This is the technical overview .pdf:
Pictures of the Past A label:
Pictures of the Past B label:
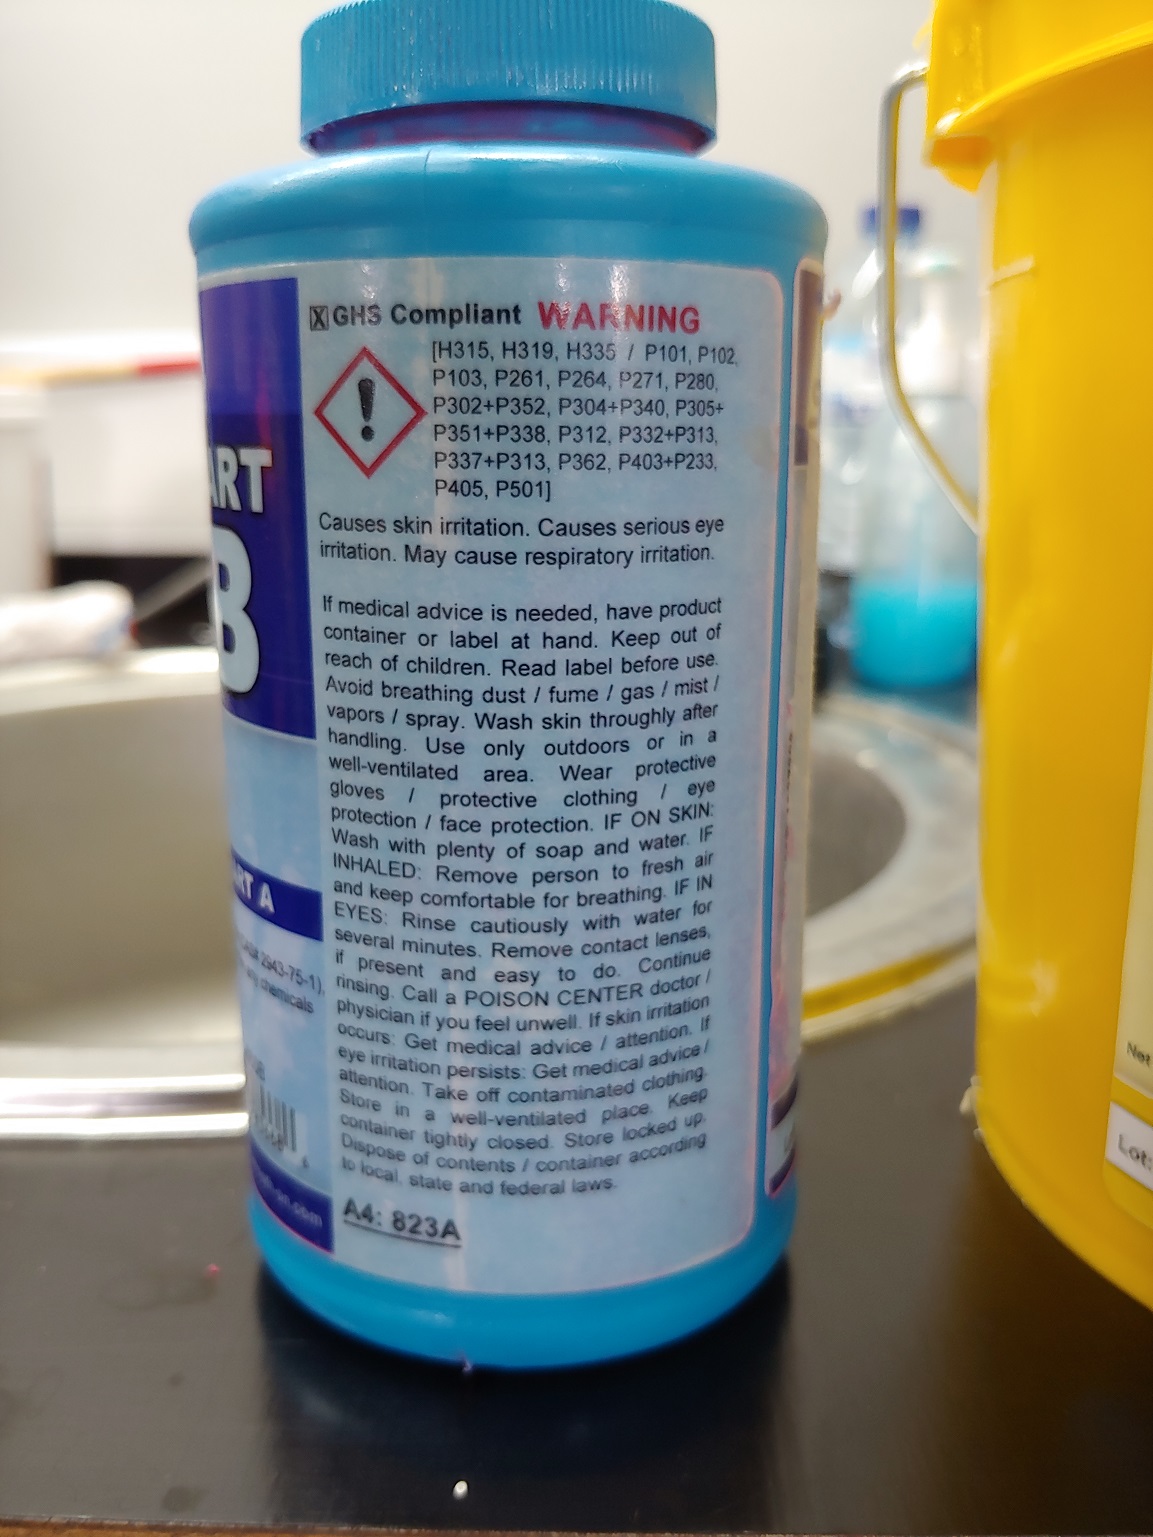
Even if Silicone is relatively harmless use Personal Protective Equipment: Gloves, Safety Glasses and a Lab Coat. Treat them with the same respect as other chemicals… Don’t inhale, touch or taste them… Some components like Part B will stain everything so bring old clothes/shoes too. Careful with cleaning and disposing of utensils and waste.
For safety details and precautions always check the Safety Datasheet:
Plastic Resin
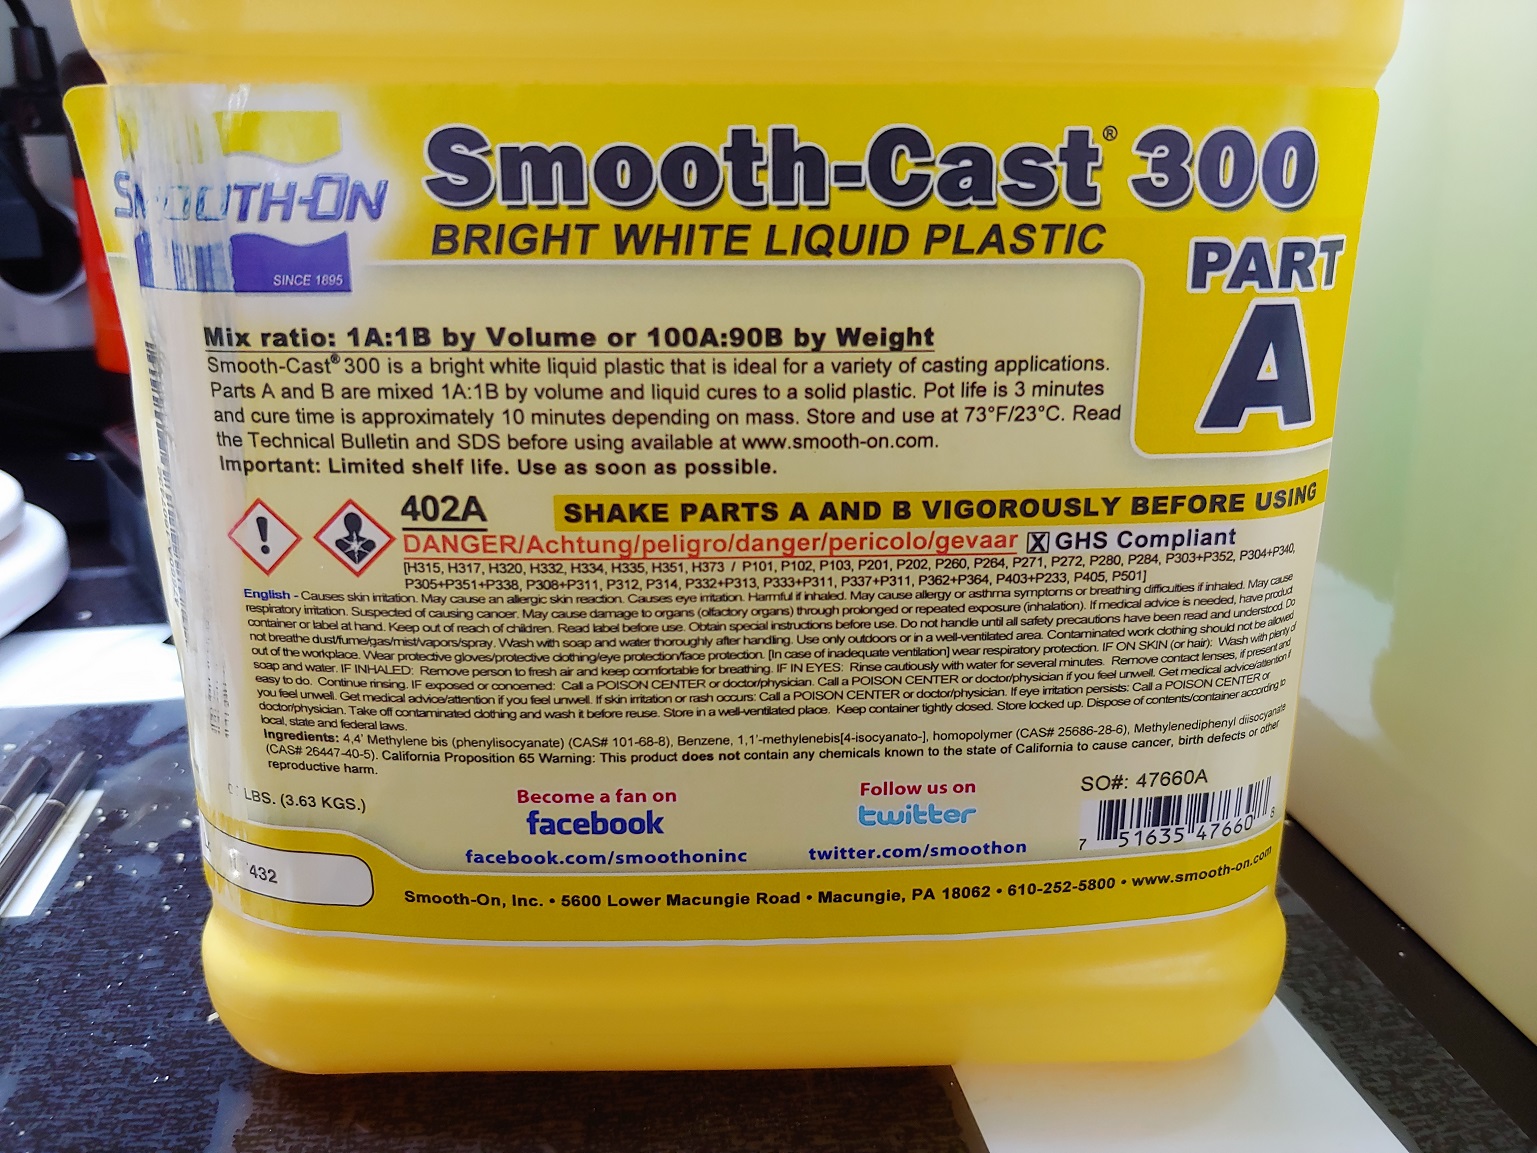
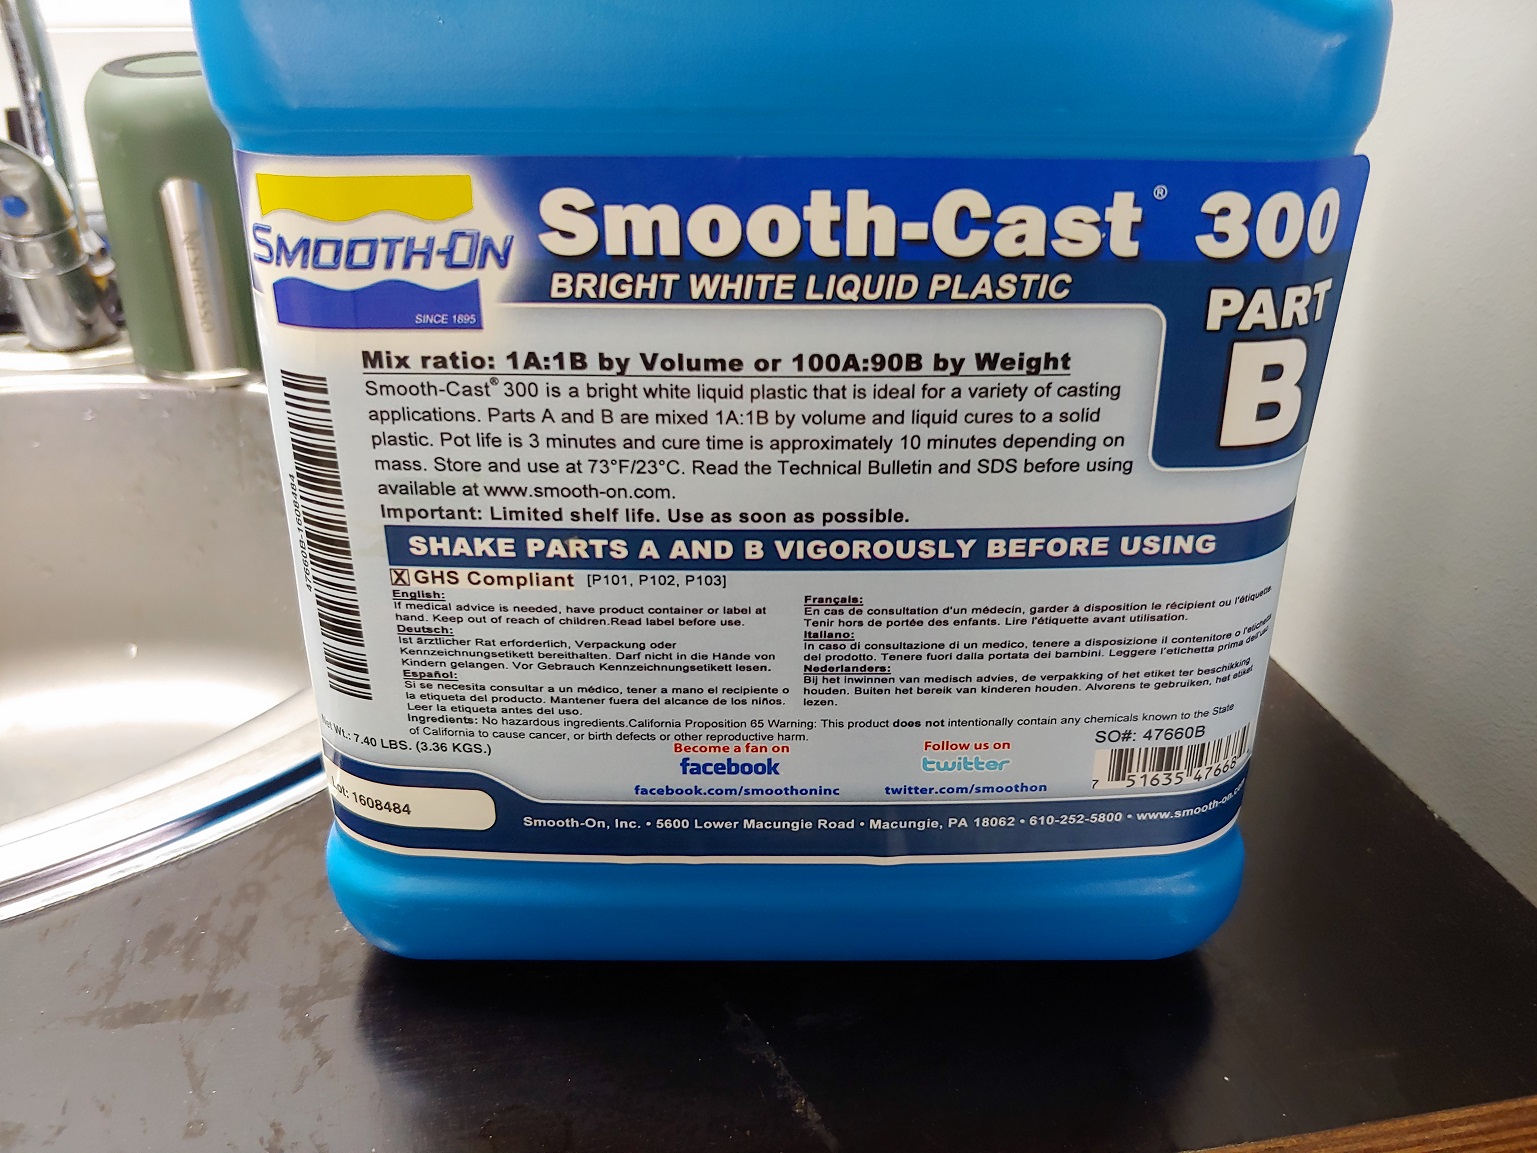
The resin I’ll be using to cast the final handle is Smooth Cast 300
This is the technical overview .pdf:
Pictures of the Past A label:
Pictures of the Past B label:
Bi-component resins are almost always quite nasty chemicals. Be extra vigilent. These are the categorized hazards in Smooth Cast 300’s Safety Datasheet:
- H315 Causes skin irritation.
- HH317 May cause an allergic skin reaction.
- HH320 Causes eye irritation.
- HH332 Harmful if inhaled.
- HH334 May cause allergy or asthma symptoms or breathing difficulties if inhaled.
- HH335 May cause respiratory irritation.
- HH351 Suspected of causing cancer.
- HH373 May cause damage to organs (Olfactory organs) through prolonged or repeated exposure (inhalation).
For more safety details and precautions always check the Safety Datasheet:
Individual Assignment - Make a Casting Mold
For this assignment I didn’t have anything in mind to make. Eventually I settled trying to make something that eventually could be useful for my final project. After some deliberation I realized the onlything I could do was maybe a handle or something… I did have to attach the CMM probe to something I could grab a hold on.
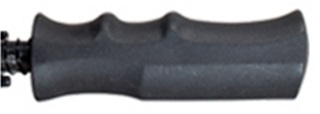
Looked for handles online and cropped the picture of an umbrella.
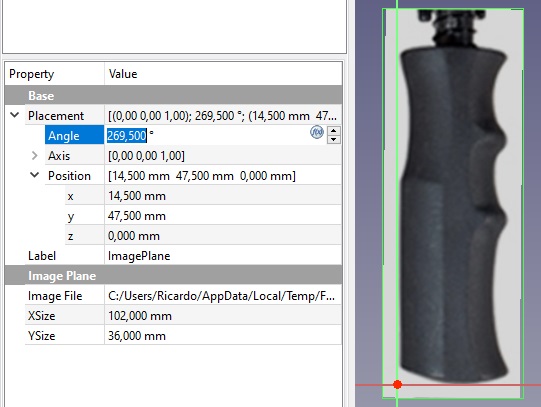
Now go to the Image Workspace in FreeCad and create an image plane:

Initially I set the Origin with the image as referance, but I should have used the actual mold. It would have made aligning all the registration marks later easier and more precise. I ended up changing it later.
Create the support sketchs following the image, one for the contour and one for the thickness.
Use object’s placement properties to better allign the sketchs.
Go to the Curved Shapes workspace.

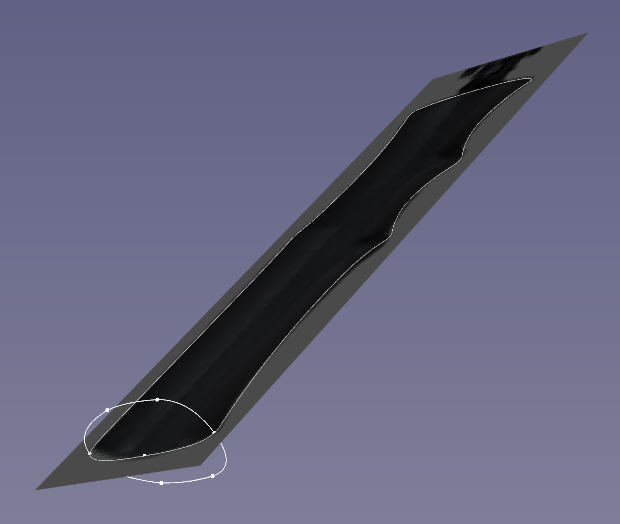
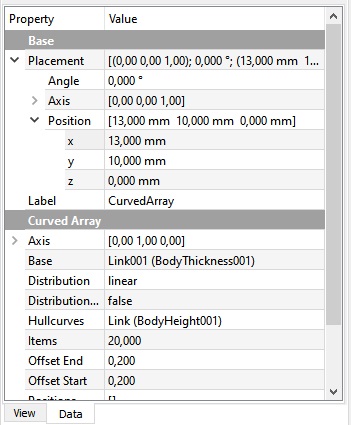
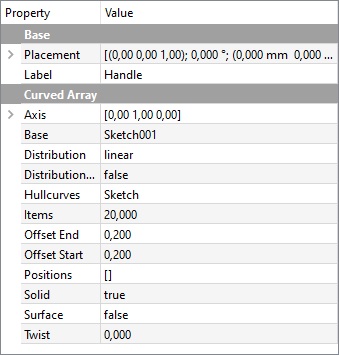
Select both sketches and create a Curved Array

If you hide the original image now you can see the wireframe of the array.

Play around with the array settings like Number of Items, Offsets and Distribution type to see how it affects the array. Save your work between tests if you do anything you like, just in case FreeCAD decides to crash on you.
Editor’s note 08-03-2023
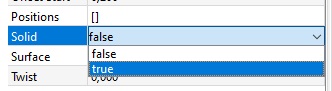
I had to go back to my original files to remember some parts of the proccess to make sure I was ordering everything correctly and take a couple more print-screens This time the Curved Shapes workspace seemed much more stable. Maybe it’ll crash a lot less for you now than it did for me in 2022. Last year it would crash very easily when turning the array into a solid.
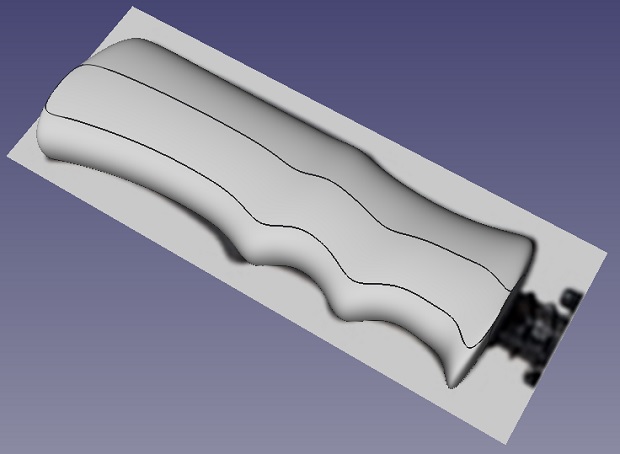
Now turn that bad boy into a solid!
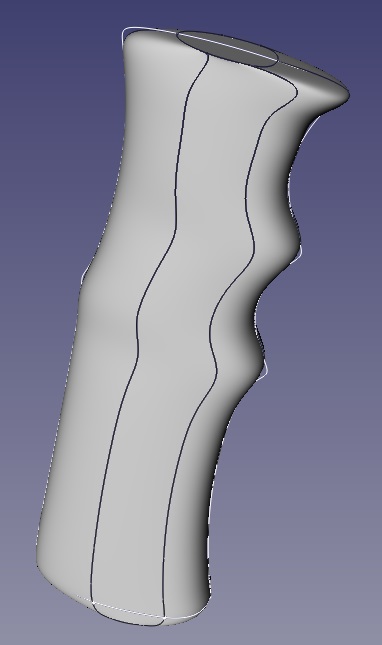
Looks decent alongside the original picture.
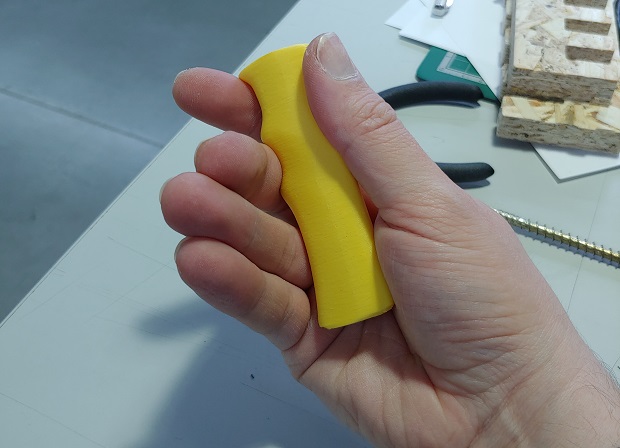
Decided to print the thing to see how it held up.
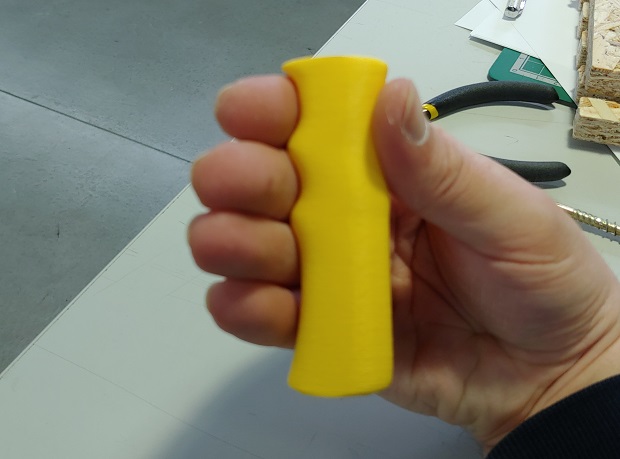
Not too bad, could’ve probably made it slightly bigger but it’s fine as a handle. I don’t know if I’ll really use it on my final project yet anyway.
Since the plan is for a rigid object the mold needs to be flexible. Which means I’ll have to cast 3 objects, a 2 part mold made of silicon and the handle in resin with a long wood screw cast in the resin. Because why not at this point.
Like I mentioned before define the Origin with the mold in mind.
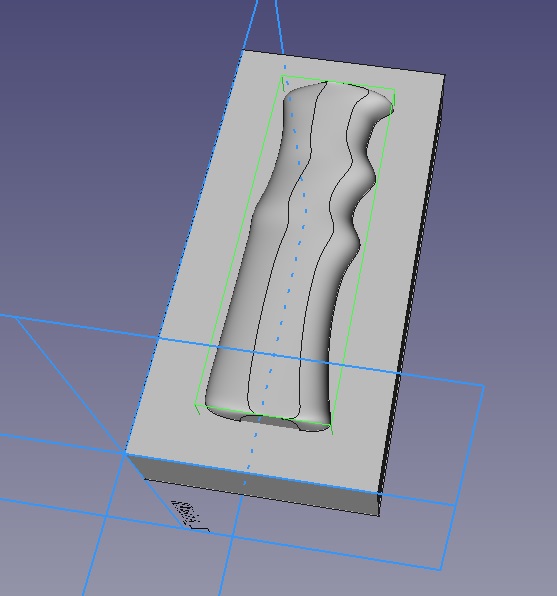
Plan the operations you might need ahead of time so the time-line looks a bit tidier than mine.
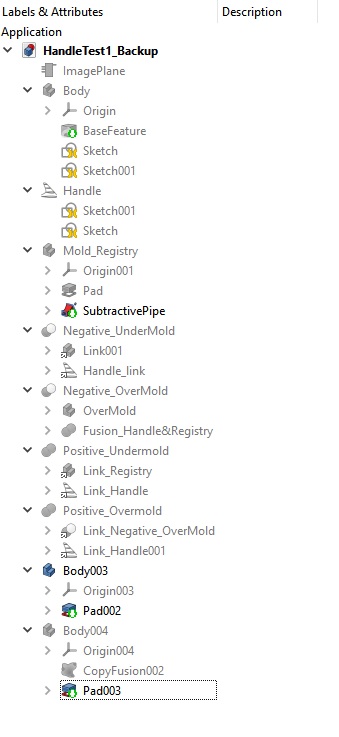
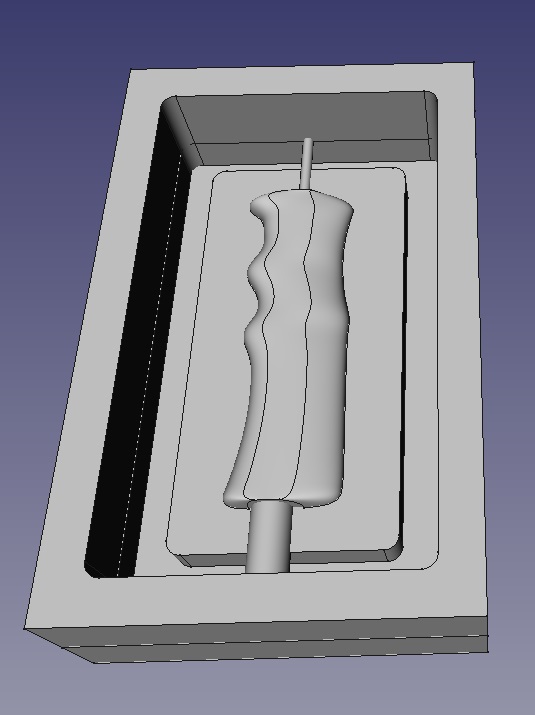
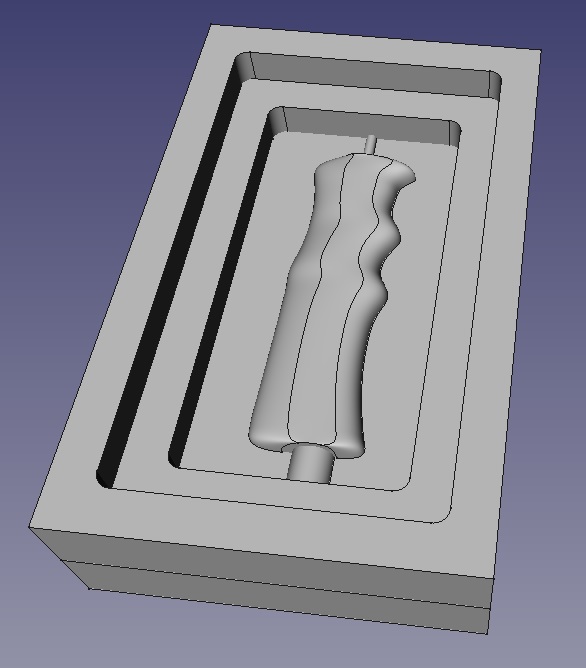
Like I mentioned before, because of how I referanced the original picture alligning registration marks it was just easier to make the whole mold outline a giant registration mark. It ended up working well too, technically.
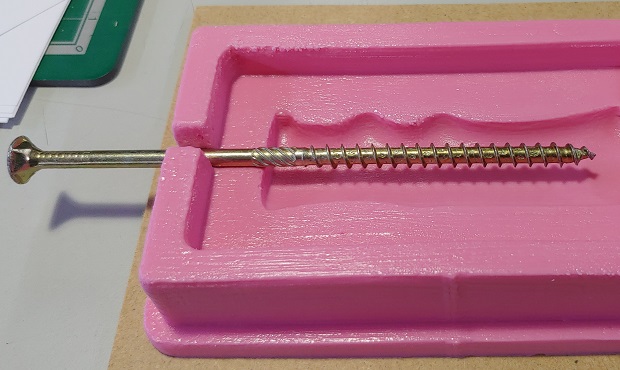
Notice 2 extra cilinders on each part. Small one will be for the integrated screw and the bigger one for pouring the resin into the finished silicon mold.
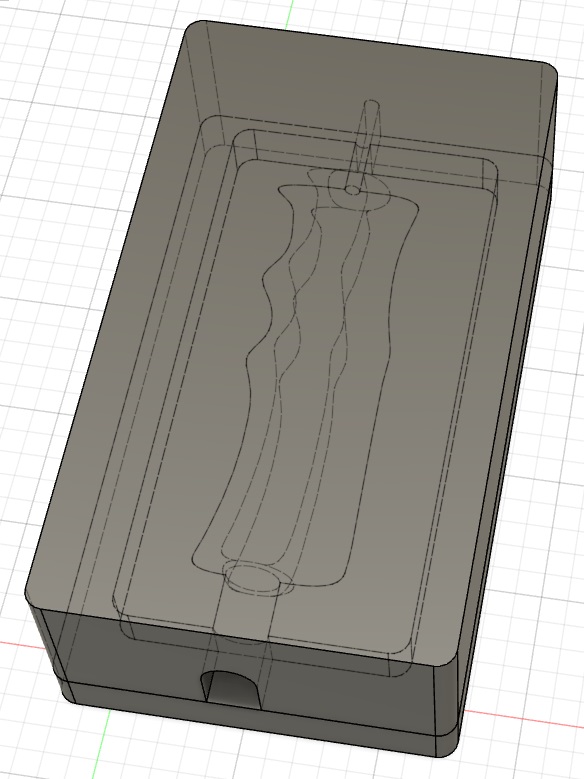
After modeling everything in FreeCAD I exported both parts as .steps and imported them into Fusion 360.
CAM Toolpaths
My instructor quickly showed me how the molds will fit to make sure everything was as expected.
I’m not sure how he did it in Fusion, but in FreeCAD it would be with a Boolean Operation called Boolean Cut in the Part Workbench. For a flexible part this would be enough to make the mold parts.

The first thing you need to do after importing the objects into Fusion 360 is adding the tool parameters library you’ll need.
In my case I used standard Inventables bits and someone has already compiled a Library - Fusion 360 X-Carve Tool Library.
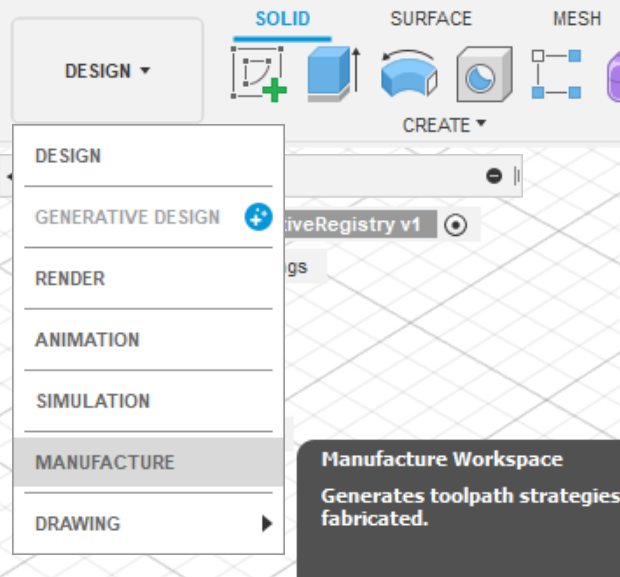
Open the Manufacture Workspace.
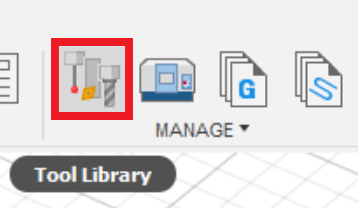
Click the Tool Library button.
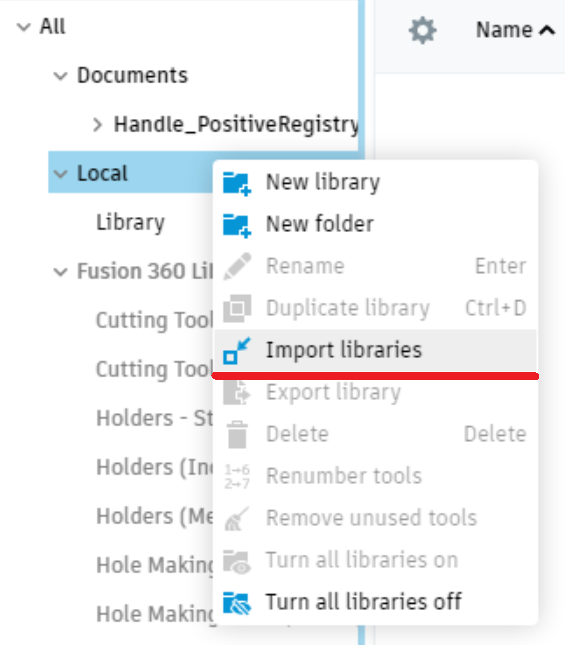
Right-click Local and import the files you downloaded before.
There are plenty of operations we can use. I was short on time so I couldn’t test most of them but this is the list I used on both parts.

A Pocket removes large quantities of material quickly.
Since FCT didn’t buy wax bricks for me I resorted to wood. With that in mind I decided to clean up the flat surfaces a bit with a Flat. This operations ended up causing some issues later because it removed too much from the sides. It didn’t seem to take the bit thickness on the side walls and removed a bit too much. More on this later.
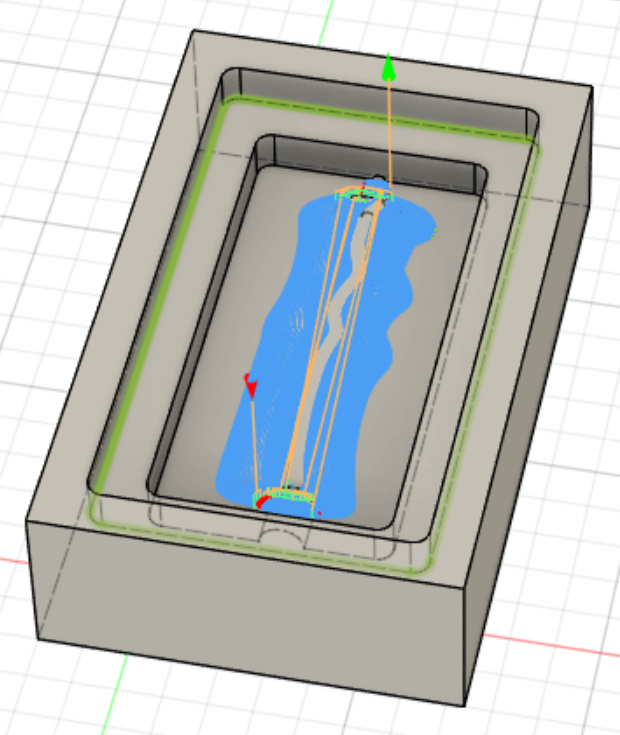
A slow and detailed Flow to get the important parts as smooth as possible.
Another flow rotated 90° to smooth everything out even more.

Every individiual operation has a lot of options you’ll have to go through… I’d need a lot more time to study each to fully understand what they do but you can hover them for a tooltip.
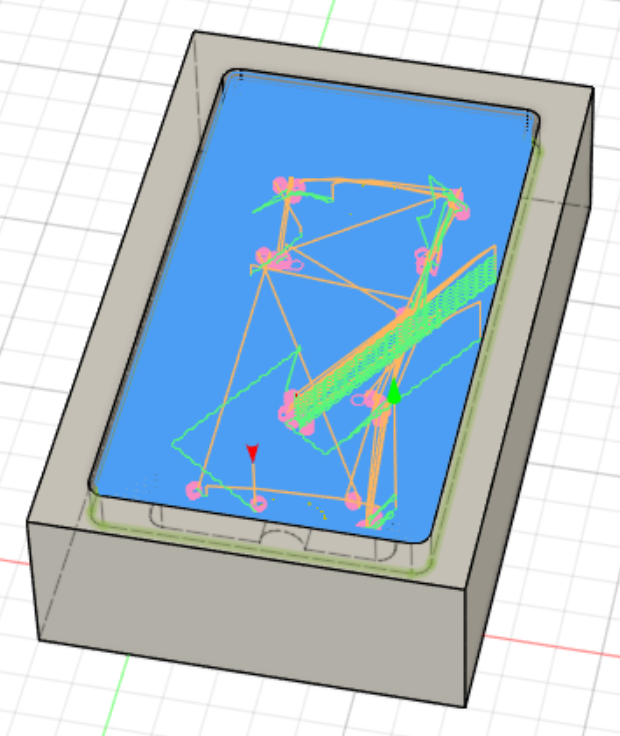
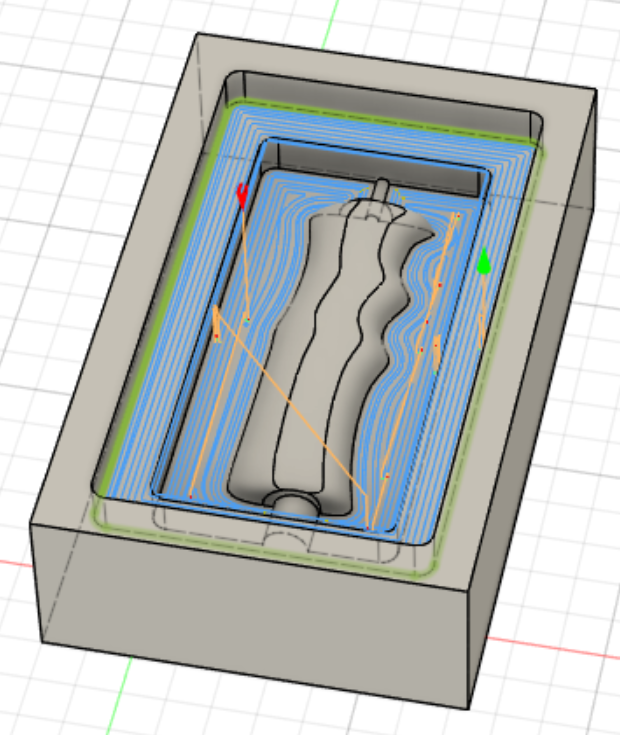
All the tool paths will look like this:
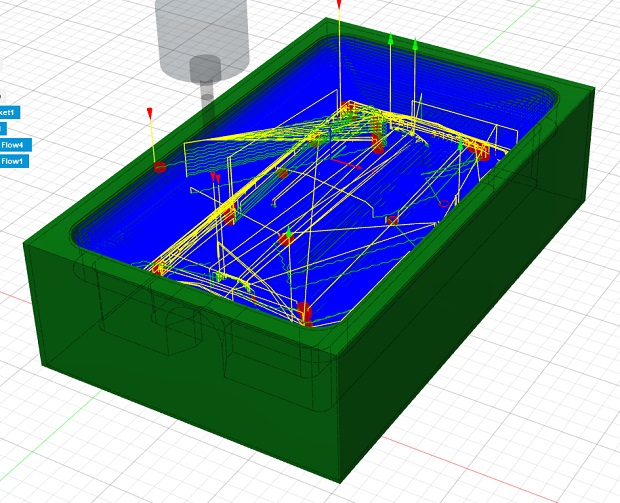
Blue is cutting, yellow is regular moving and red is plunge cuts.
Cutting
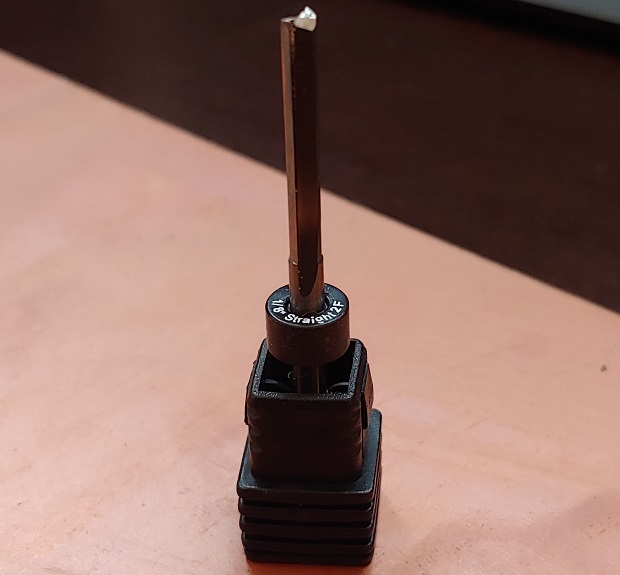
We used the same 3.175mm bit from Computer Cntrolled Machining Assignment
To prepare for cutting the wood safely we did a quick test on a leftover foam piece.
Ready for wood!
Make sure the wood stock is secure and hit it.
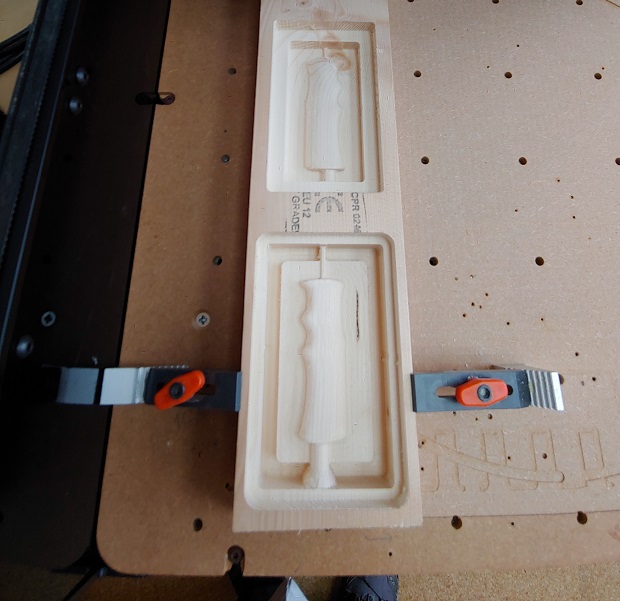
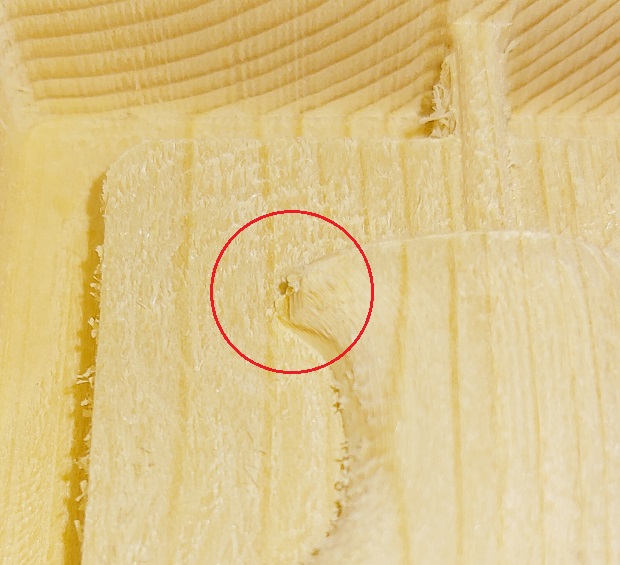
Everything went well, except for a small chip the broke off. If you want to this would be the time to repair any issues.
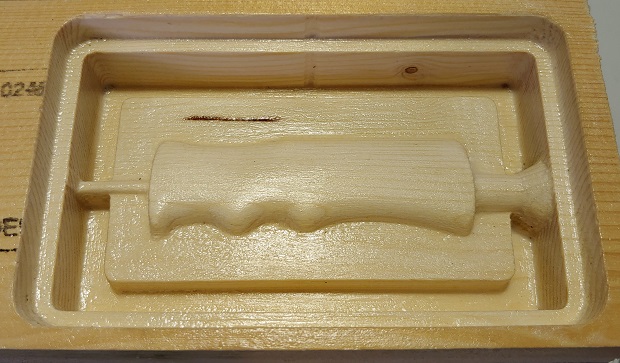
After milling the wood needs to be treated and finished before applying the silicone or it would just stick to the rough surface.
I sanded the parts thoroughly and in between wood sealer was applied as well.
The sealer available at the Fab Lab was this one:
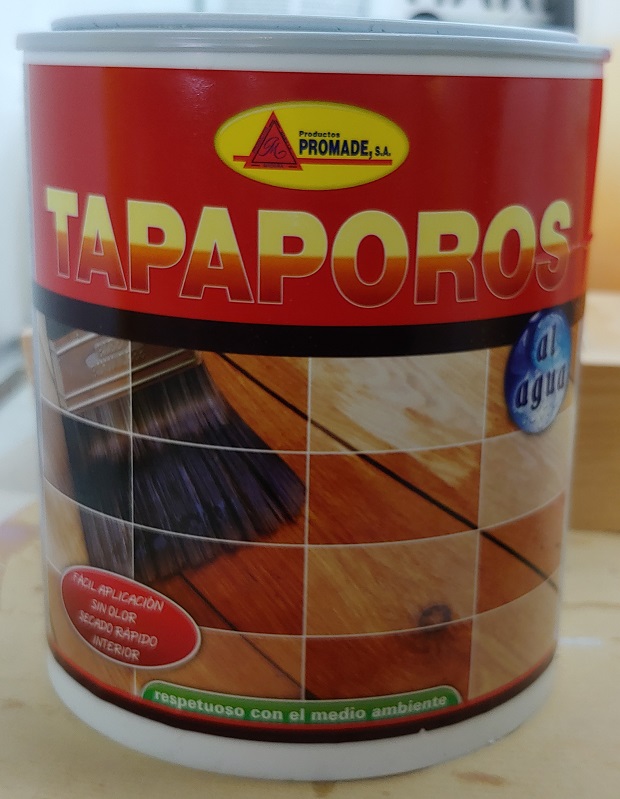
Don’t know the brand but it did the job. Here is the safety lable:
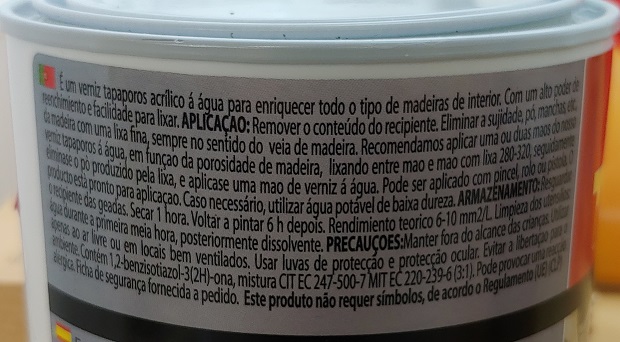
Apply each layer generously.
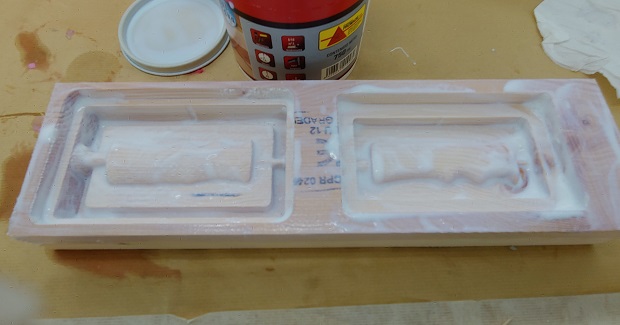
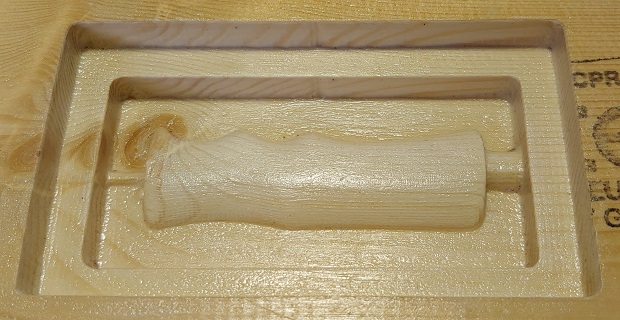
It’ll become obvious when the wood isn’t absorbing any more so after sanding it move on to a hard varnish.
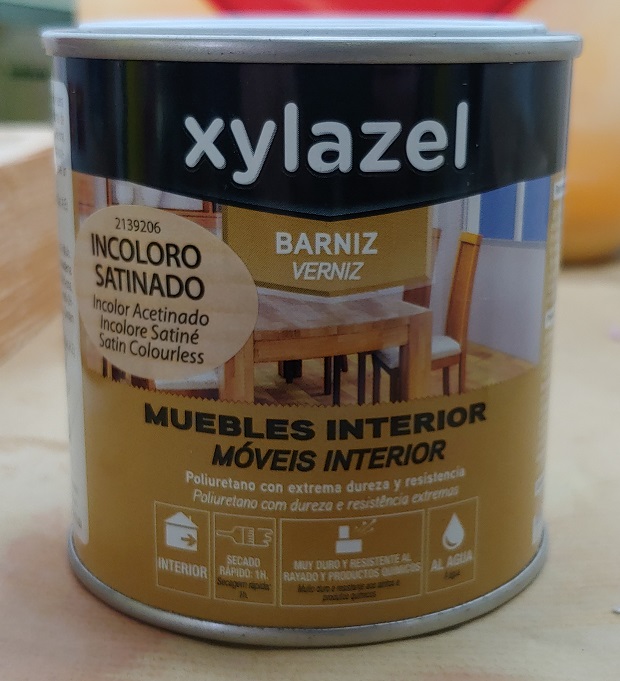
Again, don’t know the brand but it did the job. Safety lable:
Finished products
Individual Assignment - Using the Casting Mold
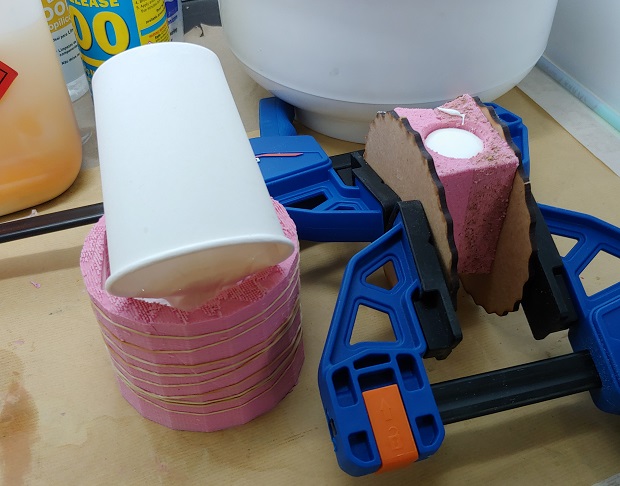
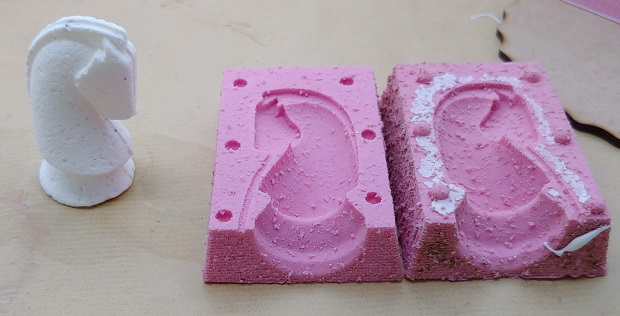
The silicone at the Fab Lab was over 2 years old, used in 2020 by Marius and Tiago. To make sure it was usable we did a small test using one of their wax bricks. Mixing ratio is 10xA to 1xB by weight.
I might have forgotten to take pictures of the Degassing process.
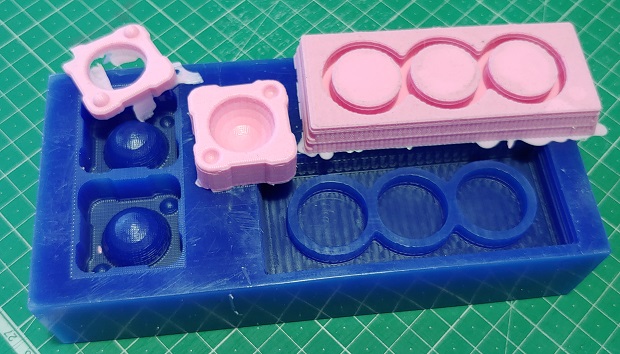
Quick comparison of the parts. Silicone seems usable.
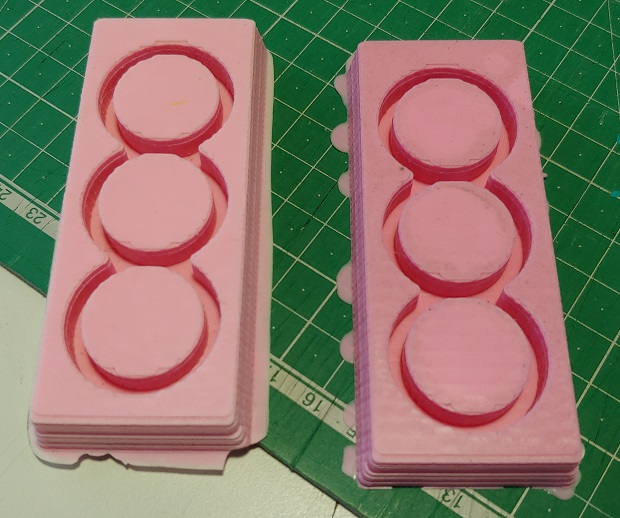
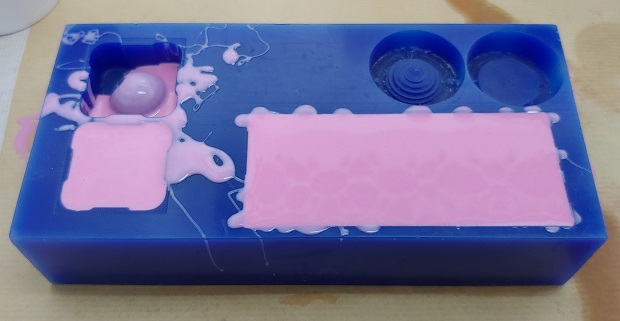
Mixed some more silicone and threw it on the molds.
Should have mixed a tiny bit more. First one filled out nicely but the second one I had to scrape the mixing cup to get all out. Some of the scrapped bits might have not been fully mixed.

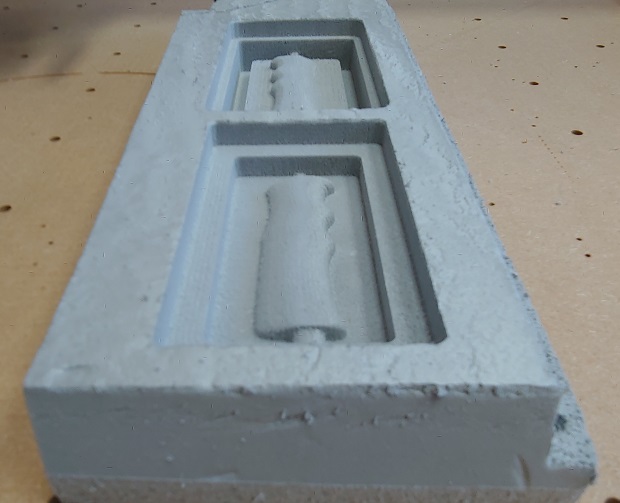
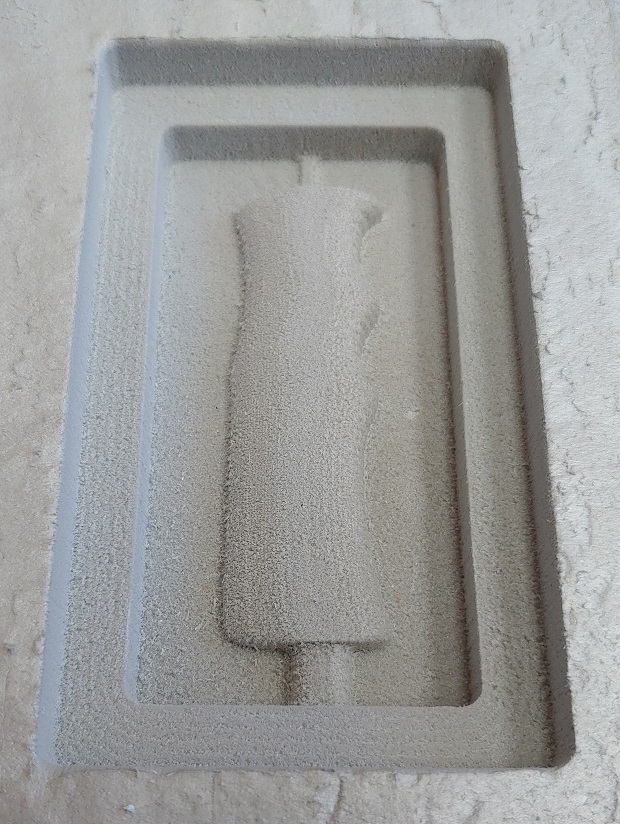
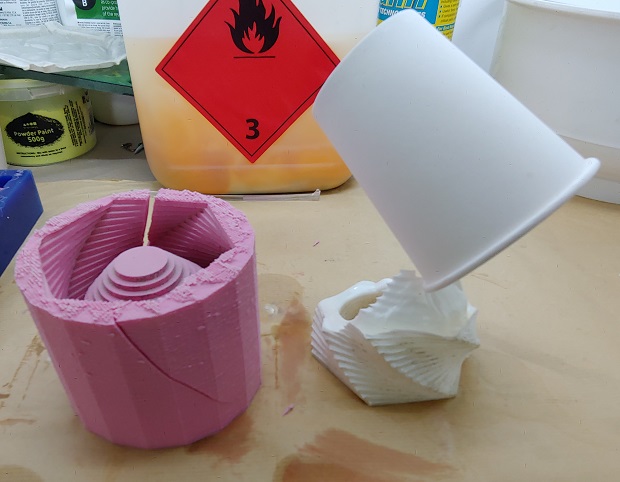
Molds came out as best as could be expected. The Silicone incorporated every single dent from the wood.
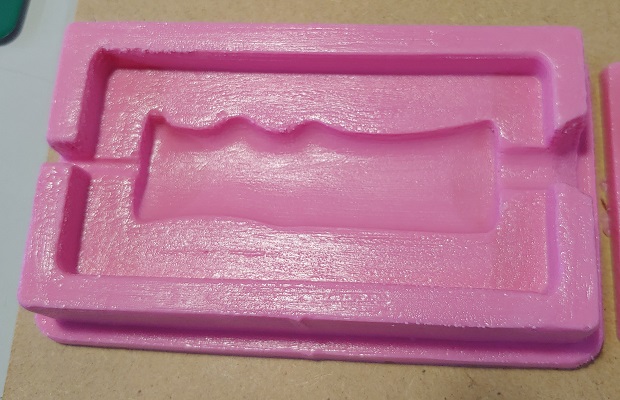
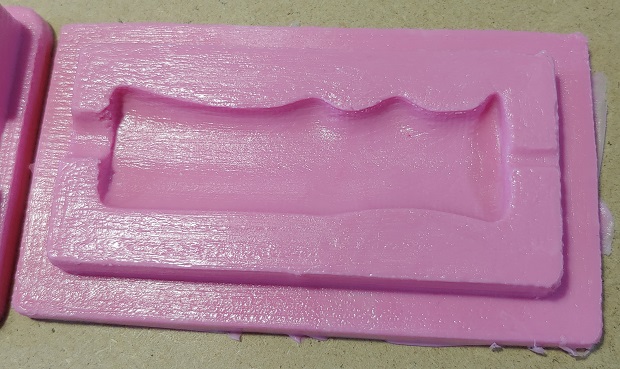
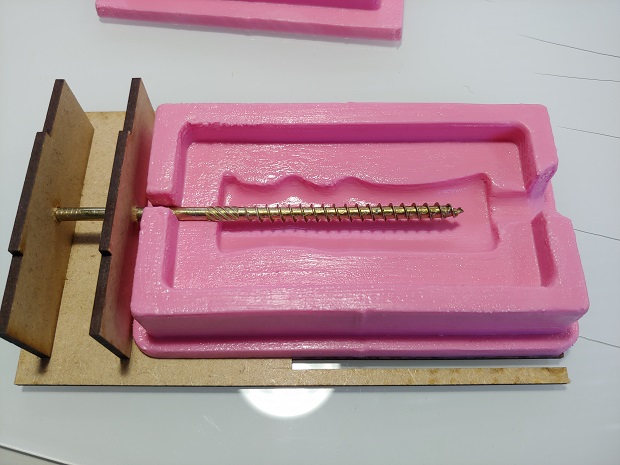
The molds can even hold the screw in place reasonably well.
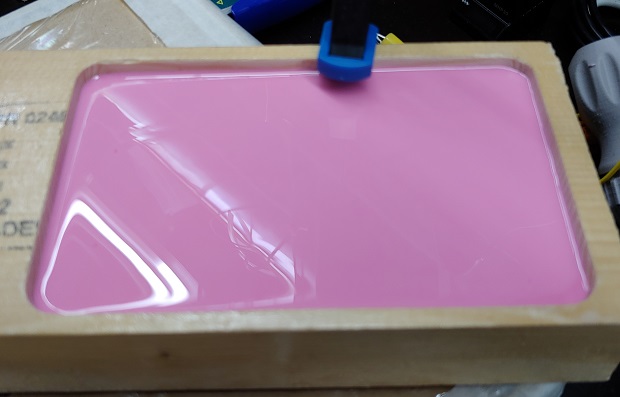
Since the resin was also opened a couple of years ago we did a small test again with Marius’ old mold and my instructors old mold. Mixing ratio is 10xA to 9xB by weight.
Resin is also decent. It cures a bit too quickly, doesn’t leave a lot of margin for degassing. Pot life is just 3mins…
I wanted to McGuiver the whole thing together.
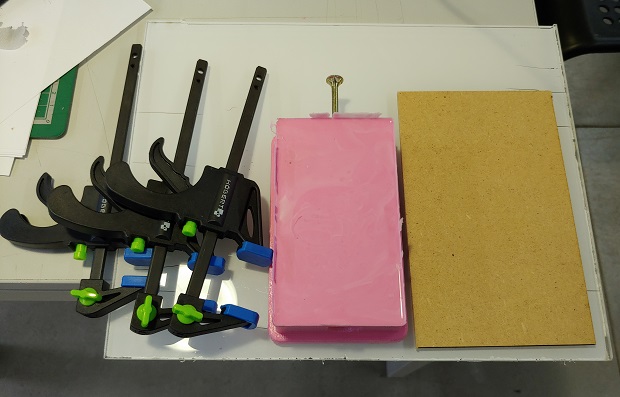
But because of the screw my instructor insisted in quickly making me an mdf support.
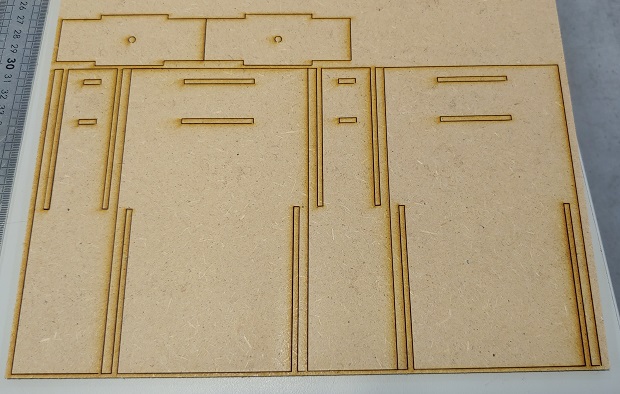
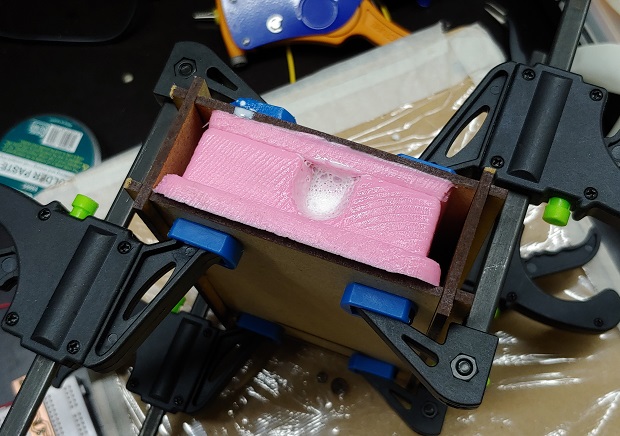
Time to start final assembly.
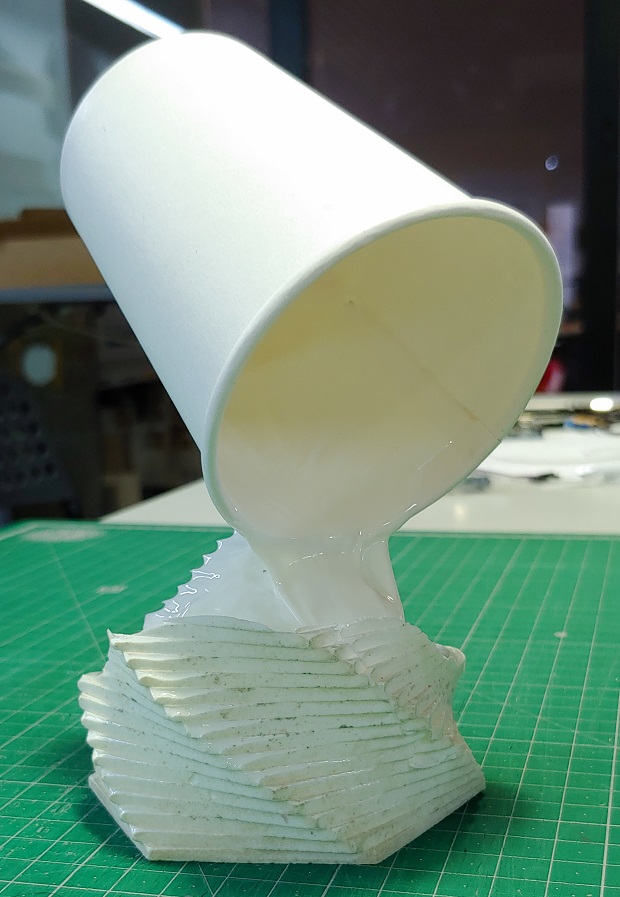
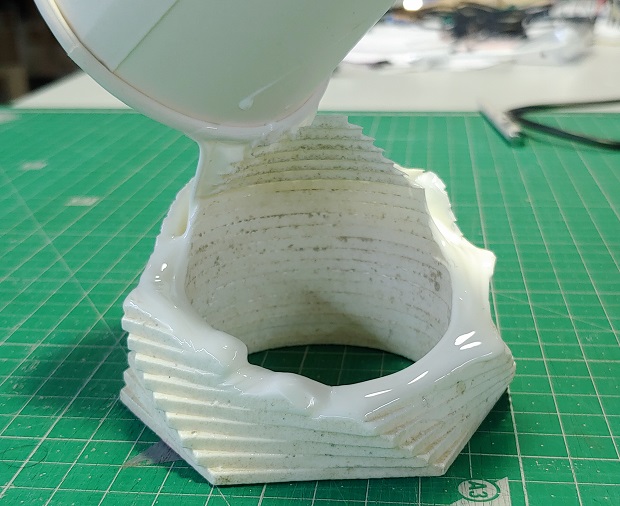
Mix some more resin and pour it in. #Kawabunga
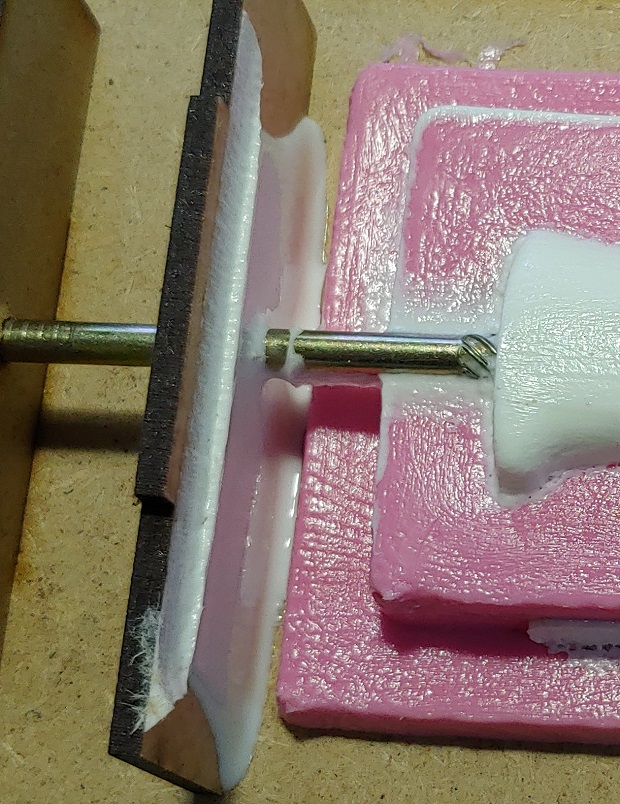
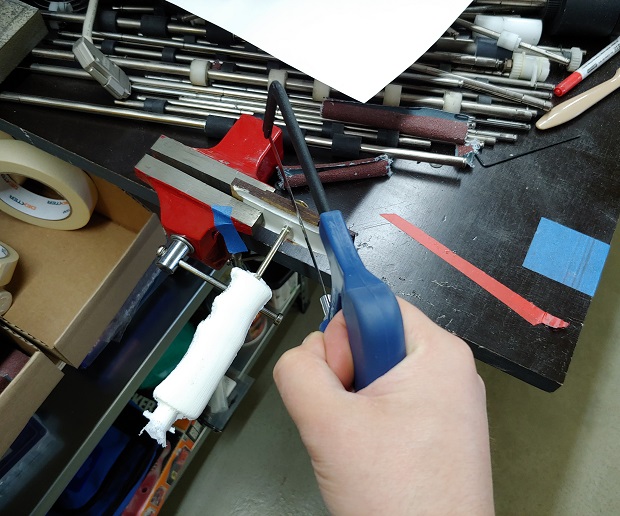
The mdf supports were a bit too hard to take off, something ain’t right......
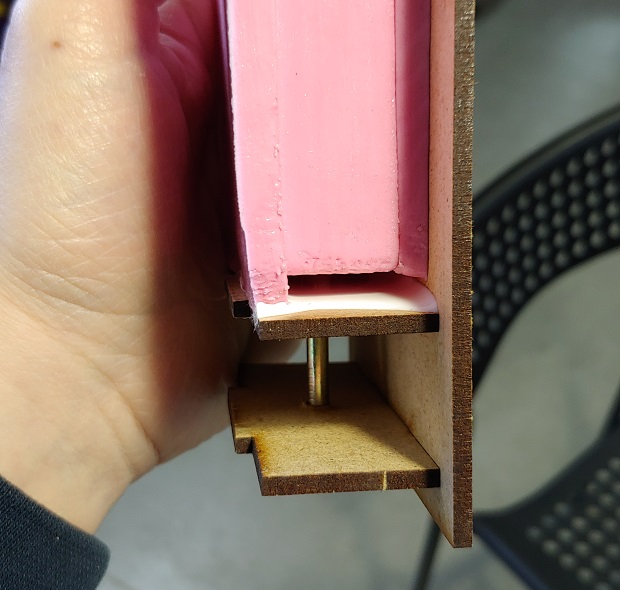
Seems like there was quite a bit of flashing. Part looks ok and horizontal faces don’t seem affected. It was the Flat operation that removed a fraction of a milimiter on each wall leaving space for the resin to run around the actual mold. I thought it would auto-apply margin limits to only cut outside the mold model like the other operations… I do remember expecting the registration should have been tighter.
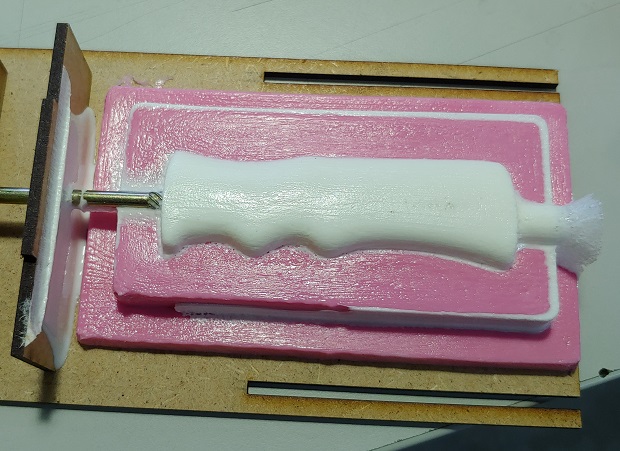
Because of the screw, the bottom part of the support my instructor made is a consumable. It ended up helping containing the resin flashing from spilling everywhere.
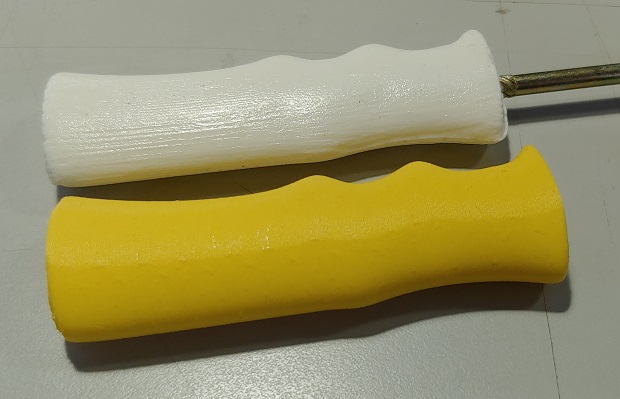
Part looks great, if I do say so myself…
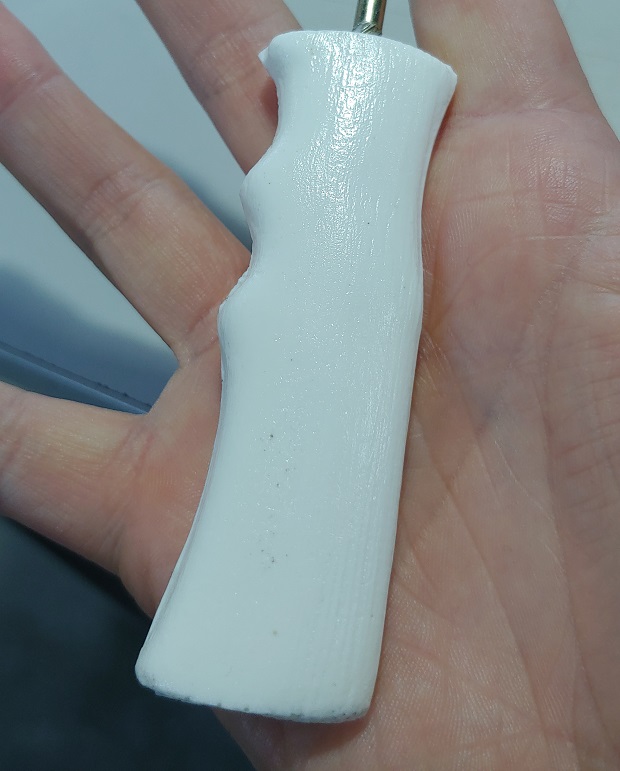
The woodgrain and the small chip in the mold are visible.
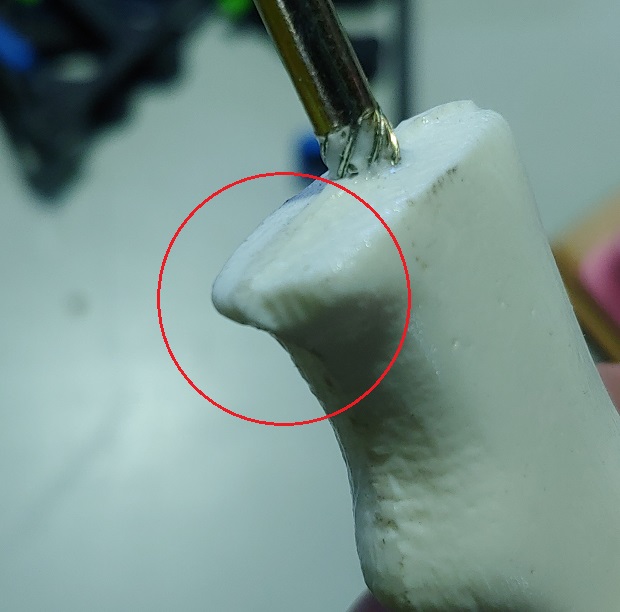
And the resin part was slightly smaller than the printer part too.
Assuming the X-Carve was calibrated, which I didn’t do come to think about it, it might be natural shrinking in the resin curing process. Or something to do with the Silicone. Maybe it expands…
Files
Handle Mold - Parametric .FCStd
Handle Mold - Positive Registry .step
Handle Mold - Negative Registry .step