8. Computer controlled machining
Assignment
group assignment
do your lab’s safety training test runout, alignment, fixturing, speeds, feeds, materials, and toolpaths for your machine
individual assignment make (design+mill+assemble) something big (~meter-scale) extra credit: don’t use fasteners or glue extra credit: include curved surfaces
Files :
Group assignment
Shopbot CNC machine :

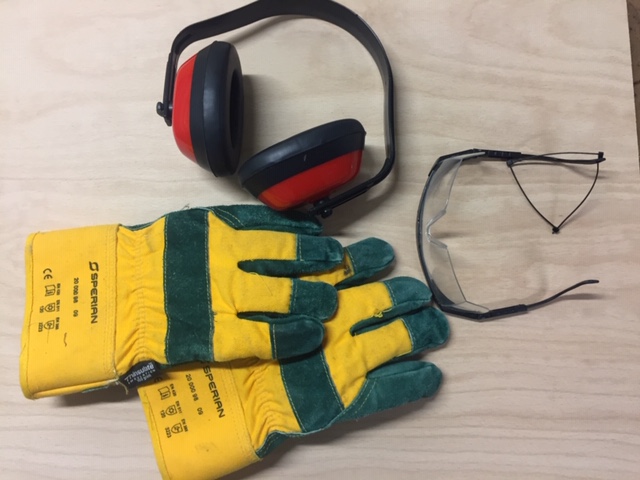
Security : Always close the protective carter before starting the cut. Use the protective goggles and the soundproof headphones. Clean the machine with a vacuum cleaner. Safety equipment :
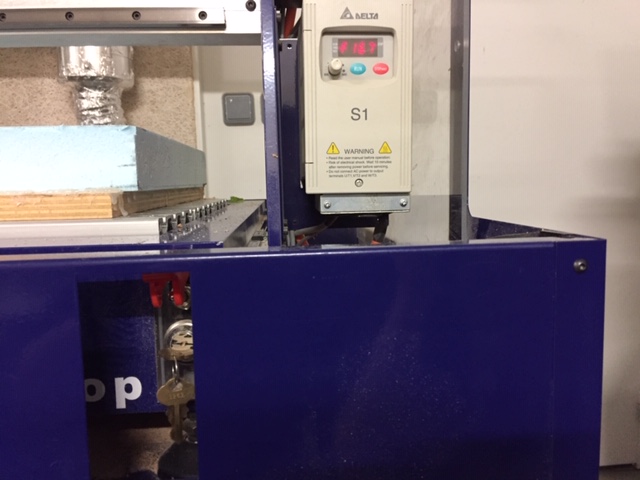
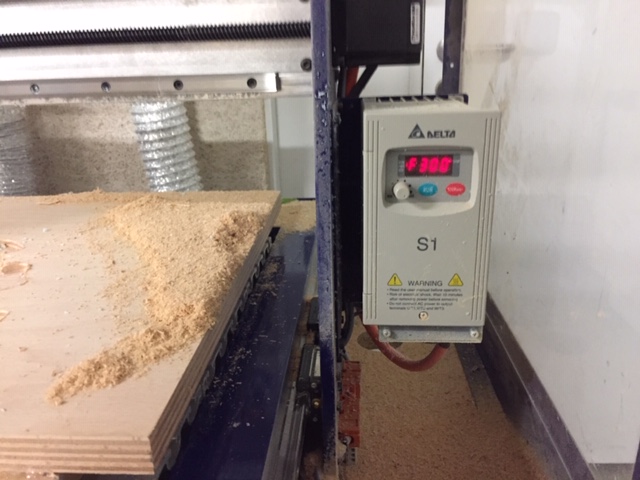
Turn on spindle box last :
Test runout : I launched an air path before machining by putting an offset in the z axis.
alignment :
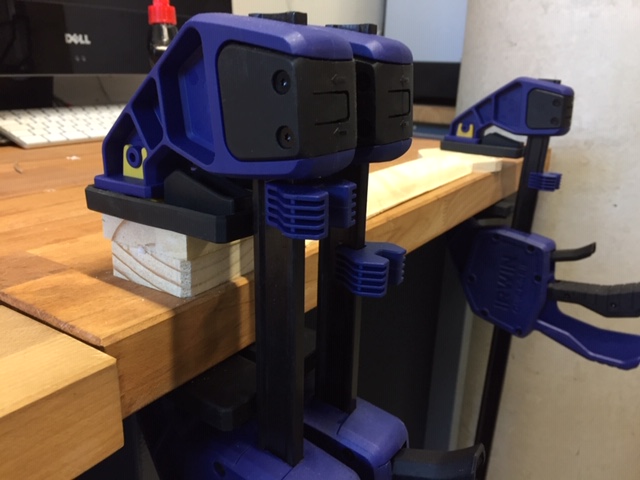
Fixturing :
The material is hold in place thanks to hot glue. To keep the material plane, the hot glue is put on the outer edge of the material and not under it. To be sure that it’s fixed well enough, the whole outline has been glued.
For the CAM software, I use Vcarve to generate a gcode which will be send to the machine via the shopbot software :
VCarve
This software allow to create a 2D shape or import a 2D (formats : dxf, dwg, ai, pdf) or 3D shape (stl, dxf, skp, 3ds, obj, v3m, lwo, 3dm)
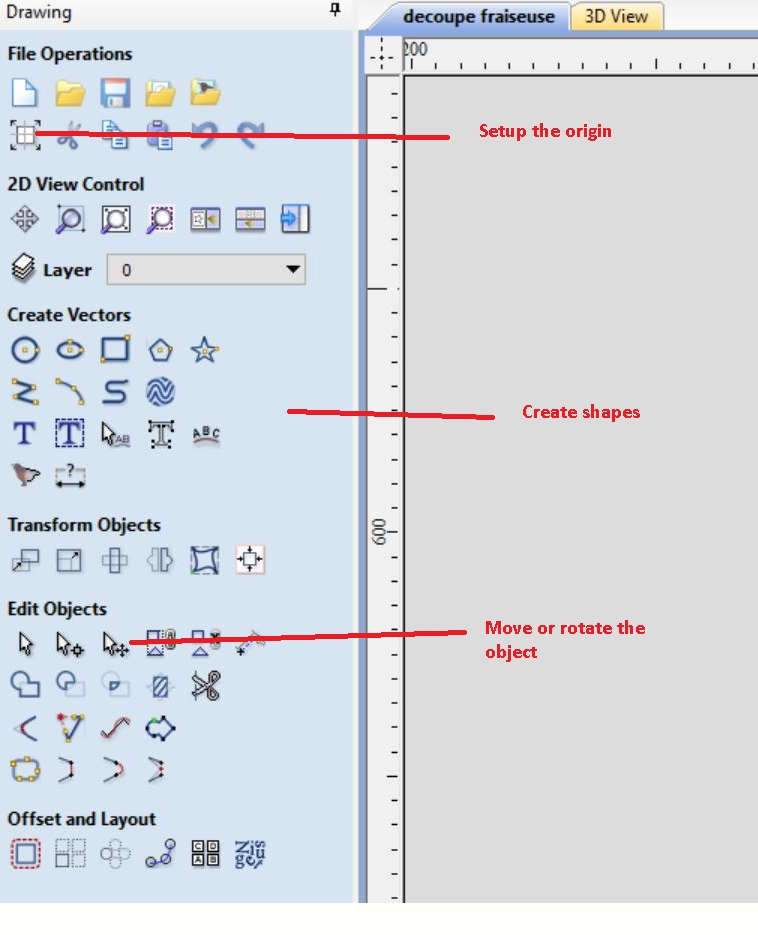
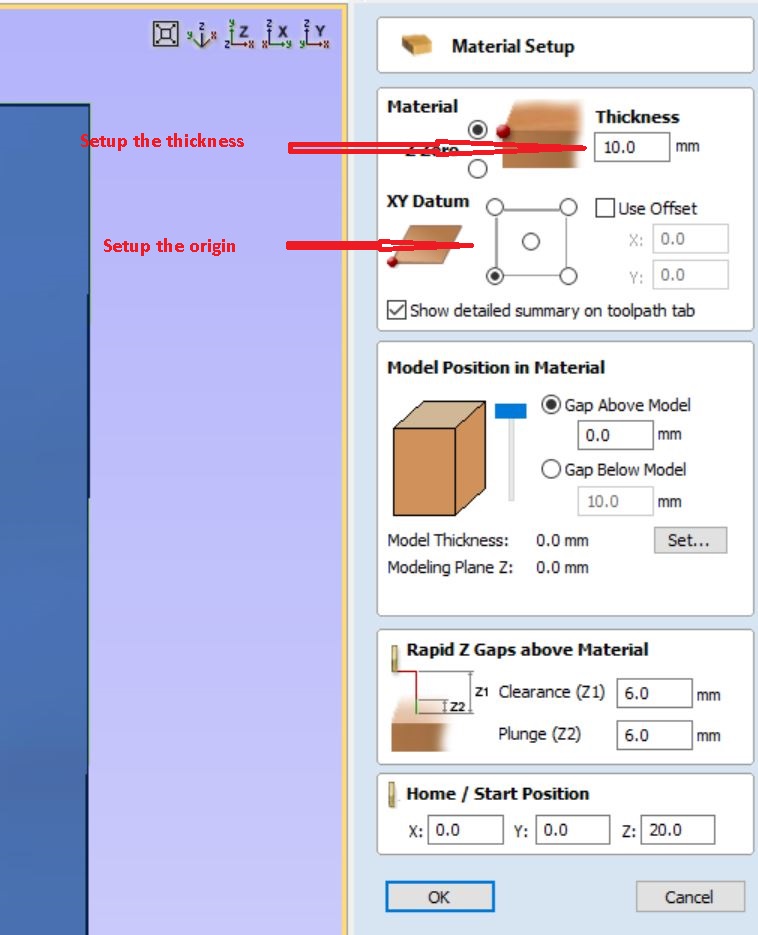
Setup the material
First, you need to setup the origin. Also make sure the drawing is positioned to your liking and the configuration of the machine. Then define the thickness and dimensions of the material we are using.
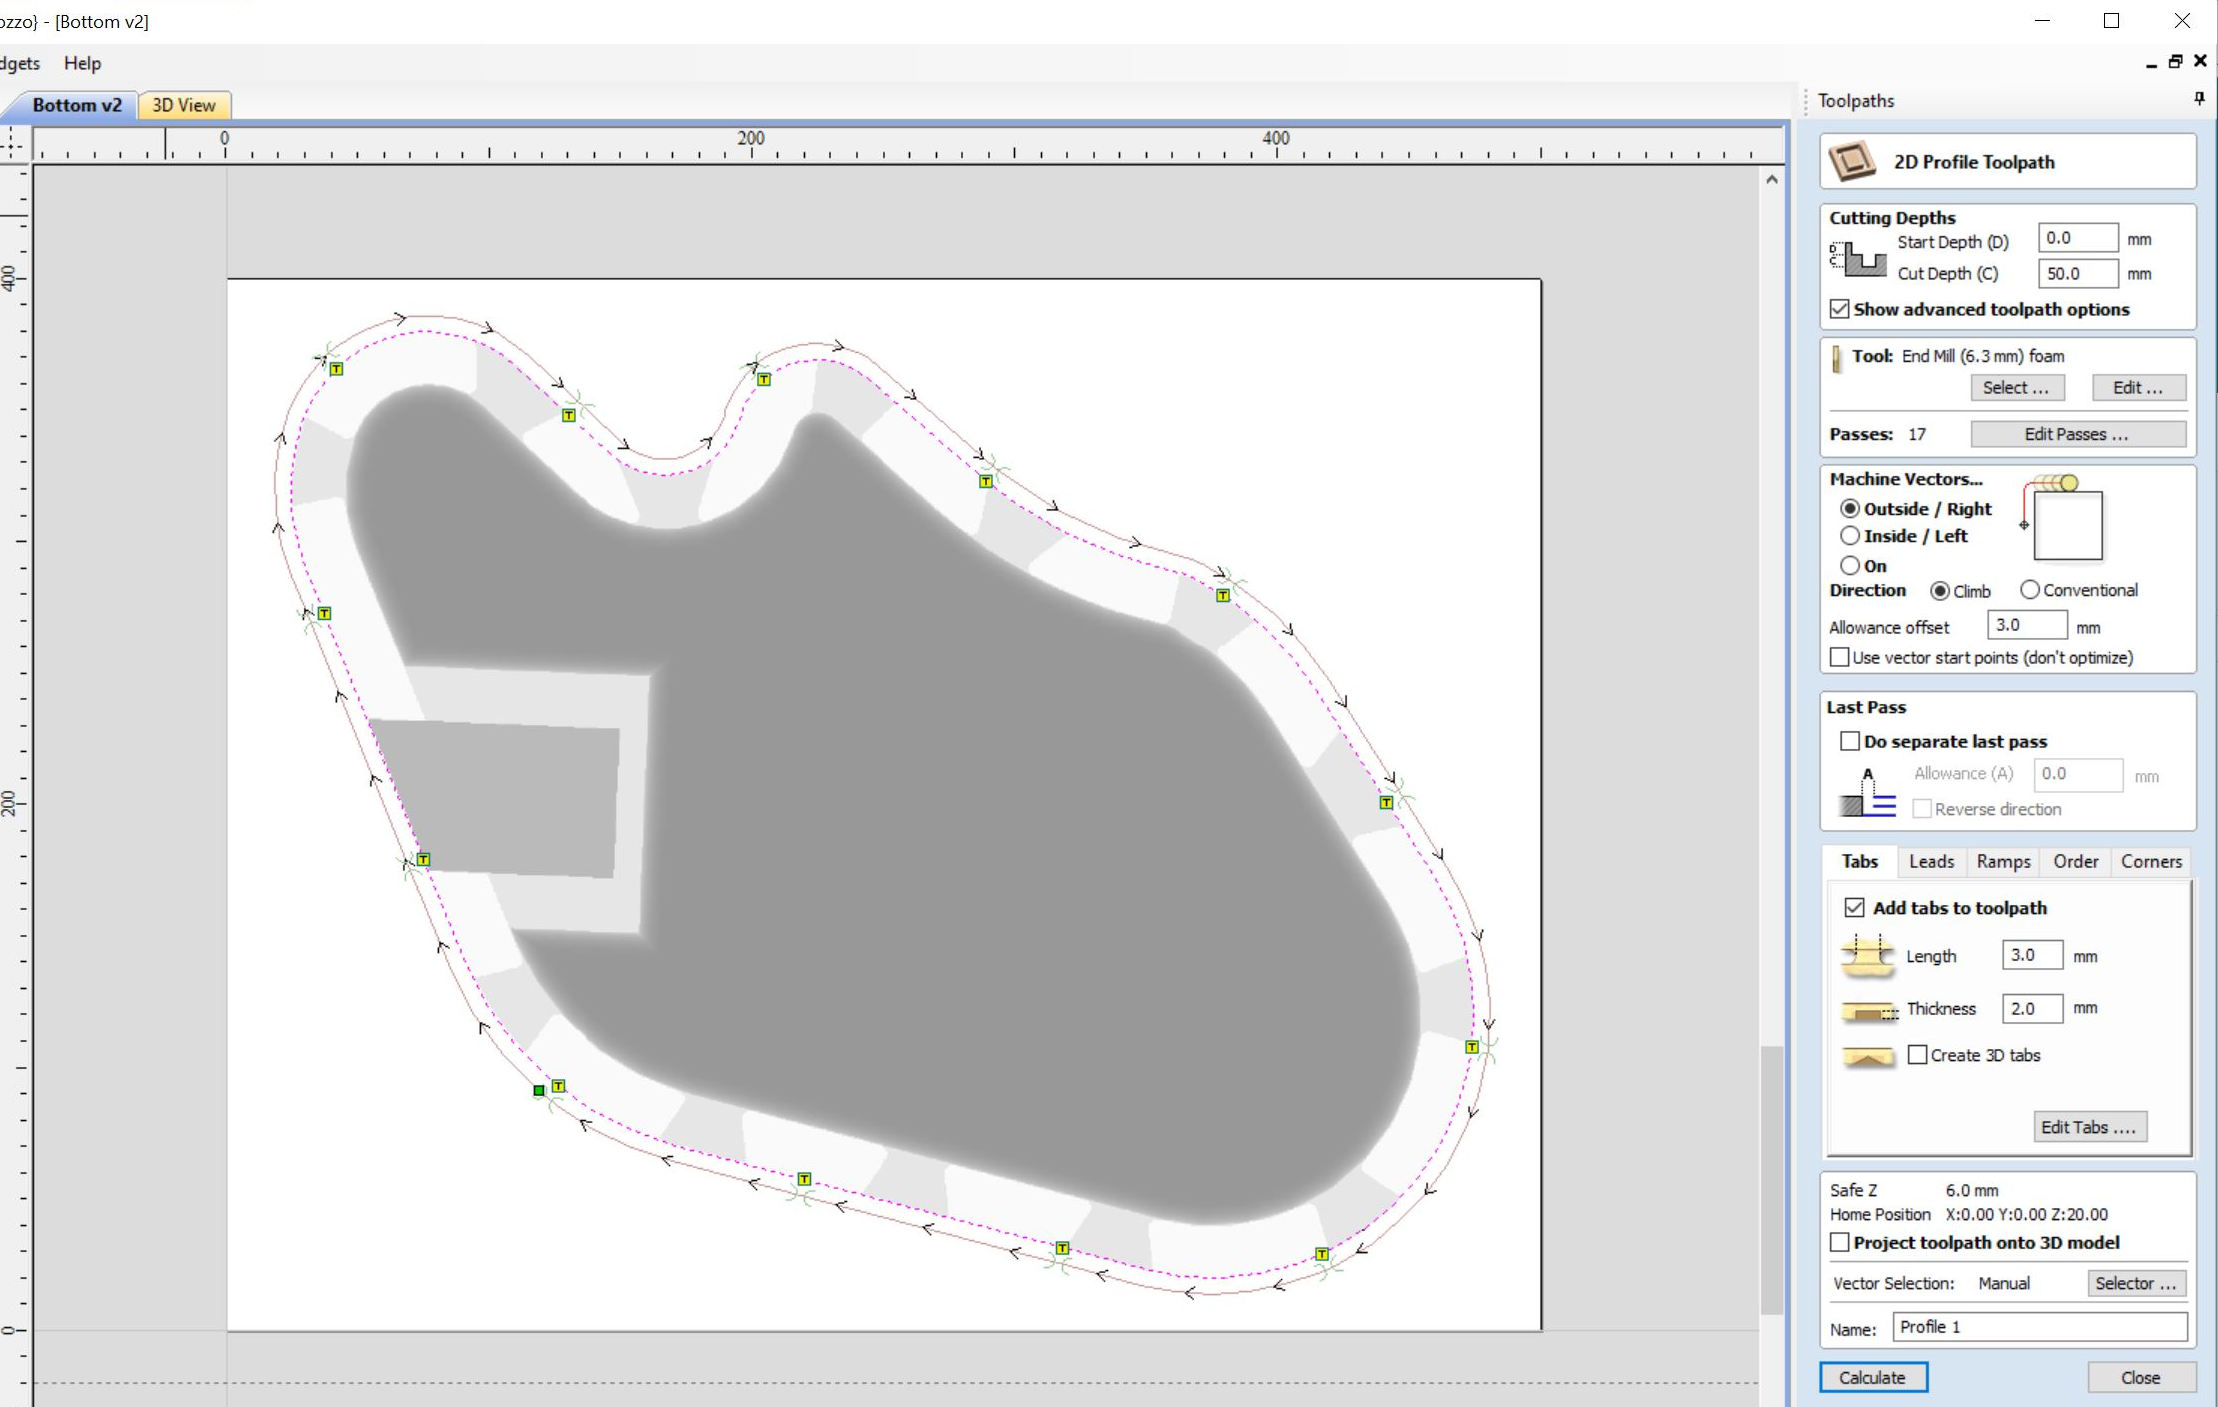
Toolpath
Then you need to define the way the tool will operate.
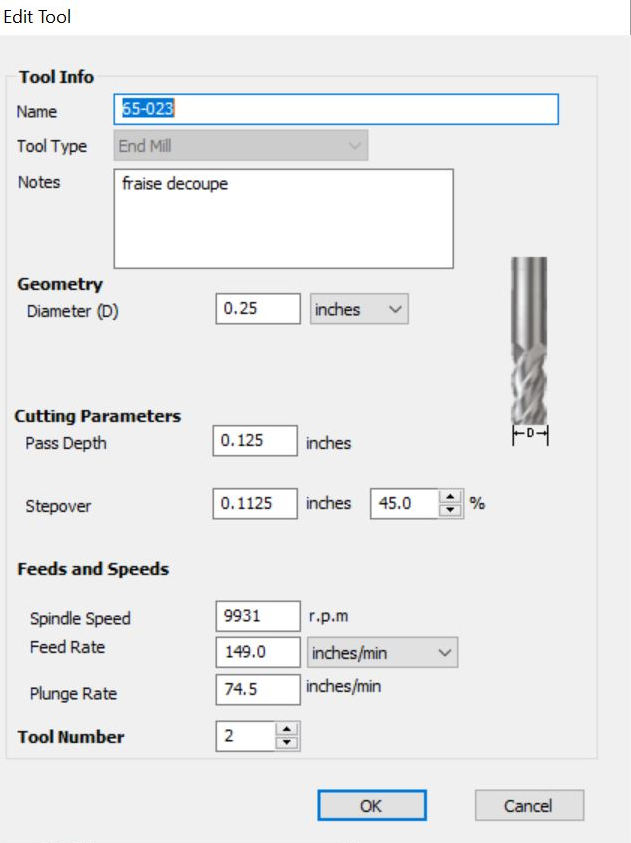
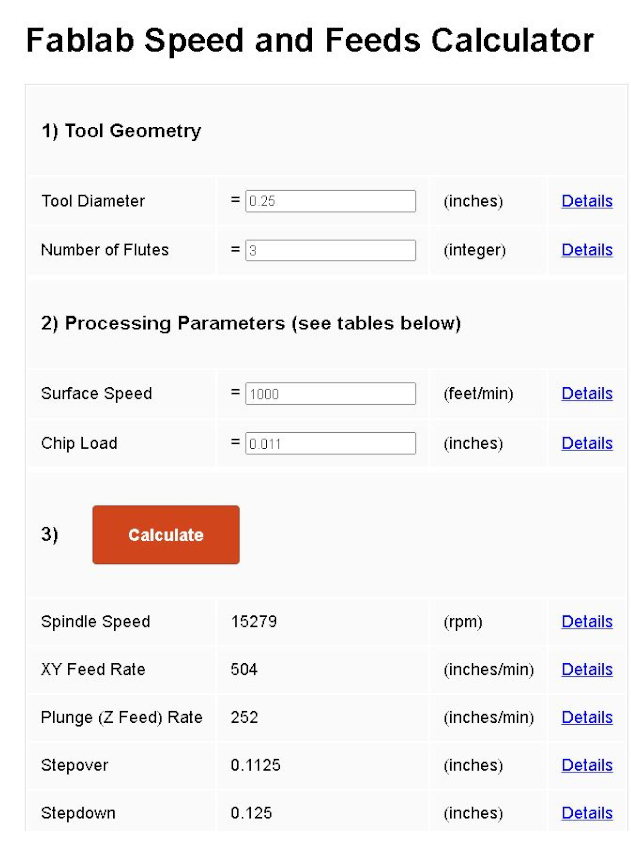
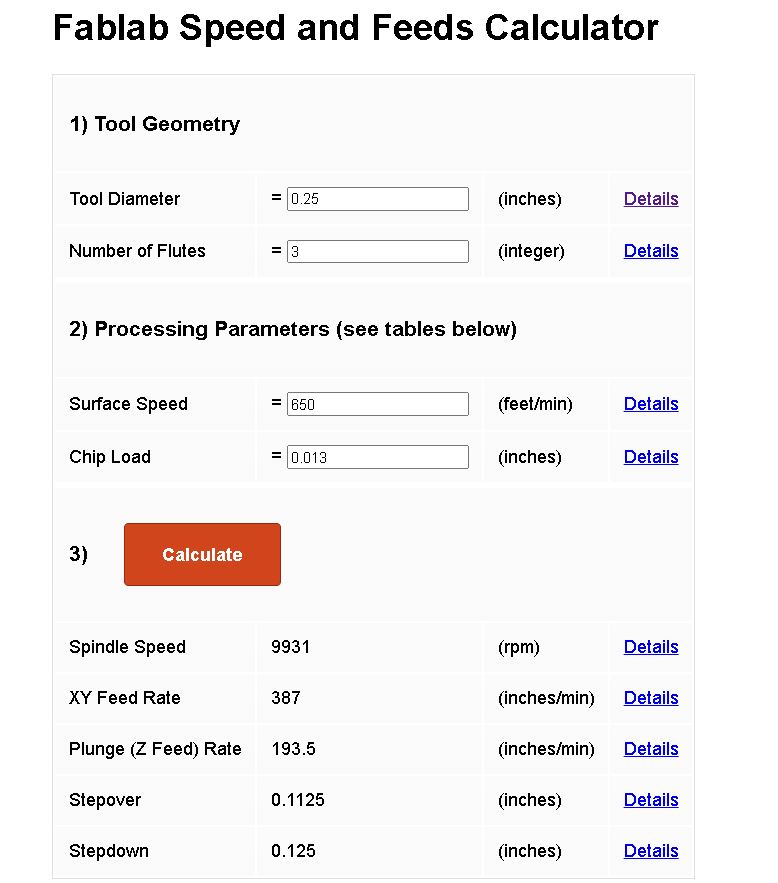
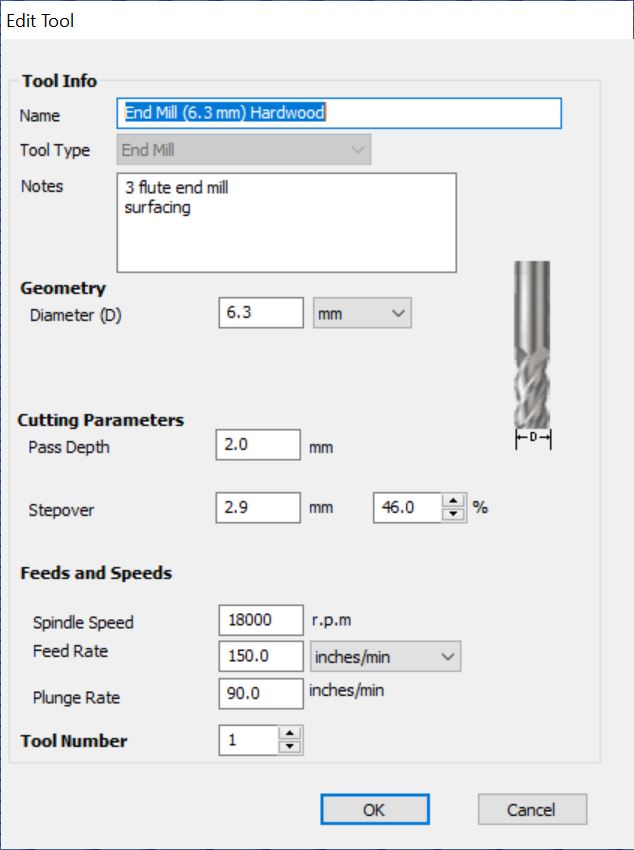
To fill the edit tool tabs, you need to know the dimensions of the bit and calculate inputs with the following site :
| Edit tool | Feed speeds calculation |
|---|---|
 |
 |
Choosing between climb and conventional depends on the material used and the quality of the surface wanted. Conventional is used for harder material like steel and climb is better to have a good surface quality.
You can choose to add tabs which allows your objects to not fall or move during the cut.
You can add different toolpaths for different operations or when you need to change the drill bit or the position of the material.
Further explanations on parameters
Jonah Marss made a presentation about CNC milling machine in this slide which was useful to start working on the machine :
Here are a few parameters explained :
Stepdown : The step down should be less than the diameter of the tool for soft materials such as plastics and wood. For hard materials such as metals, stepdown should be less than half of the diameter of the tool.
Stepover : The overlap between each pass. By default it’s 45%
Plunge Rate : In general it should be < 50% of the feedrate
Shopbot feed&speed chart
To have an idea of basic feed&speed parameters, I looked on the shopbot feed&speed chart :
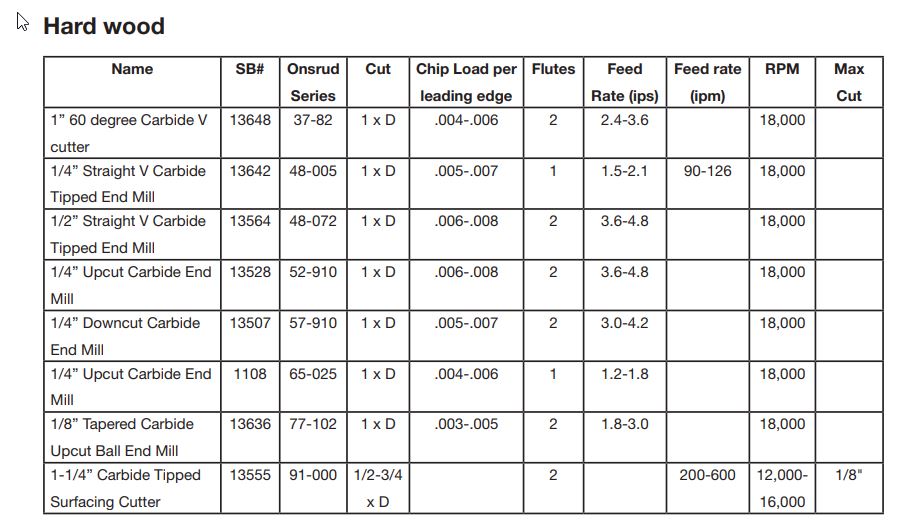
Shopbot
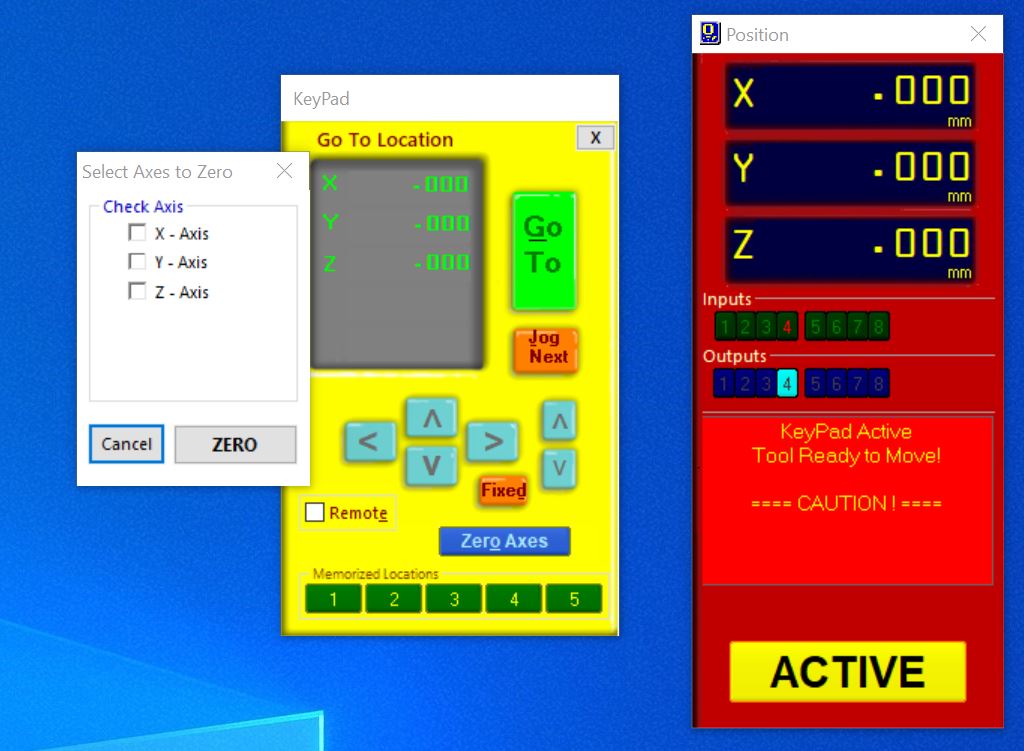
Define the origin by moving the spindle to the good place and zero it :
Warm up spindle
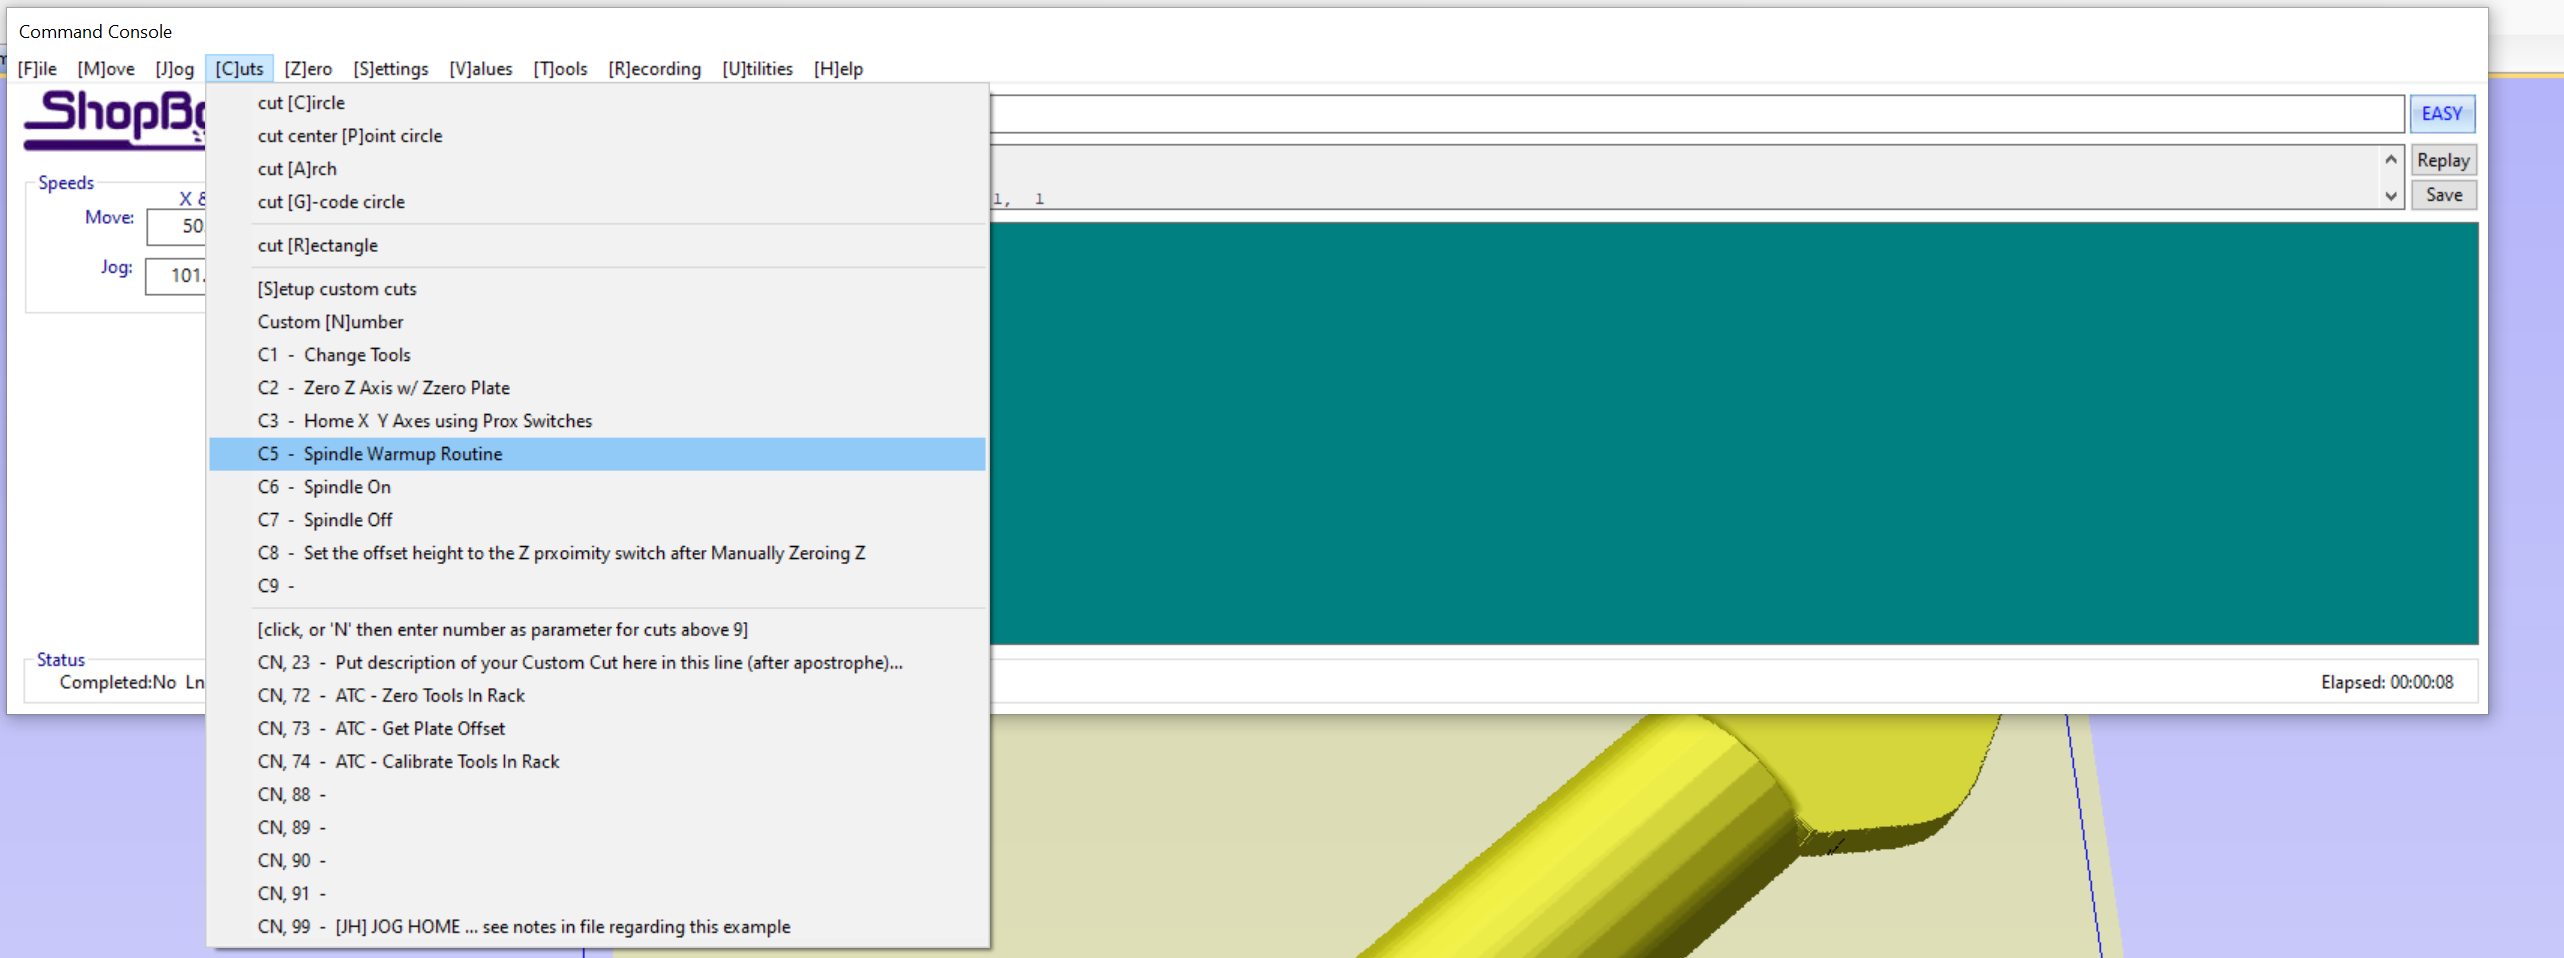
Warm up spindle to avoid disparity in milling diameter due to spindle heating.
Changing the endmill
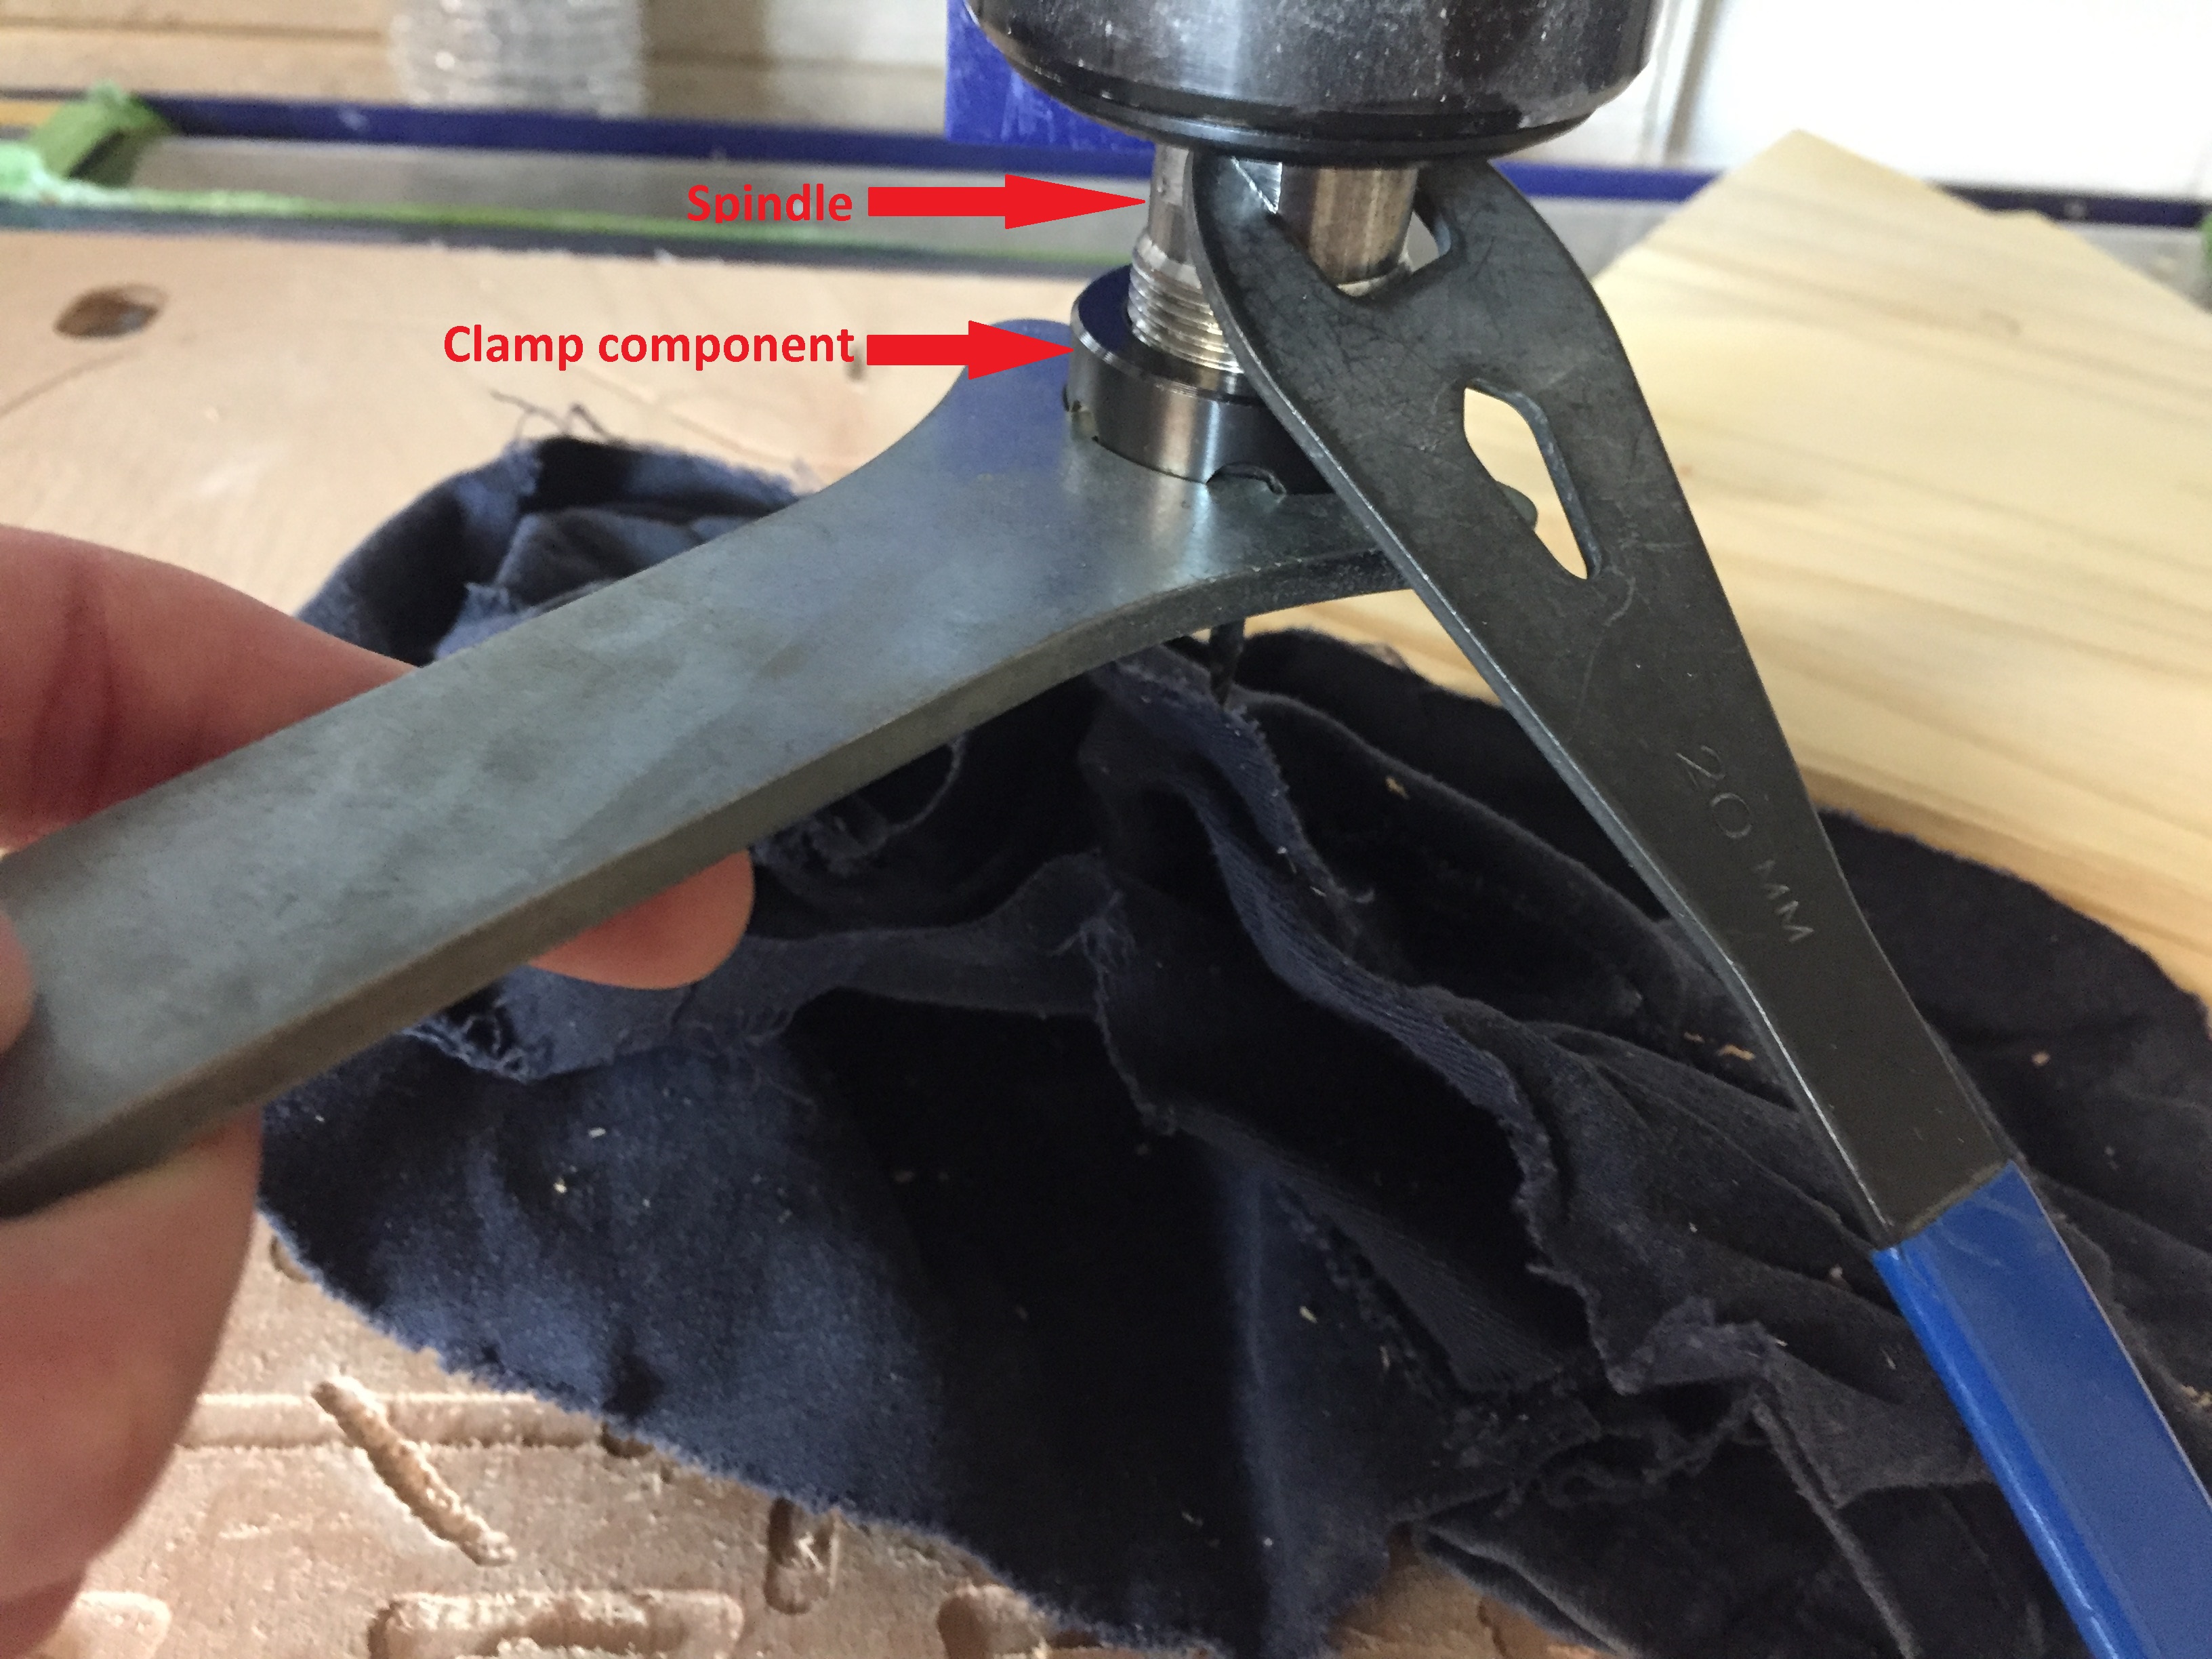
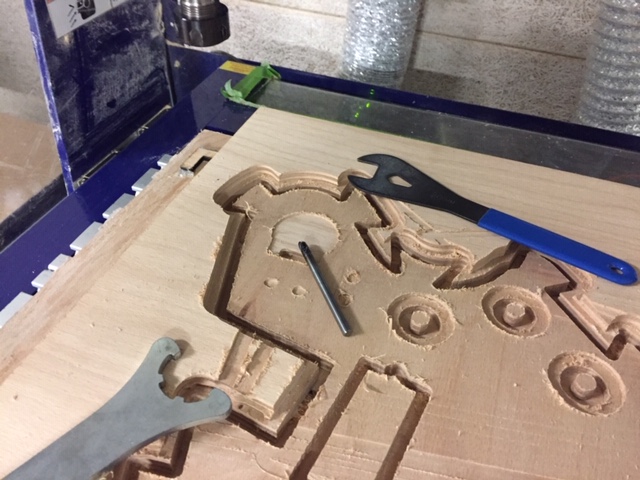
To change the endmill, there is two special wrenches fitting on the spindle and the clamp component. You can hold the endmill with one of your finger to make sure that it doesn’t drop. The piece of tissue is here as a security measure, to not brake the endmill if it falls.
Individual assignment
Joinery tests
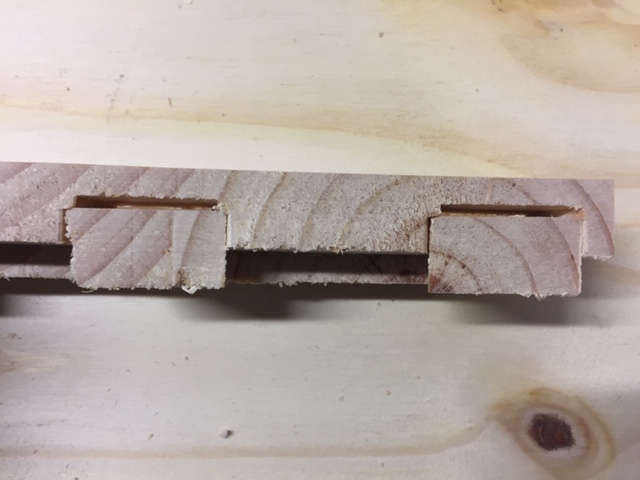
1st test. No offset between the 2 parts :
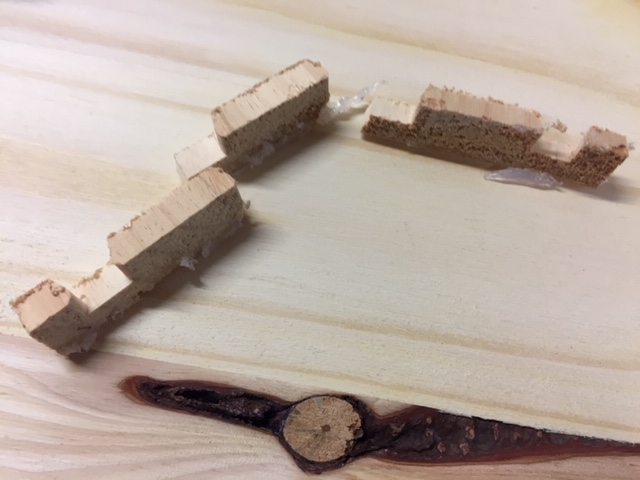
The joints are barely fitting and the wood part is too thin so it broke (it’s also due to the fact that I used a material already milled which had holes in it)
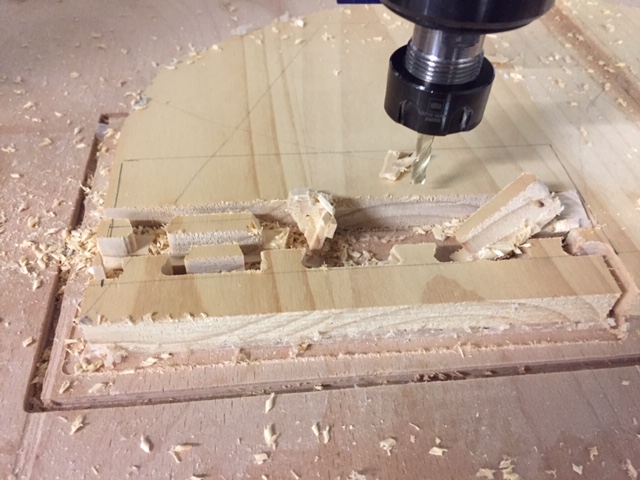
2nd test (wrong toolpath):
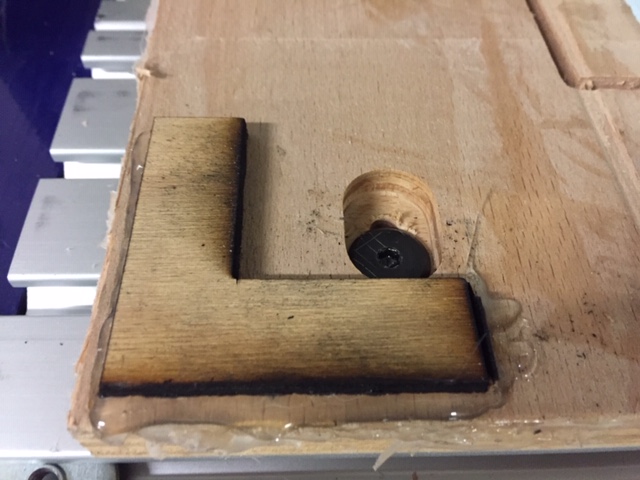
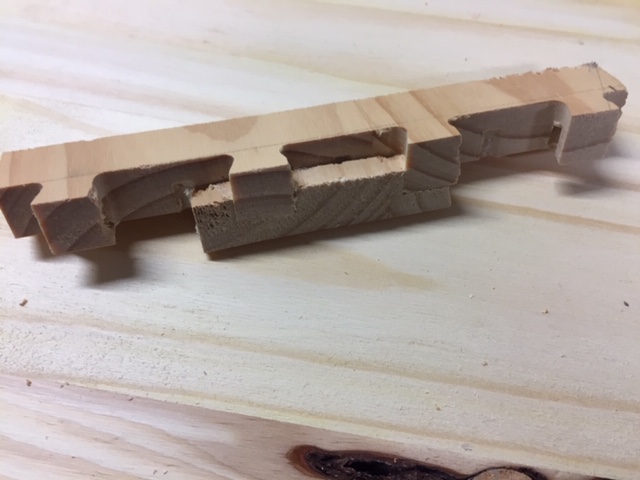
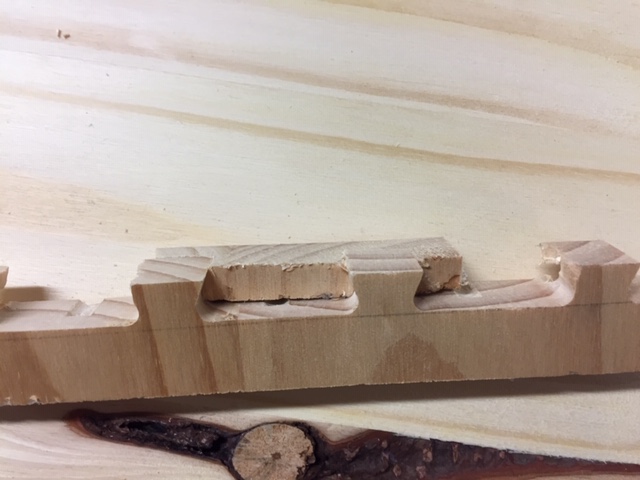
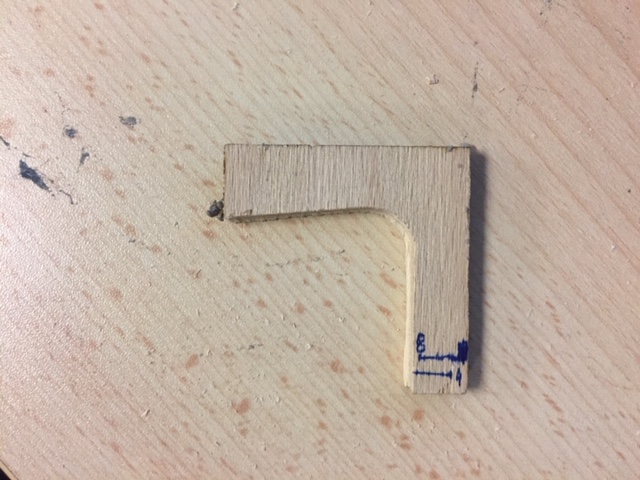
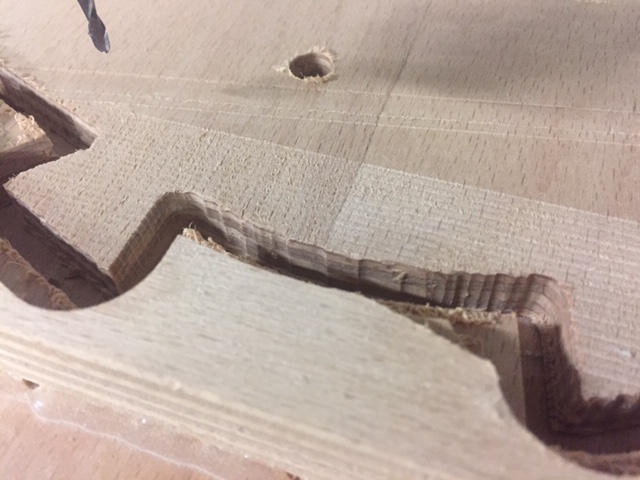
3d test, concluant (almost). Offset of 0.5 mm between the 2 parts in the design file :

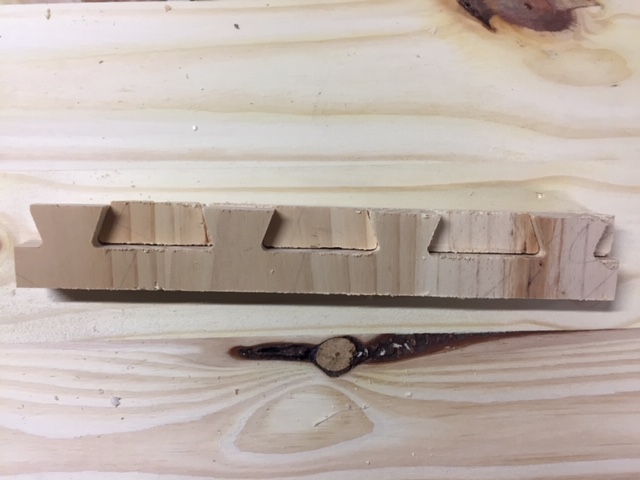
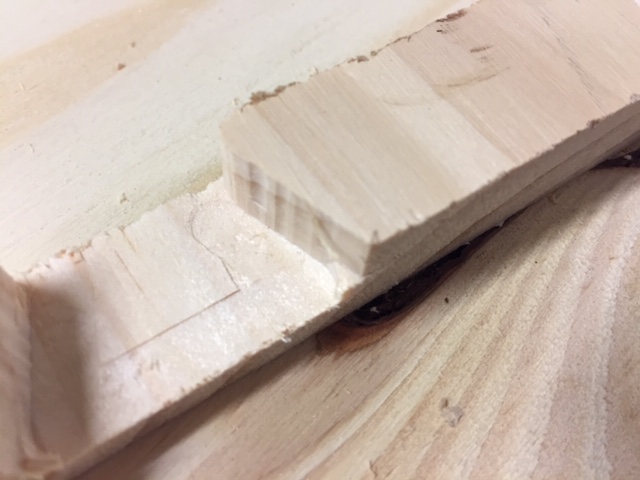
The two parts are fitting correctly into each other. One mini step appears which prevent embedding the parts to the lowest point of the bottom.
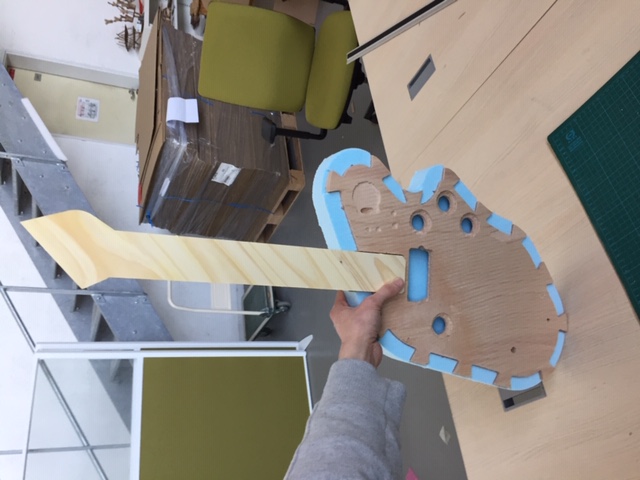
Milling the body of the guitar
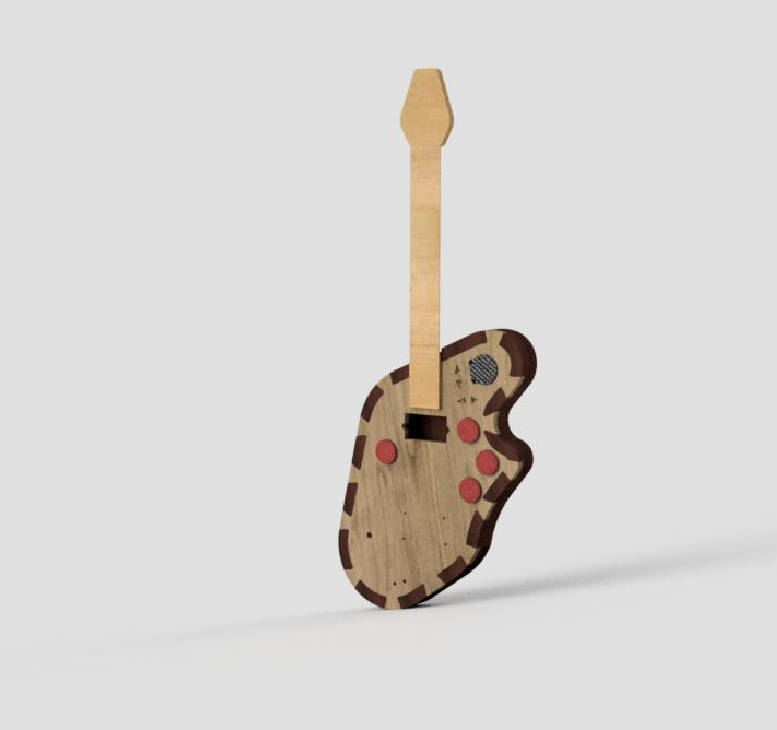
Initial design for the CNC milling week:
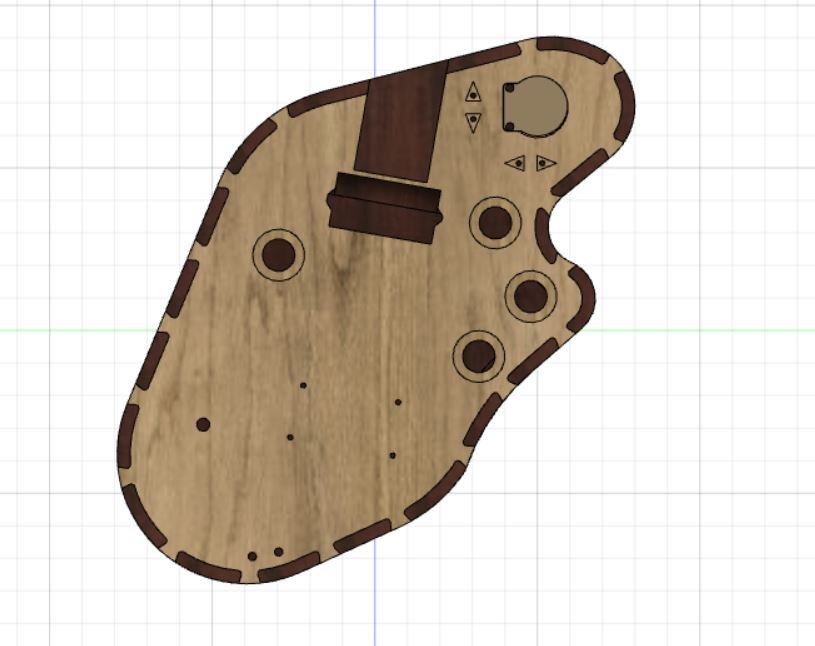
Final design :
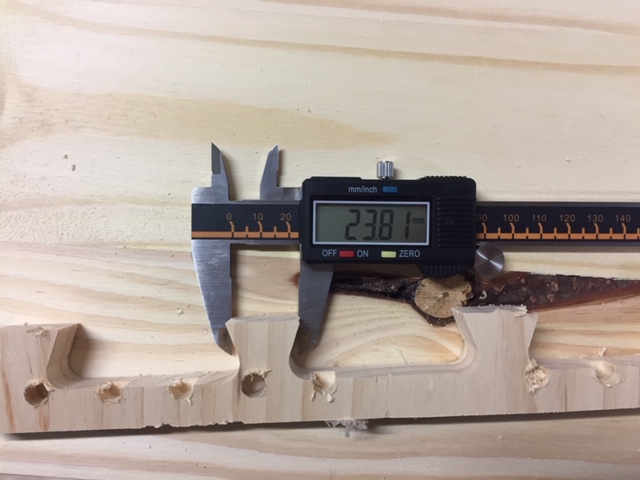
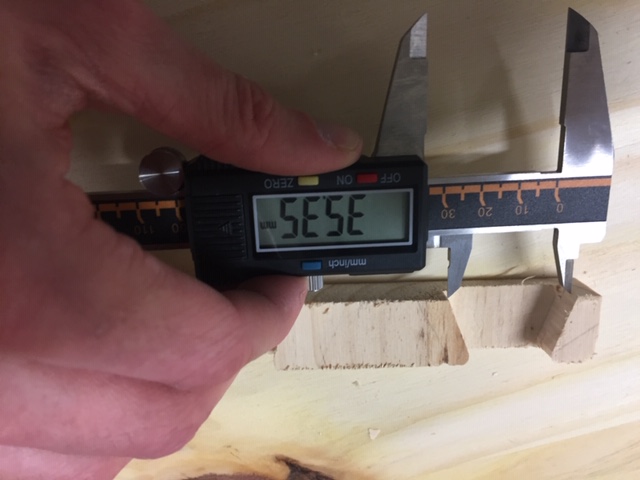
I modified it to take into account the tests on Joinery. The joints have a width of 20 mm and an offset of 0.5mm between them :
Milling the top body
I used a 3 flutes end mill. The speed&feed are the following :
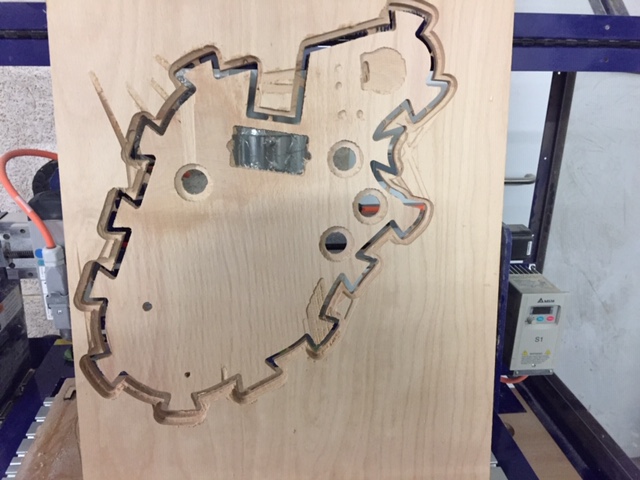
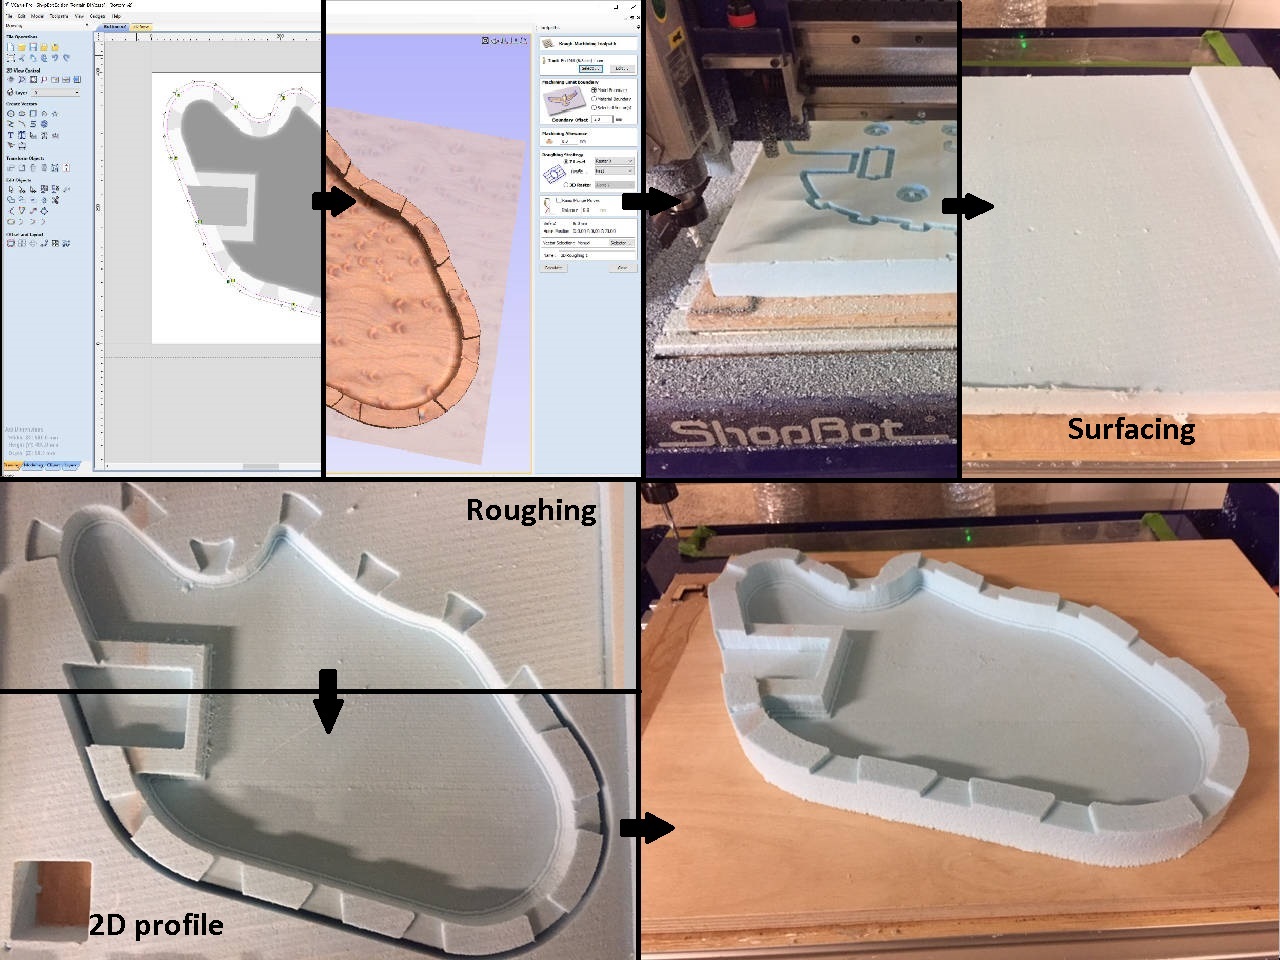
1st step : surfacing :
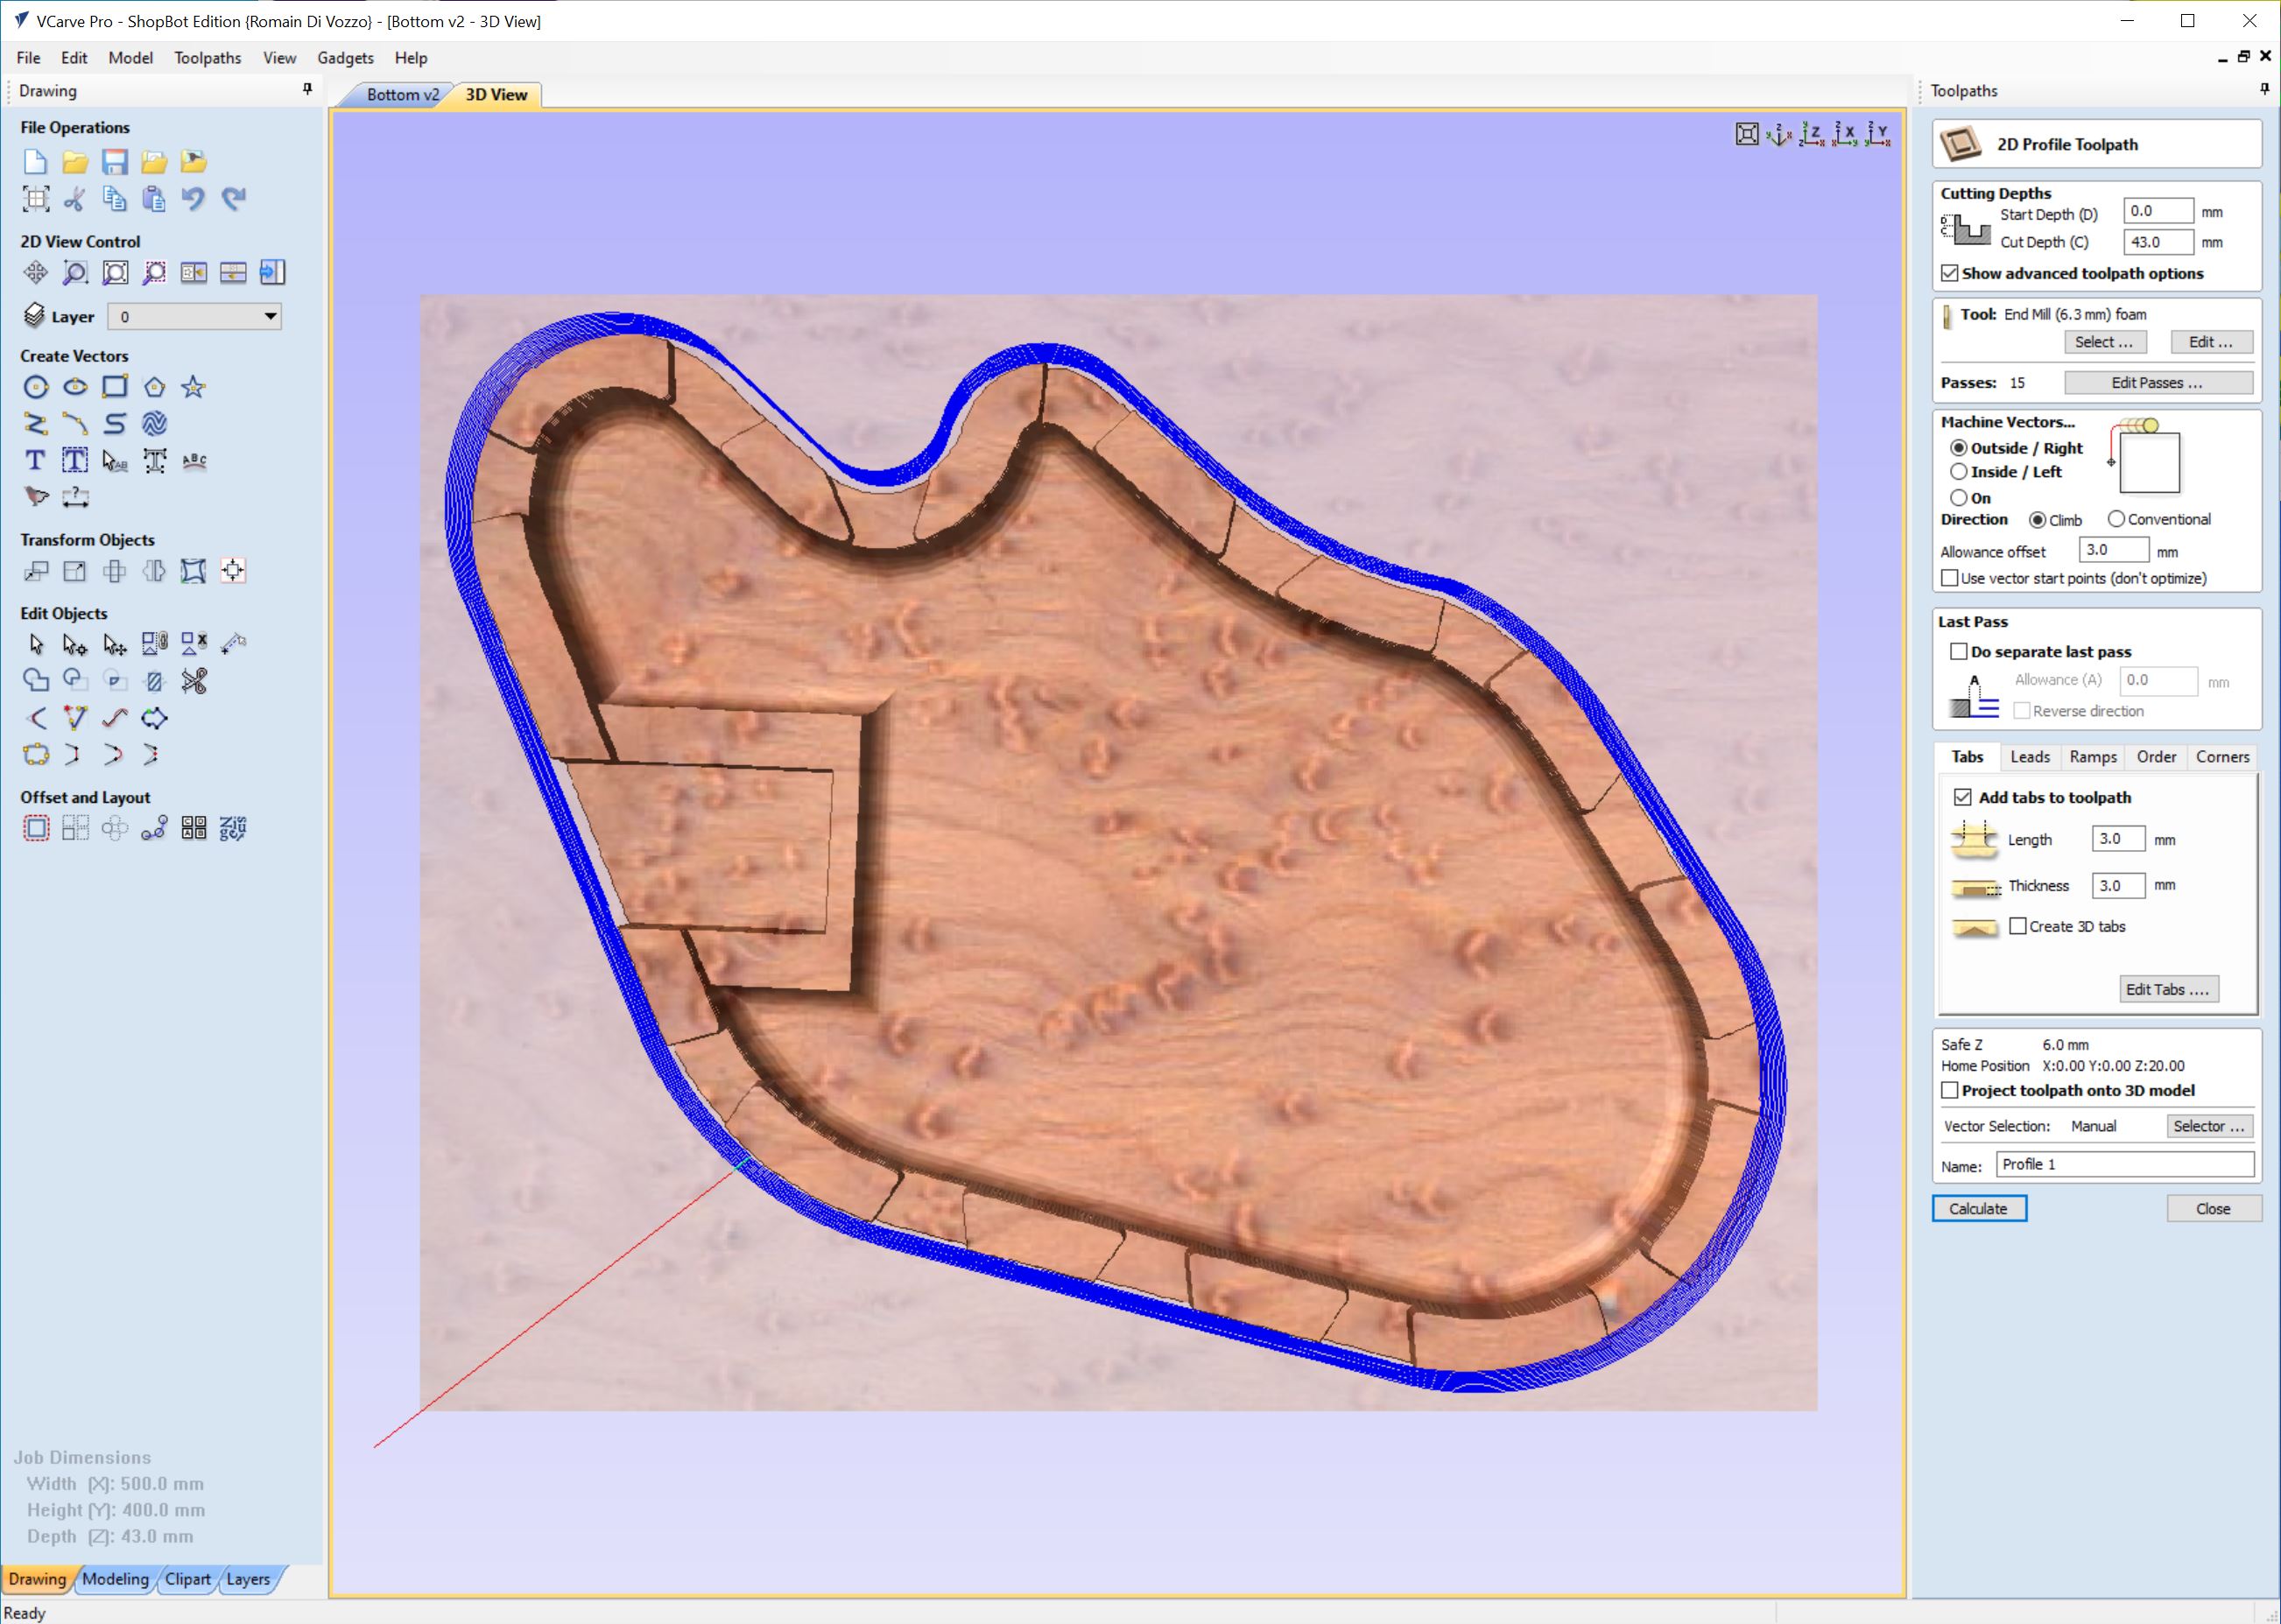
Initially I went for only one roughing toolpath but realised that I would need tabs when it cuts the outside of the geometry :
So I added a 2D profile :
Finally the surfacing done :
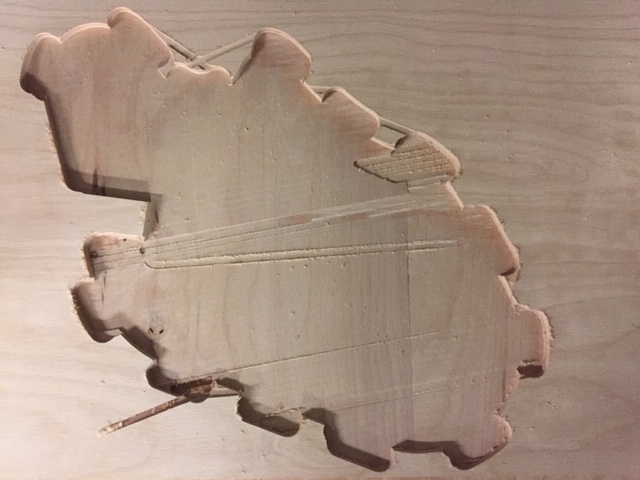
I initially went for a 10 000 rpm spindle speed but changed it to 18 000 (300Hz) because the machine was struggling (too high pitch noise) and even lost its Z origin:
Operation of roughing :

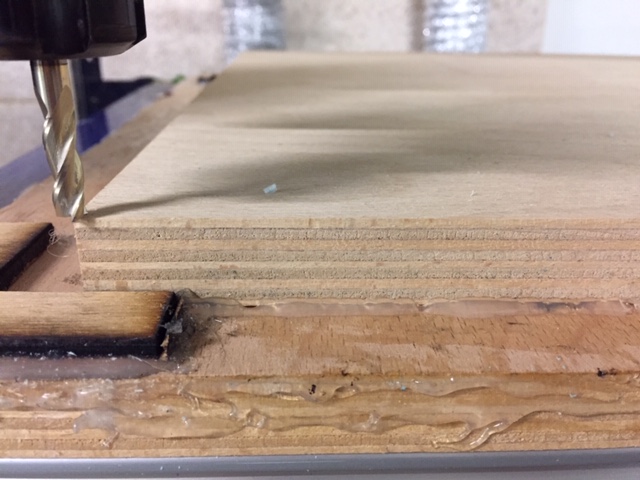
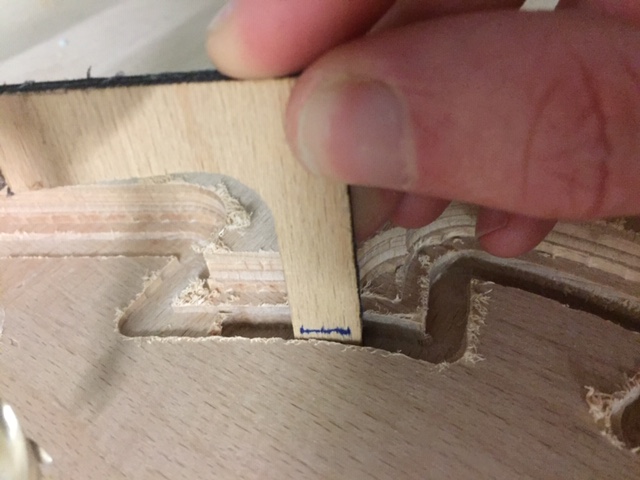
Checking the depth of the cut with a homemade ruler :
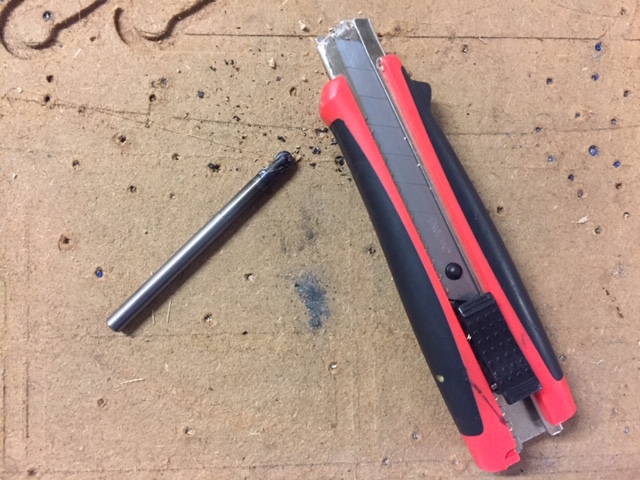
For the finishing, I used a ballnose which I previously cleaned with a cutting knife and alcohol :
We can see the trace made by the ballnose on the surface.
So I chose to not do a finishing toolpath but a surfacing one with the 3flute end mill which gives a better surface. Despite a few scratch here and there, I’m quite happy with the result :
Milling the bottom body
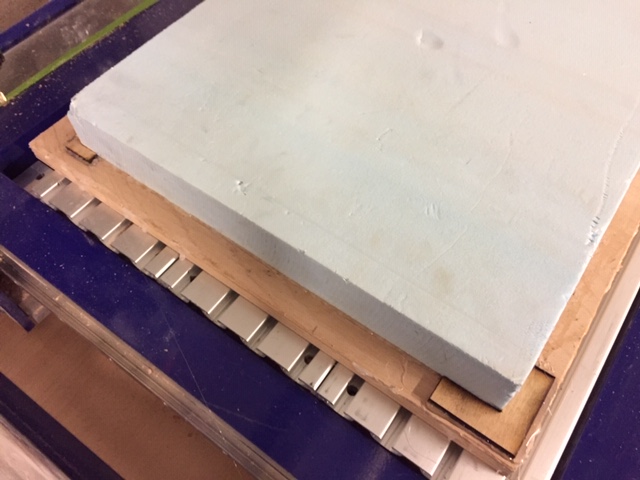
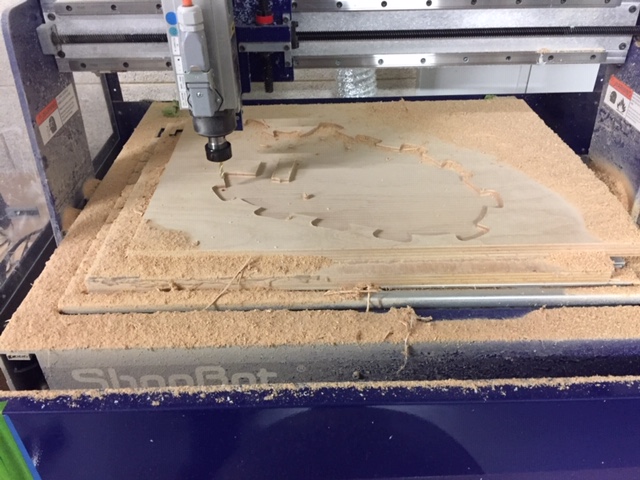
I plan to do the bottom body in styrofoam for prototyping and do it in wood later when I will receive the wood for guitar. Operations of surfacing, roughing and 2D profile :
Assemble of the body :

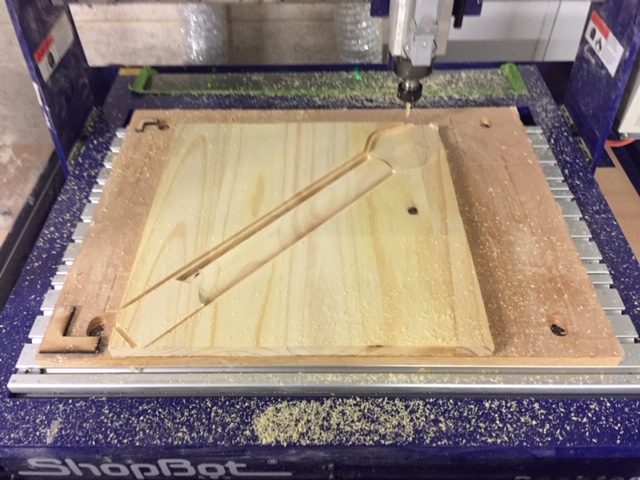
Milling the guitar neck
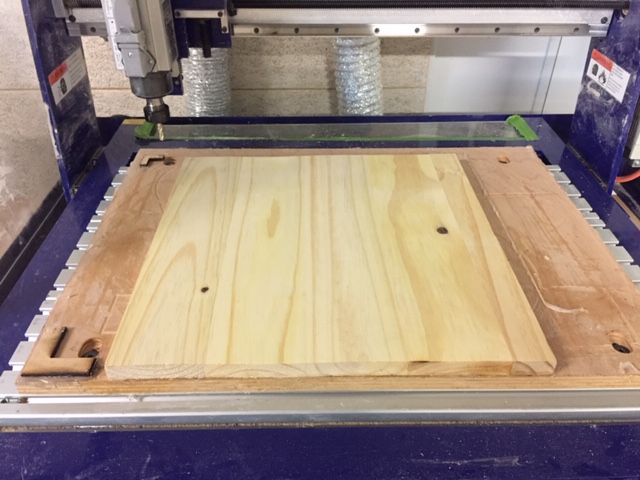
I use here a pine wood of 400x400. I’ll mill the neck on the diagonal of it because it’s too small otherwise.
Roughing :
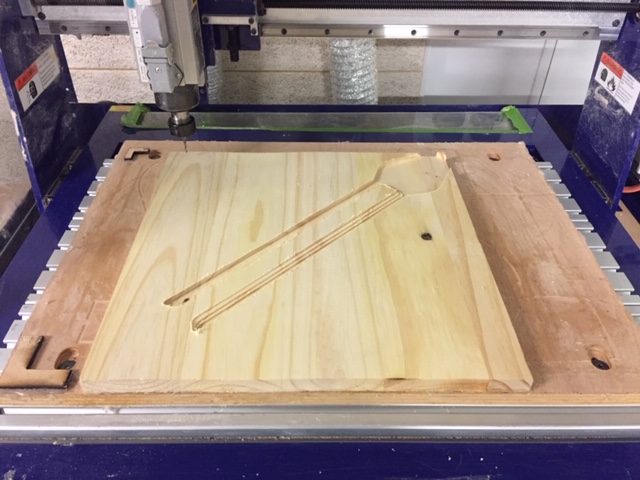
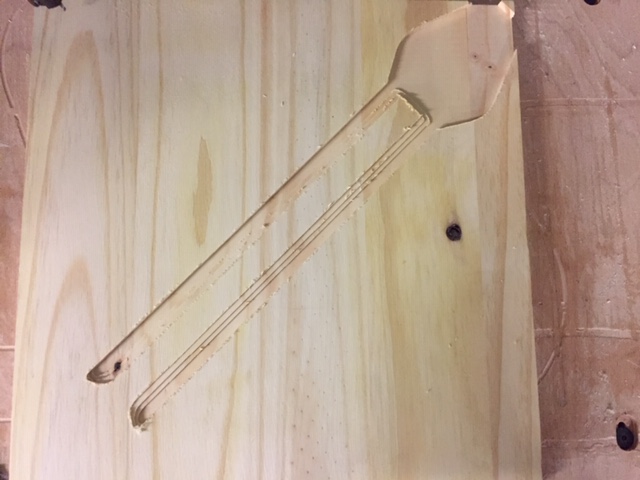
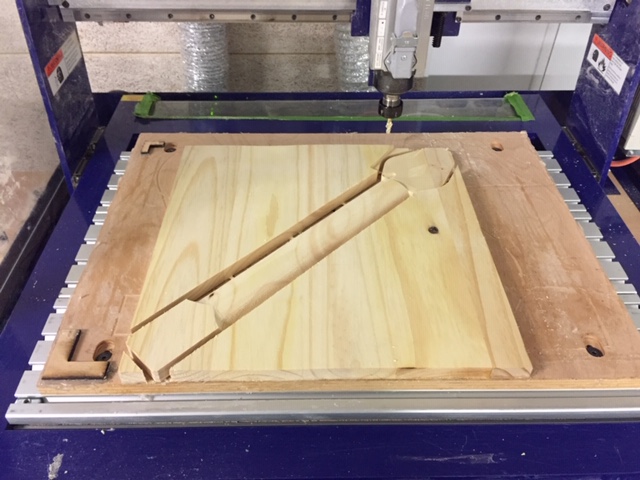
Finishing with a ballendmill of 0.125 inch :

2D profile with tabs :
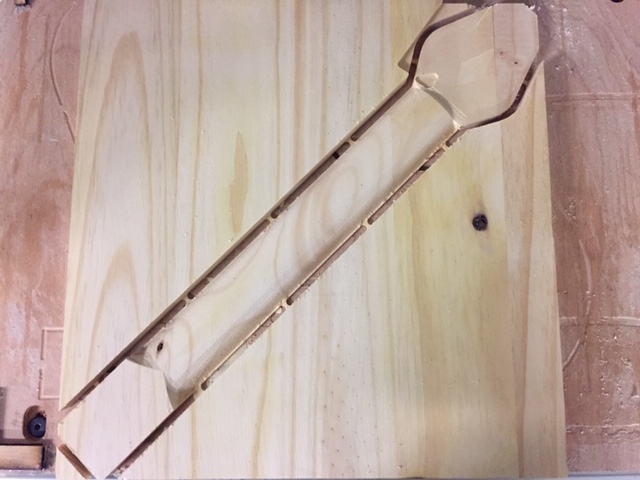
Applying wood adhesive to fix the pieces :
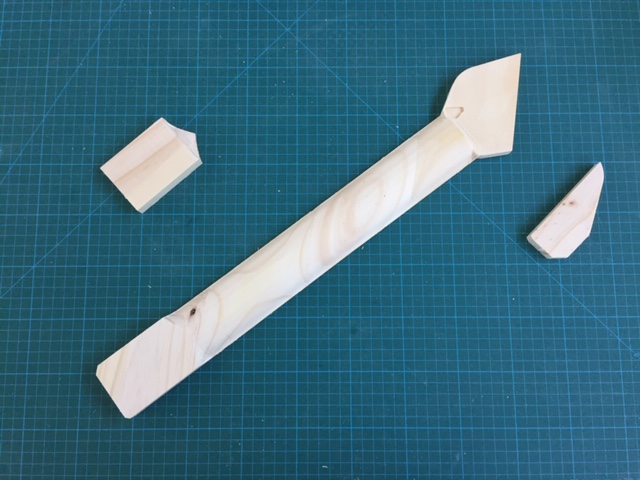
The pine wood is a really soft and brittle material which probably won’t do the trick for a guitar neck when the chords apply tension on it. I’ll probably buy a guitar neck from the industry.
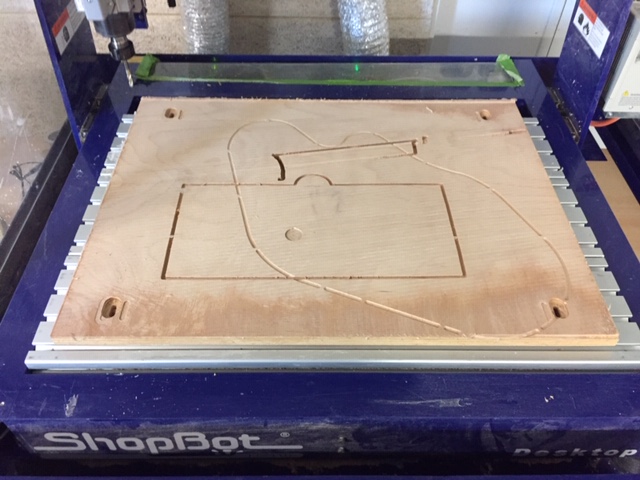
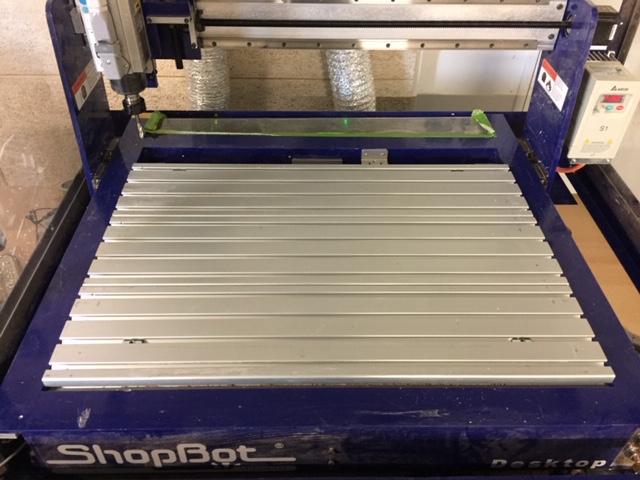
update - 16 June - Surfacing the sacrificial layer
When the sacrificial layer was too much drilled after my final project, I replaced it for next users :
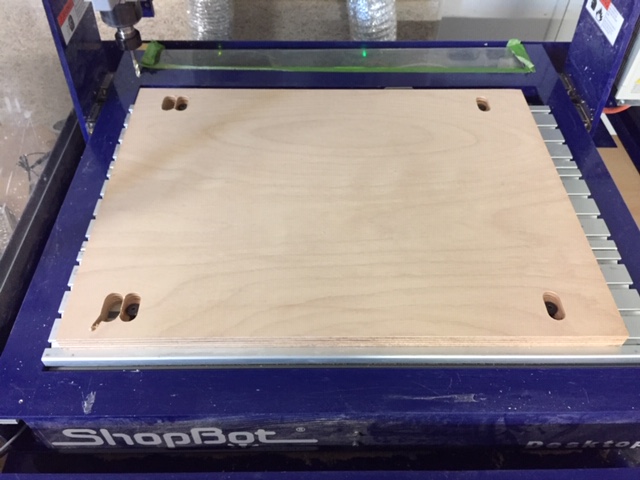
Drawing the screw insertion on Vcarve :

After replacing the sacrificial layer, I surfaced the new one for leveling the z height :
| Old sacrificial layer | Plateau | New sacrificial layer surfaced |
|---|---|---|
 |
 |
 |
Hero shot
Issues
I encountered a lot of issues which I will cover here :
Tool holder going too fast
I lost a few hours figuring out why the spindle would loose its origin during the milling :
In the video we can see (at 9sec), that the head is changing direction where it shouldn’t.
First, I thought that it would come from the spindle struggling to go fast enough to mill the material. So I changed the spindle speed. The problem was still there.
I finally solved this problem by reducing the feedrate from 500 inch/min (which was indicated by the speed&feed calculator) to 350 inch/min which seems to be the maximum of the shopbot machine.
update - 16 June - milling hard wood
To mill hard wood I used the same 3 flute end mill as mentioned above. After some tests, I changed the settings to the following :
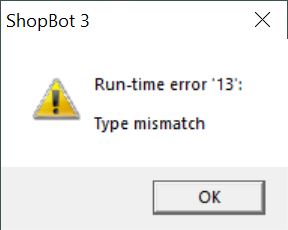
Runtime error 13
I also had the following error message :
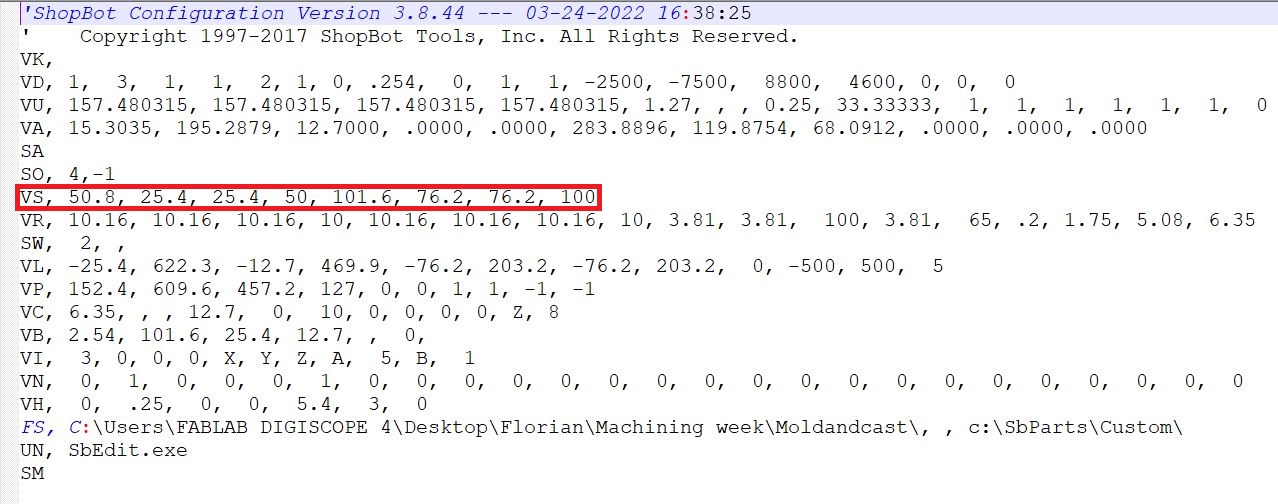
Followed by this one (Parameter error : Parameter value below range for VS) :
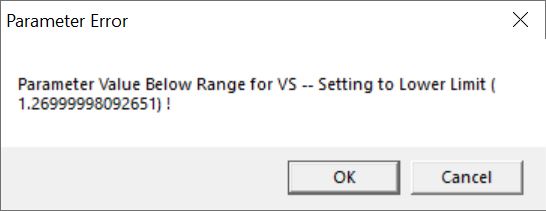
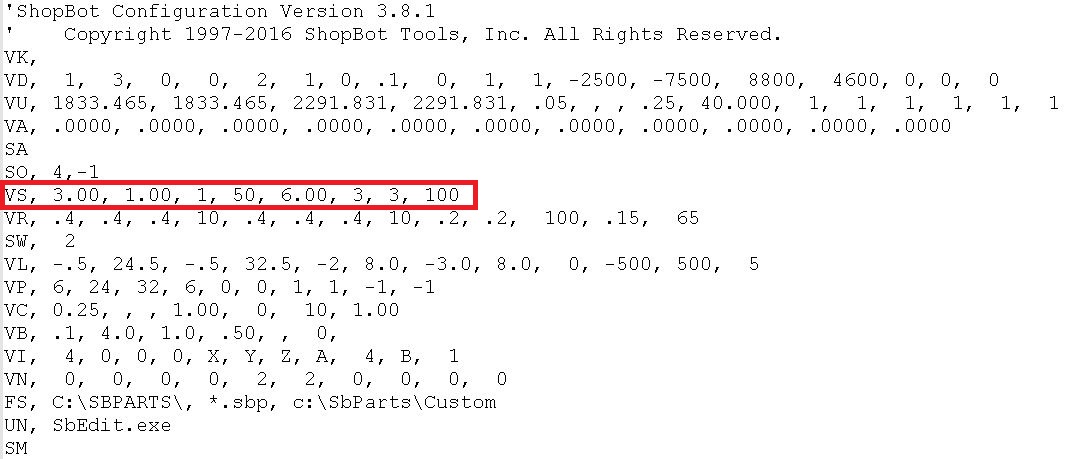
To try to solve this error, I replaced the value of VS line from the shopbot.ini file of the CNC machine by the one from shopbot installed on my computer :
| .ini file from the computer of the CNC machine | .ini file from my computer |
|---|---|
 |
 |
This didn’t solve the problem.
So, I looked in the web for solutions and I found this :
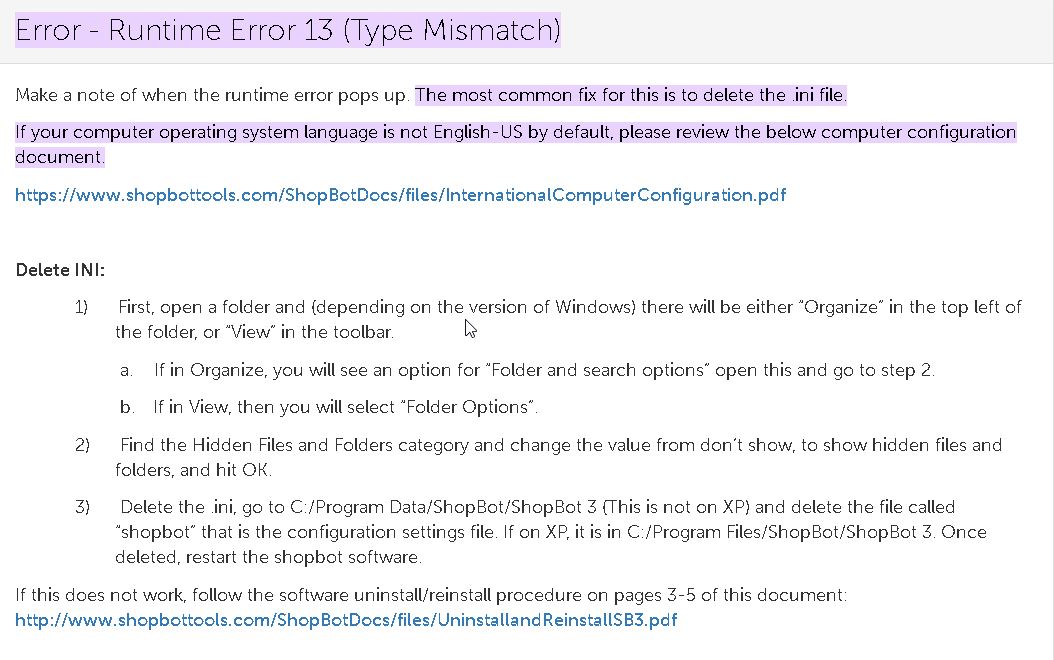
By following this -and with the help of Romain Di Vozzo to find the good new .ini file- I finally was able to use the machine again.