10. Molding and casting
assignment
Group assignment:
Review the safety data sheets for each of your molding and casting materials Make and compare test casts with each of them
Individual assignment:
Design a 3D mould around the stock and tooling that you’ll be using, mill it (rough cut + (at least) three-axis finish cut), and use it to cast parts.
Files :
Group assignment
Safety datasheet :

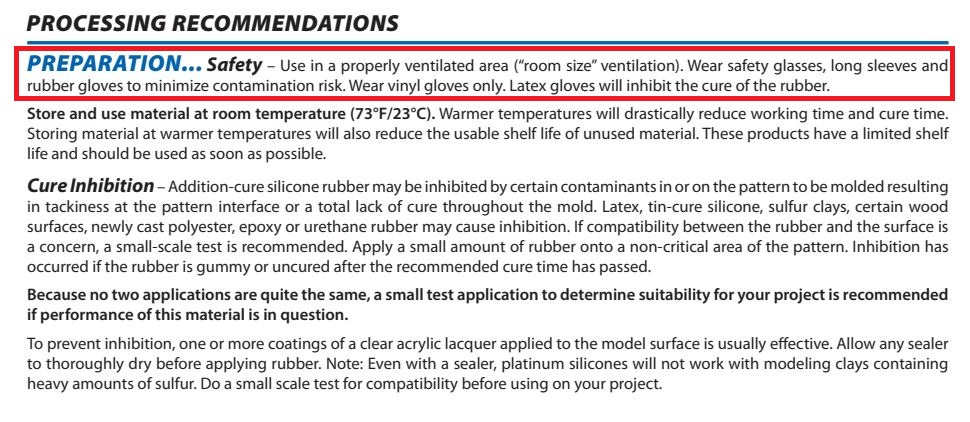
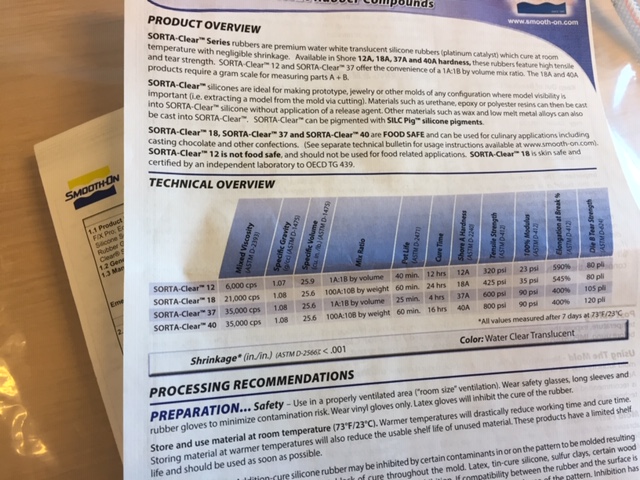
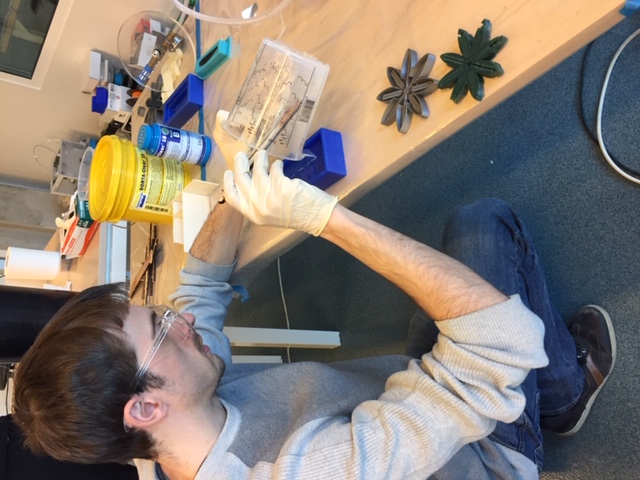
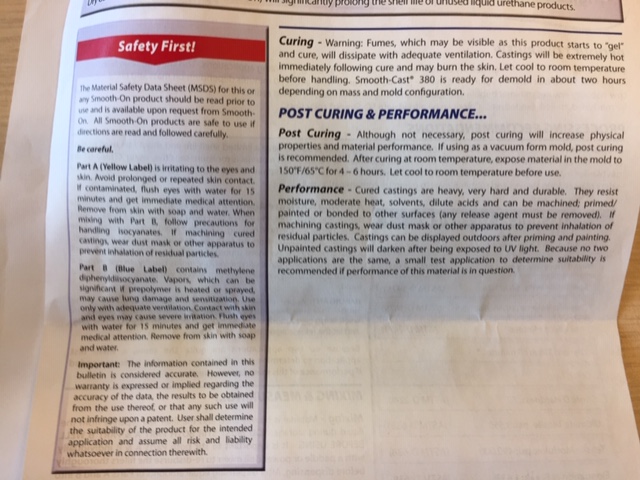
The material is not hazardous according to the document. But it stills recommands safety measure to handle it. Gloves are needed. The one we have in fablab are in latex which can inhibit the mixture. I’ll need to be careful not to touch it. Glasses are also needed. There are also procedures in case of skin/eye contact of the material.
Here are a few test casts made by other students :
Individual assignment
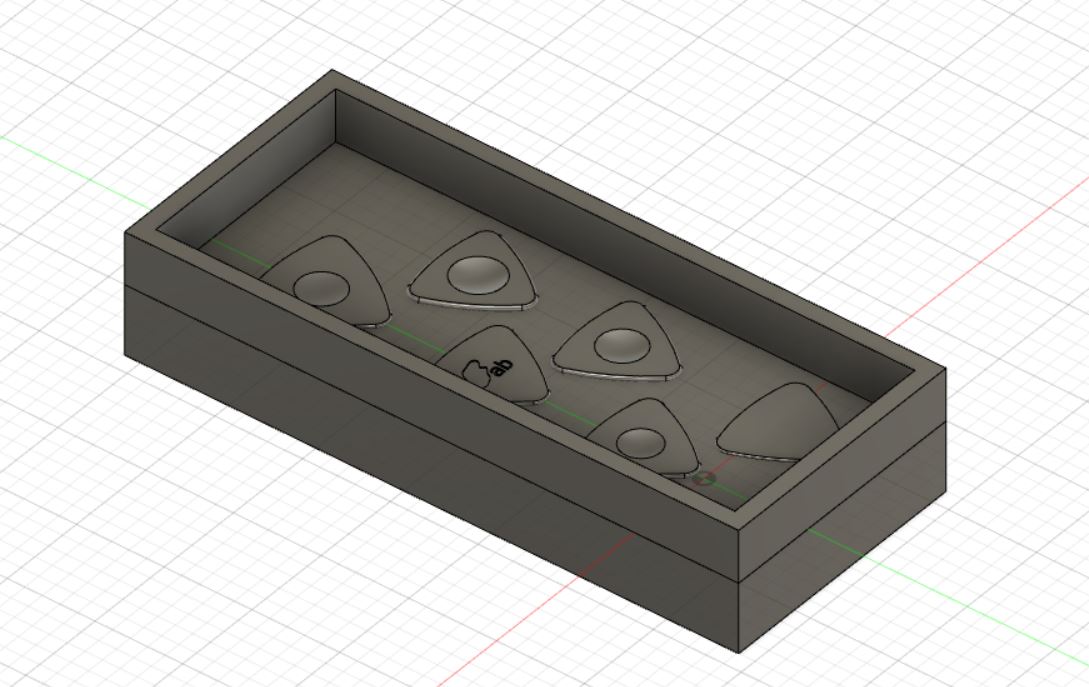
I plan to mold guitar picks. Trying different thickness and also writings
Basics of molding and casting
I found tips on the web for molding and casting :
-
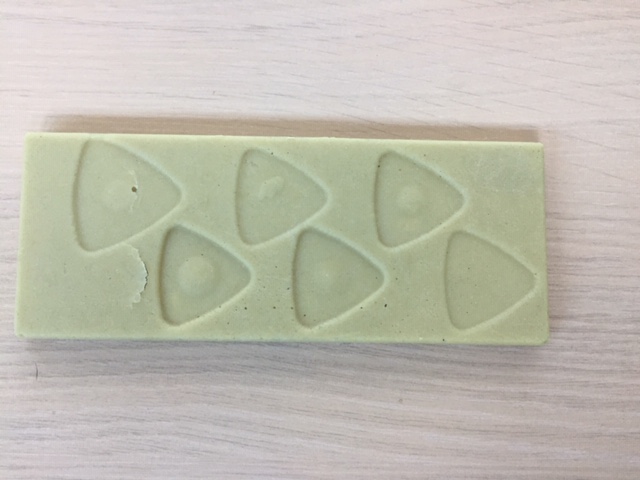
First step : make a 3D model mold. I’m planning to do a simple one part mold : One part of the object will be flat. Make sure that the walls of the mold are higher than your model
-
2nd step : mill a positiv mold in wax
-
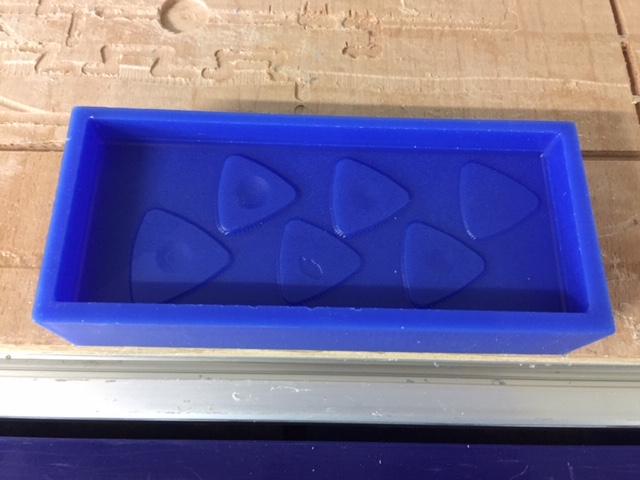
3d step : make a mold in silicone from the wax. The silicone can be bend which make it easier to remove the cast
-
4th step : cast the object
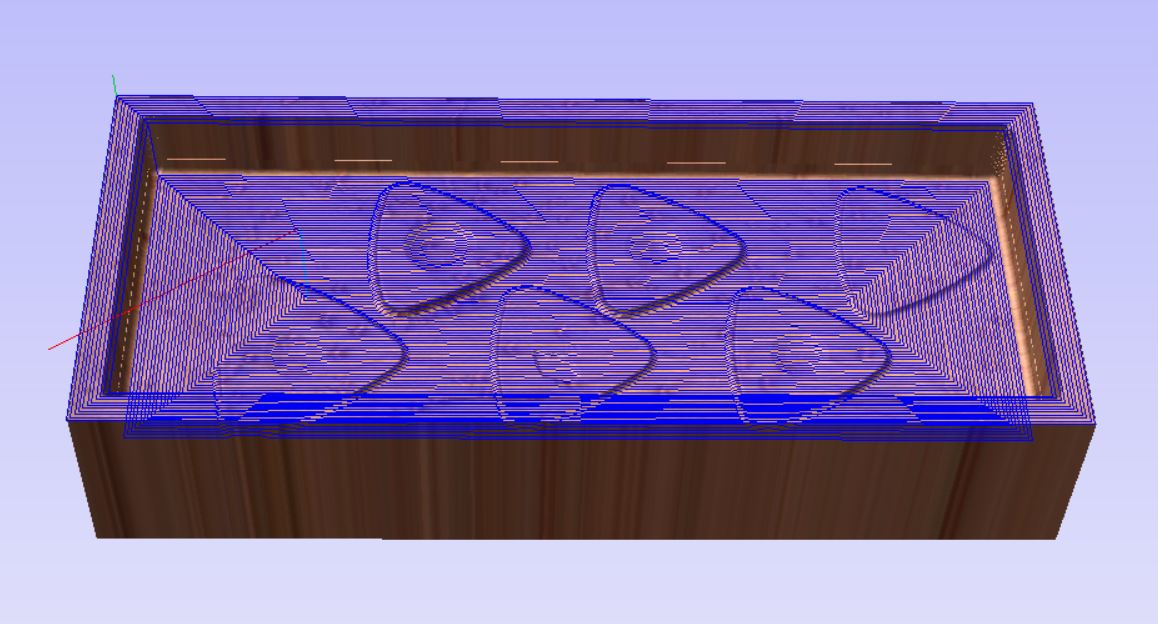
3D model
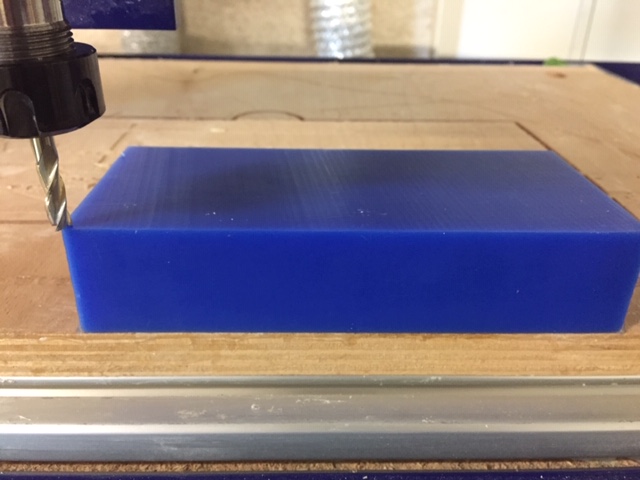
Milling the wax
I documented in the Computer controlled machining week how I made to mill in 3D. Because the shopbot plunges straight down (it’s a 3 axis and not a 4/5 axis), there aren’t any undercut.
First, I fix the component with hot glue and doing the origin :
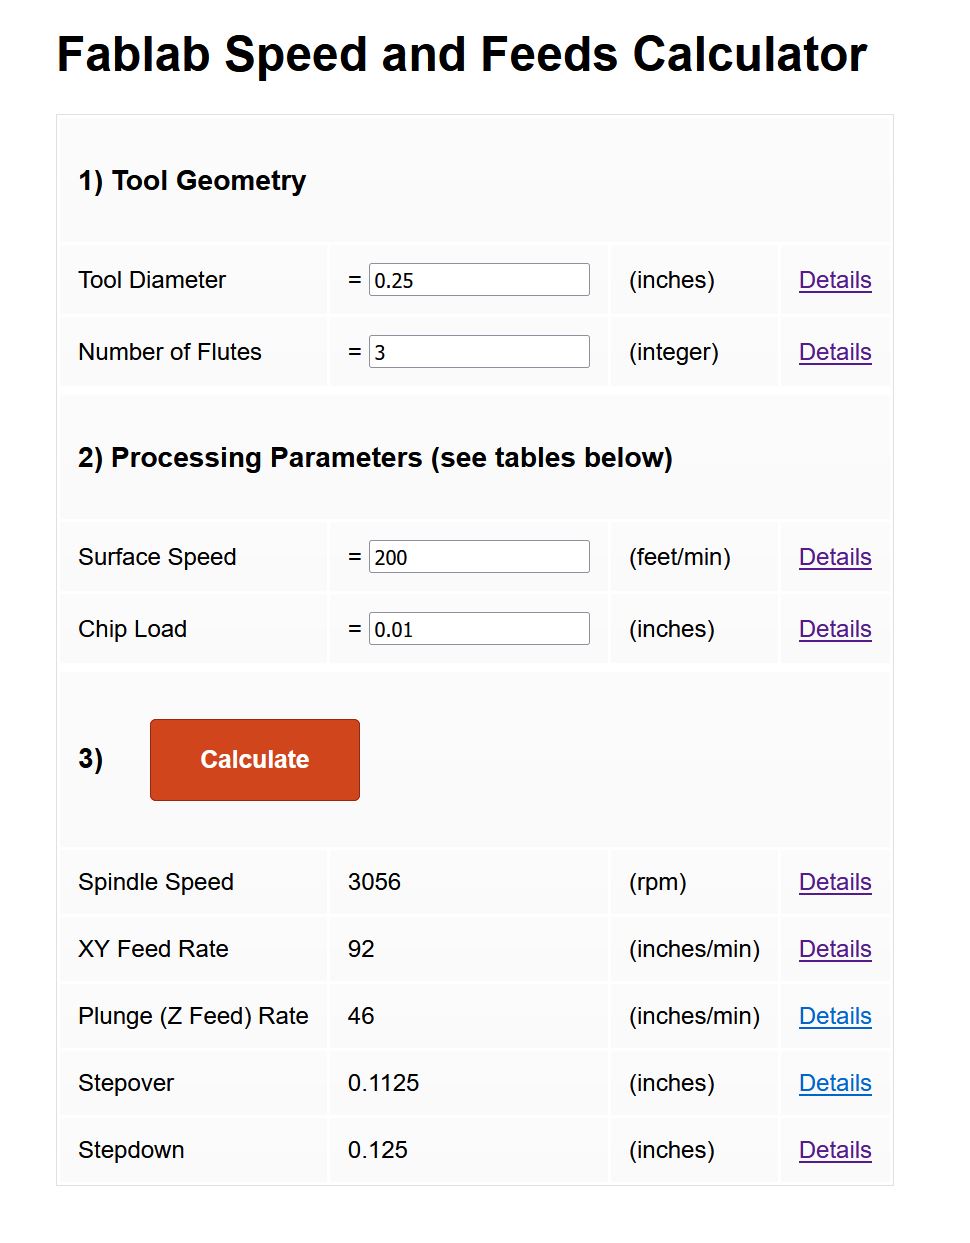
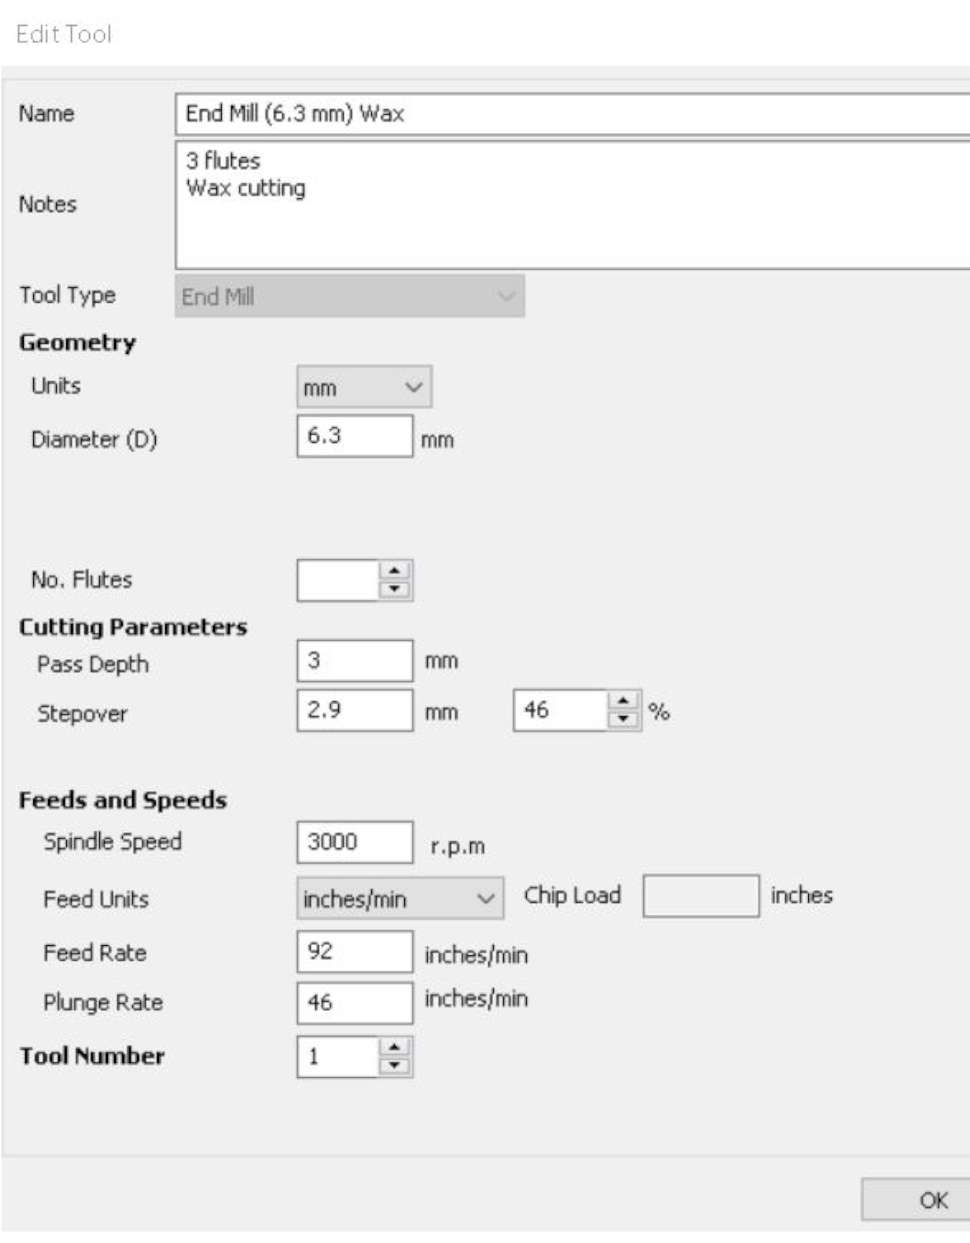
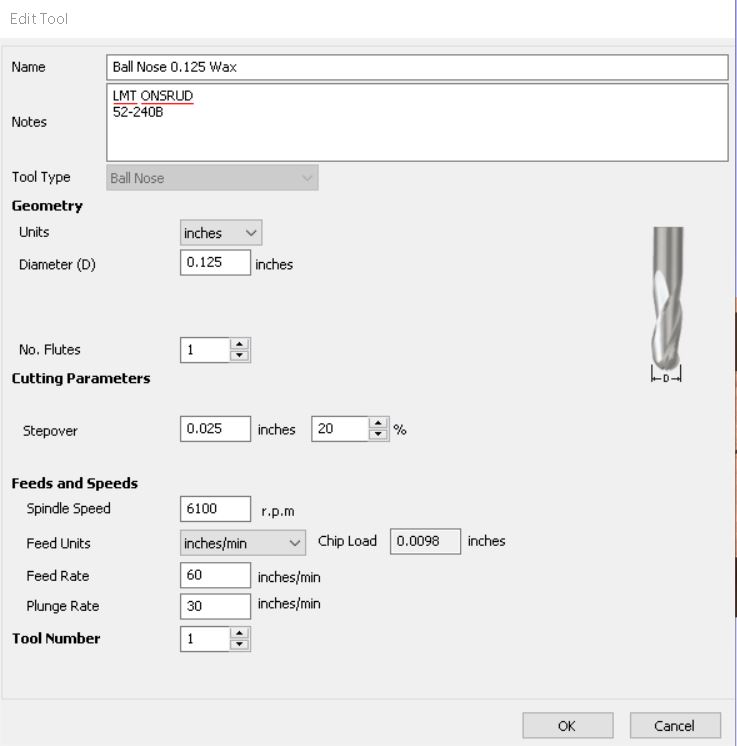
I made the next operation in roughing using the imported 3D model (I could also have done it with a 2D pocket) with the following feed&speed for milling wax :
Preview on Vcarve and result :
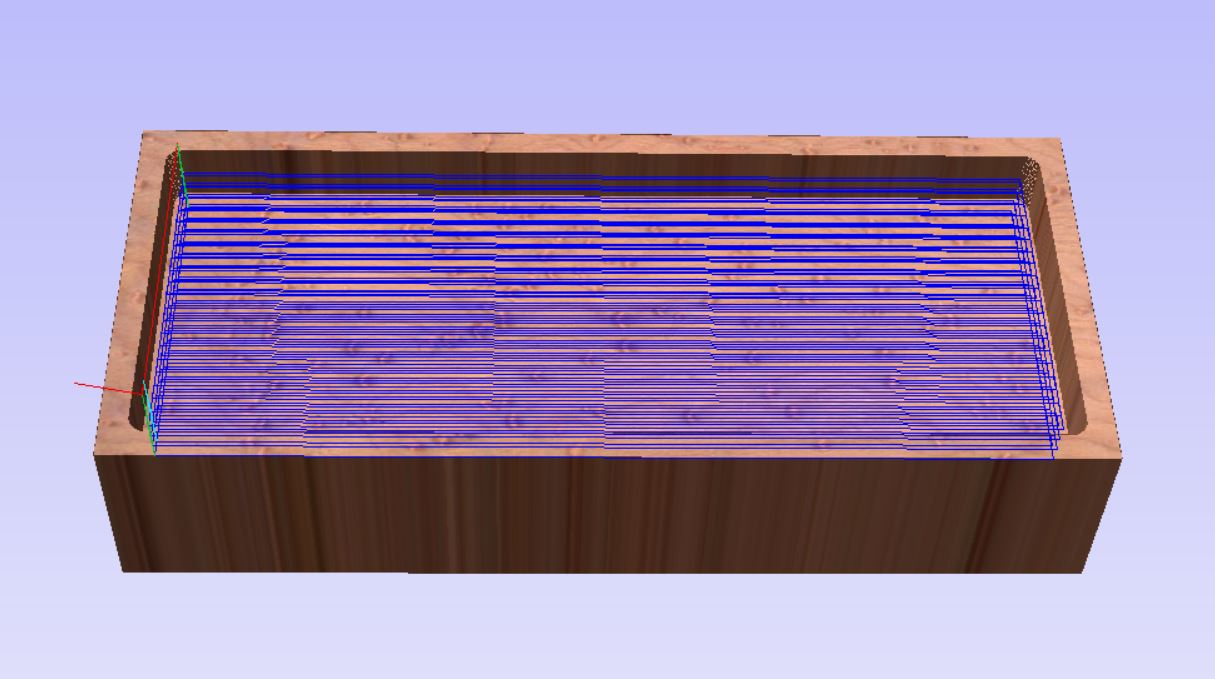
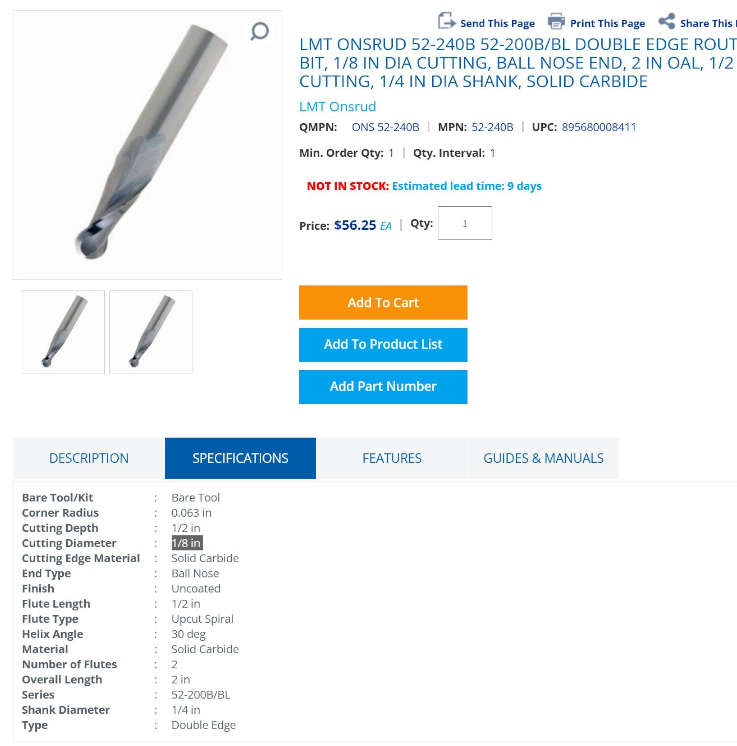
Then an operation of finishing with a 0.125” ball end mill :
Preview on Vcarve and result :
We can see that the big F is still there but the diameter of the ball end mill is too big to make the thin letters ab.
Molding
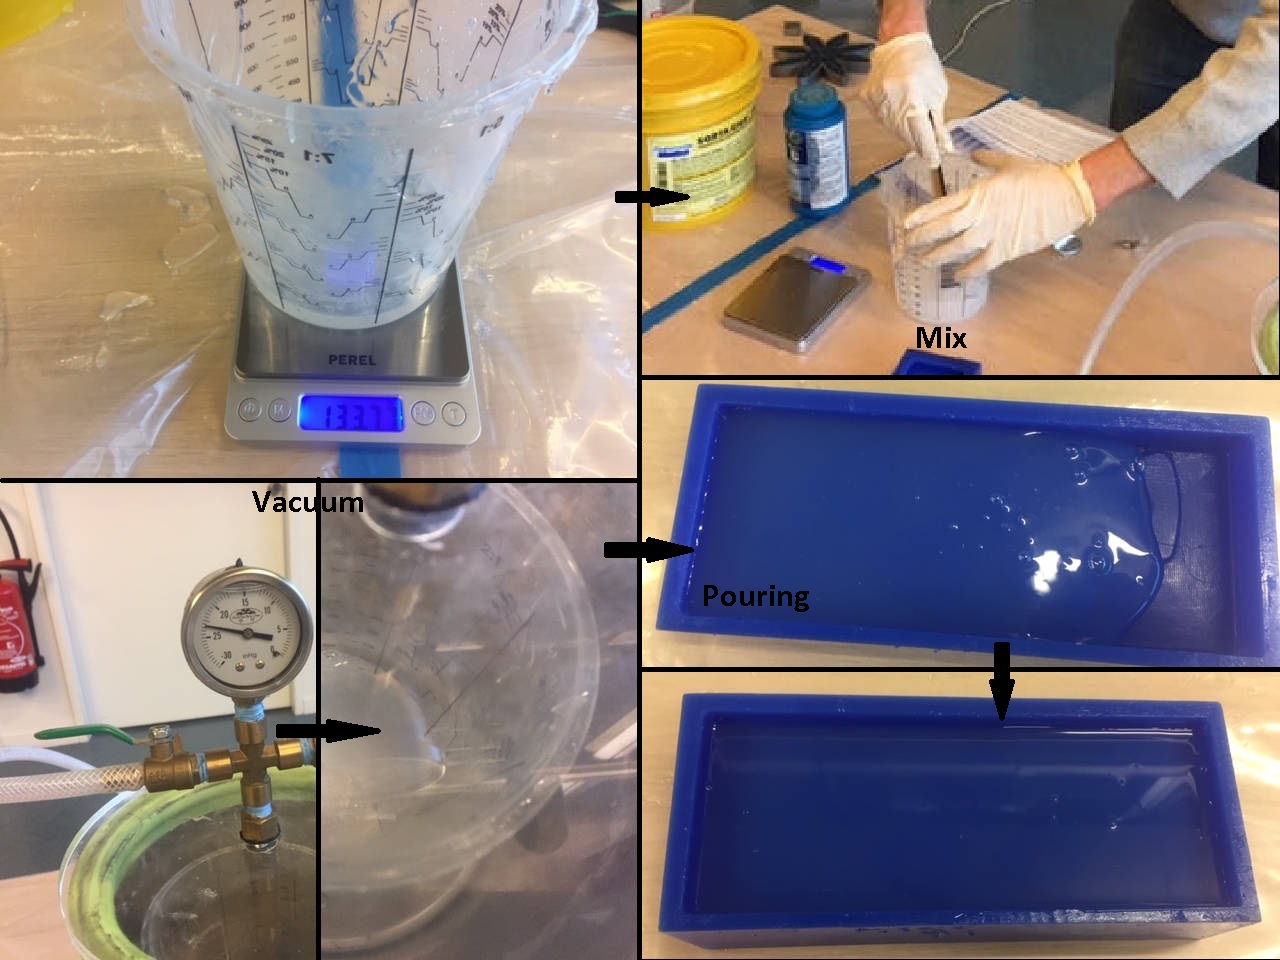
To prepare the mixture, we need to know what’s the volume of the cast part. The mold I made is 15 mm deep and has a surface of 165x65. So there is a volume of 160 mL. I made the test with water :
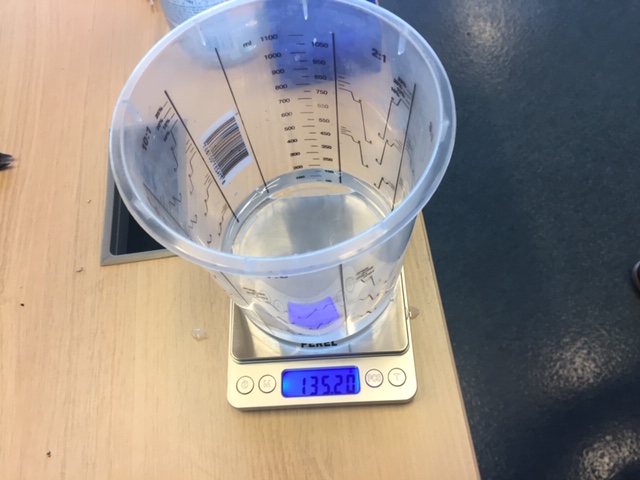
We have 135 grams so 135 mL of water.
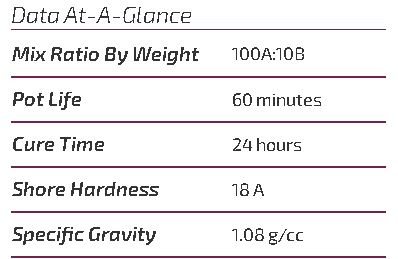
Looking at the datasheet, the specific gravity of the mixture is 1.08. For 135 mL of water, we should have 135x1.08=146 grams of mixture. The ratio is 10 for part A for 1 of part B : we mix in 130 grams of part A and 13 grams of part B :
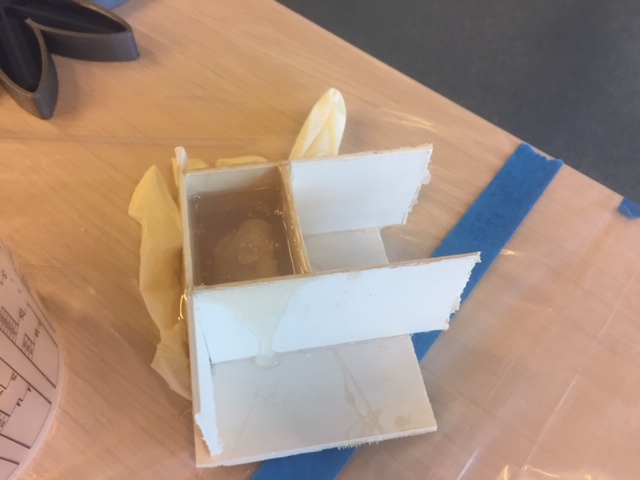
After mixing for 2 minutes, we put the mixture into a vacuum pump to eliminate the bubbles :
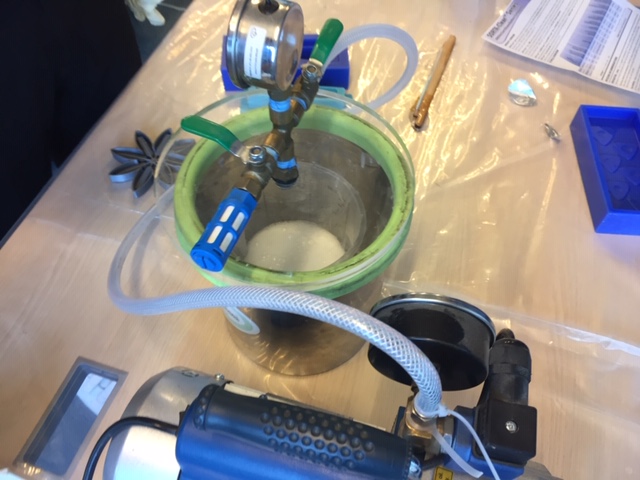
The mixture expands a lot first and then the volume diminishes as the gas goes out :
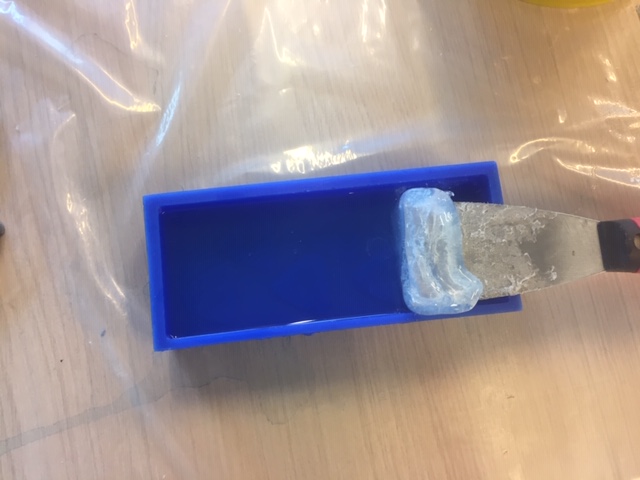
After roughly 10 minutes in the vacuum, we spill the mixture into the mold.
Now, we need to wait for 24hours the result.
After 24 hours, the mixture didn’t solidify and was gooey :
I looked into the smooth-on website. The mixing part must be 3 min long, I probably didn’t mix enough. It could also come from the latex gloves if they went into contact of the mixture.
I’ll make another try :
The texture was more sticky than the first time when I poured it in the mold. We opened the pot 24 hours earlier so it’s probably why. Lost for lost… I’ll still make a try with that.
Pot lifetime
The pot lifetime starts when we pour the mix together. And the curation time starts when the pot lifetime ends.
Result of the 2nd attempt :
Casting
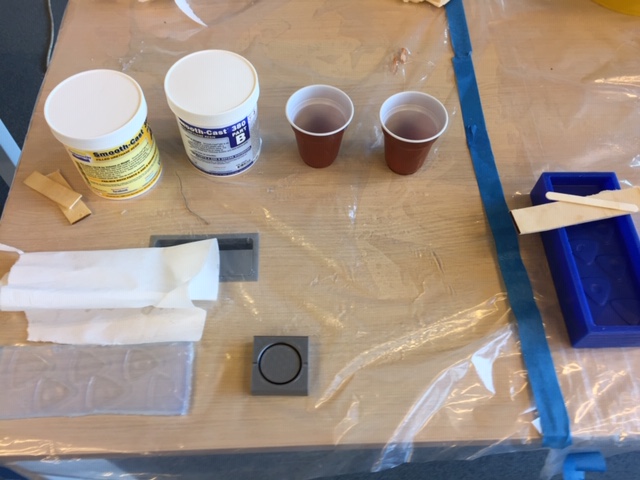
I’m using the smooth cast 380 for casting :

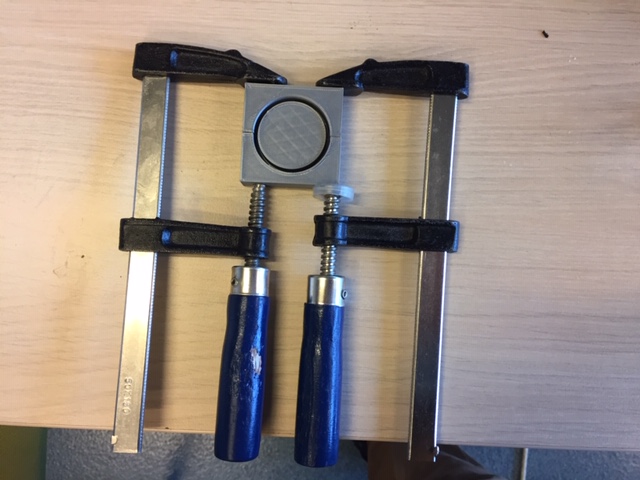
This mix is a 1:1 ratio with the same density, so I’ll poor the same volume in for the 2 pots. Here is my setup :
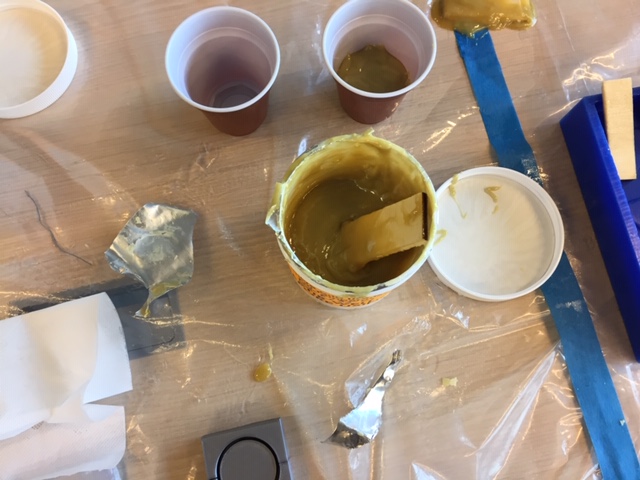
And the mix :
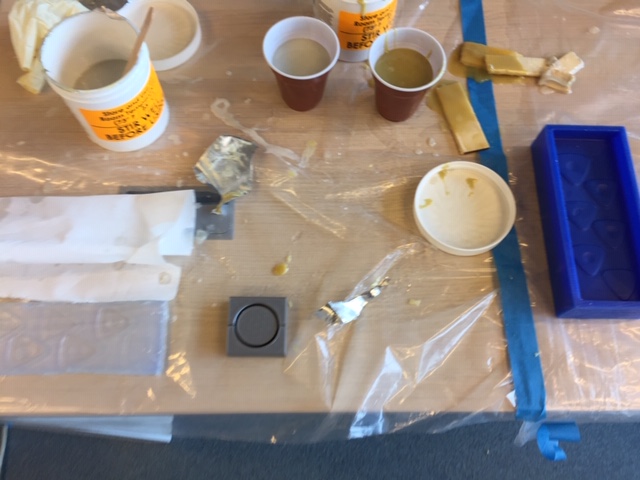
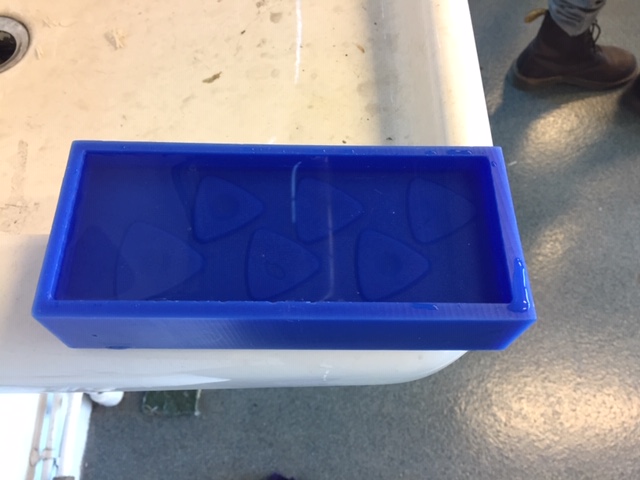
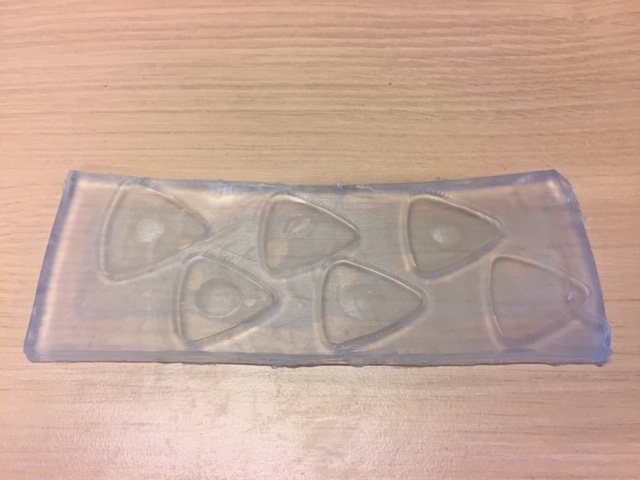
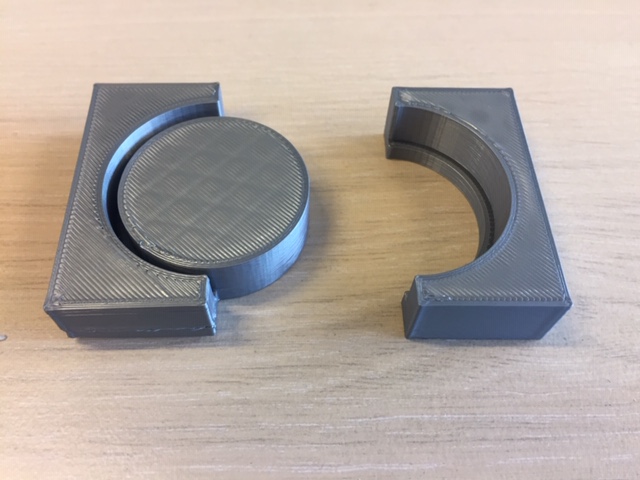
I made another mold with 3D printing and I plan to try the cast on the mold made above, the 3D printed one and also try to make another mold with the smooth cast 380 :
I then stir the mix for 1 minute. The texture of one of the pot is very sticky and grainy so I won’t be able to pour the mix into the 3D printed mold since it’s 2mm wide.
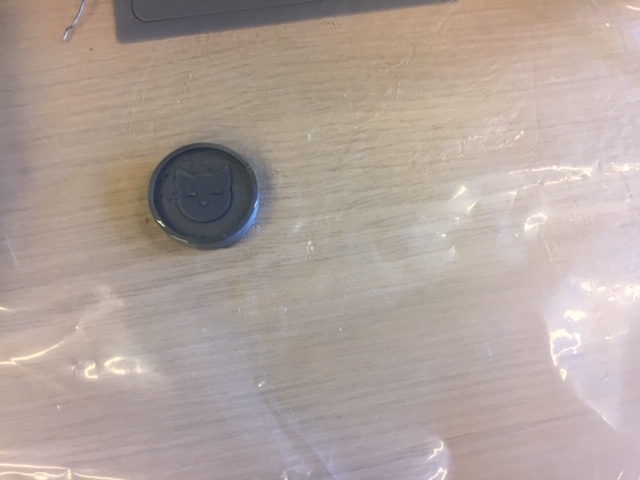
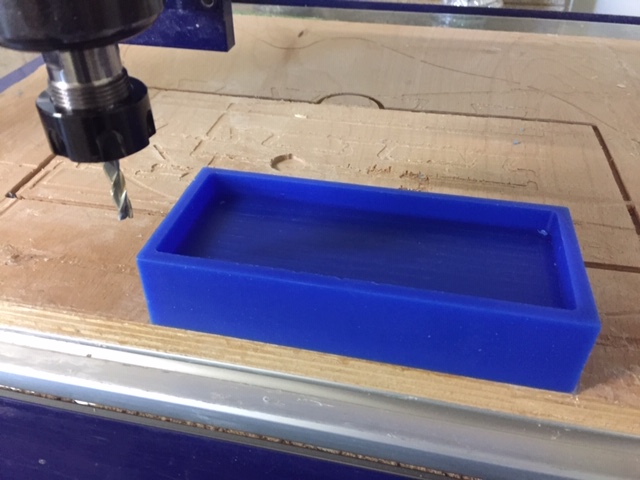
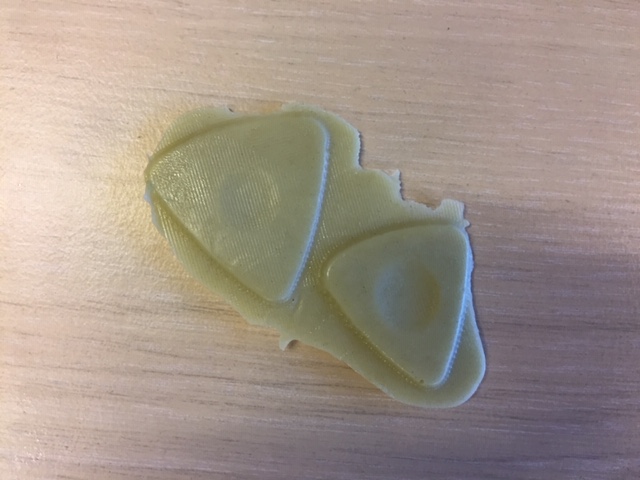
Result with the pick cast :
And the pick mold :