6. 3D Scanning and printing
Assignment
group assignment:
- test the design rules for your 3D printer(s)
individual assignment:
-
design and 3D print an object (small, few cm3, limited by printer time) that could not be made subtractively
-
3D scan an object (and optionally print it)
3D printing files (3mf and stl):
Test of nested rotating plateau with 0.5 offset
Test of nested rotating plateau with 45° angle
Fusion 360 file (f3d):
3D scan (.stl):
3D scanned Owl (.stl) after some remeshing work
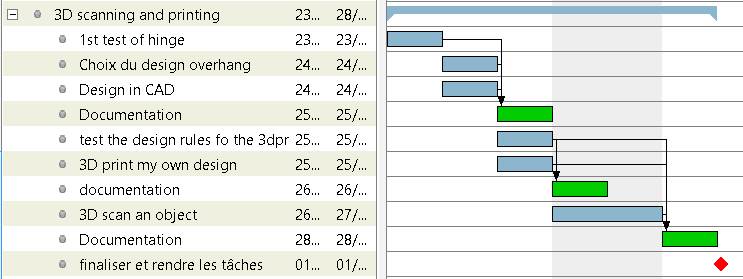
Gantt plan of the week
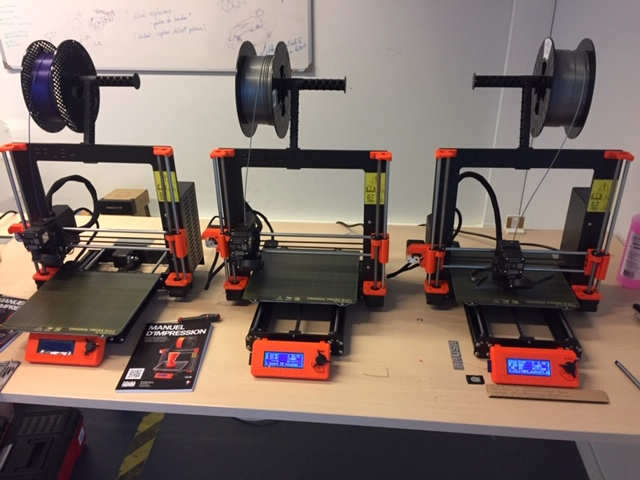
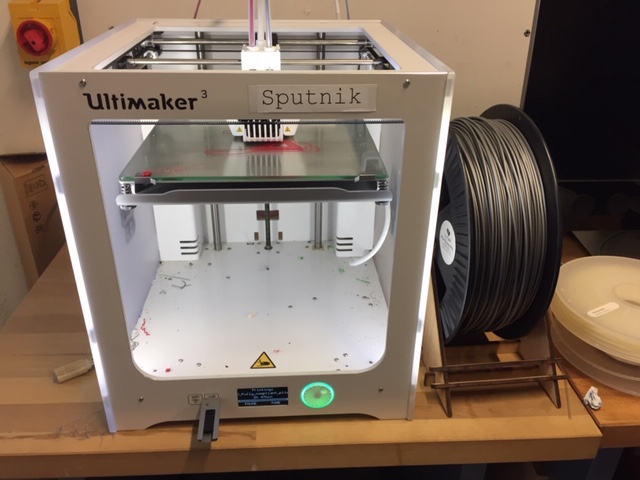
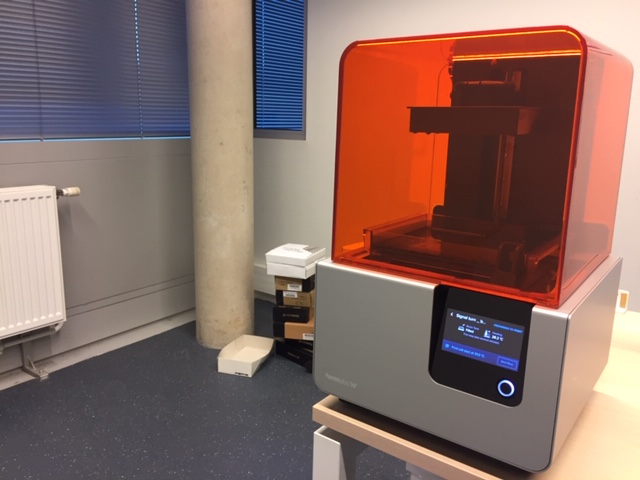
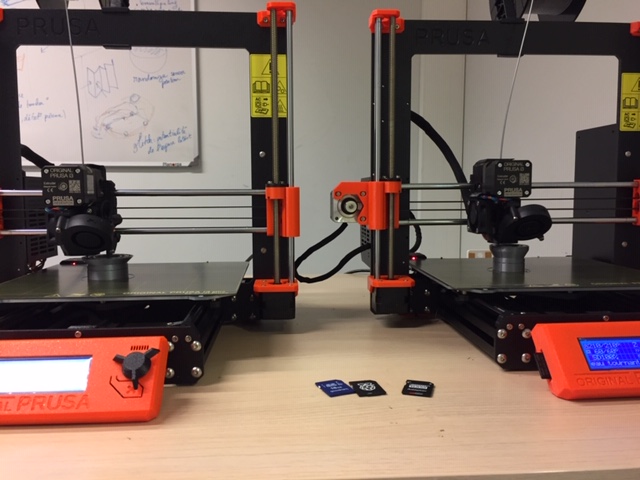
3D printers in fablab Digiscope
Filament printers (FDM)
There are 3 Prusa i3 Mk3S+ in fablab Digiscope as well as an Ultimaker 3 (and a few others being fixed):
Resin printer (SLA)
There are 2 resin printers from Formlabs :
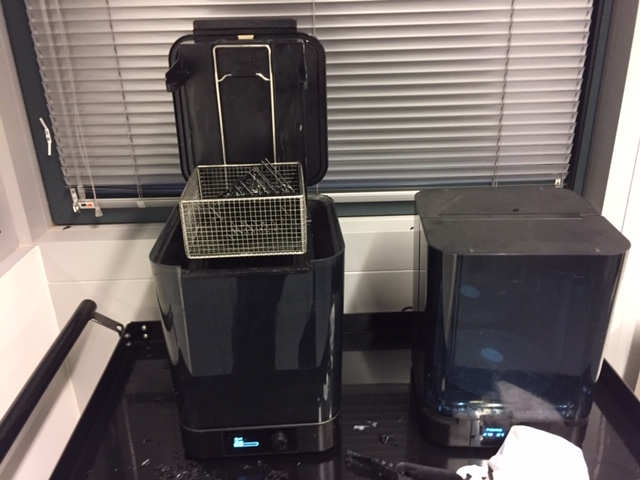
| SLA printer | Post process machines (alcool + UV bathing) |
|---|---|
 |
 |
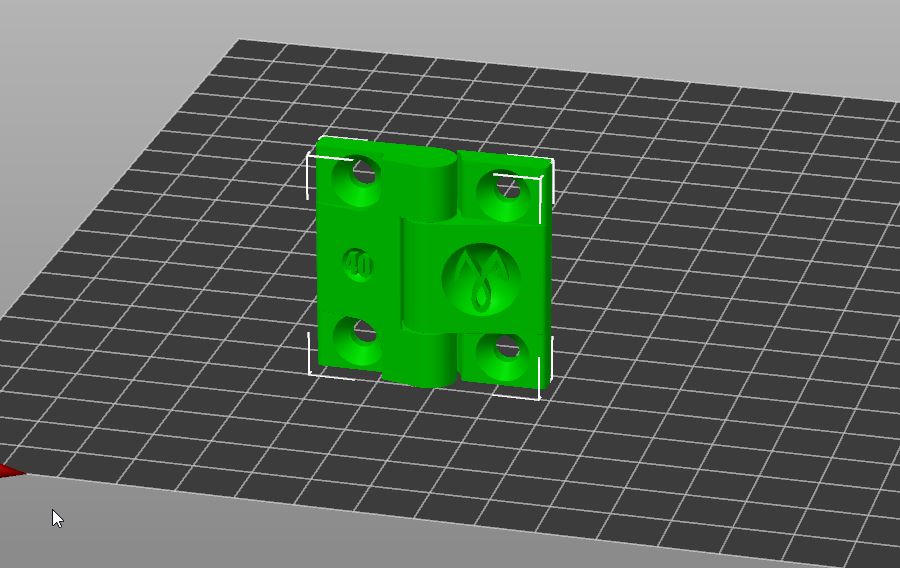
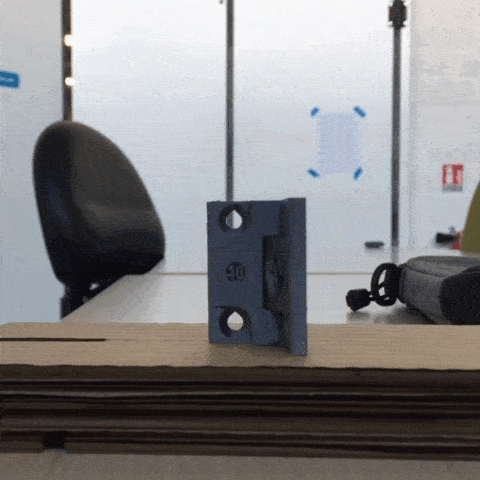
Testing of a nested hinge
For the first test of the week, I want to make a hinge out of one printing.
First, I tested a well-tried design from this thingiverse file. The creator explains his design in this Instructables
This is printed out of an original Prusa i3 mk3S+ with the following settings (taken from the Prusa knowledge base ) :
-
material : PLA
-
Nozzle : 0.4 mm
-
Temperature of the nozzle : 215°C for first layer and 210°C after
-
Temperature of the Tray : 60°C
-
Height of layer : 0.2 mm (0.3 mm for the first layer)
To slice the STL file, I use PrusaSlicer. The orientation is important to have a good strength of materials as well as good mobility between the 2 parts. Printing vertically like this allow for a good motion but diminish the material in each layer. So the barrel is designed with a variable diameter :
The result in GIF :
Designing an object
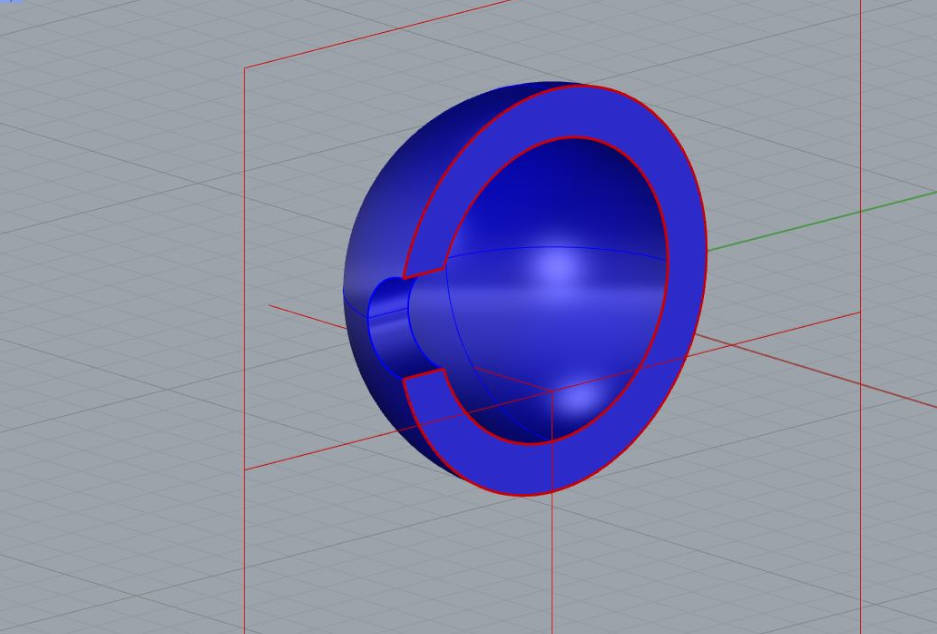
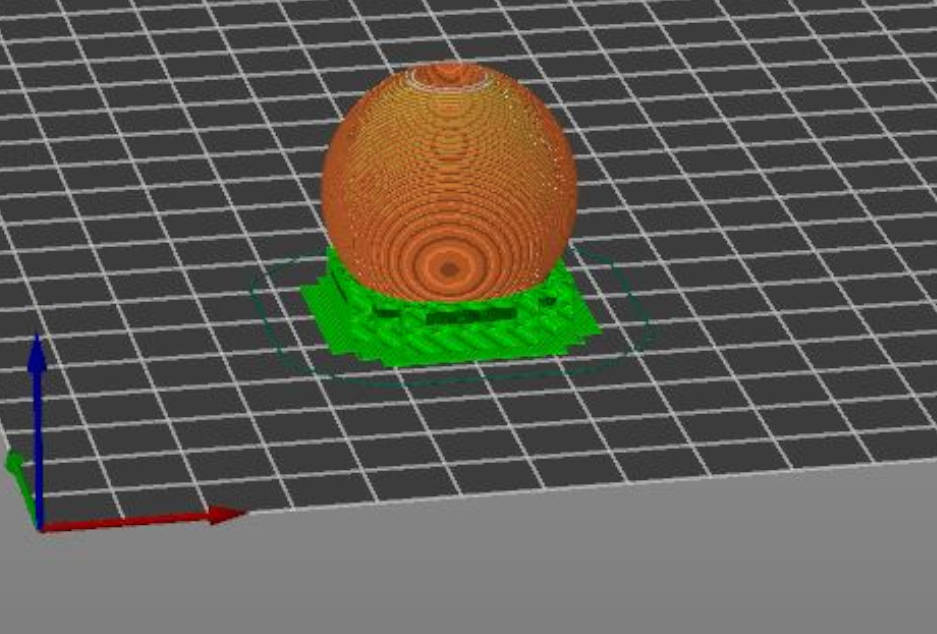
Hollow sphere
First thing that came to mind when doing an object which could not be made subtractively was a hollow sphere. So I designed it in Rhino using the Boolean difference command :
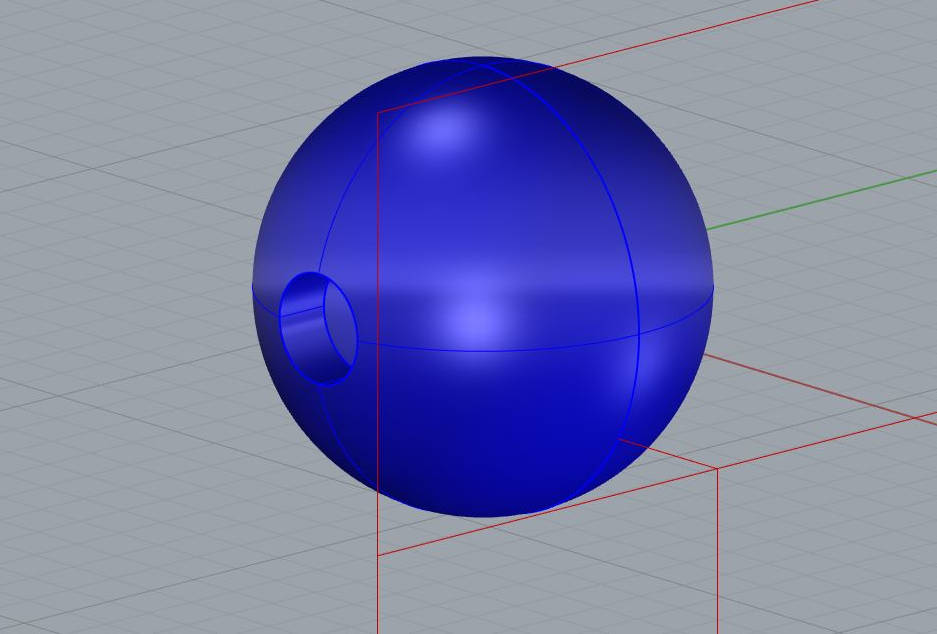
I made a first test but the sphere didn’t adhere to the surface so I added the option “support starting from the plateau only” from the PrusaSlicer :
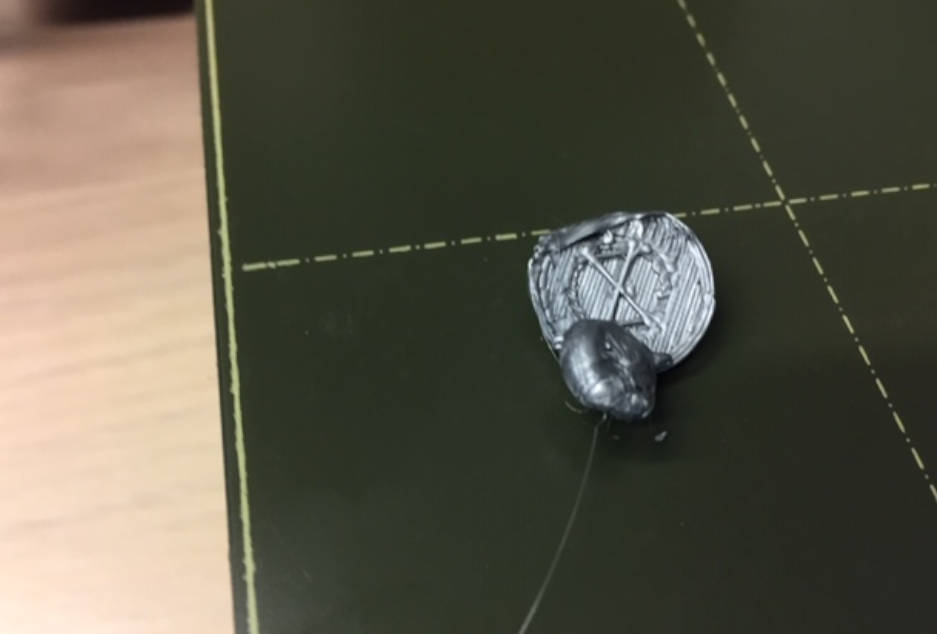
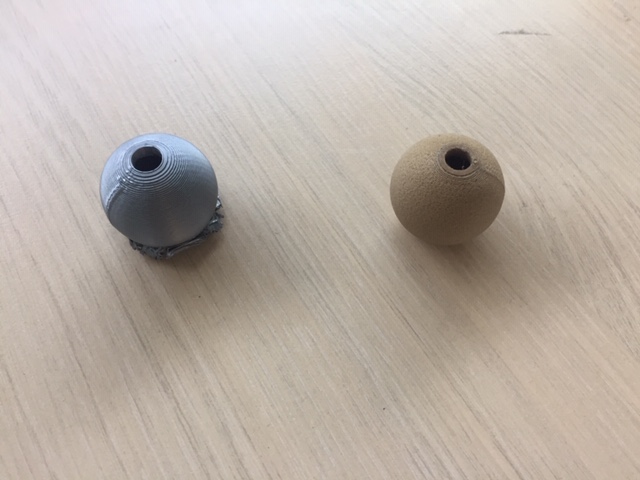
I tested with PLA and bamboo filament :
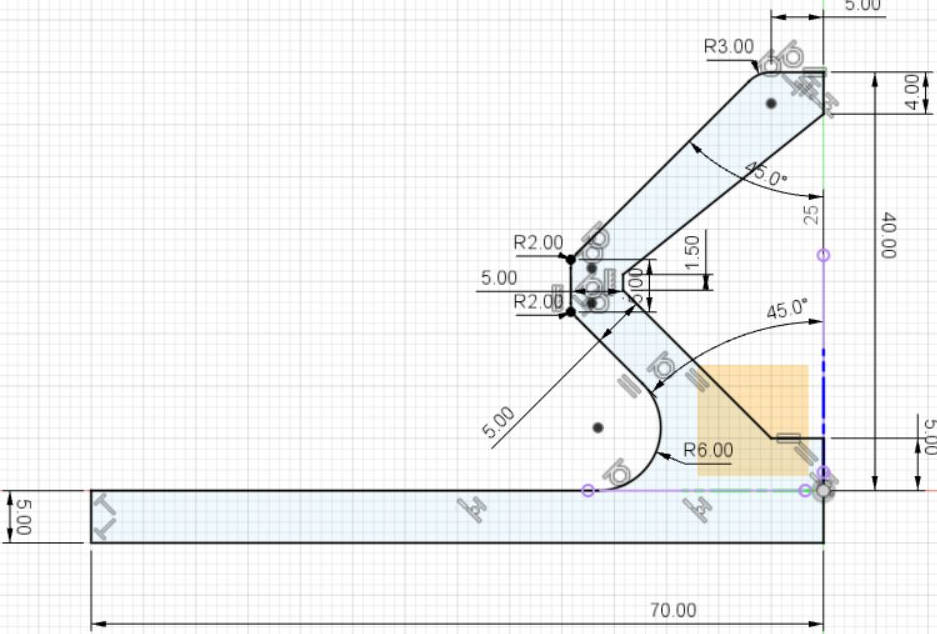
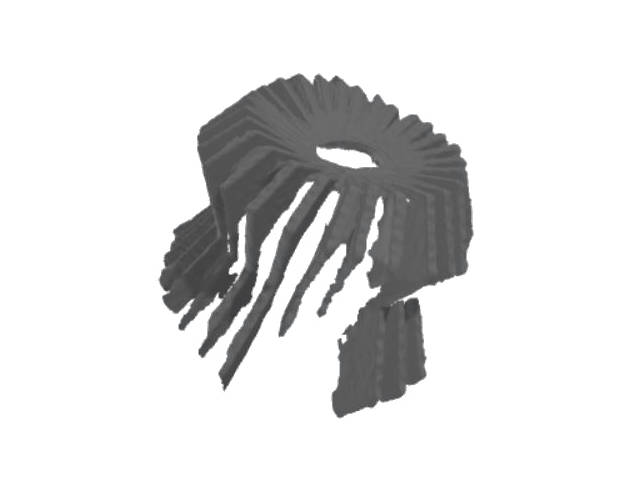
Rotational plateau
Following my test of a hinge, I want to make further tests for nested objects.
Here is my idea which could be used to facilitate the 3D scanning of small objects :
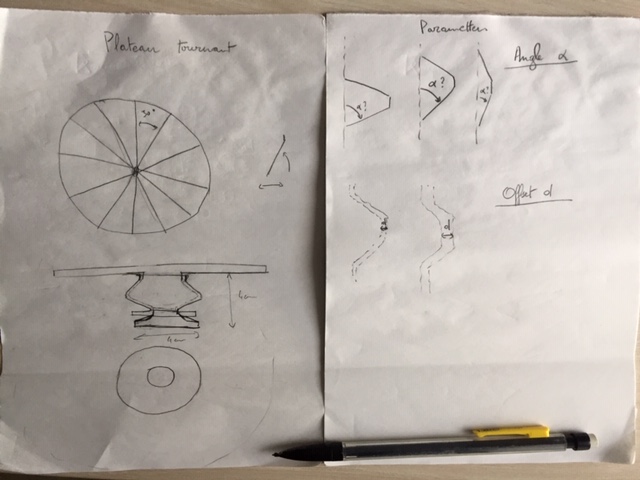
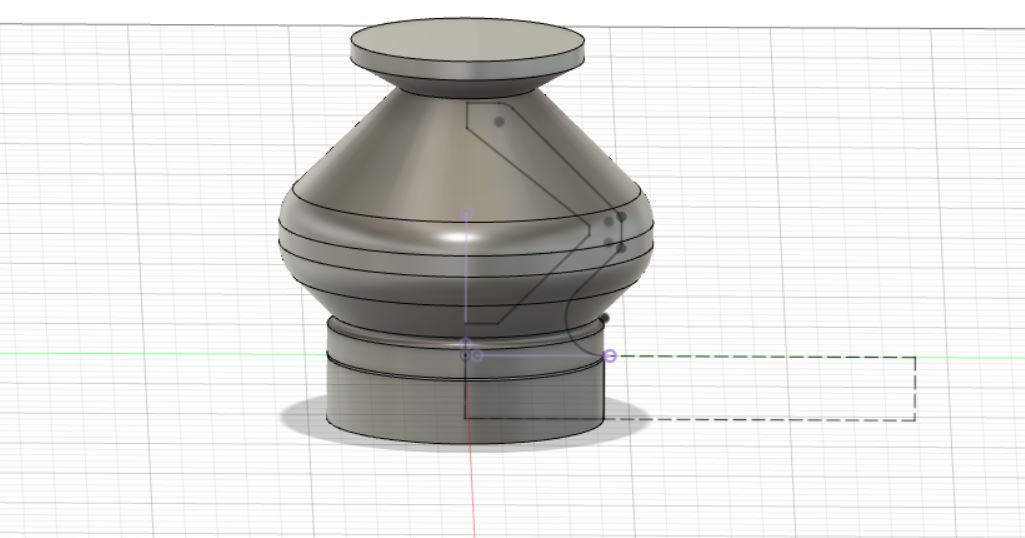
I made the design in Fusion 360 :
| Inner part | Outer part |
|---|---|
 |
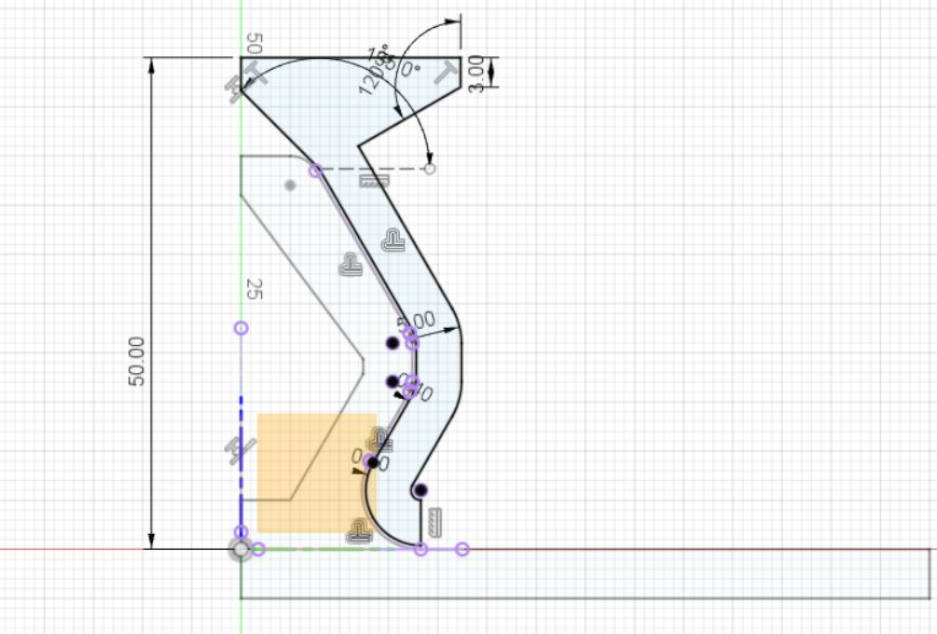 |
And added the following parameters to make iterations (Angle, offset and size of the plateau) :

| Revolution | Section view |
|---|---|
 |
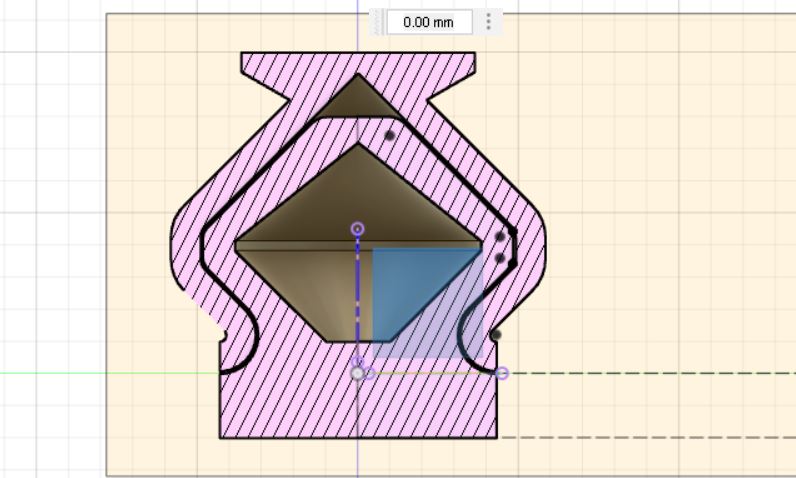 |
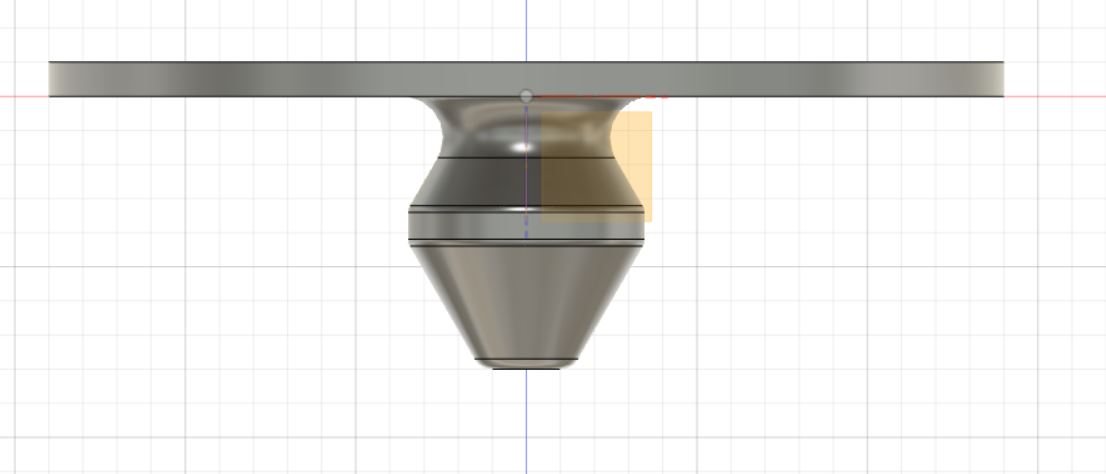
The final 3D model :
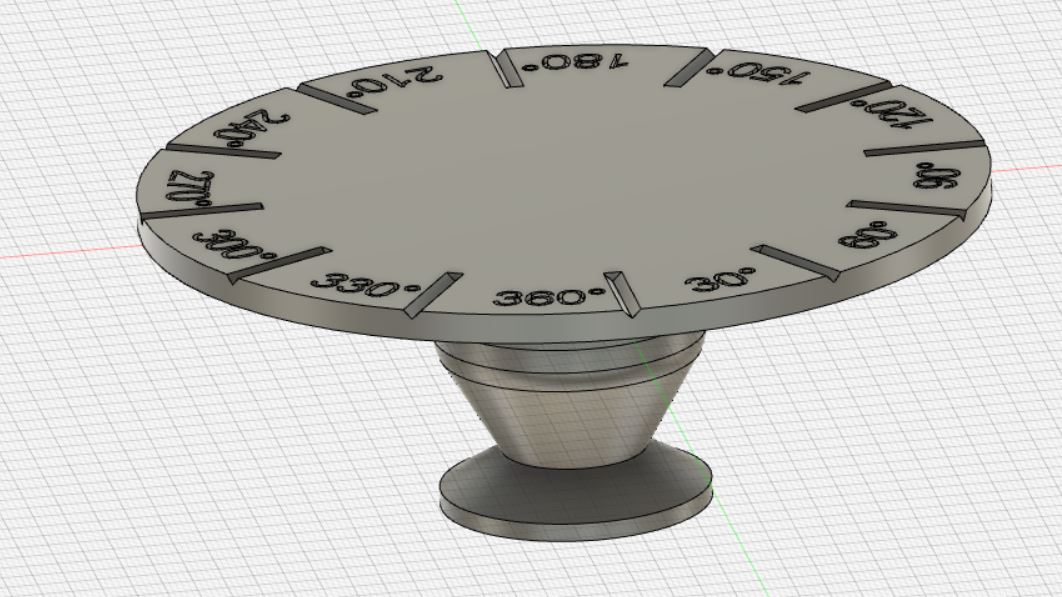
Testing the right parameters
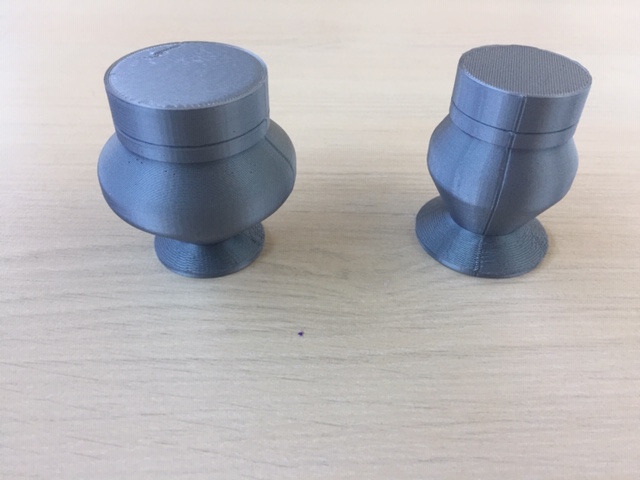
To make the tests, I plan to make iterations to get the right offset and angle which could work. I drew a smaller sample without the plateau to make the printing faster :
| Test design | printing tests(45°angle and 30°angle) |
|---|---|
 |
 |
And the result worked with 0.4 mm offset and both angle. I only had to break the adherence between the 2 objects with a clamp for the first use.
In the end, I didn’t have to make iterations
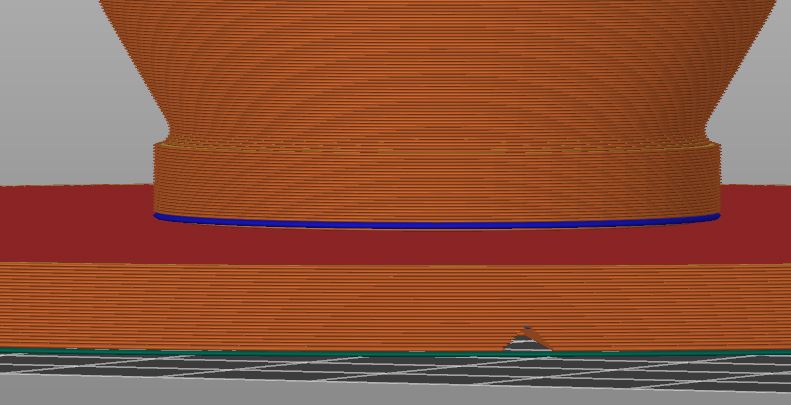
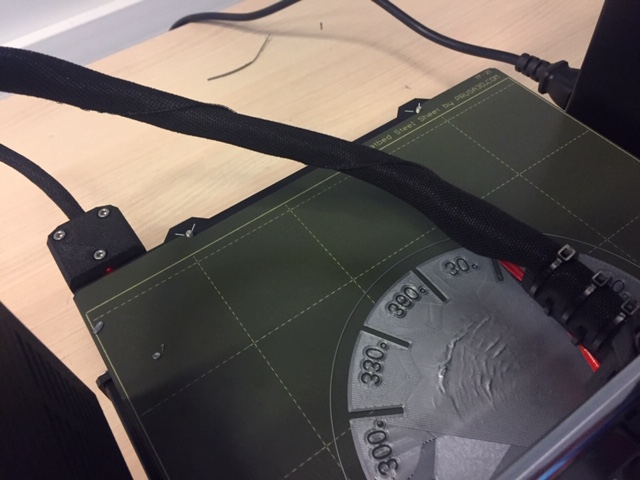
Printing the plateau
I tested both on Ultimaker and with the Prusa. We can see the overhang in Blue in the PrusaSlicer :
Hero shot
Final capture :
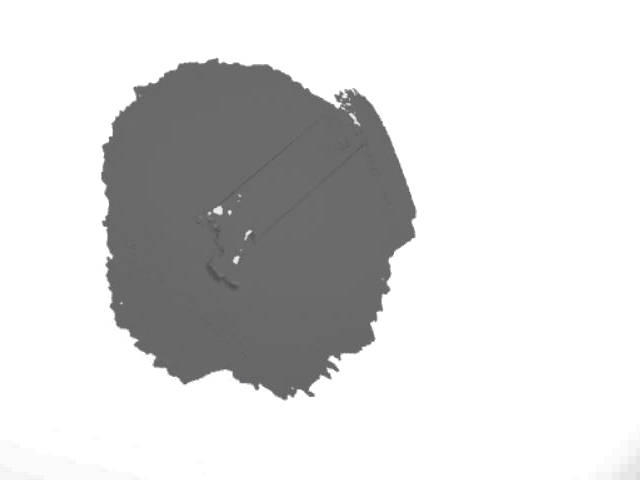
3D Scanning
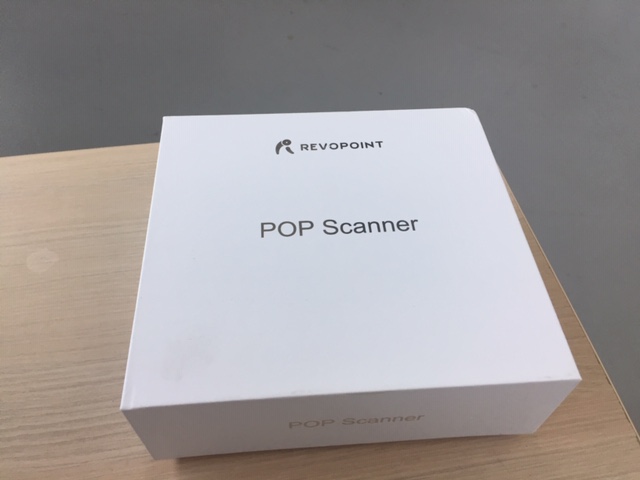
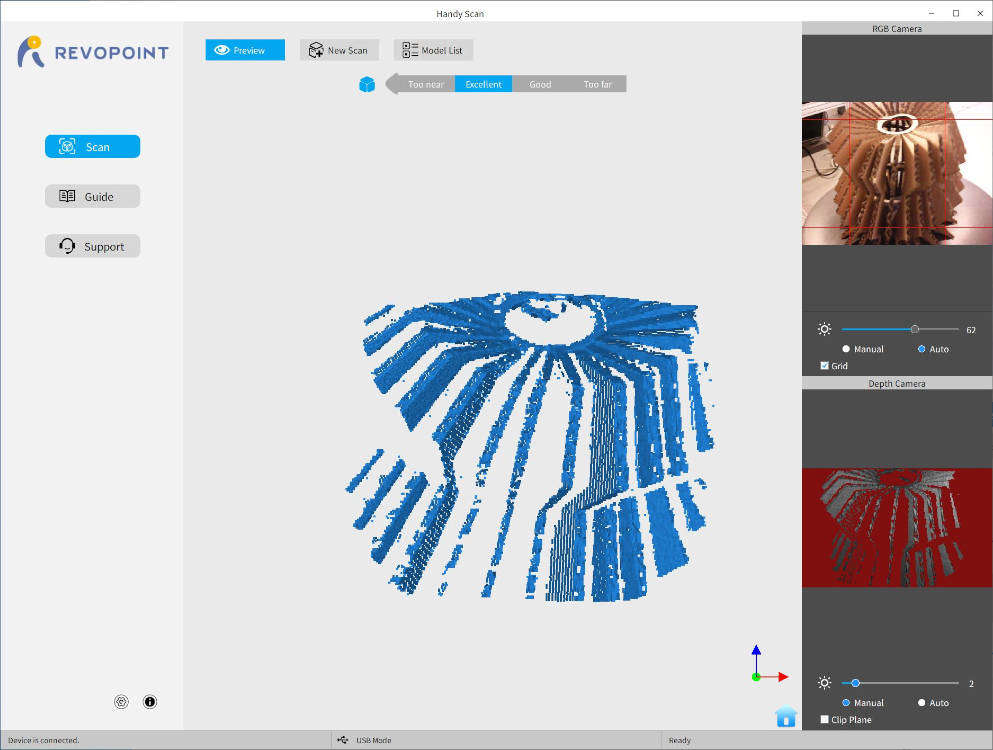
To make 3D scanning, I used a device from Revoprint. The technology is a dual camera infrared light :

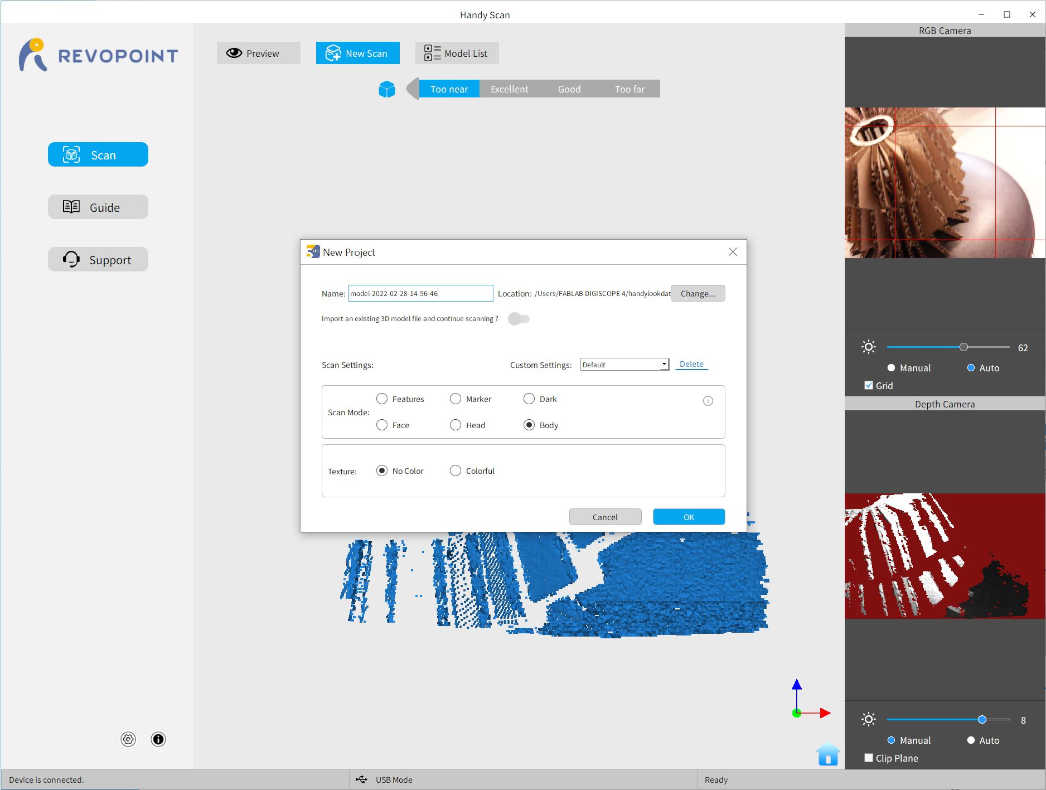
To make it work, I plug in the USB cable in the computer and open the Handy Scan, software included with the device. This software has different options to scan depending on the type of object and the colour of it :
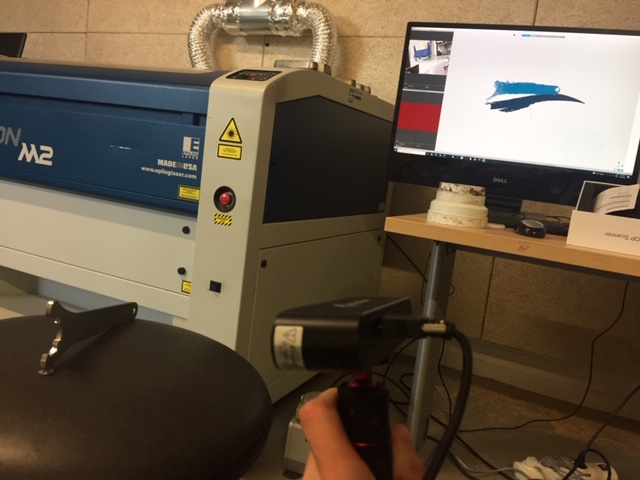
You can see next the setup I used. I used a stool for platform to rotate around. I was about 20 cm away from the object :
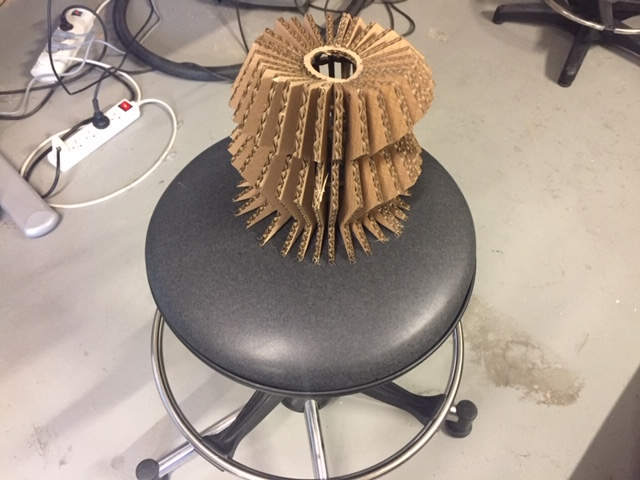
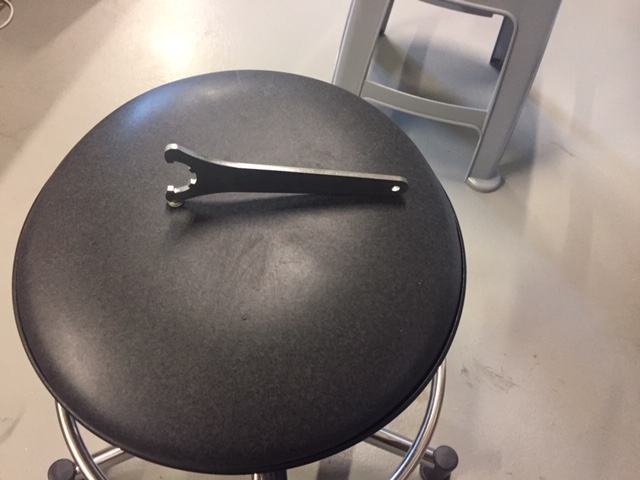
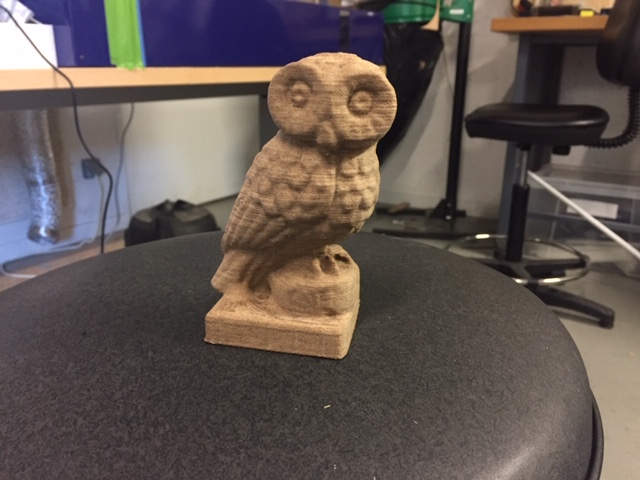
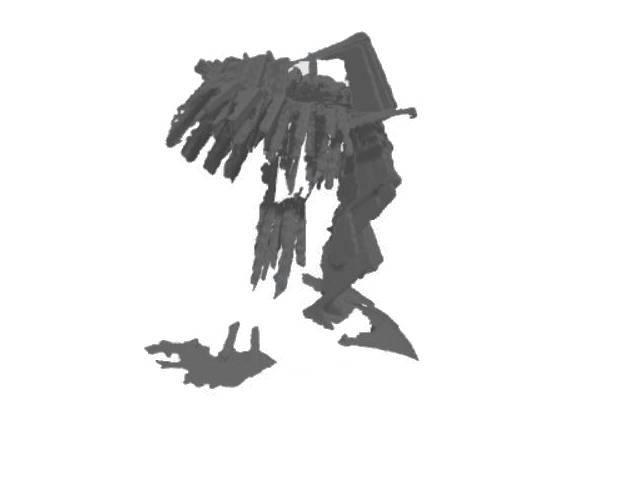
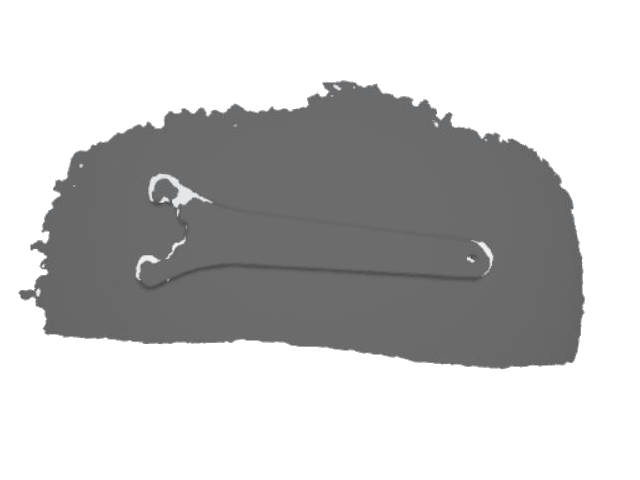
So I made several test with stuff I found in the fablab : A piece of carved wood, a cardboard lampshade, a tightening key and an owl made in 3D printed wood filament :
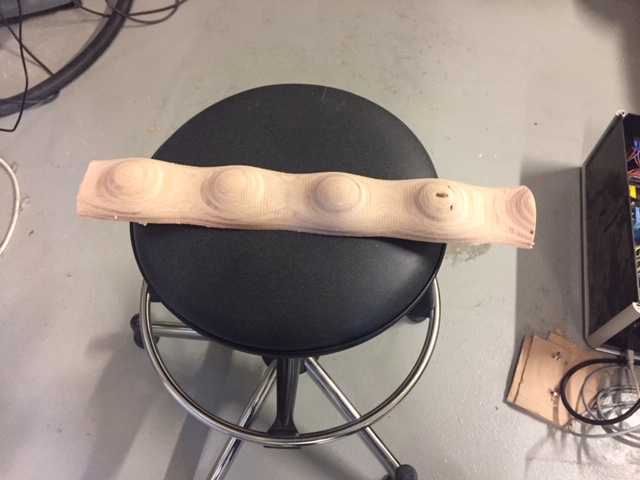
With following results for the carved wood (scan mod used : features and no color):
For the cardboard lampshade I used body and no color. I had difficulty taking a good shot :

The tool shot was also hard to get because of the reflective surface. I used dark mode here :
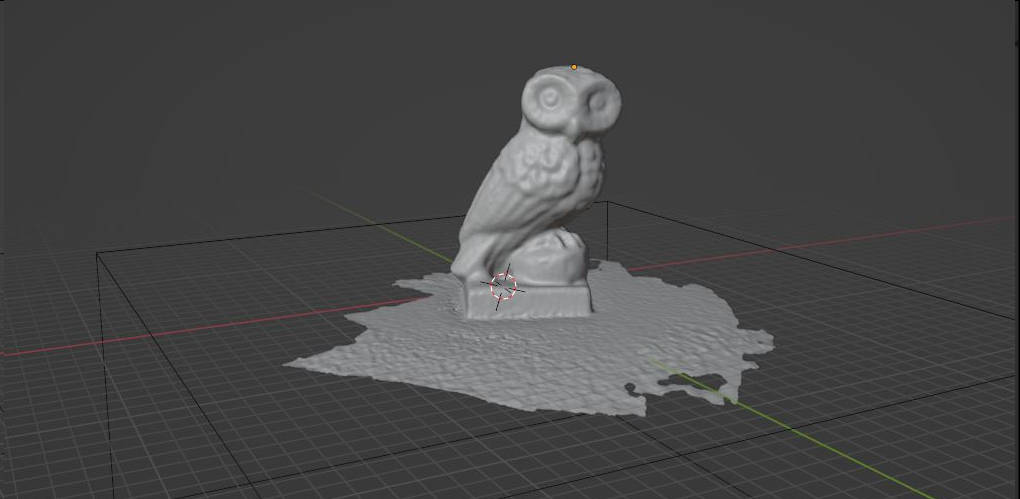
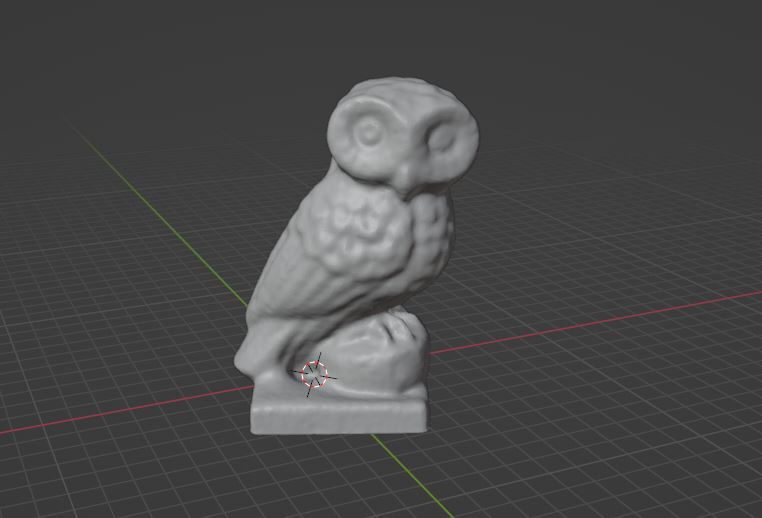
And the owl made with body mode and no colour :

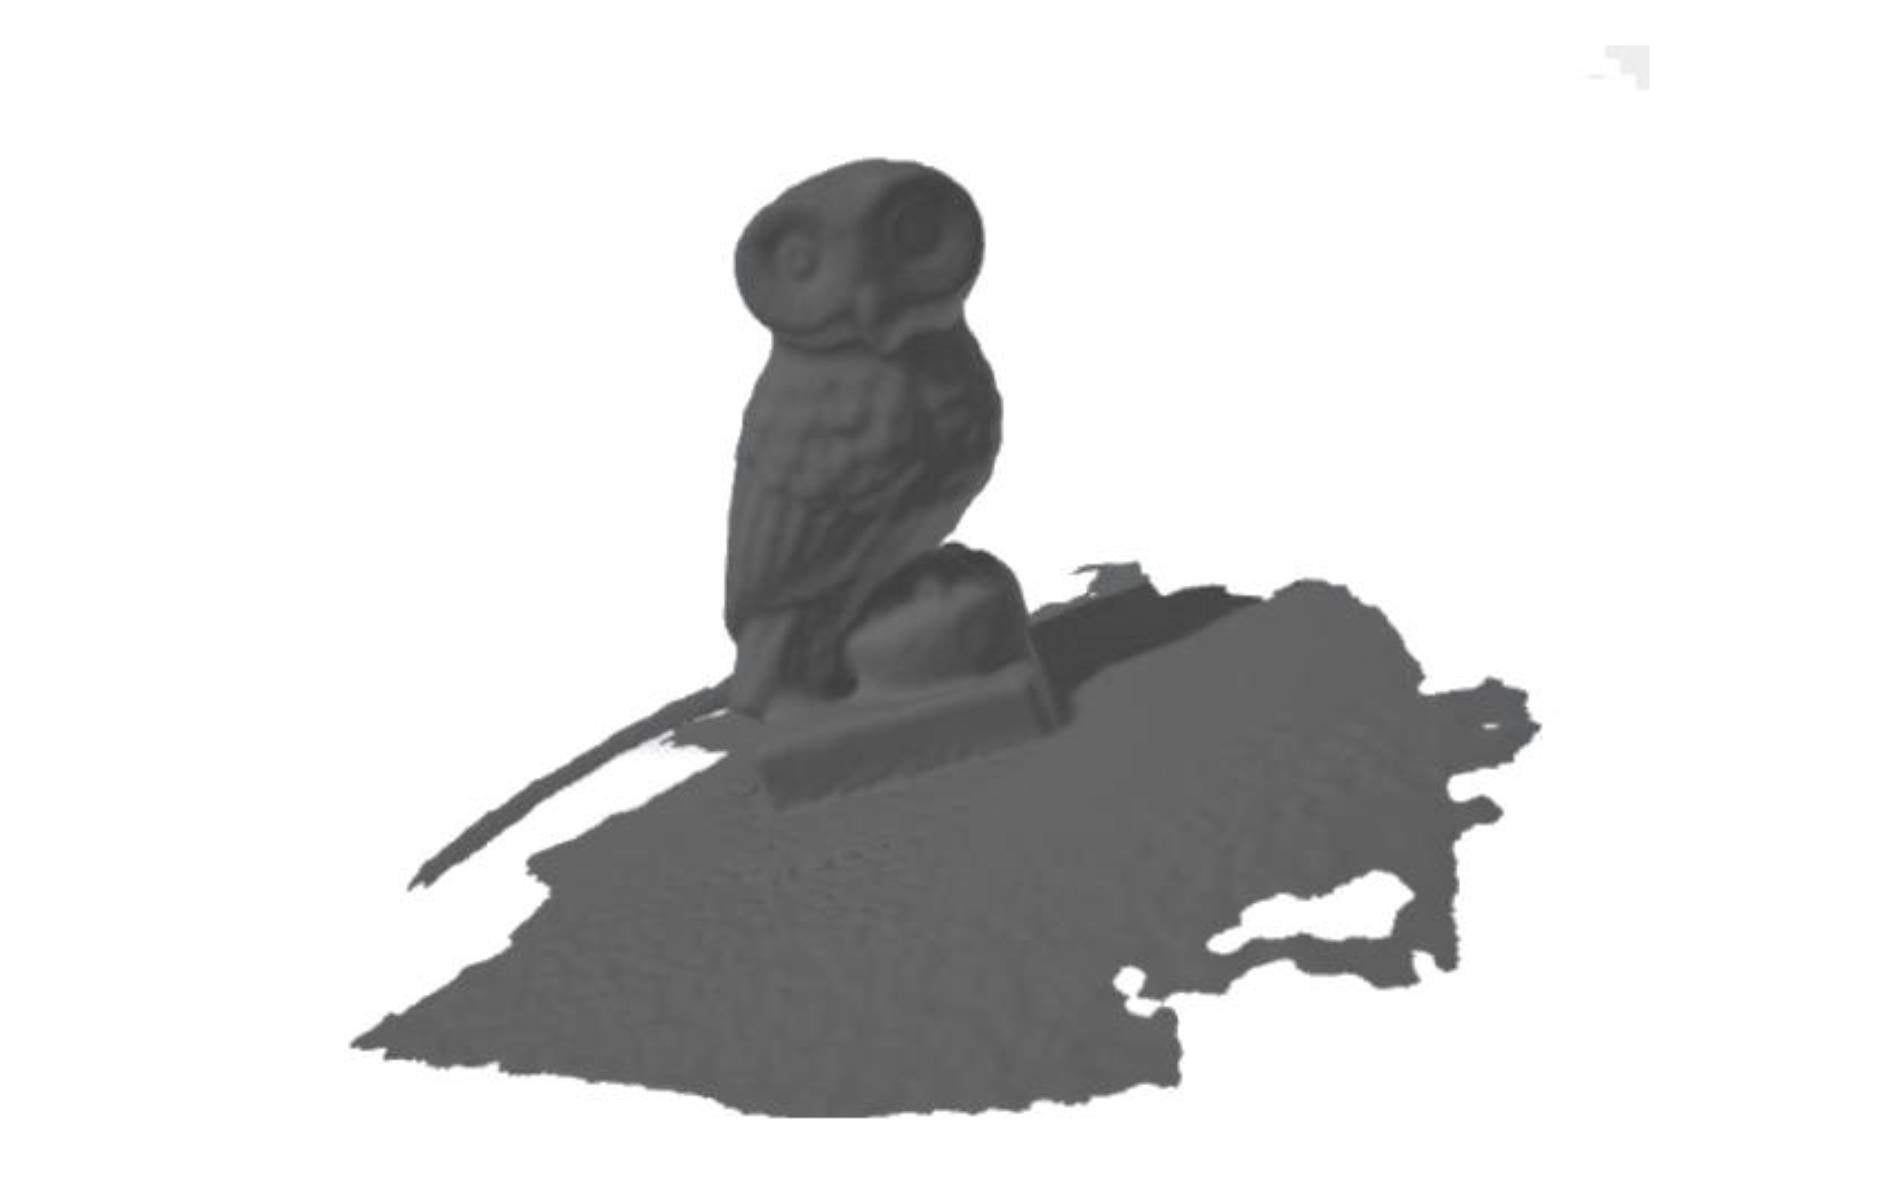
3D printing the 3D scanned Owl
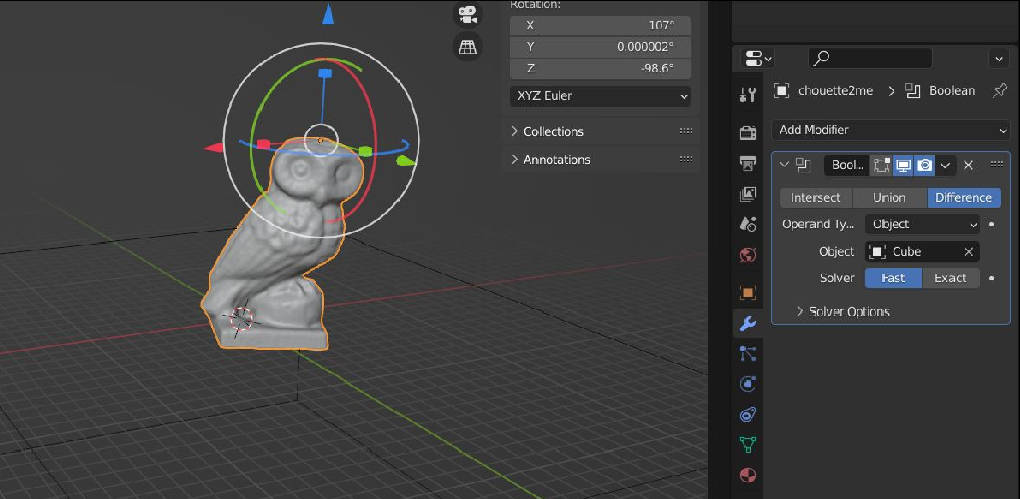
The 3D object made from the Handy scan software is correct but there’s some work to do to make it the 3D object we want. I did the finishing process with Blender :
Filling the holes in the mesh :
Applying a Boolean modifier to suppress the unwanted meshes
Final 3D object :
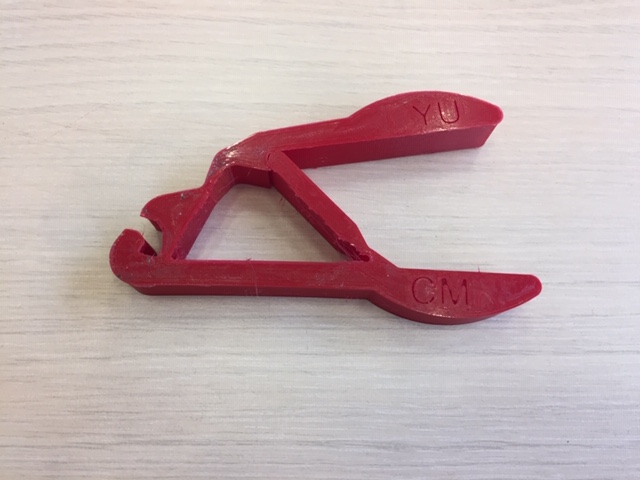
Testing a compliant mechanism
Compliant mechanisms are made of a flexible material able to transmit some force. I took the file from the reasearch center for compliant mechansim in Birgham Young University
I made a plier with TPU 95A material. I used the base settings from Ultimaker (215°C for the extruder, 50°C for the plate, print speed : 50mm/s)
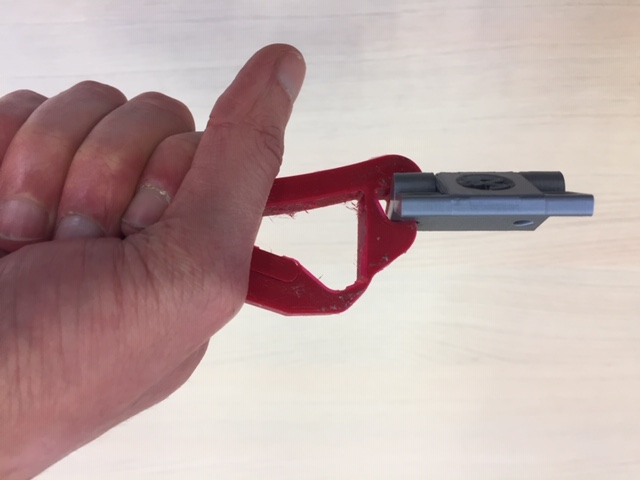
Results : good strength but very small stroke
Group Assignment
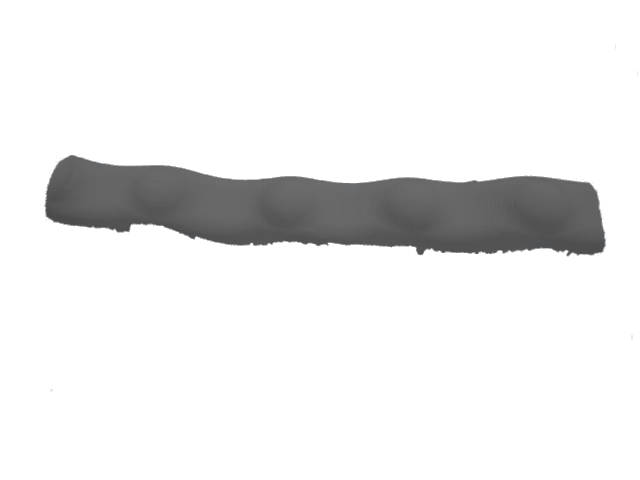
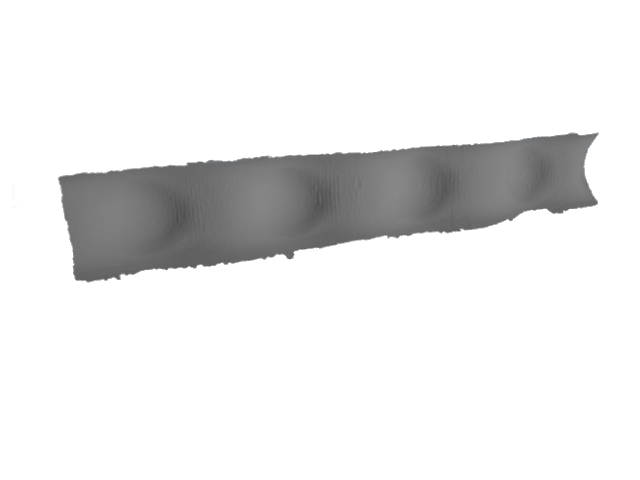
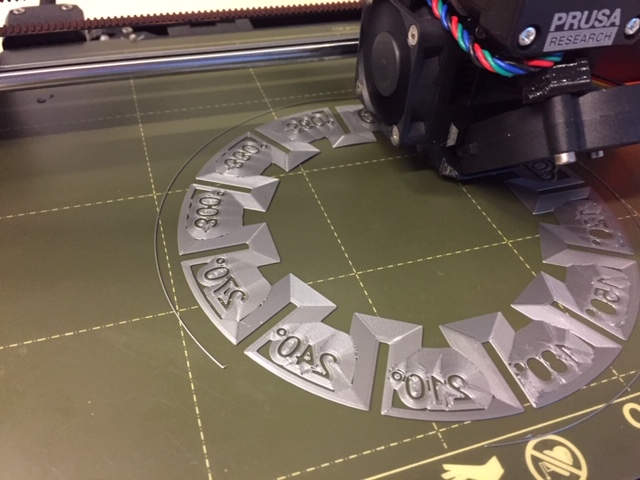
For this assignment I used this file from thingiverse. And printed it with the Prusa because this is the most challenging printing machine (and the least expensive). The extruder is a 0.4mm one and the filament I used is PLA.
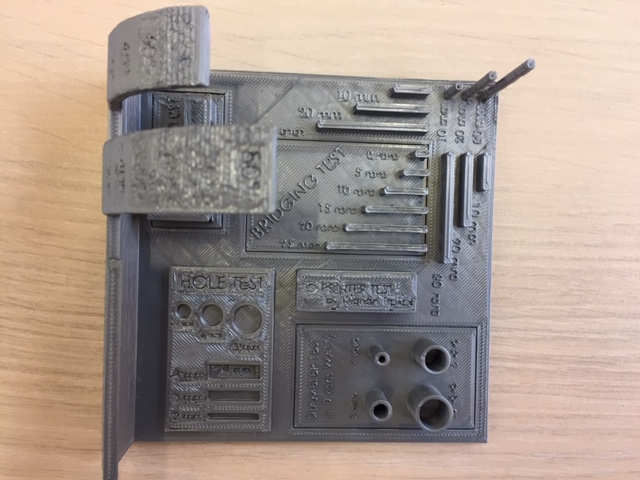
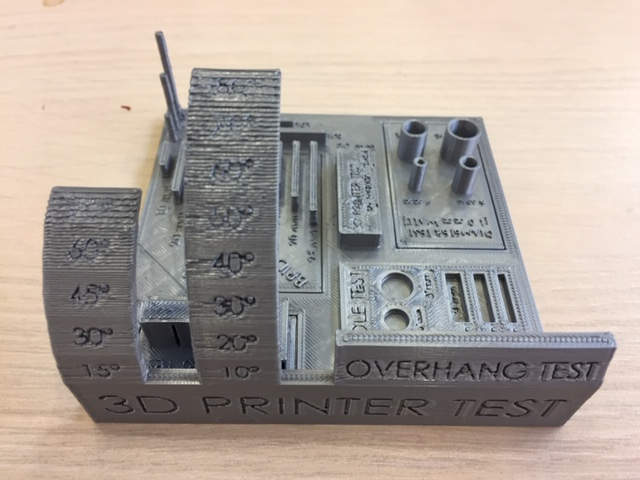
There was a small filament drop for the longest bridge as well as a diminution of printing quality above 50° overhang.
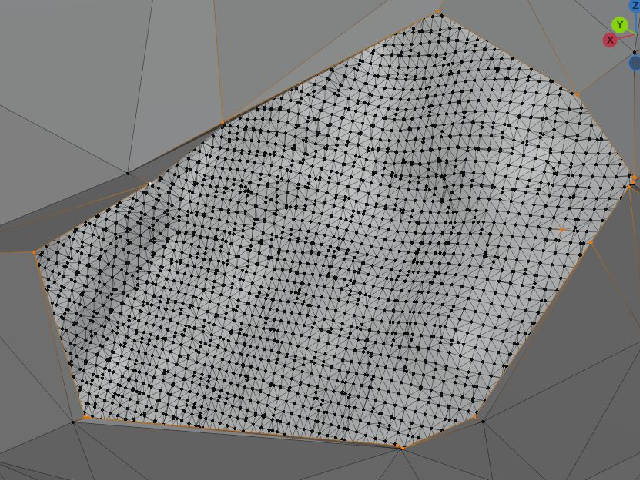
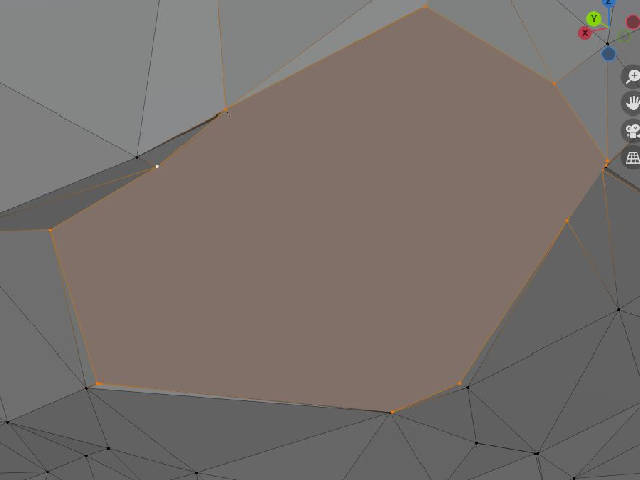
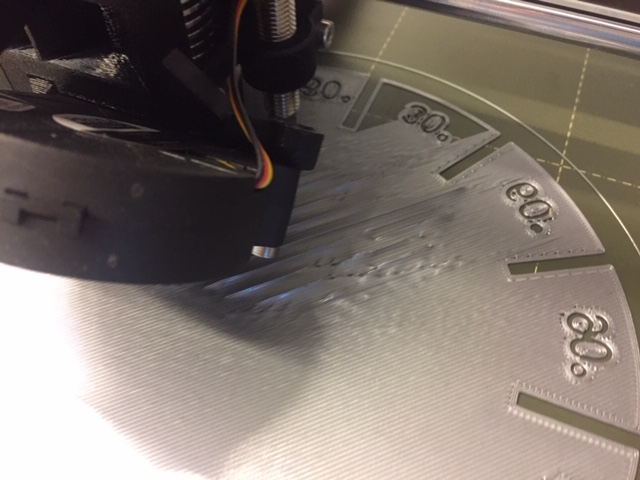
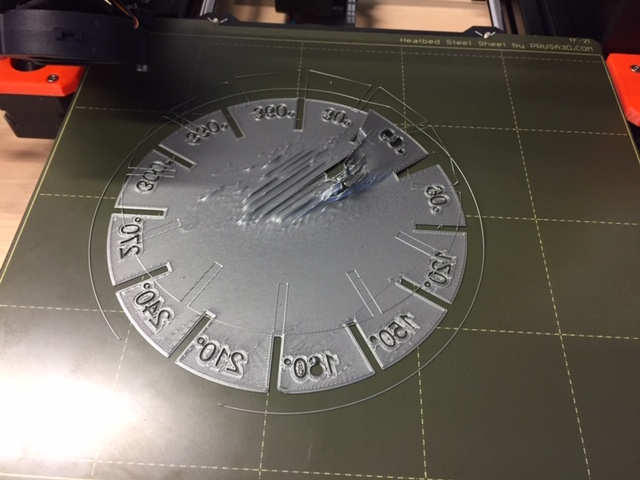
Printing the first layer with Prusa
I struggles to have a good first layer adhesion with the Prusa when printing big surfaces. The settings I used are 215°C for extruder and 60°C for the plate :
I had the same result when testing with another Prusa with almost the same pattern. Here you can see shots taken from a FLIR thermal camera for both Prusa :
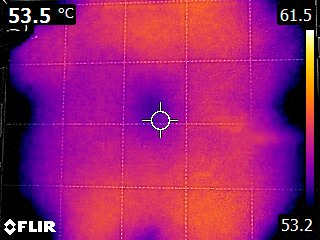
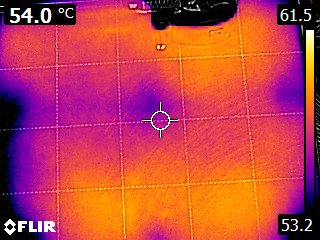
There is a 5°C/10°C difference of temperature between the center and outer ring. It doesnt’ get me anywhere for printing my piece but at least I know that this is something to take into account.
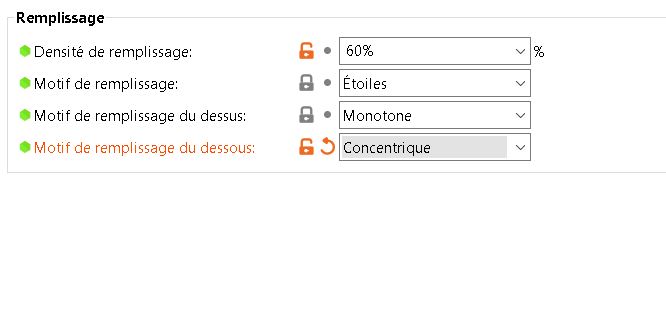
Finally, I changed the pattern of the first layer in Prusa from straight-lines to concentric lines and had better results :
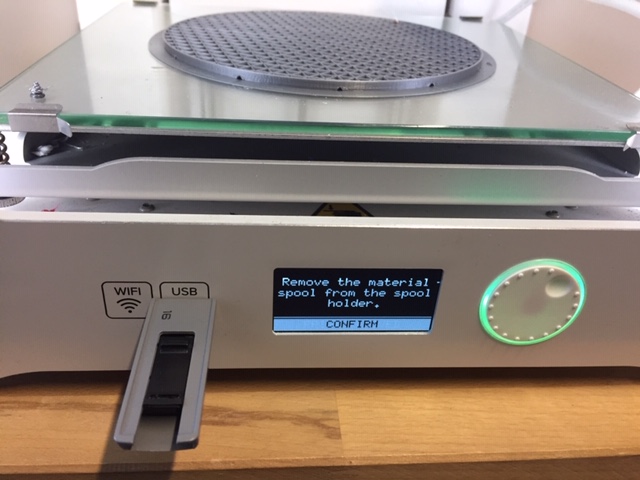
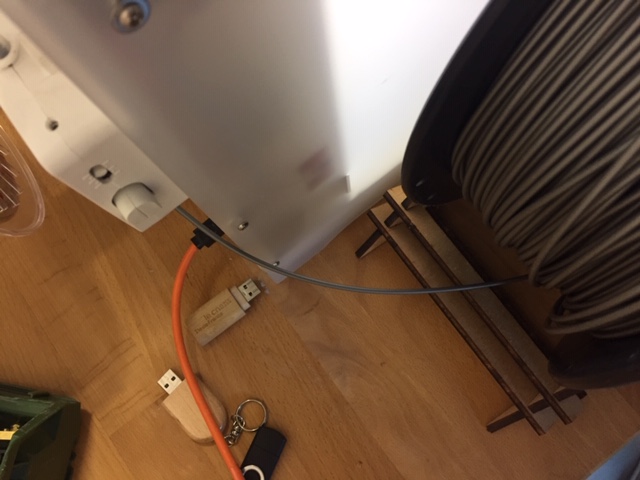
Arranging the spool
Good spool winding is important. I almost failed a print because of a filament struck :
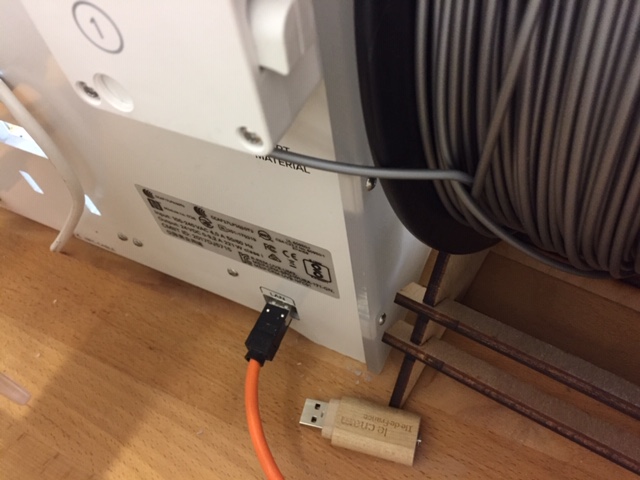
I paused the print and re arranged the spool :