2. Project management
Assignment
work through a git tutorial build a personal site in the class archive describing you and your final project
Research
For the documentation site, I plan to clone the documents on my computer and write on Atom.
The tutorial I relied on to setup git was the fabac’ one
Html or MKdocs ?
Using Docusaurus or Hugo ?
Using a custom theme like Cinder/Windmill or customizing it myself ?
Personal goals for this week :
-
change the font, colour
-
change the icons
-
change the colour and box of links to other pages of the site
-
Make a cool personal front page
Spiral development : Implementing new customizations in an iterative way.
Setting the documentation site
After installing git bash, the first step was to figure out how to communicate with the command prompt. Here are some commands I found useful :
cd folder1/folder2...    // to navigate to the folder
cd                      // to go to the root
touch file.format       // to create a new file
git pull                // to pull from the folder in gitlab to your computer (always do it first if you work on both browser and computer)
git add .               // Use the following 3 commands to upload your file in gitlab
git commit -m "title"
git push
cat ~/.ssh/id_rsa.pub   // To check if we have the SSH key already
clip < ~/.ssh/id_rsa.pub // To copy the SSH key
du -h                   // to get the disk space and avoid being scold for excessive space usage
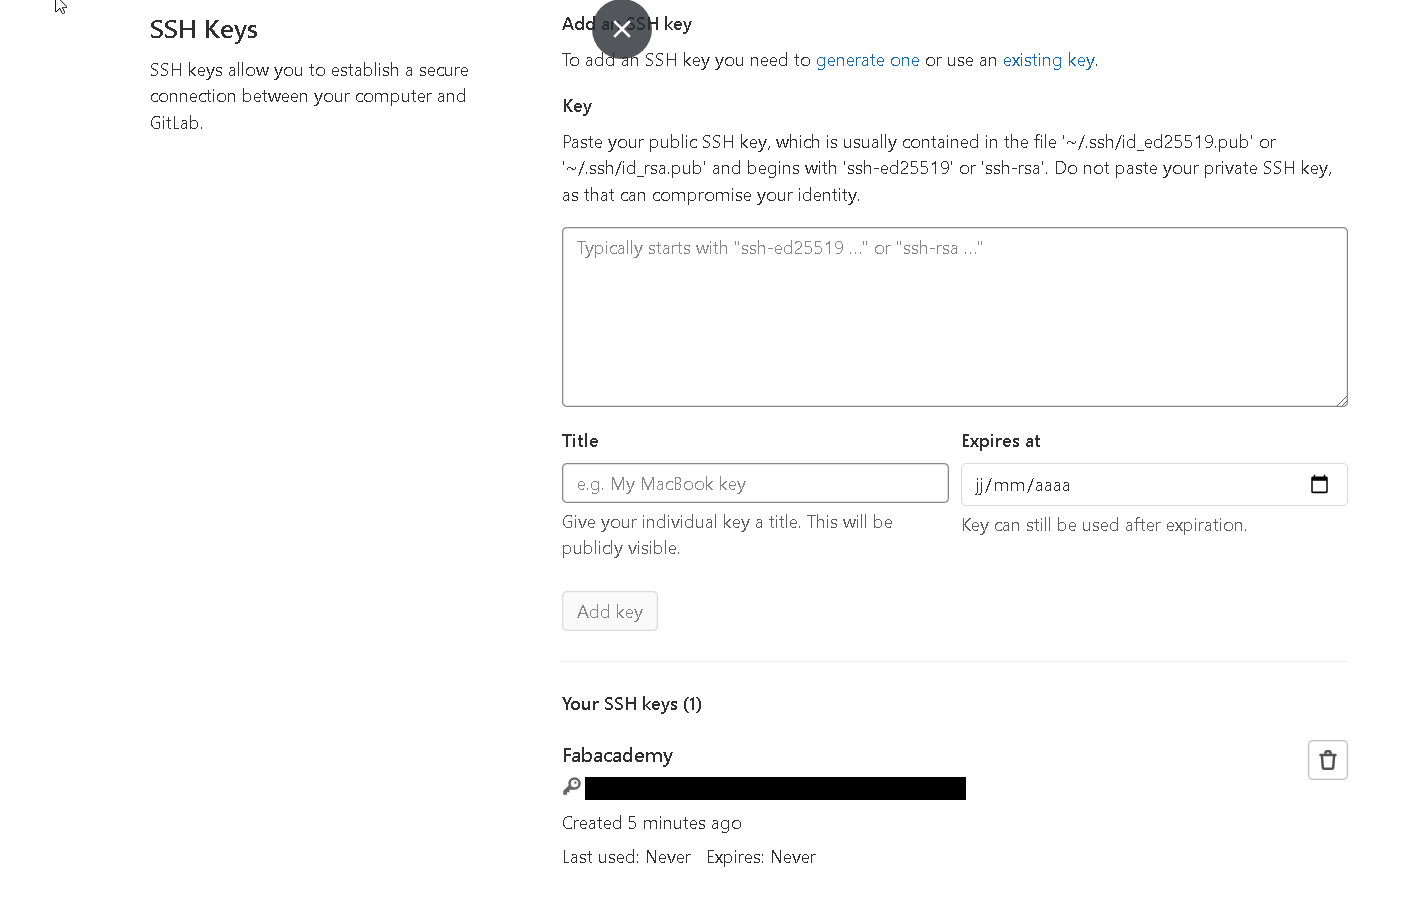
I didn’t have to setup the email address and SSH key because I already did my own documentation website earlier this year for the DU I’m doing. First thing, I checked the SSH key and copied it:

And pasted it to the gitlab website :
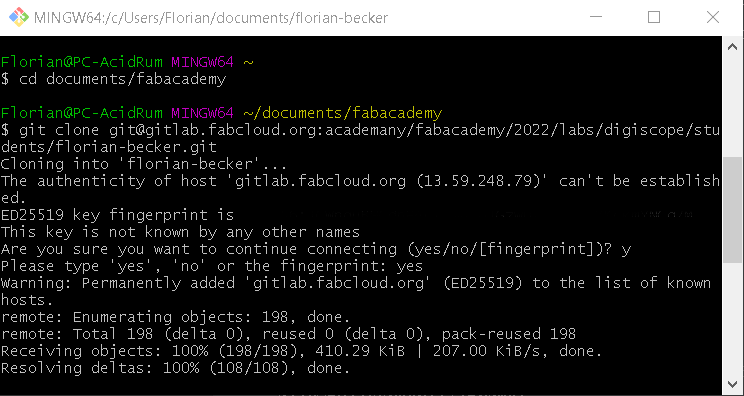
To download the documents on my computer, I copied the URL of my gitlab page to the clipboard :

And used the git clone command :
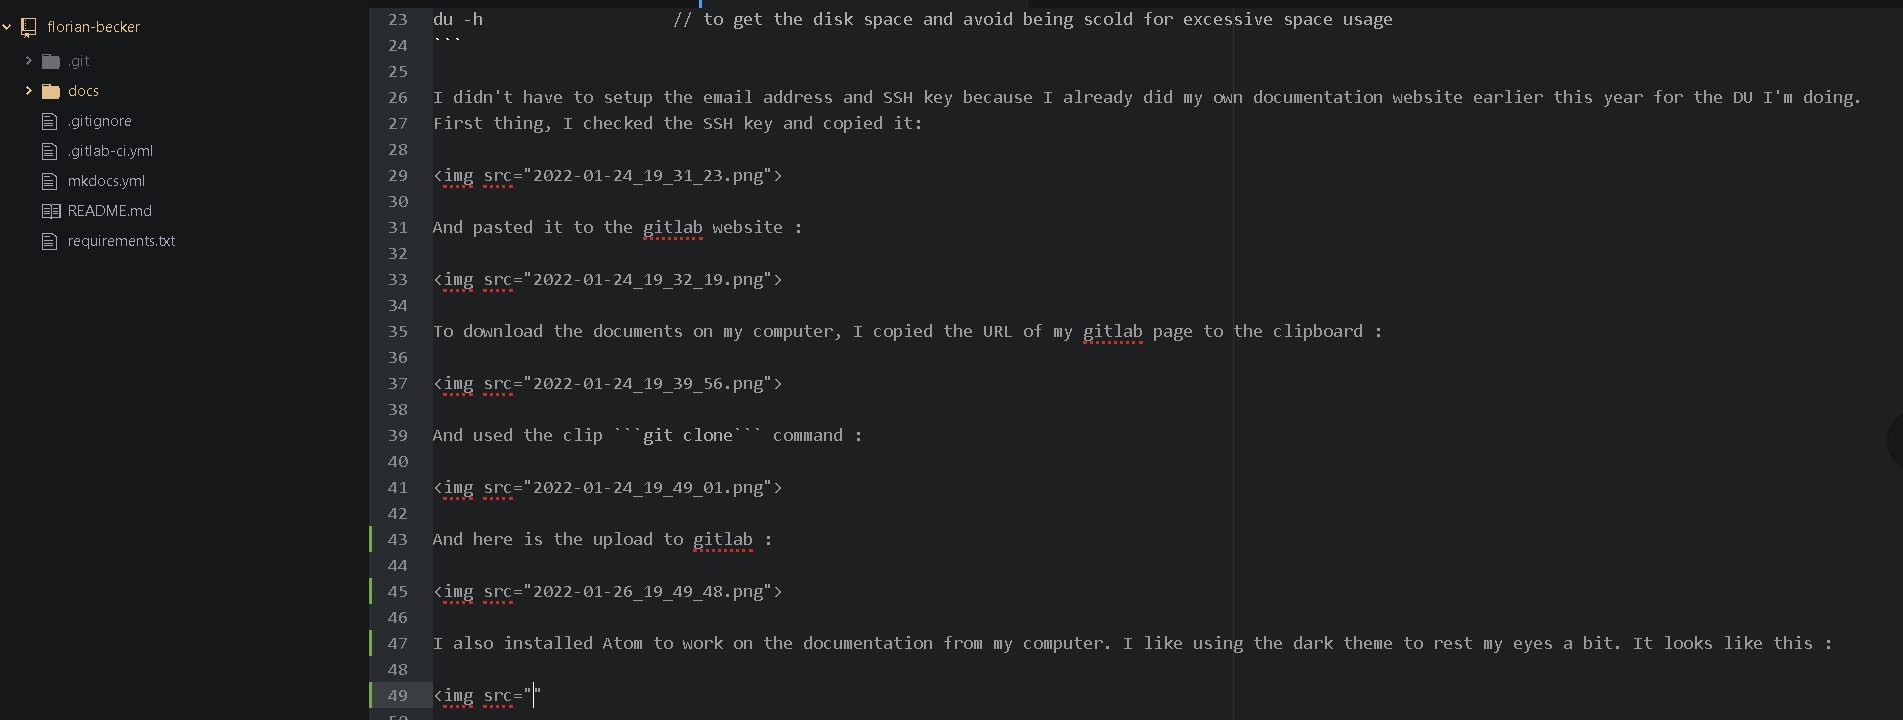
And here is the upload to gitlab :
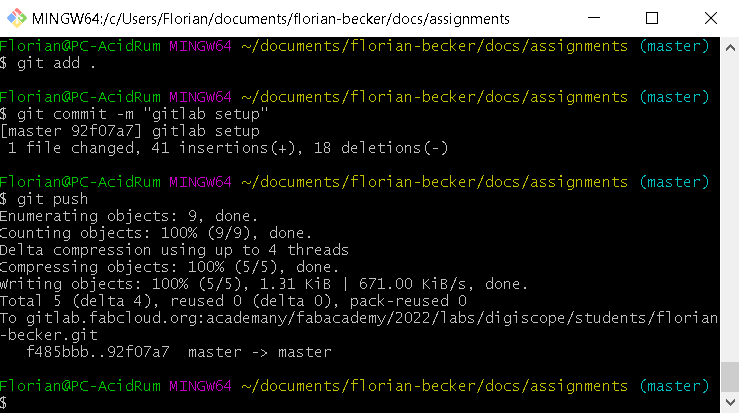
There are 3 commands to use :
git add .
git commit -m "what has been documented"
git push //You can only upload less than 10 Mo at once
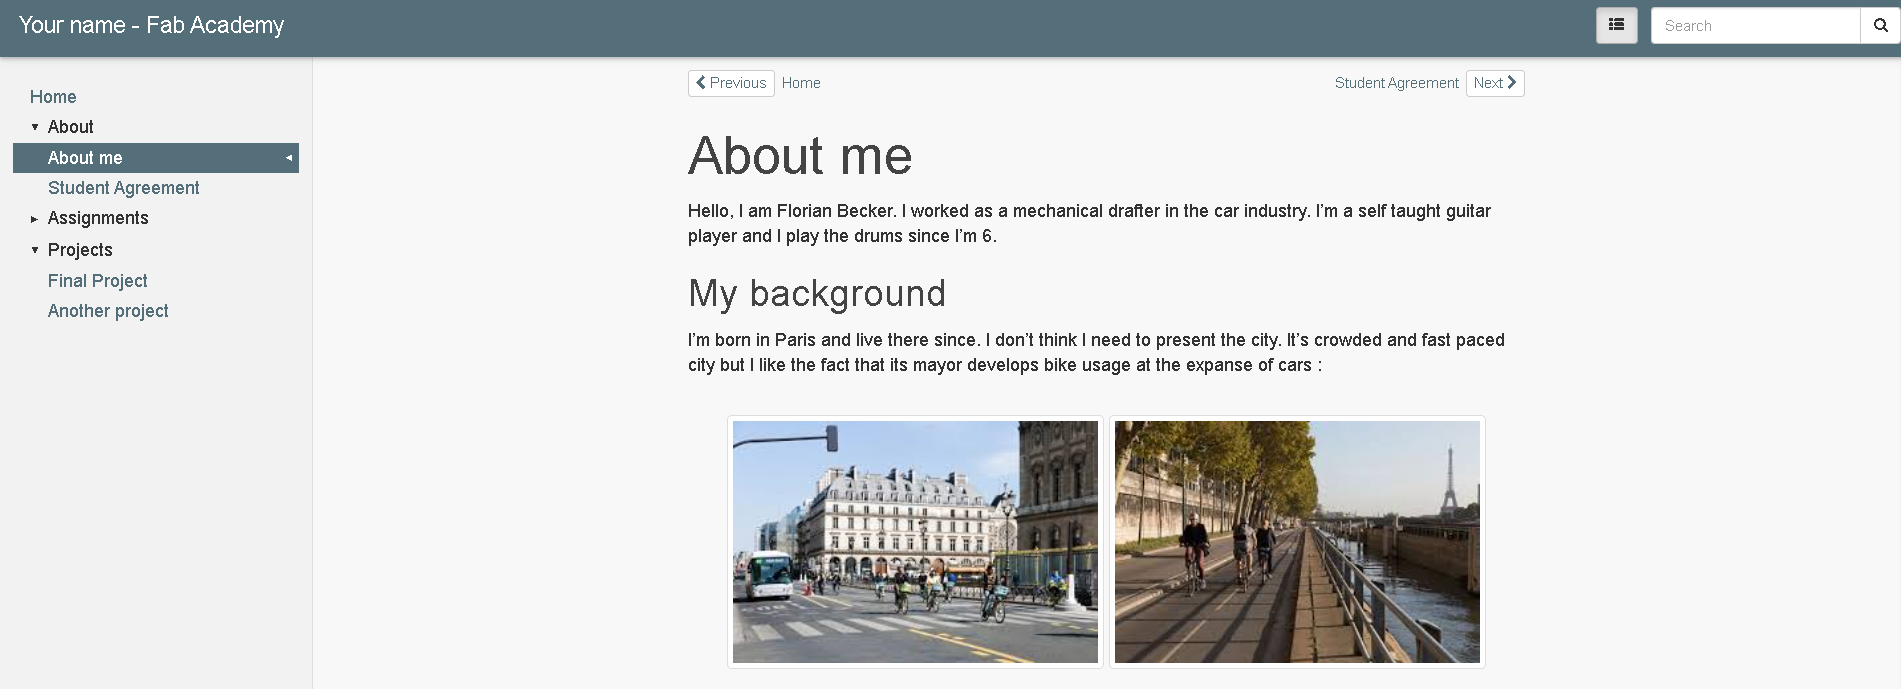
I also installed Atom to work on the documentation from my computer. I like using the dark theme to rest my eyes a bit. It looks like this :
And last, to work in an iterative way and check how changes have been implemented, the mkdocs serve command is really useful.
troobleshooting
I encountered a problem with a push command :
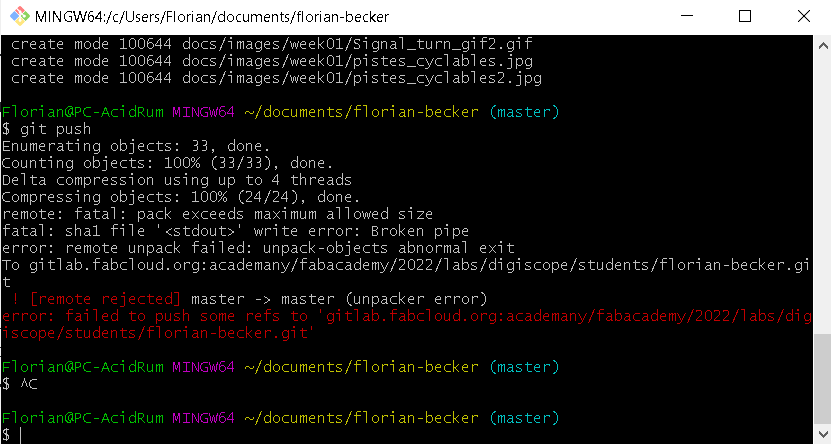
It seemed that I pushed too much data at once (there was a video of 11Mo ><). I found this site for troubleshooting. After saving my local files for backup, I used this command line git reset --hard @{u} to reset all the previous commit before pushing, followed by a git pull to retrieve the data from gitlab. I was then able to push my local files again.
Customization
I started by implementing a new theme to mkdocs : The Windmill theme :
It’s not easily customizable, so I changed back to material theme and added an extra.css file plus an override repo. Material has a tutorial you can see here
To work with the file, start by cloning material for mkdocs into your repo,
git clone https://github.com/squidfunk/mkdocs-material.git
Most of the customization comes from the Mkdocs.yml file. Here you can change the colour with different personalized scheme, the font, the icons on the header of the file and the favicon which is displayed on the tab. But you can also add some cool features like admonition.
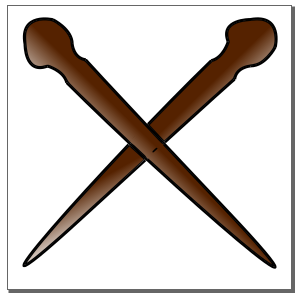
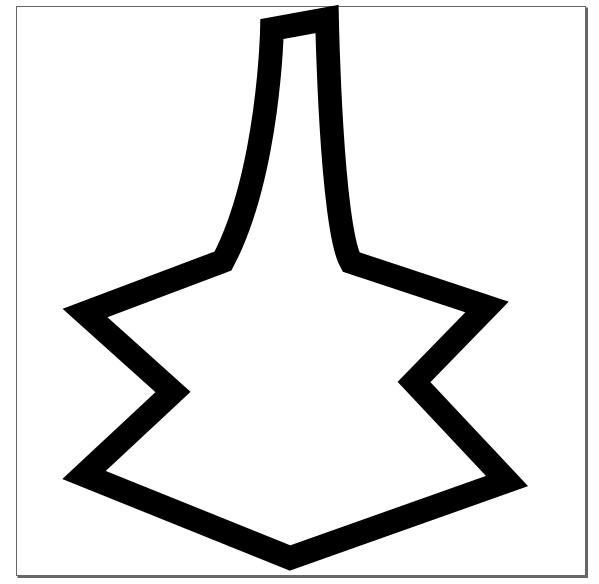
- changing the favicon and logo :
I wanted them to mirror my final project. I drawed them on Inkscape :
| Favicon: drumsticks | Logo: guitar |
|---|---|
 |
 |
then add those two lines to the theme of mkdocs.yml :
logo: assets/logo_guitare.svg
favicon: images/Logo_perso.svg
Identifying elements in the web page
If you want to do a specific thing, for example, change the colour of hyperlinks, open the developper tools (F12) and click on select the element on the page :
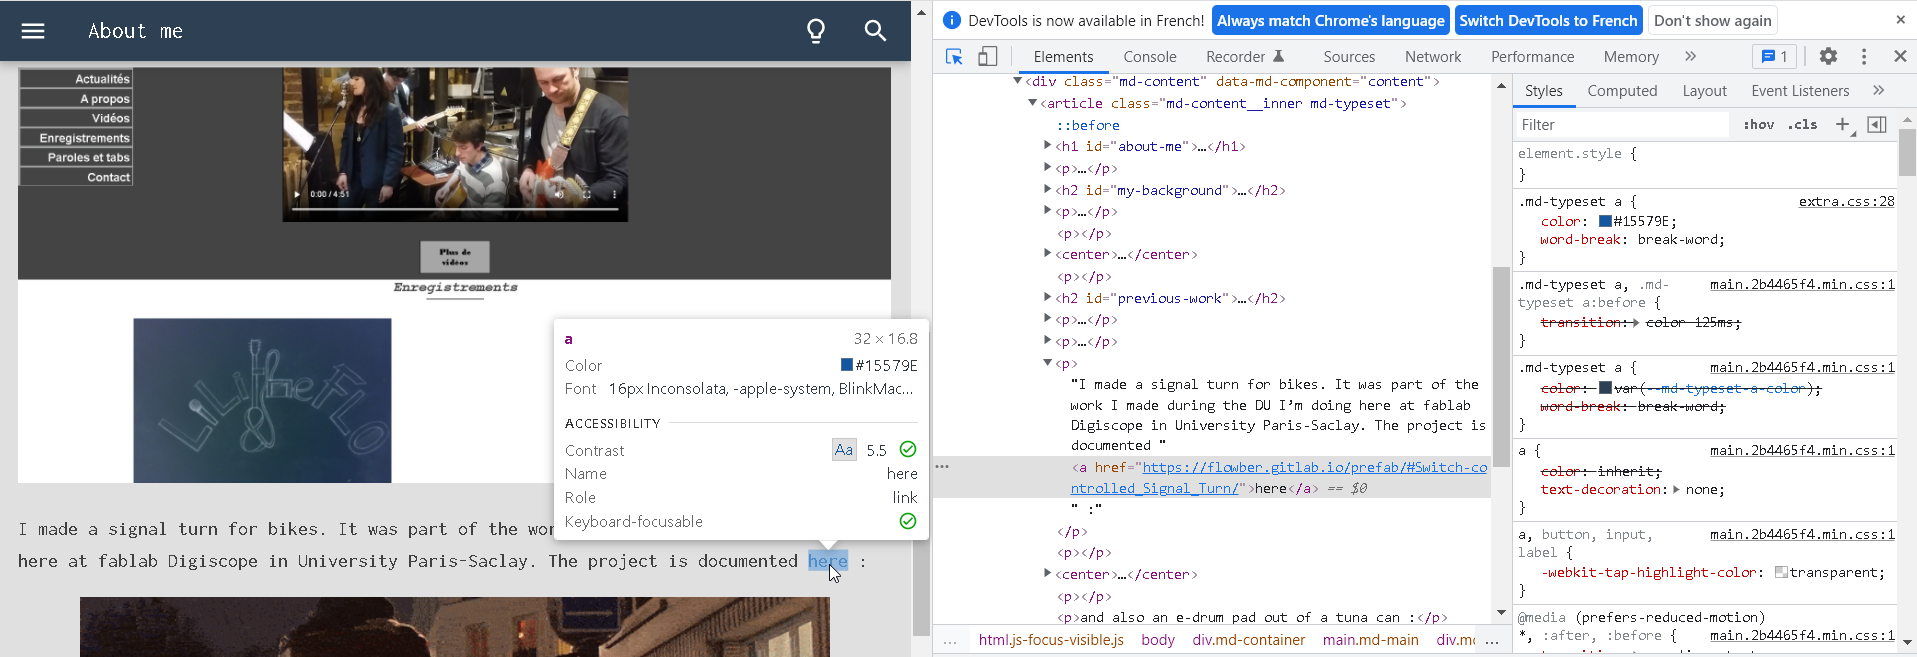
.md-typeset a {
color: var(--md-typeset-a-color);
word-break: break-word;
}
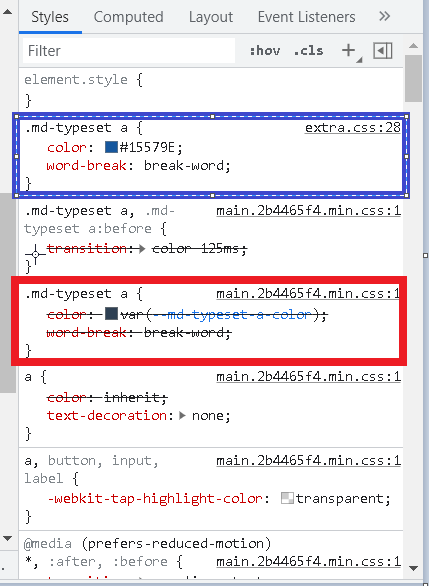
looks like the thing we want to change. Copy this to the extra.css and change the colour by the one you want. You can see below the previous style in red and the new style in blue :
Also, I use Greenshot to facilitate the process to make screenshots.
Adding a gallery for the assignments
I made a gallery in the assignment section, took the code from w3schools :
For the galery, add this in extra.css :
div.gallery {
  margin: 5px;
  border: 1px solid #ccc;
  float: left;
  width: 180px;
}

div.gallery:hover {
  border: 1px solid #777;
}

div.gallery img {
  width: 100%;
  height: auto;
}

div.desc {
  padding: 15px;
  text-align: center;
}
Project Management
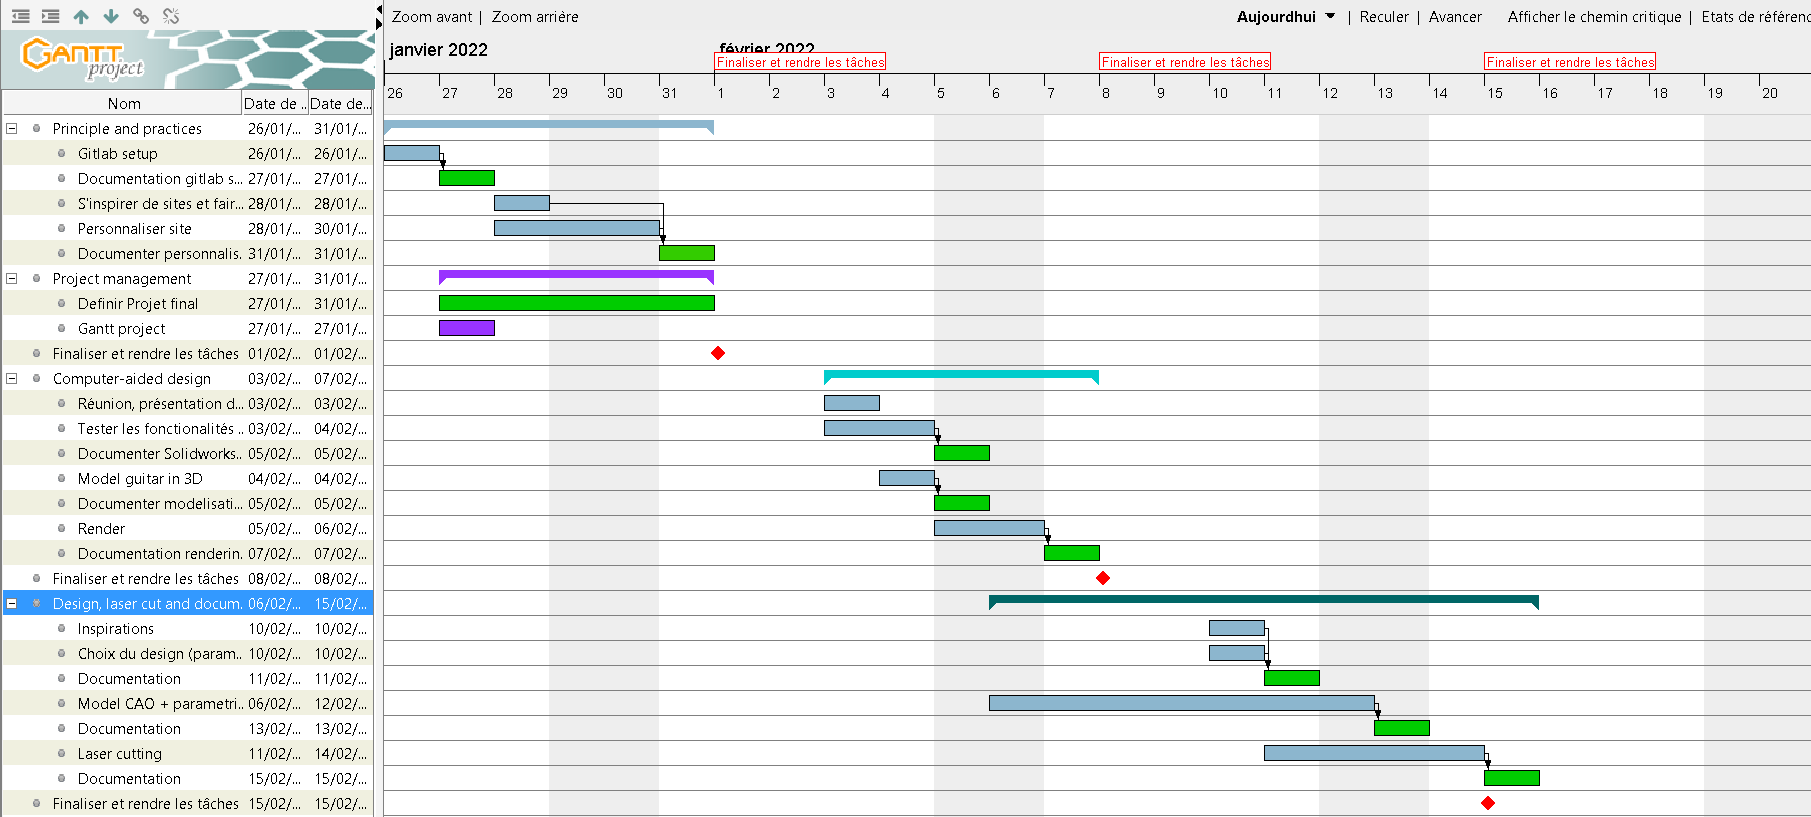
I plan to use Gantt for the project management. Fabacademy is an intense course and planning ahead can help achieving weekly goals. Even though I know I won’t stick to the plan.
To use Gantt, I started by looking into the parameters and changed the possibility to work the week-end as any other day :
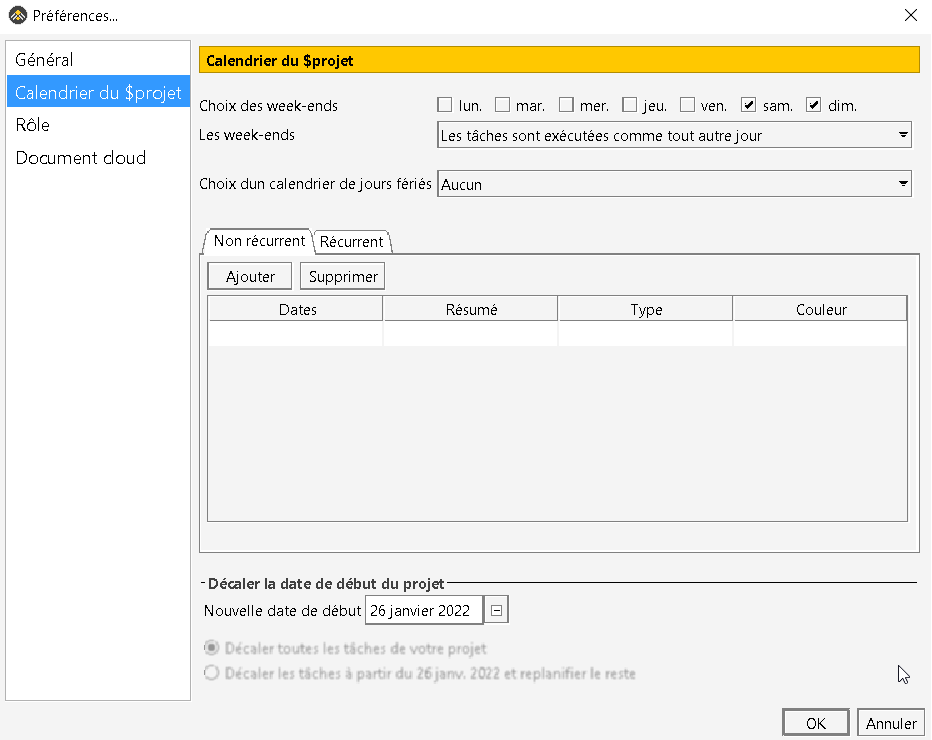
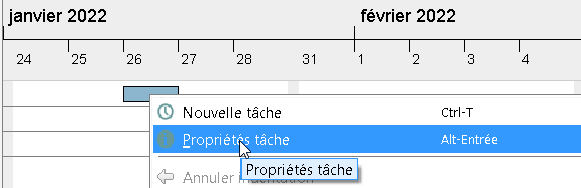
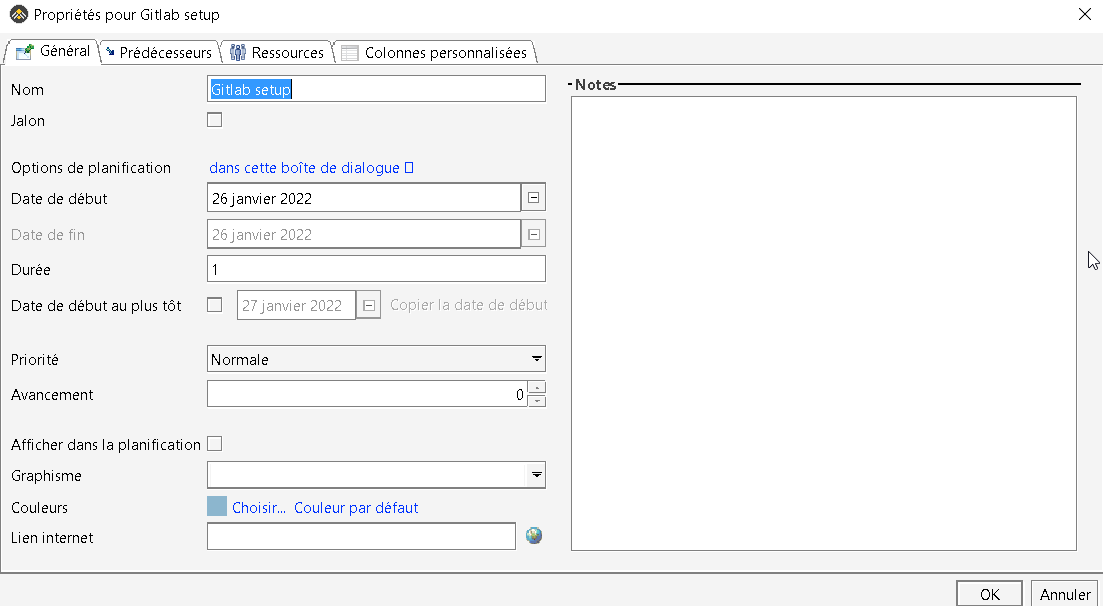
Then I created a new task (with CTRL + T) and changed the date and name in propriety :
So I placed milestones every Tuesday and put the documentation task in Green. The first 3 weeks are planned for now. And I’ll try to change this every Thursday :