6. 3D Scanning and printing test
This week’s assignment was to print something that could not be made subtractively.
These are my files for this week.
To first start this I went onto Thingiverse and browsed for ideas on what to design to 3D Print on my printer.
First I needed to understand the subtractive process and what it meant.
| Terms | Definitions |
|---|---|
| Subtractive | Subtractive means to cut or take away, so something that can be cut on the CNC. |
| Additive | Additive means to add or layer, so something that cannot be made in one piece on the CNC. |
After researching and trying to find something, I found a Kevin Kennedy Toutrial on how to make a gyroscope. This was a simple process. I designed the gyroscope on Fusion 360 and then exported it as a .stl into the Prusa Slicer Software where then I sliced it and created it into G-code. To end the process, exported it to the 3D printer to print!
Steps Taken in Fusion 360
-
I first created a sketch.
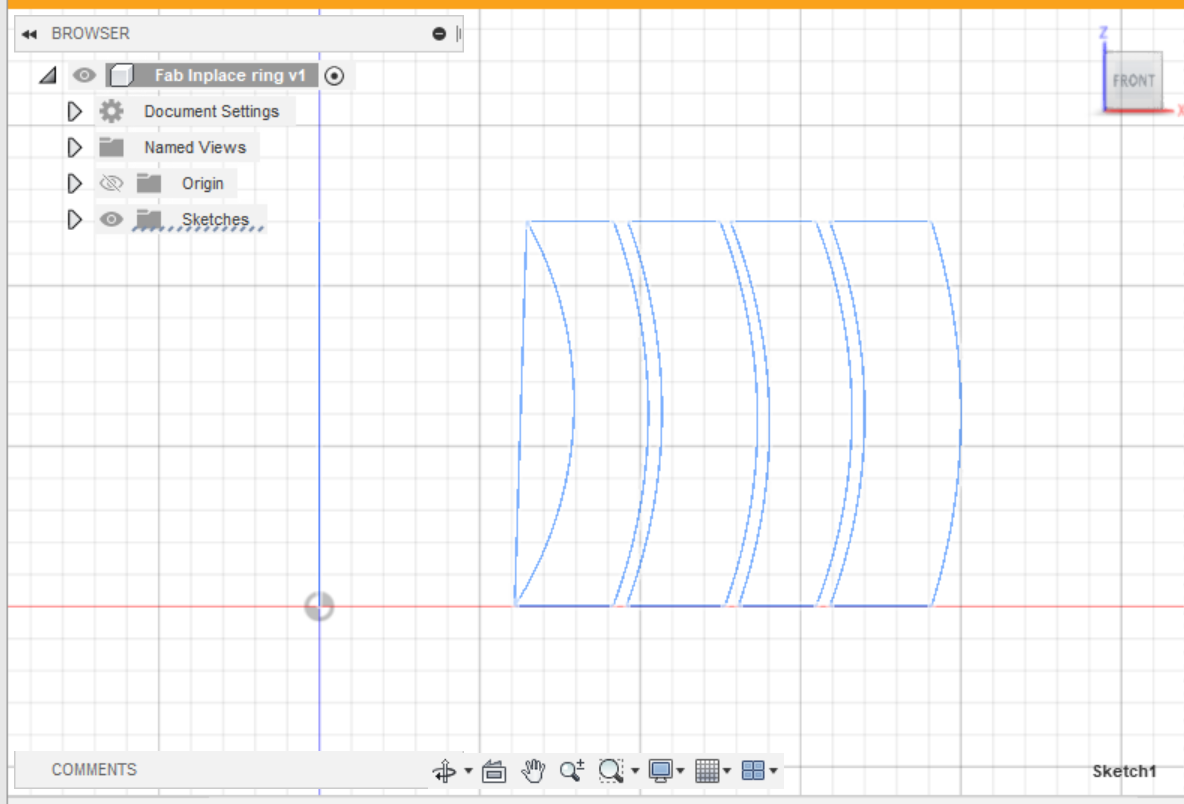
-
After finishing the sketch, I revolved all of the features of the sketch.
-
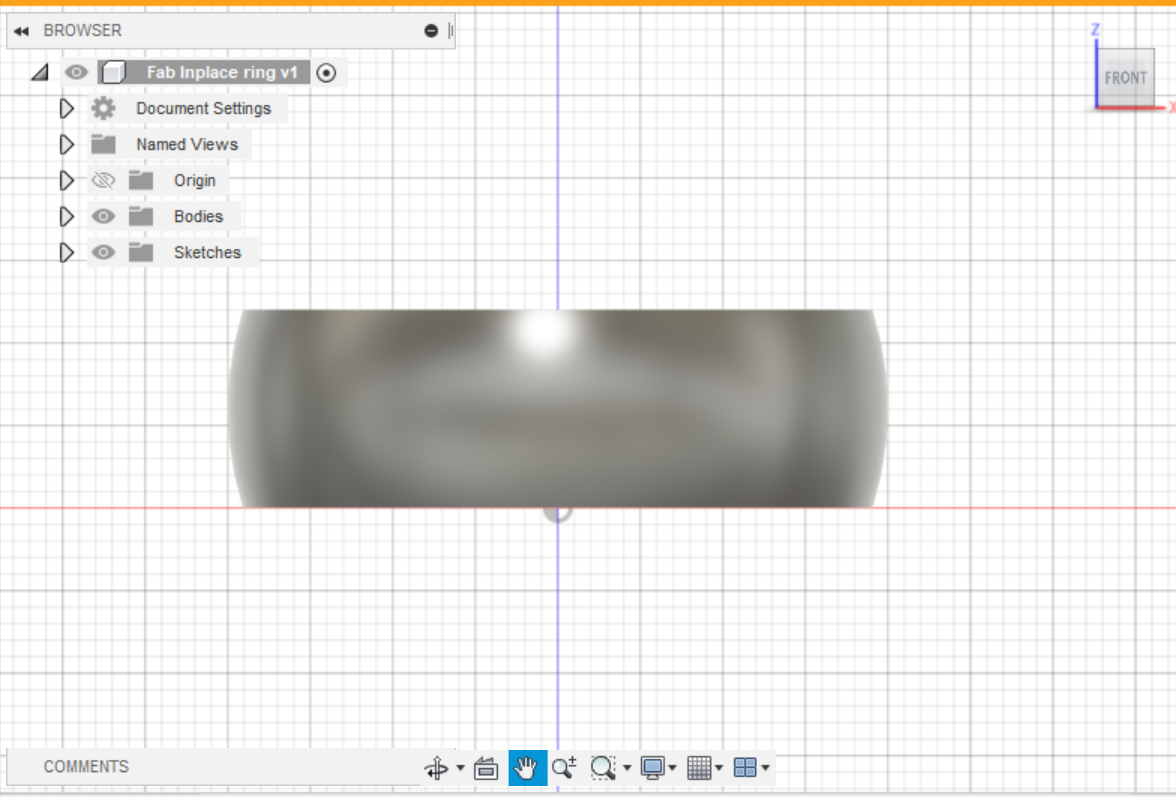
To add finishing touches, I added fillets to the edges of the ring so they wouldn’t be sharp.
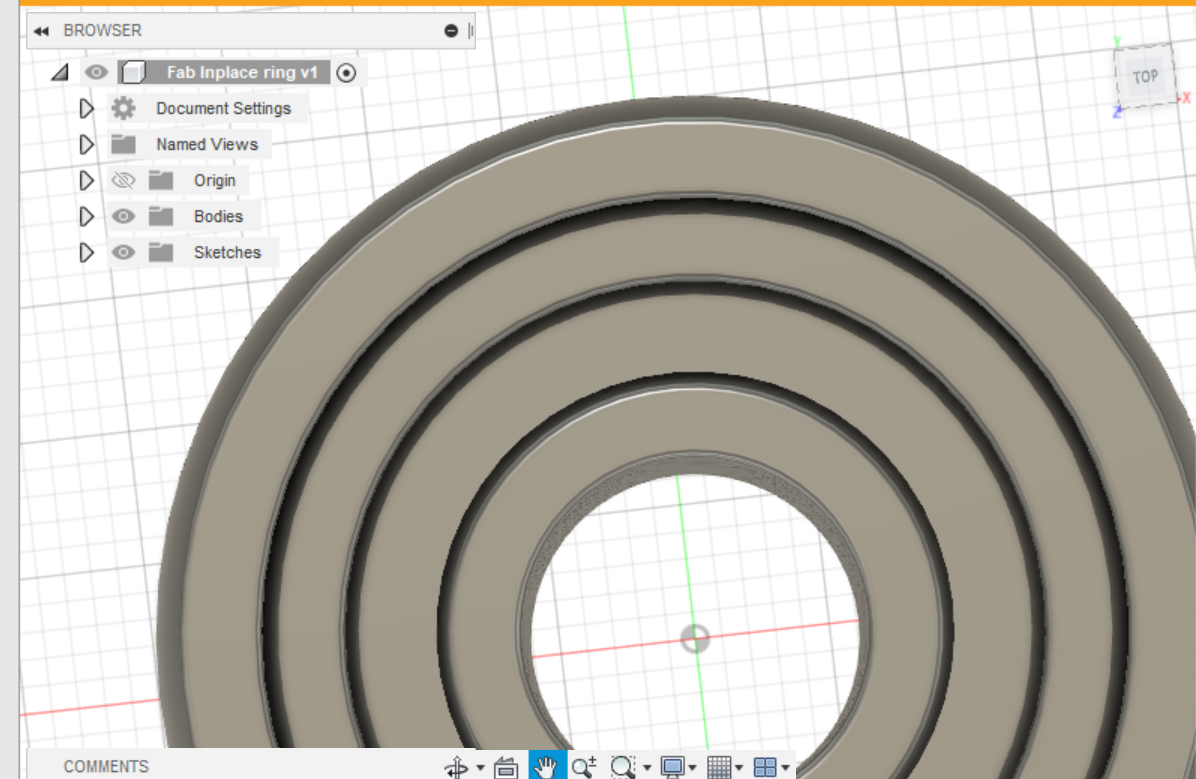
-
Final Result!!!

Downloadable Fusion 360 File
Slicing in Prusa Slicer
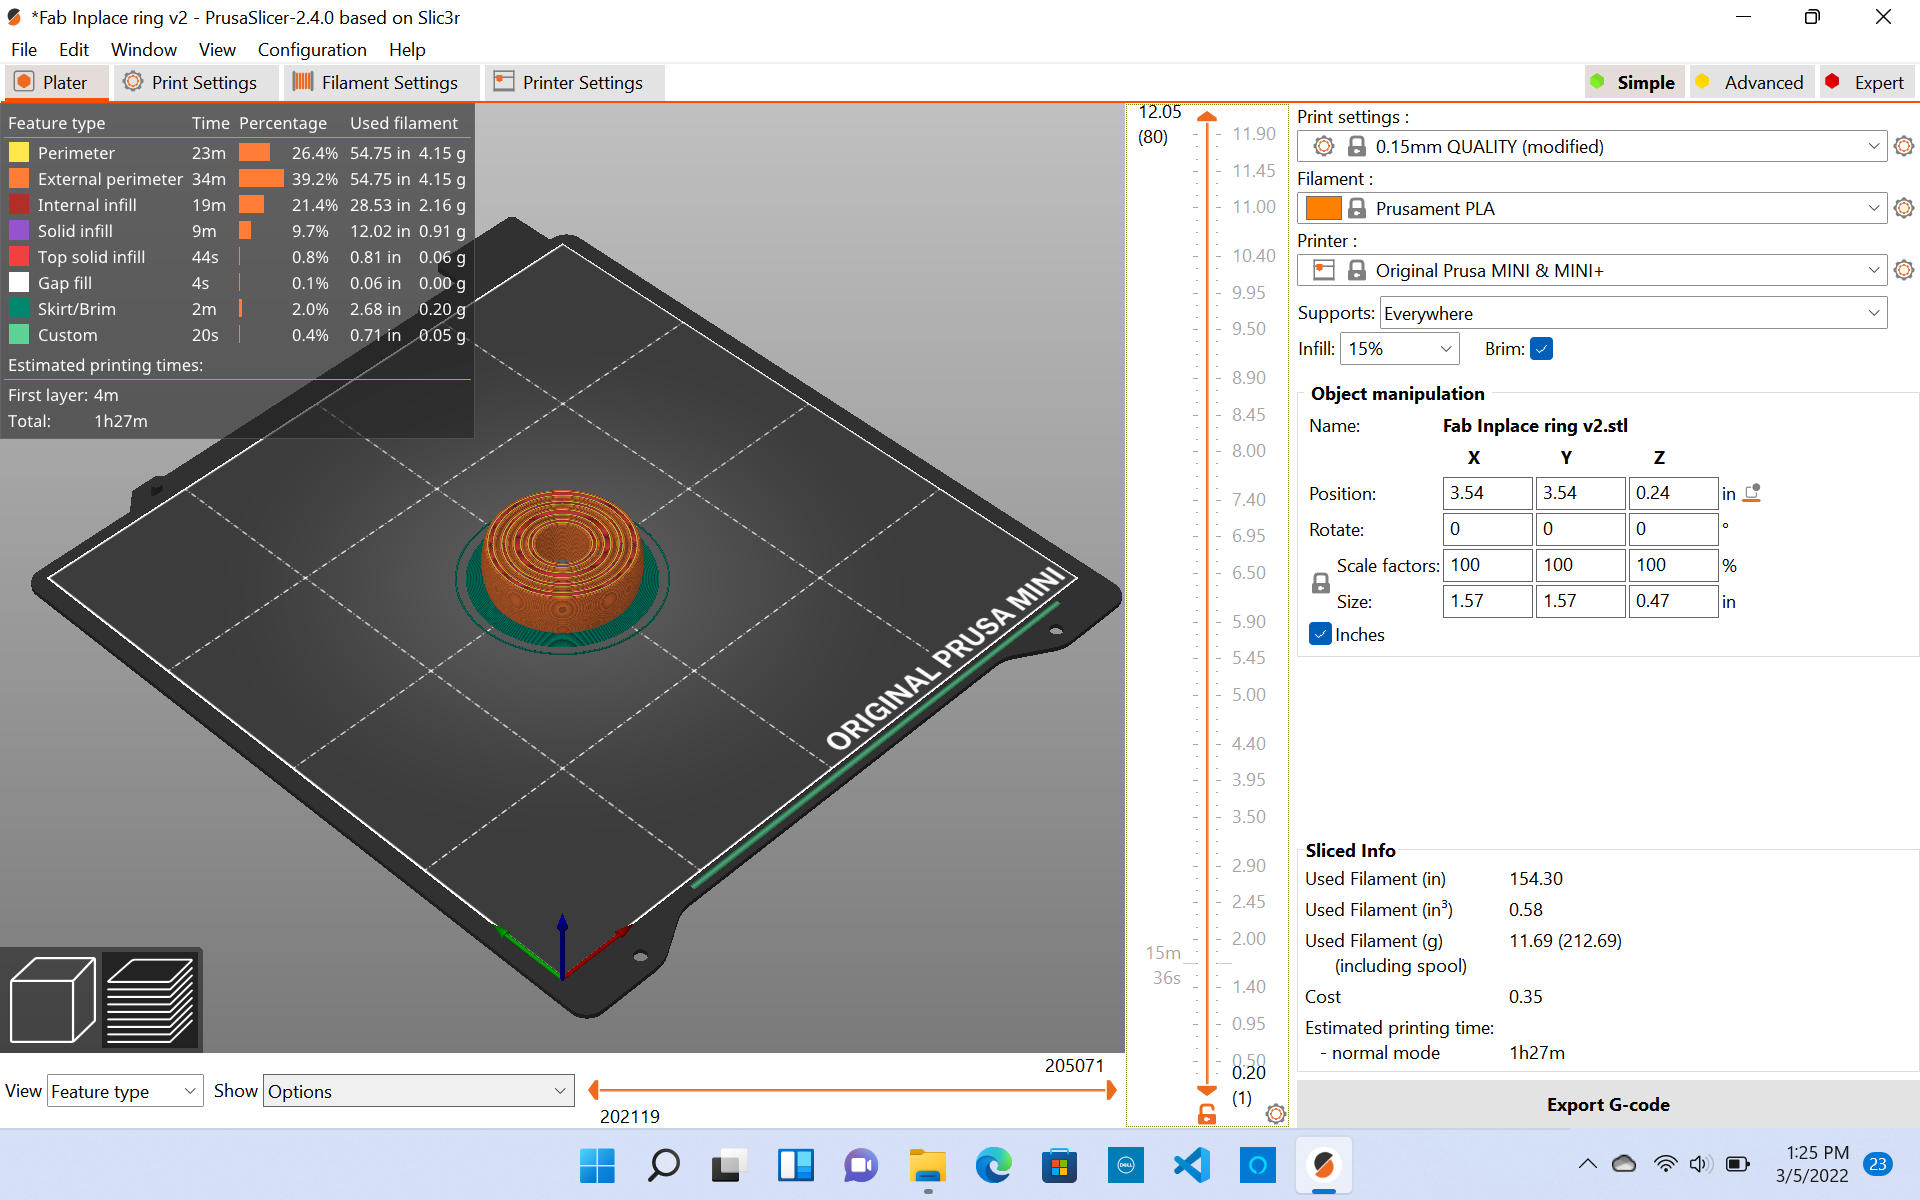
I first saved my Fusion file as a .stl and saved this on my computer. After doing that, I opened the Prusa Slicer Software. I imported the .stl file into the software, adjusted the dimensions, and added supports on the gyroscope.
Before Slicing
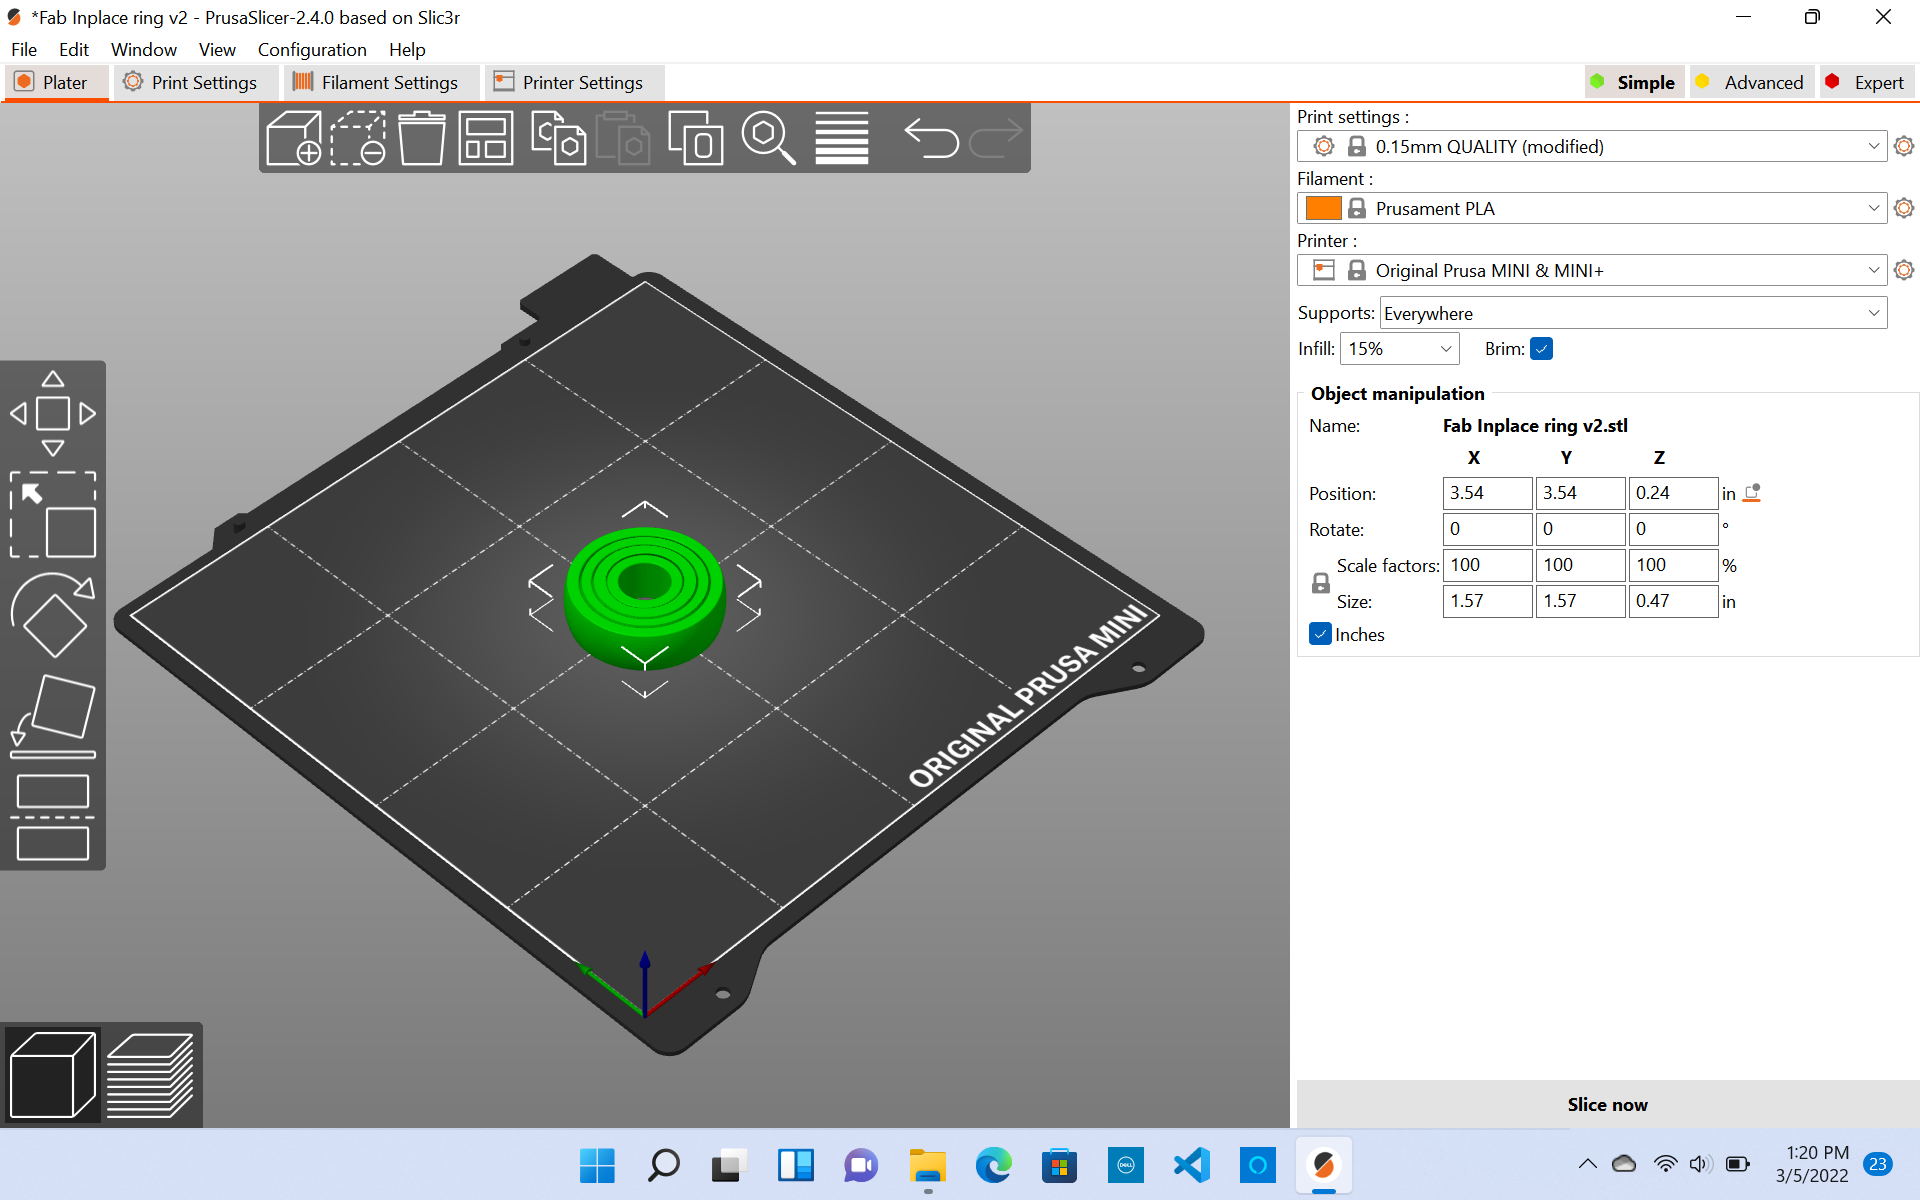
After making sure everything is how I would like it, sliced the object, which then implements all the adjustments I made before slicing. As shown below, the supports, brim, and the estimated time of print also show up.
After Slicing
After making sure everything is right, I exported it to G-code and used the Prusa Mini printers which are at the Charlotte Latin Fab Lab.
3D Printing Workflow
I followed this workflow to make sure my 3D print was successful.
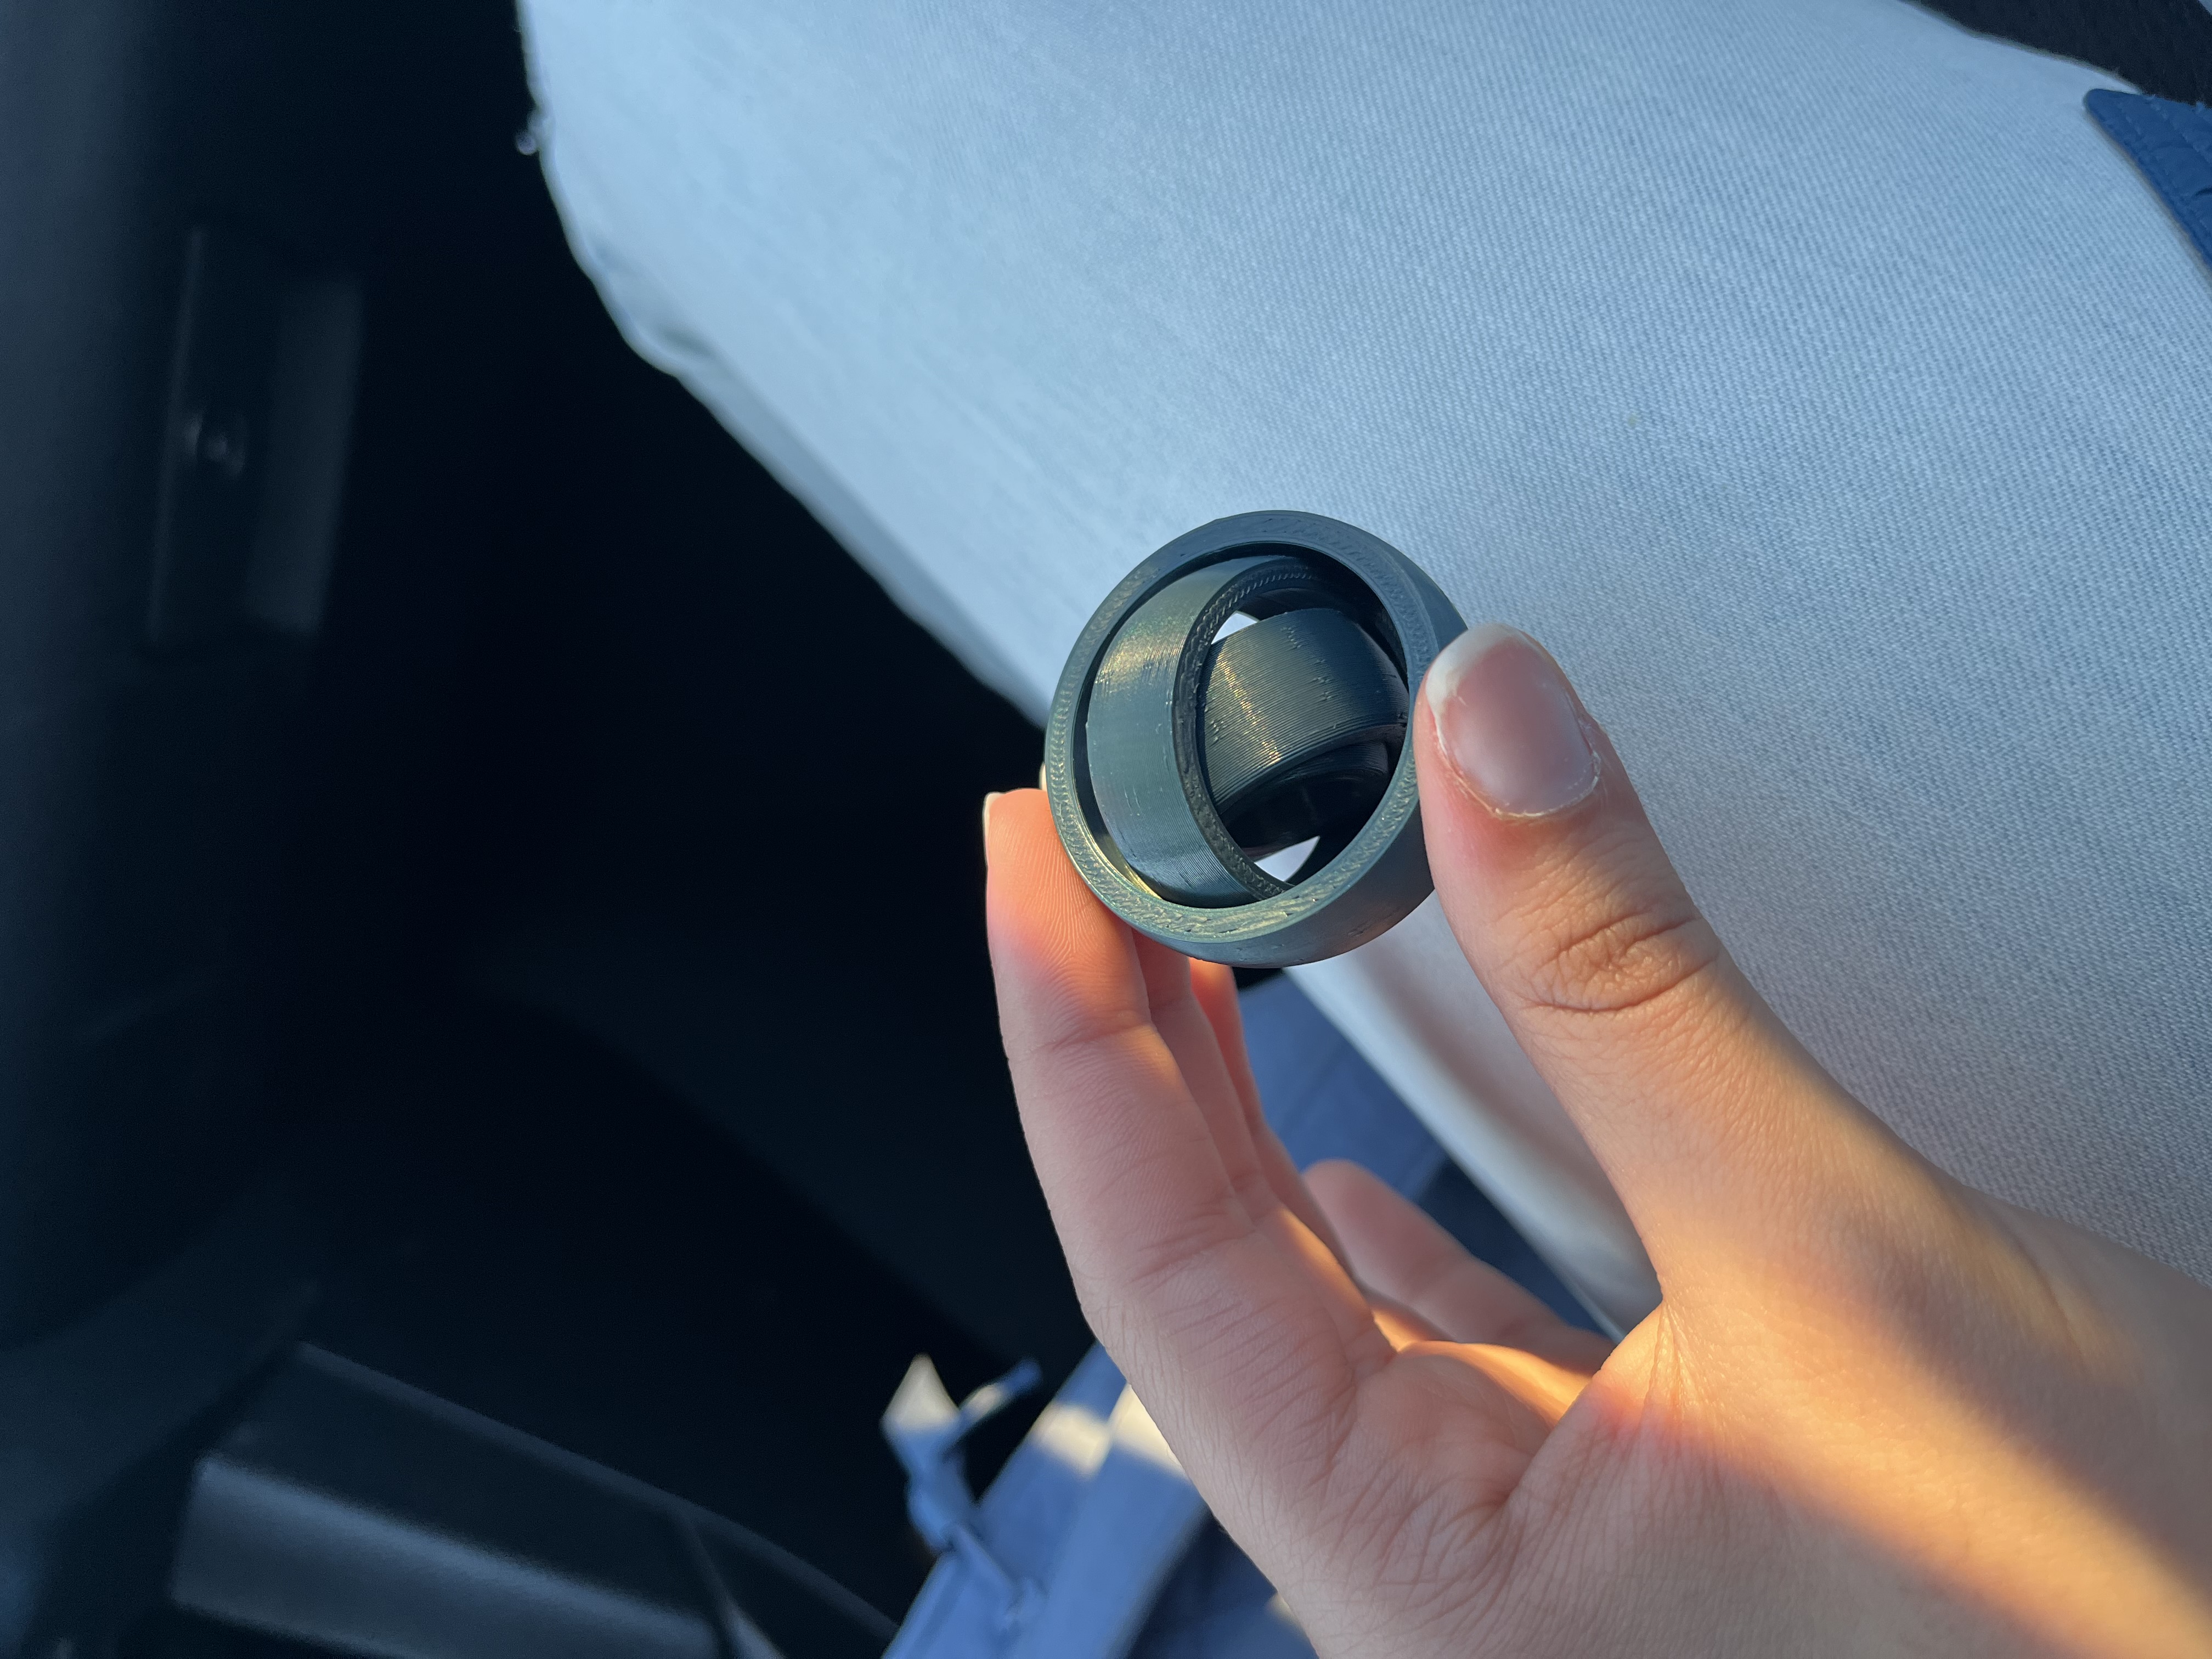
Final Product
3D Scanning An Object
The next assignment was to 3D scan an object. This did not take too much time at all. I first downloaded an app called Qlone. This app was a very easy app to navigate.
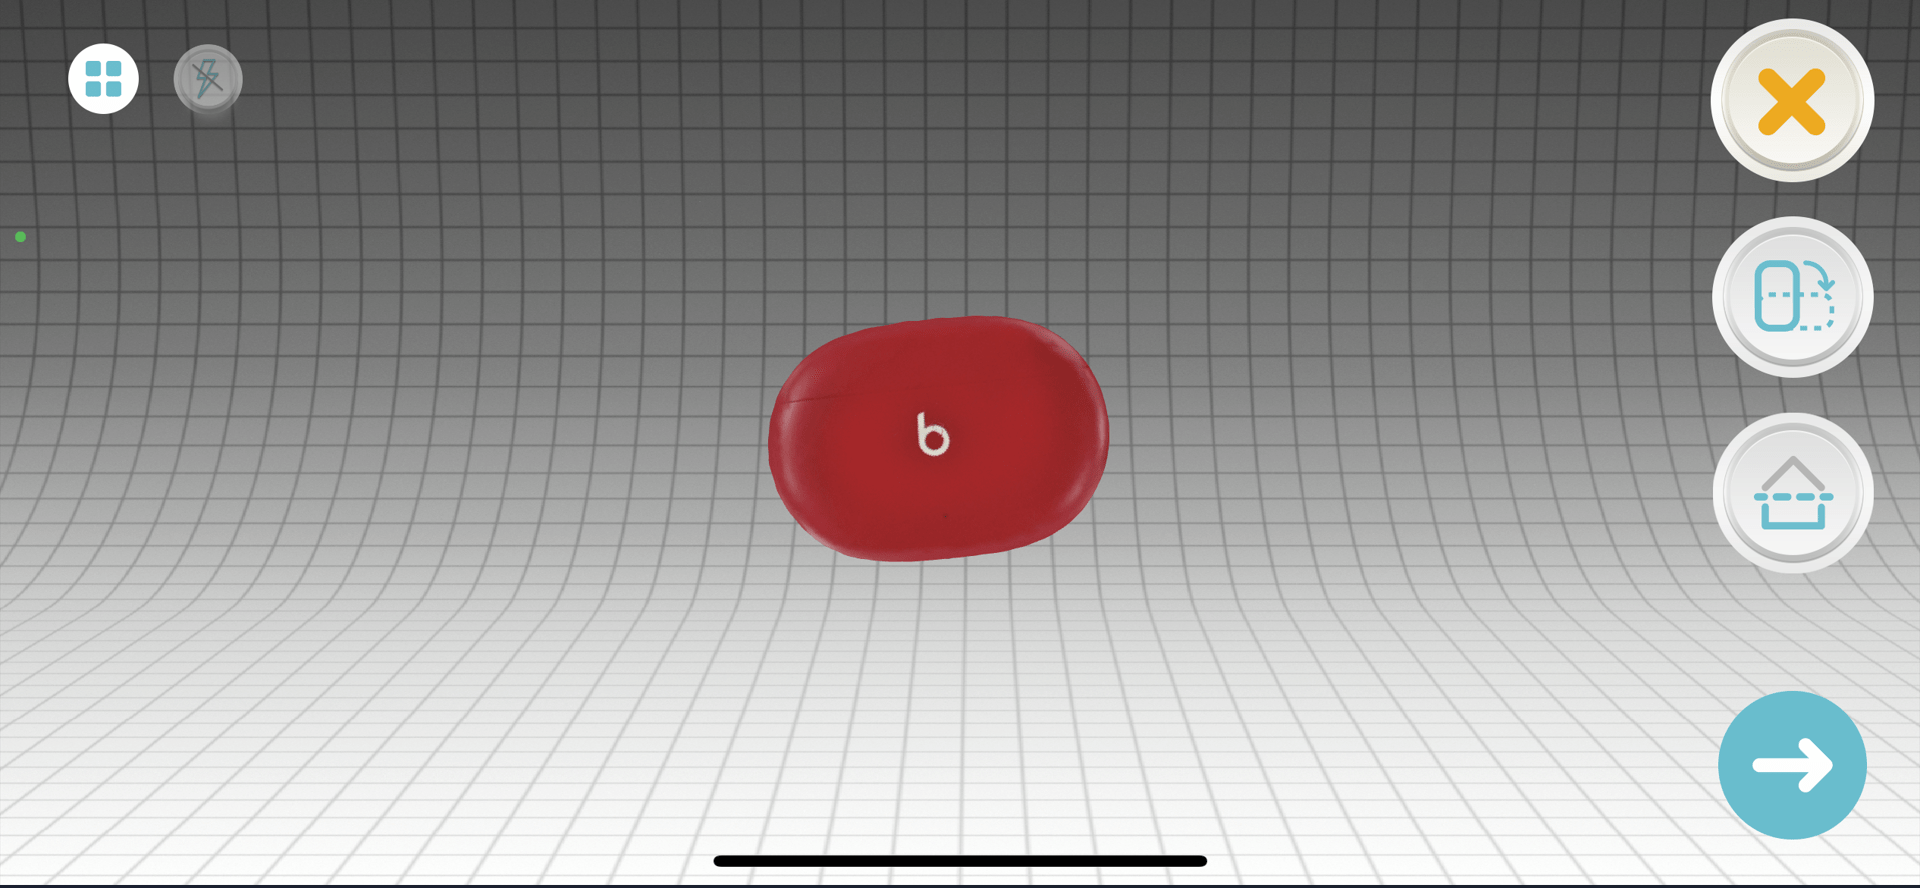
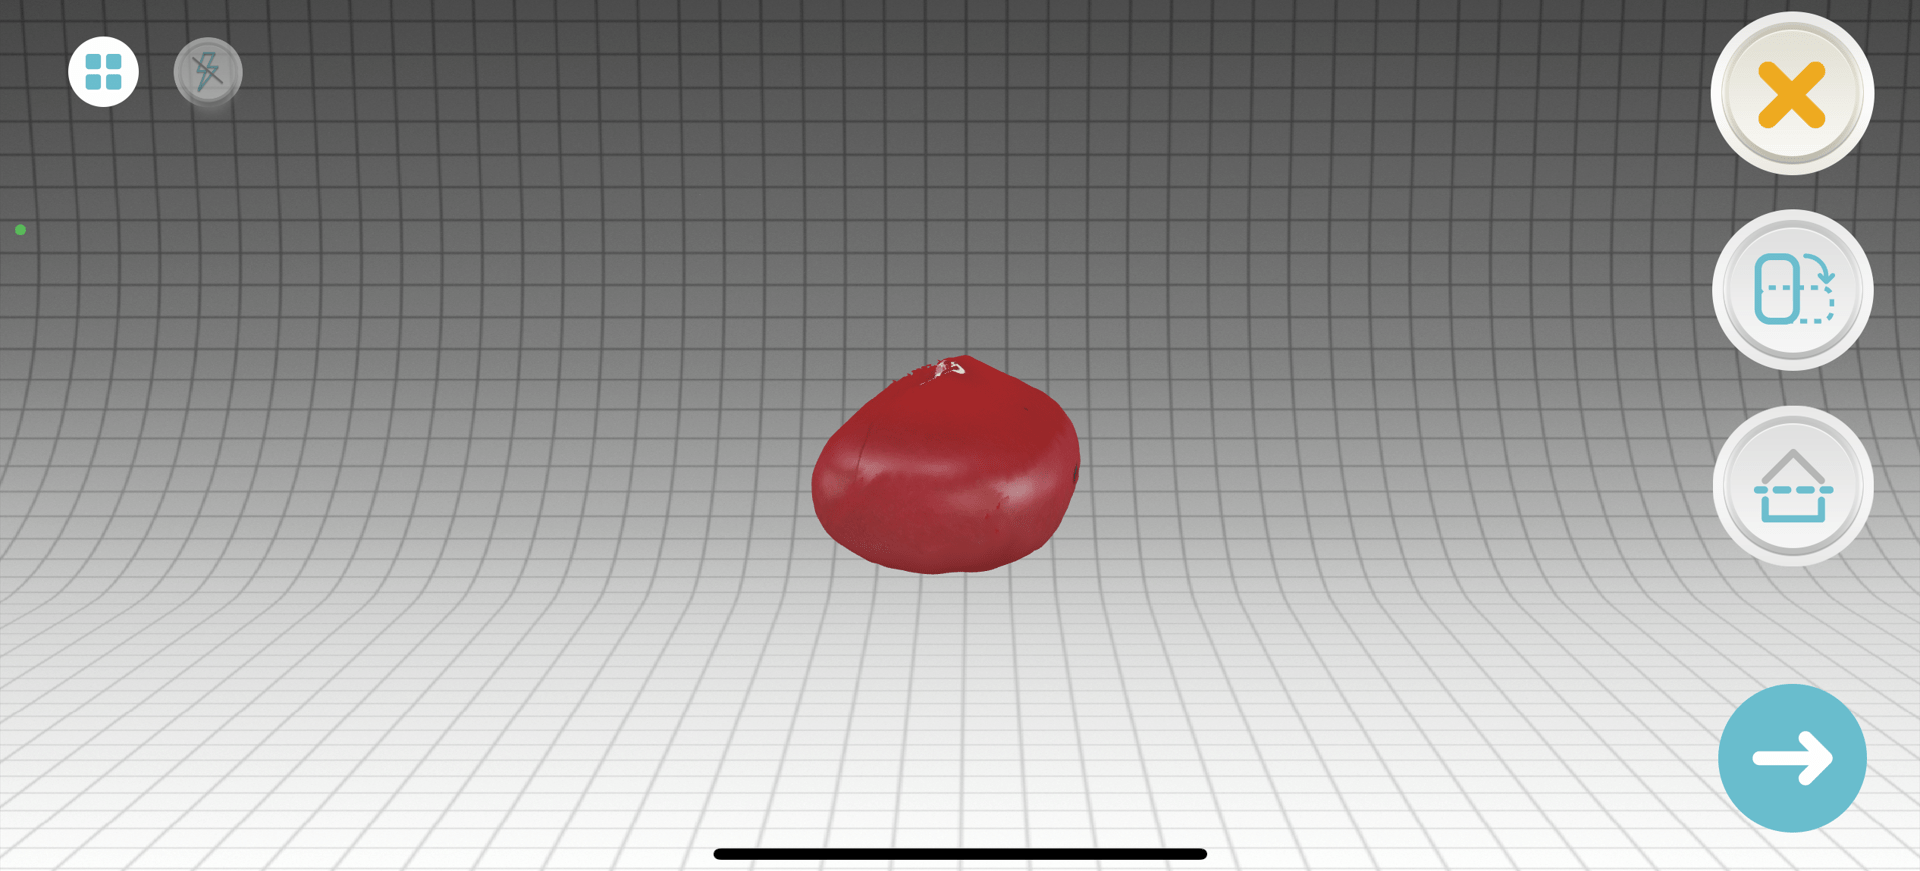
I decided to scan a Beats headphones case. The reason I chose this was that I have a love for music and this represents my personality.
Steps On How To Scan:
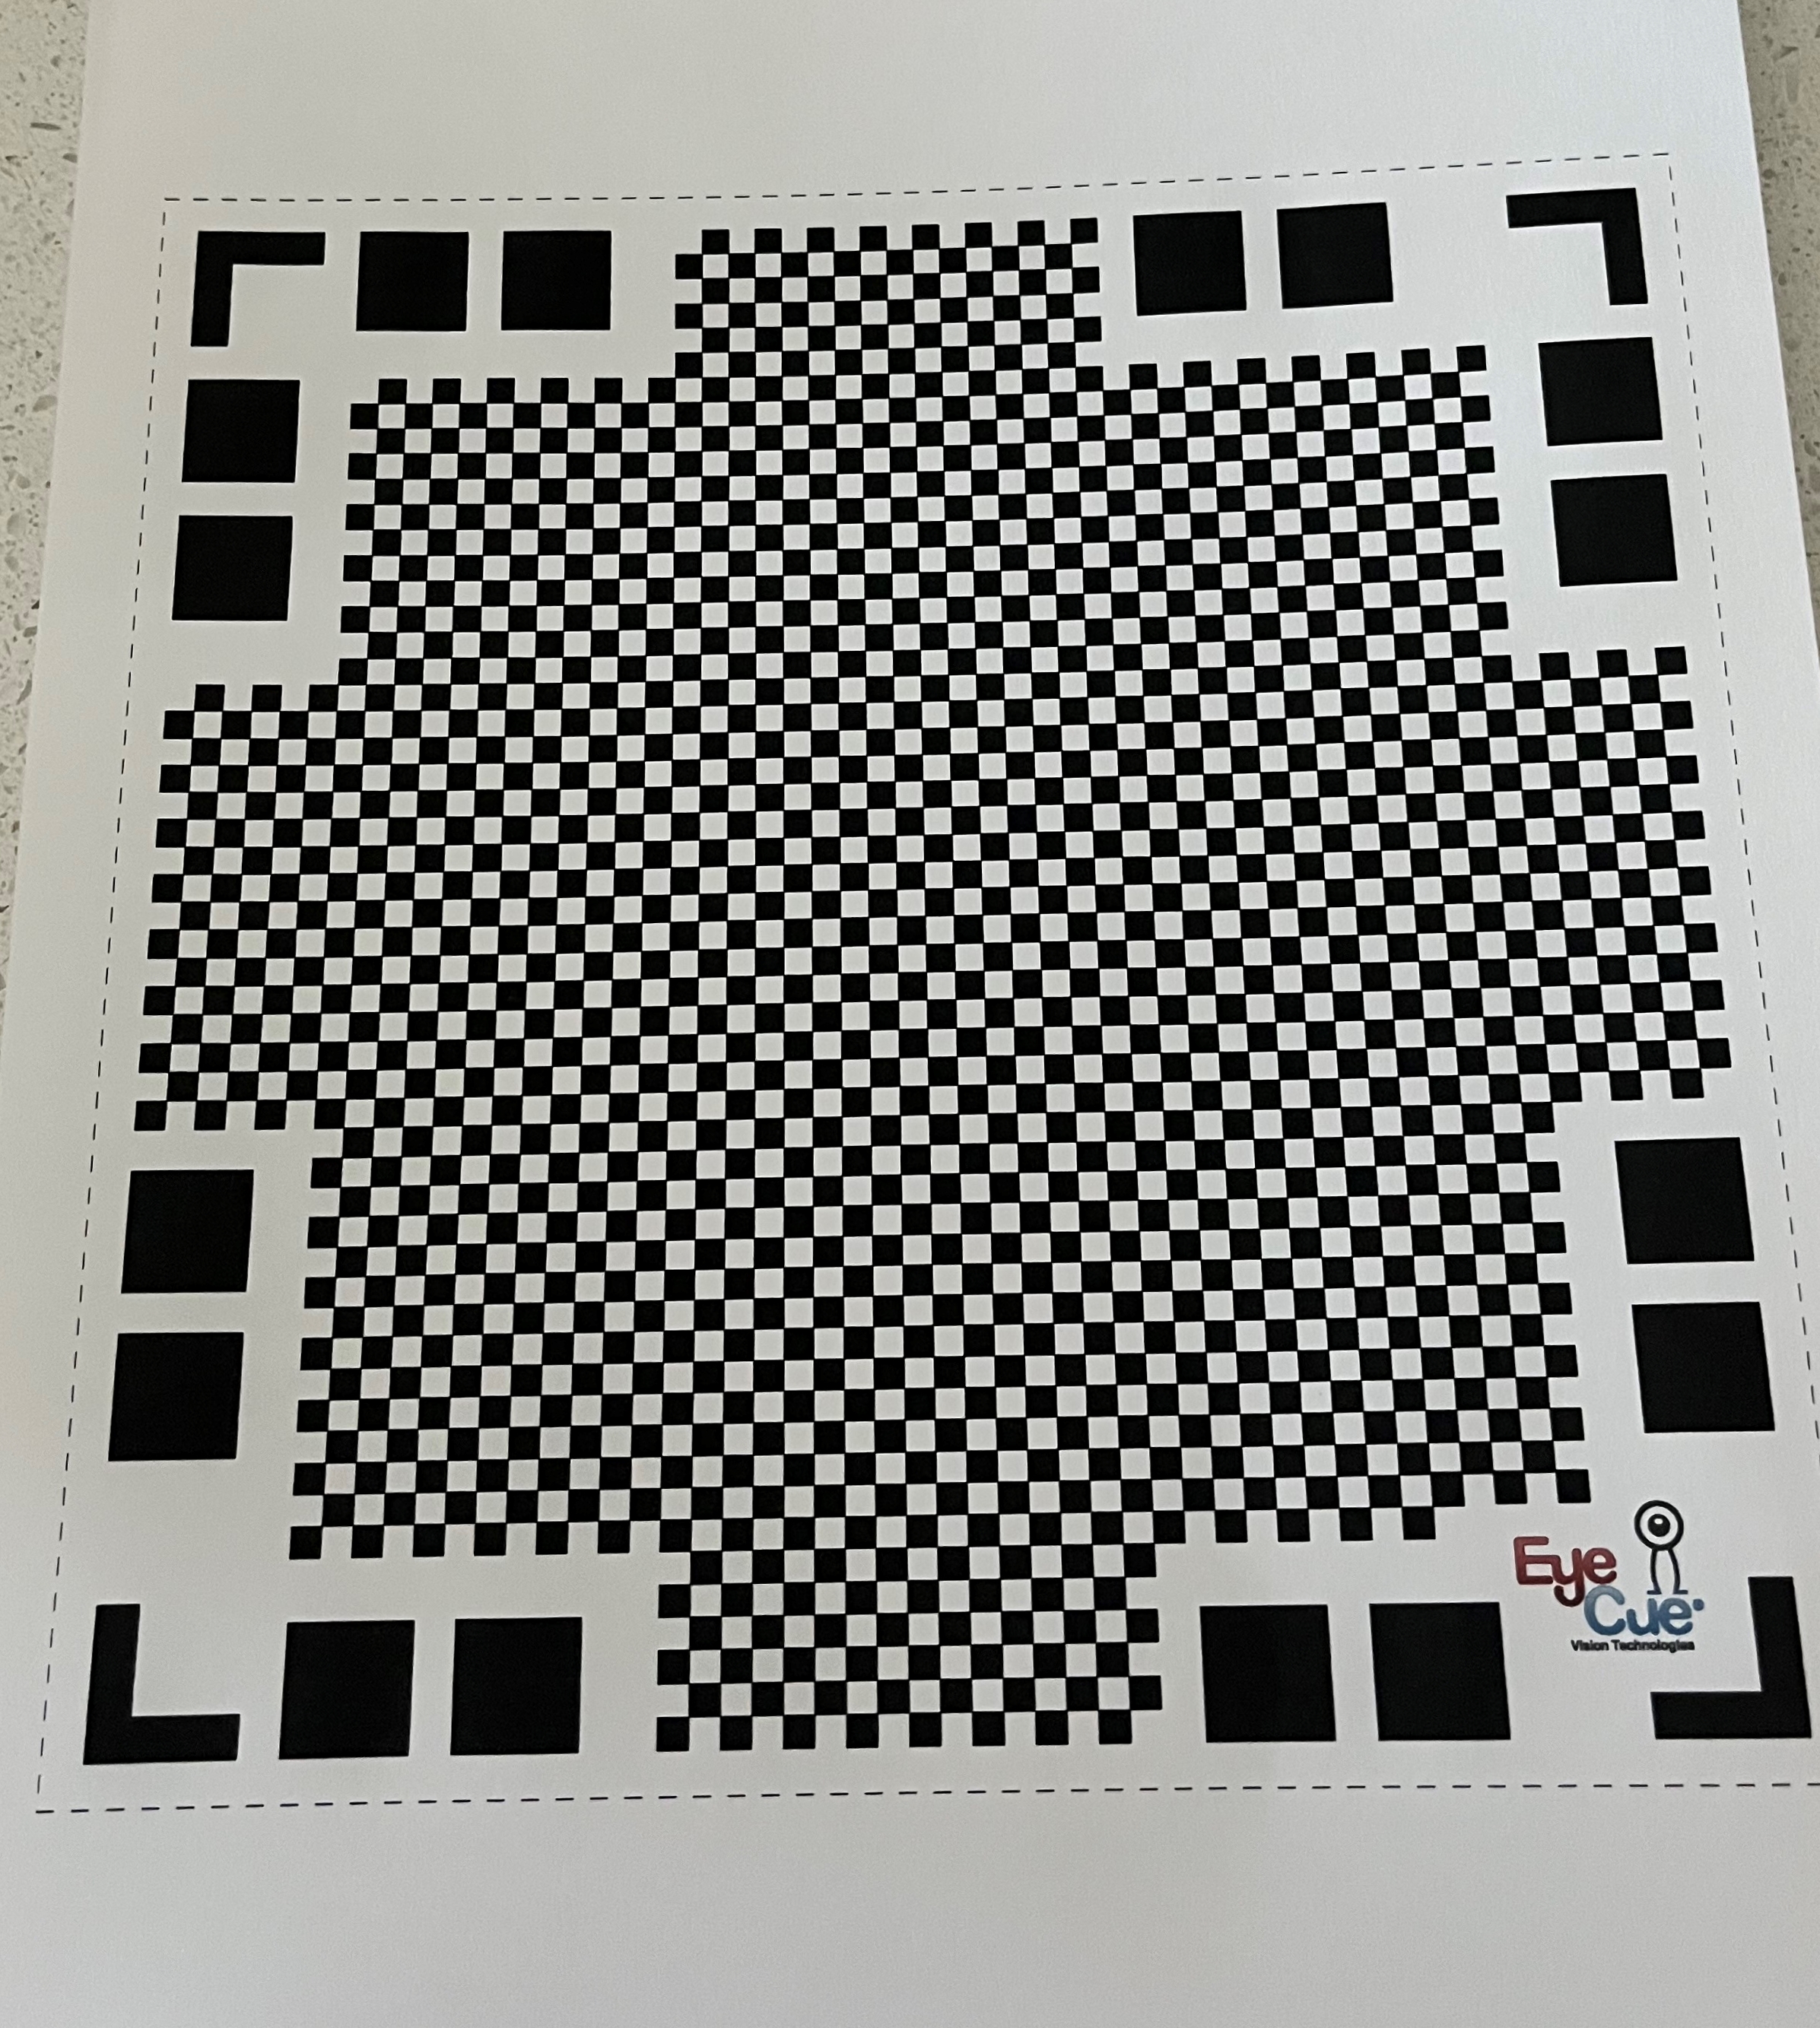
- First I printed out a Qlone Matt.
2 . Then I went into the application and started scanning. This took approximately 5 minutes because I was trying to get every angle of the Headphones case.
3 . After scanning this software, it developed it into a 3D Model and added the original color of the case. I was very surprised by the details that this scan picked up. I did not even flip the model over, but the software was smart enough to recreate this model. I was also shocked that the model picked up the charging port of the headphones case.
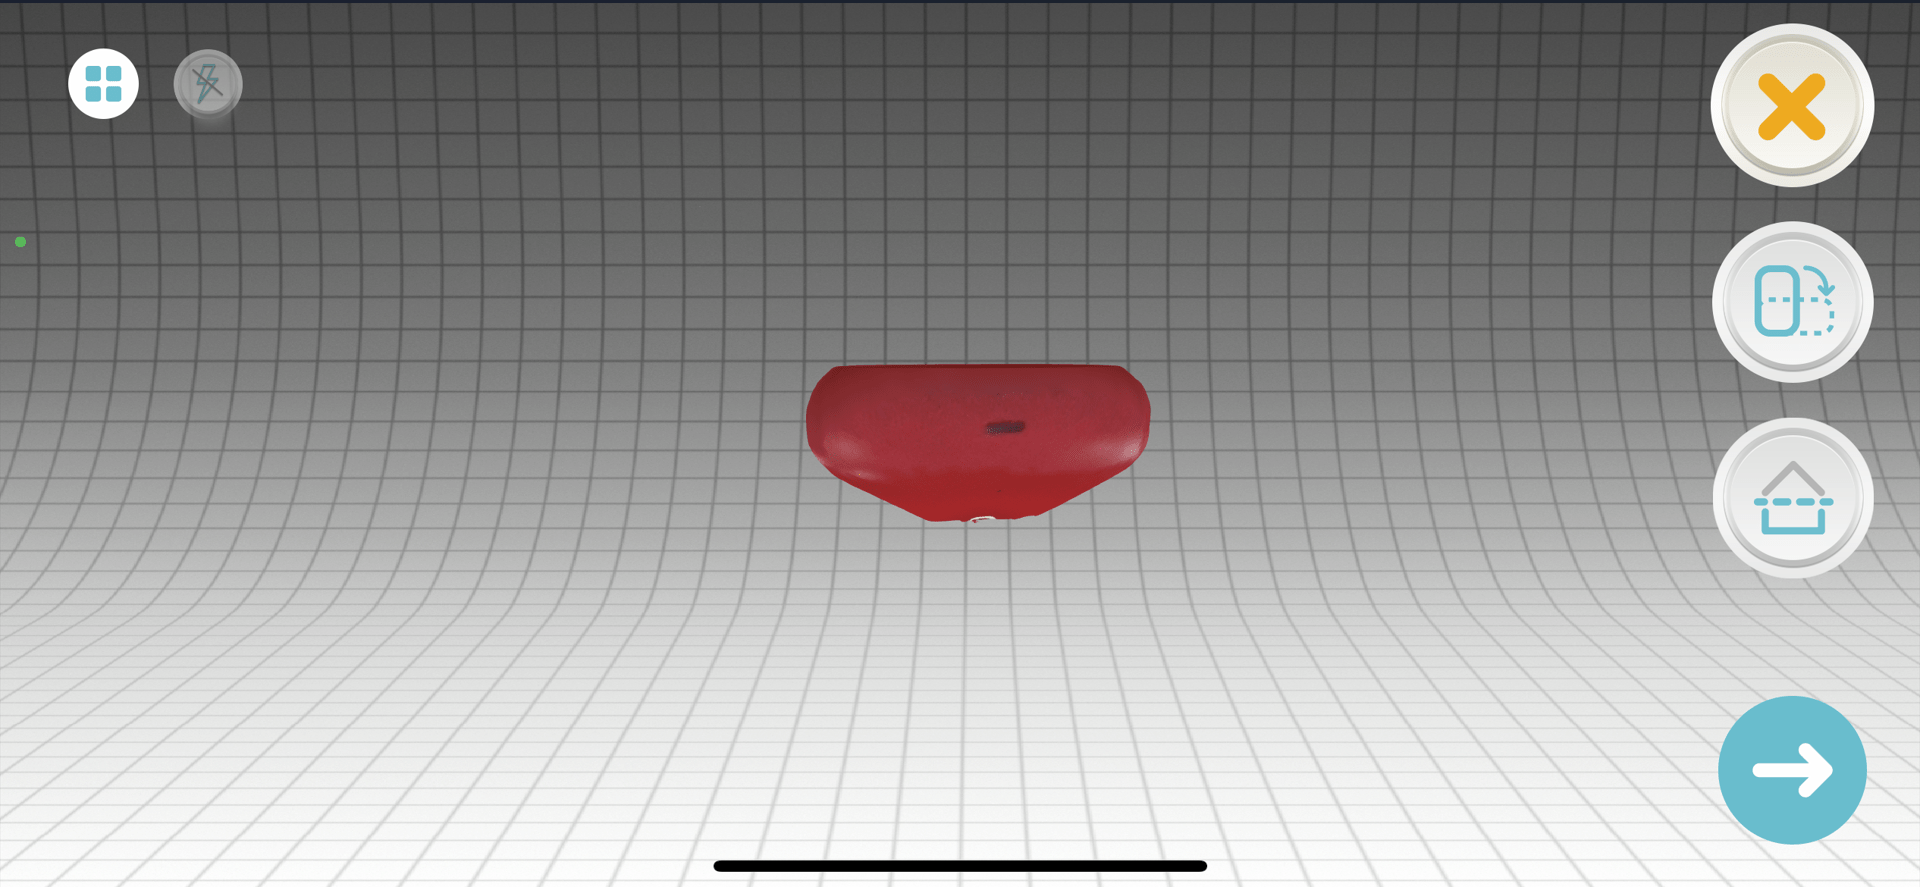
Final Result
Group Work
This week’s group project was to test all the different 3D printers in the Charlotte Latin Fab Lab. My partner Jada and I worked on testing the overhang of each of the printers. We testede an Ender 3 3D printer and Prusa mini 3D printer. All of our tests went well and we learned that it is important to have support before you start printing because it is hard for the printer to test its overhang without having support.
This is our group site. Go check out our process for the group work this week! These are my files for this week.
Summary
This week I learned about 3D printing and scanning. I have already 3D printed before so this wasn’t a new concept to me, although I have never 3D scanned before. This week was super easy, as everything flowed smoothly and I did not make too many mistakes. I was surprised at the speed at how quickly I could 3D scan an object. The accuracy of the modeled object was also immaculate. This week was a nice week to try new things and experiment without big risk, as most of the concepts we learned, I have already learned in the past.