3. Computer Aided design
Assingment: Model A Possible Final Project
To first start this process, I designed all my CAD Designs on Fusion 360. I chose Fusion 360 because it is the only software I have worked with and know how to use. During my Freshman of High School, I took an Intro Course in Engineering and Design and learned all the aspects of Fusion 360. To accompany this, I also watched videos and tutorials fromKevin Kennedy.
Here are my files for the week.
3D Models
To being with, I first began designing all the layers of the mirror. I have 5 layers, which include: The outer frame, Inner Frame, the two-way acrylic, monitor, 3d Printed brackets, and the back case. The reason I am designing 3D printed brackets is to hold the monitor in place.
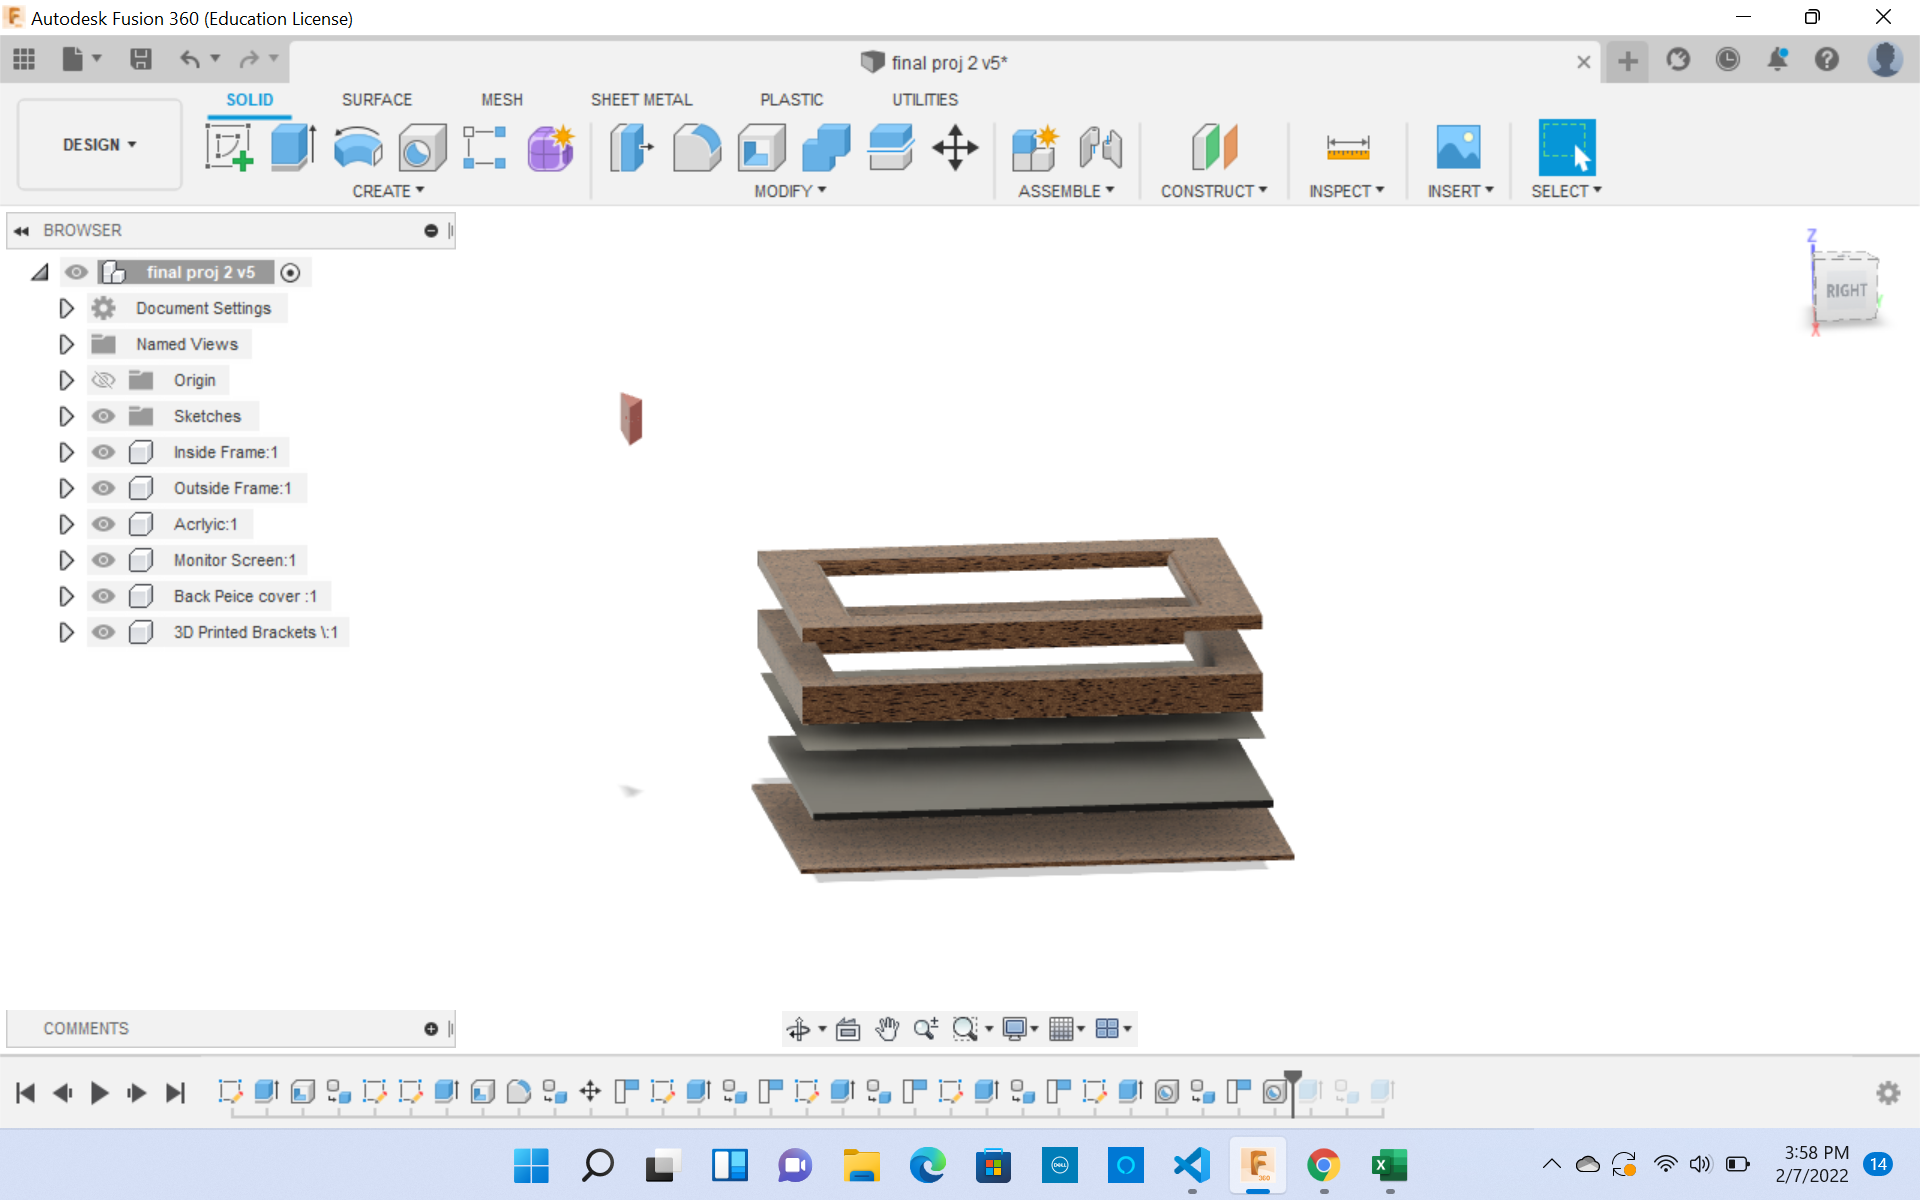
I referenced the How to make a Raspberry Pi Smart Mirror Toutorial to the base of the design of my mirror and started using all the skills I have learned from Kevin Kennedy’s Learn Fusion 360. Attached below are all the screenshots which I designed. I used all the dimensions which I had planned and followed the video to make any adjustments.
This whole process took around an hour and a half in total.
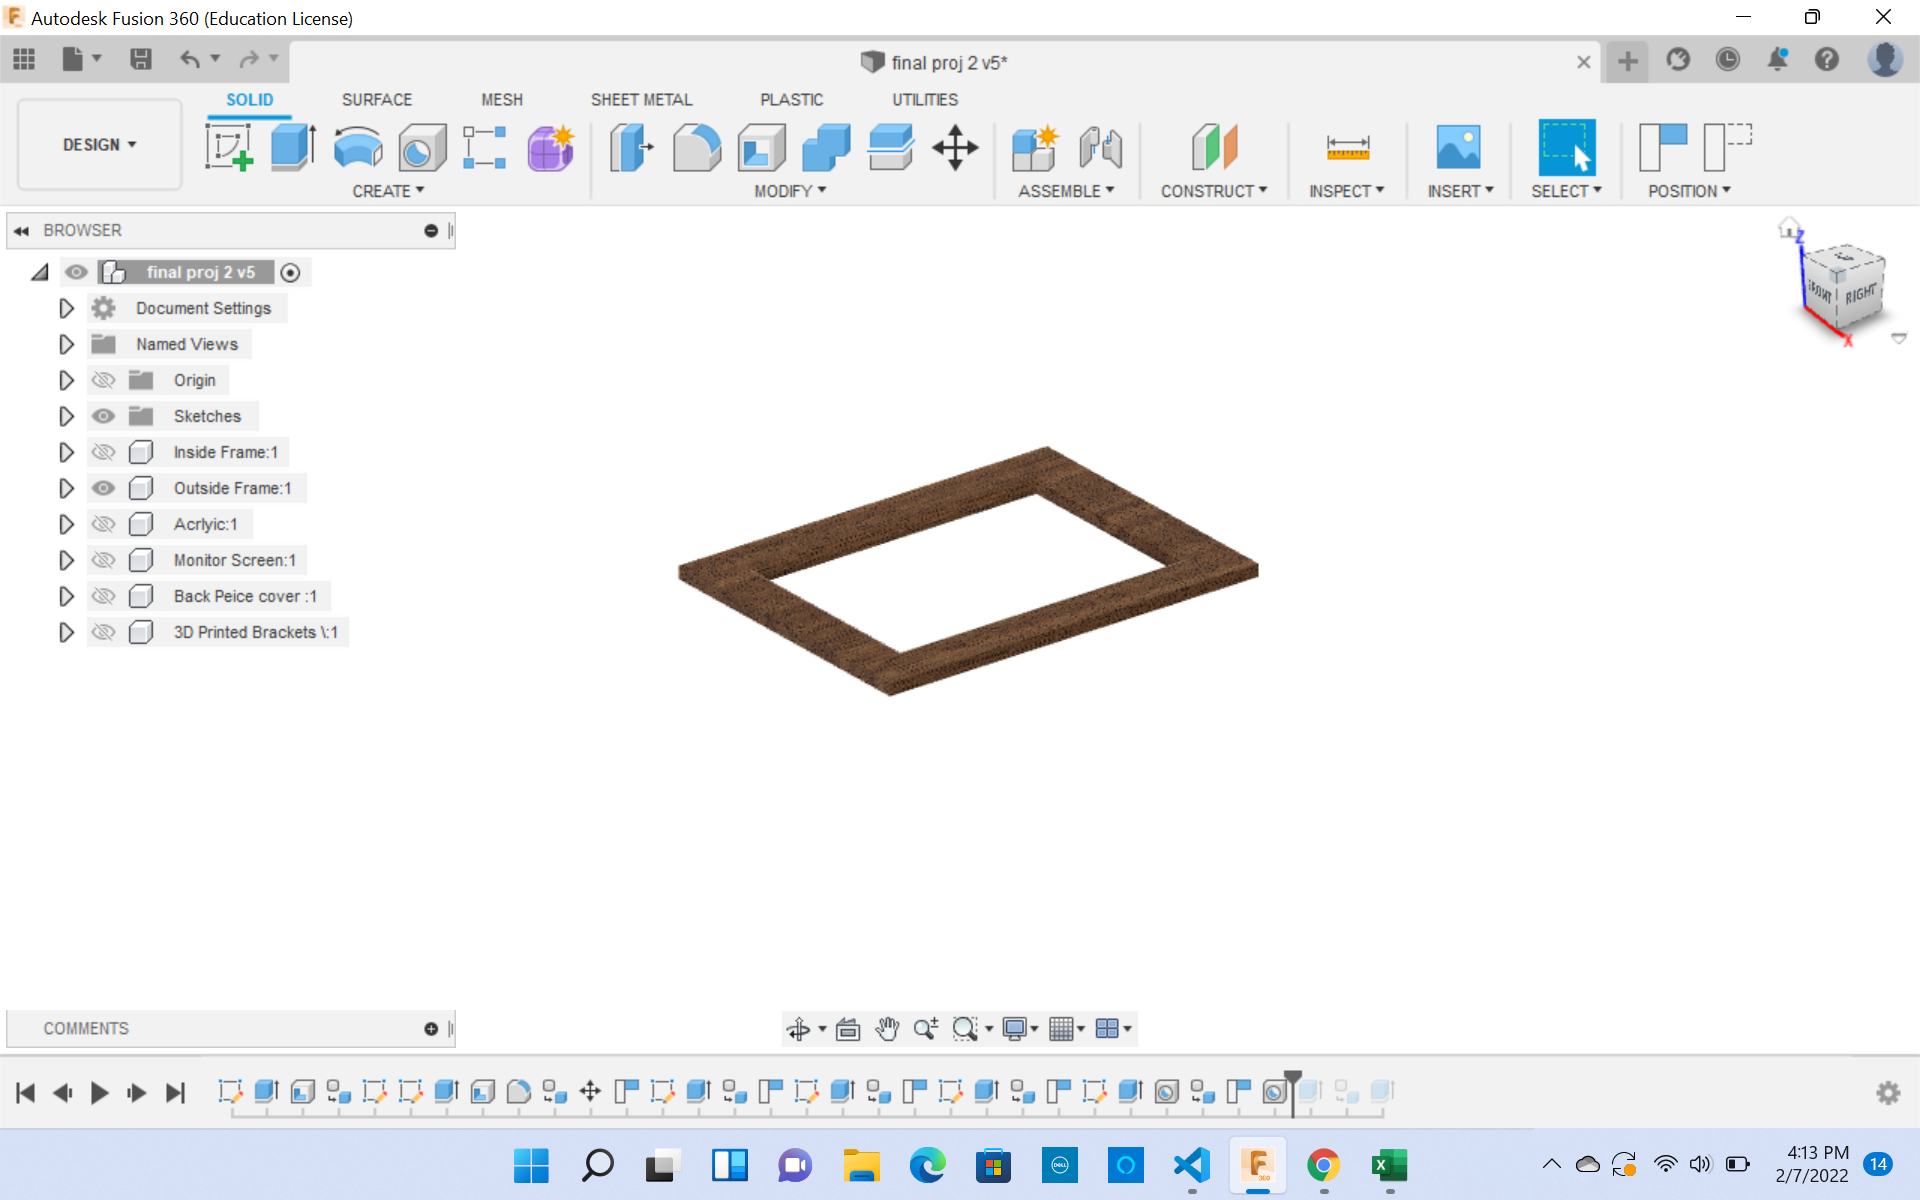
The Outside Frame
The Inside Frame

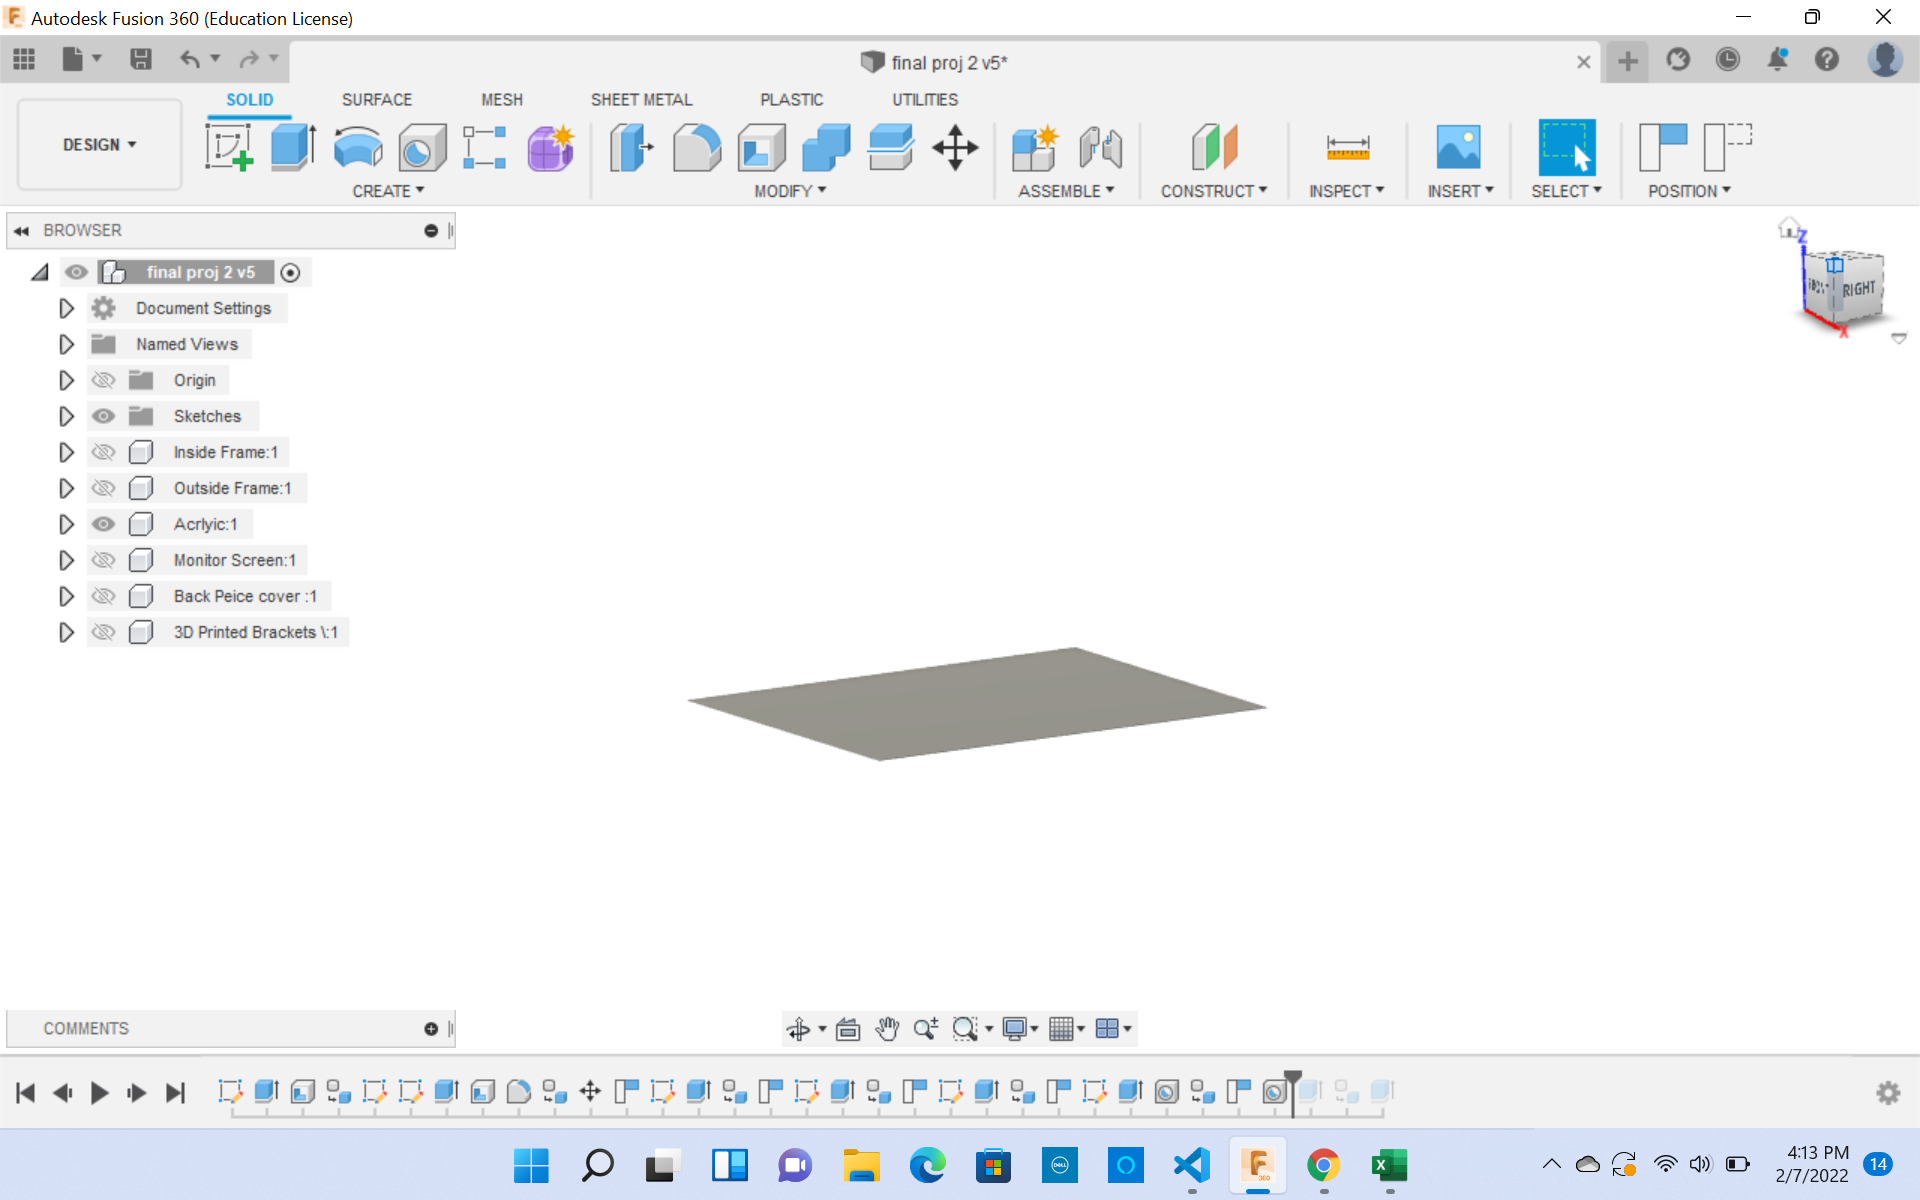
The Acrlyic
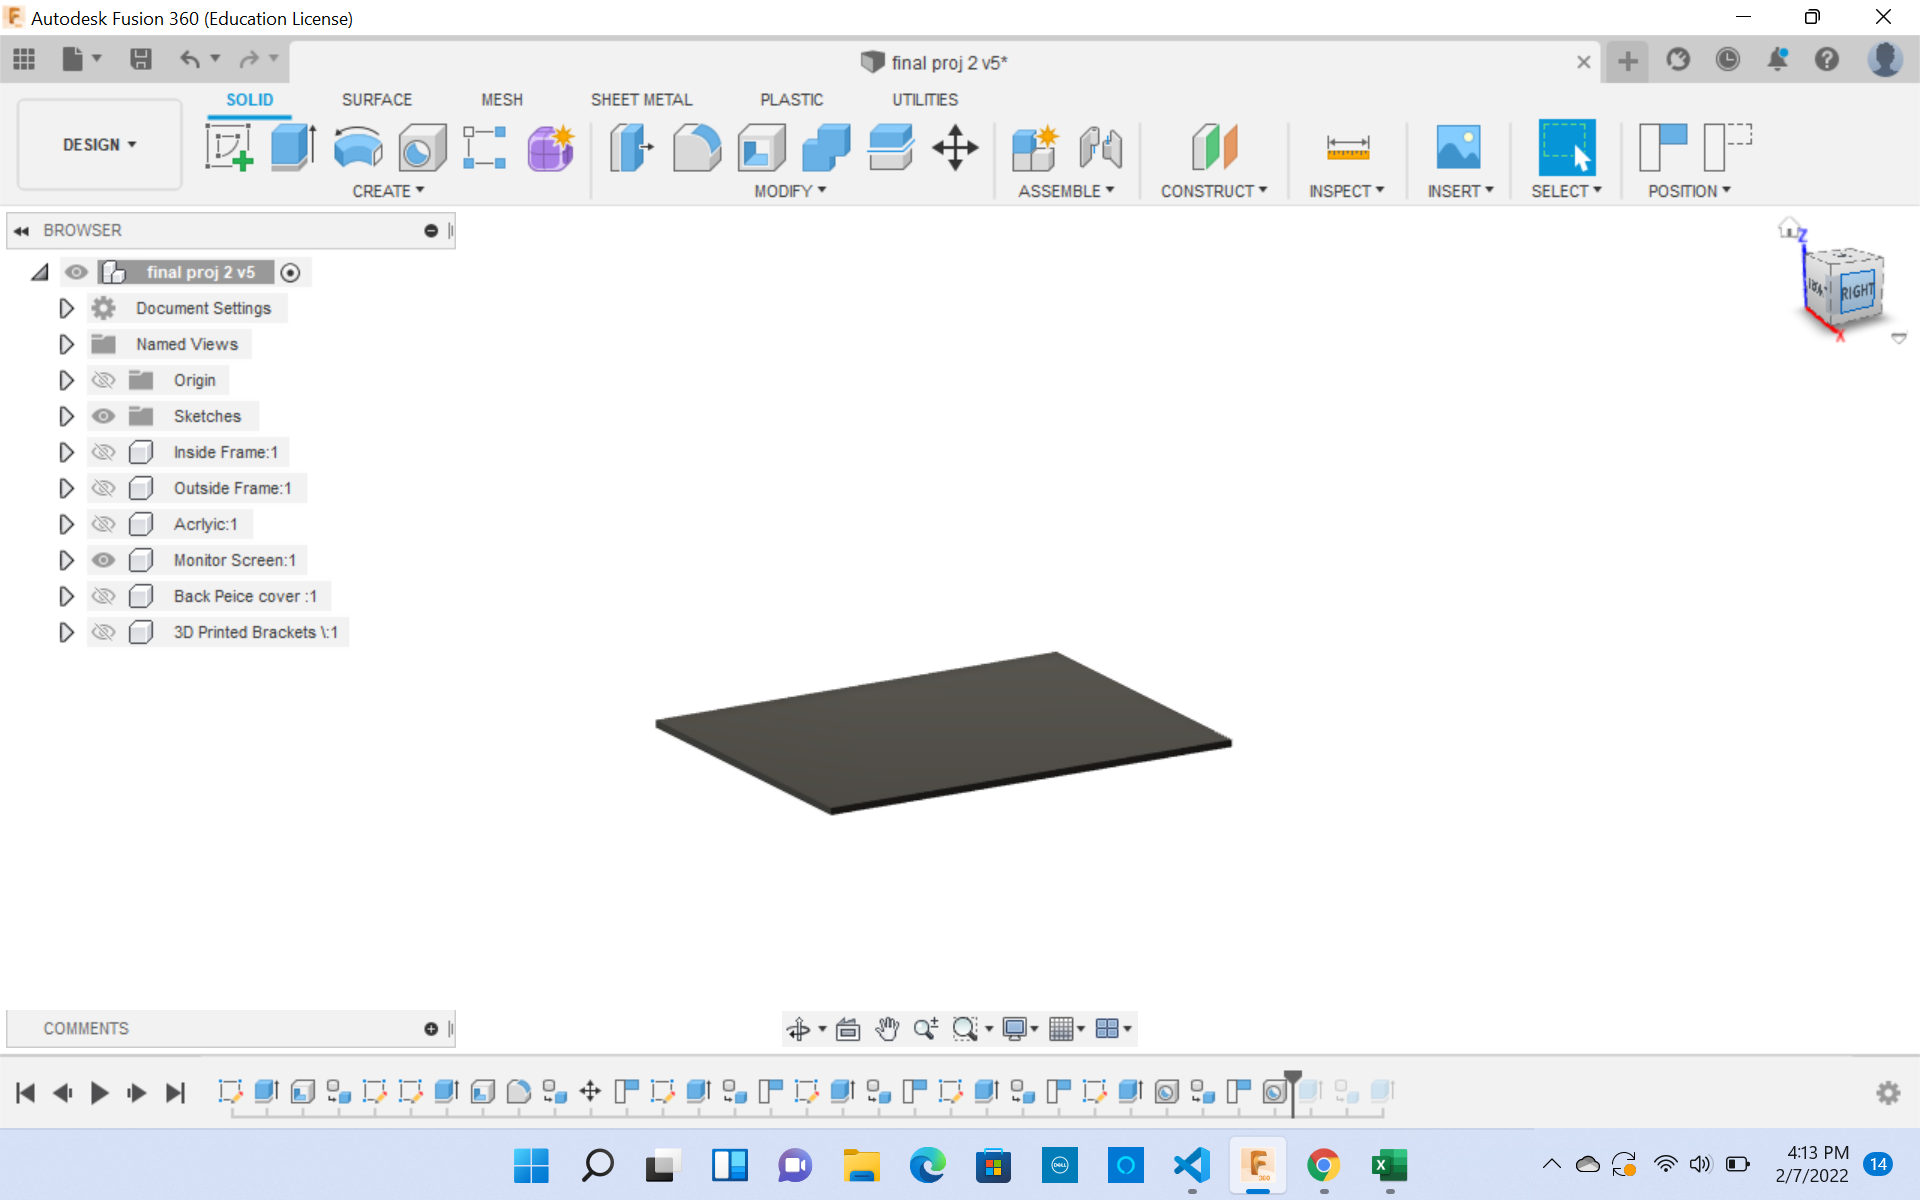
The Monitor
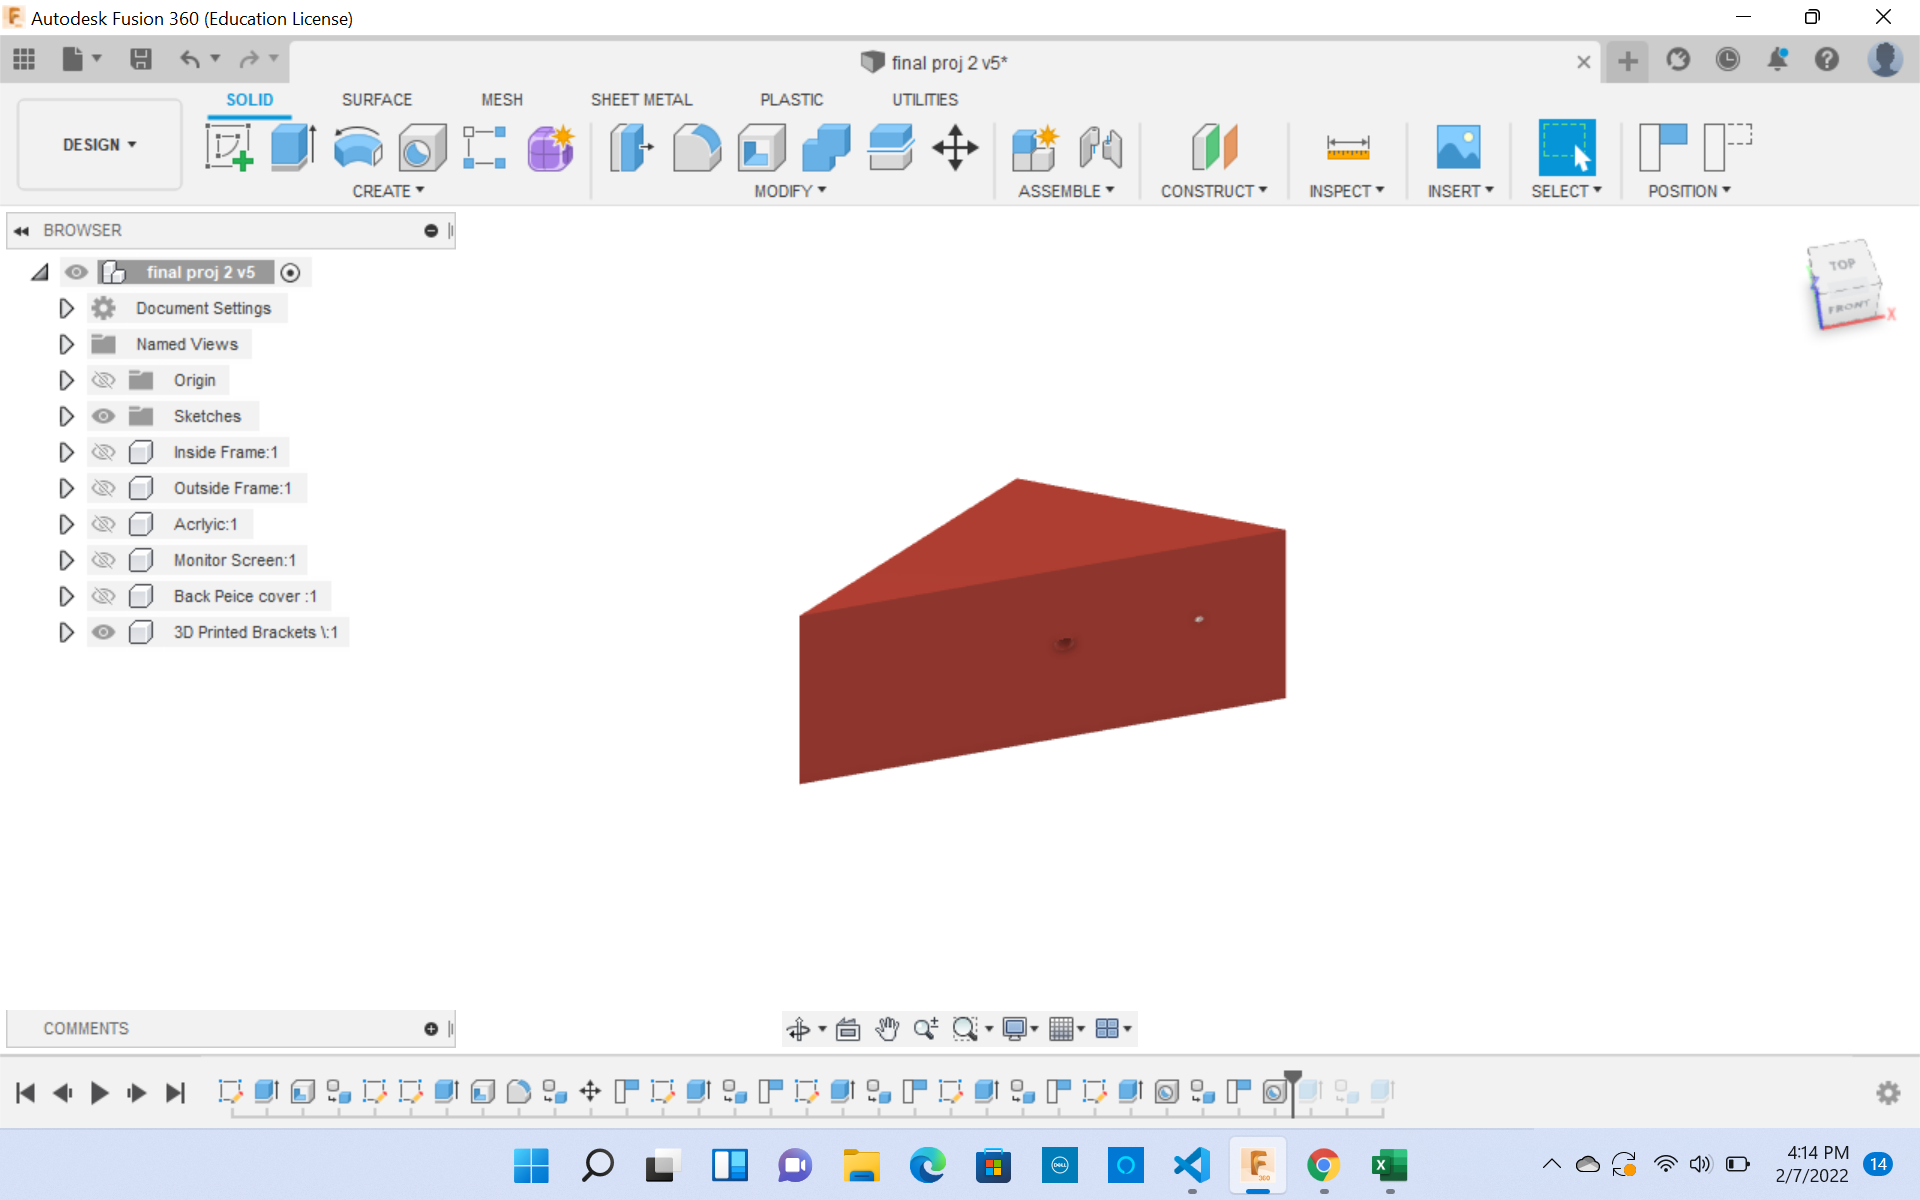
The 3D Brackets
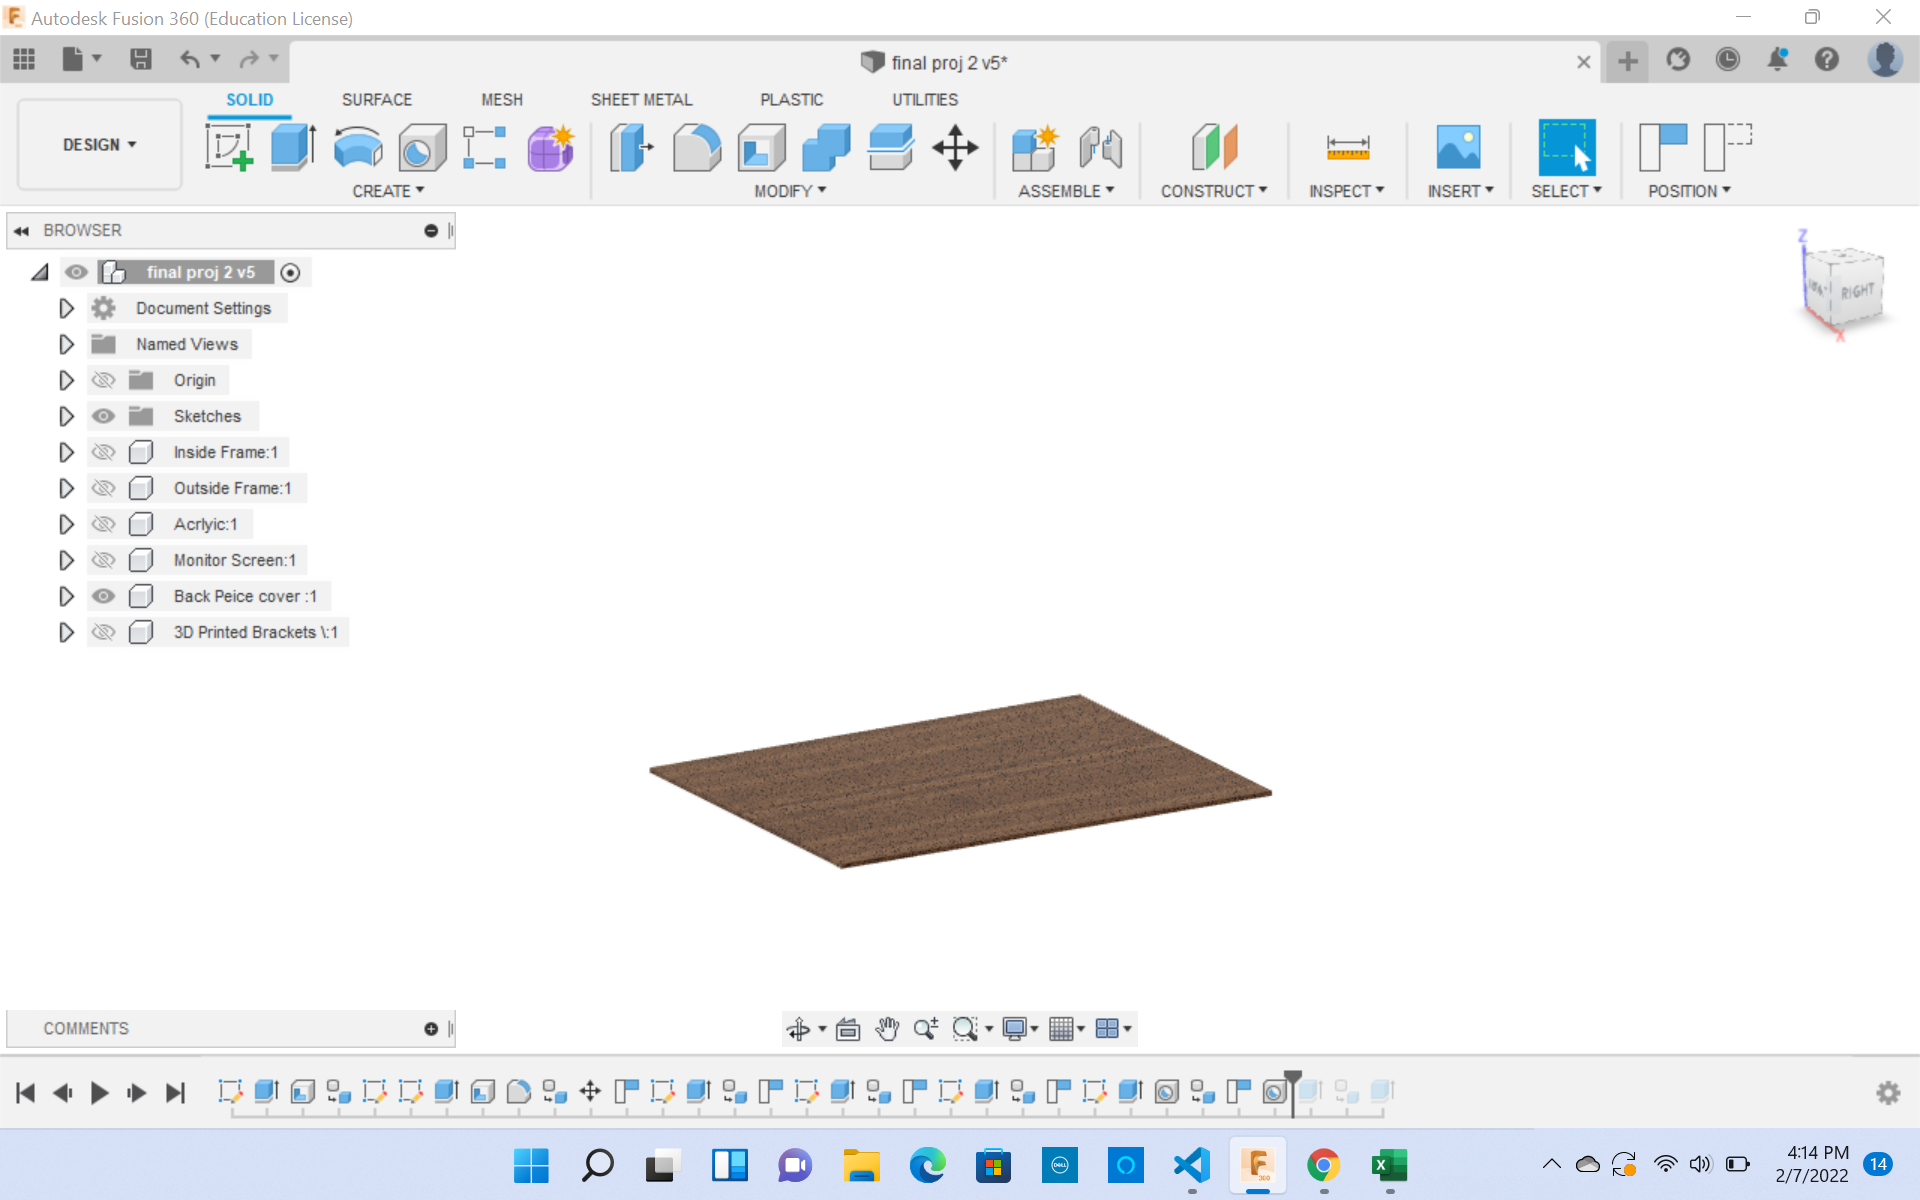
The Backcase
While making these sketches in Fusion 360, I will have to keep in mind to be extra careful on the dimesions of the 3D printed bracket.
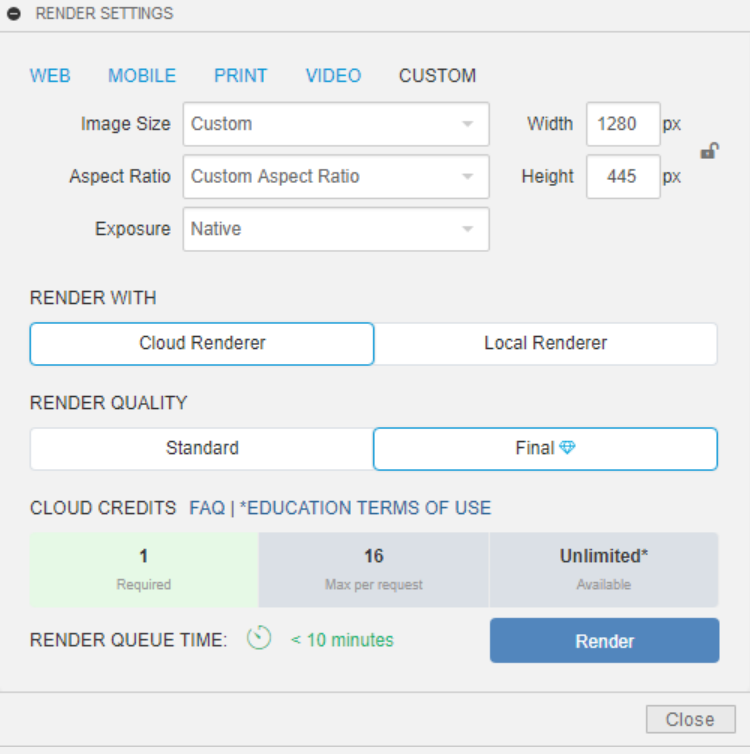
Rendering My Design
What is rendering? Rendering is a function on most CAD softwares where a design can add colors, diffrent textures, and exposures onto their designed to protray how they would look in real life.
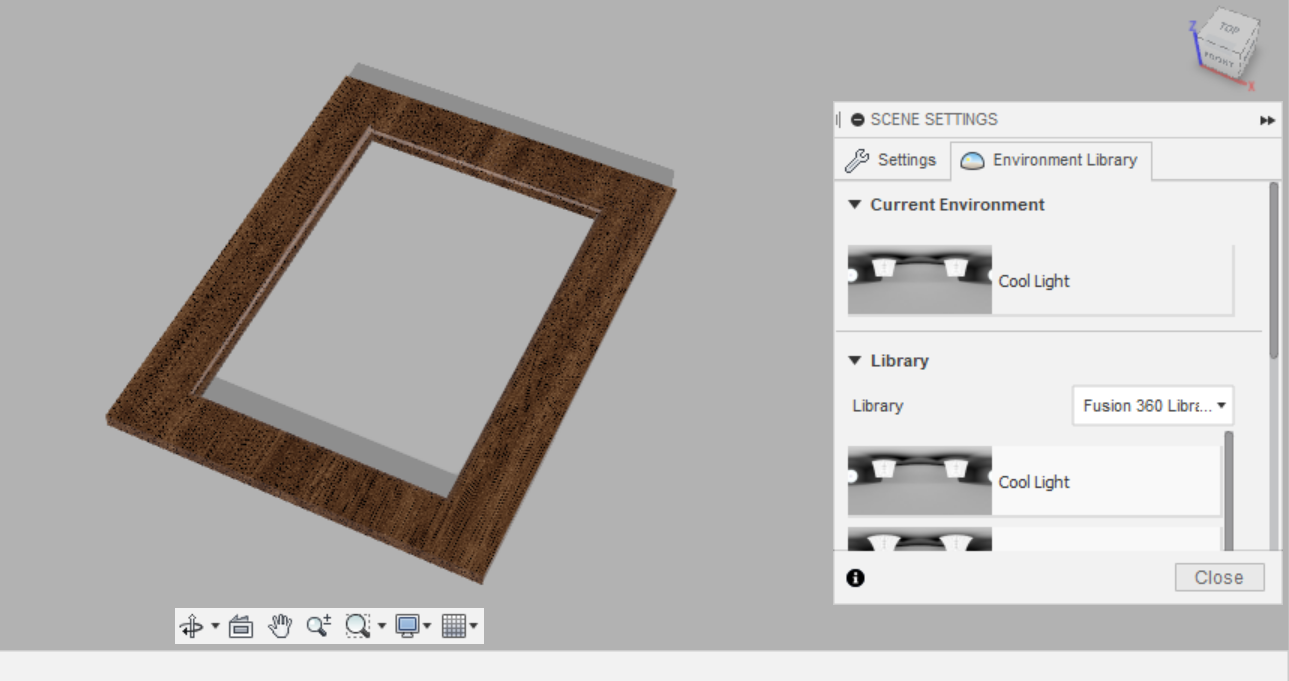
I would like to do the same with my mirror. To start off, you want to switch to the rendering fuction on Fusion 360.

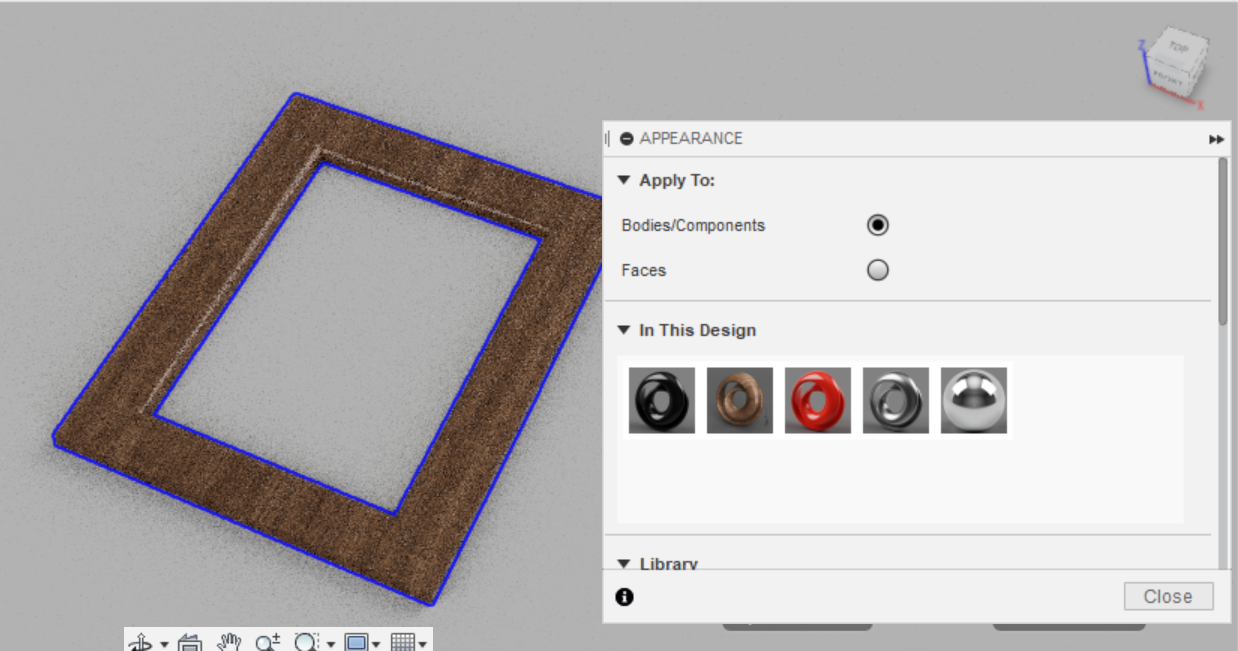
While in this feature you can play around with many different features and add different matericals to the dsignes you have made. For project I decided to play around with the different light exposures, apperences, and the rendering feature.
I dont know too much on this feature, although it seems very cool. Here are some of the things I tried.
Different Light Exposures
Changing Apperences
Rendering Feature
Downloadable Files
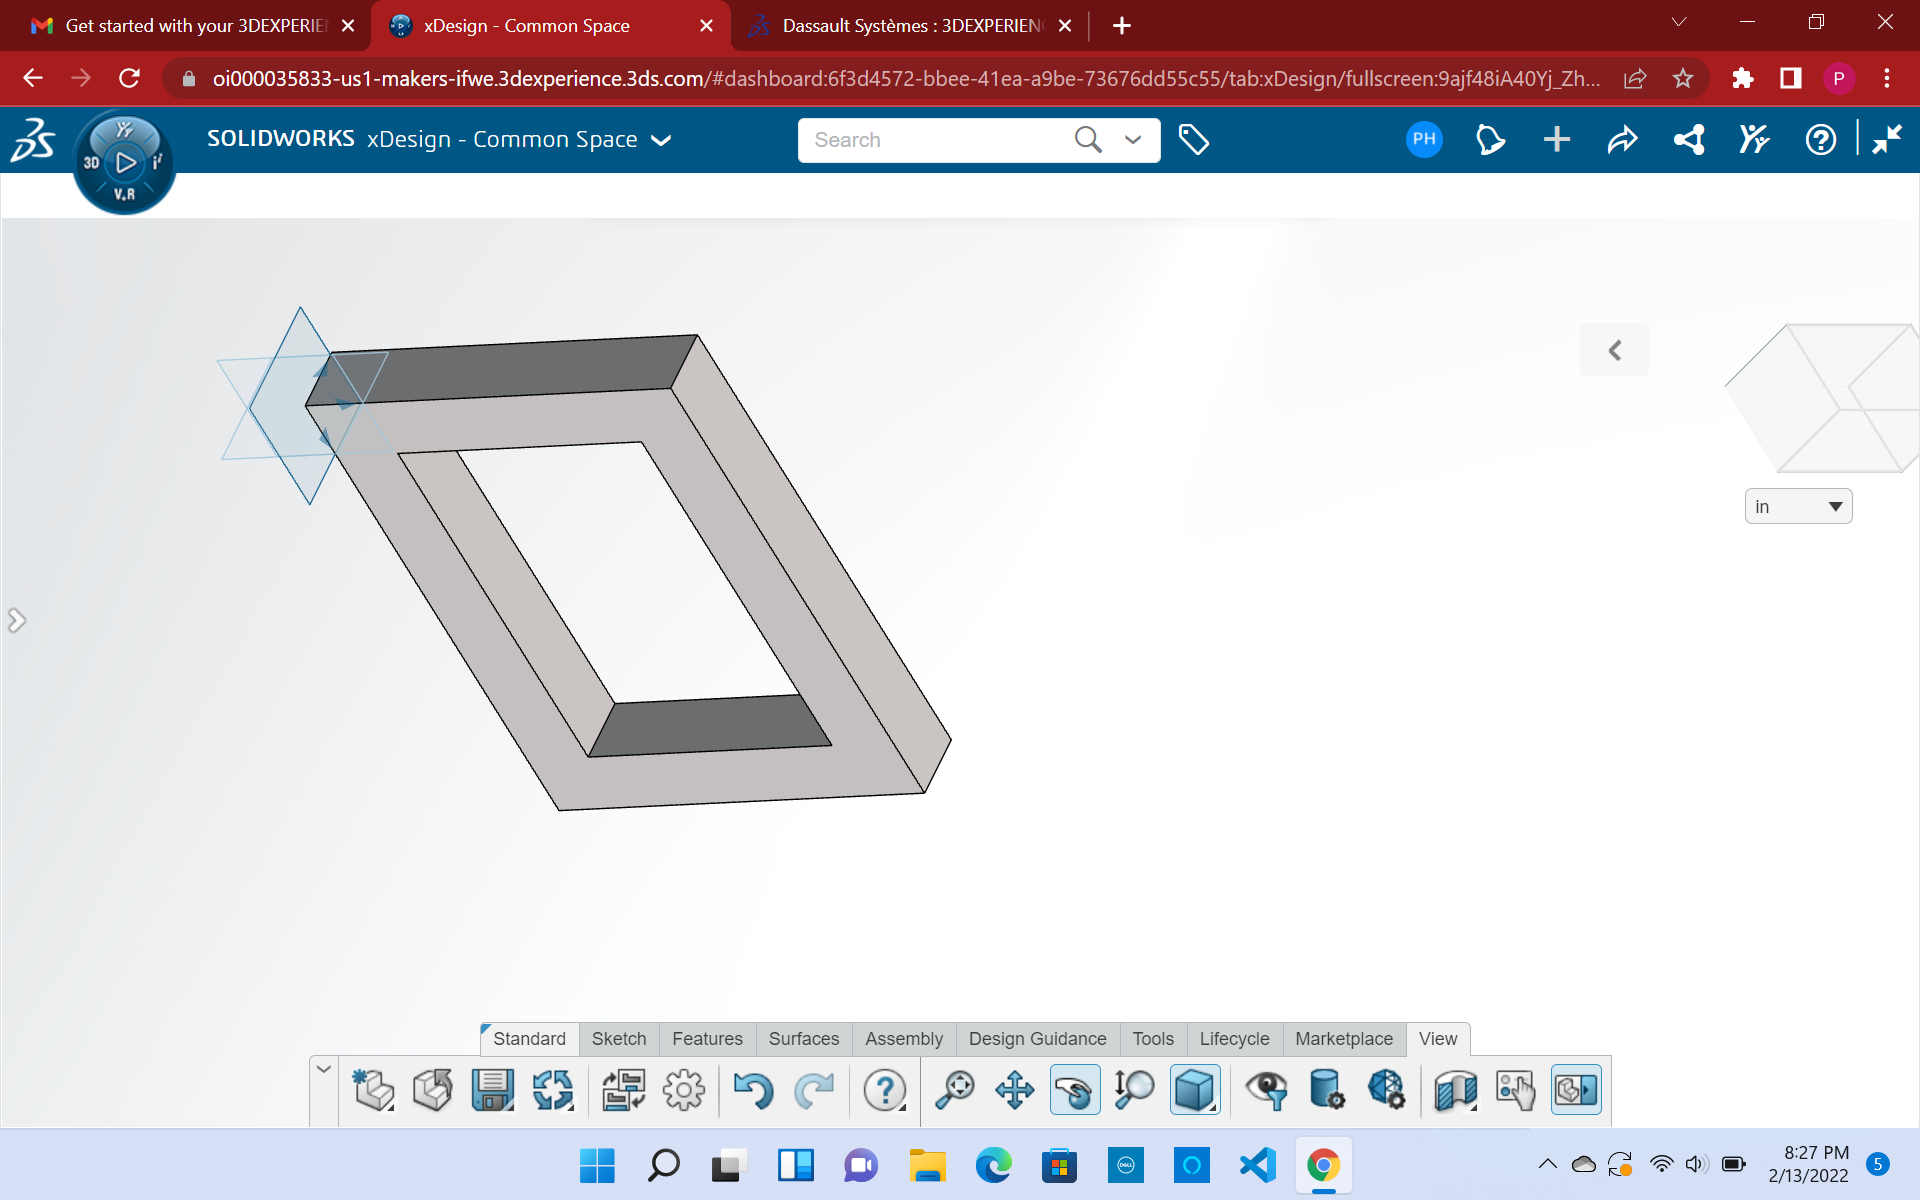
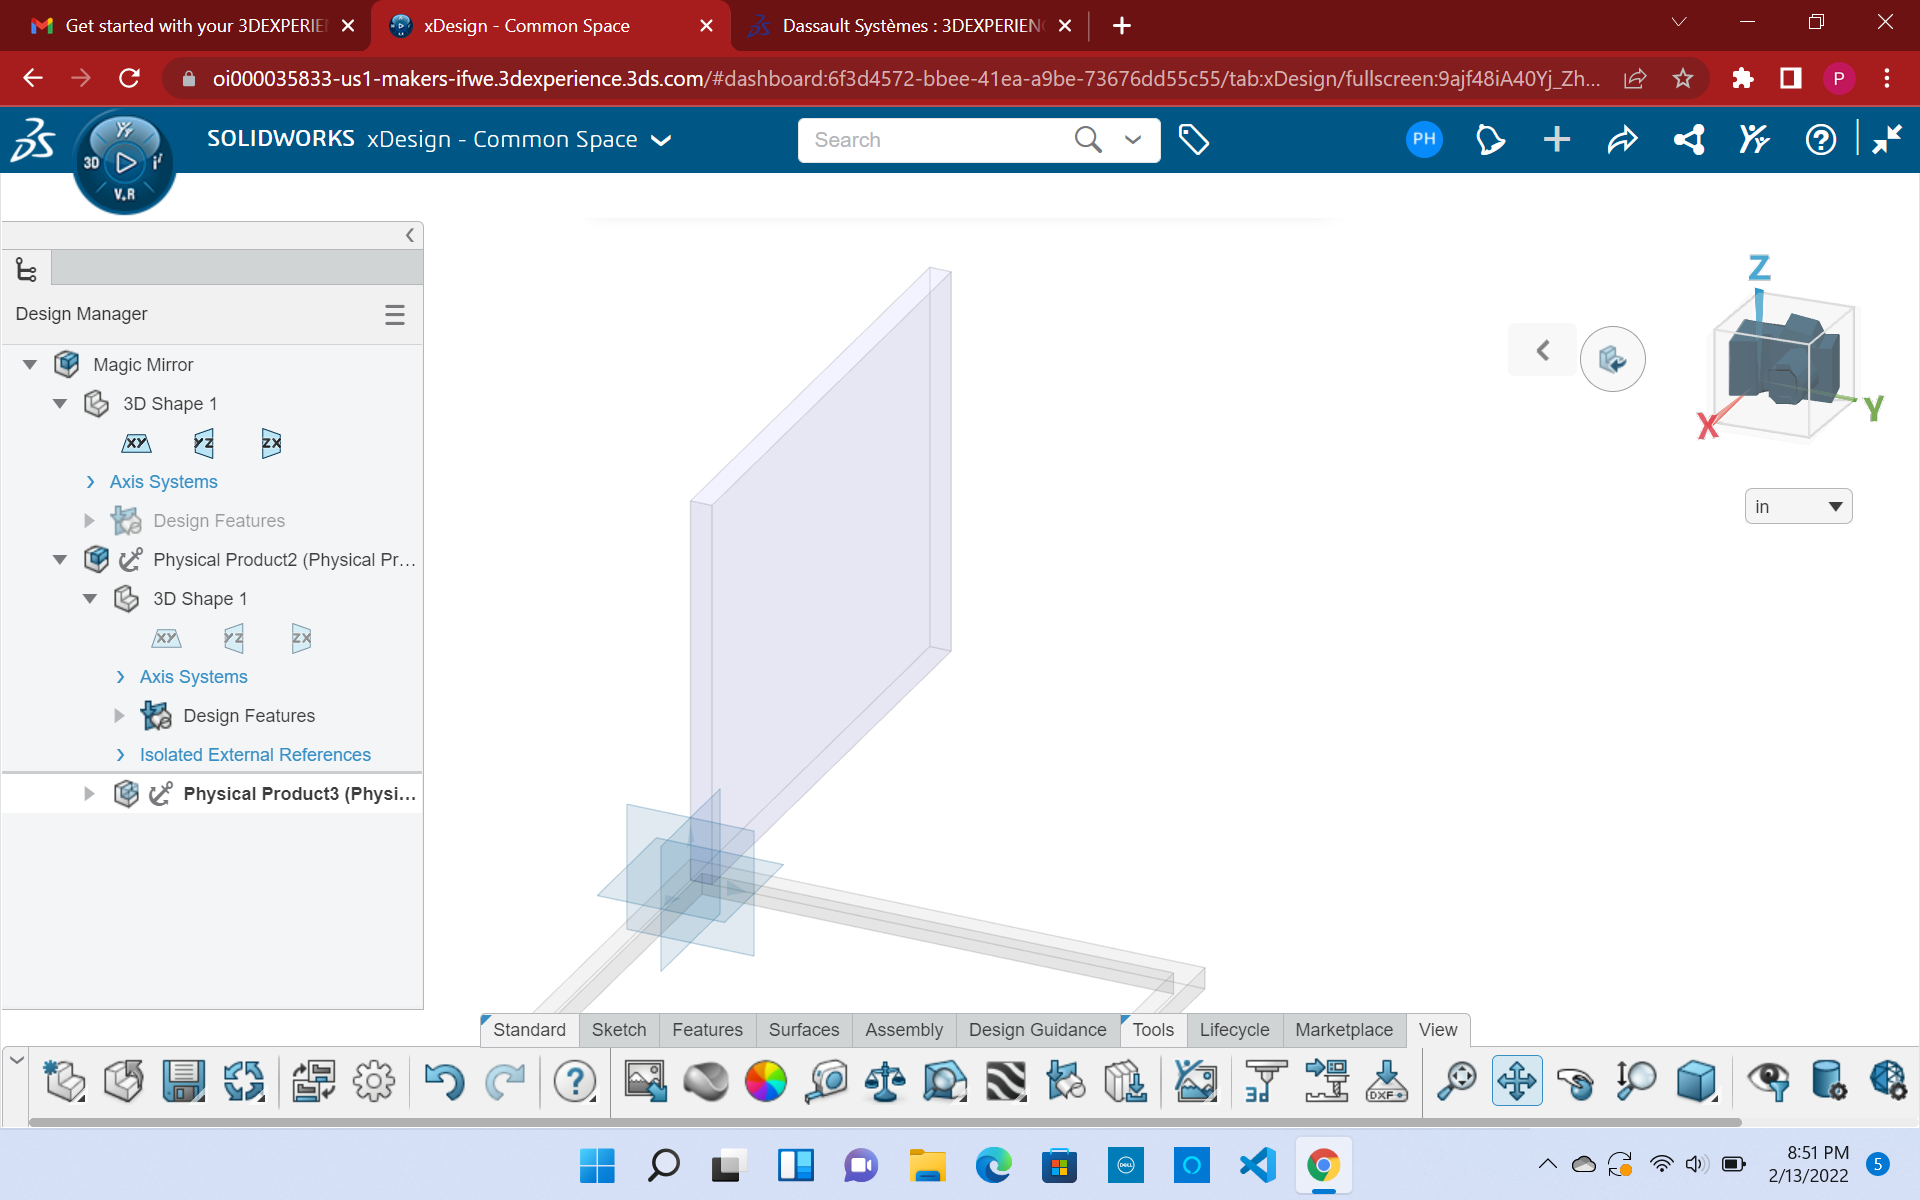
Modeling on Soild Works
After designing my final project files in Fusion 360, I wanted to try another CAD software out. Mr. Dubick recommended Solidworks. I have never used any software other than Fusion 360, but I was open and willing to learn how to utilize new software. I ran into many challenges along the way, such as navigating certain tools. I found Fusion 360 MUCH easier than Solidworks because it was very hard to create and manipulate a sketch in Solidworks, whereas in Fusion 360 it is much easier to navigate the different planes and axis. I also found it challenging to see the sketch history. Overall my rating for Solidworks is a 5/10. Although, this rating should not have too much value as I am inexperienced and this was my first time using the software. My preference still leans towards Fusion 360, and I think I will use that software to help me fabricate my final project.
I made the same sketches that I had made in Fusion 360 in Solidworks, and here are my sketches:
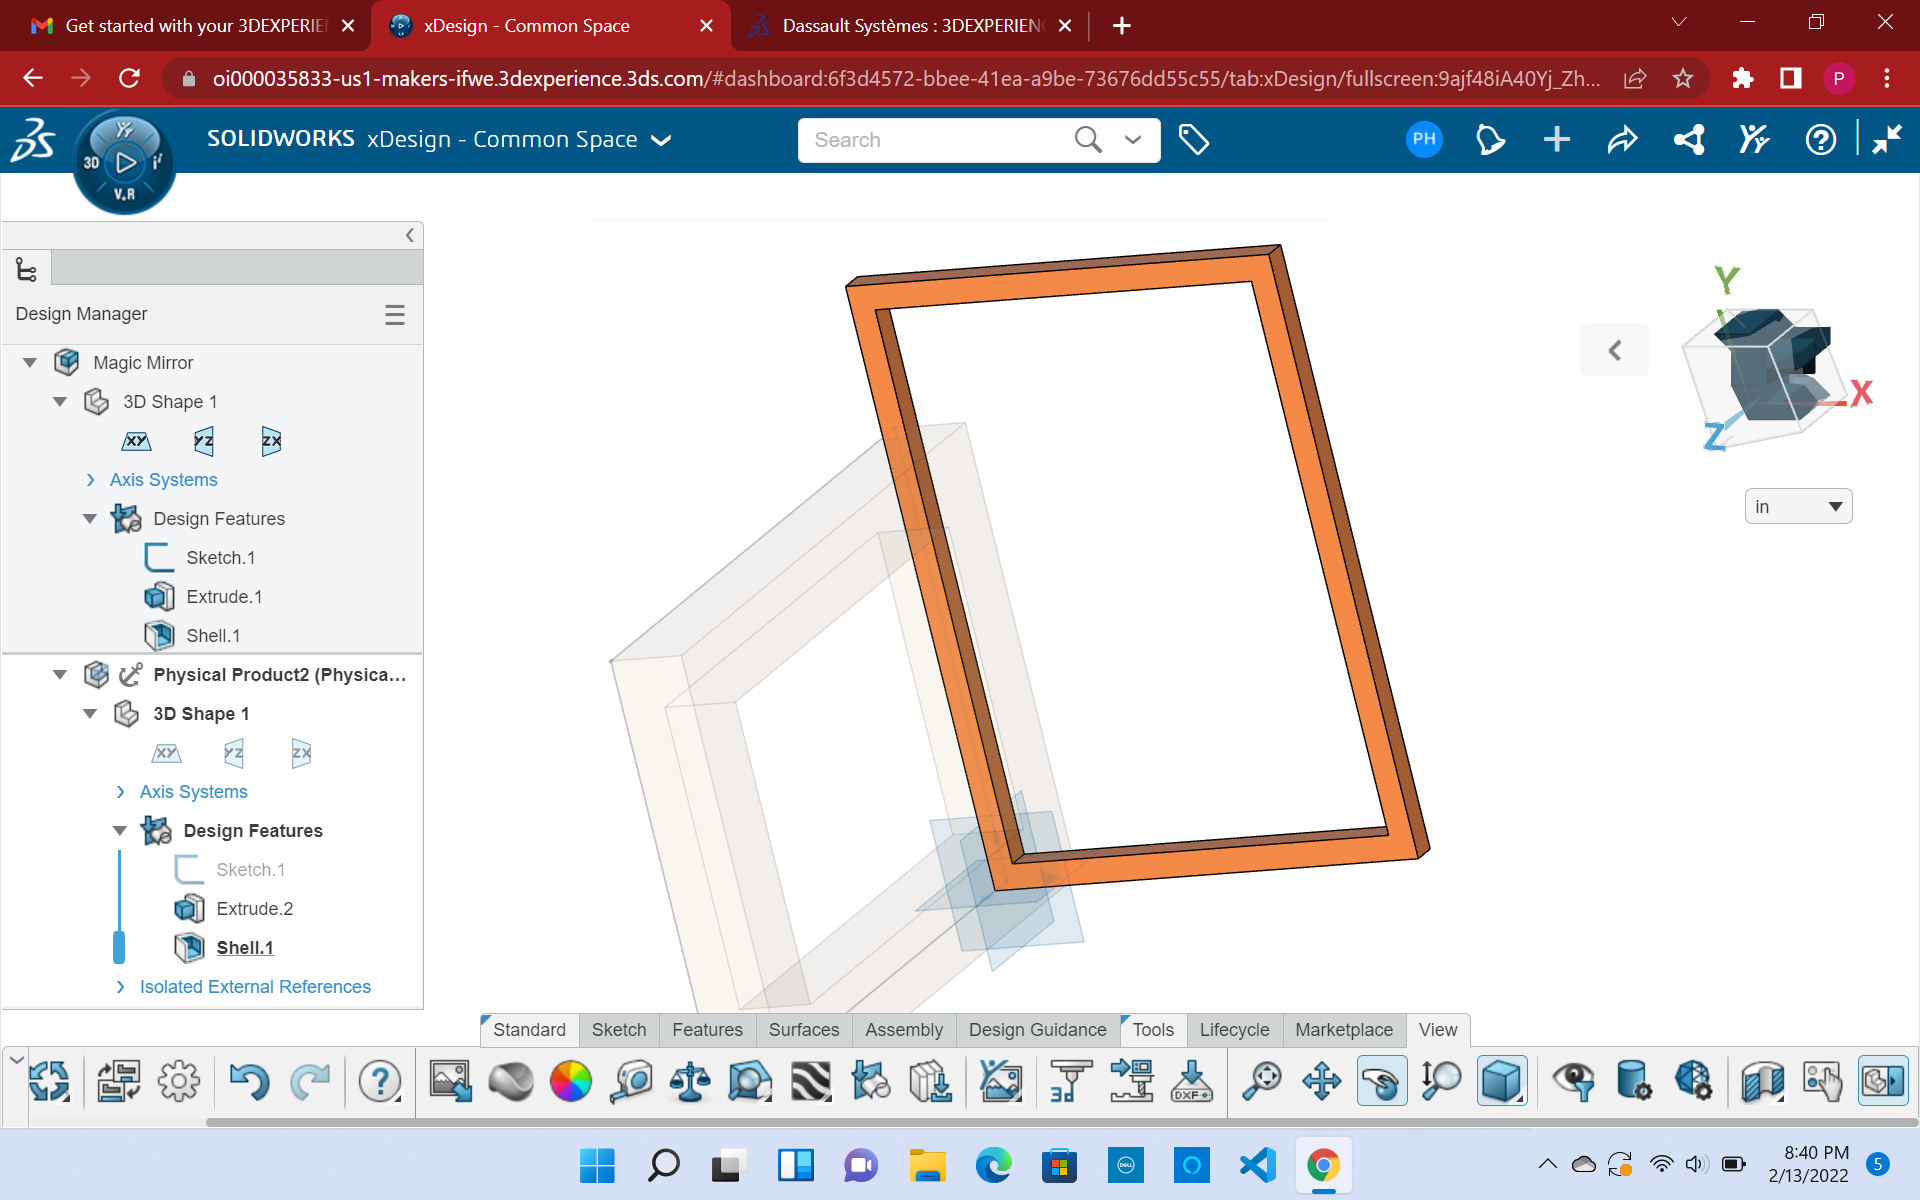
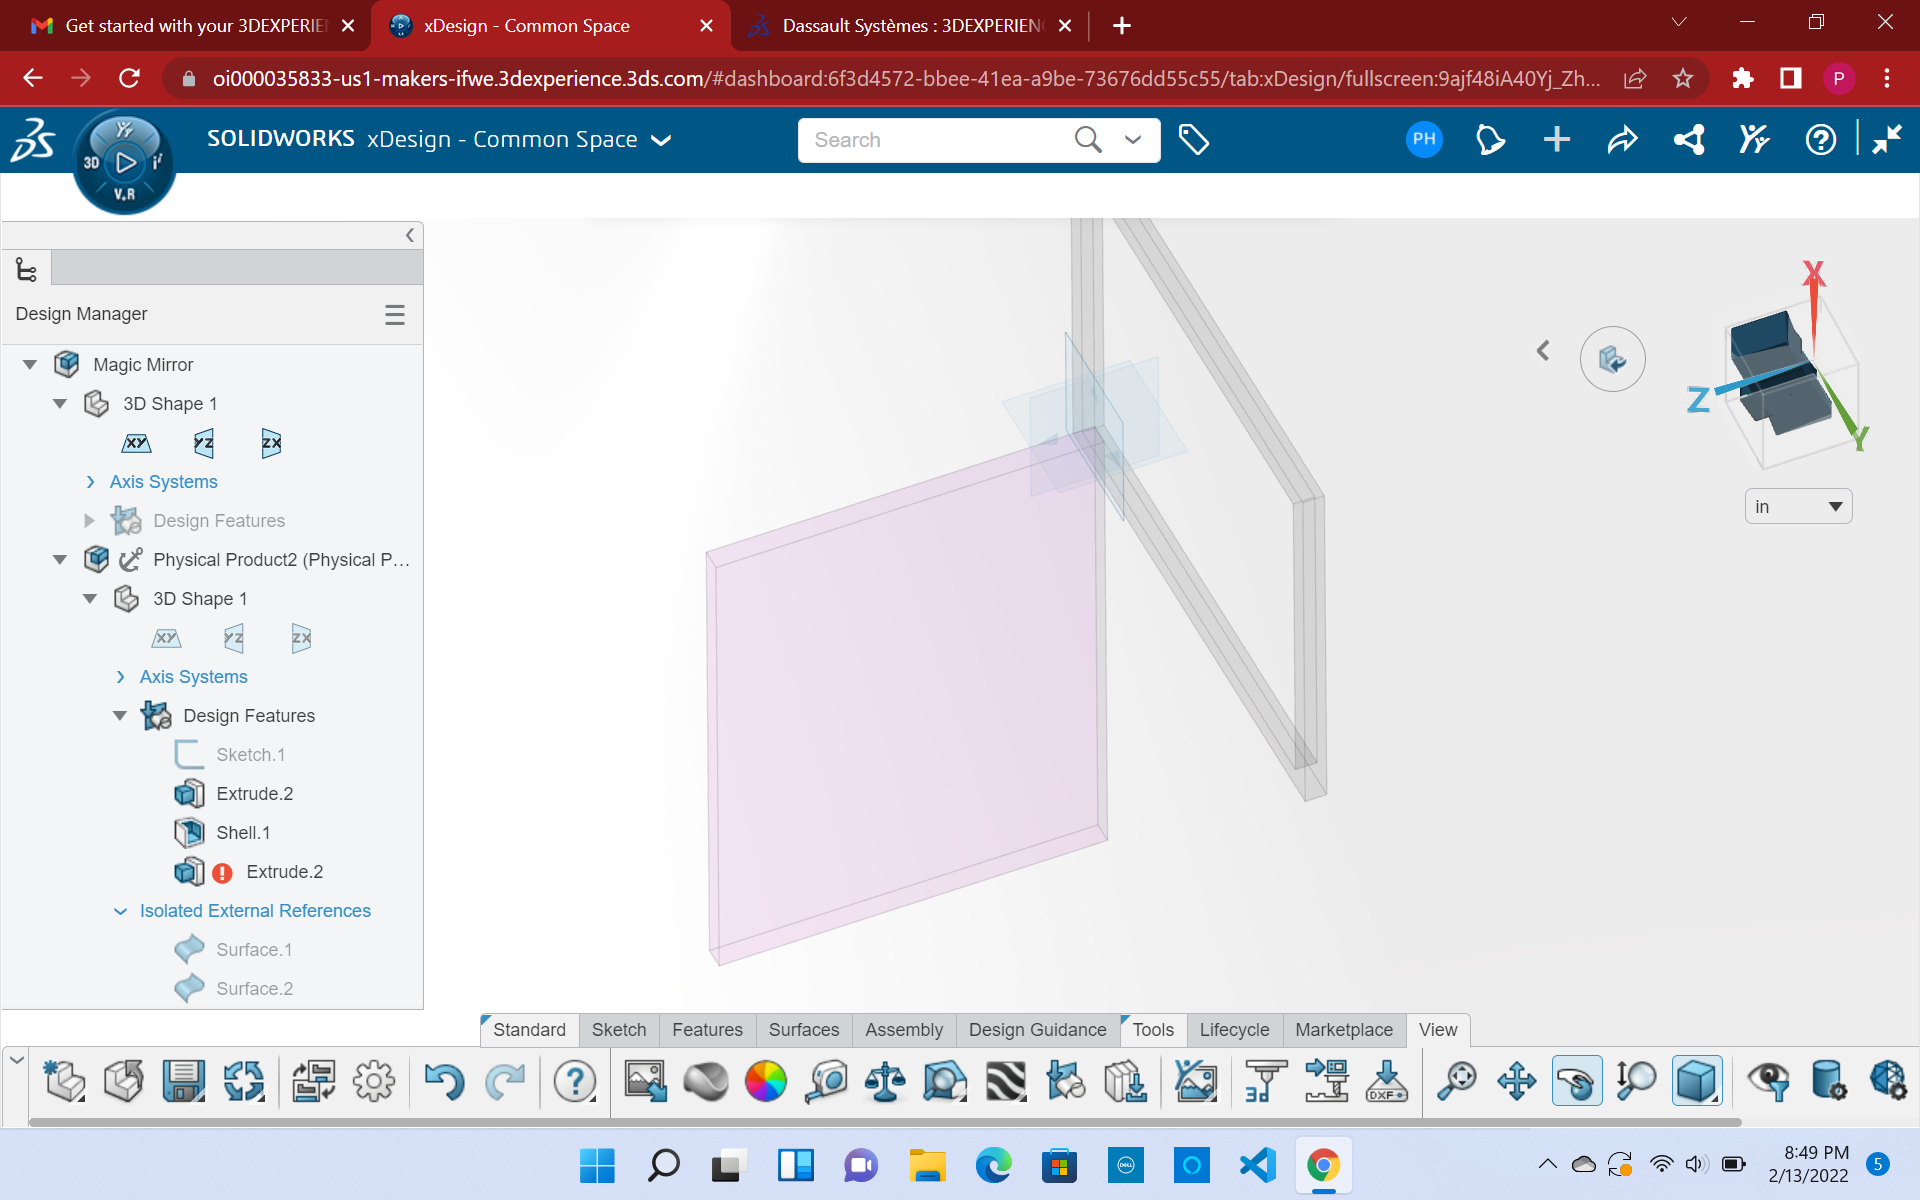
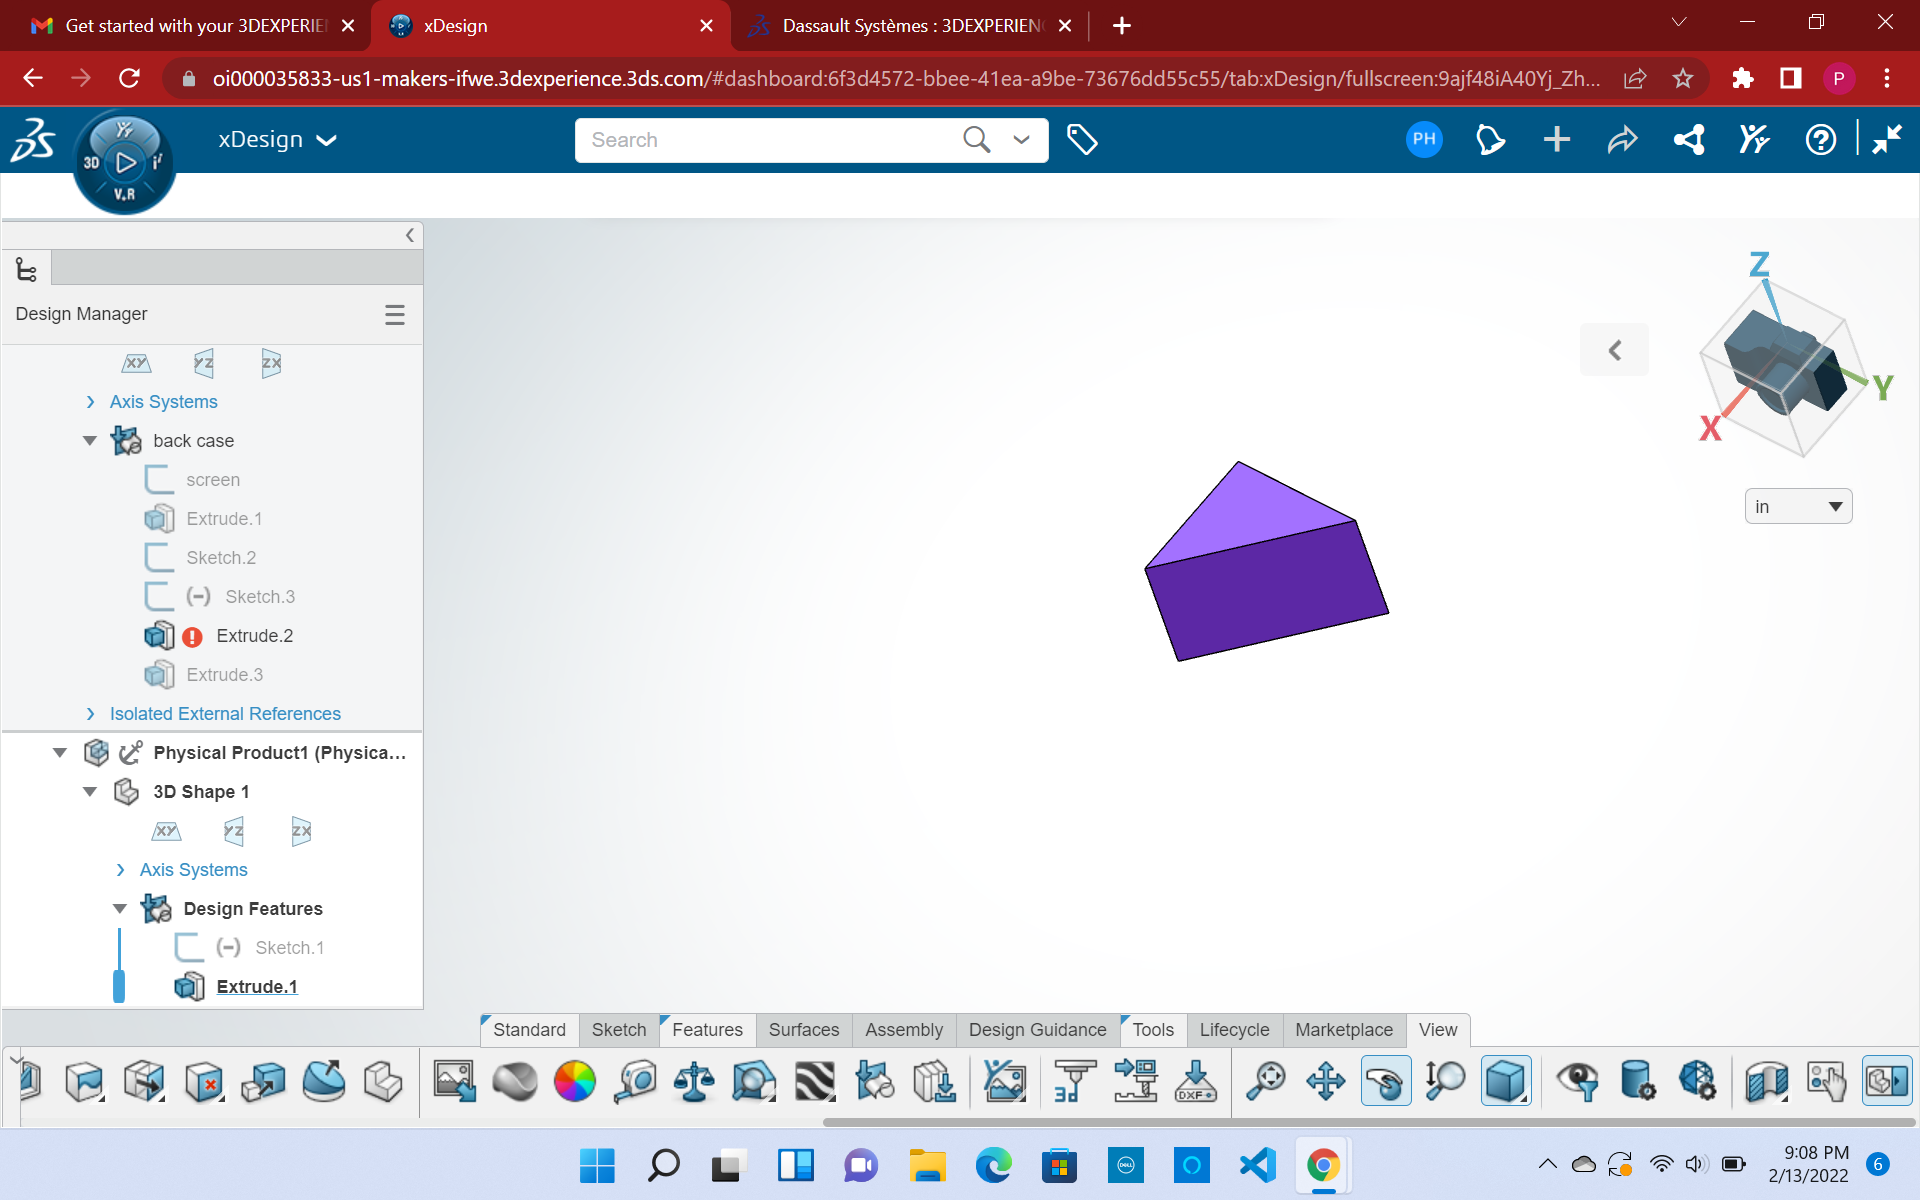
Another challenge I ran into was hiding objects and components that I made. This was extremely painful, as my computer kept on glitching, so I decided to ignore them. I also ran into color issues, because the color of my object kept on displaying a shade that was too light and hard to see. I am not sure, although I don’t think Solidworks was the same type of material appearance feature as Fusion does. This was a HUGE disappointment as I wanted to portray my frame to look like wood.
2D Models
Another aspect of this assignment was to model/ raster a 2D Design of your final project. The 2D design is easier than the 3D design, so this was mostly very easy. I used 2 Software, Corel Draw and Inkscape. I have previously worked with this software, so I felt comfortable designing my final project on this 2 software.
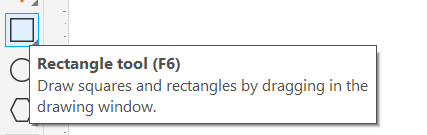
Corel Draw
On Corel Draw, I opened a new document and started to design a basic rectangle. I used the rectangle tool to sketch the frame of my mirror.
After sketching the outer part of the frame, I used the same tool and sketched the inner portion of the frame. Resulting in looking something like this:
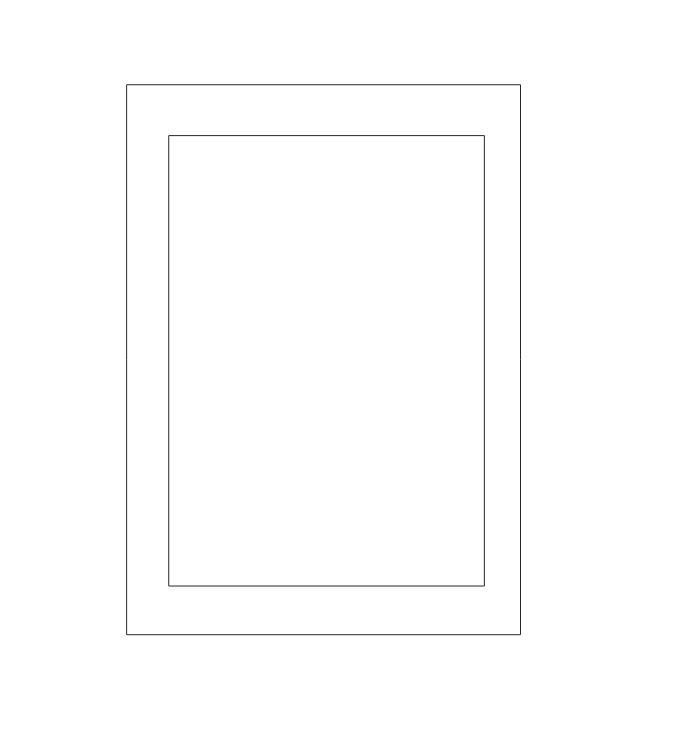
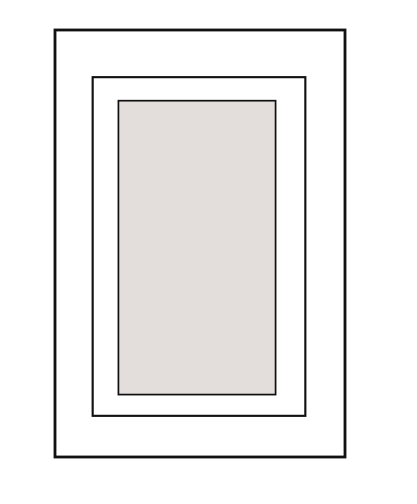
To add the final touches to the frame, I added a different color and used the same rectangular tool to show the acrylic mirror.
Final Corel Draw 2D Model
Inkscape
To test out different software and compare them I also chose to do one of my 2D Sketches in Inkscape.
I did the same procedure I did when I used Corel Draw. The settings and document page were set up similarly to Corel Draw.
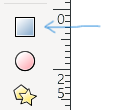
I used the create rectangle and square feature and created a rectangle for the outer frame of my frame.
This is what the create a rectangle and square feature look like:
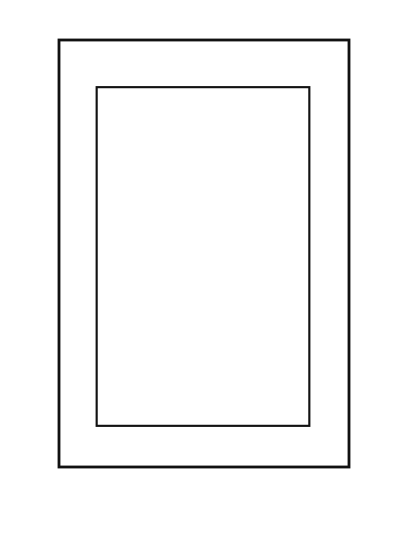
After creating the outer frame, I copy/pasted the same frame but made the dimensions smaller so it would create the outline of a frame.
This would end up looking like so:
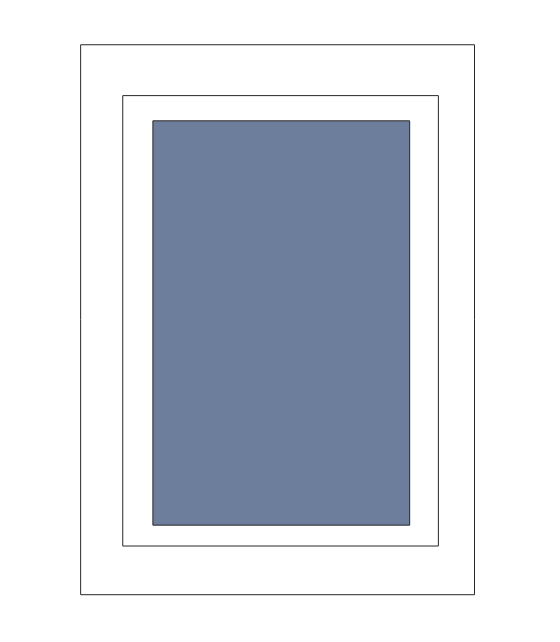
Next to finish this sketch I add another rectangle and filled the color with a shade of gray to symbolize the monitor.
Final Inkscape 2D Model
** Notablilty**
To have a wide variety of skills under my belt, I decided to also design a 2D model on my iPad. In school, I mostly use my iPad to take notes in my different classes and find that it is very beneficial. I am not a very good artist, although I love to draw and get my ideas out on paper. Before I start a project, I usually draw out what I had in mind. For this week, I modeled a 2D design on my iPad app Notablilty.
To add to the sketches I did in Week 1, here I will properly design them, and add something which has changed along the way.
I first used the pen feature and sketched a rectangle. To get the rectangle perfect, I used a feature on the app, where if you draw the shape and hold it, it corrects the shape to the correct geometric features.
Next, I drew a second rectangle that would be smaller than the outer rectangle. This would create a frame-like look as shown below.
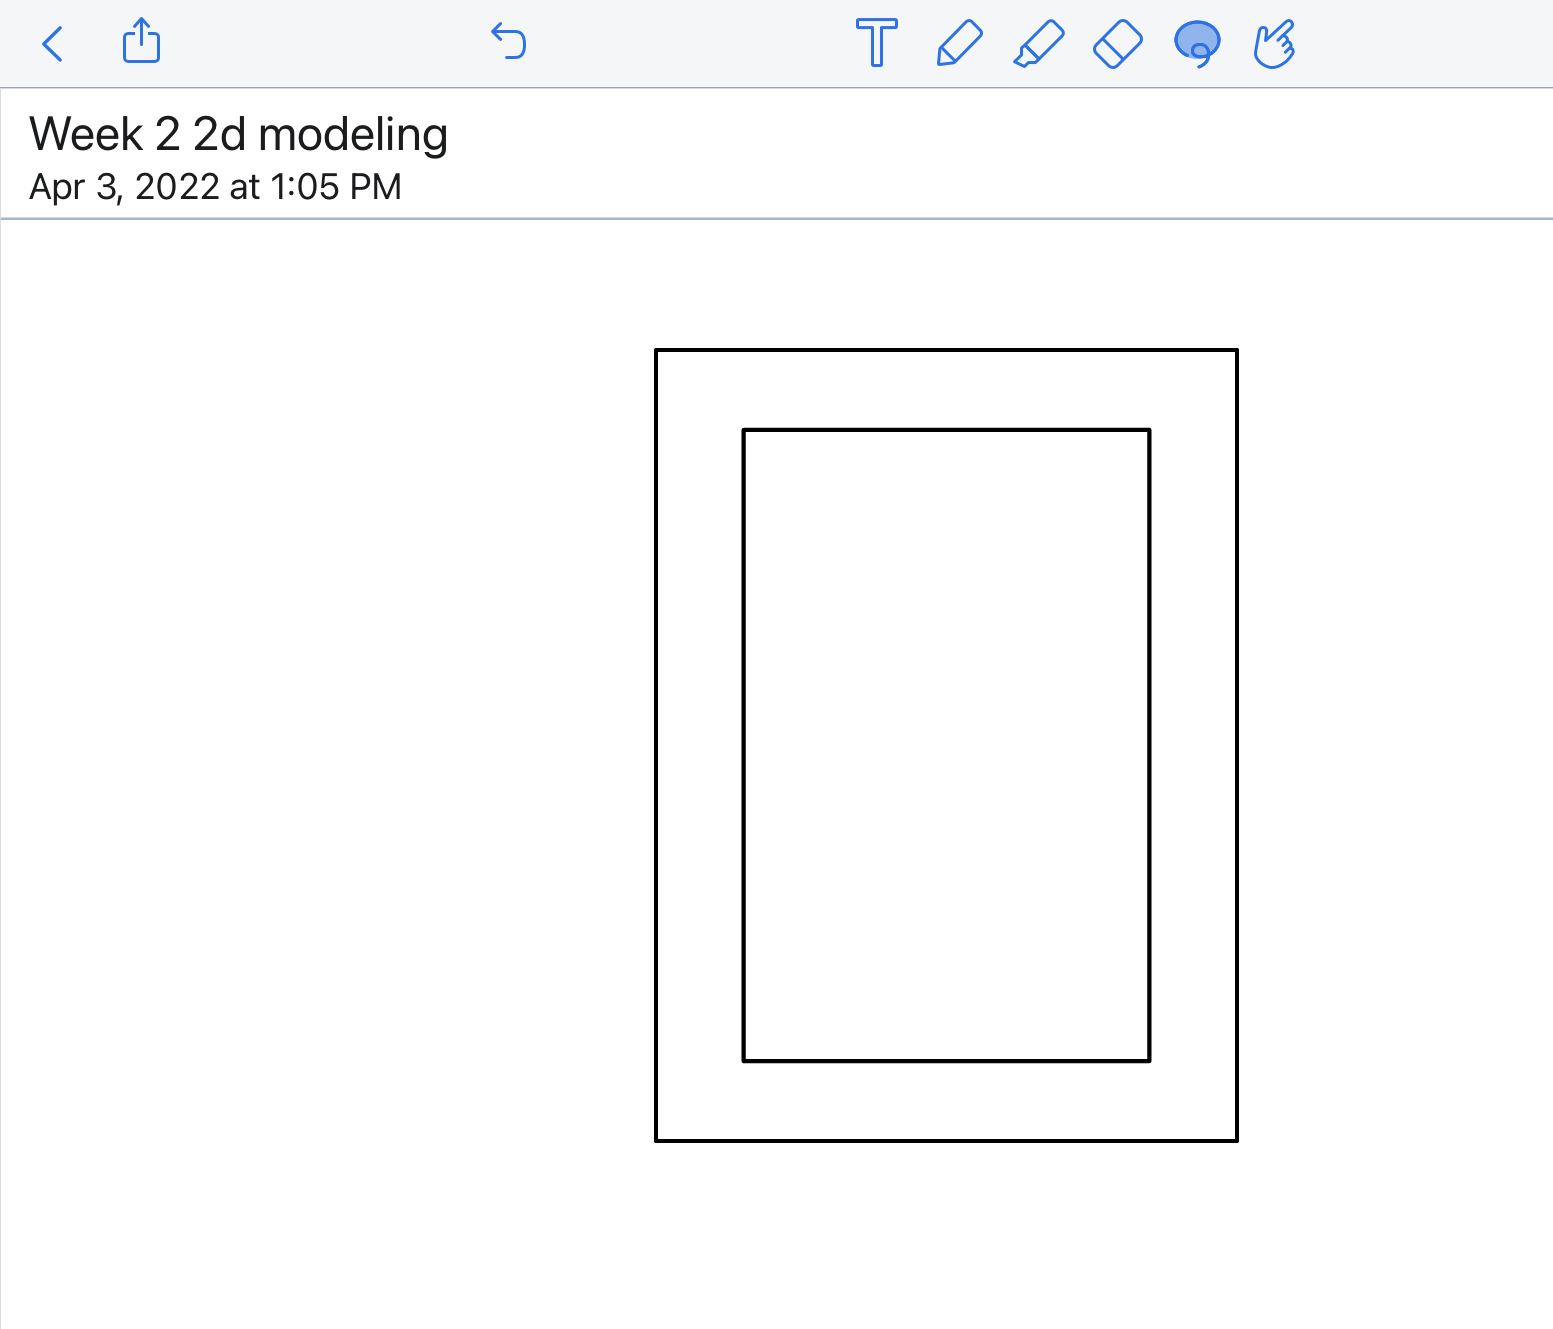
Finally, I saw drew the mirror part of the frame. I first drew a rectangle, and then used the color fill feature to indicate that it is a mirror.
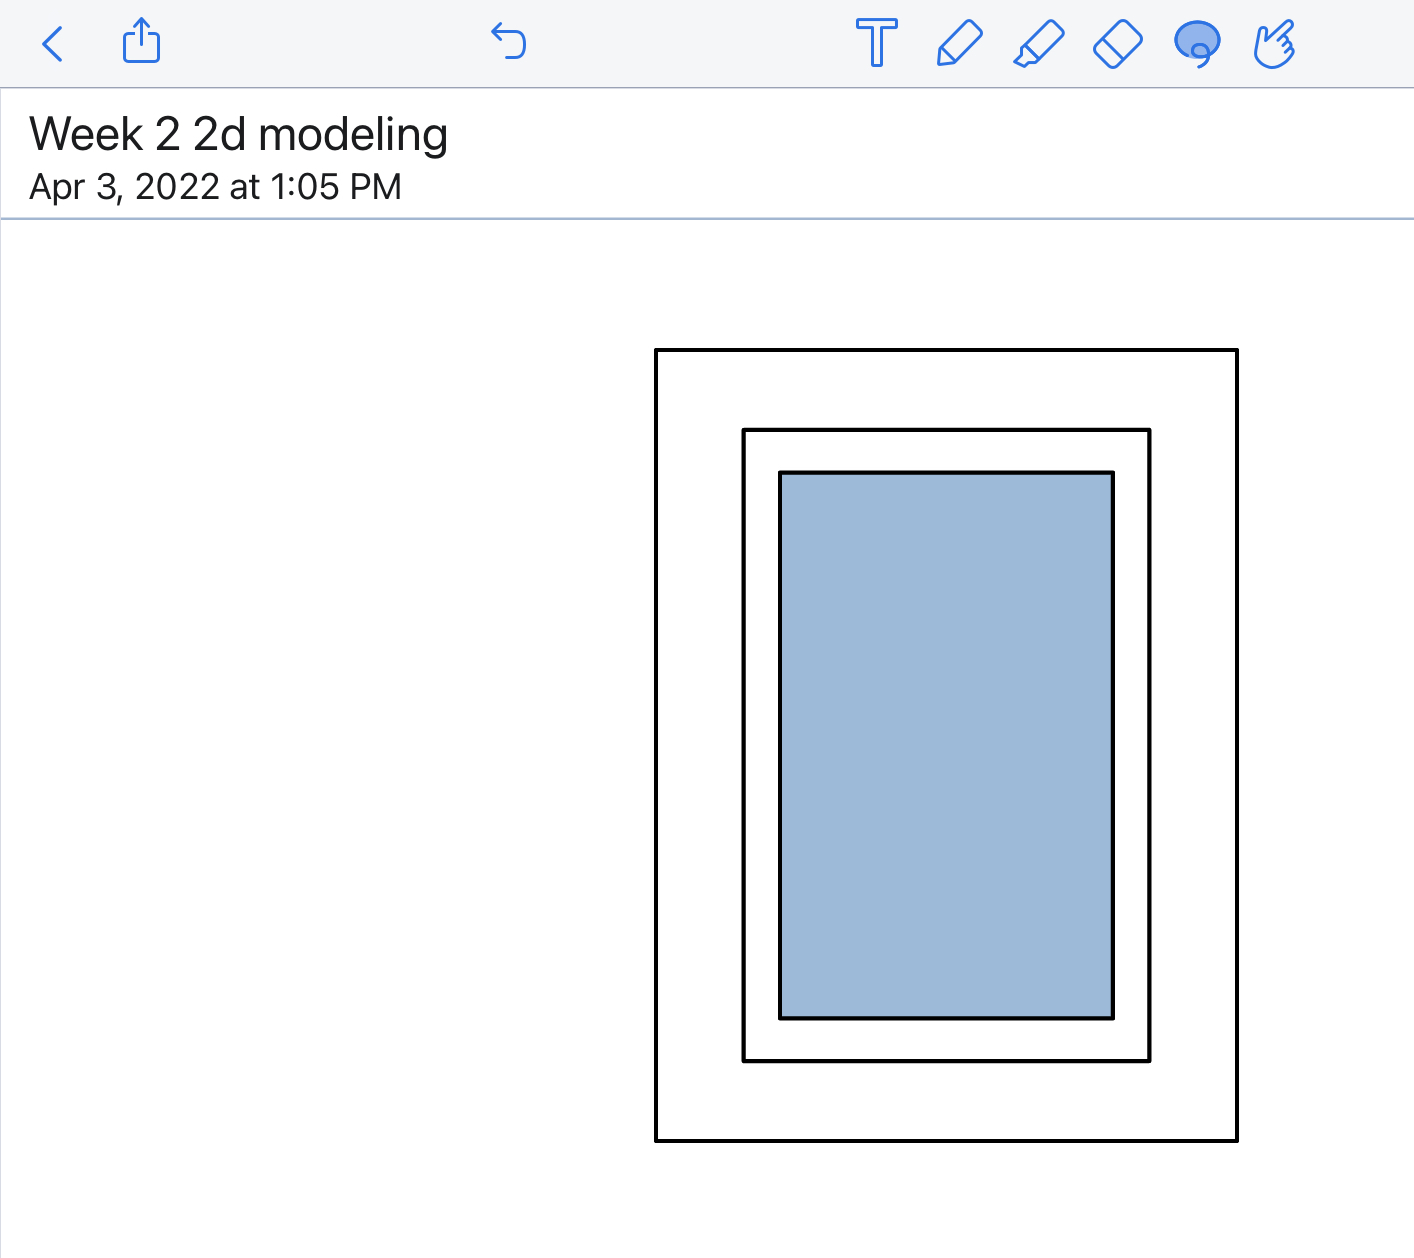
Final Notablilty 2D Model
I decided to label the sketch, so it is easier to interpret for someone who has not read the full documentation.

Summary
This week I learned how to design files using different CAD Software. Throughout this process, it is evident that I preferred using Fusion 360 over Solidworks because I have used one before. I think that Fusion 360 has much more easier and accessible tools, unlike fusion. I ran into many challenges and learned to not get frustrated with myself. In the 2D section of this week, I learned that I like Inkscape more, as it is much more easily navigated, although Corel Draw is also a very neat platform. I will definitely be using these 2 softwares in the future to design 2D designs.
Here are my files for the week.