17. Interface and Application Programming
Assignment: Write an application that interfaces a user with an input and/or output device that you made
Research
I wasn’t familiar with exactly what interfacing was, so my instructor Mr. Dubick recommended the sparkfun link below. The documentation incorporates Arduino with an application called Processing which can be used to interface with an Arduino using serial communication.
Communicating Arduino with Processing
The documentation had me send a simple “Hello World” message into the processing terminal. The steps were easy
From Arduino IDE
I grabbed my Arduino and typed the line Serial.begin(9600) to initialize the serial monitor. I then typed a delay function along with Serial.println(“Hello World”) to print the line in the serial terminal. After I was done, I uploaded the code. To make sure it was working I checked the coms port, and I was receiving messages.
To Processing IDE
This step was a little more complicated, but the documentation had some example code that I could use. I realized that it was the same concept as with the I2C except the terminology was different. The part that I realized was very similar to my networking week was the line.
void draw()
{
  if ( myPort.available() > 0)
  {  // If data is available,
  val = myPort.readStringUntil('\n');         // read it and store it in val
  }
println(val); //print it out in the console
}
This line was like Wire.avalible and Wire.read for I2C where if data is available then read the data and store it in a variable which is what val = myPort.readStringUntil('\n'); is doing. I then continued to copy the example code and pasted it. The example code I used is below.
Serial myPort;  // Create object from Serial class
String val;     // Data received from the serial port

void setup()
{
  // I know that the first port in the serial list on my mac
  // is Serial.list()[0].
  // On Windows machines, this generally opens COM1.
  // Open whatever port is the one you're using.
  String portName = Serial.list()[0]; //change the 0 to a 1 or 2 etc. to match your port
  myPort = new Serial(this, portName, 9600);
}

void draw()
{
  if ( myPort.available() > 0)
  {  // If data is available,
  val = myPort.readStringUntil('\n');         // read it and store it in val
  }
println(val); //print it out in the console
}
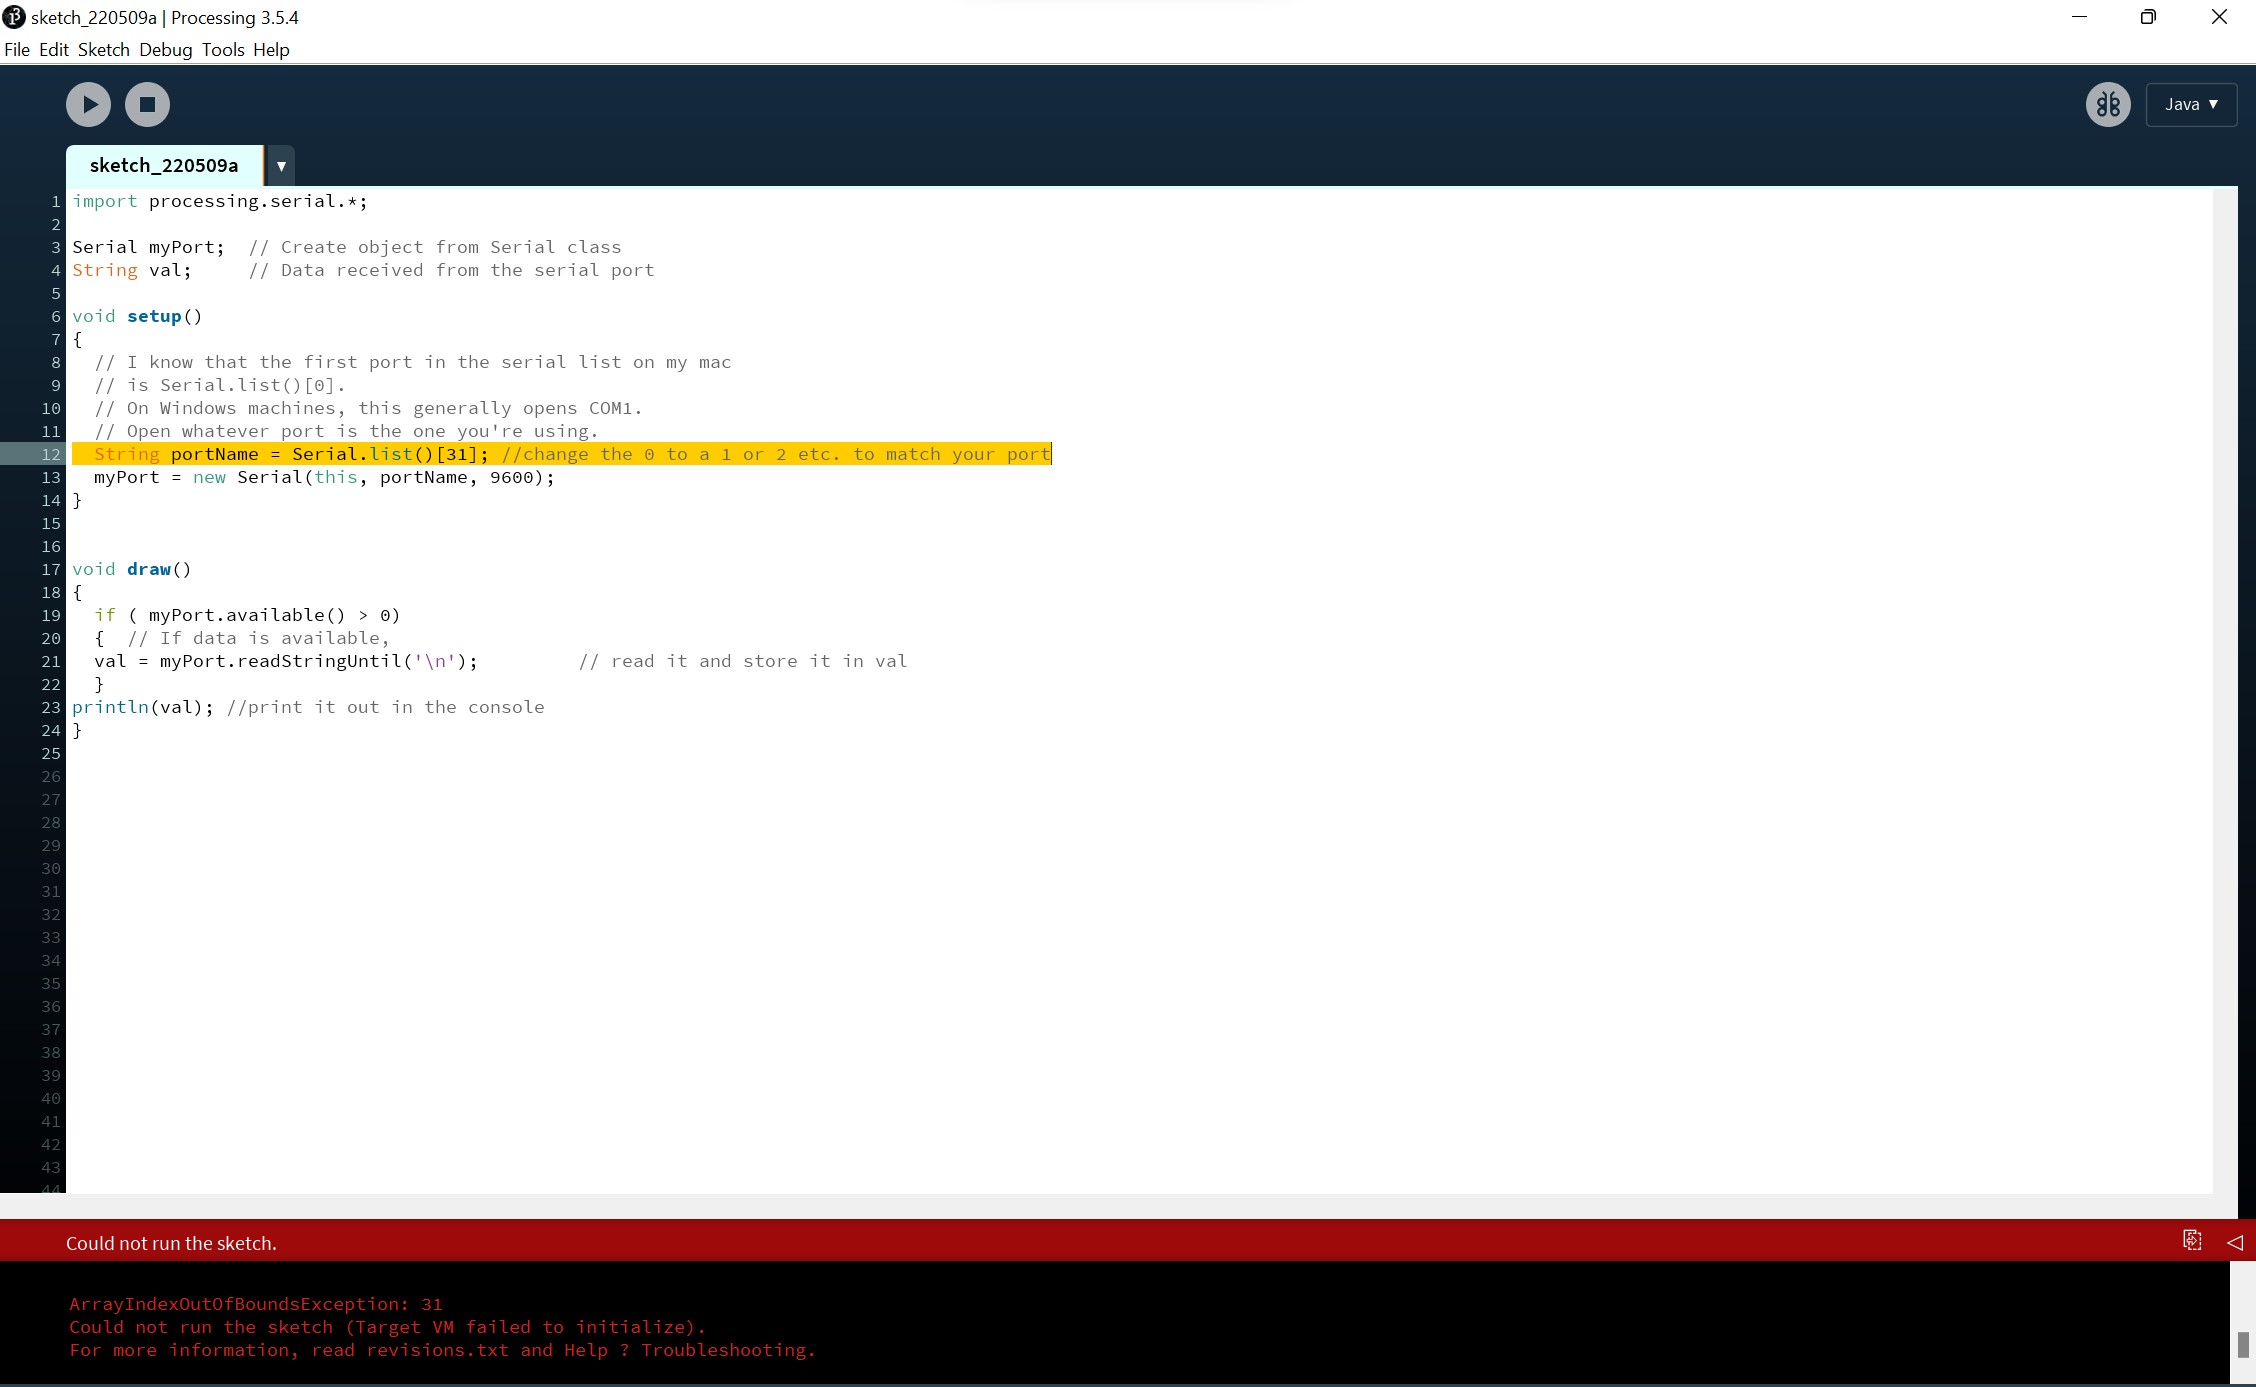
At first, I received and error regarding the coms port. I initially thought that the number would be the same in the Arduino IDE. The com in Arduino was COMS 31 so I typed 31 into the function. However, I received an array error.
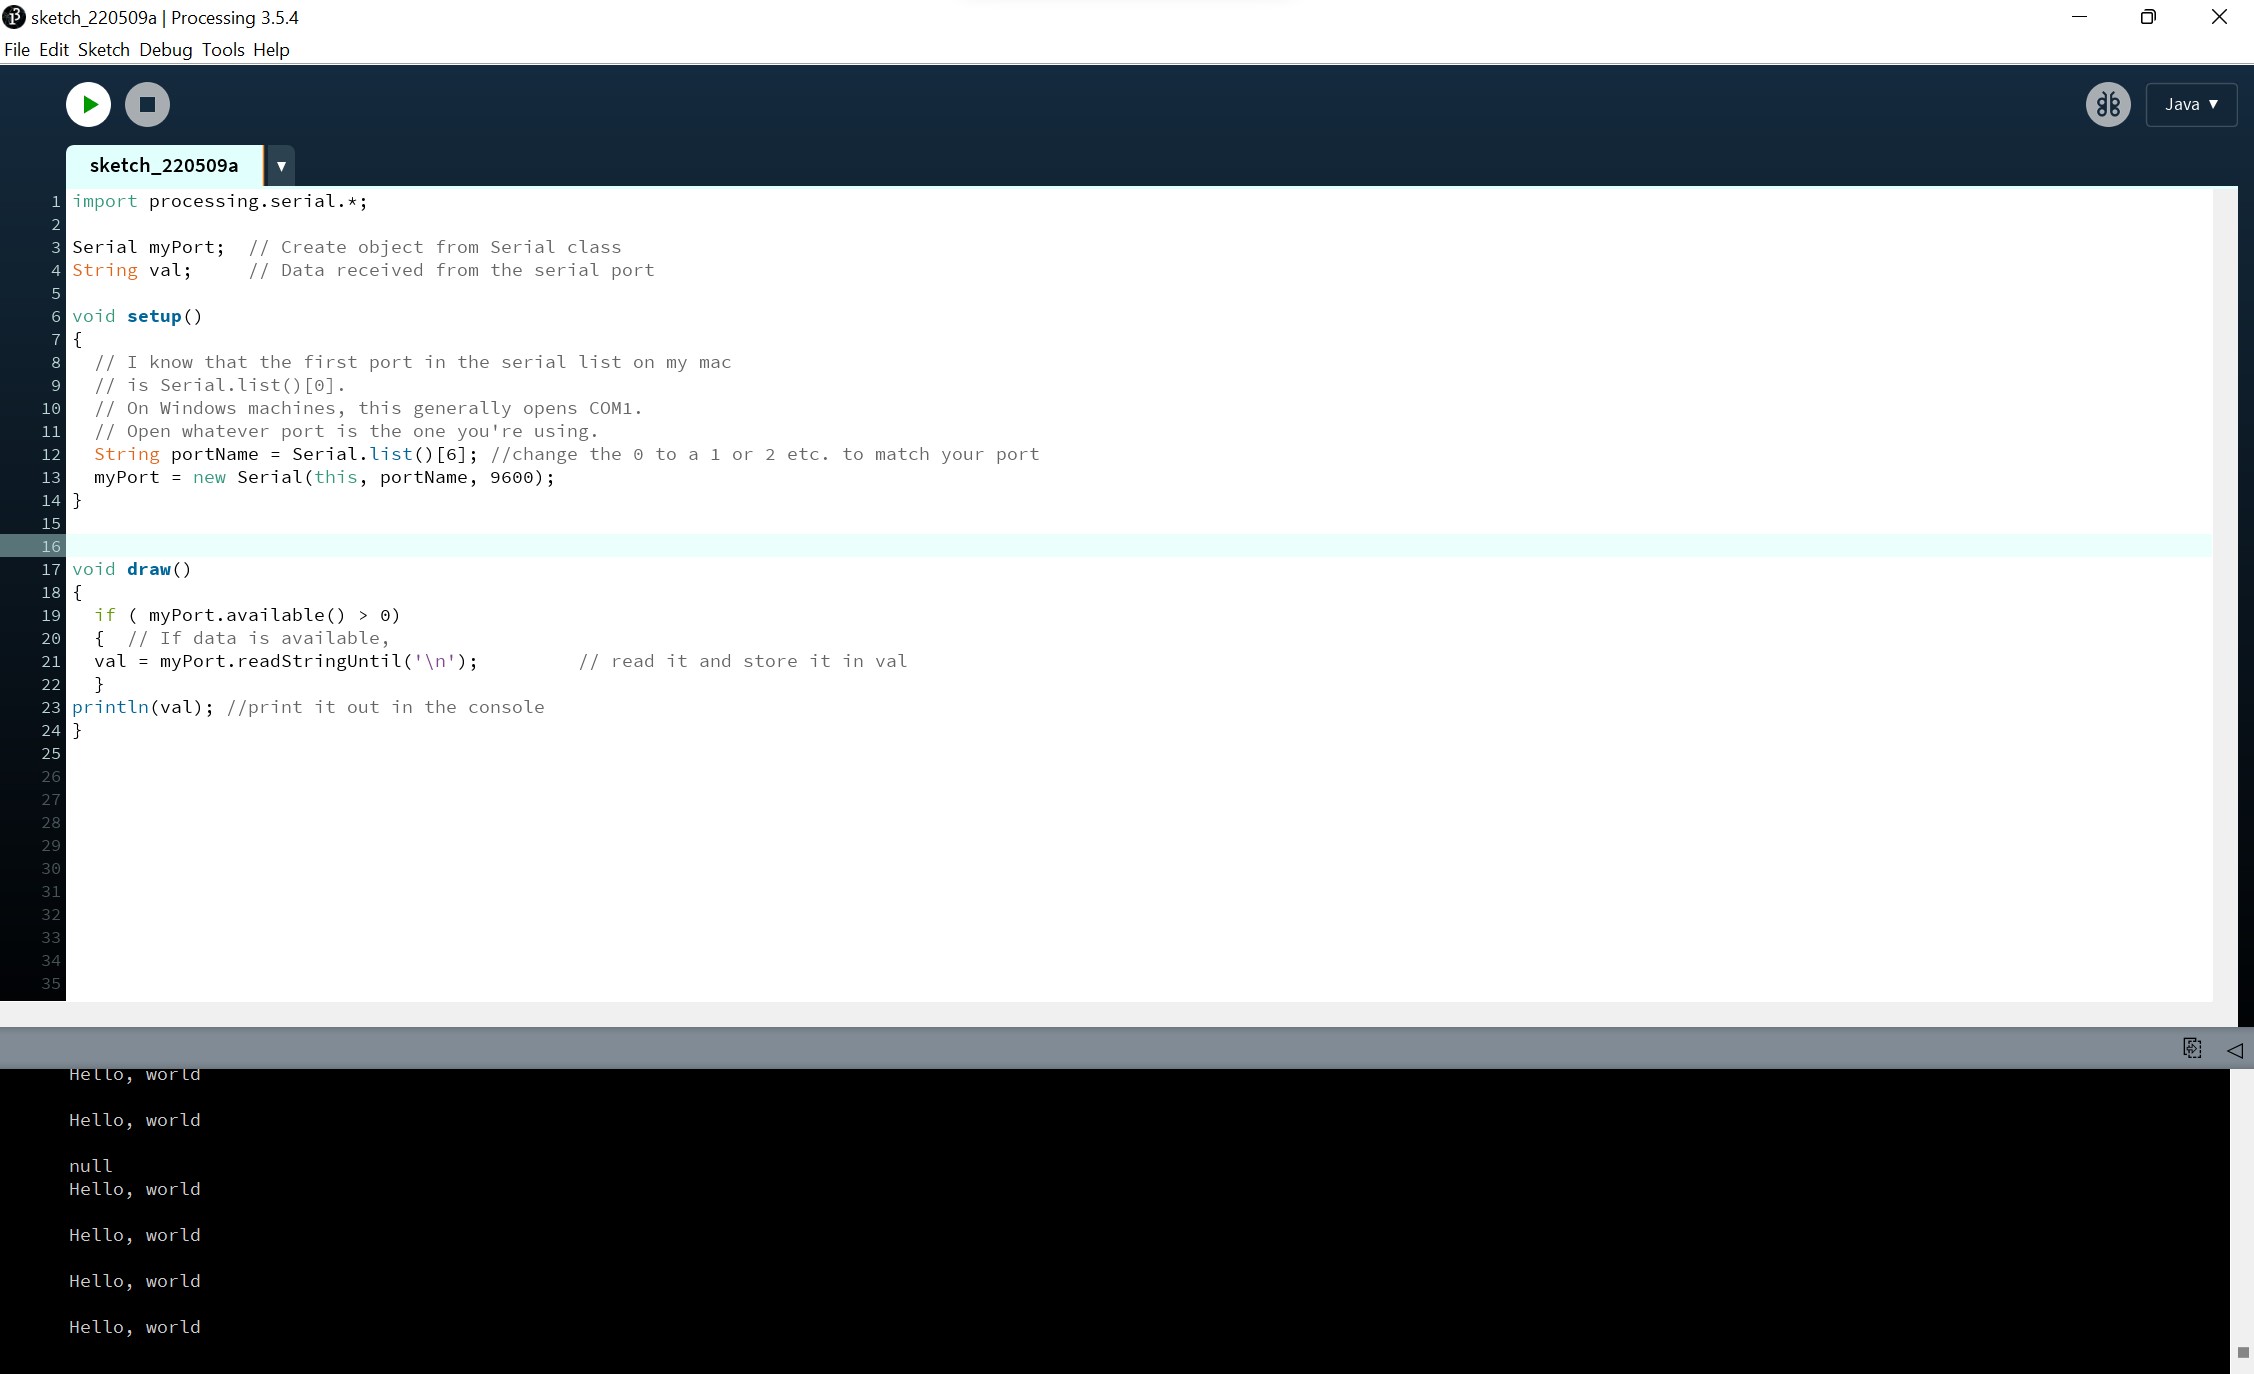
The commented-out part of the code said that it is usually 1 or 2 on Windows so I typed 1 and received a “null” in the terminal. I then just kept going up putting in 2 then 3 then 4. Eventually I started receiving communication from COMS 6, and it was my “Hello World” message.
Communicating With my RFID Sensor
RFID From Arduino IDE
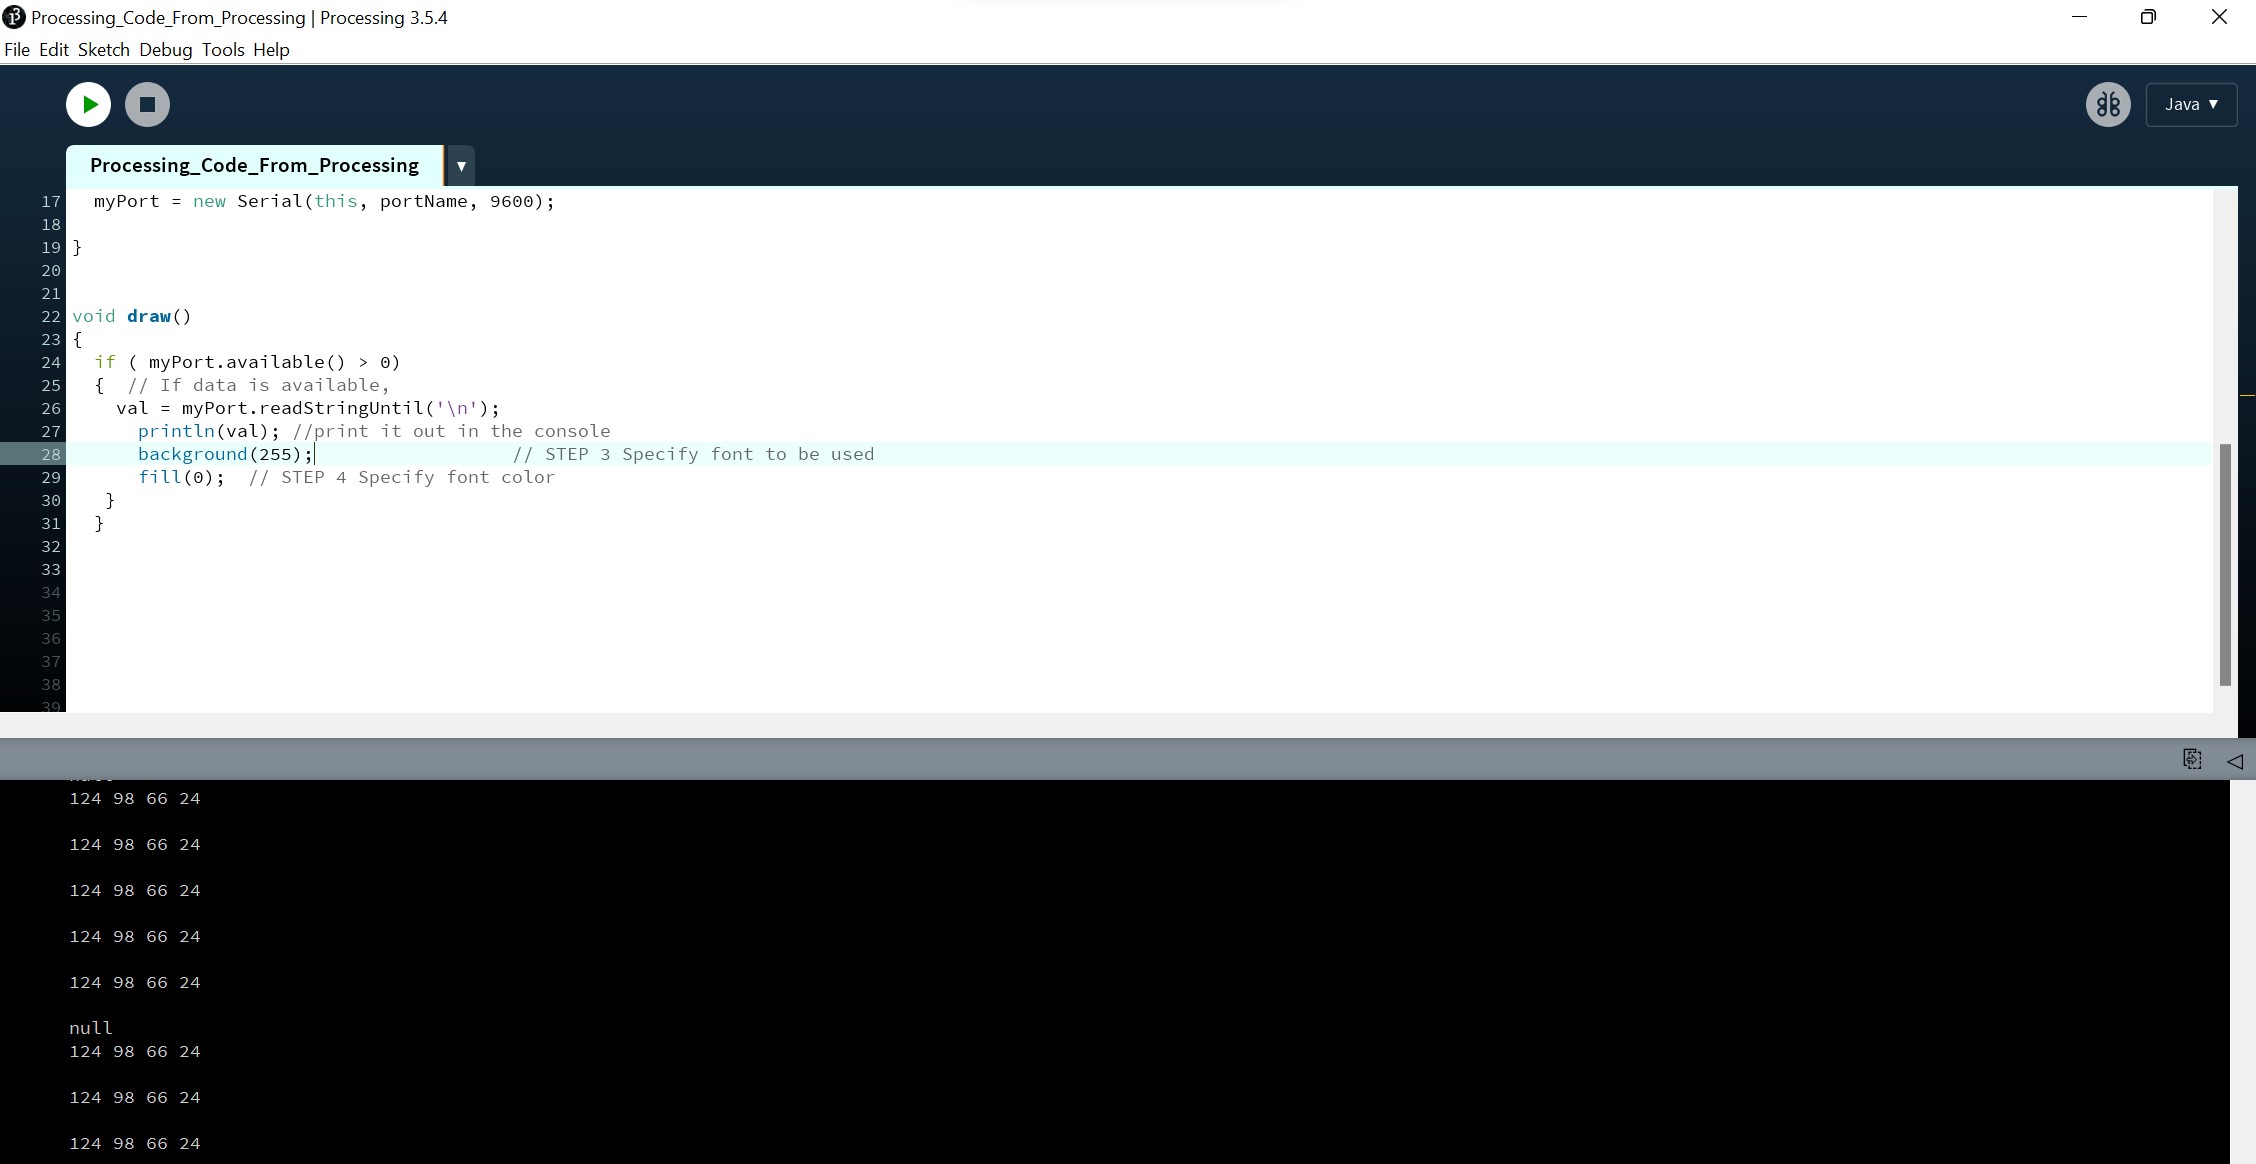
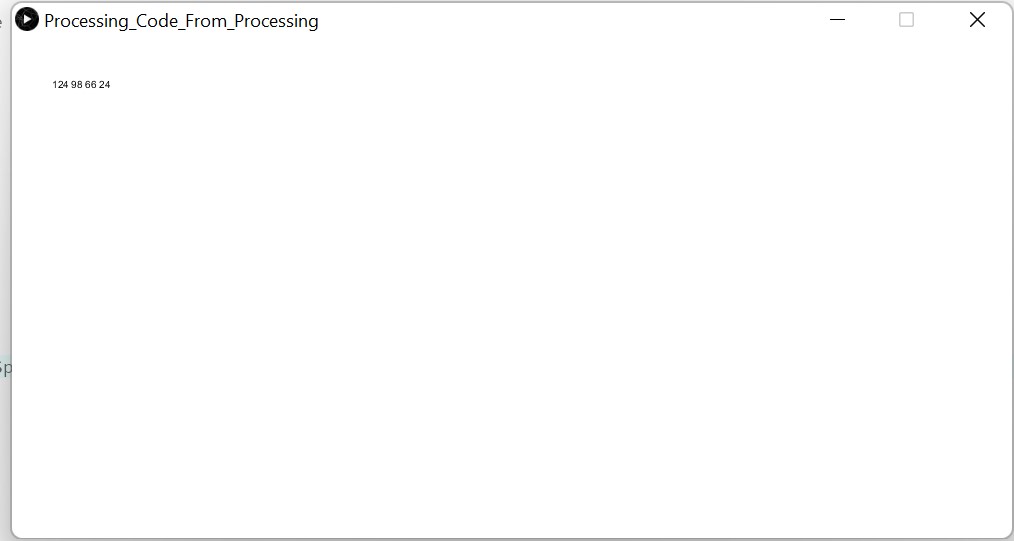
I then wanted to start to translate the RFID string. I used my input documentation to find the code that would print the RFID card ID to the serial monitor. After this I was able to receive the RFID card ID into the serial terminal in Processing.
RFID From Processing IDE
I kept receiving “null” in the terminal and didn’t think anything of it at first but this would eventually come back to haunt me.
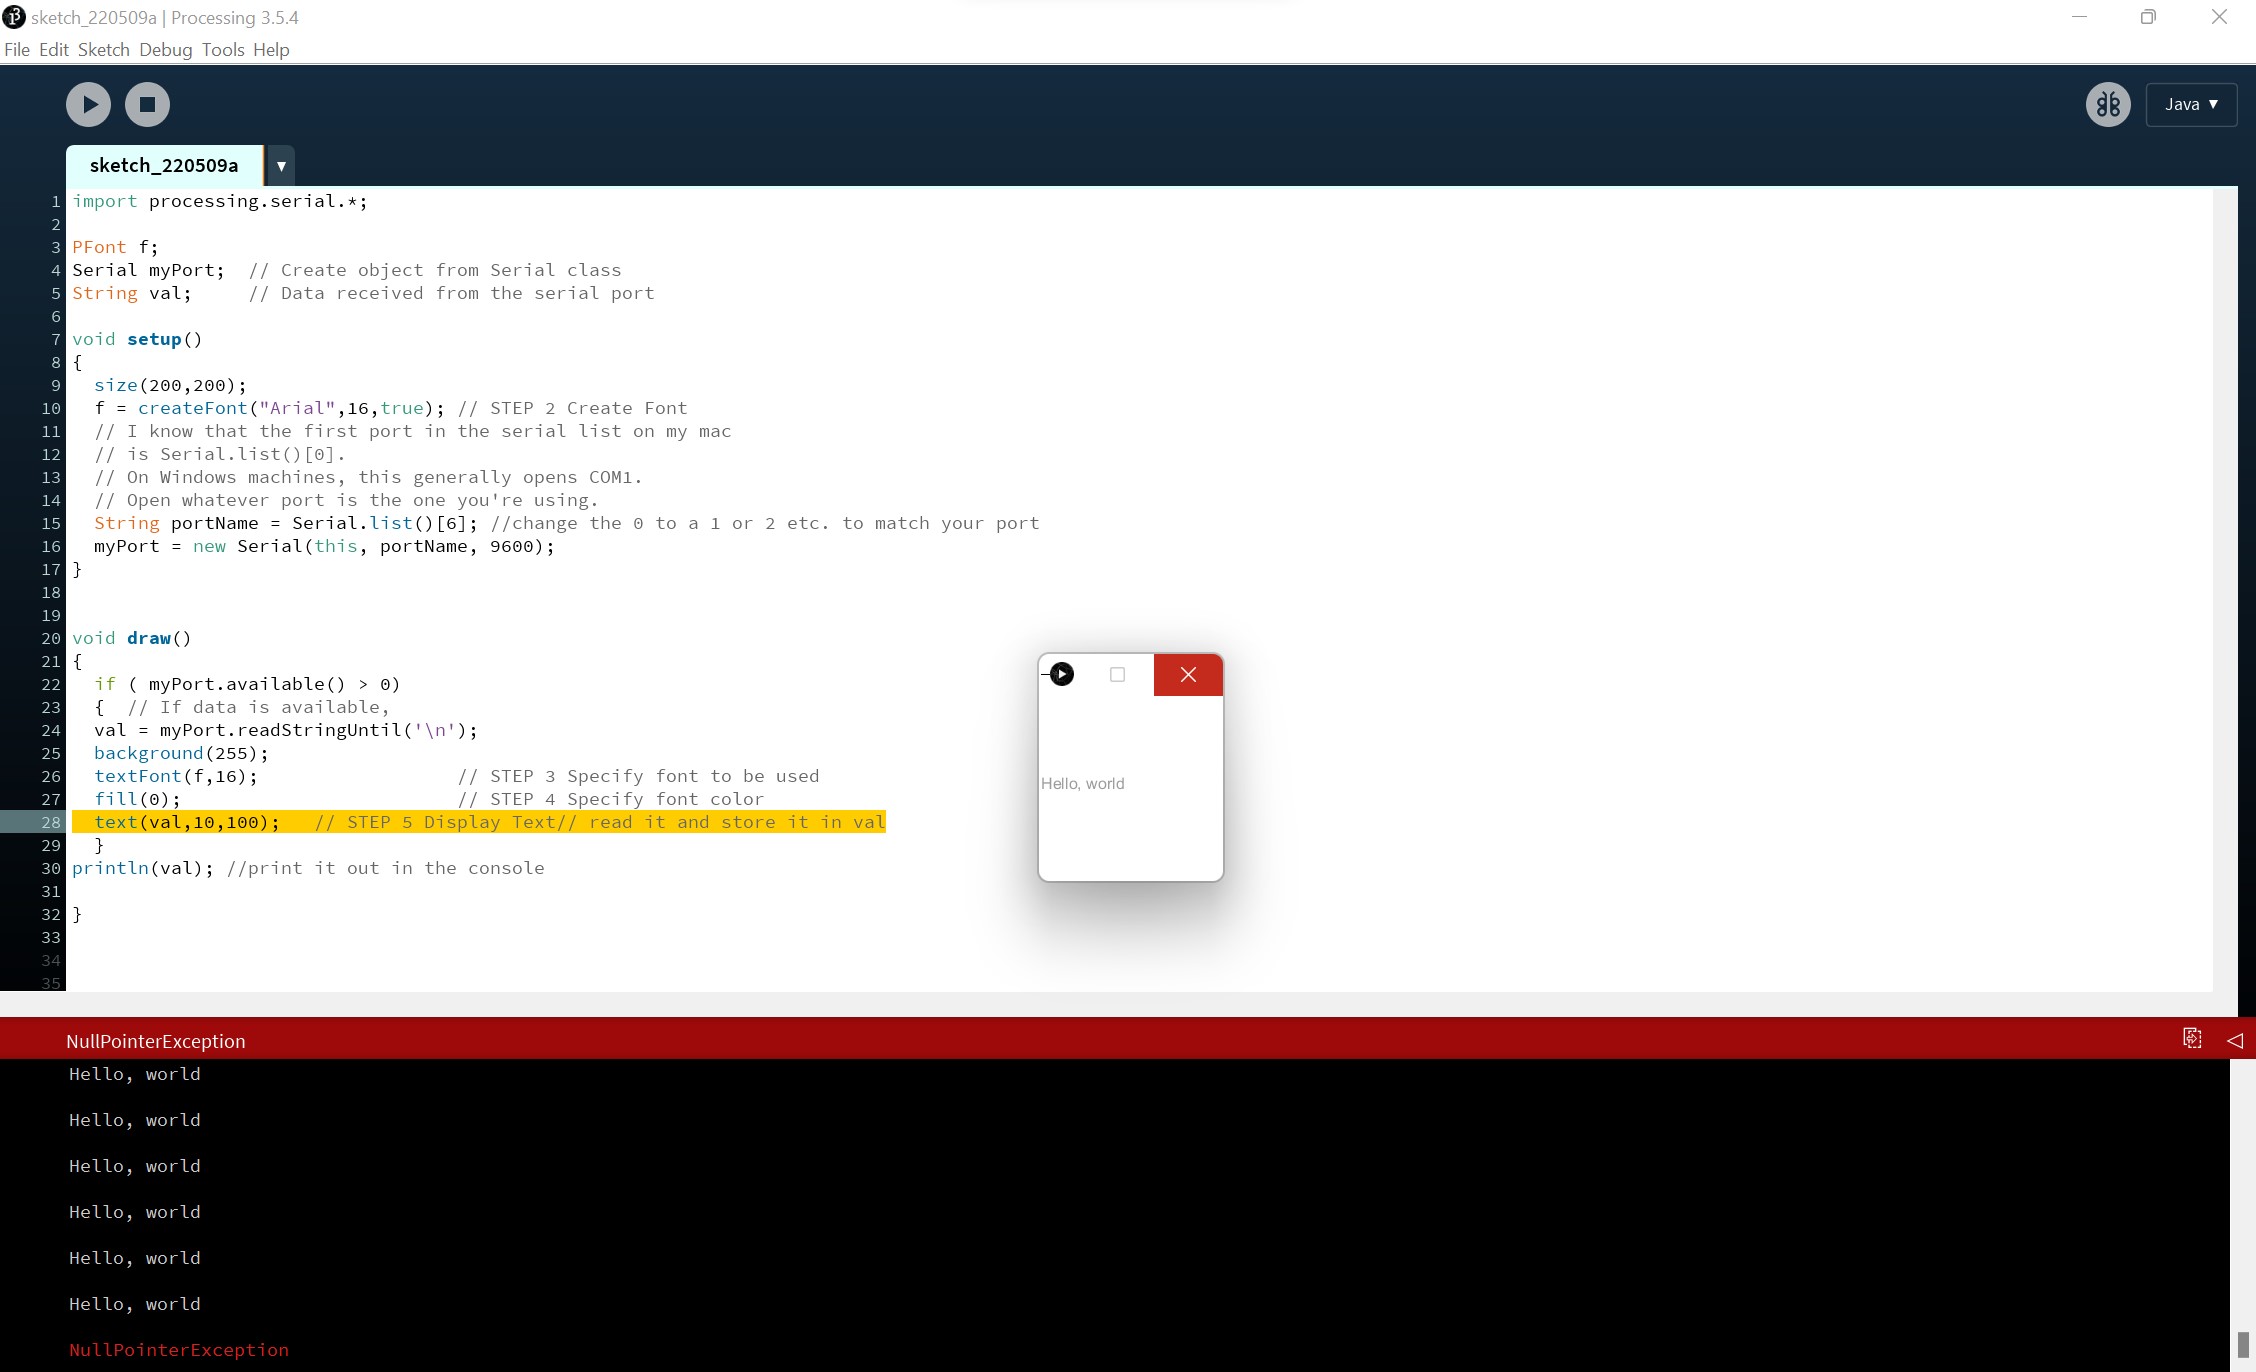
The next step was for me to print the string on the screen. This is where I ran into a bunch of issues. Using the processing reference sheet I found out how to add text to the interface terminal. I tested it out with some simple code, and it worked so I tired to print the variable with the stored string value onto the interface. The code would run correctly for a half a second then I would receive a nullPointerException error.
I didn’t understand what was going on, so I went to google to find some documentation on the error. I went to the site below; however, I was still confused.
After trying to work around the error for a couple of Fab Academy students Nick Niles and Alaric Pan helped me trouble shoot the error. They explained that “null” was a data type in java that was essentially nothing, and when my code was trying to print the data received from the RFID it was receiving a “null” data type occasionally causing an error because it can’t print nothing. The way to troubleshoot this was to create an if-statement within the while loop receiving data. The if-statement would run if I received a data type that wasn’t null. To be honest, I don’t have the clearest understanding of how this works because I was messing with the code for a while before I got it to work. But I’m going to research more about the null data type and Java in general. After fixing this error I ran the code and was able to see the RFID card ID in the interface.
I wanted to add a little more to the interface, so that if a card wasn’t being read then it would read on the screen “no card available”. Doing this was much more challenging at first, then I realized that their was a much easier solution to the problem after hours of working. My initial idea was to have Arduino send the message “no card available” if the RFID card wasn’t being read. This worked initially but the messages were flashy and unreadable at some moments due to the baud rate and serial communication data transfer rate. During that process I also ran into some issues with the background because it would change every time the message was either “no card available” or a data string, and because the RFID reader could only translate data so fast, the background would shift from green to red extremely quickly.
My next idea was to use the code in the Processing IDE to print the “no card available” line. I put the line of text in the myPort.available with the idea that if it wasn’t receiving data then print this string. I ran into a lot of issues and tried to work my way around this for a while until I realized that if I put the print statement outside the myPort.available loop then it would print the line if data wasn’t being received. After fixing this issue my interface was working. It could either print the string of data for the RFID or the line “no card available” if data wasn’t being received. The text from the data string was a little flashy but I believe that was from the sensor itself. I also found out that the terminal could print an ID from any RFID card.
The last step was to make it look some what pretty. So, I centered the text, changed the size of it, and added some pictures with he links of where I got the pictures below. Finally I configured everything for my programmer which I made into an FTDI chip using my earlier documentation and my input board for the RFID sensor. My final code is below.
Links to the picture sites
Code using Arduino IDE
#include <SPI.h>
#include <RFID.h>
#define SS_PIN 0
#define RST_PIN 1
RFID rfid(SS_PIN, RST_PIN);

String rfidCard;

void setup() {
  Serial.begin(9600);
  Serial.println("Starting the RFID Reader...");
  SPI.begin();
  rfid.init();
}

void loop() {
  if (rfid.isCard()) {
    if (rfid.readCardSerial()) {
      rfidCard = String(rfid.serNum[0]) + " " + String(rfid.serNum[1]) + " " + String(rfid.serNum[2]) + " " + String(rfid.serNum[3]);
      Serial.println(rfidCard);
    }
    rfid.halt();
  }
}
Code using Processing IDE
import processing.serial.*;

String A;
String val="";
PFont f;
PImage question;
PImage check;
Serial myPort;  // Create object from Serial class
  // Data received from the serial port

void setup()
{
  String val;
  size(1000,500);

  f = createFont("Arial",16,true);

  question = loadImage("OIP.jpg");
  check = loadImage("R.png");

  String portName = Serial.list()[6]; //change the 0 to a 1 or 2 etc. to match your port
  myPort = new Serial(this, portName, 9600);

  background(255,0,0);
   text("No Card Avalible",320,250);
}


void draw()
{
  if ( myPort.available() > 0)
  {  // If data is available,
    val = myPort.readStringUntil('\n');
      println(val); //print it out in the console
      background(255);
      textFont(f,50);                  // STEP 3 Specify font to be used
      fill(0);  // STEP 4 Specify font color
   if (val != null){
     background(255);
     text("Your card ID is " + val,145,250);
     image(check, 810, 175, width/6, height/4);
   }
  }
  else {
   background(255,0,0);
   text("No Card Avalible",320,250);
   image(question, 400, 280, width/6, height/4);
  }
}
Here is the final video of everything working.
What I Learned
This week was a a lot less complicated than previous weeks but I still learned a decent bit about data types. Due to Processing using Java, I had to have a surface level understanding of how the language works and the data types produced because of this. I never expericed a null data type when coding in C++ using the Arduino IDE but I didn when using processing. I’d like to thank the Students mentioned earlier Nick Niles and Alaric Pan for helping me understand what the error was. I also leanered a little bit more about how data trasmissions works in general. The functions used this week were similar to the ones from networking week and troubleshooting the errors now helped solidify my understanding of the concept.
Problems I Ran Into
- The coms port in the Arduino IDE not alligneing with the Processing IDE
- Not fully understanding how the data transmission
- The data being transmitted not being the clearest and having to work around that
- Receiving a null data type occasionally, having to work around that
Group Assignment
This weeks group assignment was to test different interfacing applications using out boards. My group consisted of Alaric Pan, Andrew Jiang, and Pari Hathiram. I worked on interfacing with Scratch. The link to the group site is located here