15-16. Mechanical and Machine Design
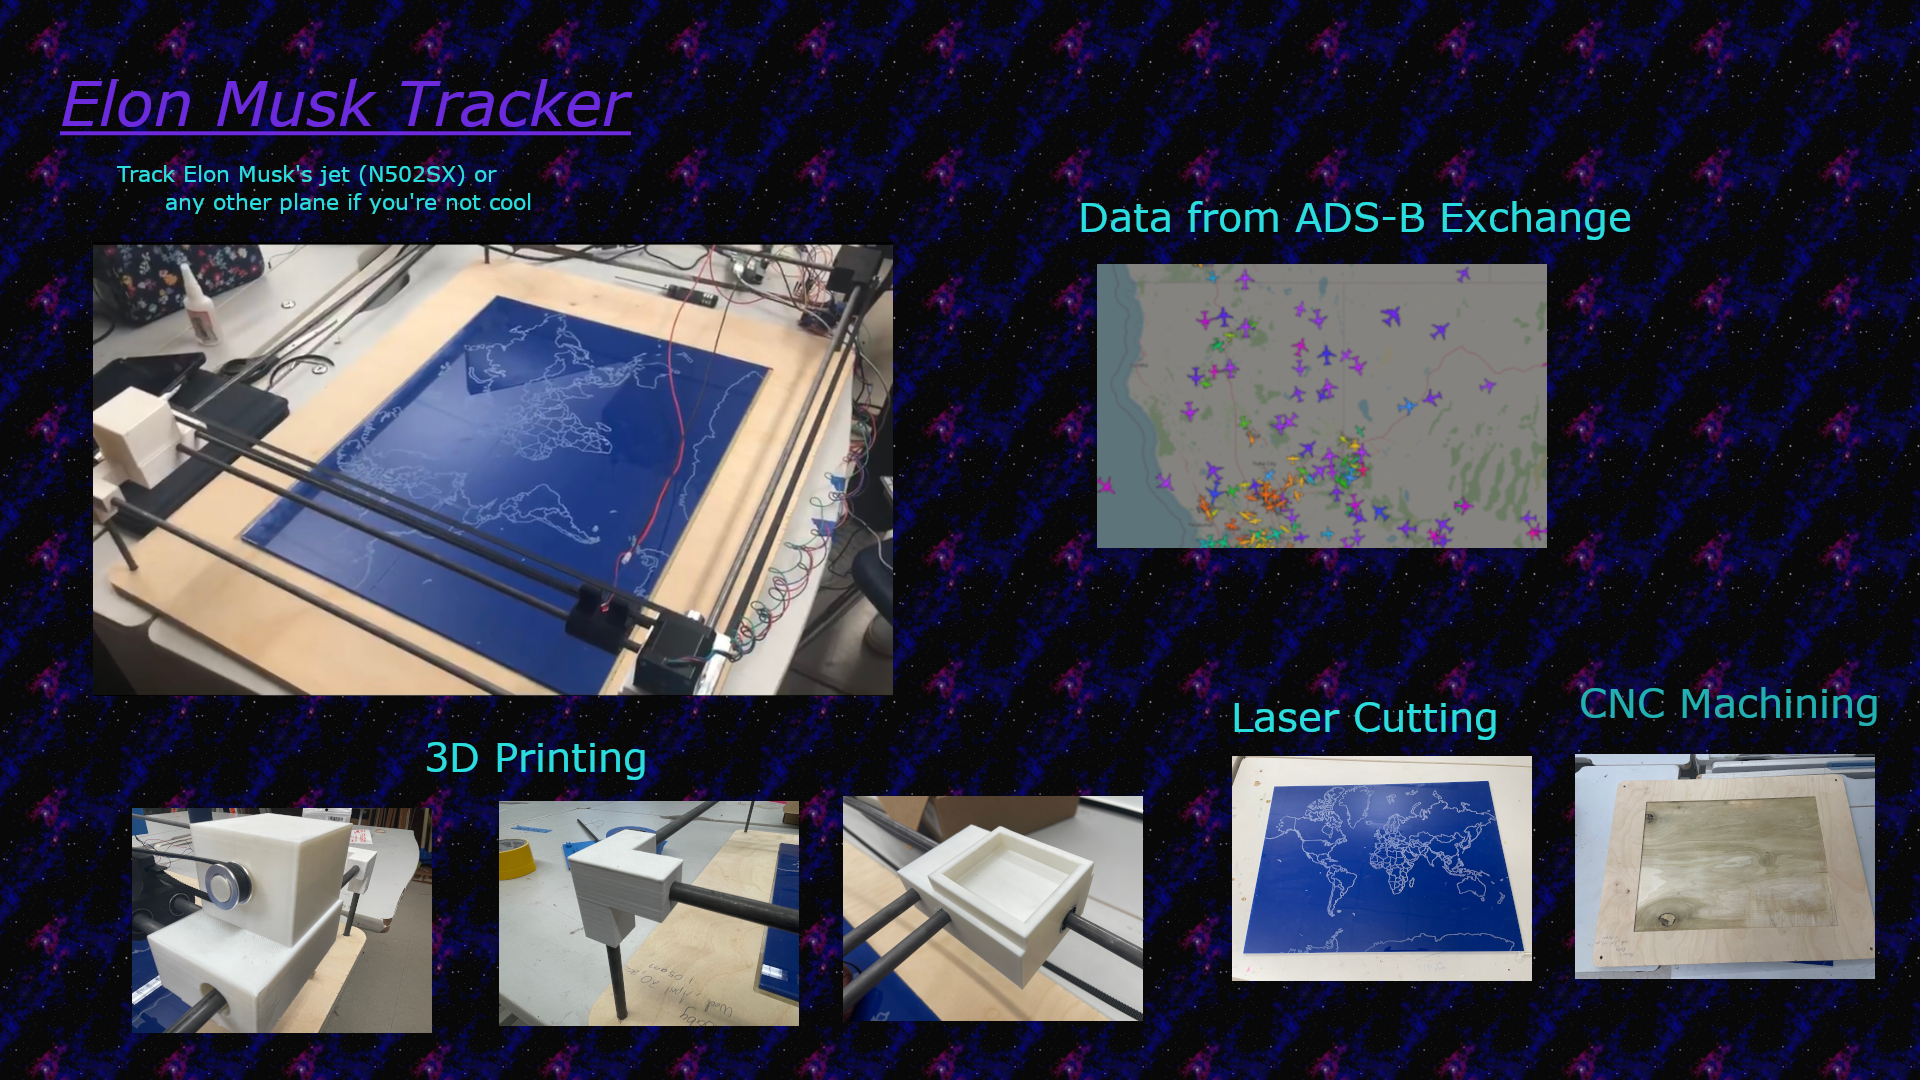
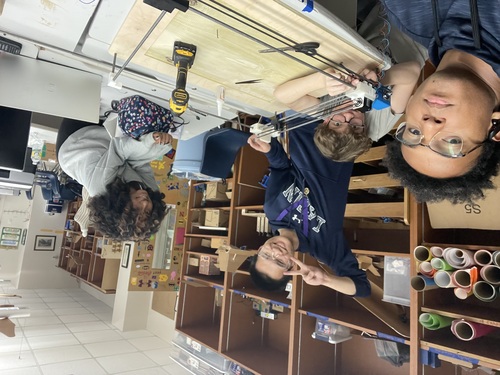
For machine week, my group concisting of Alaric Pan, Jack Donlly, and Jada Greene decided to create a Elon Musk plane tracker. For the assignment I worked on the following
- Rastering the map
- Getting the stepper motors to work with the Raspberry Pi
- Finding ways to convert longitude and latitude to x and y coordinates
- 3D designing the X-axis piece
- Cutting the steel rods
- Using the Shopbot to cut the wood base
- Designing a board for common ground and power
- Assembling the machine
Here is the group documentation
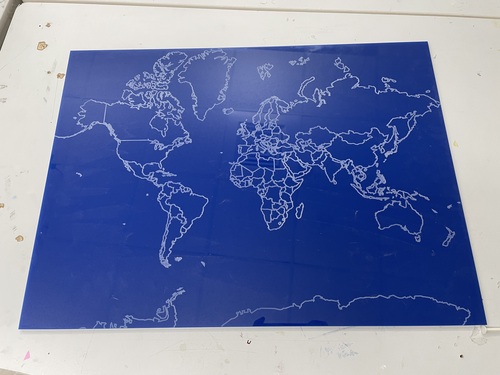
Rastering The Map
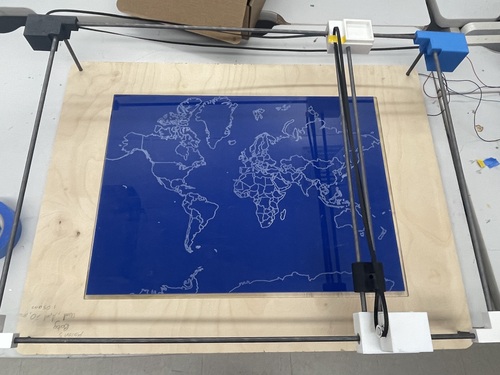
This part I had to redo a couple of times. Initally, I was just going to use a normal map from google to reference. Though, after talking with the group we realized how important the map was going to be because that is what all of the electronics were going to be based off of. The outer base, stepper motors, and metal rods were going to be based off of this. We realized that we needed to use a mercator map for the raster. Alaric Pan and I discussed this and realized that this was the most accurate representation of latitude and longitude coordinates on a map. I came across this image to use. I had to make sure to cut off the map at certain places so lat and long (0,0) matched with the center of the map.

I used my Computer Controlled Machining documentation to create a test raster cut of the map on cardboard. It came out nicly and we would use this for further testing. Then for the final raster, wer used a blue piece of acryllic and placed that on the map.
Raspberry Pi and Stepper Motors
This part I worked with Jada Greene. I had never programmed any of the components ever in my life. I was a little familiar with stepper motors only because of my 3D Printer and because I was going originally going to use them in my final project, but I never programmed them. I also never had any experice with a Raspberry Pi, I was used to a Jetson Nano because of Embedded Programming group work, and I assumed it was similar, but not exactly the same. We went through multiple youtube videos and websites to try and figure out how to move the stepper motor, while also keeping it simple for Alaric Pan to code the steppers. The documentation that we used is below
One major problem that we ran into was using the wrong motor drivers. Initally we were using a DRV8825 but we ran into a couple of issues with it. Then we switched to using a l298n motor driver and everything worker smoothly. We followed this documentation
Convert Longitude and Latitude to X and Y
This part I worked with Alaric Pan and Jada Greene. We were searching the internet for a while then I found a line of code from this Stackoverflow site from user 武状元 Woa
import math
from numpy import log as ln

# Define the size of map
mapWidth    = 200
mapHeight   = 100


def convert(latitude, longitude):
    # get x value
    x = (longitude + 180) * (mapWidth / 360)

    # convert from degrees to radians
    latRad = (latitude * math.pi) / 180

    # get y value
    mercN = ln(math.tan((math.pi / 4) + (latRad / 2)))
    y     = (mapHeight / 2) - (mapWidth * mercN / (2 * math.pi))

    return x, y

print(convert(41.145556, 121.2322))
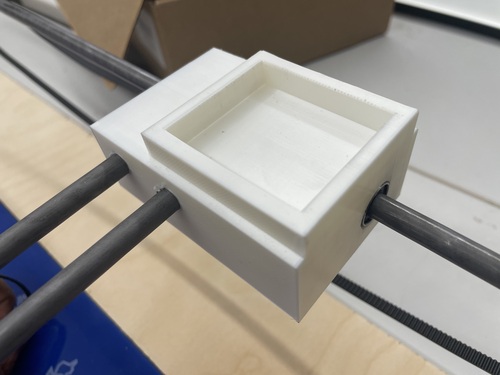
X-Axis Piece
I worked on this piece with Alaric Pan. We had to use a lot of parameters for different features of the machine. The parameters came from the dimentions of the stepper motor or the distance the middle gear would have to be to allign to the y-axis piece. We had to use Alaric’s y-axis piece design for the belt tension holders. Then we had to allign the holes to where the belt gear would be. After a while of design and exchanging ideas, we finished the design.
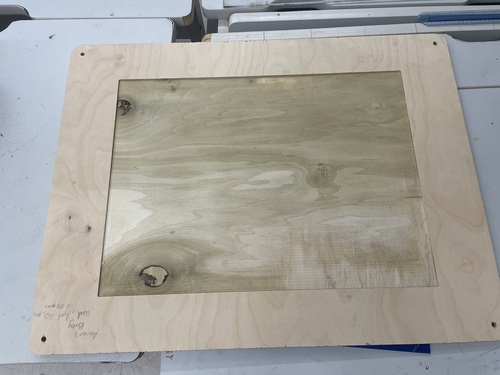
ShopBot and Cutting Steel Rods
Shopbot
We needed to CNC a base for the machine and I worked with Jada Greene for this. Alaric had designed the file in Aspire so my job was to secure the wood onto the machine and also change the bits. I wasn’t used to changin bits on the Shopbot so I asked Dr. Taylor for a guide and he showed Jada and myself how to change it.
I began the cut then Jada greene would eventually finish it.
Steel Rods
For the steel rods, the whole group worked on it together. Mr. Dubick had to show us how to use the machine to cut the rods.
It was a long and tedious process but we eventually got all of the pieces cut and once we were cut we combined the wood base with the 3d printed pieces, the map, and the rods to have to machine assembled.
Final Assembly
We had the electronics finished with the stepper motors and the raspberry pi, and we also had the mechanical part done with the gantry being built with the stepper motors in place. Integrating the system was a more complicated than expected and we even had to tinker with the code a little bit because of the orientation of the stepper motors.
Eventually the drivers were attacehd to the correct pins on the raspberry pi and the stepper motors were correctly programmed to operate. For the middle laser their was some issues with the wire managment because it had to travel accross the whole map. Their are definitely areas for improvement for the next version, and we made note of that on the group site. Once everything was plugged in we ran the code with a plane ID because Elon Musk wasn’t flying at the time and the machine worked.
