18. Wildcard Week
Assignment: Design and produce something with a digital fabrication process (incorporating computer-aided design and manufacturing) not covered in another assignment, documenting the requirements that your assignment meets, and including everything necessary to reproduce it. Possibilities include but are not limited to wildcard week examples.
This week for wildcard, I will be using an embroidery machine to create a Cookie Monster logo. The machine I will be using is the Brother SE 600 which was brought in by a Fab Academy student Ms. Dhiman. This is the Cookie Monster image

Design
Wilcom Embroidery Studio
I did some background research on the embroidery machine to see what the process was going to be like. I found a couple of YouTube videos by user KENBLKWRK where he uses the exact machine that I was using.
The videos recommended that I downloaded Wilcom Embroidery Studio E4.
SewArt and Digitizing
I was about to download the Wilcom Embroidery Studio until my instructor Dr. Taylor recommended that I use a software called SewArt. He also referenced Katie Chai, a previous Fab Academy student that used SewArt.
Trusting the teachings of Dr. Taylor, I decided to use it and went to download it. It has a 30-day unlimited free trial which was perfect for this week’s assignment. Downloading Sew Art was very simple. I just clicked Windows 64 and it was a normal installation process after that.
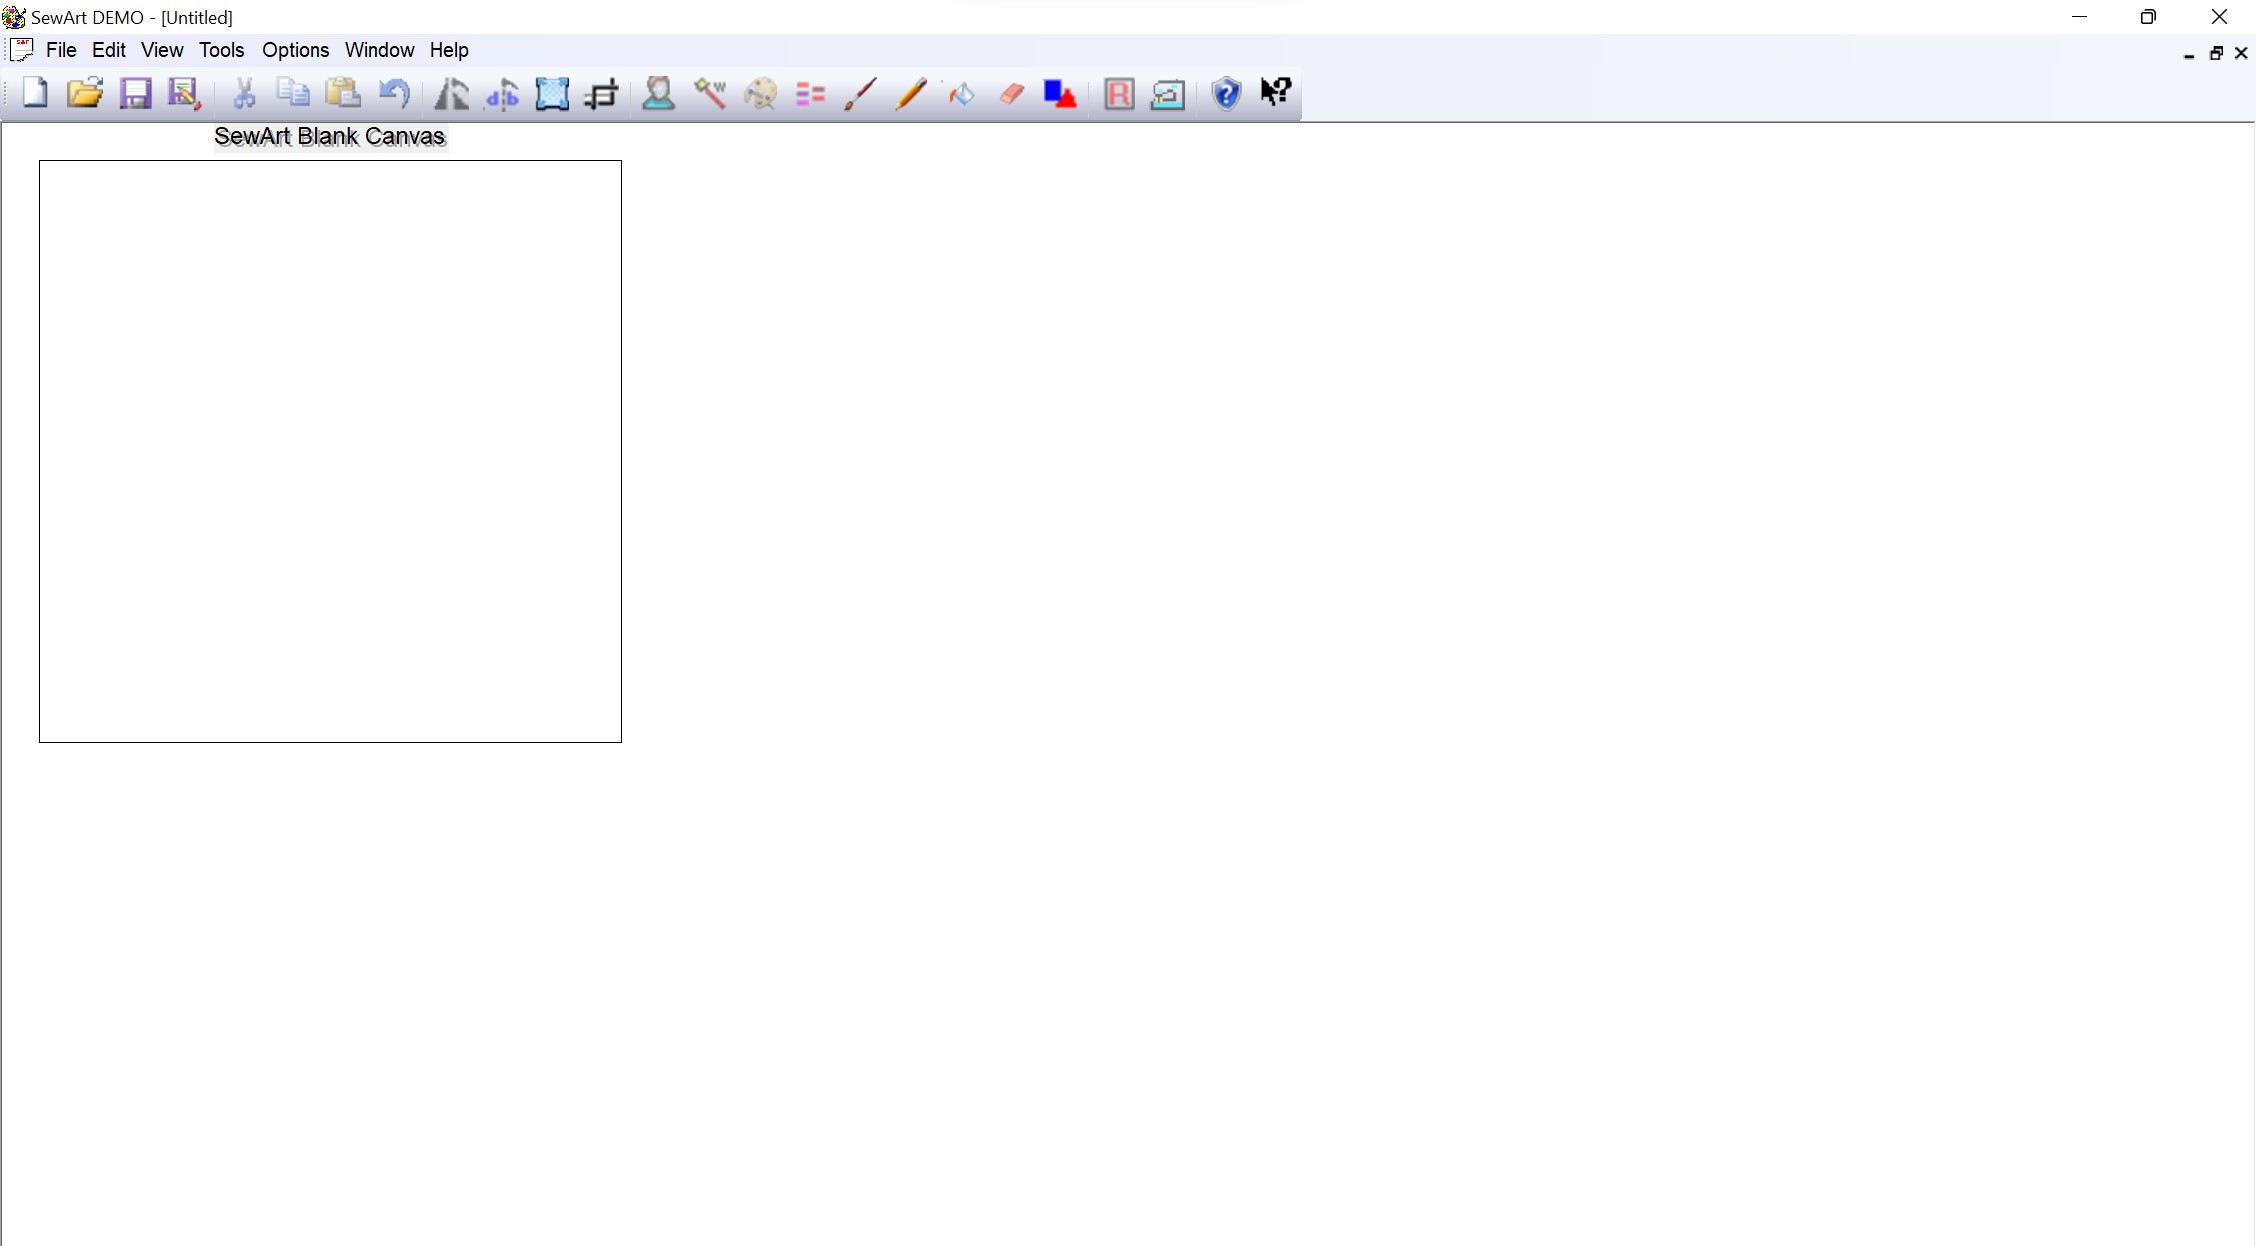
After it was downloaded, I went to search for tutorial videos and I found one my YouTuber Burley Sew. He provides a great tutorial for digitizing designs into embroidery files. After watching the video I was able to take my cookie monster design and convert it into a .SEP file, which is made for Brother machines.
First I had to posterize the image to decrease the amount of colors, but since the cookie monster image was already simple I didn’t have to posterize it much
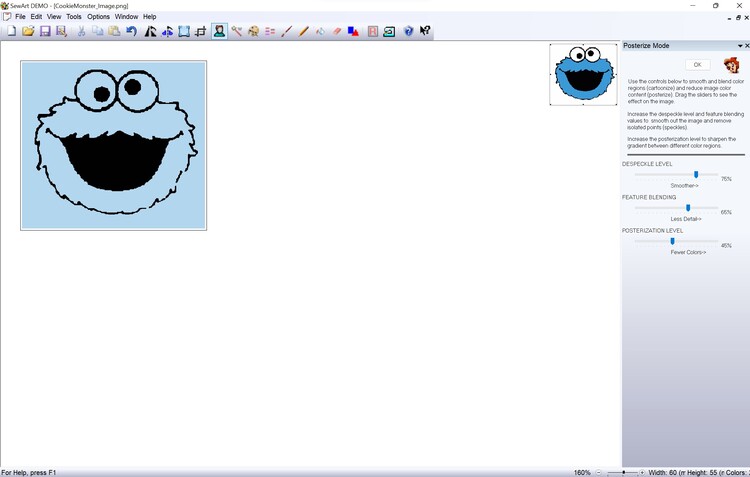
The next step was to use the image wizard to make any extra configurations such as, decreasing image size. Also, since the image was simple I didn’t have to utilize the image wizard
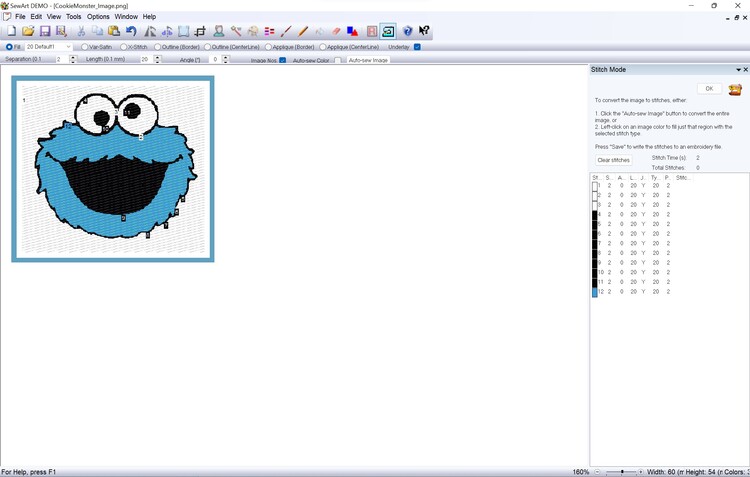
The final step was to use the auto sew feature. This is what would convert the image file to a .SEP file.
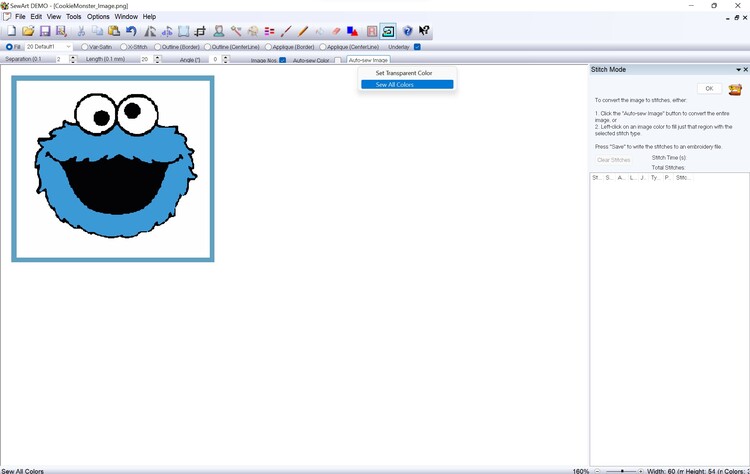
After clicking the auto sew feature this was the final result. I exported this as the .SEP and went to the embroidery machine.
Embroidering
On Stabilizing Paper
I would like to thank YouTuber A-Dubb Productions Allan Wade for all of his tutorials videos. Any video mentioned beyond this point was provided by him.
Now that my file was done, I was ready to embroider. Ms. Dhiman aided me with this part because she was familiar with the machine. The process was simple, and she recommended these two videos, the first one being a threading tutorial and the second one being an actual embroidery tutorial.
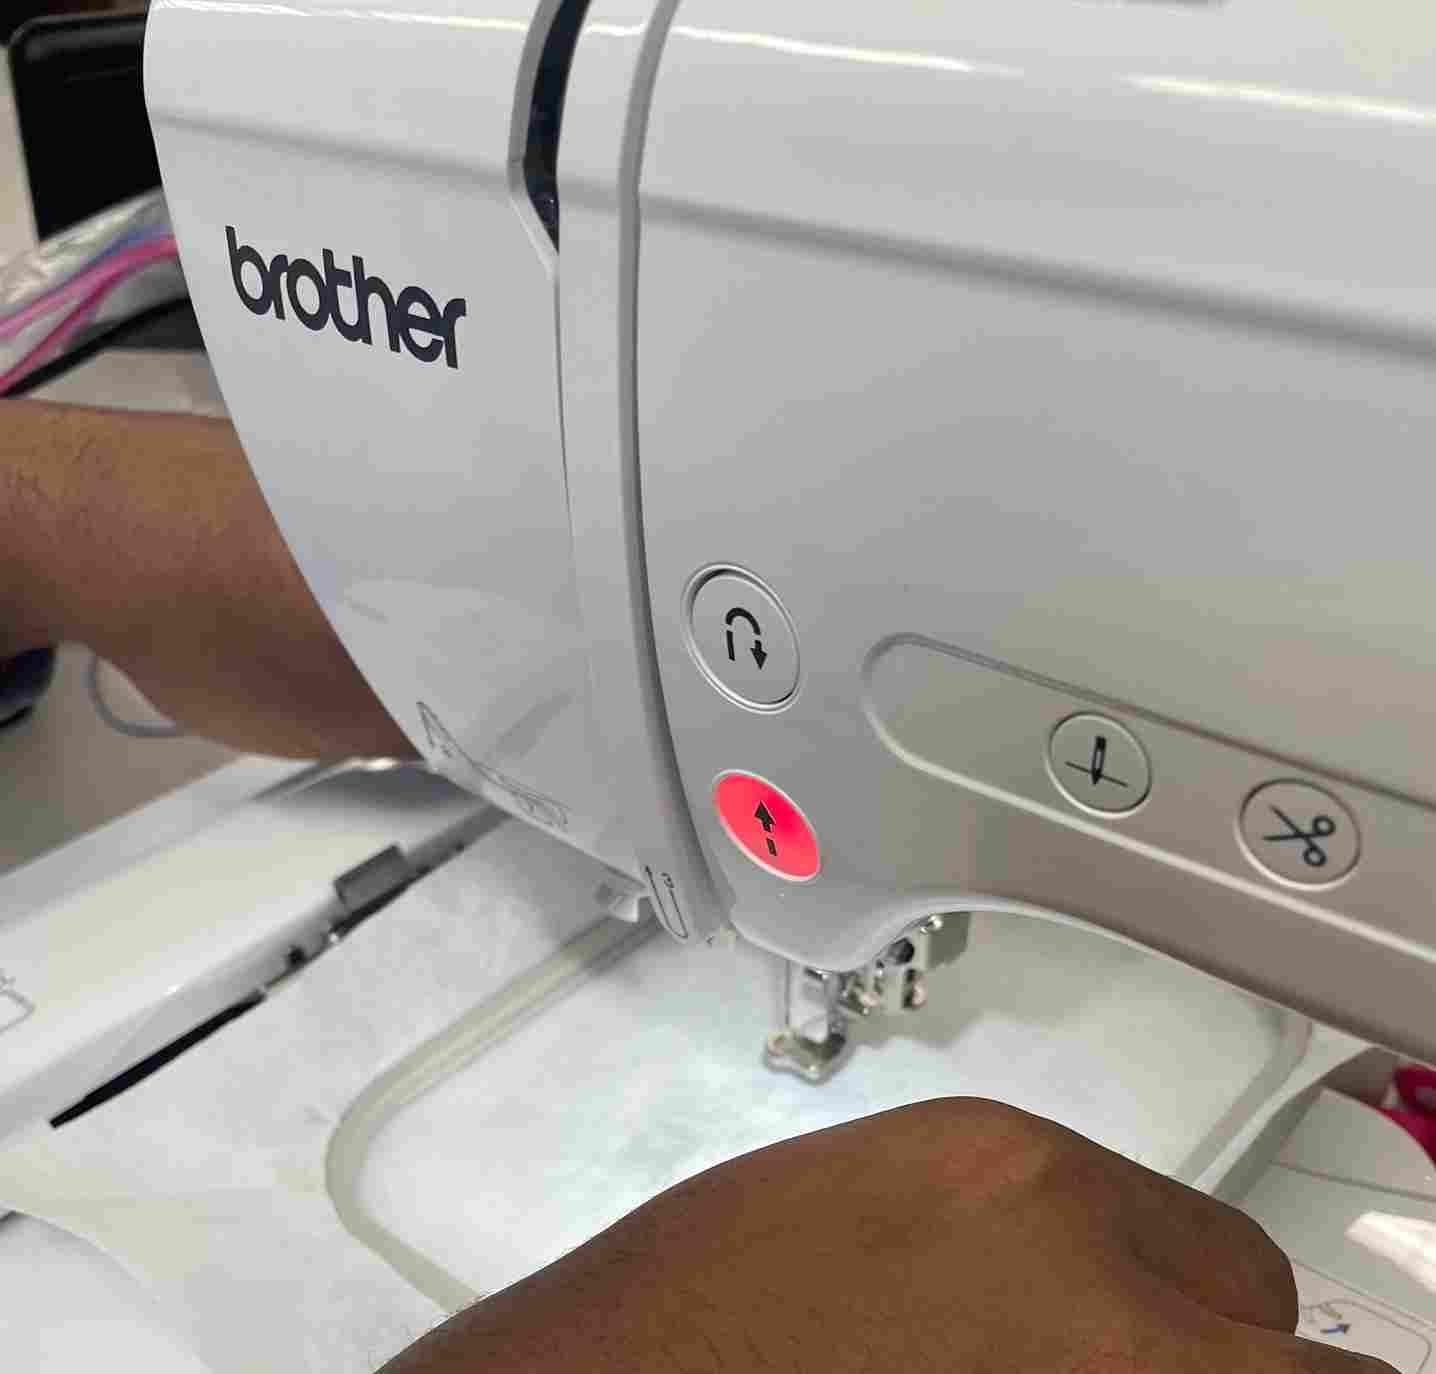
The machine required that you have thread on both the top and bottom of the machine with a threaded bobbin being at the bottom. Initially, Nick Niles and I used a drill to thread the bobbin because we had to switch the color. The threading looked good but overall, it was a poor job because the machine couldn’t use it. Turns out there is an automatic bobbin threader on the top which made the job 10x easier.
Once that was done and the machine was loaded, Ms. Dhiman again showed us how to set up the stabilizing paper.
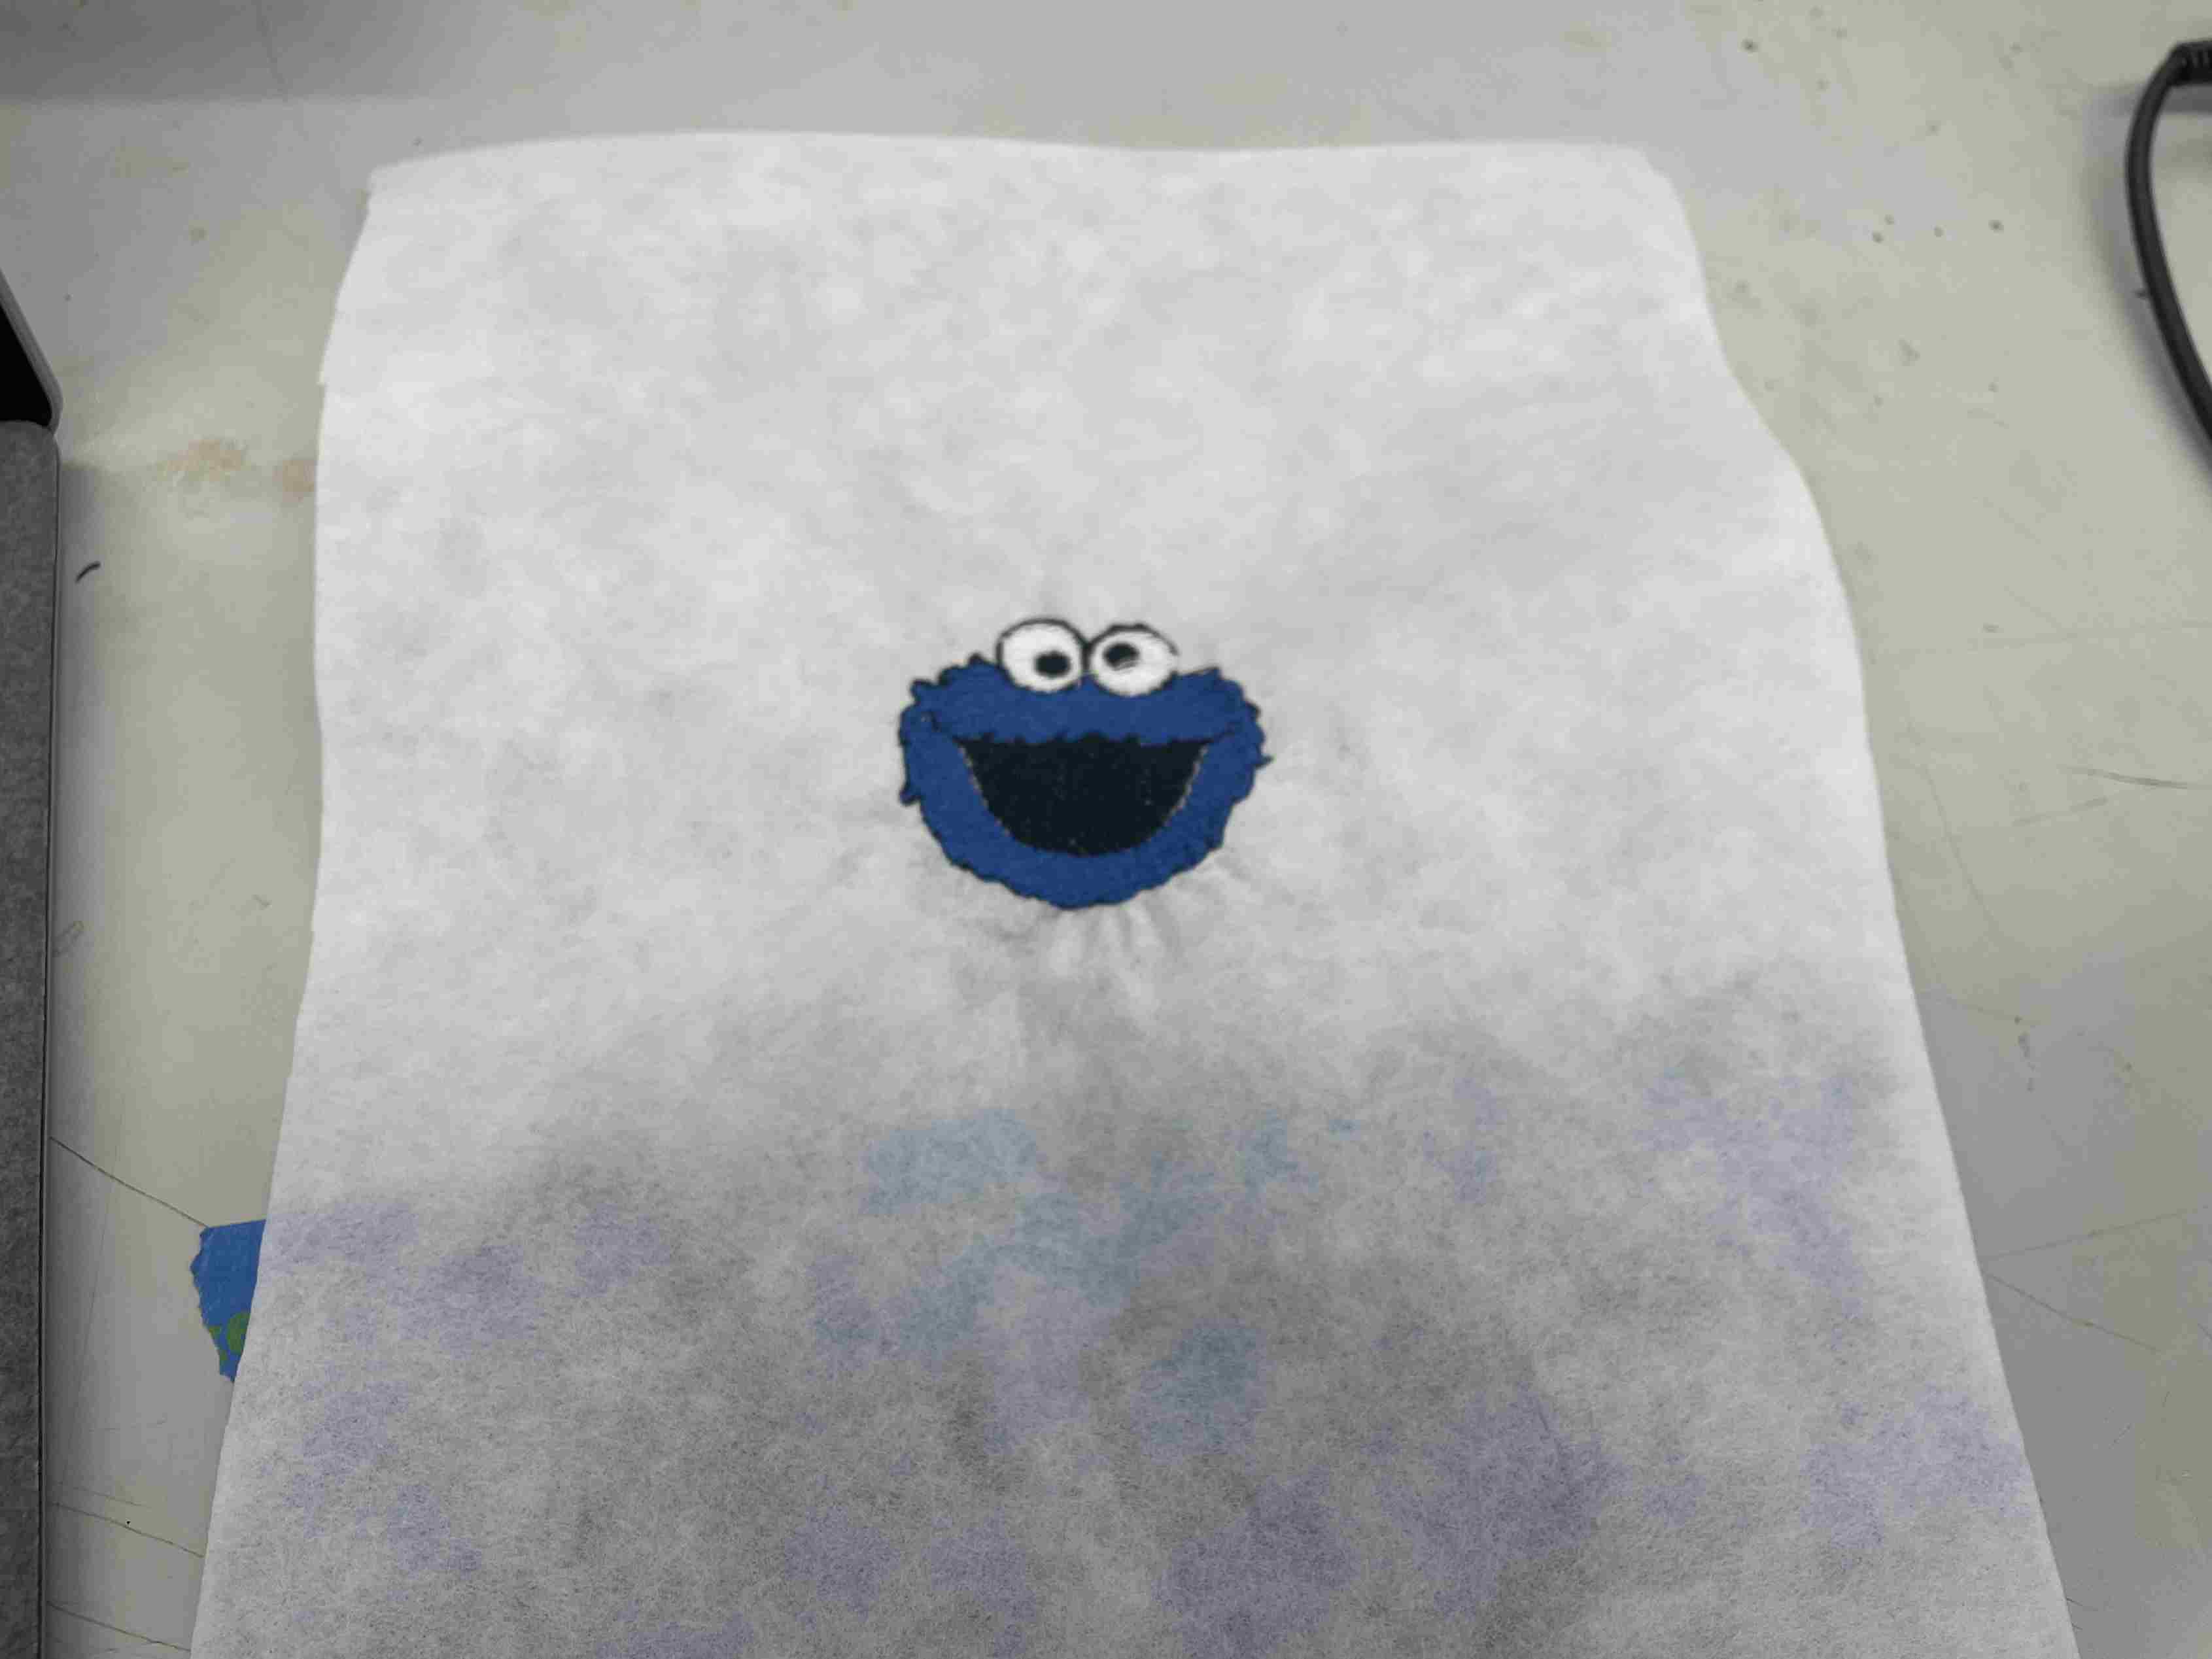
Once that was done the machine did the rest of the work. The configuration was simple, and it even showed the colors and the order of each color on the interface.
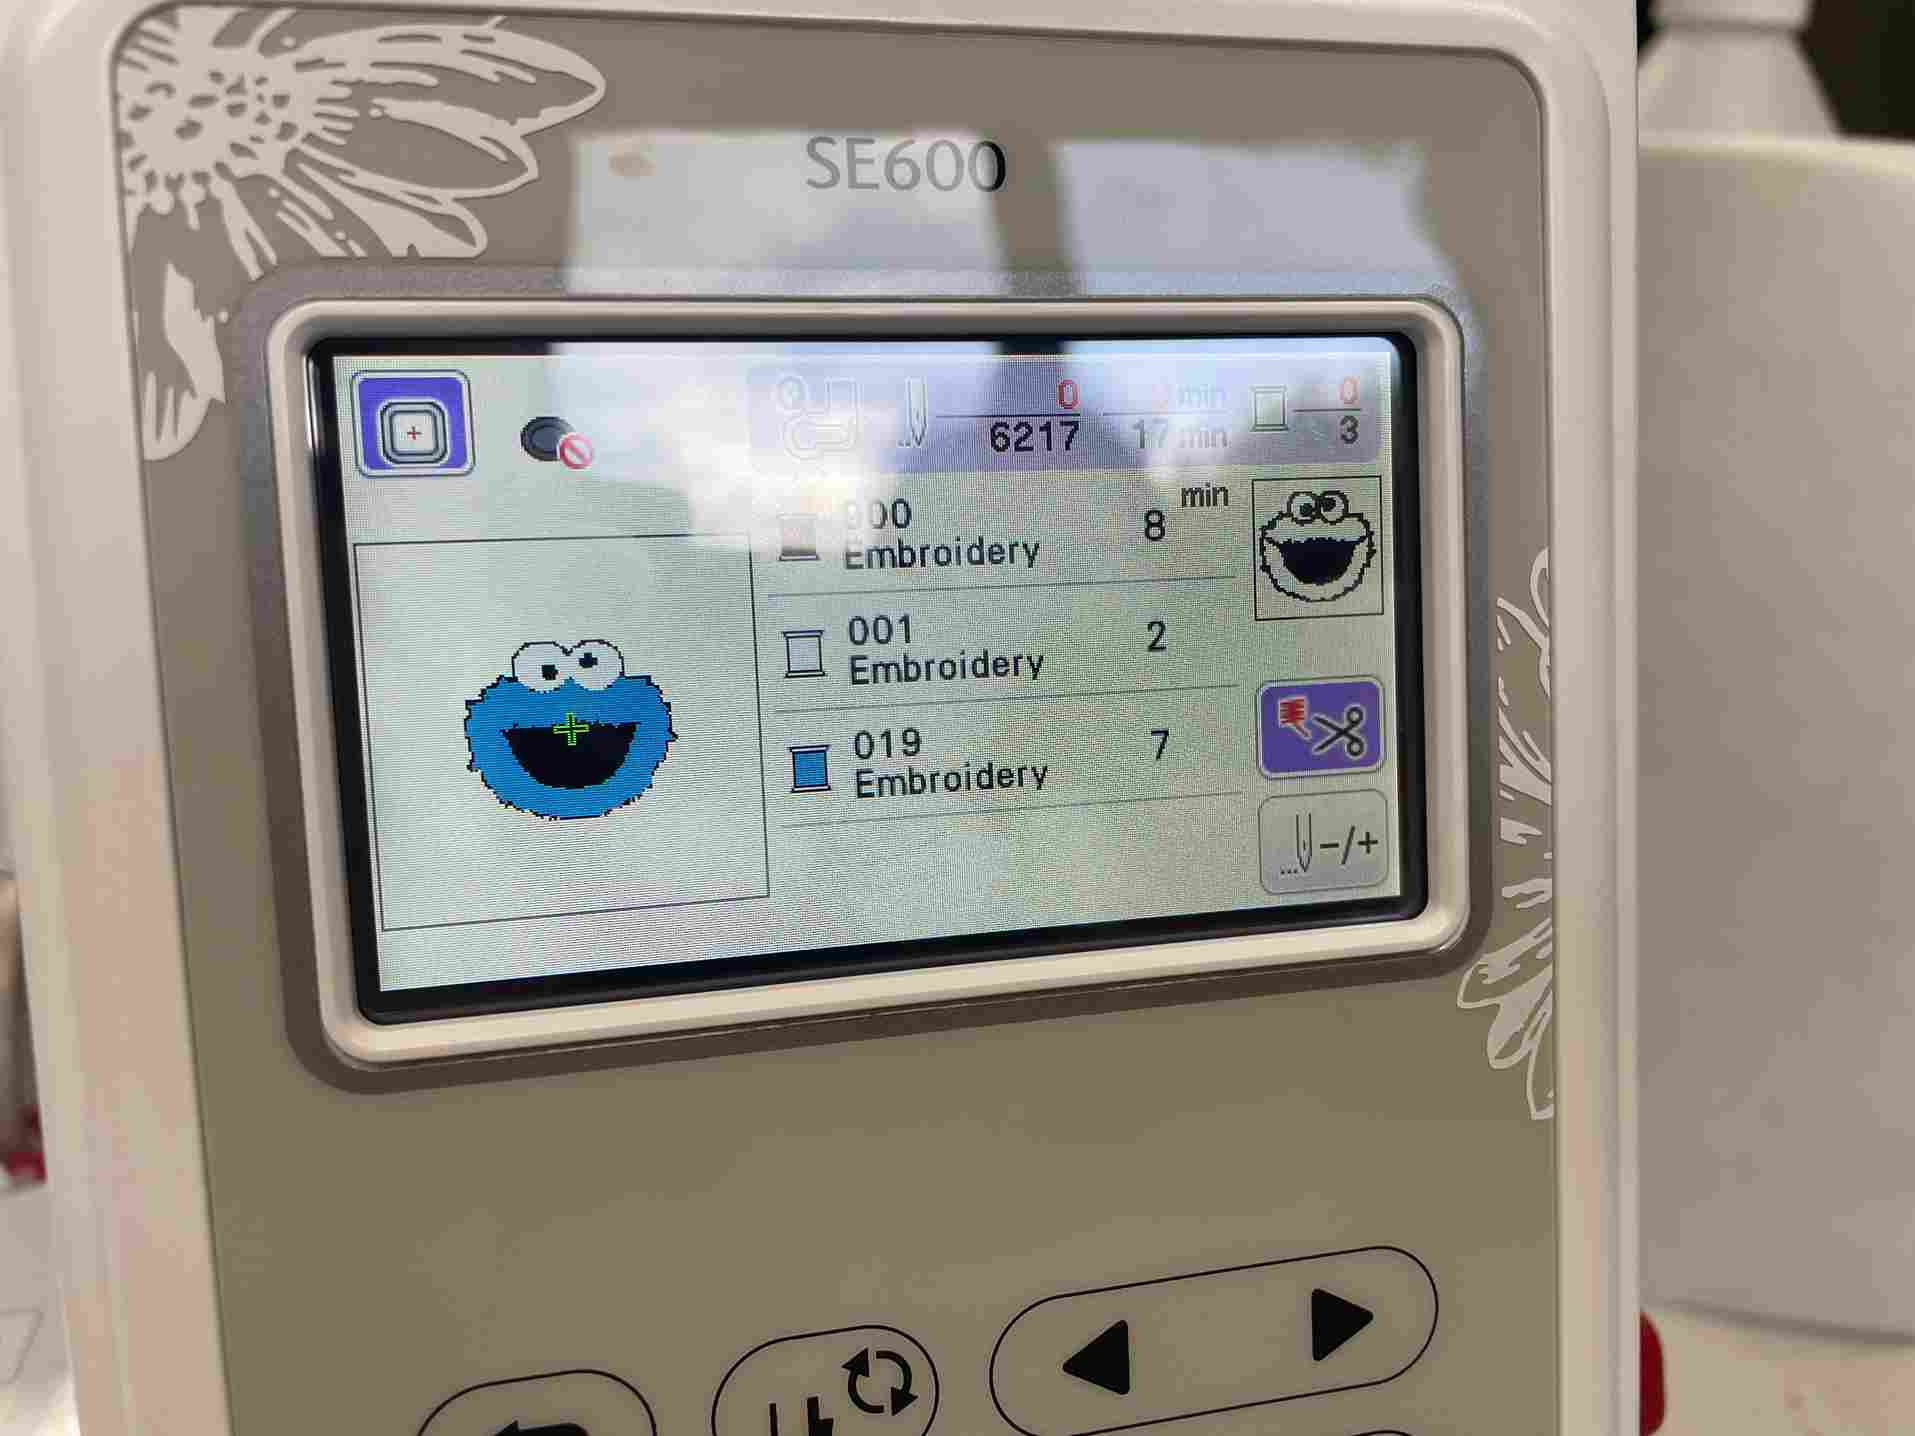
Once the right colors were loaded, I activated the needle and ran the print and it worked. Their was one downside with a multicolor print and that was I had to rethread the machine for every color. Meaning I had to take out the print, rethread the bobbin, then rethread the machine, then place back the print. In general, it was a simple process but just tedious. After that I was finished.
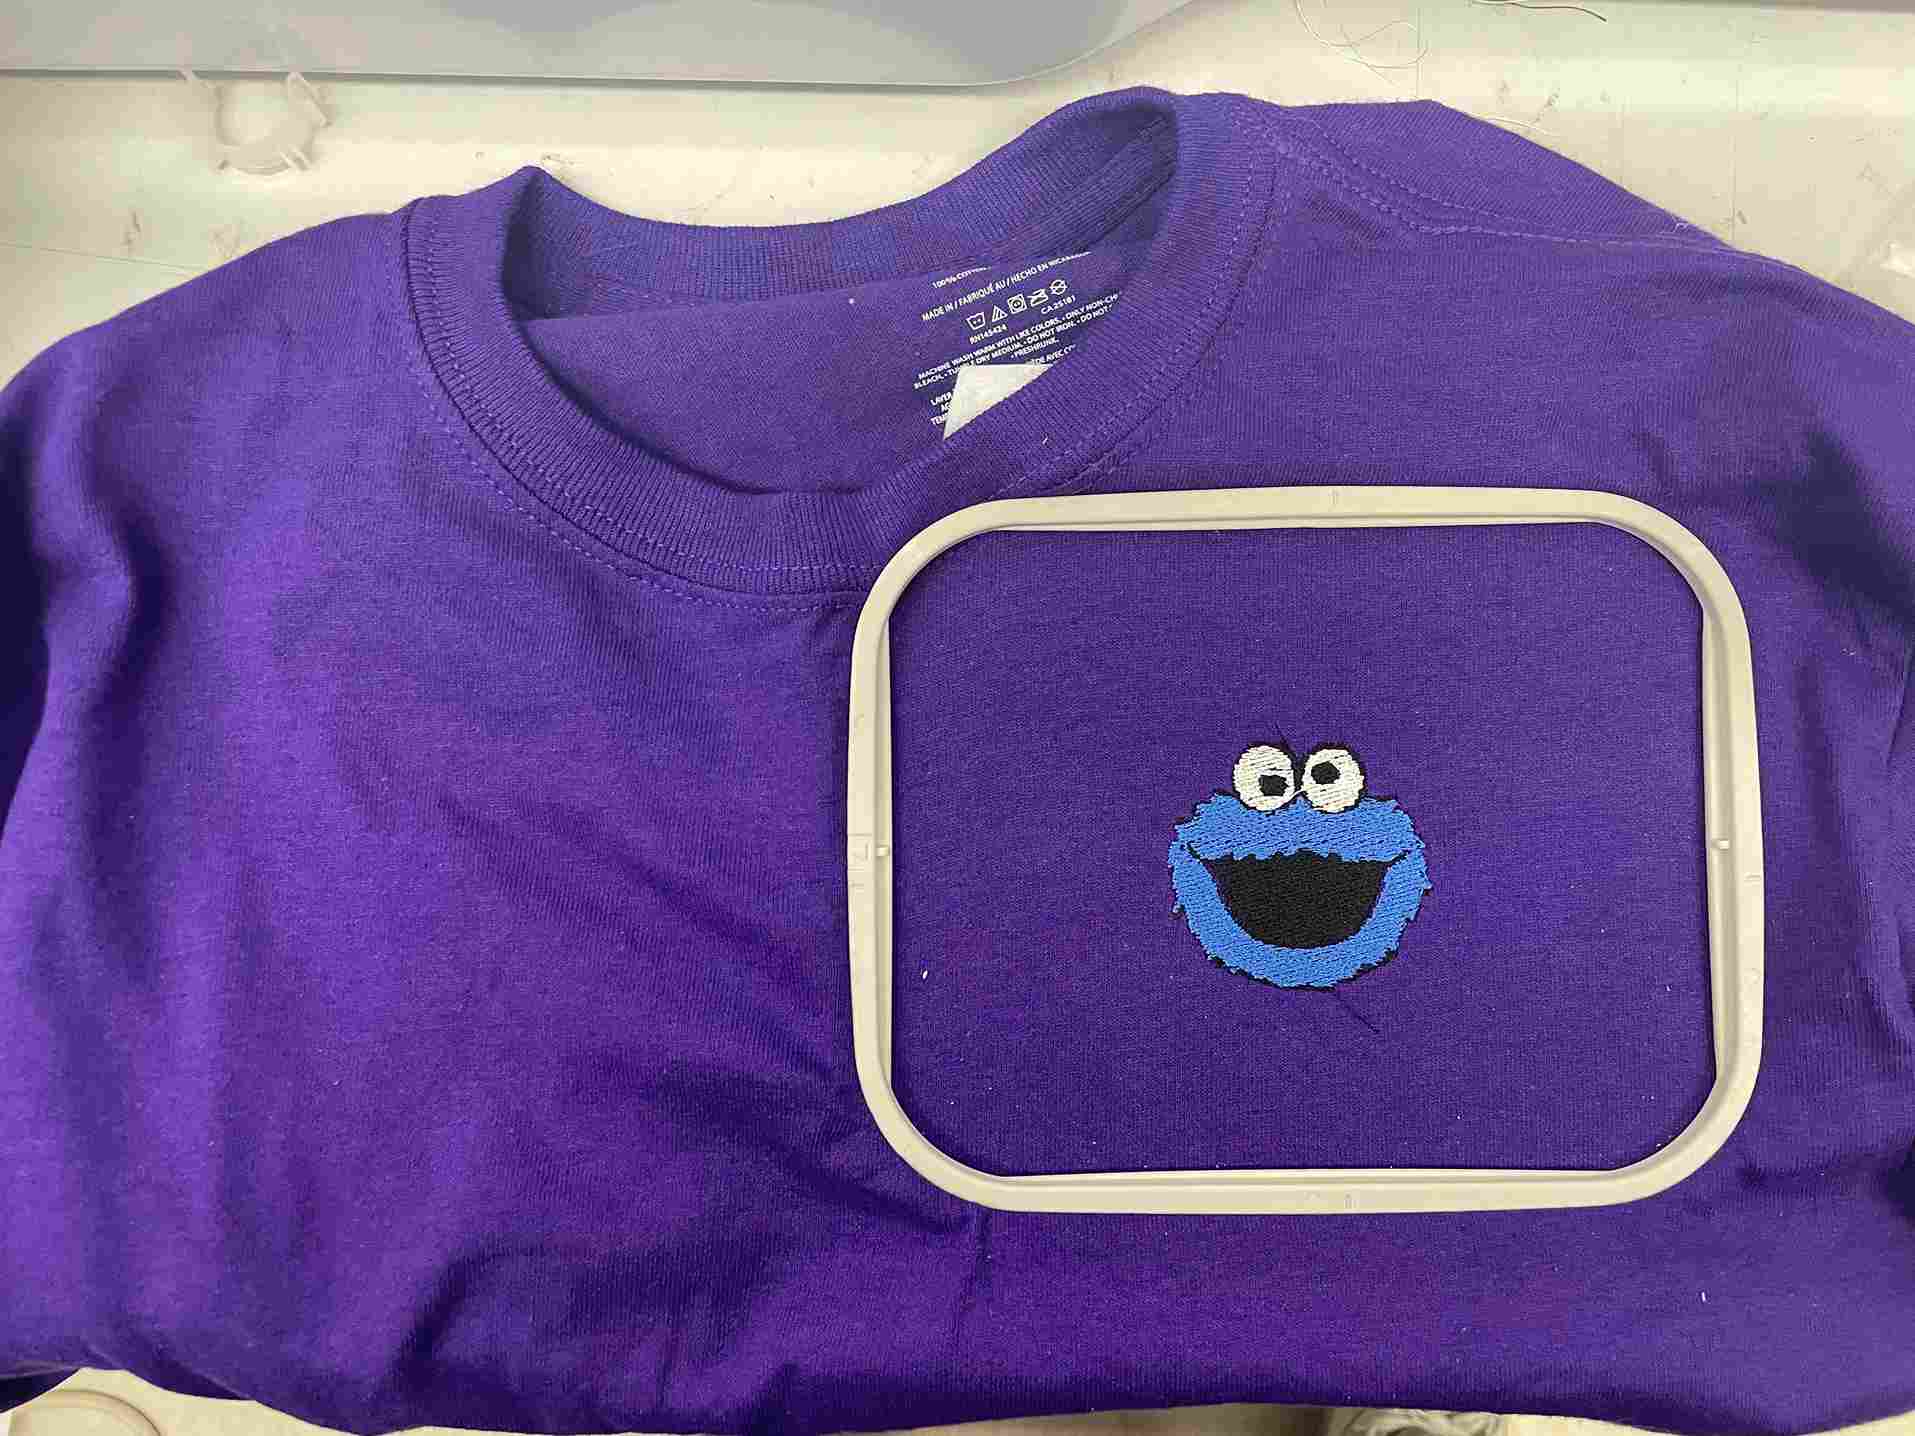
On T-shirt
I realized that I could embroider a shirt and wanted to use the cookie monster logo. This part was a lot more complicated becasue I had to make sure the shirt didn’t get embroidered together. Though after watching this video it all made sense. I followed the steps exactly and my Cookie Monster logo was finished. I did make some mistakes along the way when it came to the shirt. I messed up on the initial threading, I made an error in keeping the excess thread too long, and also cutting it too short and having to rea thread.
This was my final shirt design.
What I Learned
I never knew that this was possible. Embroidery seemed complicated and I couldn’t find any interent in that. After this week, I definitely found something that I can dive deeper into more in the future. The machine does a bulk of the work for the user such as auto threading the needle and bobbin, which puts pressure on the designing aspect. The designing aspect is also supported by wonderful interfaces like SewArt. Being able to embroider the t-shirt openned up a world of possibilities with different hoodies, sweatshirts, and different atire which I definitely intend on exploring.
Problems I Ran Into
- Threading the needle incorrectly
- Threading the bobbin incorrectly
- Cutting too much or too little of the needle excess thread
Files
My files are here