15. Wildcard Week
This week is the Wild Card Week. In this week we make use of any fabrication method to create something different from all the previous weeks. The group and individual assignments are as follows:
Group Assignment:
- None
Individual Assignment:
- Design and produce something with a digital fabrication process (incorporating computer-aided design and manufacturing) not covered in another assignment, documenting the requirements that your assignment meets, and including everything necessary to reproduce it. Possibilities include (but are not limited to):http://academy.cba.mit.edu/classes/wildcard/index.html
Work Plan
| Days | Sessions | Time/Hour |
|---|---|---|
| Wednesday | Global Lecture | 7:00PM - 10:00PM BST |
| Thursday | Local Lecture and Research | 2 hours, 4 hours |
| Friday | Research / Ideation | 8hours/All Day |
| Saturday | Teachable Machine | All Day |
| Sunday | Field Visit and Working on Assignment | All Day |
| Monday | Working with HandiBot | All Day |
| Tuesday | Documenting | All Day |
Introduction
There are few options we can work on in this week. From the global and local lecture we came across a number of things that we can do this week however the machines available for us in this week are fairly limited. I looked at some of the process that I can make use of in the current week. I looked at teachable machine for machine learning as my initial task for the wildcard week and we also had a field visit to a nearby printing press to look at a process that they use to print prayer flags and banners using UV light incidence on a sheet and using ink for imprinting. Then I also worked on handibot machine to create some samples.
Working with Teachable Machines
Teachable machine is a simple interface to create machine learning models. The machine learning models can make use of our images, voices or other data to create models of the data. Then we can use it to recognize a testing data for instance voice recognition or face/image recognition. In this week, I wanted to try and work on a image recognition system using the teachable machine.

The method for the same is explained below:
Creating Projects and Adding Samples
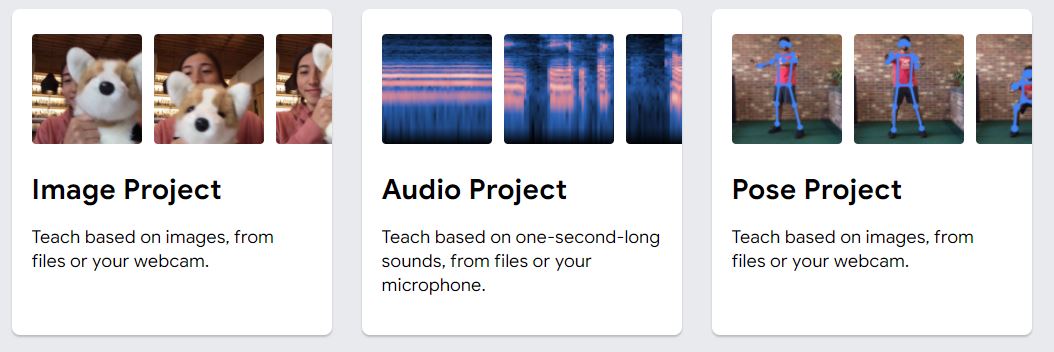
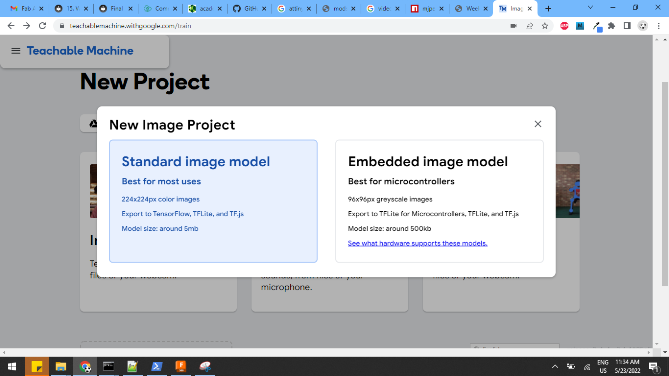
First i go to the teachable website at https://teachablemachine.withgoogle.com/train/image. Once within the teachable website, I move on to creating projects. There are three types of projects in teachable machine.
- Image recognition
- Voice.
- Pose
I select the Image project. Within the image project, I have to select or add samples into different classes. Each class of sample is one image in different orientations. For the class one, I add samples of my face using the default webcam of my computer.

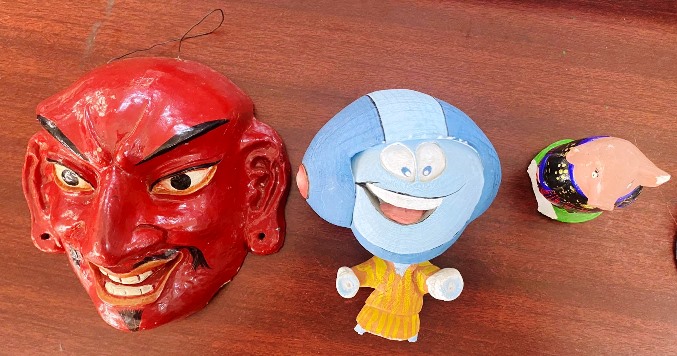
Similarly, I add three other classes with different objects available to me. The image below shows the objects i have added to the class.
With all these objects added to the class, I move on to train the models. The training of all the models take some time however once the models are trained, the recognition system works immediately. The recognition is shown below for each class of images.
Class 1 Recognition
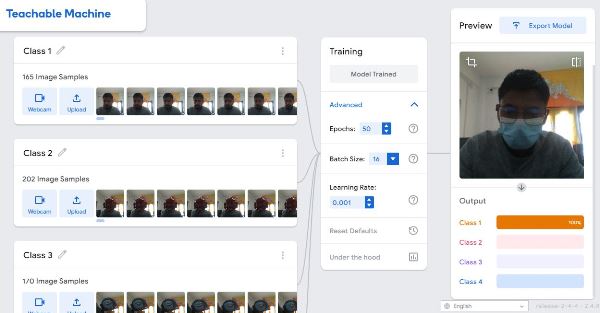
Class 2 Recognition
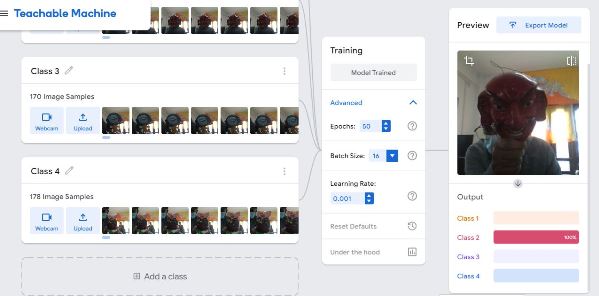
Class 3 Recognition
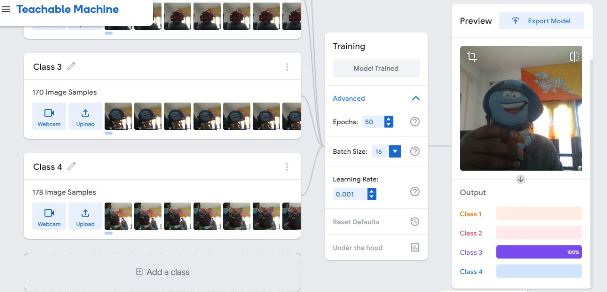
Class 4 Recognition

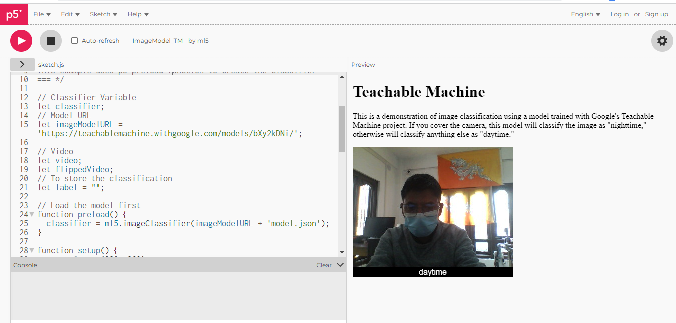
With the system working, I exported the model in p5js. However, the model shows only day and night recognition.
Field Visit and Printing press
Initially we visited a printing press to look at a printing process whereby they produces prints on prayer flags and a special kind of paper manufactured in our country called desho. The desho paper is a traditionally made paper in Bhutan initially used by the monastic body for printing prayers and documents. Currently it is largely being used for printing prayers and mantras while few other places like administration use them for official letters.
We visited the lab where printing on these papers work based on light and ink method. The detail of the same of explained below.
Step 1 - Design Creating
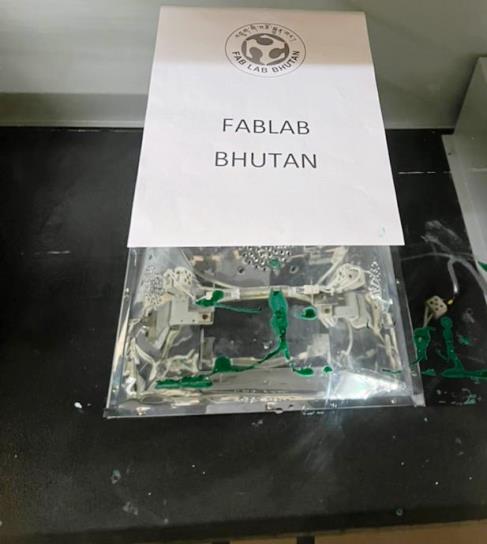
The first step towards screen printing is to create a desired design of the image or texts to be printed. The design can be made in any CAD tool and printed in an ink jet printer or drawing the desired design on to a paper. We printed a simple text and logo of Fablab onto a paper to make use as the design for printing.
Step 2 - Dark Room and Adding Emulsion on Screen
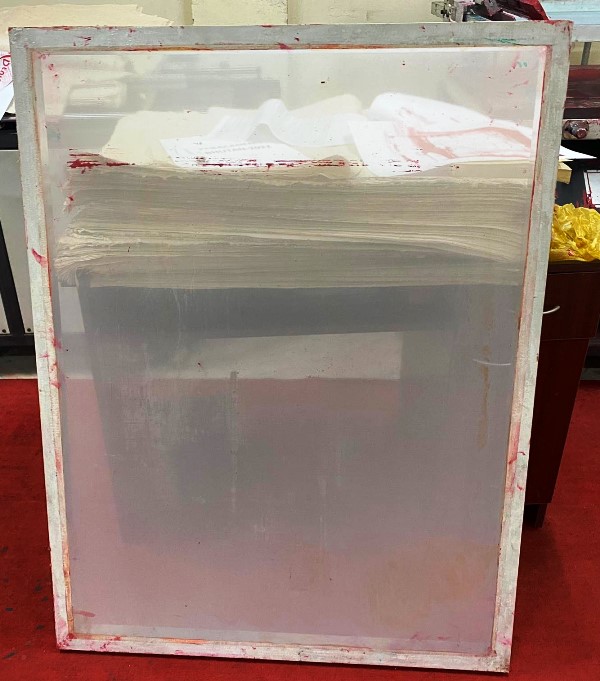
The screen is made up of different materials. Earlier it used to be made of silk however now a days it can also be made with polysters or Nylon. The screen is a thin net that is stretched uniformly on a frame as shown below:
The screen is first cleaned thorouly using water and brush such that there is no emulsion or ink remaining on the screen. Then, we dry the screen. Once the screen is dried completely, we start working in a dark room.
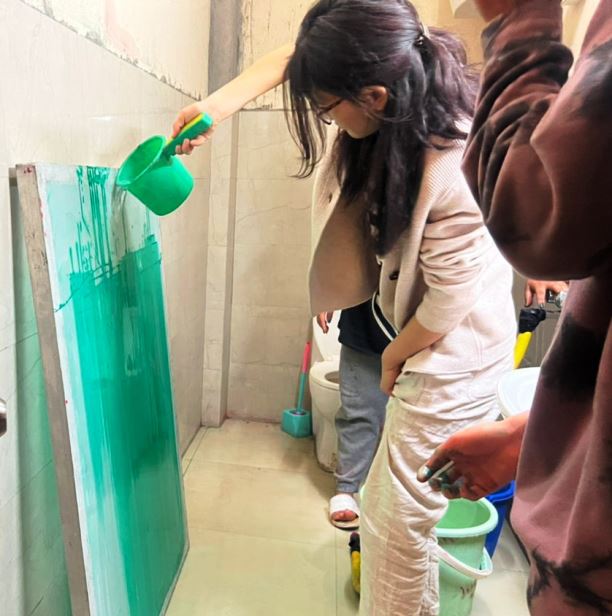
The reason of working in a dark room is so that the emulsion is not exposed to any UV light. The emulsion is a liquid that hardens when exposed to UV light and is only required to be hardened where there is no image and donot set where there is not exposed to UV light. Therefore, in a dark room, we added the emulsion very carefully and spread it uniformly on both sides of the screen.
With the emulsion added to both sides, we make use of wooden/rubber wipe to uniformly spread the emulsion. Once the emulsion is added, we blowdry the screen uniformly.

Step 3 - Exposing the Screen to UV Light
Once the screen is sufficiently dried and not exposed to any external light especially UV light, we move on to exposing the screen to UV light with the required design placed on the bottom of it. The designed image should be dark in places that will not impacted by the UV while other parts exposed to UV will be set. This is to allow the ink to pass through the place without the emulsion. While ink will pass through the places without the emulsion.
With the design print and the screen added onto the UV exposure machine, we close the lid and expose the screen for only 5seconds at a time and atmost 2minutes.
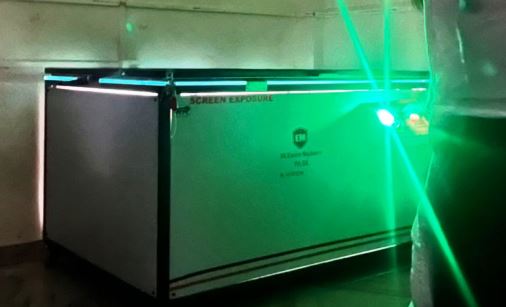
Once the process is completed, we move on to wash the screen and move to printing. The printing process requires the screen to be fixed on to the machine. The machine is the semi auto flat screen printing machine by [SK Ensure Machinery] (https://www.ensuremachinery.com/corporate-video.html#productvideos).
Step 4 - Ink Printing Process
The screen is place on top of the machine and properly hinged together with screw holder. Once fixed, the ink is added onto the screen. Under the screen is the paper on which the design is to be printed. We can place cloth piece instead on paper if we want to print on cloth material.
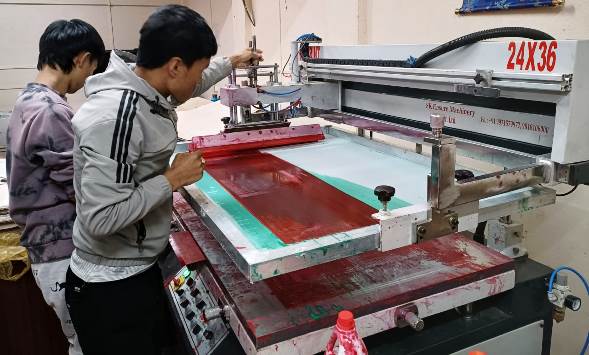
The machine runs on pneumatic control and hence the pressure needs to be adjusted to atleast 6bar. The pump is started and once the pressure reaches 6bar, we can start with the printing process. The process of printing requires only a press of button, that automatically spreads the ink, moves the machine to the floor with paper and spreads the ink again uniformly.

The process of the printing is shown below:
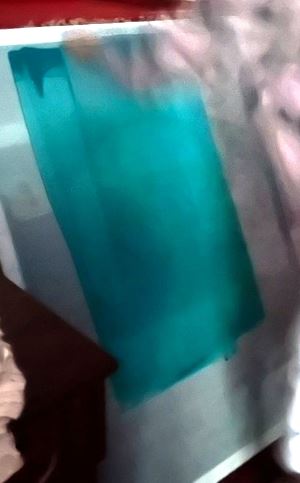
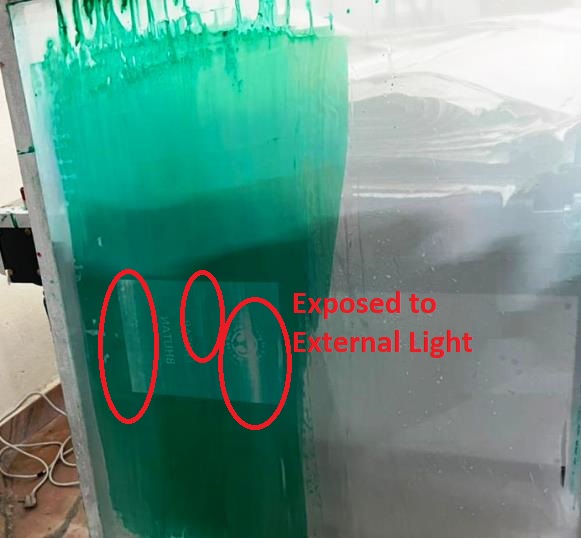
We take the paper out and check for inconsistency. In our print the print was not uniform mainly due to two reasons.
- The paper use to print the design requires to be oil paper (We made use of computer paper which donot give consistent result)
- The room was not completely dark and had the emulsion exposed to low light which caused the print to be non-uniform.
The outcome of the screen with the non-uniformity is shown below:
Working with Handibot
In our lab, we also have a Handibot. The model and details of the handibot is as follows:
- 3-Axis Machine
- Cut area of 6” x 8” with a Z-axis travel of 3.5” (Movable hence large cut area possible)
- Remote and local control.
- Raspberry operating system
Design with Fusion360
In order to cut/engrave the text onto a surface, I first design the text on Fusion360. The details of the