5. 3D Scanning and Printing

This week I am working on 3D scanning and Printing as a group as well as individual. The following are the assignments.
Group Assignment:
- Test the Design Rules for your 3D printer(s)
Individual Assignment:
- Design and 3D print an object (small, few cm3, limited by printer time) that could not be made subtractively
- 3D scan an object (and optionally print it)
Group Assignment
The group assignment can be found HERE
Individual Assignment
Starting Point
The 3D printer in our lab is Makerbot Sketch. We have used the makerbot website to learn about the basic working of the makerbot 3D printer and softwares used to 3D Print anything. The details of our reference is available at: https://www.makerbot.com/learn/ and have used the abstract from the site to explain about the printer. The Makerbot Sketch has the following characteristics:
Print Technology
Fused Deposition Modeling
Build Volume
150mm x 150mm x 150mm
[5.9in x 5.9in x 5.9in]
Layer Resolution
100-400 microns [0.0039 IN-0.0157 IN]
Print mode tuned for 200 microns
Material Diameter
1.75 mm [0.069 in]
Material Compatibility
MakerBot Sketch PLA Material and
MakerBot Sketch Tough Material
Extruder Compatibility
MakerBot Sketch Extruder
Nozzle Diameter
0.4 MM [0.015 IN]
Print File Type
.MAKERBOT
FDM (Fused Deposition Modeling)
MakerBot’s 3D Printers rely on a technology called Fused Deposition Modeling or FDM. It uses an extruder, which acts similar to a hot glue gun. Plastic filament is fed in through the top, is melted at 215 degree, and finally is “extruded” out of a small nozzle into the layers that build a 3D print.
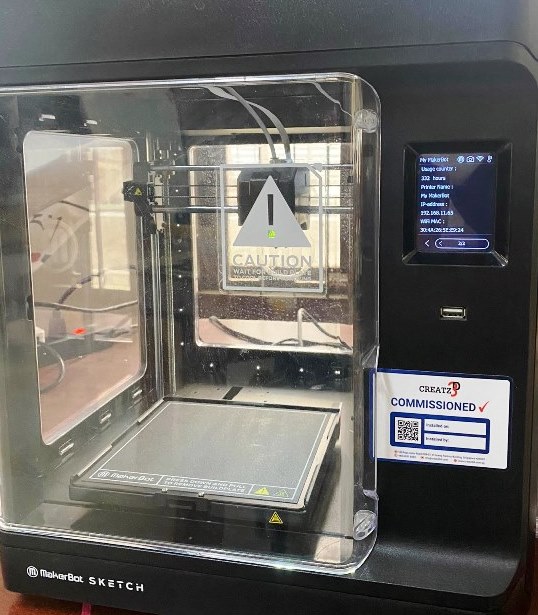
Figure: Makerbot Sketch

Figure: Makerbot extruder
Cartesian Coordinates
MakerBot 3D Printers know where to move using a three dimensional cartesian coordinate system which defines every point of a 3D model with a unique position along the X, Y, and Z axes. The coordinates are fed to the printer from MakerBot Print and MakerBot Mobile.
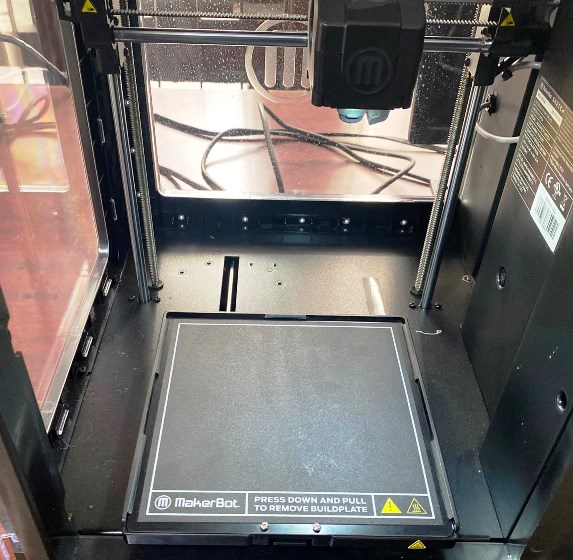
Figure: Makerbot base
Makerbot Filament
There are number of available Filaments in market for 3D Printing with most popular being the PLA and ABS filaments. However, for our purpose, MakerBot PLA Filament is the best and most consistent filament optimized for use in MakerBot 3D Printers. Safe for the classroom, office, or home, this filament is non-toxic and easy-to-print with minimal warping or curling. This is the Filament we used in our lab for the Makerbot Printer. The Filament has the following characteristics.
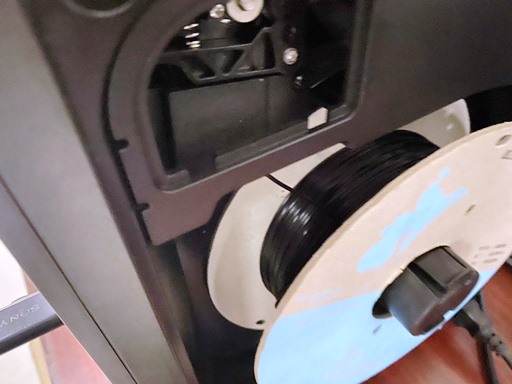
Figure: Makerbot Filament
Design of 3D object
The 3D object that we required to designed should be made additively using a 3D printer and swould not be able to make using subtractive method. This gives us a lot of room to create complicated designs in 3D CAD software. Further, we can also create hidden layers that can be printed using 3D slices but would be impossible with a tool such as mill.
For this assignemnt, I started by making a cube that would contain another cube within and few other structures. These structures are small and fairly inaccessible to milling and cutting machines. That way, substractive method would be impossible but 3D printer can print it.
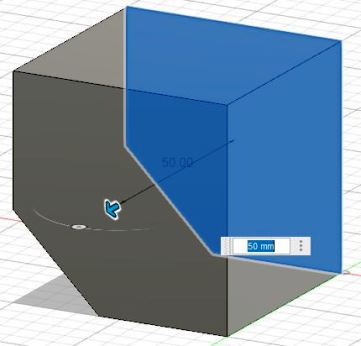
I also created a slice that was removed from the outer cube. For the cube, i also create a number of slots to visuallize the piece properly while creating a unique piece. I made use of circles and used extrude to create a number of slot in the cube as well.
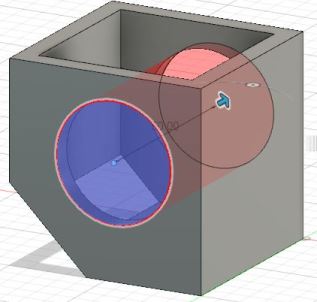
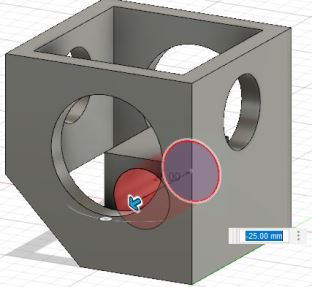
I further create a shell of the cube and add a cube within it. This cube will reside within the initial cube. In the inner cube as well, i create a number of slots and patterns so that it is unique.

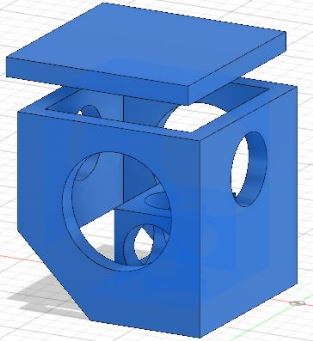
With the patterns created in the inner cube, i create a cover for the outer cube so that there is no easy access to the internal structure of the cube. Then I also created some other structures and shapes on the inner cube and the outer cube to give more complexity.
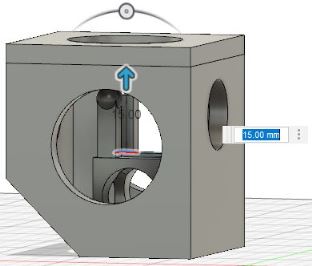
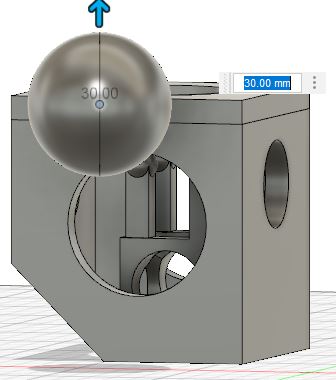
The shape within is created to resemble the pillars of Taj Mahal. Finally I added a text to the shape to custimize it.
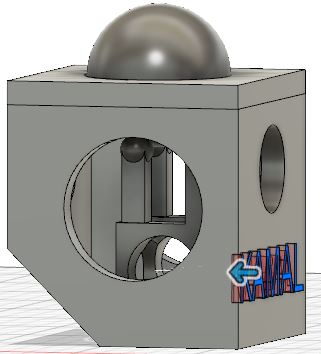
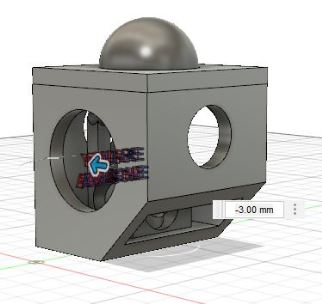
The final shape i created in Fusion360 is shown above. I have also created an internal hidden text extruded by few mm so that it can be viewed from the openings of the side.
3D Printing the object
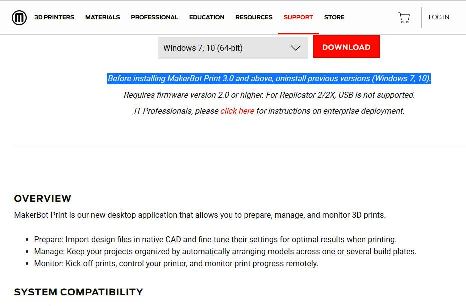
The 3D object created in Fusion360 software is exported as .stl file. The .stl file is to be imported to makerbot print software and given as command to the Printer. Therefore, I downloaded the makerbot print software.
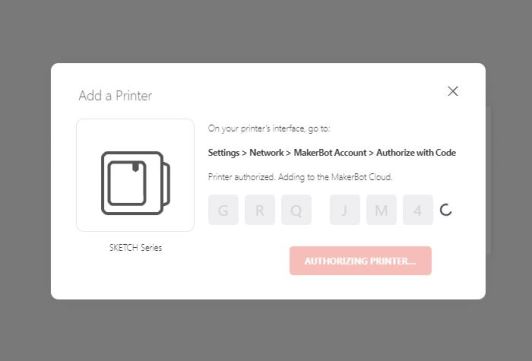
Once it is downloaded, I have to connect the software to the makerbot printer. To do so, I first login to the makerbot server.

Then I have to connect the two device to the same wifi network and search for the printer from the PC with the software. There is also a code based authentication for the device to be allowed for a specific user. I was able to authenticate the user to the printer and get access however the printer was still unrecheable from the makerbot Print software.
So, with no success in connecting the printer to my PC, I moved on with slicing the 3D model on the Makebot Print software and transferred the file to a USB drive and inturn printed locally. So I export the 3D model as .stl file from fusion360 where it was designed. The file is then imported to the makerbot print.
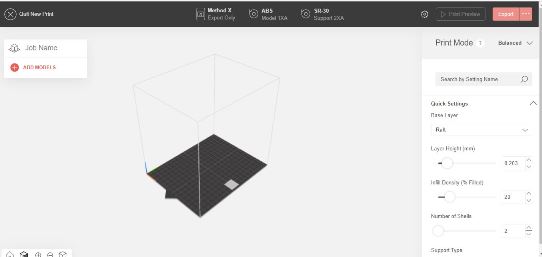
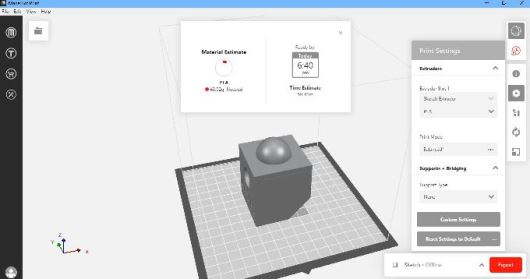
I make the required settings on the printing file from the makerbot print and the g-code is save in a USB drive and further transferred to the printer. On the Makebot print software once the .stl file is imported, I make use of offline mode to select the printer as Makerbot Sketch. Then for the given printer, i can change some settings namely the extruder and other settings. For the current print, I make use of PLA and keep all other settings same without supports.
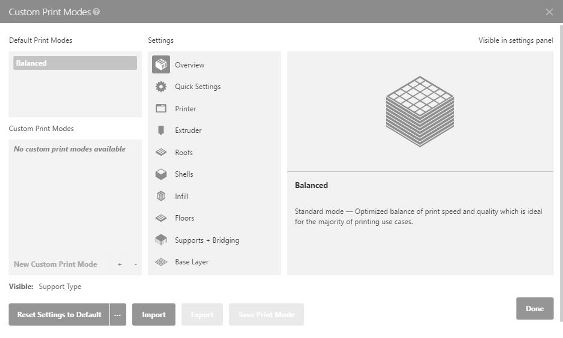
The file generated is then given to the 3D printer with the following printer settings.
Base Temperature:50 degree C
Extruder Temperature:220 degree C
The first print was going smoothly untill i saw that the printer was printing on air and there was no filaments coming out of the extruder. Then I went on to check the problem and realized that the PLA filament had been stuck for sometime. When someone was rolling the filament must have rolled from within other and hence got stuck while printing.
This caused the first print to be unsuccessful after printing for over 2hours and 1hour remaining.


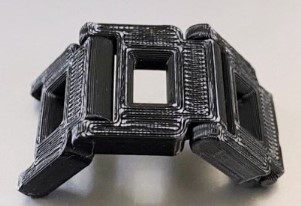
I proceeded with the print again after checking the filament and looking for any problems in the roll. All seemed fine so i loaded the filament to the printer again and proceeded to print. This time the print was successful after 4hours of printing.
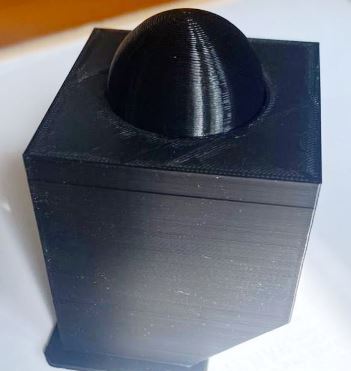

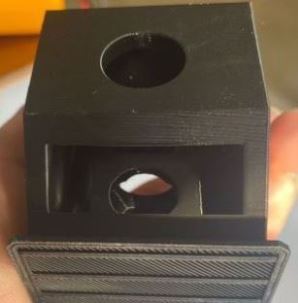
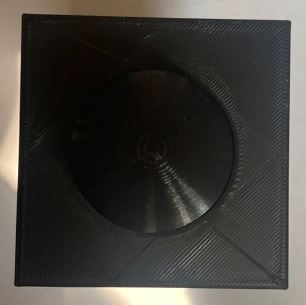
Figure: 3D Printed Outcome
3D Scanning
In lab we have 3D scanner Revopoint and Revoscan. I have made use of Revopoint and Qlone to scan few objects in Lab.

Scanning with Revopoint
First we open the Revoscan software and adjust the object infront of the revopoint scanner. The revoscan has a way of detecting the object and provides with wether the object is near, optimal or far from the scanner. I made use of two objects that I would scan with the Revopoint scanner.
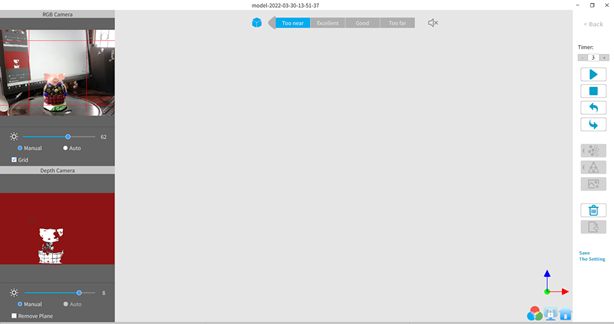
with the revoscan software giving the distance as optimal, I proceed to rotating the object so that more samples can be taken by the scanner.
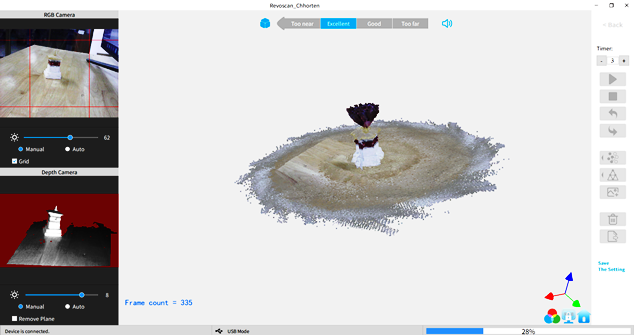
With a nominal amount of samples taken by the scanner, I move on to meshing.
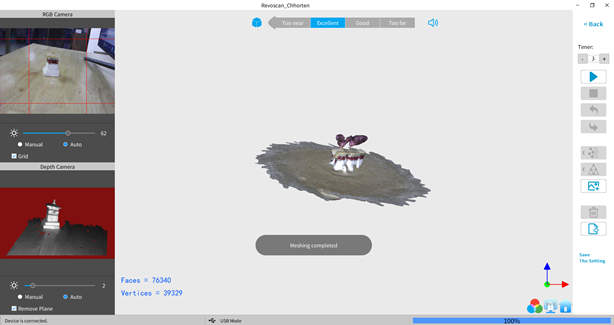
Then, I move on to texturing.
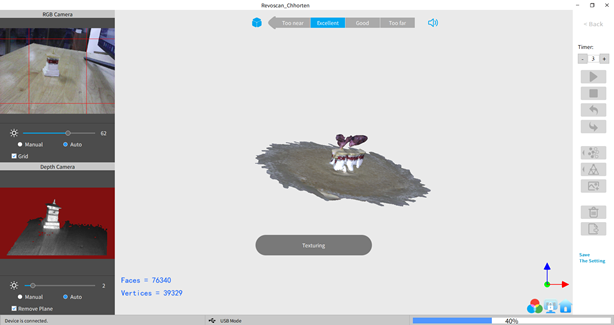
The final outcome of the scanning is shown below:

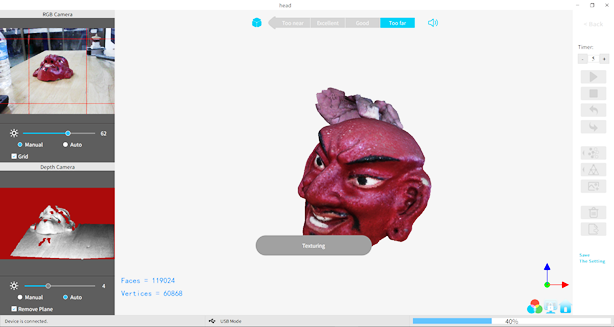
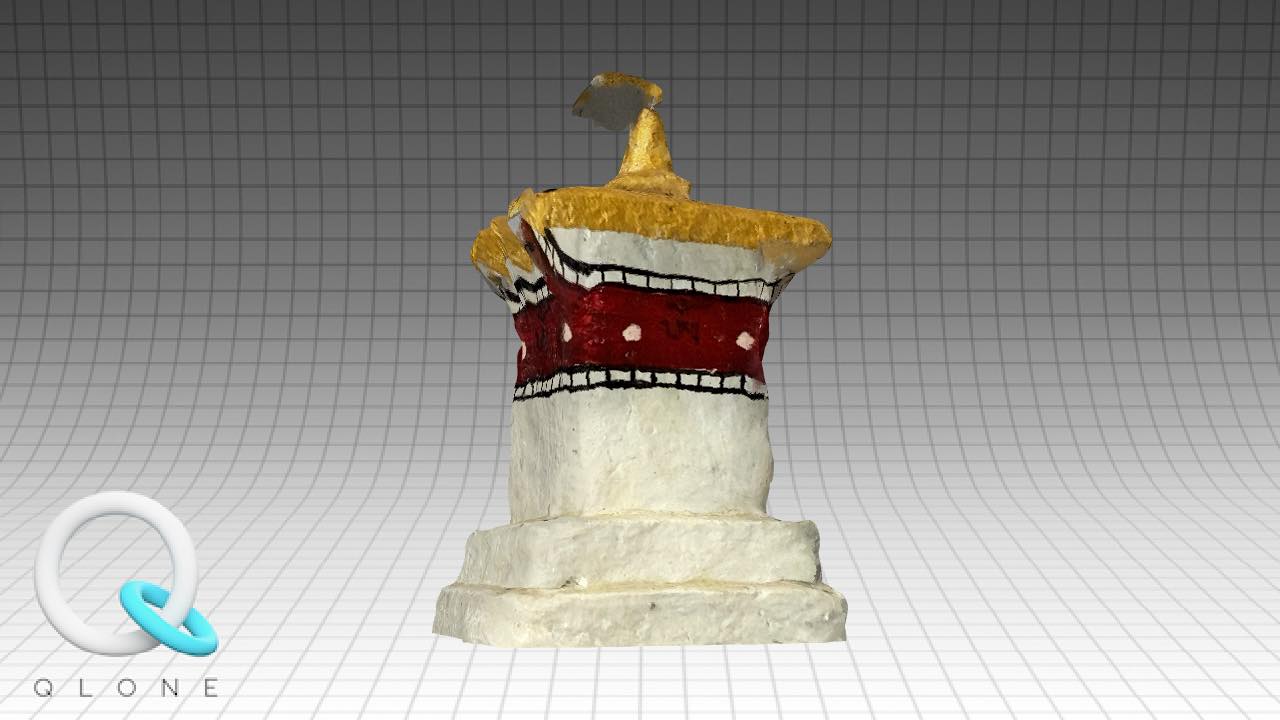
Similarly, I tried to scan another object which is a head of an Achara mask. The placement of the object and movement of object created a little bit of distortion and change in the axix, the outcome was not proper in the case of the chhorten (Stupa) above. For the mask as well, I proceeded with a new project and started the scan when the distance from the object to the scanner was optimal (Excellent).

Once there is sufficient samples taken by the scanner, I move on to meshing and texturing.
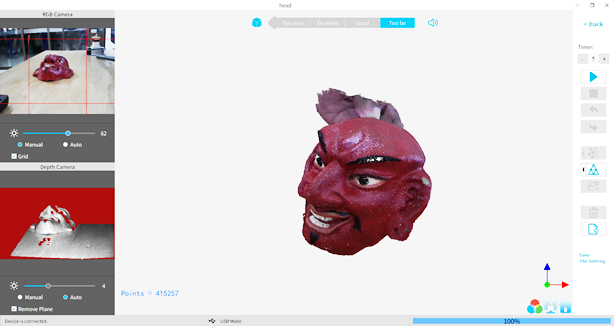

The final scanned model is shown below:
Scanning with Qlone
Therefore I proceeded to 3D scan using smart phone and 3D scanning software. The application I downloaded is Qlone. This 3D scanning software make use of camera to take images of a reference object from various angles and creating a 3D model of the reference object. There are two options to 3D scan using a printable callibration mat or without. However the scan without mat is only for pro user. Therefore i started with downlaoding and printing a mat. The mat acts as callibration method for the scanner to create a map of the scan path.
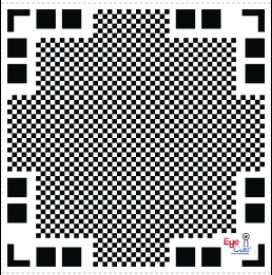

With the mat downloaded and printed, I move forward to 3D scanning the object.
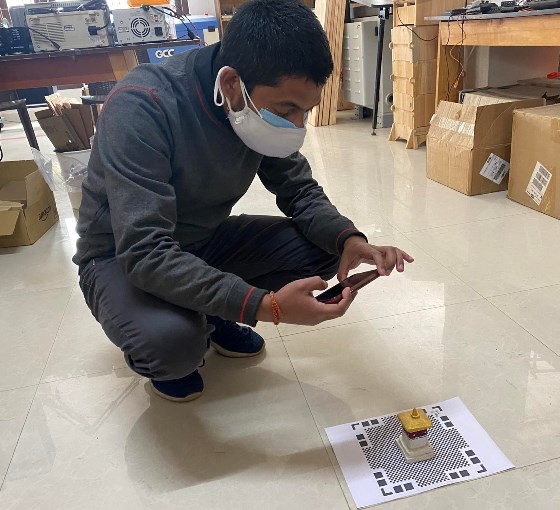
The scanner created a dome shaped half sphere with sections that takes the features from the object. There are horizontal as well as horizontal sections each of which requires to be scanned for the scan to be successful. While all the sections are scanned it also creates a preliminary model of the object on the side of the screen.

once the scan is completed. The scanner creates a 3D model of the object as well as a gif file that show the animation of the scan.
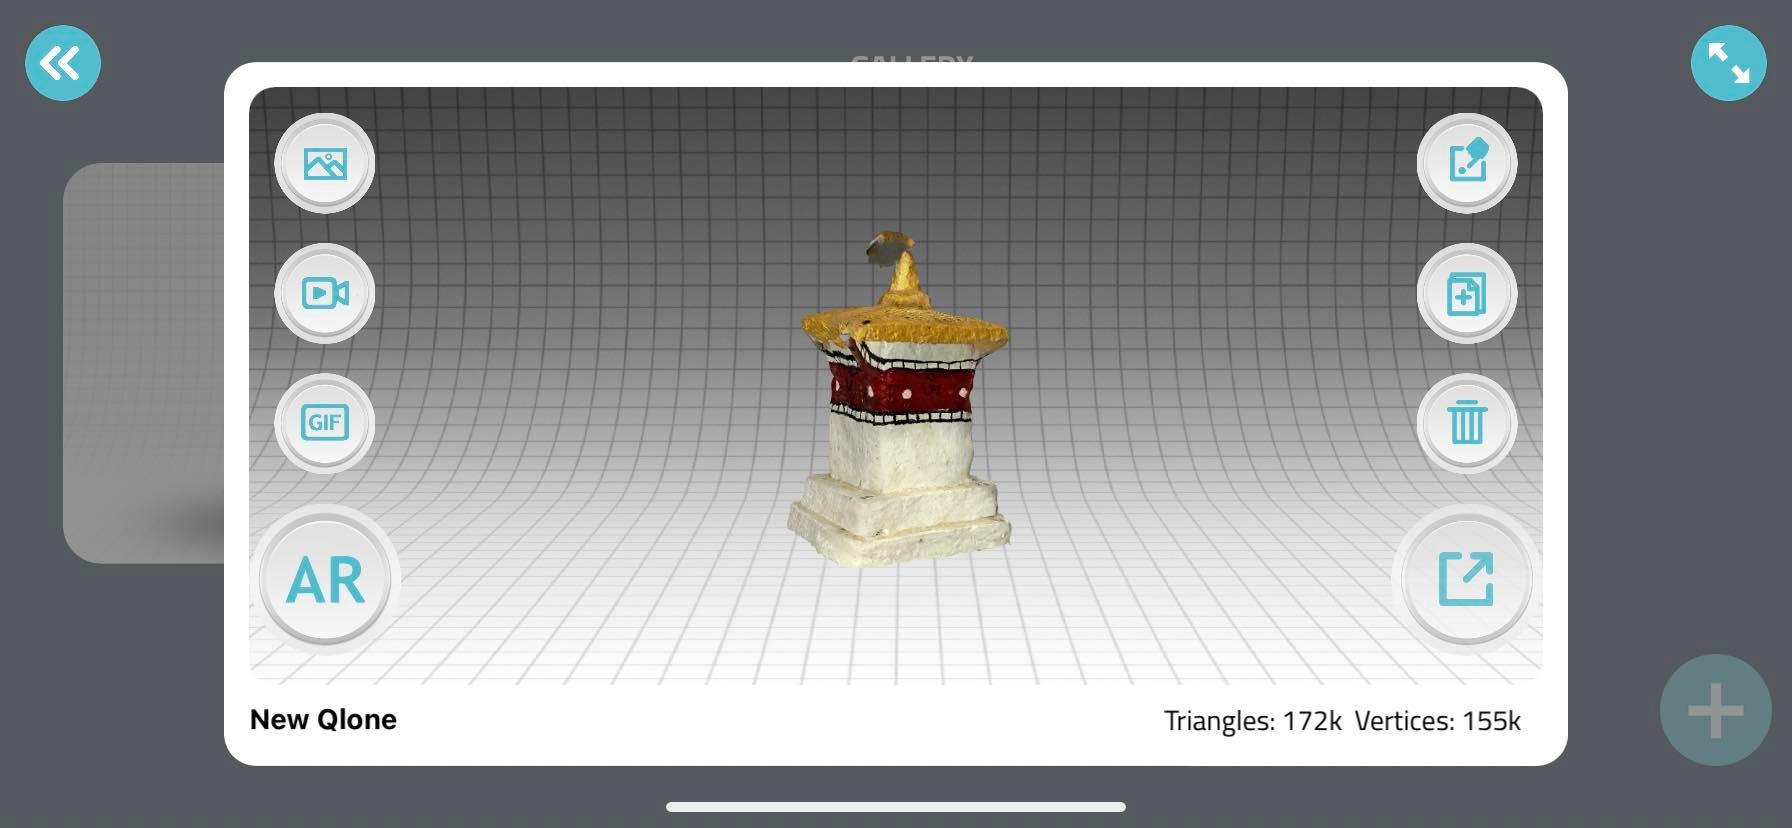
The animation is shown below:
3D Printing Project Files
I have a couple of objects that needs to be 3D printed. The first component that i want to print is the chain motion link that can be joined and used as the link for the tank. I have the 3D designed in Fusion360 and have created a set of three links with motion animations.

The 3D model is then exported as .stl file and is inturn imported in Makerbot print software for generation of G-code.
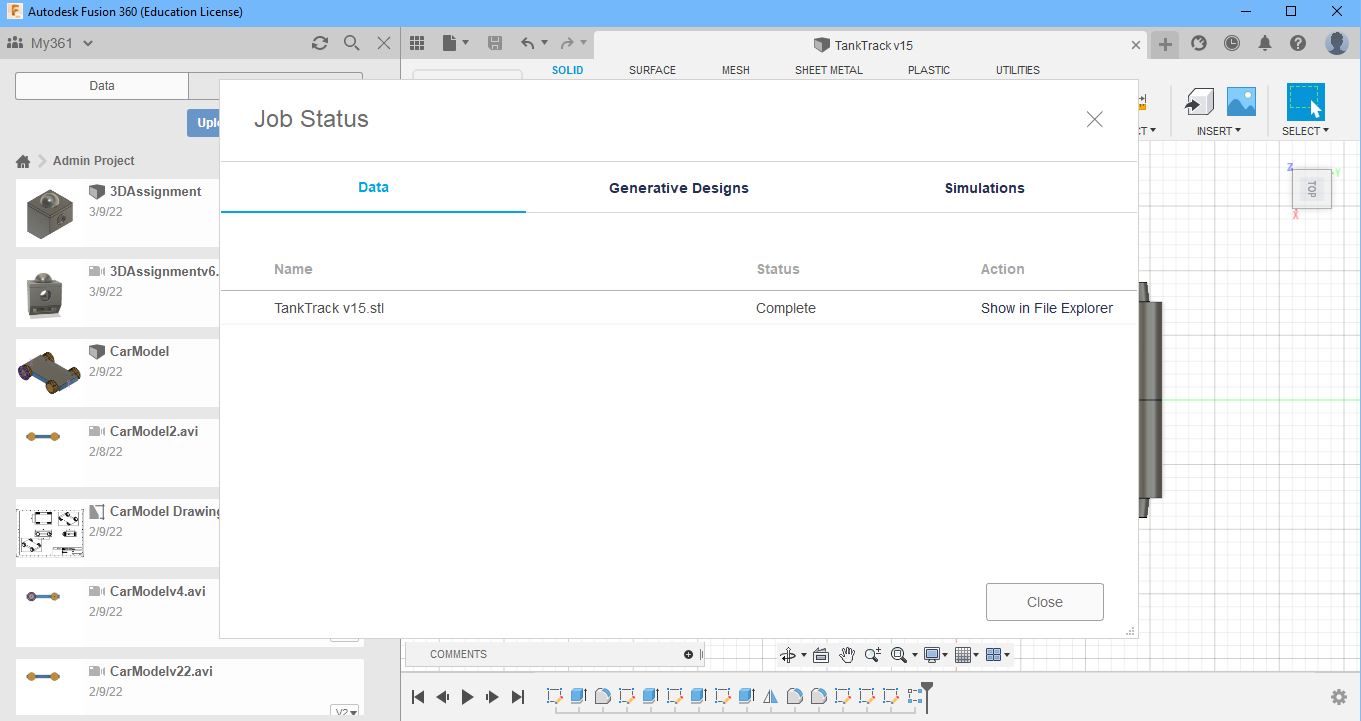
The G-code was used to print the 3D file for movable chain link. The printed model is shown below.
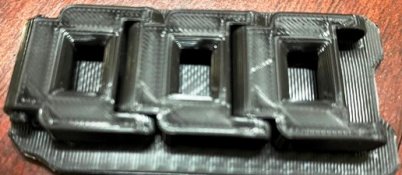

The remaining parts will be printed as shown below to create the desired number of components.

Figure: Rectangular pattern to bulk print the model.
Video
Animation of the 3D Model
Design Files
- Fusion Model File: Fusion 3D Model Object
- Model File G-Code: 3D Model G-Code
- Fusion Project File: Fusion 3D Model Object