9. Machine design
This week was about designning a machine and here it is : Our AwesomeMachine.
As explained in the page we first worked all the students togethers to develop a common base for our machine and then each group work on the creation of a tool for the machines.
Contribution
My personal contribution to the project was the following
-
The base
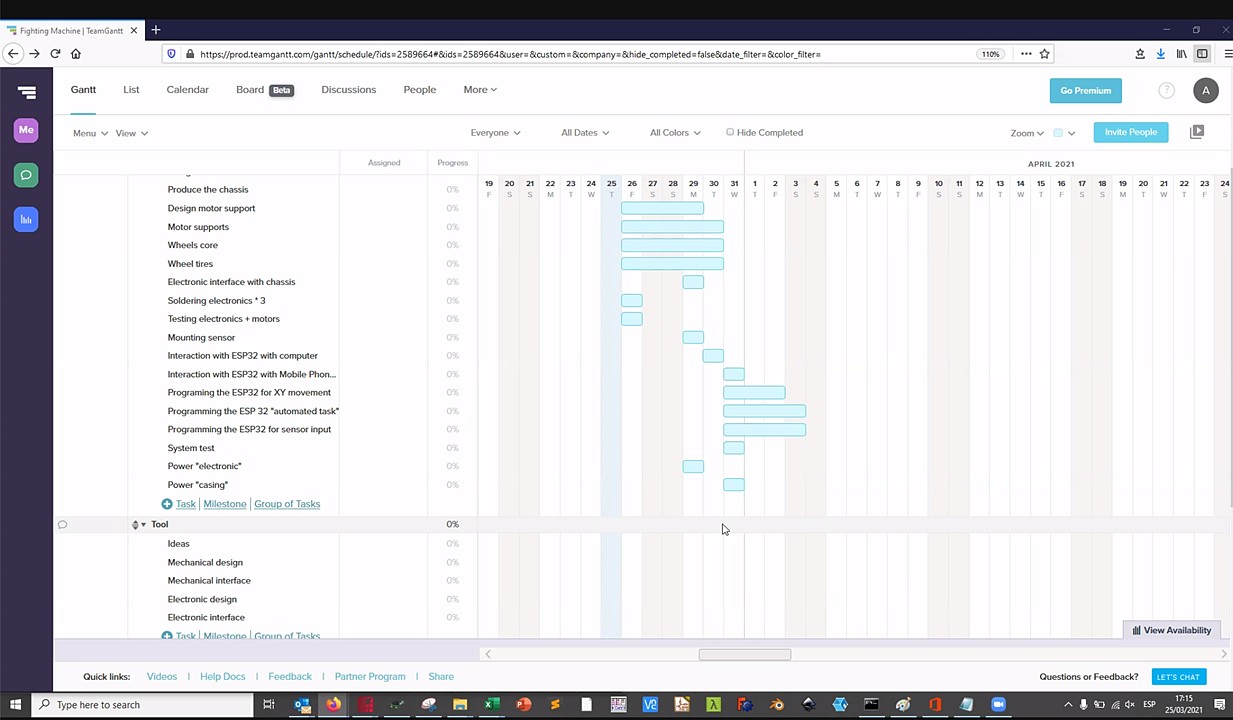
- Coordination of the groups through Gantt Chart organization and regular check of coherence between electronic and chassis.
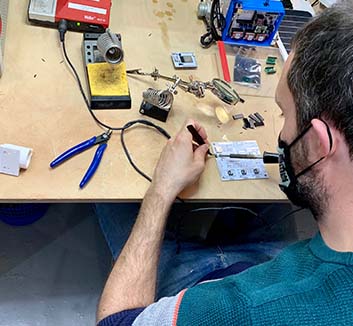
- Soldering of CNC shields (me soldering !)
- Debugging of Barduinos As explained in our AwesomeMachinePage I found some soldering issues with RX and TX pins of the ESP32.
- Adaptation of ESP8266 FabBlimp code to ESP32. For this part I had to find the equivalent library ESP8266 but for ESP32.
- Adaptation of the code to make it useful for our machines (web page, code structure …)
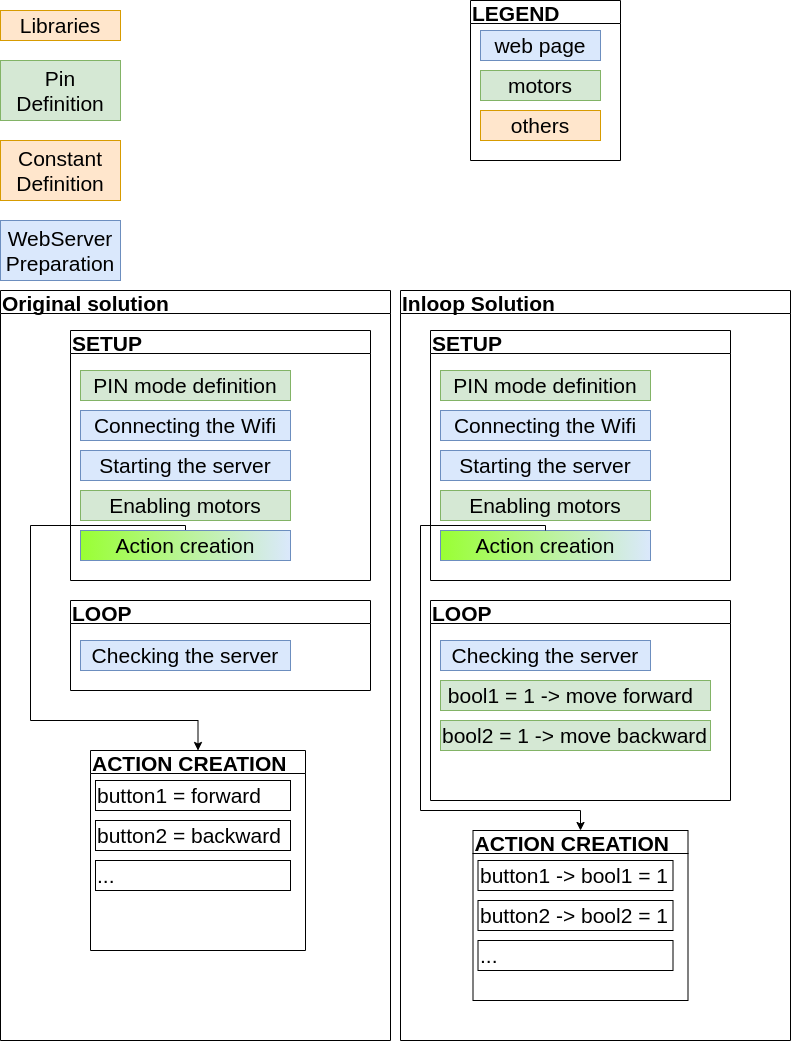
Once the code cimpiled with the ESP32 libraries, I designed this new workflow that I called “inloop” where the actions for the machine are
read within the loop instead of within the setup. It was interesting to
see the different need of a machine depending of what the motors
have to do : Approximate continuous movement (Robot displacement) VS Precise Controlled Limited movement (CNC)
- I wrote the code for the button blinking with the help of Carla and Tarek. All the steps are explained here Once the robot was moving the teams needed to detect a hit on the LED button. Two reactions had to be developped. First the bliking LED to confirm the hit, then the blocking of the robot while blinking. I used the 5V PWM capacity of the CNC shield to light the LED (as the ESP32 normally only has 3.3V output). I would have liked to test interrupts for this task but we ran out ot time. It will be for next time.
- Coordination of the groups through Gantt Chart organization and regular check of coherence between electronic and chassis.
-
The tool
- Design of the lateral supports
- Production of the lateral supports
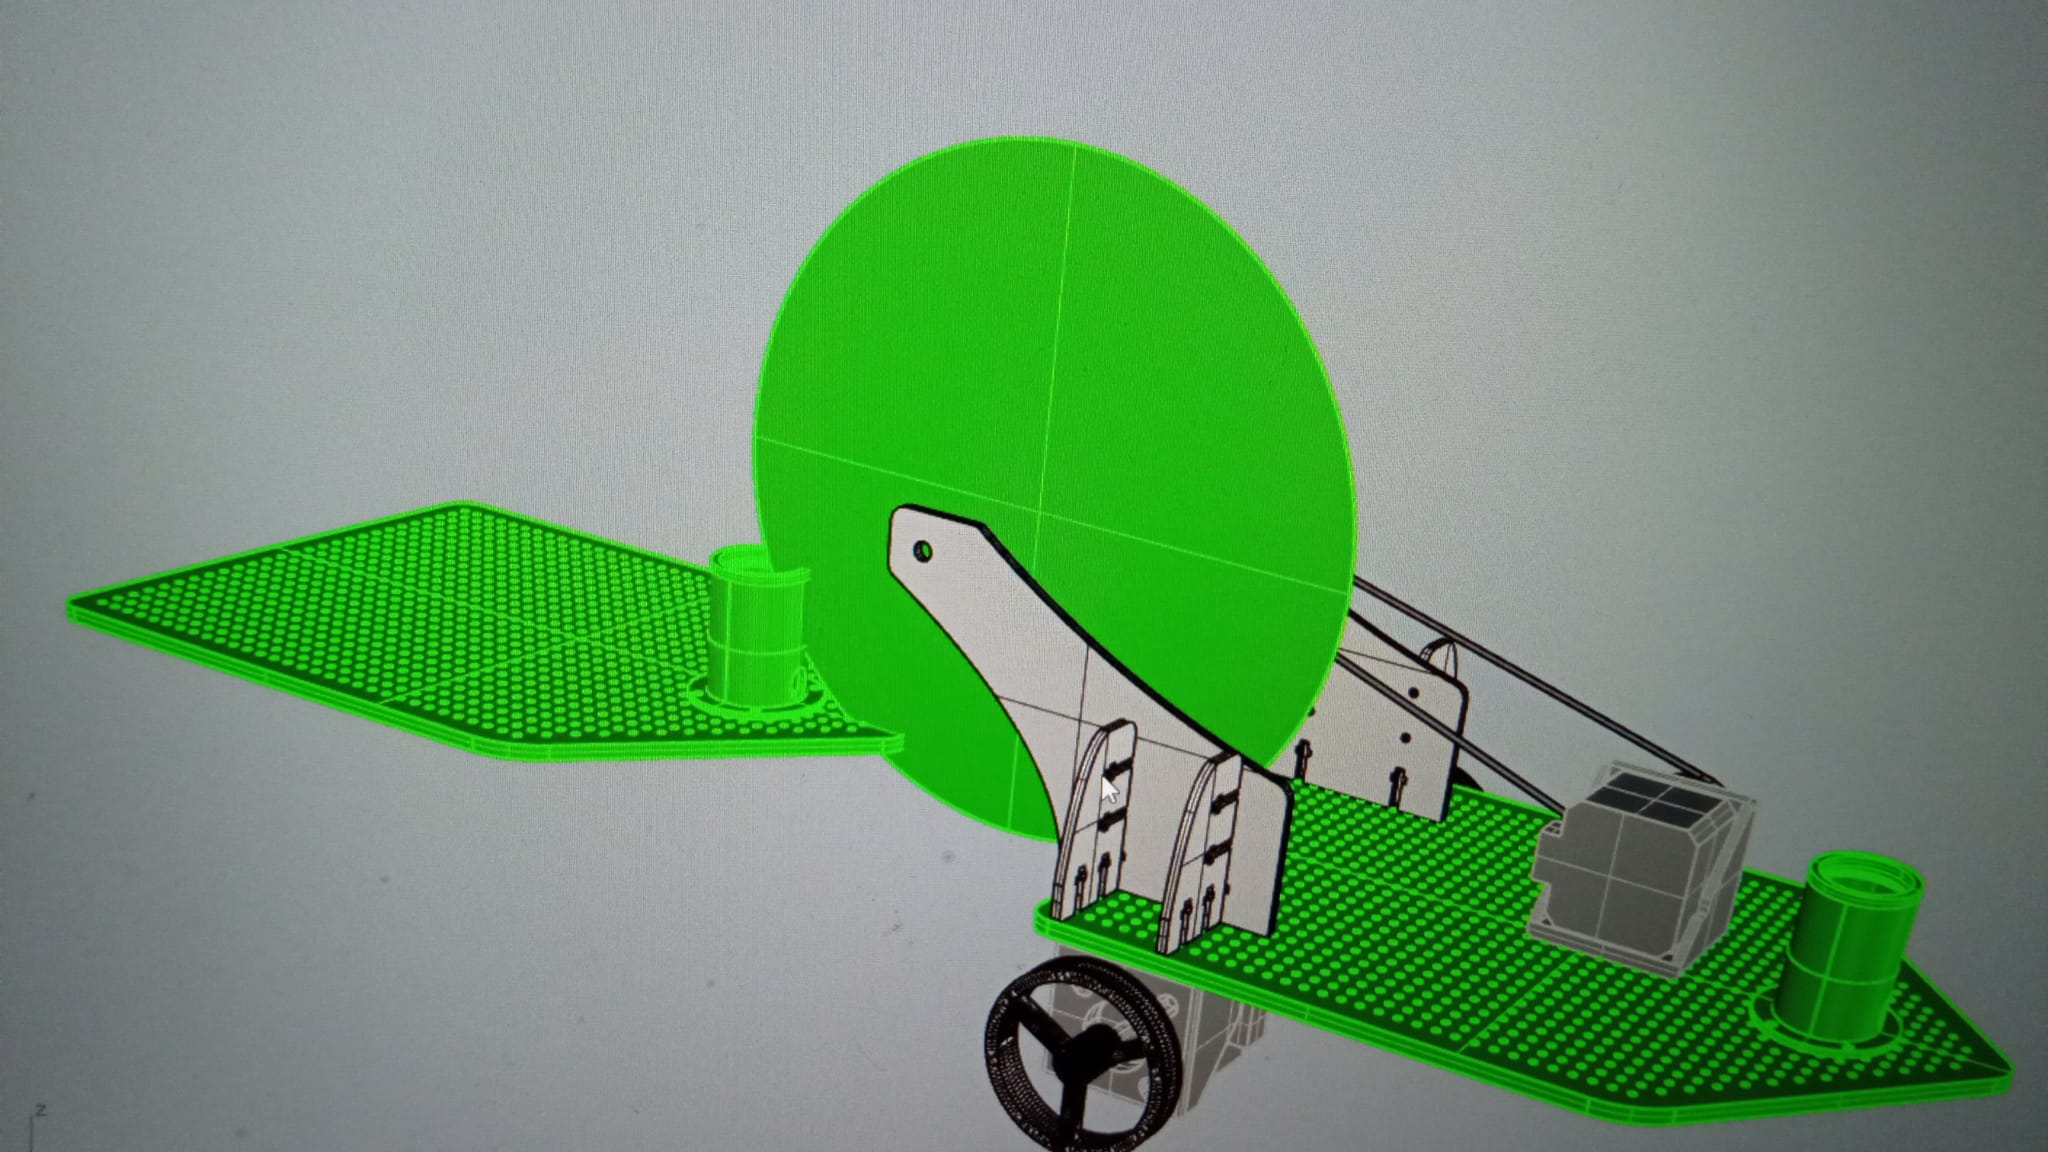
I design the tool in several steps. I first took the 3D model of the machine from the teammate who worked on the chassis design and measured the required distance to be able to hit the target button. I also had to take into consideration the fact that the tool who be rotating 360° so the support had to have a dimension such that it would not hit the proper chassis. This can be seen in the following picture with the green “working area circle”.
After that I I had to find a solution to hold everything together. I copied the system of the Fablab Barcelona “6 pack CNC” and used screws.
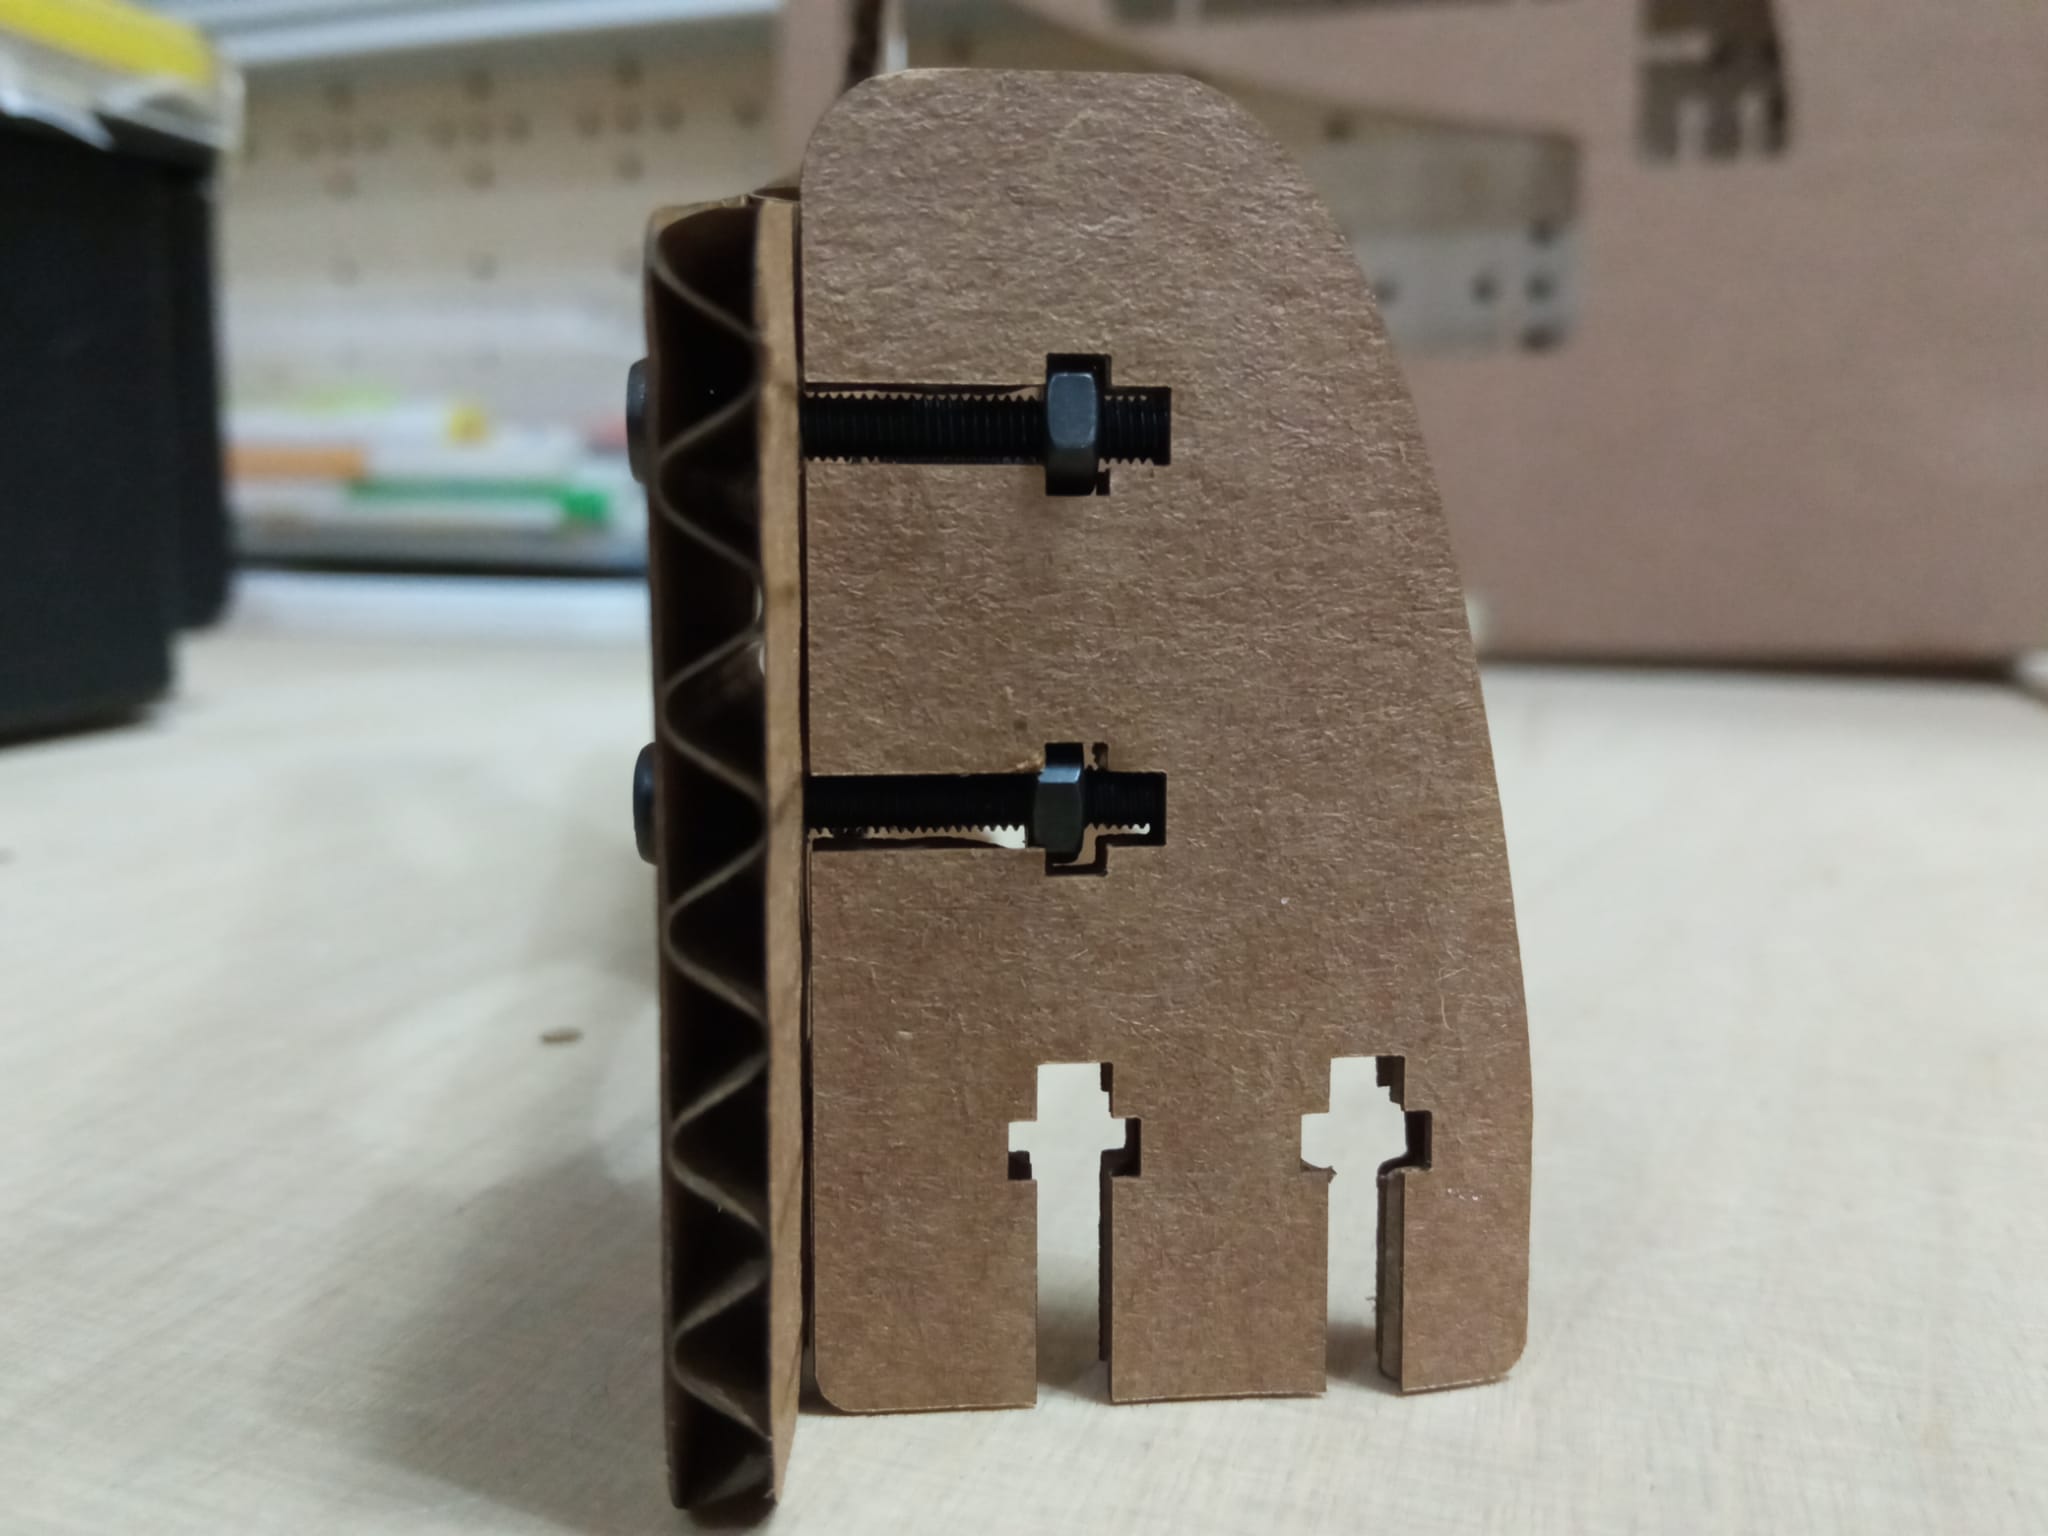
Once I was happy with the design I “laser-cutted” it with in cardboard to validate the design and joints.
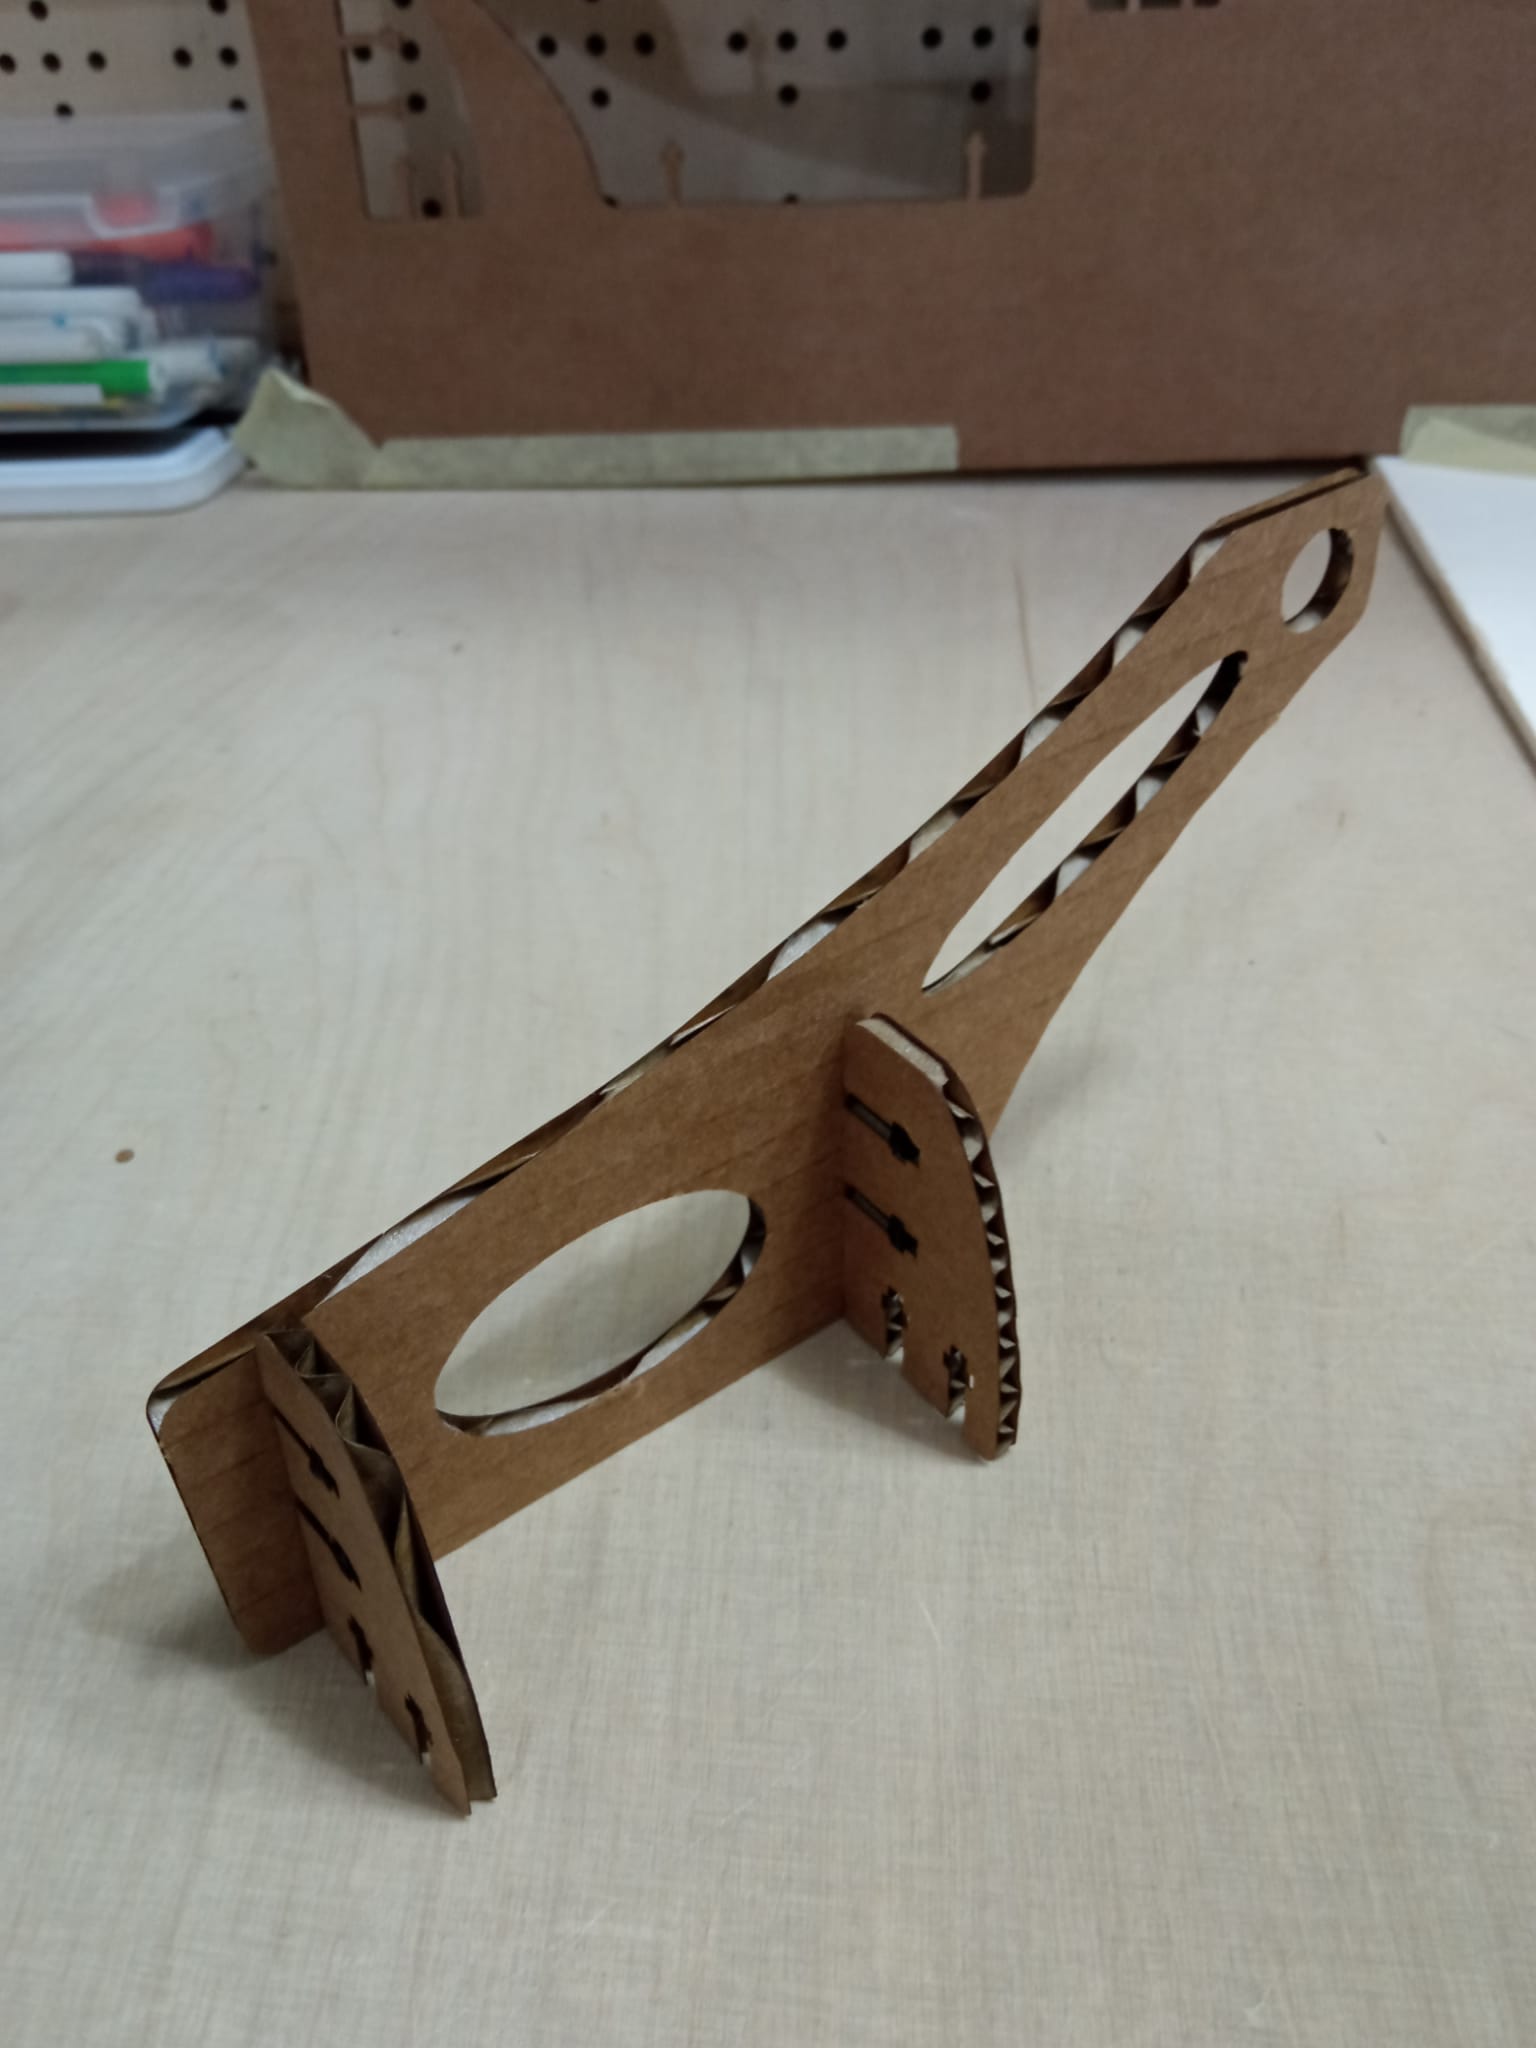
It works fine once mounted but mounting is not easy and requires precision, especially to hold the nut.
Then I decided to go for the plastic version which you can see below.
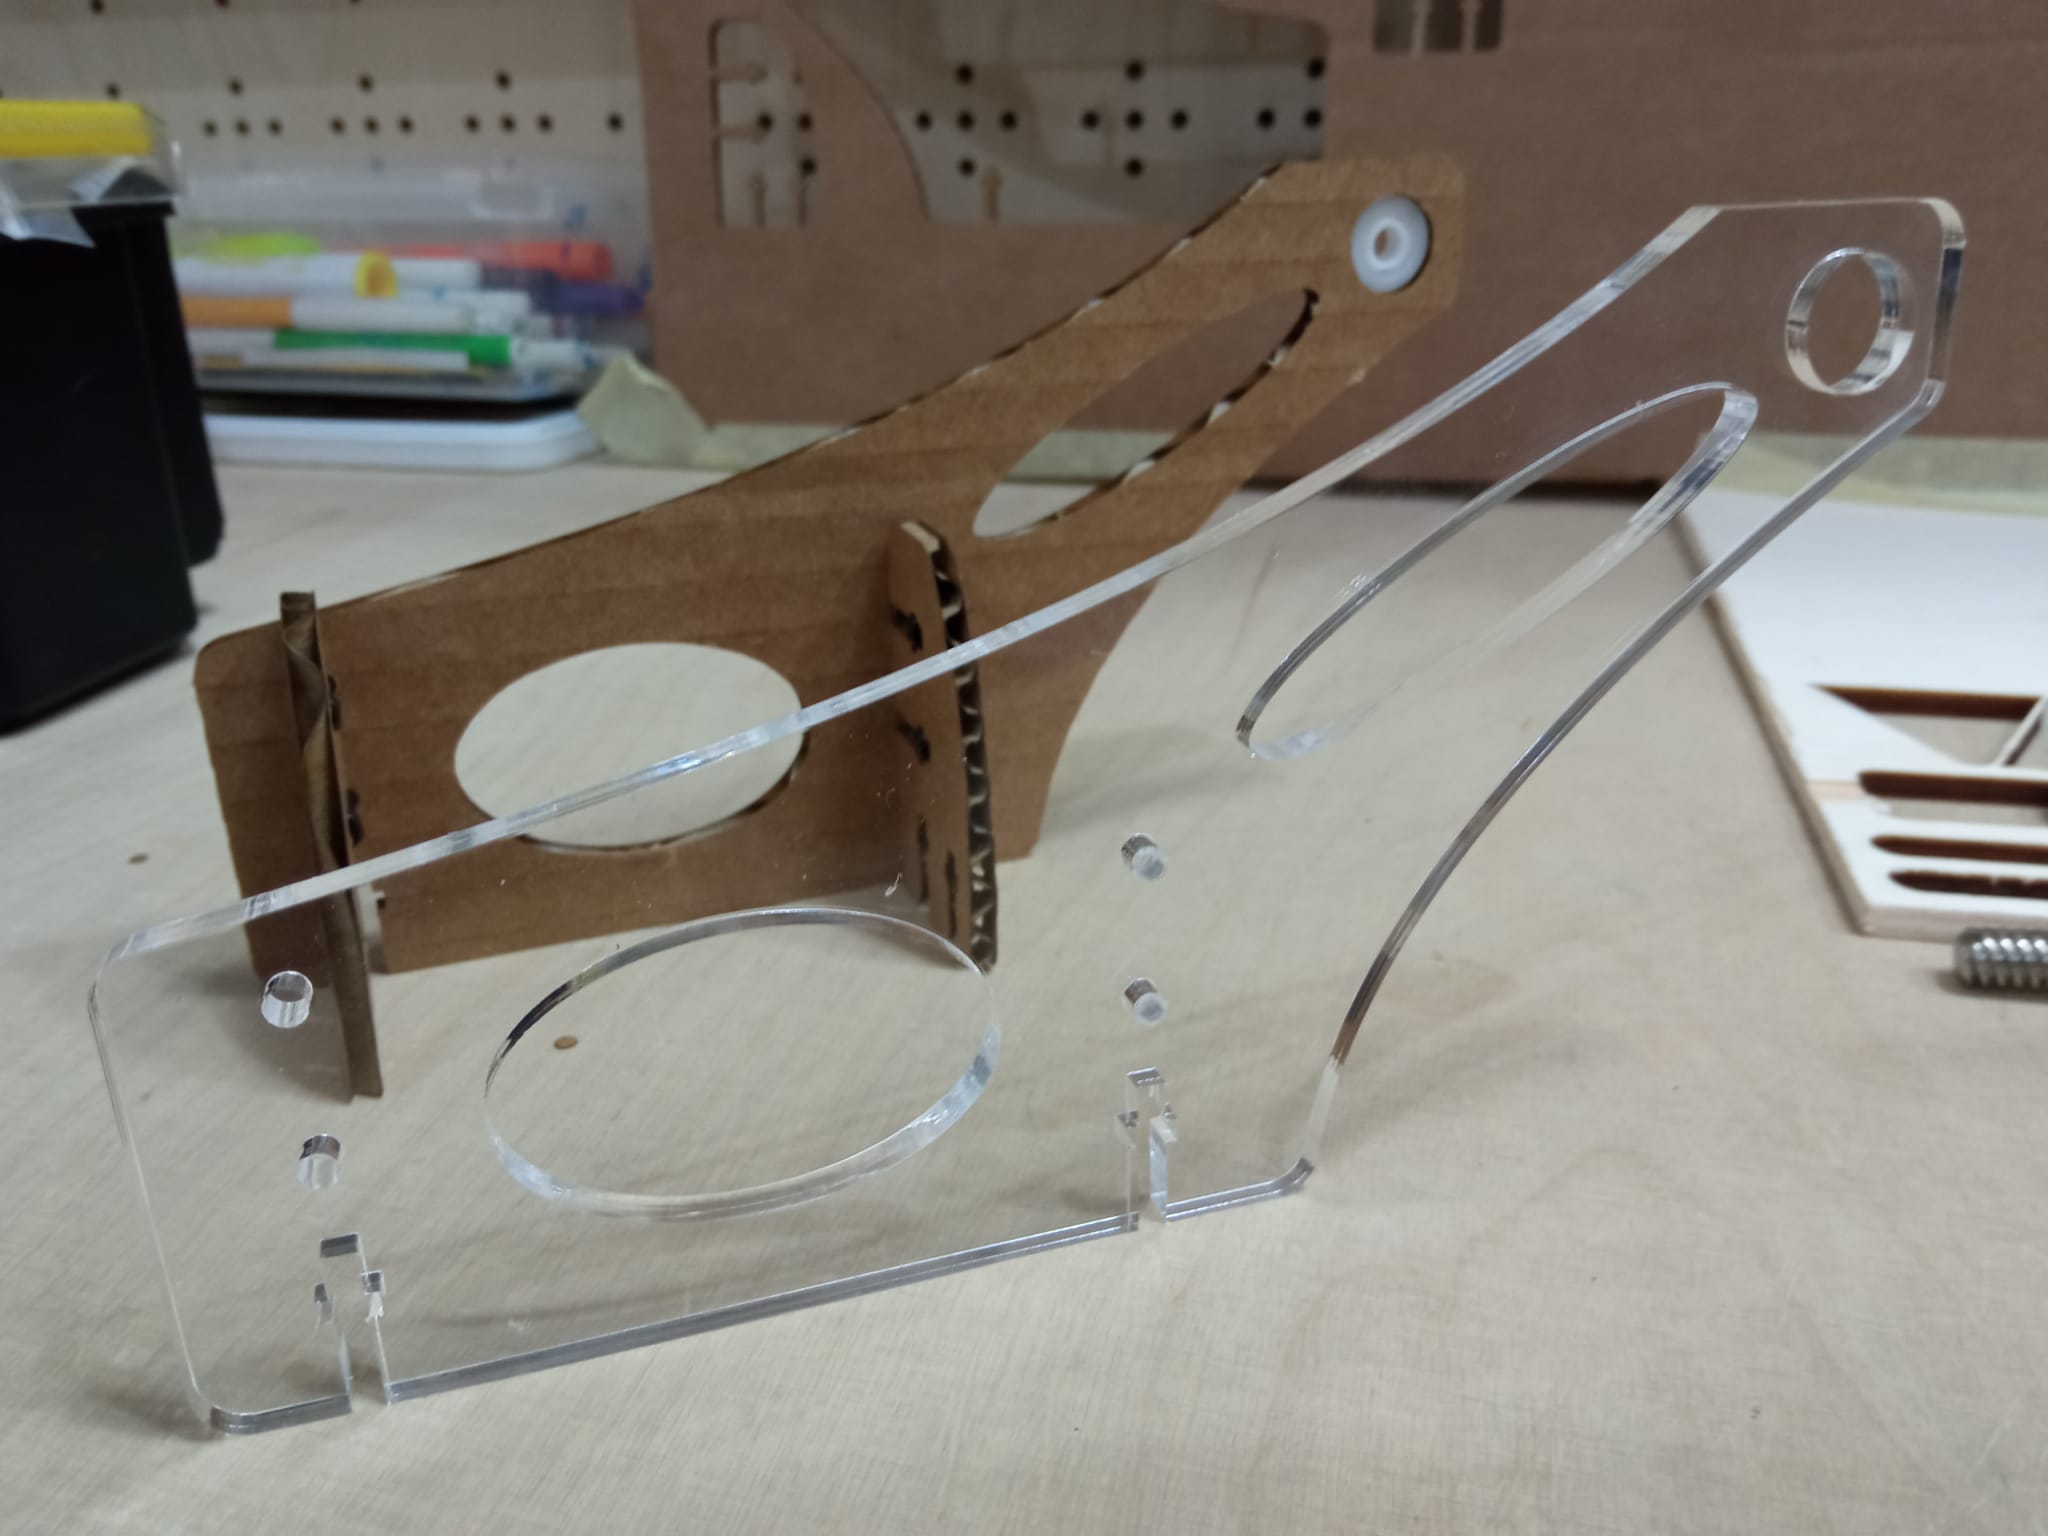
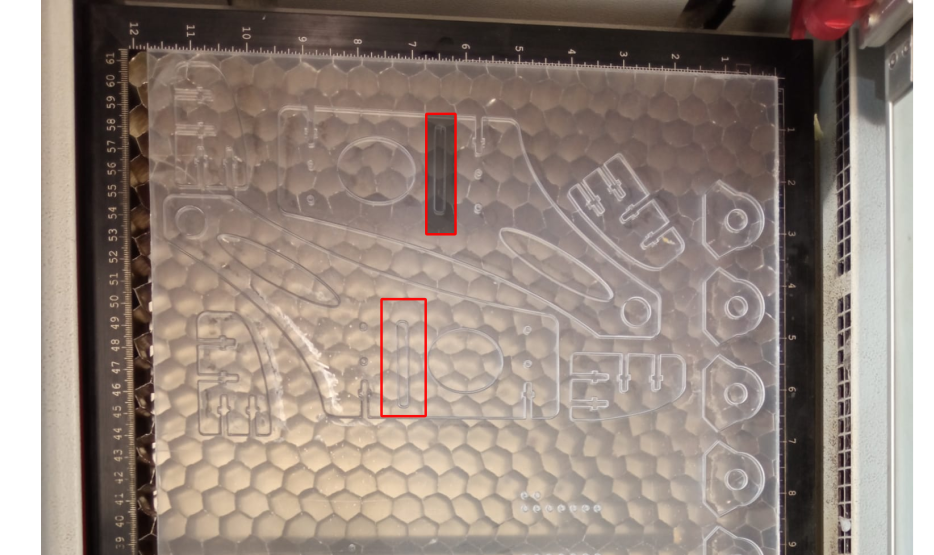
The mounting and tolerance went fine but we had some issue with the tension of the belt. So I modified the design a little bit to add a slot for a belt tensor you can see on the cutted part below.
What I learnt from this assignment
Good points
First I was impressed that as a group we could bring this machine to life within a week starting from scratch. I think that what helped us was that everyone had the same common idea to work on and each actor was happy to work on his part. The motivation of creating a “Live thing” was a good way to cheer up the team.
On the “production side” it was a first for me to work in this way with metacrylate and screws. I really enjoy studying the design of the 6-pack CNC machine to re-use it for our machine.
Bad points
The documentation was not an easy part. Indeed there was several ideas on how to group contributions of all the students and as no-one was here to say “This way”, well it went in all directions and I think the final documentation for all the group is not as good as it could have been. Indeed we worked on a common base to be efficient, save time and bring knowledge to everyone, and we did not fully use this opportunity on the documentation side. On the fabrication side it was a success.
Files
Here are the files I worked on for this assignment