15. Wildcard week
This week is about pushing further the labs possibilities and develop or practice a new fabrication process.
What to do
I first wanted to make furniture made out of composite for my camper-van but during the workshop we did on composite I realize how delicate is composite fabrication. Indeed making a good composite object requires knowledge AND skills. Our instructor explained us that even after 5 years of practicing it is easy to make mistake. So for a week assignment making a big pieace of furniture is a bit risky.
I then thought about going for something a bit easier : carton folding using laser cutter. I wanted to make my own Google Cardboard.
That was without counting on the discovery of Plastic Welding ! Our instructors showed us what Javier Alboguijarro has developped in the laser cutting machine.
This will be my task for the week : making fun looking ice-cubes using plastic-sheets
and laser welding.
The process
My project is different in two points regarding the original one :
- material : I am using semi transparant/food safe PET
- goal : I want to design an ice-cube bag which requires to think about fluid circulation (kind of molding&casting).
Testing
Before going for complicated shapes I wanted to try on a simple one to set-up proper welding parameters.
Design
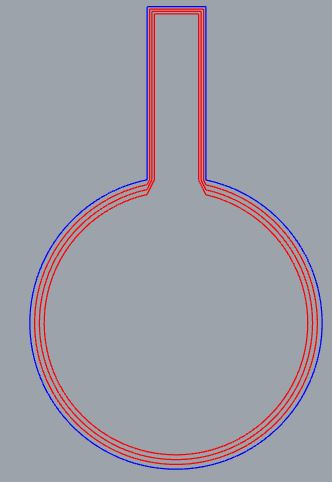
Thanks to the spirit of open-source design I could use the experience of Javier to start my design. I used his rules :
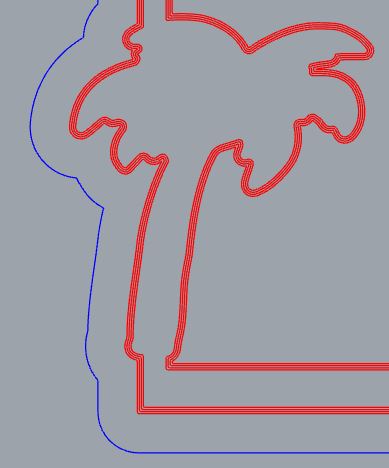
- 3 welding lines
- 1 cutting lines
- all lines offseted by 0.4mm
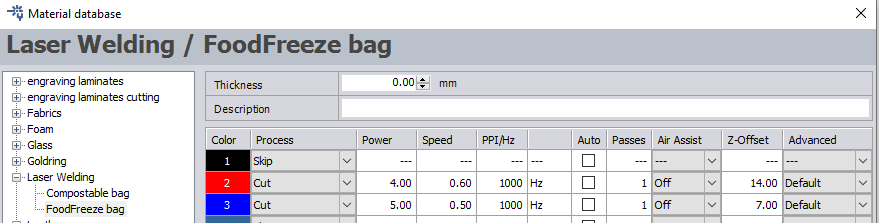
Here is the first test design to check that :
- the parameters are not to far from what I need
- the material can be welded safely (fumes, fires etc…). The “4” indicates it is PET and normally accepts laser cutting.
Welding
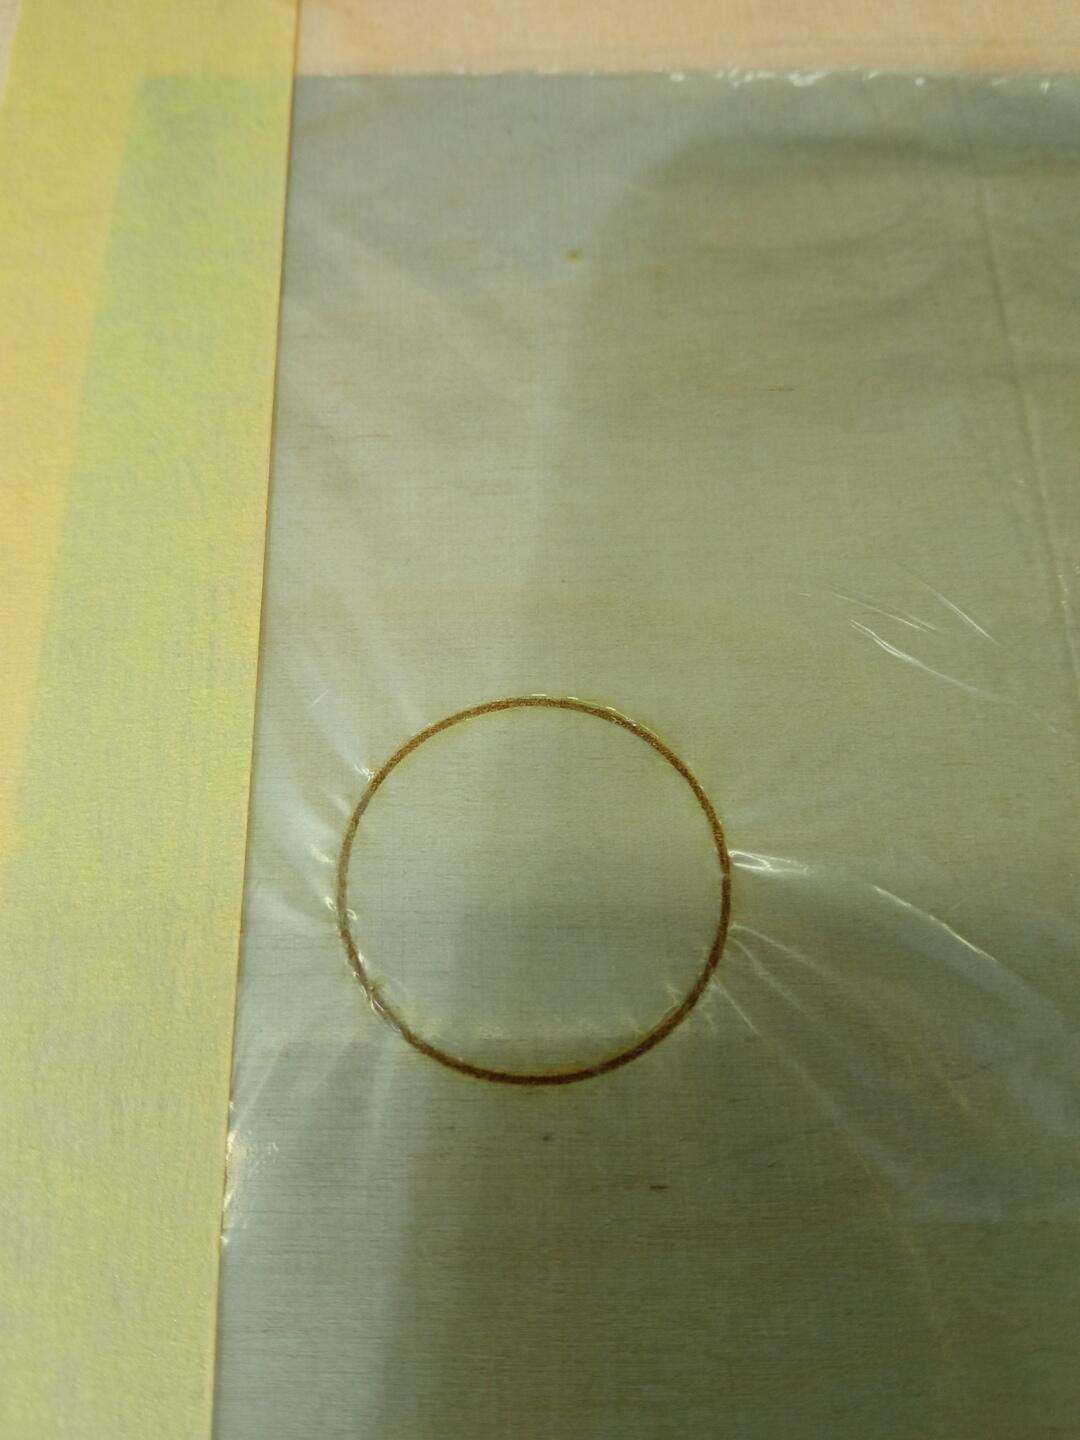
Before welding, it is of outmost importance to install the plastic sheet properly in the machine following two rules :
- No gap between the plastic layers –> Most important one
- Avoid folds
You can see that the installation is not perfect as there are some folds. But in this case both plastic layers are in contact almost everywhere.
The first difference I noted when going through the welding process is that the material being transparant it does not weld perfectly with the base parameters and a burn the wood below the plastic sheet.
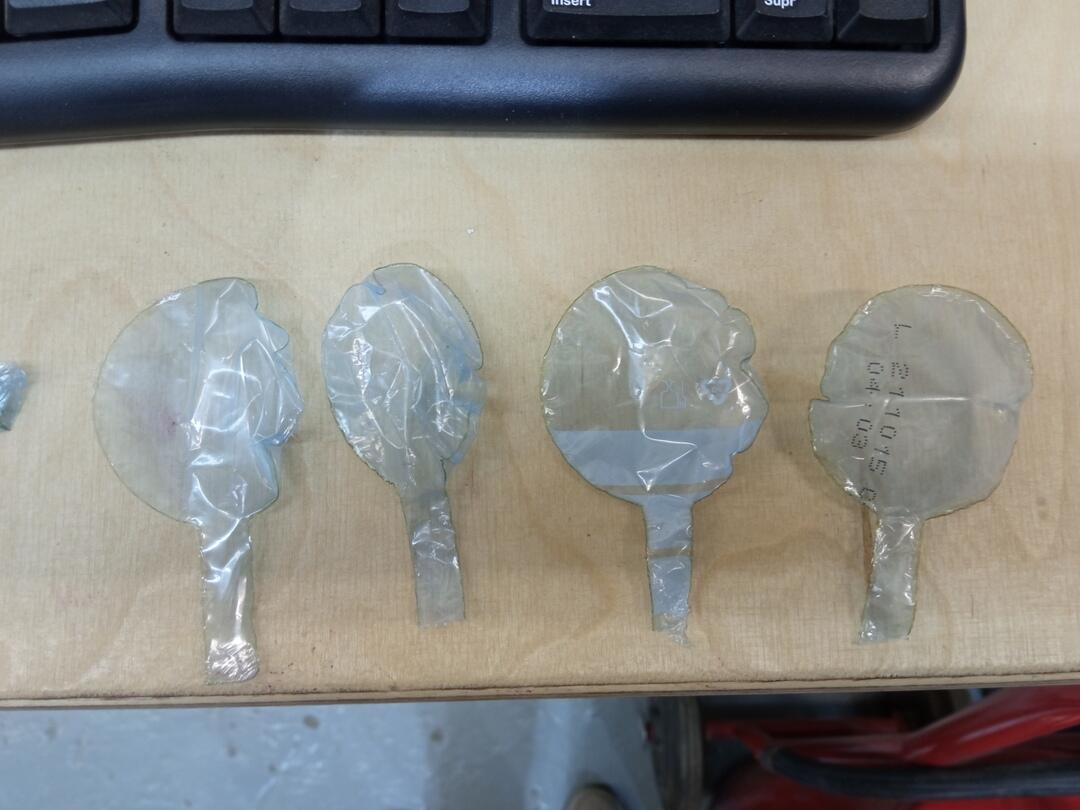
Here is the first model. Two conclusions can be drawn :
- The welding did not work
- The cutting is the one responsible for welding
- The sheets were not fully in contact because a hole appeared on the side
I played around with the height/speed/power of the welding phase and did several tests.
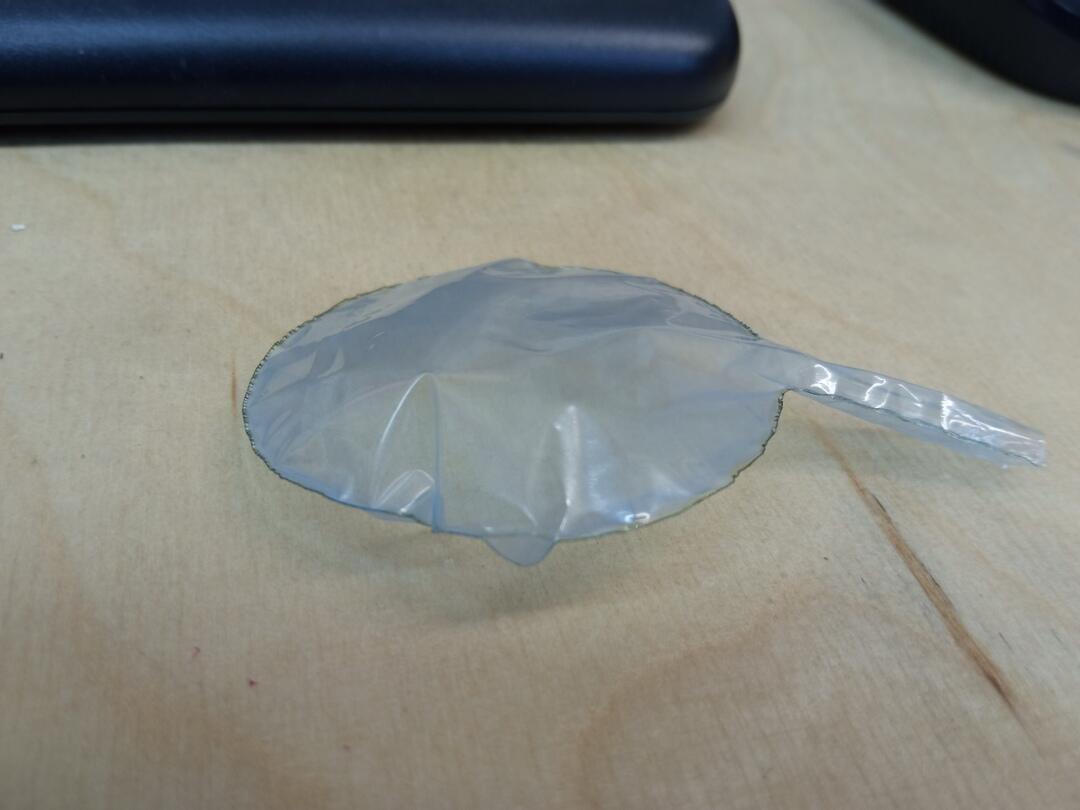
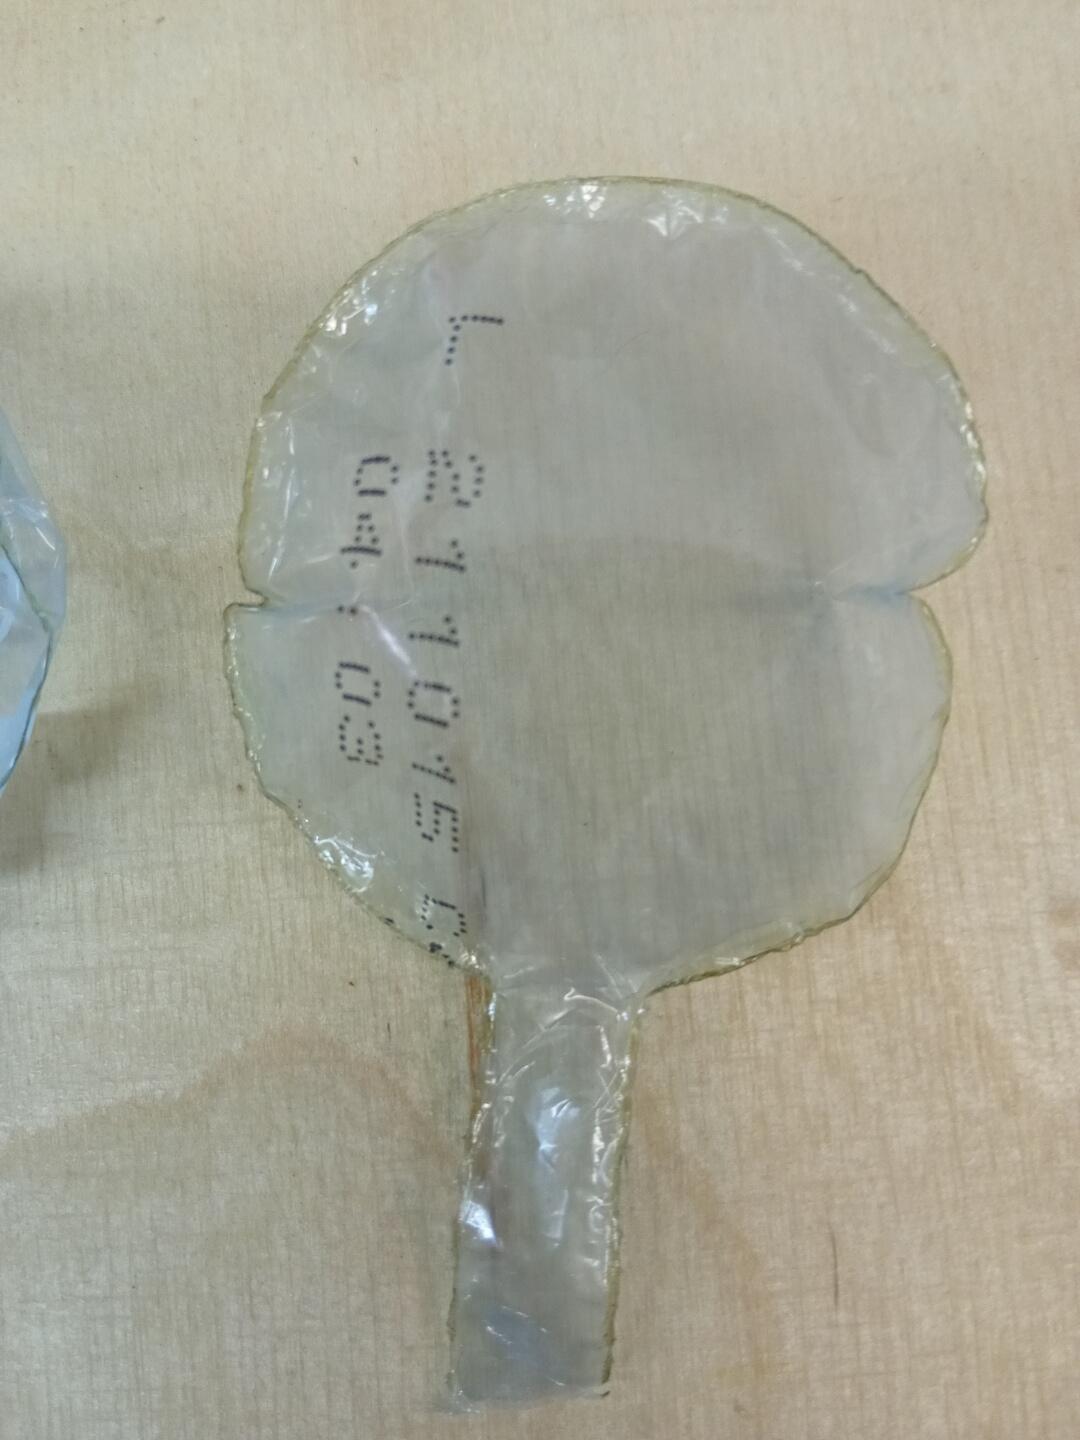
I finally reach a good result with the following parameters :
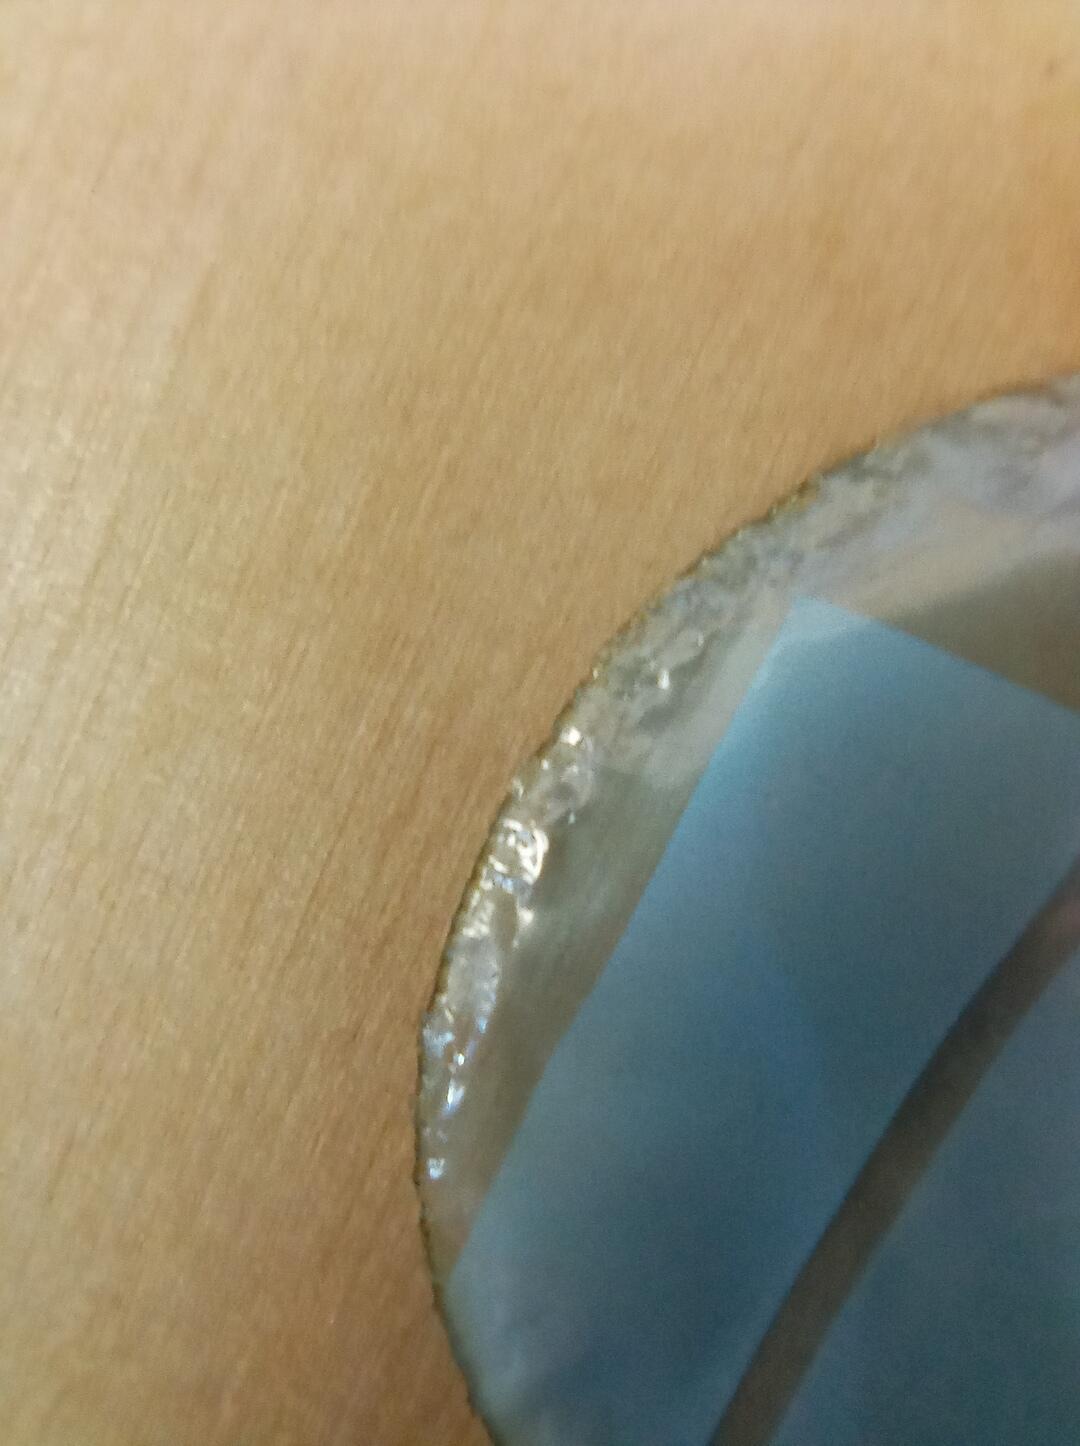
We can see that the welding worked and has a width of approximately 2mm. I could inflate this part and even explod it thanks to the tightness of the joint.
Time for fun !
Palmera
Summer is coming :sun:, and what is better to go with it than a cold mojito with PalmTree looking ice cubes ?
The palmtree
Design
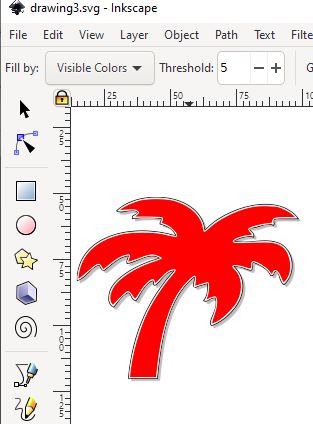
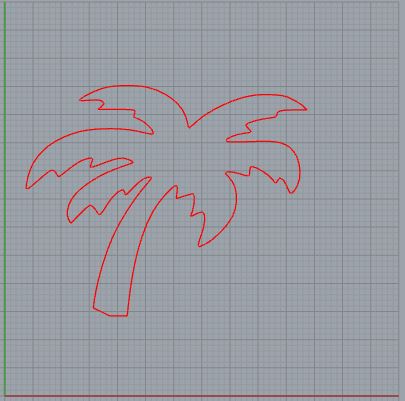
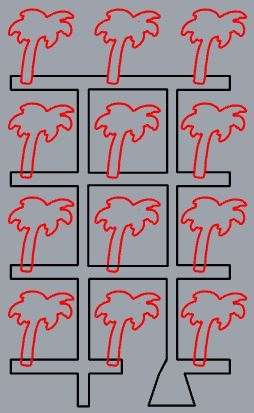
Here is the design I will use

To use the shape in Rhino I went to inkscape and filled it with a random color so that I have a solid shape.
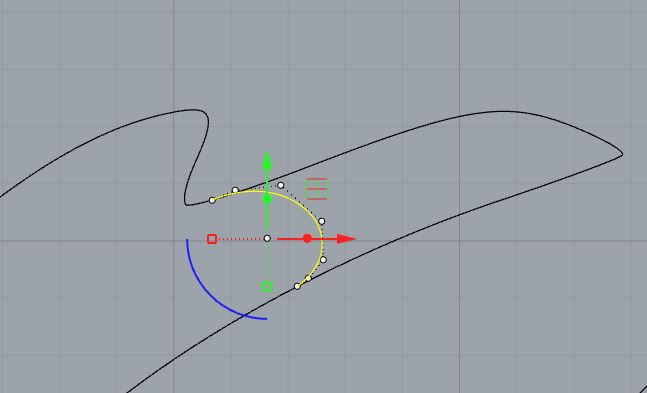

Welding
The wedling seems to go on pretty smoothly. During the process I could see that when the laser pass for the first time the plastic shrinks a little bit. It is not optimum because this effect tends to separate the plastic layers. Some opimization should be found.
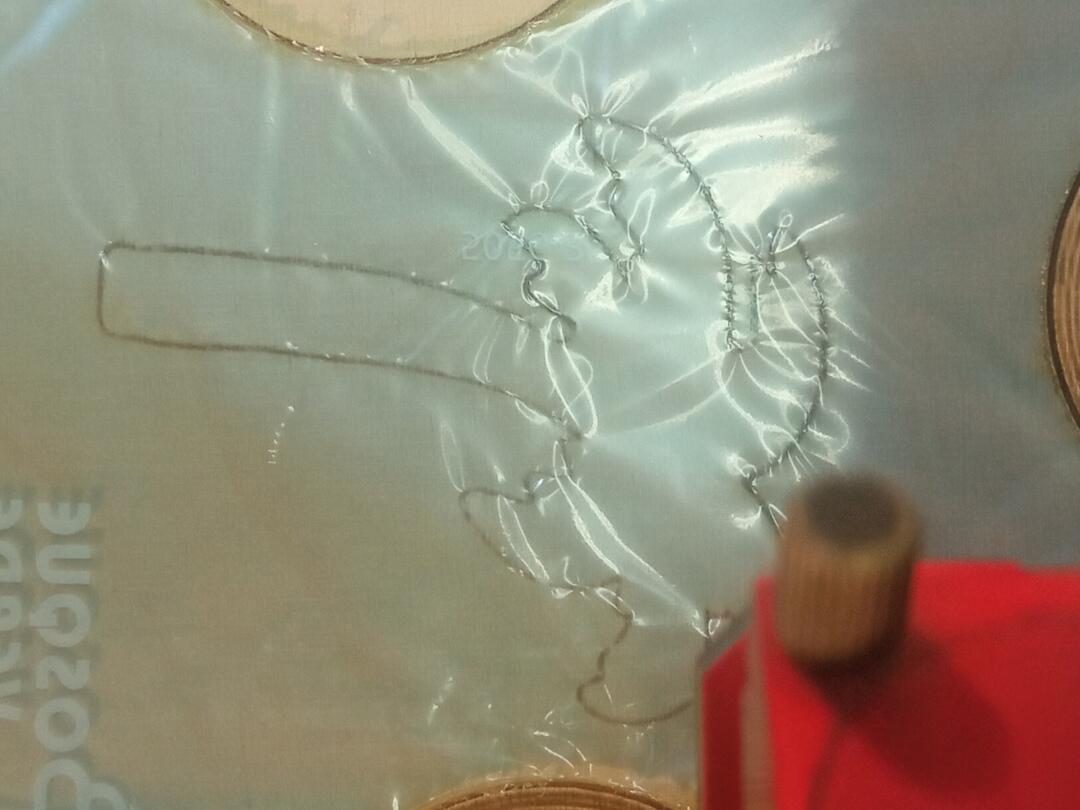
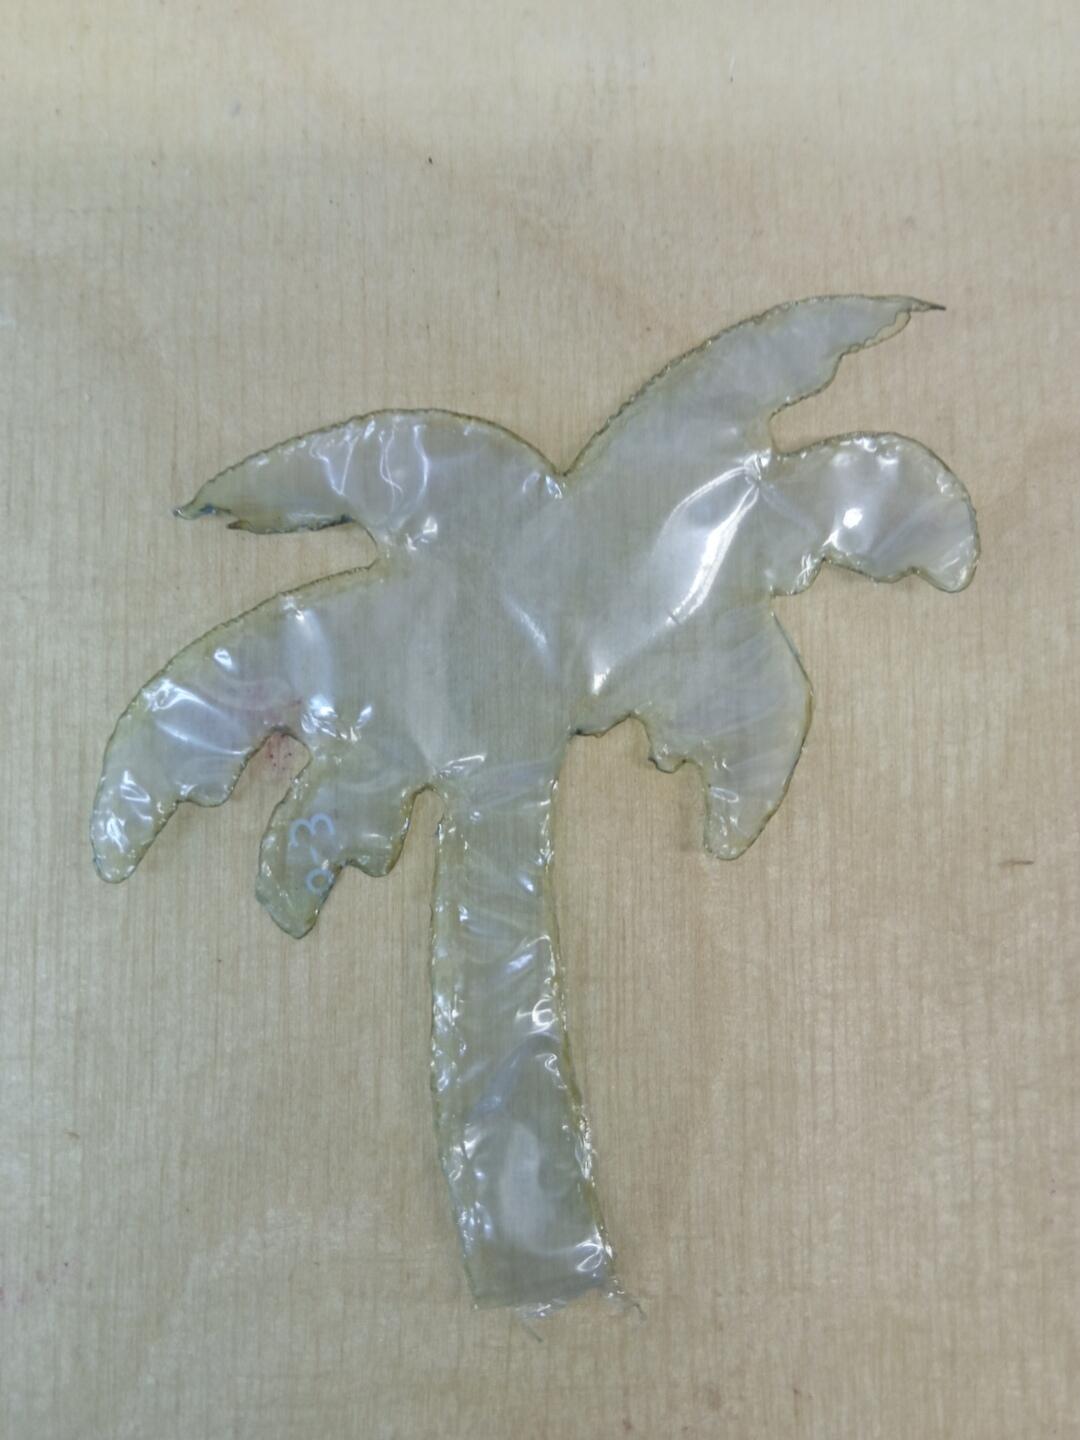
The result
I am happy with the shape, indeed even if I had to smooth the branches it still looks like a palm tree and the size is good for an icecube. Now this plastic burns when we cut it and the smell is not so nice. Also it leaves brownish stains on the fingers … At the moment as my plan was to weld only and not to cut it was not such a big deal. I cutted the palmtree to be able to see it properly and test to inflate it.
The network
The Palmtree being ready I now have to prepare the network.
Design
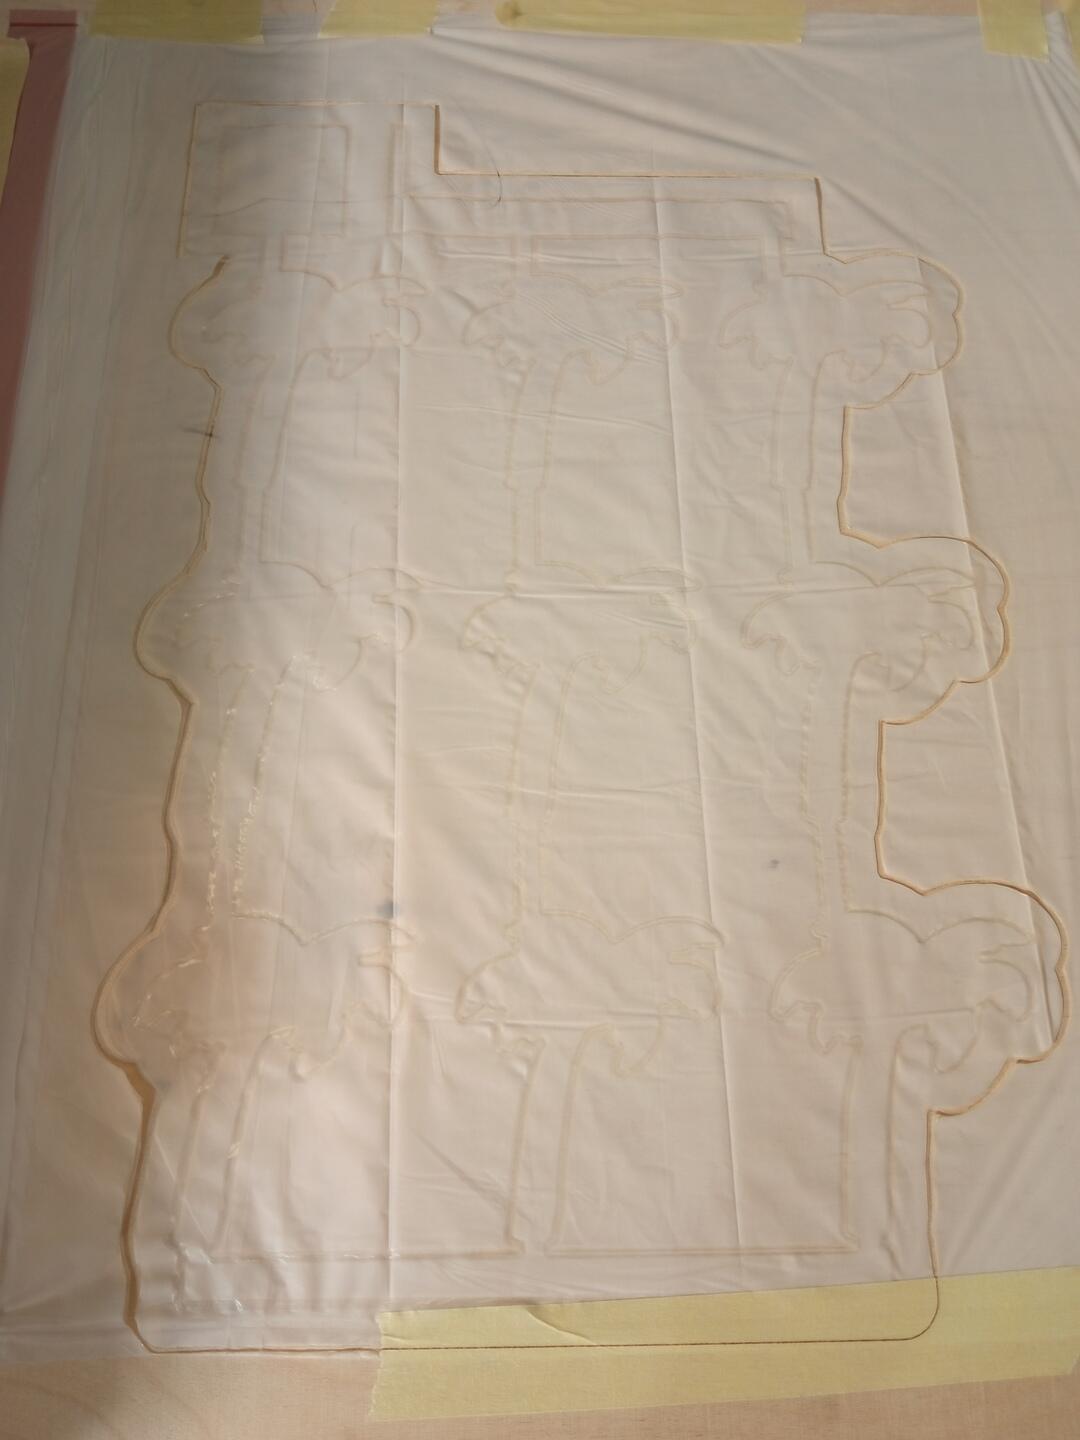
The design was done in two steps. First I linked all my palmtrees by a matrix of pipes.
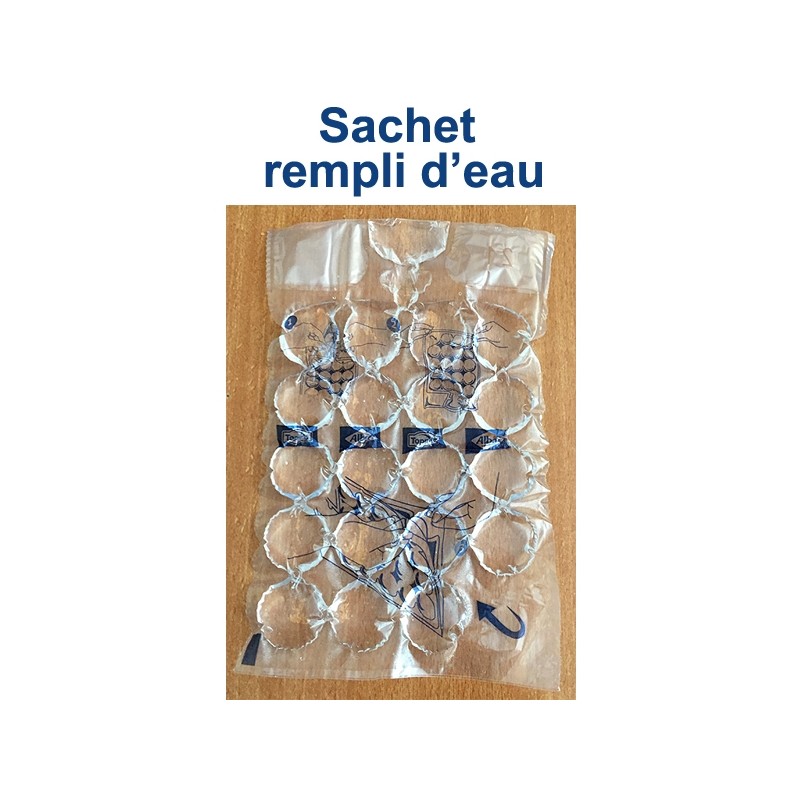
I quickly realized it would not be the best way to do to fill properly each cells. Then I thought about the original icebag shown at the beginning of this post. Each cell is part of the network. I then redesigned the network with this new constraint. Also trying to have the cells input and ouput at the lowest and highest locations.
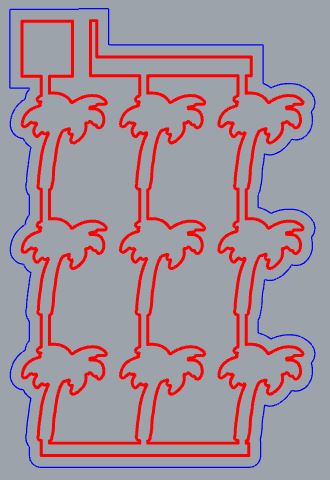
The welding and cutting lines respect the rules given in the previous section and have to be continuous to insure the wleding process will be done in one full step. During one of my tests it was not the case and the laser would stop on its way to go somewhere else in the design and come back which is bad for wleding continuity.
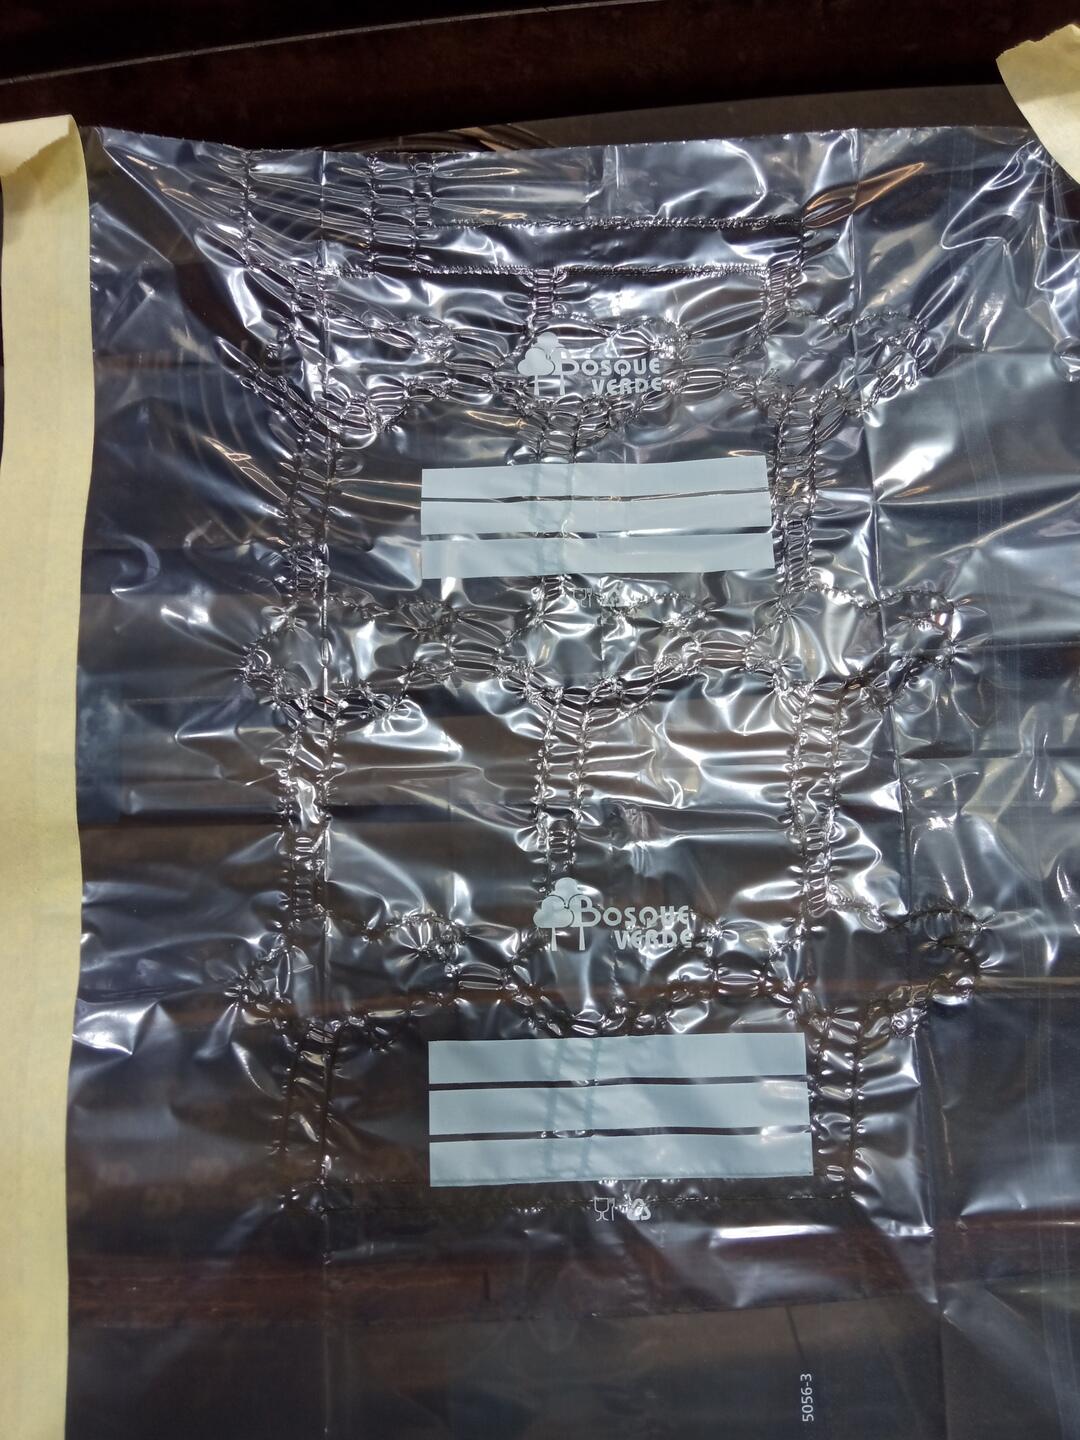
Welding
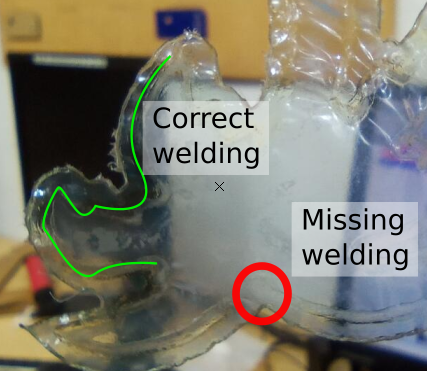
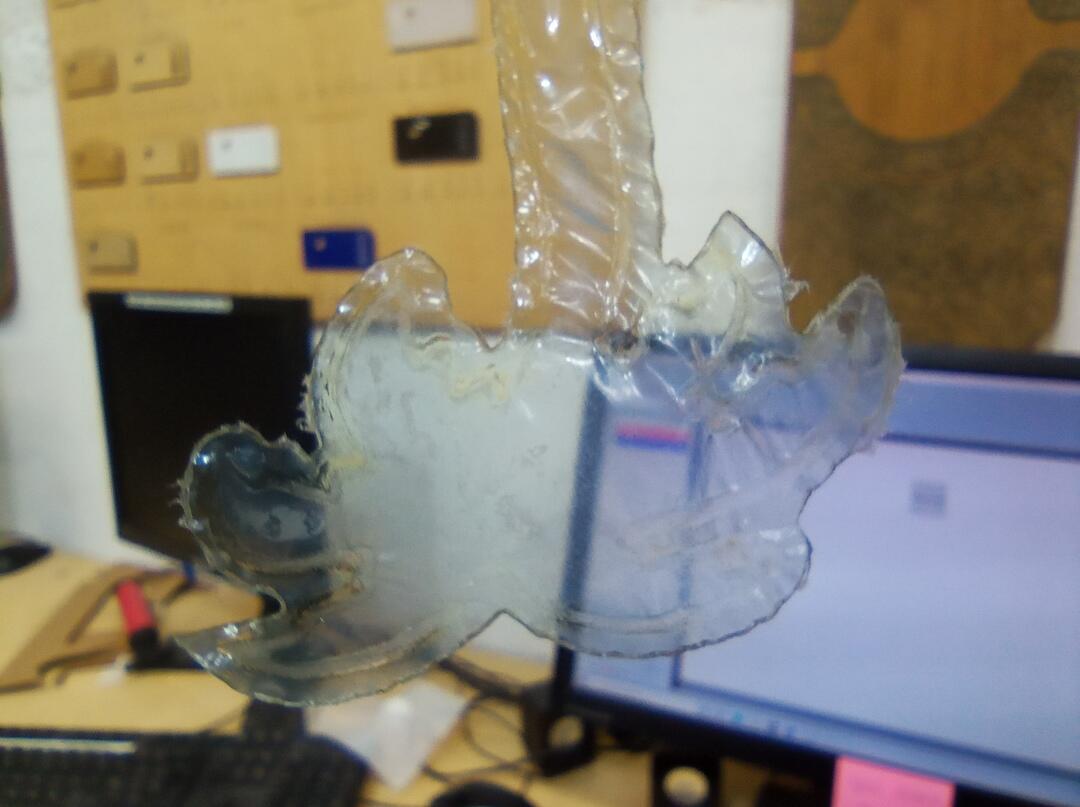
The welding process seemed to be fine but it is hard to confirm that there is a leak before testing if with water or inflating it. And sad surprise there was a lot of holes and the spaces between the Palmtrees were full of air or water depeding on the test.
After several failures I tried the same with the material used originally by Javier : Compostable bag.
The result was far from acceptable, with a lot of unwelded material.
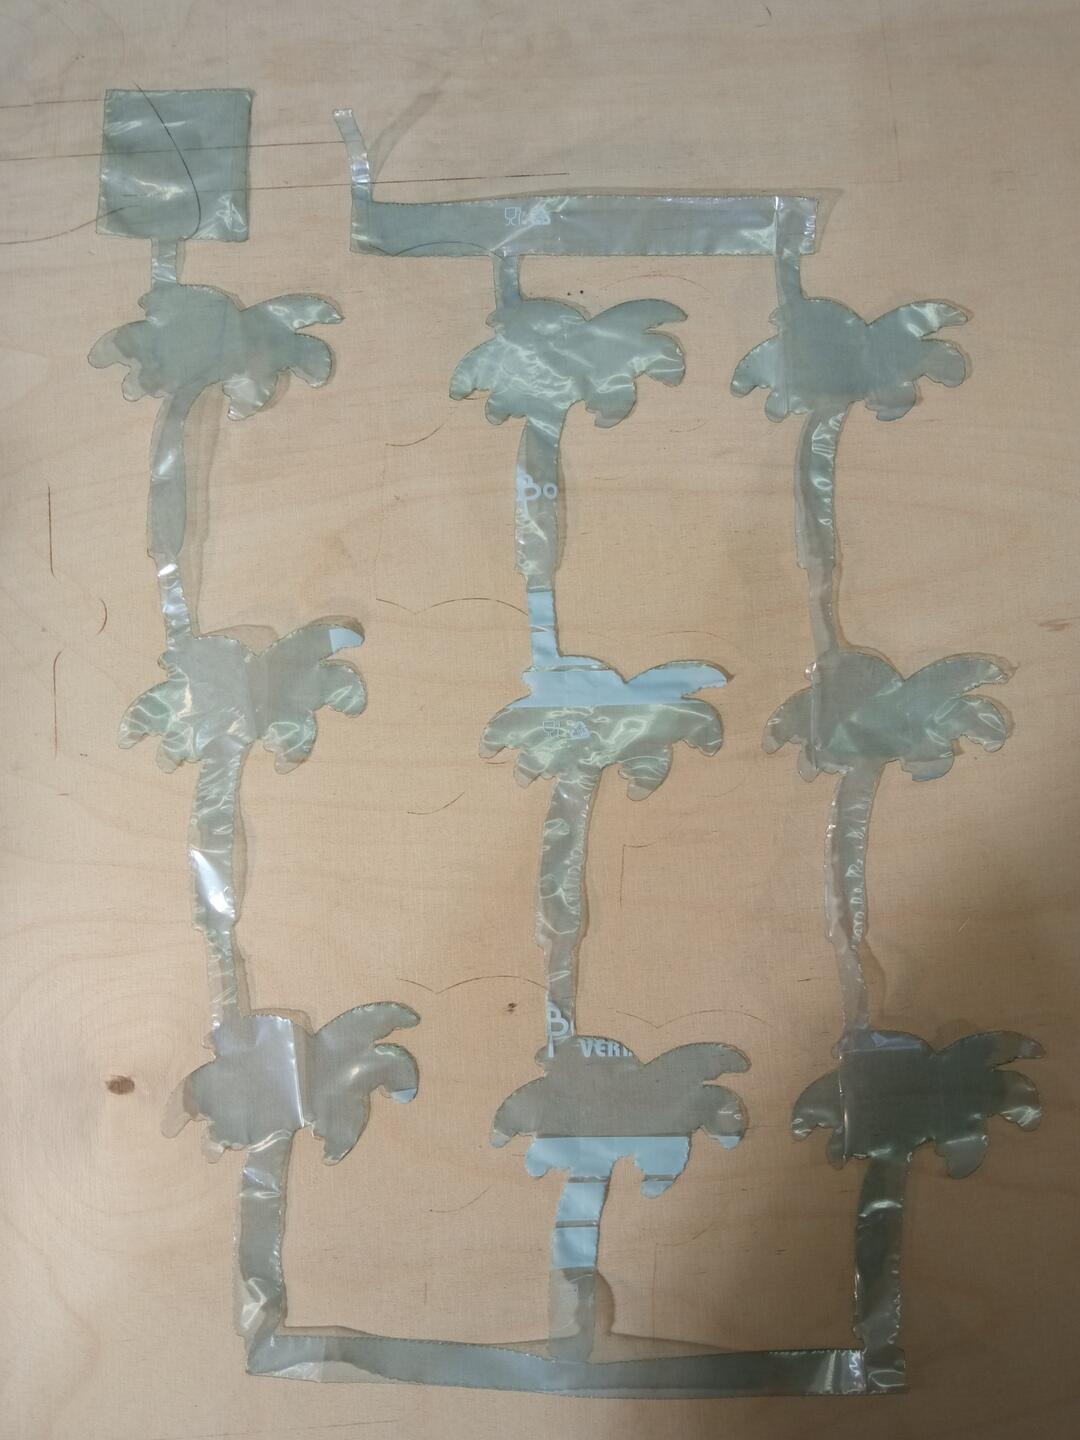
Then I had a last idea after so much testing. As I said earlier, the best results I had in terms of tightness were do to the cutting more than the welding… So I decided to only cut without welding.
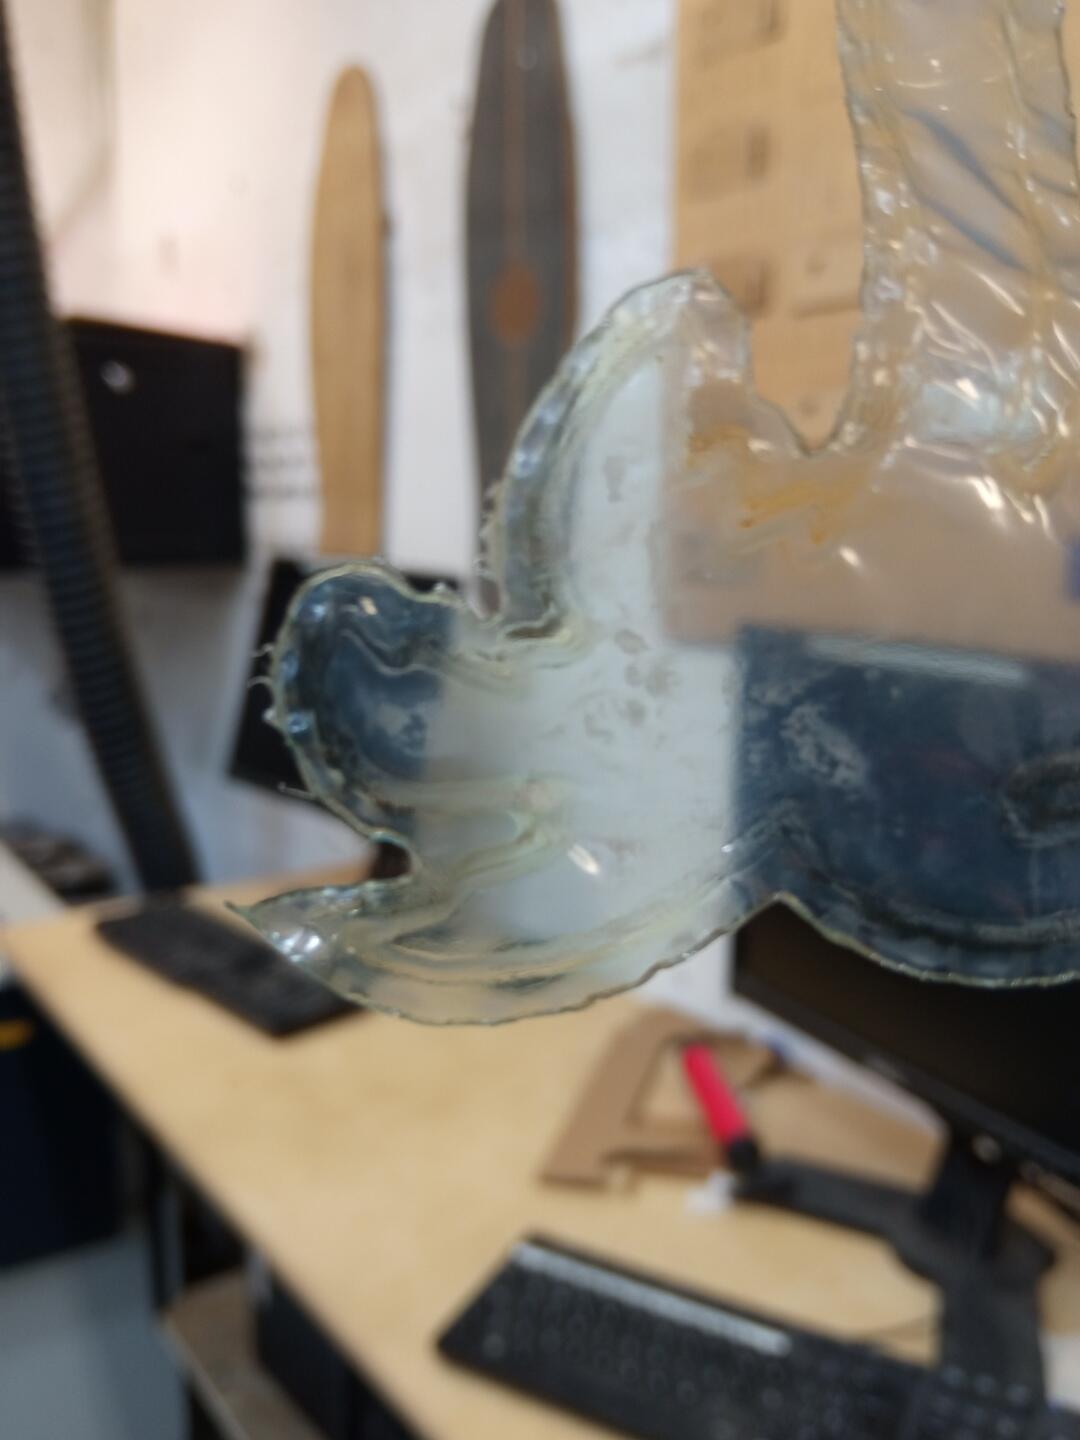
Here is the result. The negative point is that it is complicated to manipulate and fill.
The result
I filled one of the PalmTree because the otherones had holes.
Results on monday 17th of may !
…
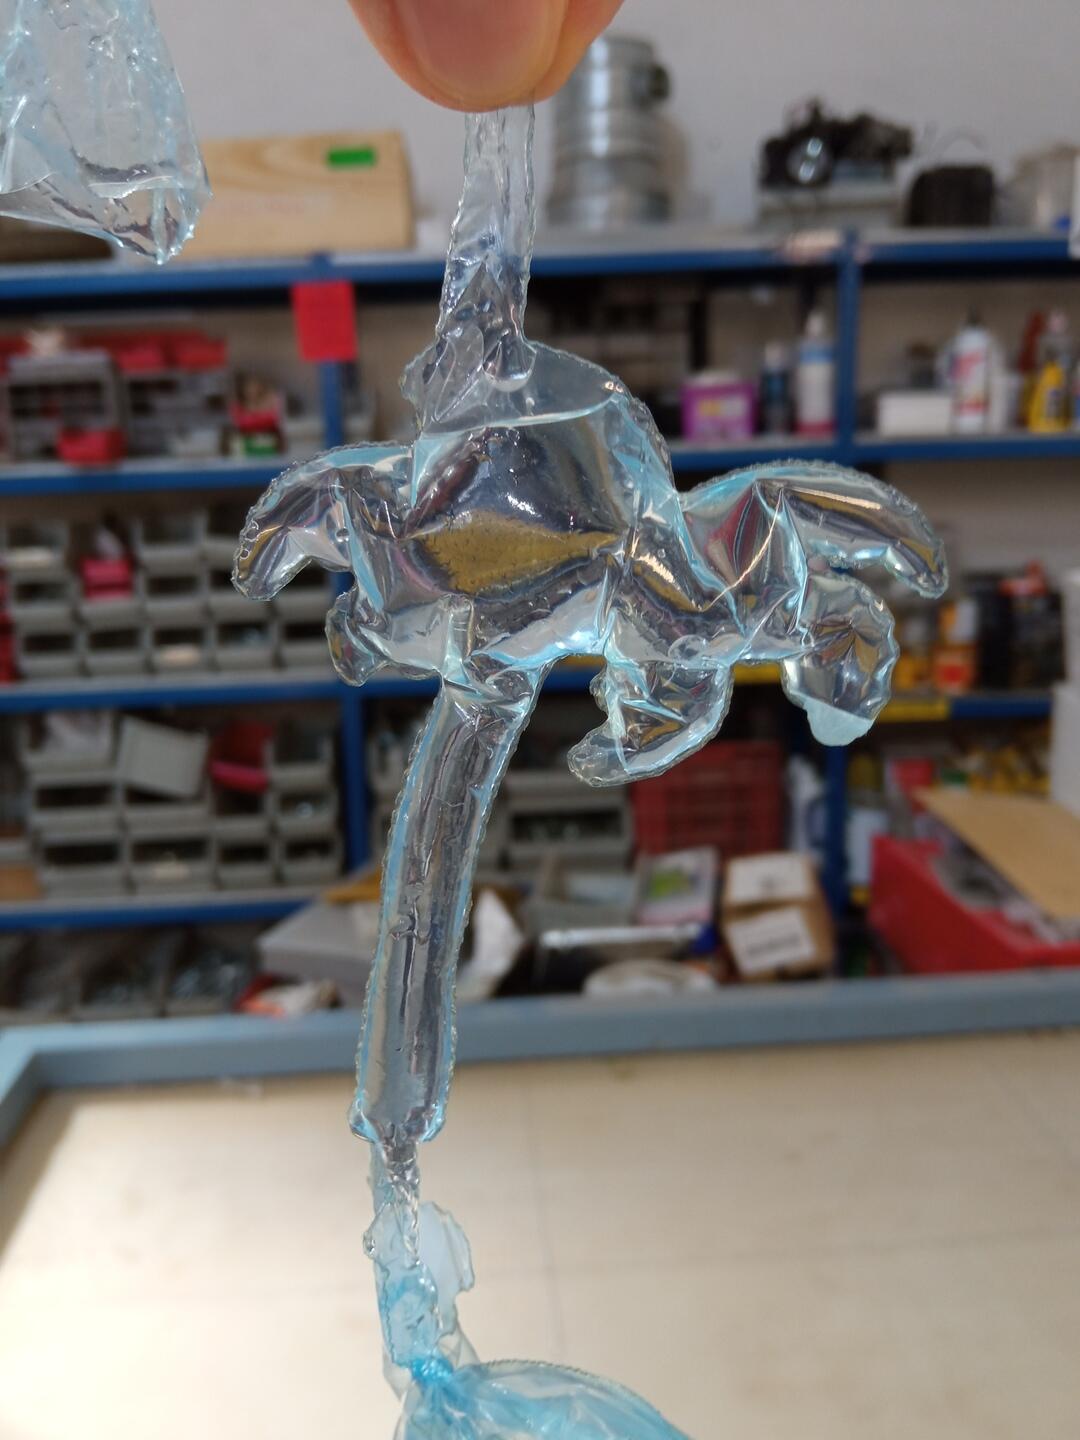
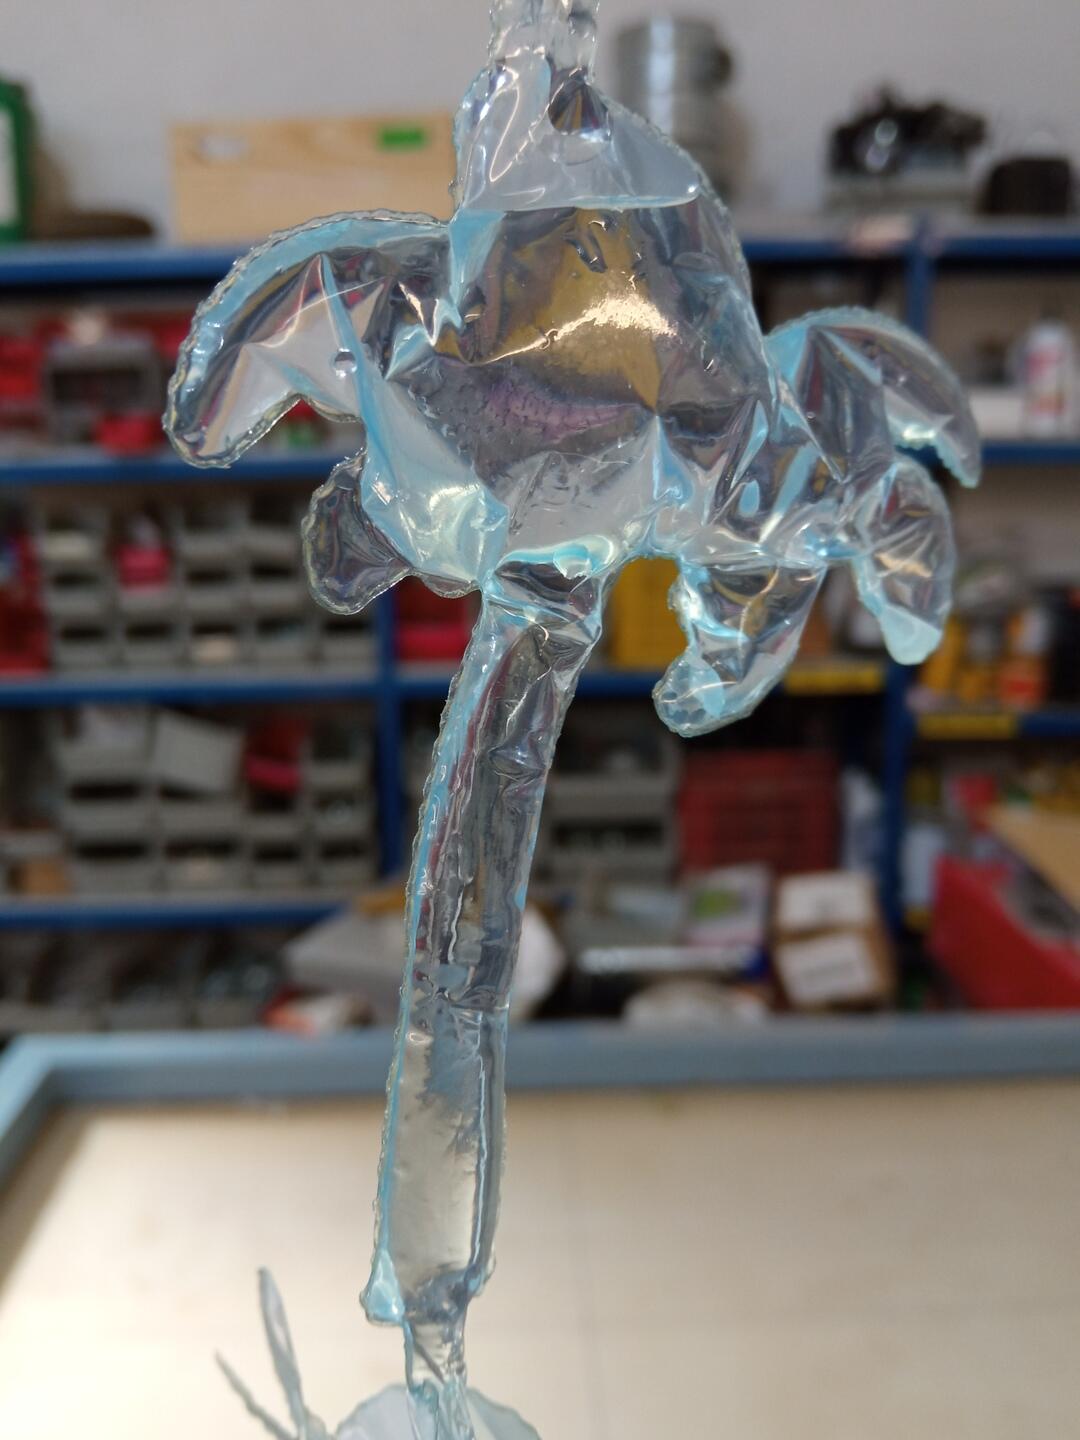
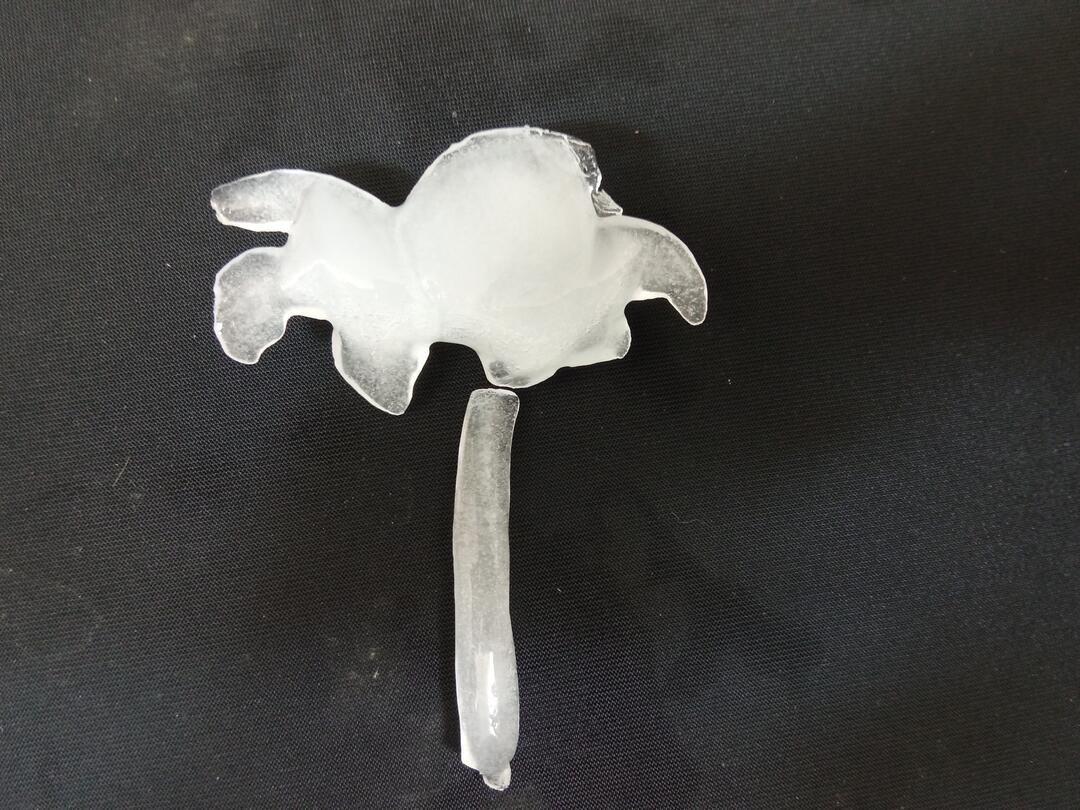
So after a whole weekend in the freezer here is the result. The bag did not explode it is a good thing !

And here is the icecube out of its bag.
Ideas for improvement
To improve the process if I had mode time I would
- Cut in a way to keep the whole bag as a square. The final cut I did made like a tinsel that was not easy to manipulate.
- Work on the welding to make the icecube removal easier.