3D Scanning and Printing
For this week, we had to work as a group to characterize our printer, individually 3d print something that couldn't be made subtractively, and 3d scan an object.
Group Project
The printers we have in our lab are Prusa i3MK3s. We ran two prints to test the characteristics of our printer. The first test we used was actually created by one of my teammates, Tuna! He worked in Fusion to create a test for size accuracy. When working on a print, the nozzle of the 3d printer goes to the correct dimensions, but when the plastic actually comes out, its position is shifted slightly. Tuna's test was made up of two 1 inch by 1 inch by 1 cm blocks, one of which has a hole with a groove in it, and the other has a prong with a groove attached to it. The idea with these two blocks is that they should fit snugly in one another, and the grooves should act as a locking mechanism. Here are a few process pictures from when Tuna was designing the test in Fusion.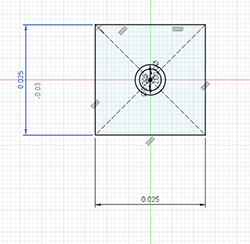
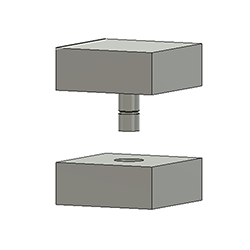
Here's the printed test!
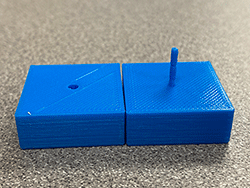
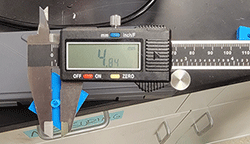
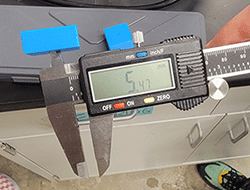
Our next step was to measure them to test the accuracy of the print. As you can see in the photo below, the square is exactly an inch wide.
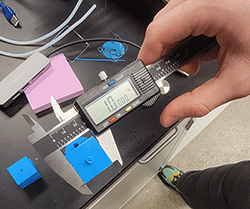
The width of the square was a bit off. Instead of being exactly 10 mm, it was 10.04 mm wide.
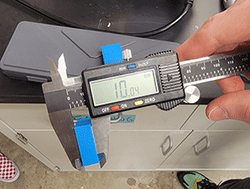
We also measured the prong and the hole of the design, and found that these features weren't as accurate as they should be.
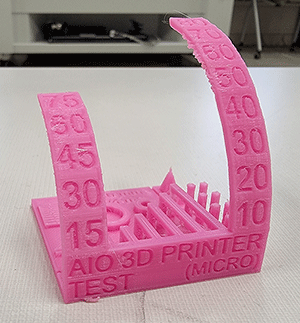
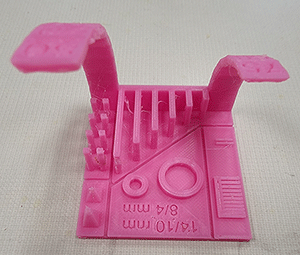
Our next test we found on Thingiverse. This is an all-in-one test, which tests supports, scale, overhang, diameter, and bridging. We downloaded the test file, opened it in slicer, and printed it!
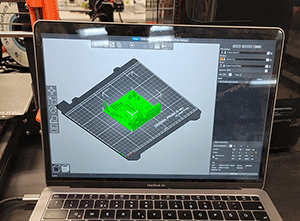
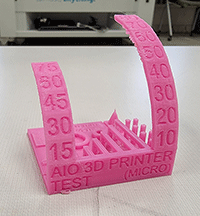
Overall, this is a pretty self explanatory test, with each labeled part showcasing what it was testing. As you can see, the overhang starts to get rough as you get higher along the arch in the first image, but our printer was still capable of doing it. There is a fair amount of stringing between the elements in the back part of the second picture.
Individual Project
For this week's assignment, we had to 3d print an object that couldn't be made using subtractive manufacturing. After a bit of brainstorming, I decided to make a shell with a pearl in it. I don't think this could be made with a tool like the CNC router because the bit would have to go all the way around the pearl in order to actually make a sphere, and it couldn't do this wothout damaging the shell aspect of my design. To make this shape, I started by taking a sphere in and stretching it in Fusion360.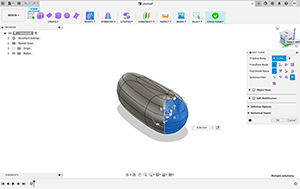
I continued editing the form until I had a shape that vaguely resembled a dustpan.
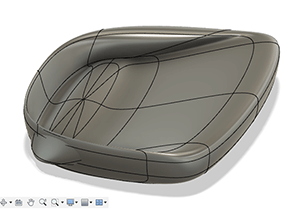
I then took this and added lines to the edge, which I would use to create the curves of the end of the shell.
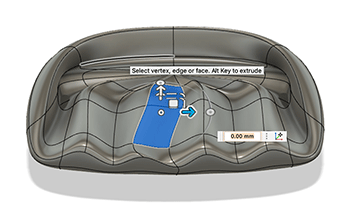
I curved the ends and did some final touches fixing the shape of the shell itself, before I was all set to add the other components.
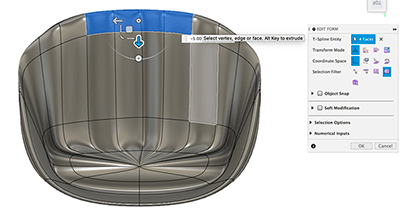
I added a sphere above the bottom shell for the pearl. I made sure this didn't touch the other body, because I wanted it to be a separate component within my print.
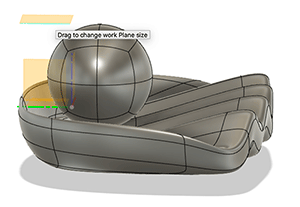 To add the top shell, I reflected the bottom shell and moved it upwards before rotating it so it was just above the pearl. I added a small rounded rectangle to the back to serve as the sort of hinge that shells have. After that, my design was done!
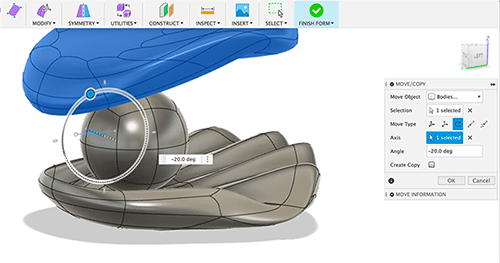
I then exported the file as an stl and opened it in Slicer, where I added supports and sliced my design.
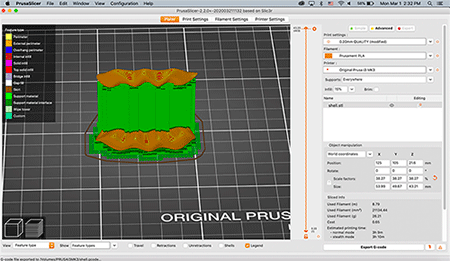
I exported the gcode to a SD card, put in the printer and started my print!
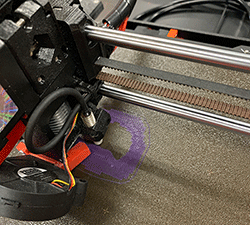
Here it is! For whatever reason, there are small holes at the back of the top shell. I'm not exactly sure why this happened, but I'm not too upset about it so I don't think it's that big of a deal.
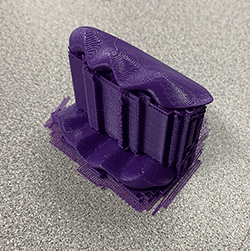
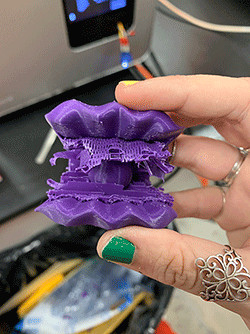
I had no issues with the actual process of printing my design, but taking the supports off was a struggle. I ended up cutting my finger while I was using brute force to remove the extra bits, so I switched to a mix of tweezers and the wire cutters we use to cut the ends of our filament when putting them in the printer. Here are a few progress pics of this tedious process.
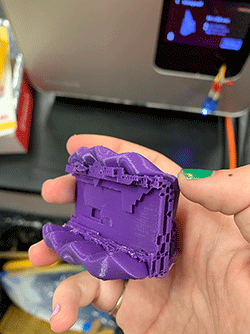
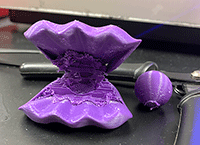
Eventually, I reached a point where I could actually remove the pearl!
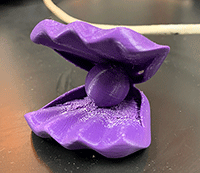
Once that was out, I had the awful time of getting the smaller bits out of the crevices and awkward parts of the shell that I couldn't really get to before. Again, this took awhile. Finally, I reached a point where everything was relatively smooth, and while there was still some supporting print on the bottom shell, I was sick of trying to get everything out and decided to call it quits. If I really have the urge, I could go back and try to get every little bit of the supports off of the bottom shell, but I still think it looks good how it is! I'm really happy with the final product!
3D Scanning
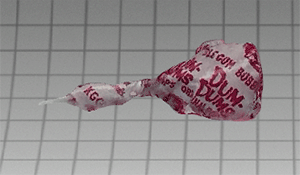
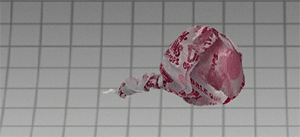
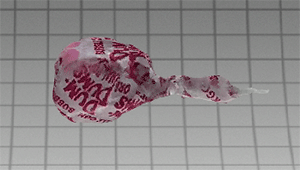
3D Scanning is a process that collects data from the surface of an object and recreates it using 3D space. It's a good way to catch fine details! This can be used for many things, including 3D printing a replica of an object without having to entirely recreate it. While 3D scanning itself is a relatively new technology, the idea of replicating objects and creating 3D models goes back thousands of years! Ancient Egyptians used to create plaster replicas of mummy's heads! What we know as 3D scanning really started in the 80s, before evolving to what we see today!To do the 3d scanning portion of this week's assignment, I used an app called Qlone. To use this, all you do is print a pdf of the mat you set your object on, and use the camera of your phone to record the object. I decided to try and scan a lollipop. When you put it on the mat and open the camera in the app, a dome shoul appear over the object.
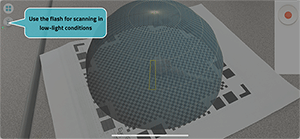
When you go to actually scan the object, parts that have been scanned will appear clear.
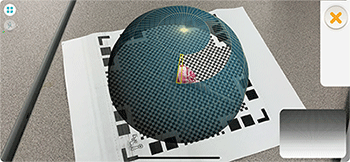
As you rotate the paper or your phone, this follows the rotation. You do this at all of the levels of the dome, until the entire thing becomes clear.
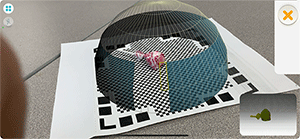
After that is done, your object will be put together using AR. Qlone has the ability to export your files, but that costs extra, so for now, all I have is screenshots of my lollipop! The stick portion didn't really show up from the scan, but the wrapper was quite accurate!
