16. Molding and Casting
This week :
group assignment: review the safety data sheets for each of your molding and casting materials, then make and compare test casts with each of them
individual assignment: design a mold around the stock and tooling that you’ll be using, mill it (rough cut + (at least) three-axis finish cut), and use it to cast parts
Research
I tried to search different methodologies of how to make hand glove:
Files to Download
Group assignment
OOMOO™ 30
SORTA-Clear™ 18
Food safety technical datasheet
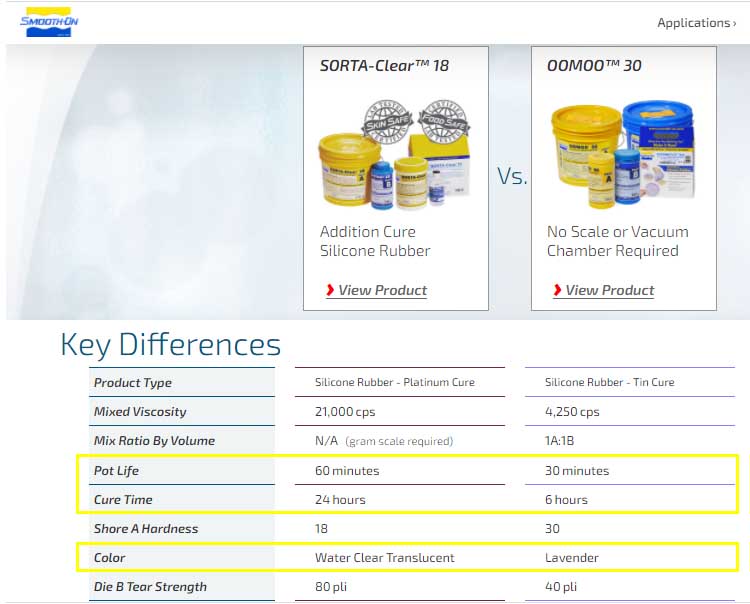
The image lists the key differences between the 2 liquid rubber materials. For example, there are operational differences like pot life and cure time, and there are finish differences like end product color.
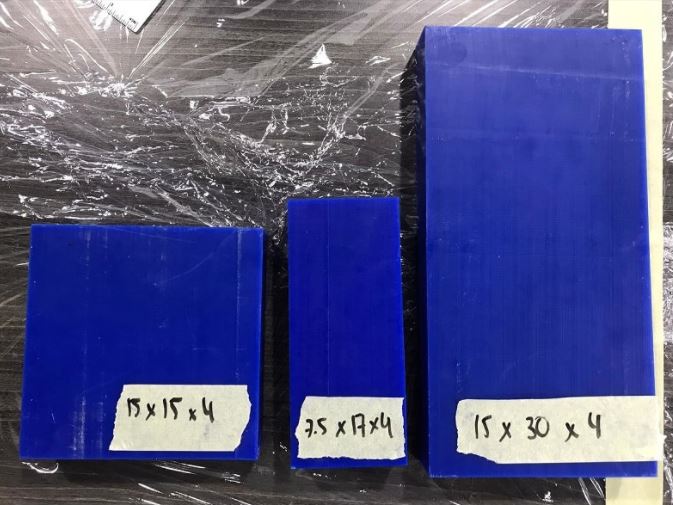
Machinable Wax
In the lab we have 3 sizes of machinable wax (dimensions in cm). This will be used to mill the positive mold of the final product.
Material Test Casts
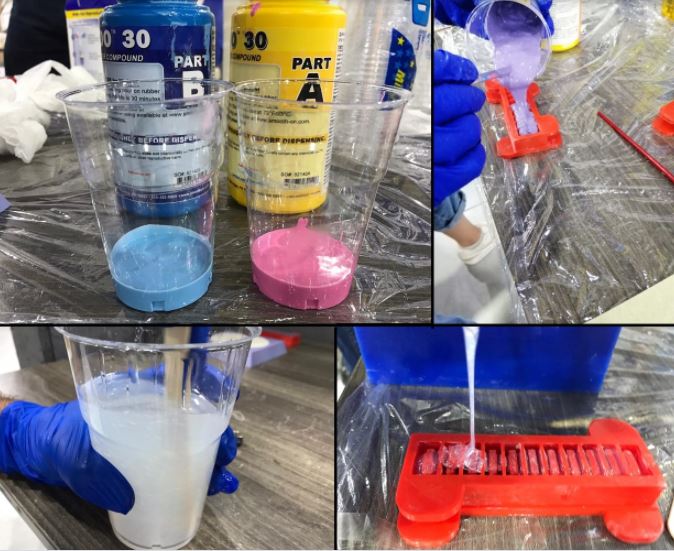
We made test casts using OOMOO™ 30 and SORTA-Clear™ 18 silicone rubbers. We followed the mixing guides in technical datasheets for both materials.
Individual assignment
so I planned and used SORTA-Clear as i wanted a food safe silicone! to make jelly and so on…
Design trials 1
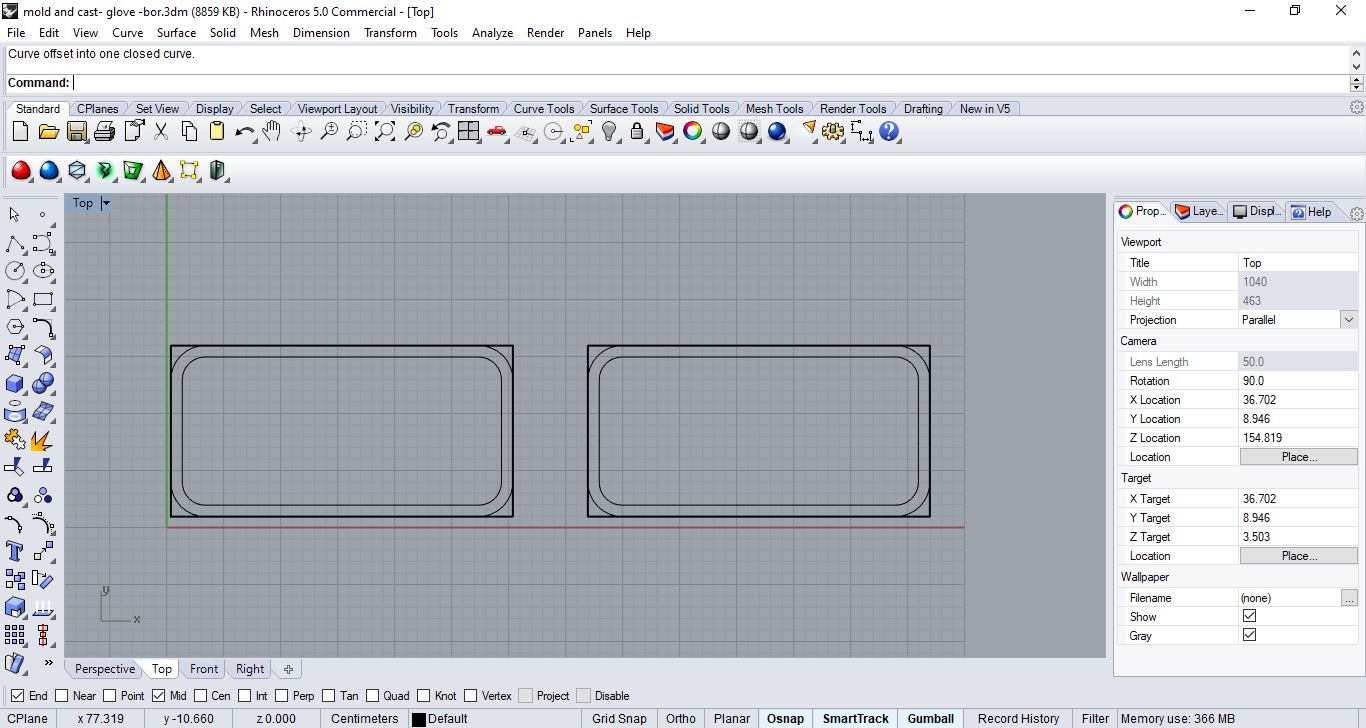
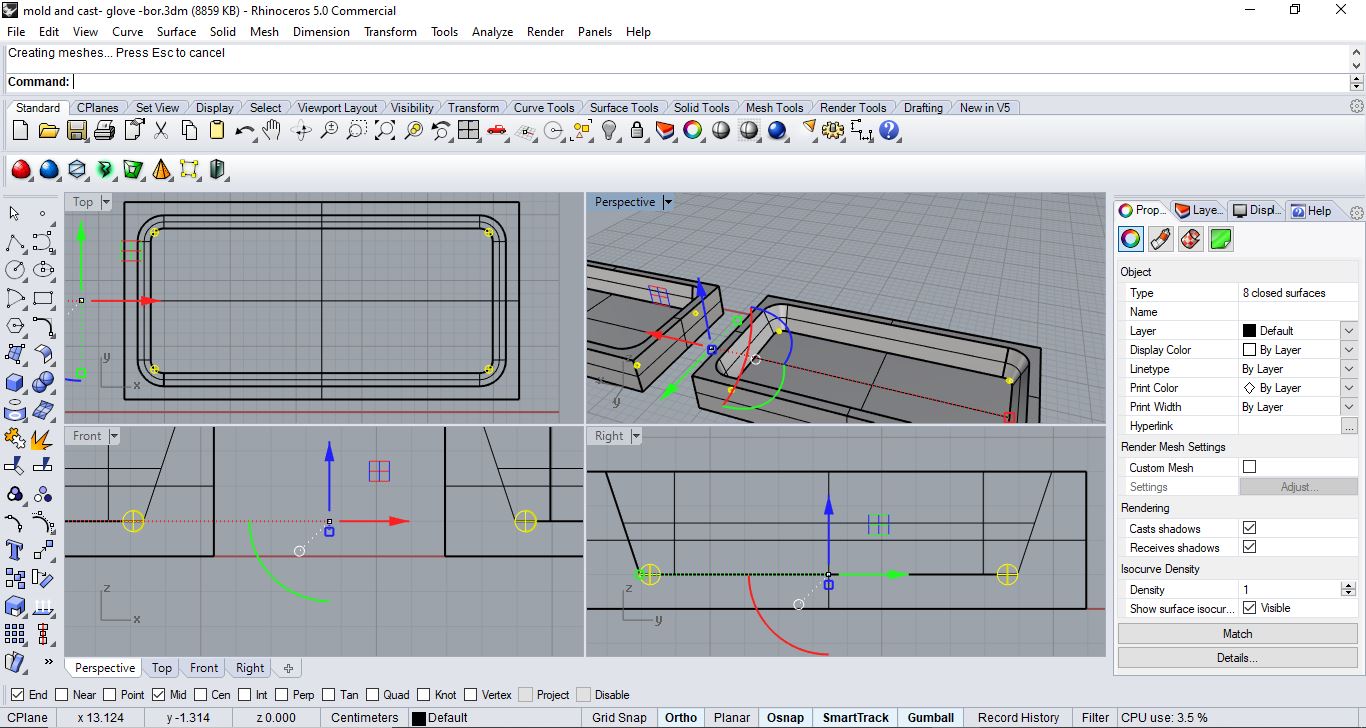
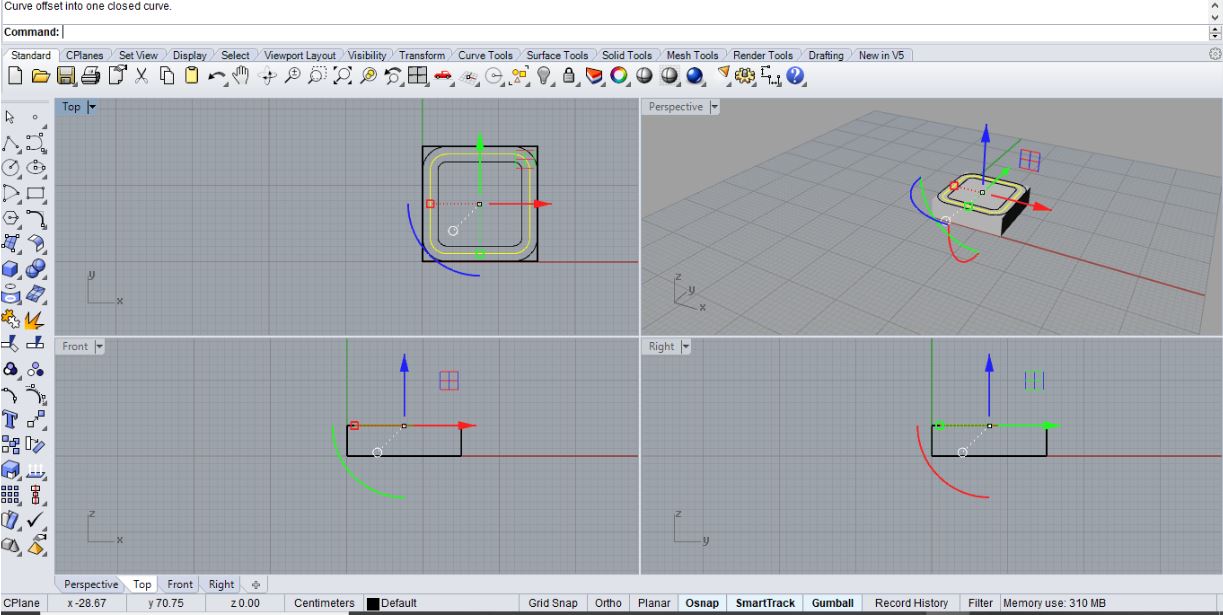
Step 1: so firstly I prepared the file by cutting my hand and made 2 boxes with the dimensions of the available wax at the lab ( each wax is 15304 cm) so each box size is ( each wax is 15304 cm) with solid creation tool on the right (box)
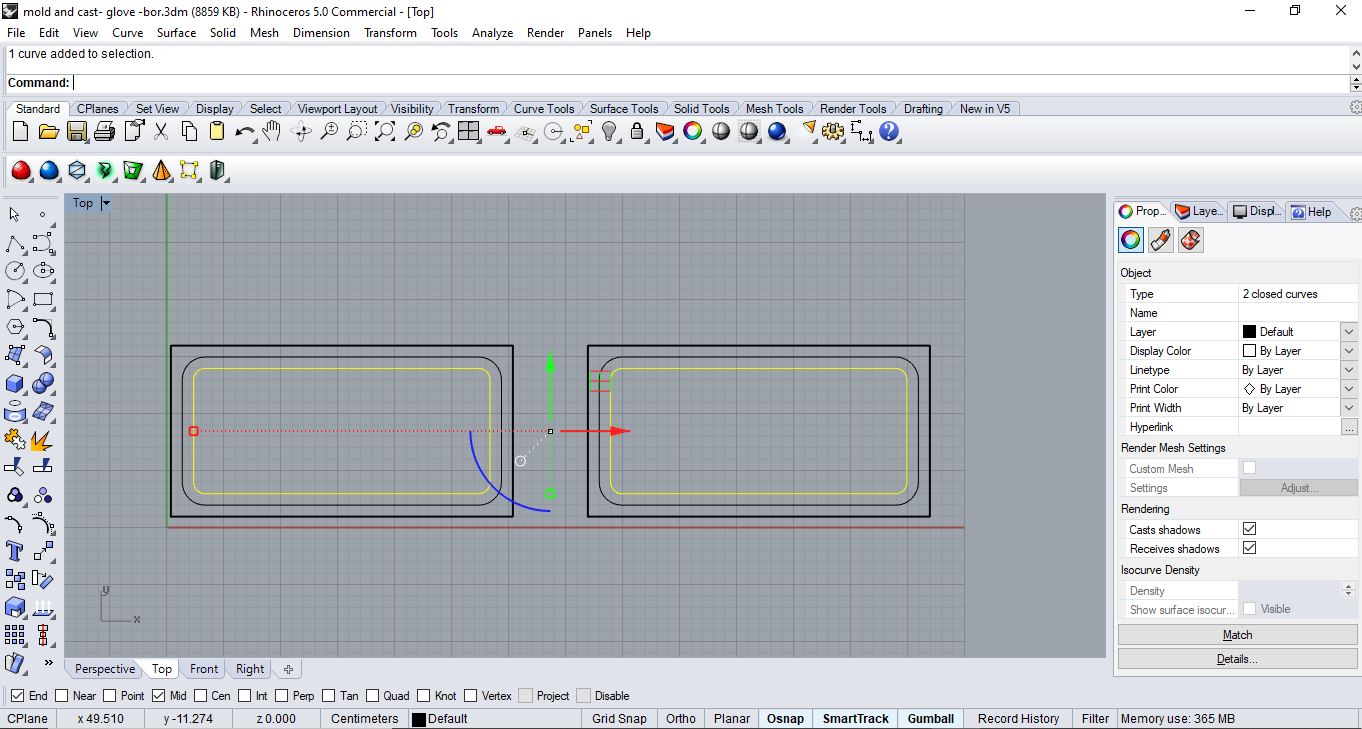
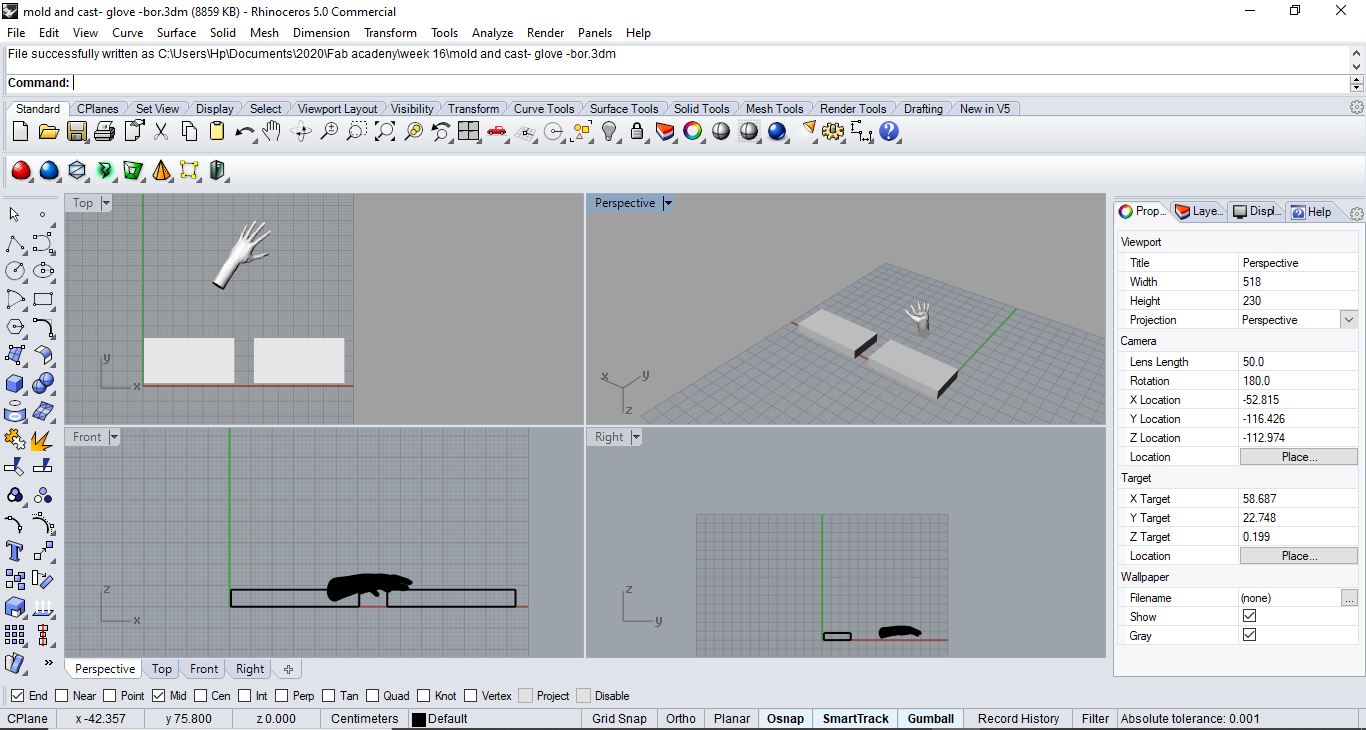 Step2: from now on I’ll use the top view, then draw a rectangle (rounded corners) on the boarders of each rectangle, select curve and offset 1 cm which would be the mold wall
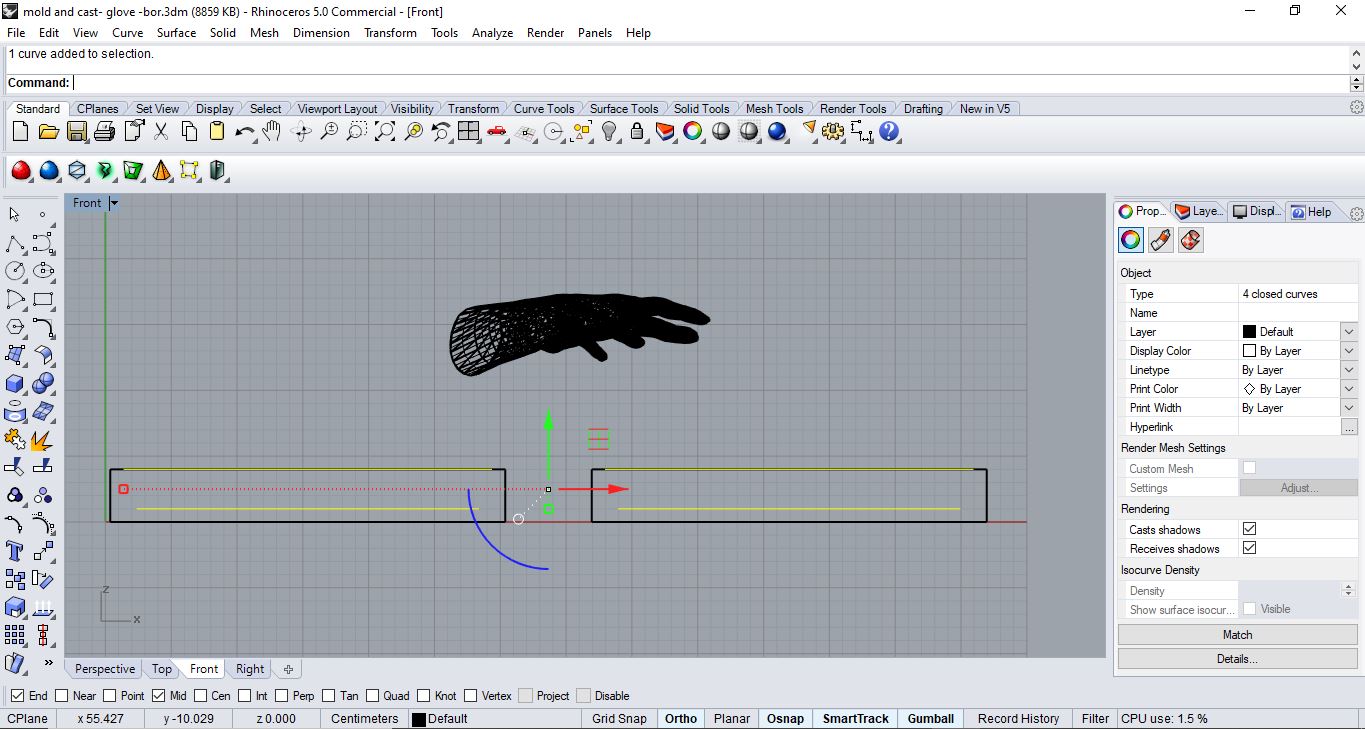
 Step3: then delete the outer rounded corner rectangle and do another offset from the interior one and after selecting them I go the front view
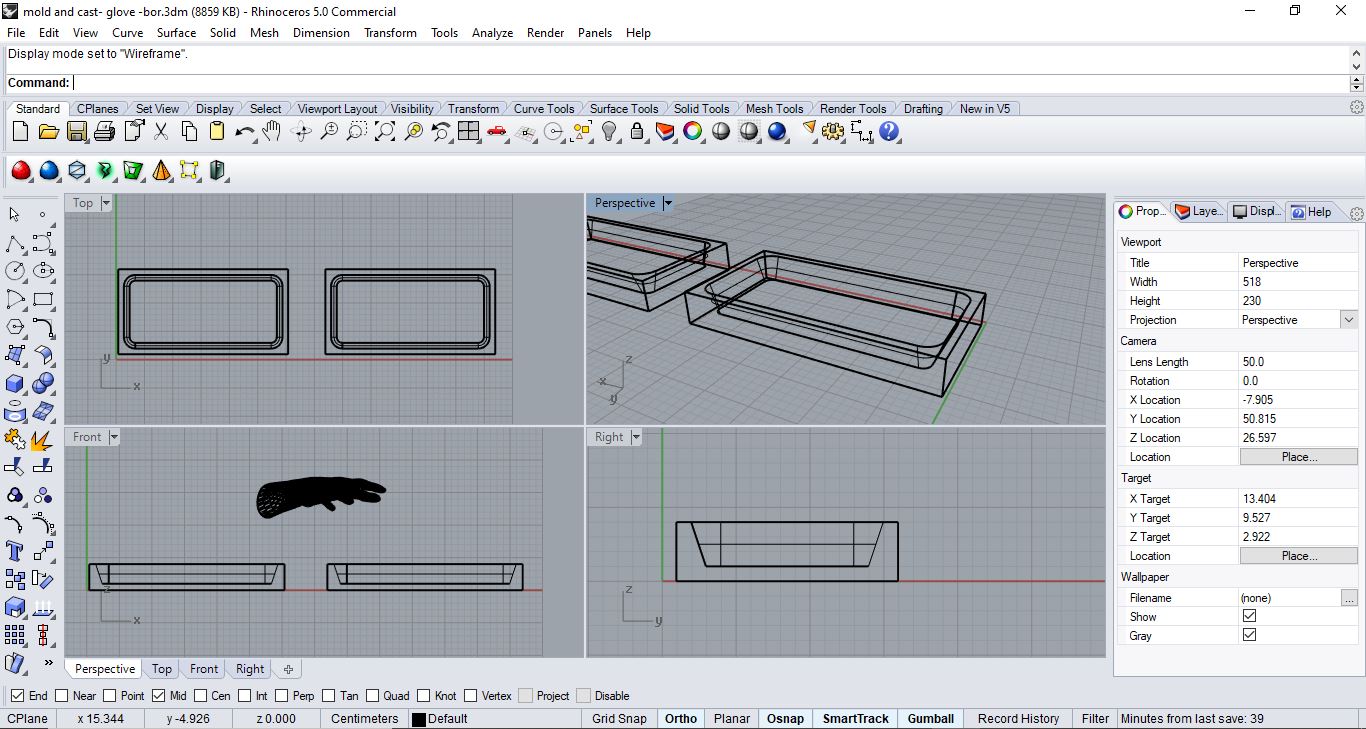
 Step4: so I moved the highlighted curves in step3 negative 3cm so I would have the bottom of the container like mold
 Step5: then i would also select the other outer curves and command “loft” to connect between them then select them and use command “cap planer holes”
 Step6: select it one and use command “boolen dfference” to subtract them from each other and end up with the basic mold container
 Step7: select inner curves and offset .5 cm and create spheres at the corners with a .3 cm radius, then copy and paste to each corner
 just make one positive and one negative using command “boolen difference” so they would close as a case
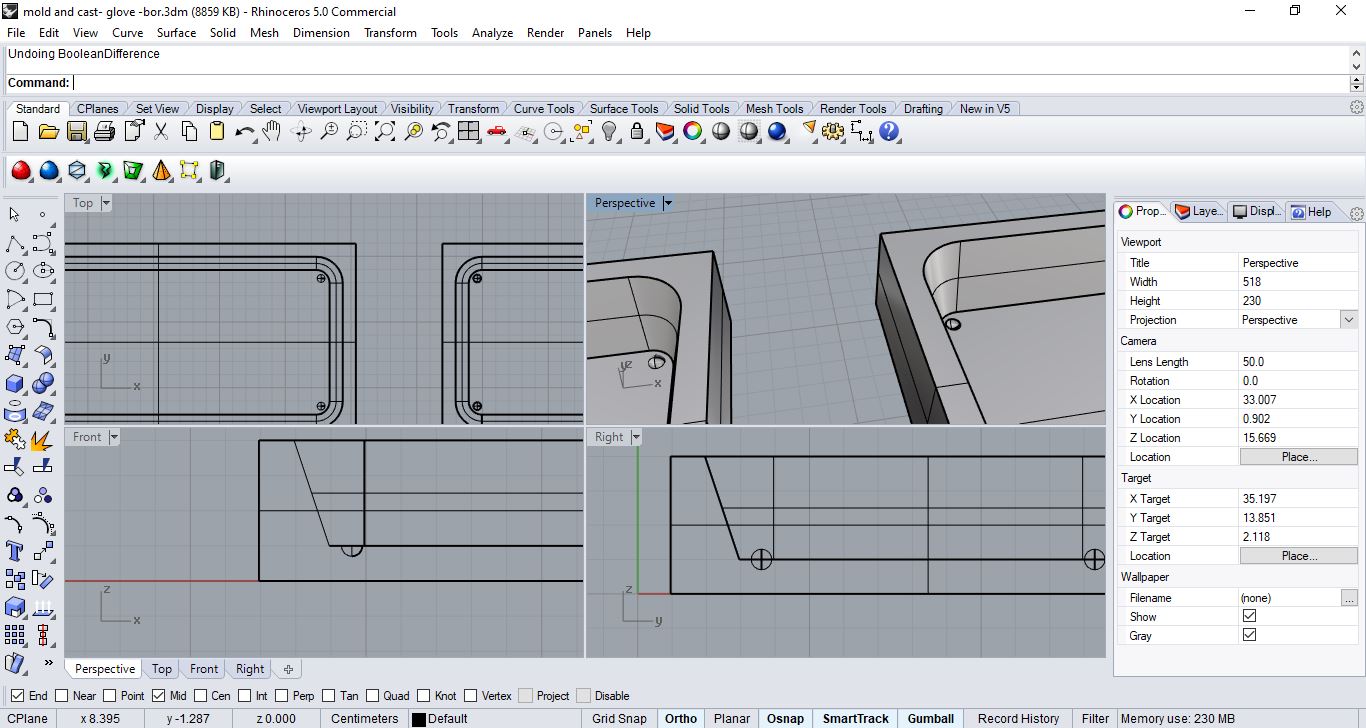 so after lots of trials and lots of scans of my hand and stl files even from make human and different orientations even after modifications
 and then i decided to ditch that and instead of trying to do a mold for my input for my final project … try to do for the output!
Fabricated Trial number 1 (failed)
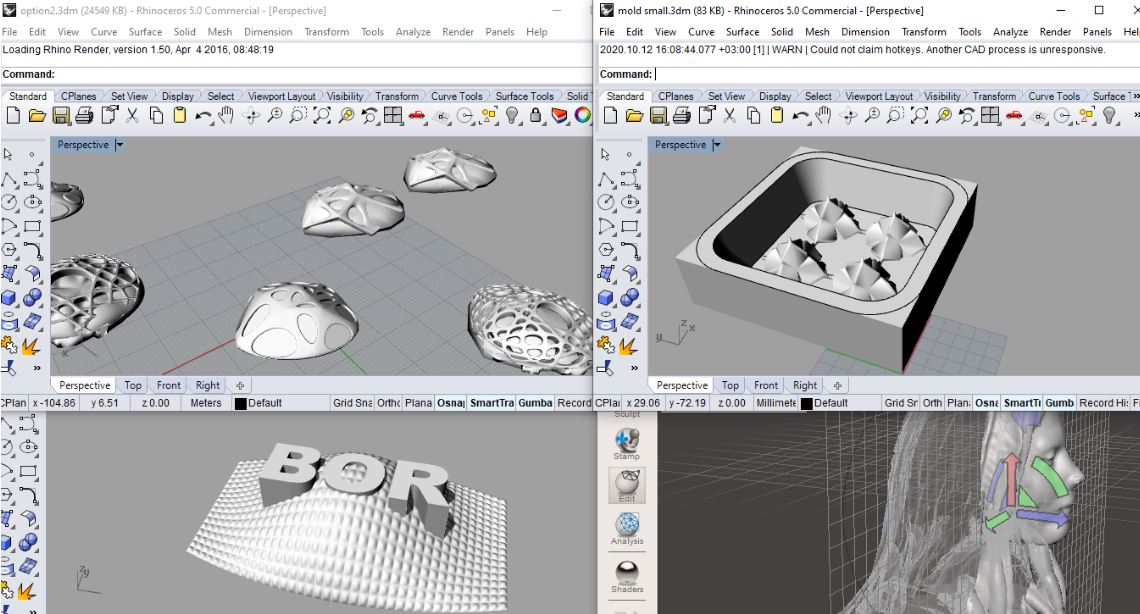
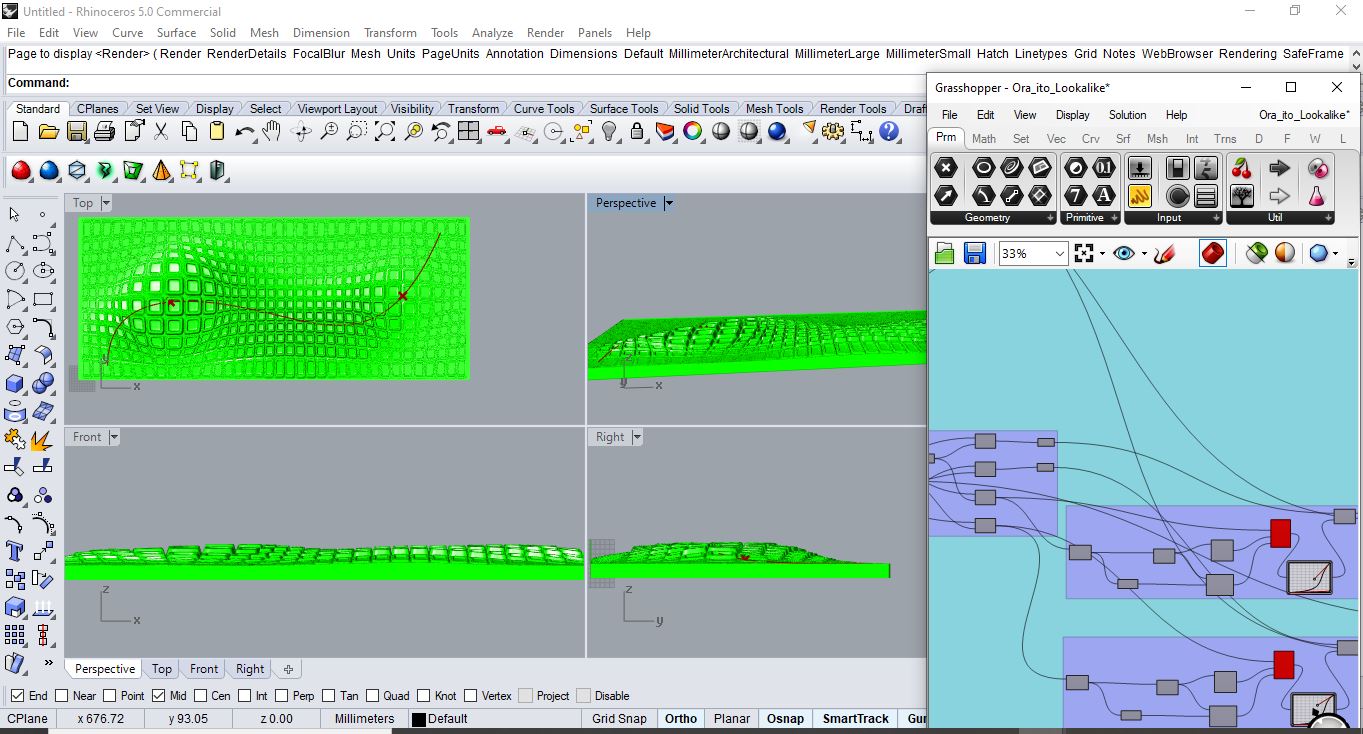 started by experimenting geometries using grasshopper that matches my original sketch for final project as a result wanted to create it as a mold (negative part) so i can get the positive of the geometry
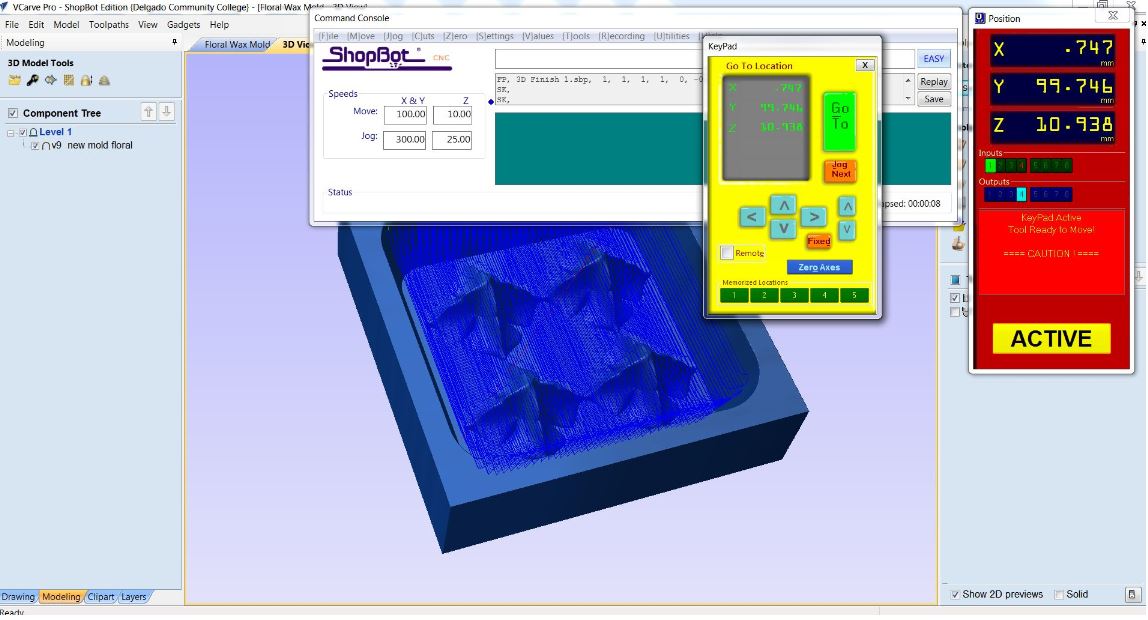
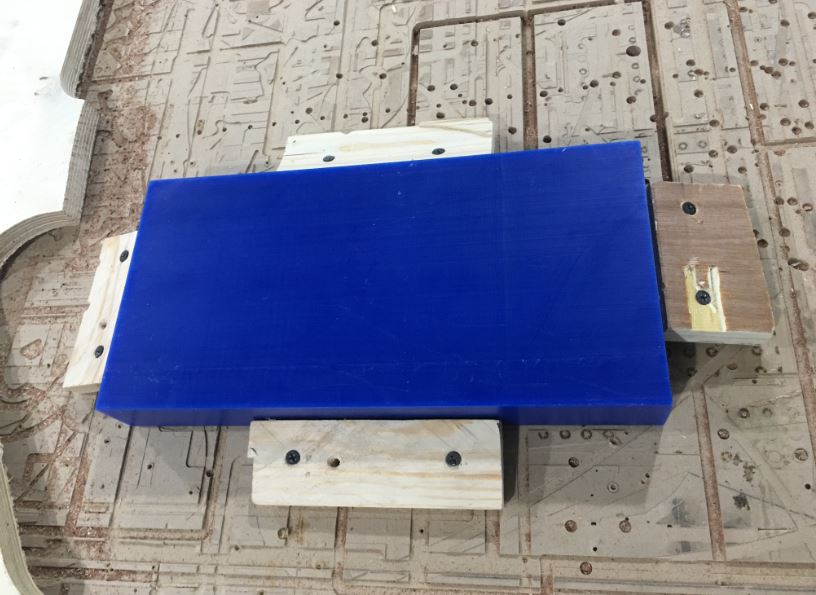 here i placed the wax and used waste wood to hang it in place as a result keep it attached to the bed while machine is running to get accurate results of the mold as the STL file
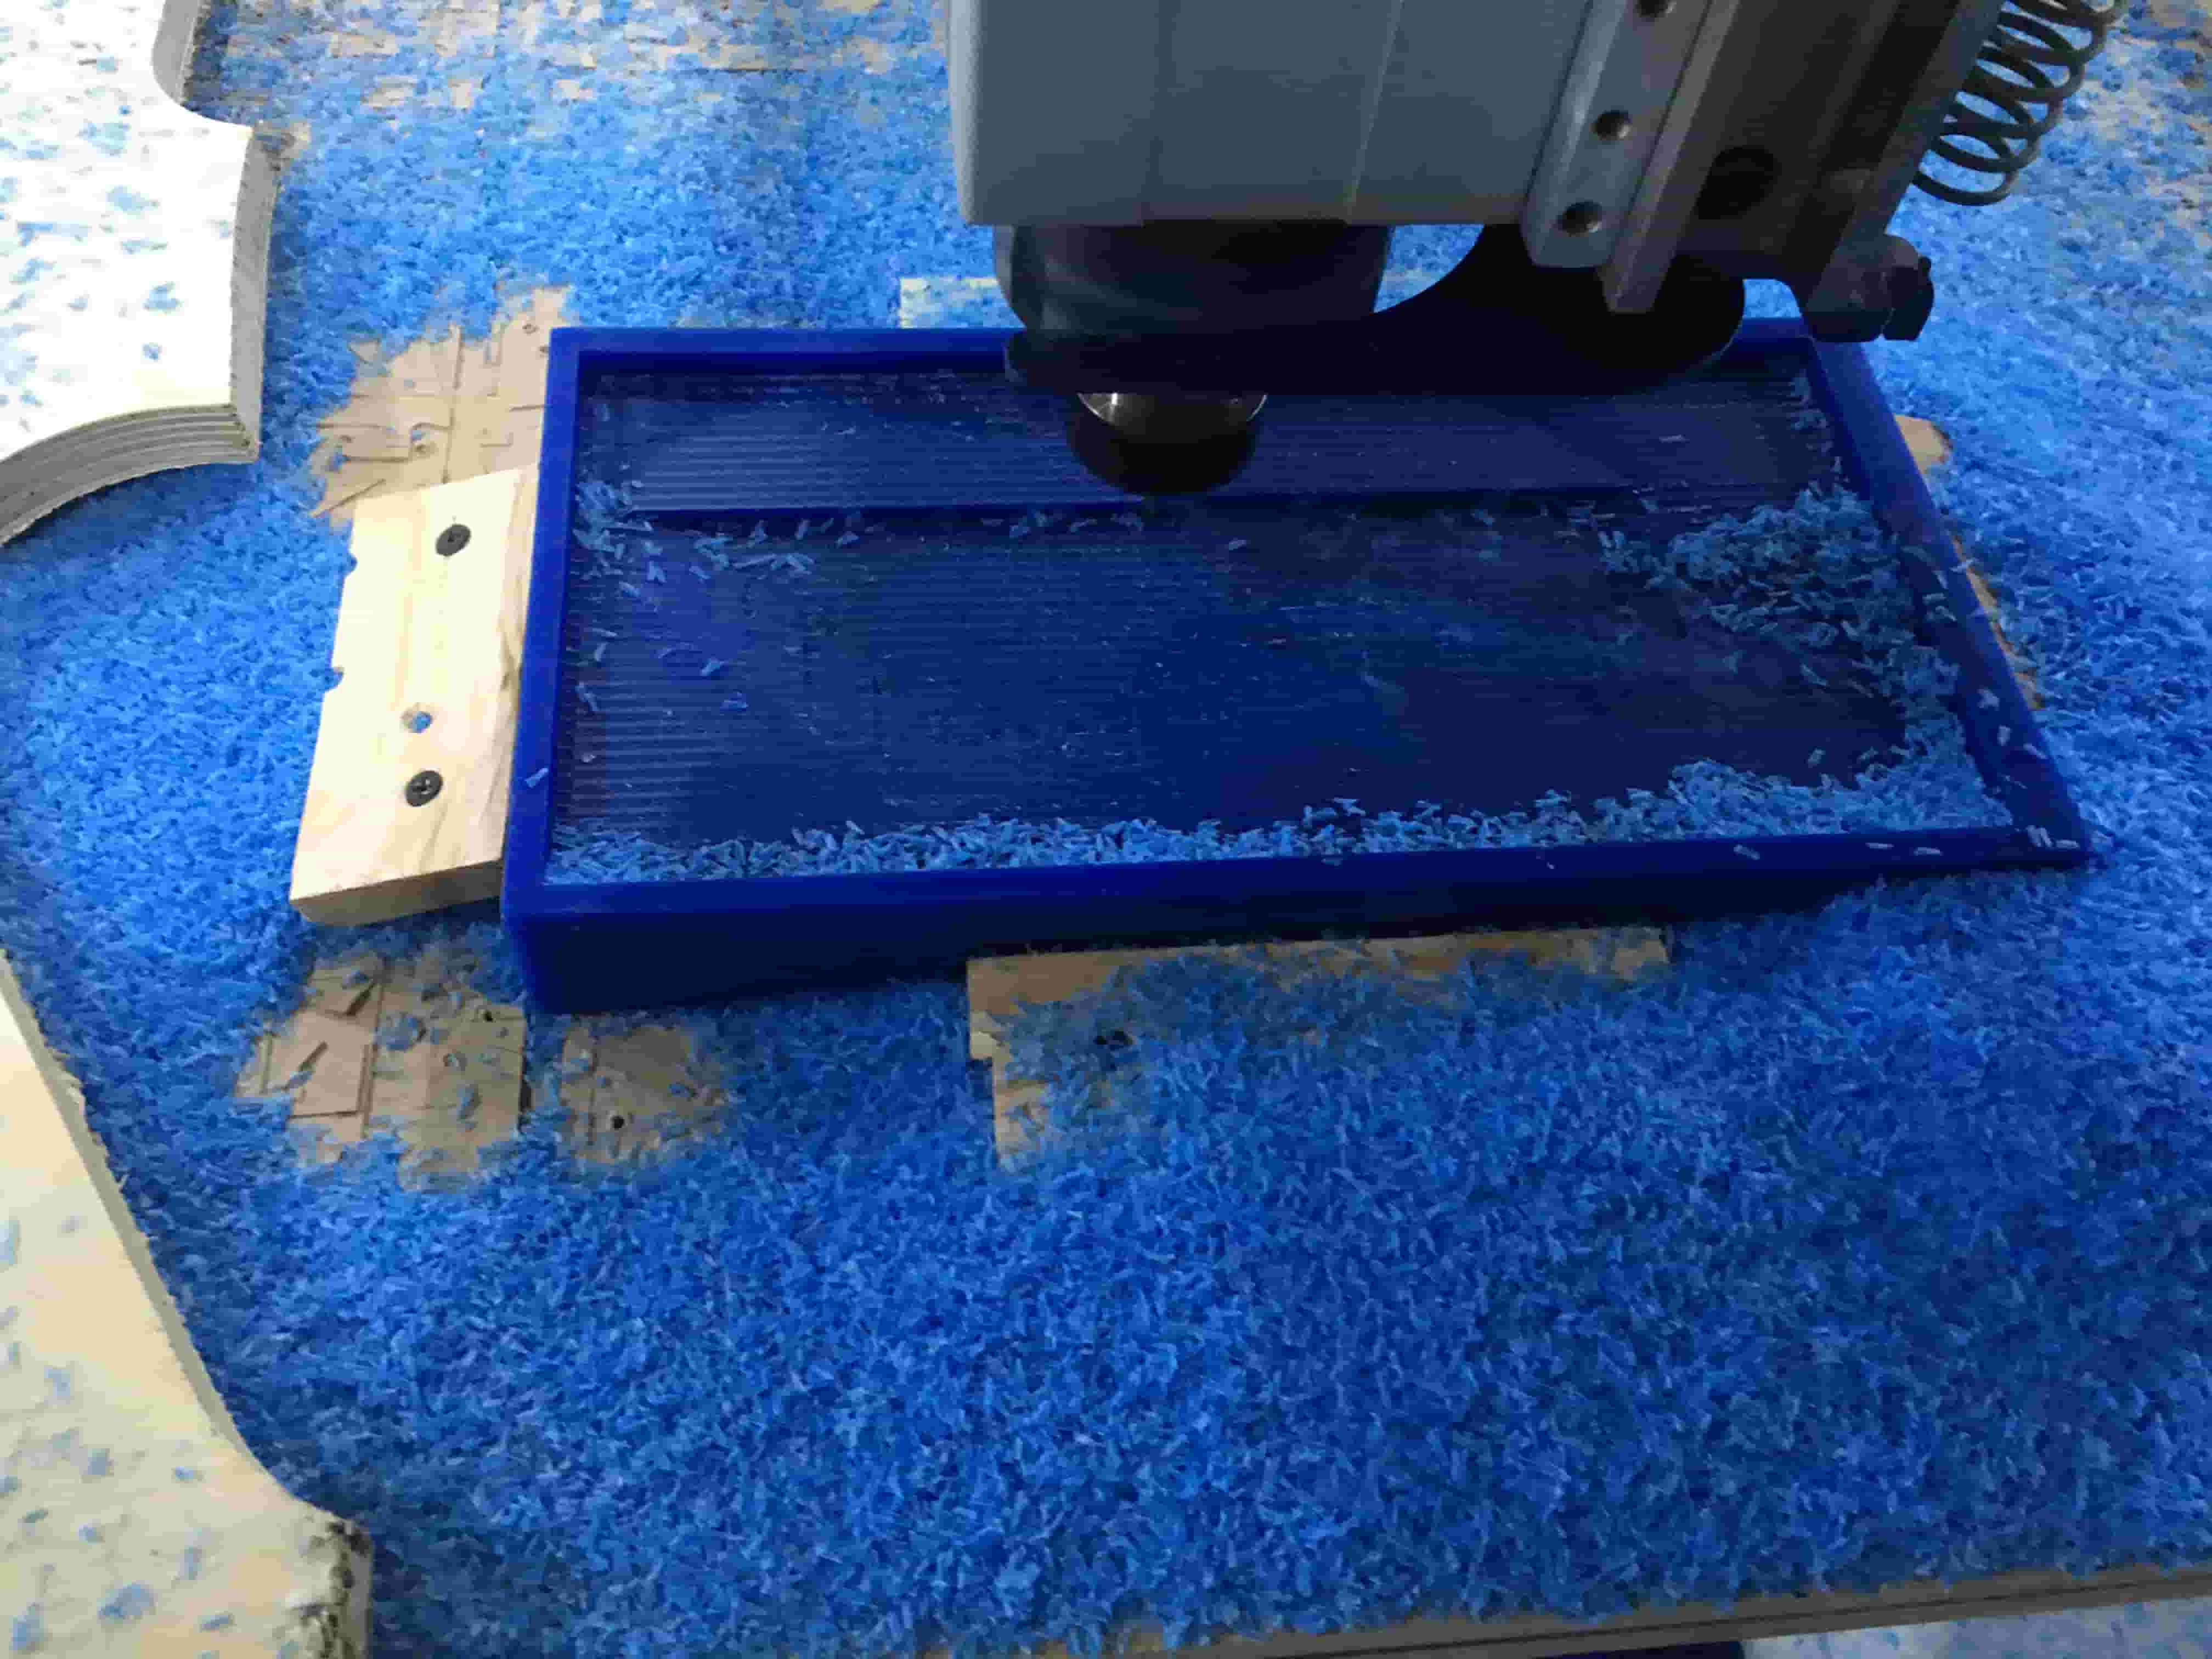 first step/job getting the rough finish
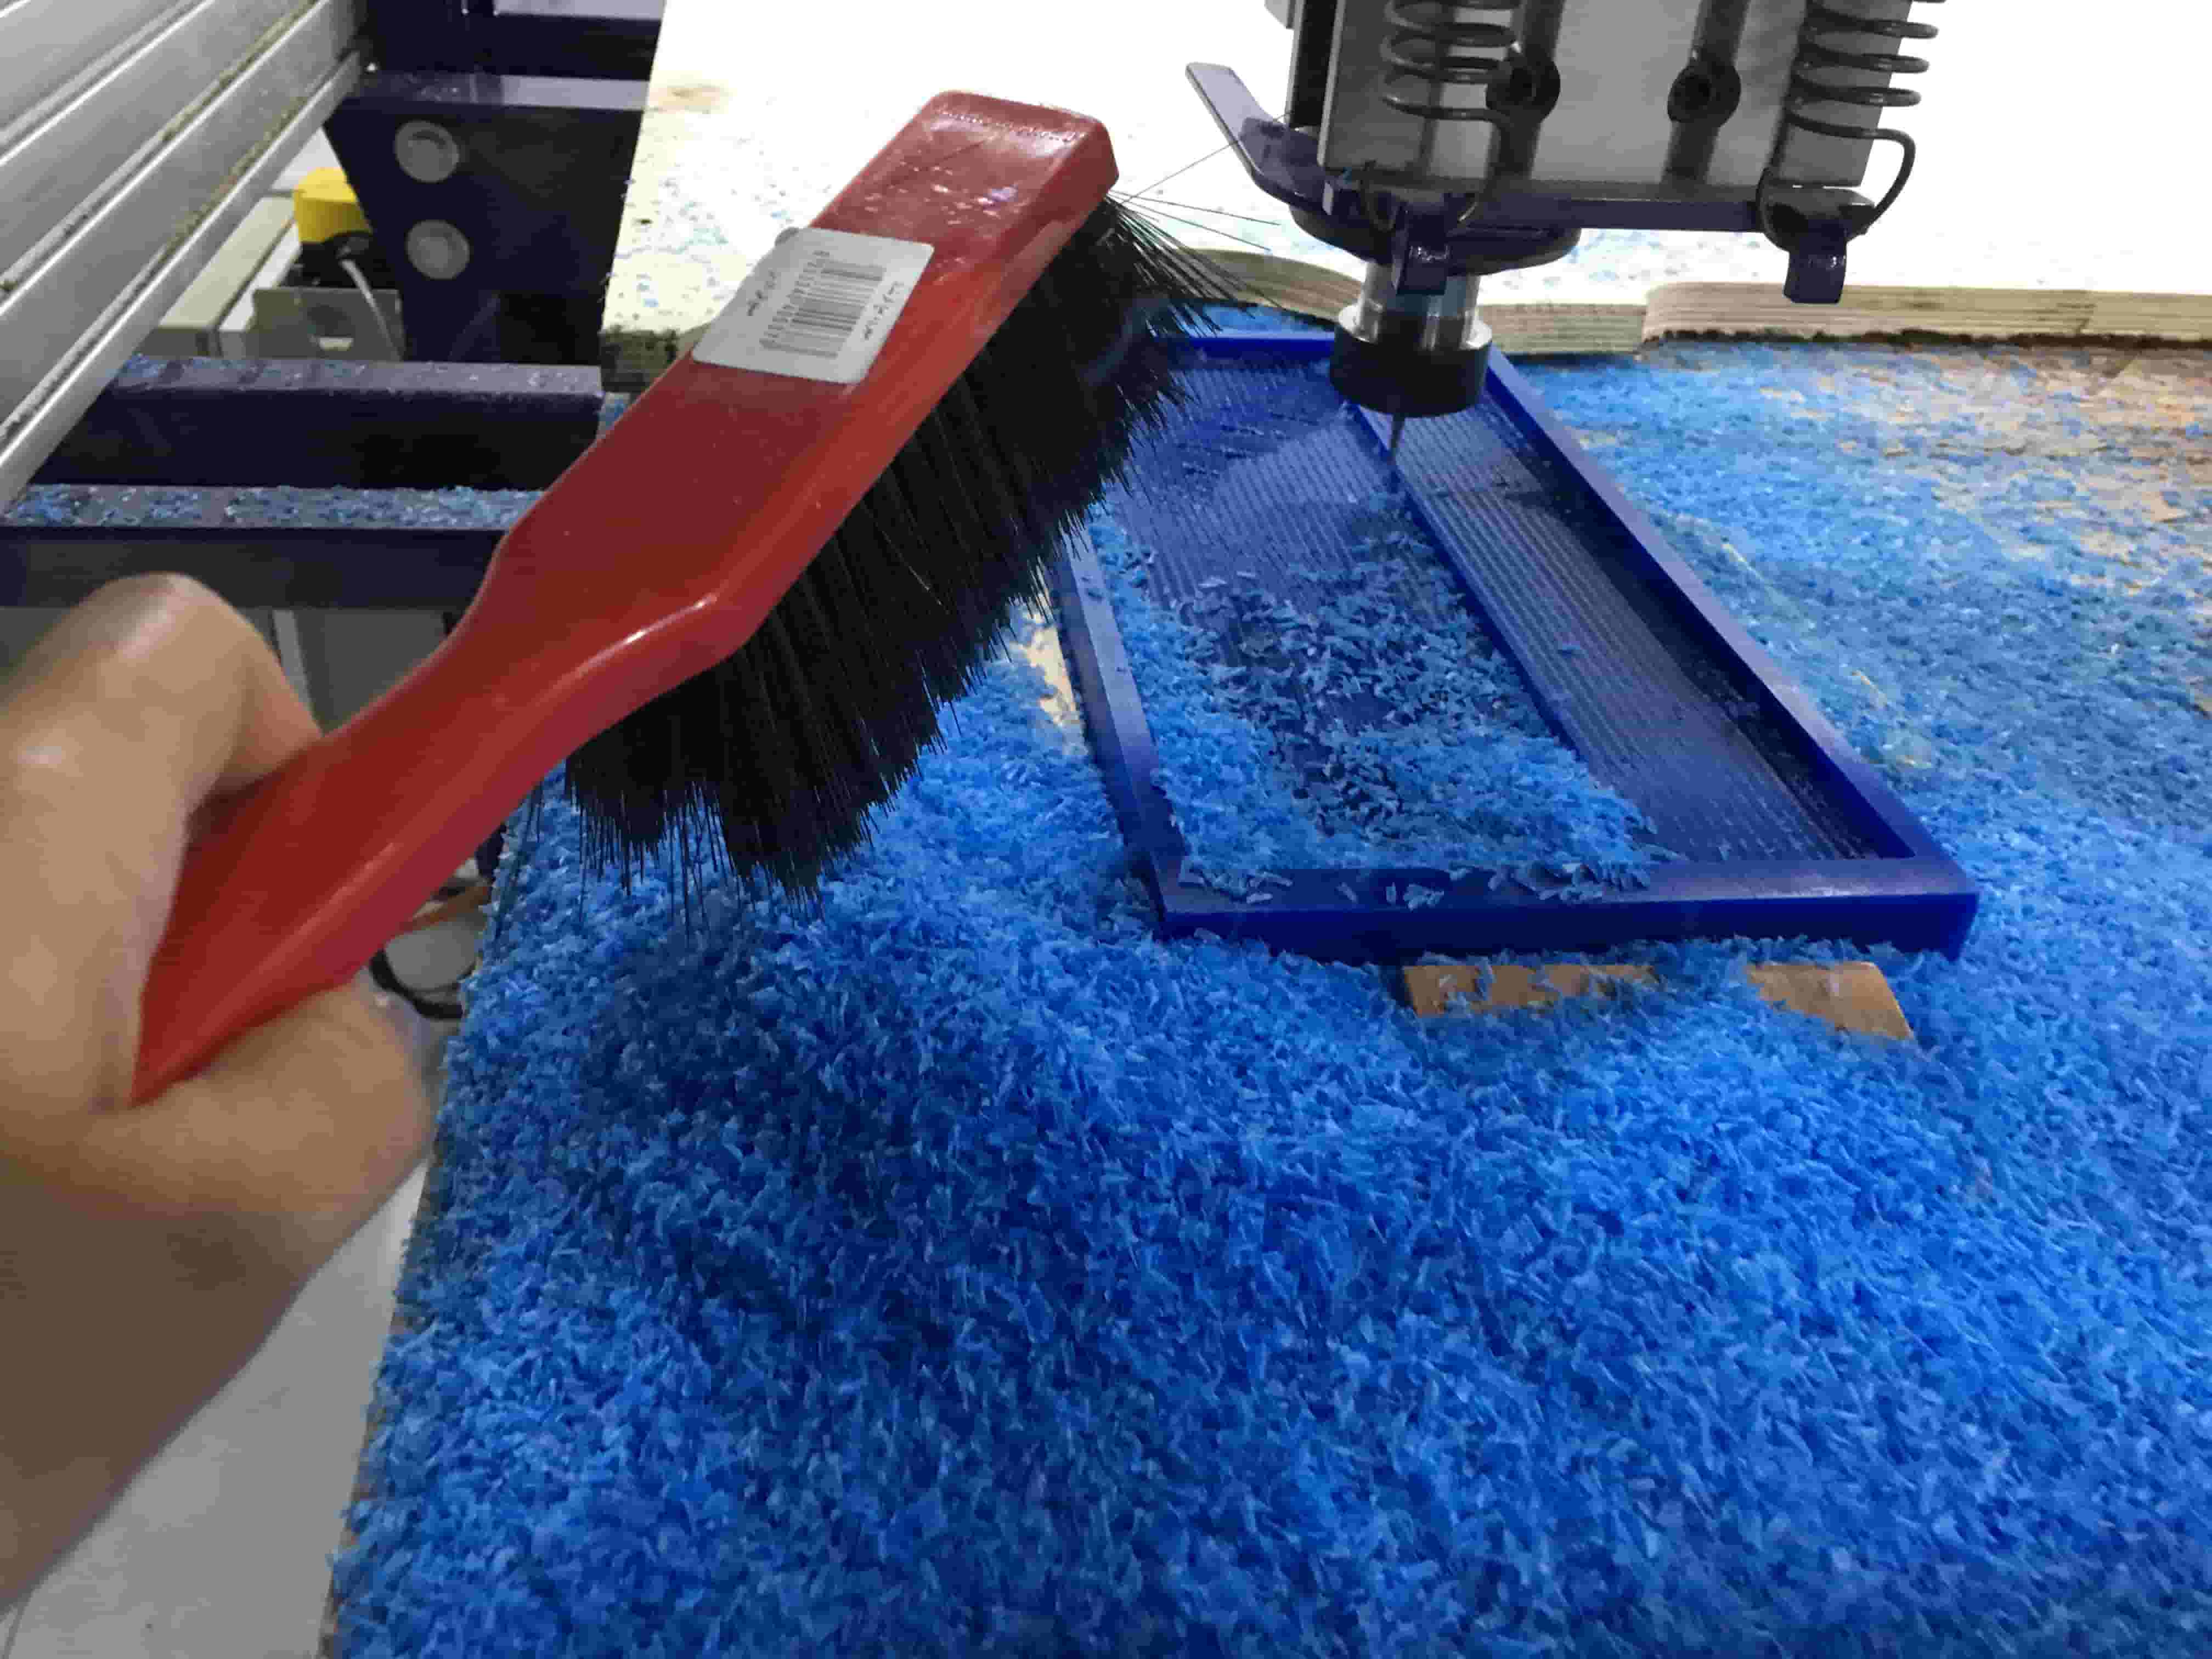 while observing the machine i made sure to keep removing excess wax away
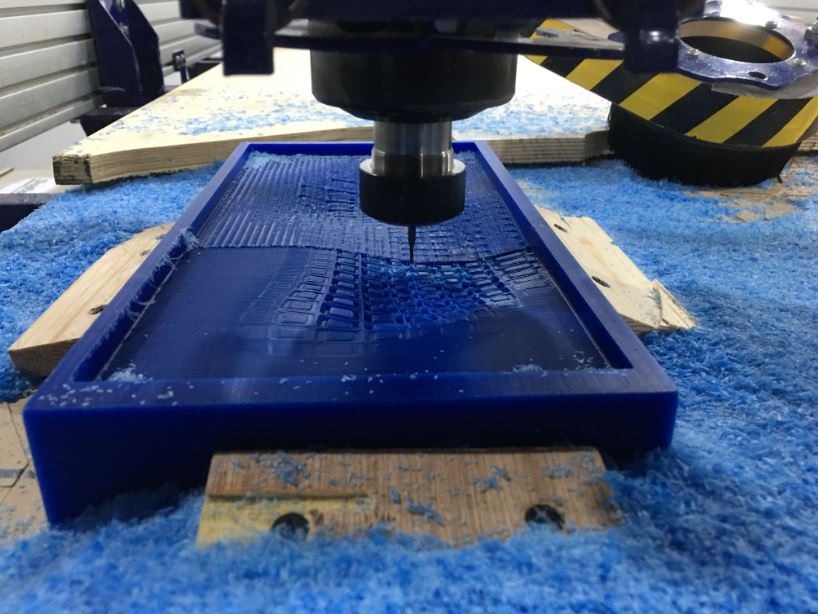 at this point we can observe the intermediate between the first rough finish and the detailed finish
 here a last capture making sure everything is fine before i detach the wax from bed … checking all details are fine and matching the STL file and design file and more things to do ( reached satisfaction in terms of levels of details)
 so this is the absolute final result as you can see so fine matching the level of details i have in mind as well the design file to a certain degree .... i was so happy and satisfied buttttt wait for it
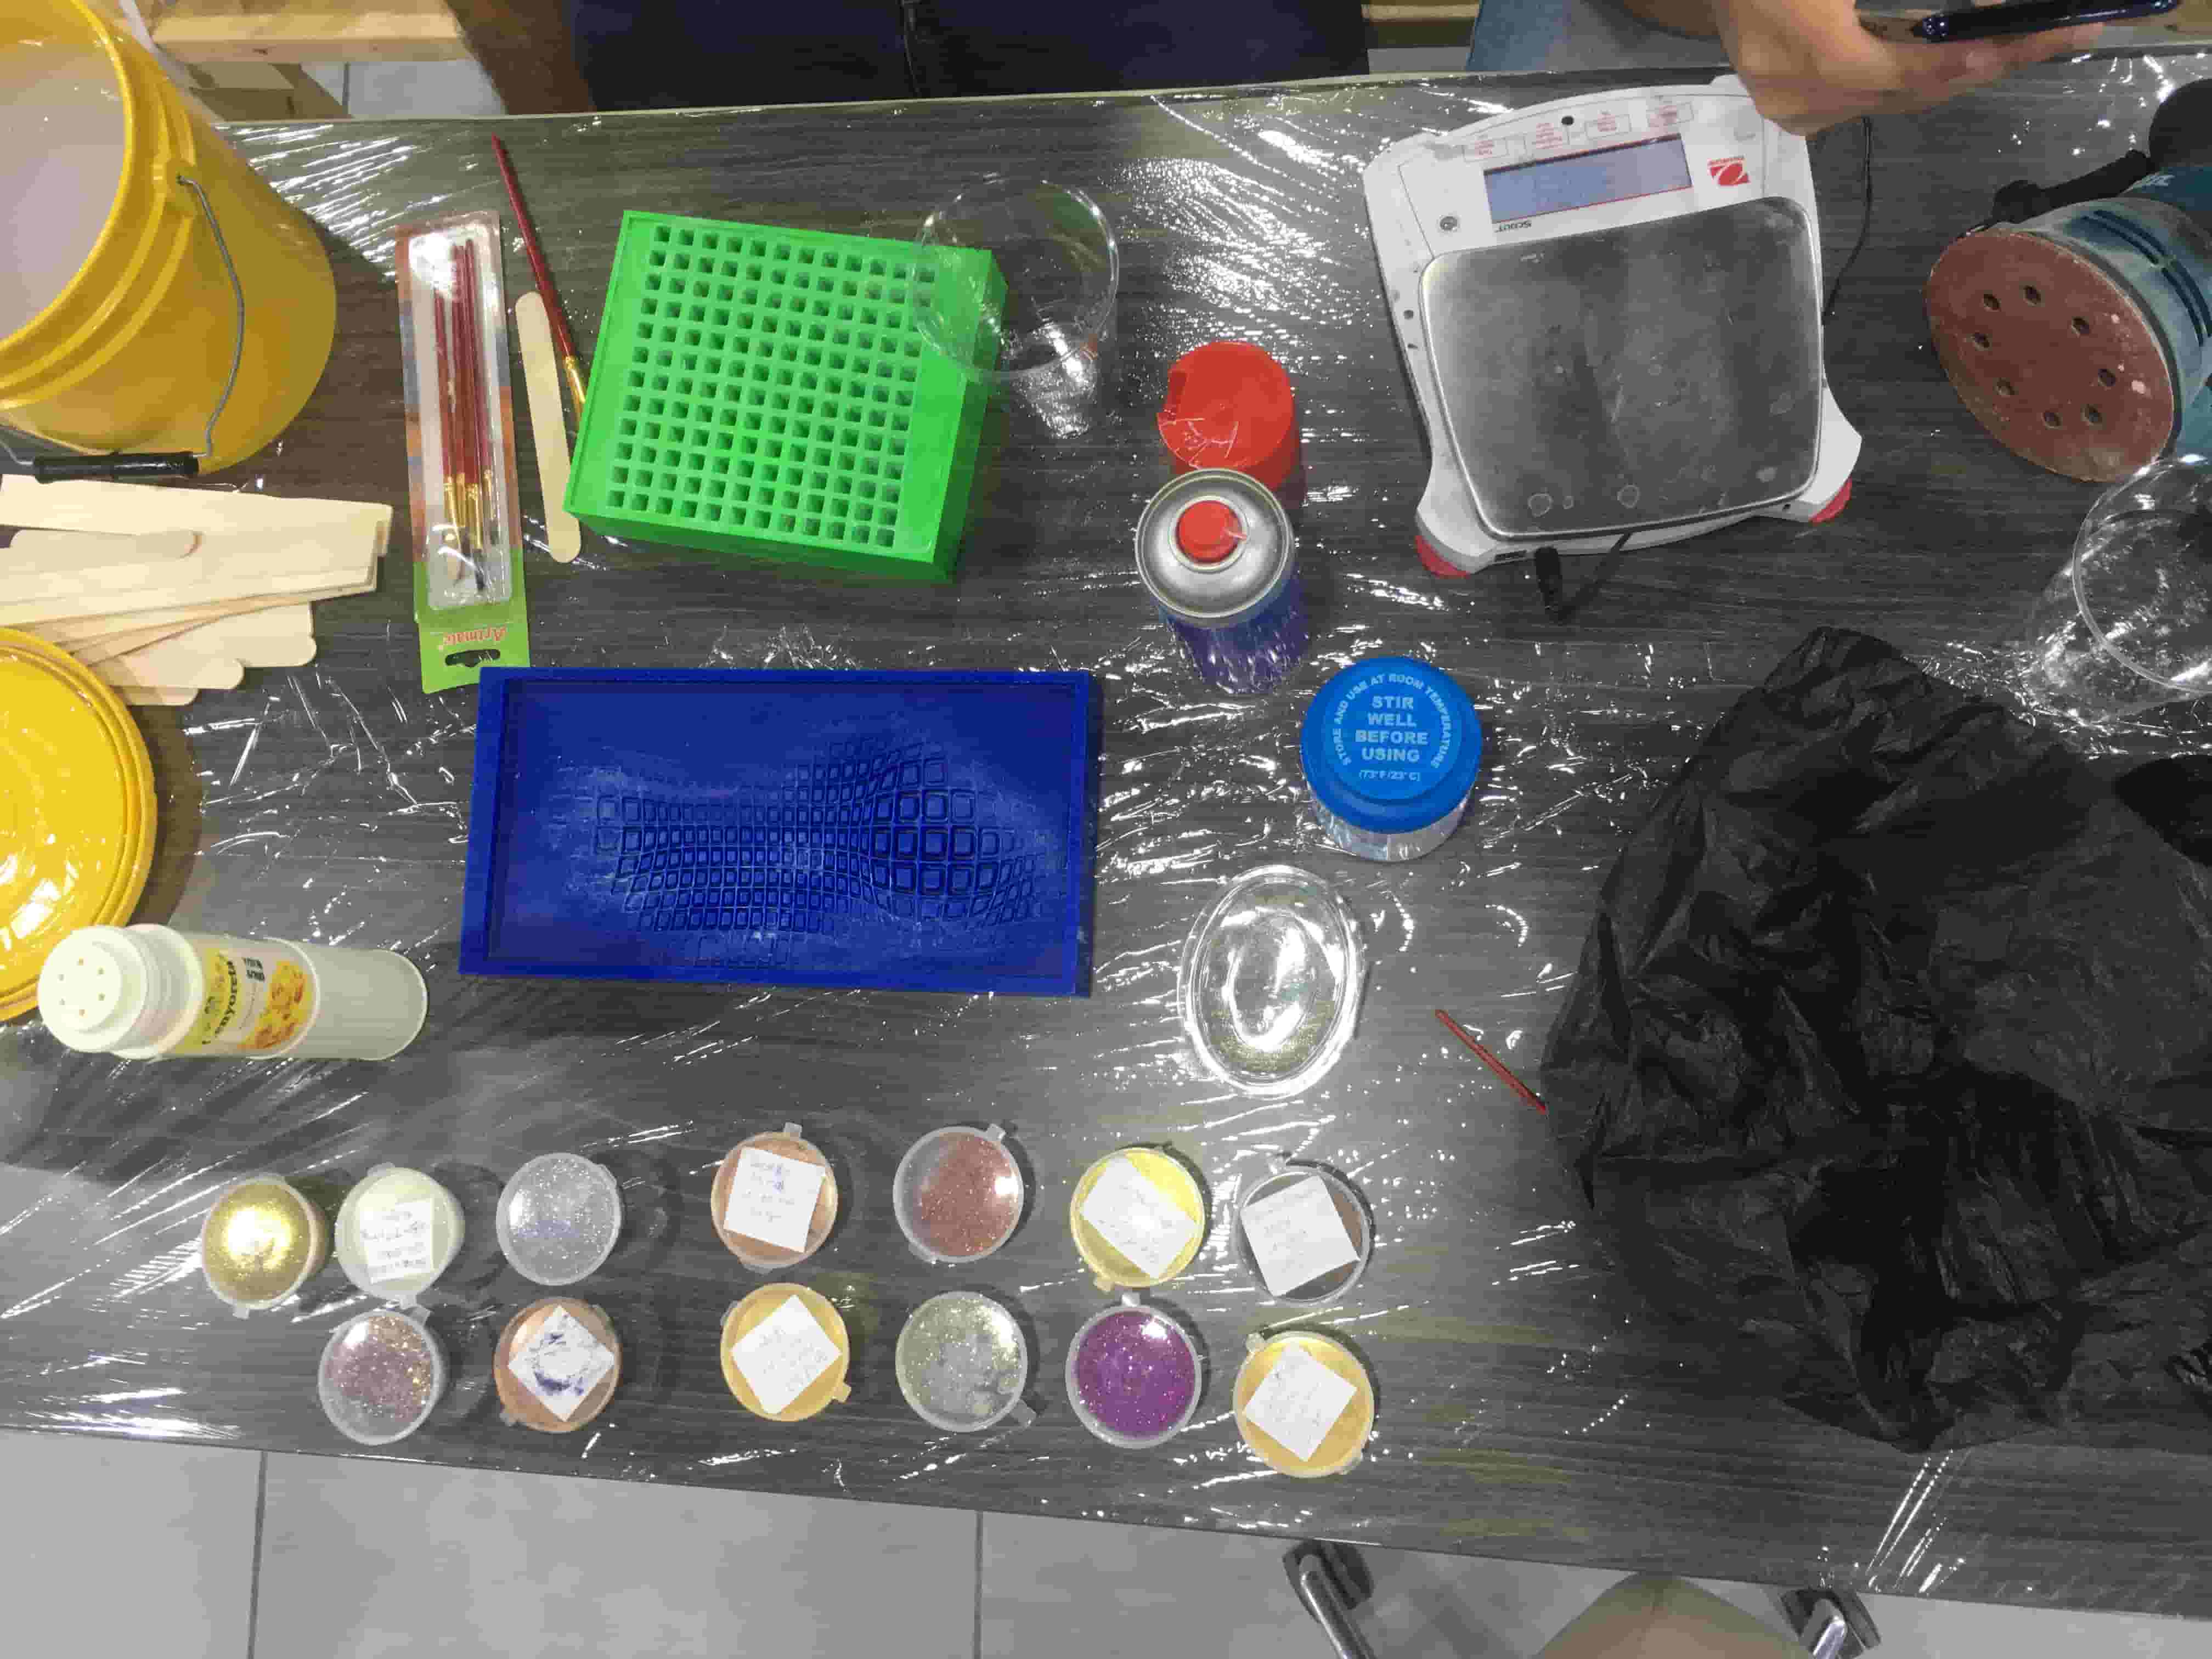 as I was doing this for my final project as a possibilities for the outcome (output) on a fabric (where the servo mechanical parts move underneath and i control all that by the stretch sensor /glove as input)… i wanted it to be extra cool! by adding colors to the Ecoflex (since eco flex is transparent i wanted to use that for my advantage) I added glow in the dark + metallic color to end up with a cool silicon color merged with my cool design (as this would be the fron piece of my moving art as the original sketch regarding my final project) and it was epic fail as it missed up with the chemistry of it! never dried but top layer dried… another theory is that the smaller recessed details in the geometry collected all oil and spray releasing agents and so once poured the silicone it never dried in these part which explains why dried from the top.
Hero Shot
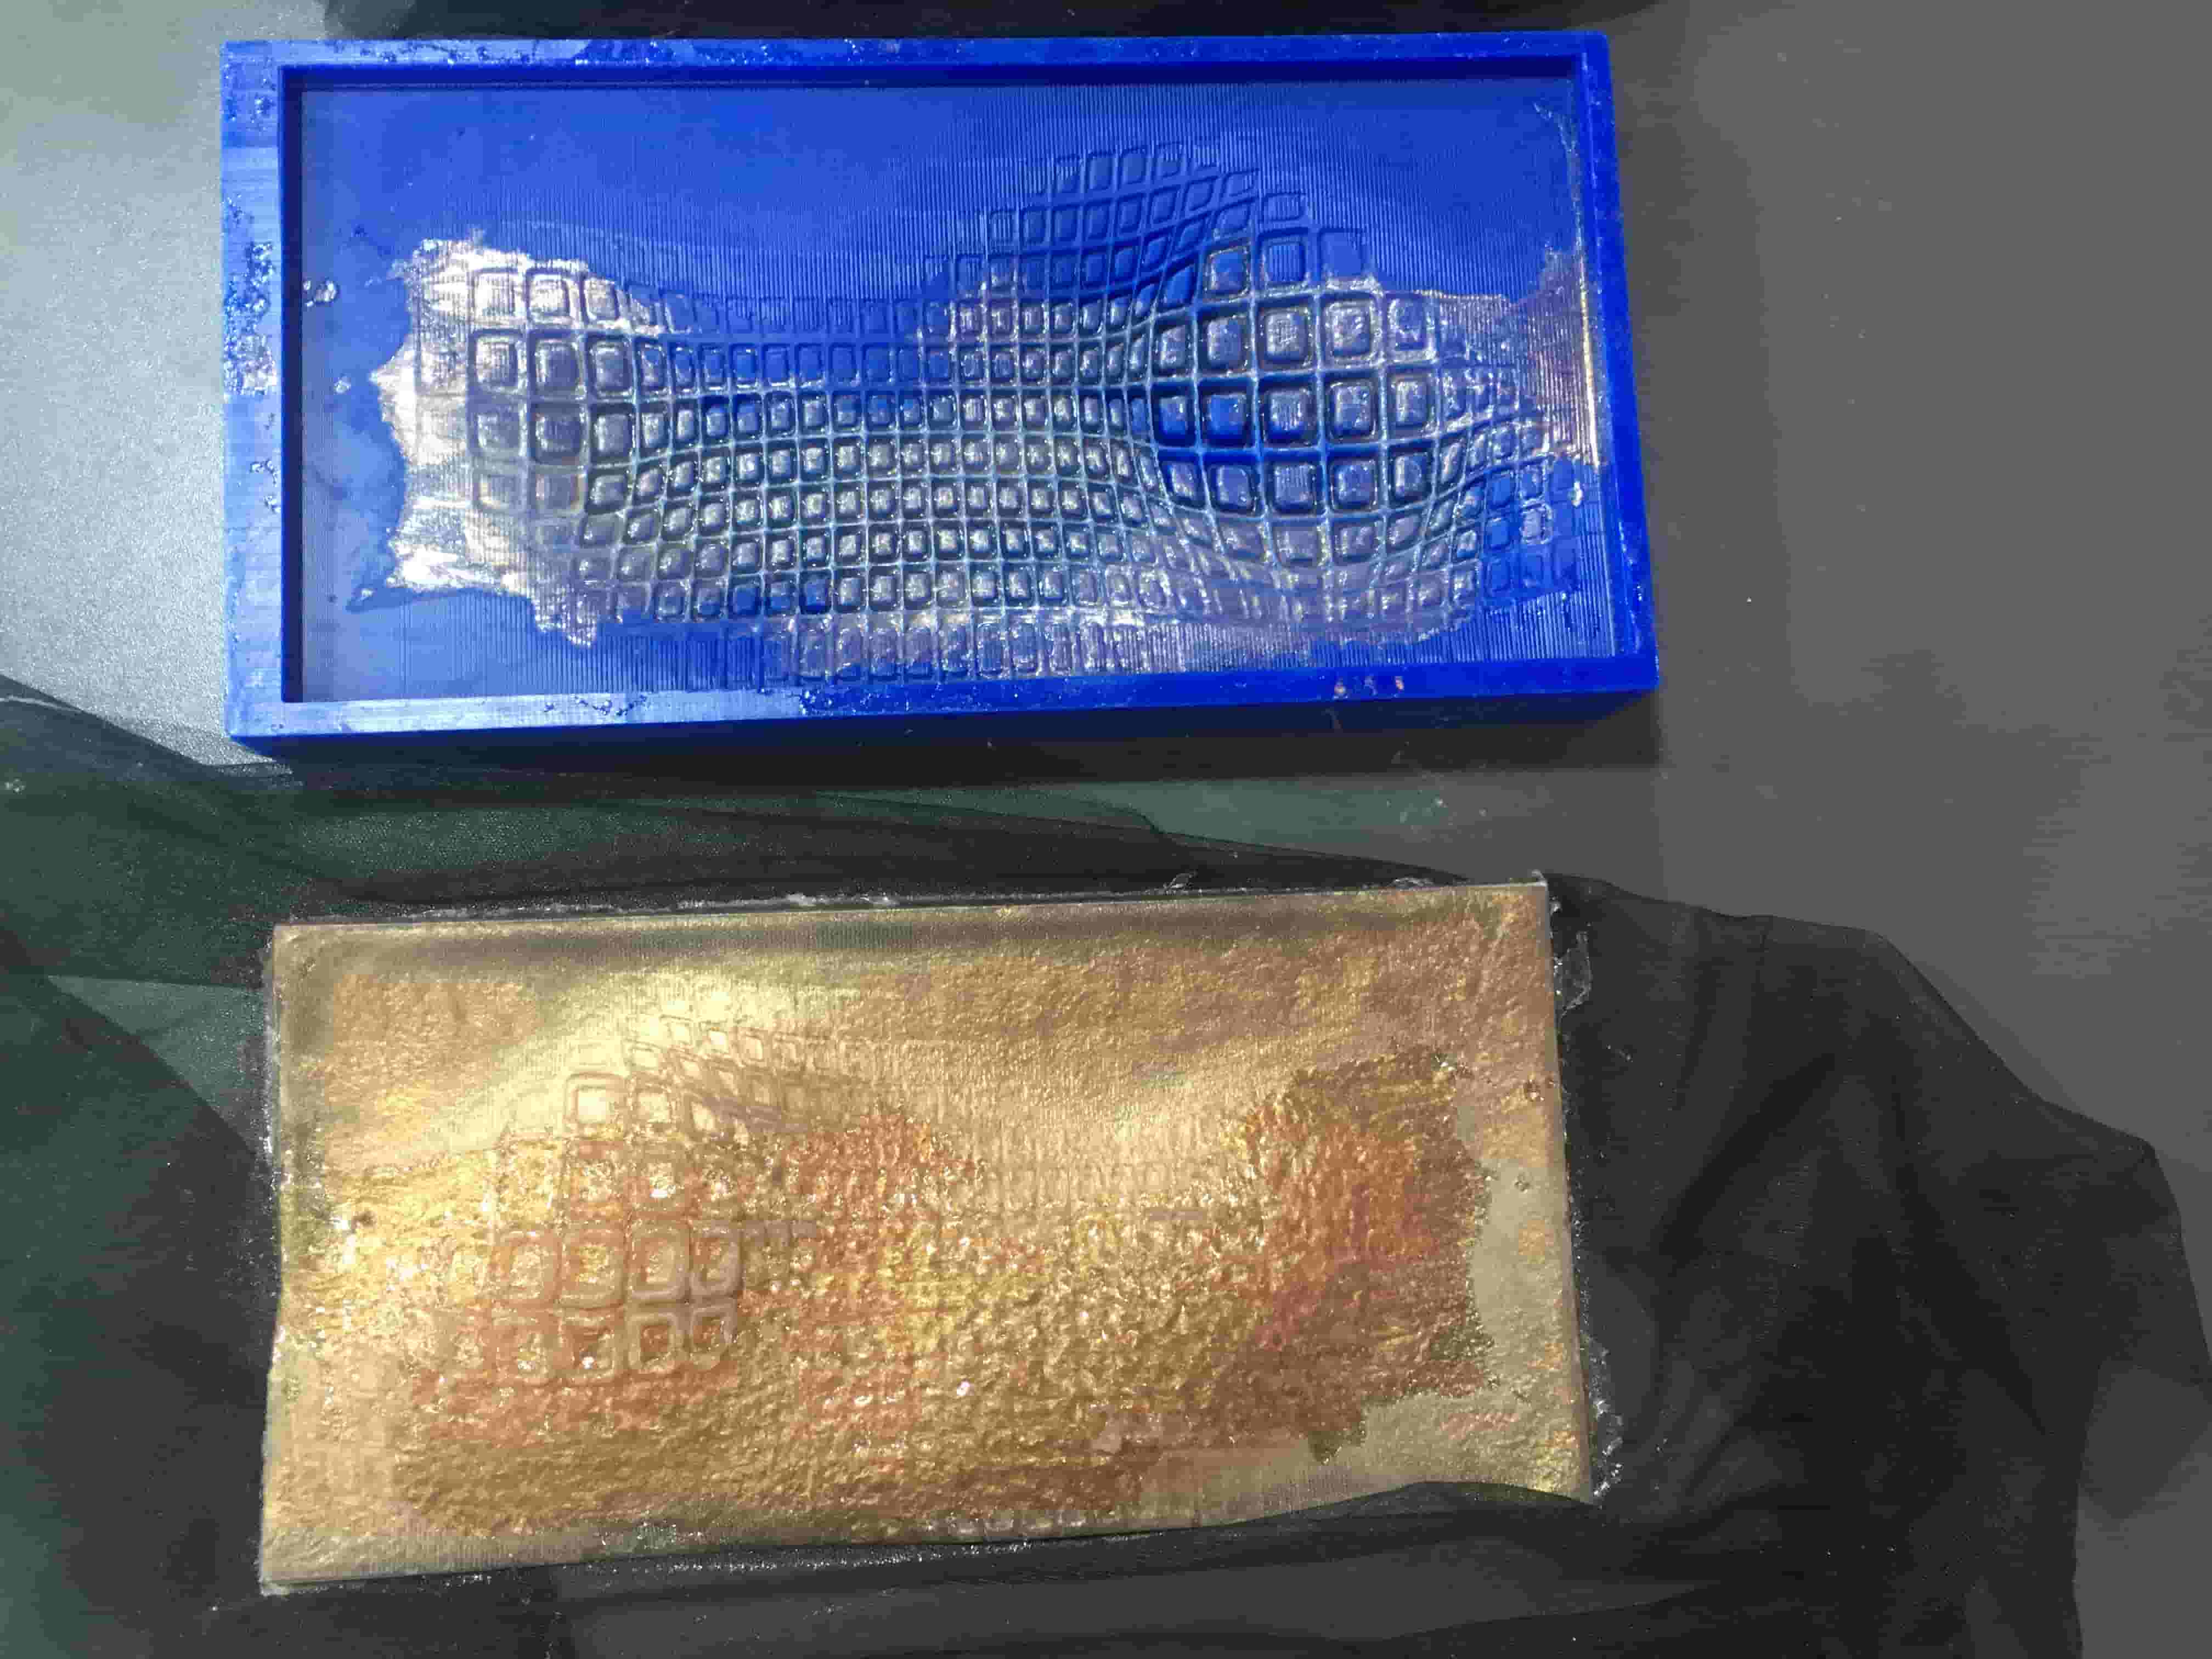
After that i tried cleaning the mold but never was actually purely clean (i tried alcohol, soap, sponge, brushes, soaking it in water and leaving it, air pressure, water pressure) to remove sticky undried silicone in the narrow fine details but either they would break the wax parts/walls between the geometries aka ruining the mold or simply wont work if im softer.
To sum up, I decided to do another design ( smaller, less detailed so nothing would stick) and make sure not to add ANYTHING to silicone. As well as not putting LOT of oil or releasing agent (as i sued to think the more the merrier and it wont stick like this … until it didn’t even dry to stick LOL)
Design trials 2
Fabricated Trial number 2 (succeeded)
 so I repeated the above step … same ad i did for the bigger mold but smaller dimensions …made a box with the dimensions of the available wax at the lab ( each wax is 15158 cm) box size is ( each wax is 15304 cm) with solid creation tool on the right (box)…from now on I’ll use the top view, then draw a rectangle (rounded corners) on the boarders of each rectangle, select curve and offset 1 cm which would be the mold wall
 i had 4 proposals for the design but as i mentioned i picked something with way less complicated geometry based on my failure before and wanted to be able to use it as modular design so i can create more cells of it that’s how i designed the floral one
 hello machine! let’s start
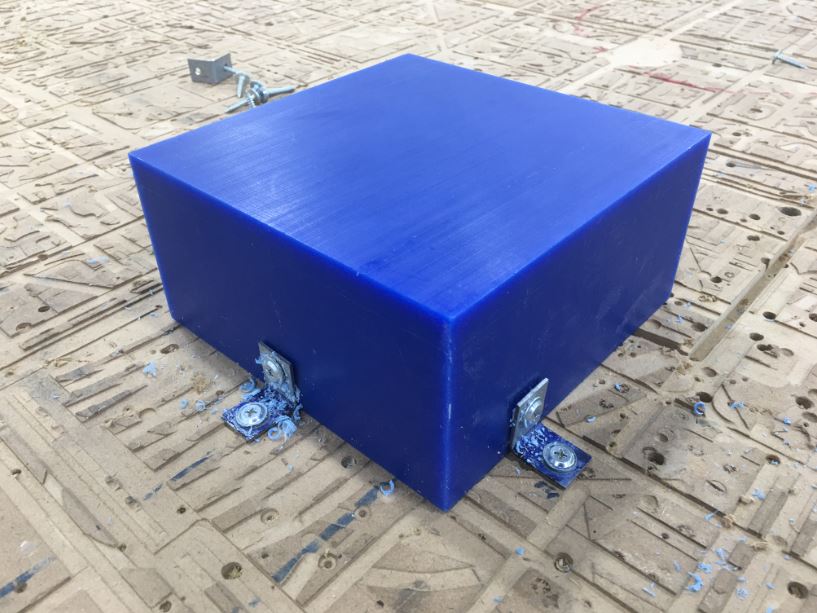 i used a smaller mold this time 15 * 15 * 8 and i made stick on the bed with right angle metallic parts and screws this time not wasted wood (level up hehehe)
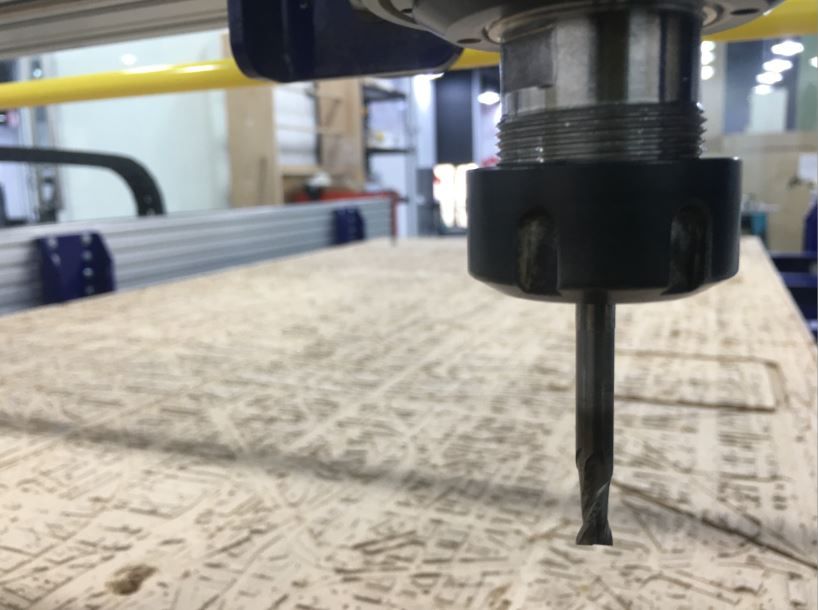 zoom on to the tool i used.... this time i used a bigger tool for a faster results (ofcourse in proportion to quality) as well this time we had waaaaaay less details
 the result of the first rough finish… cool no?
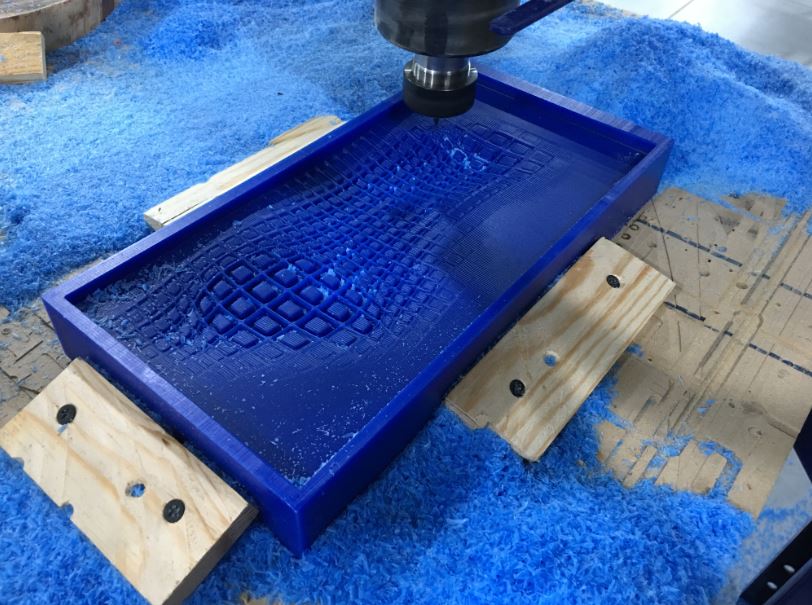
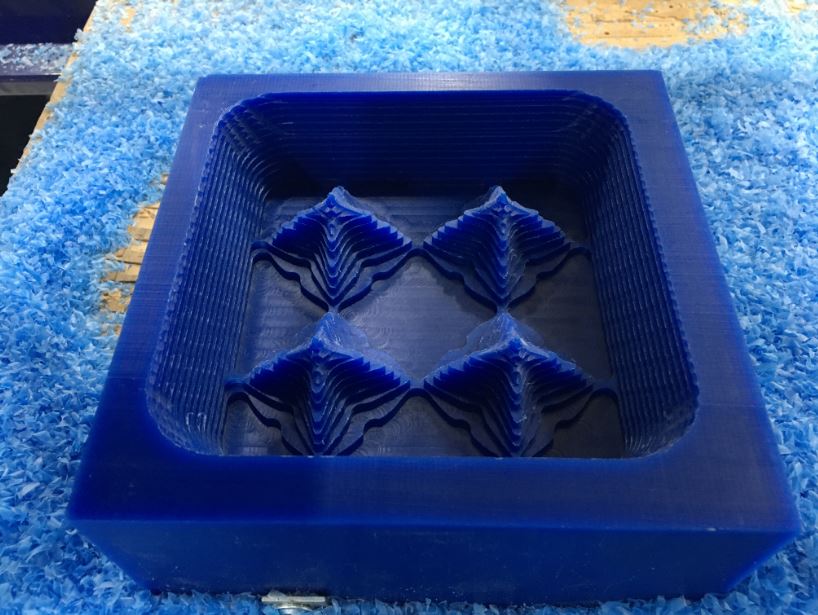
 and then final detailed finish done … i made sure to focus on the tip that they didn’t break and still there which is great …
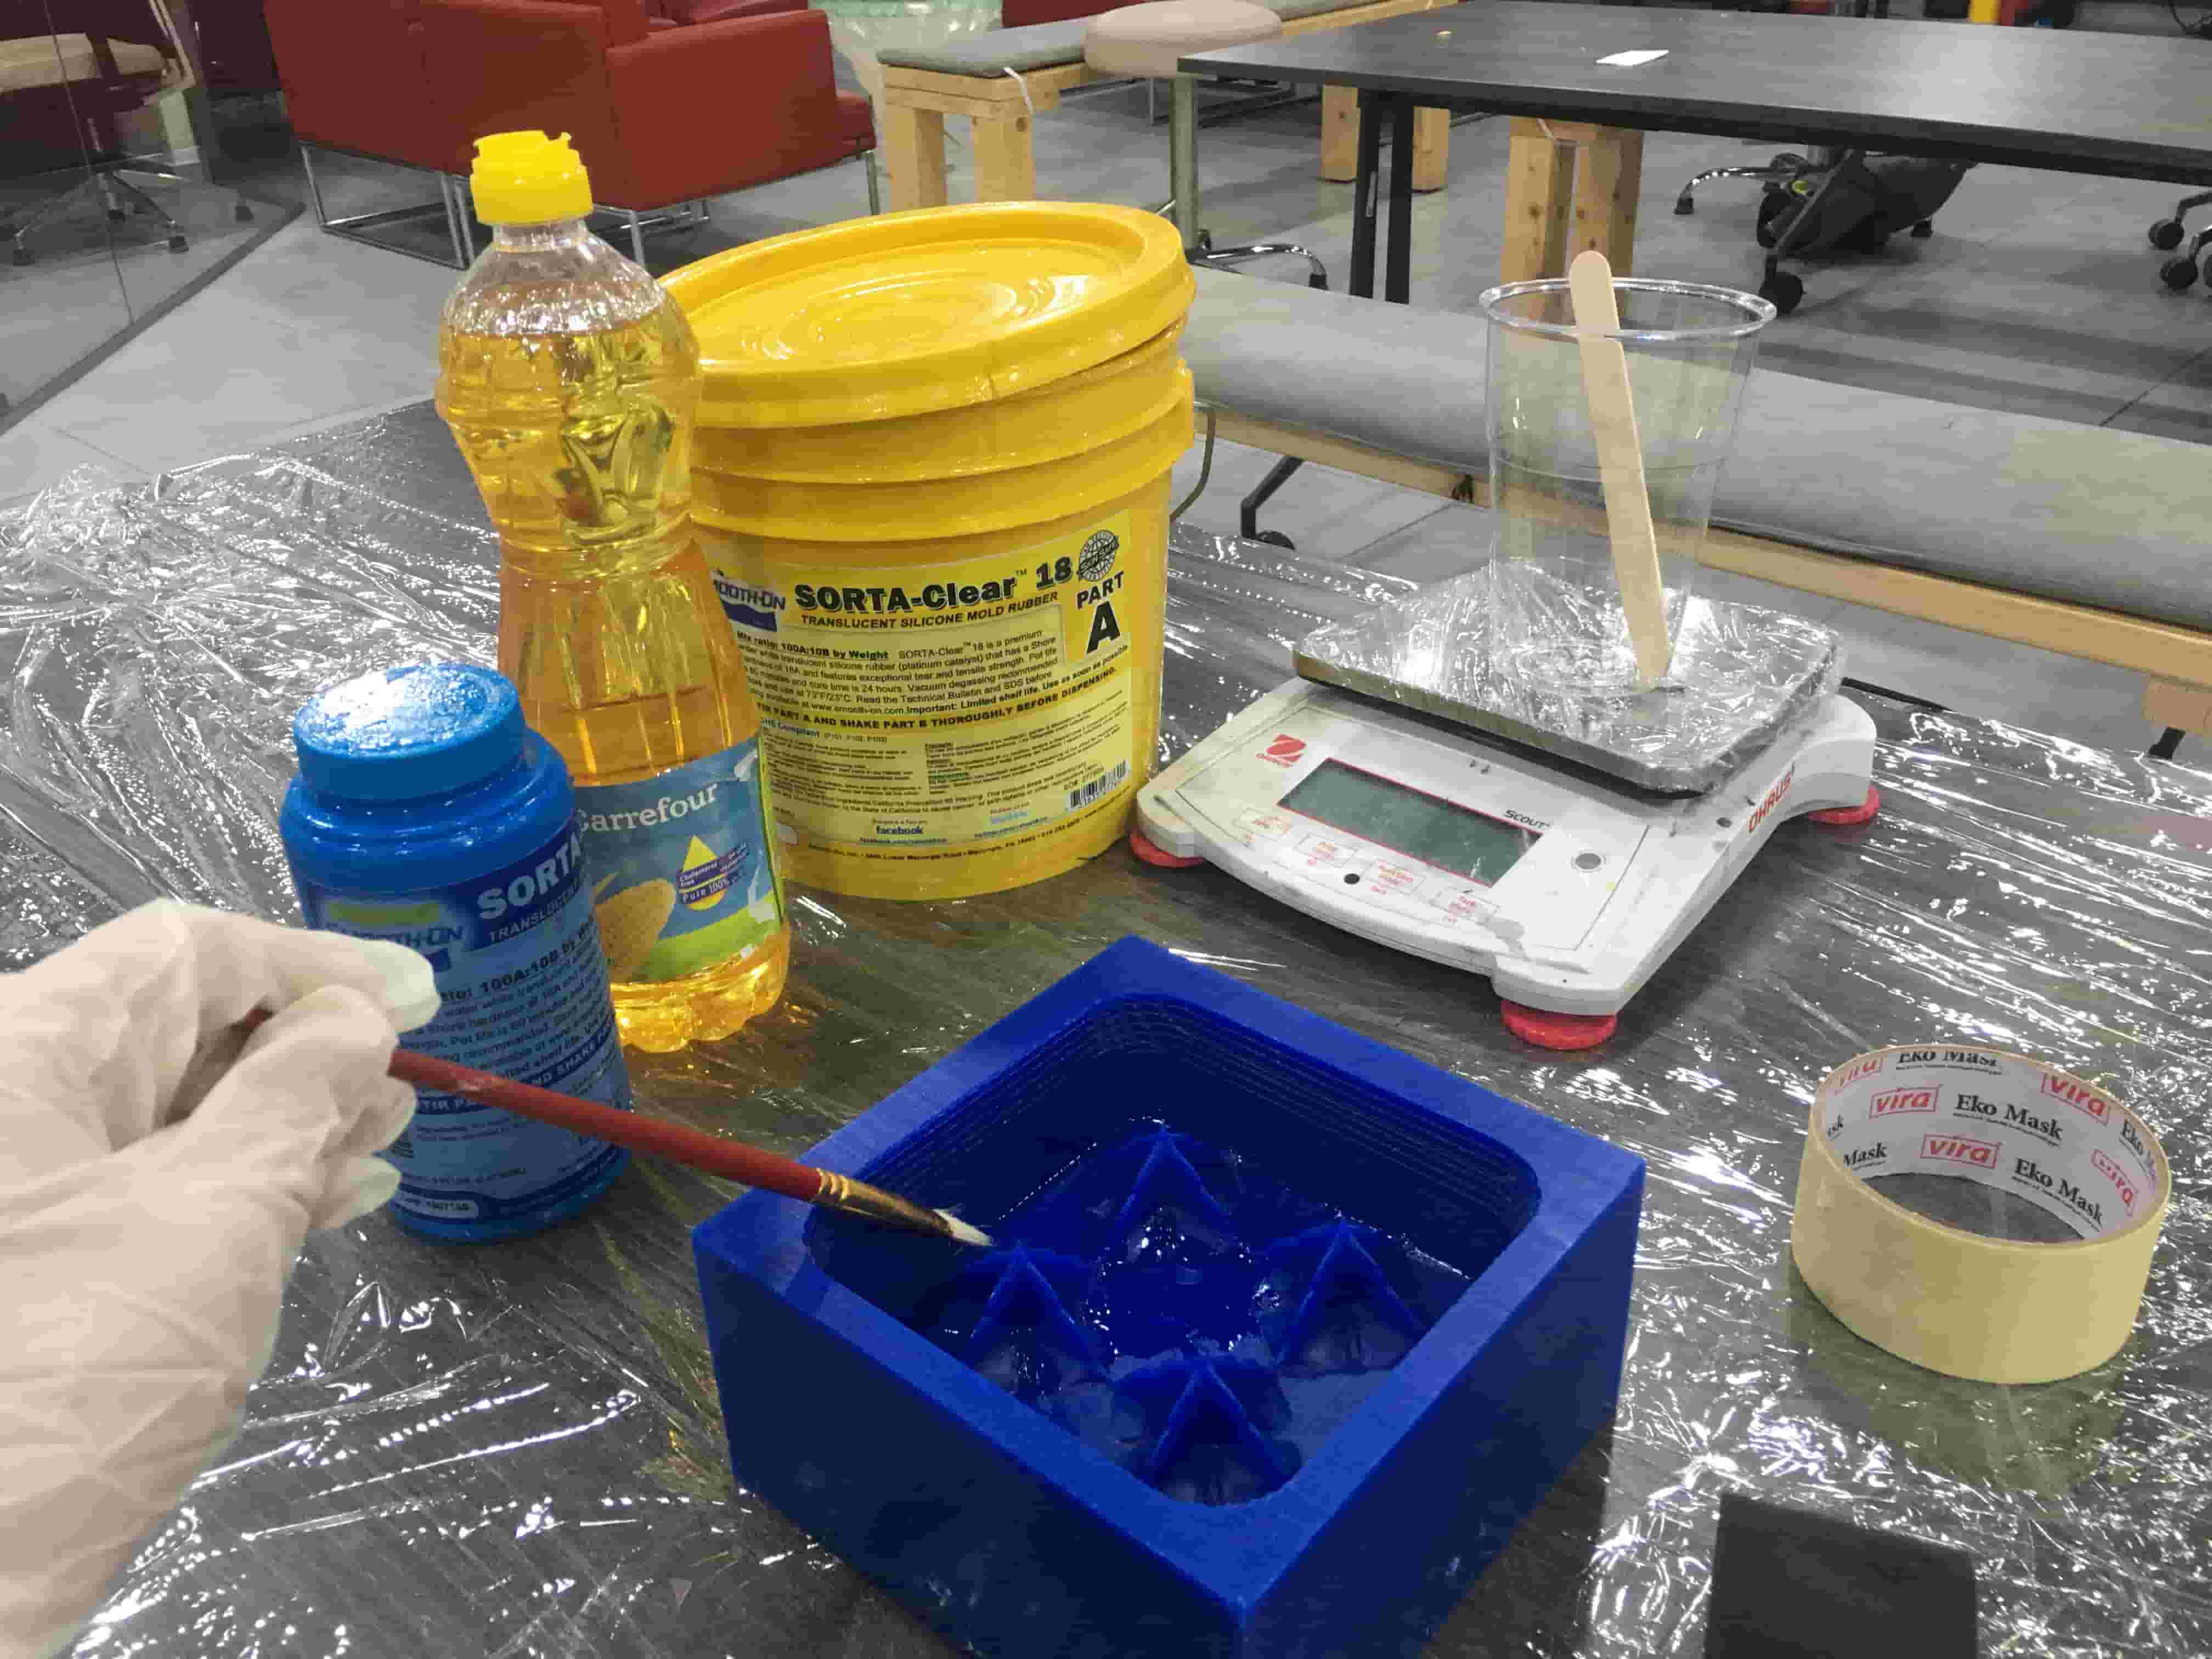 now the risky part after my failure trial … i learnt a lesson not to put all anti sticking agent together cuz silicone might not dry … so i only put ONE kind only which is the oil with a brush and made sure to actually brush equally and NOT cluster in corners as previously it did cluster and was collected in holes and fine details which made the silicone NOT dry sadly … so i told myself this time please batoul no clusters of oil just a micro thin layer of oil shall do the job hehehe and make sure to brush the narrow places so it aint ollected in it a lot …
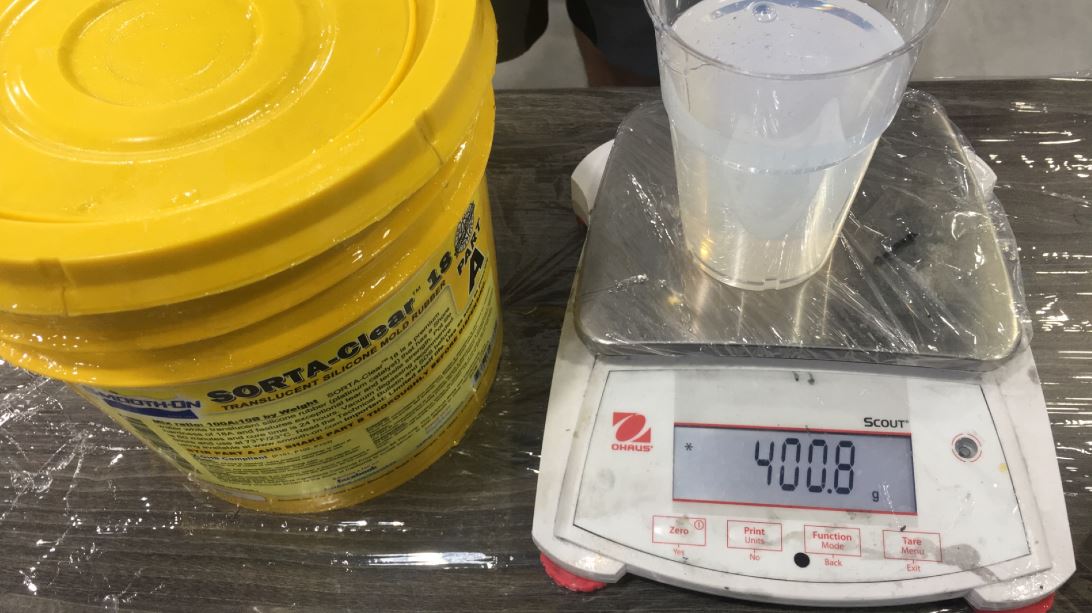 First i used 400 g of A and 40 g of B but wasn’t enough to cover the tip of the mold so i added extra 250 g of A and 25 g of B nd made sure to MIX MIX MIX MIX well as this also might have played part in my failure before since if you dont mix A+B well nothing would dry! :)
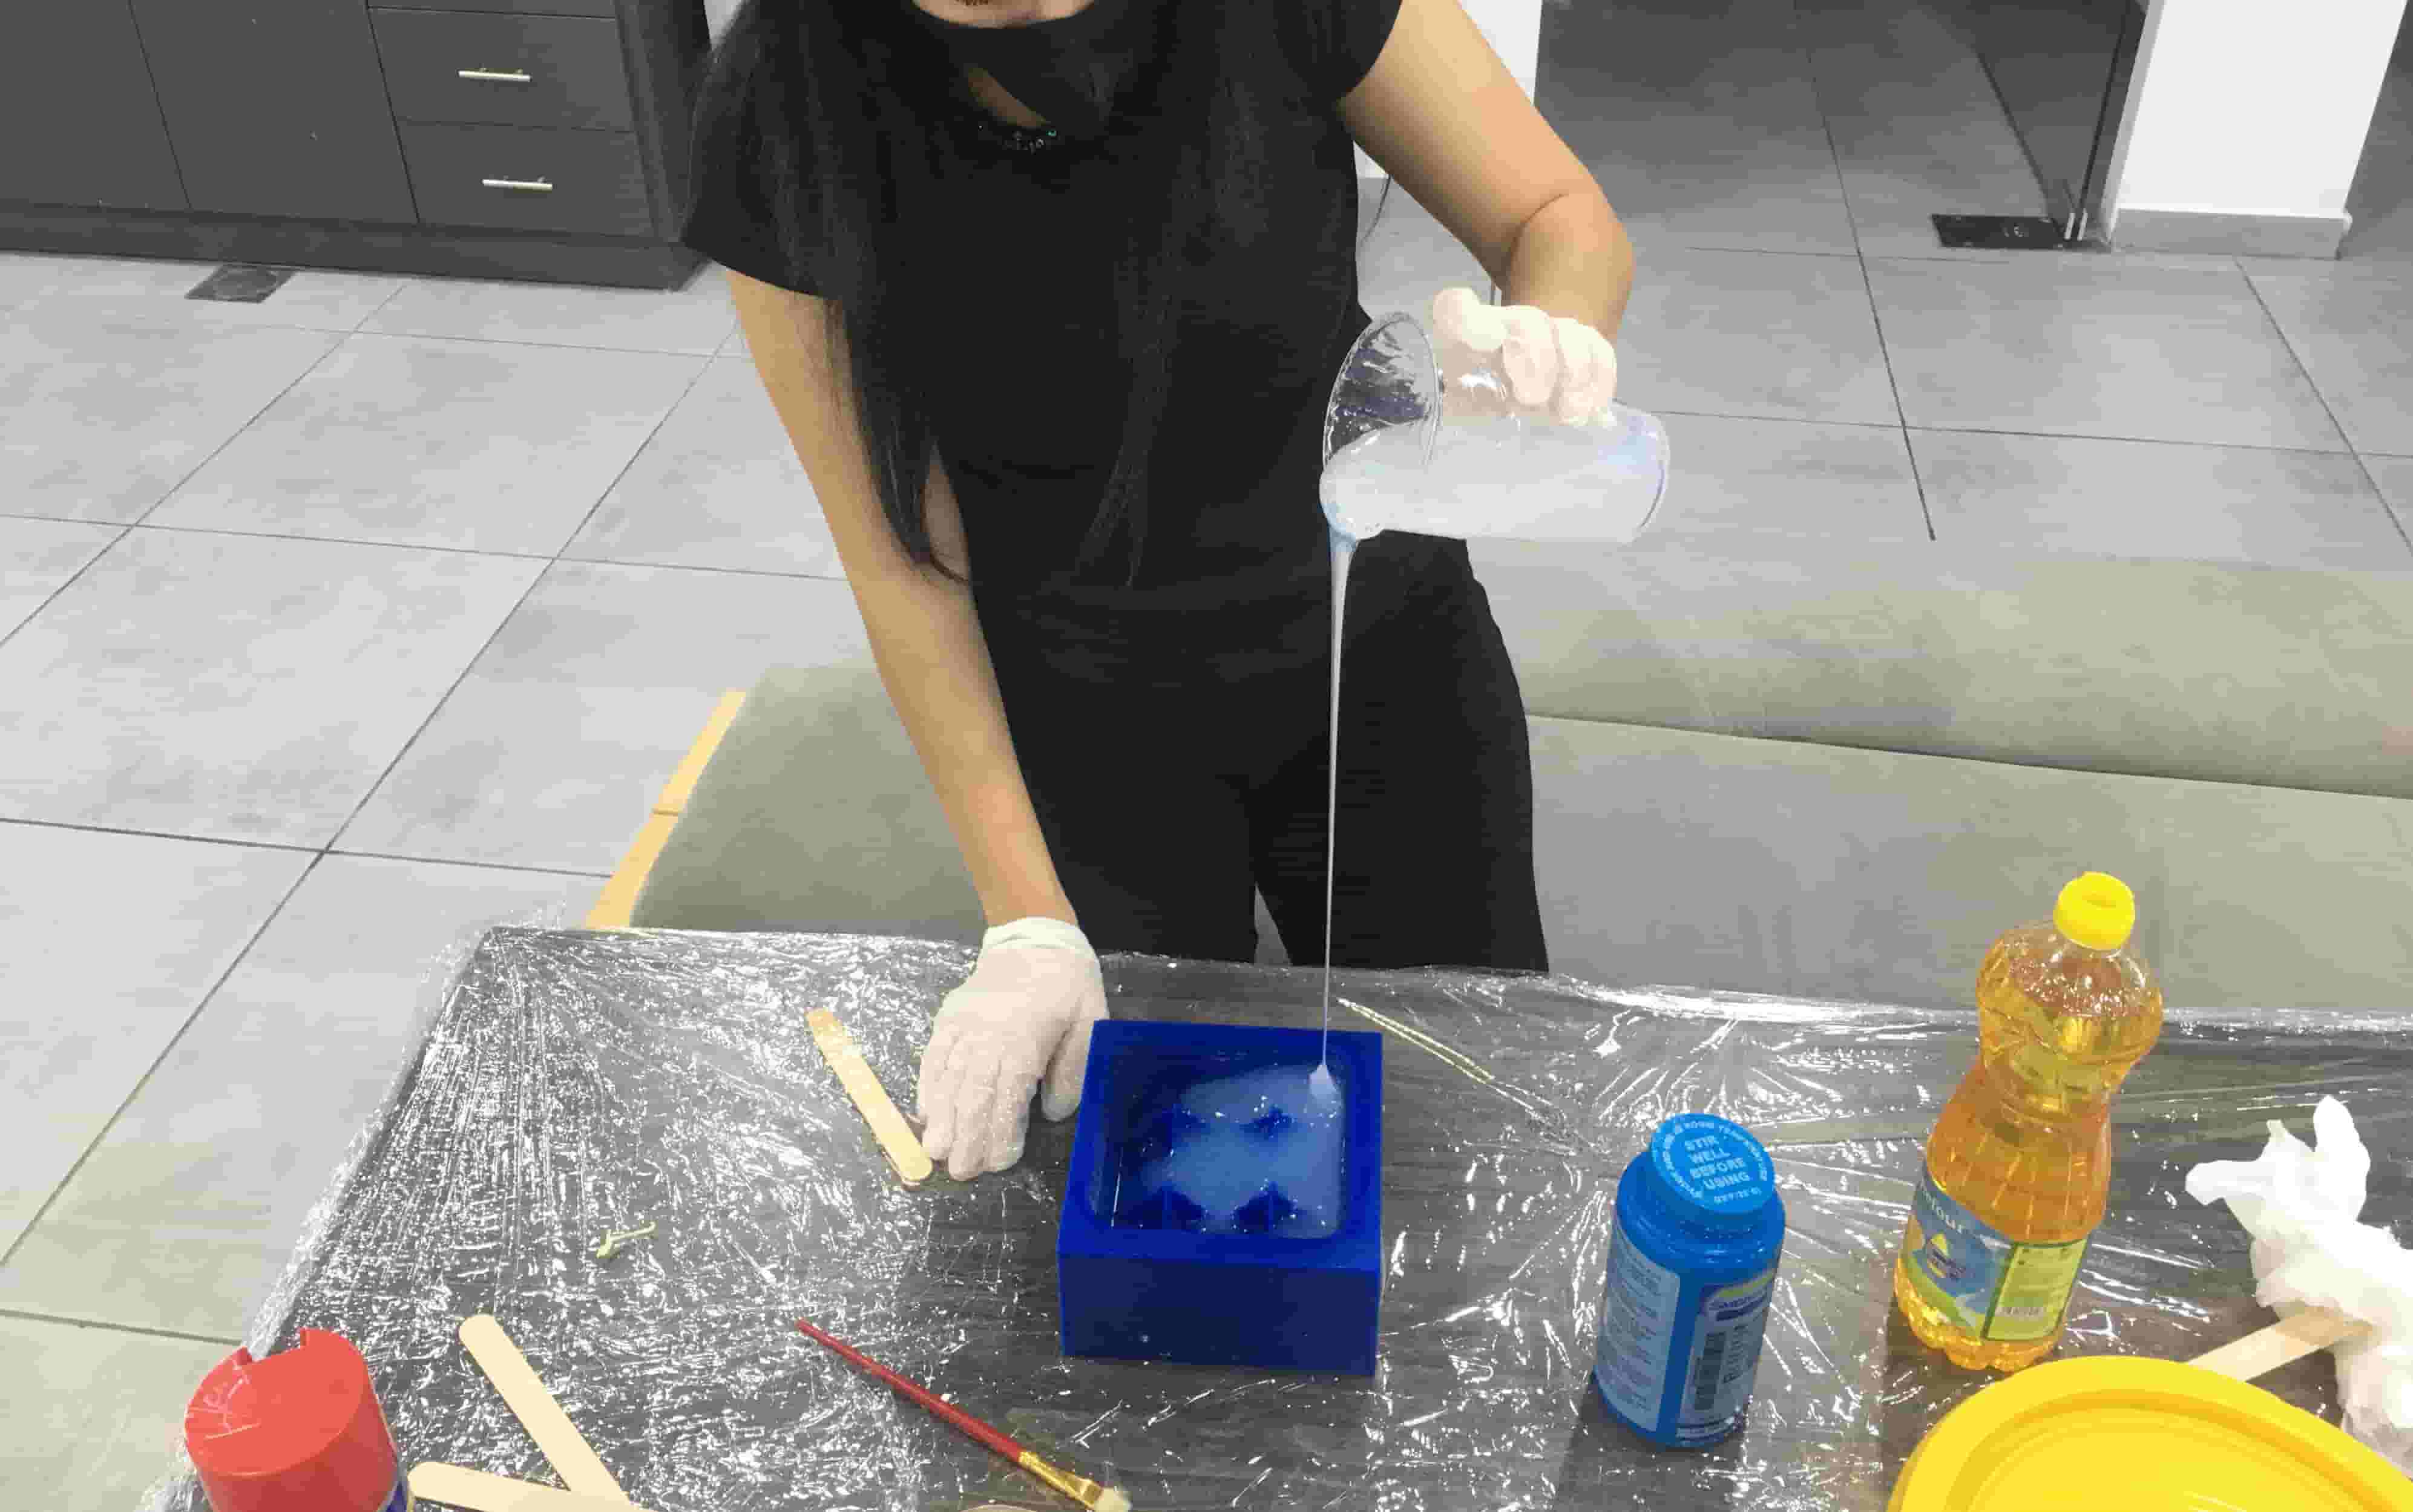 here i started pouring the mix from a distance to make a thin line to eliminate the bubbles! as they fade away traveling that long journey hopefully and from the corners so they fill/find their ways in the mold
 here i started shaking the mold on the table and knocking it to remove any bubbles anddddddddd i use the hand machine sandler on the sides and underneath to make usage of vibrations produced and remove all bubbles
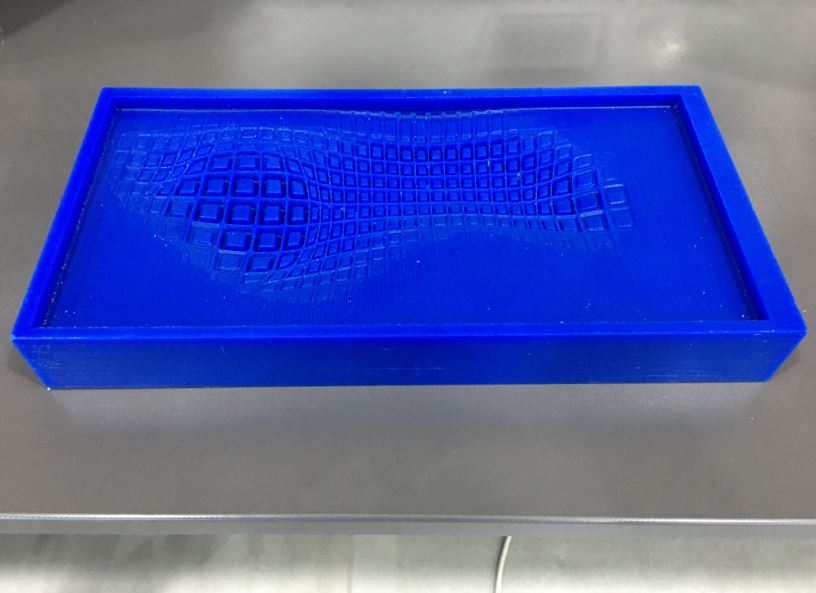
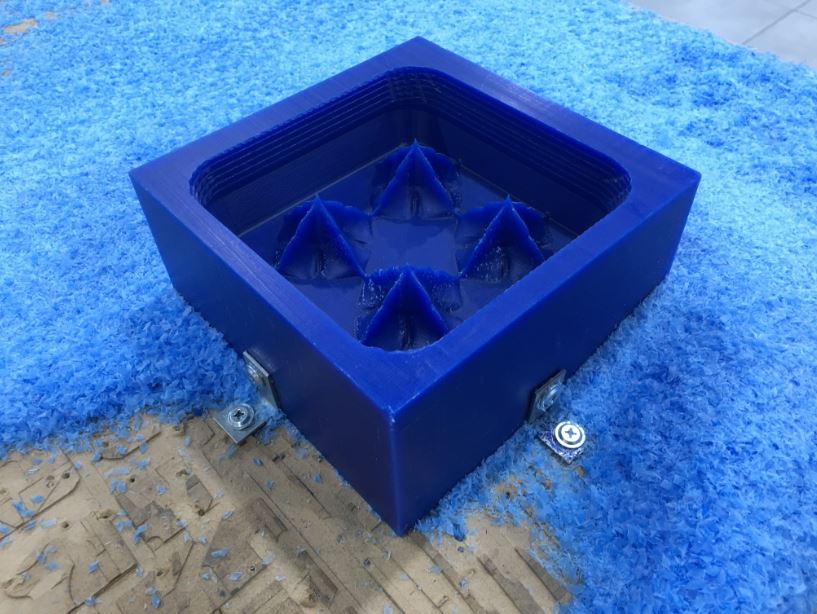
 i removed it and finally it works thanks god! the tips arenot broken… no bubbles … it dried well! and actually DRIED! so finally succeeded with having a dried silicone mold!
Process Video
BOR mold and cast from Batoul Al-Rashdan on Vimeo.
Hero Shot

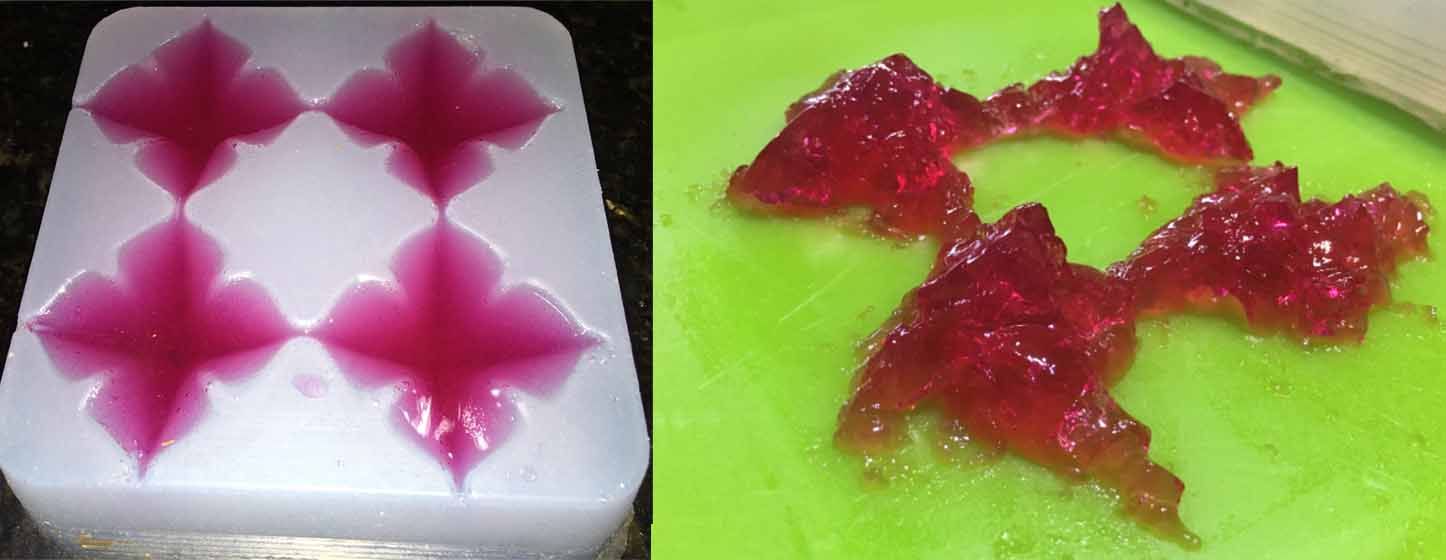
second trial … i tried not to leave it in the Fridge for too long so it doesnt dry like previously but as well it didn’t went out well like it dried PERFECTLY inside the mold but there’s a weird adhesion connection between the jelly (gelatin) and the silicone mold .... so once you flip it to release doesn’t flip the exact shape as if it refuses to flip somehow stuck attached to the walls of the mold!
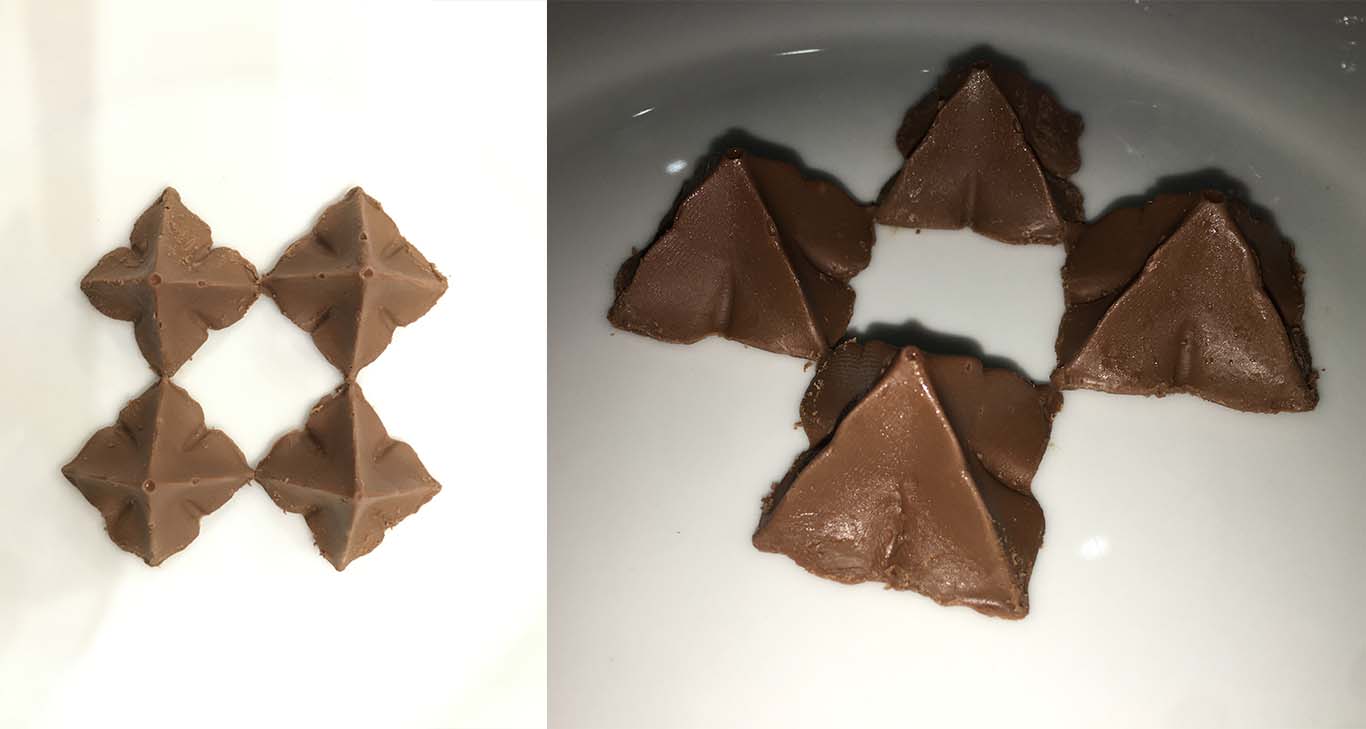 so i tried flipping the chocolate and it went out just fine unlike the Jelly … there’s actually shape once flipped (not perfectly perfect but almost there let’s say LOL)
I used Entropy Resin One with ONF Fast Hardener to make a solid block. The mix ratio is 2:1 by volume easier than weight. So I mixed 2 fill squeezes of resin with one full squeeze of hardener
 so the resin trial went out fine with the most details so i made a conclusion that the more sold the output … the more details it would show! like it has to be far form the texture of softer flexi silicone and more rigid let’s say!