Appearance
WEEK 14 – Molding and Casting
Assignments
Group Assignment
- Review the safety data sheets for each of your molding and casting materials, then make and compare test casts with each of them
- Compare mold making processes
Individual Assignment
- Design a mold around the process you'll be using, produce it with a smooth surface finish that does not show the production process toolpath, and use it to cast parts
- Extra credit: use more than two mold parts
Group Work
Our group work is accessible HERE (add the link)
Individual Work
This week, I experimented two mould-making processes:
- using 3D Print + Silicone to produce the mould for casting of the final part
- using Wax CNC Machining + Silicone to produce the mould for casting of the final part
STEP 1: CAD Design
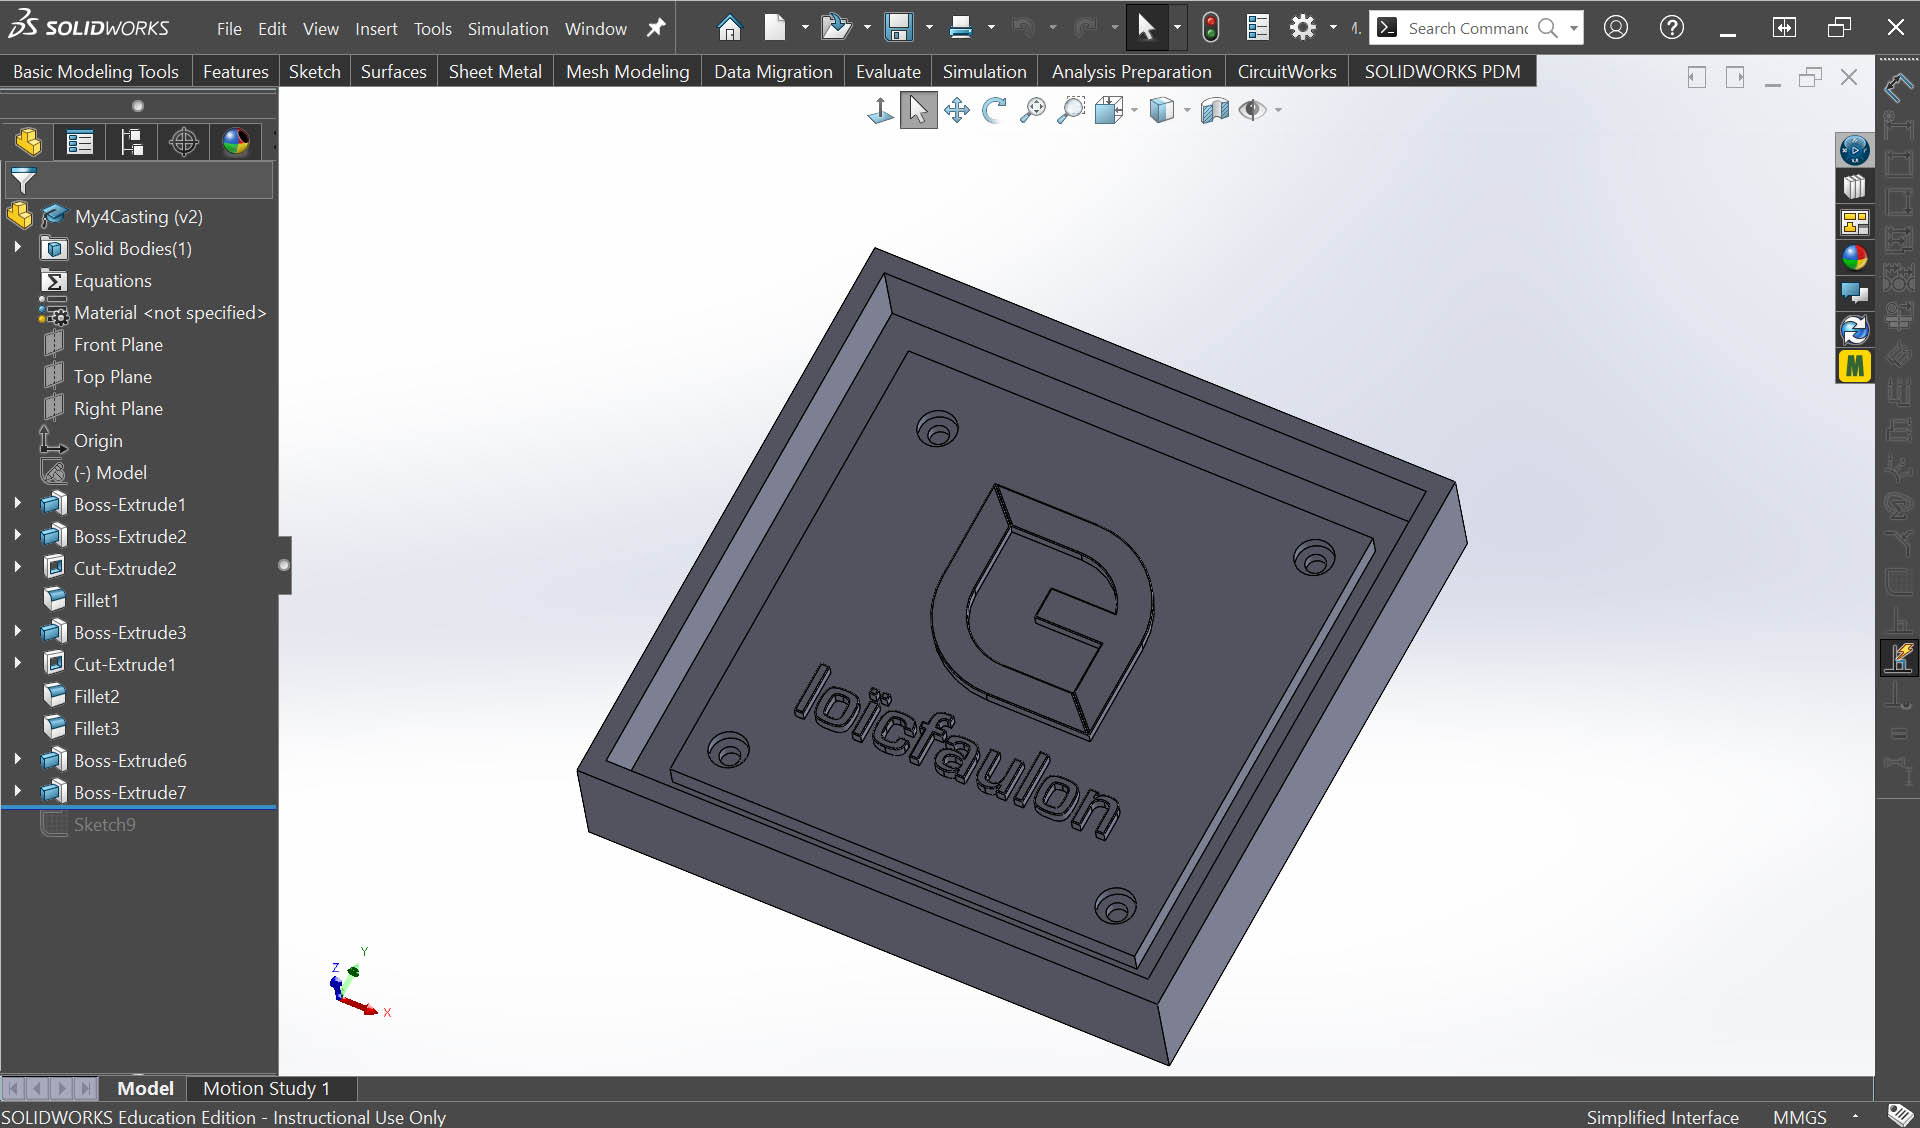
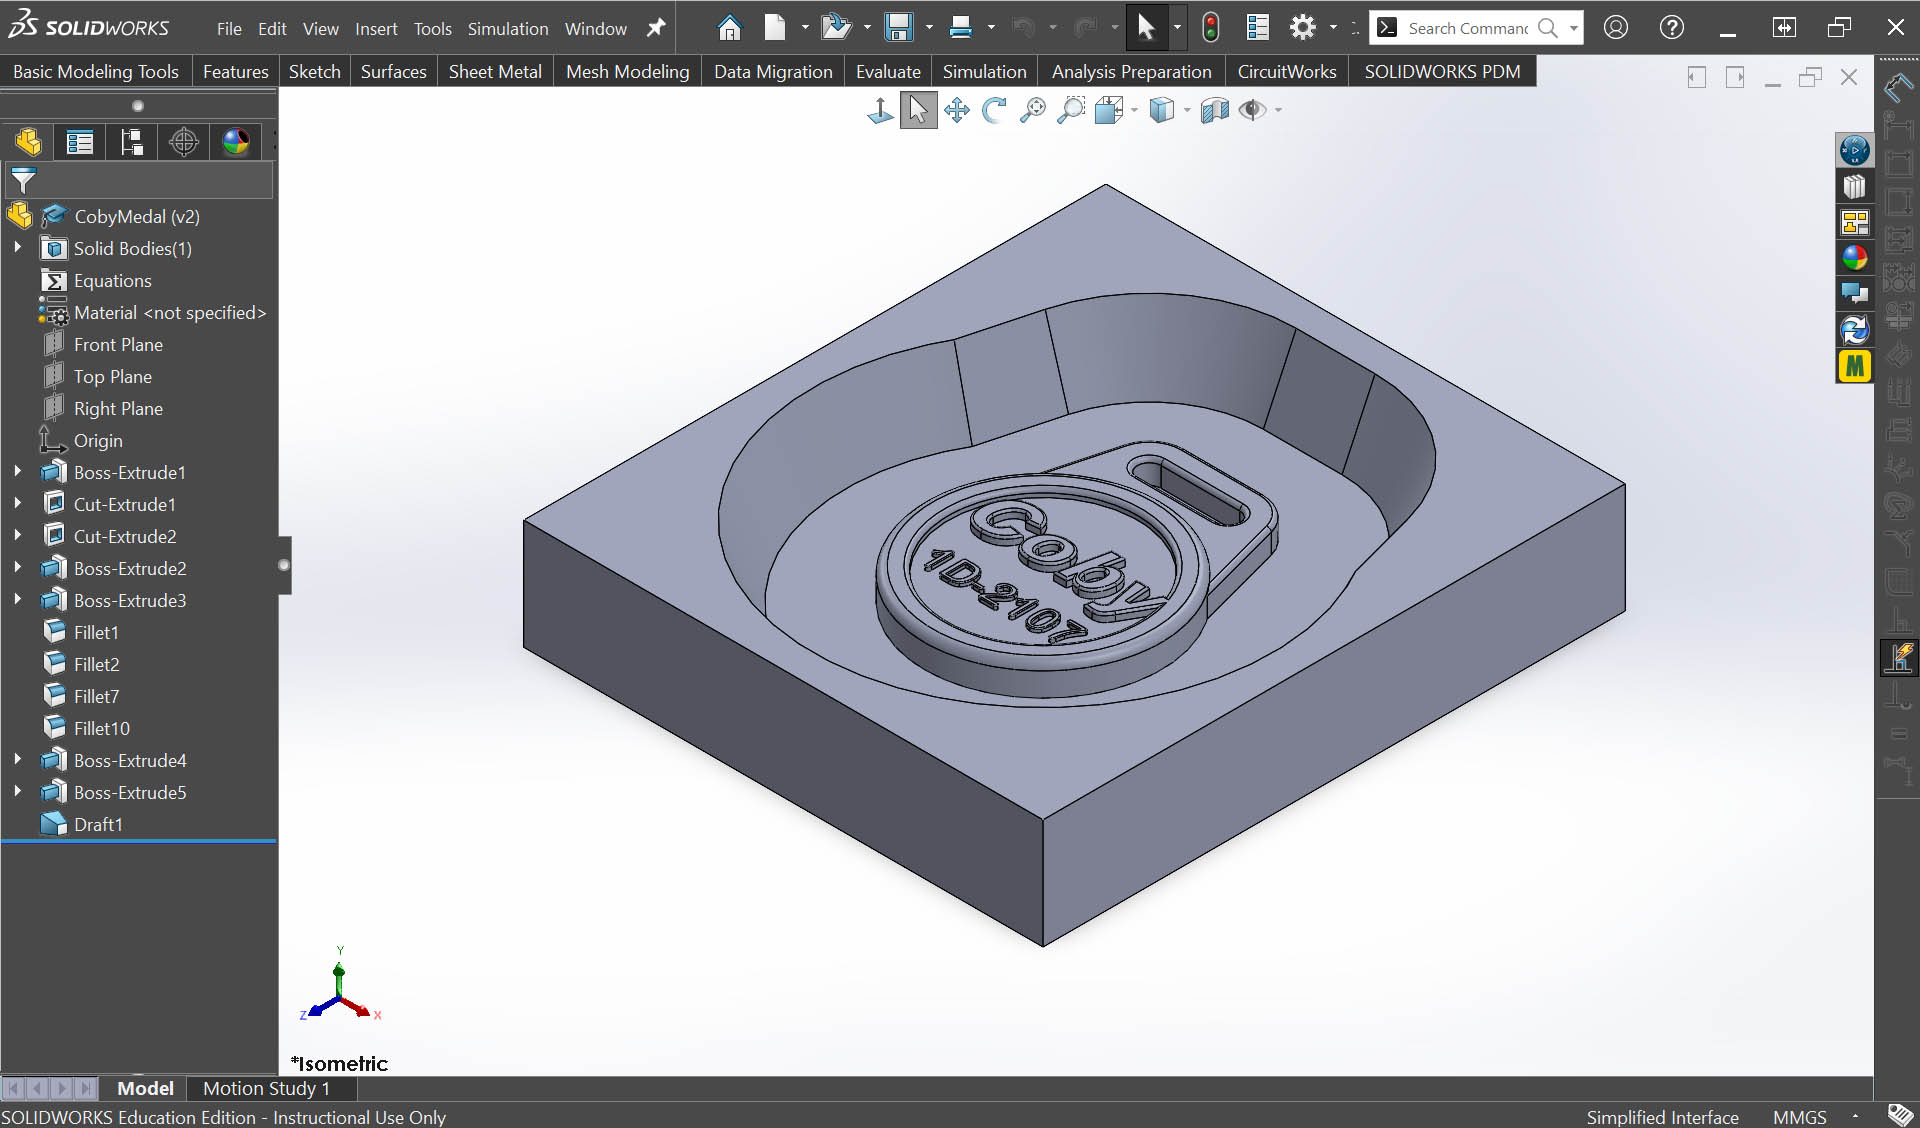
I created two CAD designs. The first one is a name plate (120x120mm) for myself, and the second one is a name medal (30x38mm) for my lovely pet Coby - I decided to create that second smaller design to save time in CNC machining as well as adapt to the size of the brand new wax block we had at our local Fab Lab (after one failure using a "badly" shaped and attached recycled wax block).
Name Plate (120x120mm)
Name Medal (30x38mm)
STEP 2: 3D Printing & CNC Machining of the Master Patterns
- To produce the Master Patterns for my name plate, I only used 3D printing fed with PLA material. I printed a first one at scale 3:4 (the red one) to save time and be able to experiment on the same day the mixing and pouring of a first silicone mould; In parallel, I printed a second one at scale 1:1 (the white one) that I was able to use the following days.
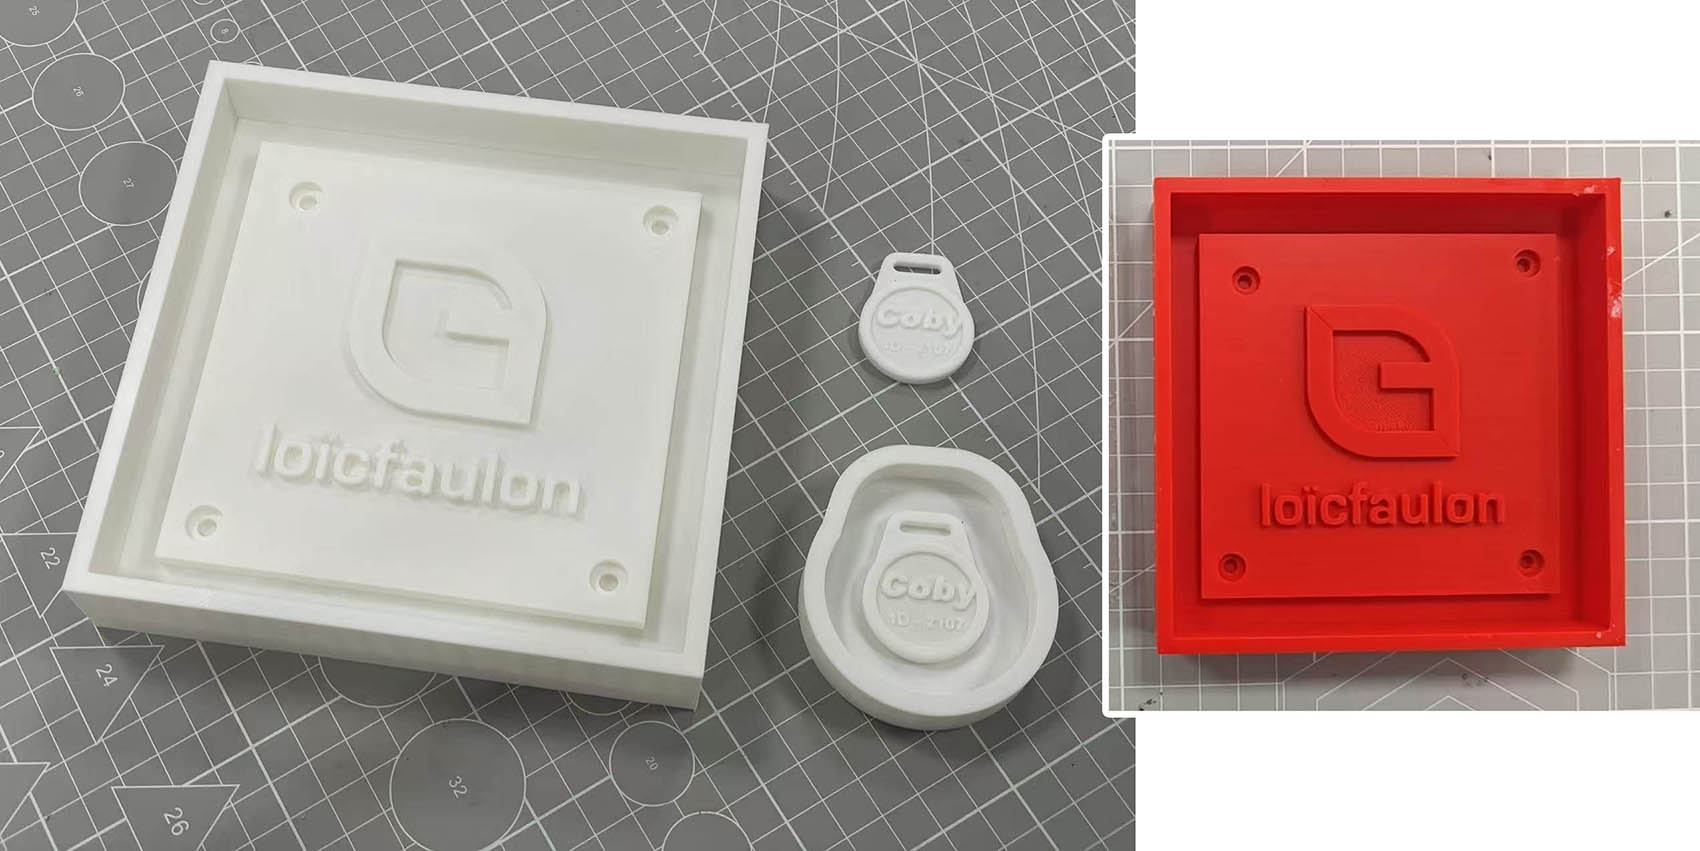
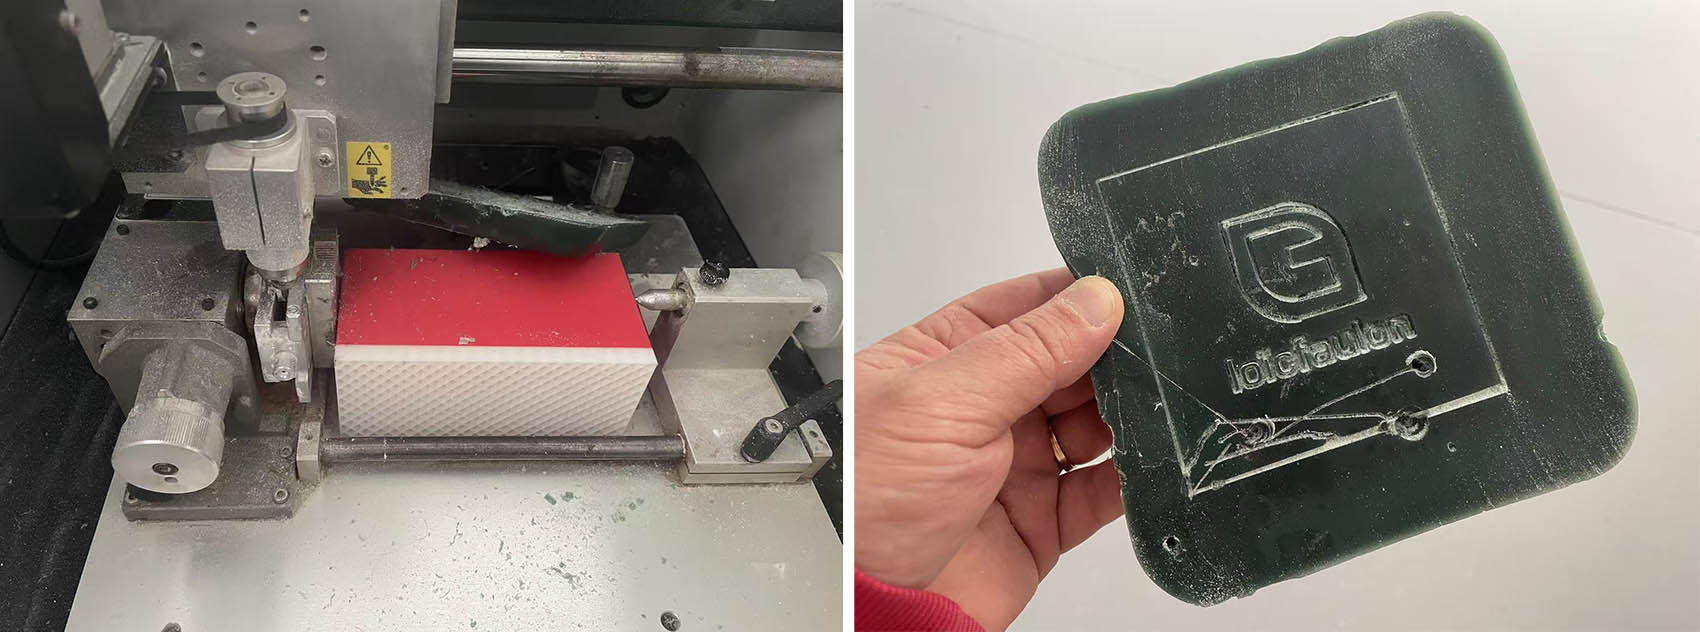
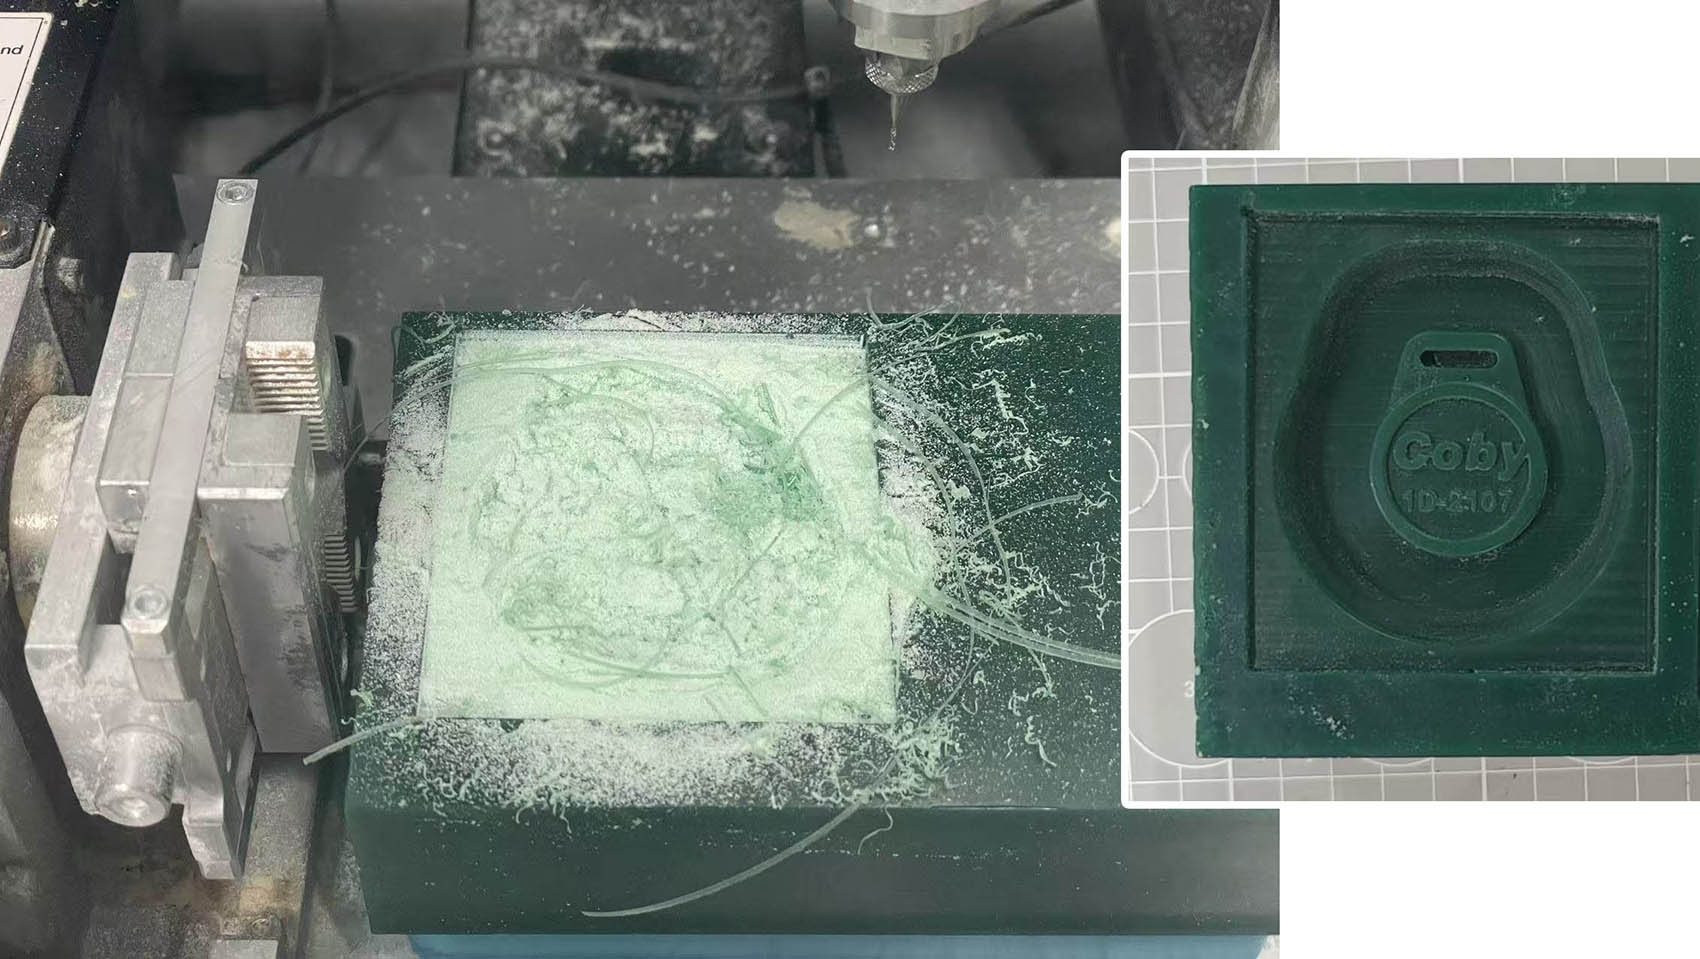
- To produce the Master Patterns for Coby's name medal, I used 3D printing fed with PLA material, and also CNC machining of a wax block, both at scale 1:1.
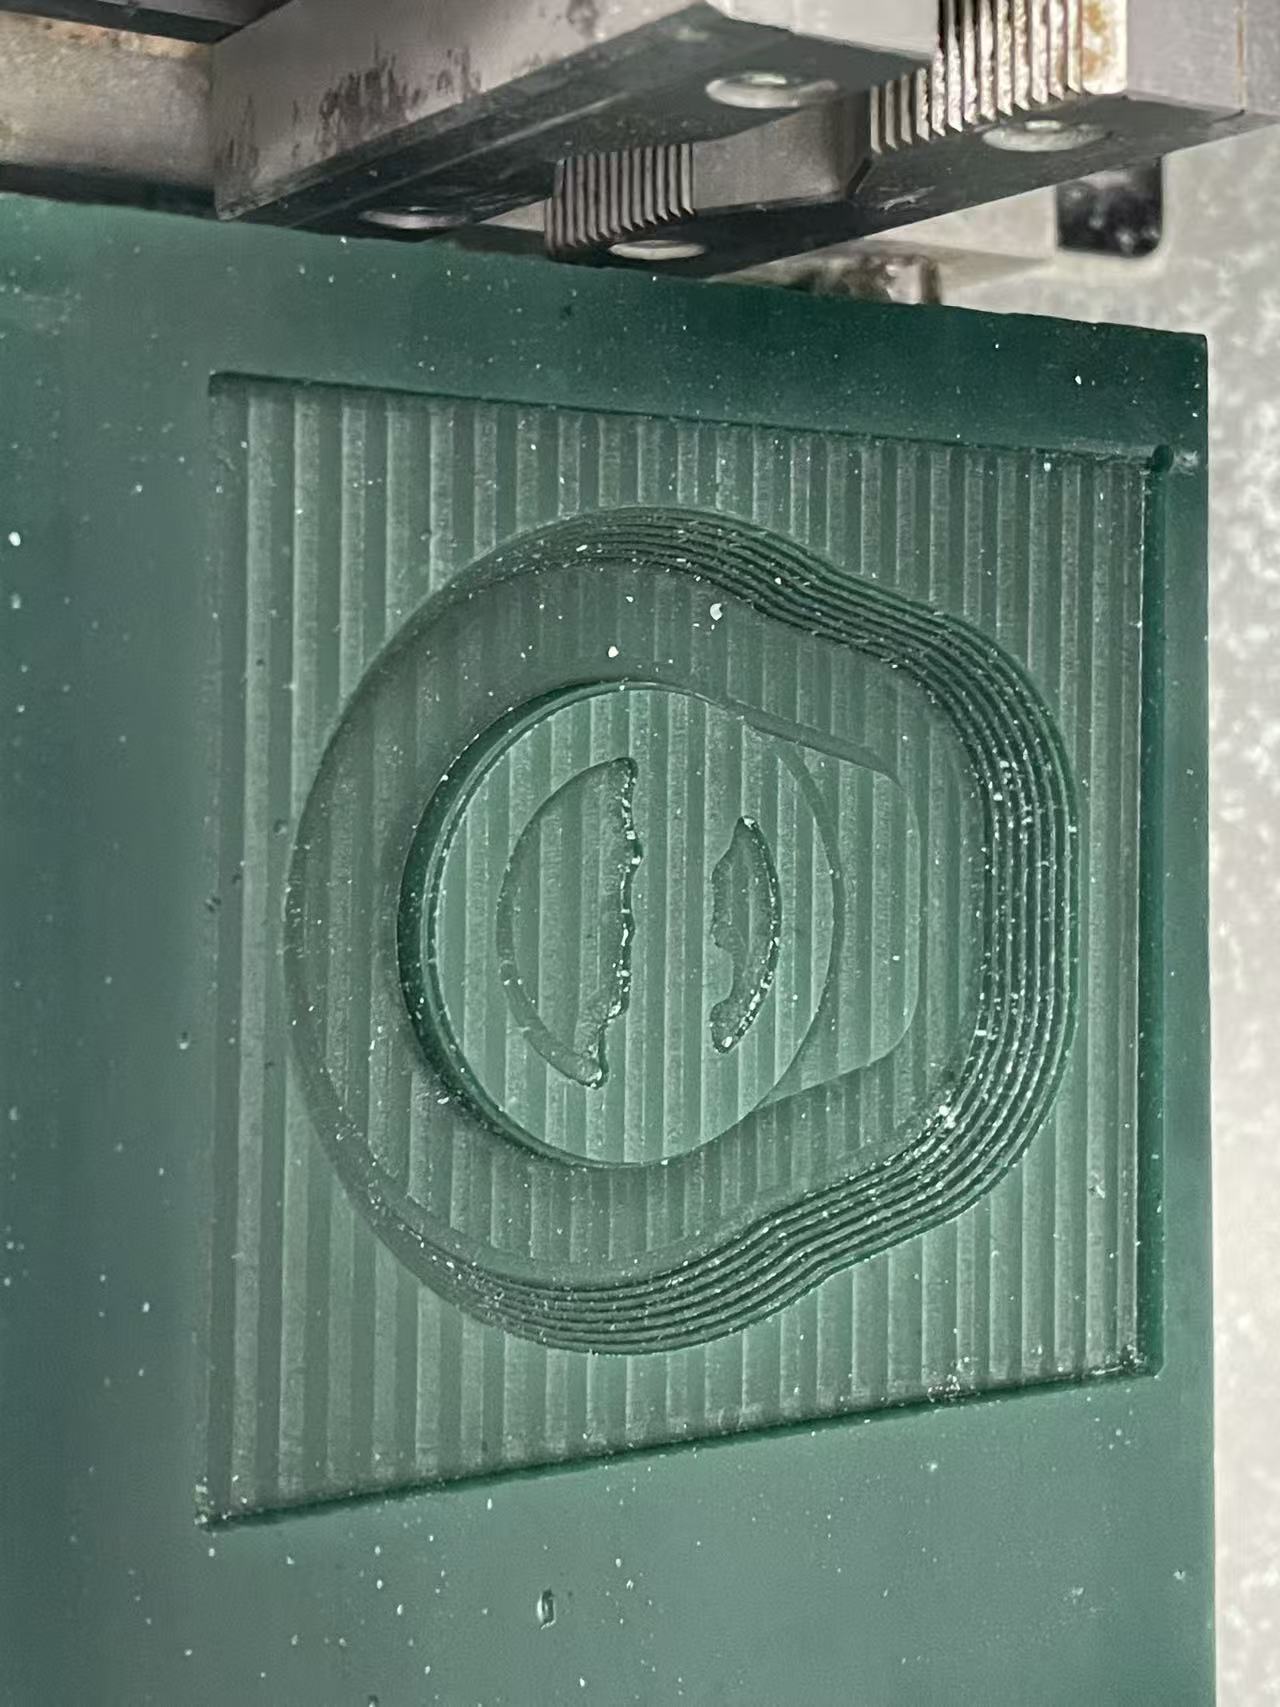
Draft/Roughing Path using a 2mm endmill (40 minutes) 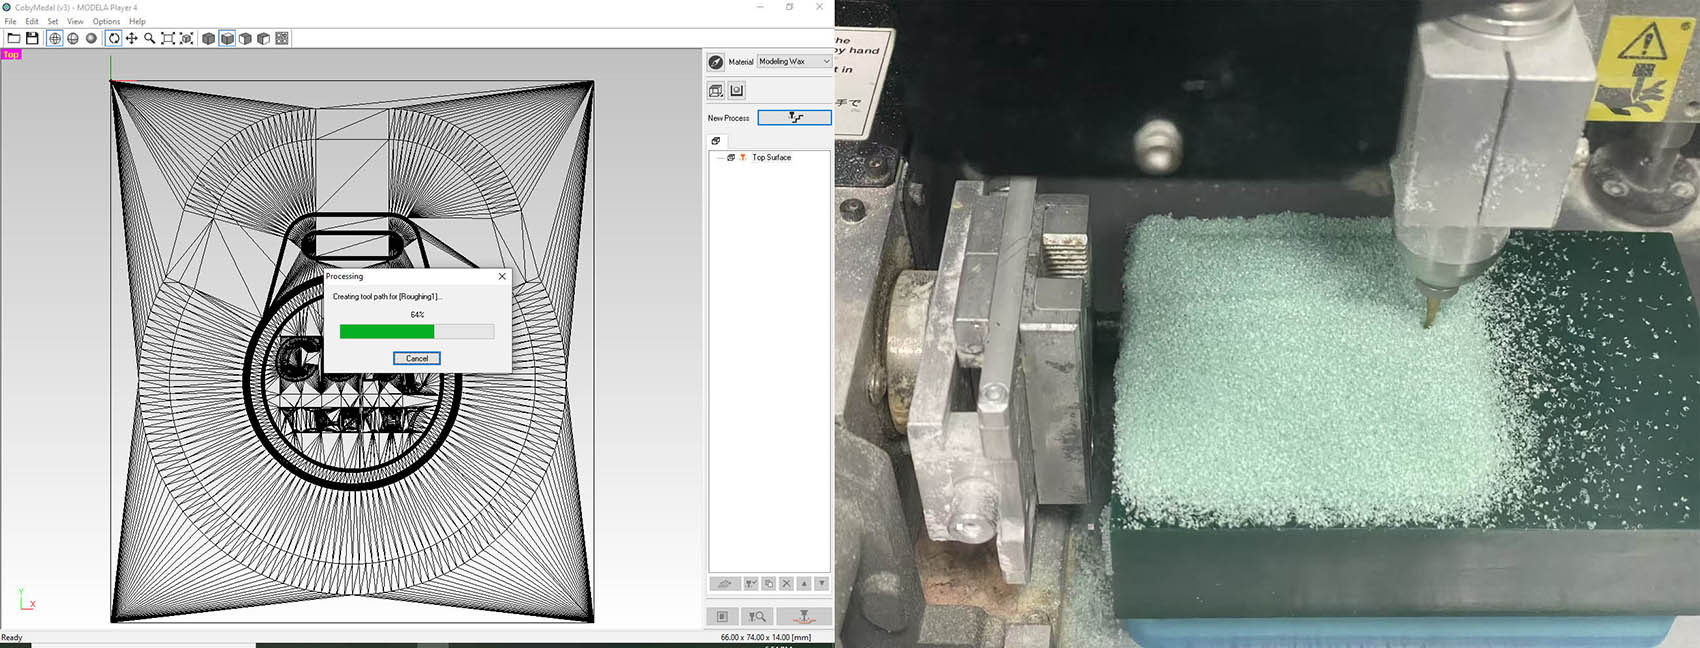
Finishing Path using a 0.6mm endmill (14 hours) 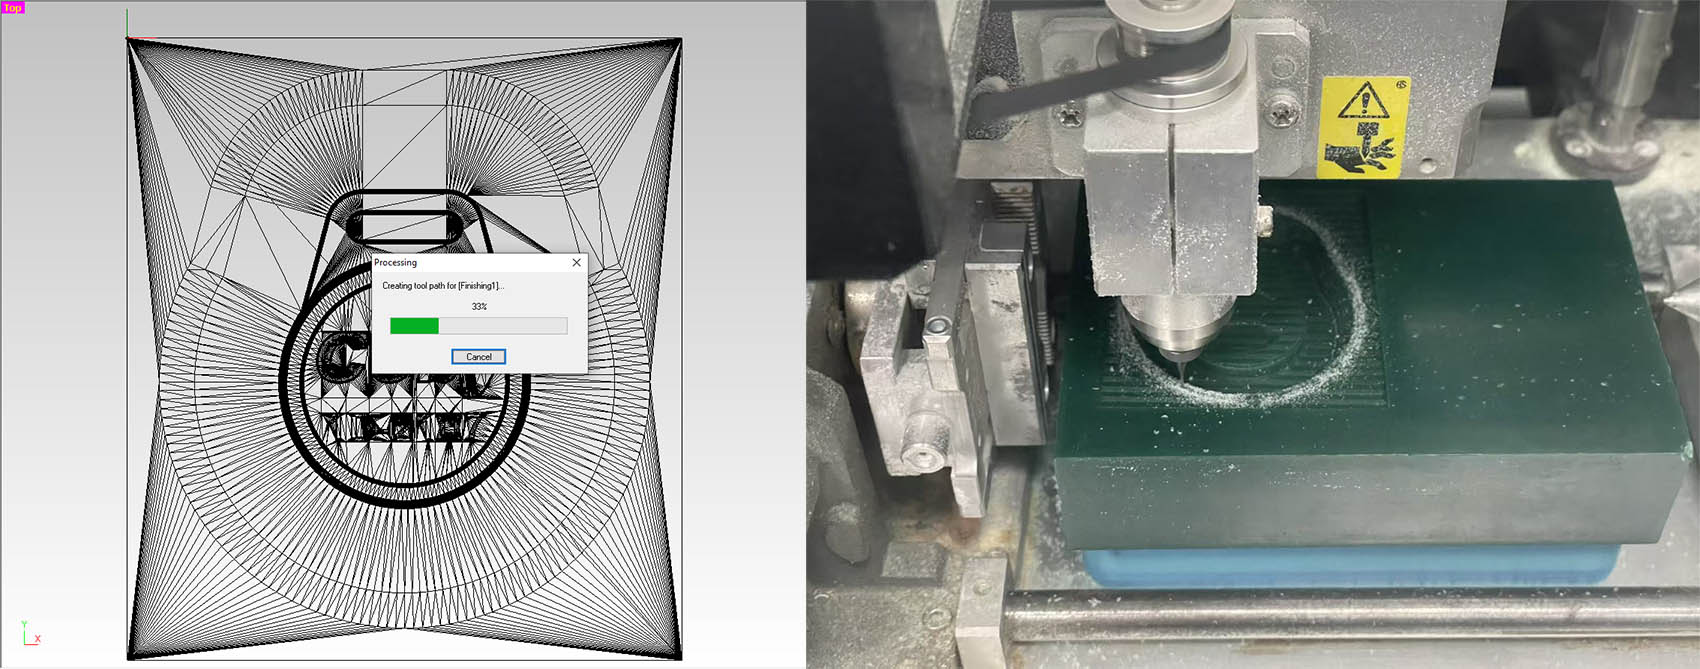
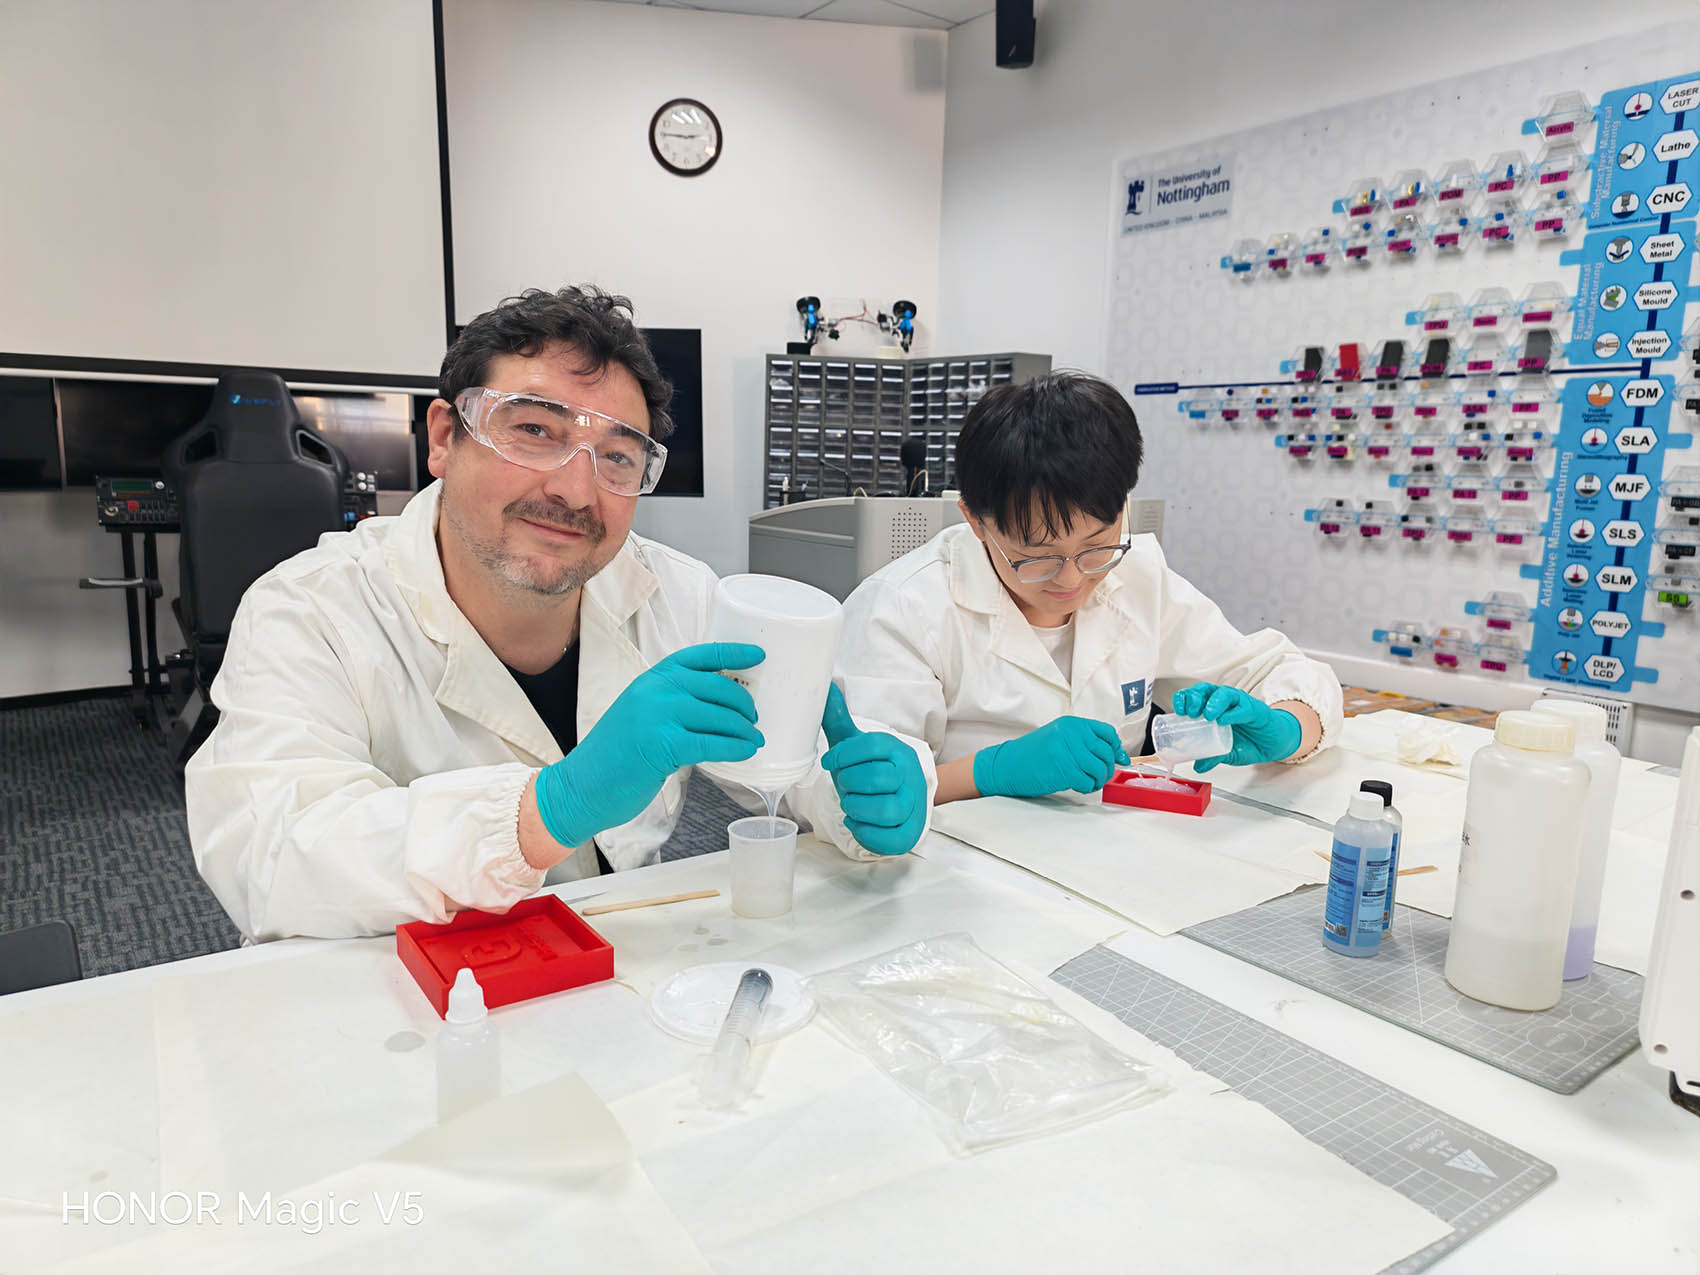
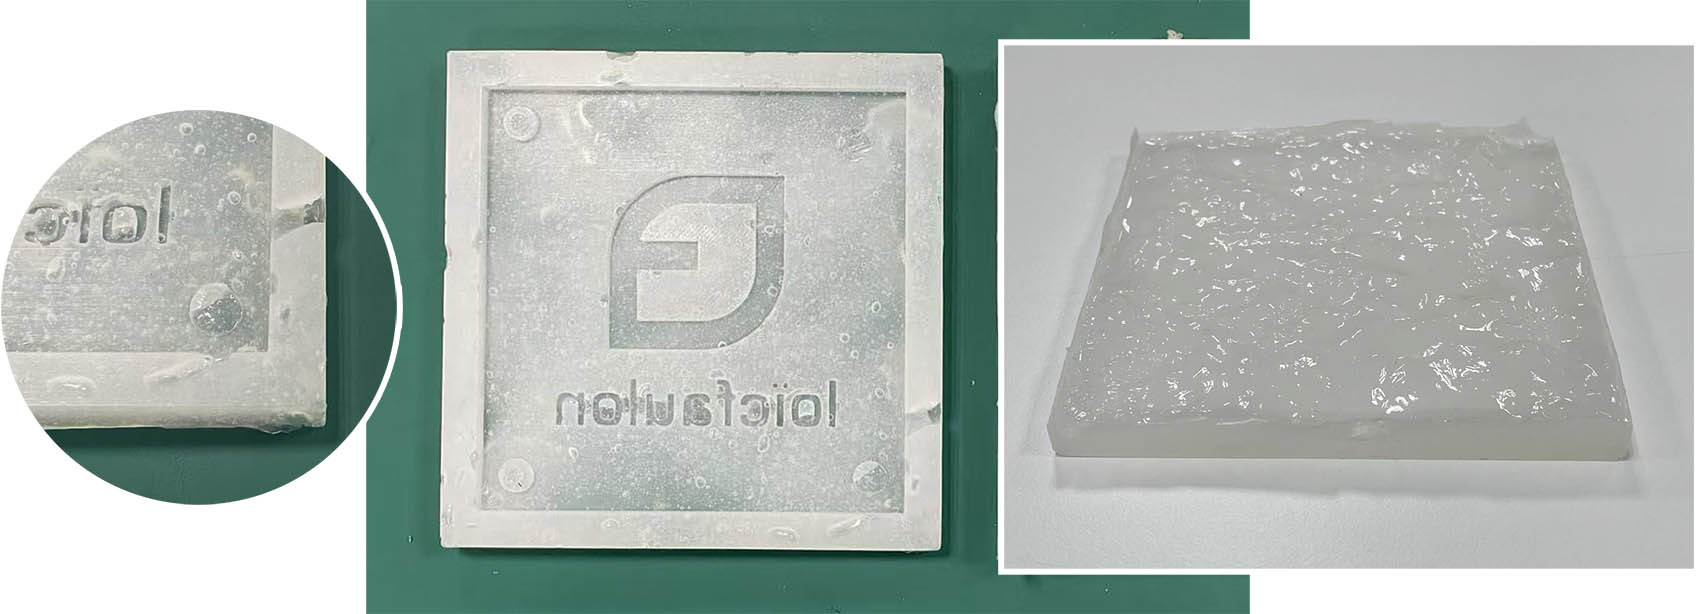
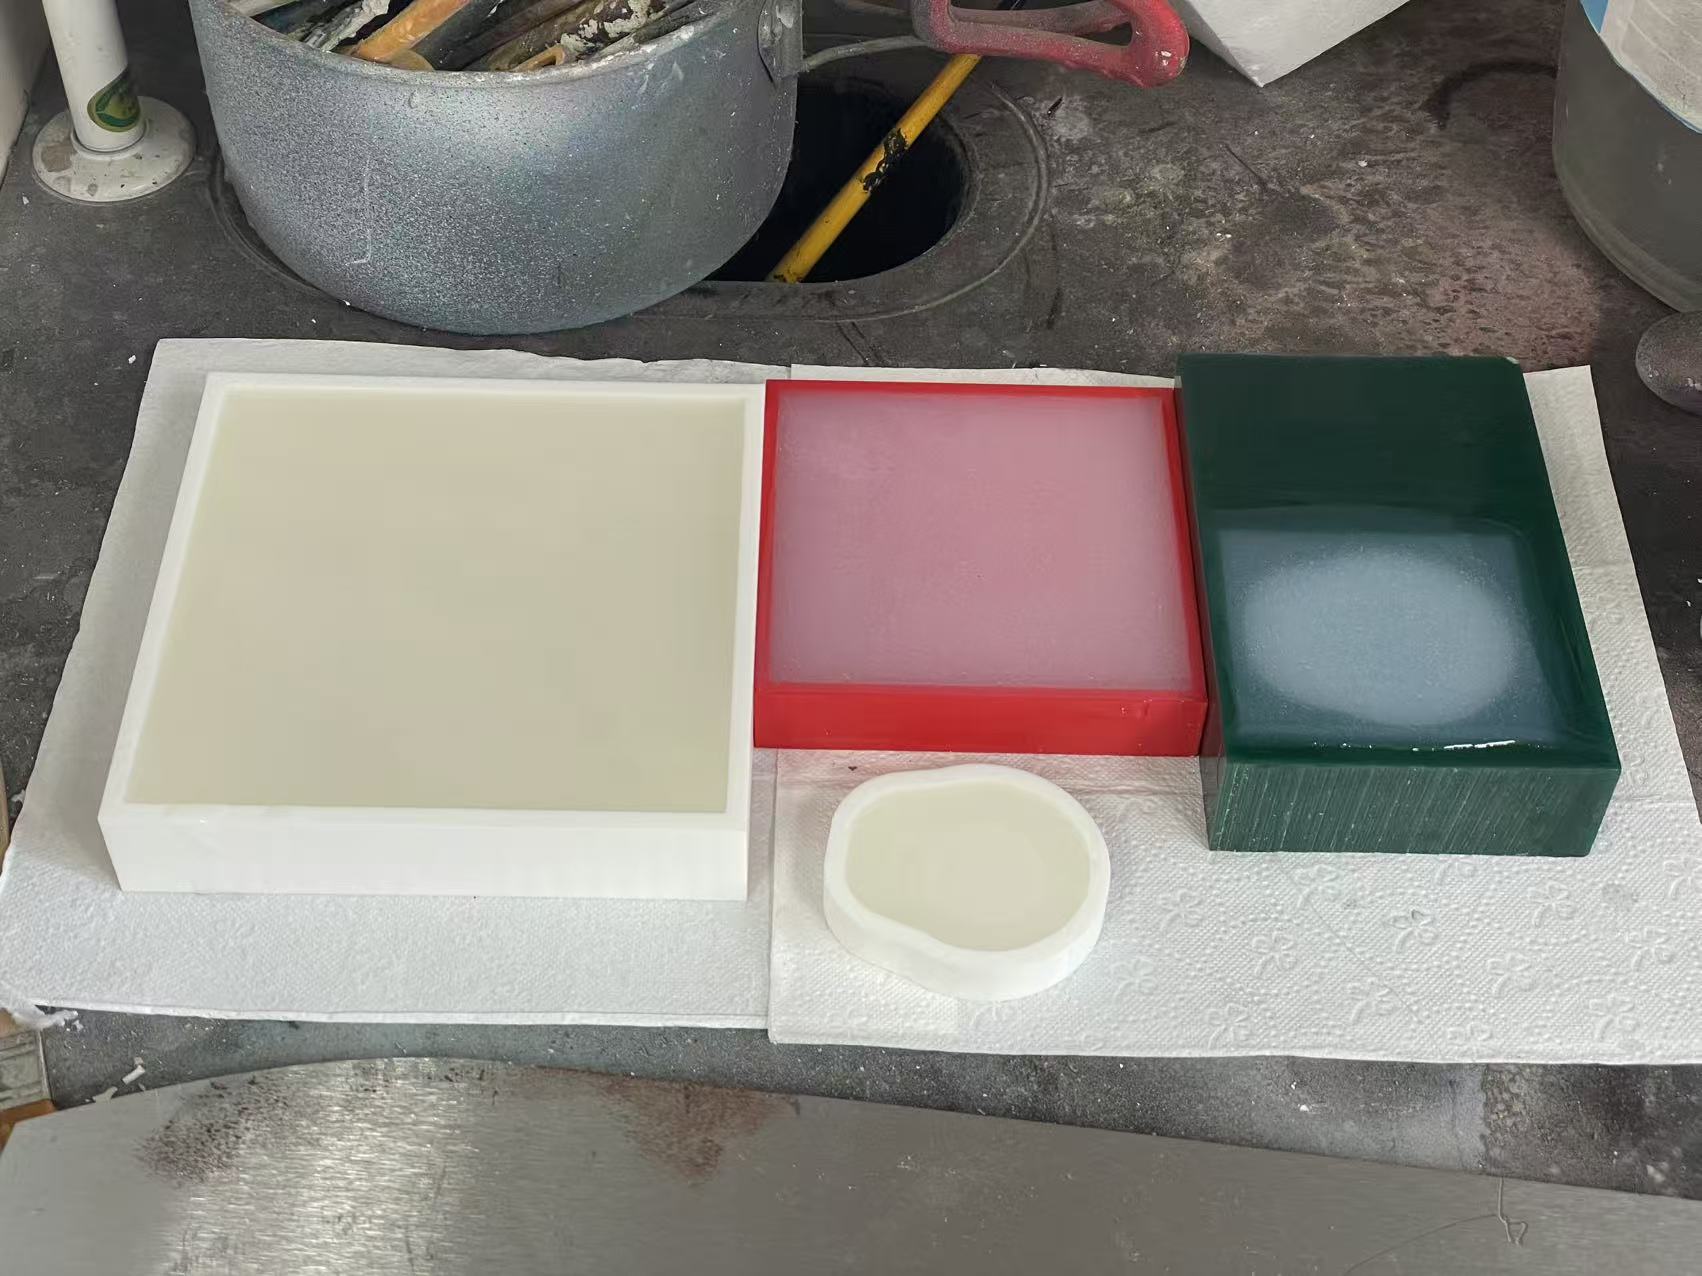
STEP 3: Making of the Silicone Moulds
- My first attempt is unsuccesful due to the "old" age and degraded condition of the material used (available at our Fab Lab on that day) 😦 😦 😦 ...Keep smiling 😉 😉 😉
- I also met problems with the protective gloves available... too small 😦 😦 😦

- My second attempt is successful!!! We used another silicone material from another workshop at my university from 2014... 12 years old but still great quality 😃 😃 😃
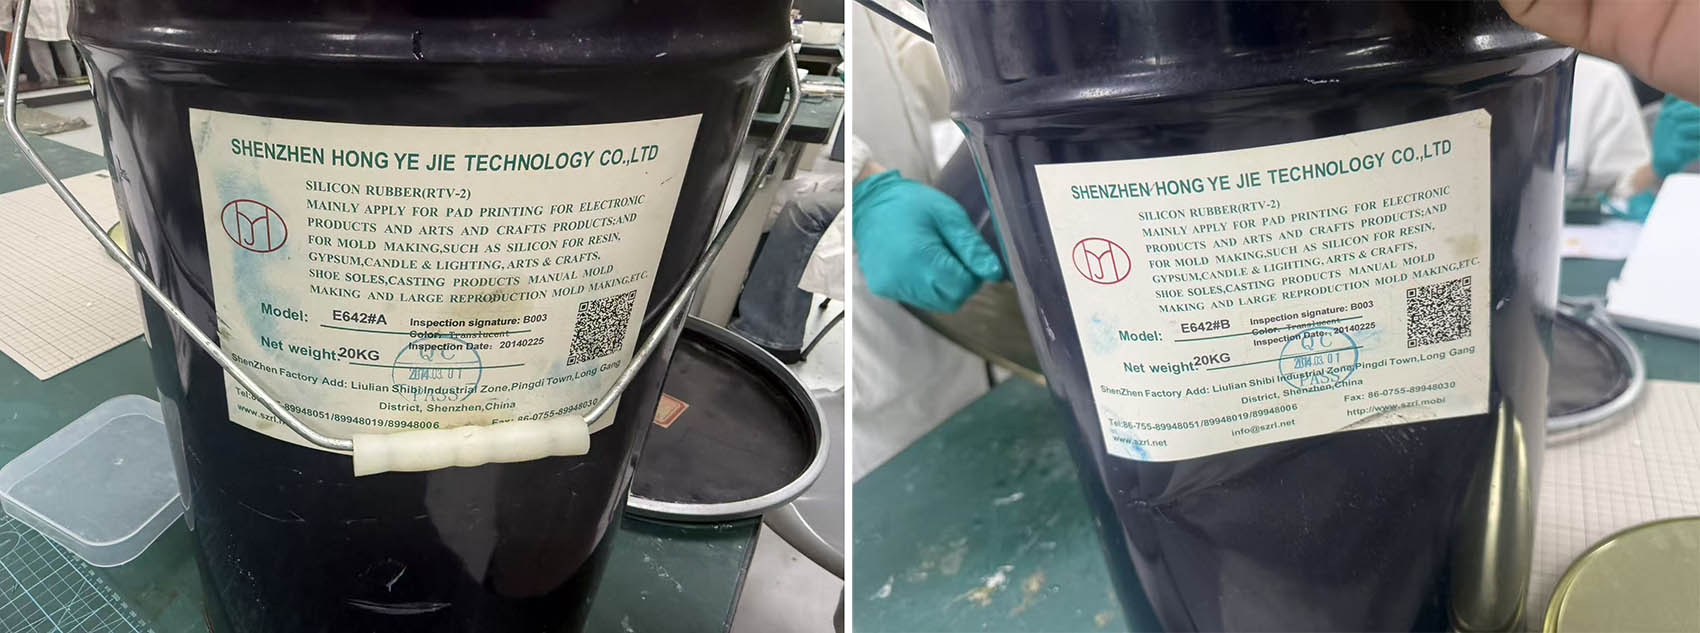
Manufacturer: SHENZHEN HONG YE JIE TECHNOLOGY CO.,LTD
Material: Silicon Rubber (RTV-2)
Model: E642#A + E642#B
Mixing: 1 to 1 by weight
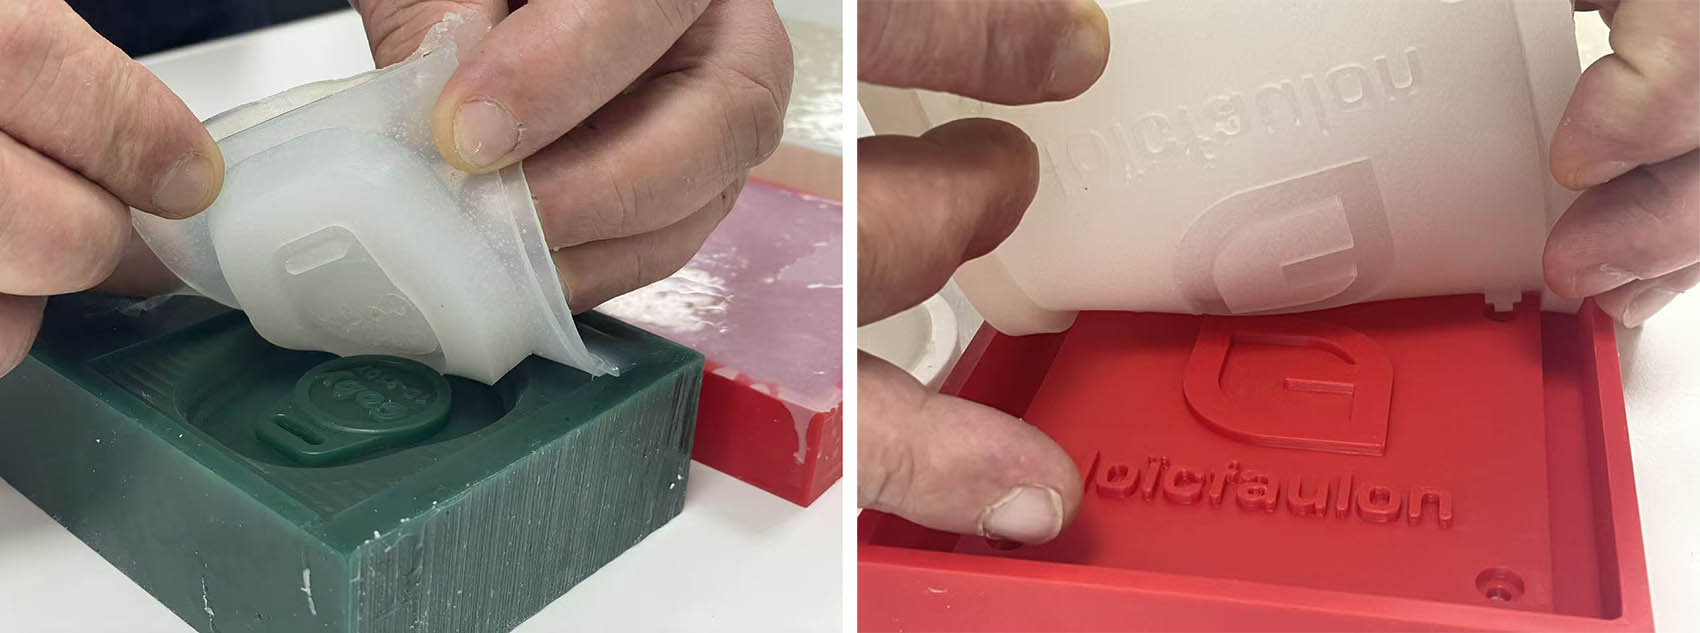
- Unmoulding the silicone moulds from the master patterns
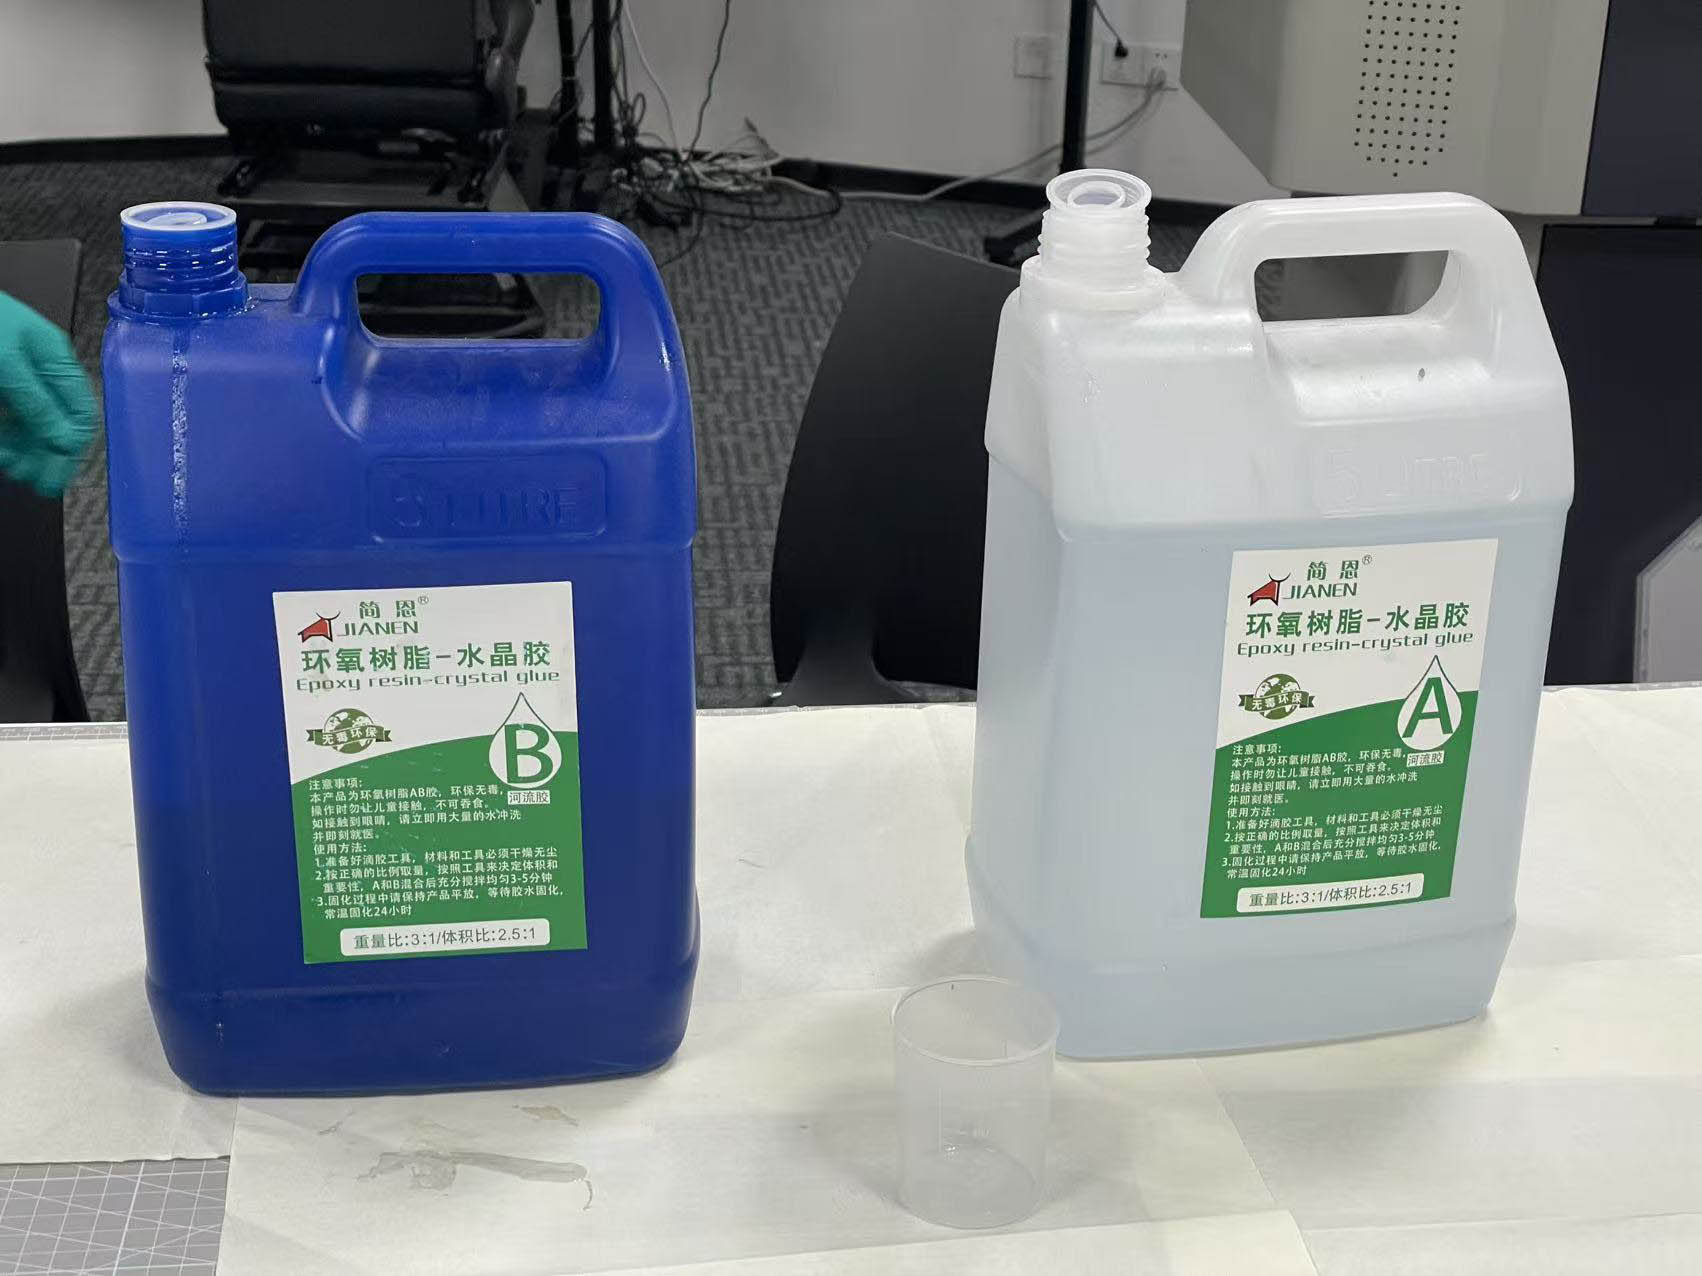
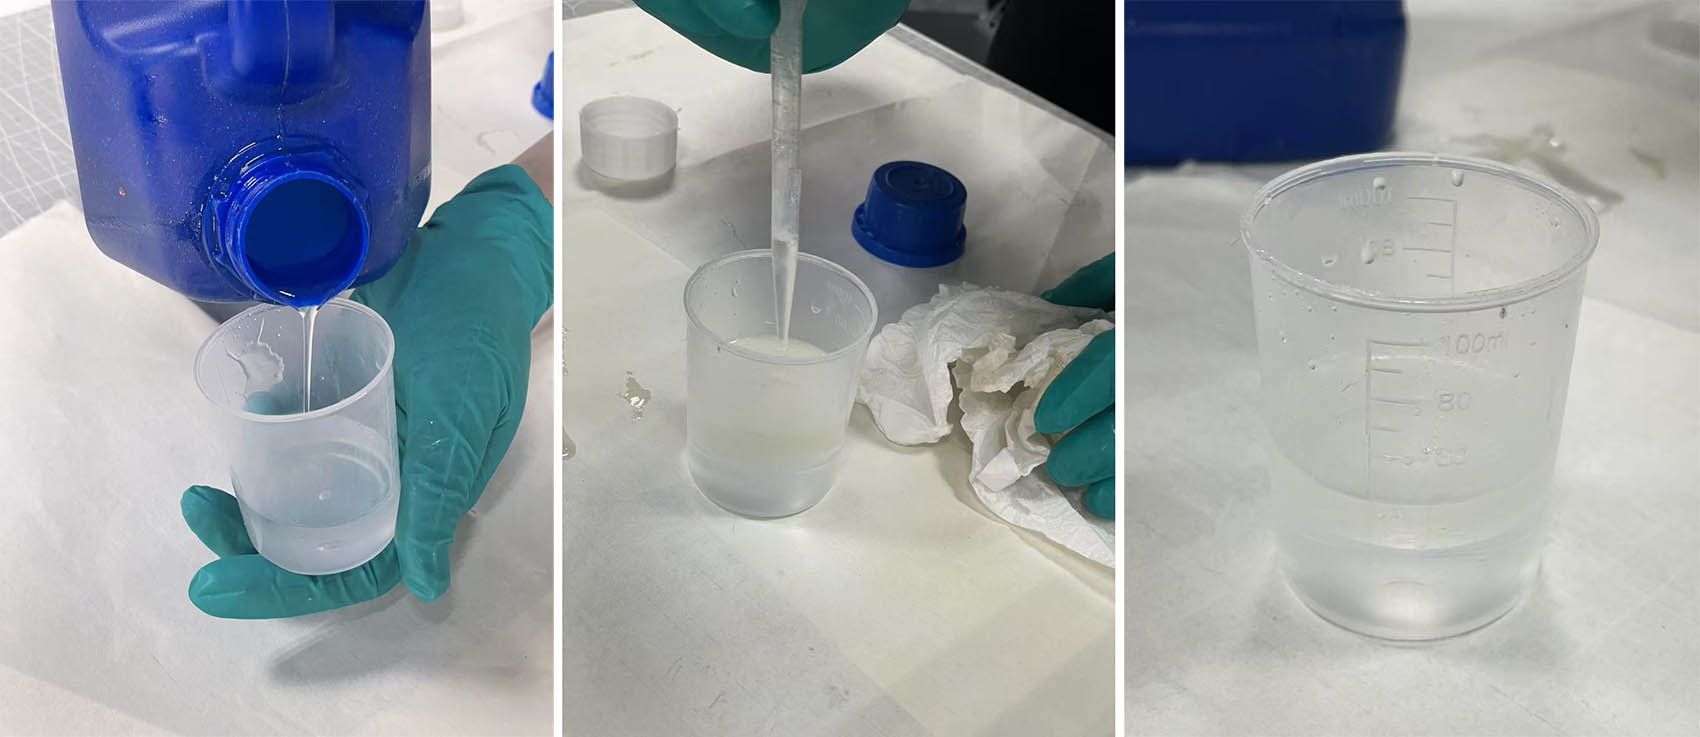
STEP 4: Casting of the Epoxy
The 2 to most important specifications to check before using the product are Mixing Ratio and Curing Time.
The mixing ratio is 2,5 of A for 1 of B (for our epoxy product shown below). An example is 30 + 12 + 2 drops for the colour... Stir it for 20 minutes
- Preparation of the mix
Unmoulding
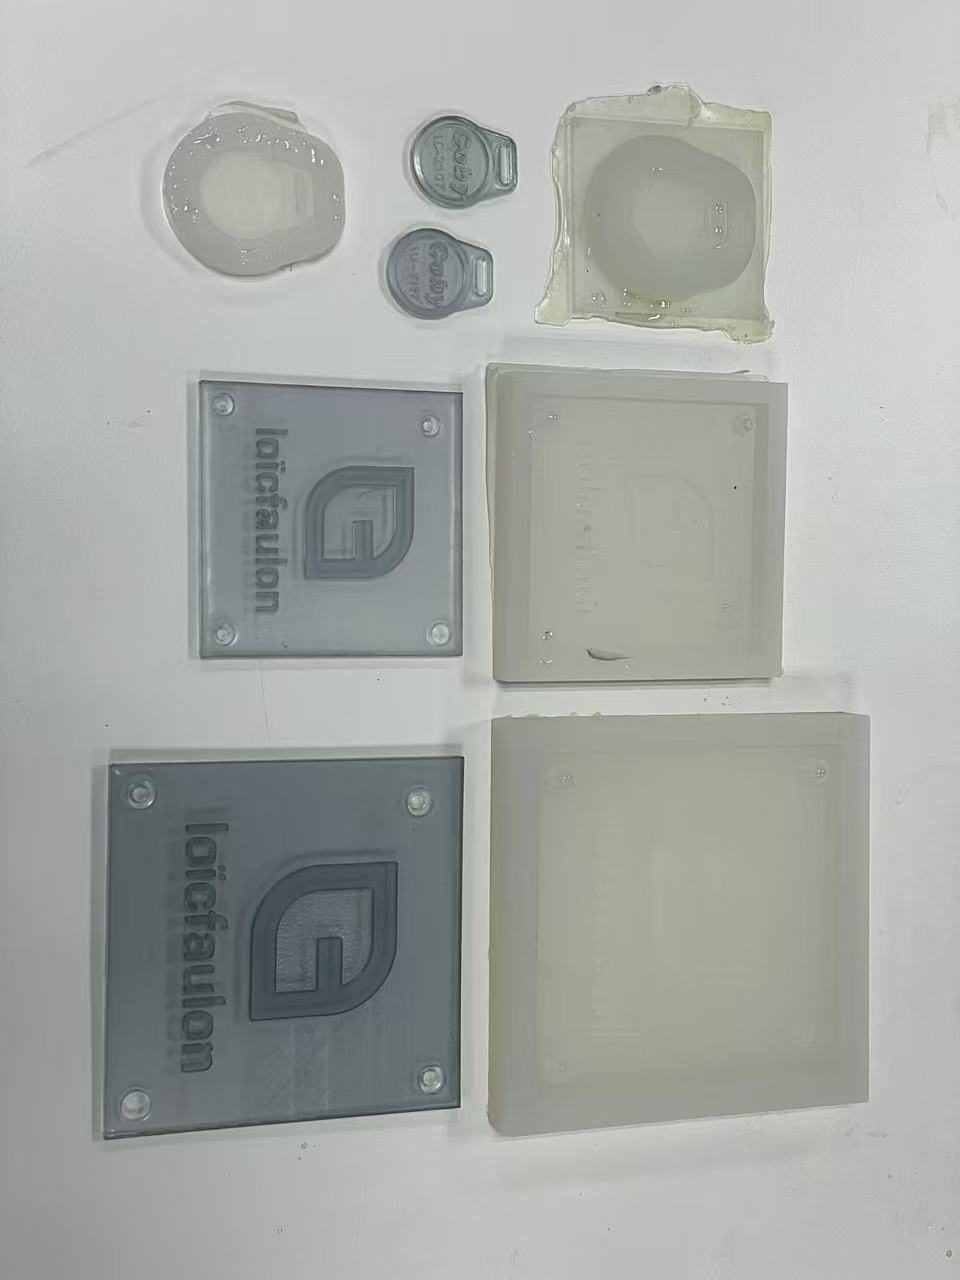
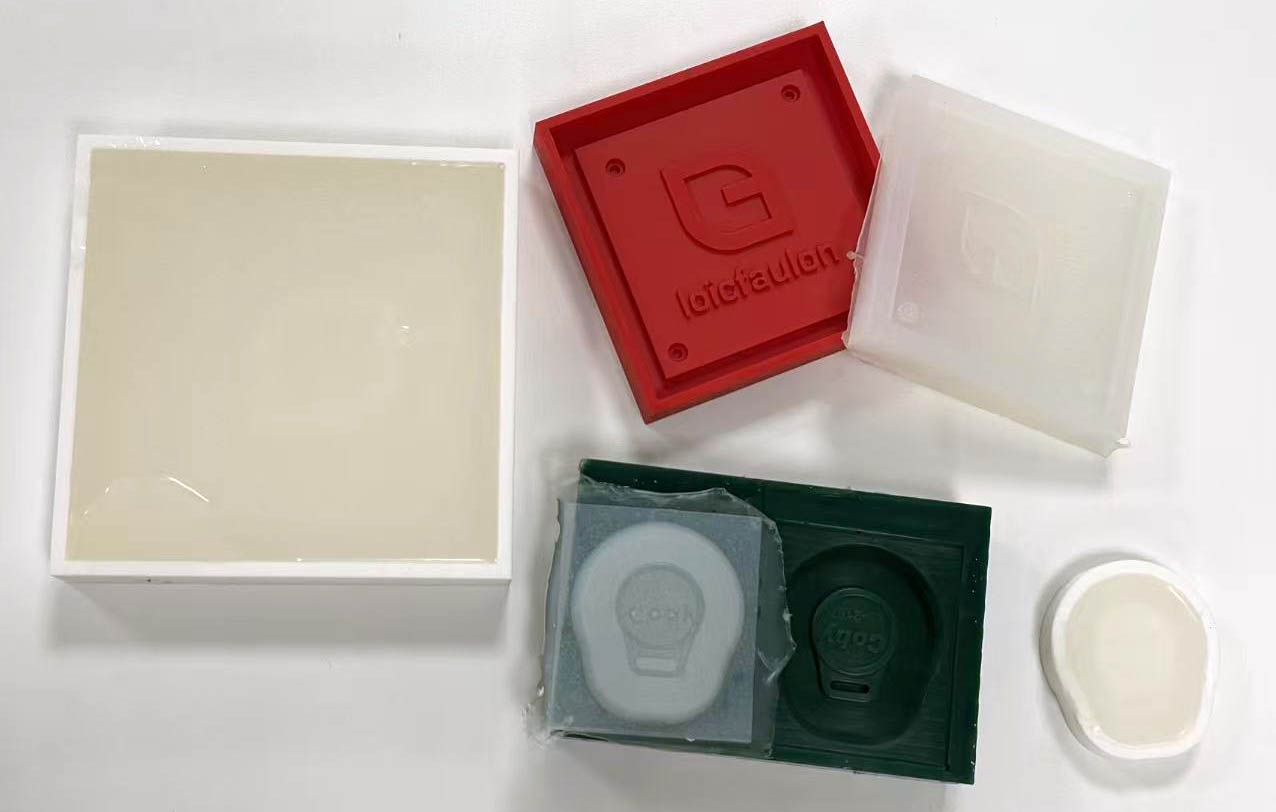
Final Results
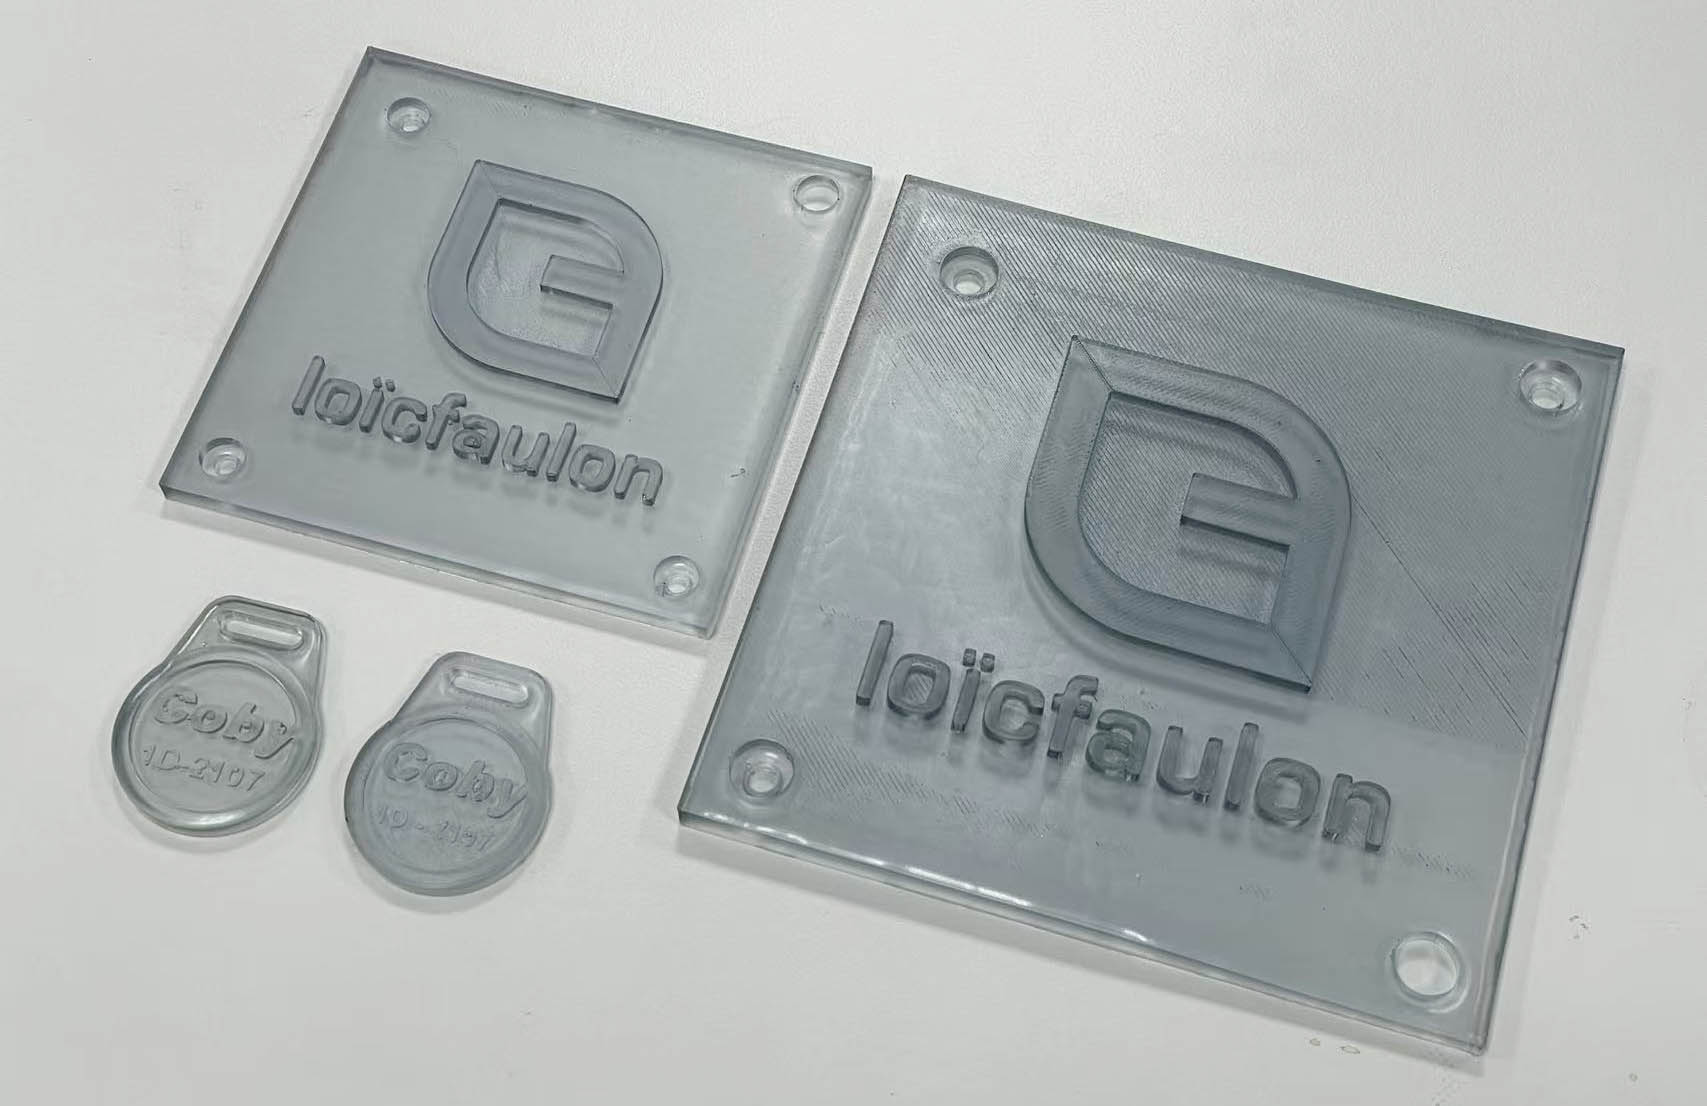
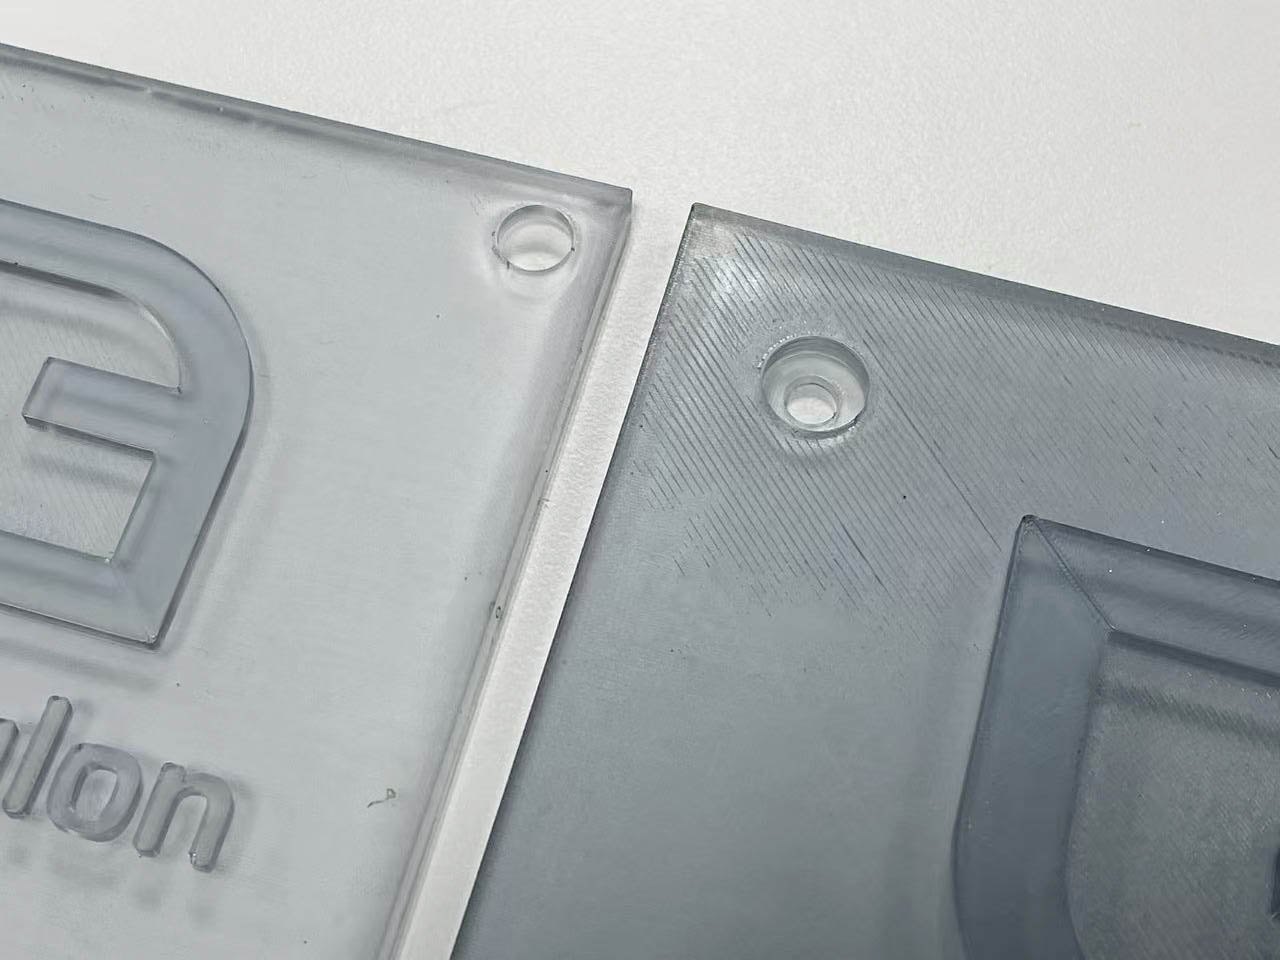
CNC vs 3D Printed Master Patterns 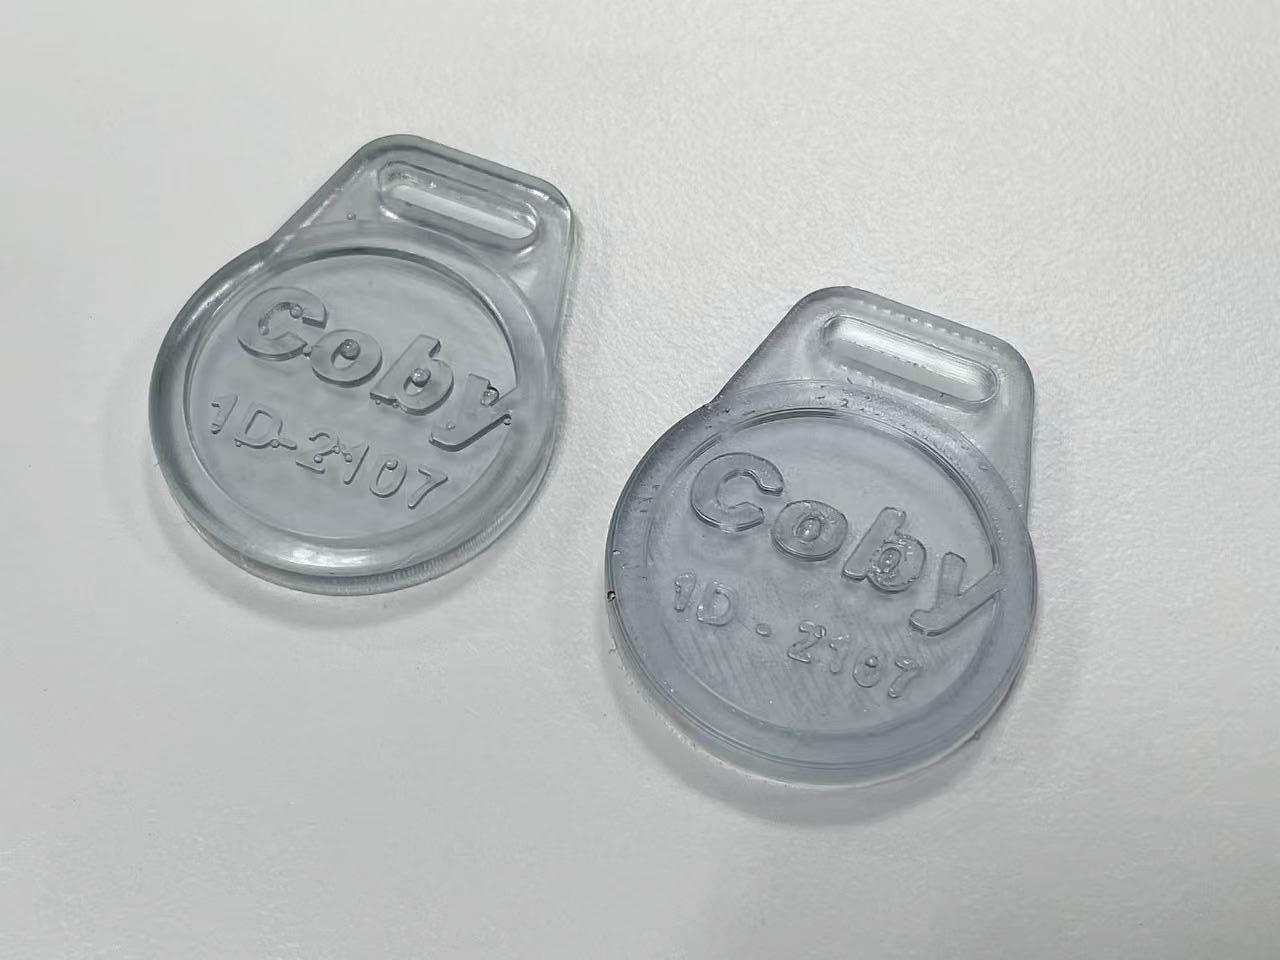
3D Printed with "ironing" option (does not always work) - 3:4 scale vs 1:1 scale