Appearance
WEEK 5 – 3D Scanning and Printing
Assignments
Group Assignment
- Test the design rules for your 3D printer(s)
Individual Assignment
- Design, document, and 3D print an object that could not be made subtractively (small, few cm3, limited by printer time)
- 3D scan an object (and optionally print it)
Group Work
Our group work is accessible HERE (add the link)
Individual Work
Introduction
- Advantages and Limitations of 3D Printing
3D printing allows for the rapid creation of highly customized, complex geometries with minimal material waste, making it perfect for bespoke designs and prototyping. However, it generally struggles with large-scale production speeds, suffers from restricted build volumes, and is currently limited by a narrower selection of durable materials compared to traditional manufacturing. Source: SnapMaker
Main Sections of this Week Individual Work
- 3D Print Design "2-Part Model"
- 3D Print Design "My Week2 Model - Final Project Test"
- 3D Scanning with KIRI Engine
1. 3D Print Design "2-Part Model"
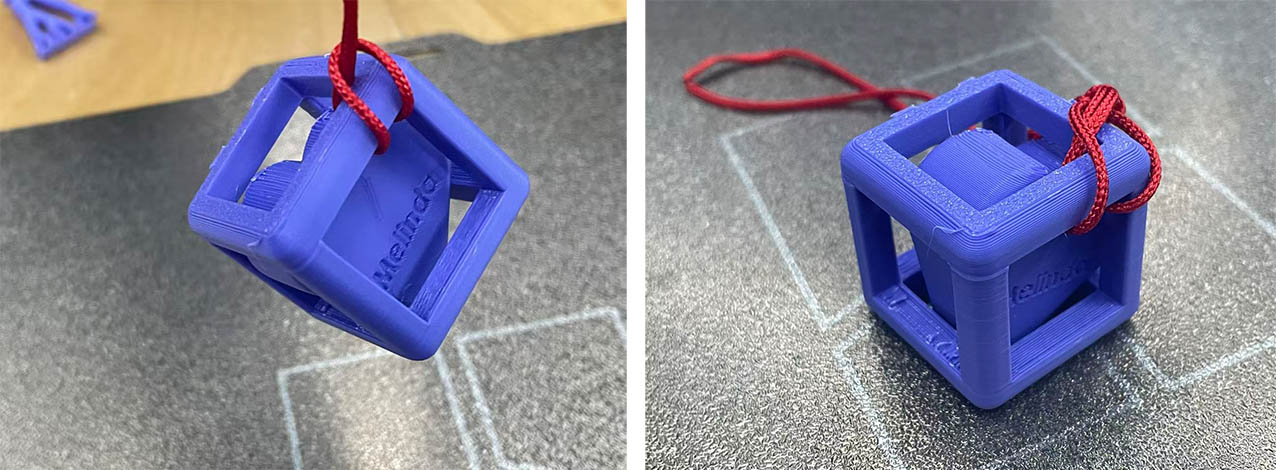
I designed a little gift for my lovely spouse composed of a cube frame with a heart shaped insert in the middle. Due to its geometry and size, the model made of 2 distinctive parts cannot be processed using traditional substractive manufacturing methods (e.g. CNC). It can only be produced by additive manufacturing such as 3D printing.
Modeling Process in SolidWorks
Step 1: Draw a 30x30mm square + offset by 5mm the square profile inside 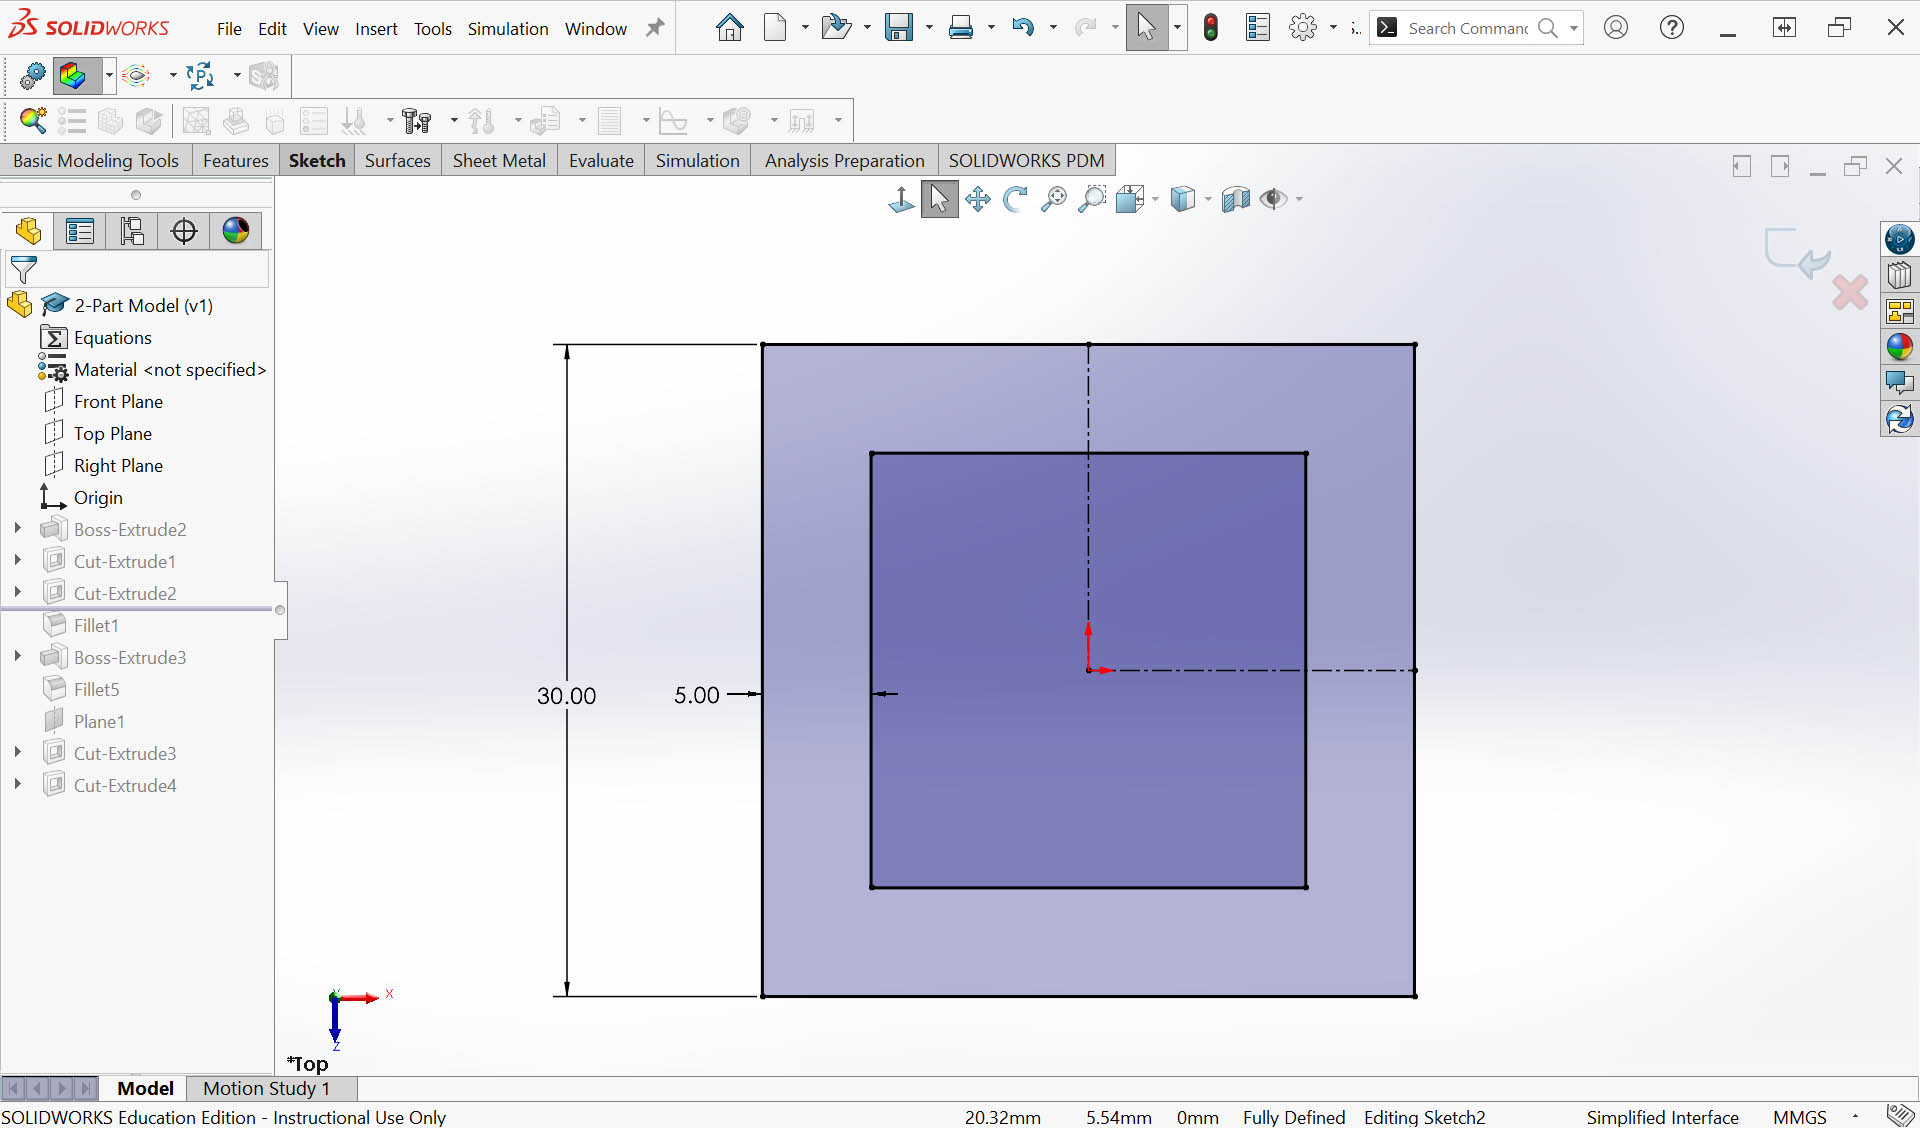
Step 2&3: Draw a 30x30mm square + offset by 5mm the square profile inside 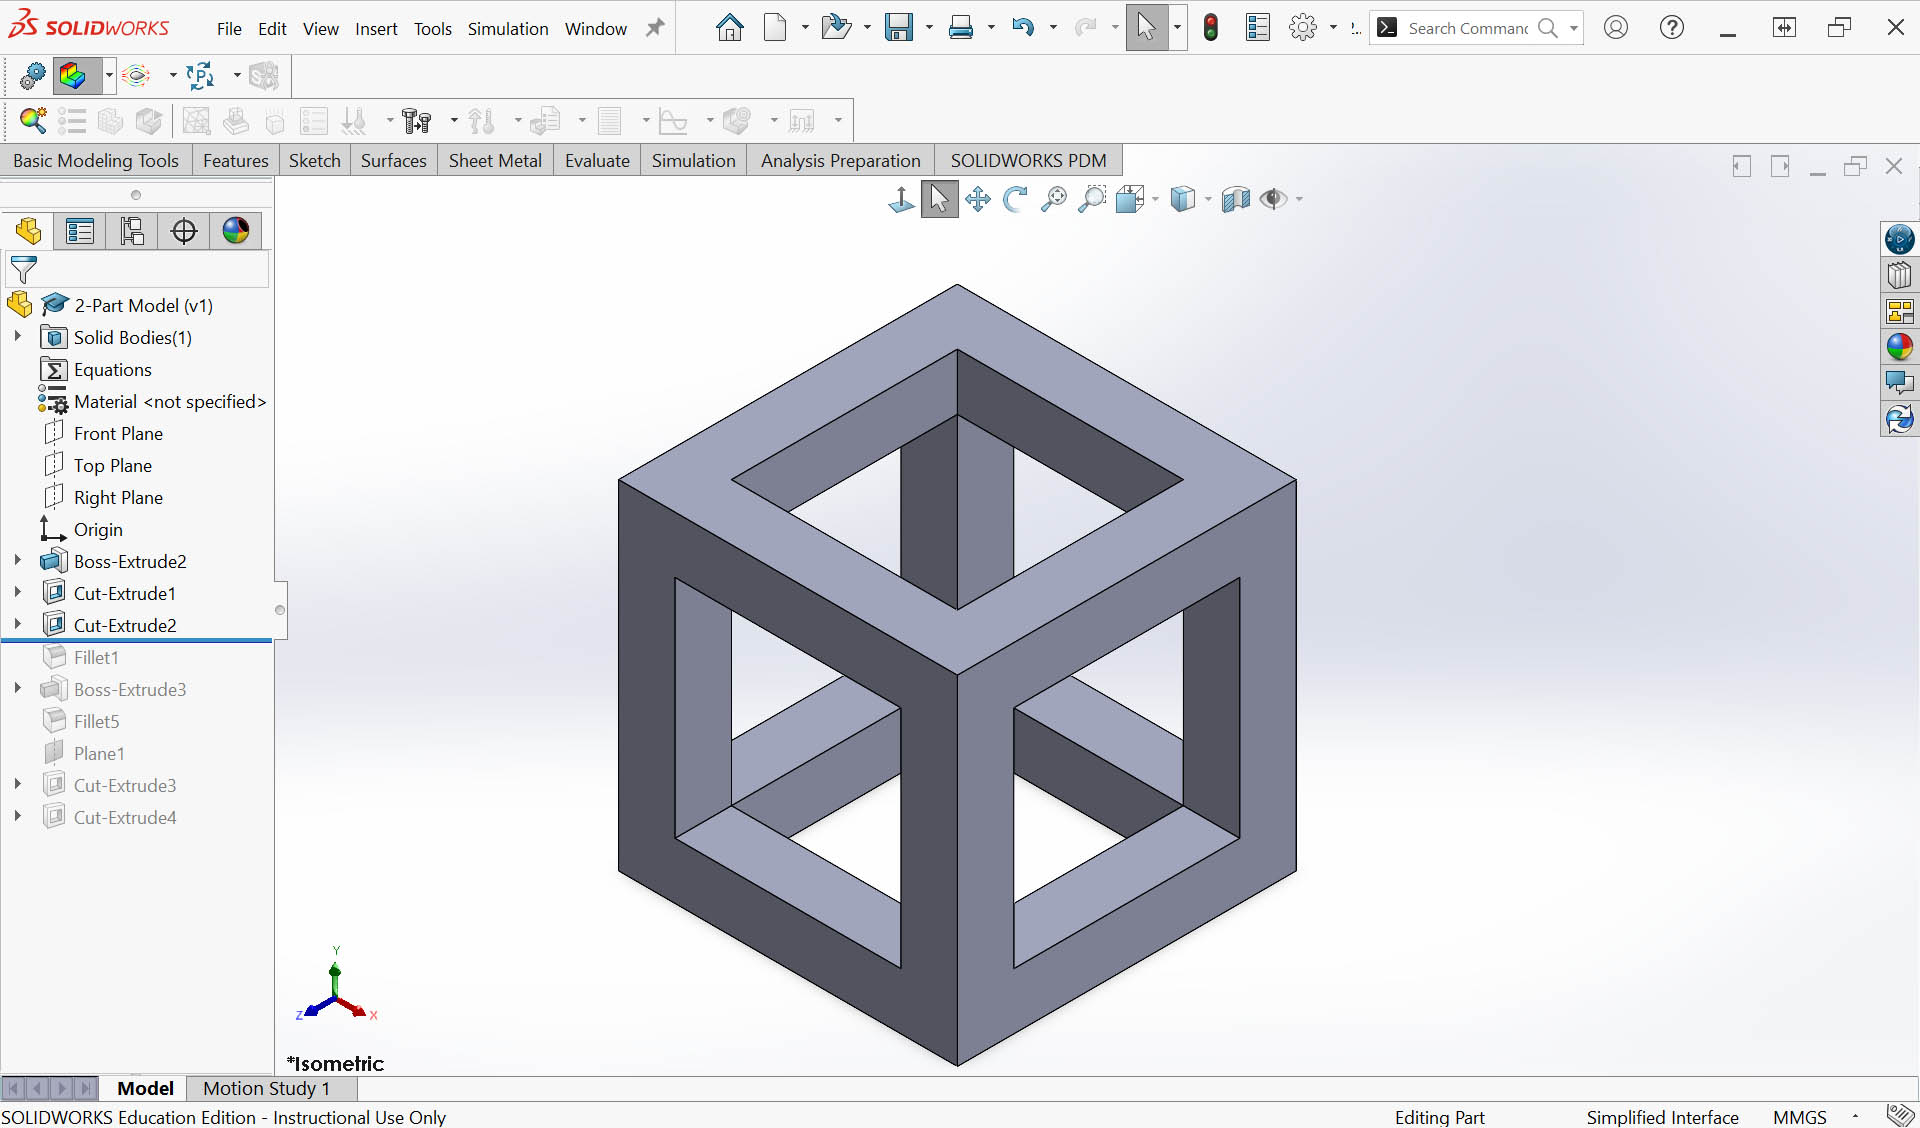
Step 4: Add a filet of 3mm on the outer edges 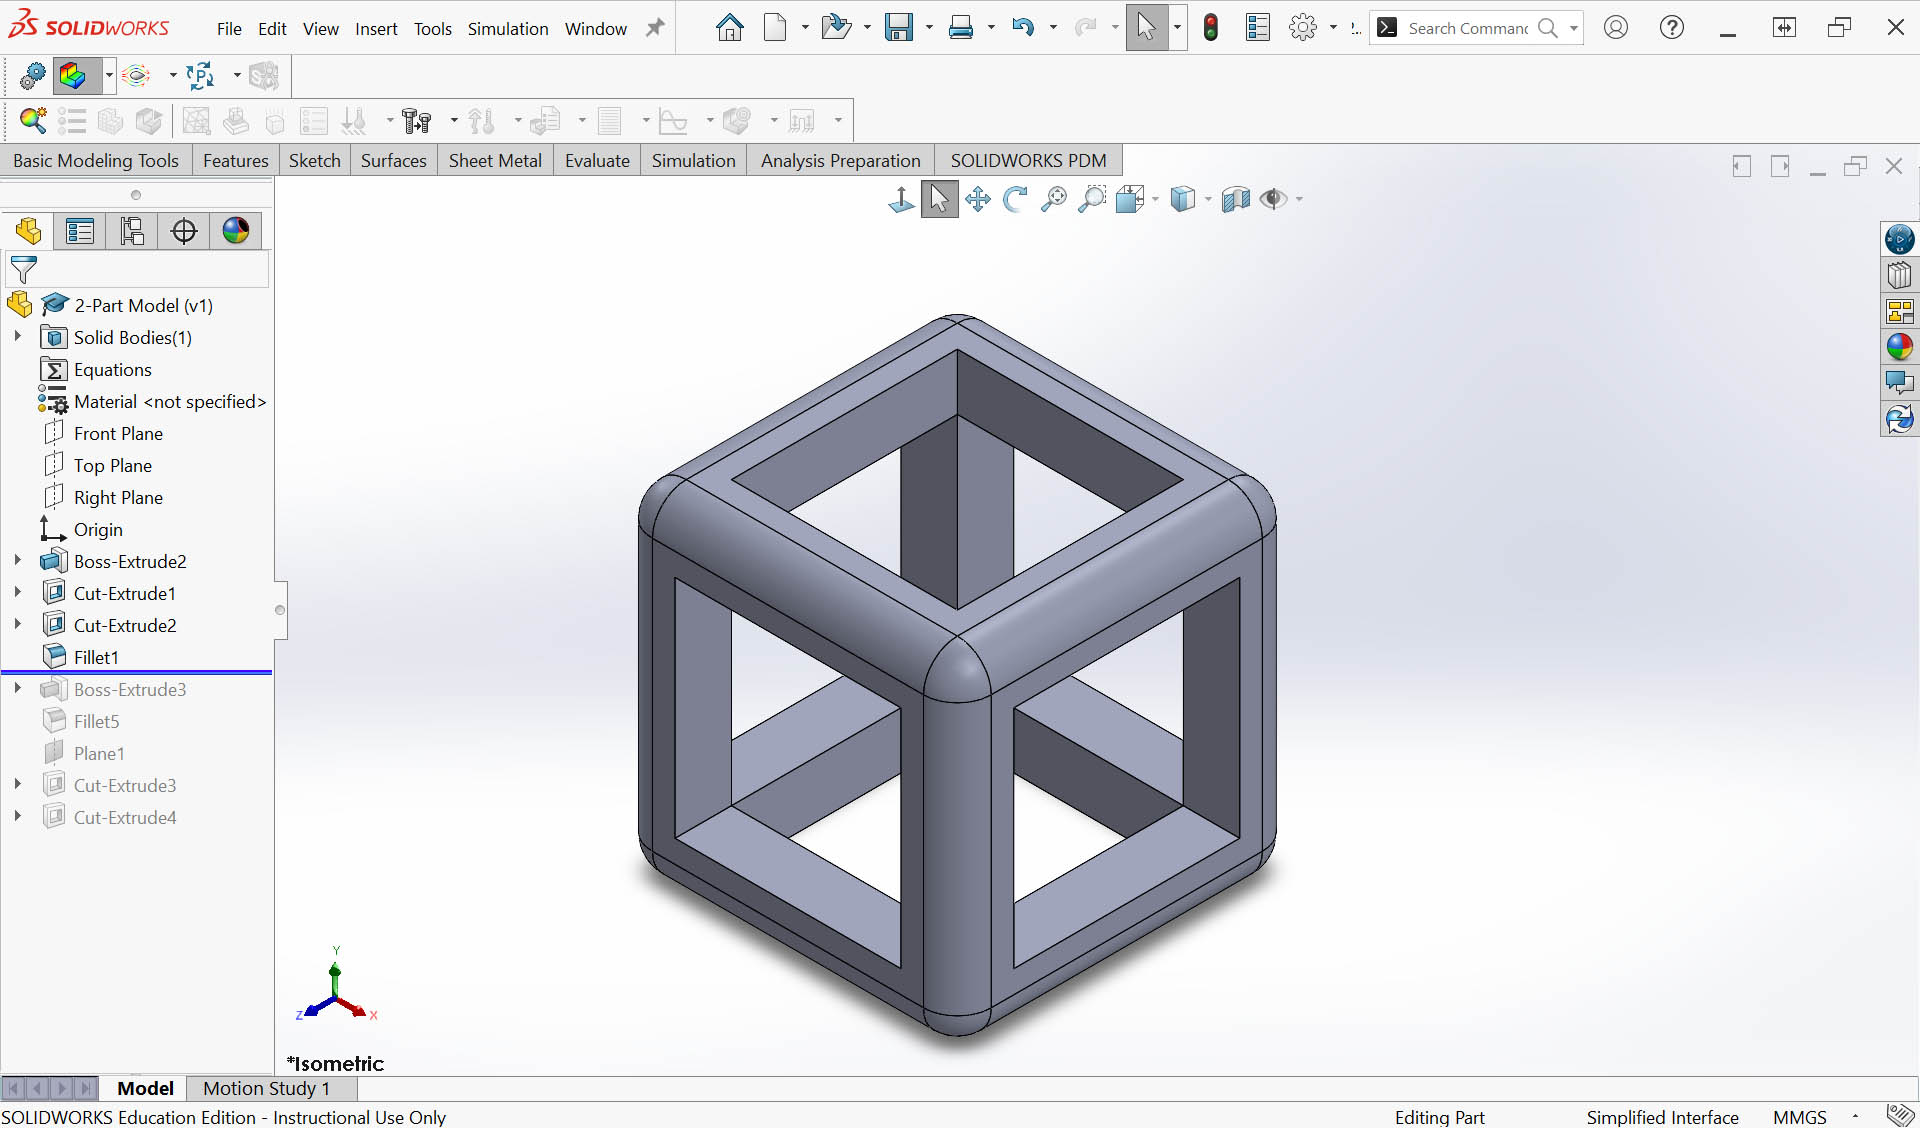
Step 5: Sketch the heart shape and dimension it adequately to fit within the cubic frame (not to small and not too big) 
Step 6: Extrude xthe skecth by 15mm according to "Mid Plane" option direction 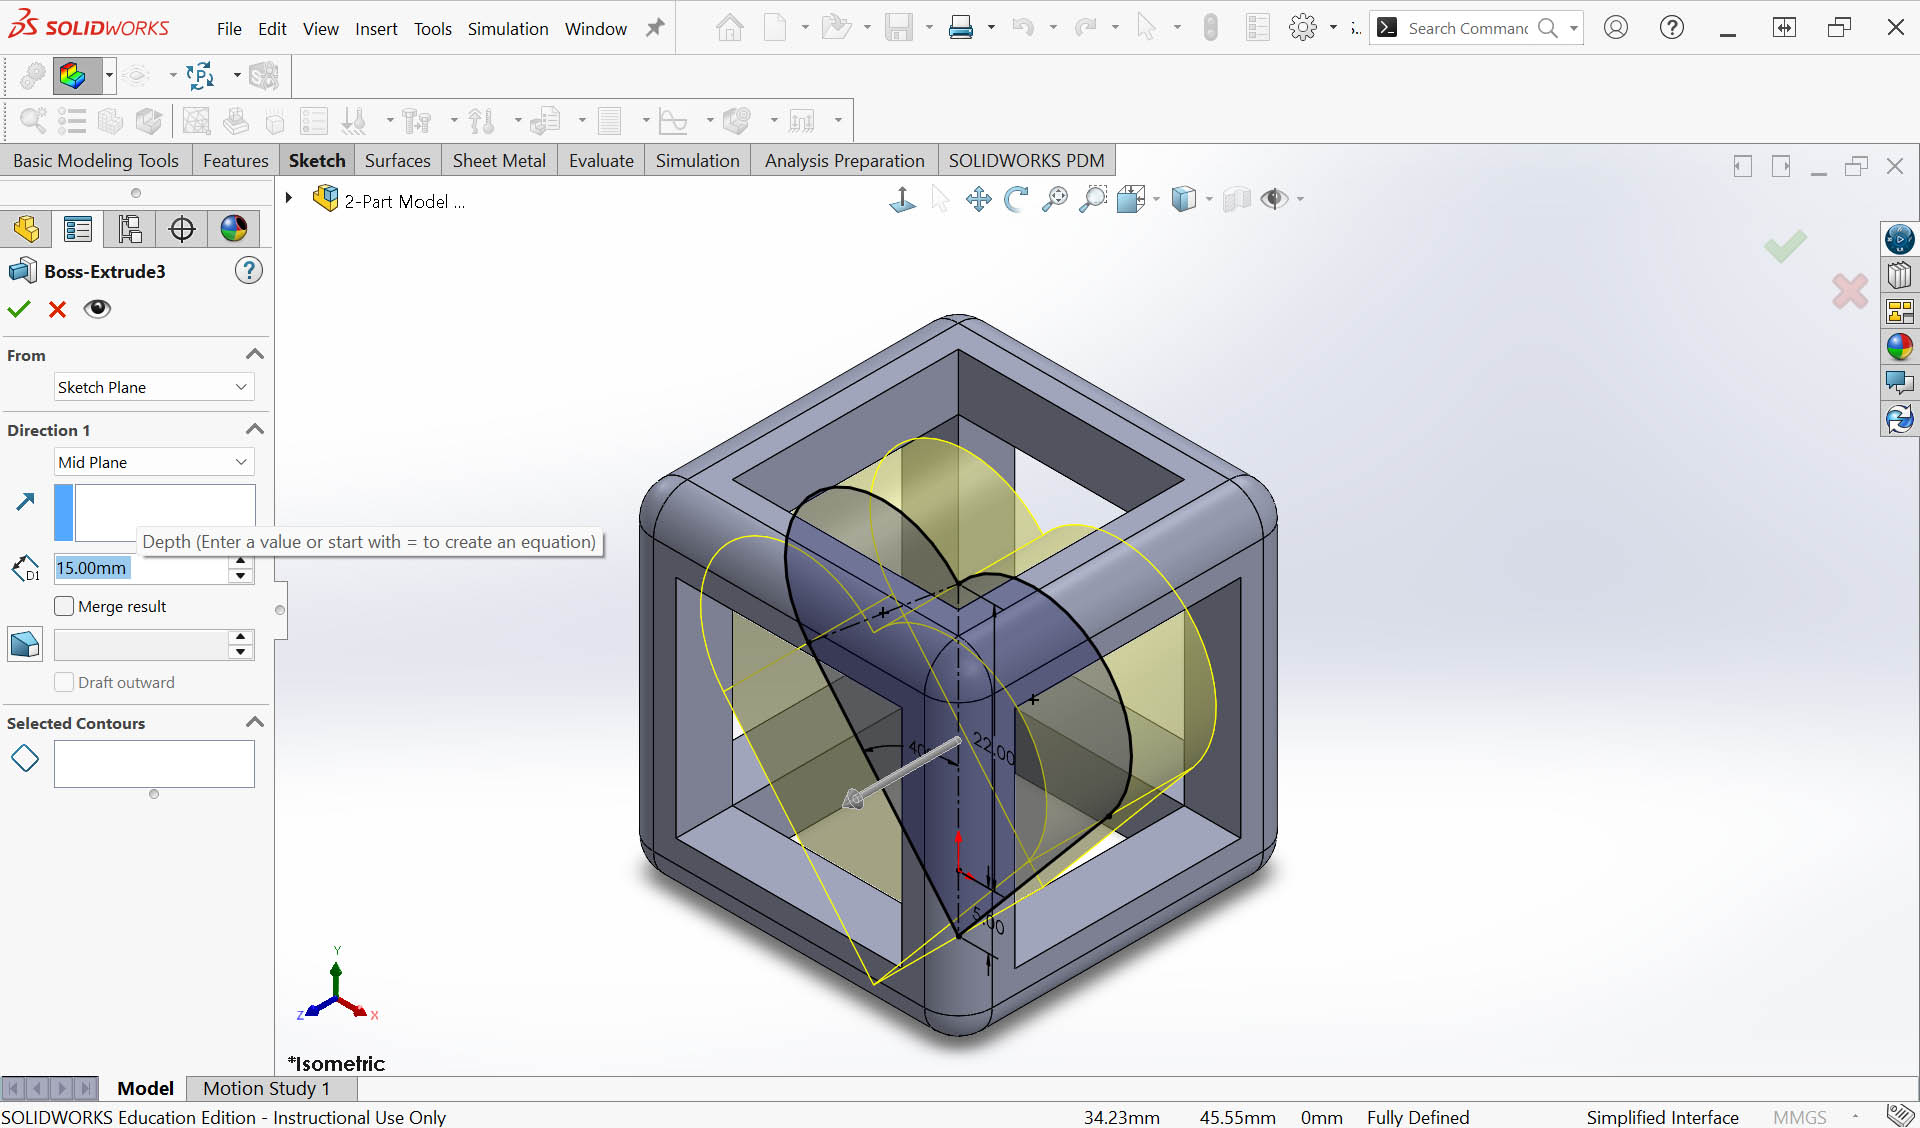
Step 7: Add a filet of 3mm on the edges of the heart 3D part 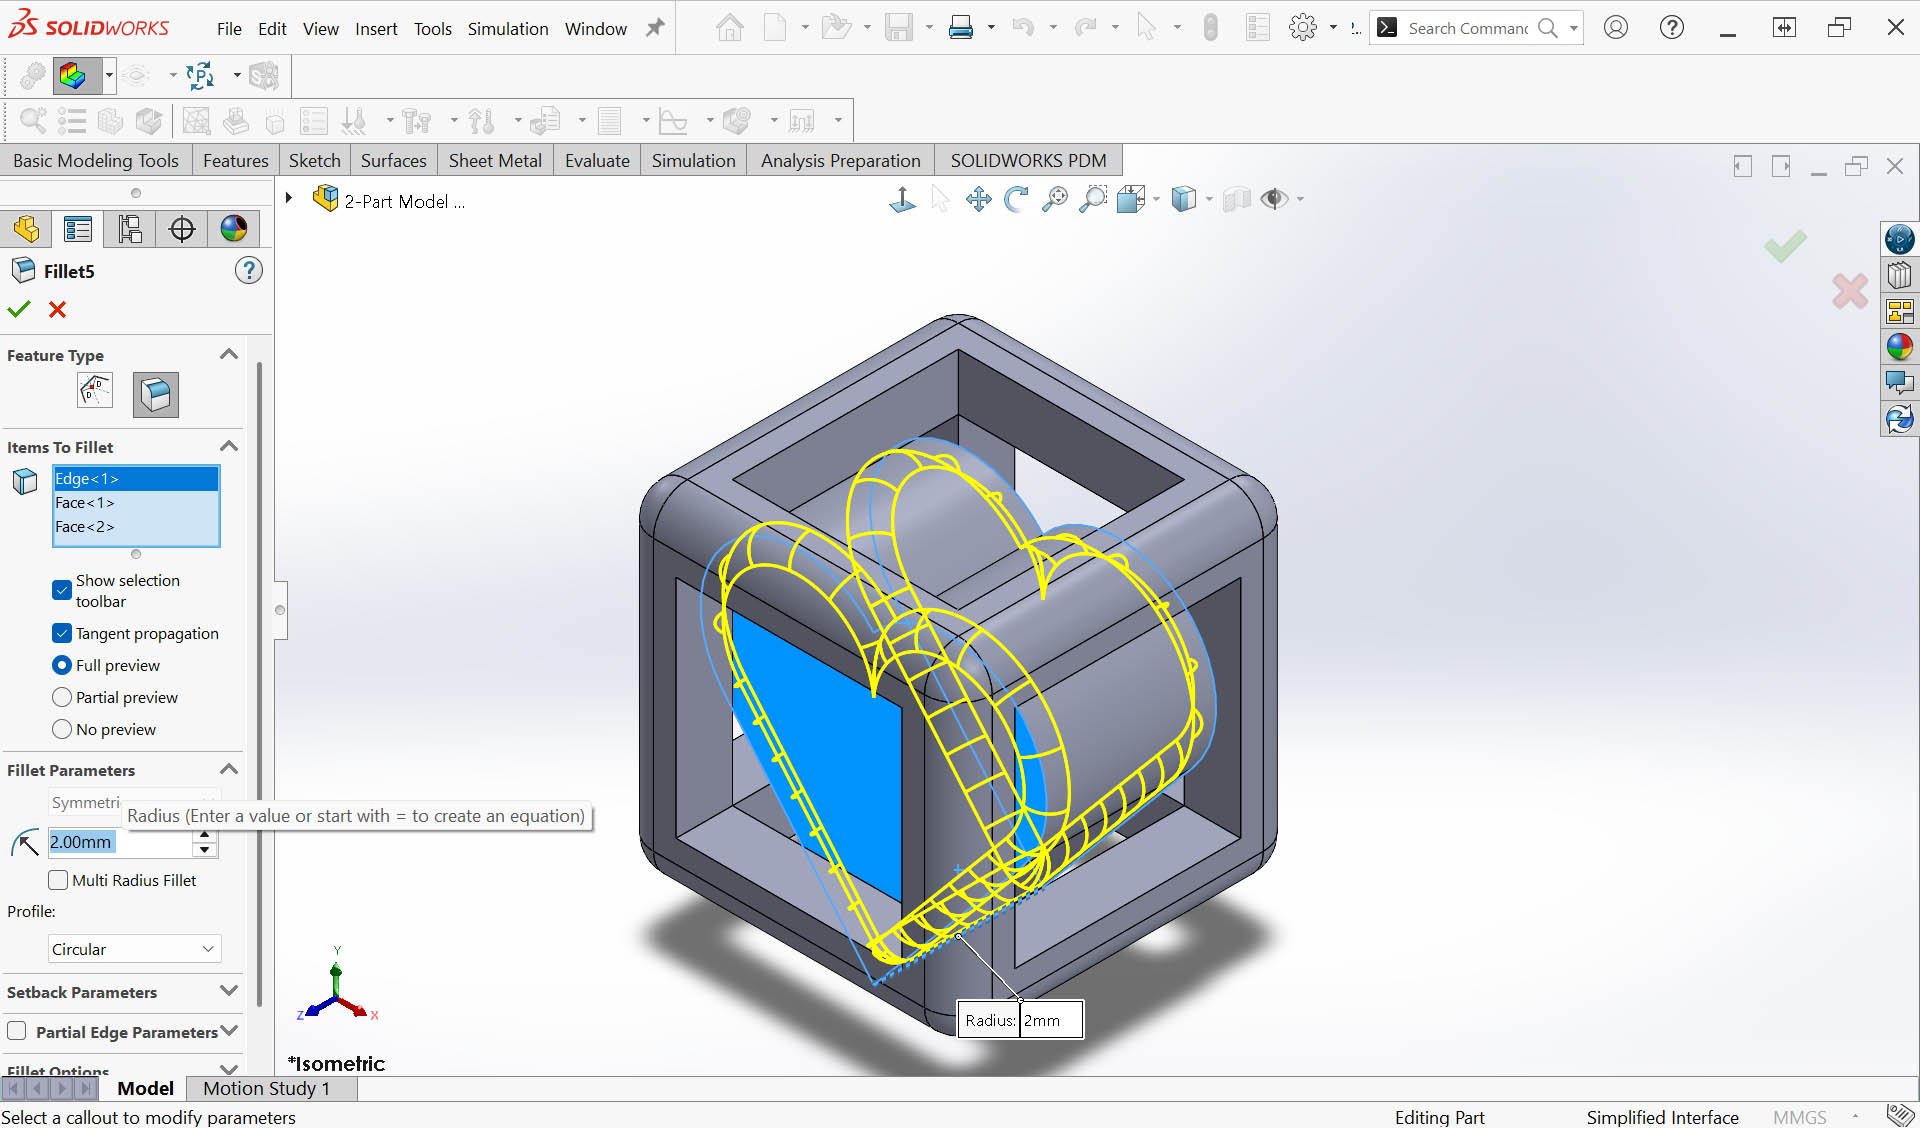
Step 8: Add an engraved name on one face for personalisation - Skecth creation 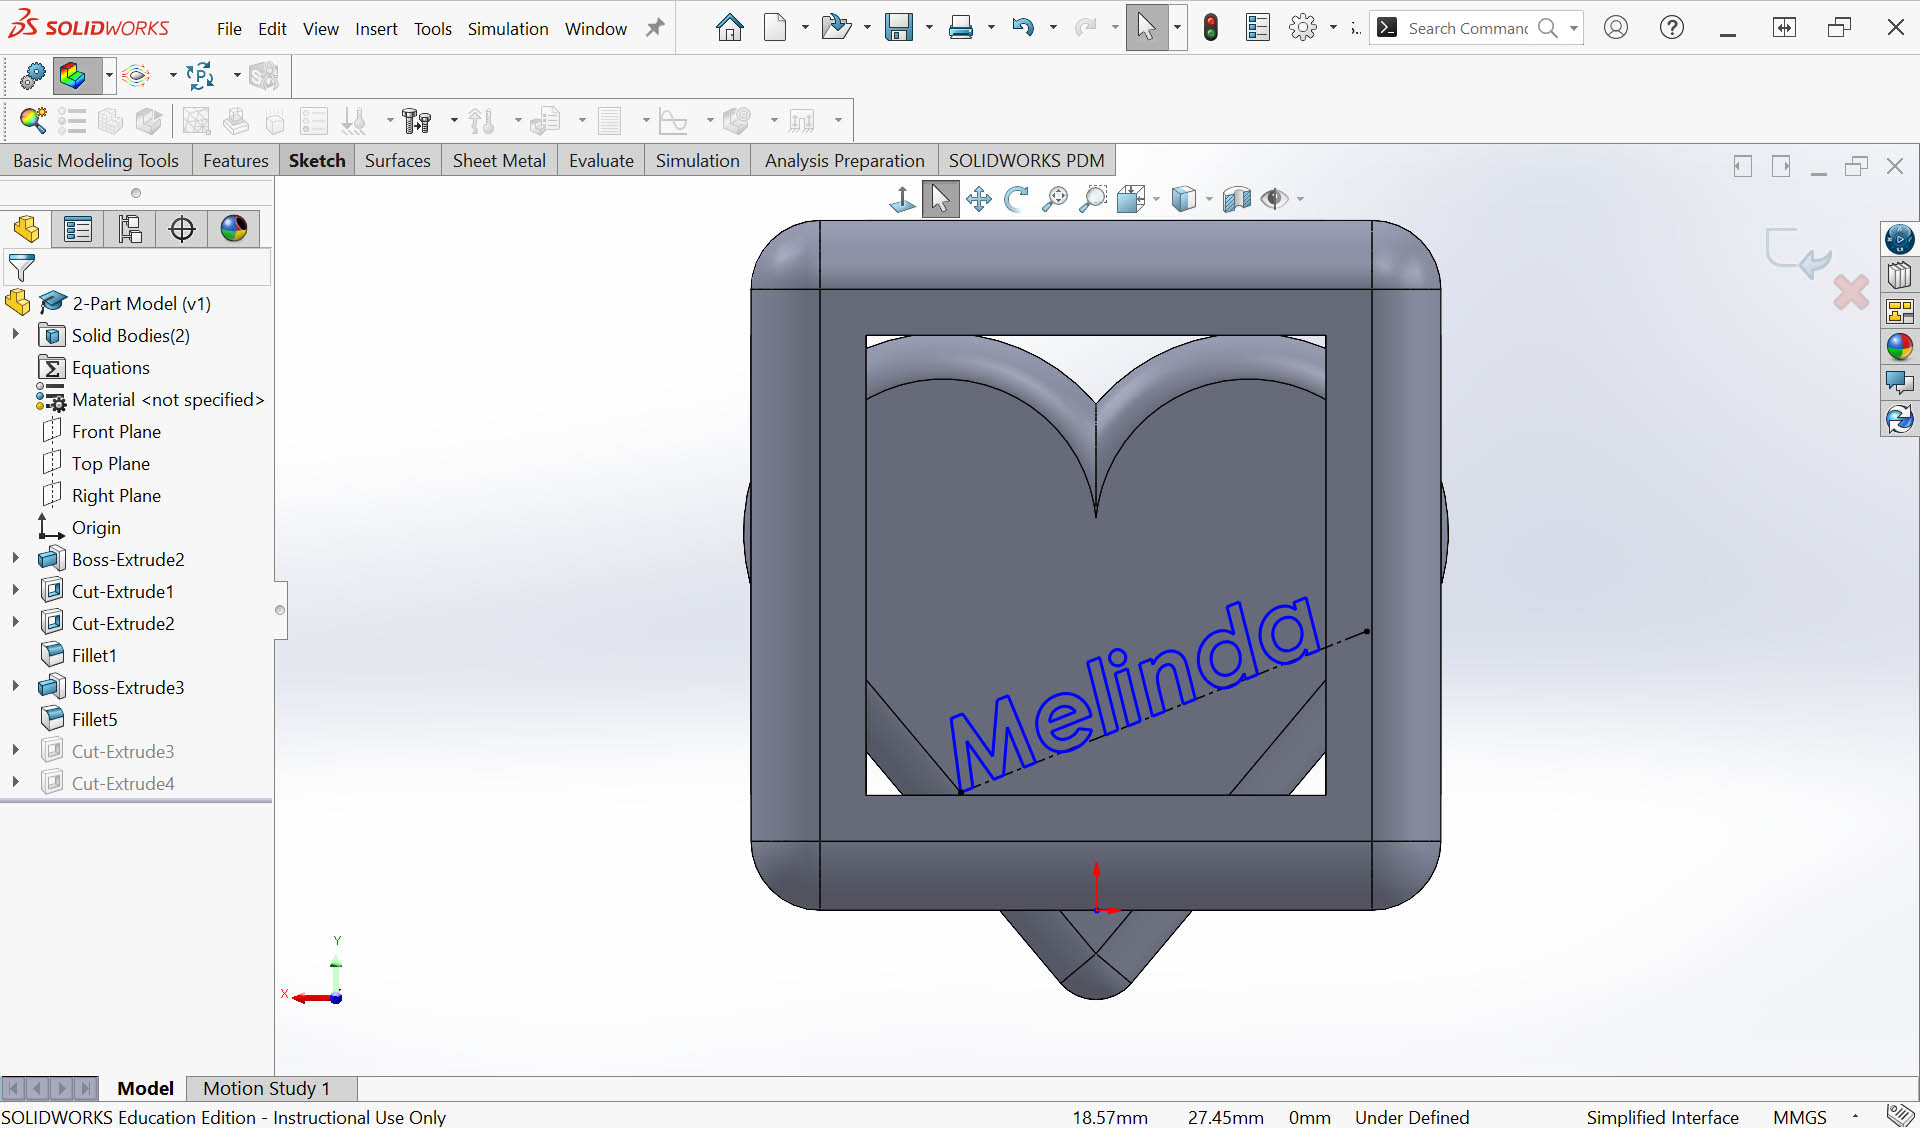
Step 9: Add an engraved name on one of the heart shaped face for personalisation - Cut-Extrude feature (0.5mm) 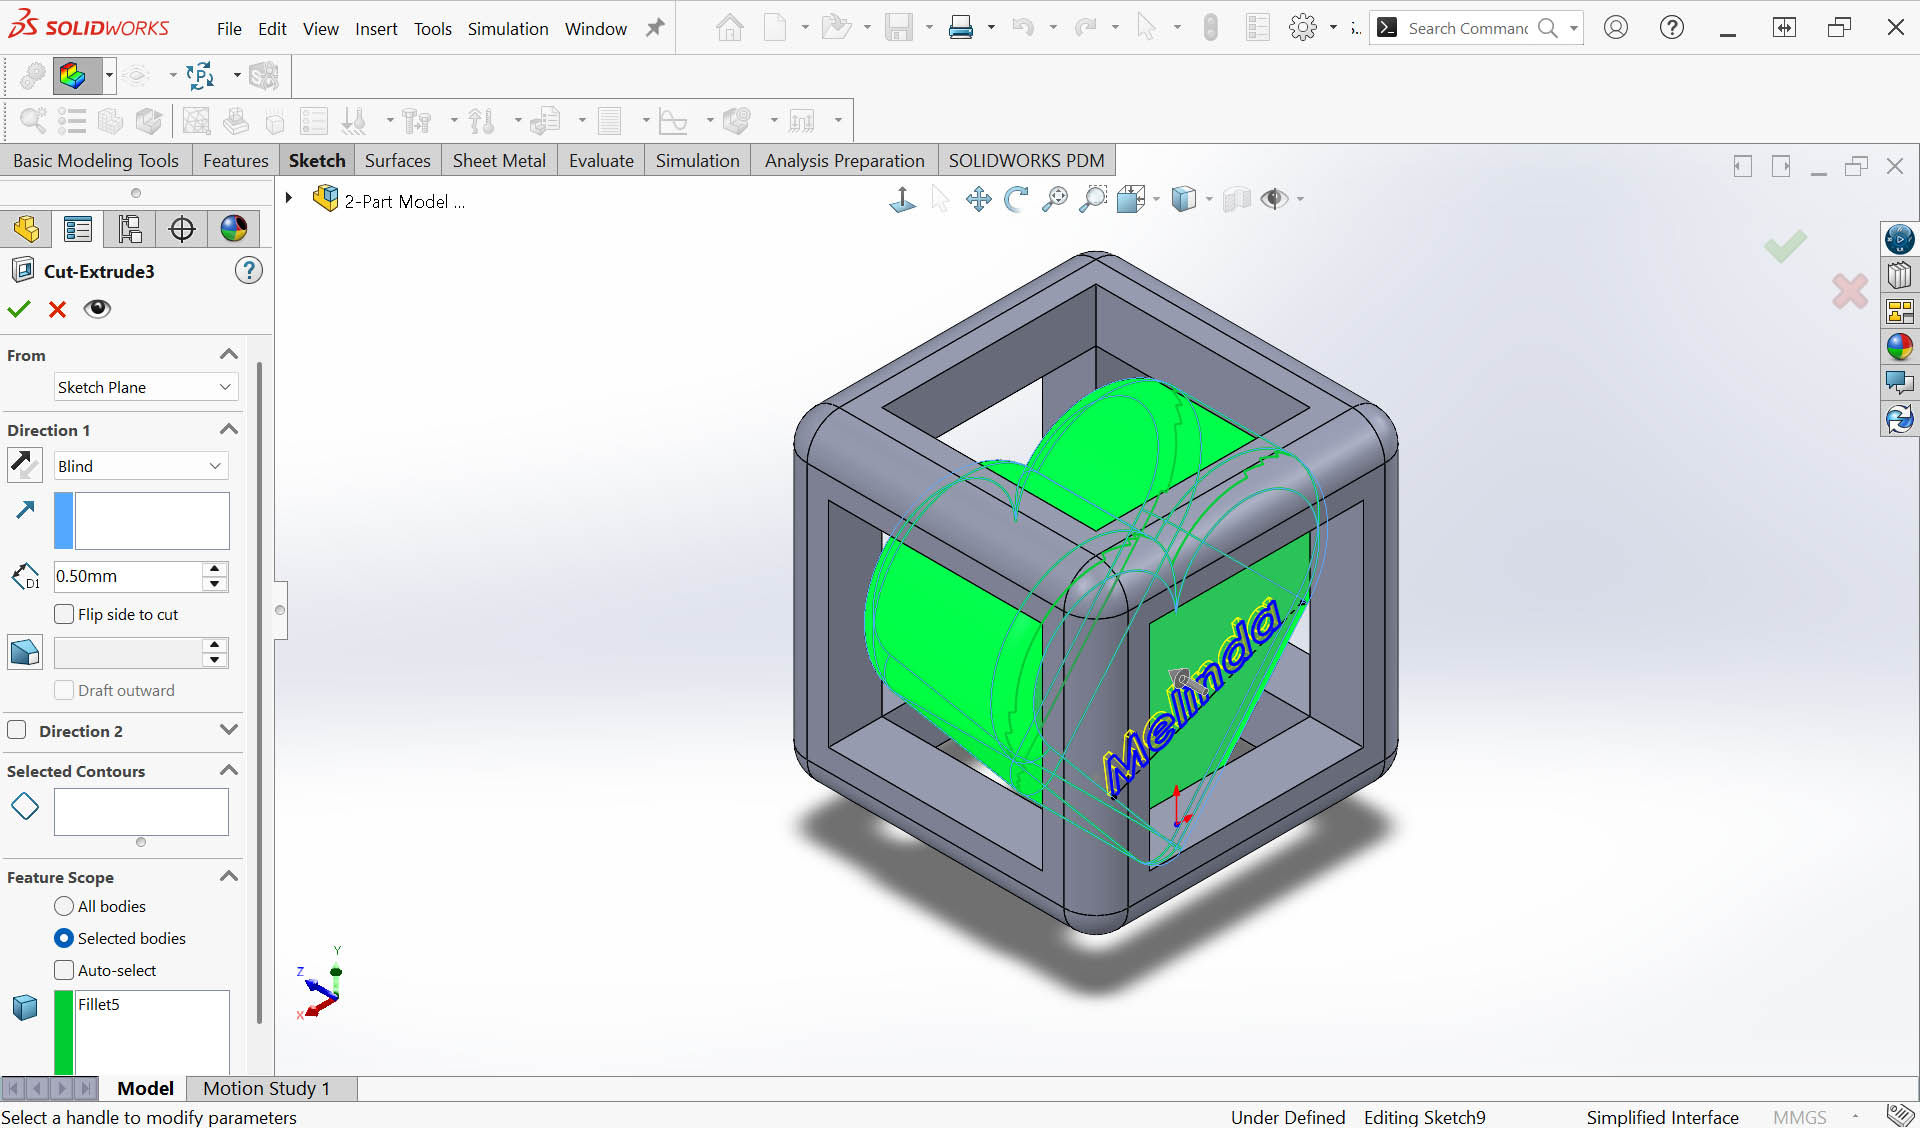
Step 10: Repeat Step 8&9 to add the same name or another name on the other heart shaped face 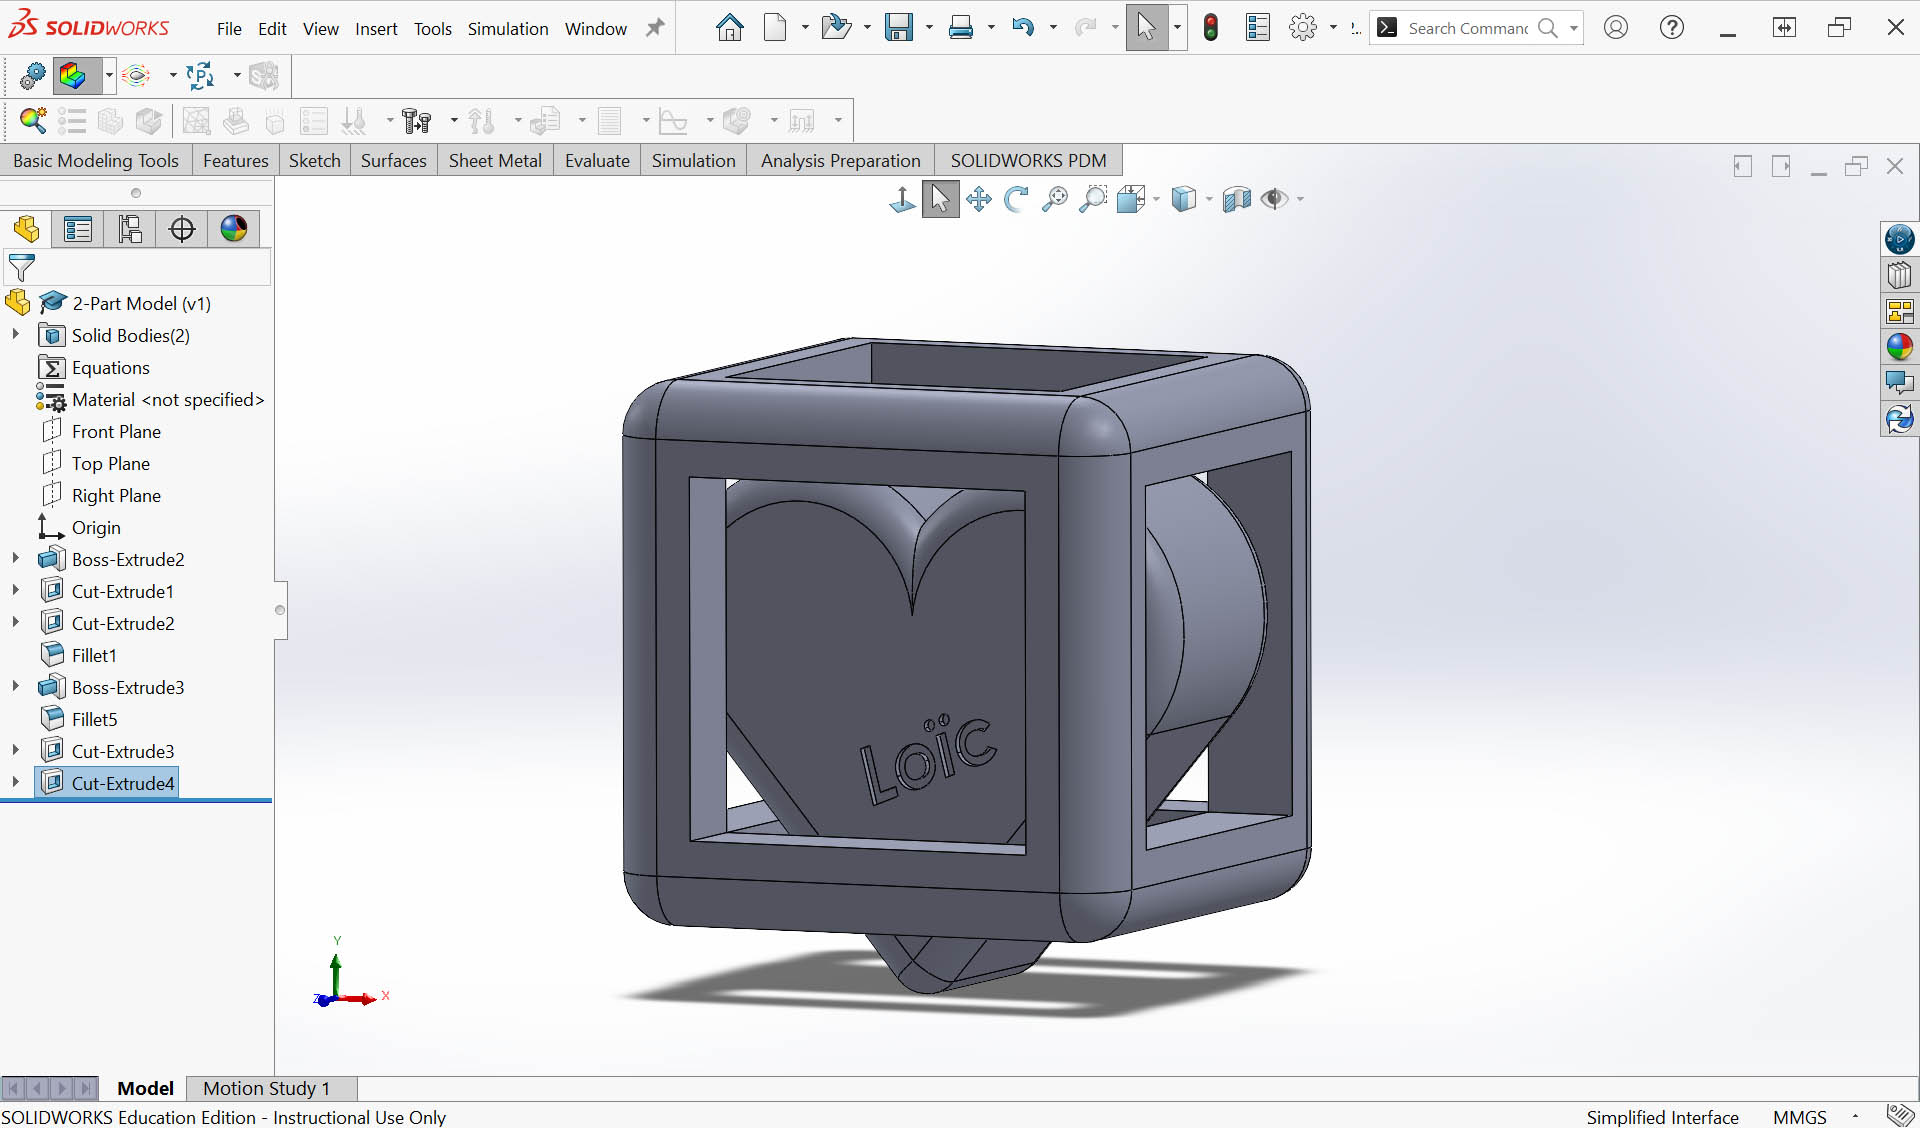
Step 11: Check if the 2-part model is well designed to achieve the intend (no intersection between the 2 components to allow freedom of movement while keeping the heart inside the cubic frame) 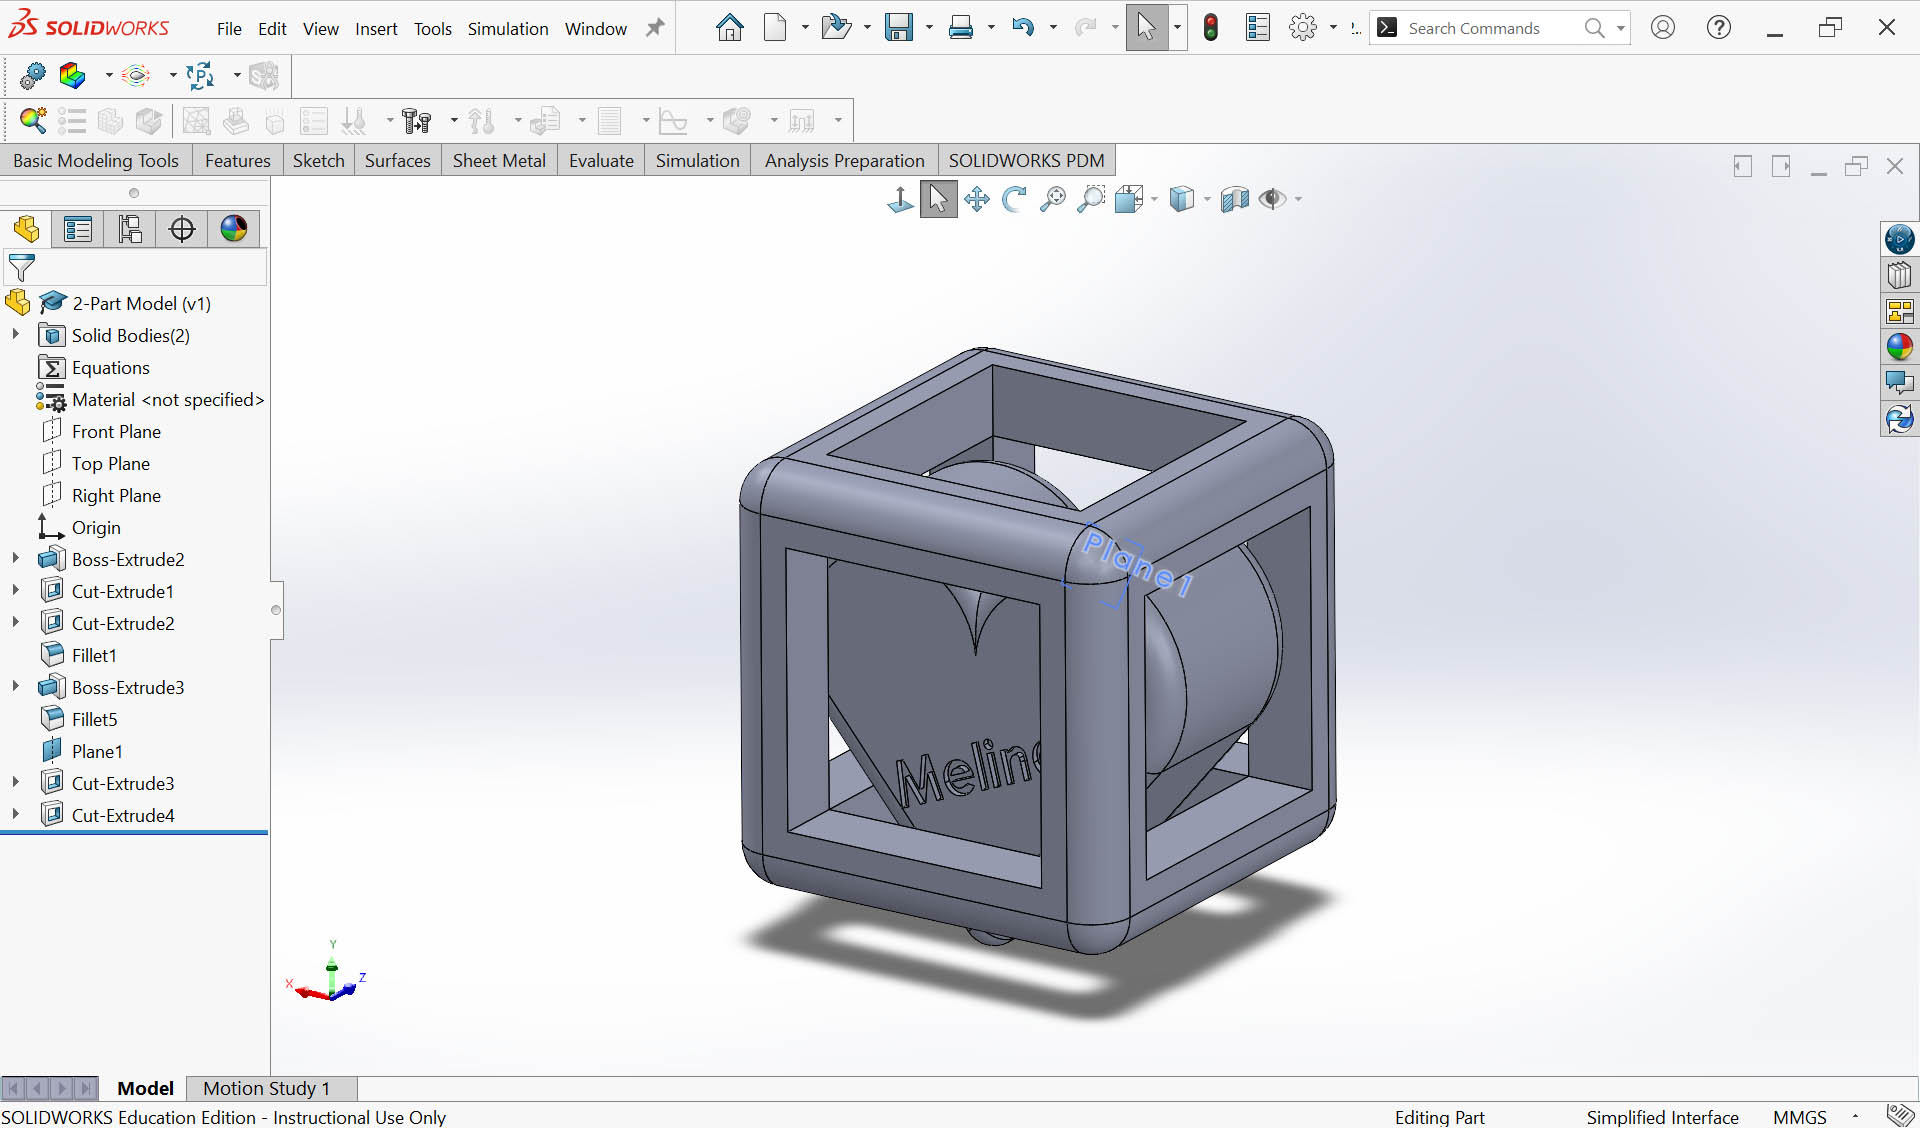
...All good... MODEL READY for 3D printing 😃 😃 😃
3D Printing Process with Bambu Lab
Step 1: Save file as STL 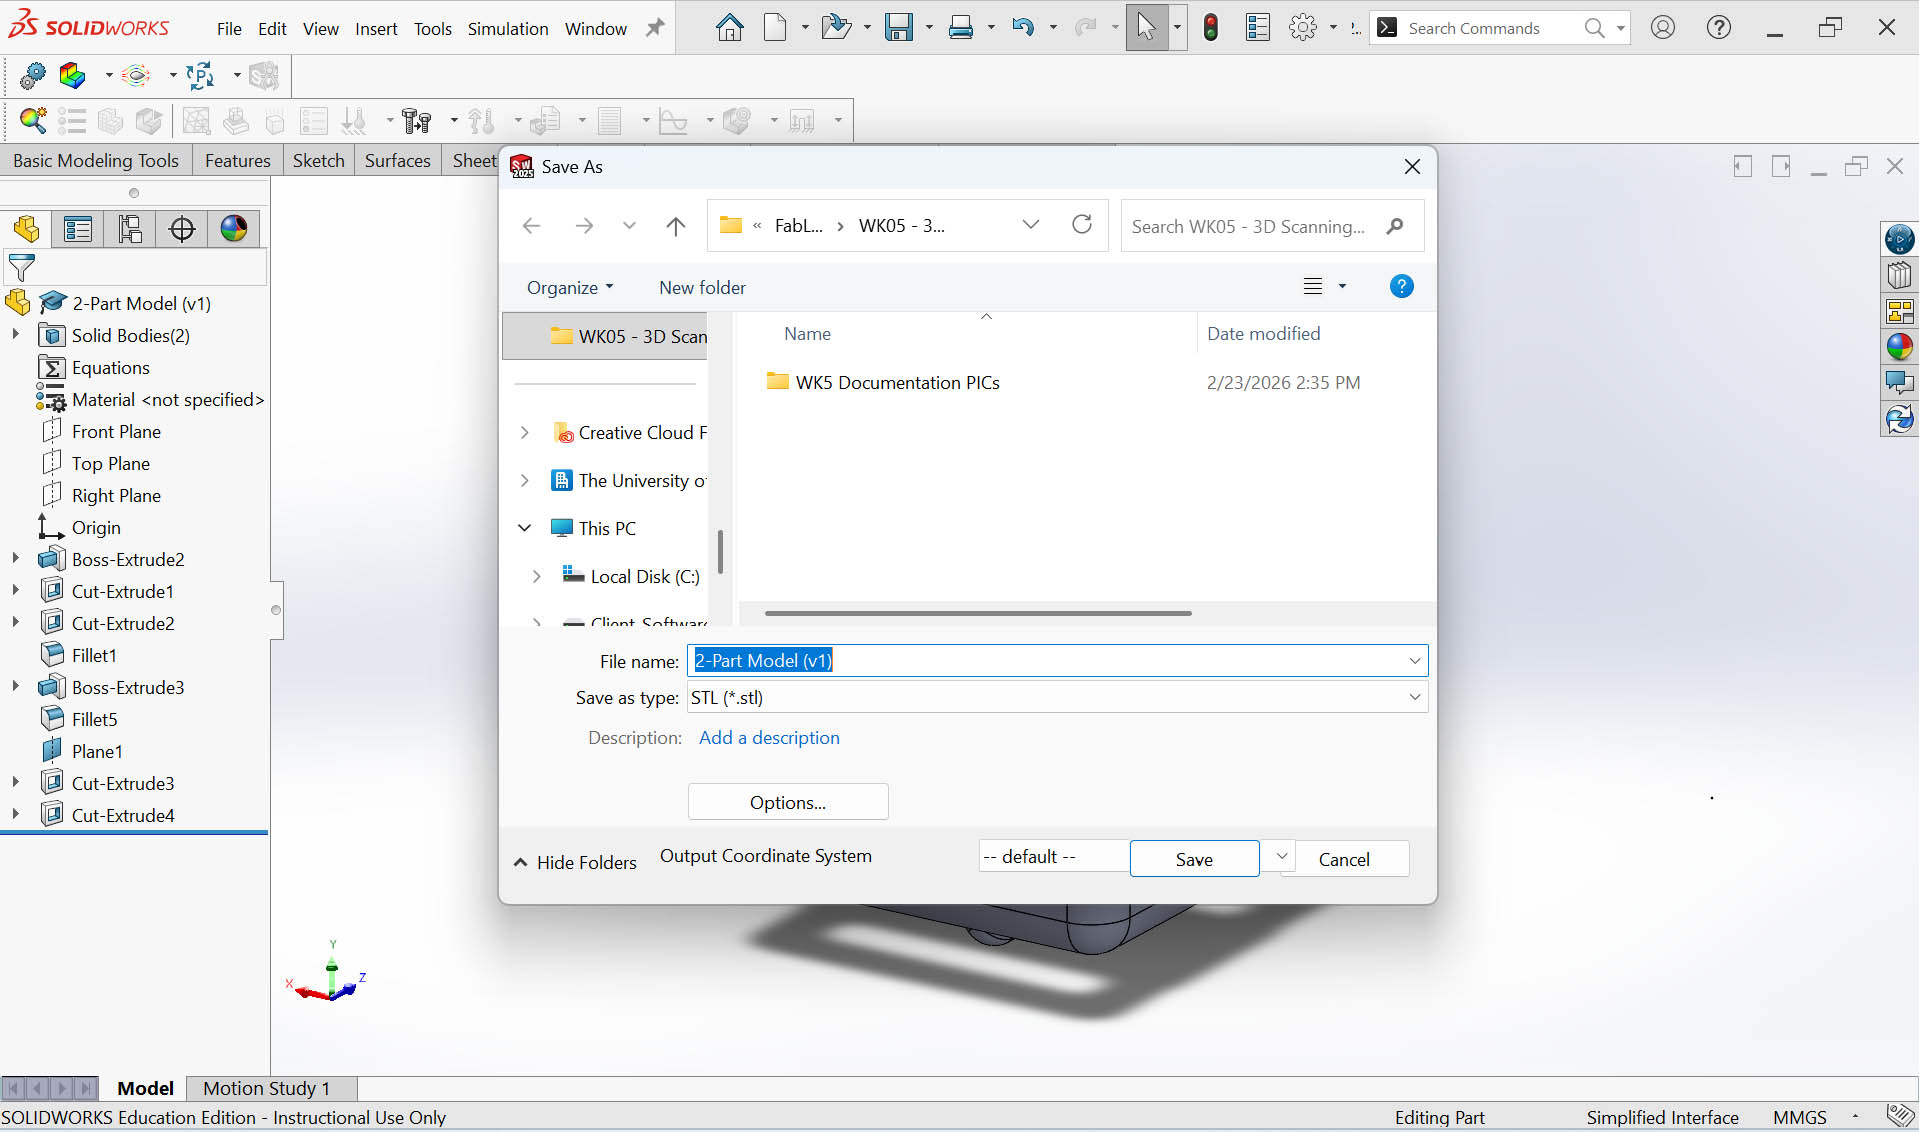
Step 2: Set STL file options 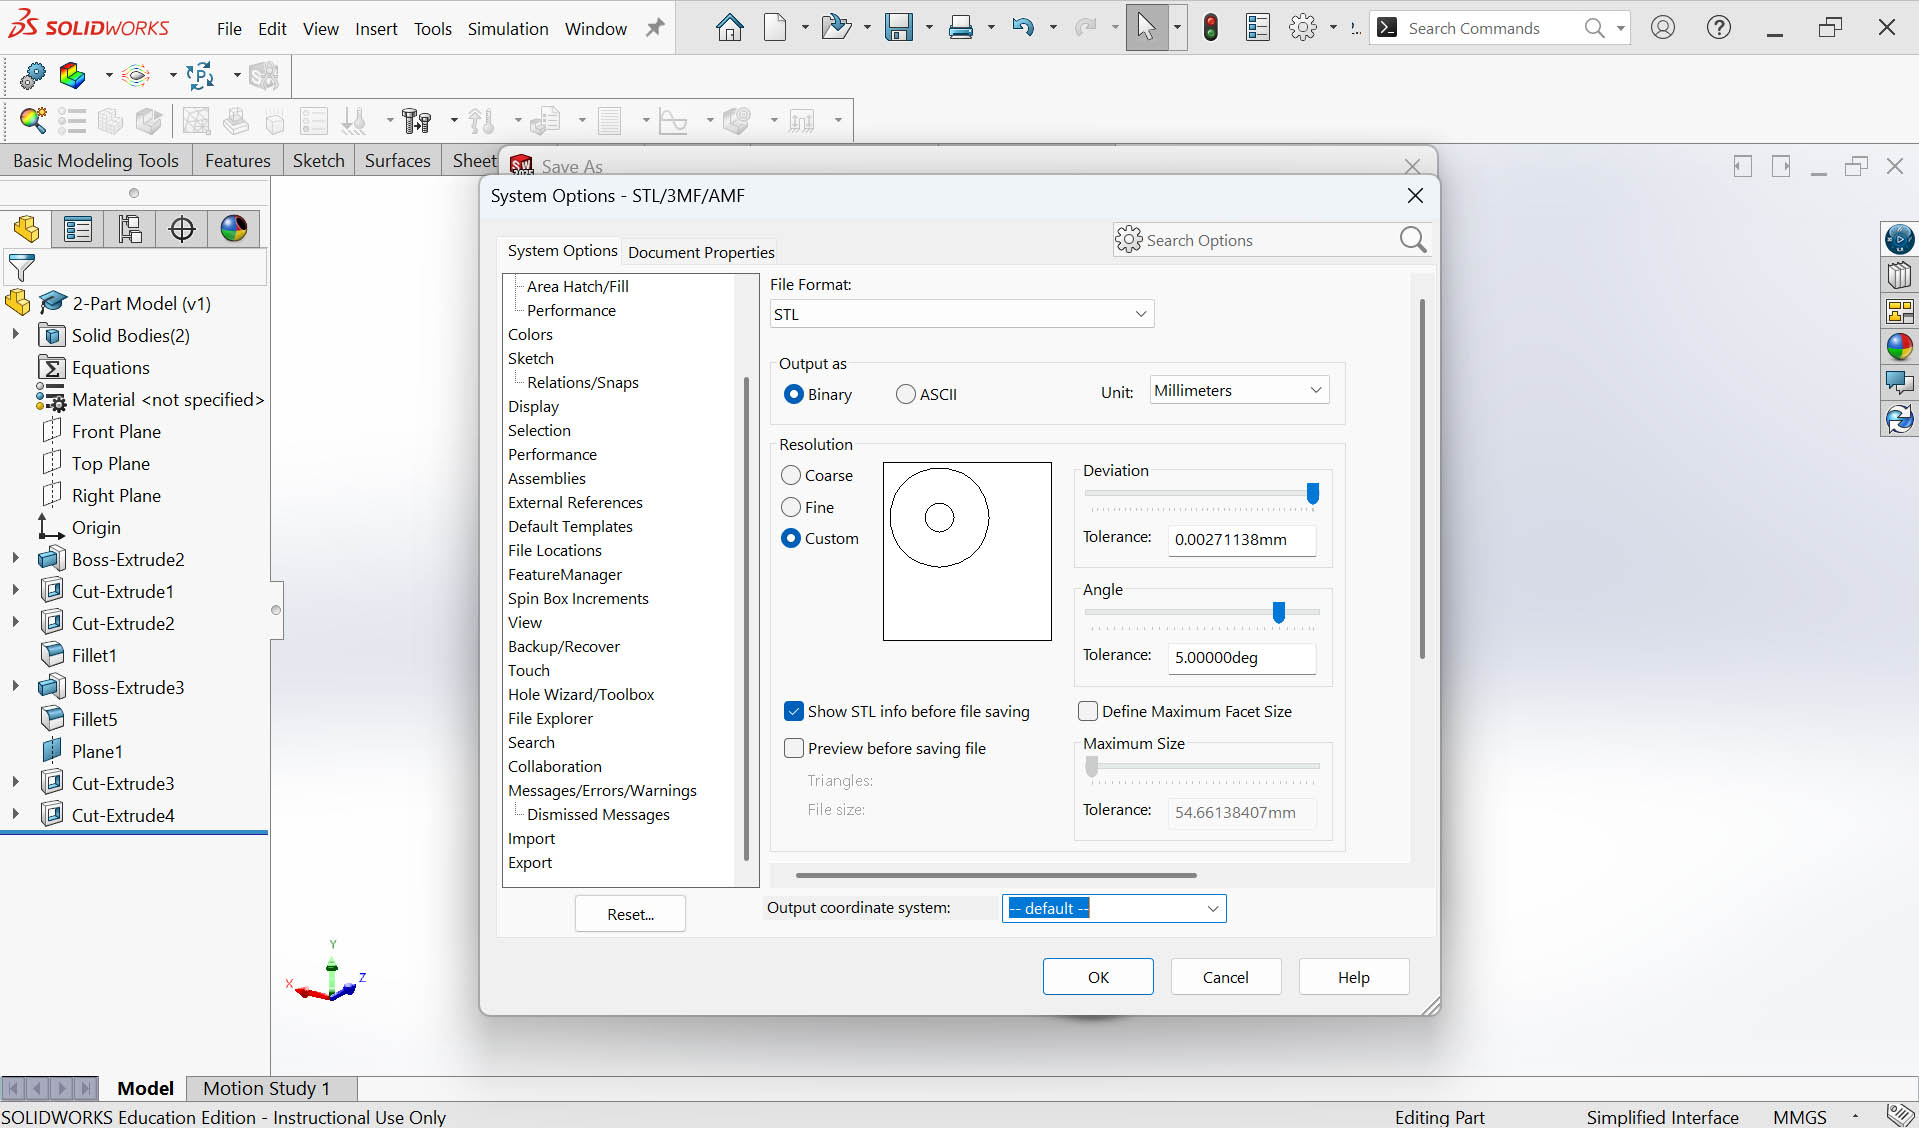
Step 3: Open Bambu Studio software and "Create new project" 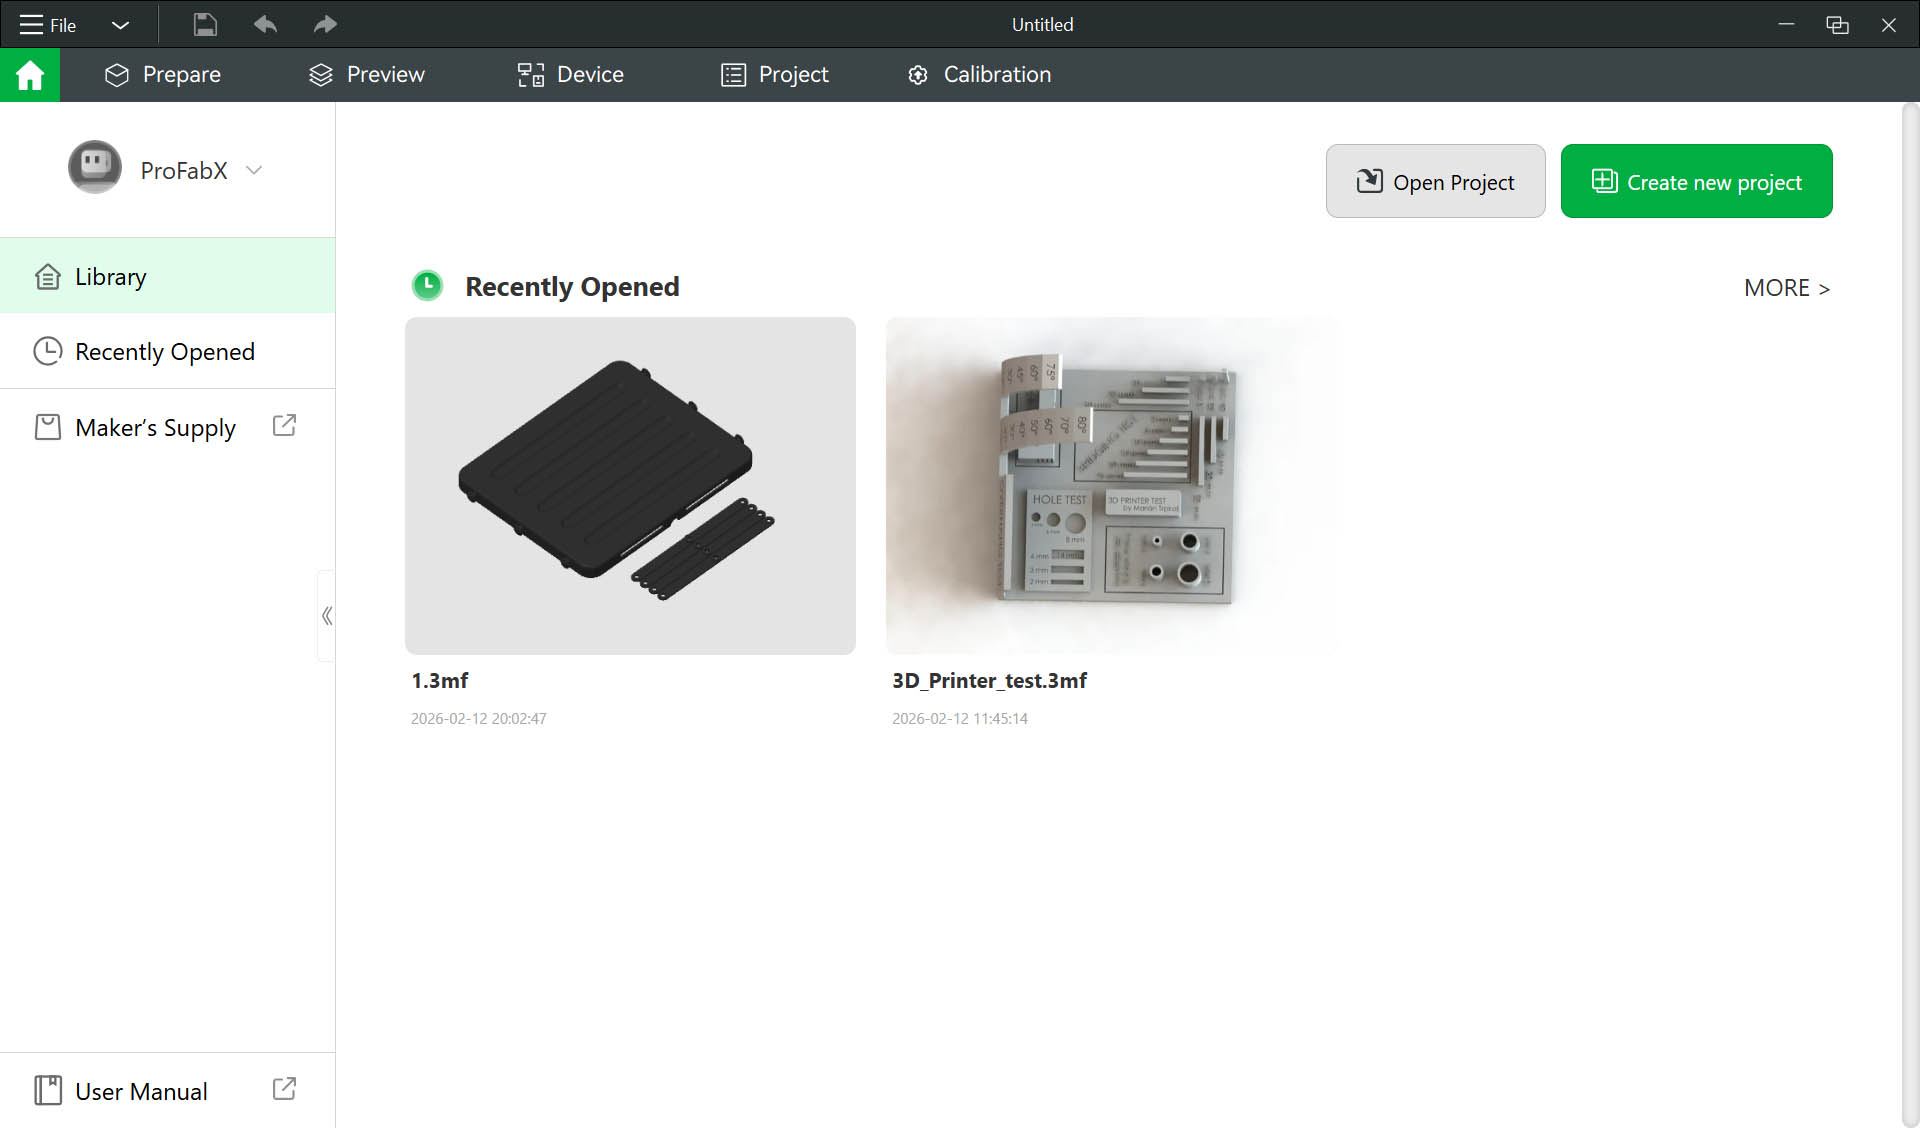
Step 4: Click the "Import model" icon 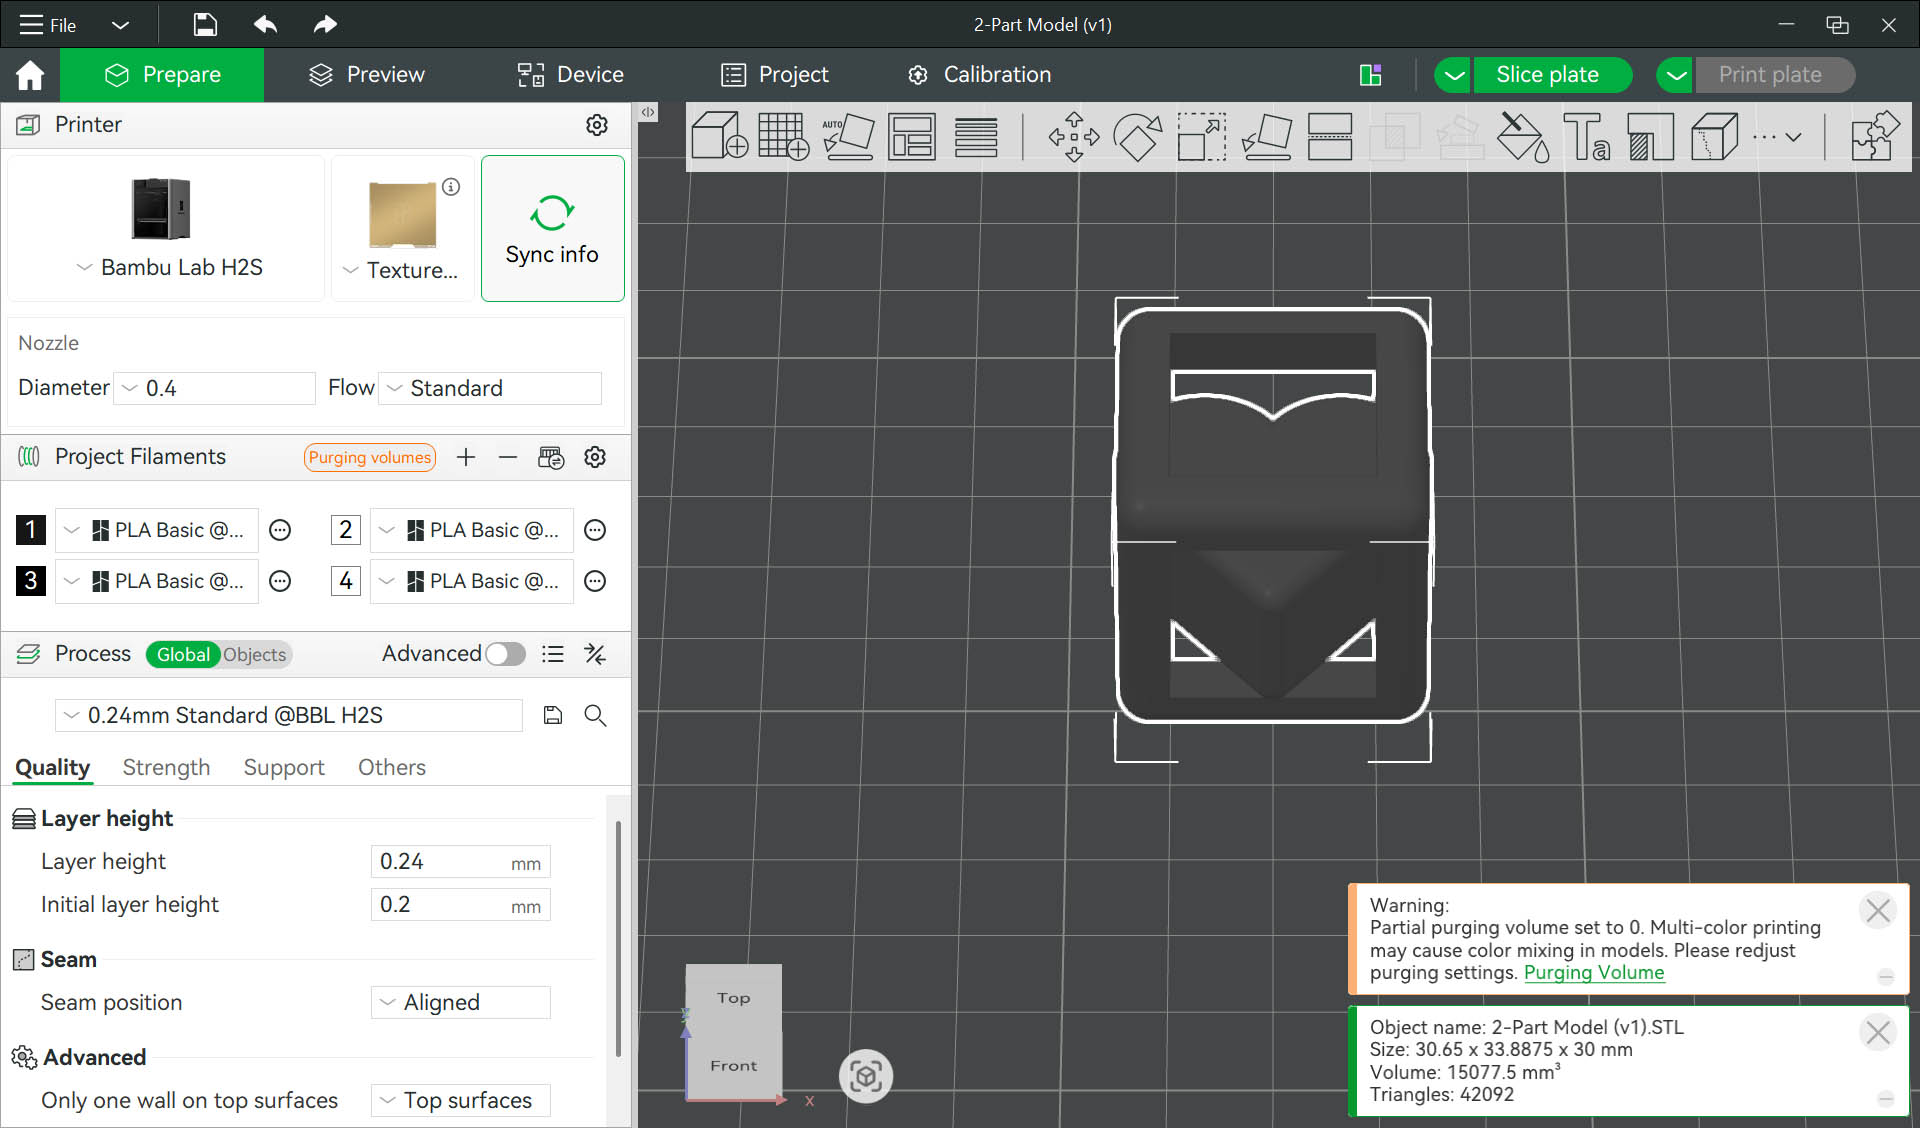
Step 5: Select the model and rotate it by 90 degree to have heart shape well positioned 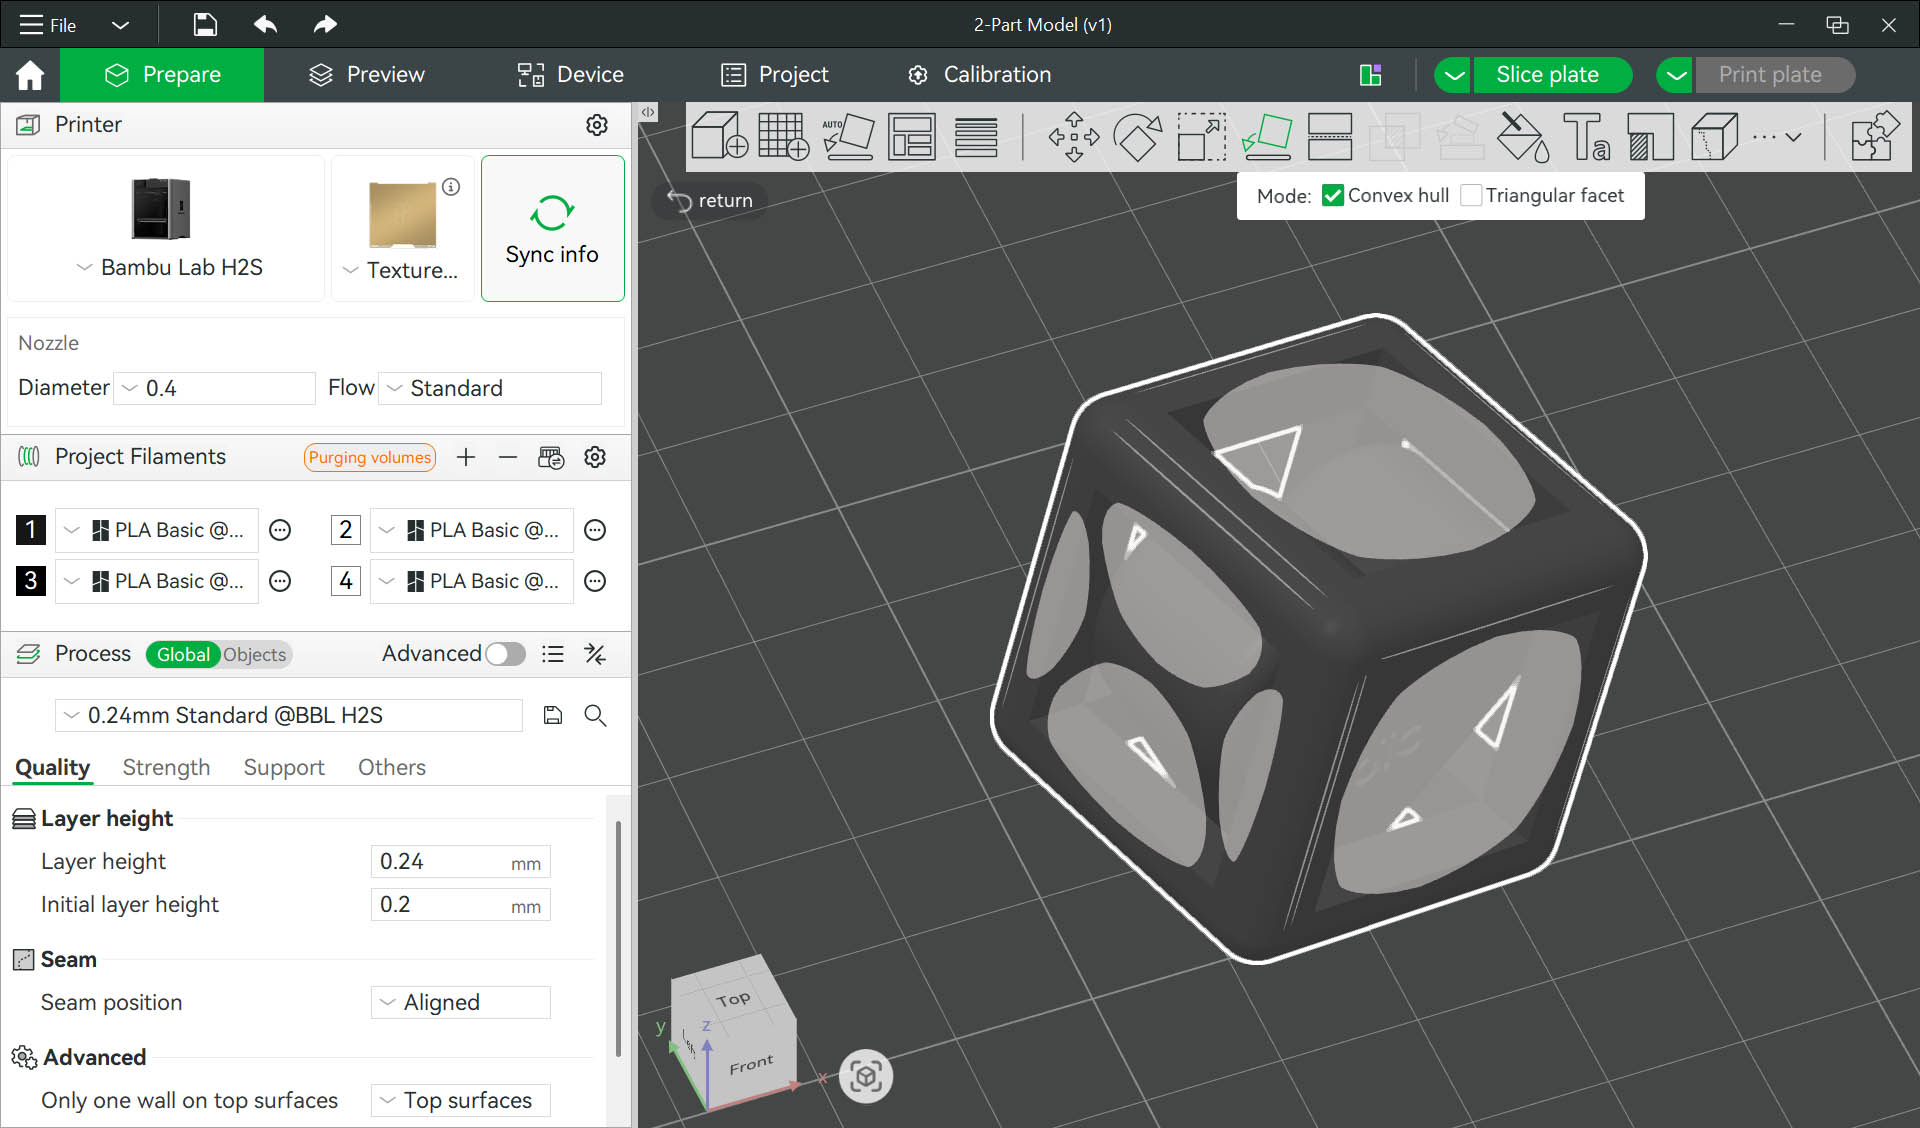
Step 6: Rotate the model a bit further to adjust its position correctly 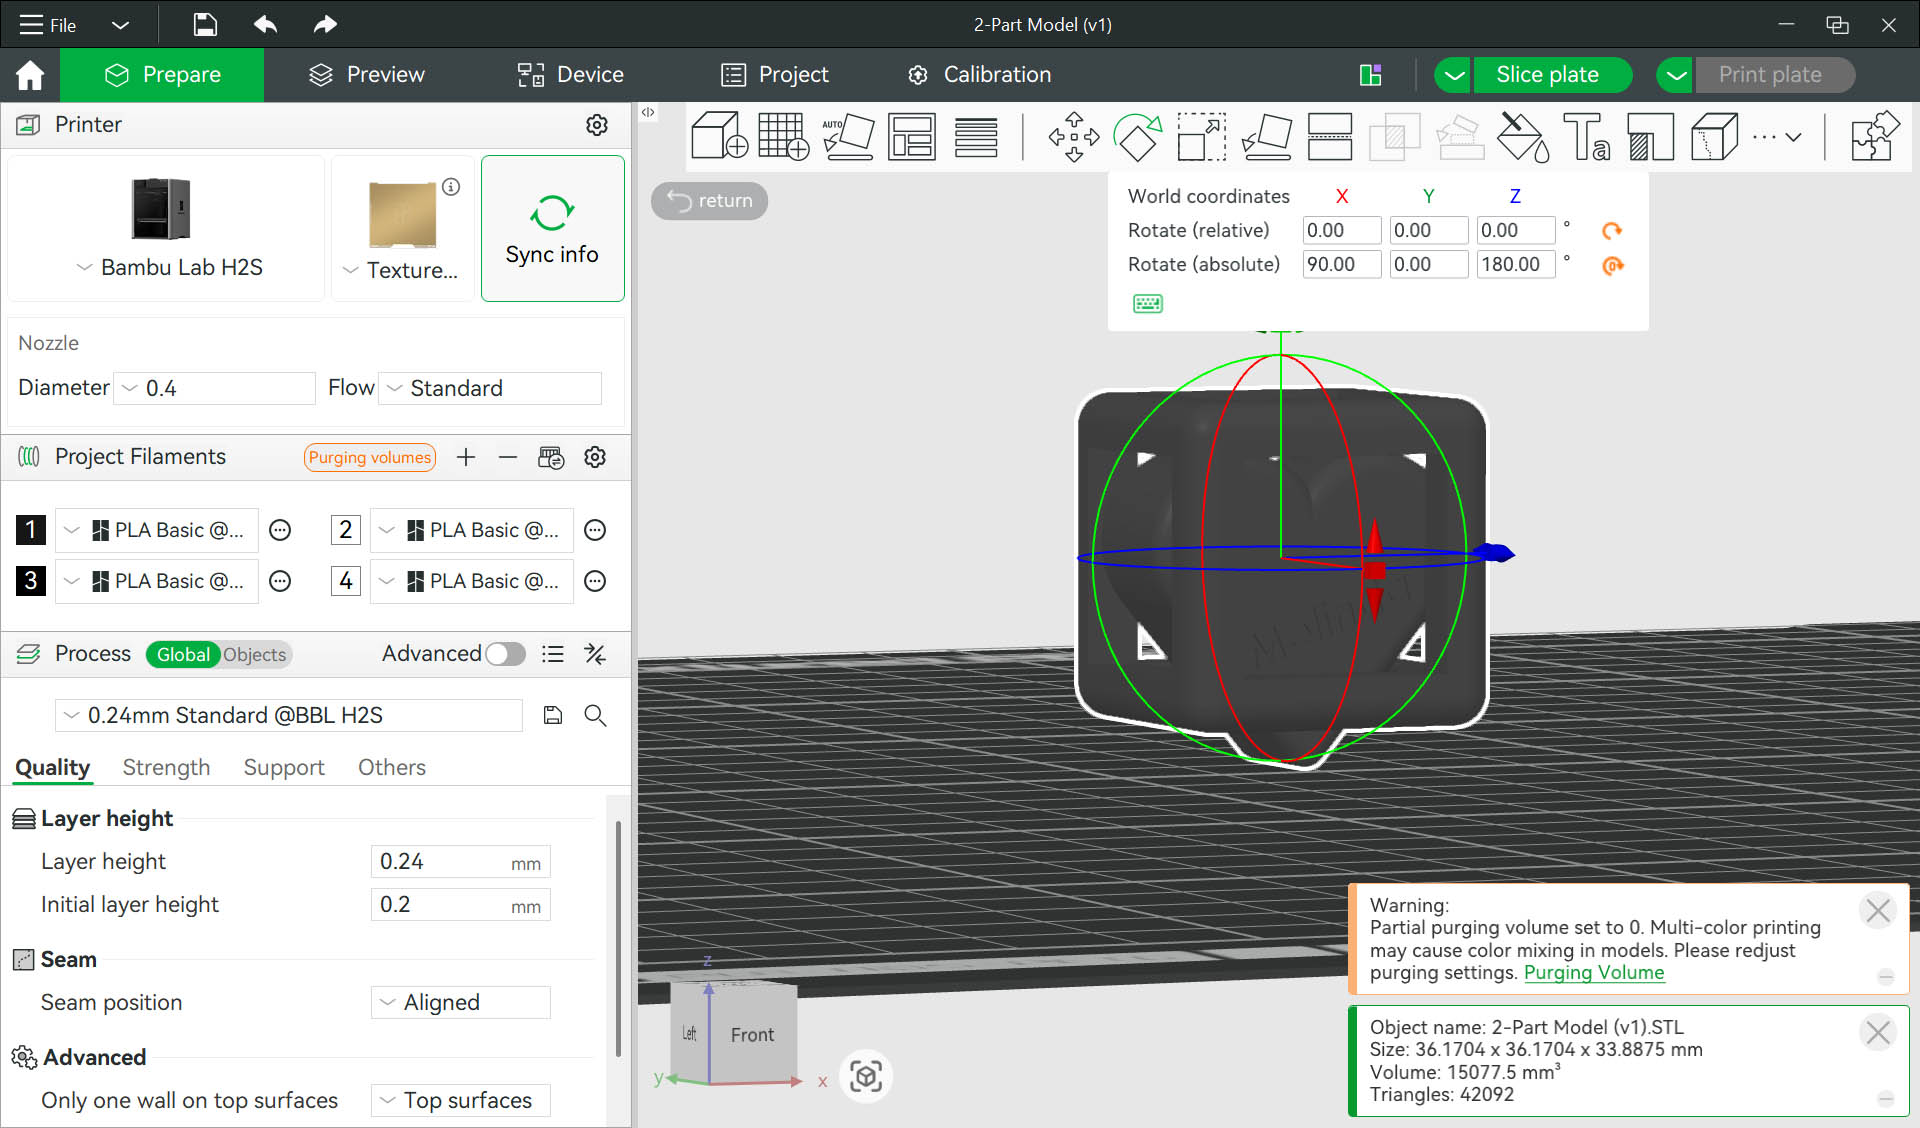
Step 7: Select 3D printing machine 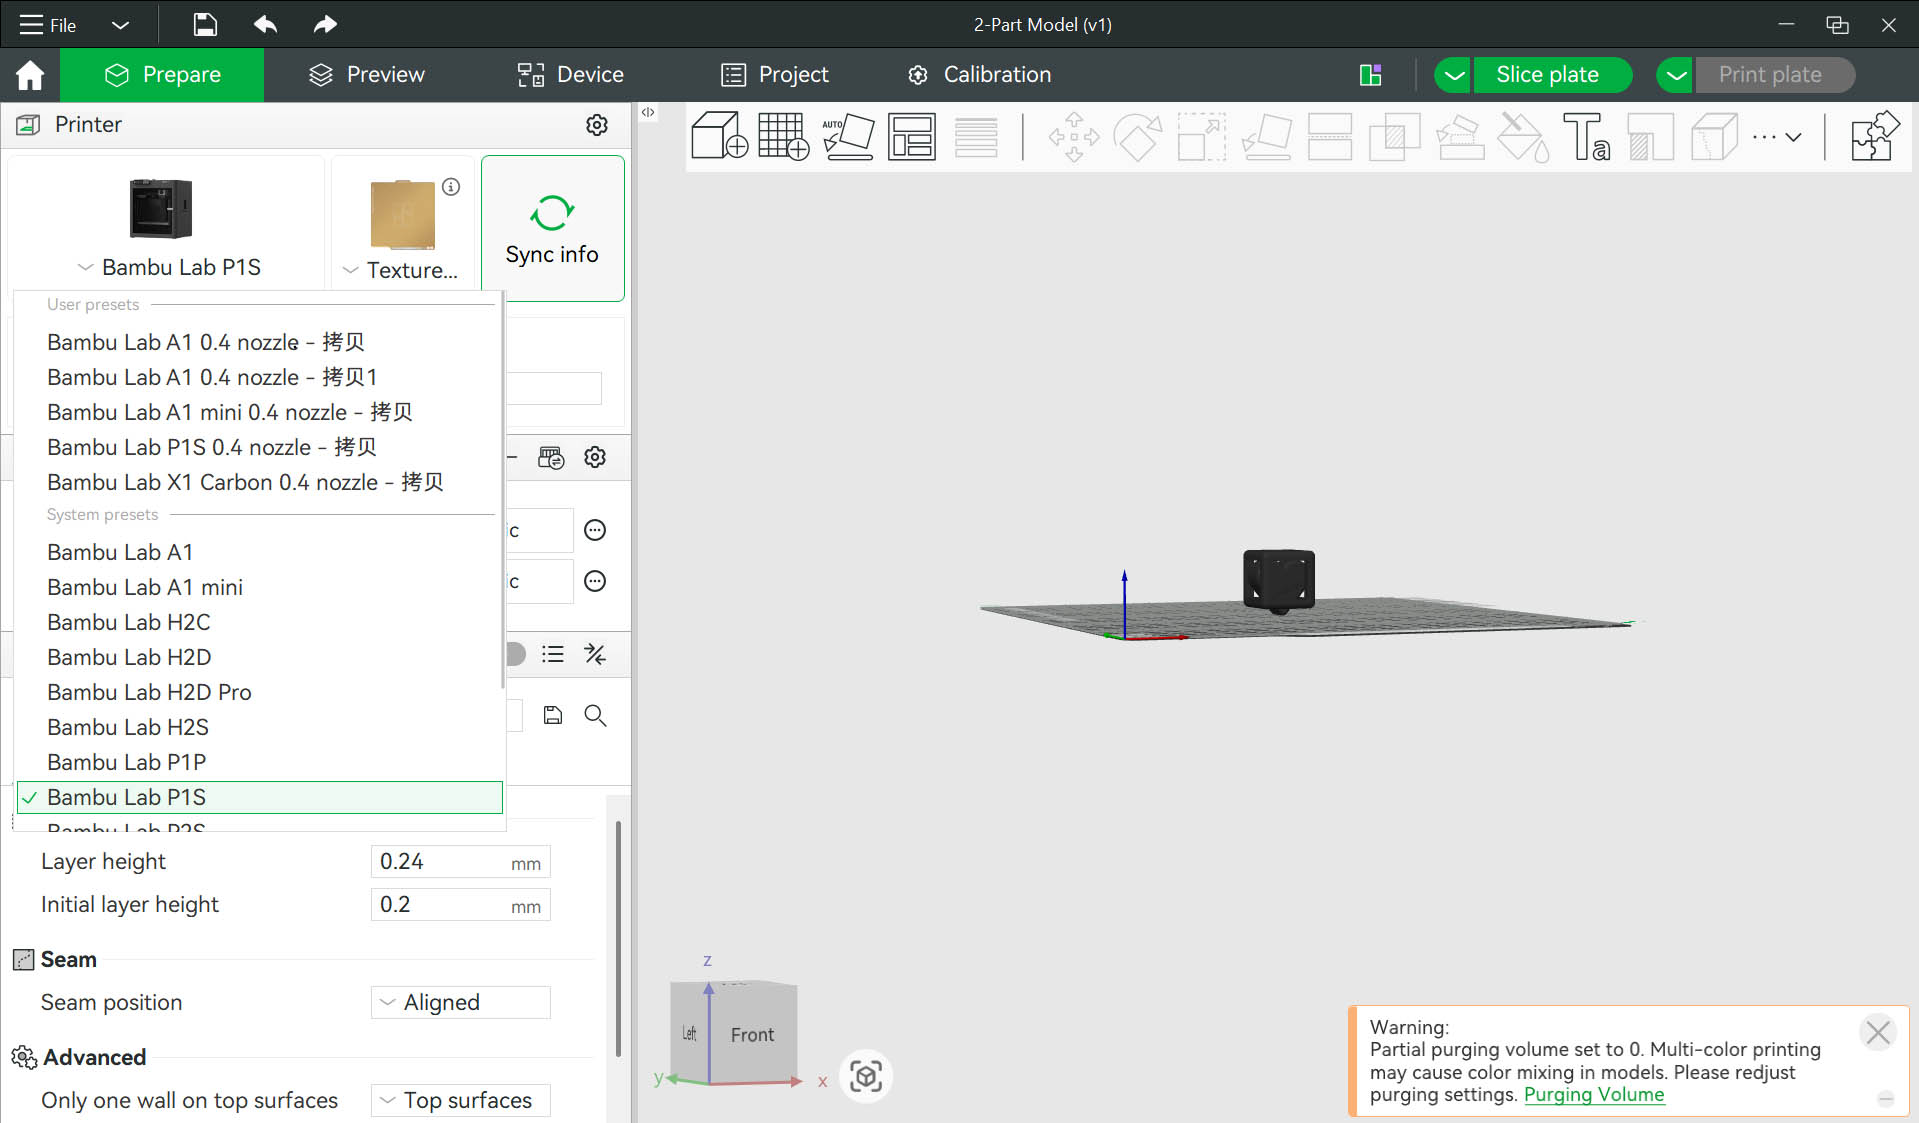
Step 8: Select machine "P1S-2-ProFabX" 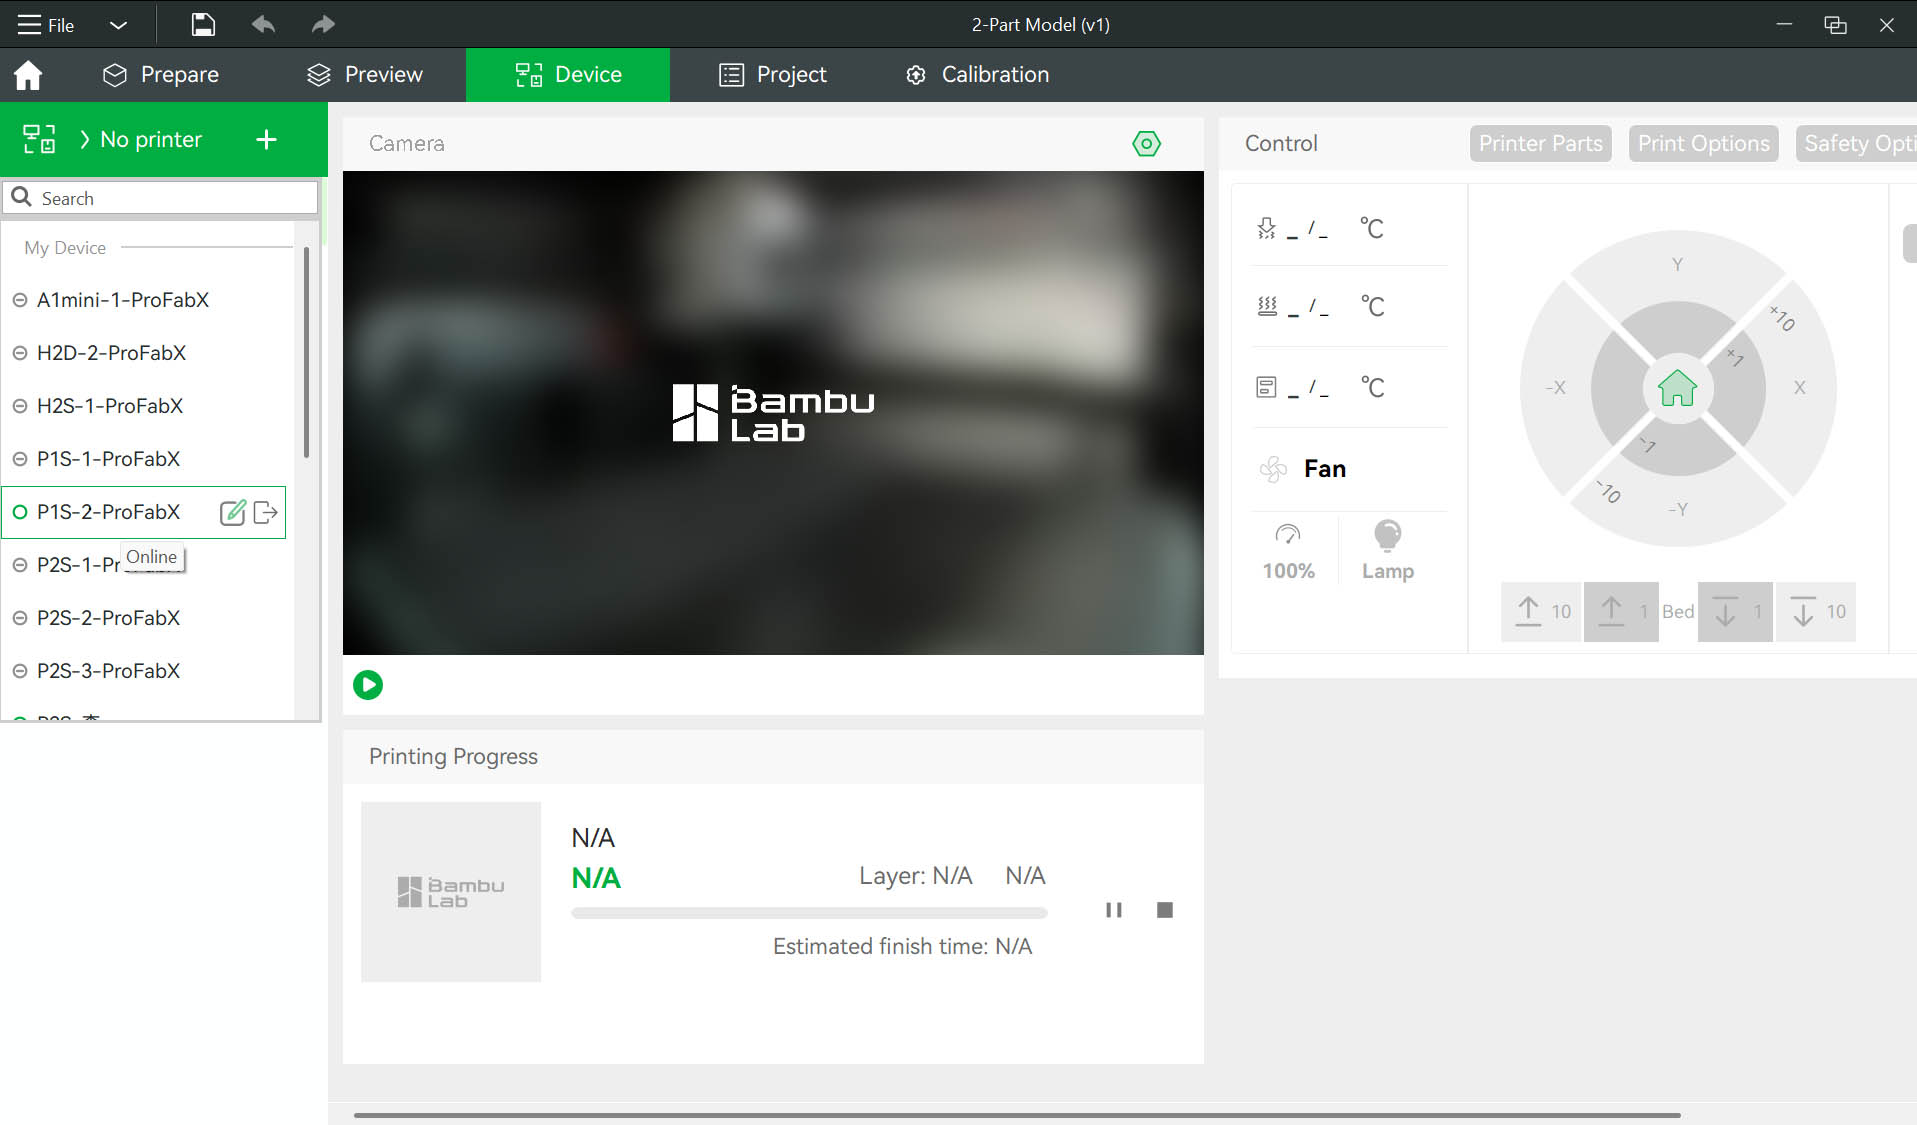
Step 9: Overwriting material - Click "Synchronize now" 
Step 10: Select printing definition "0.2 Standard" 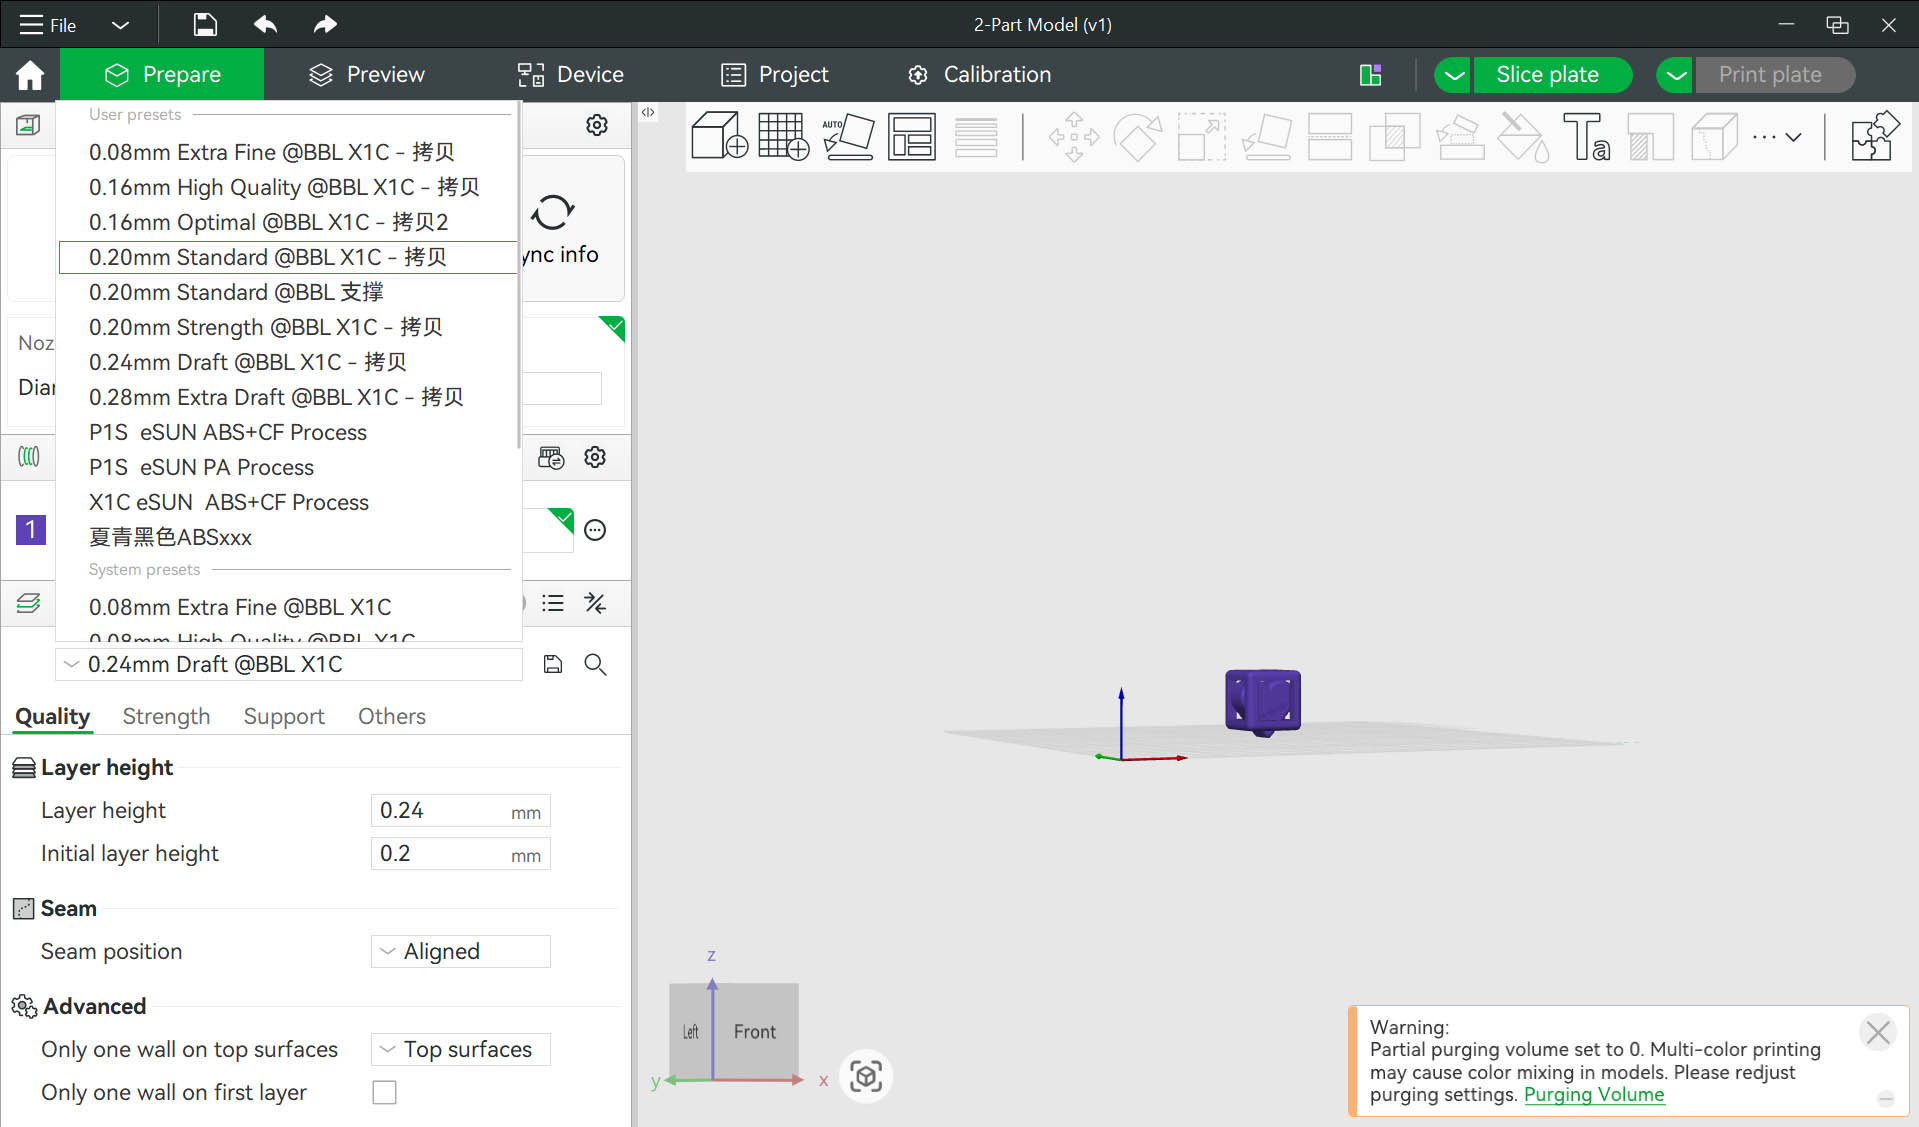
Step 11: Click "Slice plate"... check "Slicing Results" 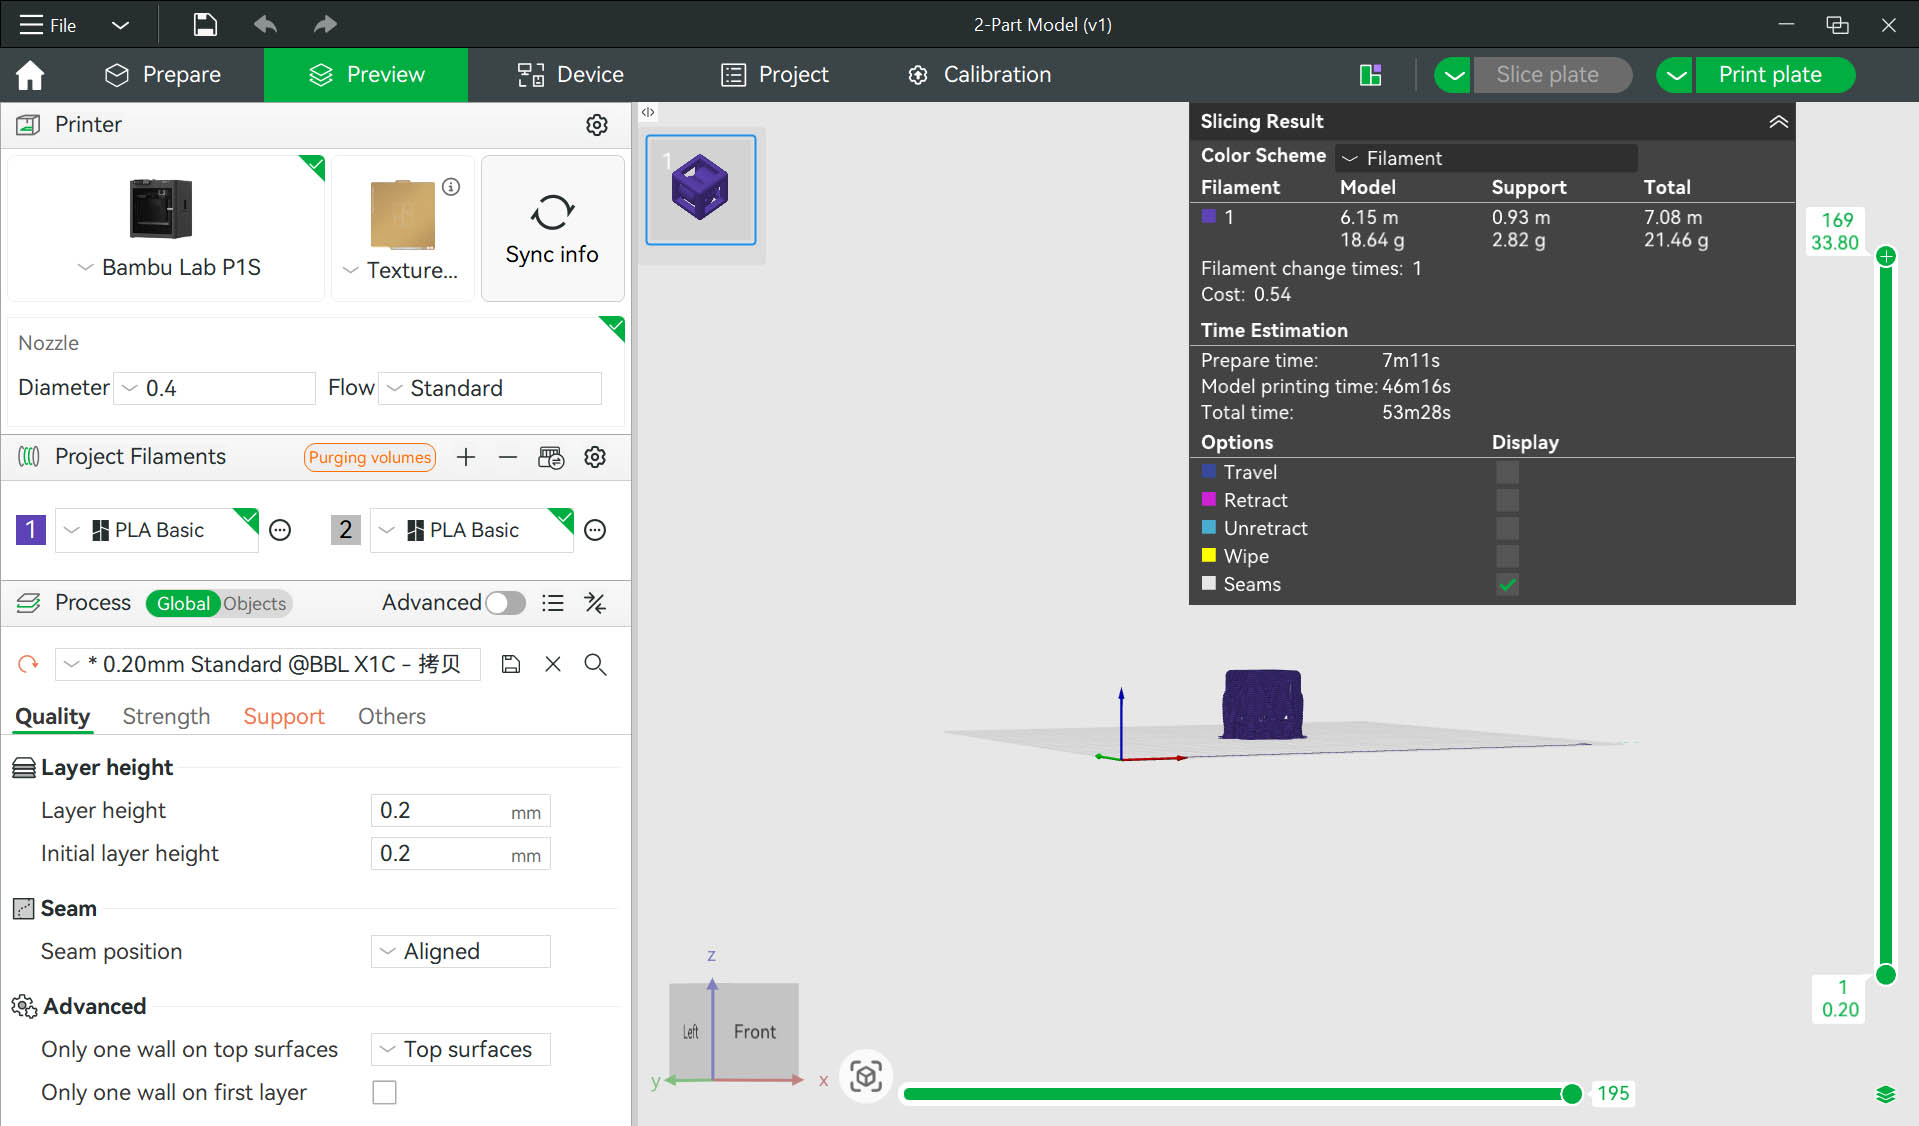
Step 12: Click "Print plate" and then "Send" to send print job to the 3D printer 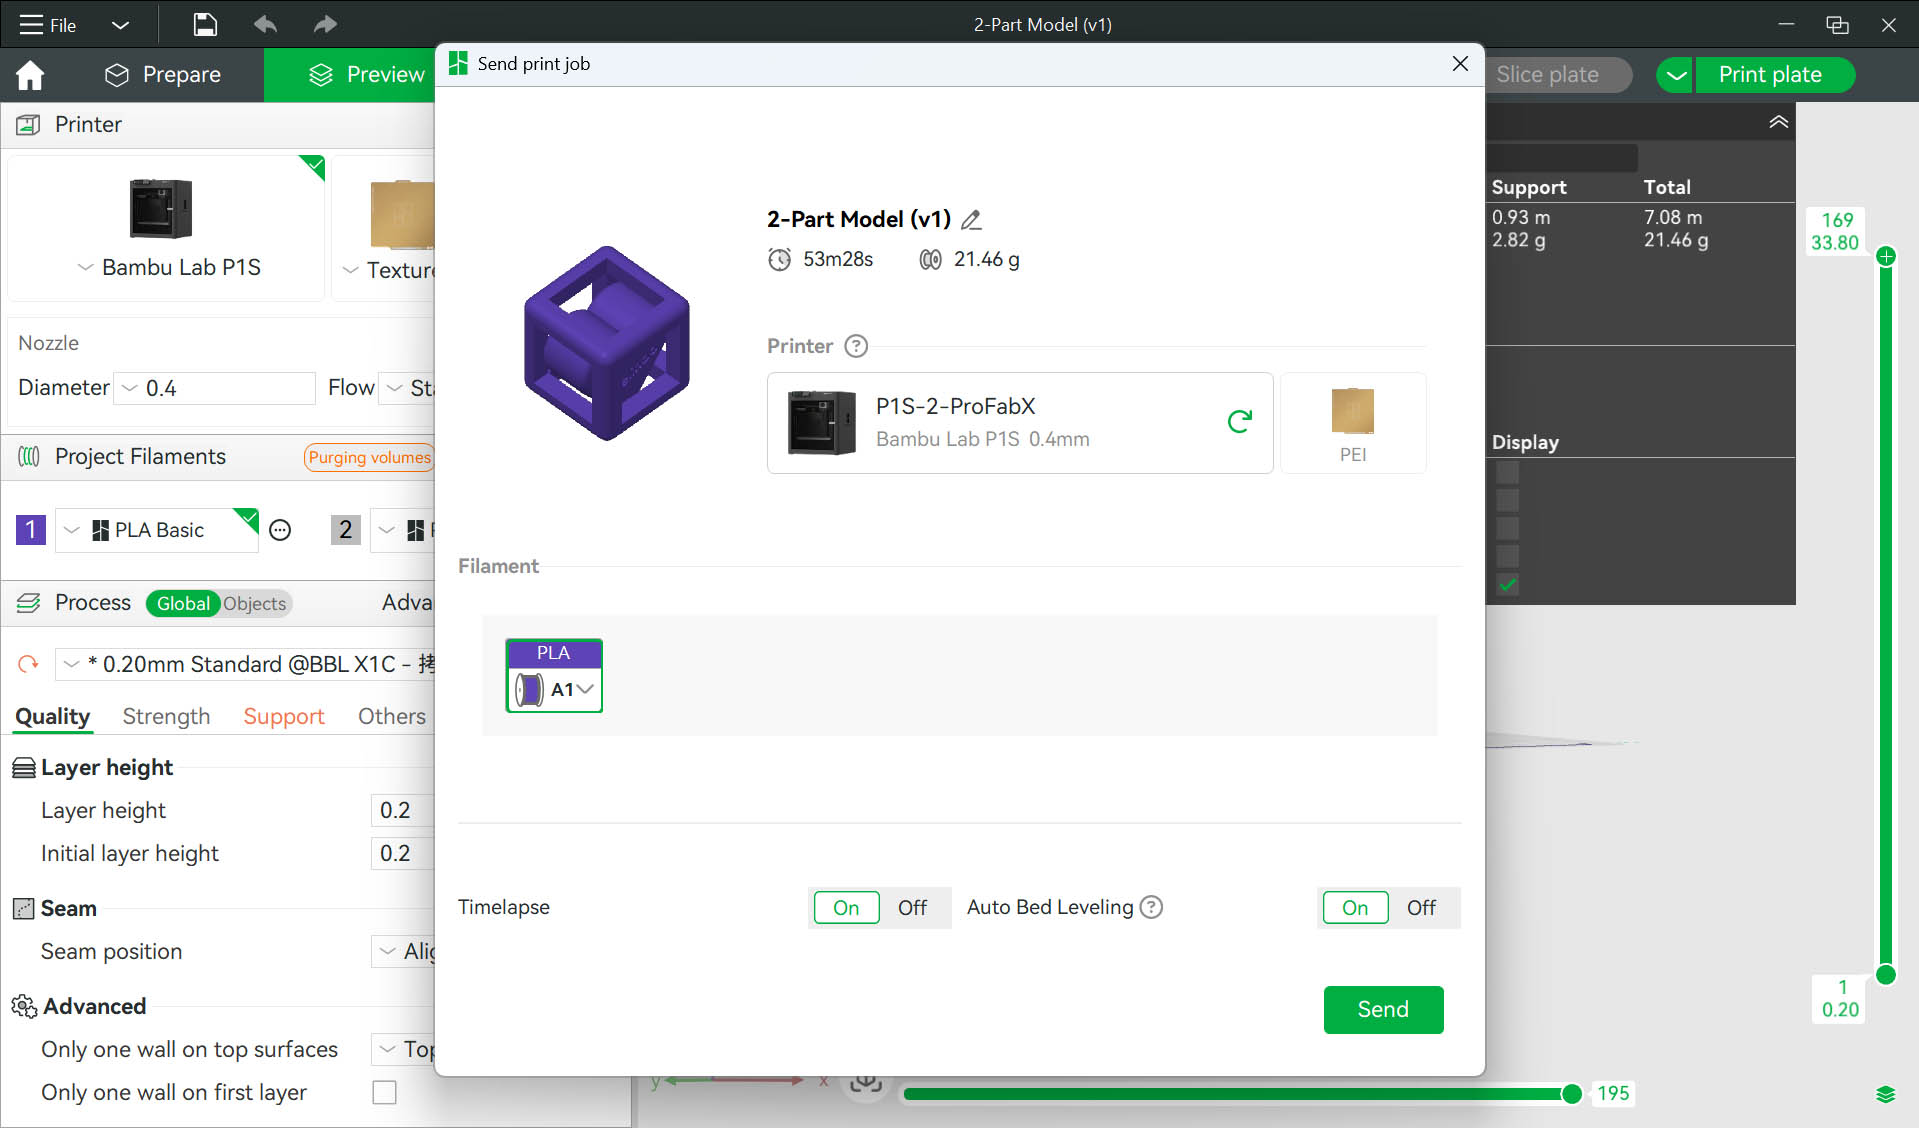
Step 13: Model downloading to the 3D Printer 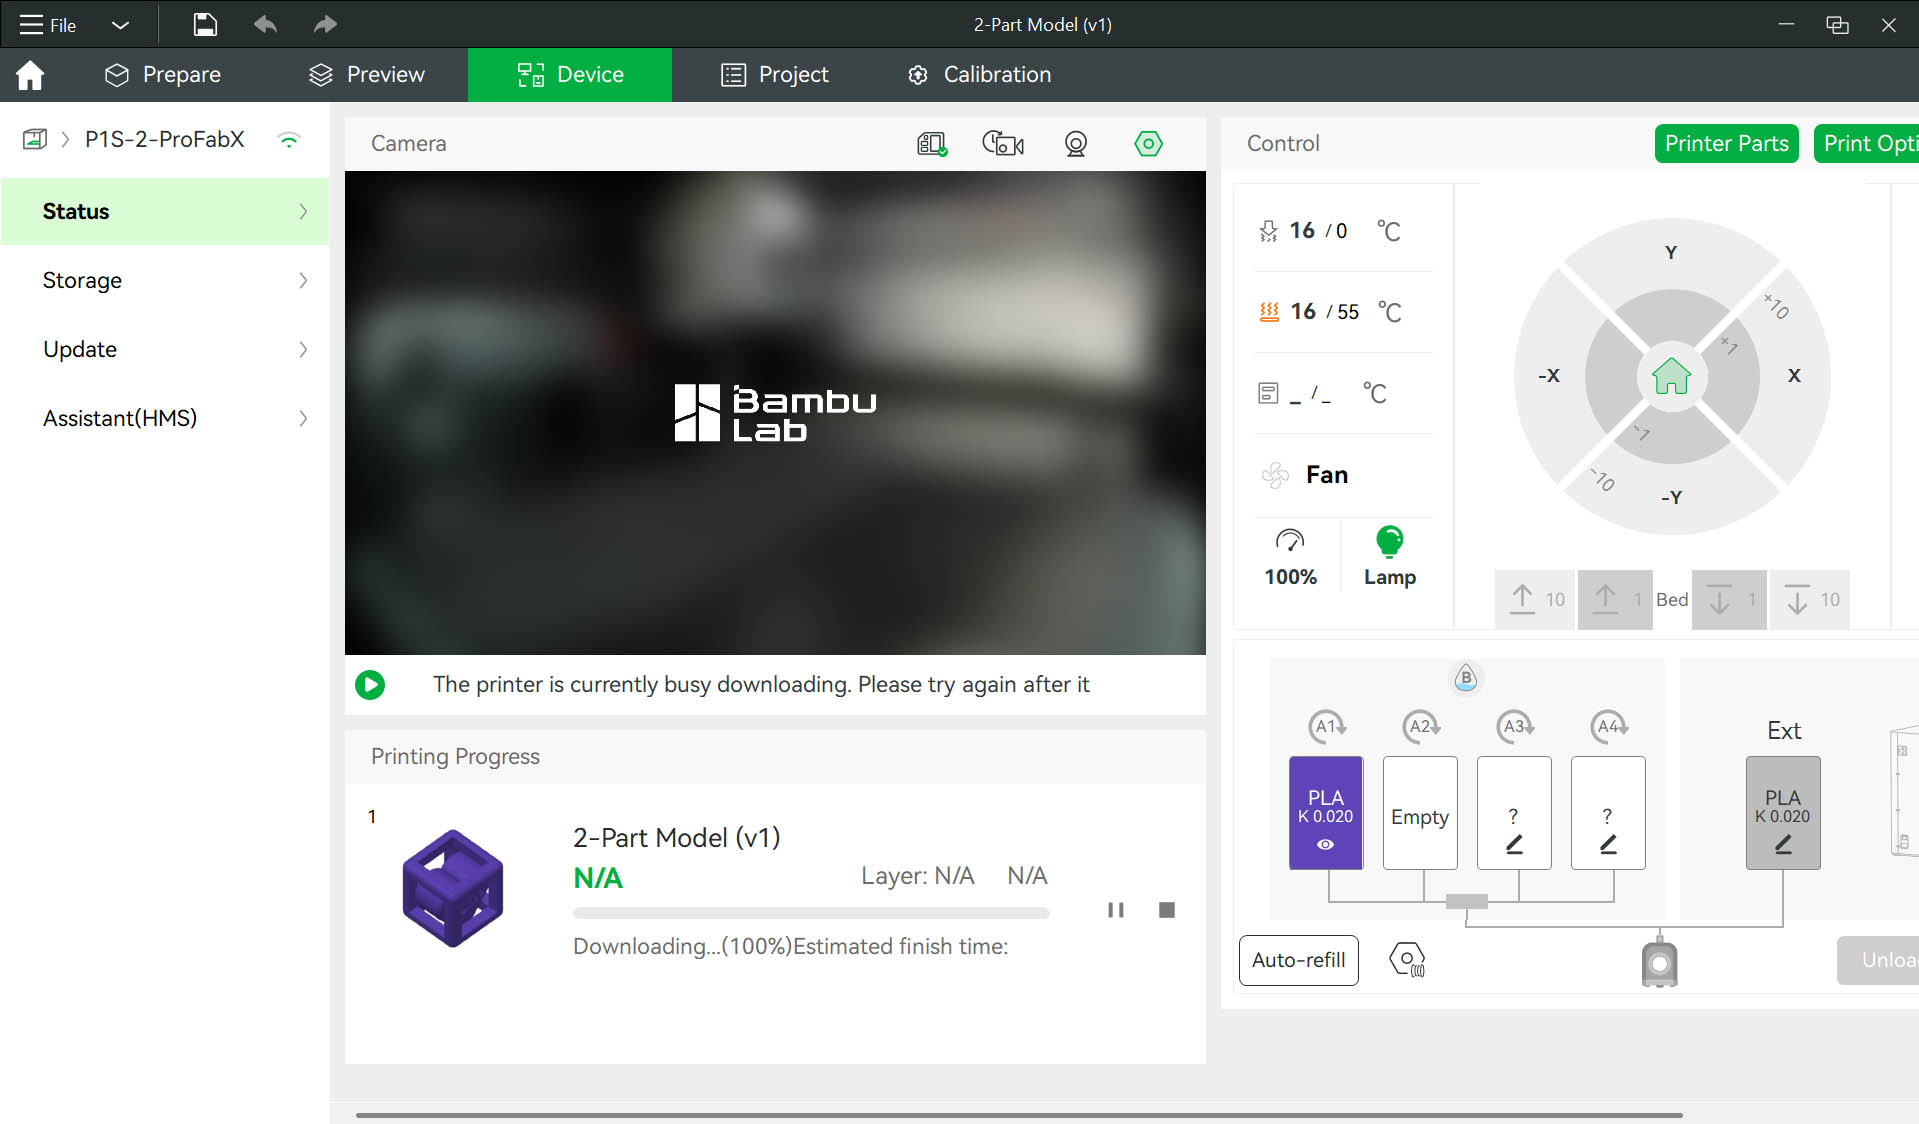
Step 14: 3D printer warm-up, waiting for the heatbed to reach the right temperature 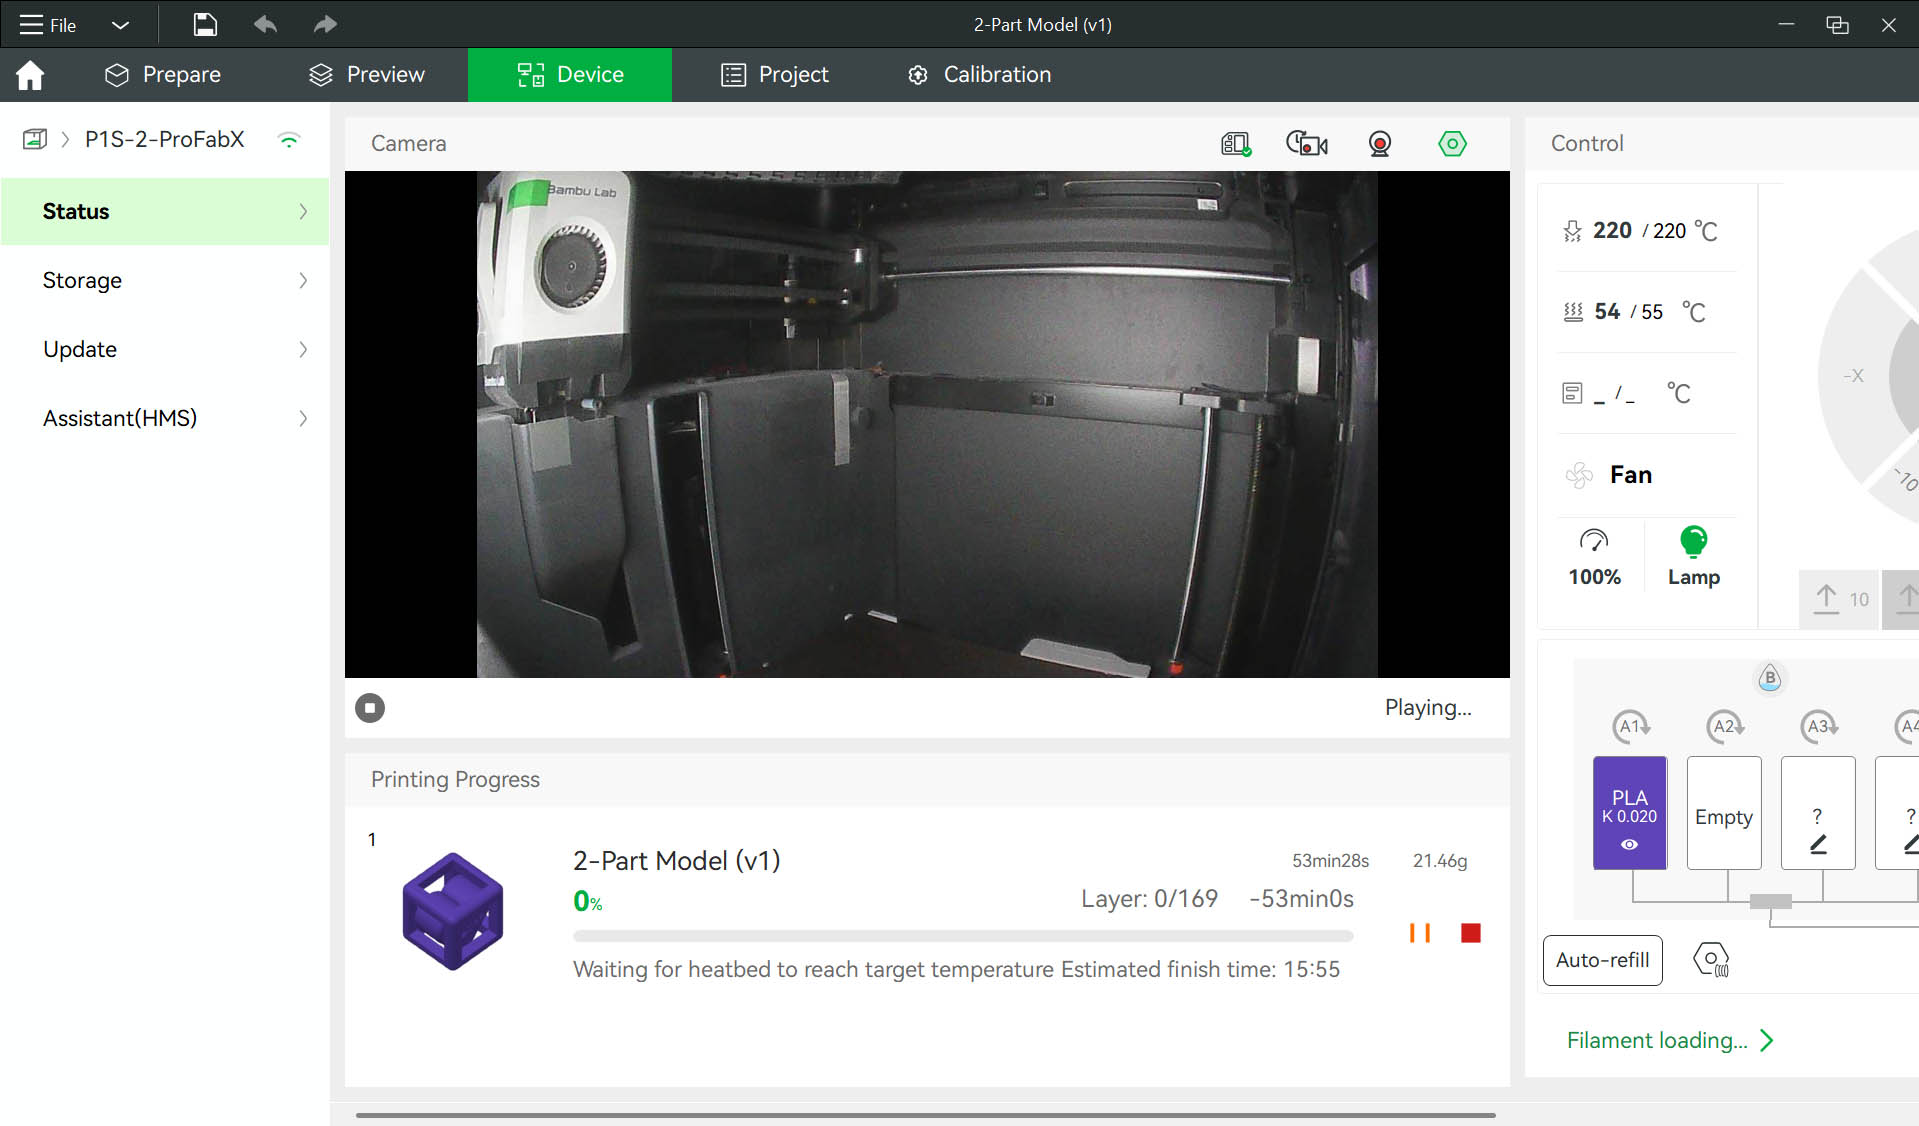
Step 15: 3D Printing in Process 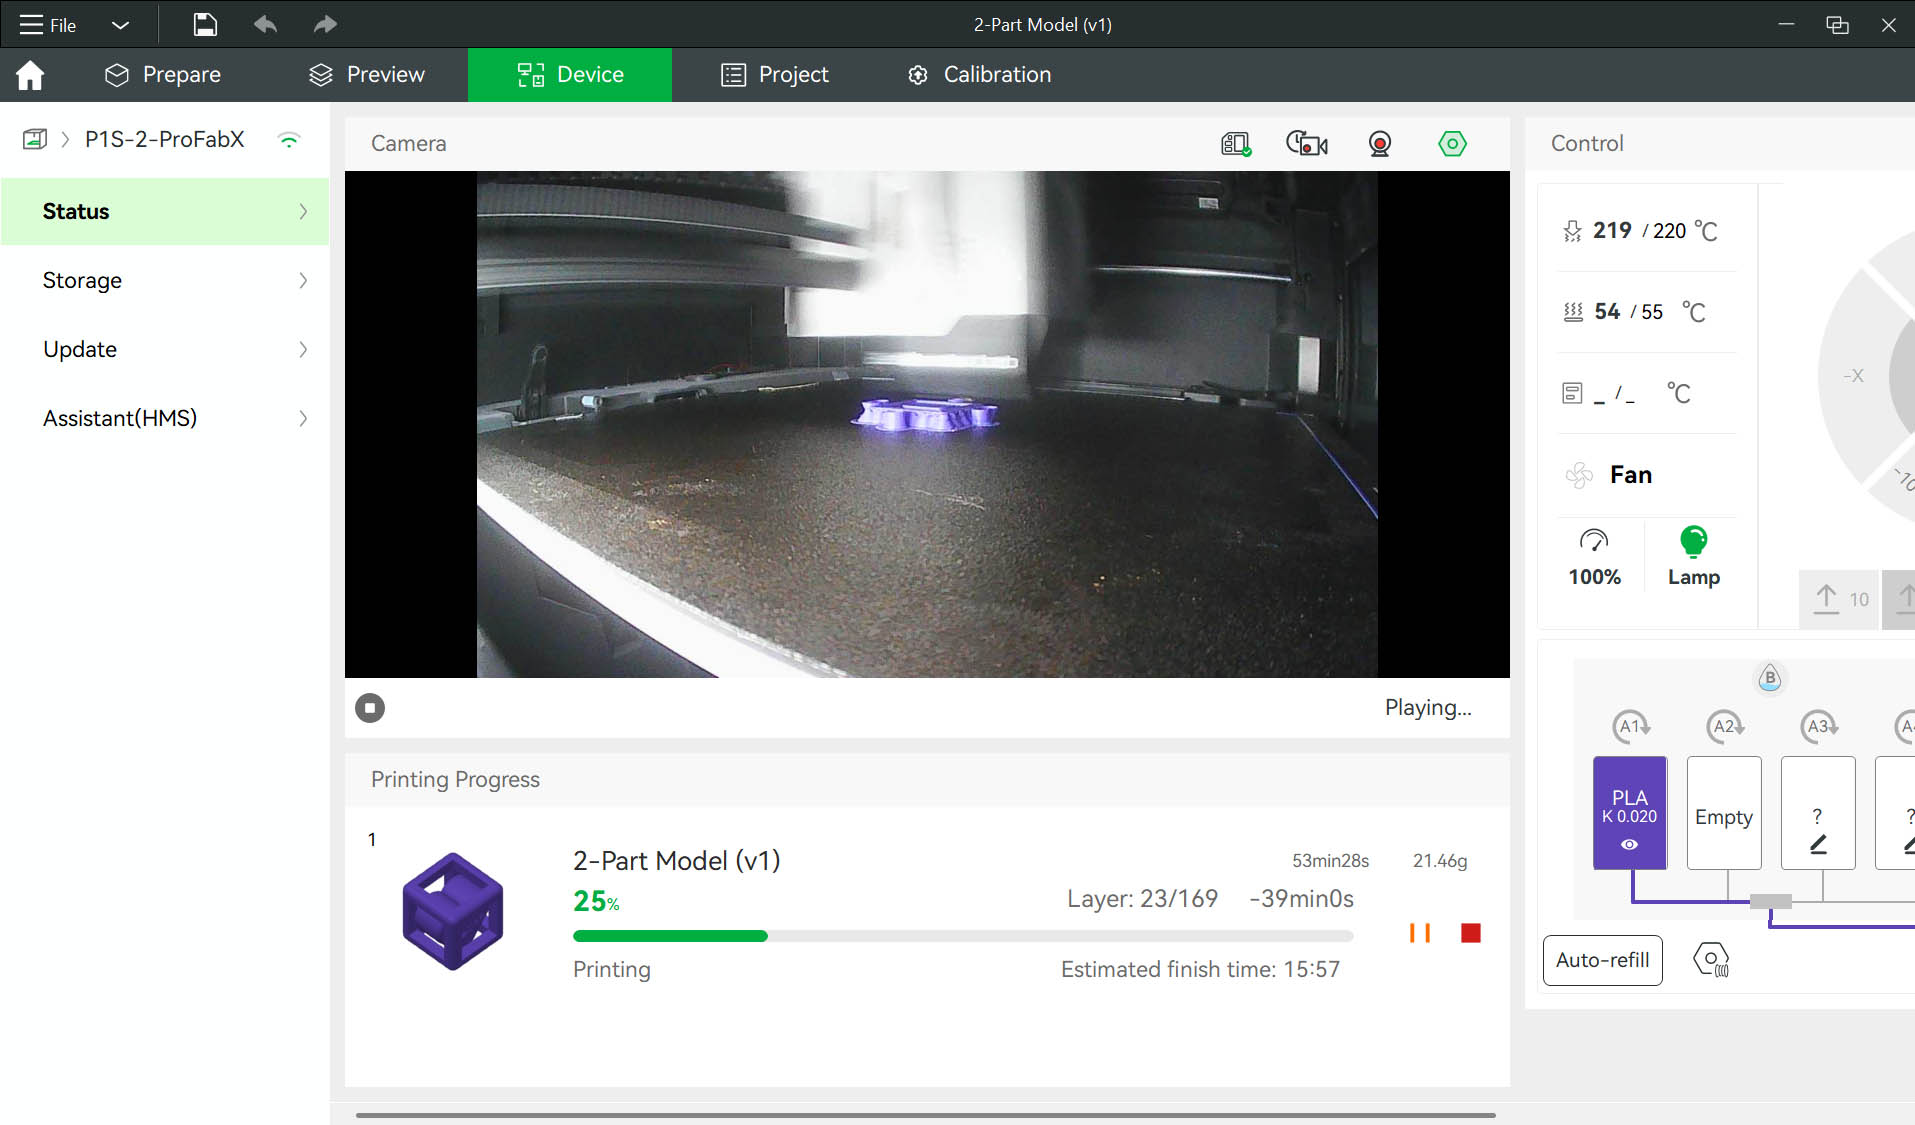
Step 16: Check the 3D PRINT RESULT... The 3D print FAILED! 😦 😦 😦
The reason of failure is the lack of support on the heart body with a very limted contact on the base surface... making it fall on the side during building. 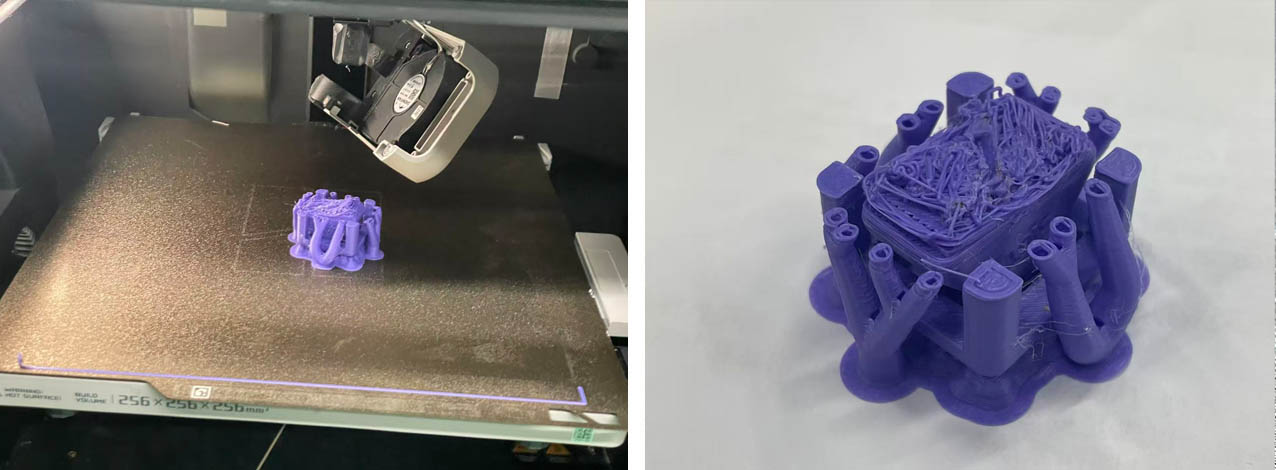
Step 17: We have two options... Option 1 is to keep the model in its current state and add some supports to the heart component. Option 2 is to optimise the model orientation for building by turning it "upside-down" by 180 degrees around the X axe (no need to add supports in that case) 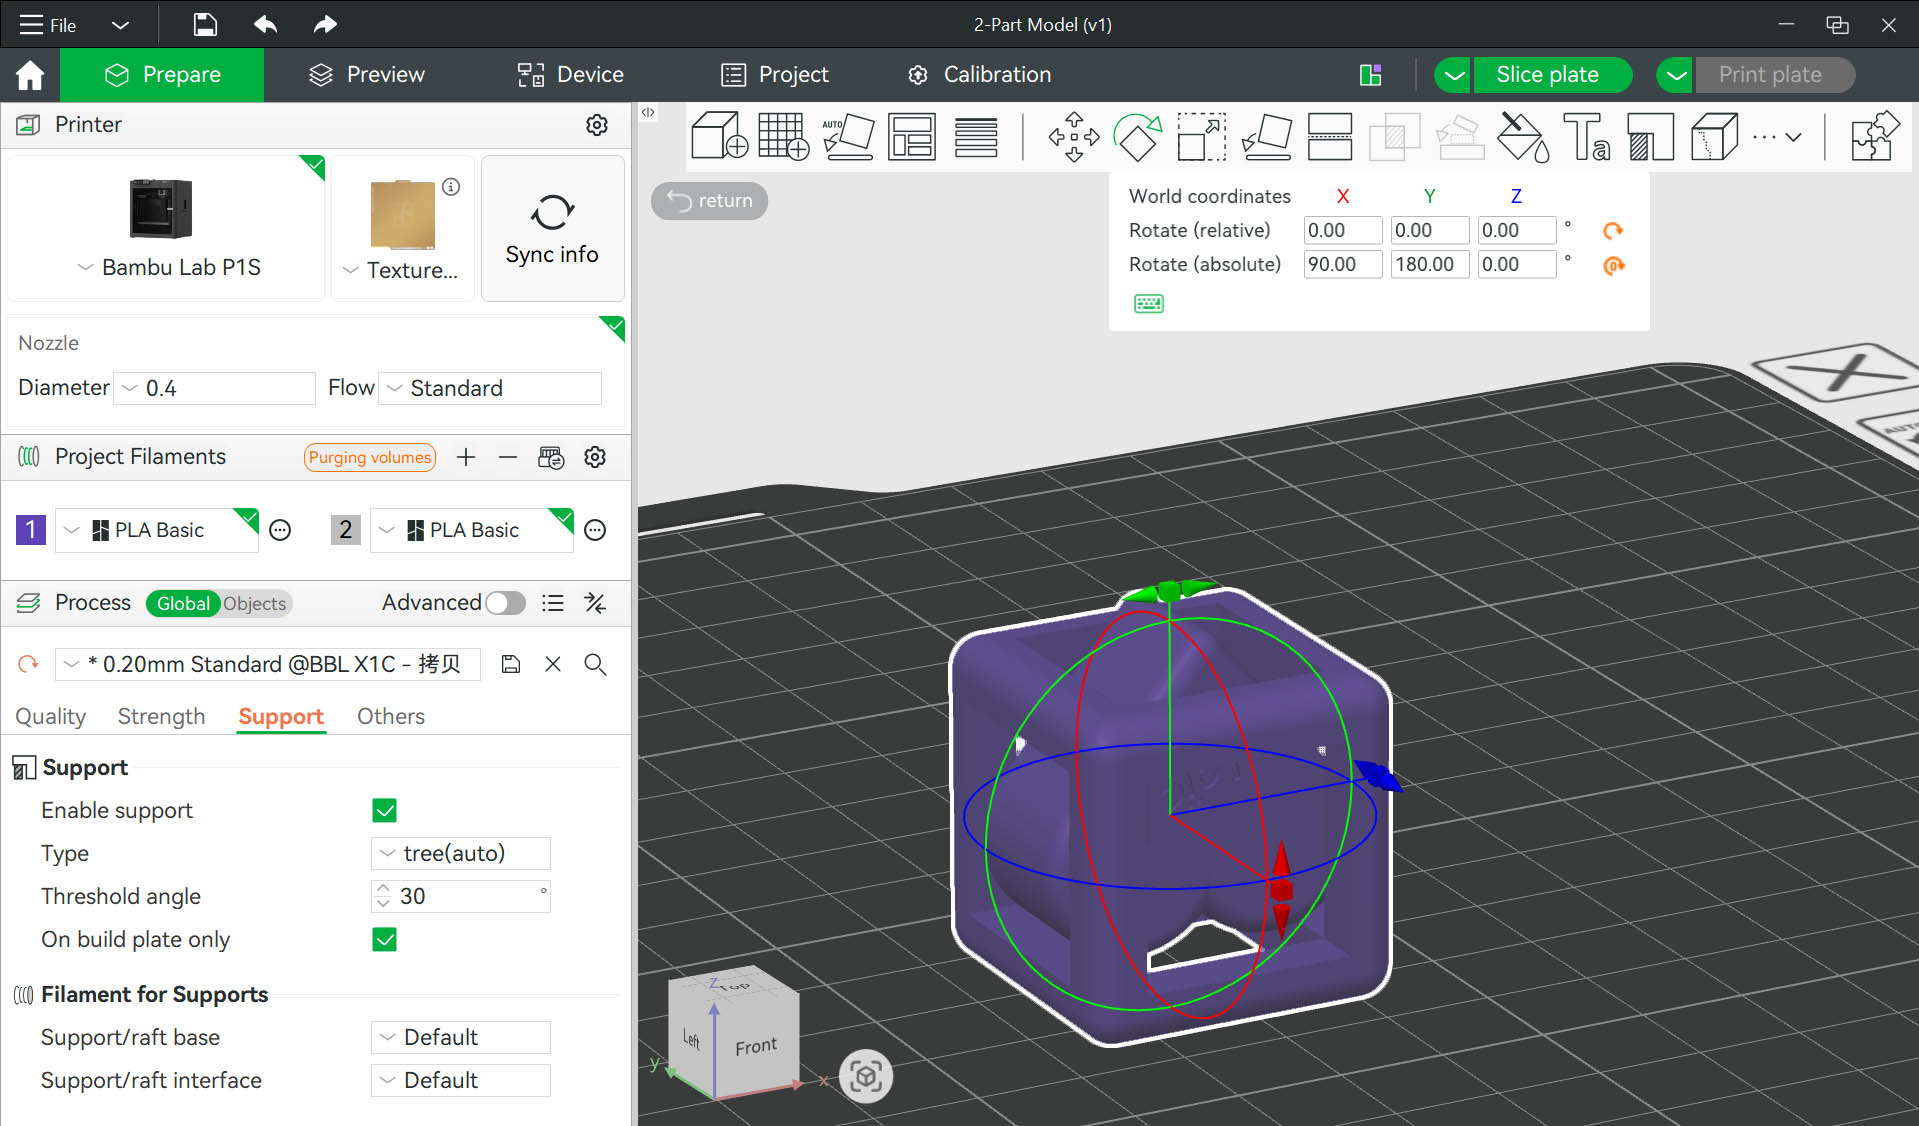
Step 18: Slicing results (for option 2) 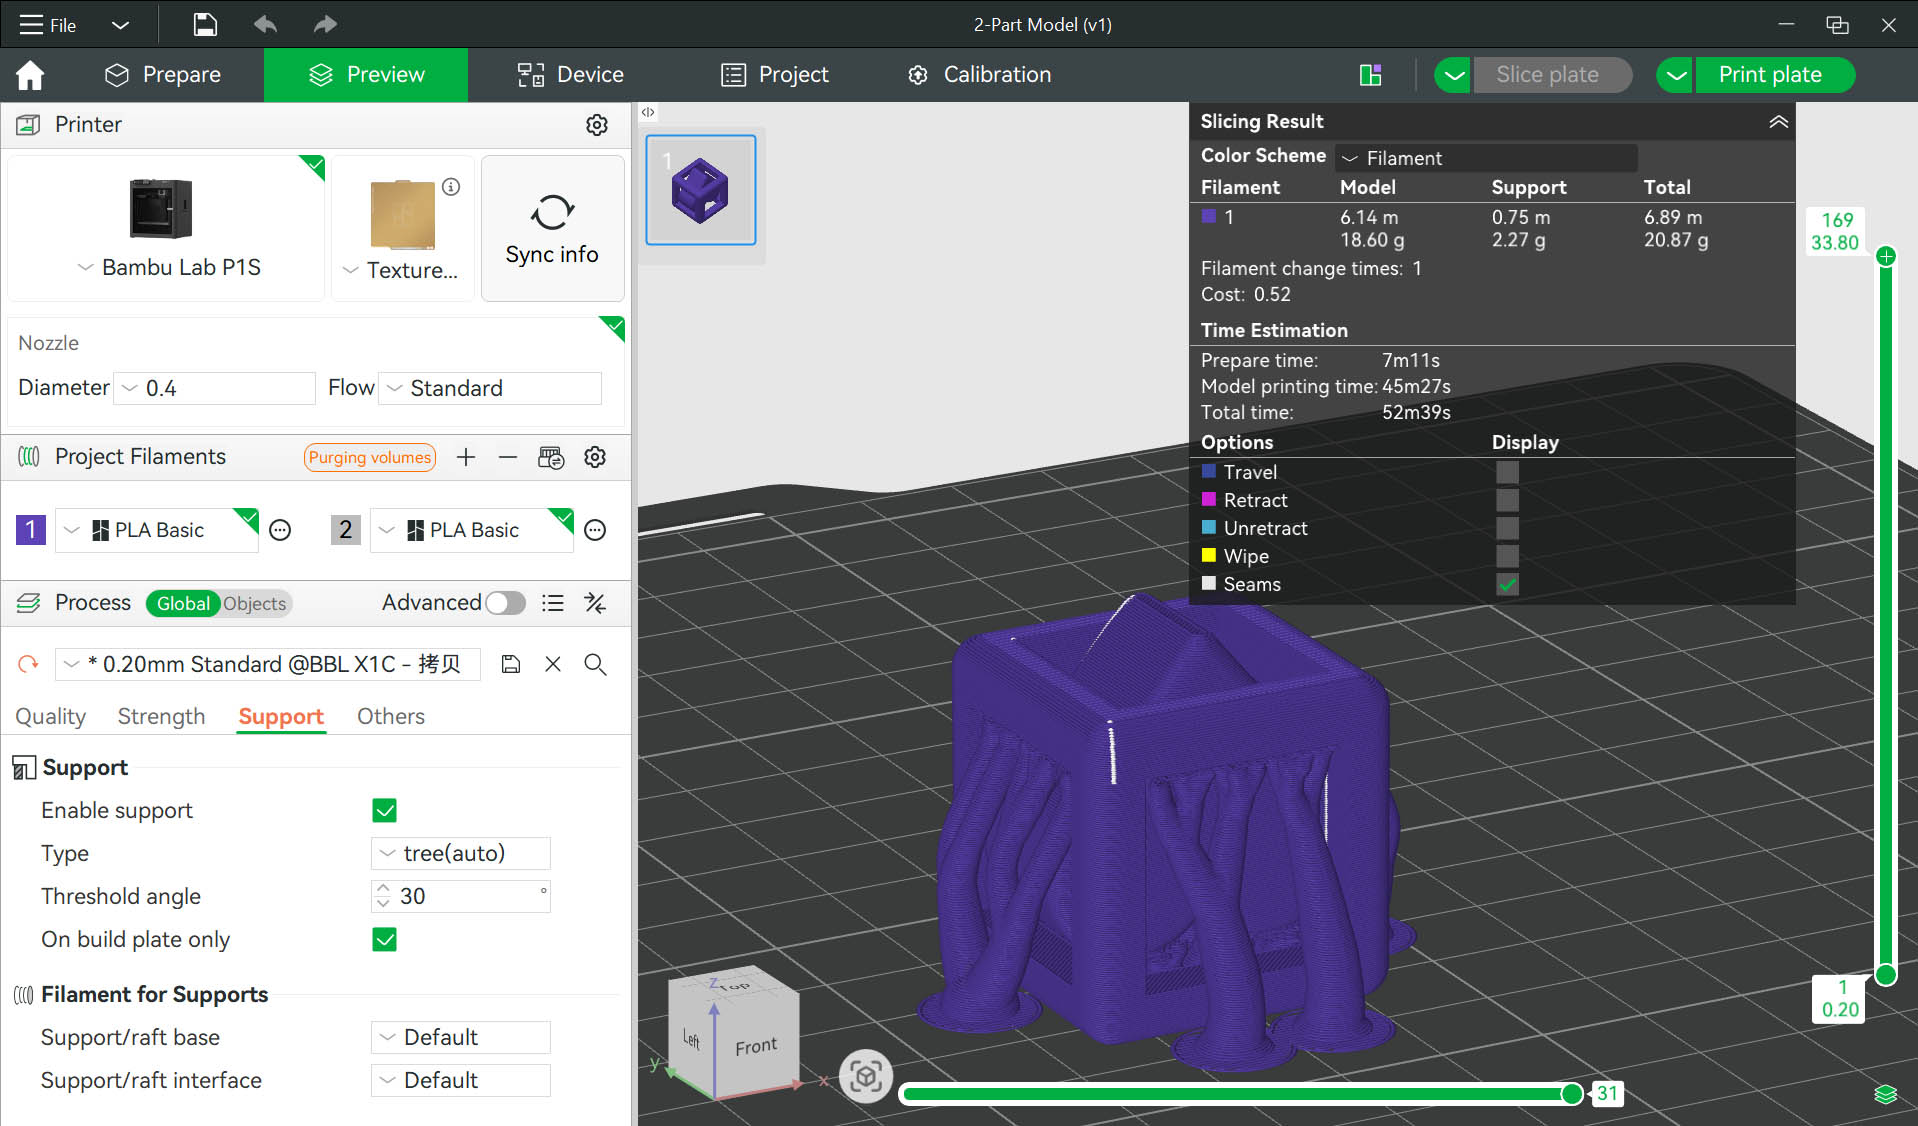
Step 19: Built nearly complete 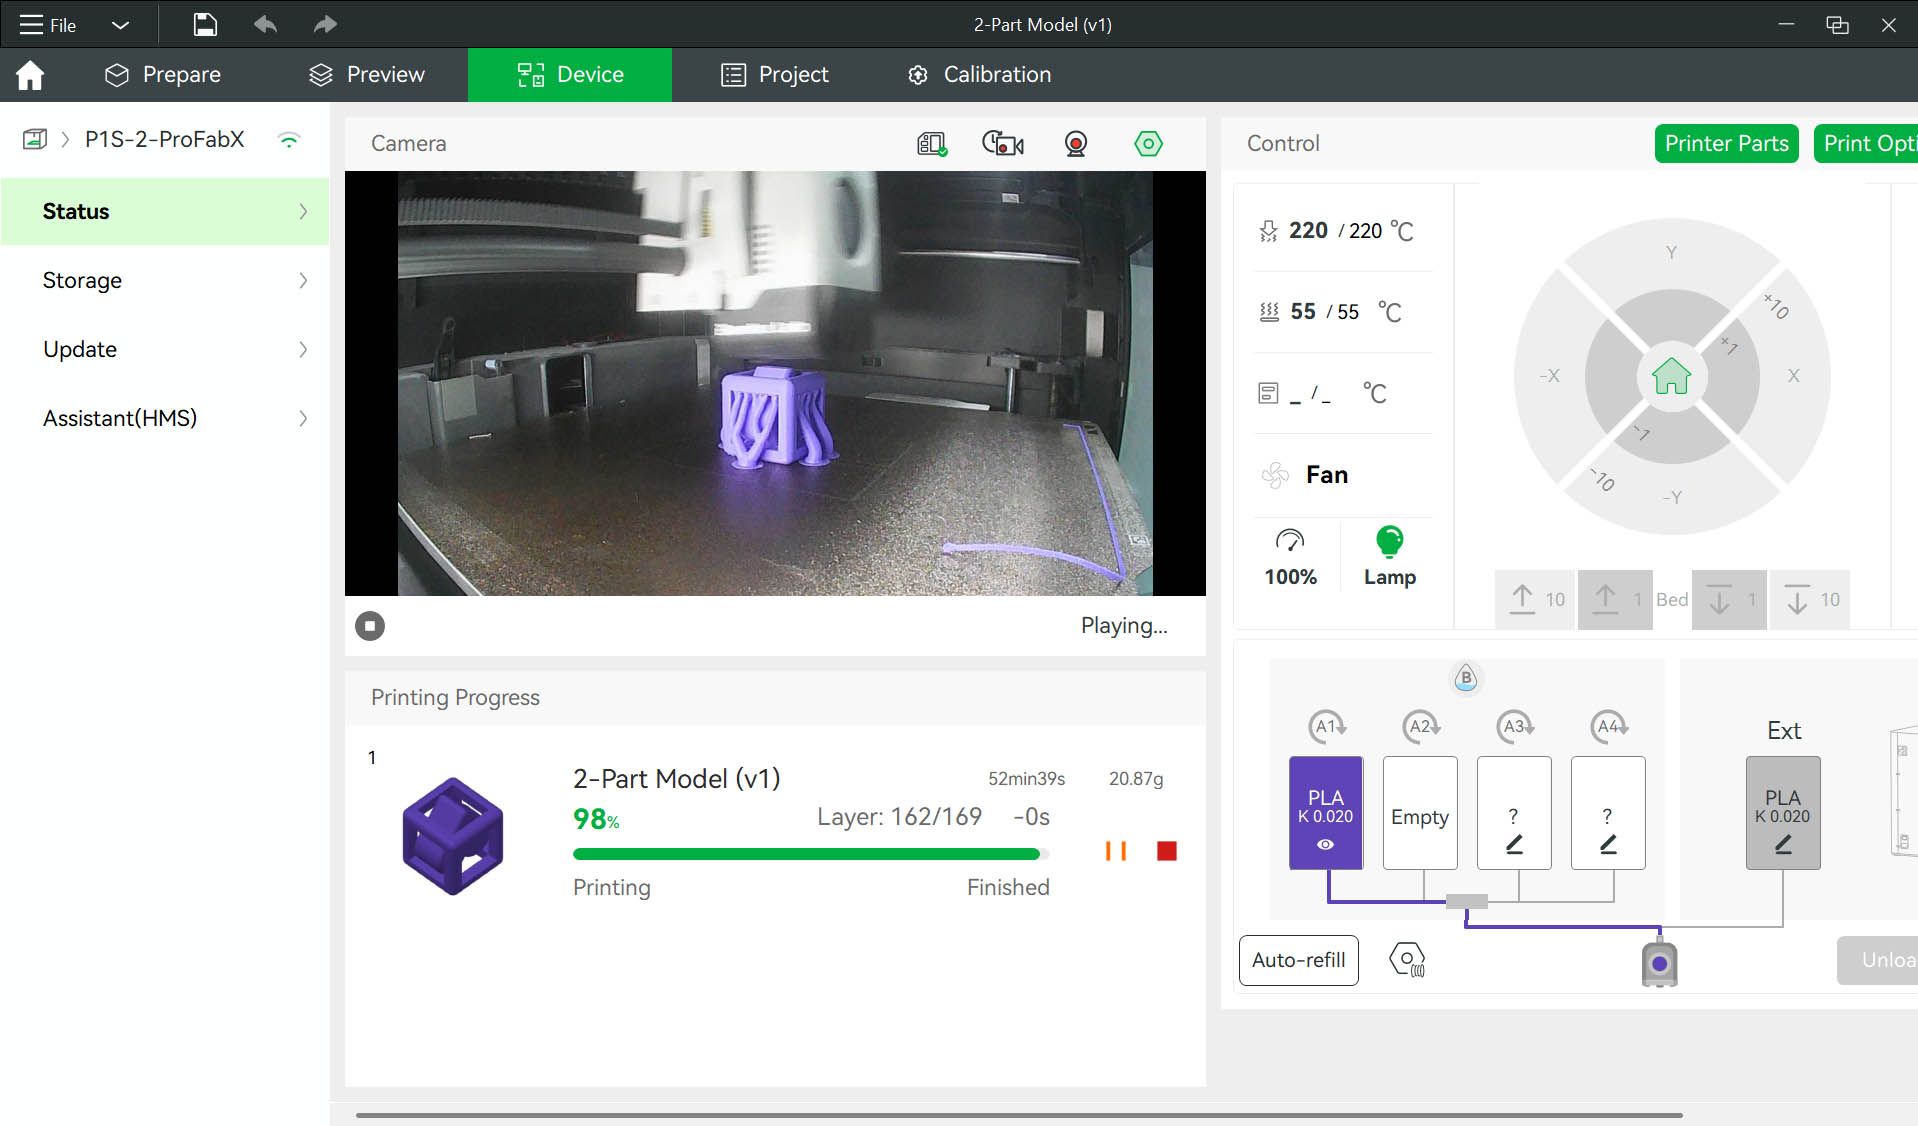
Step 20: Check the 3D PRINT RESULT... The 3D print is SUCCESSFUL!!! 😉 😉 😉 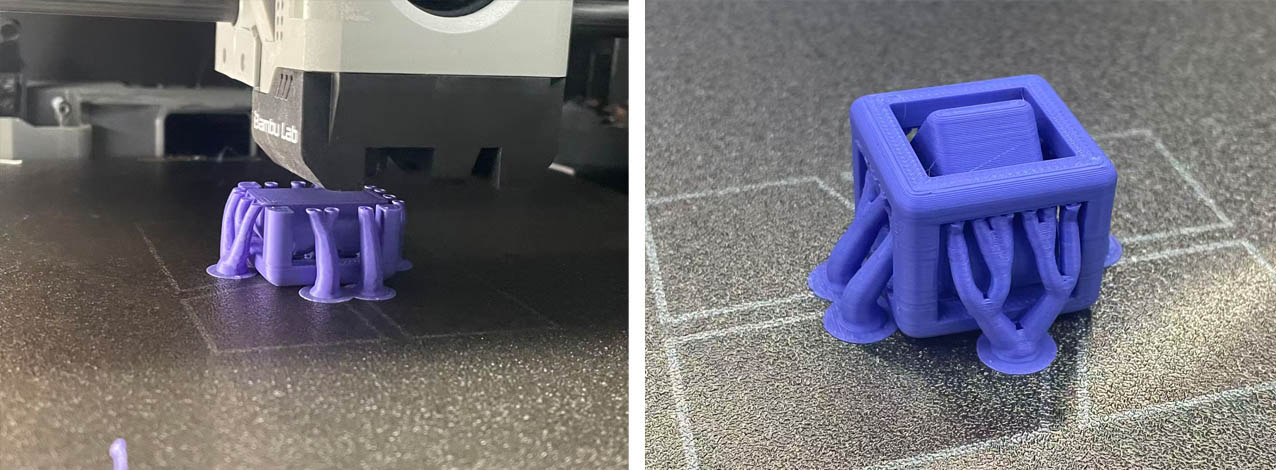
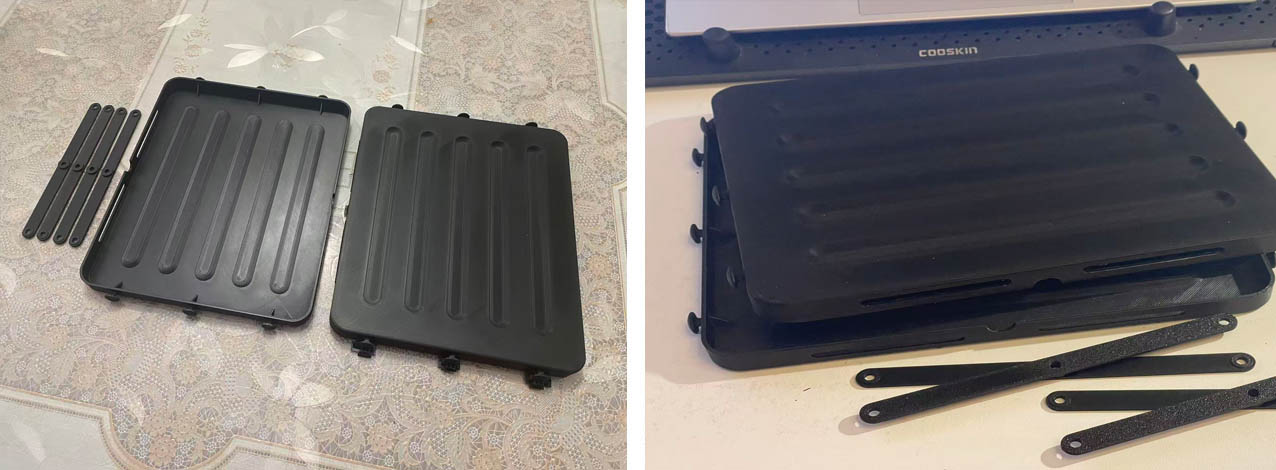
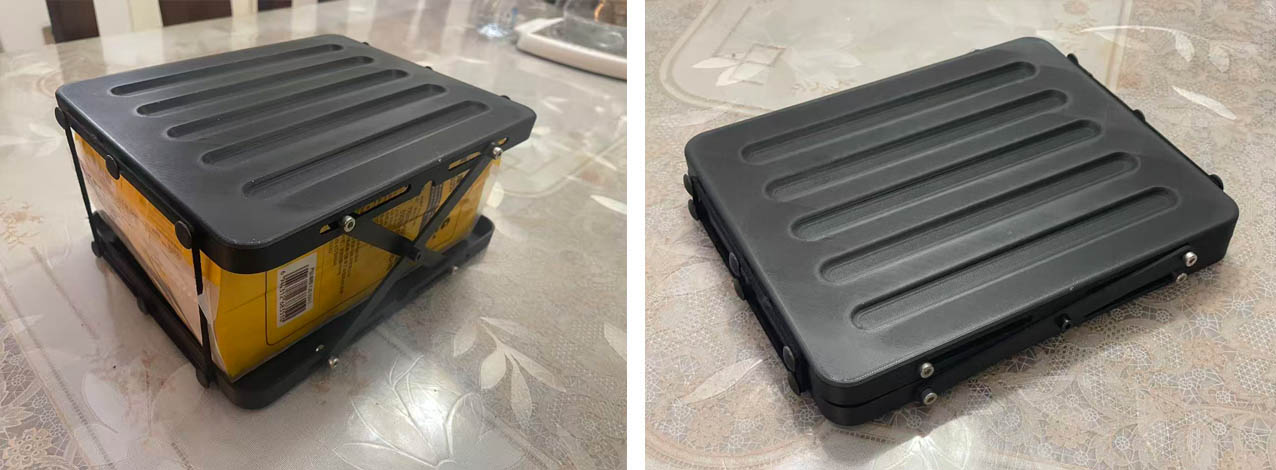
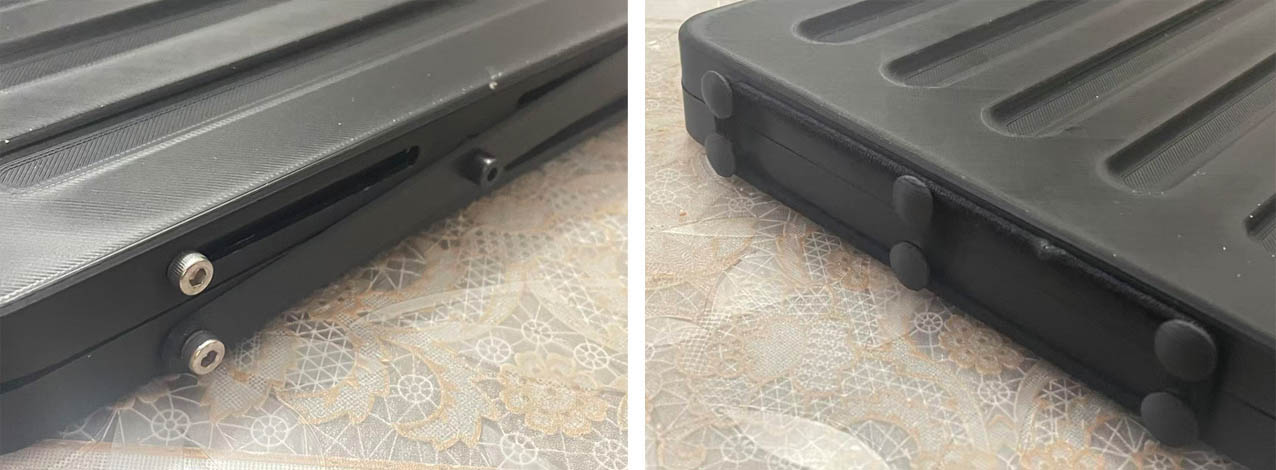
2. 3D Print Design "My Week2 Model - Final Project Test"
3. 3D Scanning with KIRI Engine
For the 3D scanning practice, I decided to use the KIRI Engine APP, a mobile phone based application. My mobile phone is an IPhone 12Pro fitted with a LiDAR Scan.
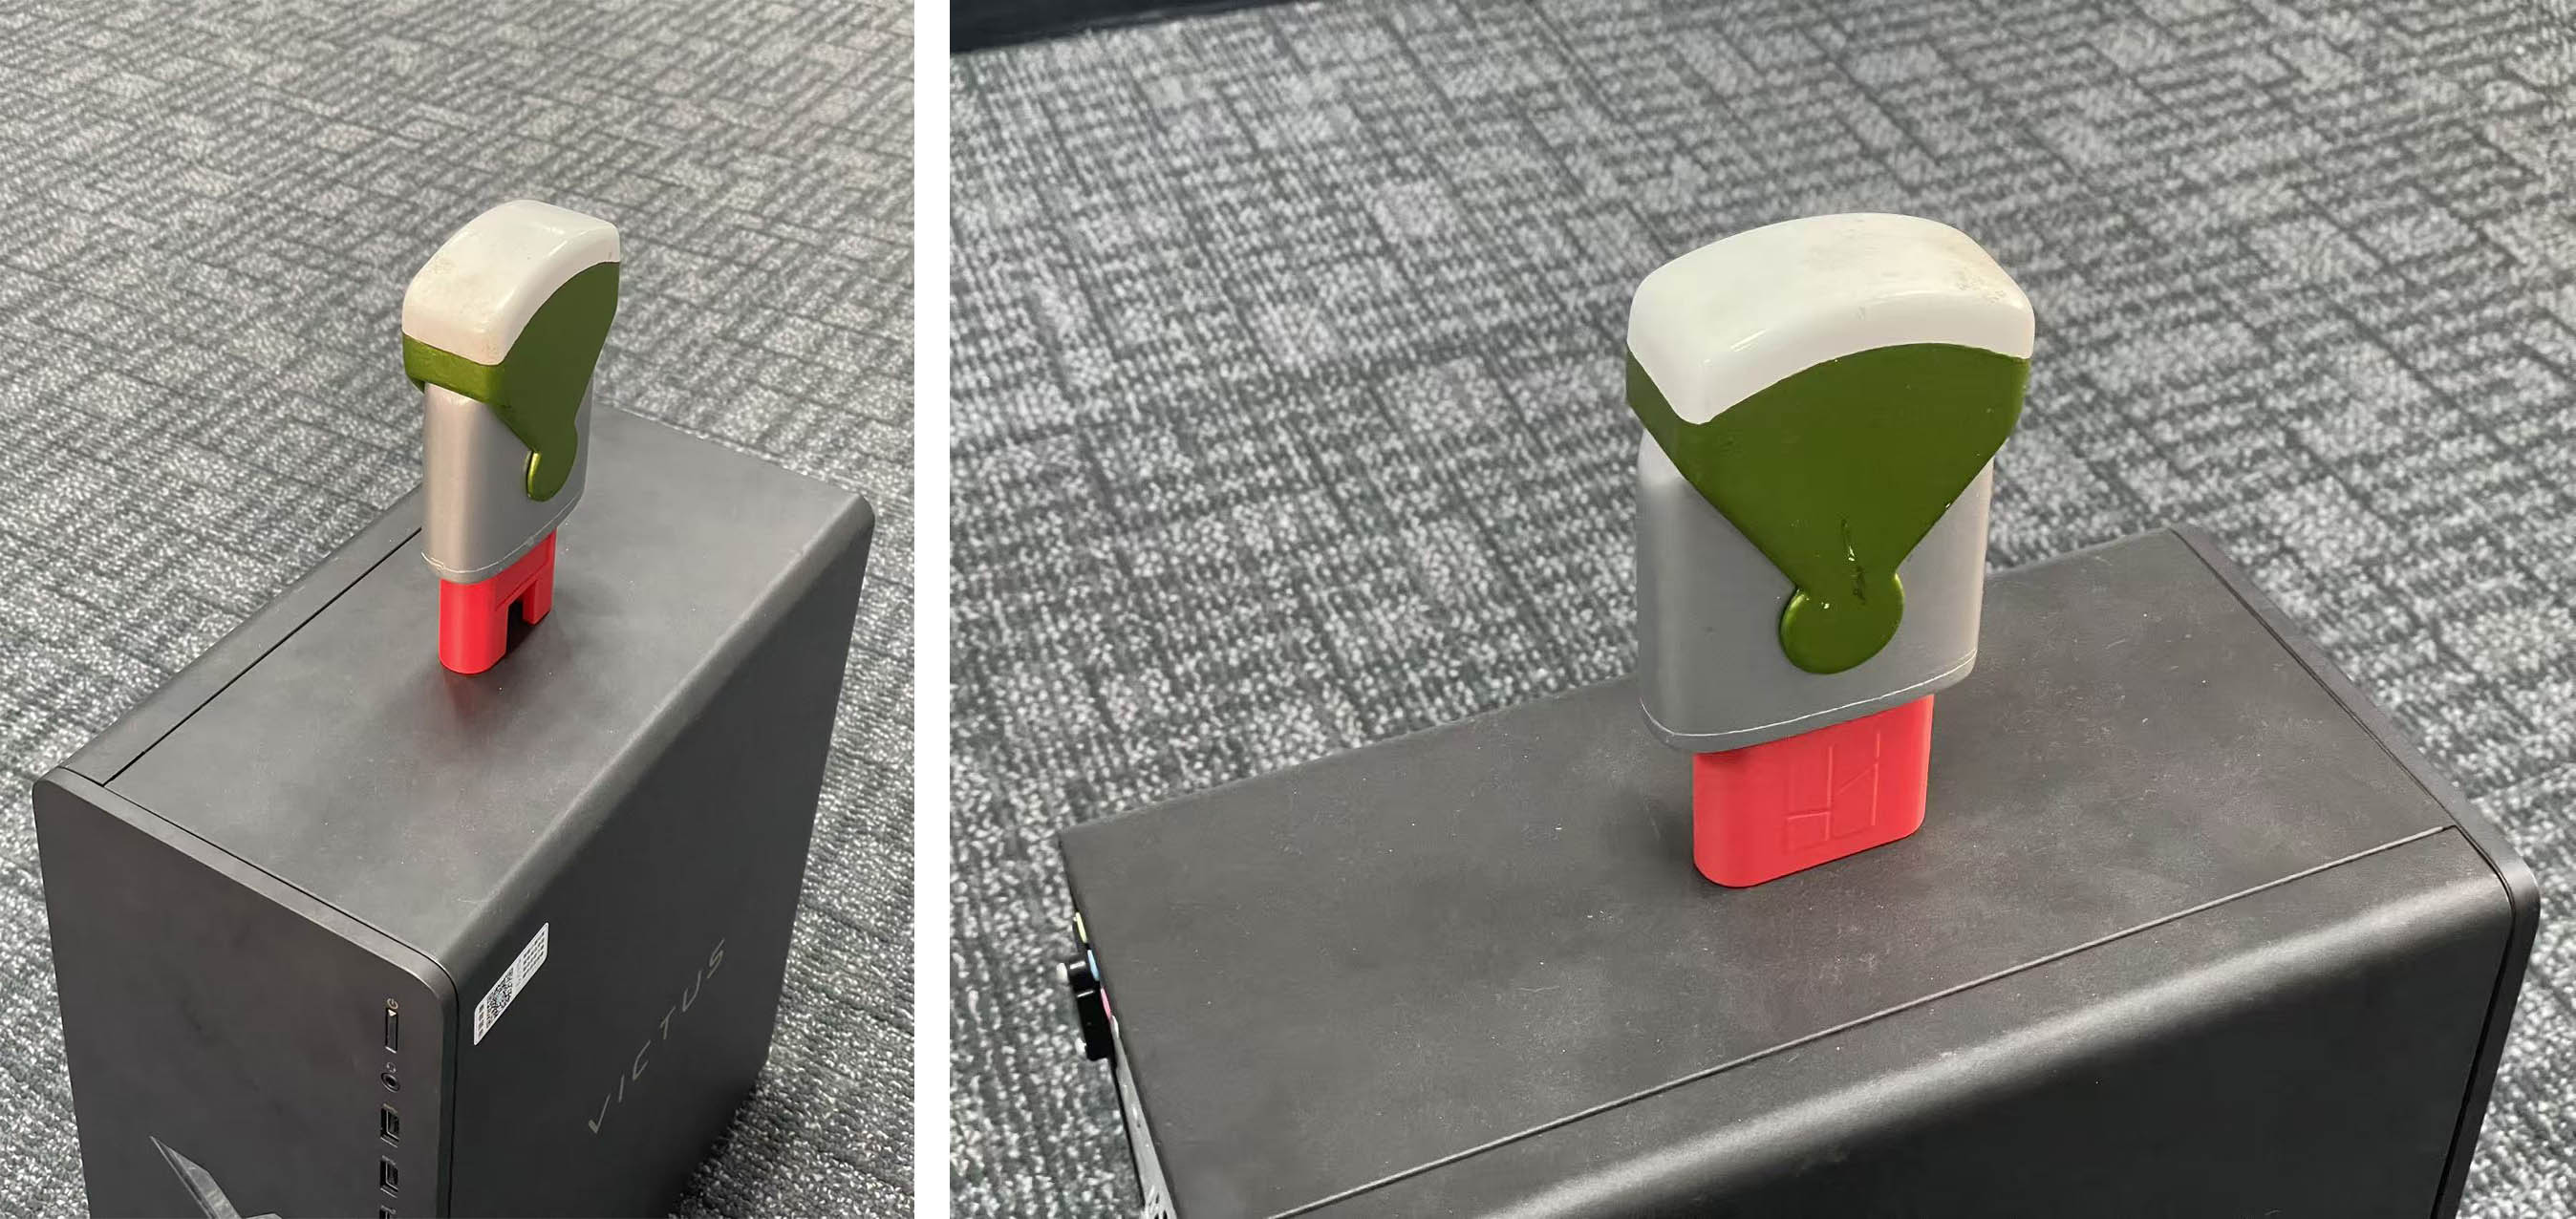
The object of study is a mockup of a torch I designed and made 28 years ago (in the old fashion way without 3D printing, using manual milling machine... my first real design project at KEDGE Design School - named Institut Européen de Design (IED) at the time - Toulon / France)
Scene Set-Up
KIRI Engine 3D Scanning Process
.BT-XUvbv.jpg)
Post-Processing with SolidWorks
Step 1: Import the OBJ file in SolidWorks as "Solid Body"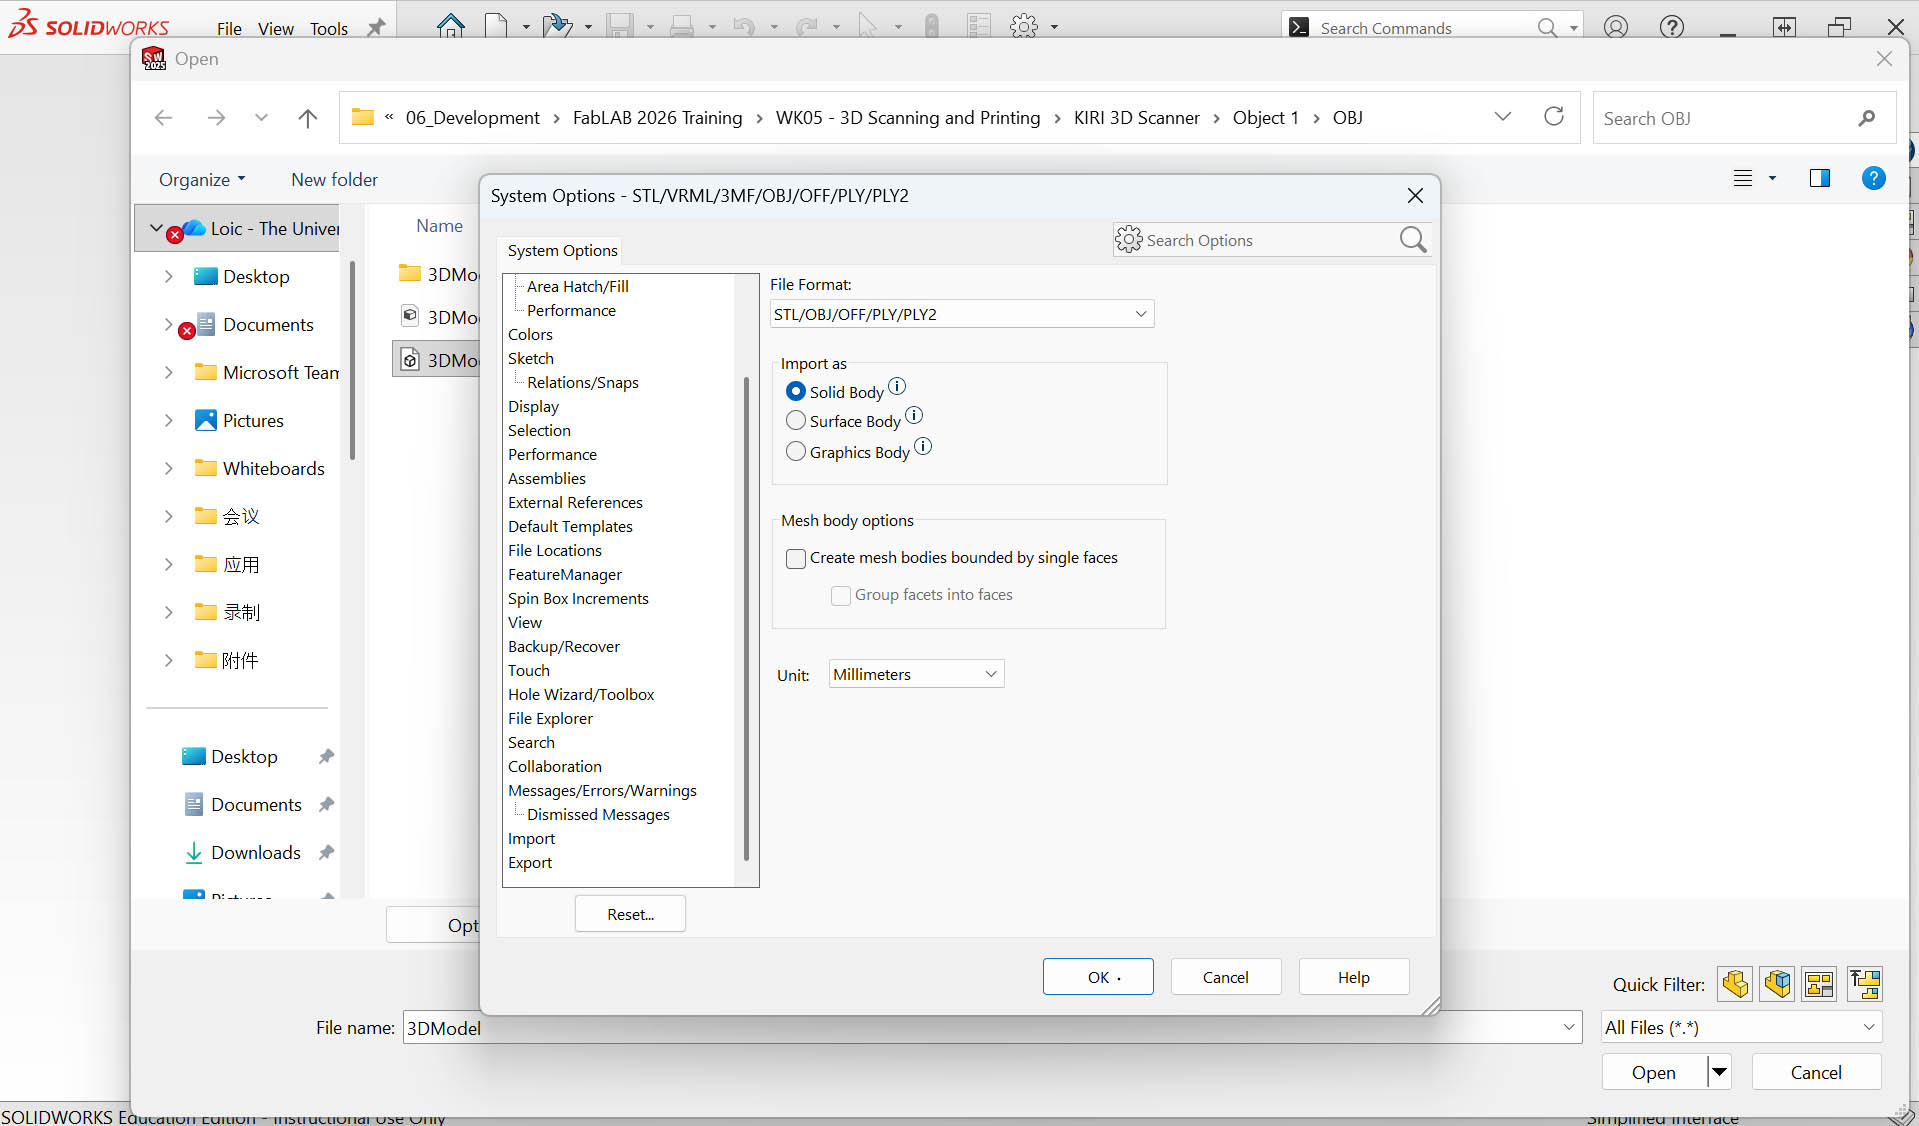
Here is the result: 
Step 2: Create a rectangular sketch to "Cut-Extrude" the base under the model 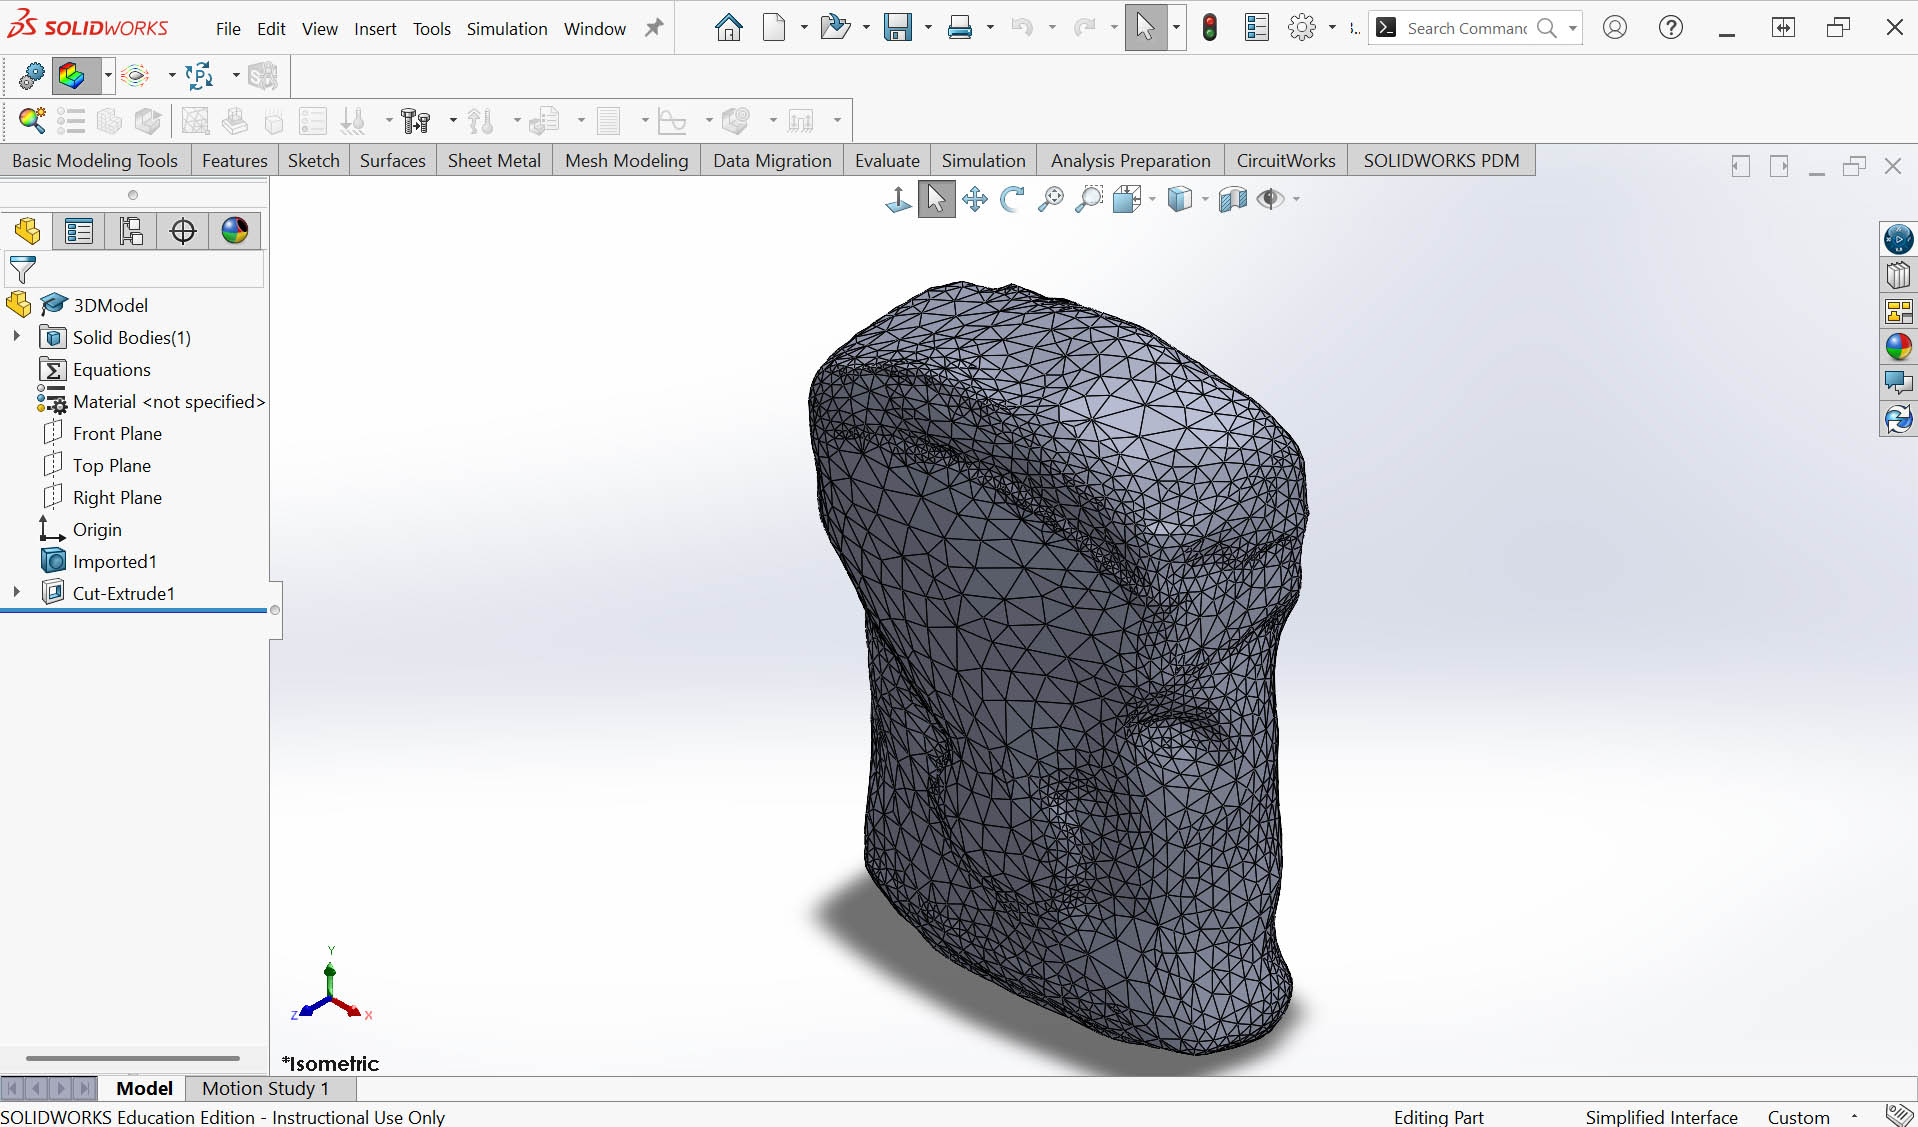
Step 3: Save as STL for 3D printing 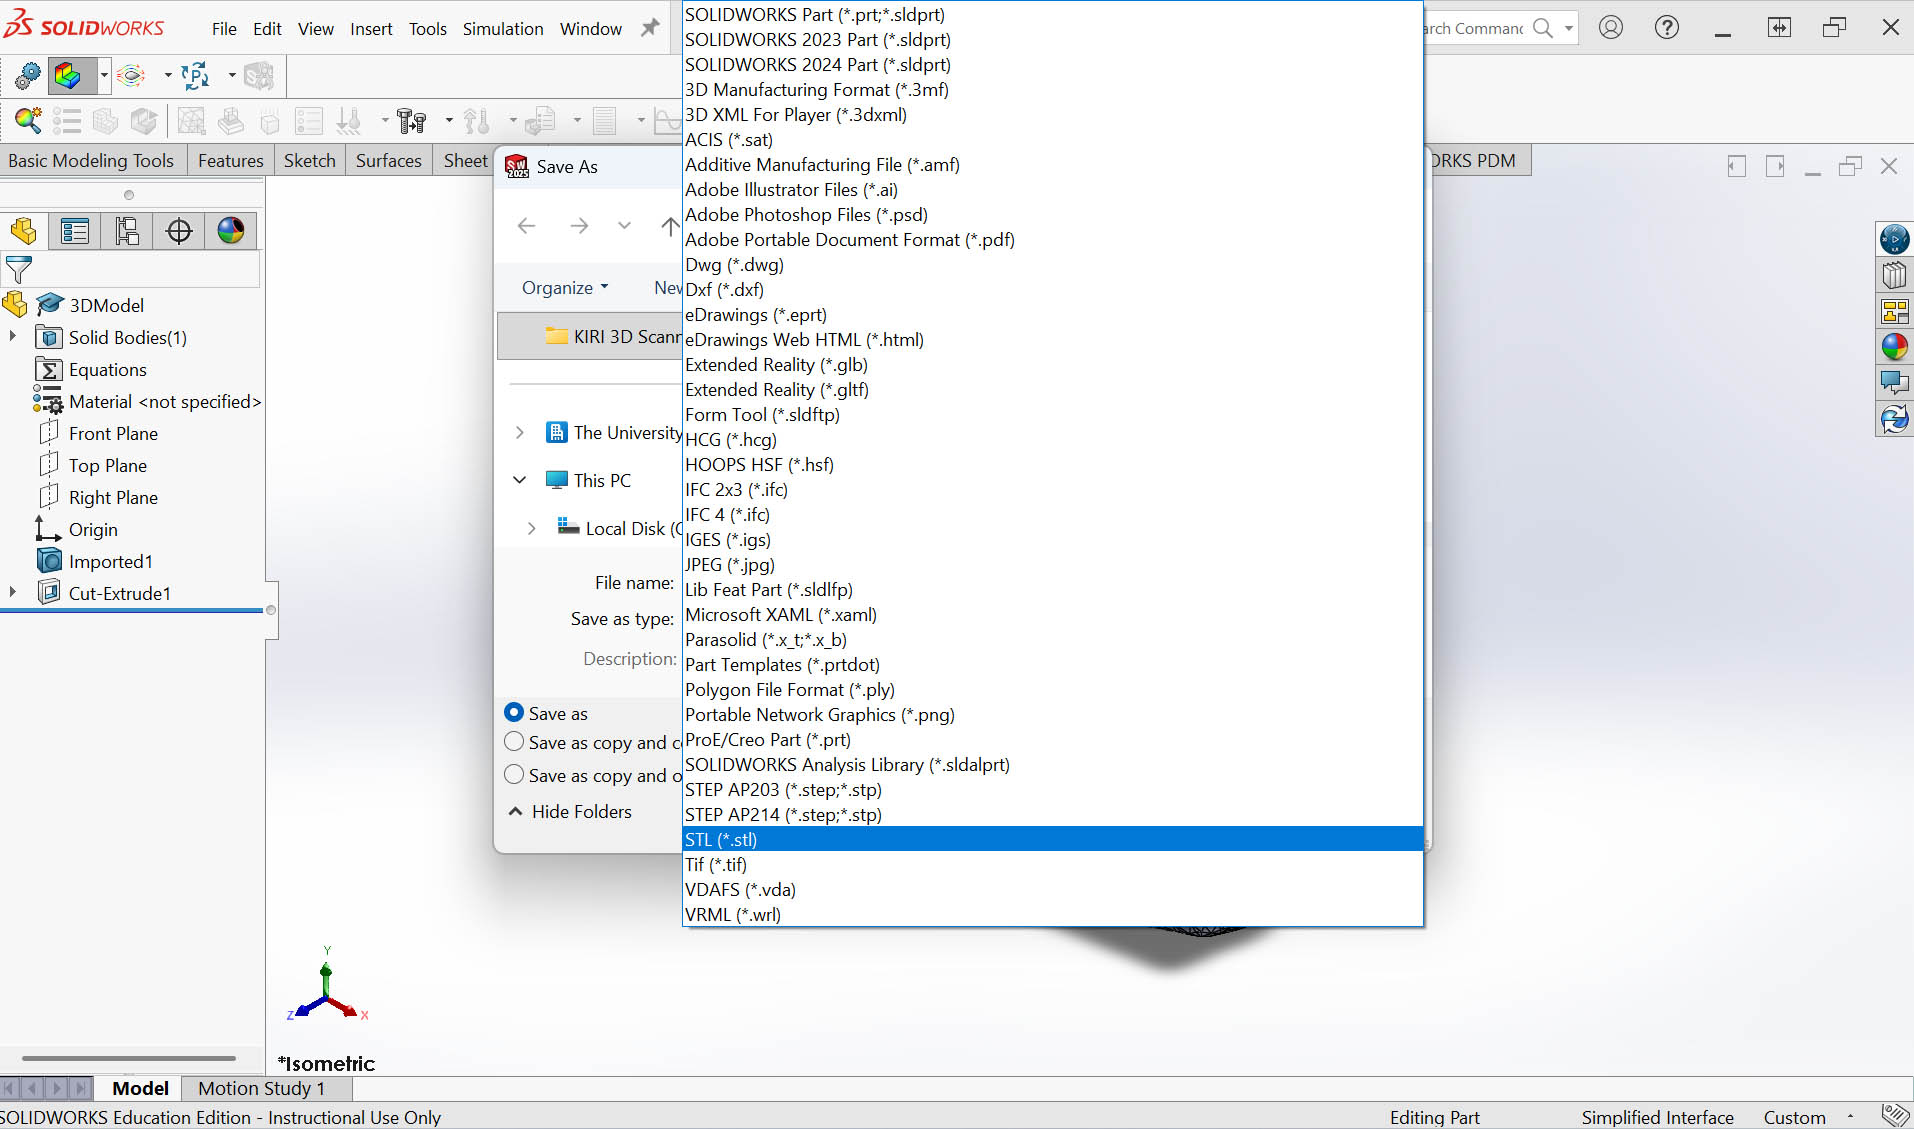
3D Printing
Step 1: Import the STL file into Bamboo Studio and set the parameters. This includes coloring some areas in white and green (similar to my existing my mockup) corresponding to two different color filaments. 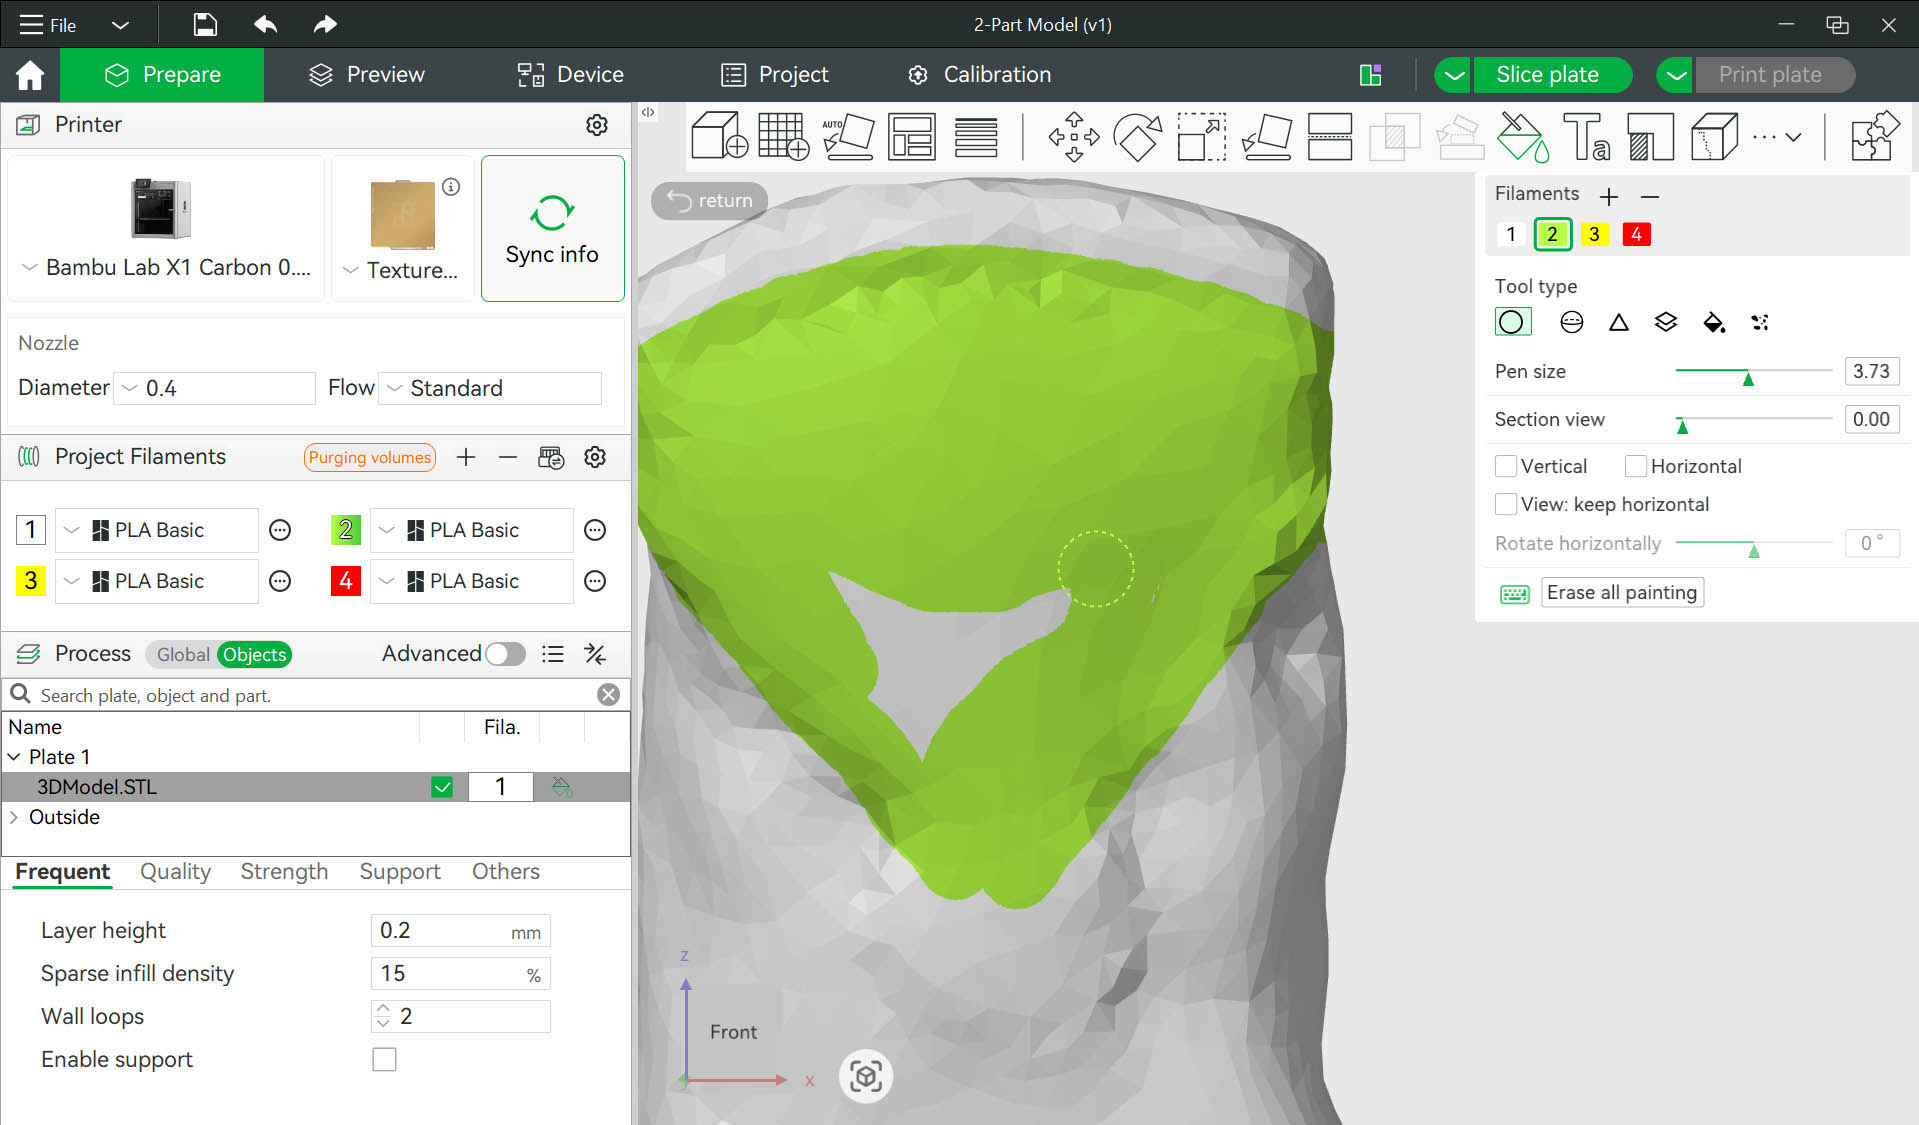
Step 2: Send the file to print... and then wait 9 hours to see the final result. 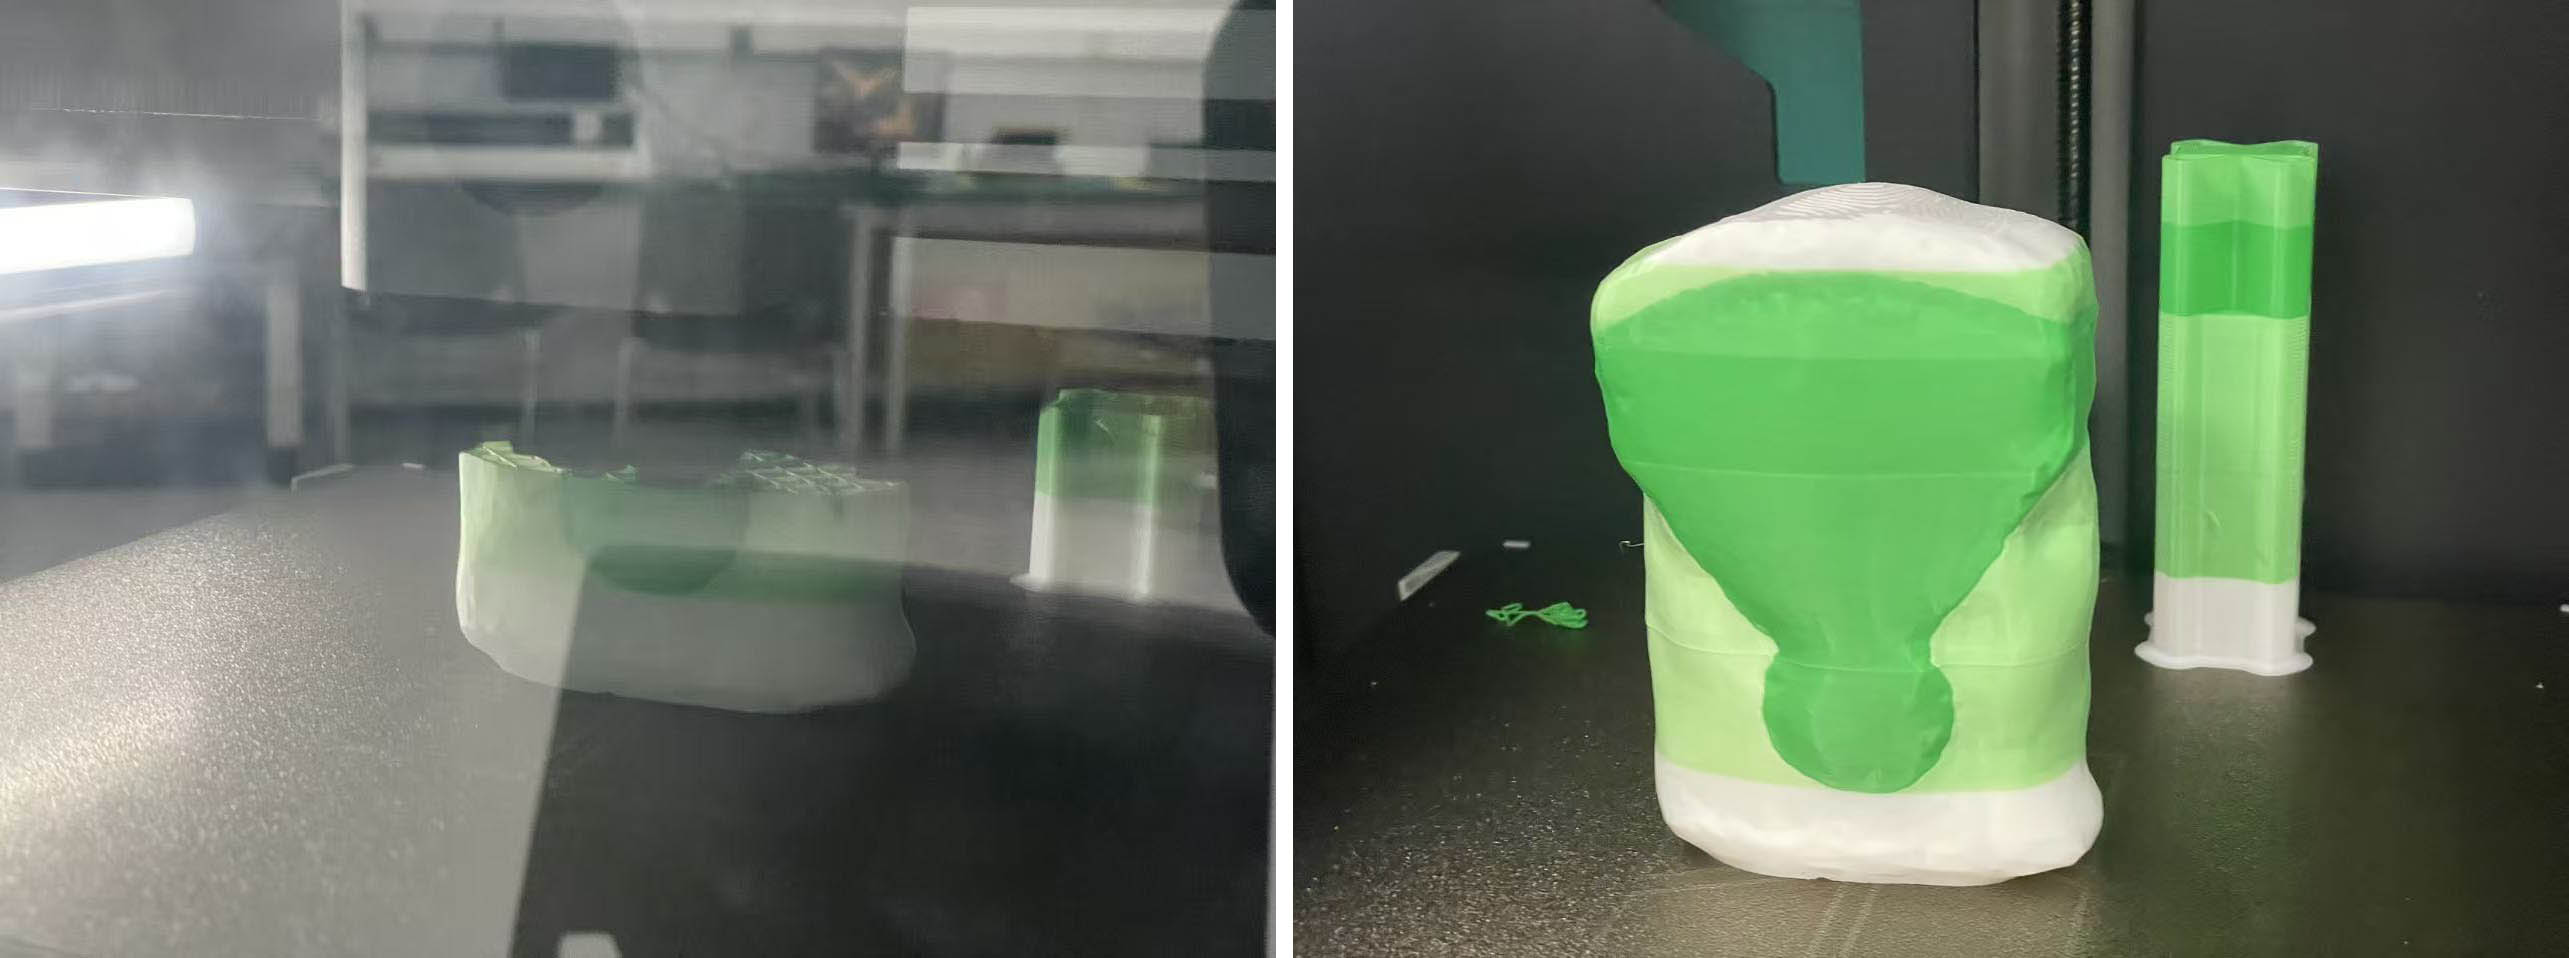
Final Result vs Original
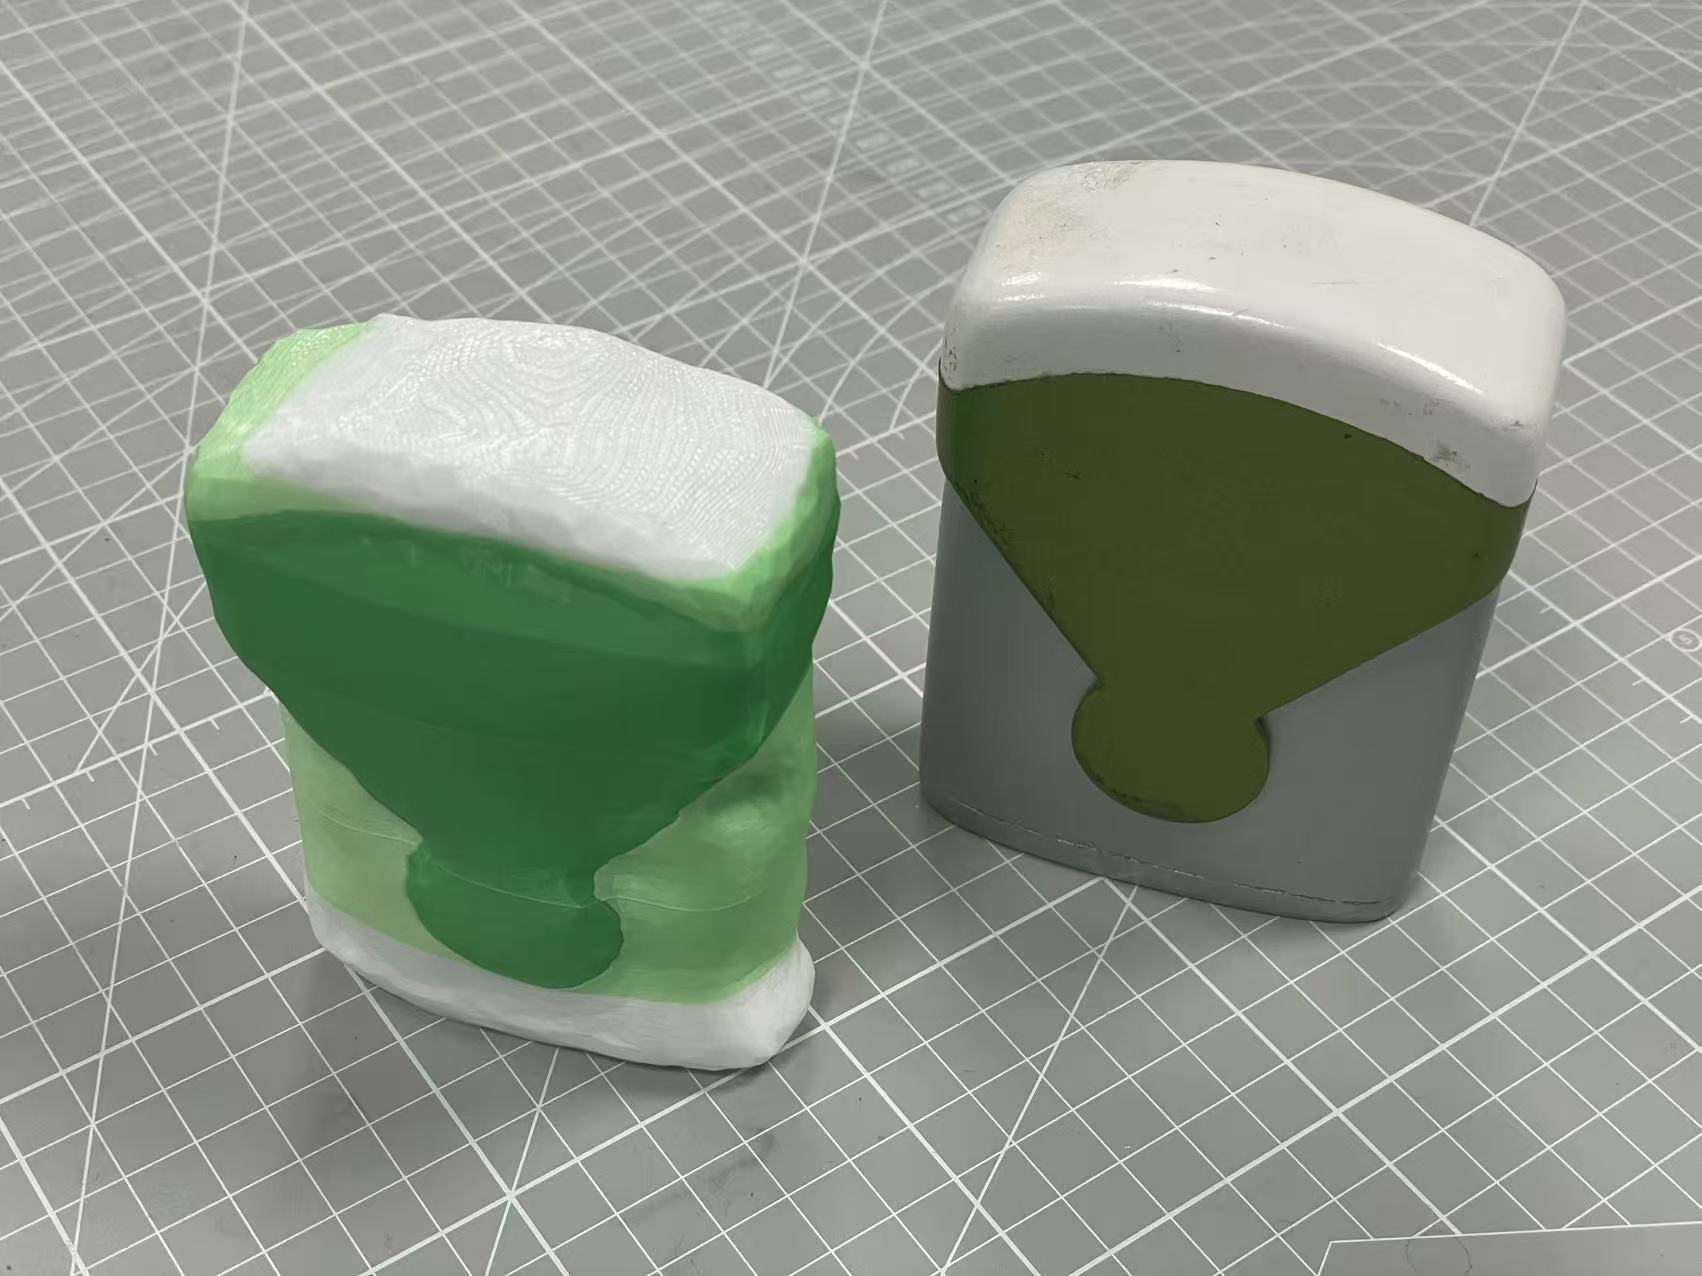

The final result doesn't look great... not like the exact replicate of the original one. But it still looks interesting... like a "hand-shaped" model made with clay 😃
The blend of white and green materials is also something I will have to explore further in terms of settings in Bambu Studio when 3D printing two different colours of the same material (PLA) at the same time.