Prior knowledge
|
I have no knowledge in sewing or embroidery except that you have to use a needle and a thread, so this will be a new experience. |
Hero shot
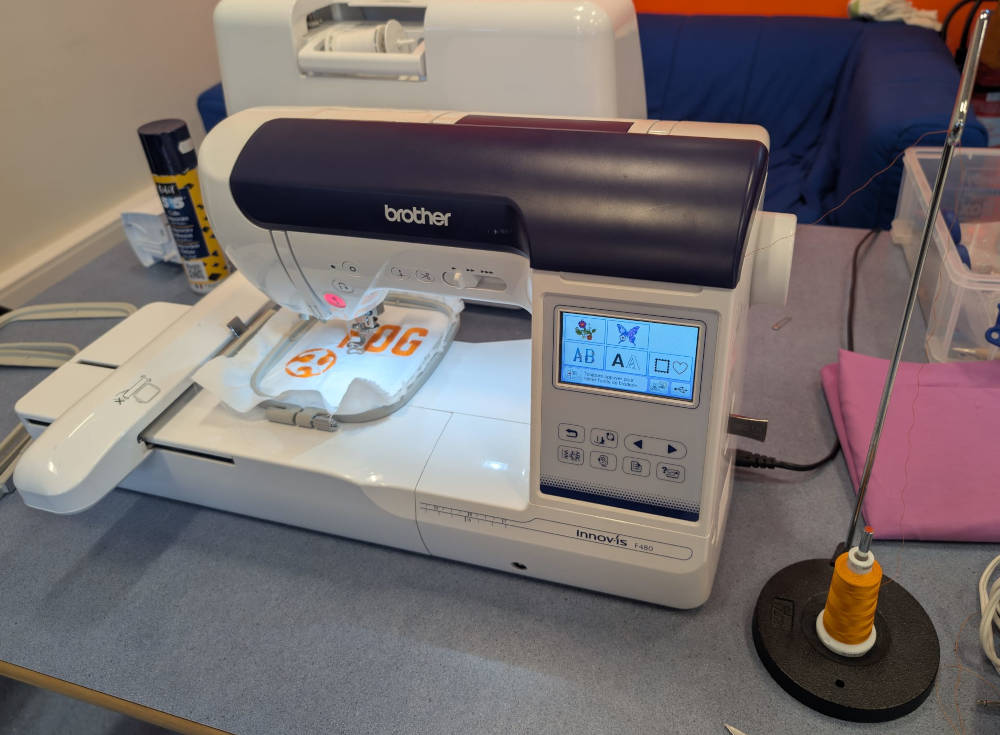
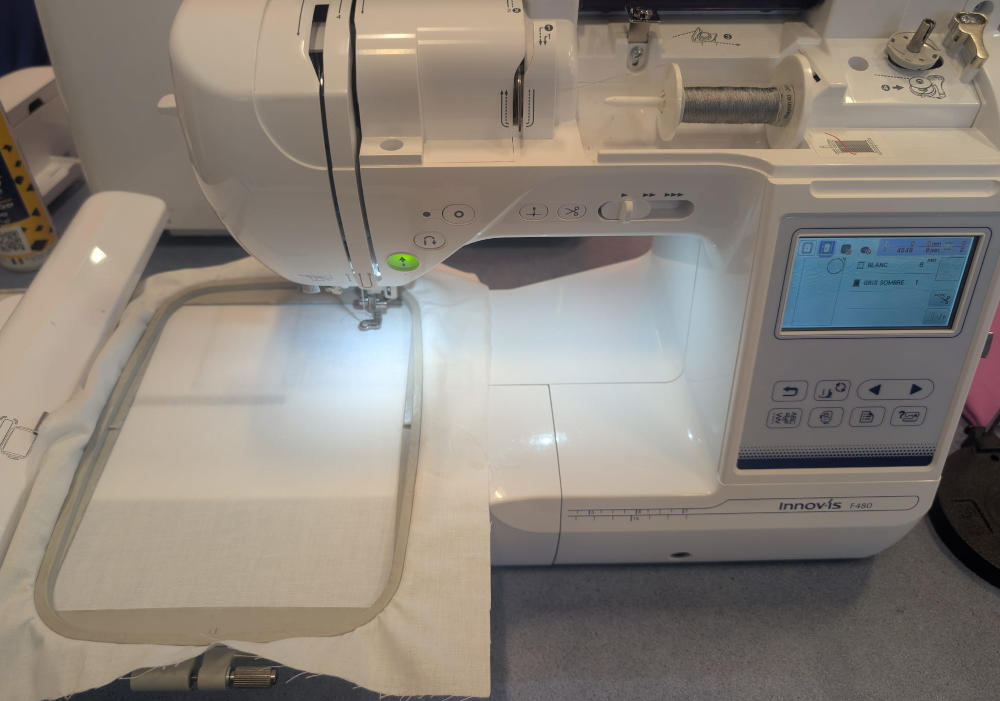
Brother Innov-is F480
The machine I'll learn to use this week it the Brother Innov-Is F480, which is an embroidery and sewing machine but I'll mainly work with the embroidery function.
The machine basically works with 2 threads, the top thread (needle thread) comes from the spool and goes through the needle while the bottom thread (bobbin thread) comes from a small bobbin underneath the fabric. The 2 threads are then interlocked to each other to form a stitch and when repeating this pattern multiple times, a drawing is made.
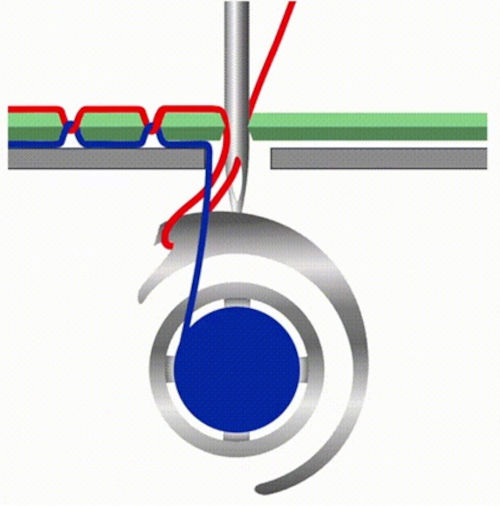
(Image source, red thread : needle thread, blue thread : bobbin thread)
The top thread needs to be installed by following a specific path while the bottom thread is placed inside a container.
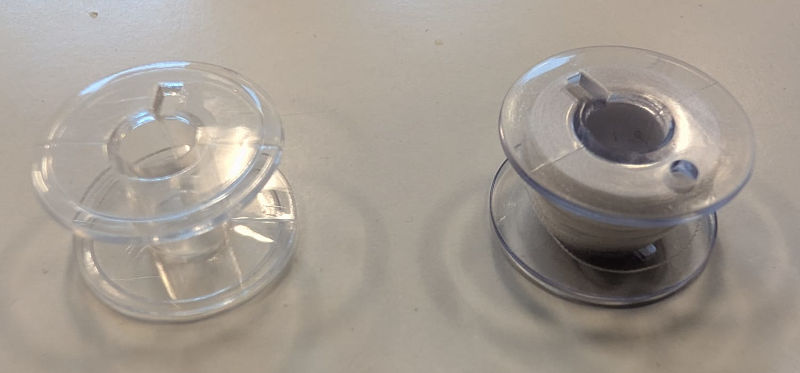
(Left : empty bobbin, right : full bobbin)
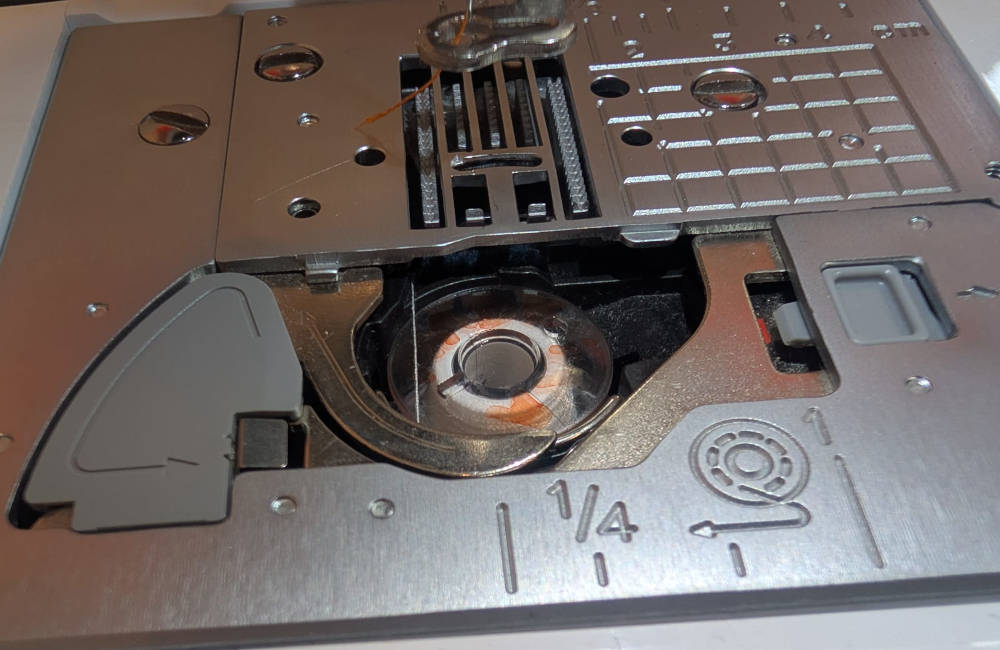
(Bobbin placement)
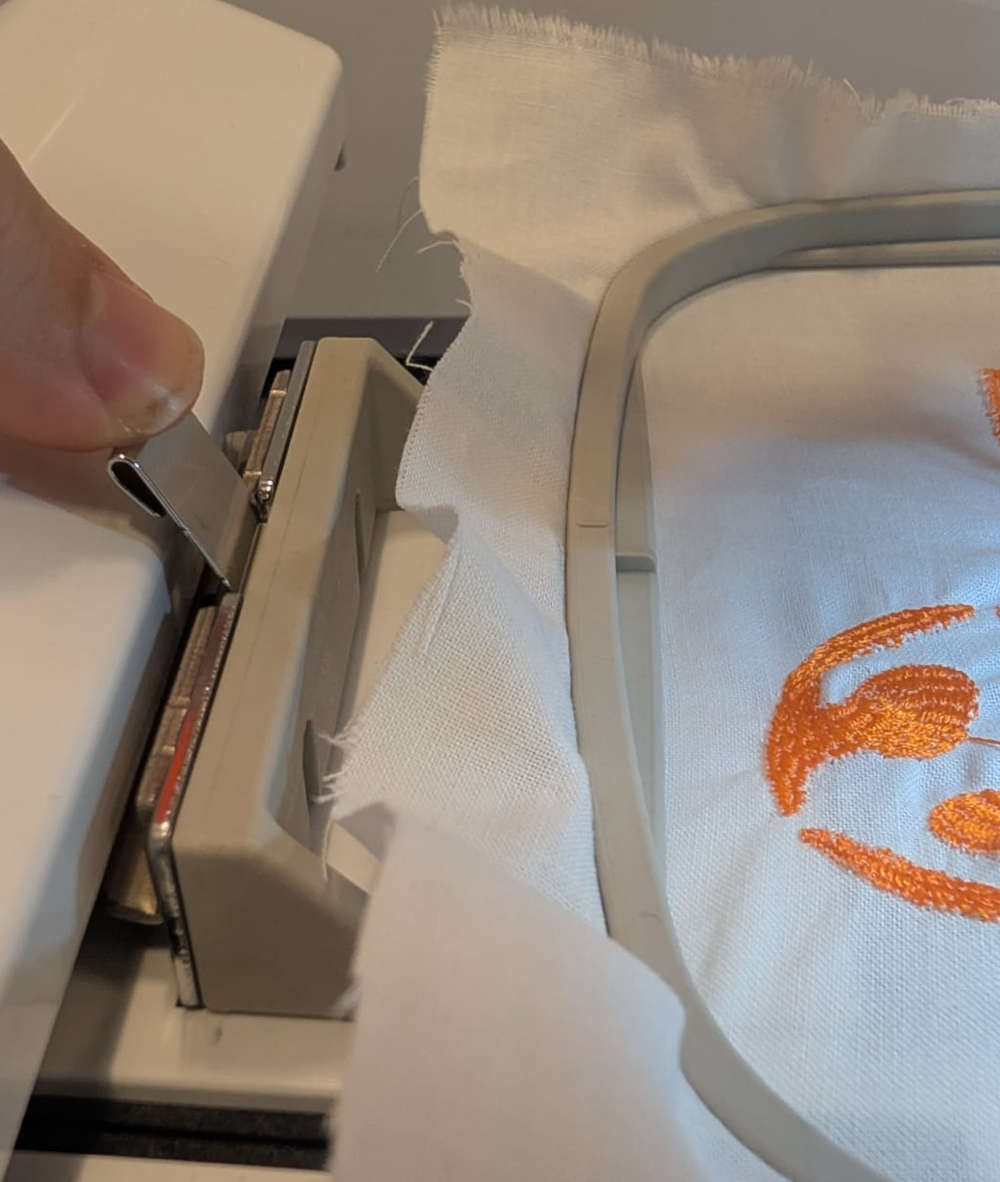
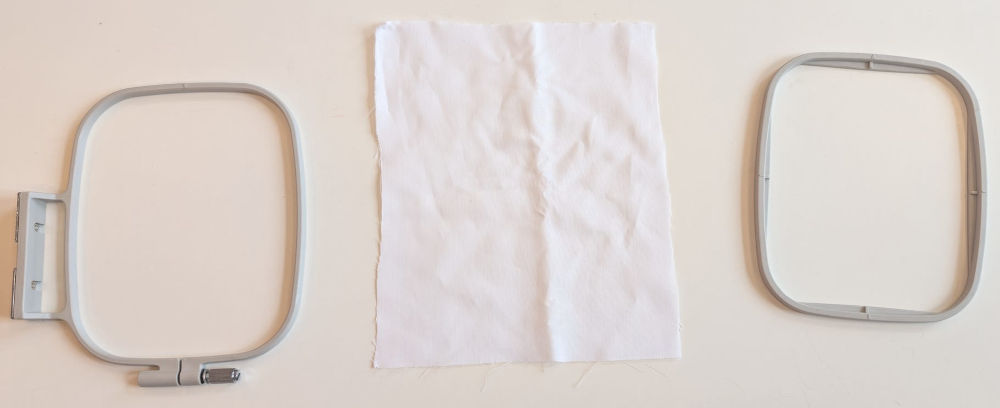
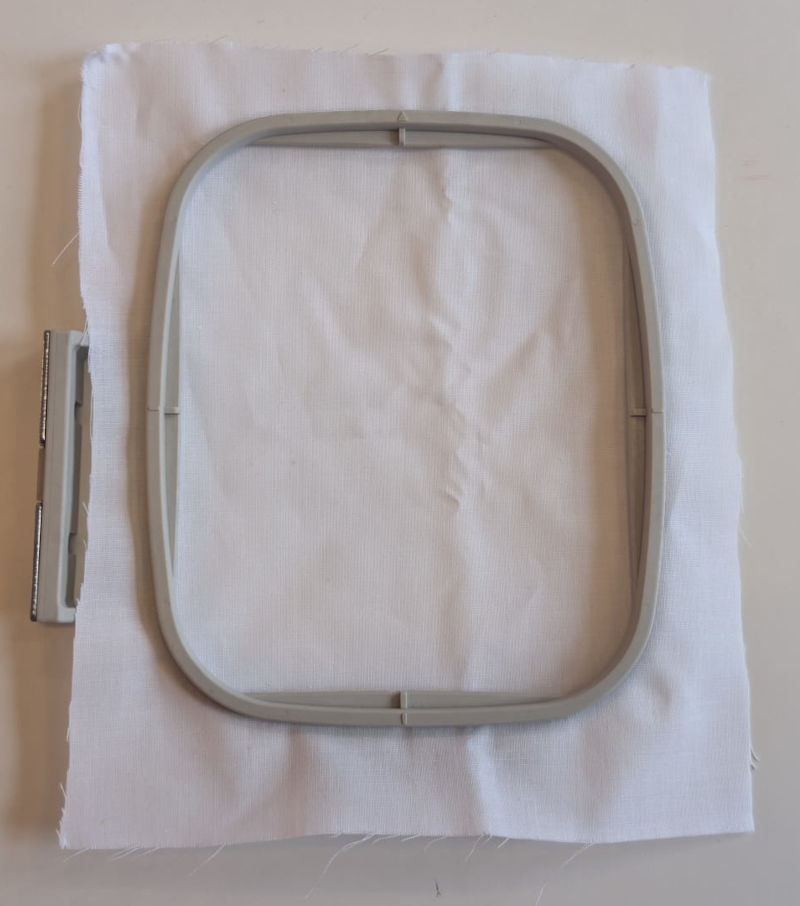
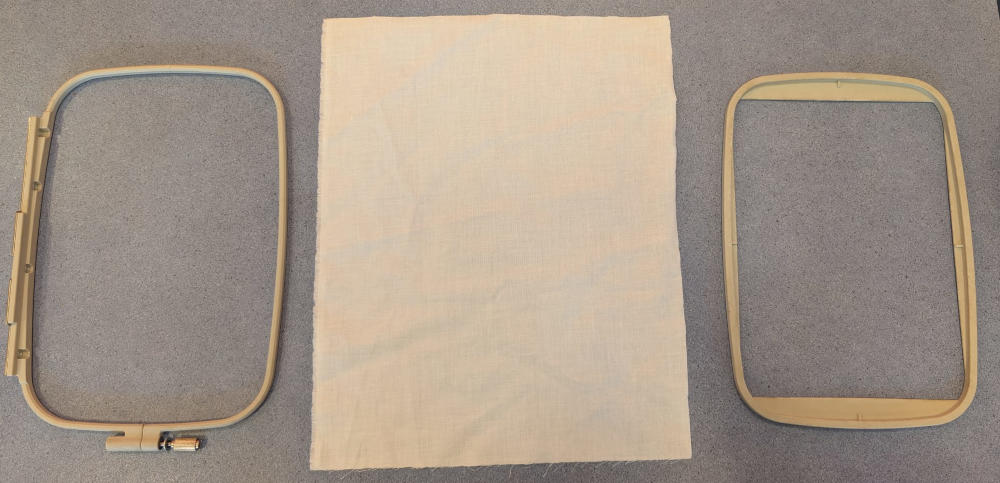
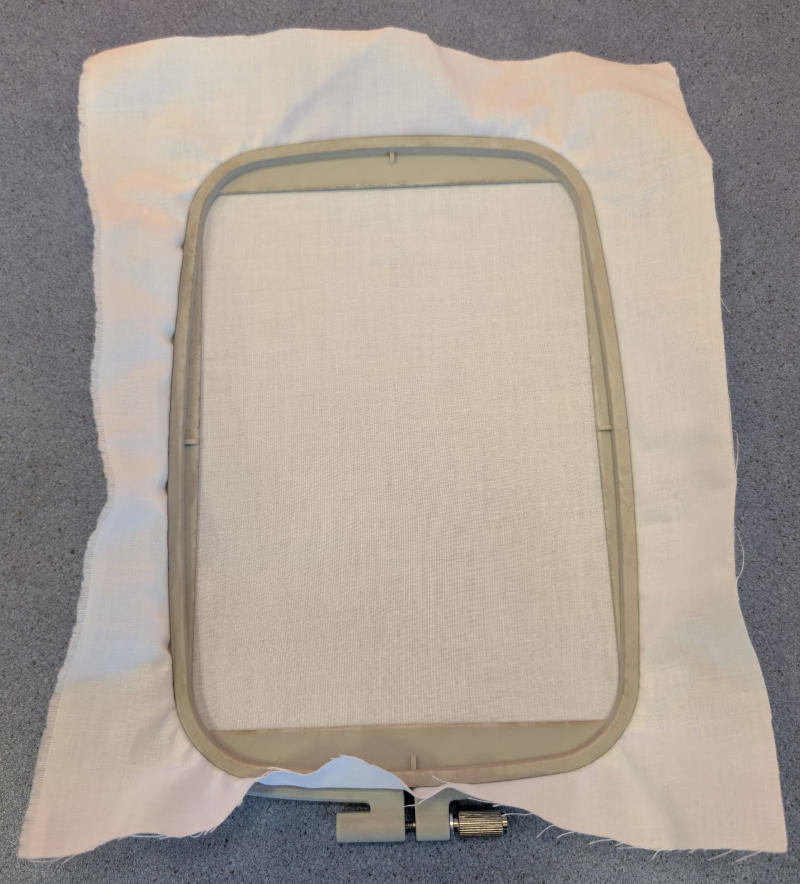
The machine comes with 3 frames of different sizes.
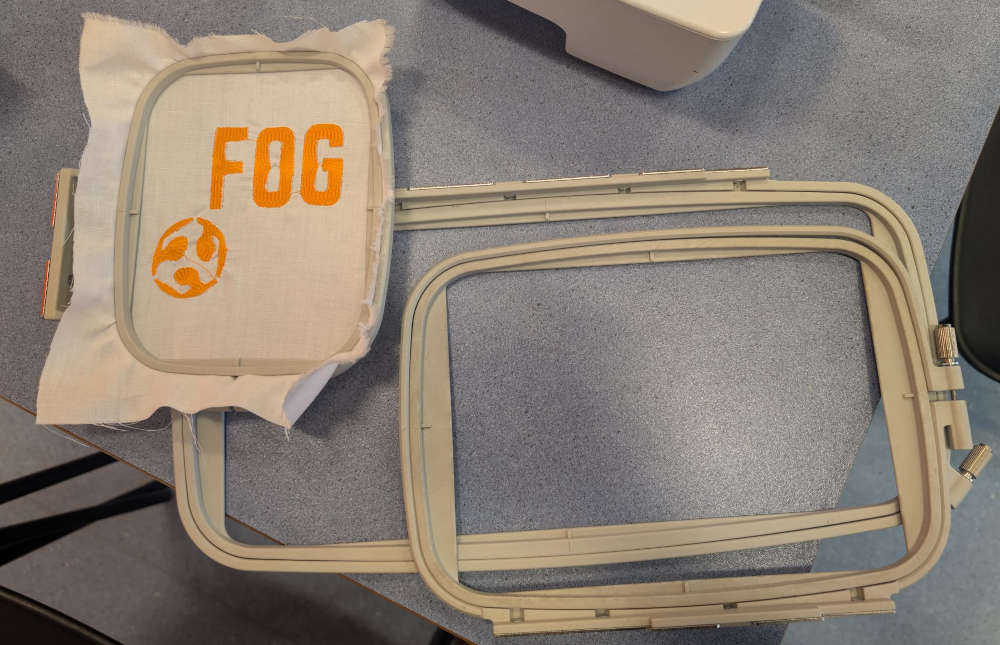
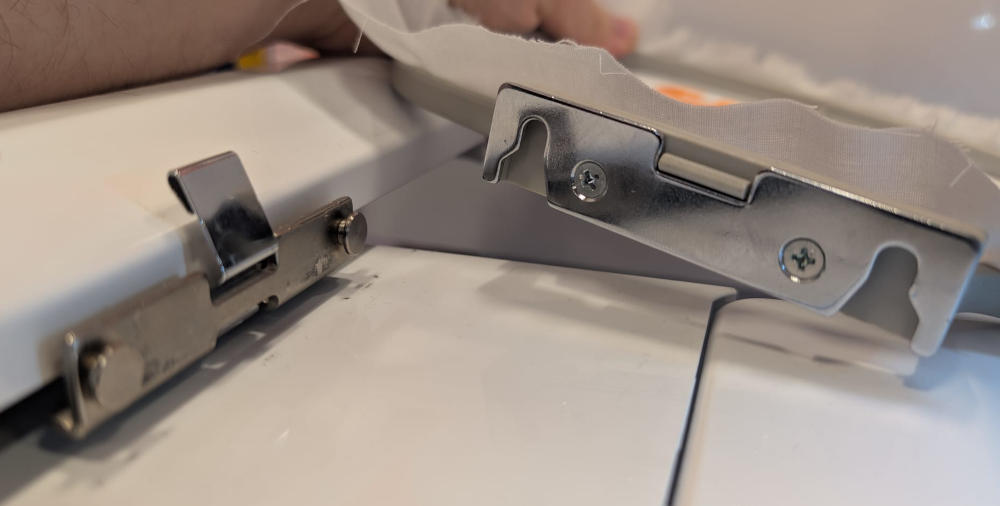
These must be locked on the machine to make sure they don't move.
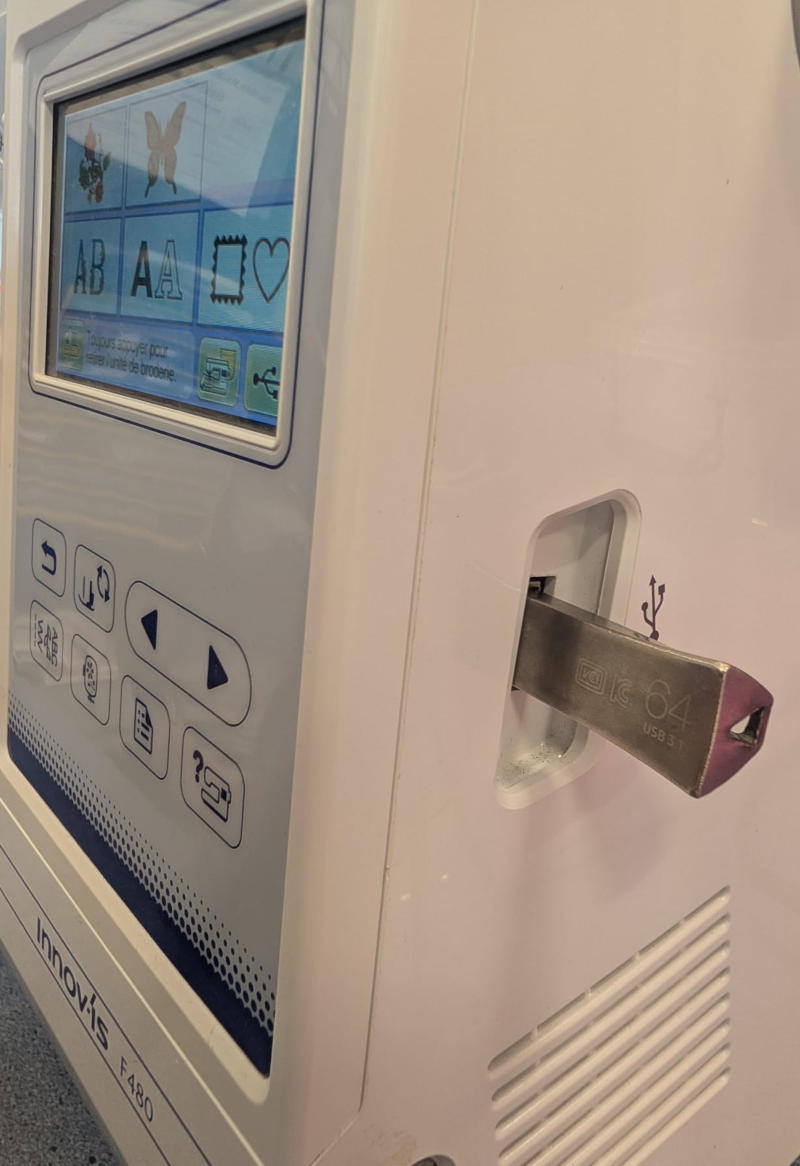
The machine uses .pes files to work that we can send by using a USB key, we can use Inkscape and the extension InkStitch to create these files to then use the machine.
I simply have to download InkStitch, open Inkscape, convert a drawing into a path then press Extensions, Ink/Stitch and Params.
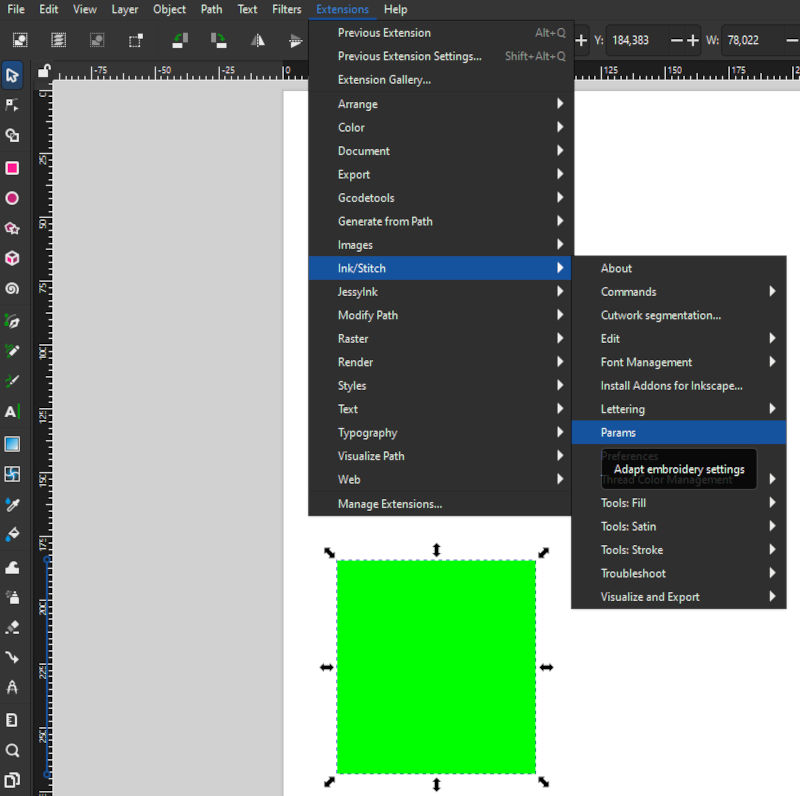
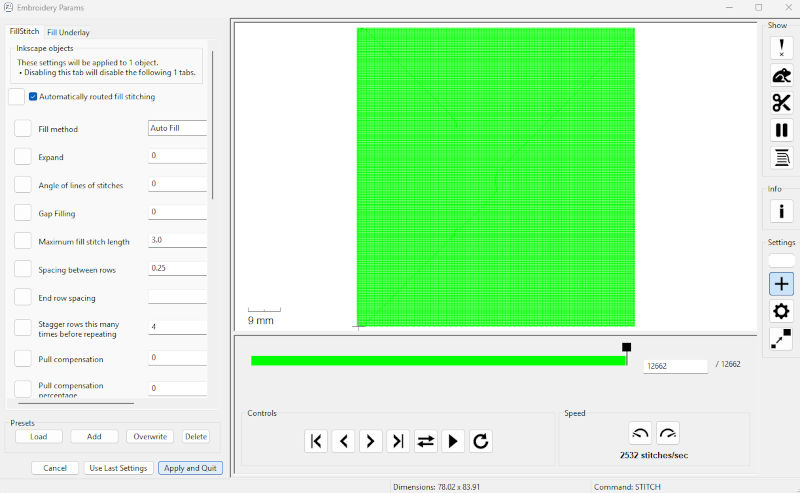
The extension shows a little simulation and when everything seems good, I press Apply and Quit then export as a .pes file.
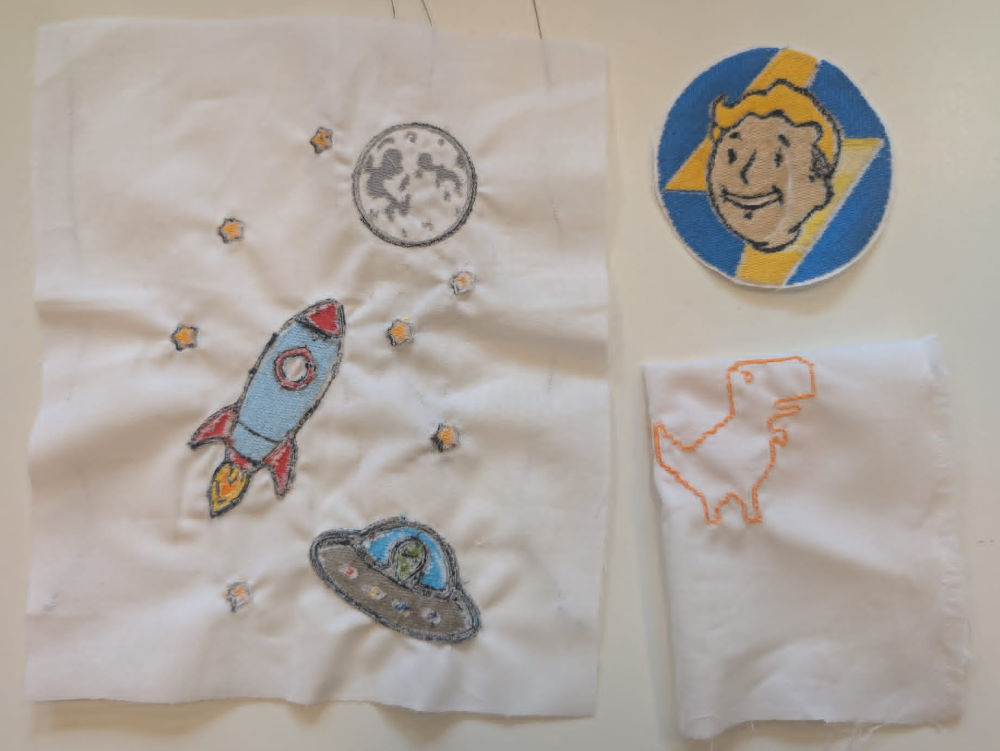
Here are some embroidery tests and results :
-
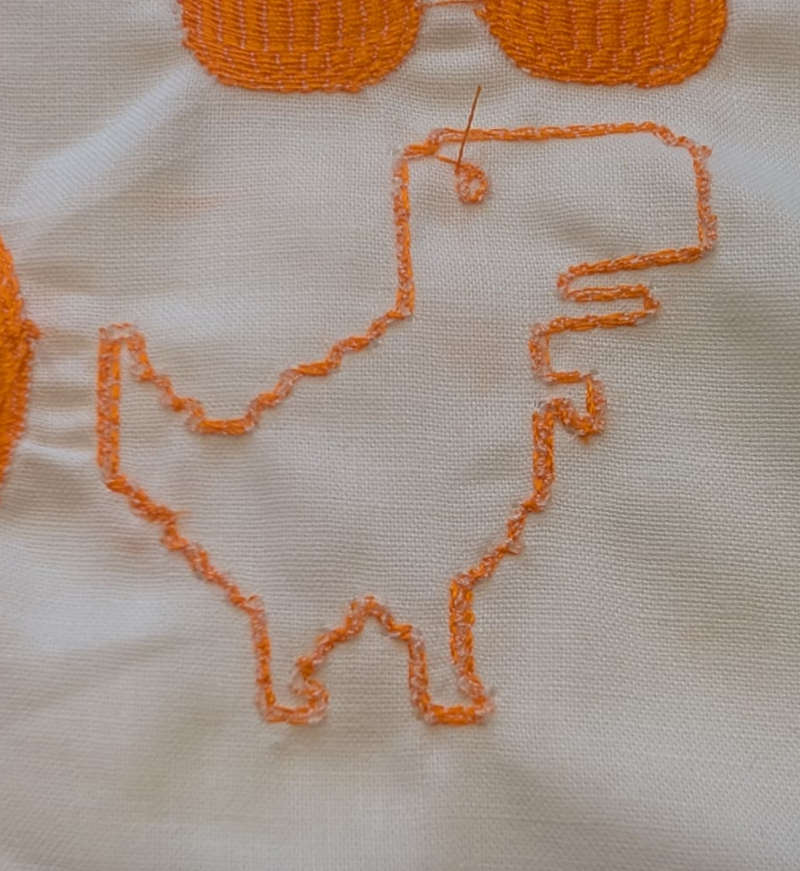
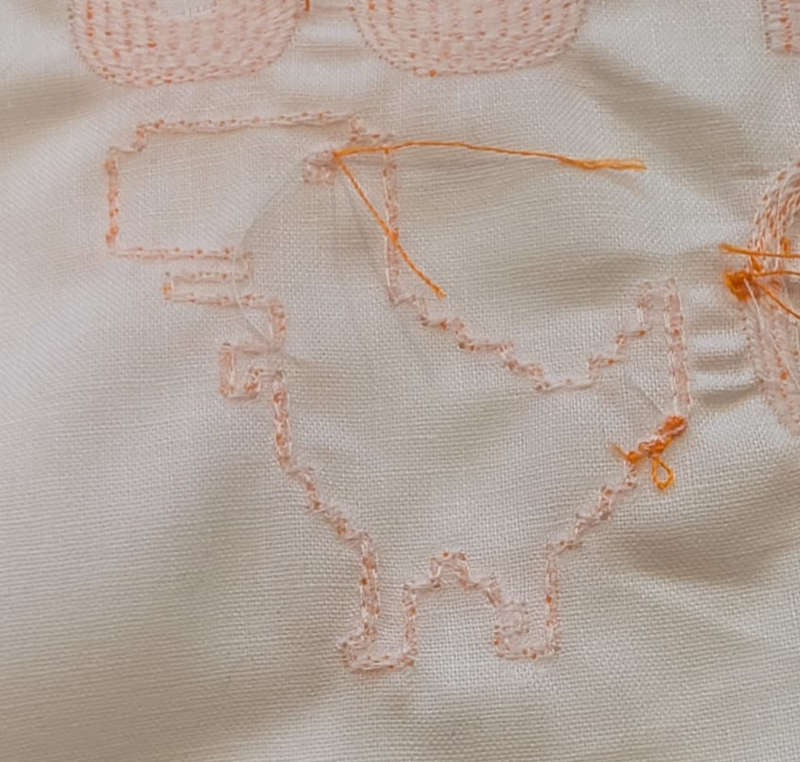
First test
This first test was simply to see how the machine works and what it's capable of, I use the small frame for this test.
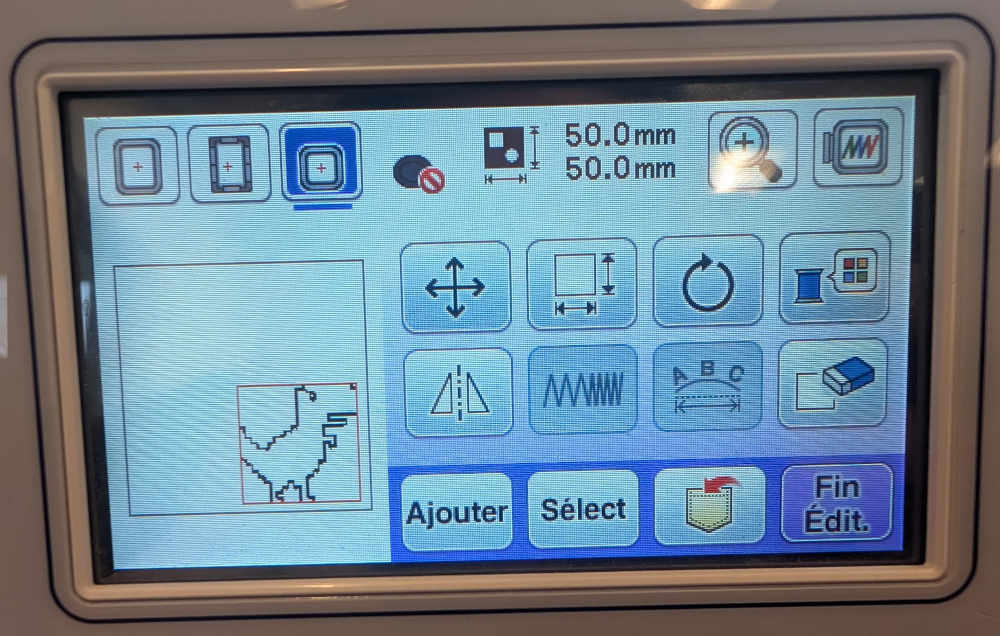
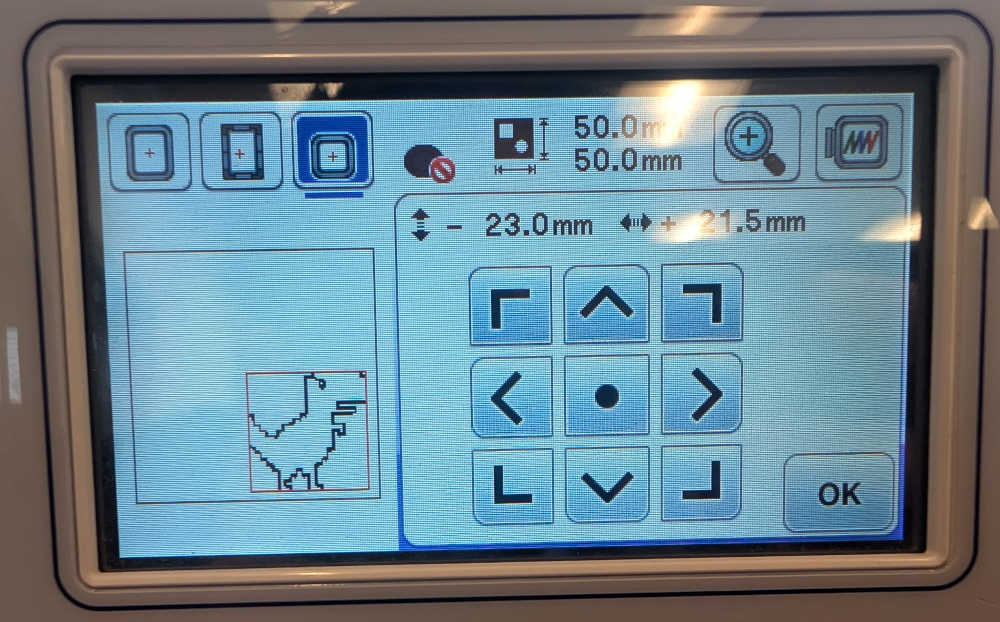
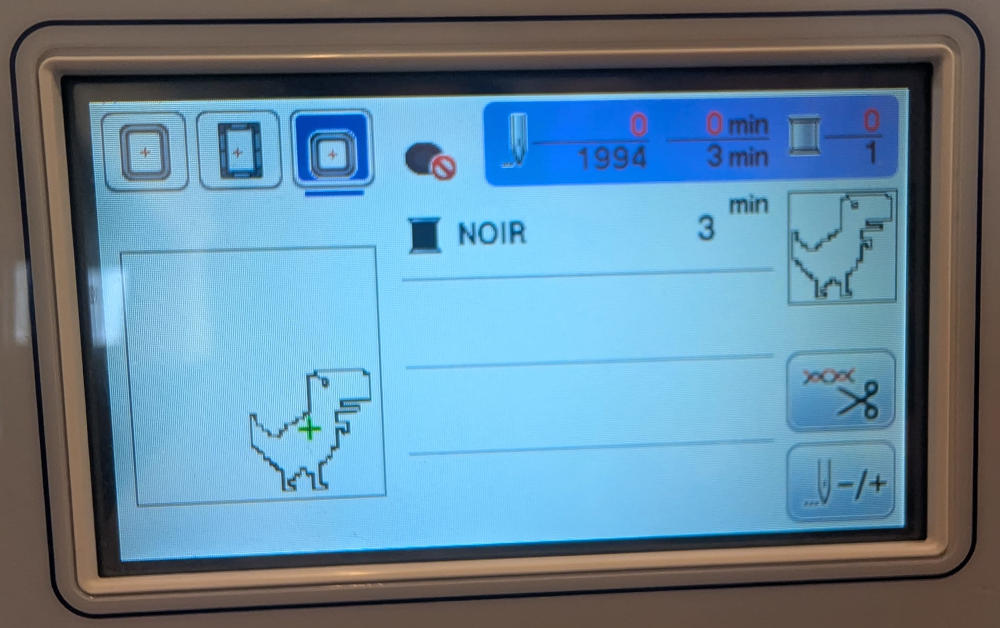
Once the frame is placed and locked, I need to place and position my drawing using the touch screen then press Fin Edit..
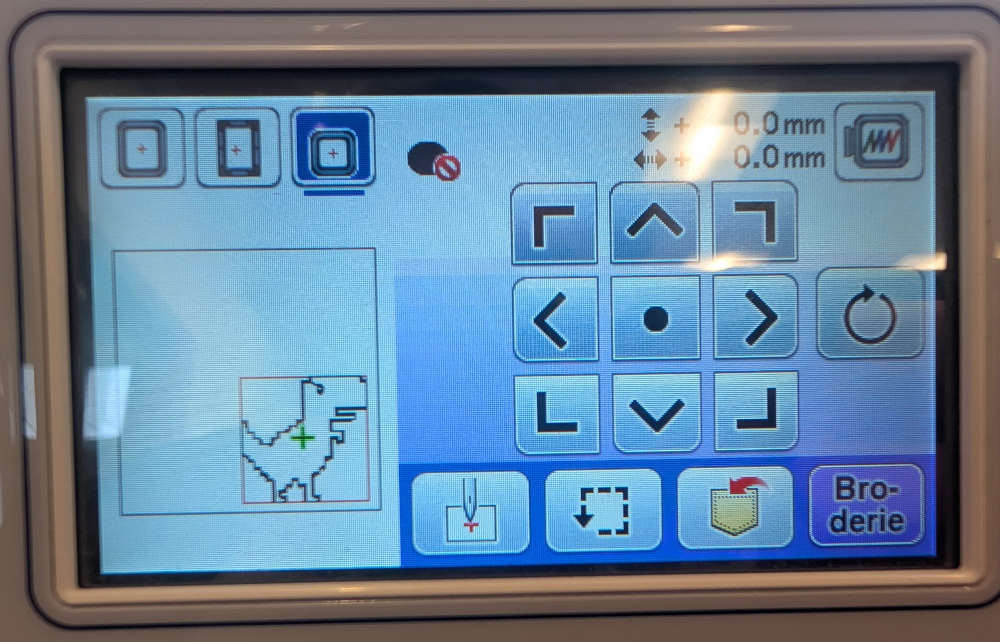
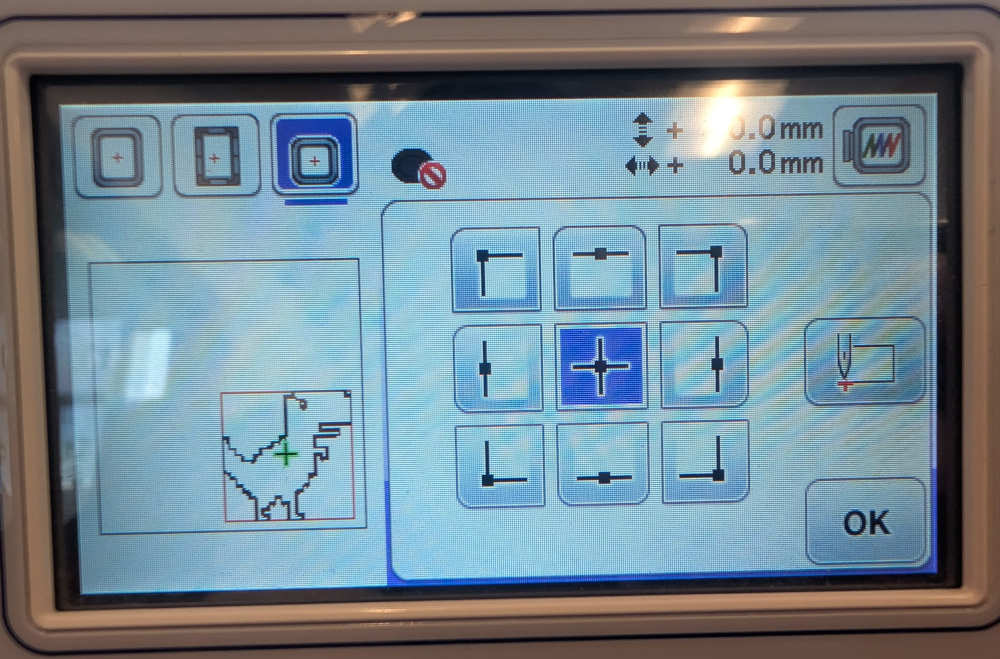
When I think it is ready, I can also check its boundaries with the touch screen then press Broderie.
The final screen shows different data like the current step (color), its process time, ...
Now for the actual drawing, since it's a simple test, I use an already used cloth.
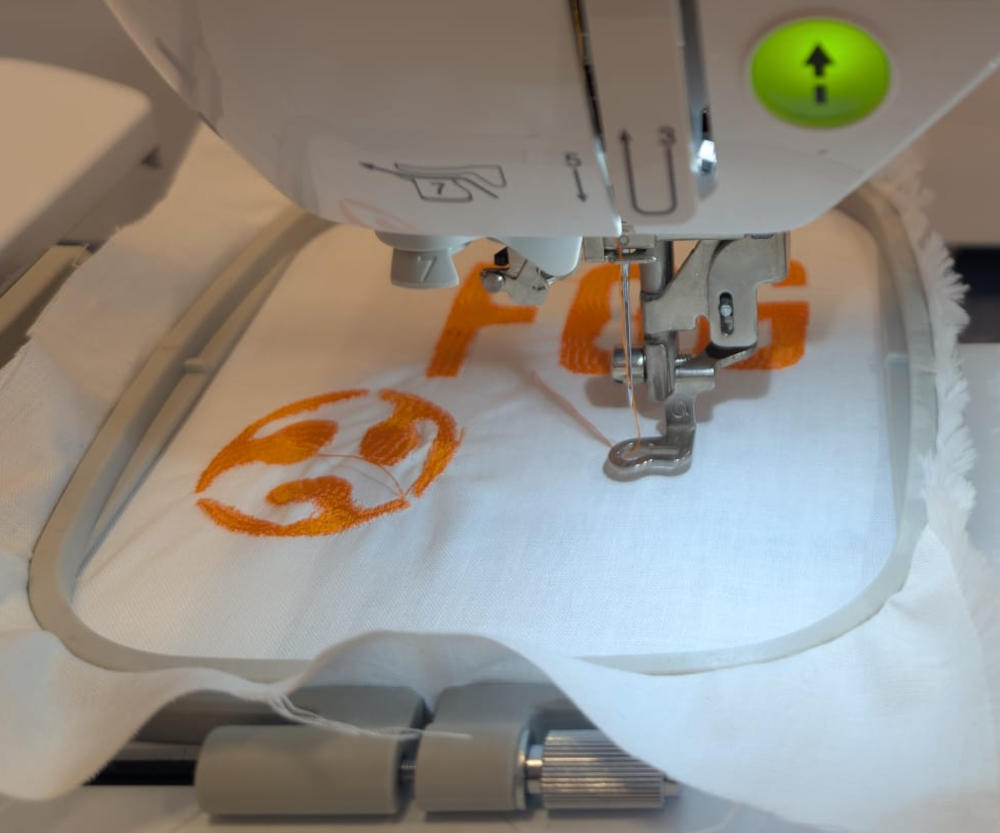
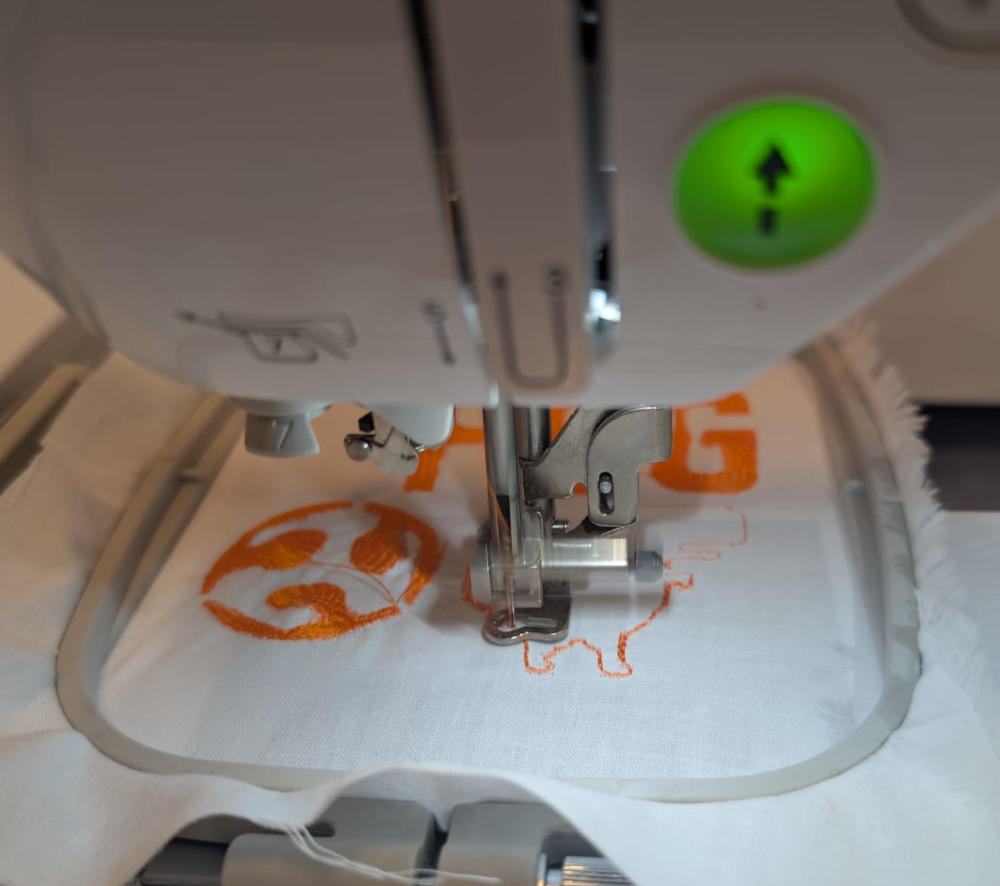
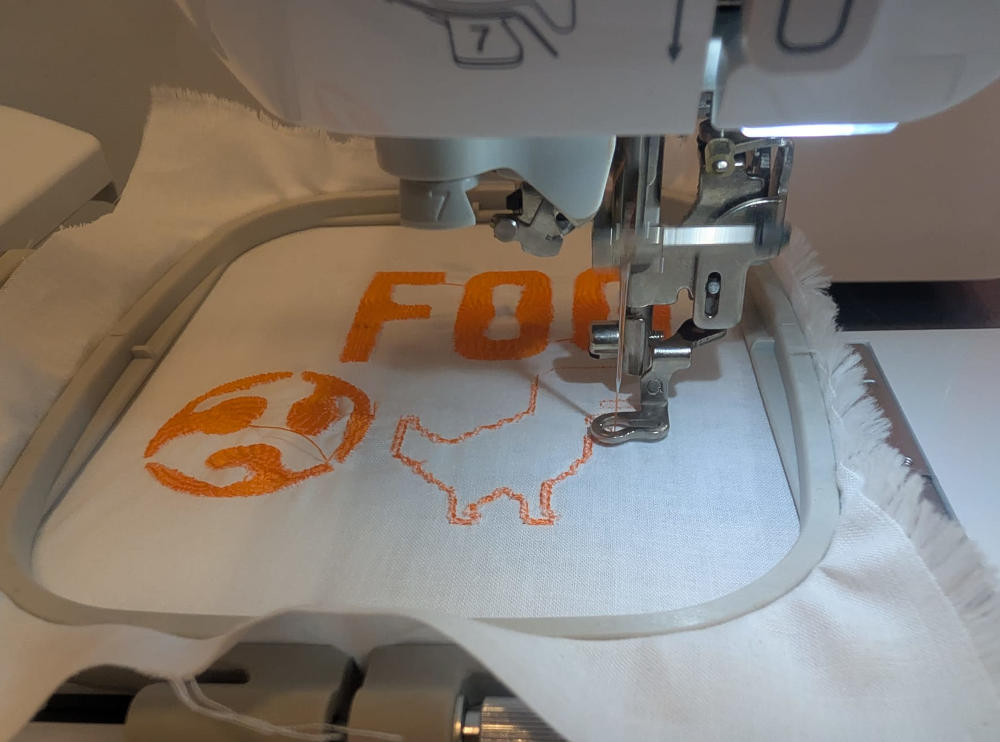
Final result :
-
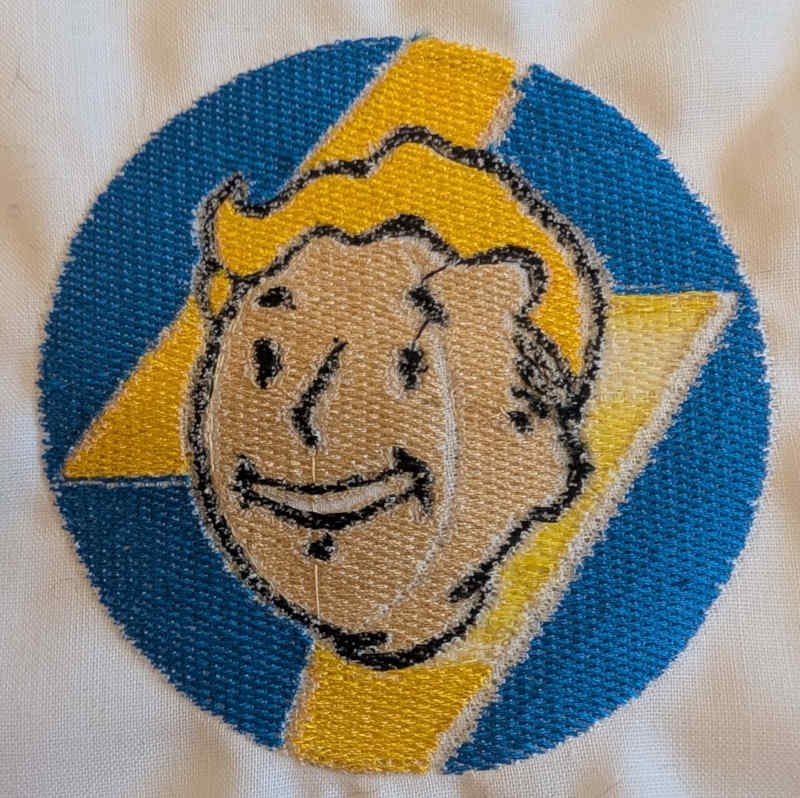
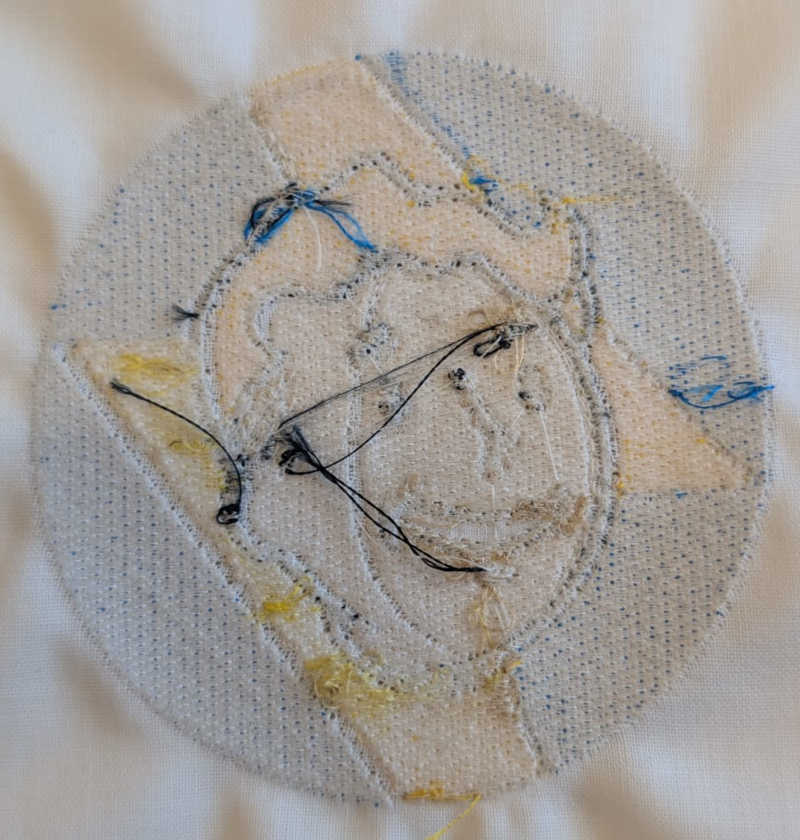
Fallout logo
This test is the logo of a game series I like, Fallout, I also use the small frame for this test.
Final result :
-
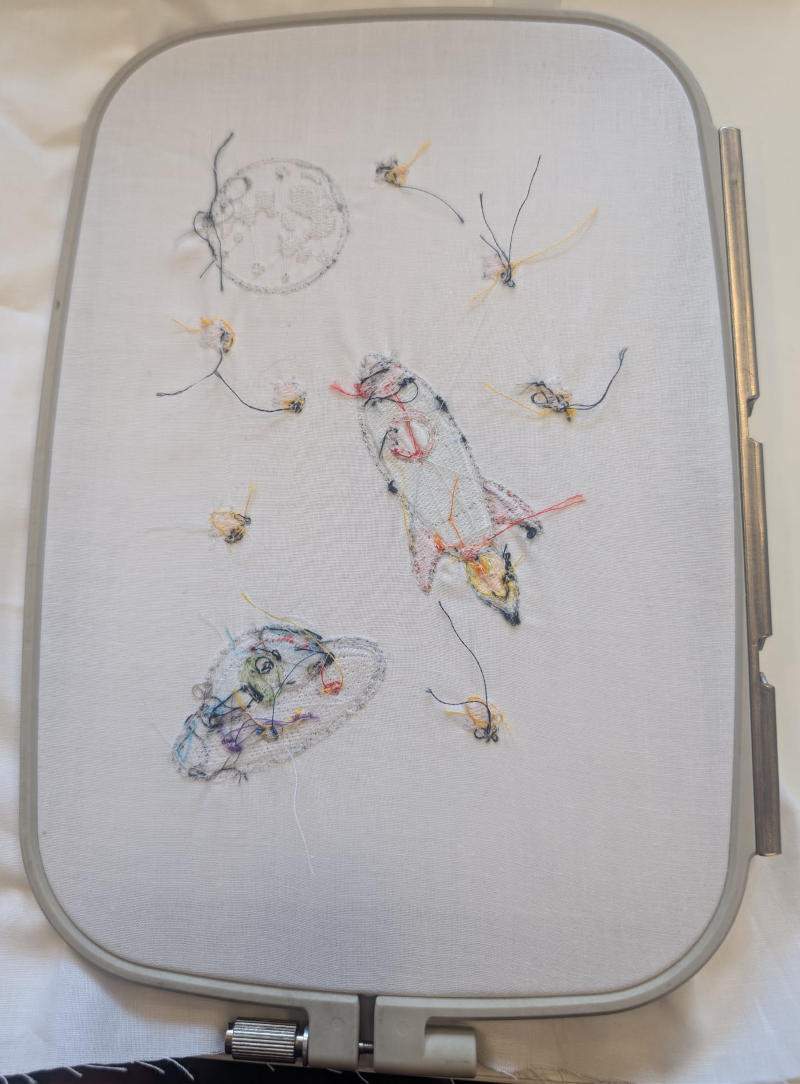
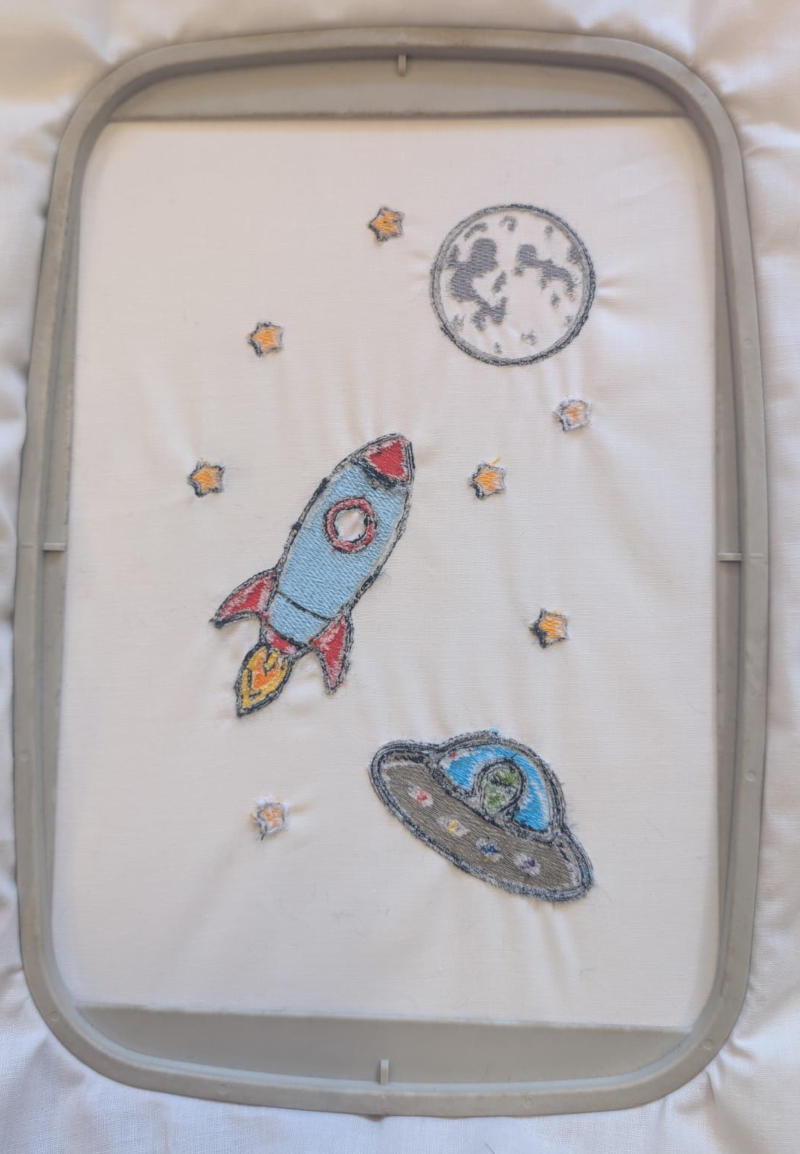
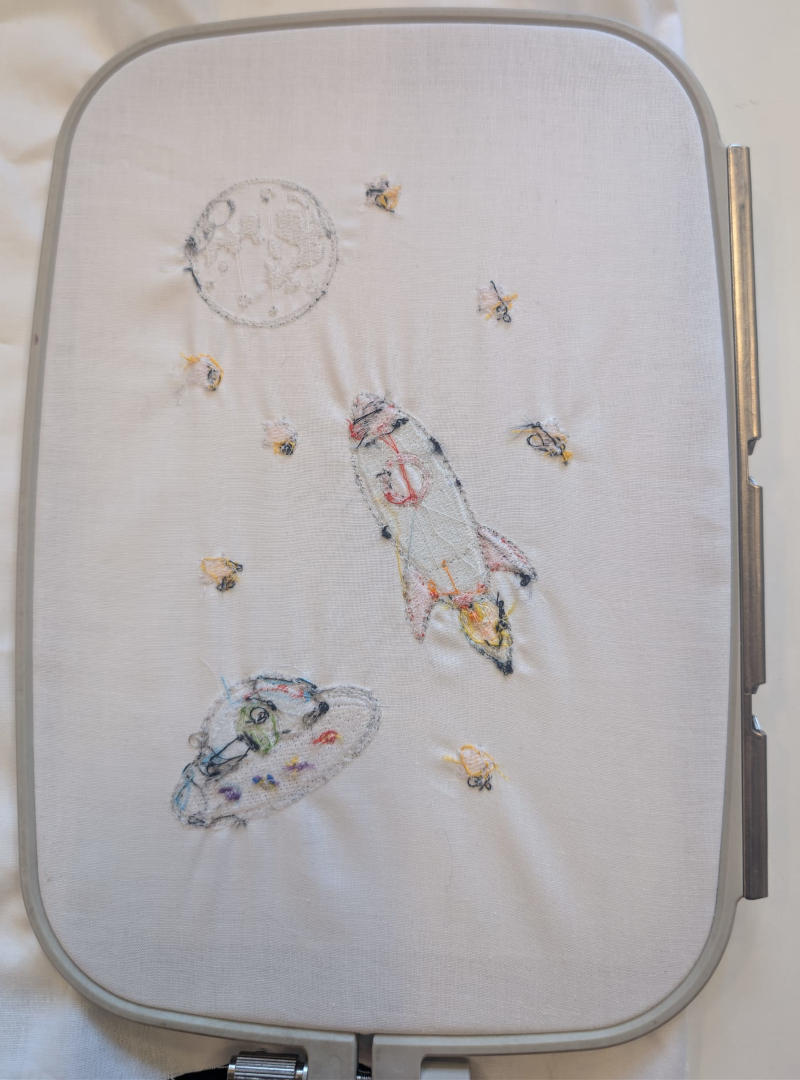
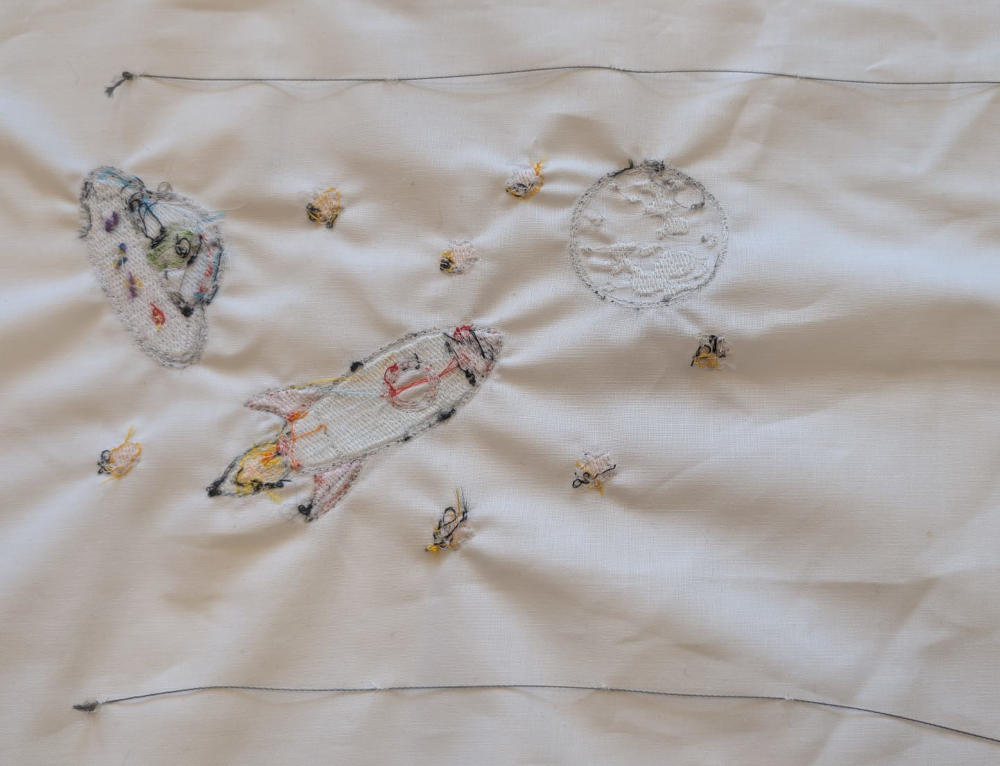
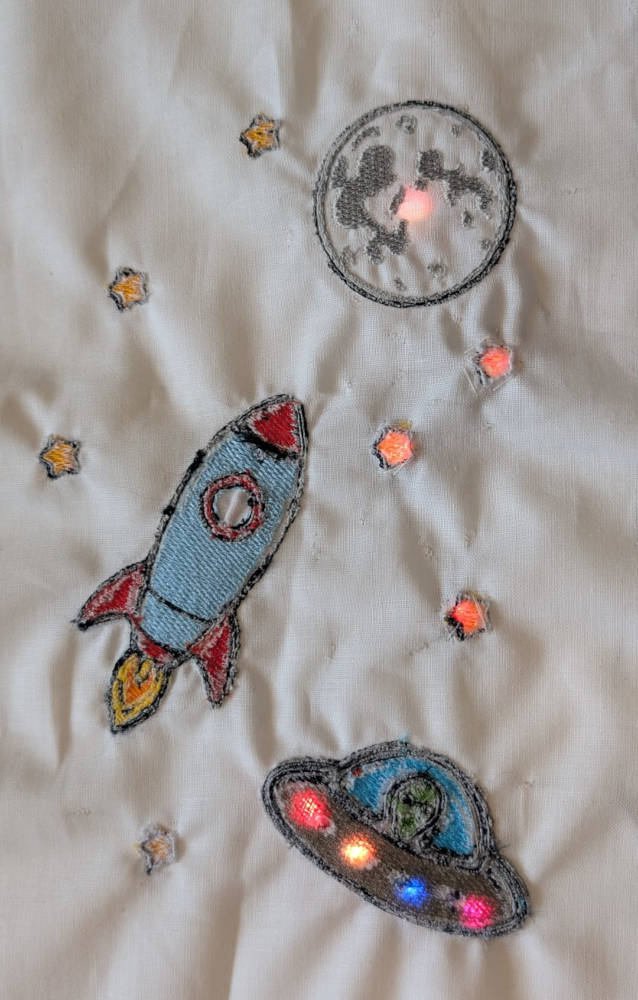
Space and electronics
This test is composed of different drawings to represent space, I'll then try to use electronics and RGB LEDs to illuminate the cloth, I use the medium frame for this test.
Final result :

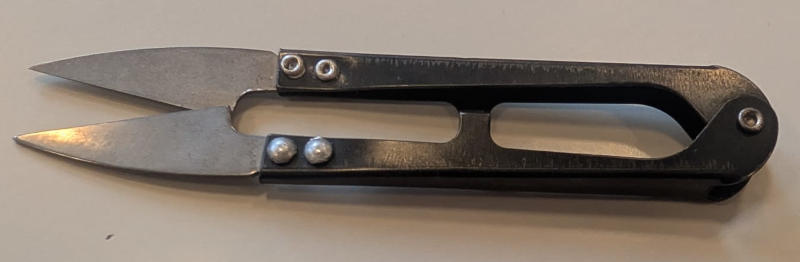
I use these little scissors to cut the jump stitches.
For the electronics part, the microcontroller I'll use is the Adafruit Flora and the RGB LEDs are the Flora NeoPixels.
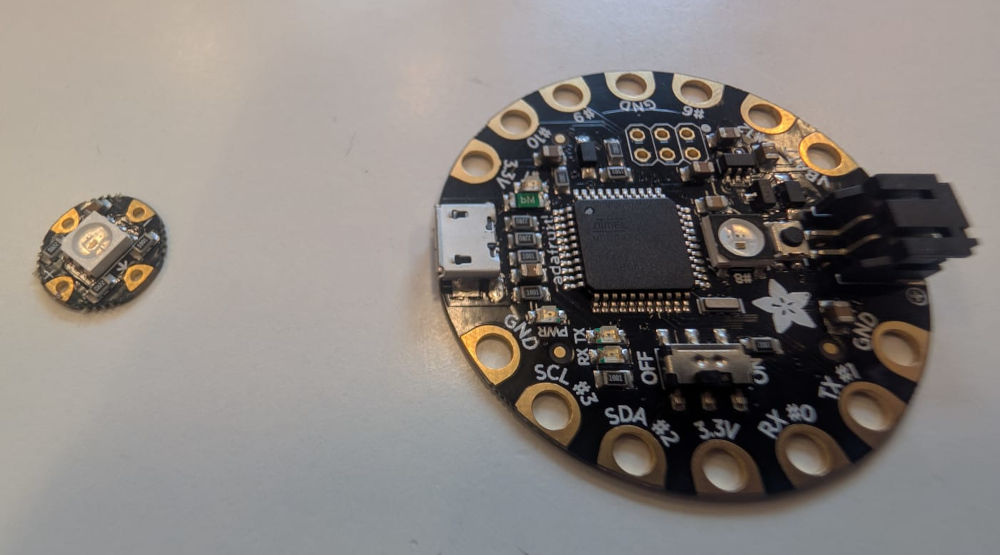
(Left : RGB LED, right : microcontroller)
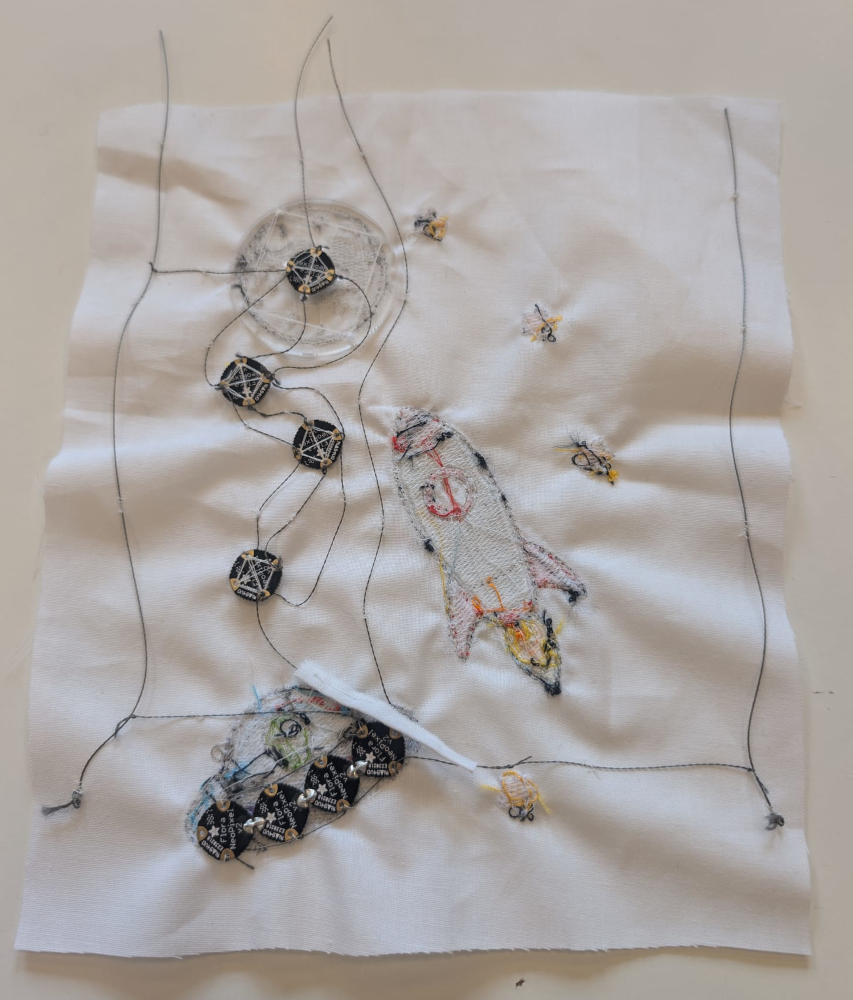
I also use conductive thread to connect everything together.
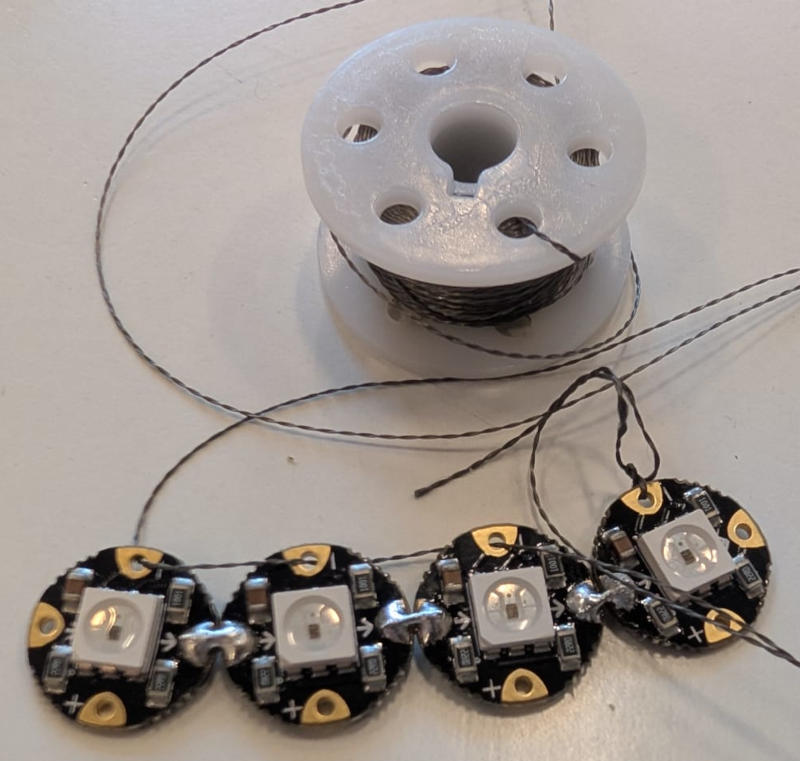
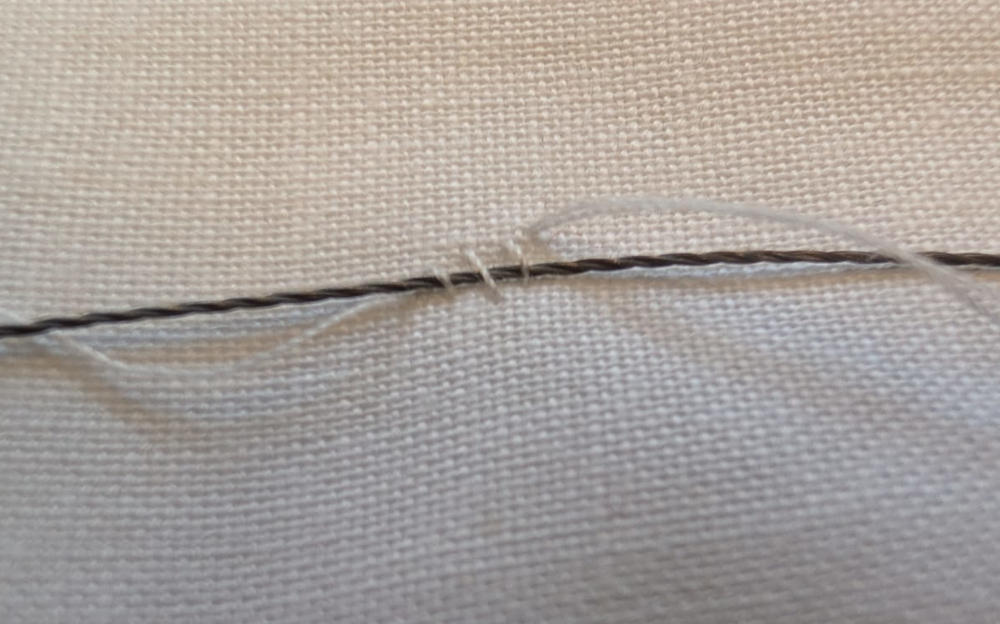
To simplify the power supply connections (+3,3V and GND), I added 2 conductive threads on the sides of the drawing.
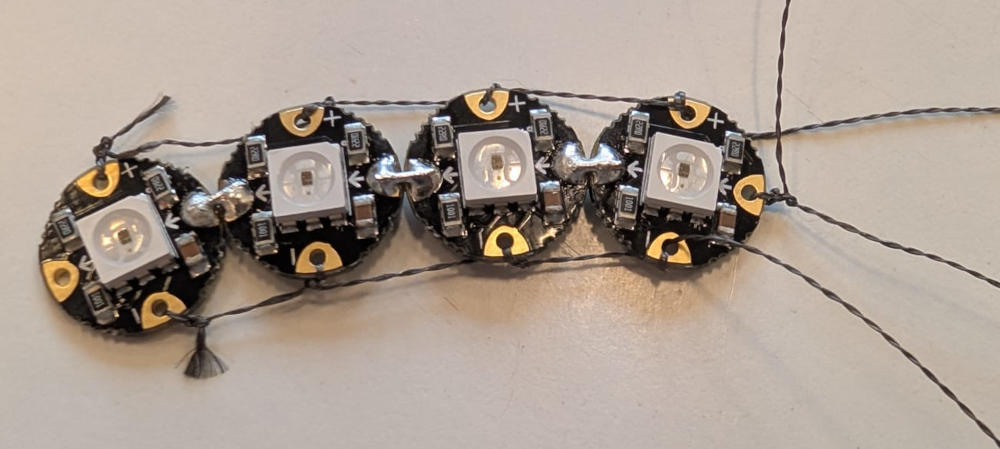
The following image is how I fix the wires to the material and make sure there wont be any short circuits.
I wasn't able to finish it because it takes a lot of time and energy but this is the final result with 8 RGB LEDs.
When everything is fixed and ready, I can start coding on the Adafruit Flora.
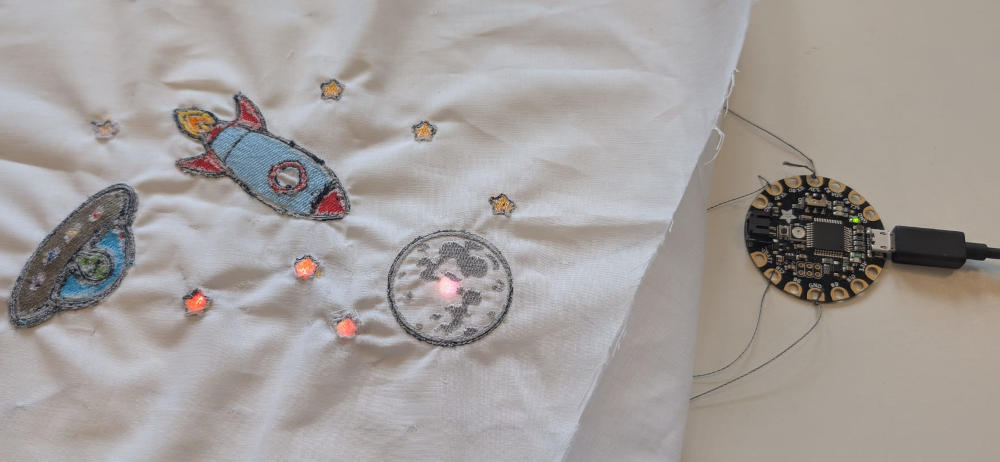
                                        #include <Adafruit_NeoPixel.h>  // Library for the RGB LEDs
                                        #ifdef __AVR__
                                        #include <avr/power.h>  // Library for the Adafruit Flora
                                        #endif

                                        #define PIN1 1   // Pin of the first array of LEDs
                                        #define PIN2 12  // Pin of the second array of LEDs

                                        #define NUMPIXELS 4  // Number of LEDs in an array

                                        // Declaration of LED arrays
                                        Adafruit_NeoPixel pixels1(NUMPIXELS, PIN1, NEO_GRB + NEO_KHZ800);
                                        Adafruit_NeoPixel pixels2(NUMPIXELS, PIN2, NEO_GRB + NEO_KHZ800);

                                        int step = 0;  // Variable for the LED show of the alien spaceship

                                        void setup() {
                                            // Neeeded for the the Adafruit Flora
                                            #if defined(__AVR_ATtiny85__) && (F_CPU == 16000000)
                                            clock_prescale_set(clock_div_1);
                                            #endif

                                            // Initialisation and reset of the first LED array
                                            pixels1.begin();
                                            pixels1.clear();

                                            // Initialisation and reset of the second LED array
                                            pixels2.begin();
                                            pixels2.clear();
                                            pixels2.setPixelColor(0, pixels2.Color(255, 255, 255));  // Sets the first LED's color to white
                                            // Sets the next LEDs color to yellow
                                            for (int i = 1; i < NUMPIXELS; i++) {
                                                pixels2.setPixelColor(i, pixels2.Color(255, 255, 0));
                                            }
                                            // Send LED array colors
                                            pixels2.show();
                                        }

                                        void loop() {
                                            pixels1.setPixelColor((0 + step) % 4, 255, 0, 0);    // Sets the first LED's color to red
                                            pixels1.setPixelColor((1 + step) % 4, 255, 255, 0);  // Sets the second LED's color to yellow
                                            pixels1.setPixelColor((2 + step) % 4, 0, 0, 255);    // Sets the third LED's color to blue
                                            pixels1.setPixelColor((3 + step) % 4, 128, 0, 128);  // Sets the fourth LED's color to purple
                                            pixels1.show();                                      // Send LED array colors

                                            // LED show
                                            step = (step + 1) % 4;
                                            delay(1000);
                                        }
I wanted the stars to be yellow and the moon white but for some reason, the RGB LEDs don't respect very well the color code I send them when they are connected in series.
Useful file(s) (Click to download)
- Chrome dinosaur (Inkscape)
- Fallout logo (Inkscape)
- Space (Inkscape)
Assignments checklist
- ✅Documented the workflow(s) and process(es) you used.
- ✅Explained how your process is not covered in other assignments.
- ✅Described problems encountered (if any) and how you fixed them.
- ✅Included original design files and source code.
- ✅Included hero shot of the result.