Prior knowledge
|
I've never tried molding or casting in my life so this will be a brand new experience which I'm interested in. |
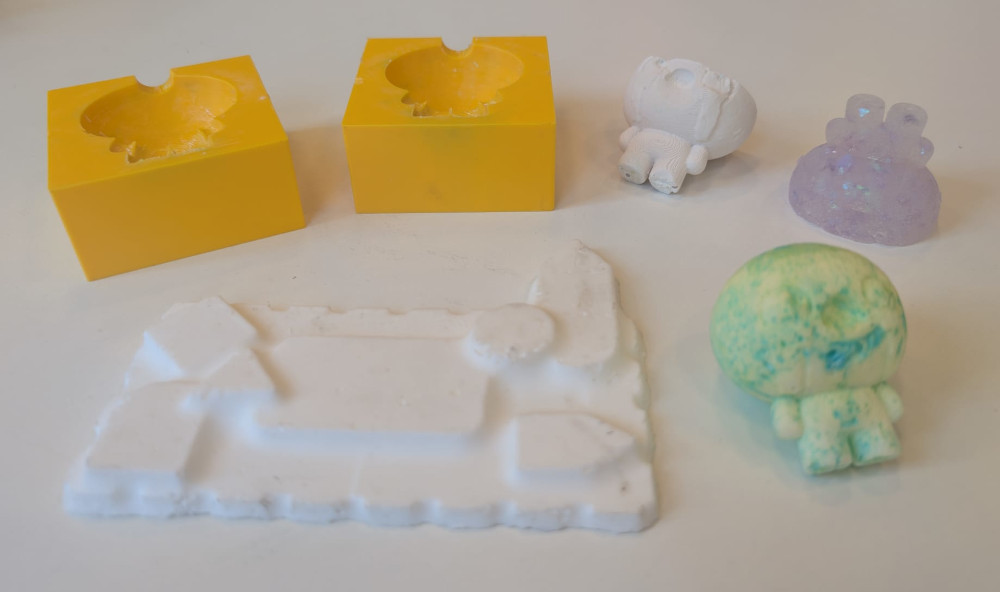
Hero shot
Group assignment
For the group assignment, with Michel and Jonas, we chose three different materials from Smooth-On, each with different characteristics to see the difference. The group assignment can be found here.
Molding
To create a mold, I'll try two different techniques, the first one is using a FormBox and the second one using a 3D piece.
-
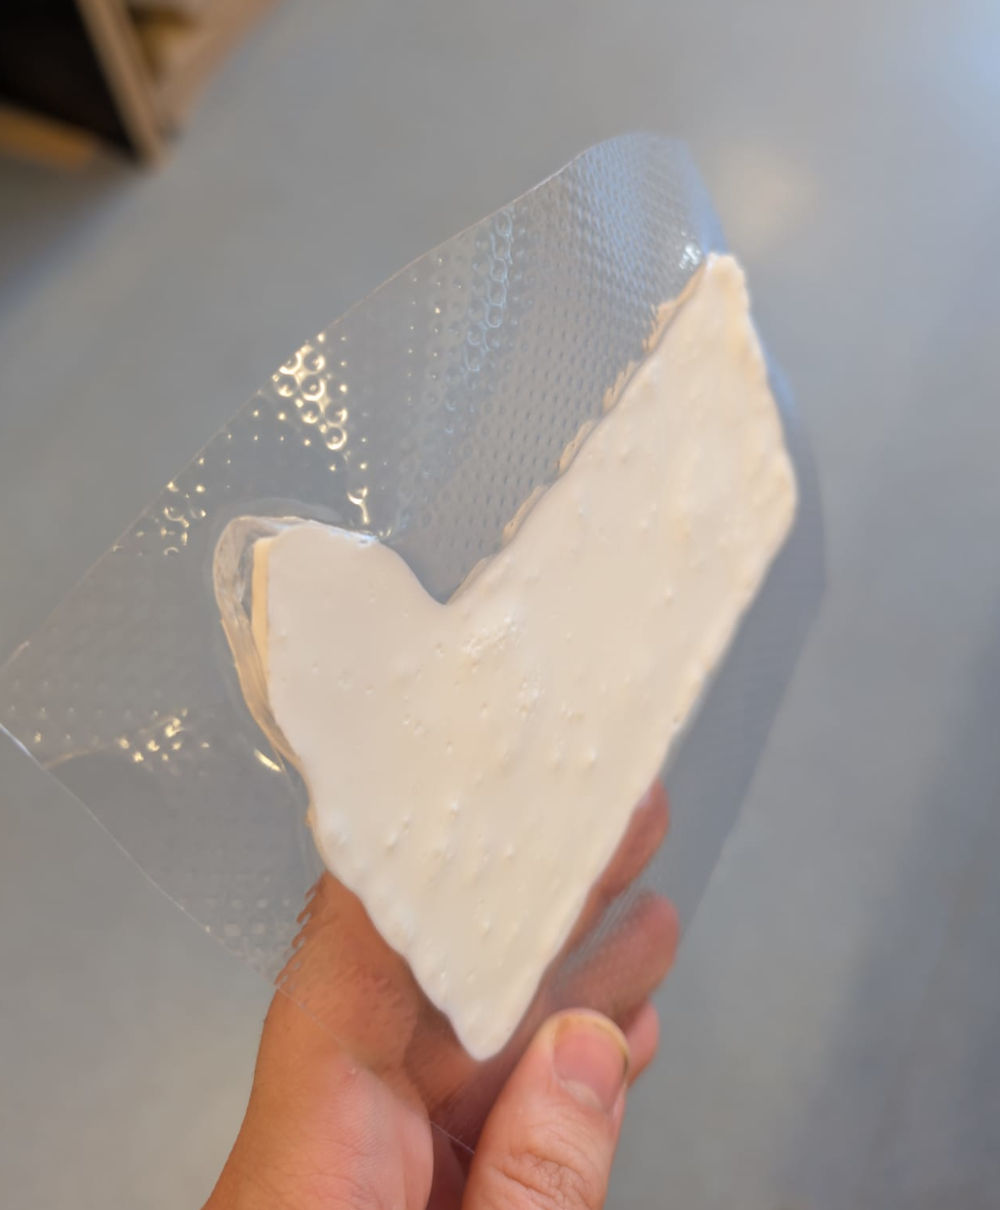
FormBox
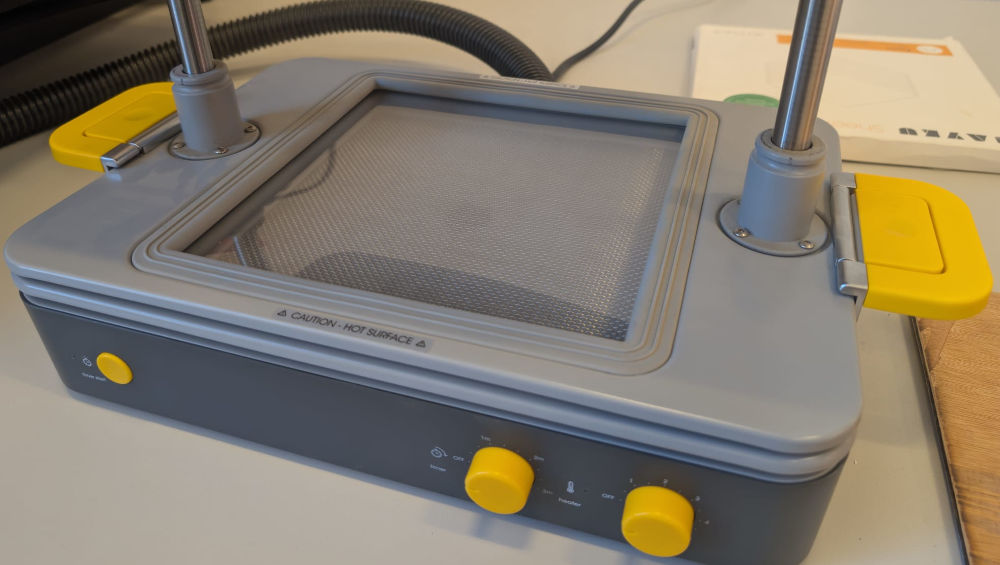
The FormBox by Mayku is a machine that will suck the air of a hot plastic sheet to create a mold of a model really easily.
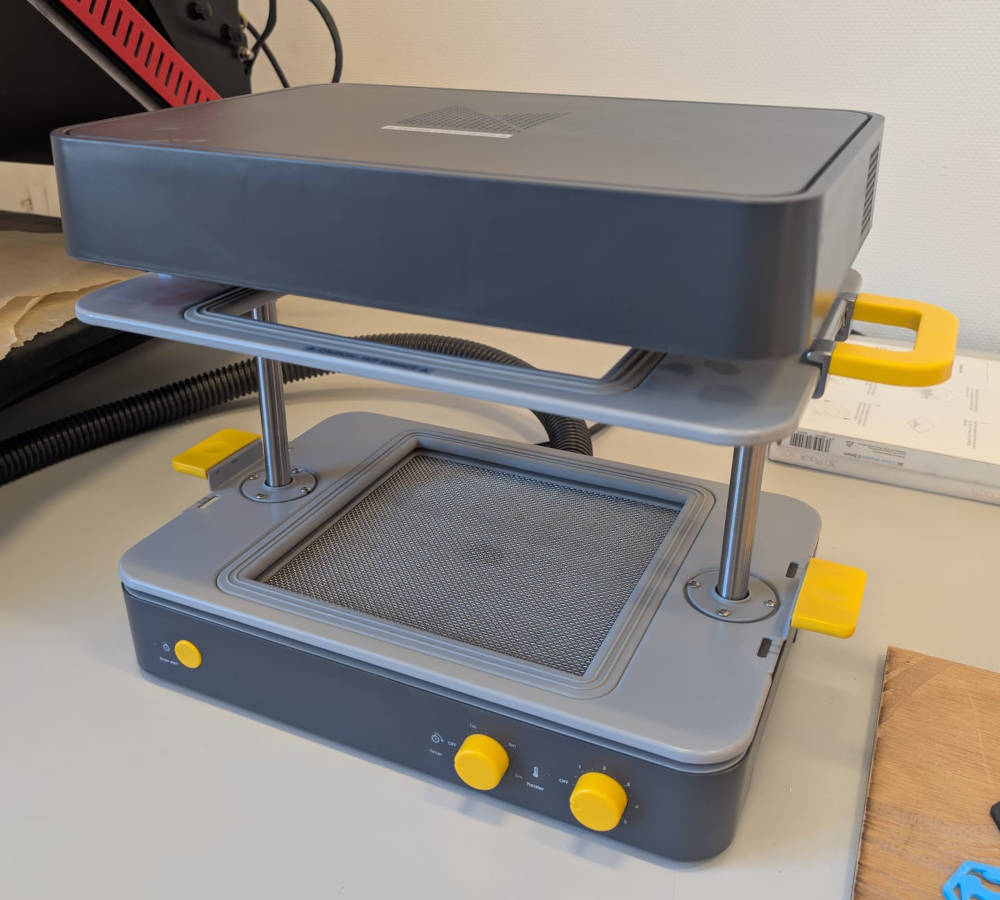
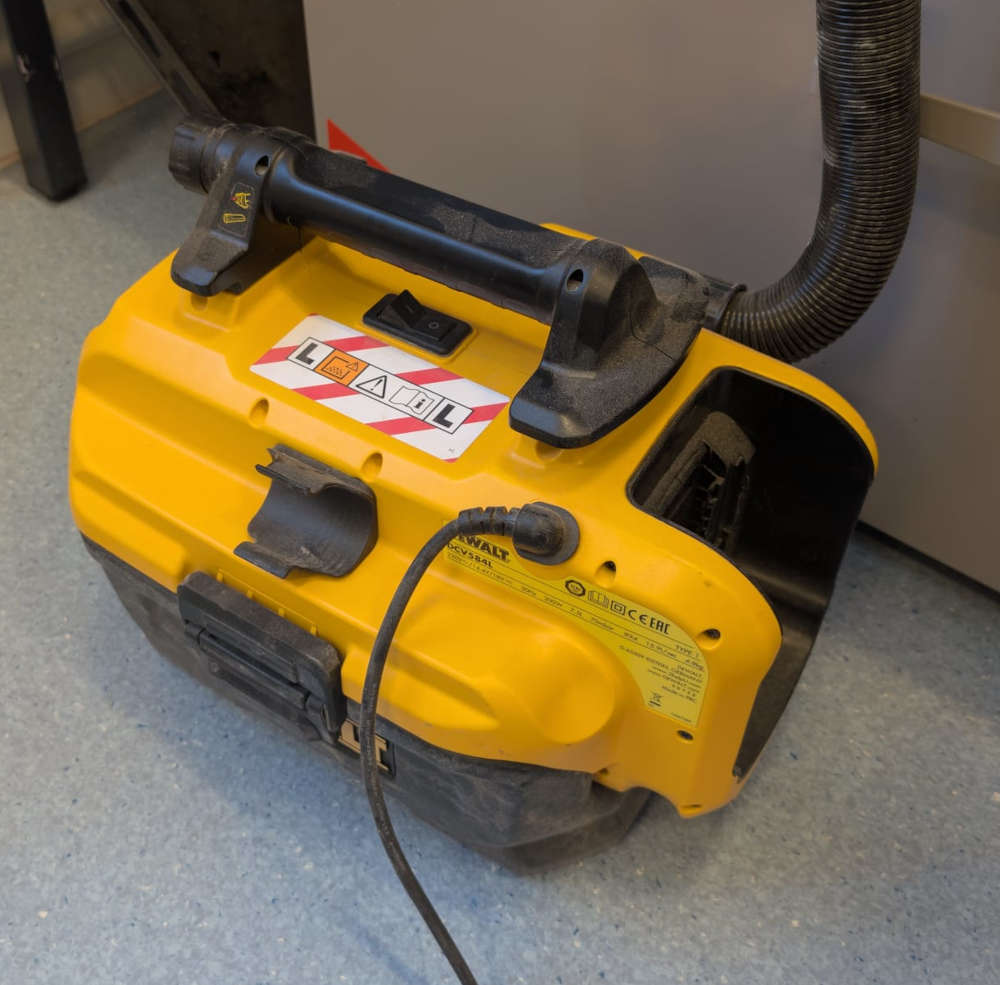
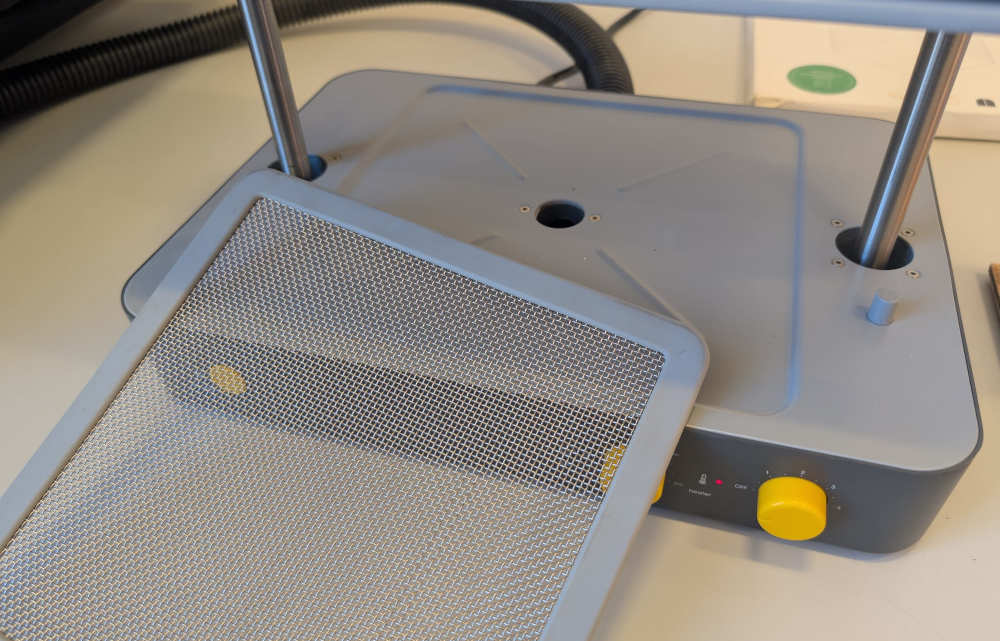
The machine has a hole at its base where a vacuum cleaner is connected and will suck the air out of.
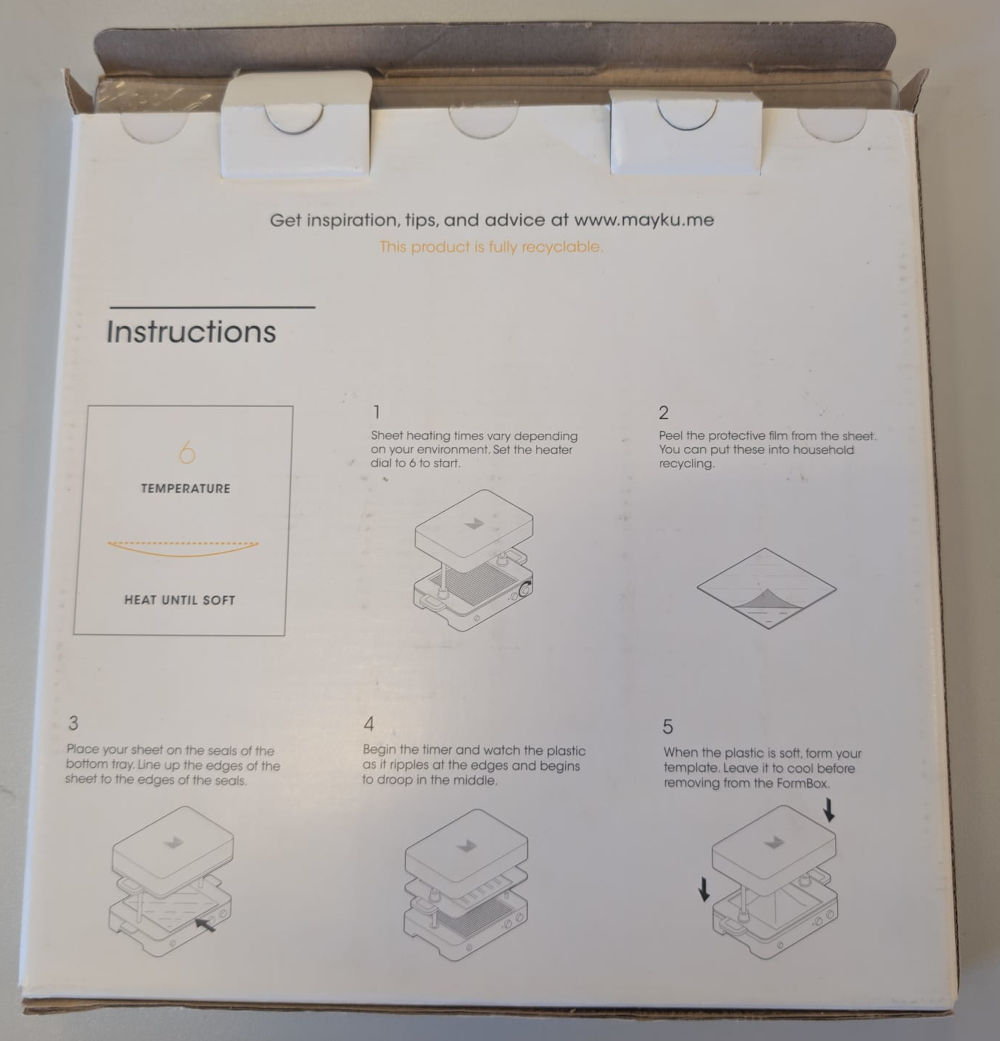
The mold is made of a simple plastic sheet by the same manufacturer of the FormBox, its parameters and instructions at the back are important to configure the FormBox.

I first place the sheet on the first plate of the FormBox.

Then pull down the second plate to lock the sheet on place and connect the two plates together.
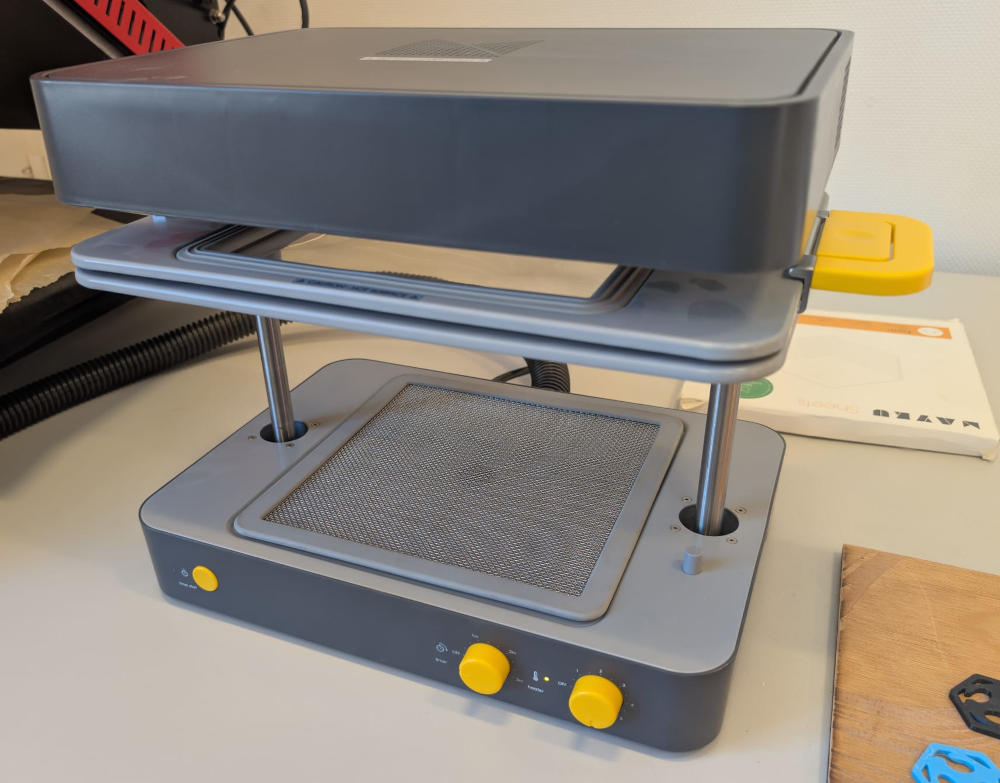
Then, I pull the two plates up so they are close to the warm parts of the FormBox (located on the top).
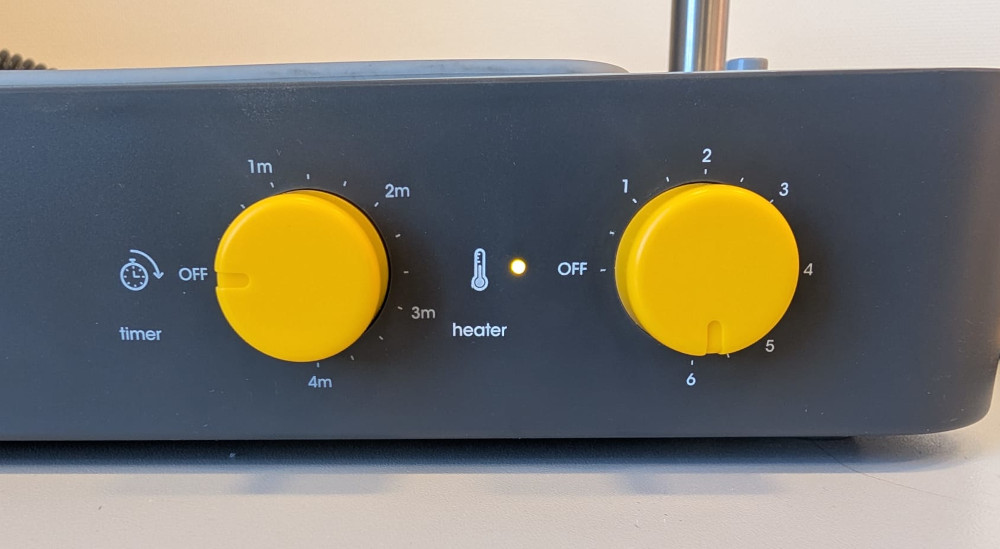
Here, I configure the FormBox with the correct parameters, in this case, I put the heat to 6 and I don't need to touch the timer.
Now, I just wait for the plastic sheet to be soft (becomes curved) like the instructions at the back of the plastic sheets box says.
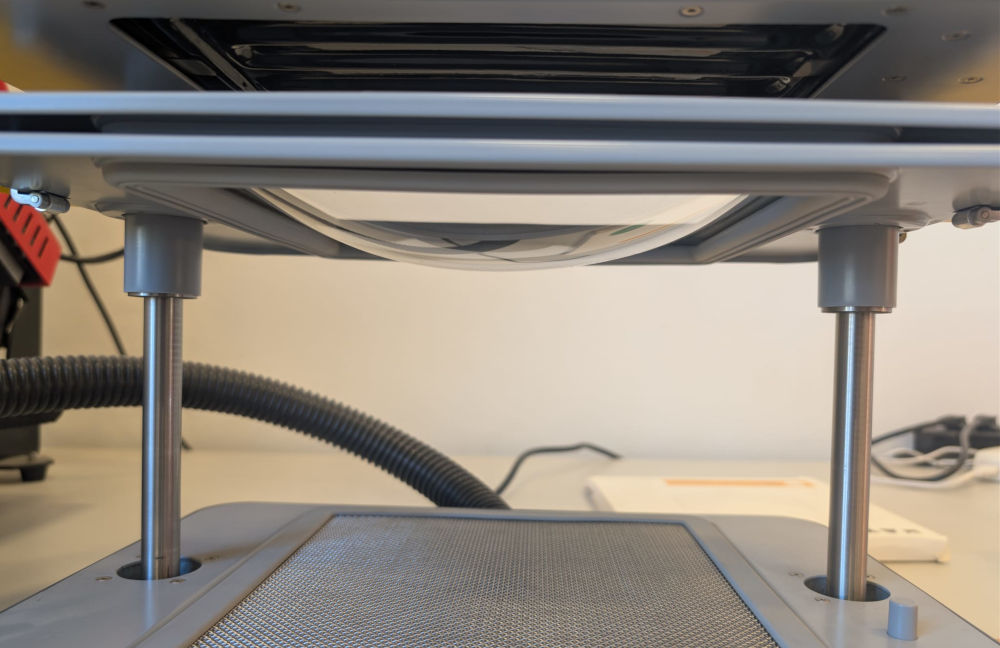
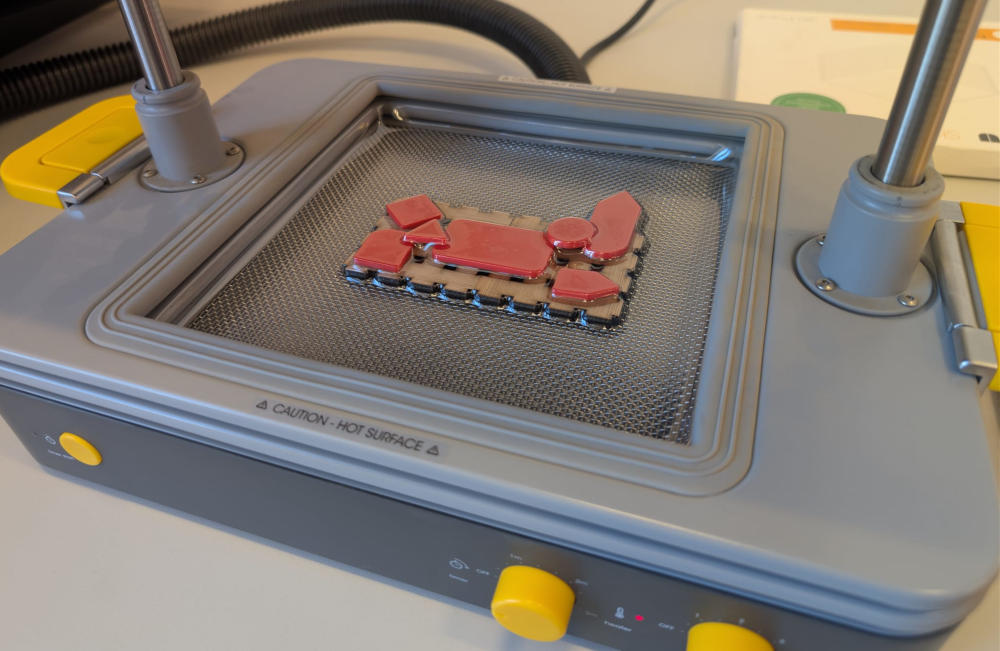
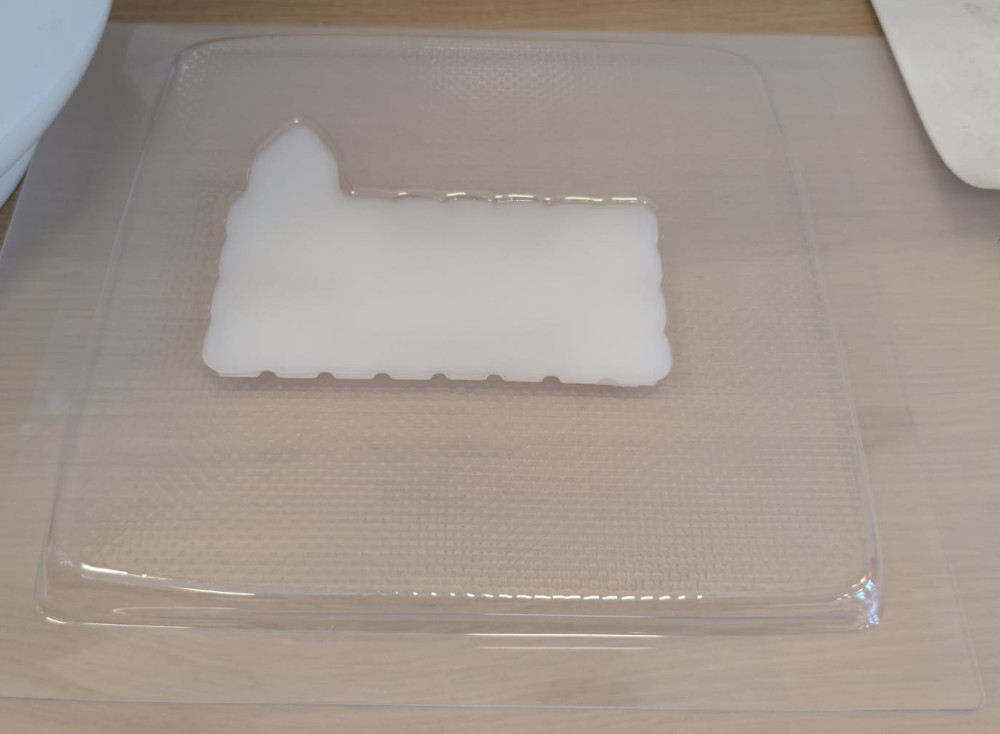
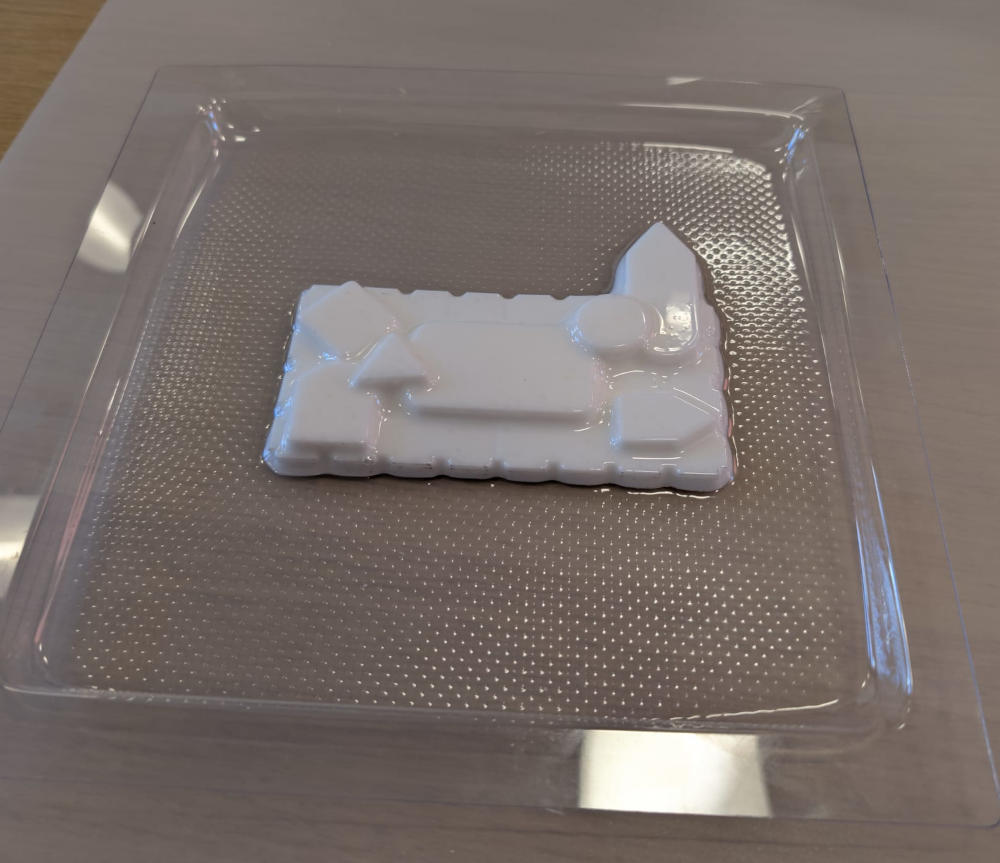
Finally, I can put my model at the base, turn the vacuum cleaner on and pull the two plates down to create the mold and wait a few seconds.

(Assembly I found on Patrick's desk)
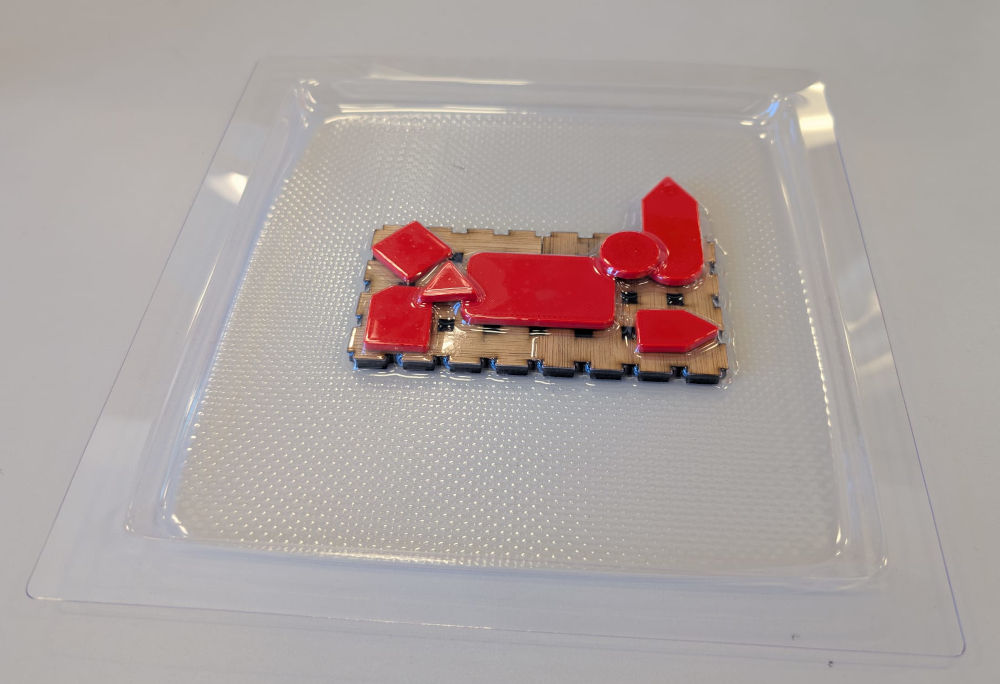
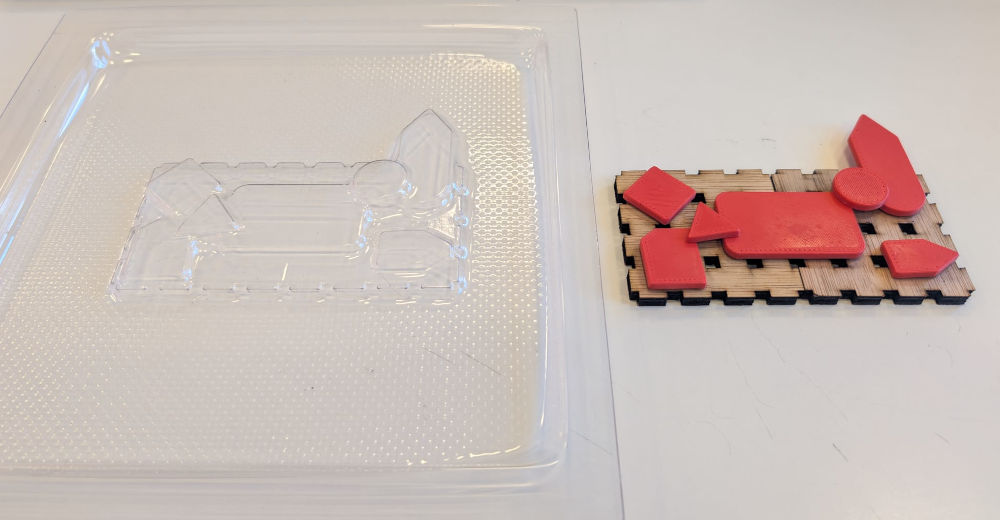
Here's the final result :
-
3D
I'll make the 3D mold with autodesk Fusion and a model found online.
The model I chose is from Thingiverse by Krashl, it comes from a video game I love called The Binding Of Isaac.
To create the mold, I'll insert the model in Fusion, modify it, put it inside a square and do a difference to only have the square with a hole of the model inside and finally add a hole for the cast material to go through and split it in two to facilitate its removing.
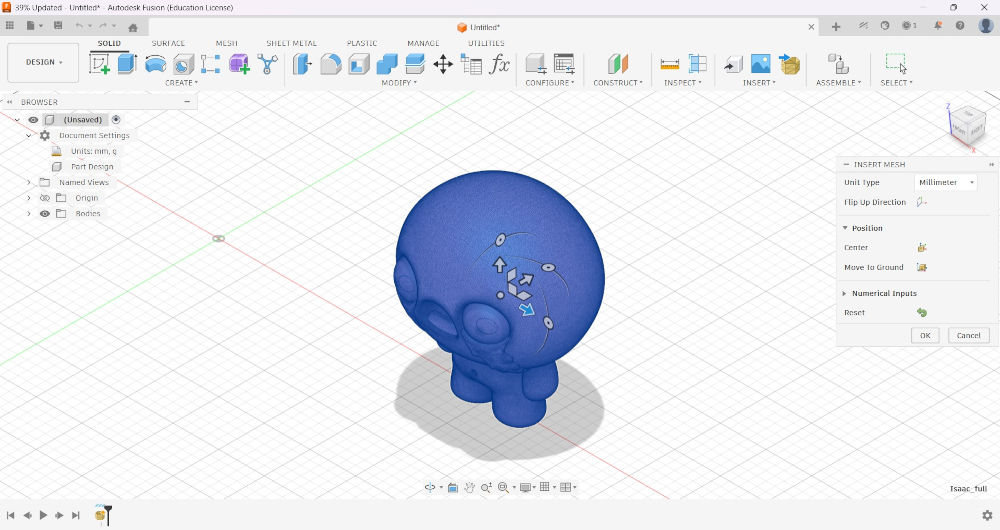
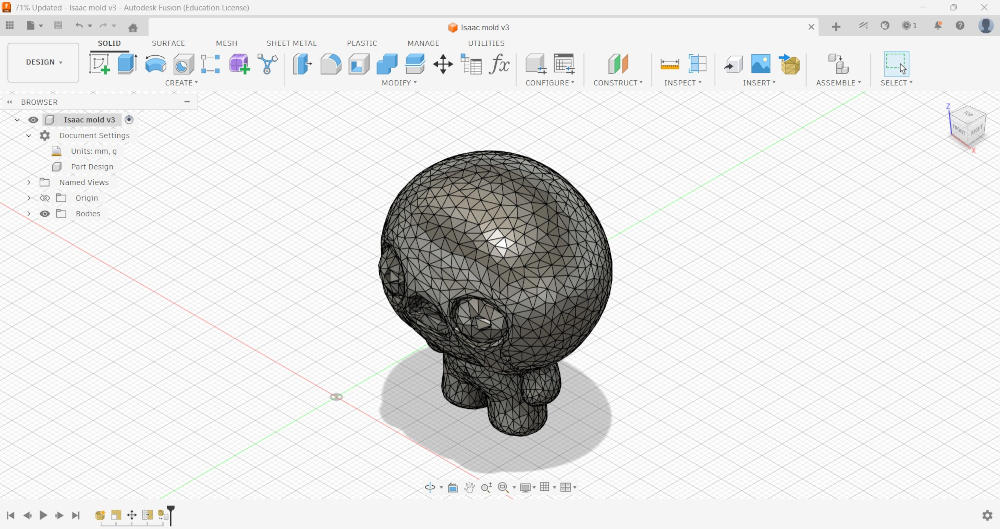
I first insert the STL model in Fusion : SOLID ➜ INSERT ➜ Insert Mesh.
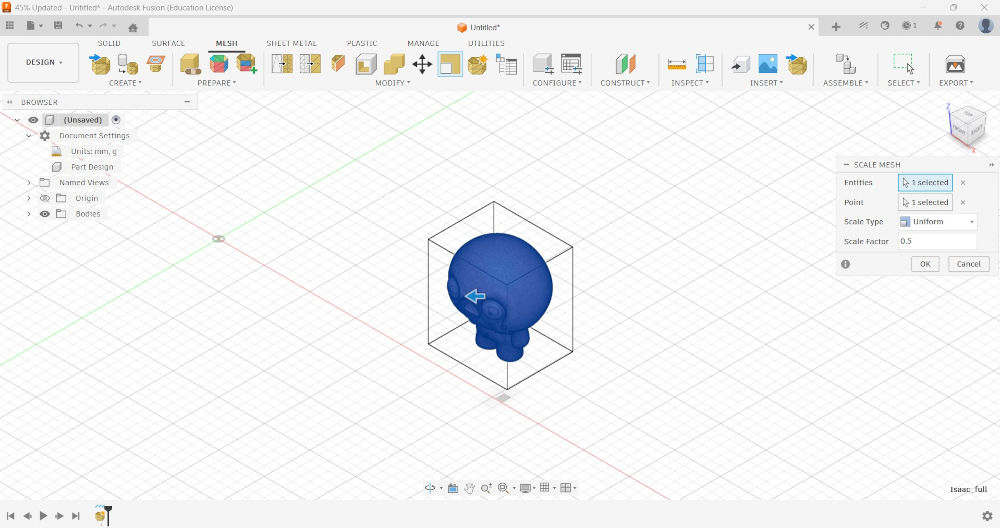
Since the original model is a bit too big, I'll scale it by half : MESH ➜ MODIFY ➜ Scale Mesh ➜ Scale Factor : 0.5.
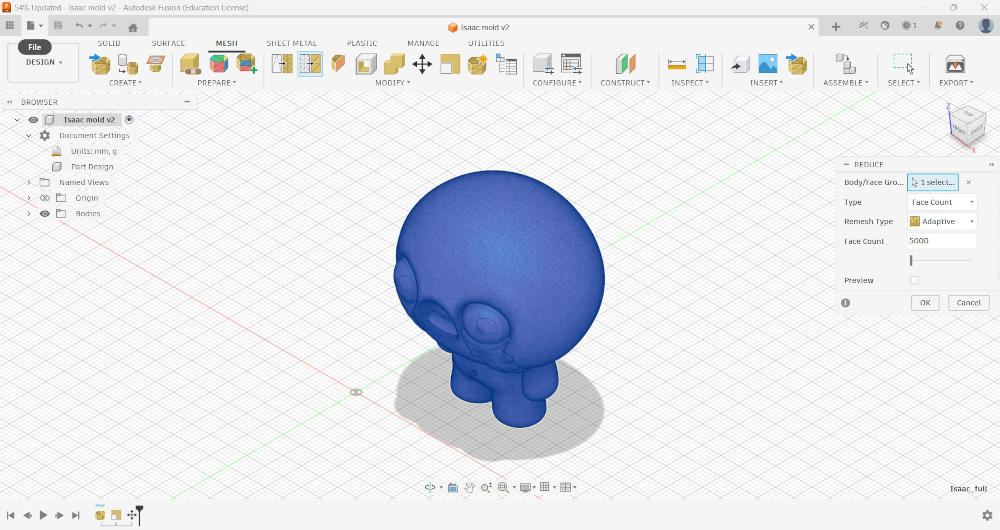
Since the original model also has too many faces, I'll reduce them : MESH ➜ MODIFY ➜ Reduce ➜ Face Count : 5000.
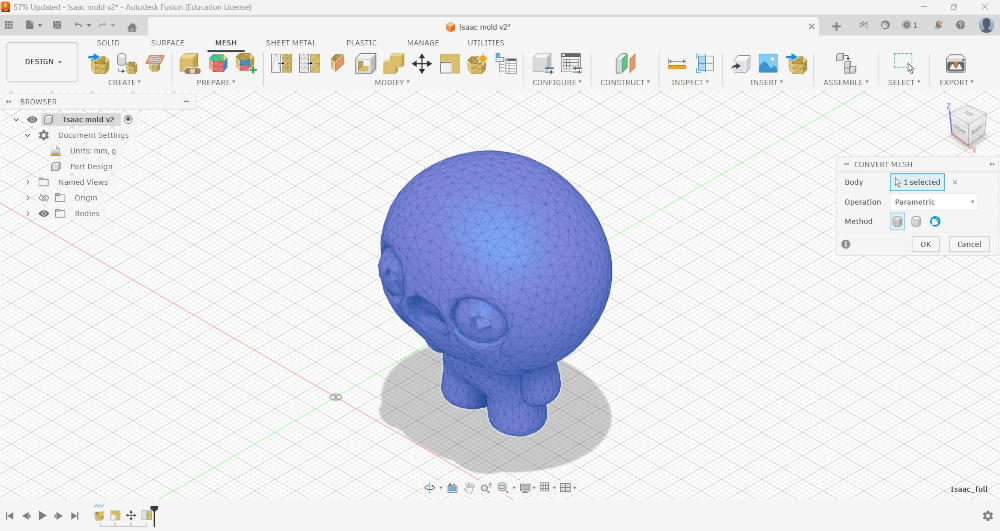
I can now convert the mesh into something I can modify : MESH ➜ MODIFY ➜ Convert Mesh.
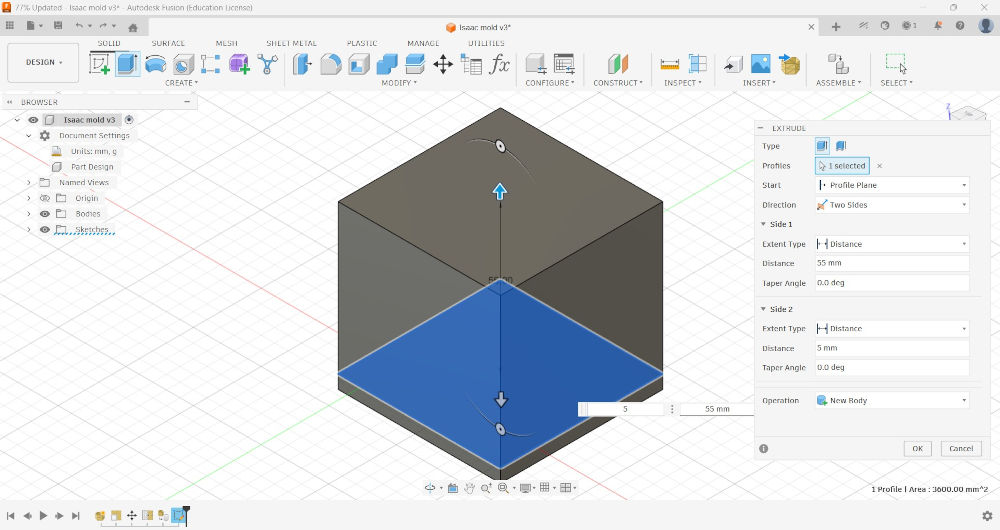
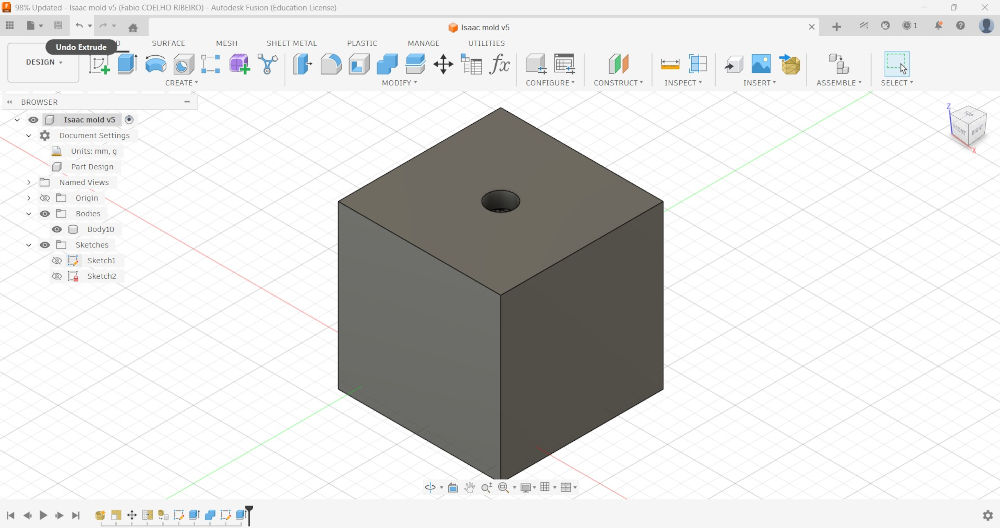
Now, I draw a square around my model that will serve as a mold.

I extrude the square above and under.
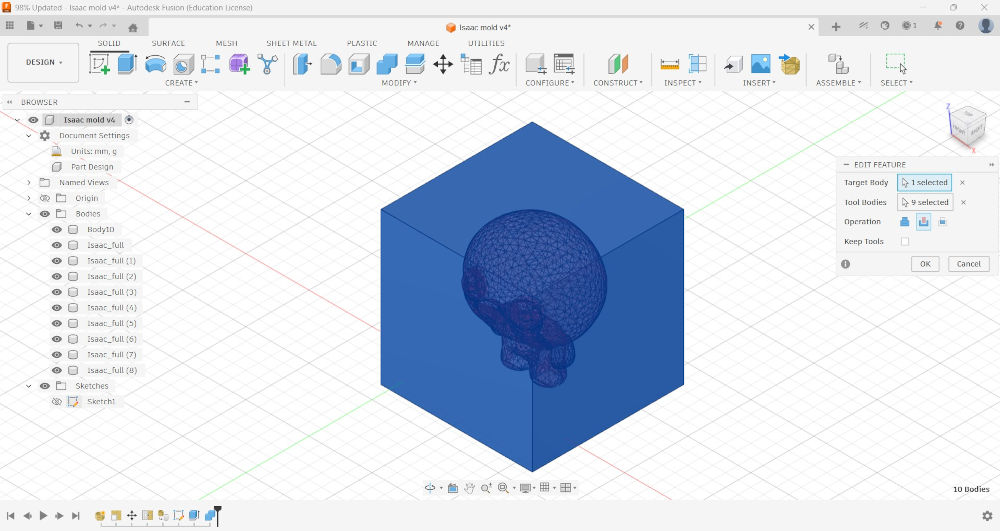
I now do the difference to have a square with a hole of the model : SOLID ➜ MODIFY ➜ Combine ➜ Target Body : Square ➜ Tool Bodies : Model ➜ Operation : Cut.
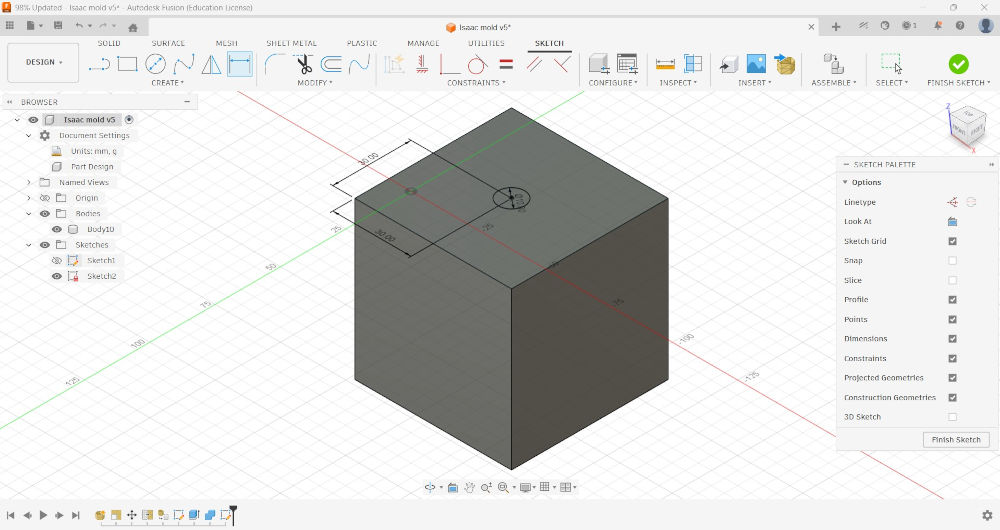
I do a hole on top where the cast material will be poured into.
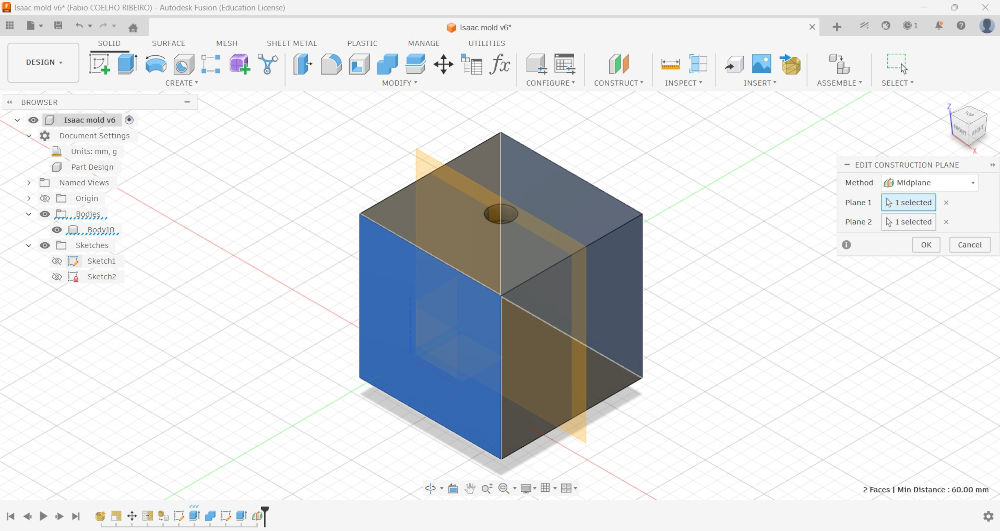
To split the model in two, I first have to create a plane in the middle of the square : SOLID ➜ CONSTRUCT ➜ Midplane ➜ Select parallel planes.
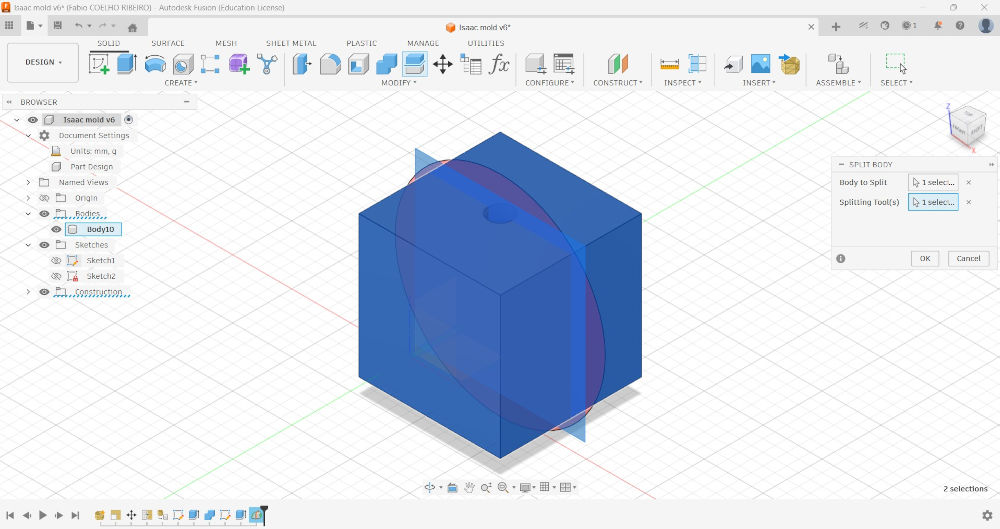
Then, to split the model in two : SOLID ➜ MODIFY ➜ Split Body ➜ Body to Split : Square ➜ Splitting Tool(s) : Plane.
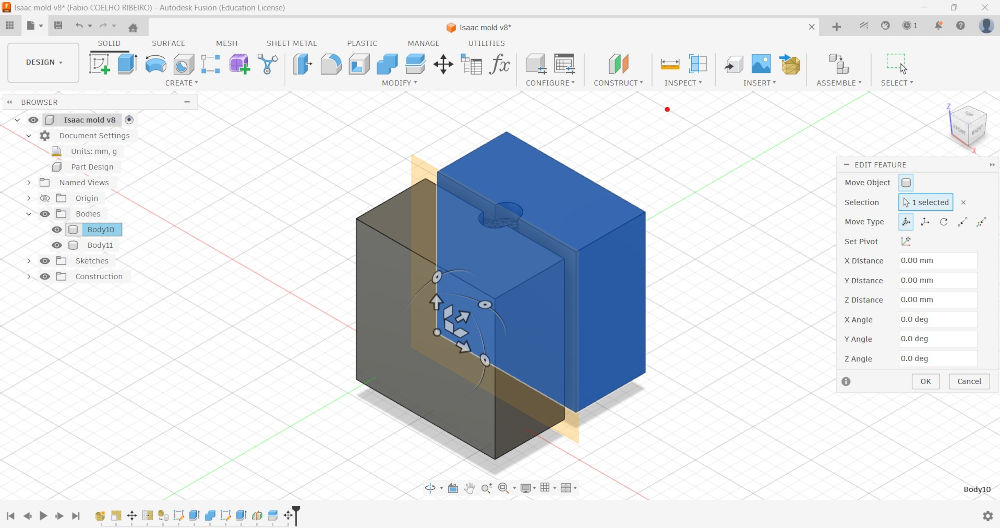
I then modify the position of one of the bodies to show that we have two bodies now.
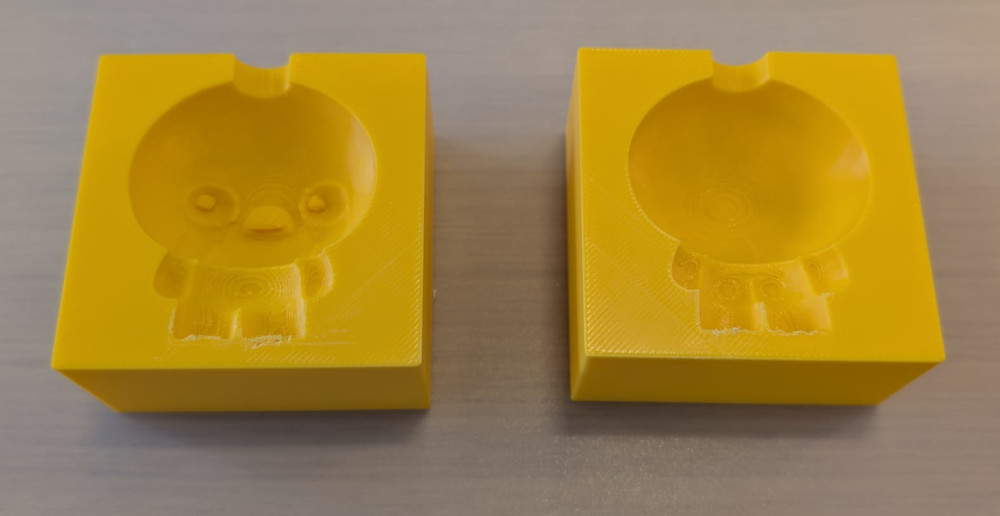
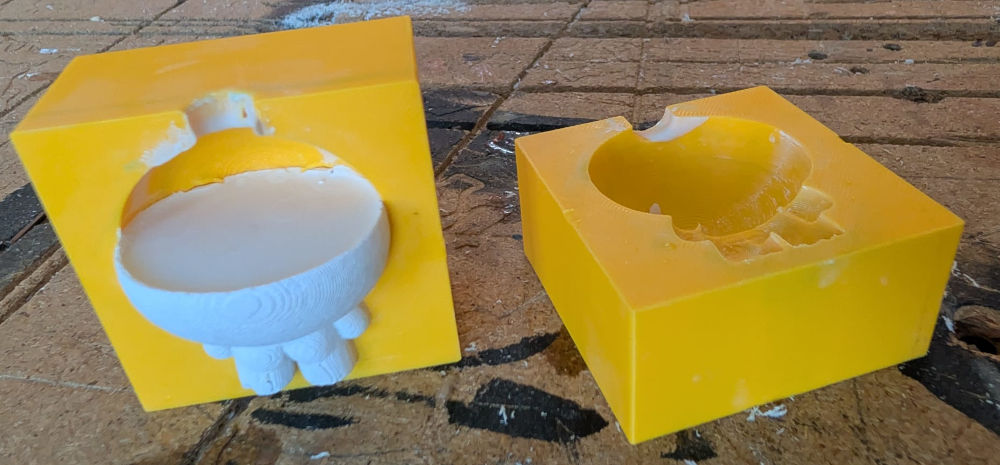
Here's the result in Bambu Studio :
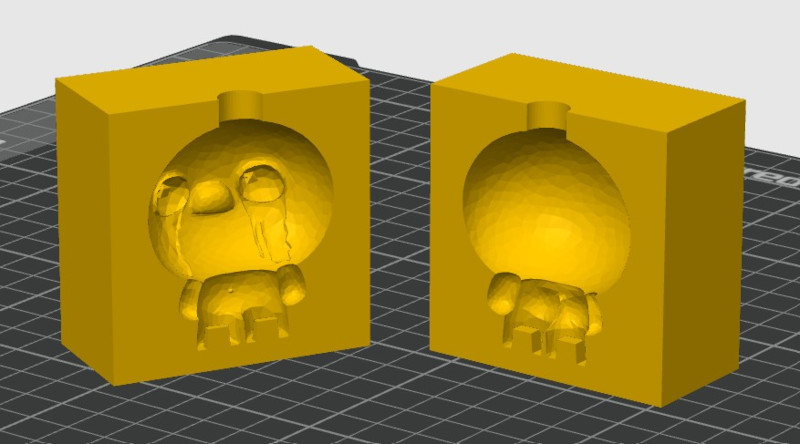
Here's the result after printing :

Casting
I'll try 3 different materials to make casts.
-
Smooth-Cast 305 with FormBox mold
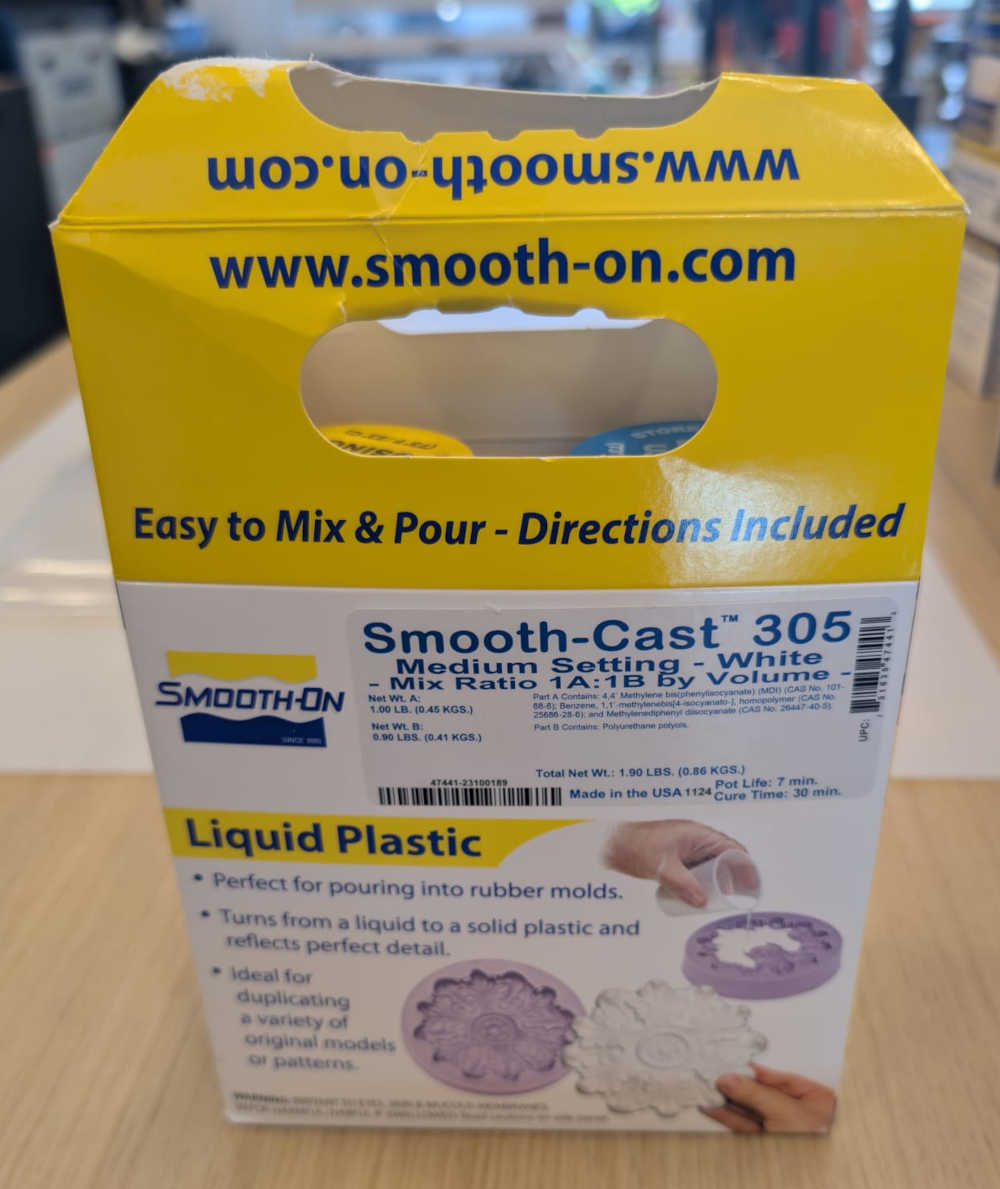
Smooth-On is a manufacturer that proposes various molding and casting materials, each with different characteristics.
I'll try their Smooth-Cast 305 material which is easy to mix, virtually bubble free and has a big hardness.
Its datasheet contains more characteristics as well as recommendations for mixing, usage and safety.
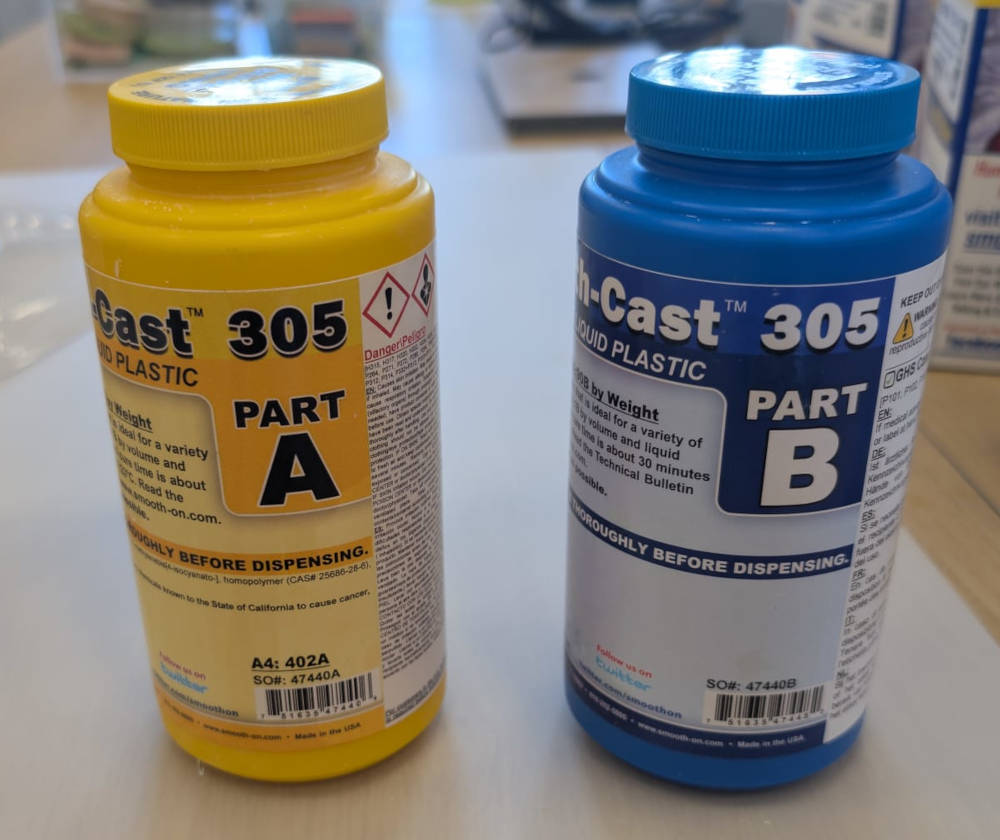
The package contain 2 bottles : Part A and Part B, I simply have to mix them together with the correct ratio and pour the solution in a mold.
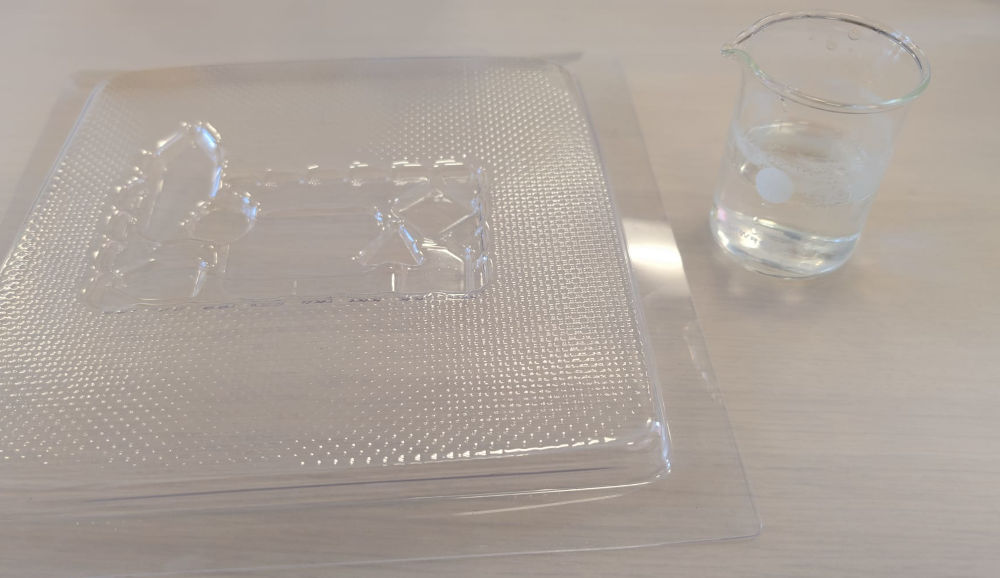
The first test will be made with the mold I made with the FormBox.
To mix with the correct ratio, I use a measuring cup filled with water, the datasheet explains I need a ratio of 100A:90B.
Here's a video of me mixing the bottles content together and pouring it into the mold :
(Video speed : x2)
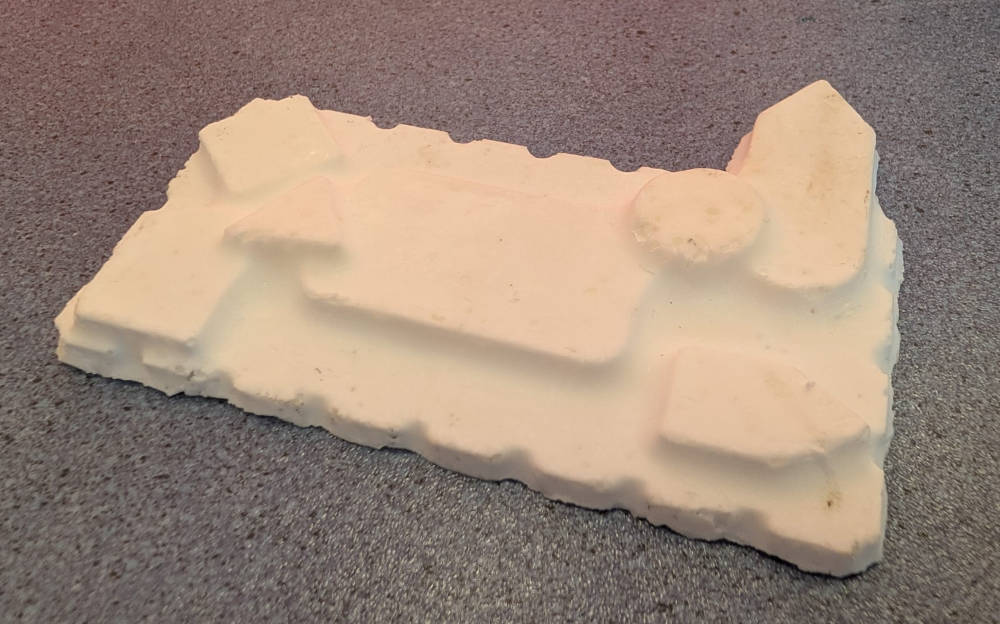
Now that the solution is poured into the mold, the datasheet explains I have to wait 30 minutes for the cure to be done but just to be sure, I waited 1 hour before recovering the cast.
I forgot to apply a release agent to facilitate demolding which took some time to remove the cast.
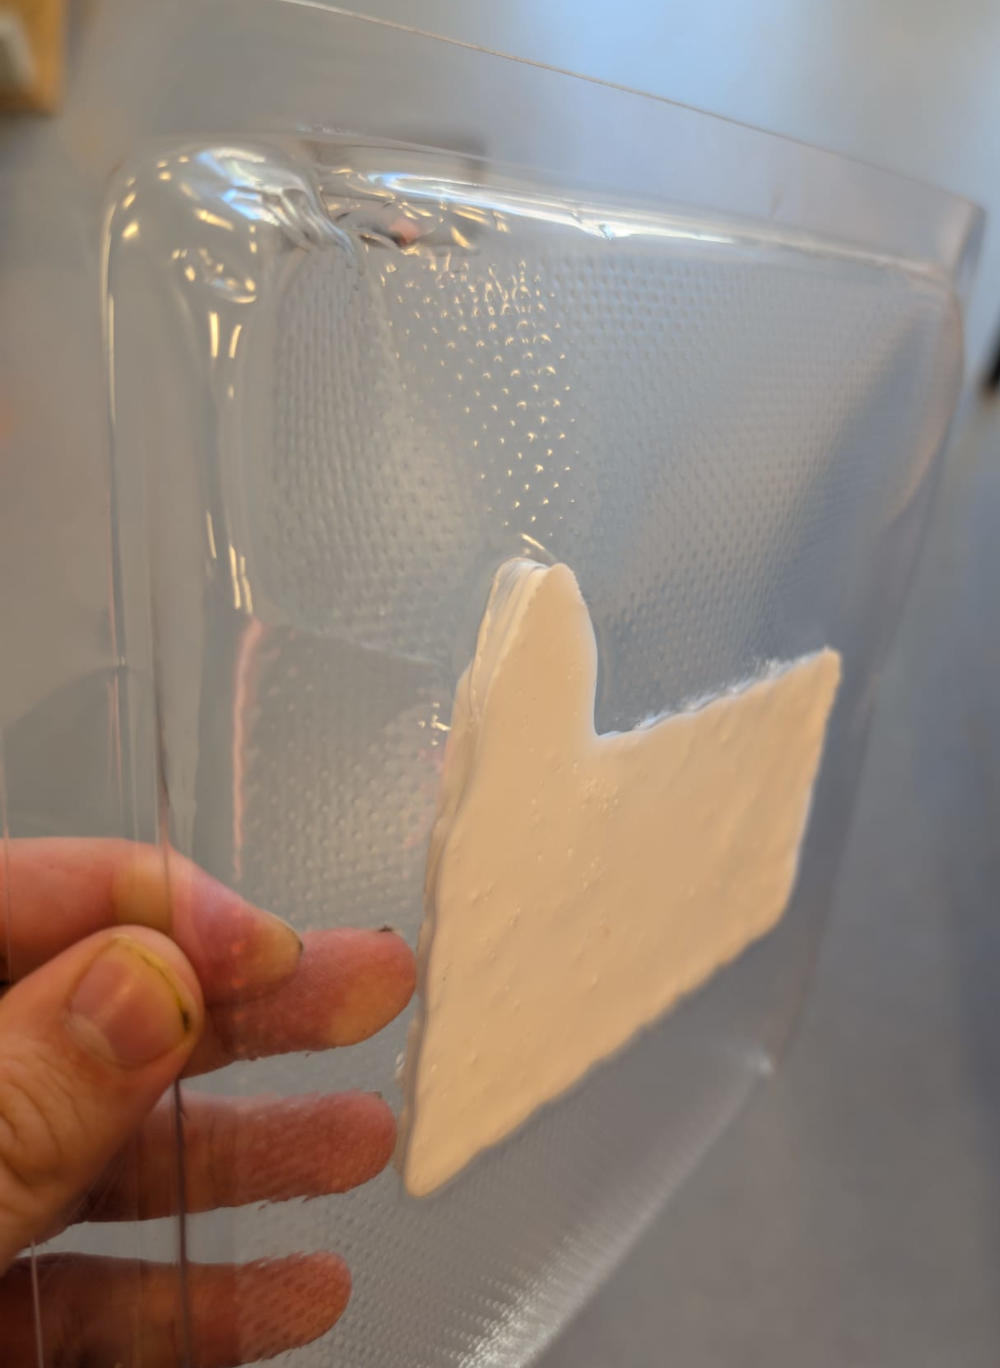
The result is a hard cast with a look close to the original model :
-
Smooth-Cast 305 with 3D mold
For this test, I'll try the same material but with the 3D mold I made.
This time, I'll apply a release agent to easily remove the cast.
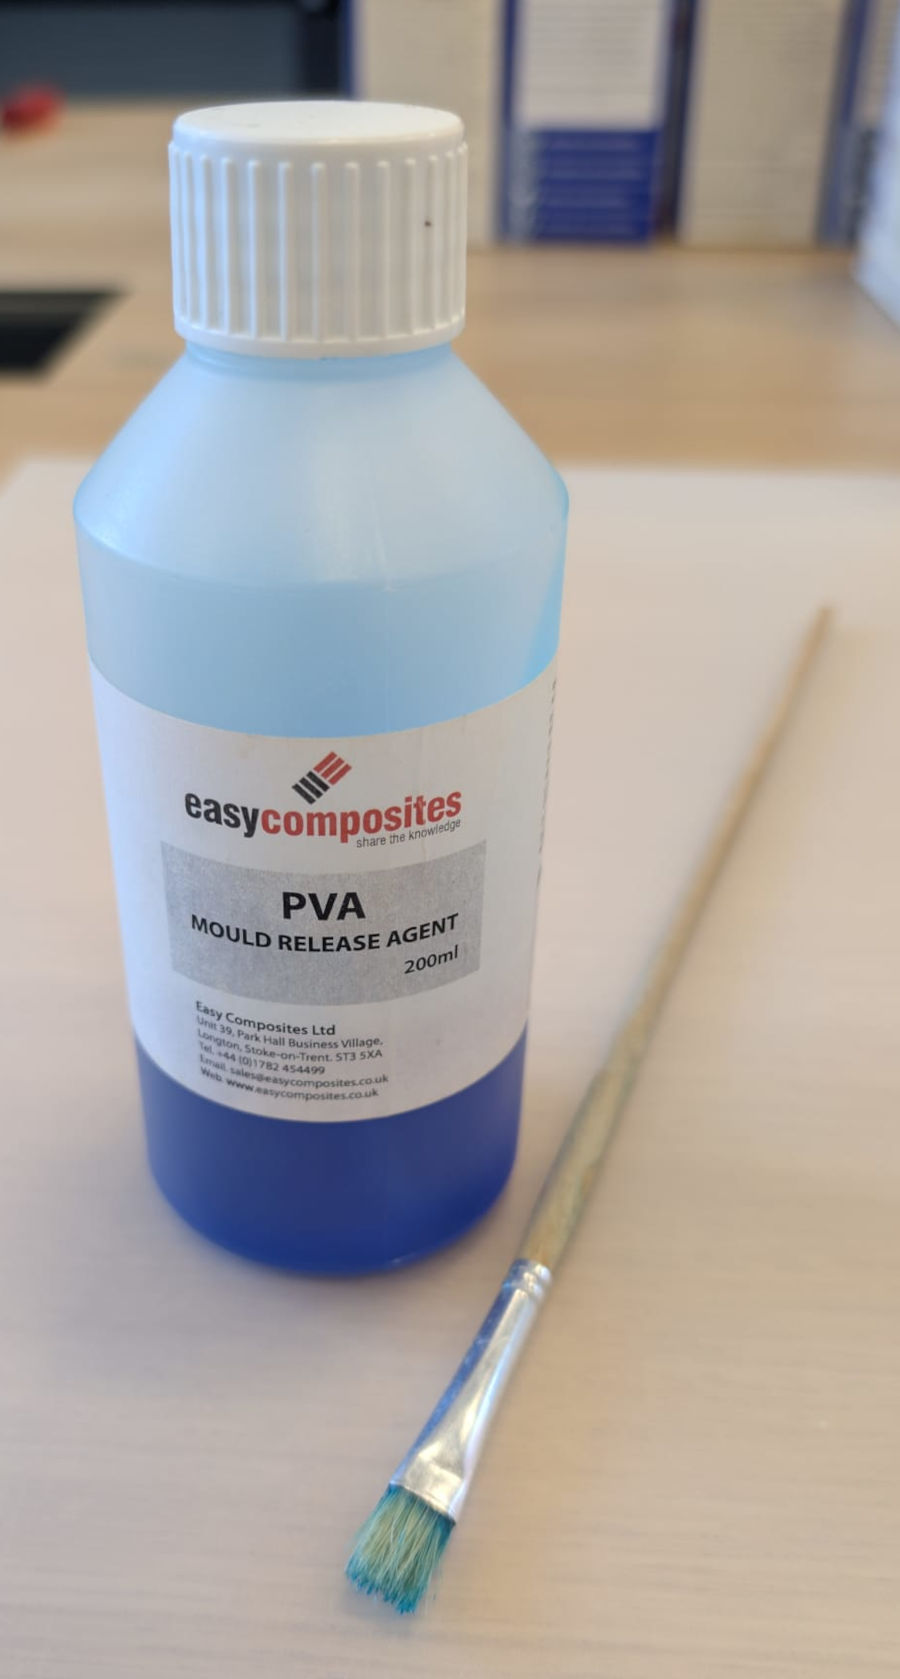
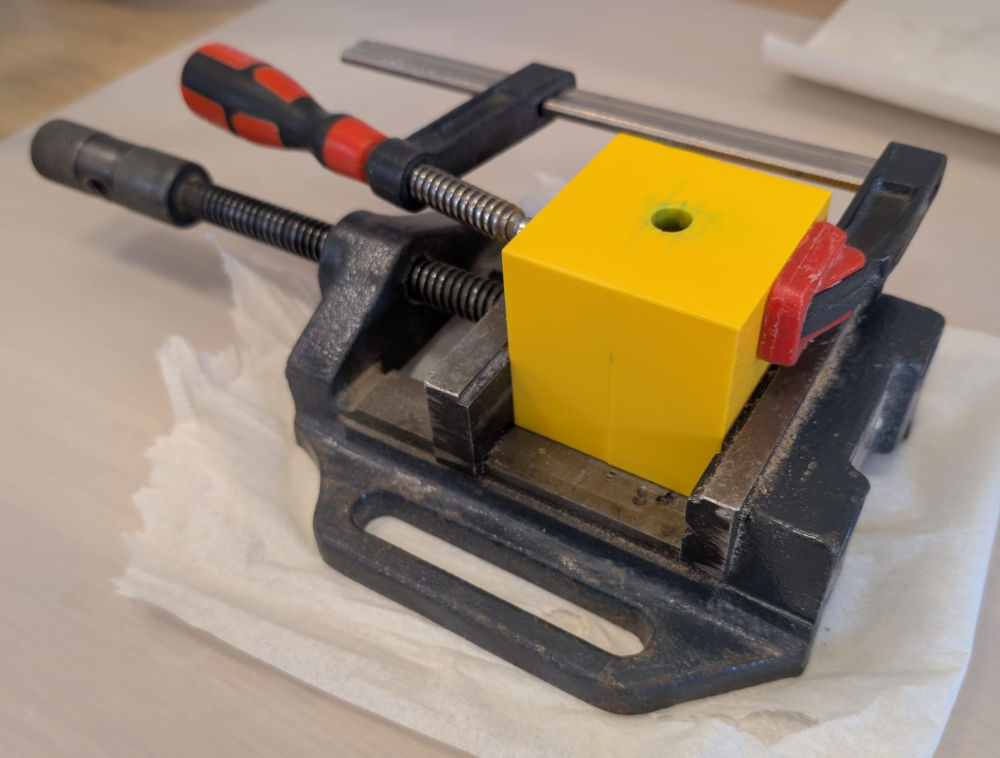
Now, I find a way to fix my mold on the spot and pour the solution through the hole.
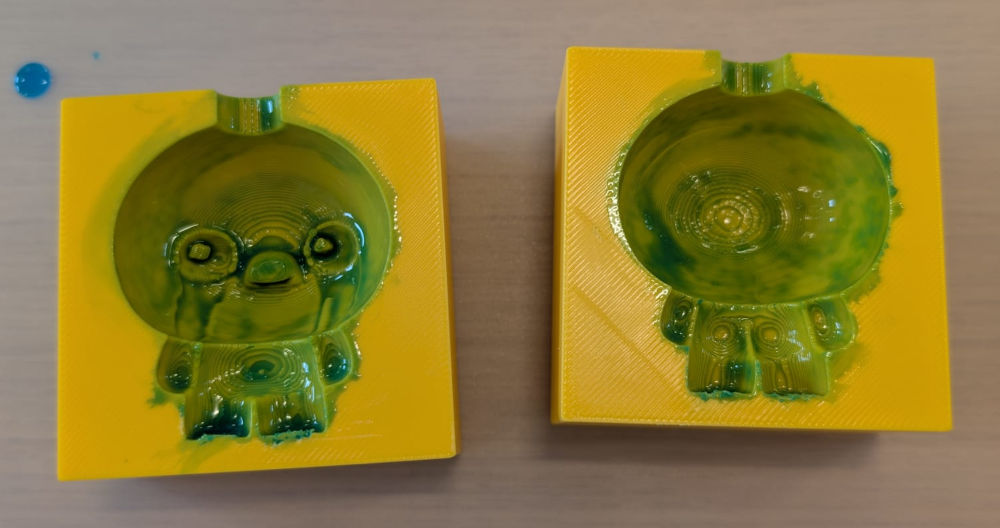
At some point, my cast had a weird chemical reaction but nothing to worry about.
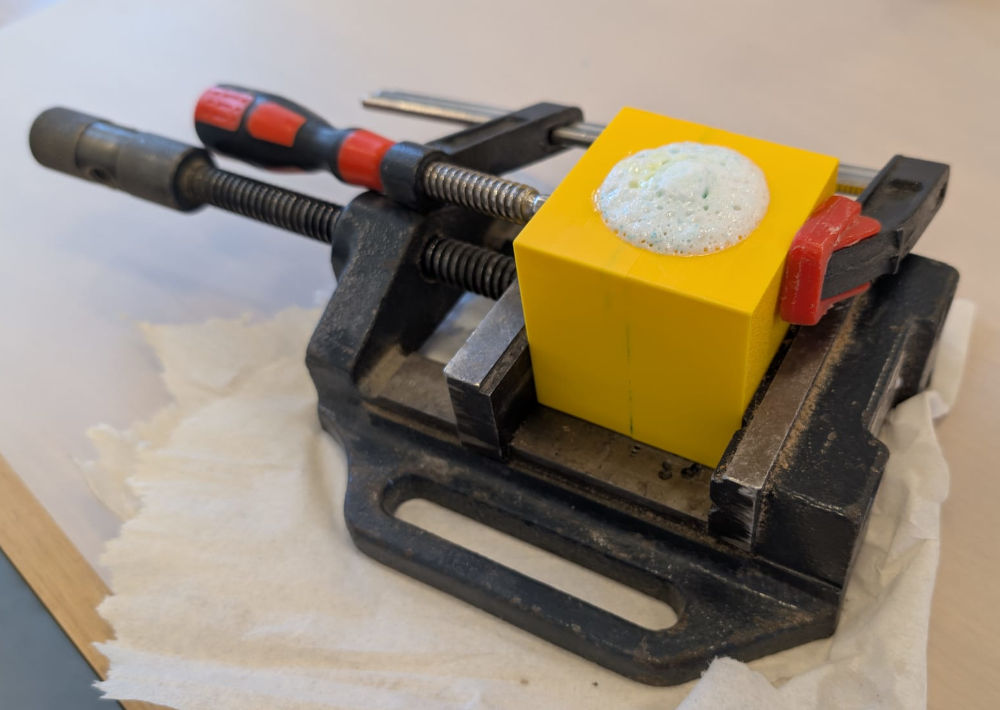
After ~1 hour, I open the mold with a screwdriver and a hammer and it opens up really easily.
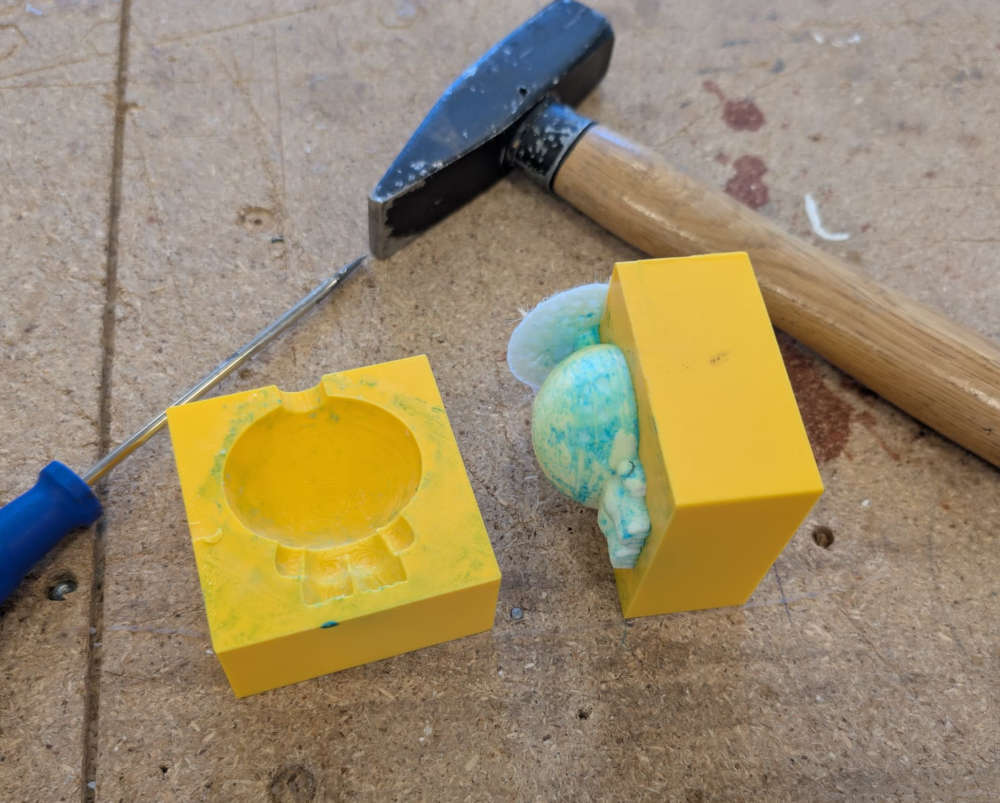
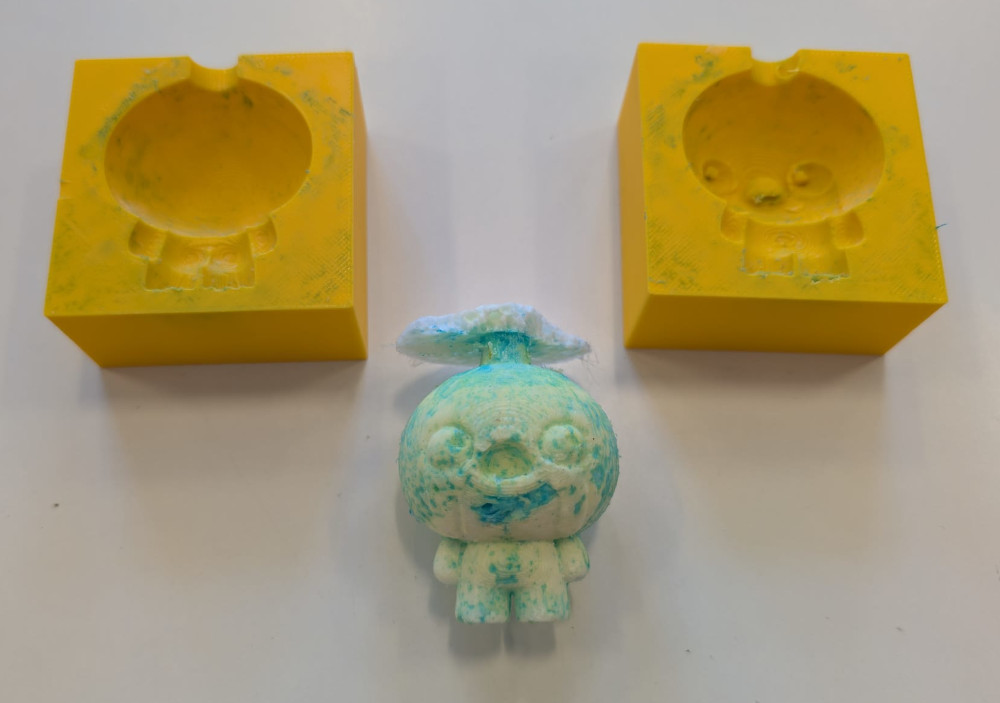
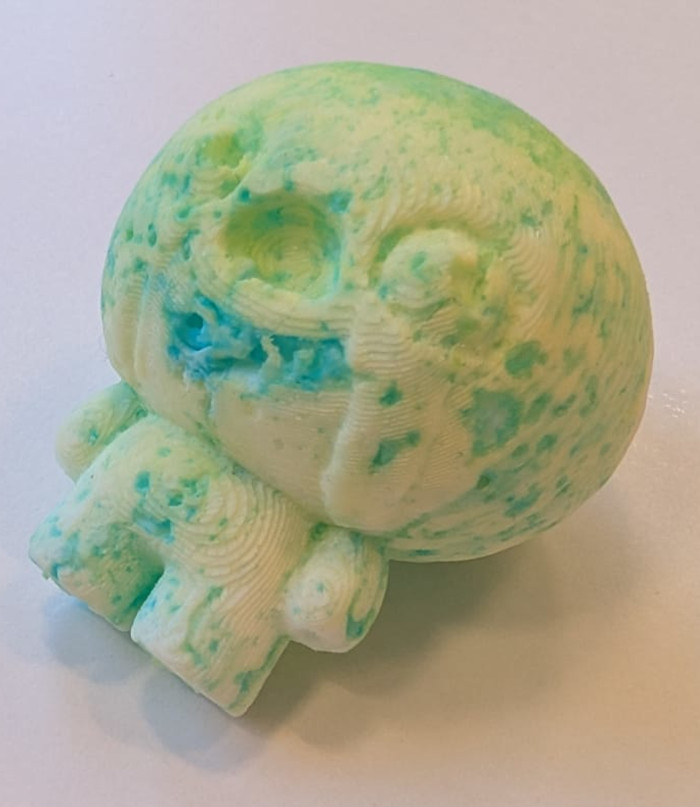
The cast looks good but a bit weird and deteriorated, I'm not exactly sure why, maybe I should have waited for the release agent to dry a bit.
-
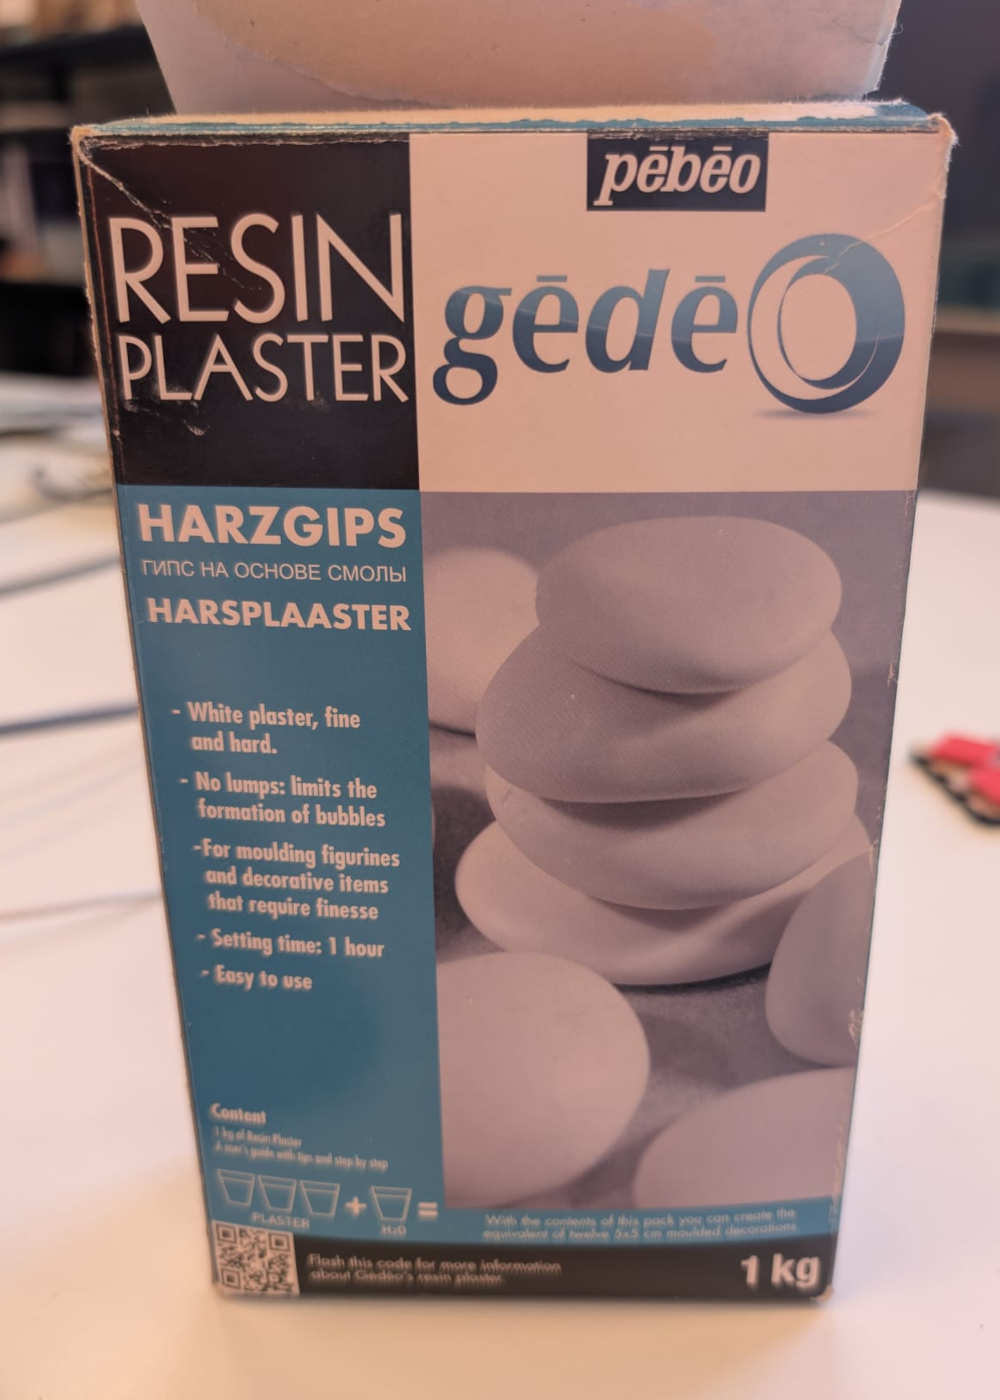
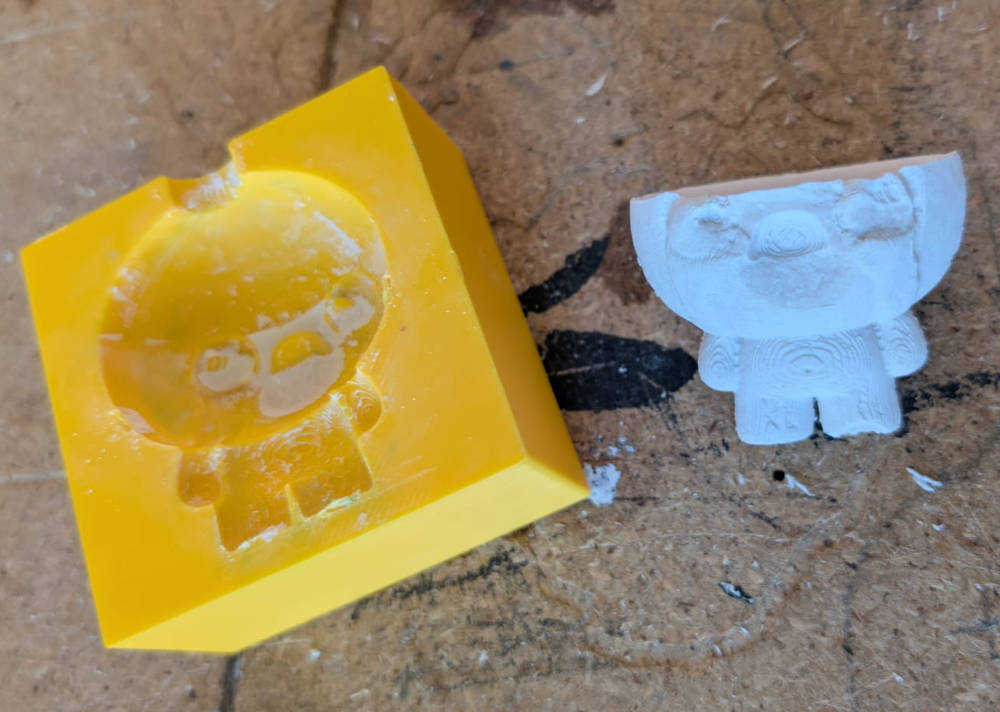
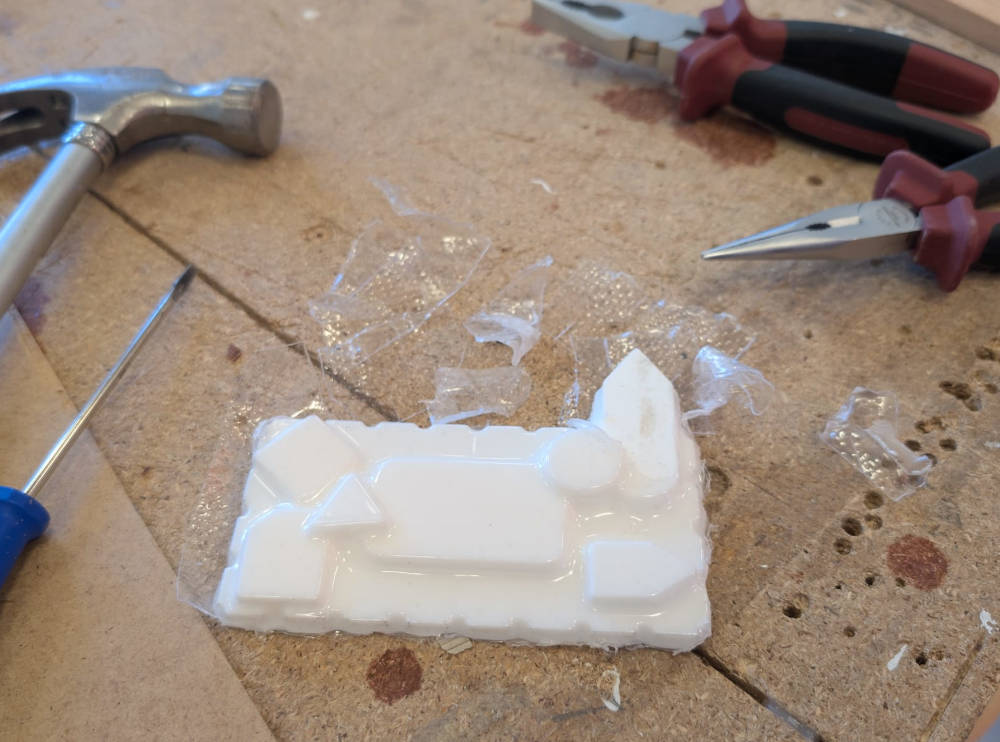
Plaster
I'll try a different material and manufacturer this time, it is plaster by Gédéo and I'll use the 3D mold again.
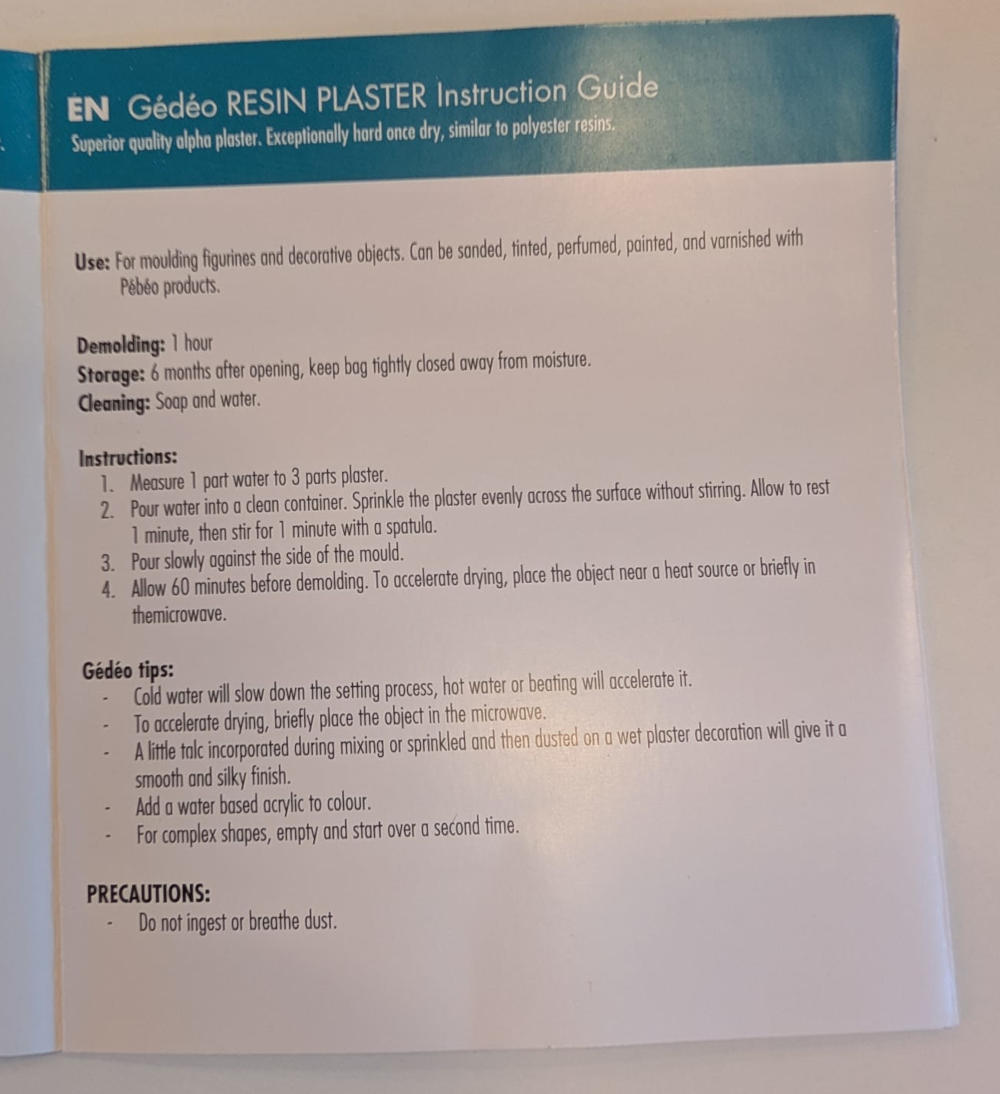
(Instructions)
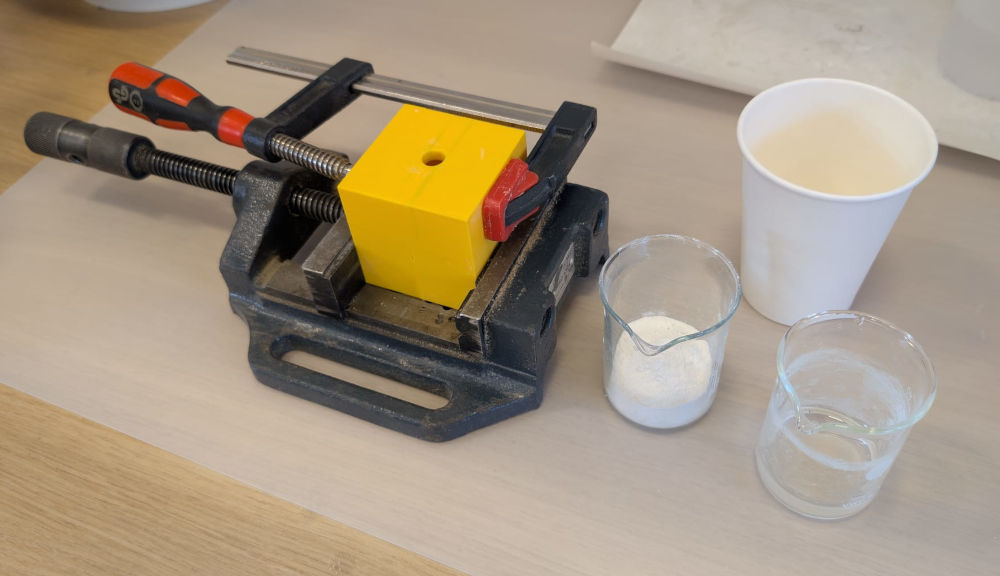
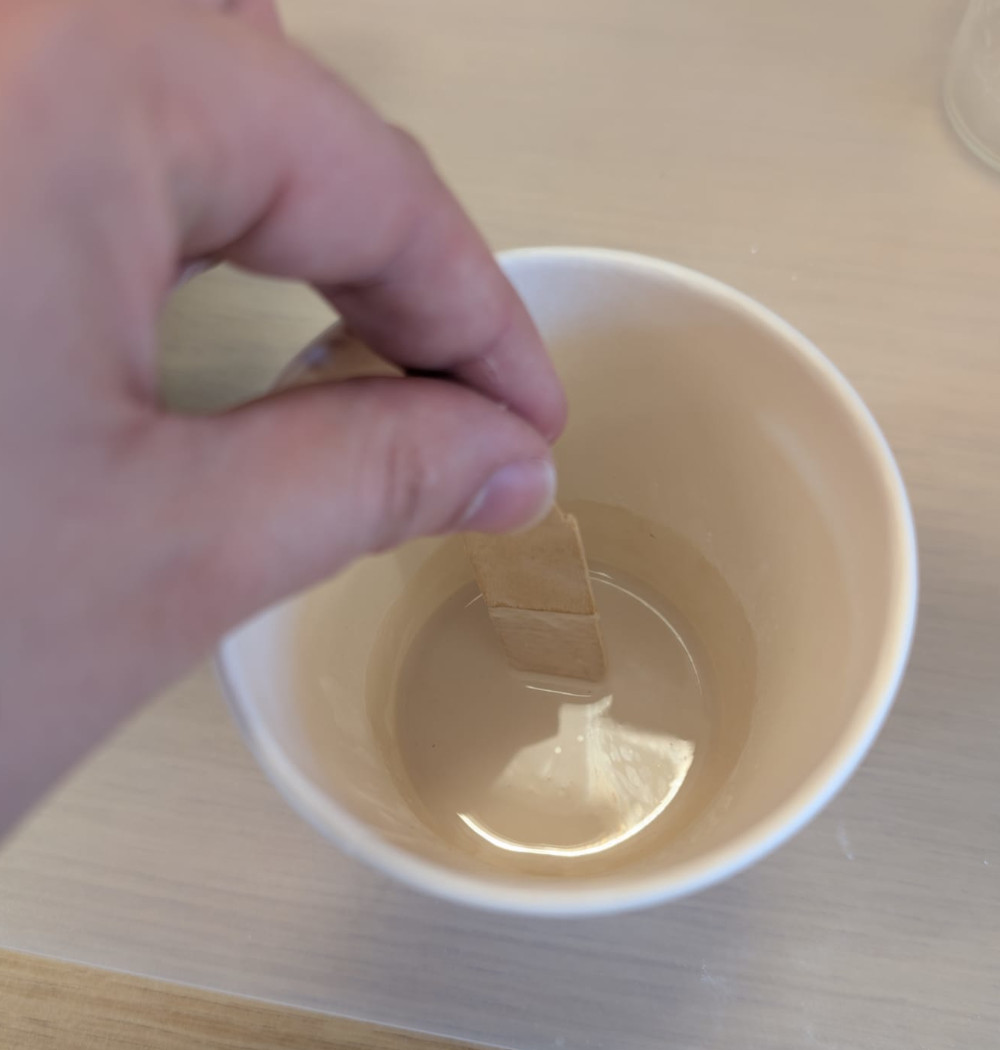
I use a spoon to fill the mold to know the quantity of plaster I need.
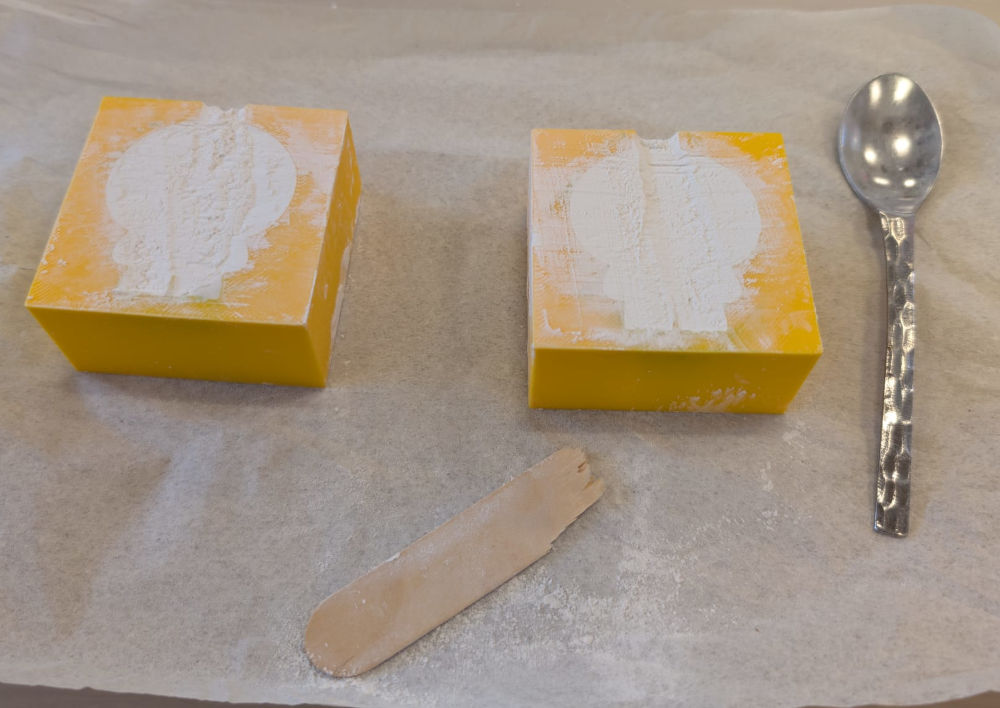
Once everything is ready, I can mix, stir and pour.
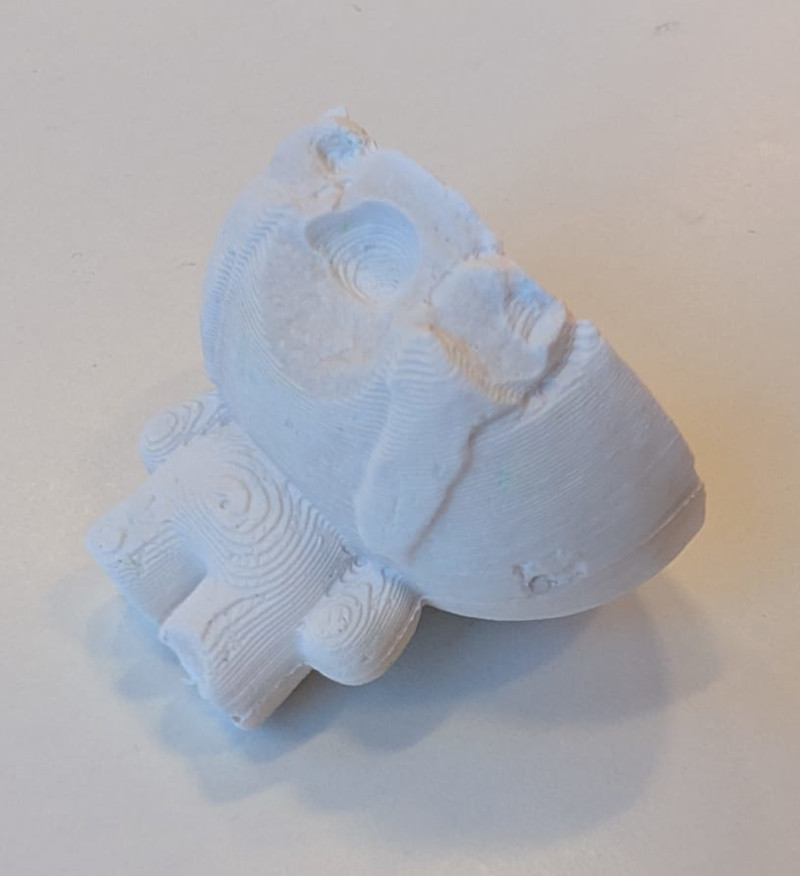
For this material, I had to wait 1 hour for the cure. The first mold piece was easy to take off but the second one slightly damaged the cast. Also, from the look of it, I didn't add enough plaster or my weighting was wrong.
-
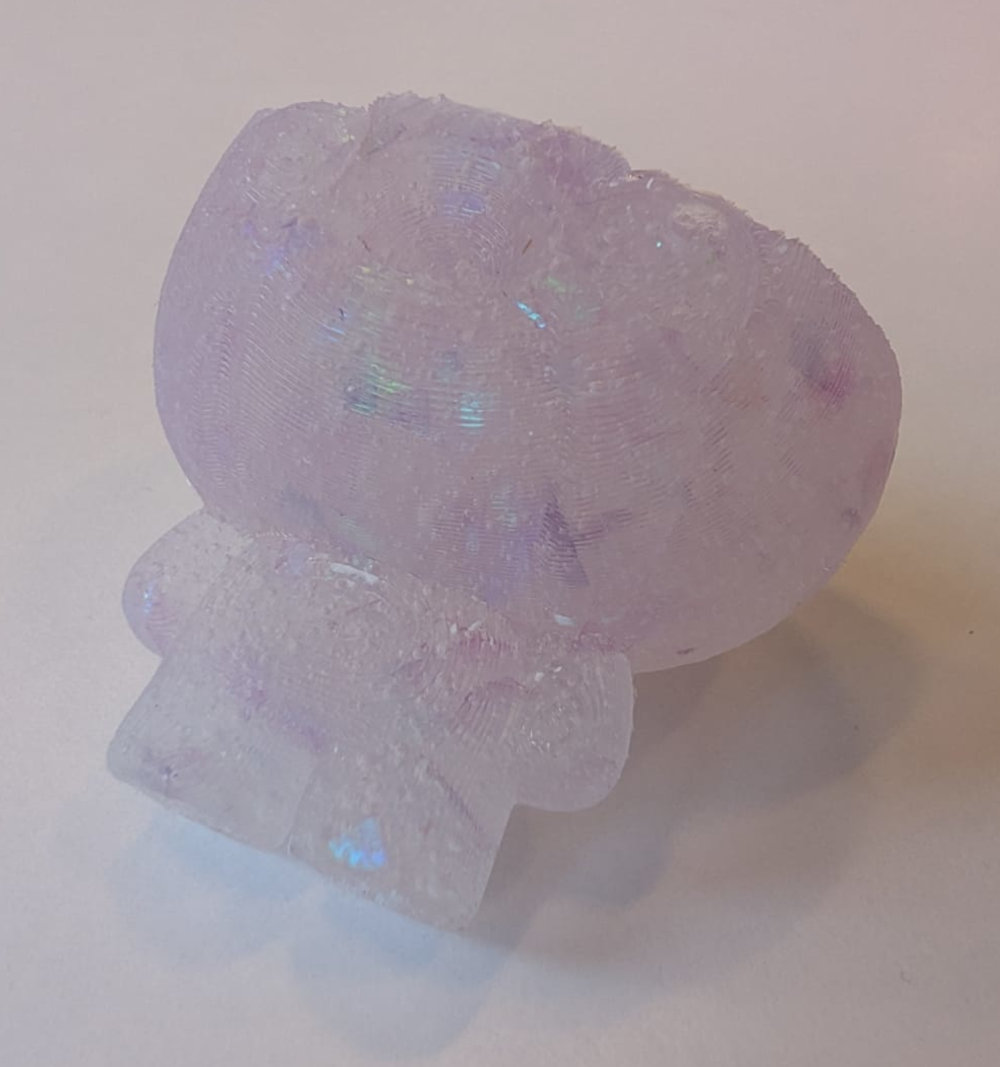
SORTA-Clear 37 with 3D mold
Let's go back to Smooth-On's products, this time, I'll try a more flexible and soft material, the SORTA-Clear 37 (datasheet).
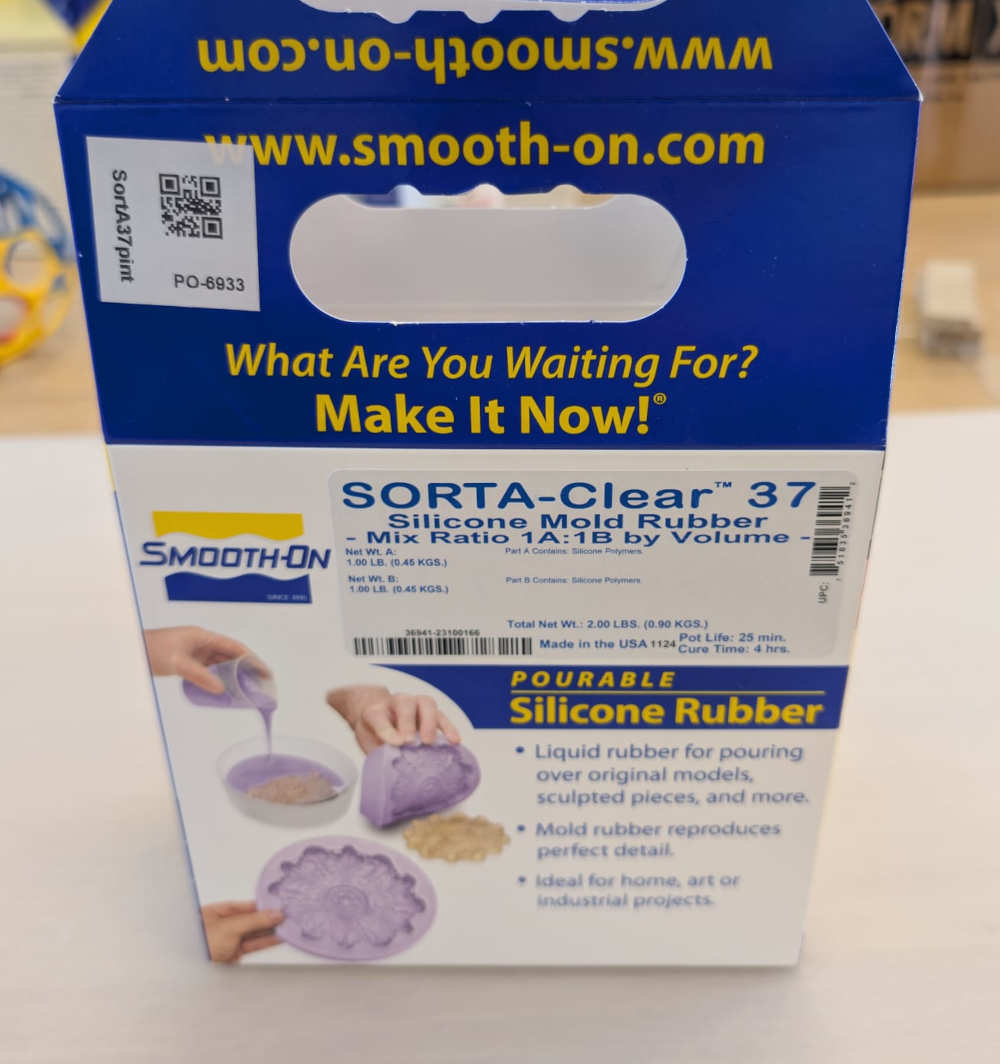
I know, due to our group assignment, that this material is transparent so I decided to add glitter to add a nice effect and coloring.
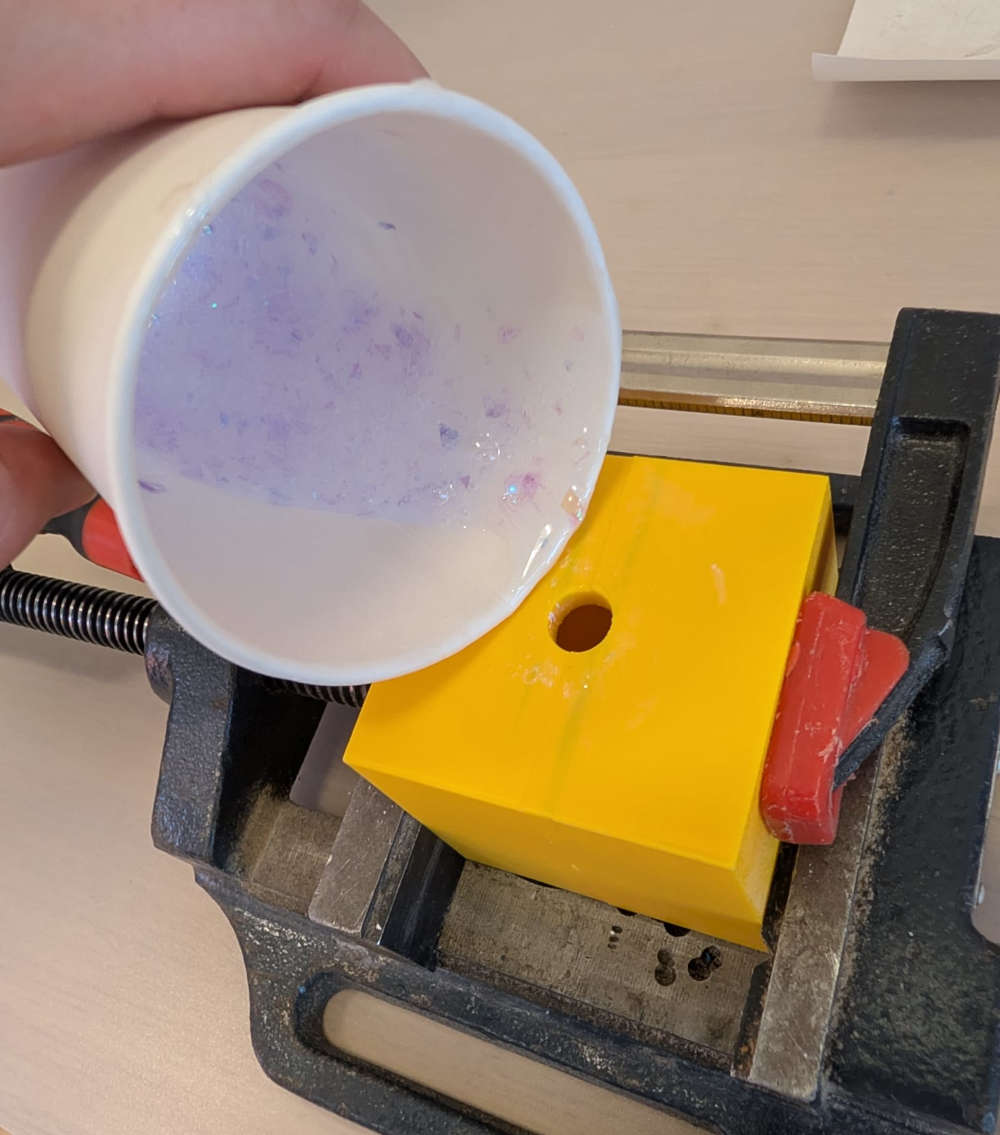
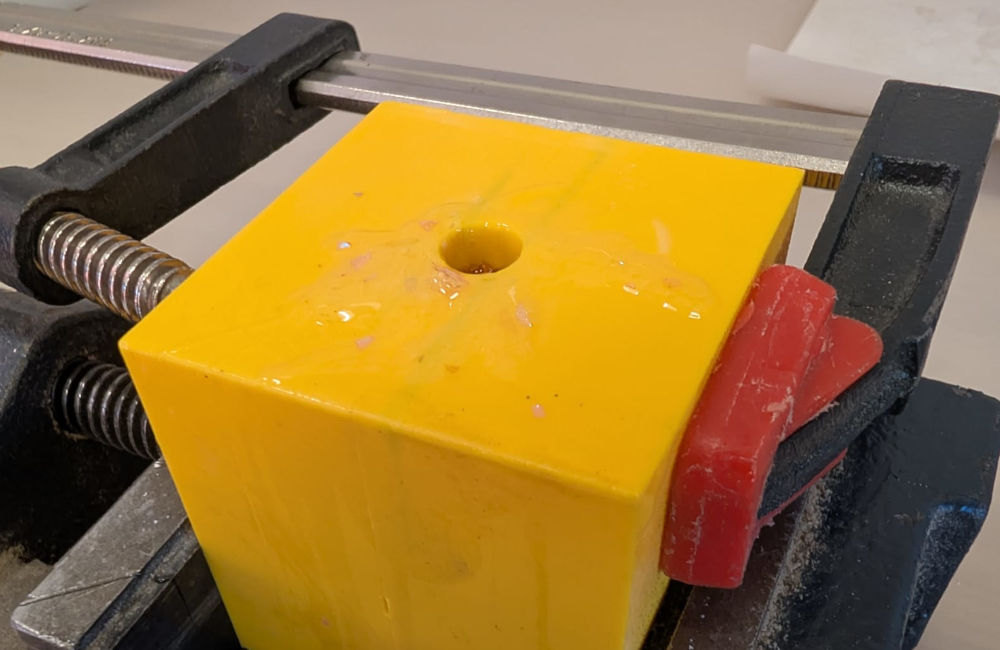
Since the solution is more rubbery than the previous ones, pouring it through the hole was a bit hard and led to a messy workspace.
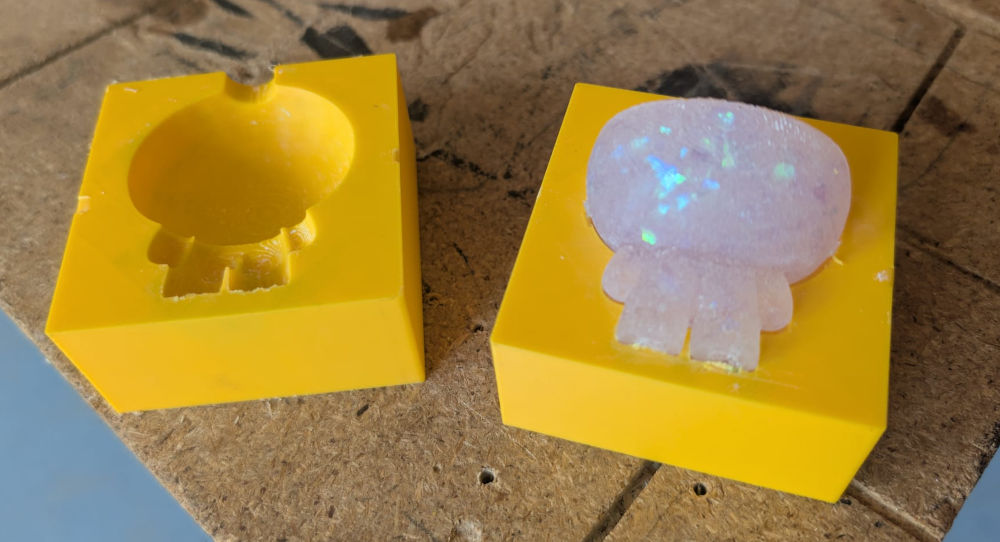
For this material, I had to wait 4 hours for the cure to finish. It was really easy to remove the cast from the mold.
Problem(s) met
-
Smooth-Cast 305 material
The datasheet explains I should use a release agent before pouring the solution to facilitate demolding, I forgot to apply it which took longer and a bit of pain to remove the cast.
I struggled and used many tools to remove the cast from the mold, I even damaged the cast a bit but managed to take the rest of the plastic sheet that was stuck.
-
Solutions ratio
For the tests with the plaster and the SORTA-Clear 37, the casts were missing their top which means I didn't add enough of the solution in the mold, probably a weighting error.
Useful file(s) (Click to download)
- 3D mold (Autodesk Fusion)
Assignments checklist
- ✅Linked to the group assignment page and reflected on your individual page what you have learned.
- ✅Reviewed the safety data sheets for each of your molding and casting materials, then made and compared test casts with each of them.
- ✅Documented how you designed and created your 3D mold, including machine settings.
- ✅Ensured your mold has smooth surface finish, that does not show the production process (by postprocessing if necessary).
- ✅Shown how you safely made your mold and cast the parts.
- ✅Described problems and how you fixed them.
- ✅Included your design files and hero shot of the mold and the final object.