Prior knowledge
|
I have a lot of knowledge and experiences with 3D printing, I learnt how to print around 2017 for school projects purposes. I still print a lot to this day, either for students, projects or work for my department. I even have my own 3D printer at home, a Creality Ender-3 V3 KE, it is cheap but efficient. |
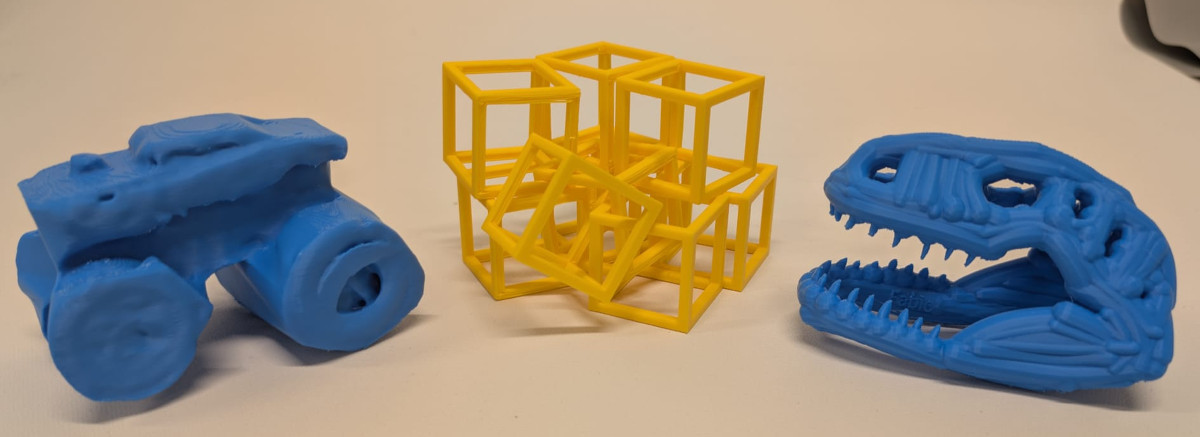
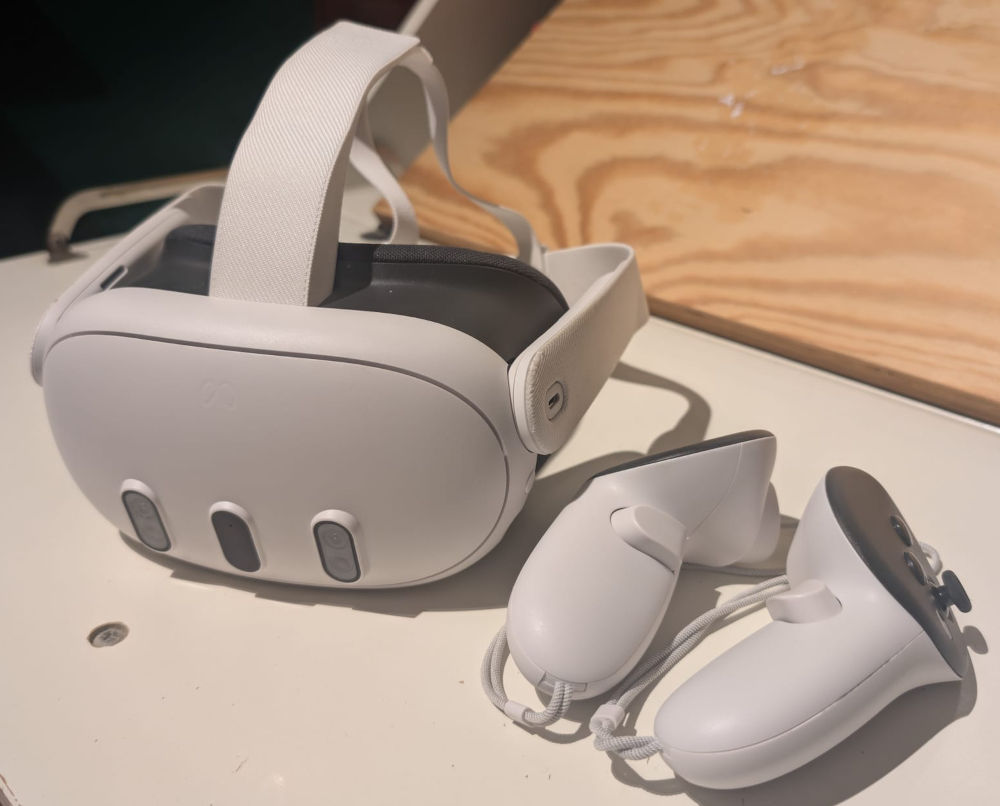
Hero shot
3D printing
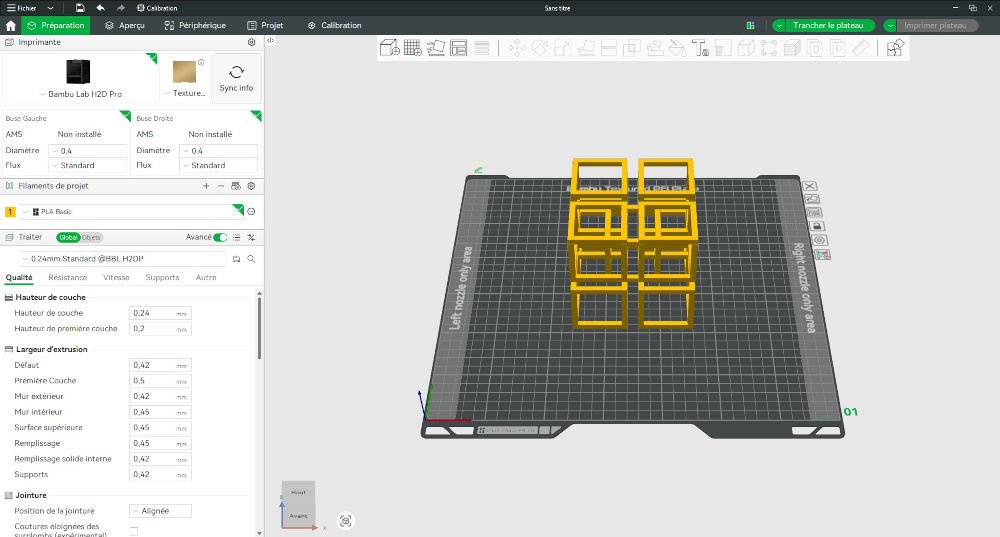
The 3D printer I'll use is the one from my department, It is a Bambu Lab H2D Pro with AMS HT and AMS 2 Pro (on top of the printer), which are systems to load and unload filaments automatically. It even has an integrated camera for timelapses and live checking.
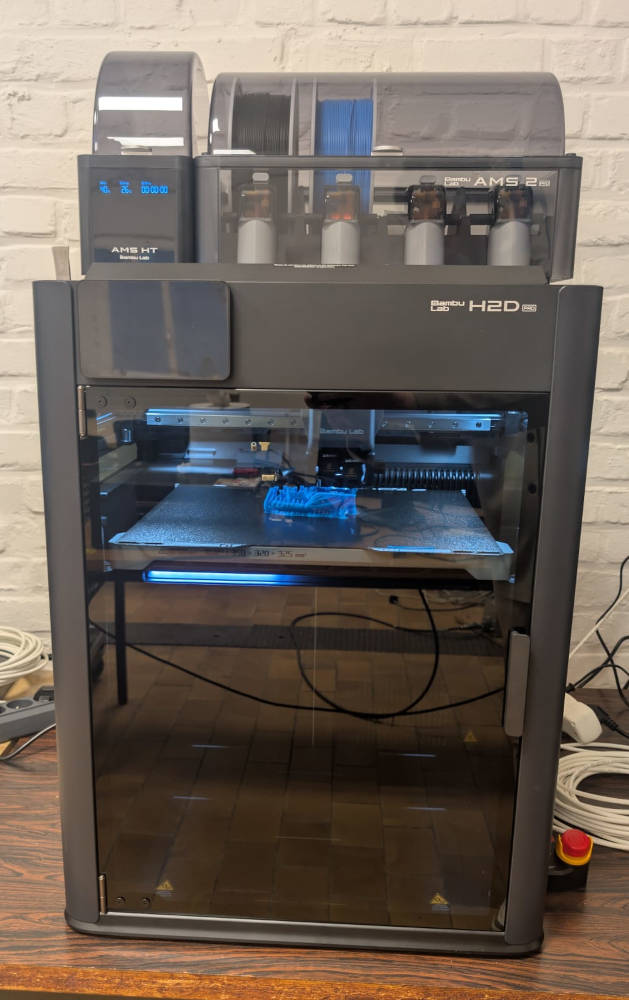
The software to see and control the printer is Bambu Studio. It is a slicer to view 3D files that went trough a CAD software. It proposes many functions but for the first test, I will use simple or default parameters.
I'll first do 3 design rules print tests to see what the printer is capable of, a good occasion because they are brand new. The designs were taken from Thingiverse, a website with a huge community thats proposes free 3D models for all kind of domains.
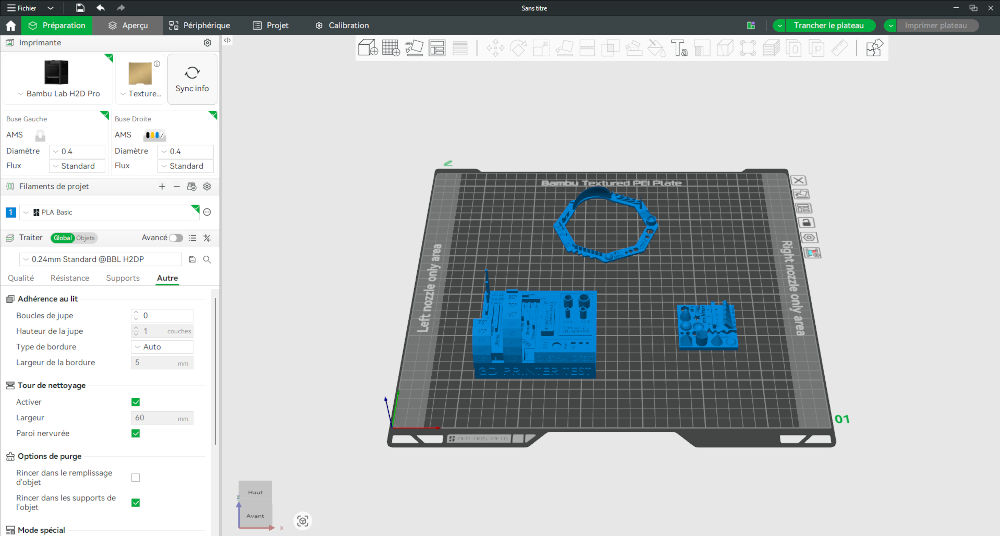
The prints main parameters are :
| Parameter | Value |
| Hotend diameter | 0,4mm |
| Layer height | 0,24mm |
| Supports | none |
| Filament type | PLA |
| Filament thickness | 1,75mm |
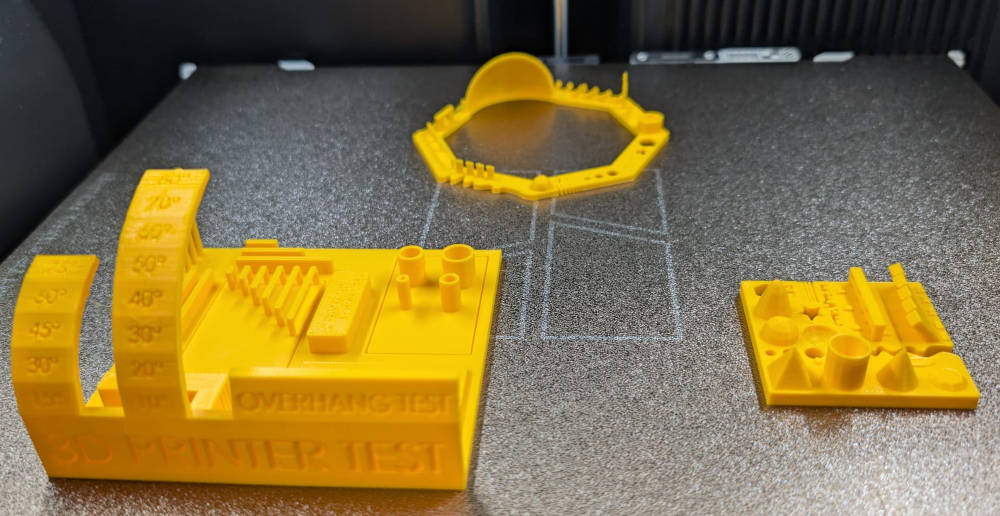
Final results without supports :
-
Test 1
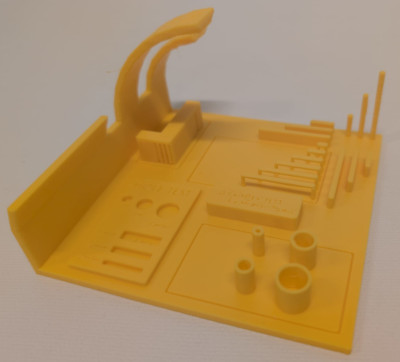
The print looks good but the little texts are unreadable, the overhangs that are too long have some filament that falls and for the angles, the filament falls around 60°.
-
Test 2

The print looks good except for the little texts which are unreadable.
-
Test 3
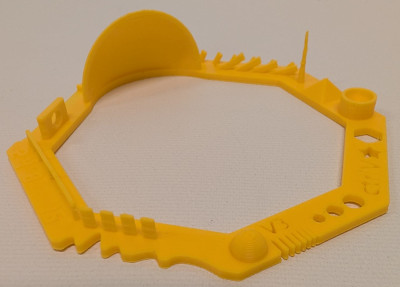
The print looks good.
To compare with what Michel did, his print looks close to what I have with a layer height a bit lower and more stringing.
To compare with what Jonas did, we can see a big difference, his layer height is a bit bigger, he has more stringing and he uses a larger nozzle diameter.
Now for the models I need to design, I will try 2 different models : one made with Autodesk Fusion and one made in virtual reality, with Gravity Sketch.
To ensure a good print, this time, I'll enable the supports.
-
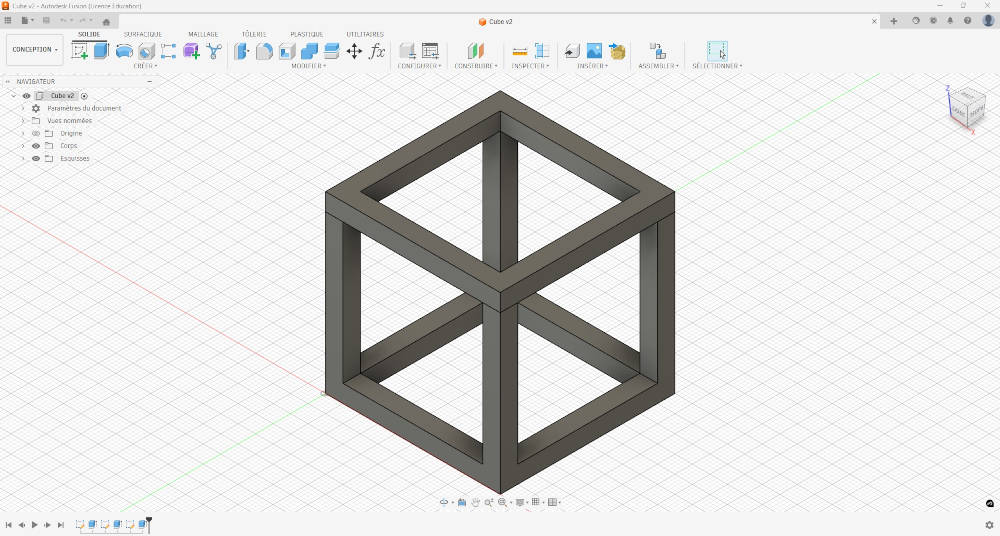
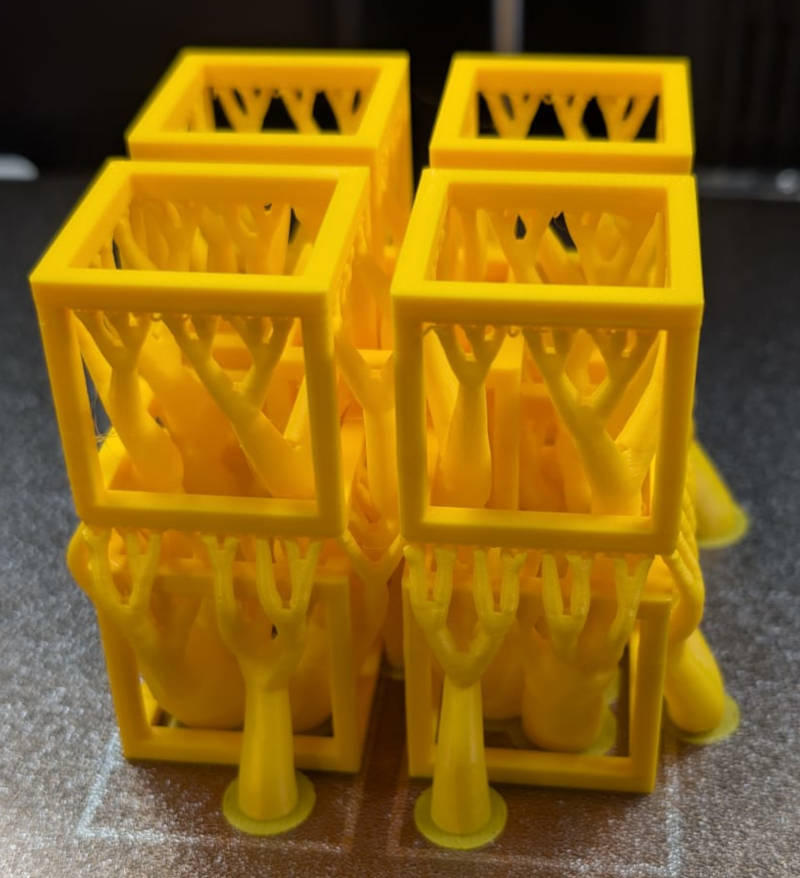
Autodesk Fusion
I designed an assembly with multiple cubes stuck between each other, the outer cubes can be pulled or pushed but cannot get separated from the main body.
It would be hard to make it subtractively because the cubes are hollow and stuck inside each other.
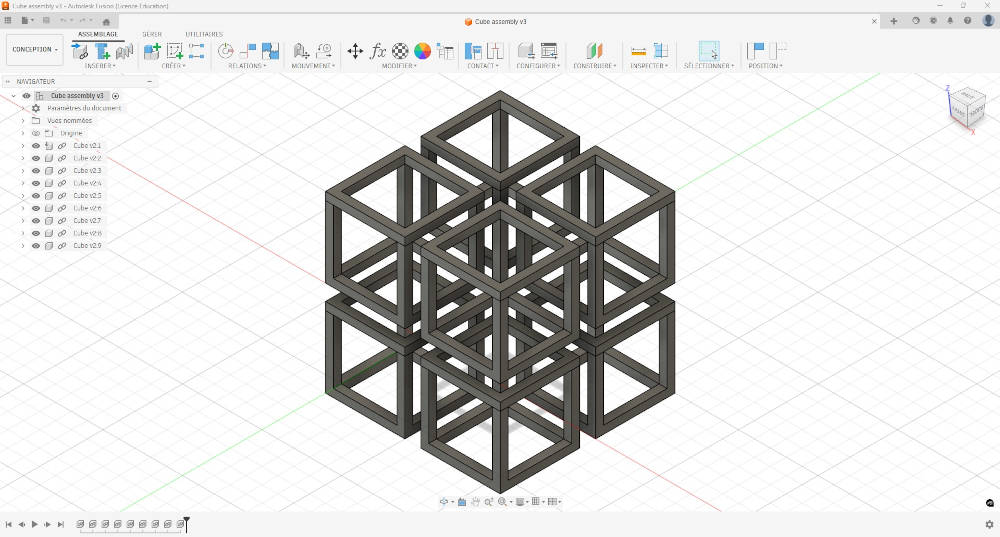
Final result with supports :
Final result without supports :
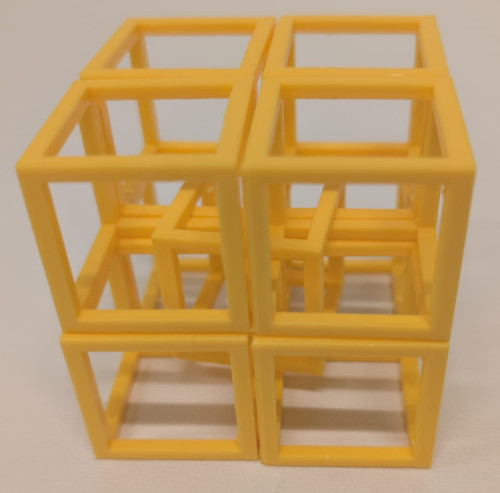
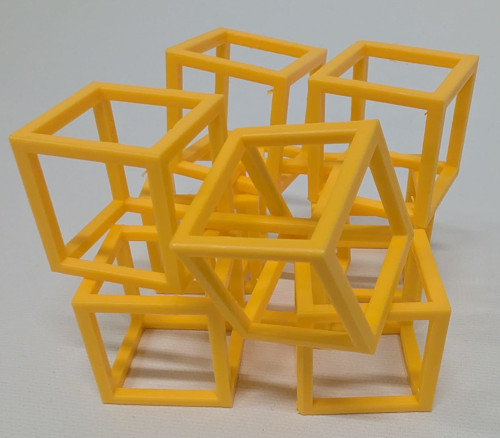
The print is really good, removing the supports was long but worth the effort.
-
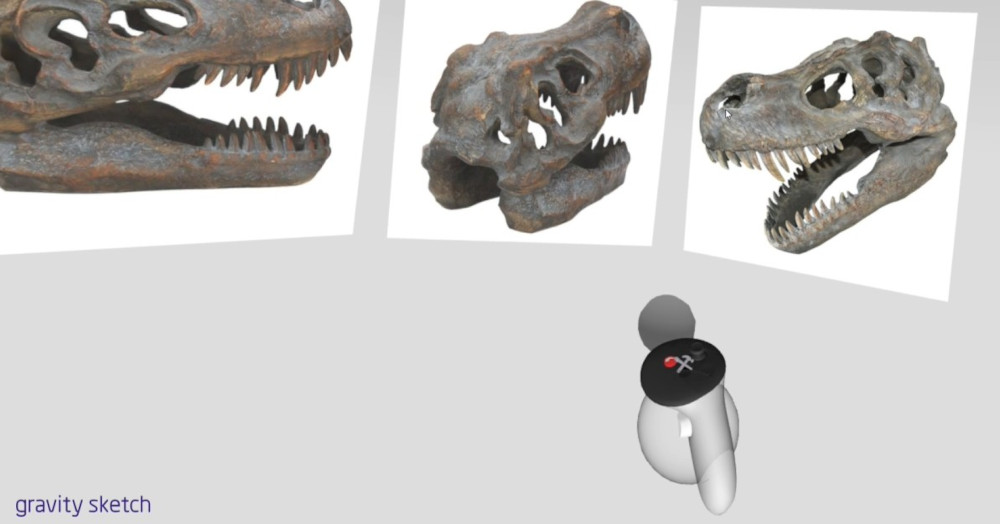
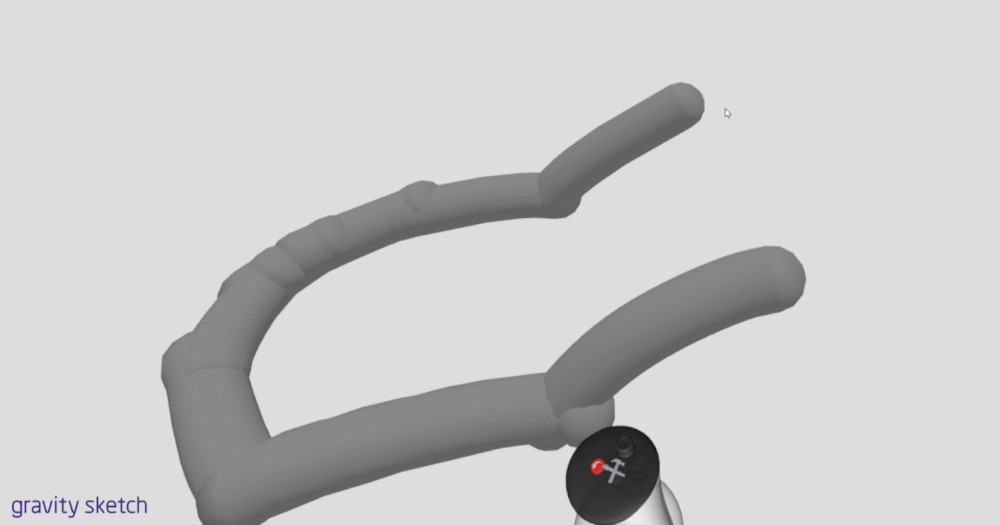
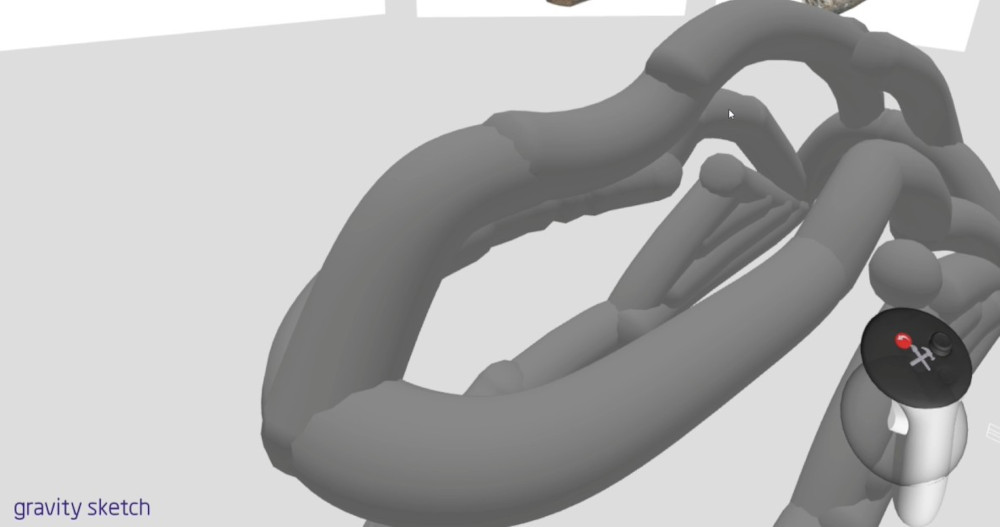
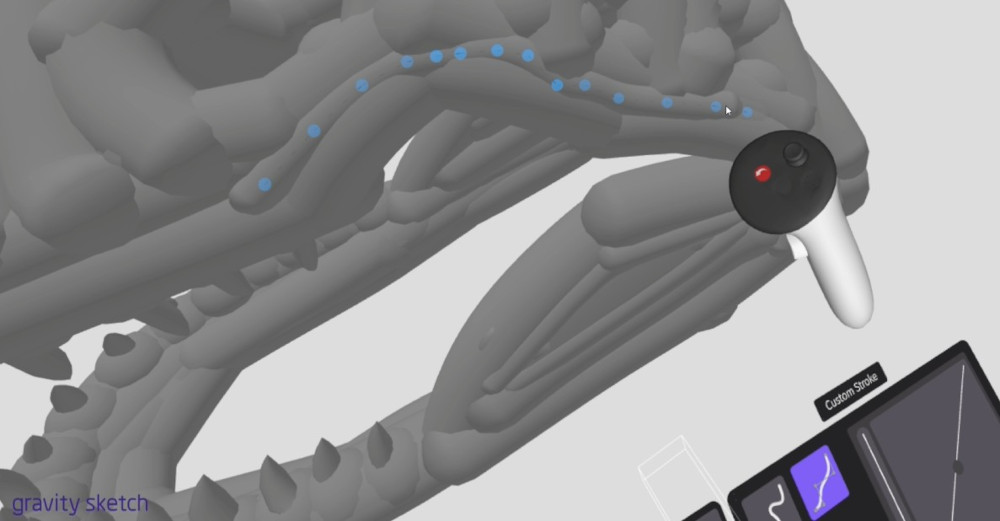
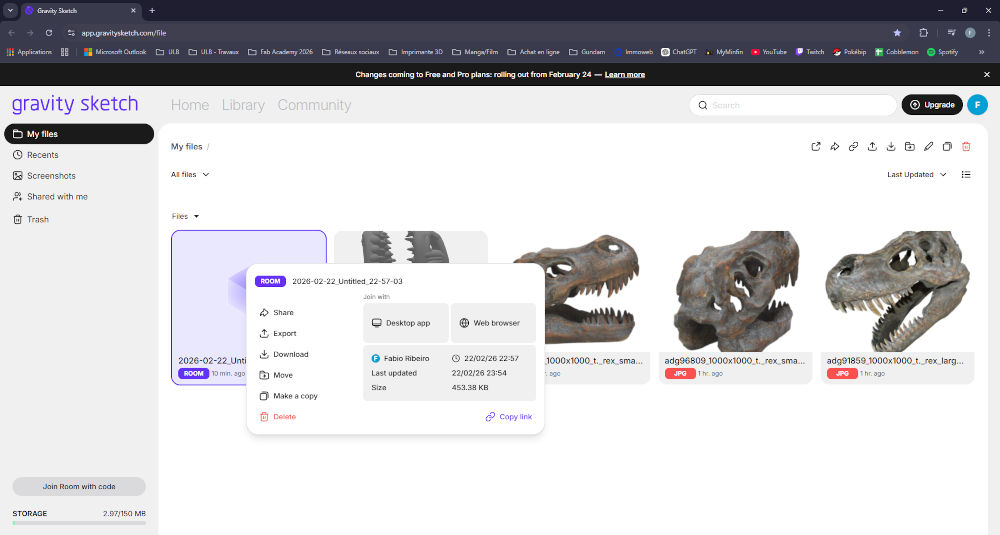
Gravity Sketch
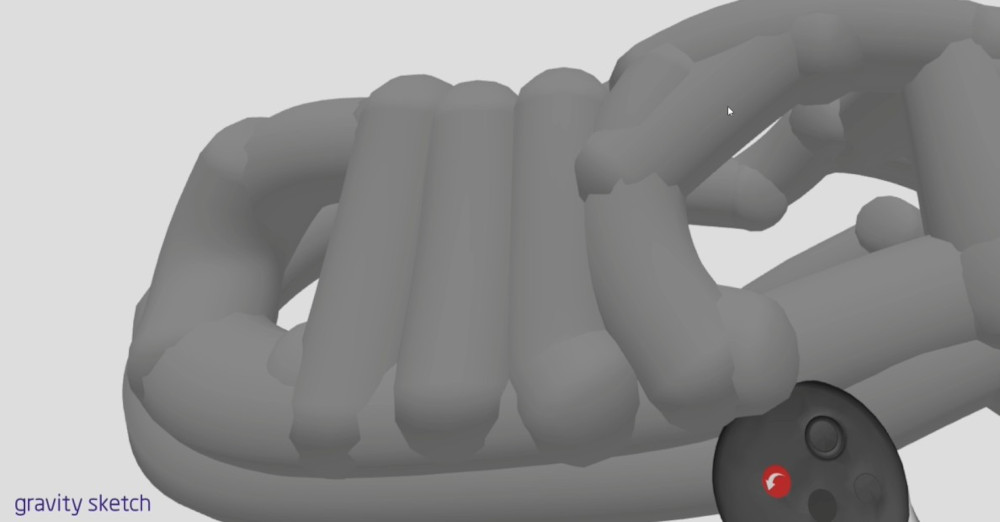
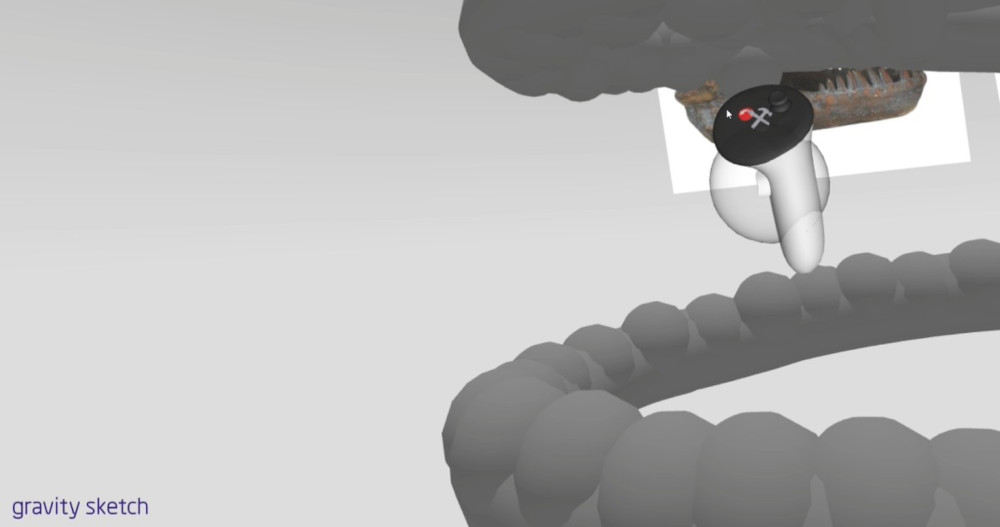
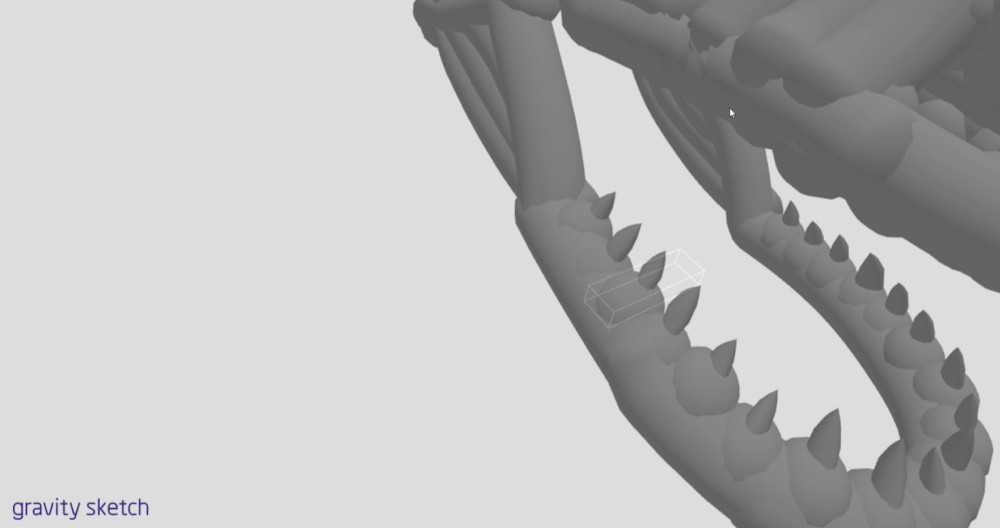
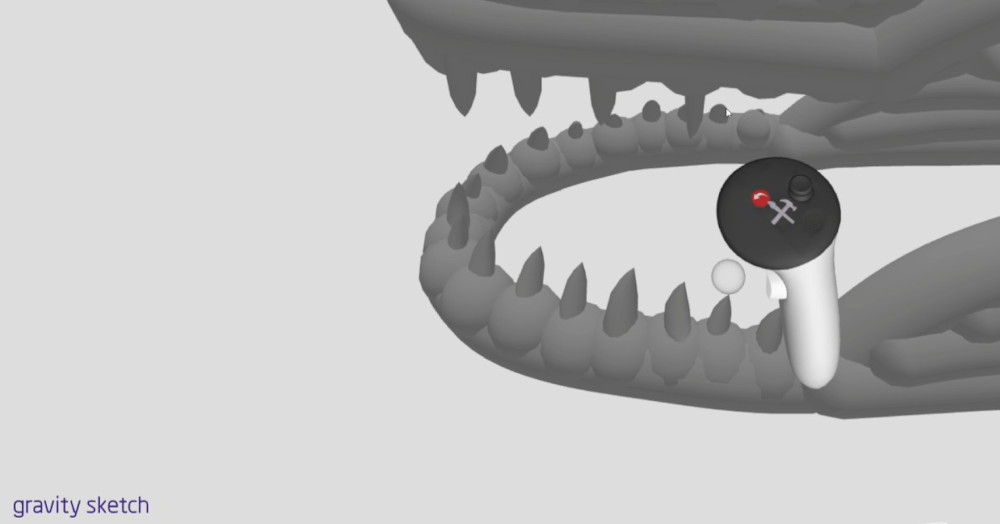
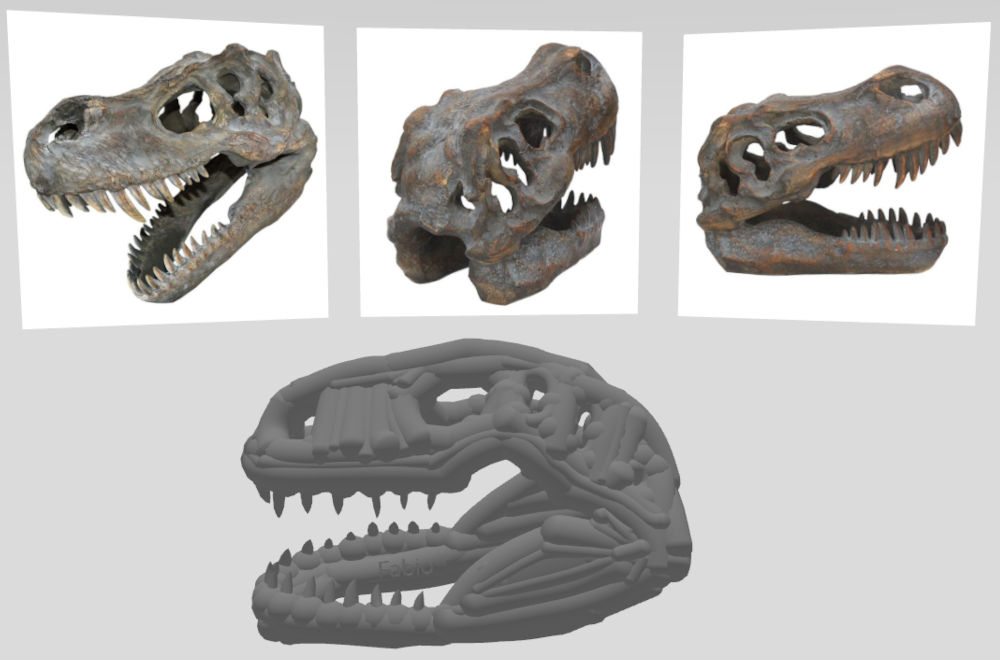
I tried to make the skull of a Tyrannosaurus rex in VR using Gravity Sketch and pictures for reference. The VR headset used is the Meta Quest 3.
It would be hard to make it subtractively because each plans have multiple matter on them as well as the inside of the skull.
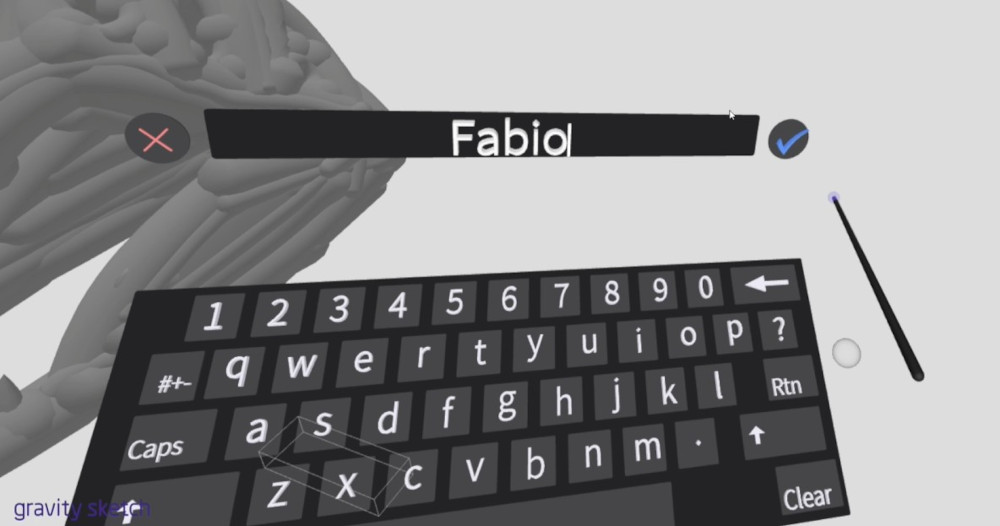
To start, I need to install the application on the Meta Horizon Link software, so I go to the store, type Gravity sketch and download the application.

Once the app is installed, I can start to design with the controllers, the reference pictures can be found here : image 1, 2 and image 3.

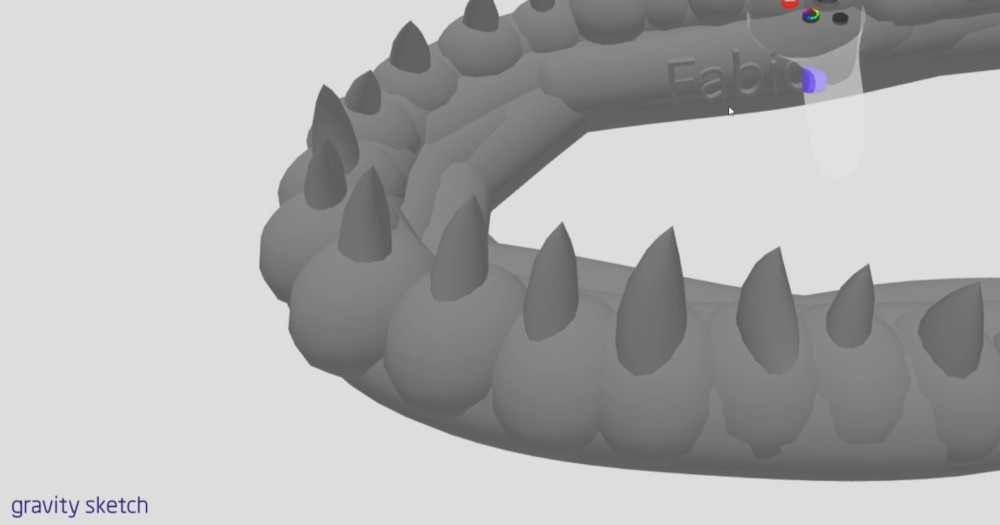
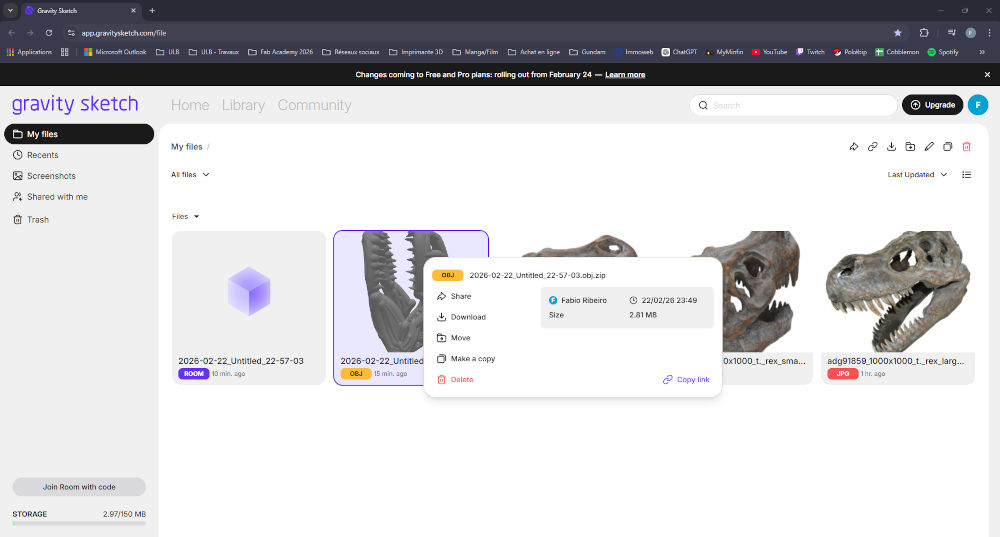
Once the design is done, I go to the website version of Gravity sketch and export my "room" into a file that my slicer can read, in this case, an OBJ file.
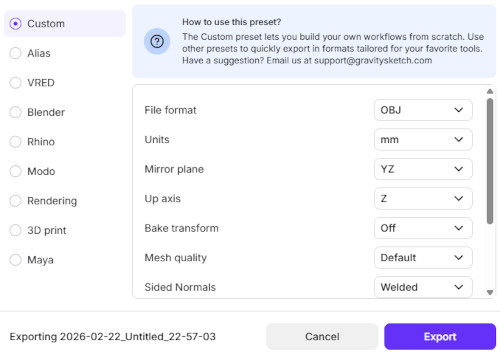
Once the OBJ file is ready, I download it on my computer and slice it in Bambu Studio.

Final result with supports :
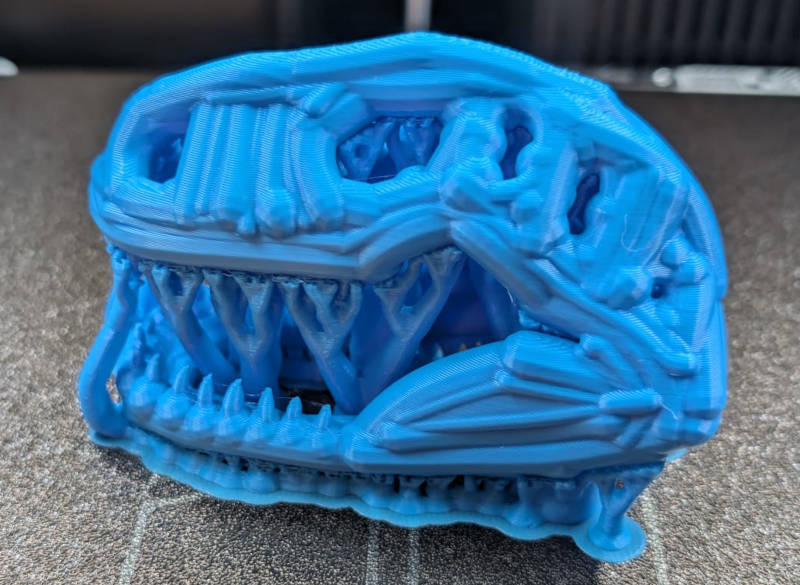
Final result without supports :
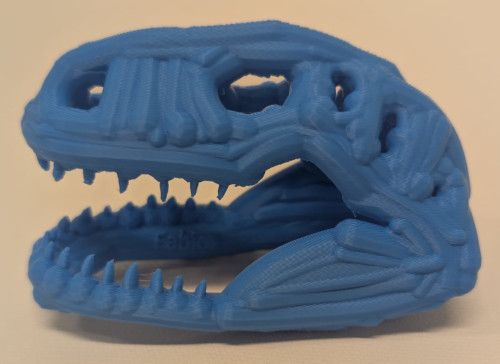
The print worked really well and the result is satisfying even if I accidentally broke one of the tooth of the model while removing the supports.
3D scanning
Thanks to our one of our instructor Nicolas De Coster, with the other students of our class, we were able to visit the Institut royal des Sciences naturelles de Belgique (which means "Belgium's royal Institute of Natural sciences") to learn more about 3D scanning. It's a building dedicated to research of multiple aspects of our world : animals, insects, climate, geology, ... It even has a big museum and possesses huge collections.
The purpose of this visit was to discover how and why a specific department would 3D scan some objects. They had multiple machines and softwares, each with their own specific characteristics and purposes.
The reason they use 3D scanning is mainly for research, for example, they told us it is easier for them to scan a model (like a bone, insect or even a wall) and then do their work on a computer for better precision or not to damage the original model, then, on their computers, they have multiple softwares that proposes multiple parameters (like what kind of light you work with : normal light, infrared, ultraviolet, ... which can drastically change the work they are doing).
Here are some machines :
-
Machine 1 - DIY
Setup they made themselves, it has a base that can rotate and the camera sends the data to the computer.

-
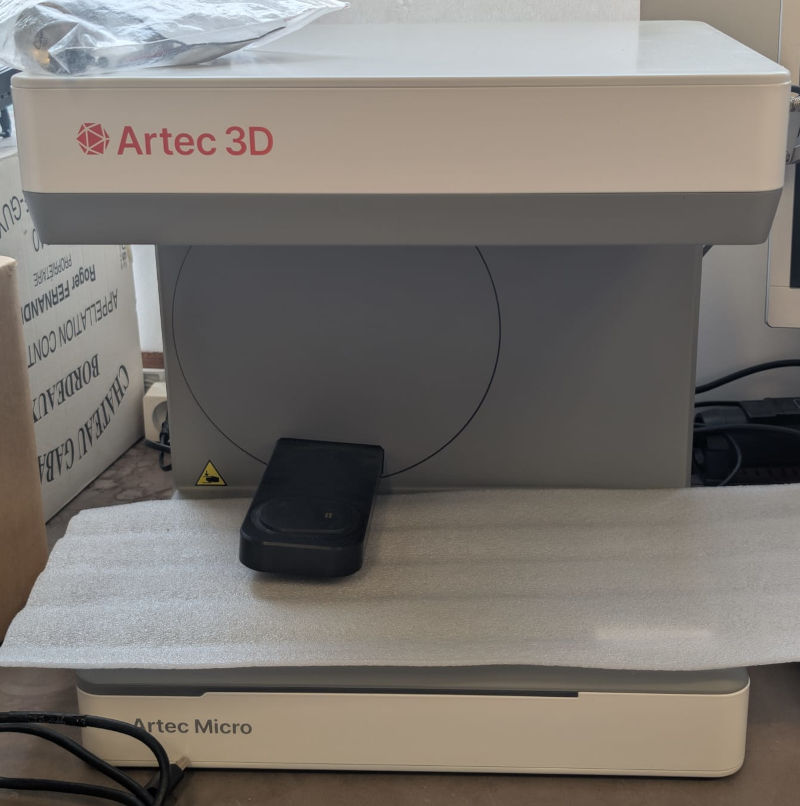
Machine 2 - Artec 3D
Professional scanner.
-
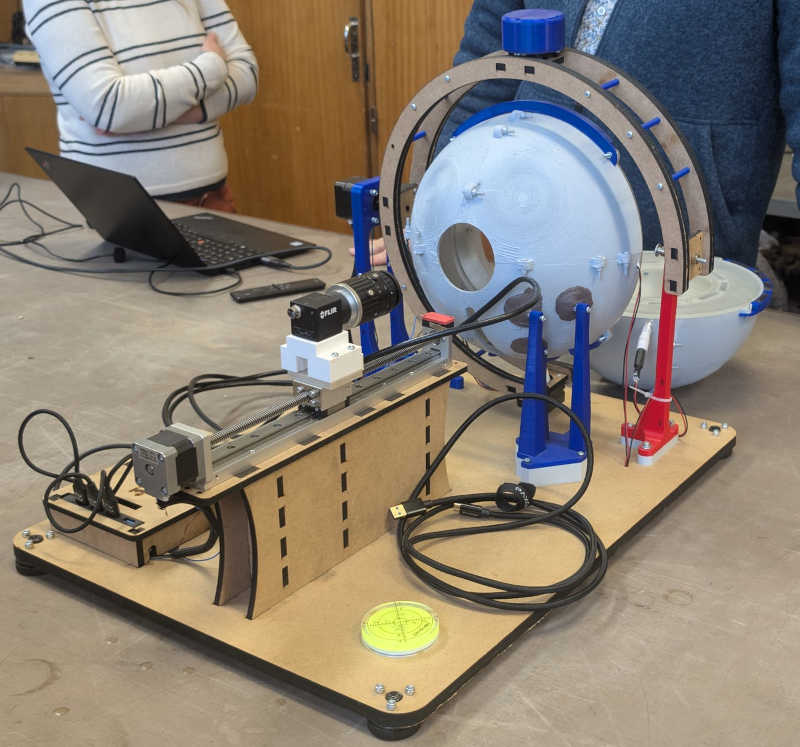
Machine 3 - DIY
Machine an engineer they worked with made, it mainly serves to scan insects. The insect is placed between pincers inside the sphere and the ring around it is what rotates the model. The camera sends the data to the computer.
-
Machine 4 - Micro-CT
I didn't get to take a picture but it is a really big machine that uses x-rays to usually visualize the inside of models.
The FabLab ULB possesses 2 different scanners :
-
Einscan-SP V2 by Shining 3D (software : EXScan S)
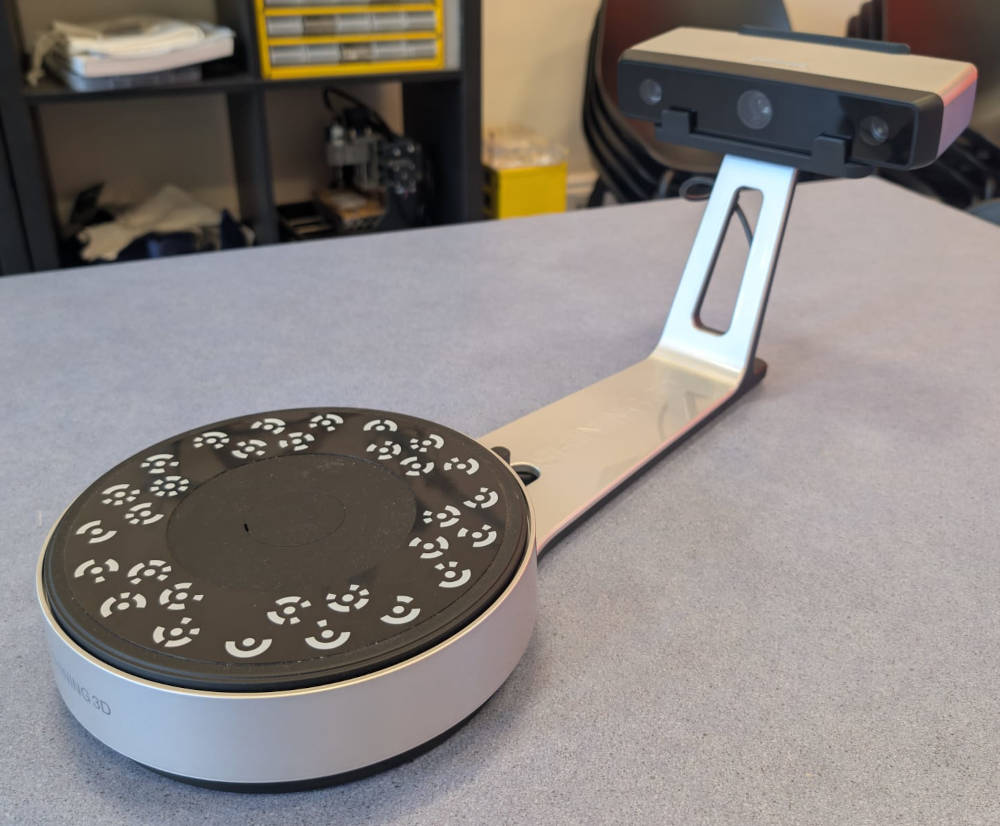
Stationary scanner with a rotative base with USB connection.
-
CR-Scan Ferret Pro by Creality (software : Creality Scan)
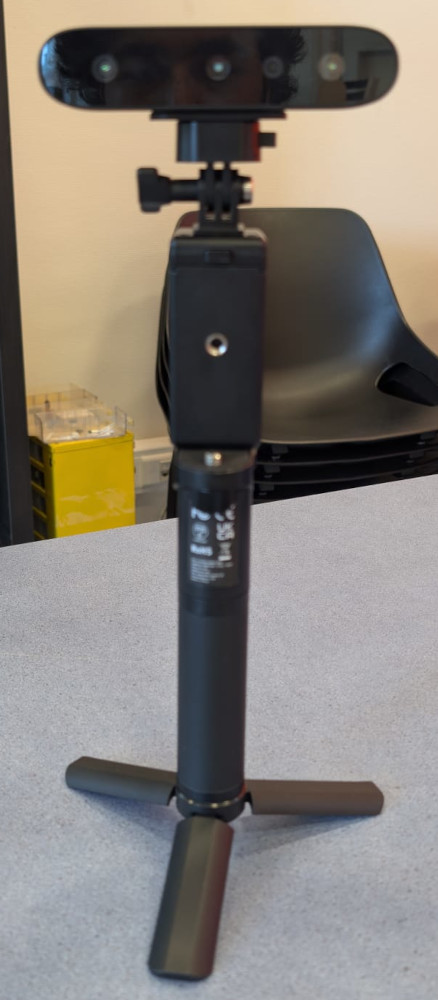
Portable scanner with Wi-Fi, USB or phone connection.
I wanted to try the scanner from Shining 3D but I had a lot of problems. The model had to be at the center of the circle or the final result would be really bad and the models I tried didn't work well, probably because of the material, the surface or the color. I eventually gave up.
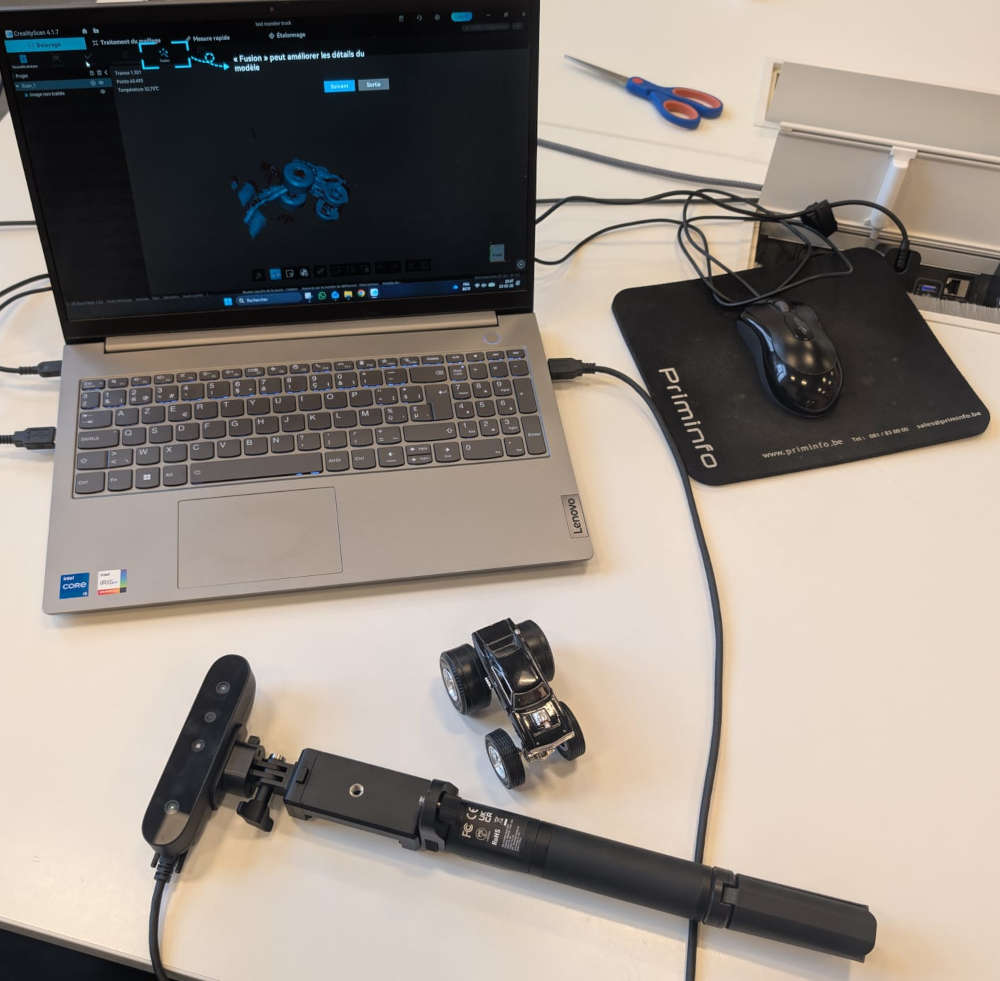
Now with the scanner from Creality, it is a cheap portable scanner, which means you have to move around the object to scan the different angles and send the data to a computer.
The scanner works via Wi-Fi, USB or phone connection. The Wi-Fi module was slightly broken so I just used a USB cable that I had to connect to my computer and then use the software to detect the scanner.
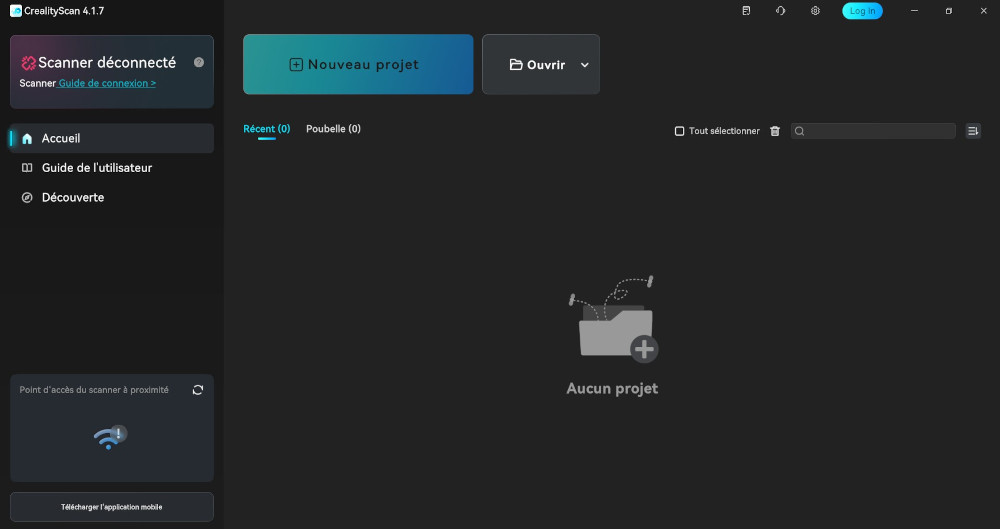
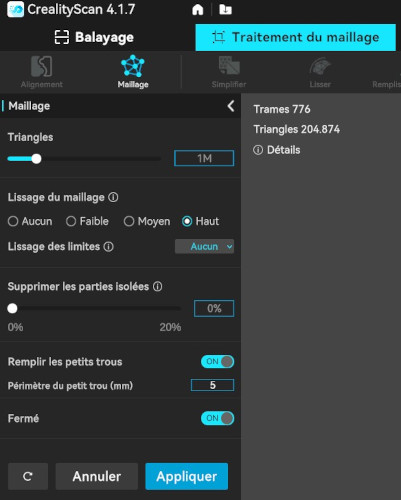
The software used is Creality, it is completely free and proposes various functions once a scan is done.
To start a new scan, on the software's interface, I need to press + Nouveau projet (+ New project).
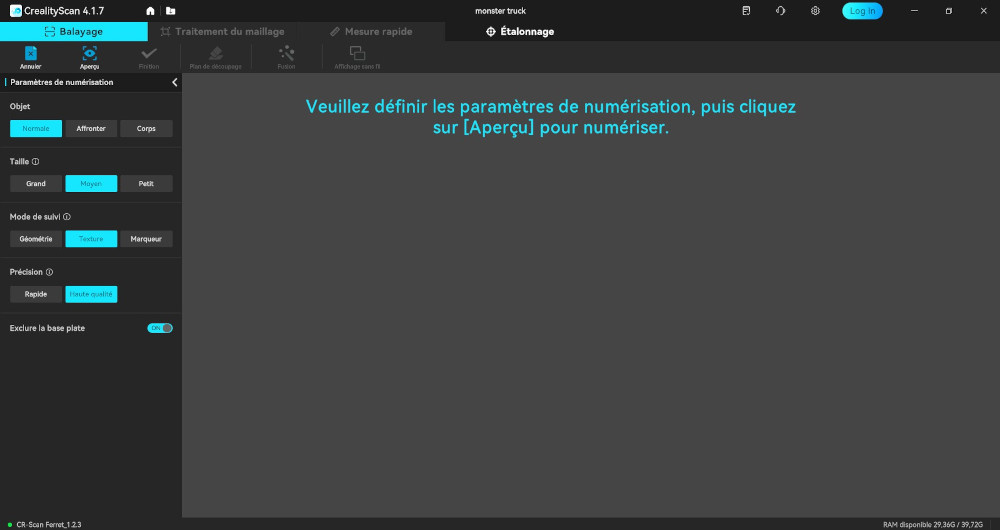
A new interface with new tabs appears to change the basic parameters of my scan and then when everything seems ready, I press Aperçu (Preview) and then Commencer (Start) to start the scan of my object.
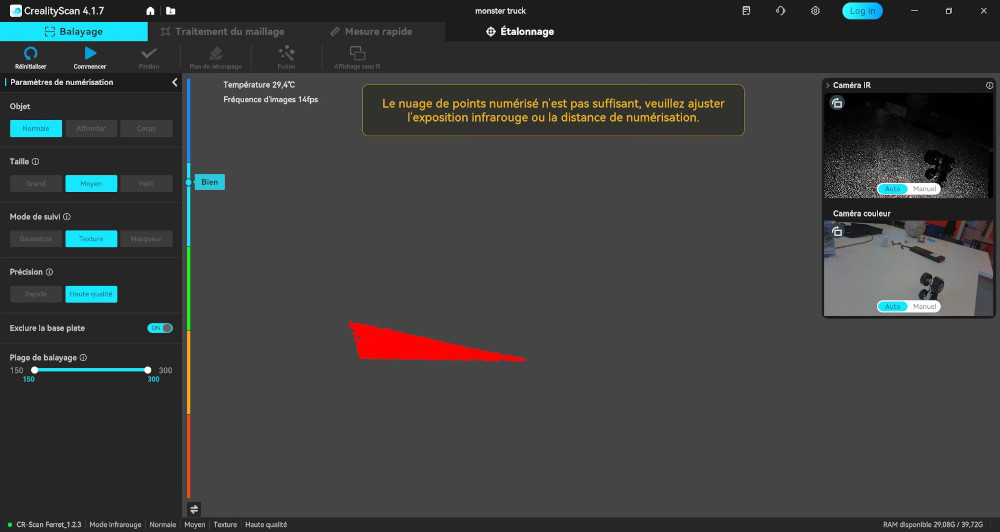
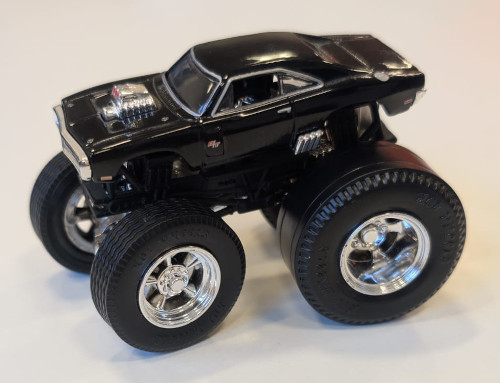
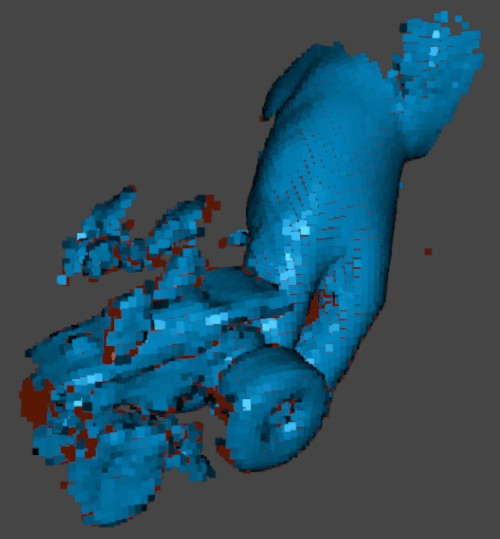
The reference model used was a monster truck toy I bought during an event few years ago.
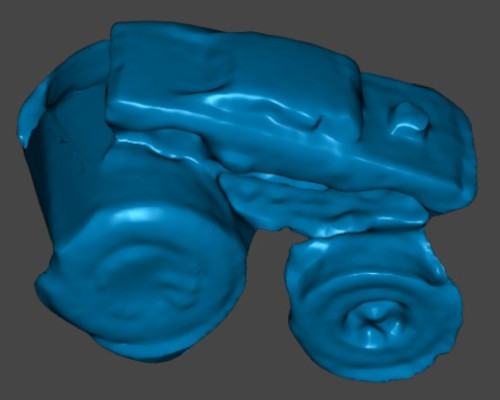
Once the scan is done, I must press Finition (Finish) to have a final draft of my model that I can see thanks the the software's 3D view.
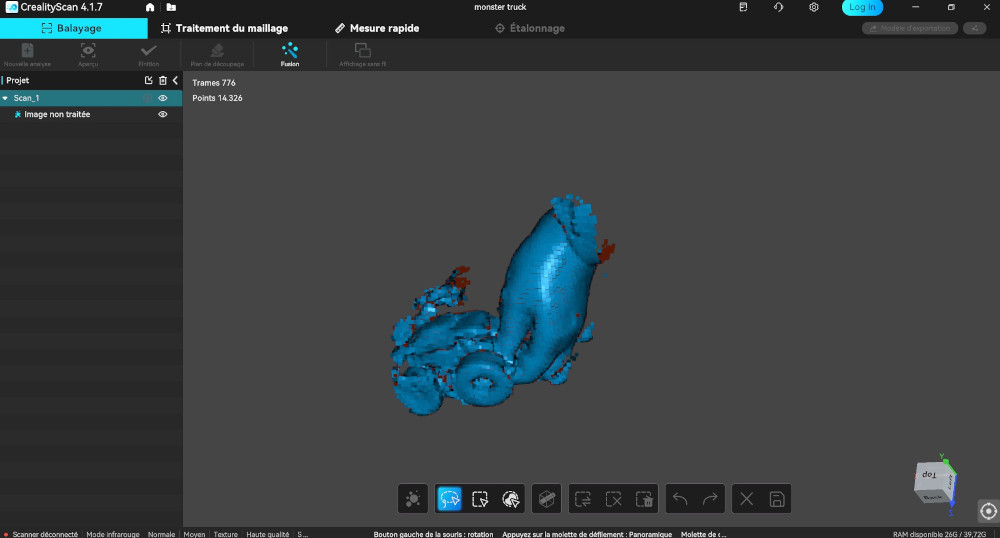
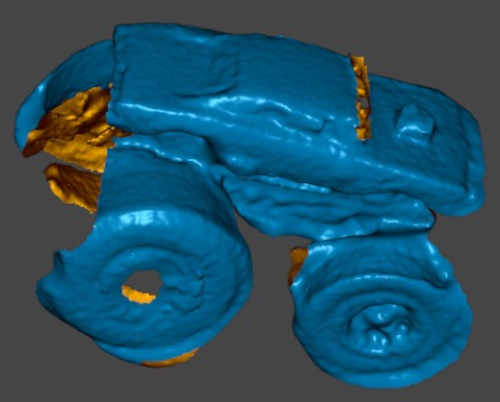
To edit the model, I have to hold "Shift" and draw a circle with "Left Click" around the bits I want to delete and press "Delete".
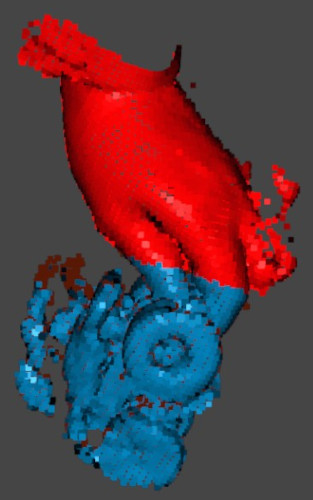
Here's are before and after images of the edit :
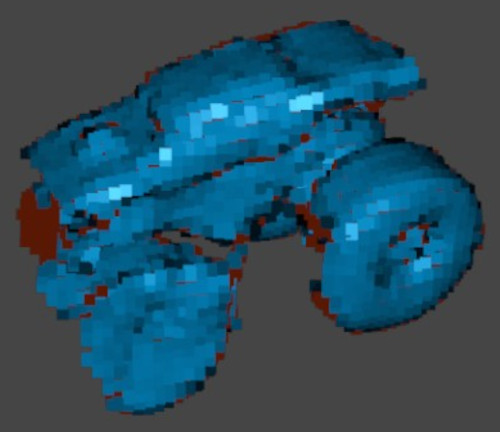
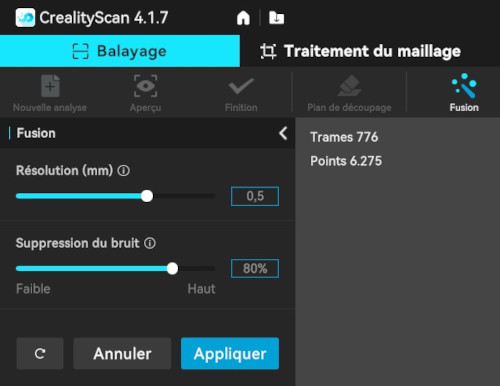
Now to actually have matter on my model, I need to press Fusion, this opens a new interface with new parameters. Once I'm done, I press Appliquer (Apply).
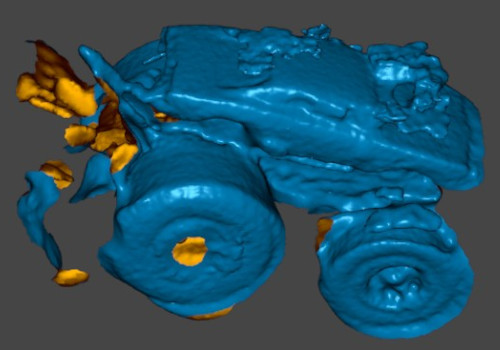
Now like before, I delete the bits I don't want to keep.
Now, to have a file I can use to print my scan, I have to change tabs, so I press Traitement du maillage (Mesh processing) then Maillage (Mesh) and new parameters appear. After choosing the parameters, I press Appliquer (Apply).
Finally, I simply have to press Modèle d'exportation (Export model), which lets me download a STL file that I import on Bambu Studio, i use the same parameters and add supports for the print.
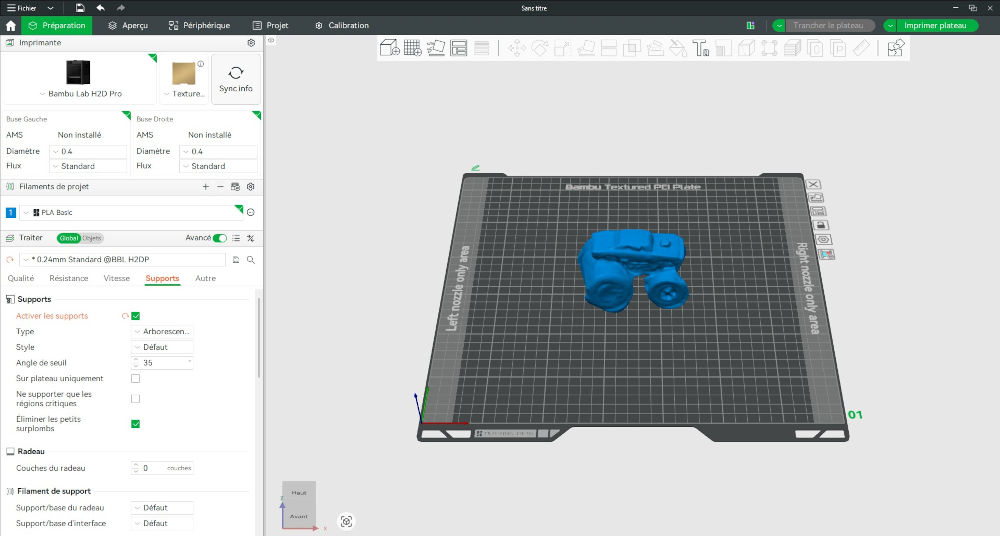
Here's the final result along its original model :
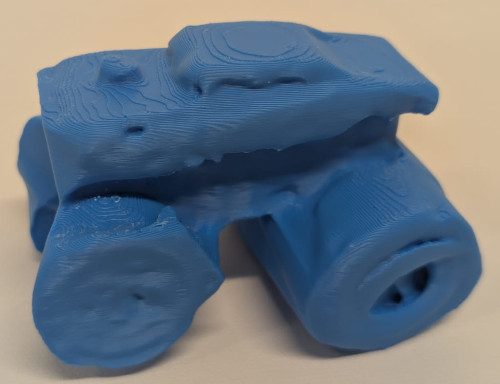
The print is kinda good even if im a bit disappointed by the scanners efficiency.
Useful file(s) (Click to download)
- Design rules tests 3D file (Thingiverse)
- Cube 3D file (Autodesk Fusion)
- Cubes assembly 3D file (Autodesk Fusion)
- Tyrannosaurus rex 3D file (Gravity Sketch)
- Monster truck 3D file (3D scanner)
Assignments checklist
- ✅Linked to the group assignment page.
- ✅Explained what you learned from testing the 3D printers.
- ✅Documented how you designed and 3D printed your object and explained why it could not be easily made subtractively.
- ✅Documented how you scanned an object.
- ✅Included your original design files for 3D printing.
- ✅Included your hero shots.