10. Output devices
Group AssignementThis week I learned about the wide variety of output devices that are out there. From LEDs and srceens to motors and buzzers. Each of them with different energy needs, programming specifications and physical limitations.
Some of of my learnings:
- Always test all components before connecting full circuits.
- Research the programming and hardware specifications of the output device to use.
- Make sure pins are programmed according to the physical connections.
- Test different values to see how the device wokrs.
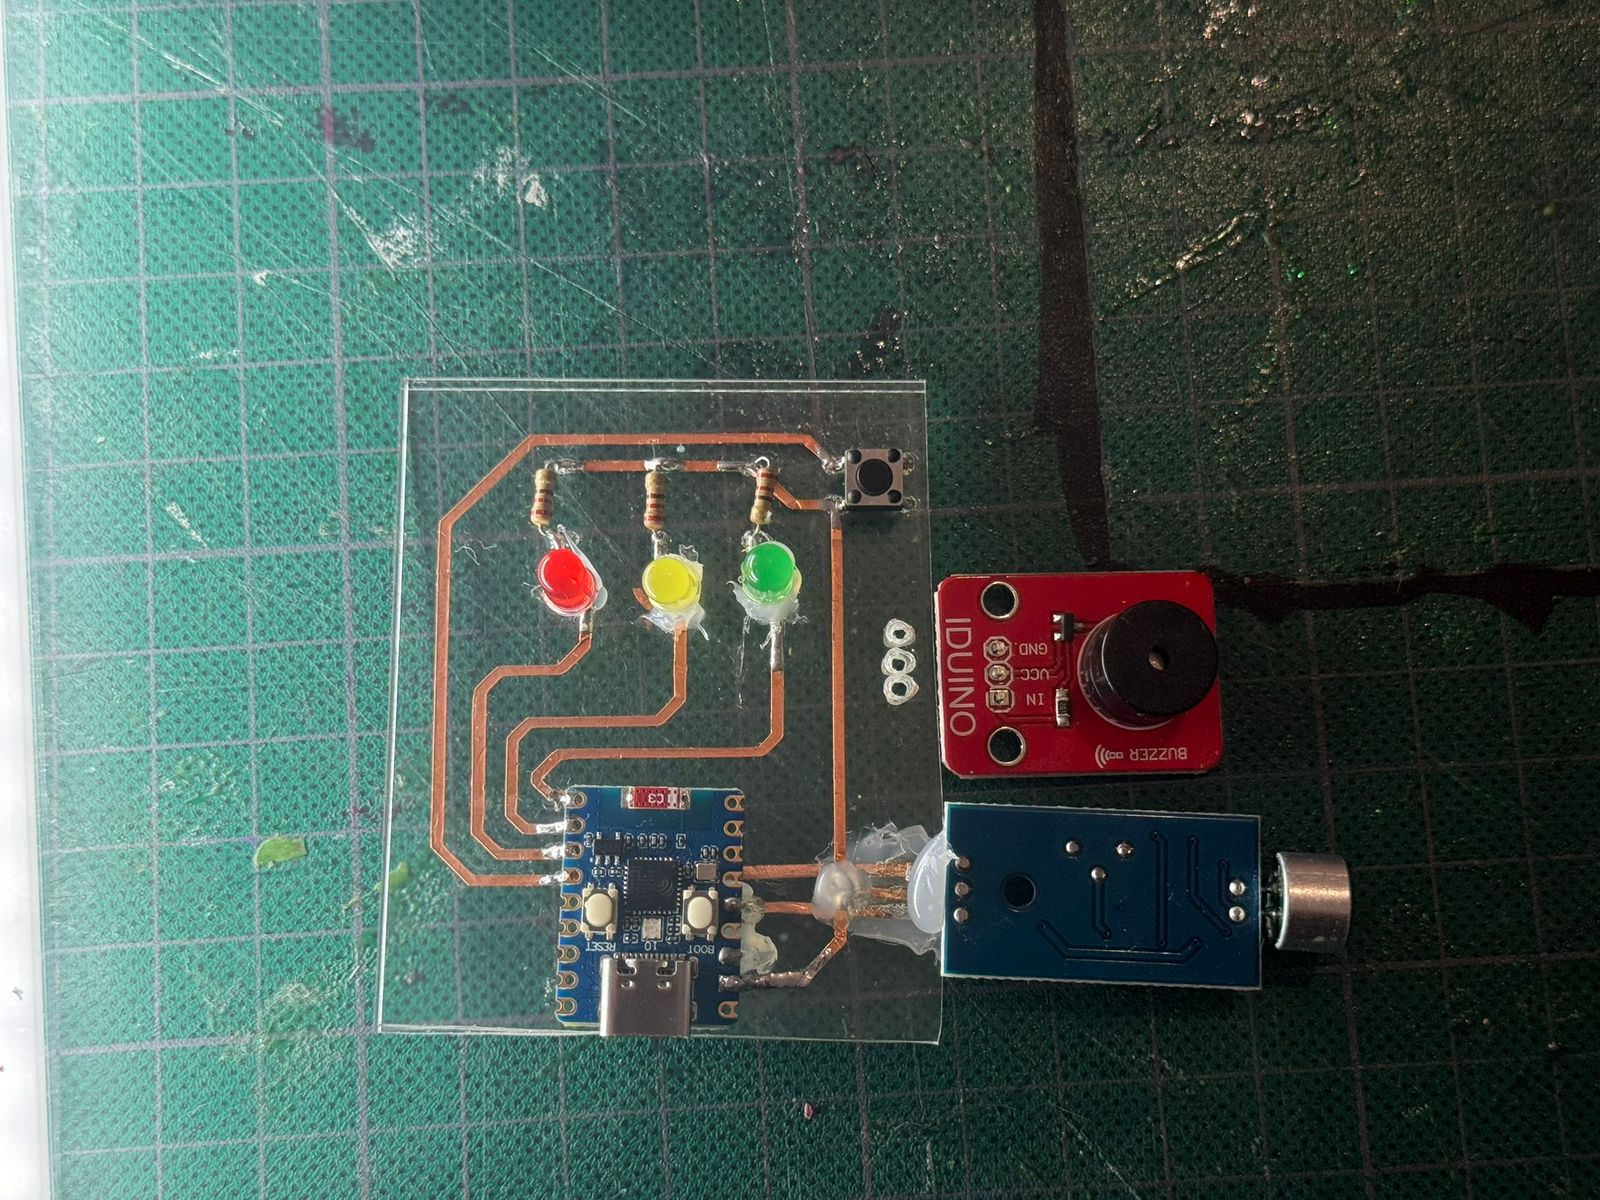
For this assignement I also decided to reuse last week's circuit. As it still had some pins available and I saw the opportunity to use them. I just had to make some more holes in my acrilic, making sure they where on the right positions for the buzzer I was about to add:
I also had to plan the side and direction of the tracks, specially because they had to combine with the previous ones.
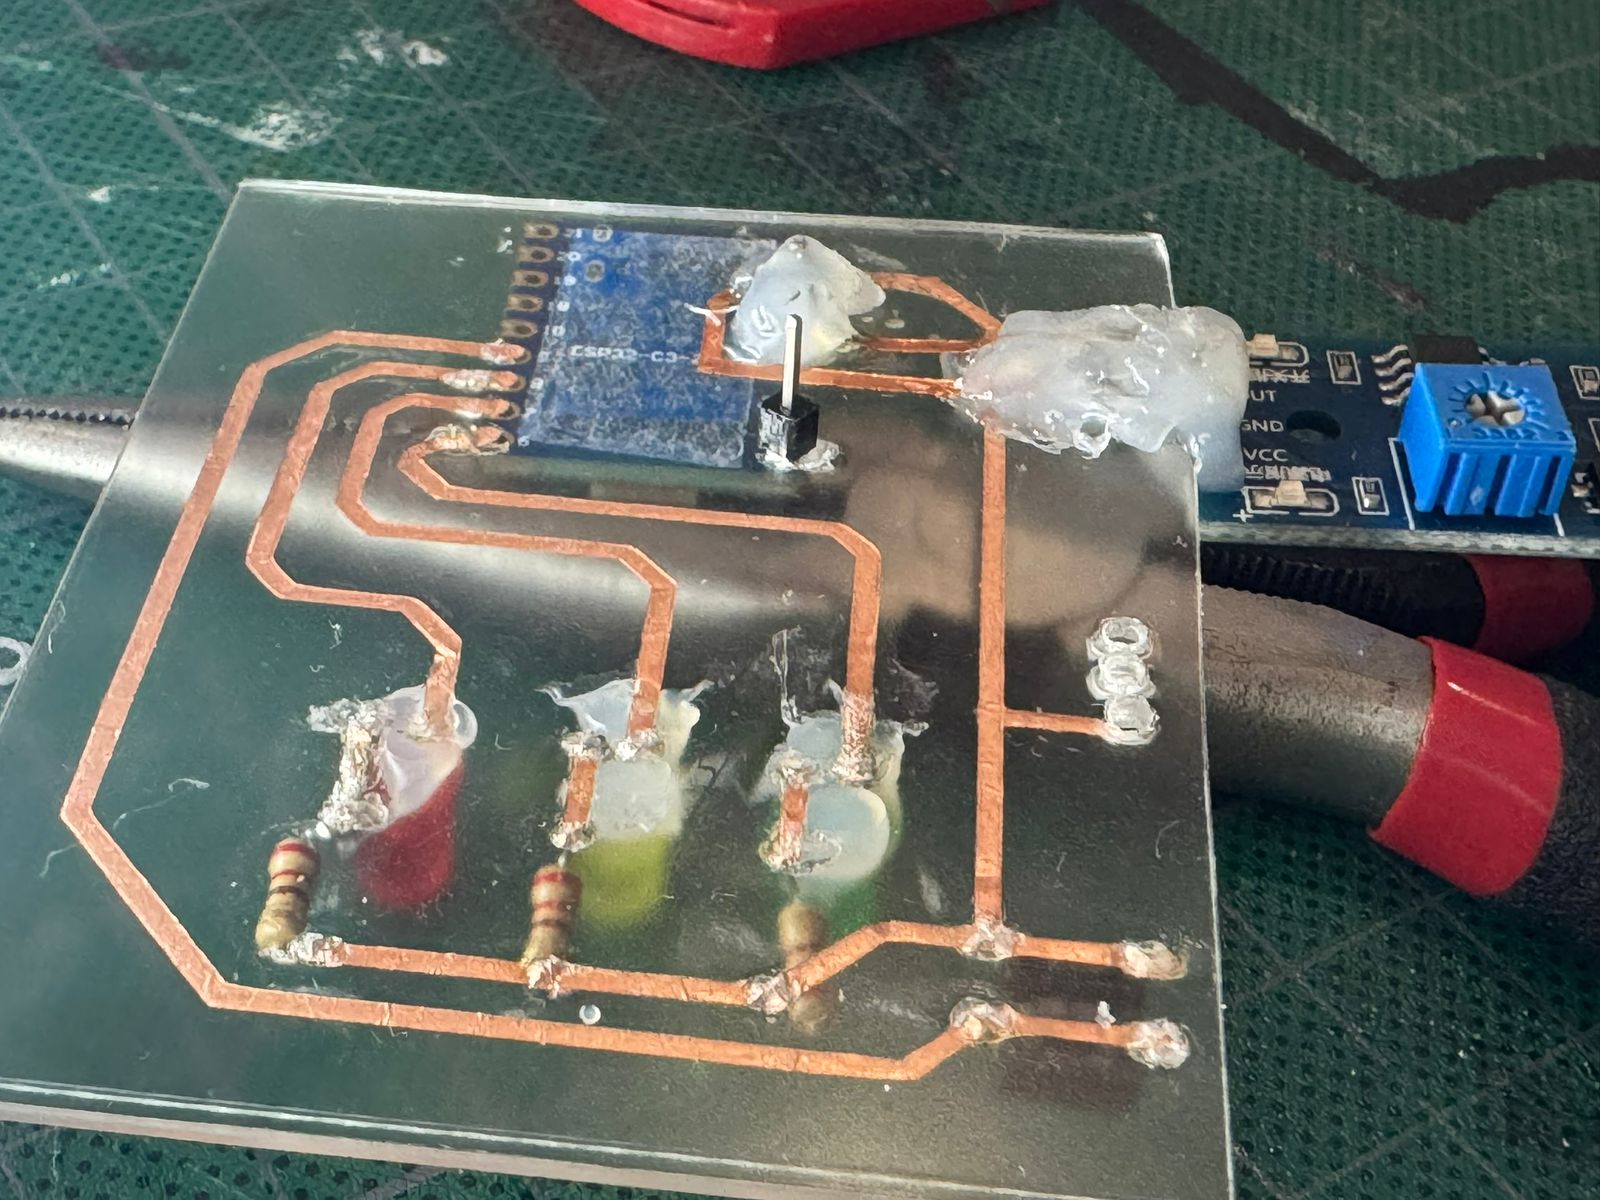
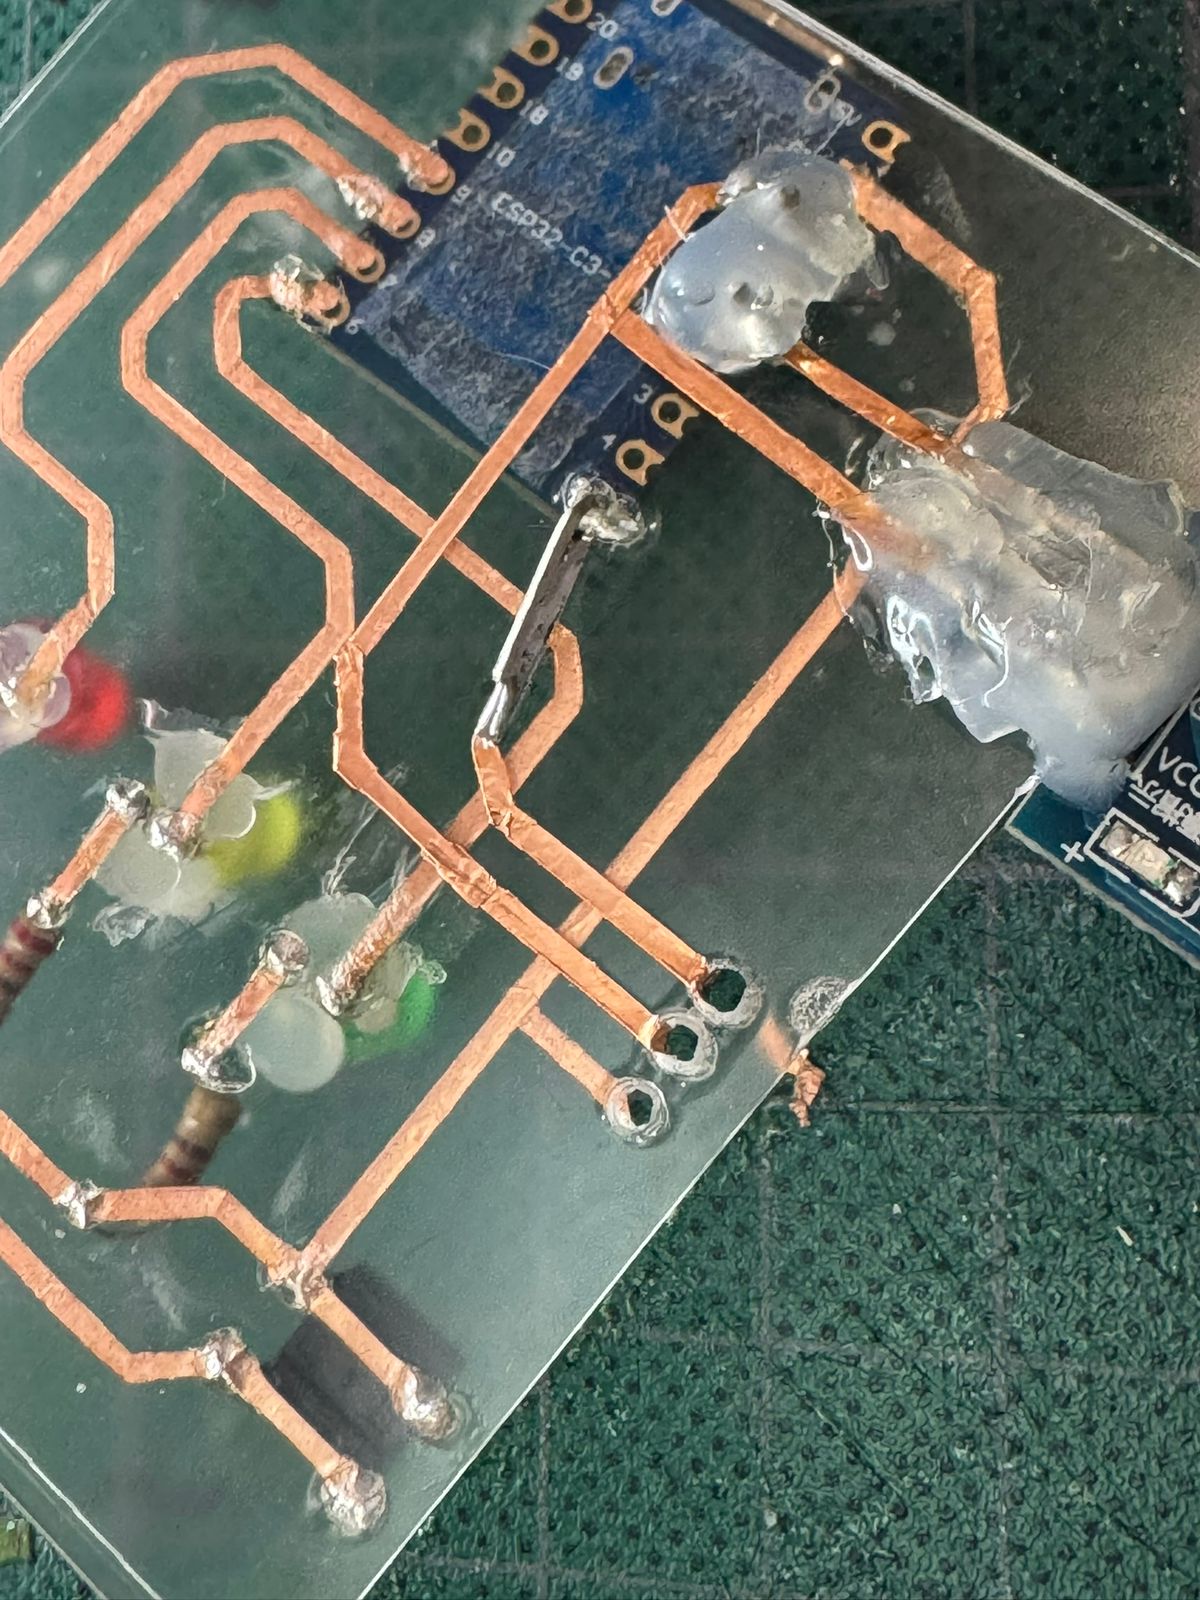
A single pin had to be added to connect the Esp32-C3-Zero to the other side of the acrilic.
Then all tracks had to be placed and soldered with the buzzer: In to the pin (bottom layer), VCC to 3V (bottom layer), and GND to the circuit's GND.(top layer)
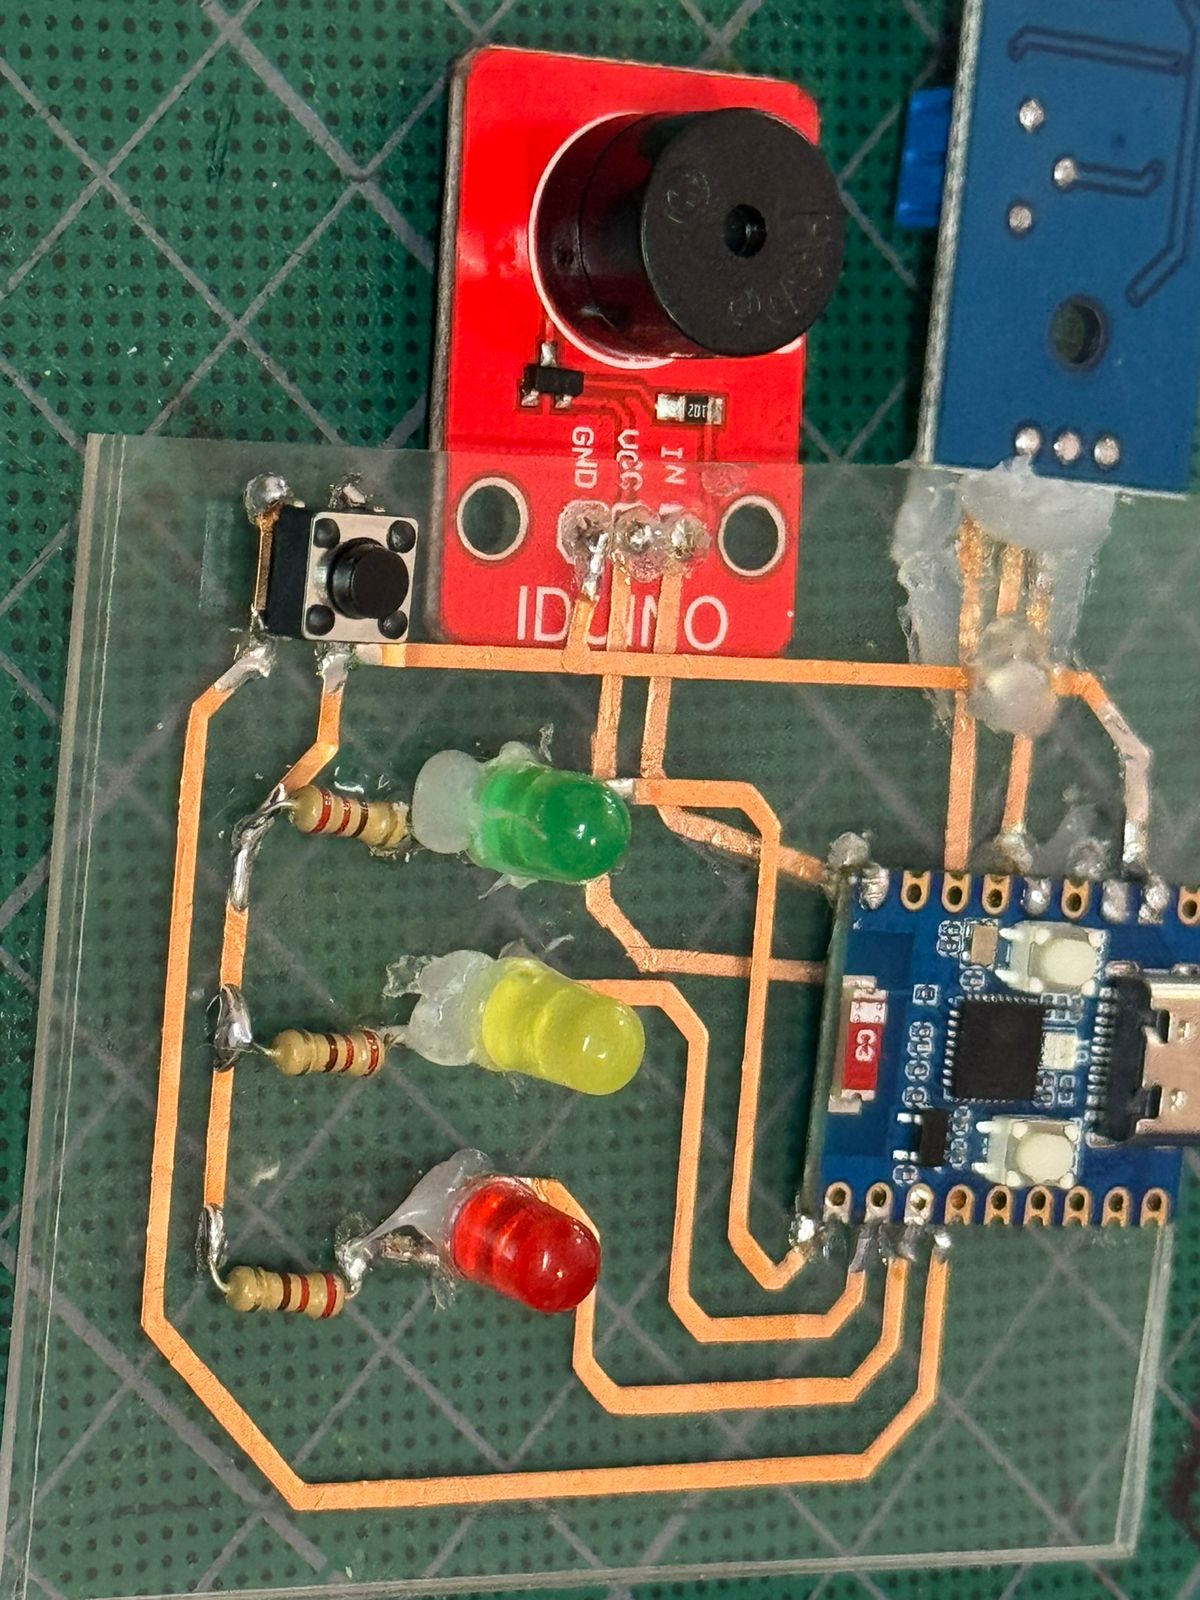
As always, connections had to be checked before connecting any power, making sure everything was working and in the right place:
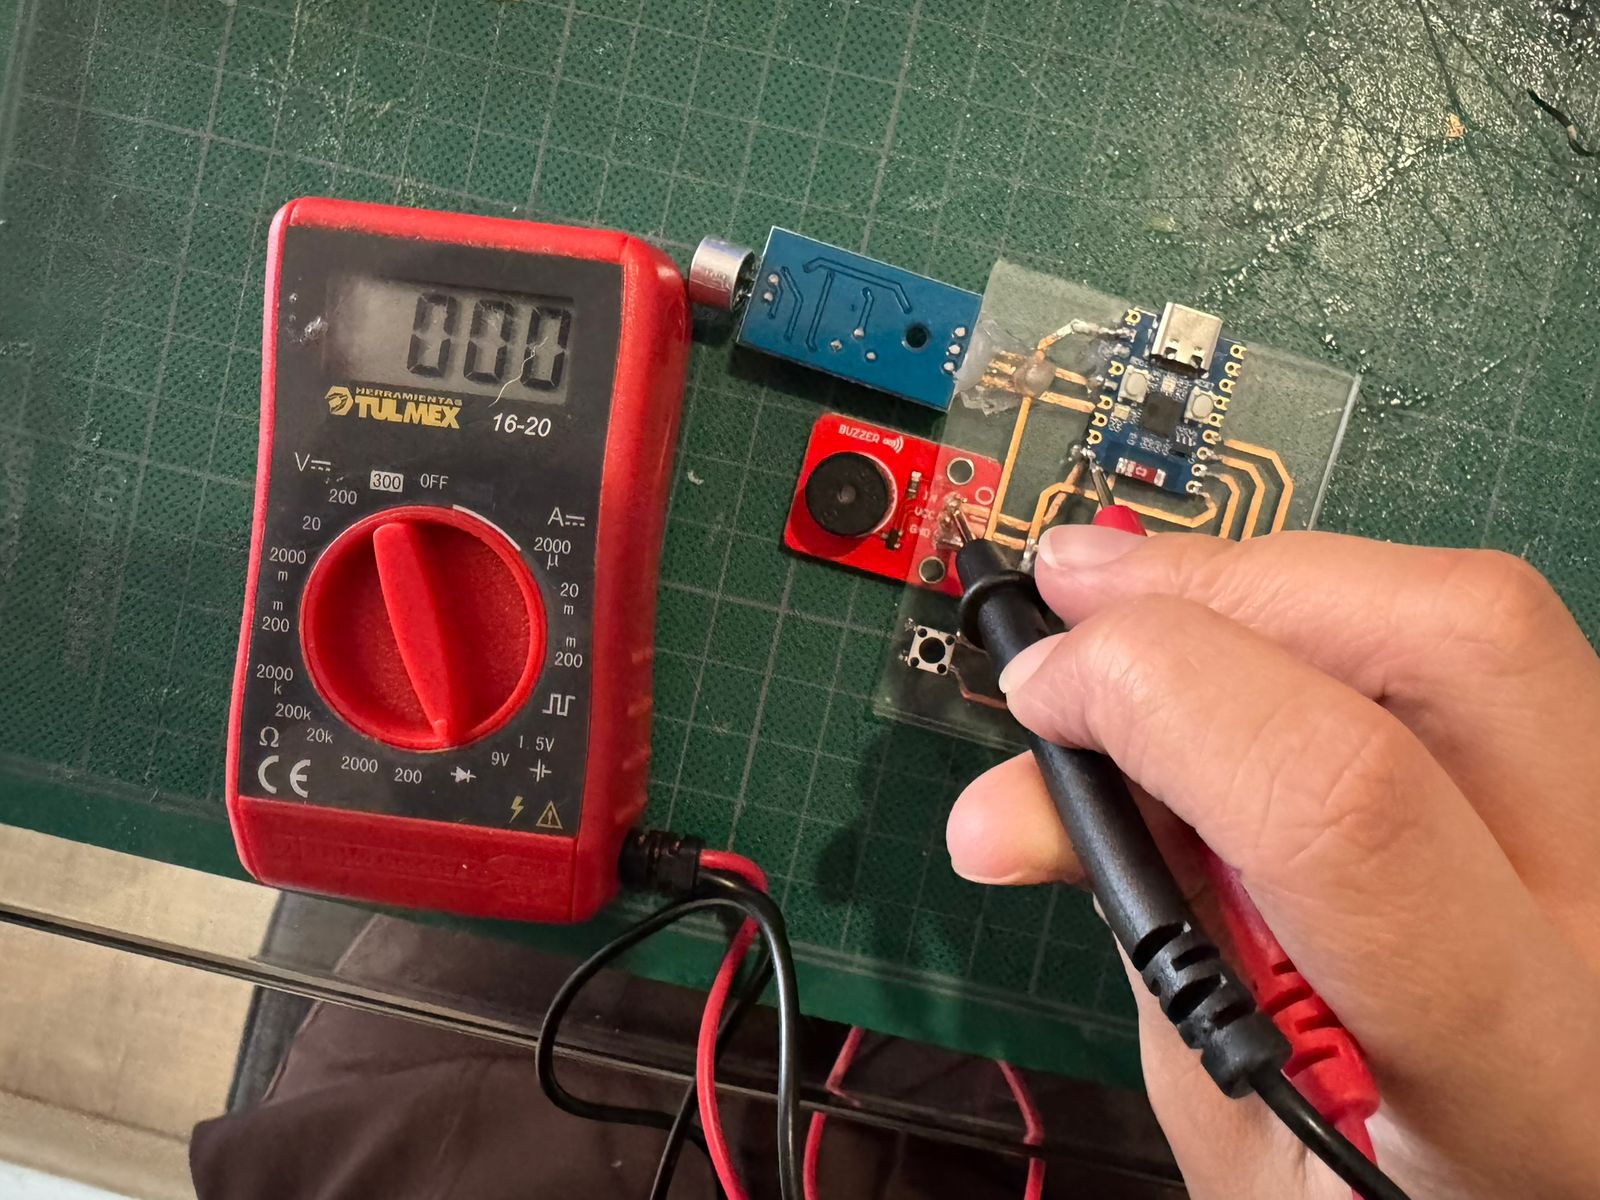
After seeing everything was alright, the Code was uploaded to the microcontroler with Arduino IDE.
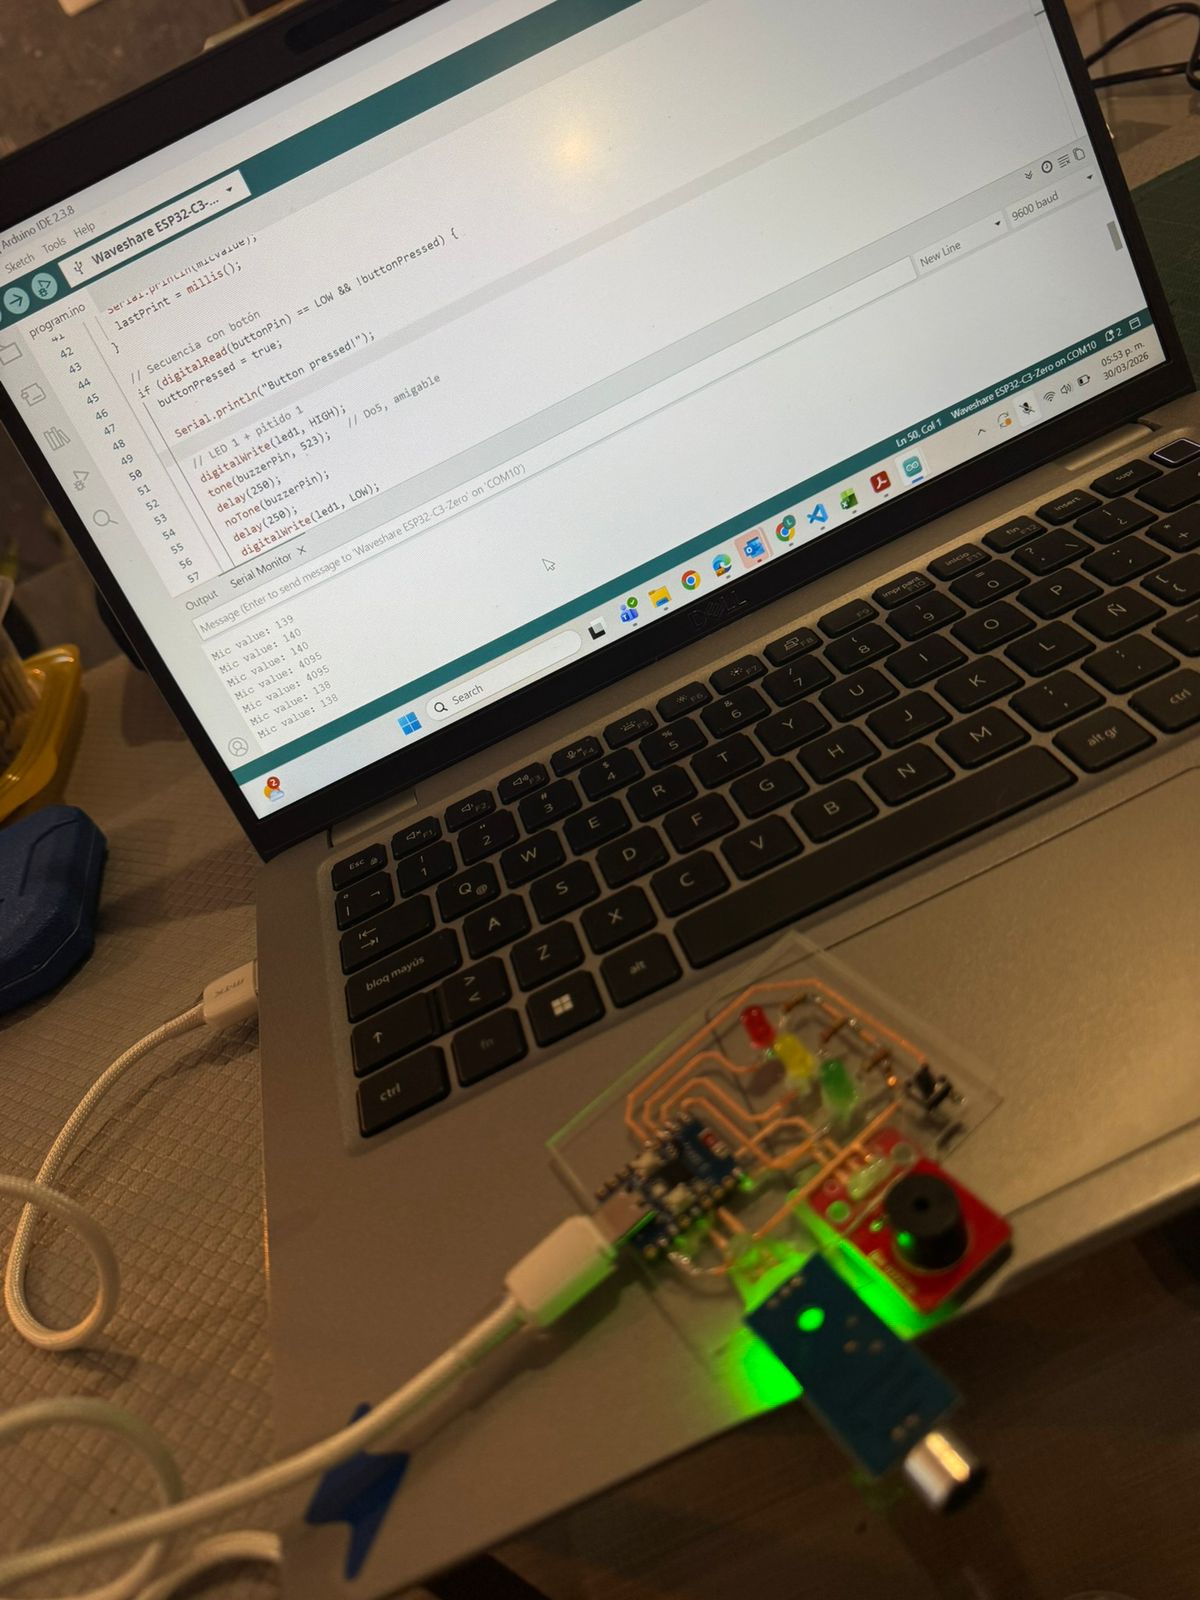
*This also helped check the micronphone was still sensing sound correctly through the Serial Monitor readings.
With that, the circuit was ready and done:
For my final project...
After a while, I decided to add an LCD 20x4 I2C screen and a servo motor to my final project. This is the test I did to make them work when sensing movement from an HC SR501 PIR Motion Sensor:
Find the code here.
*Go to final project page to see more of this process.
Download all files