My Final Project
Planning
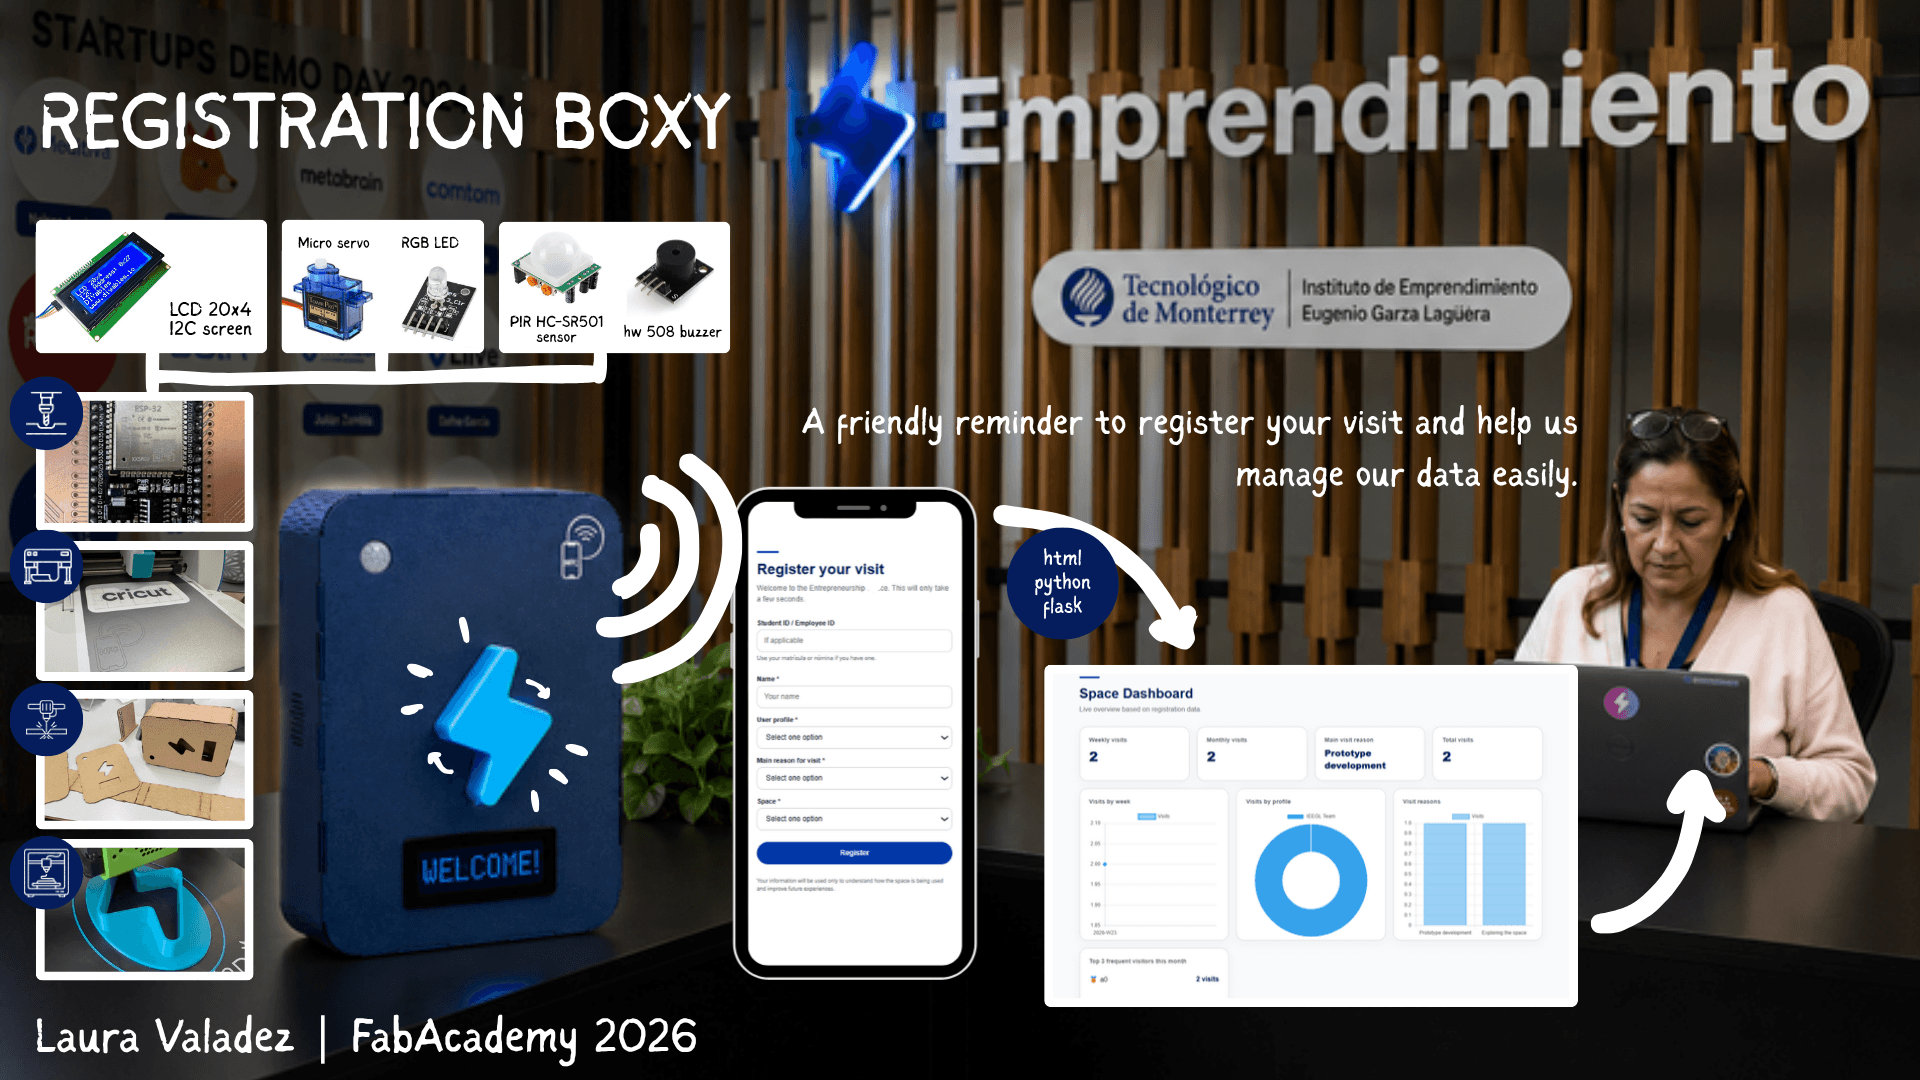
For my final project, I decided to create an interactive registration device. At Tecnológico de Monterrey I work with several coworking and making spaces that struggle to register visitors. I hope that adding some fun to This device could help with that.
In the beginning I imagined something like this:
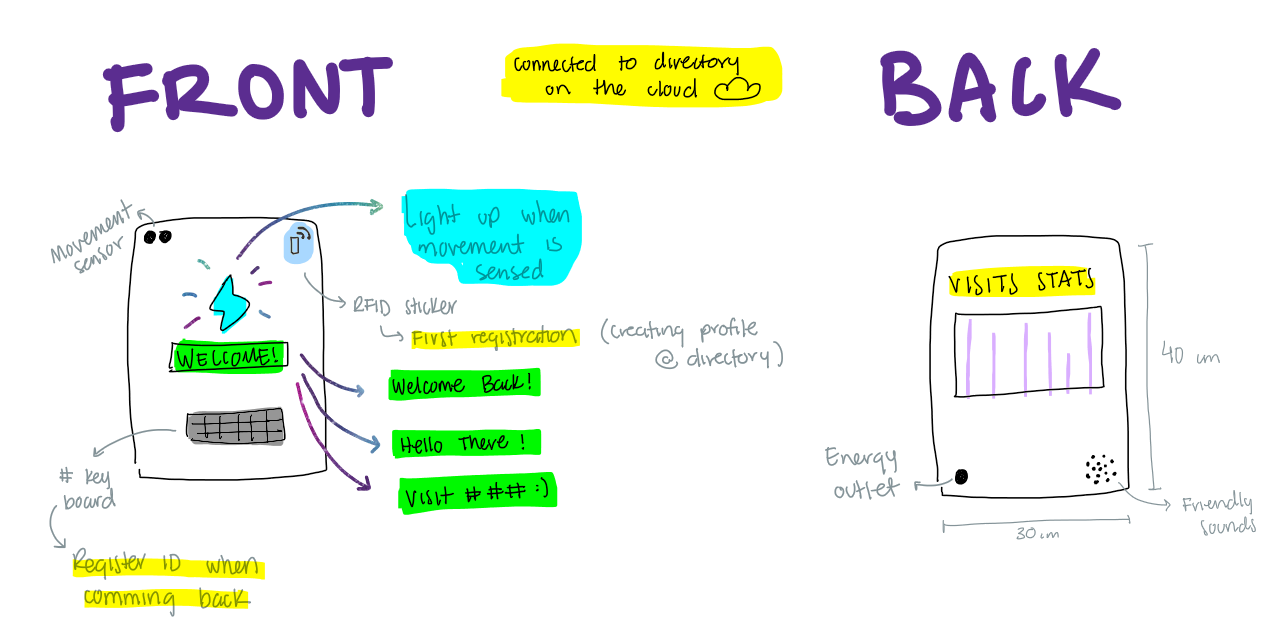
I'd like the interactive box to catch your atention whit light and friendly sounds, while it displays some welcoming messages and a dashboard on the back that displays data from the cloud.
The cloud directory would require users to classify their ID through a simple form scaned with their phone from an RFID sticker (ID, campus, affiliation), so when they register again on the key board later, the dashboard can be updated.
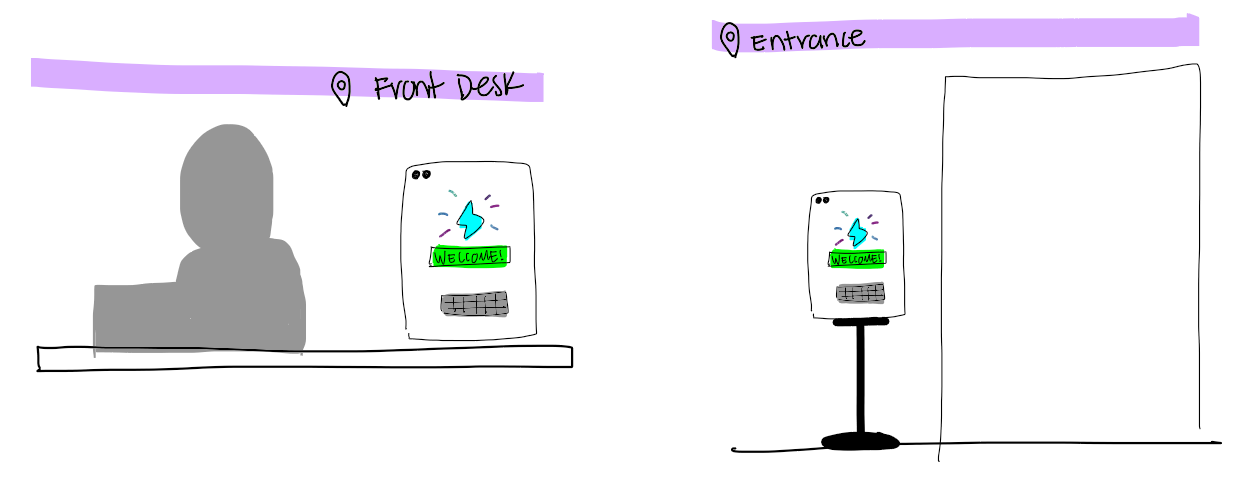
The dimesions for this box would be a size that let it fit right both at a desk and beside an entrance.
Research
I looked for similar projects on previous FabAcademy generations and this is what came up:.
2D and 3D Modeling
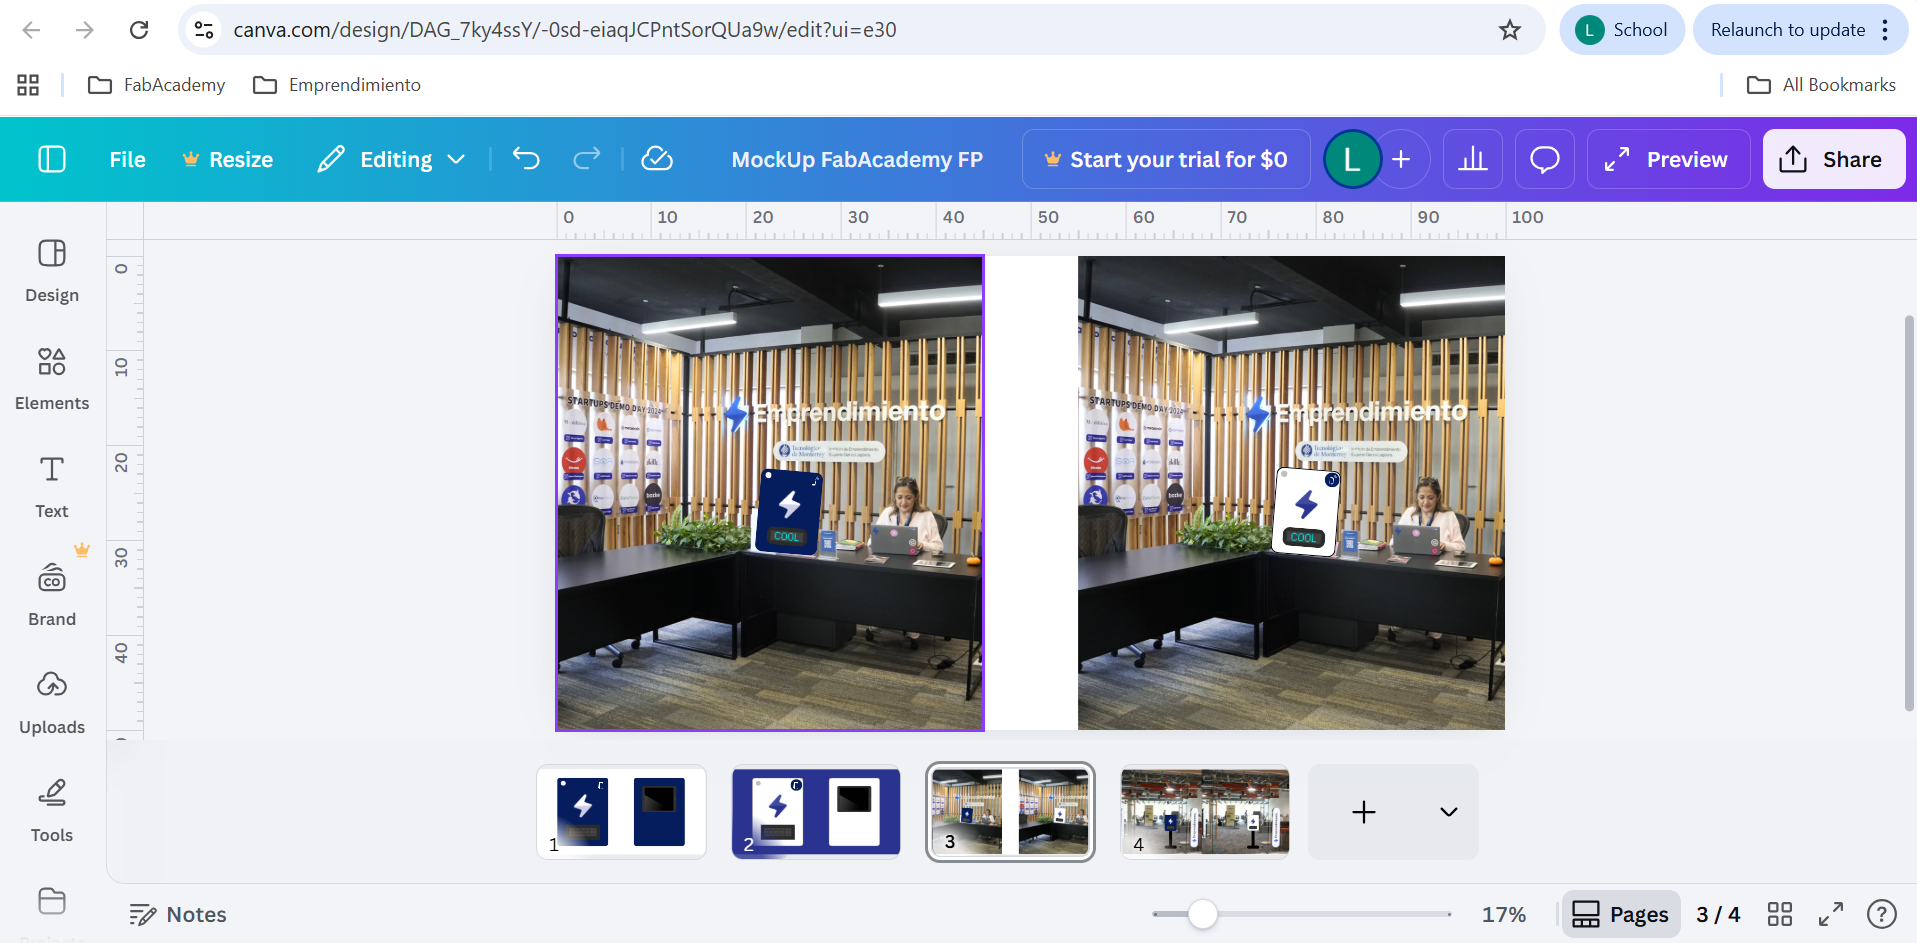
I started with simple shapes and drawings that helped me visualize the size of my interactive box, along with some colors. I realized canva is great for comparing digital drawings with real life pictures due to the friendly interface. But on the other hand, it is quite hard to create or edit complicated shapes.
First 3D design:
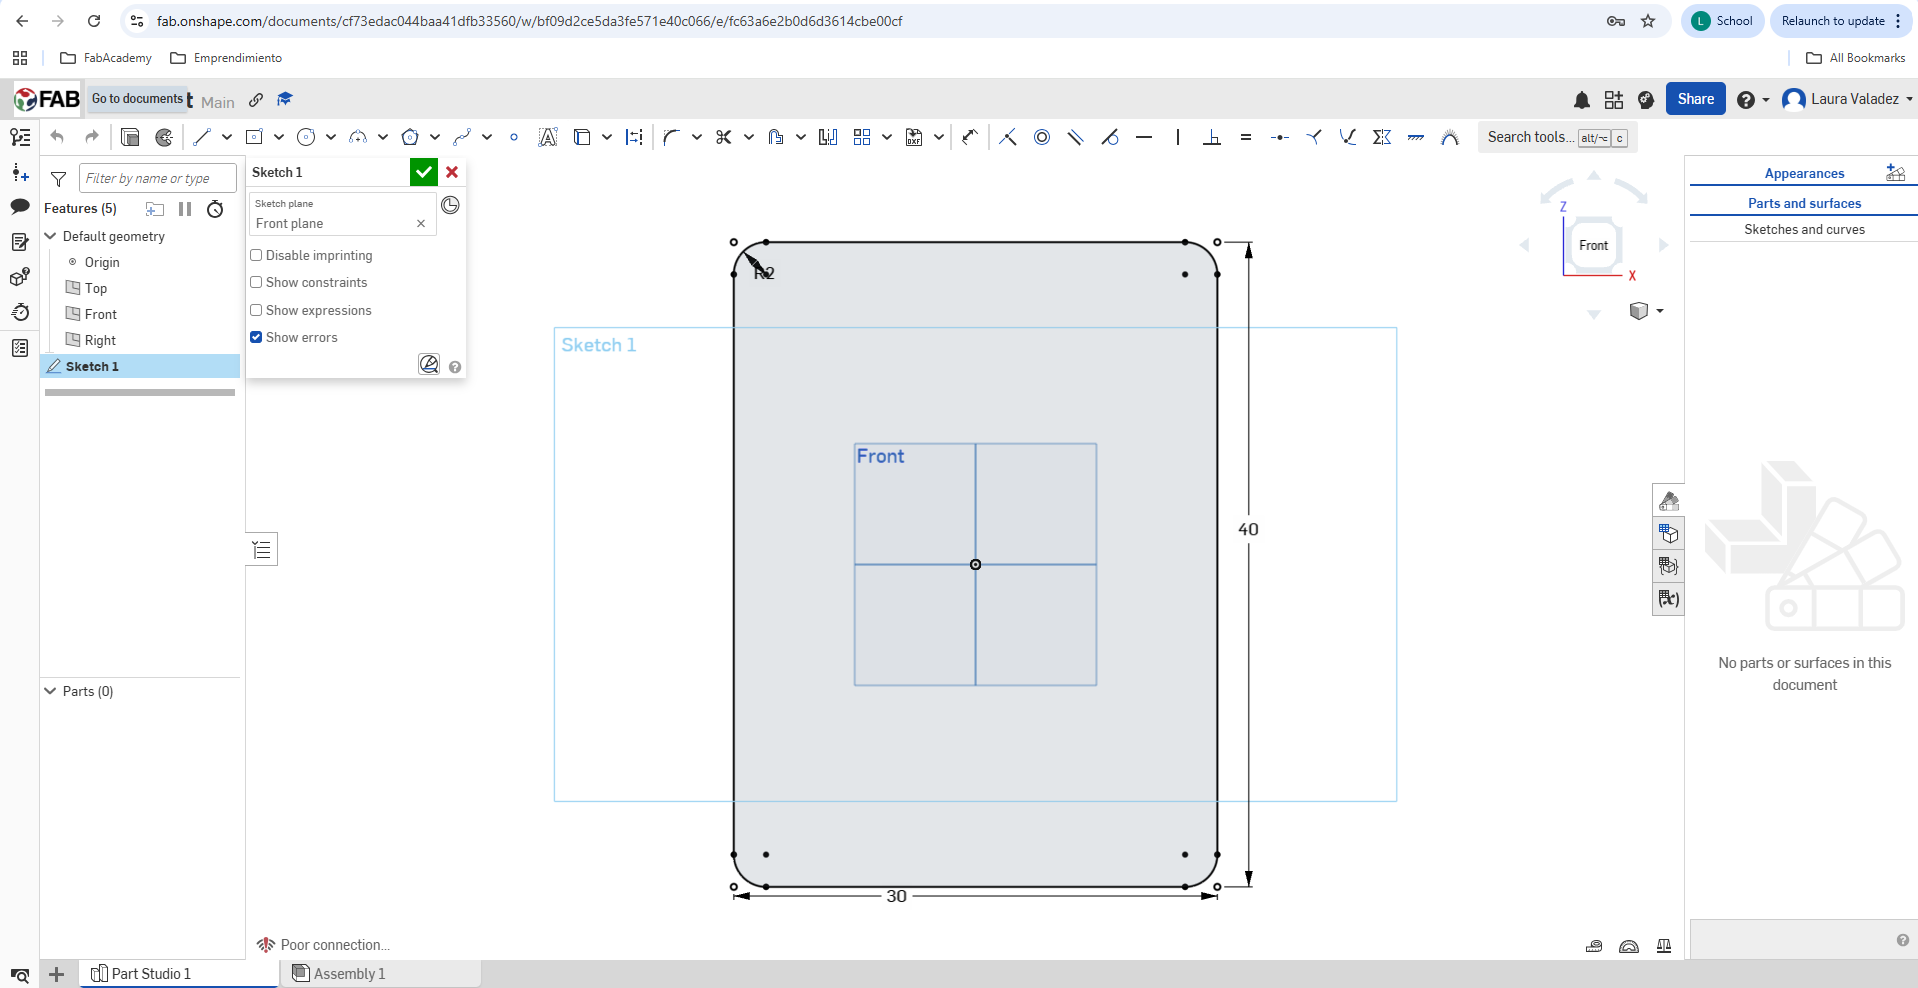
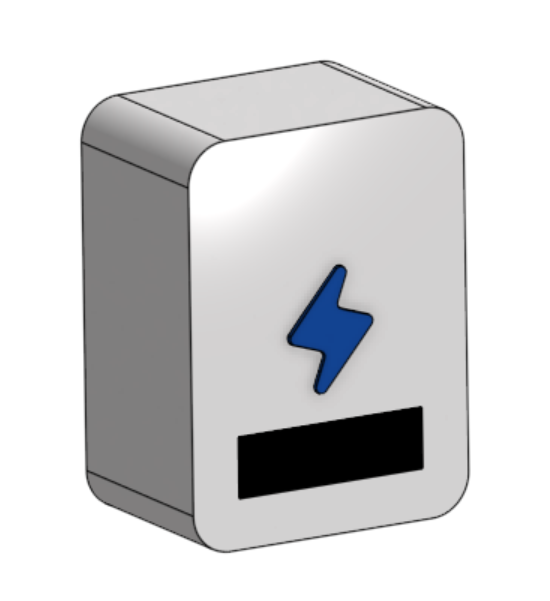
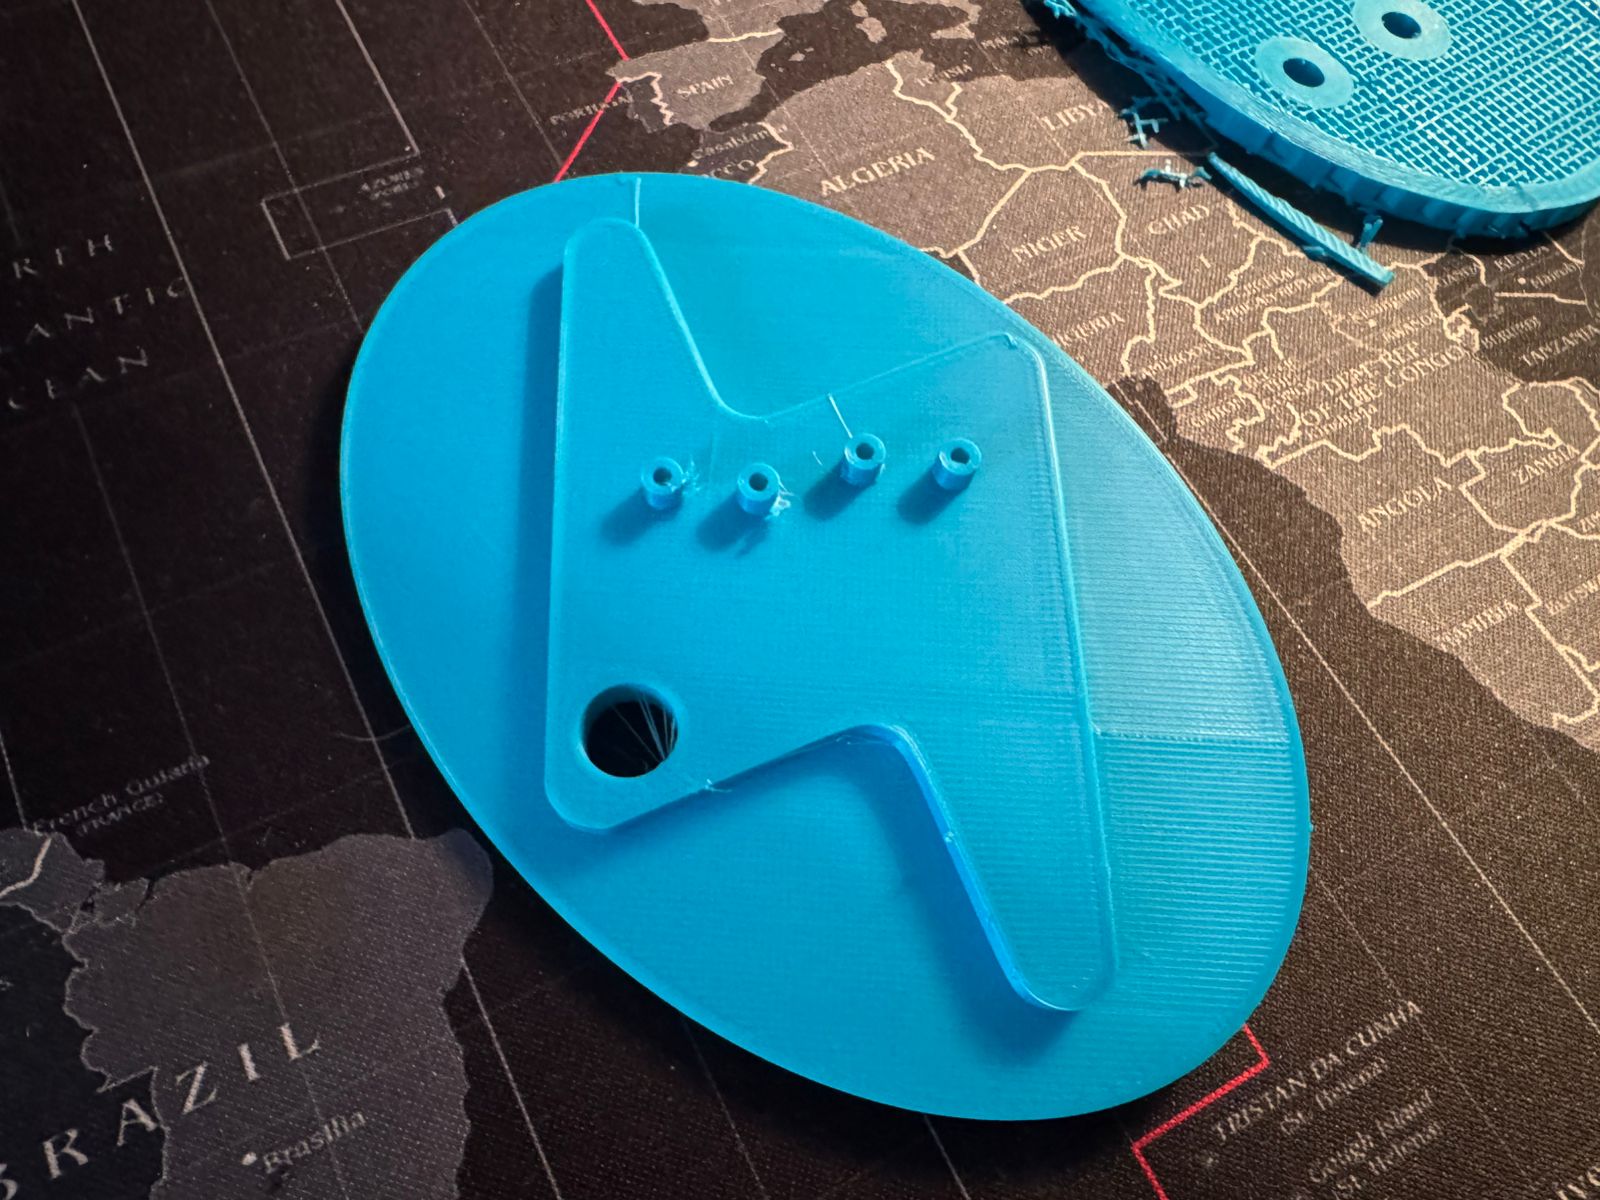
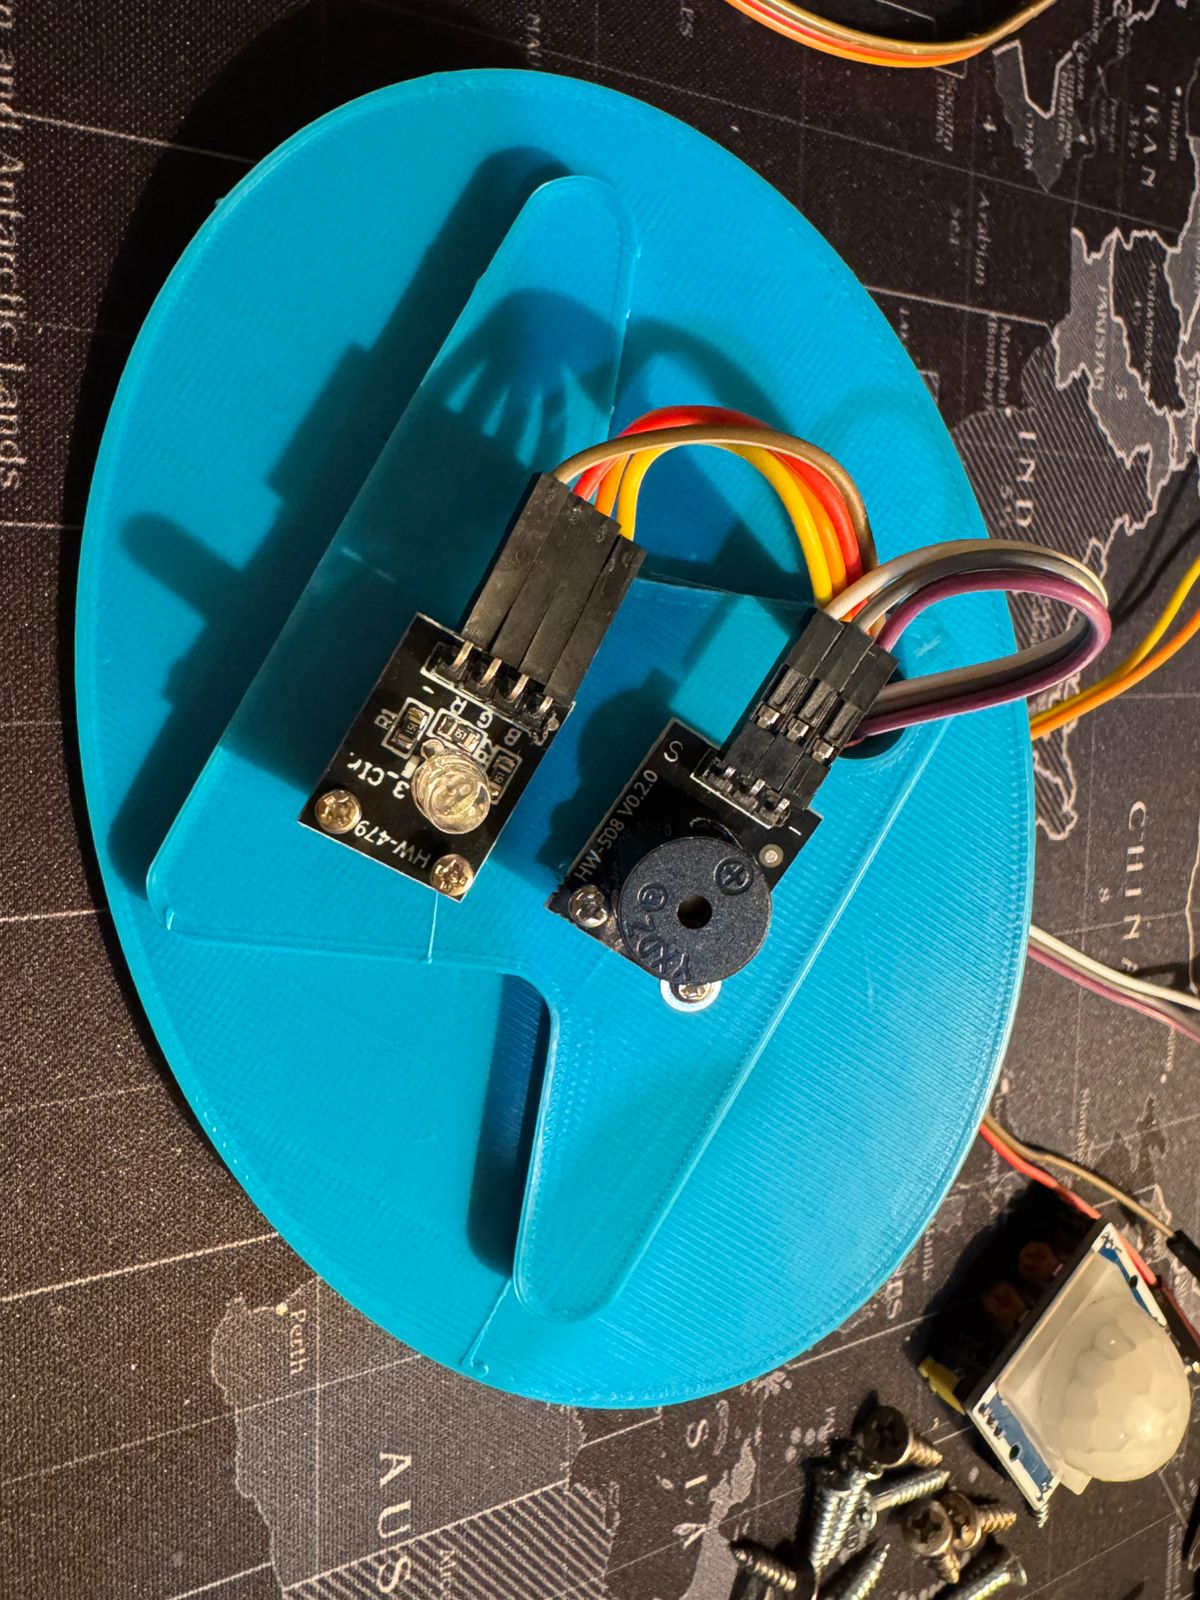
Then I also designed several iterations of the central lightning that also holds most of the electronics:
Iteration 1
This was used donde during week 16: System Integration, and it helped find some improvements. See more on this week's site.
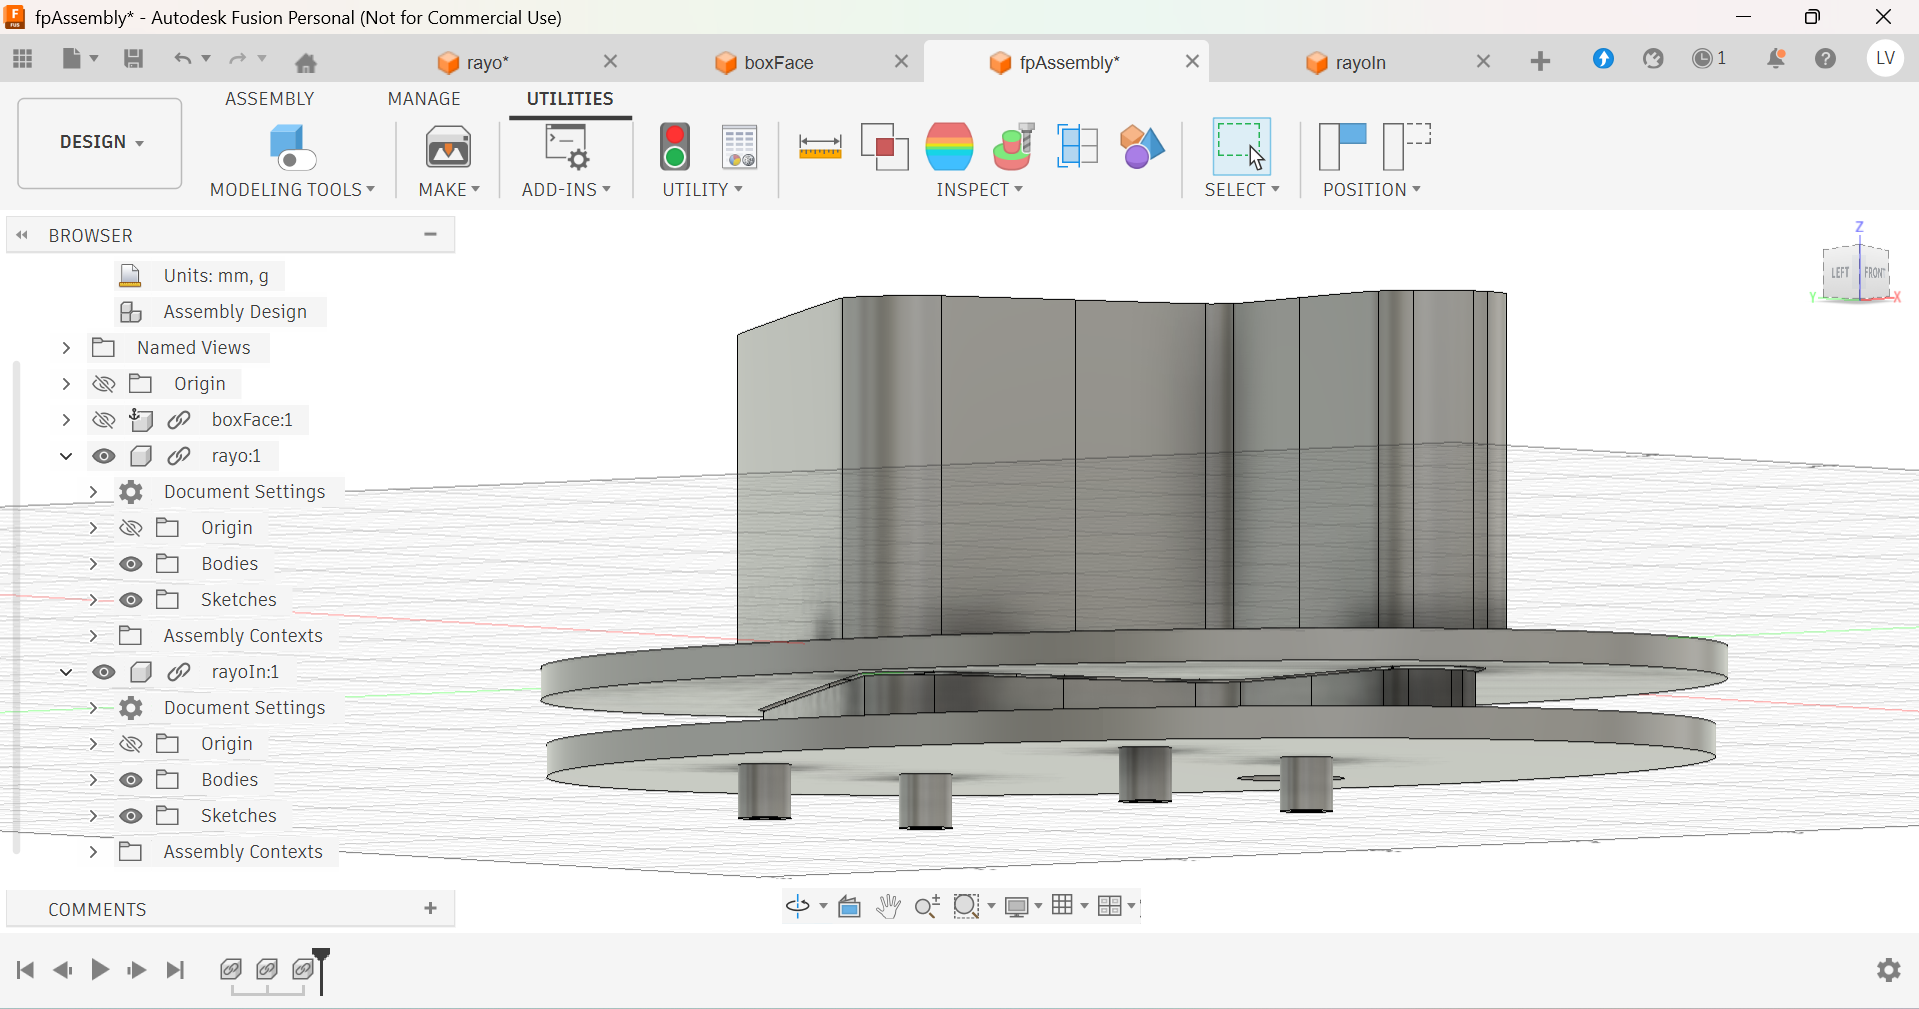
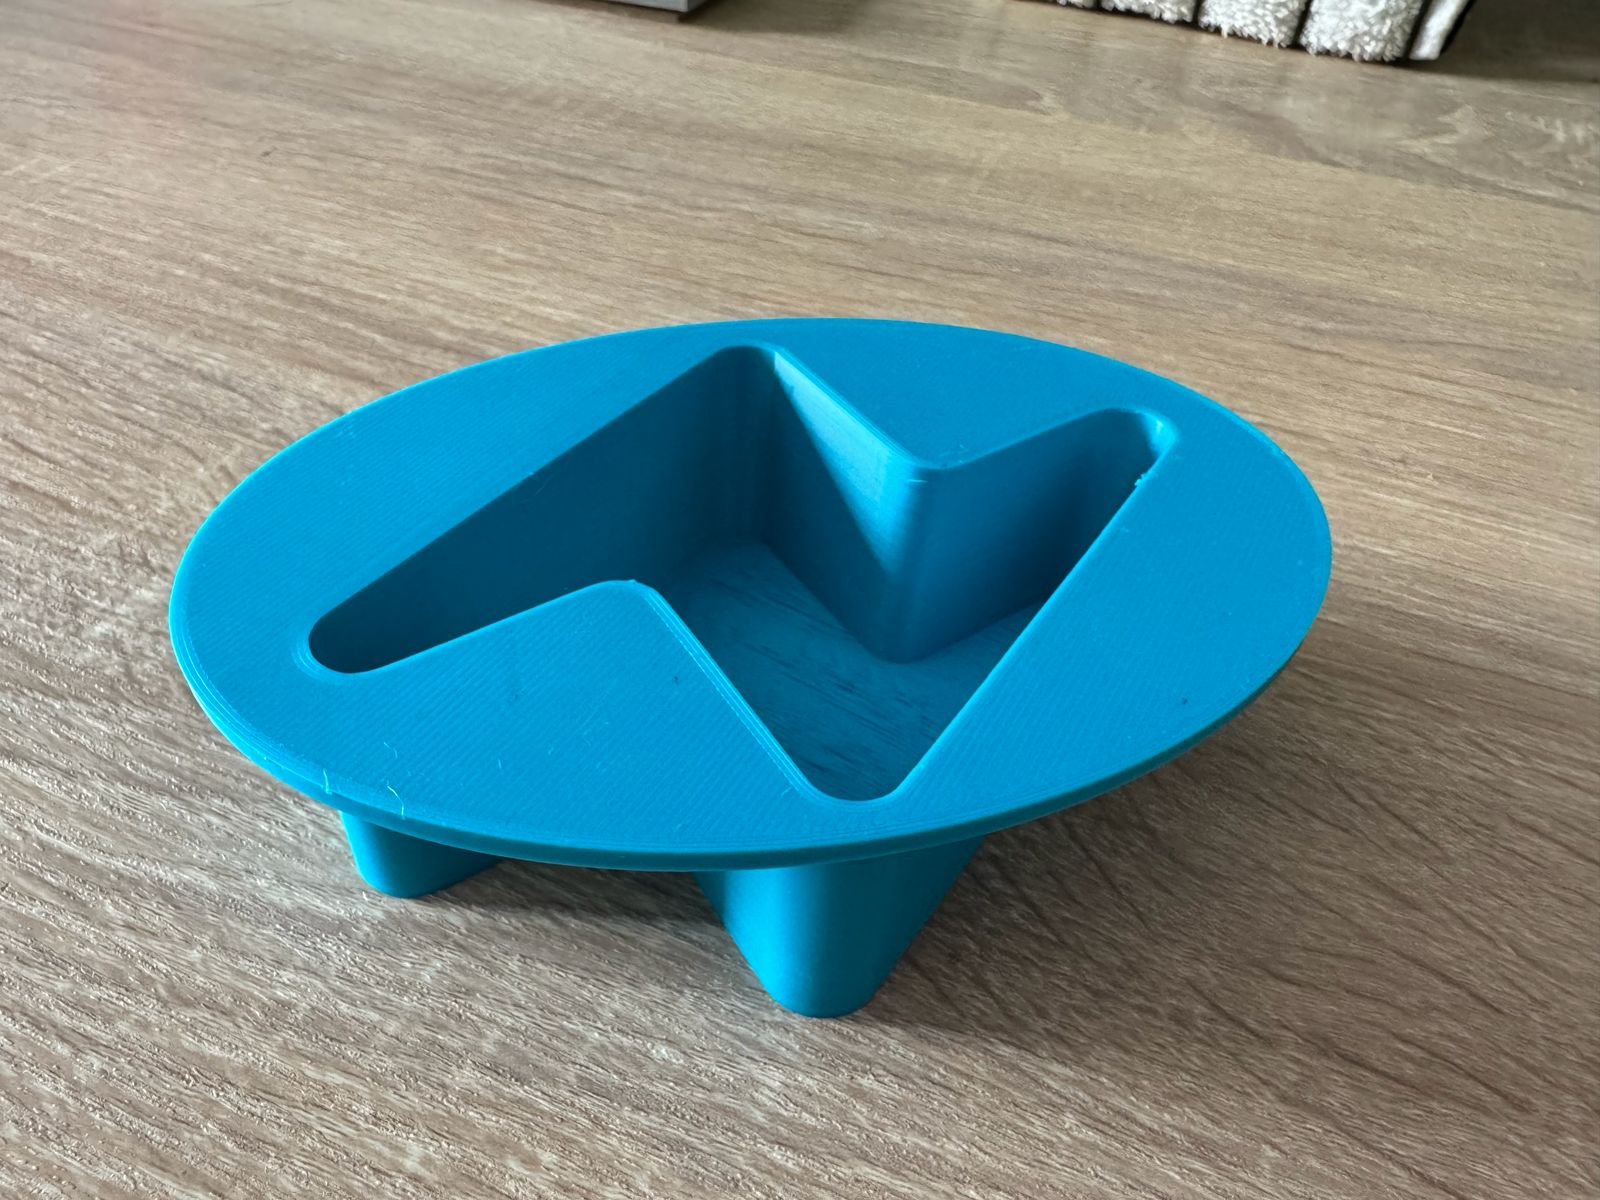
Iteration 2
This version was created after the learnings from Iteration 1
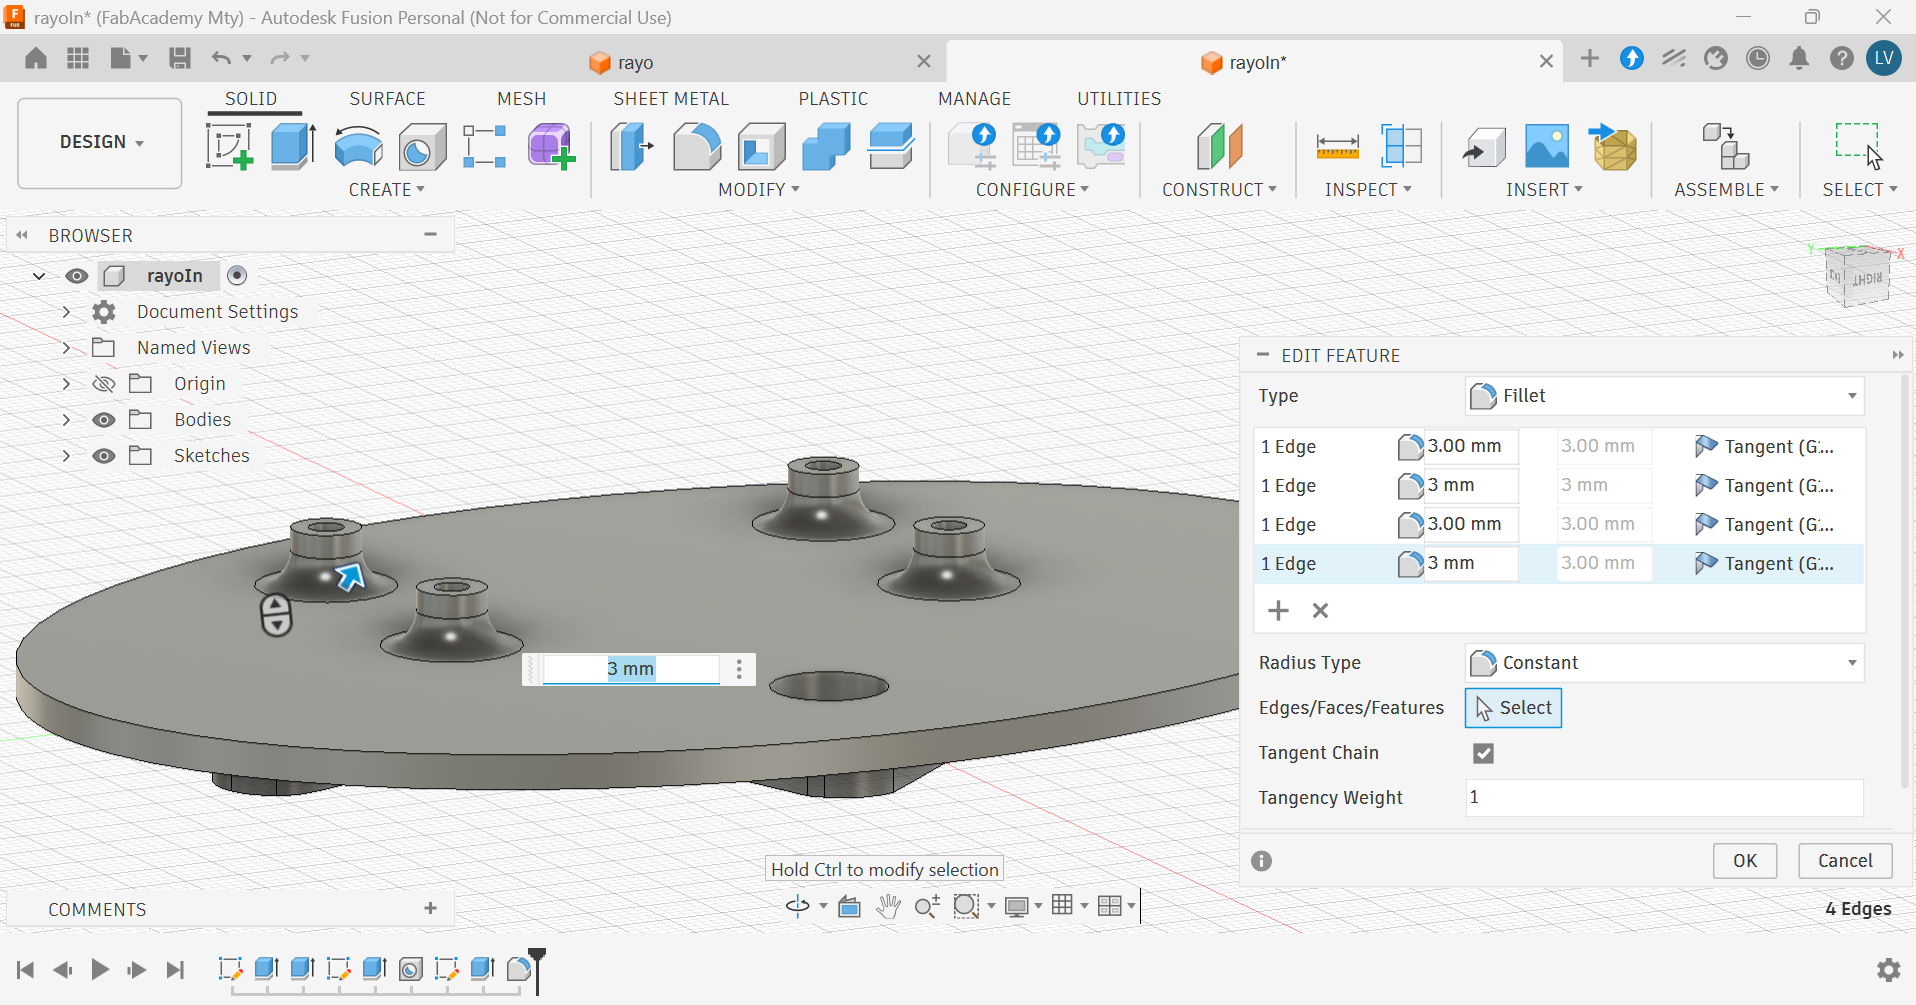
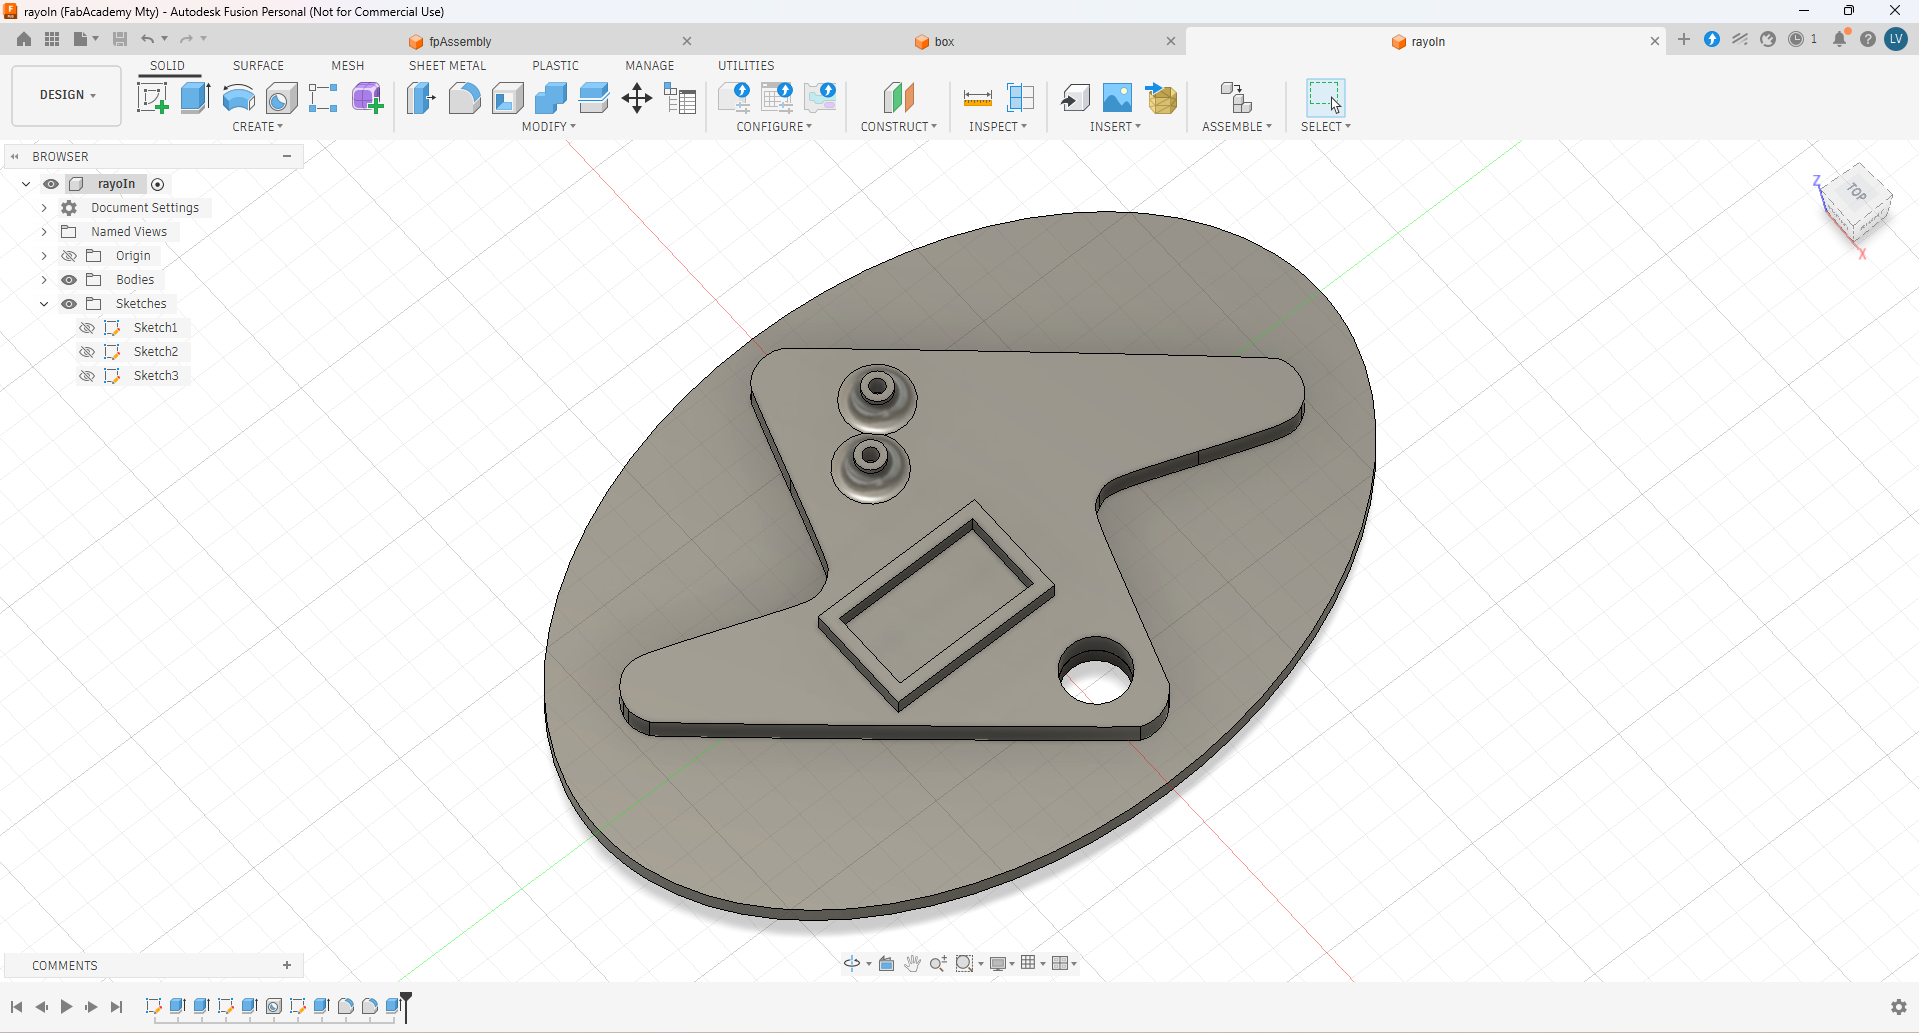
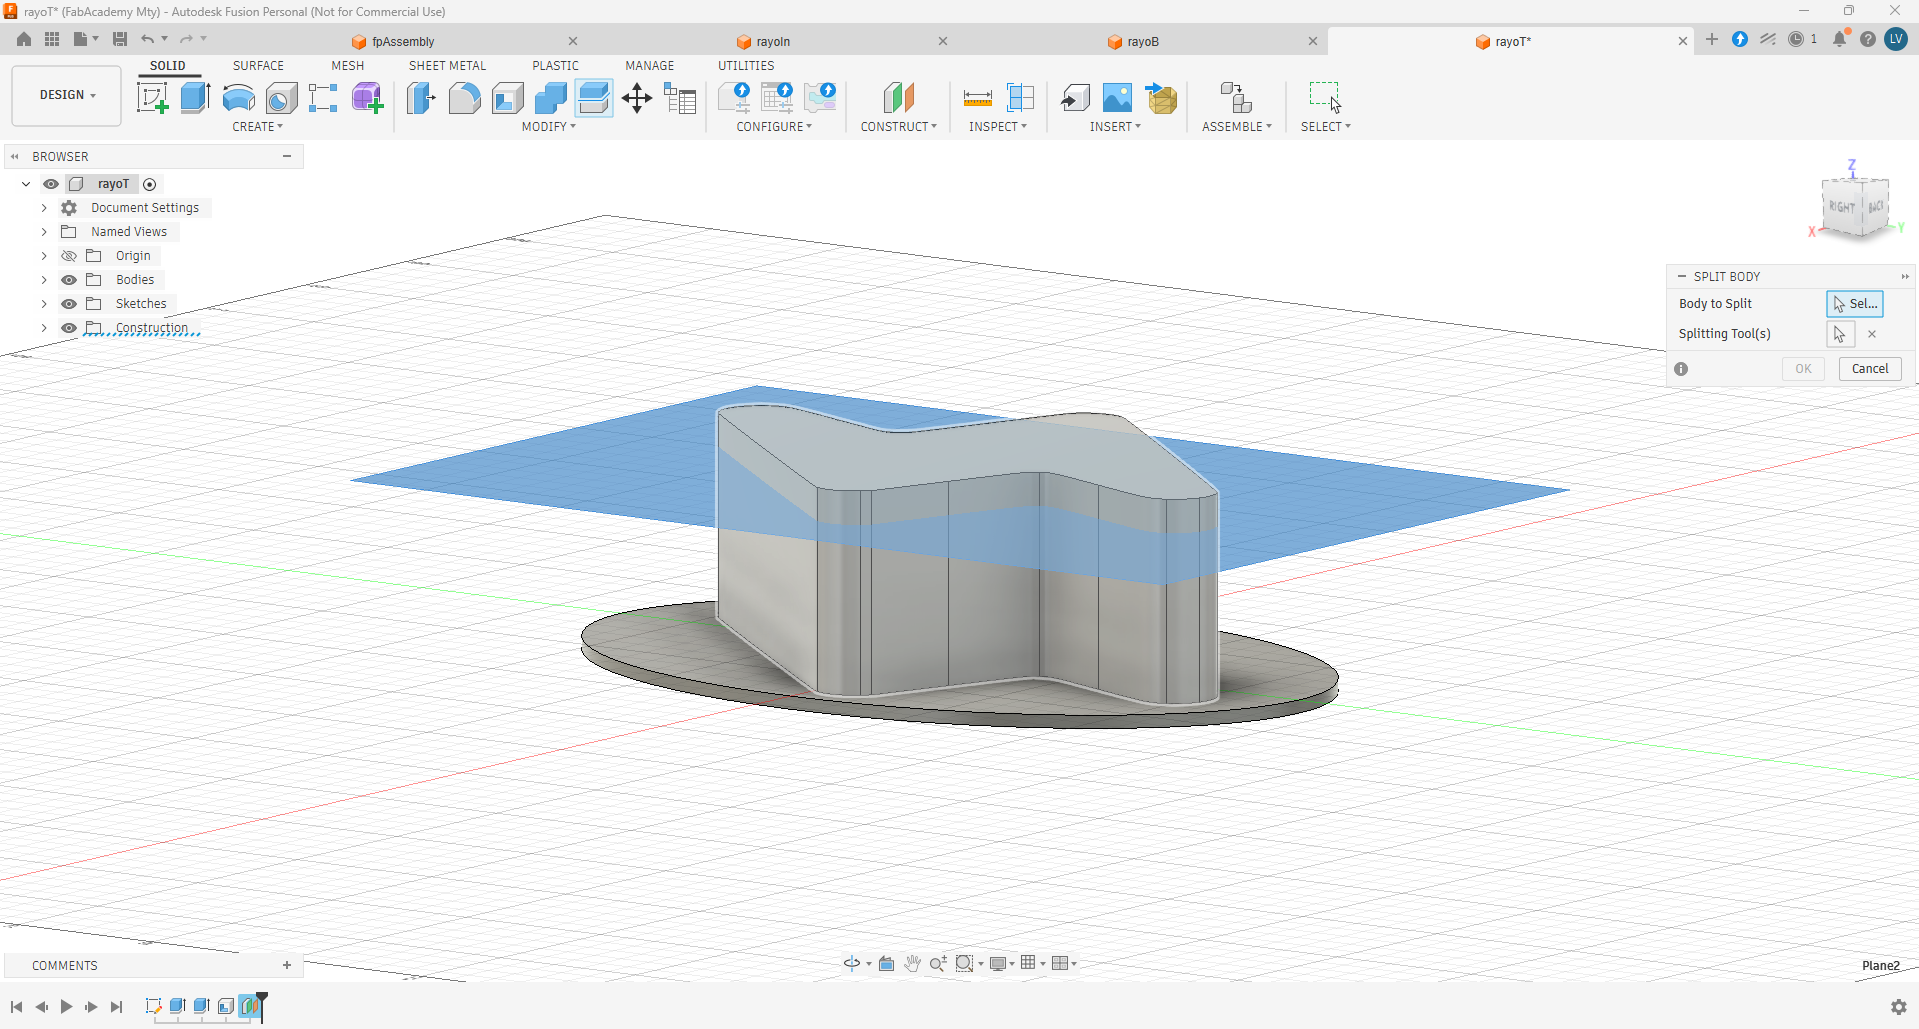
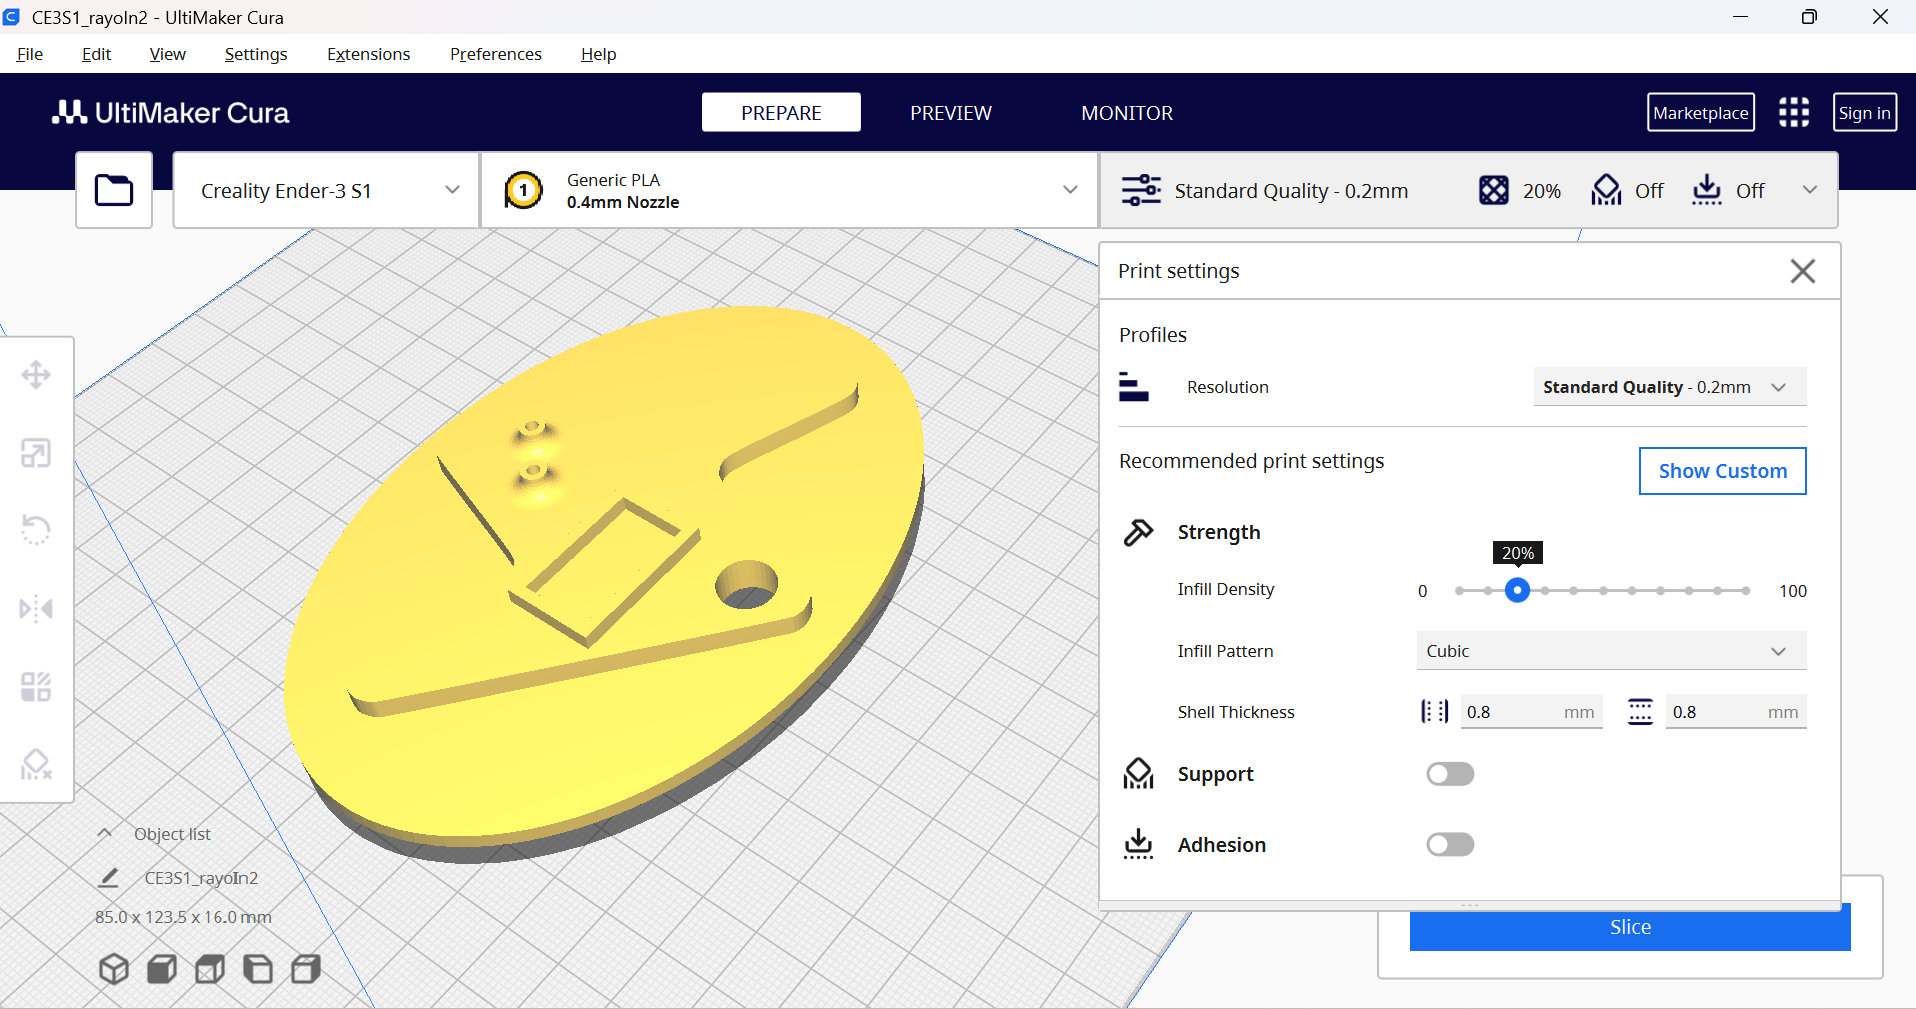
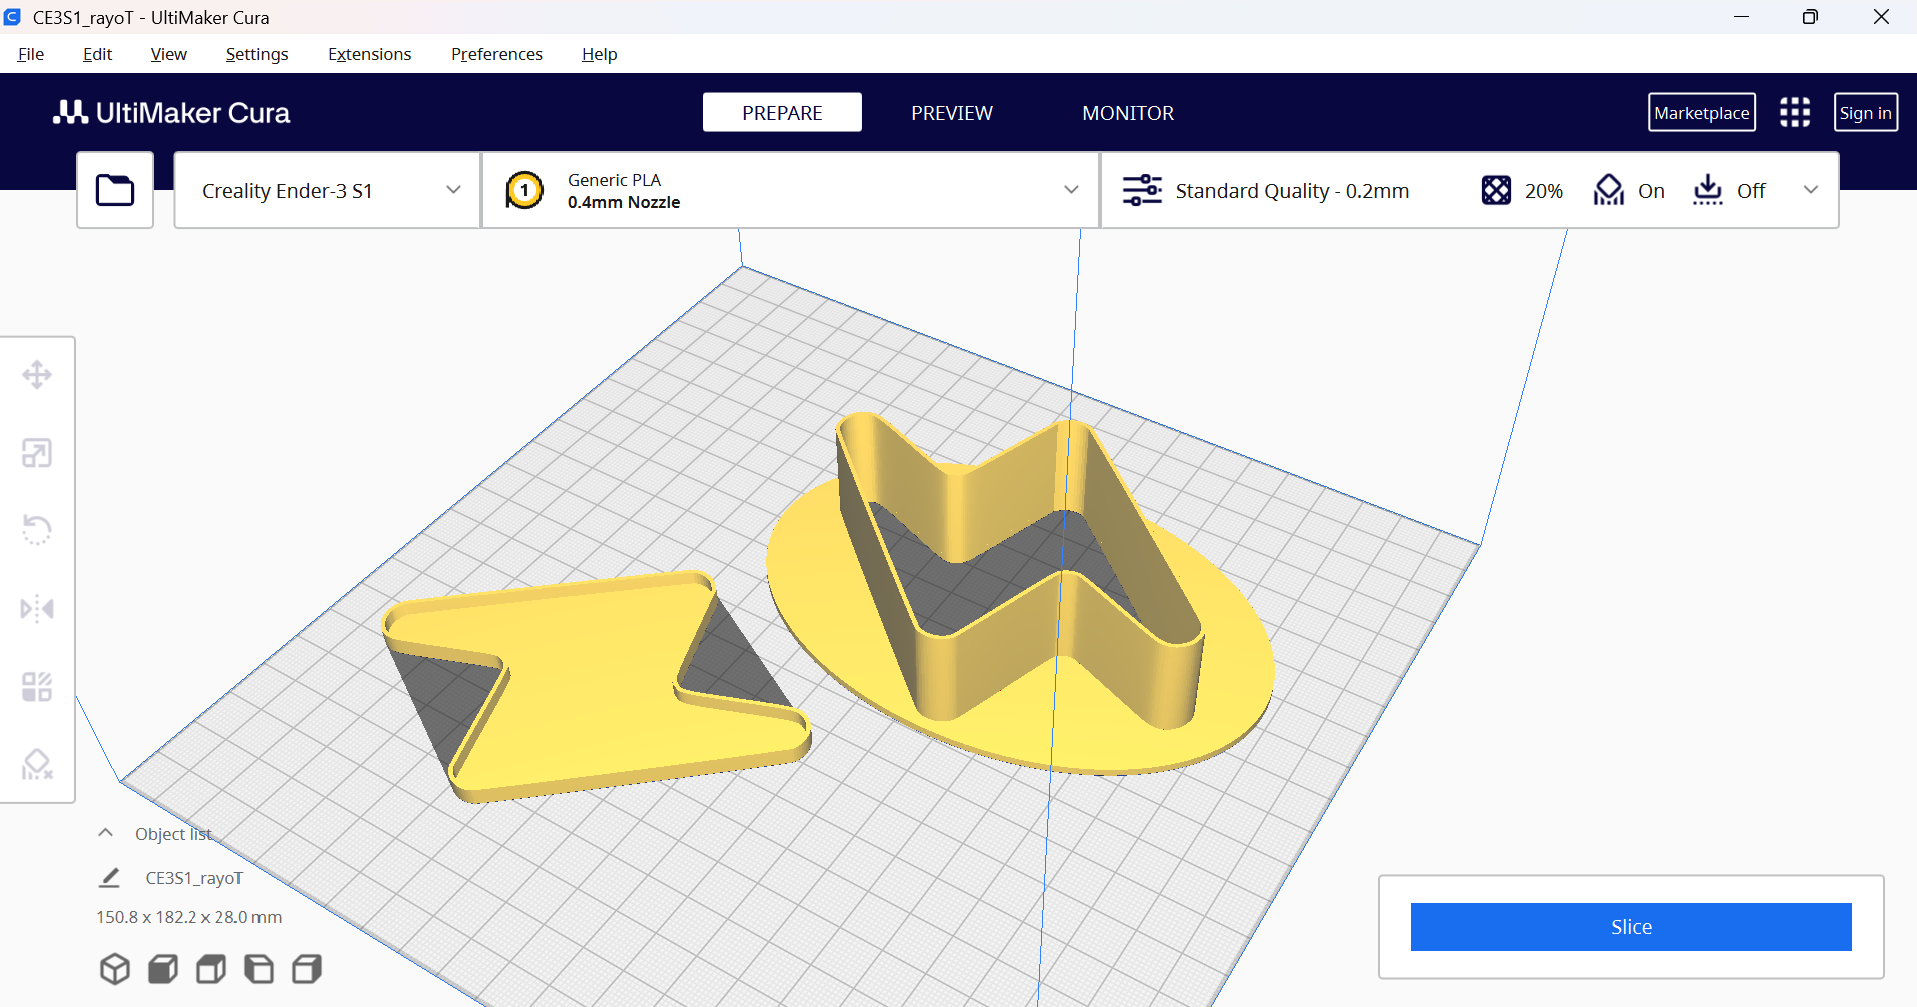
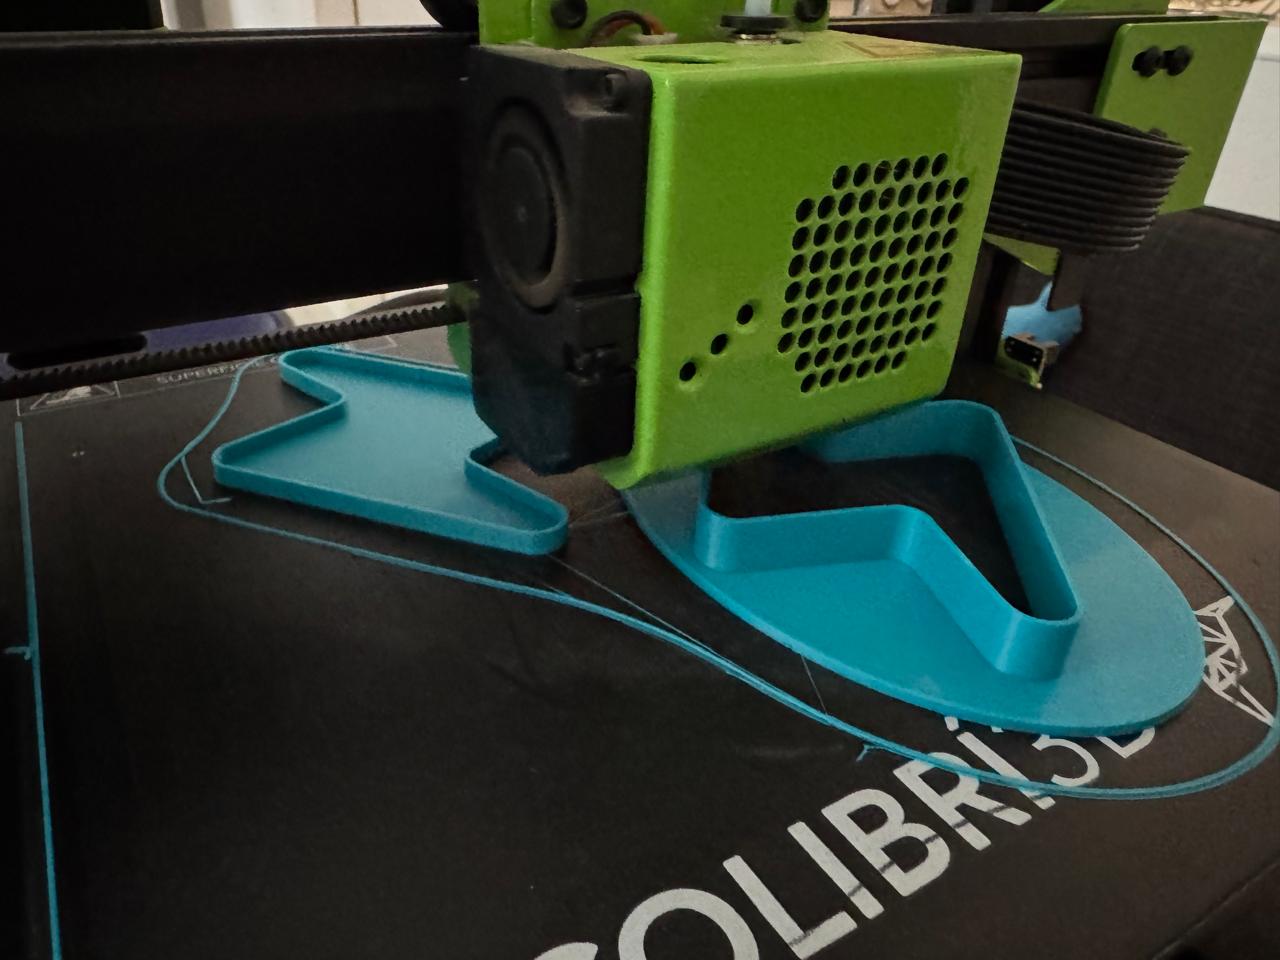
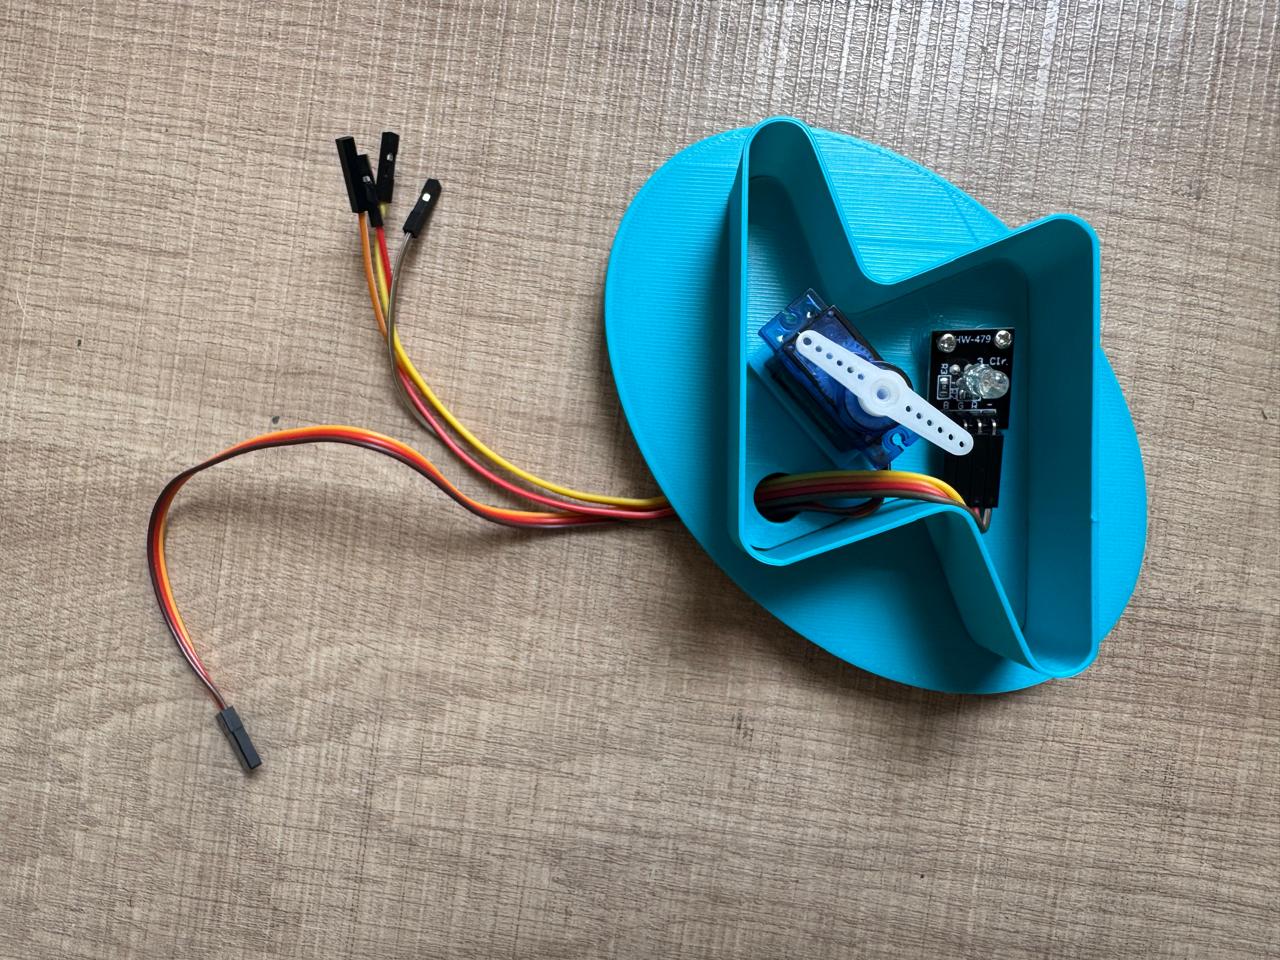
I decided to split the outer lightining so I could add a motor and move it to give more personality to the box.
Plotter cutting
I also designed and cutted on vinil with the plotter a little sign indicating to scan an NFC tag for registration.
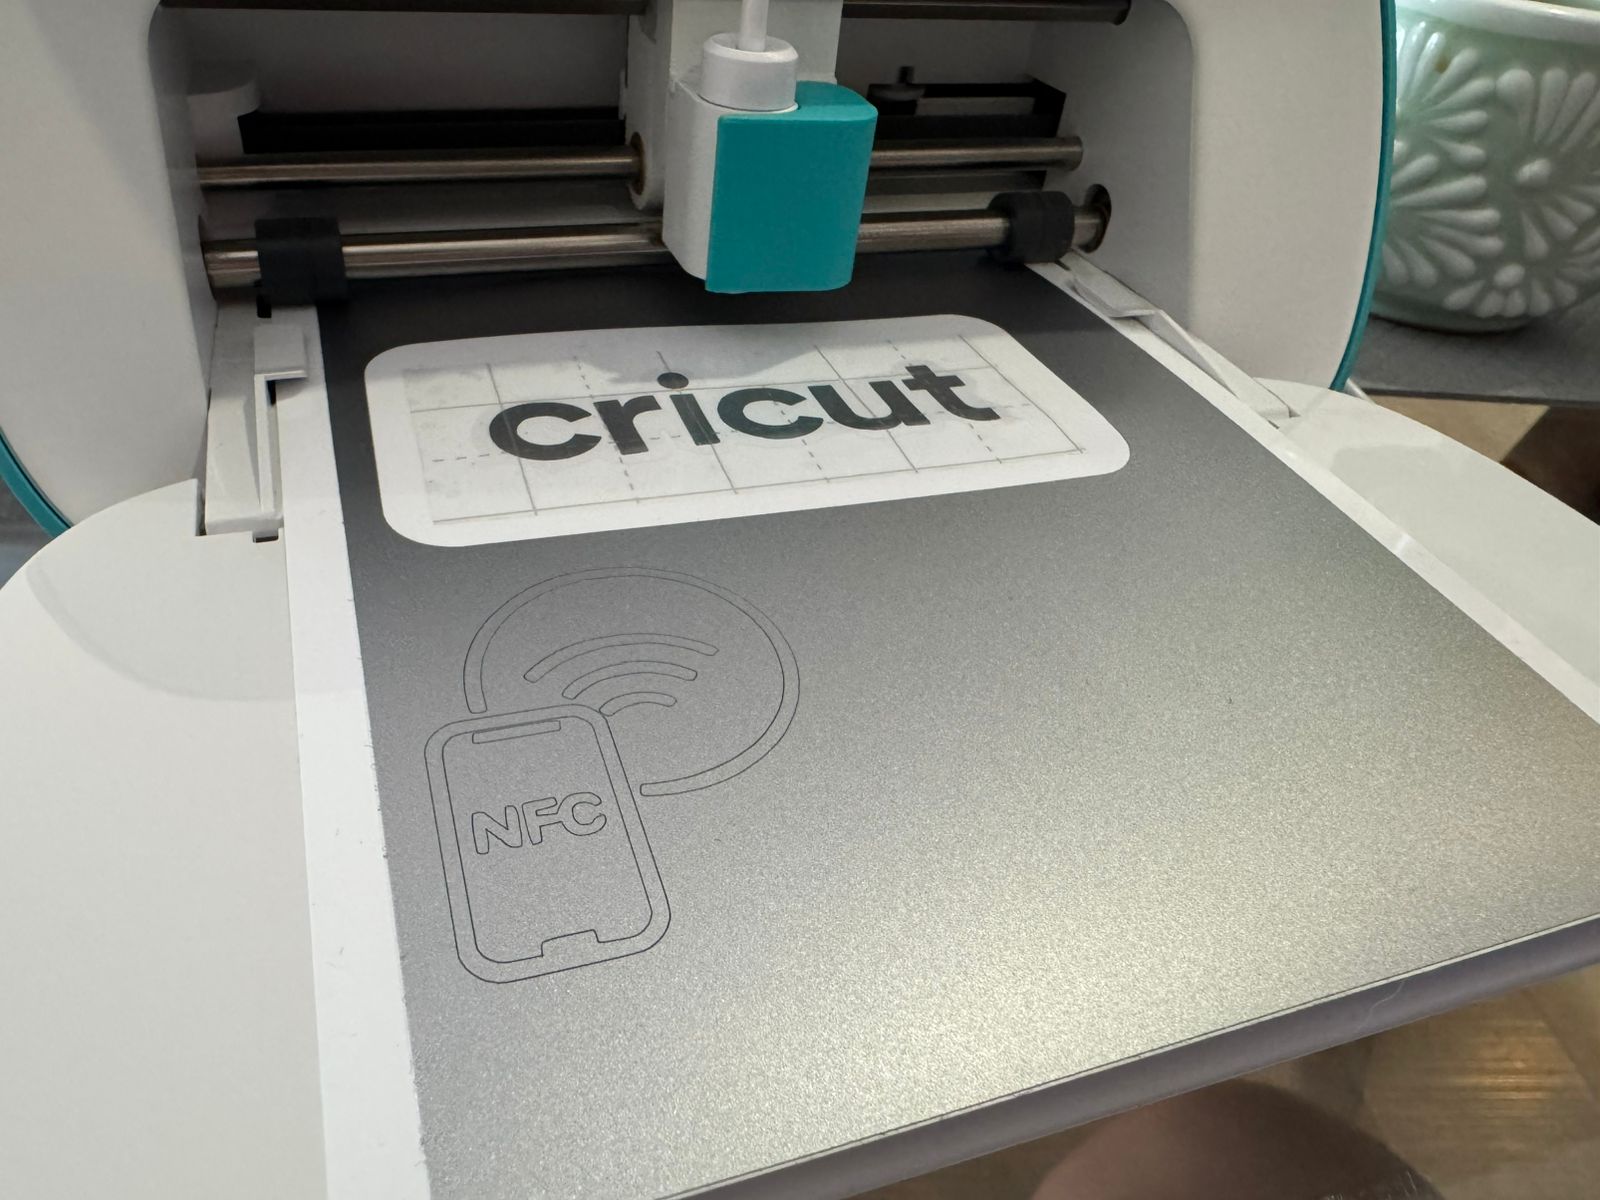
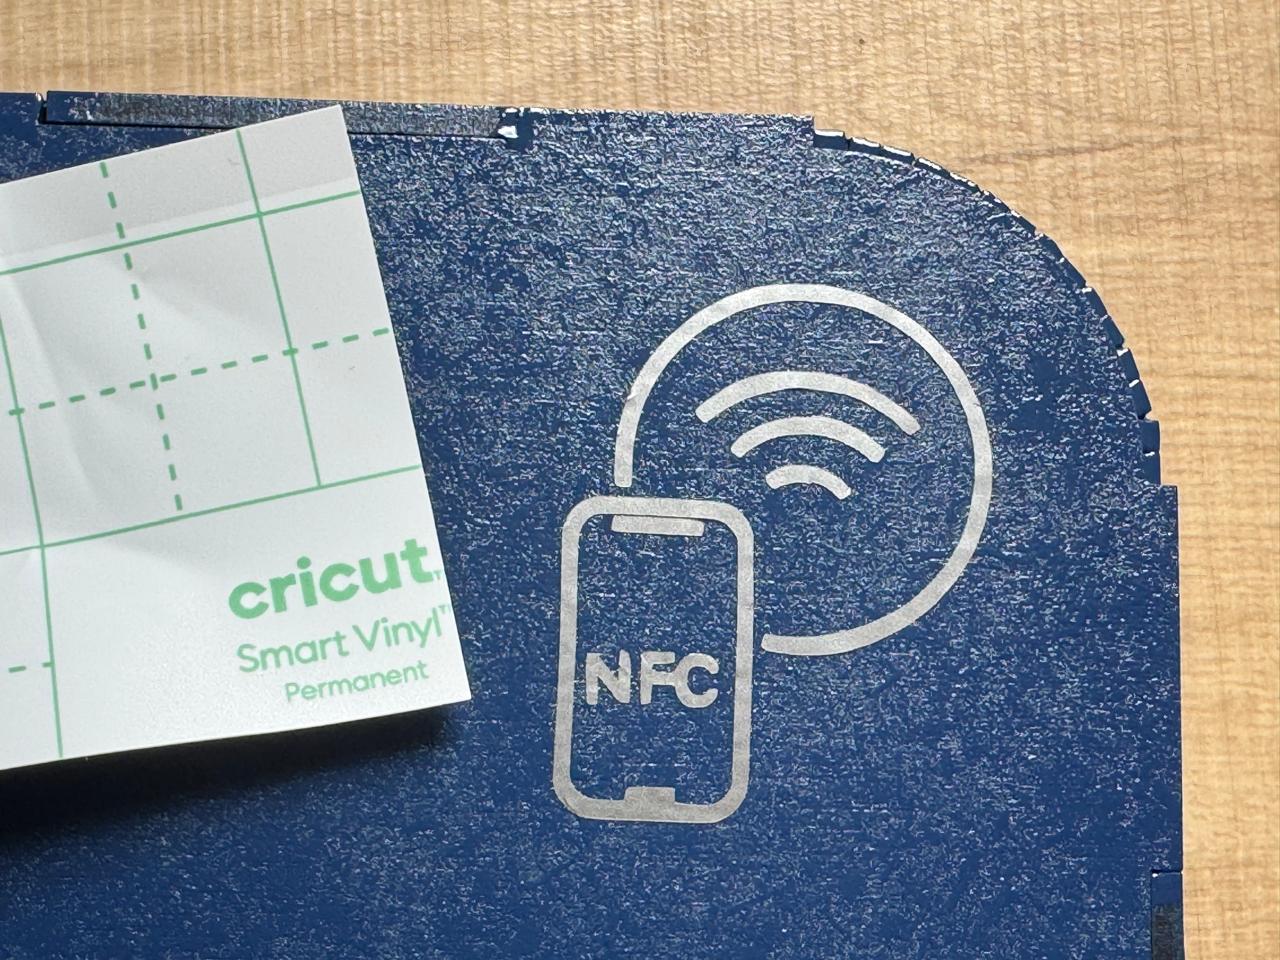
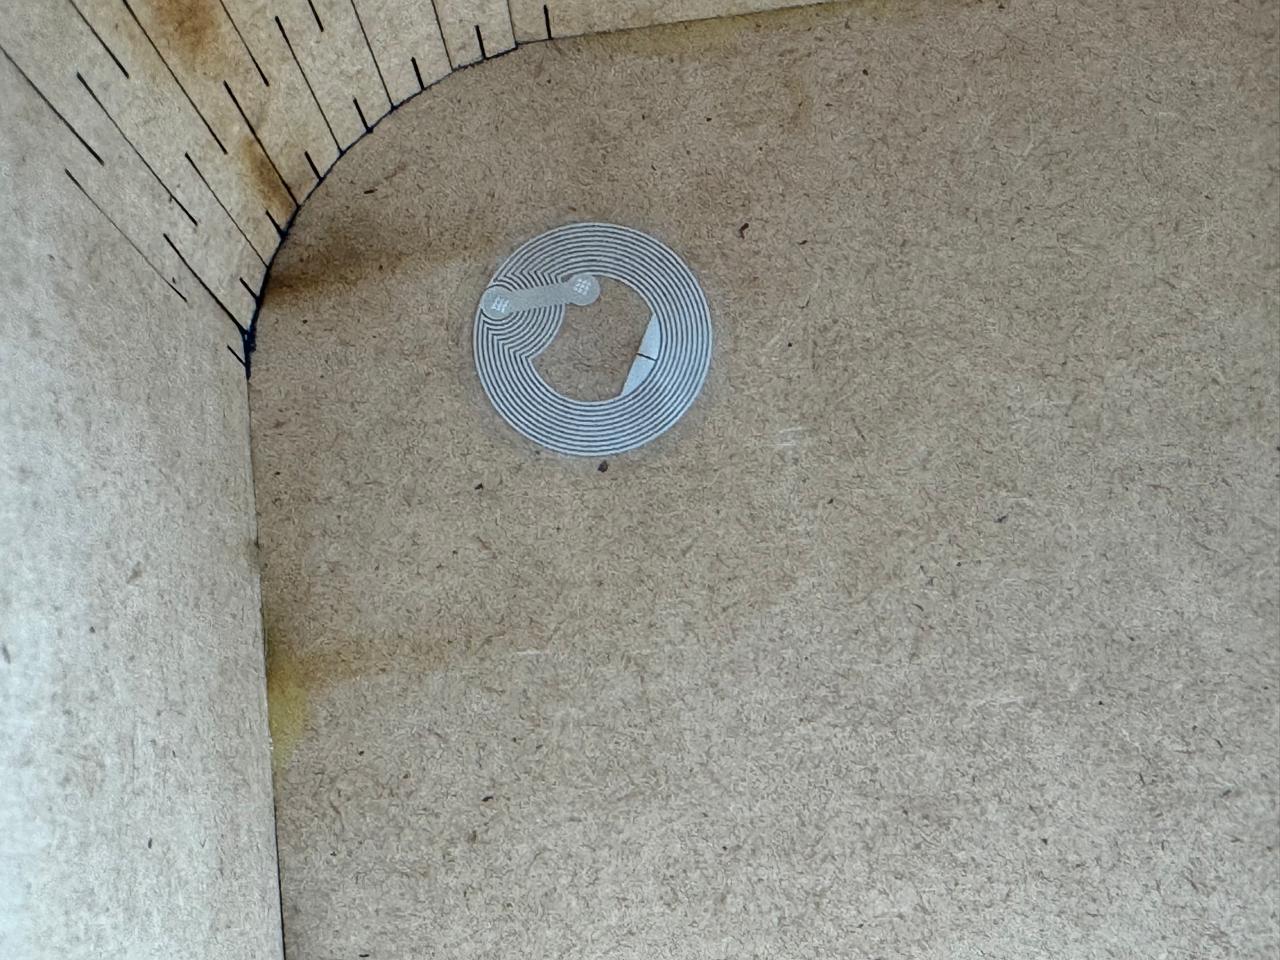
I changed the original idea from RFID to NFC, it was the right match for phone compatibility.
Electronics
This part took so much trial and error, here it goes:
These are the components I used:
- ESP32 WROOM 32
- LCD 20X4 I2C Screen
- Micro servo motor
- RGB Led
- PIR HC-SR501 sensor
- hw 208 buzzer
To start, I tested most components and their connectivity.
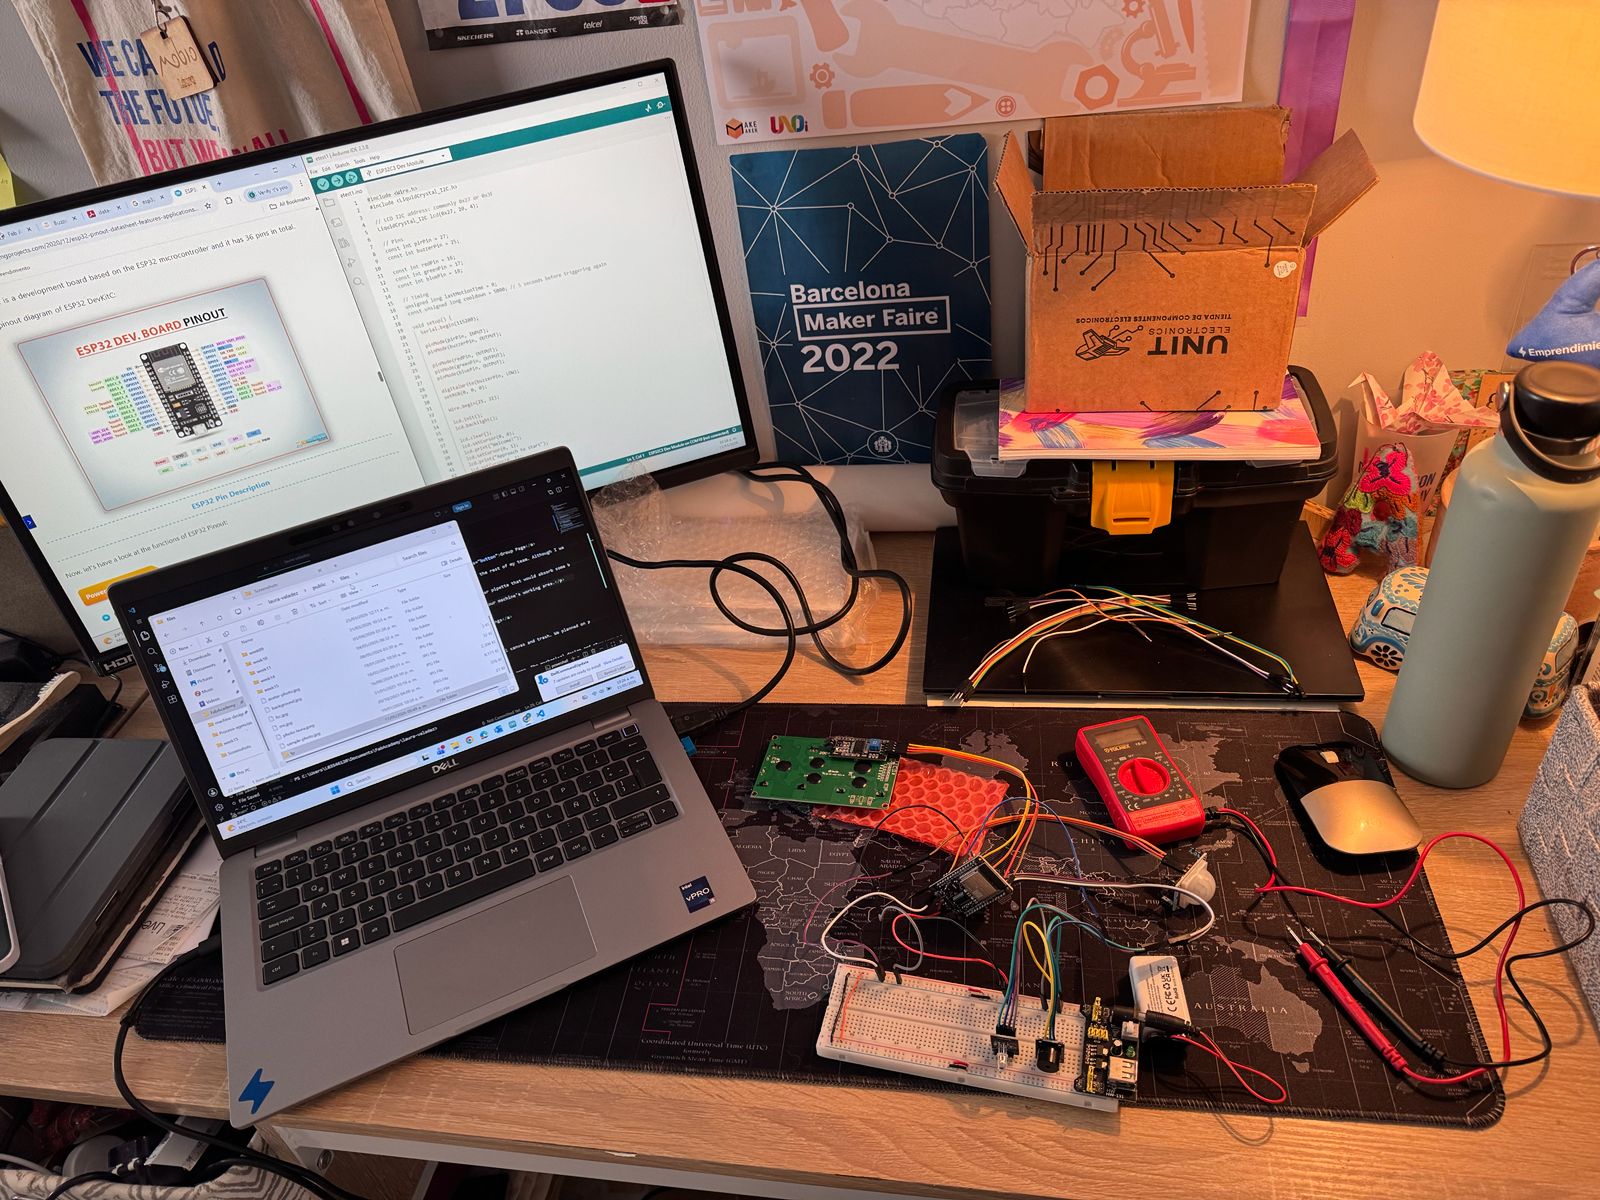
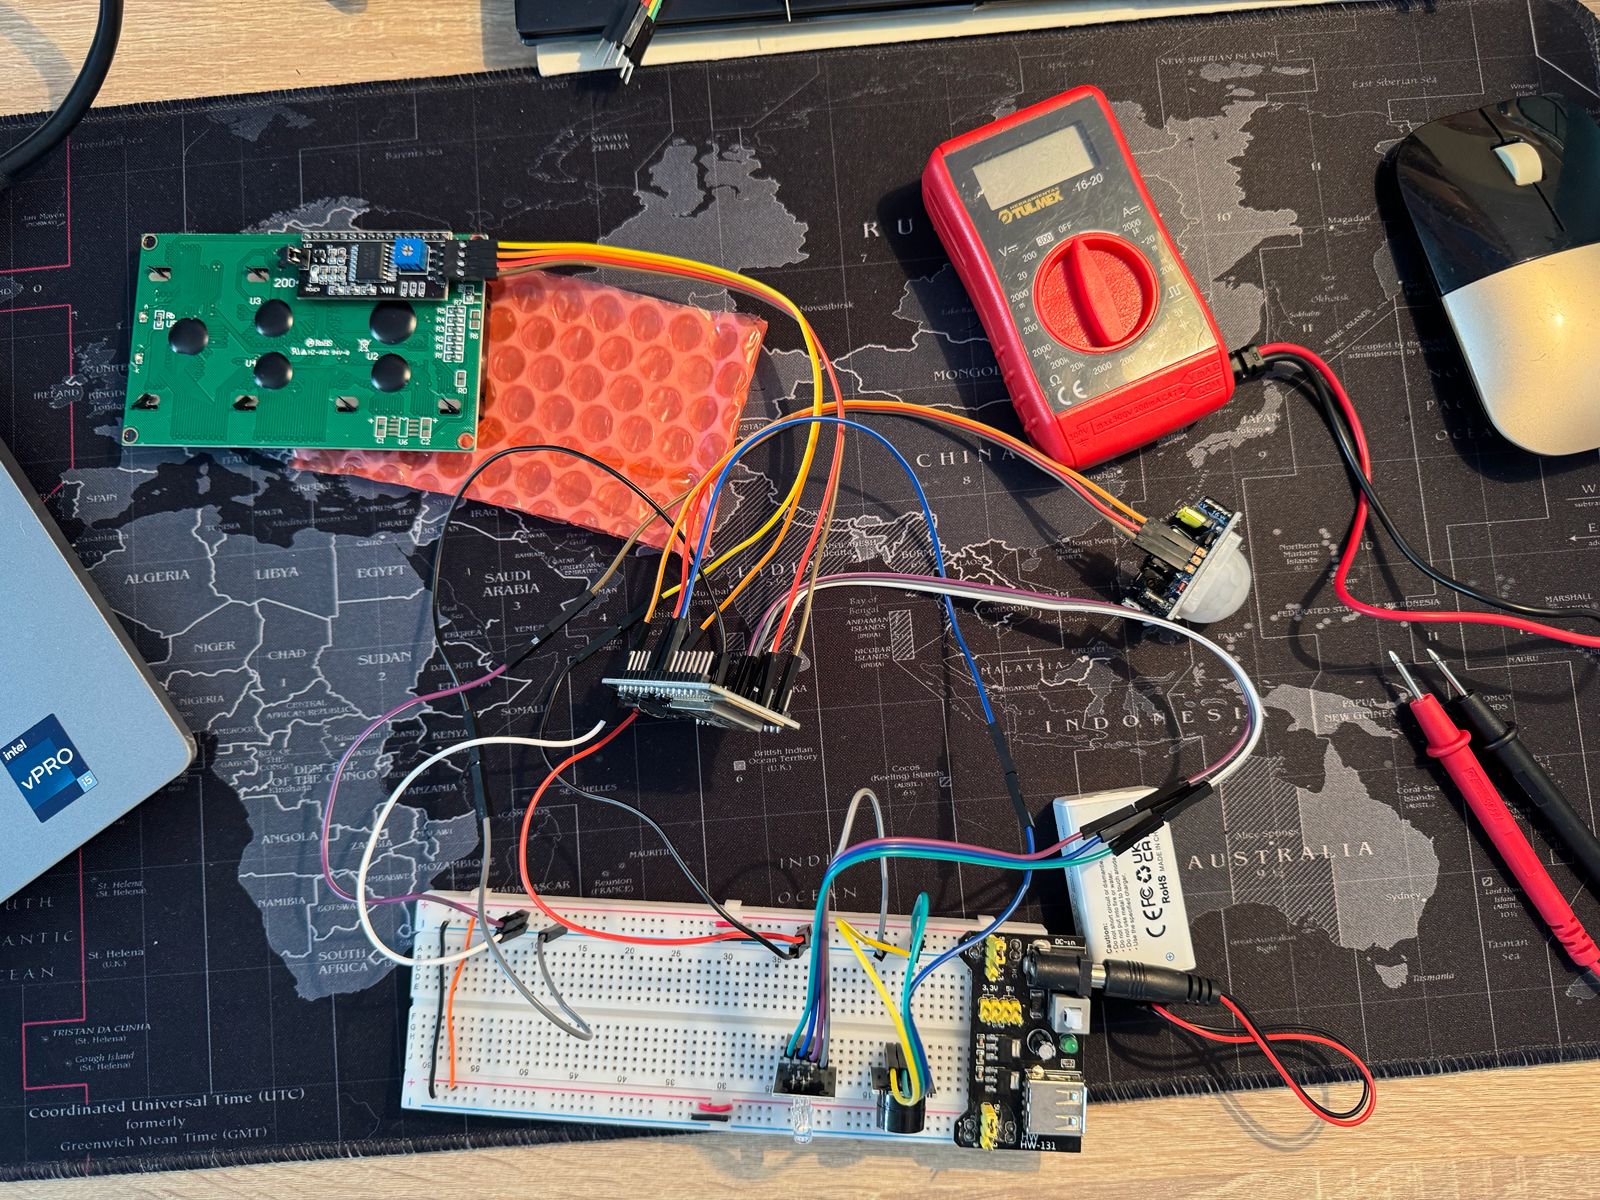
Using this code that was written with the help of ChatGPT.
I noticed the screen was not showing any messages, so I had to debug...
Starting with the download of a missing library and trying to check that the screen was working on its own
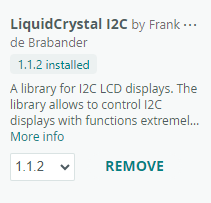
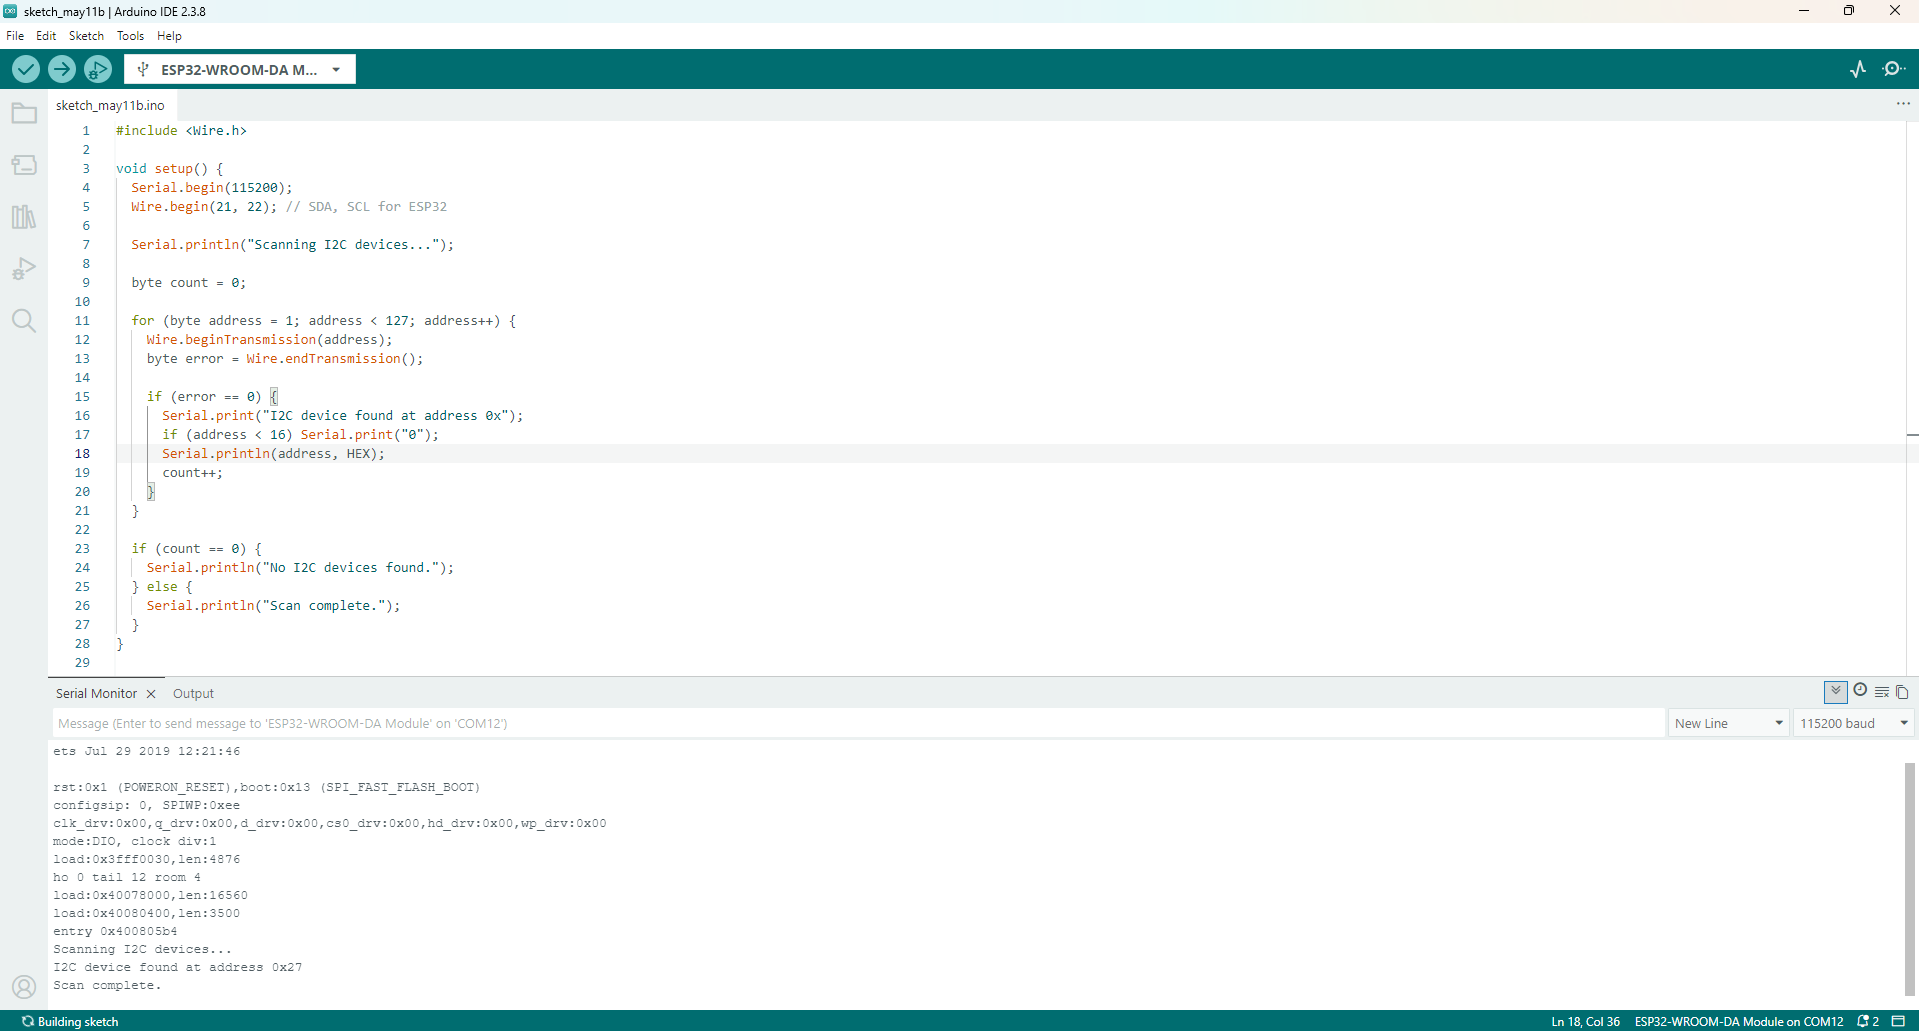
Using this codeagain done with the help of ChatGPT.
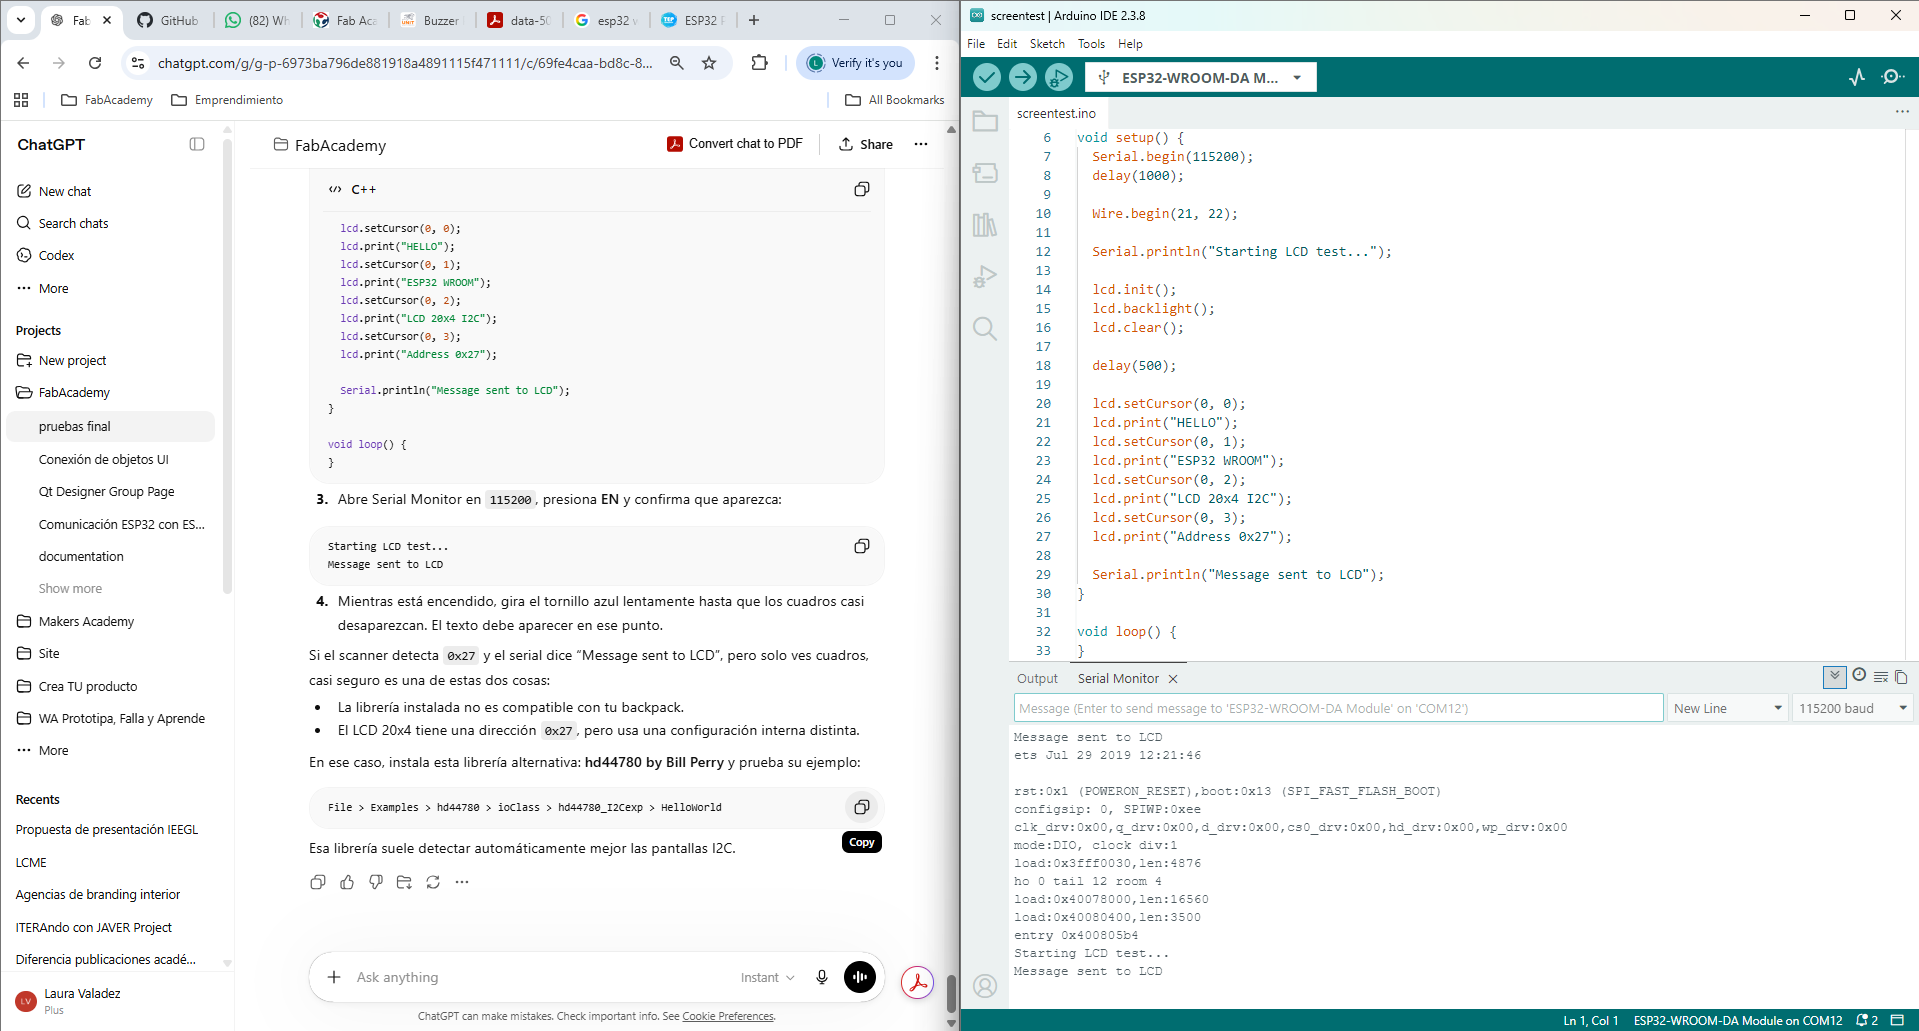
Using this code.
I also tried manually adjusting the contrast of the screen:
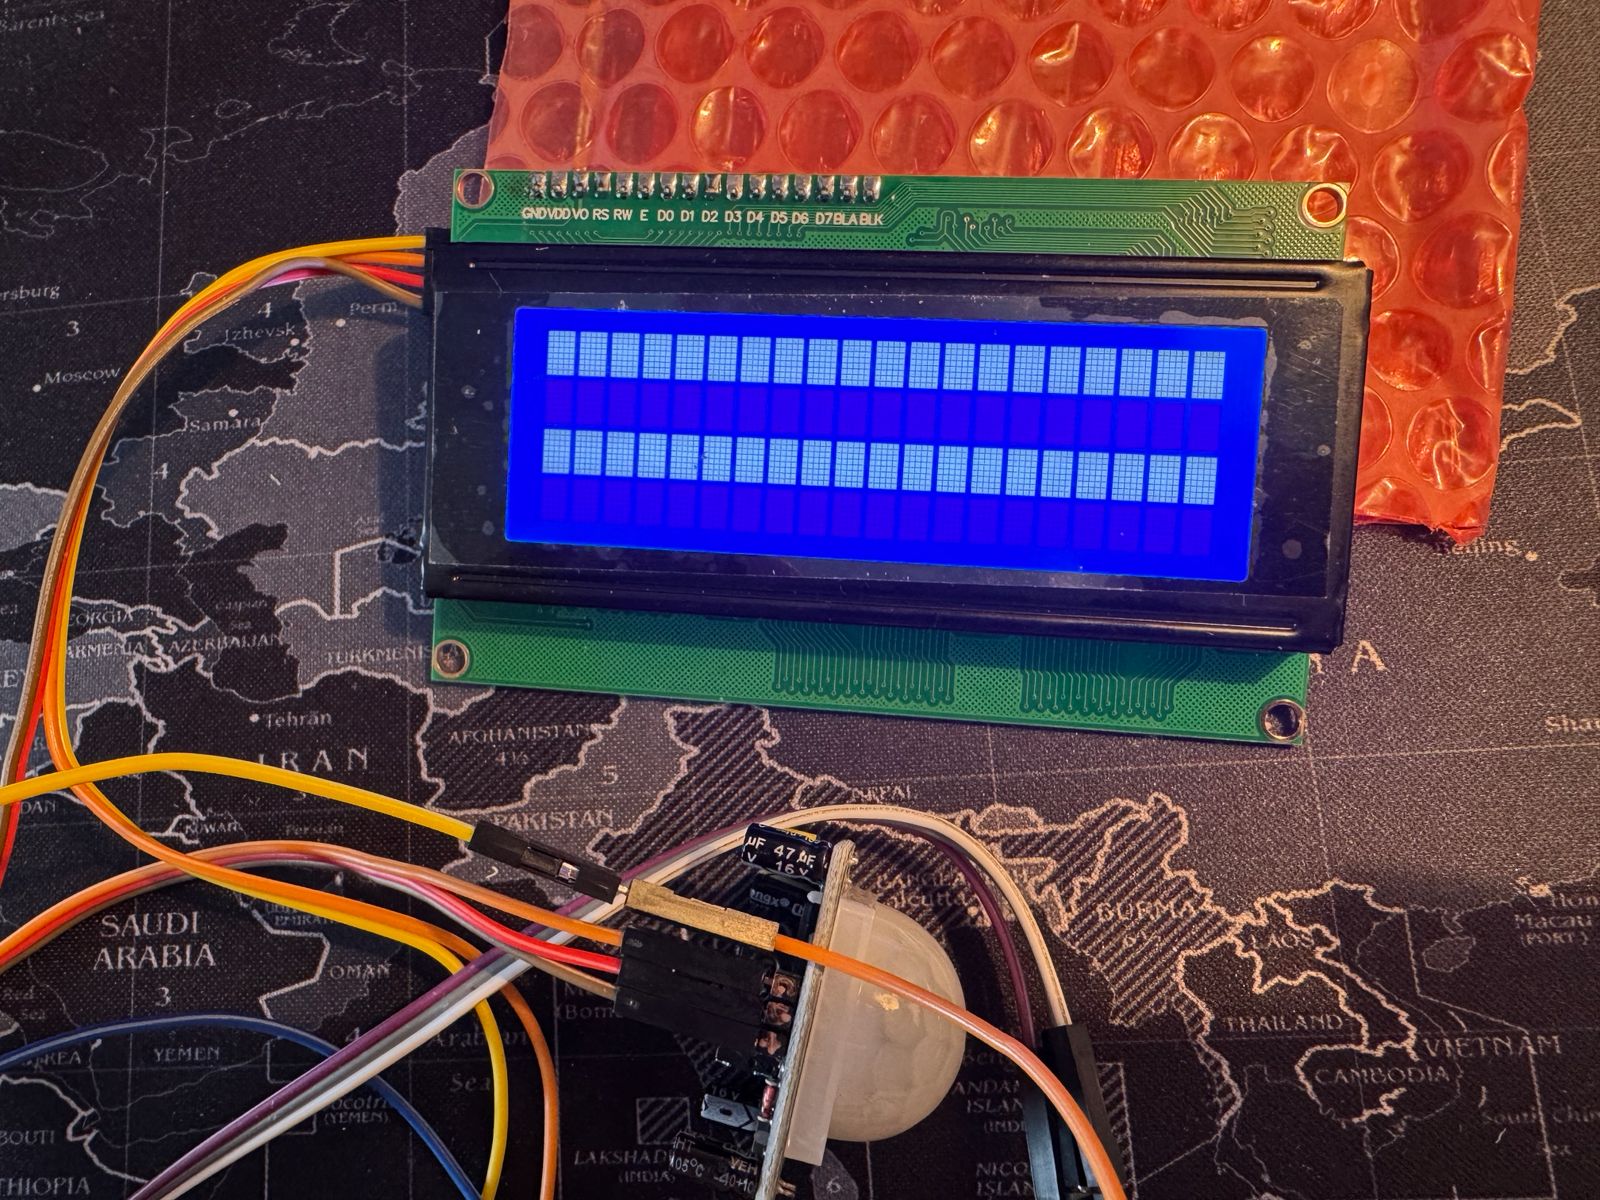
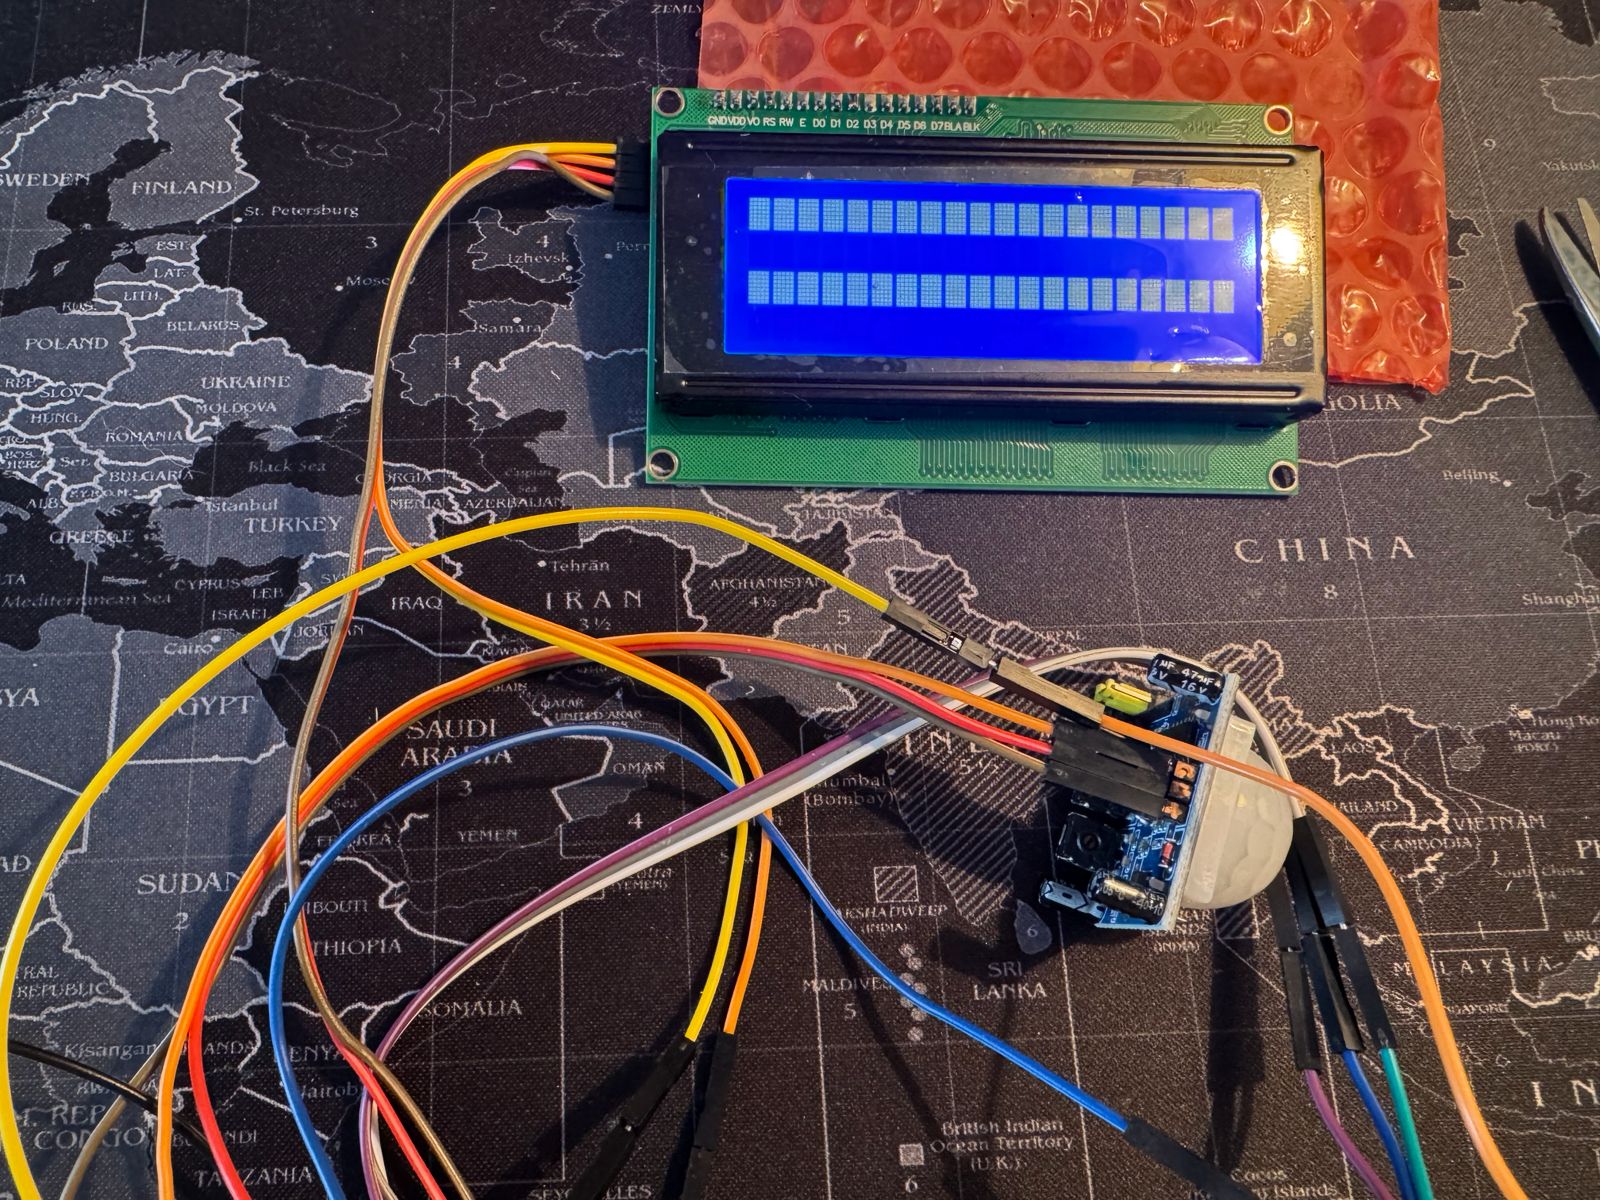
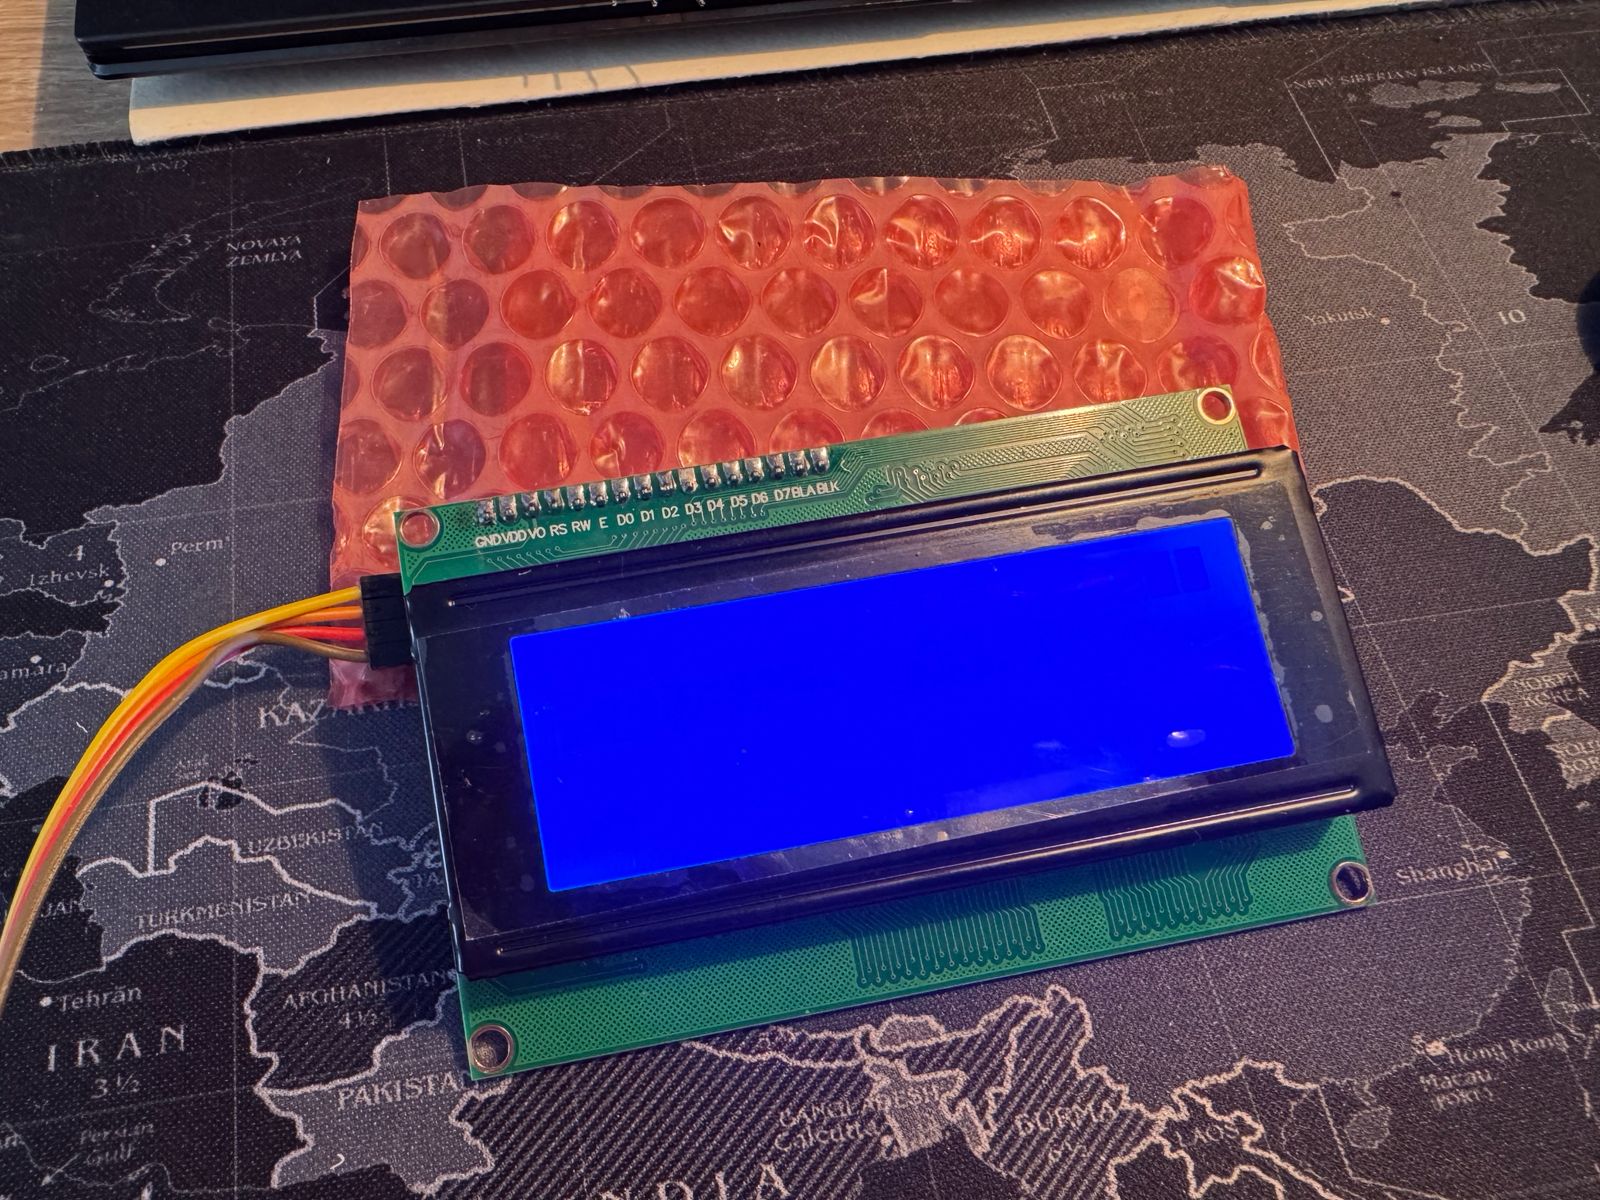
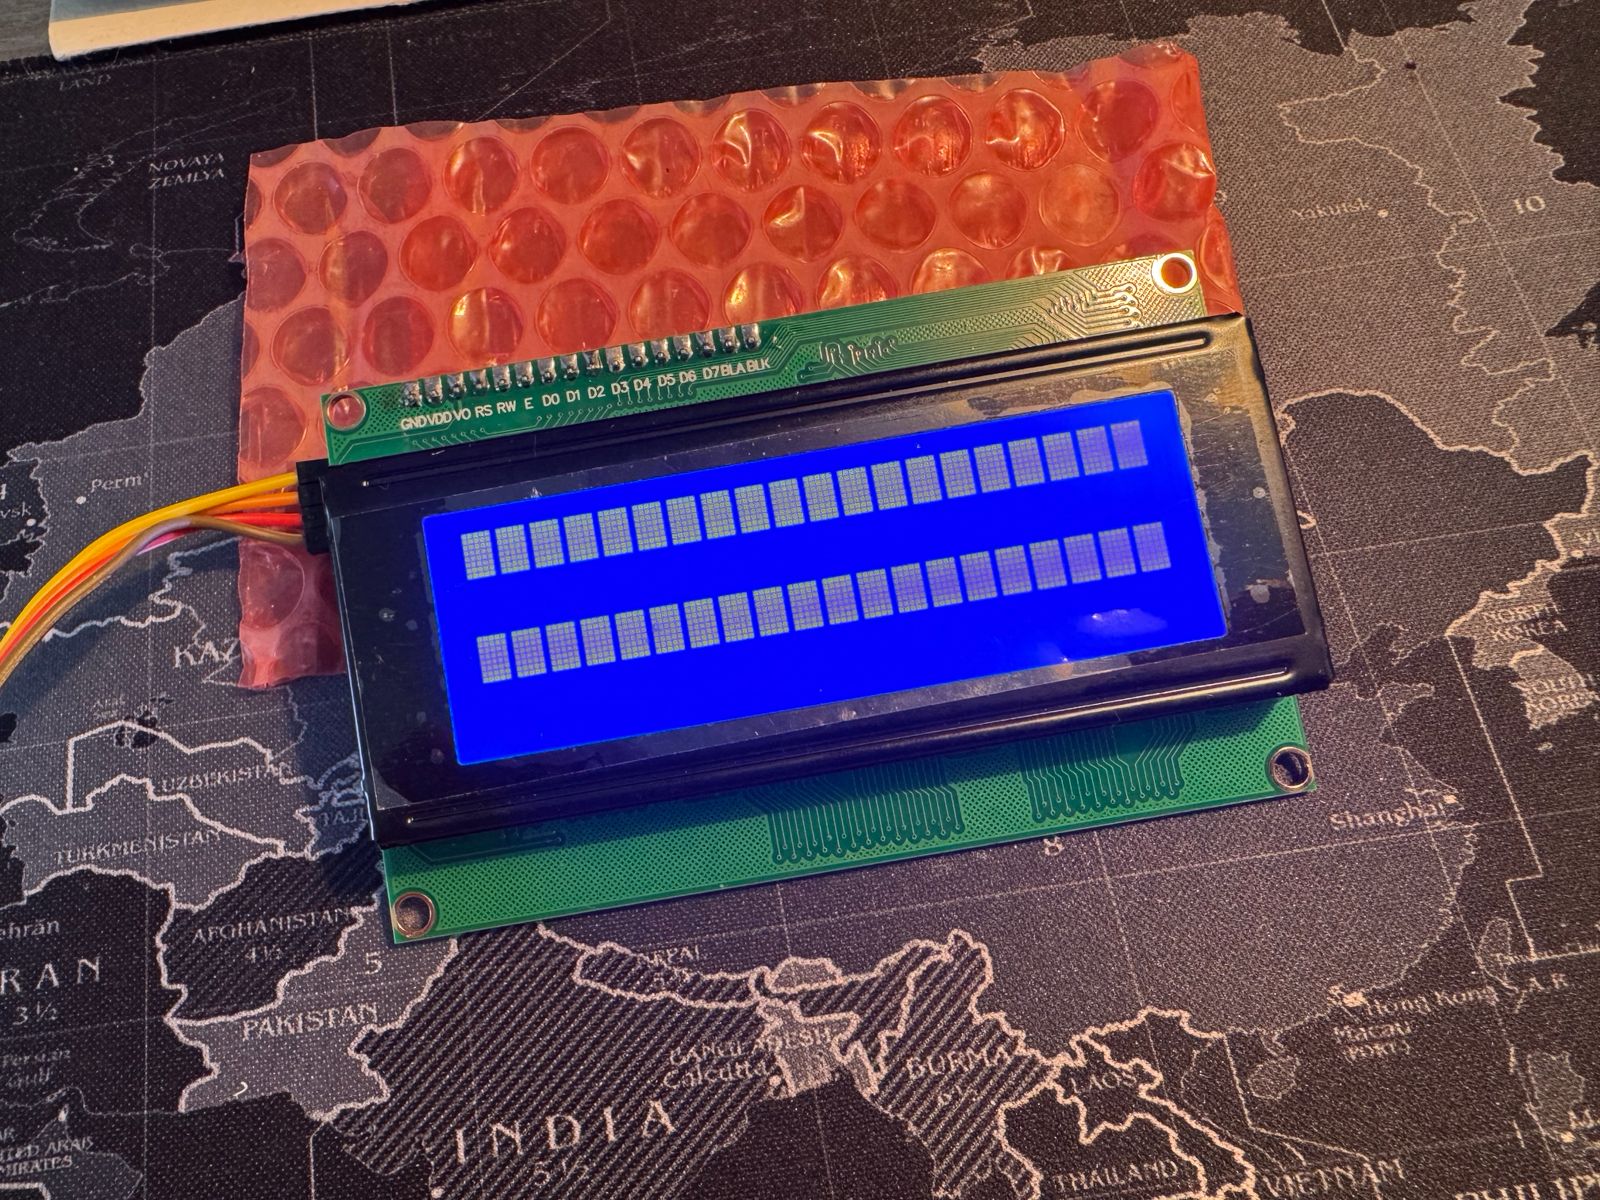
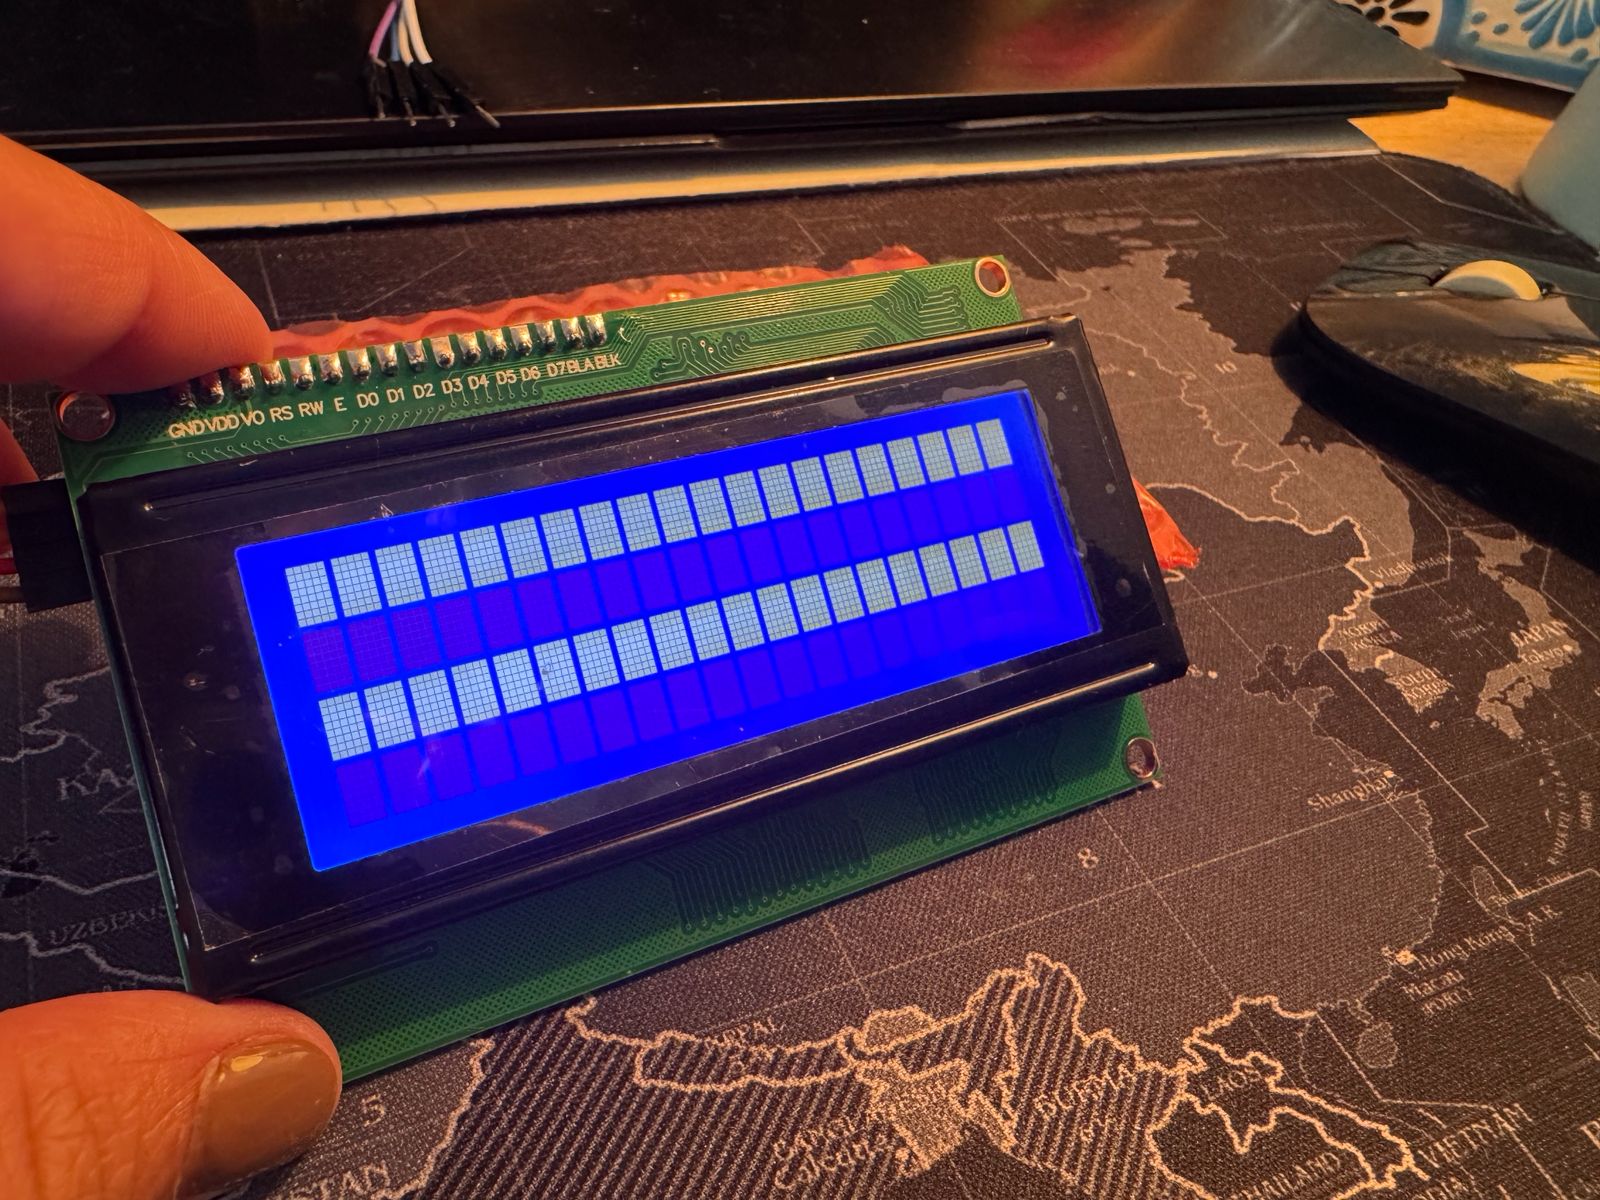
Turned out while testing I moved some pins around and they were not matching the code. That was what I fixed in the end.
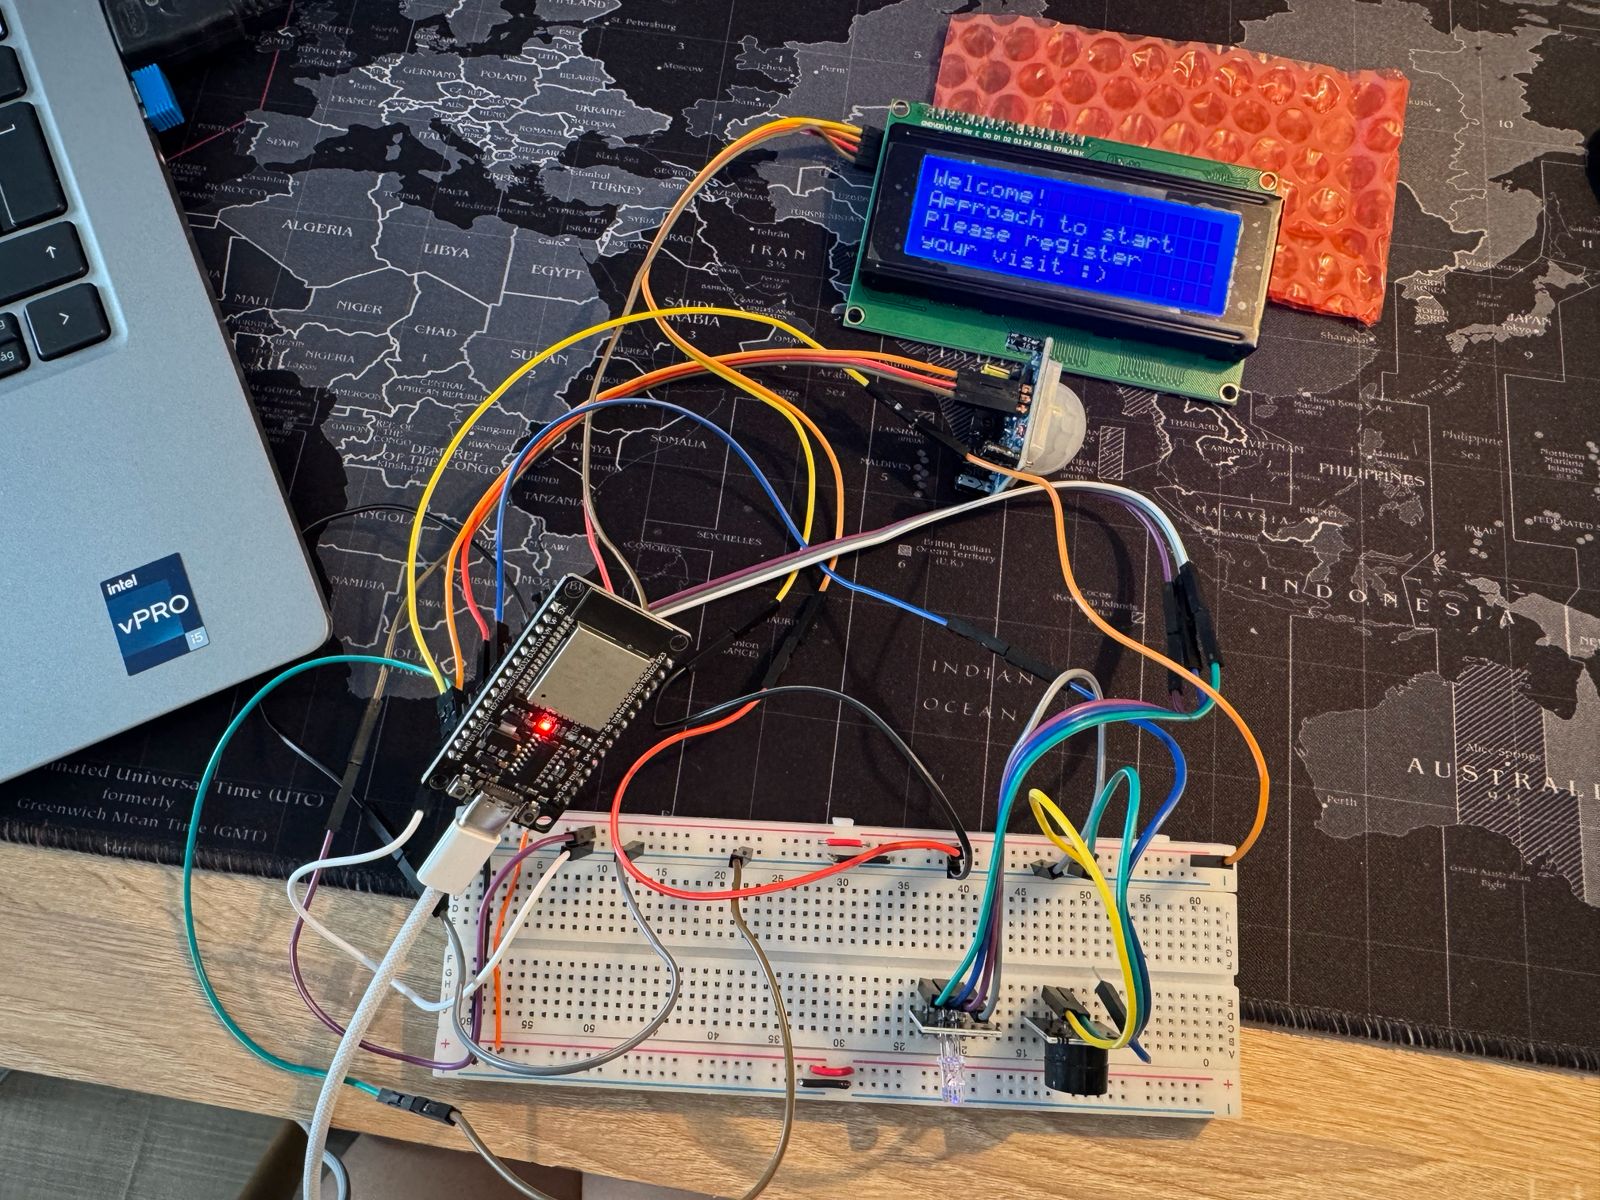
Finally the screen worked and I was able to integrate it in the circuit:
As you can see, when the PIR sensor detects movement, the LED blinks, the buzzer makes some sounds and the screen changes the messages.
Later on, I also added a motor to move the central lightning and add a little more personality:
Go to week 10: Output devicesto see more about this process.
PCB production
After some time, I managed to access my campus' PCB milling machine and was able to produce my design twice. (The firs had a little offset, so I had to edit the design and mill it again)
Here are some pictures of the process:
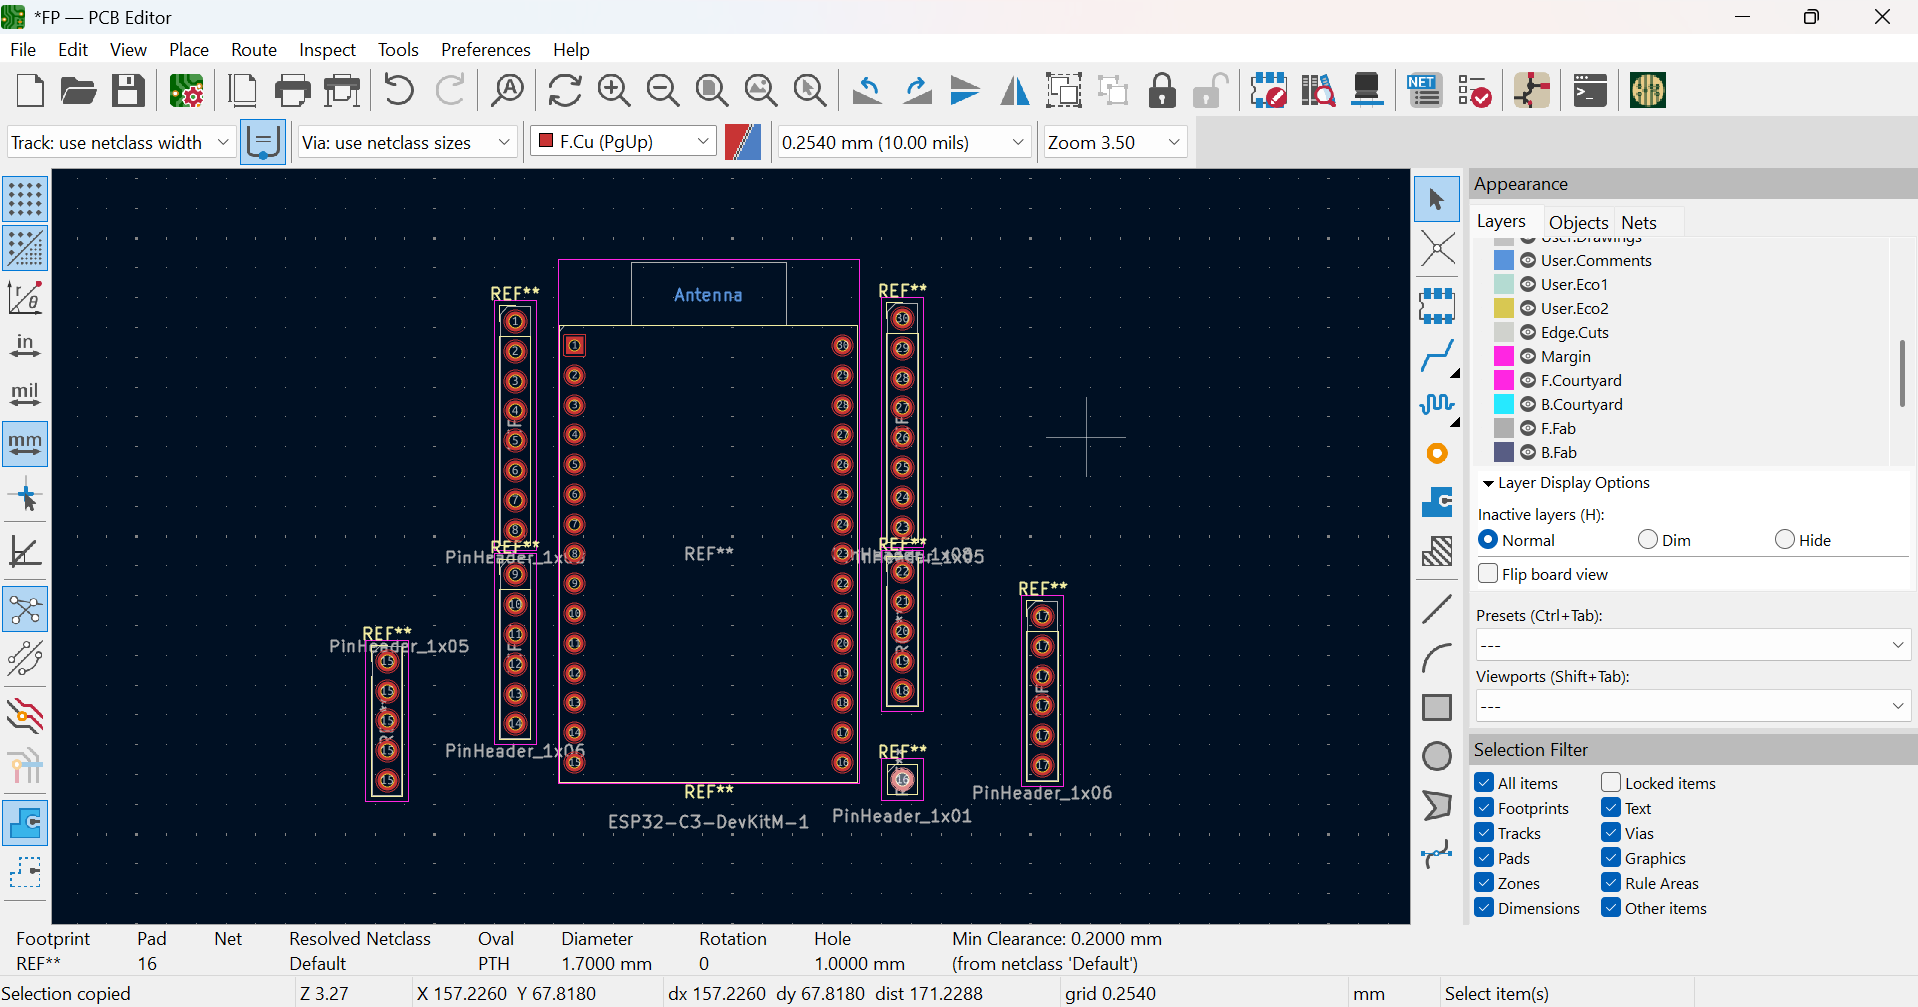
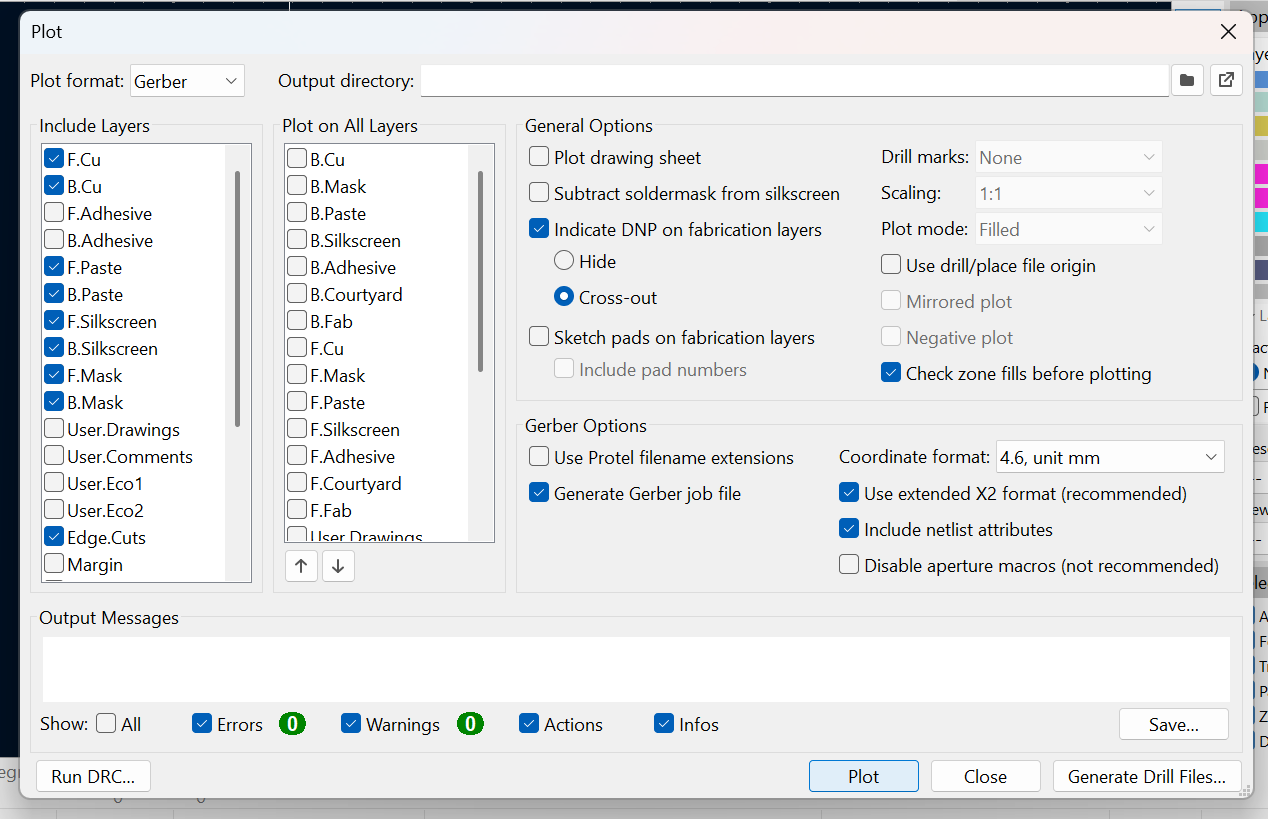
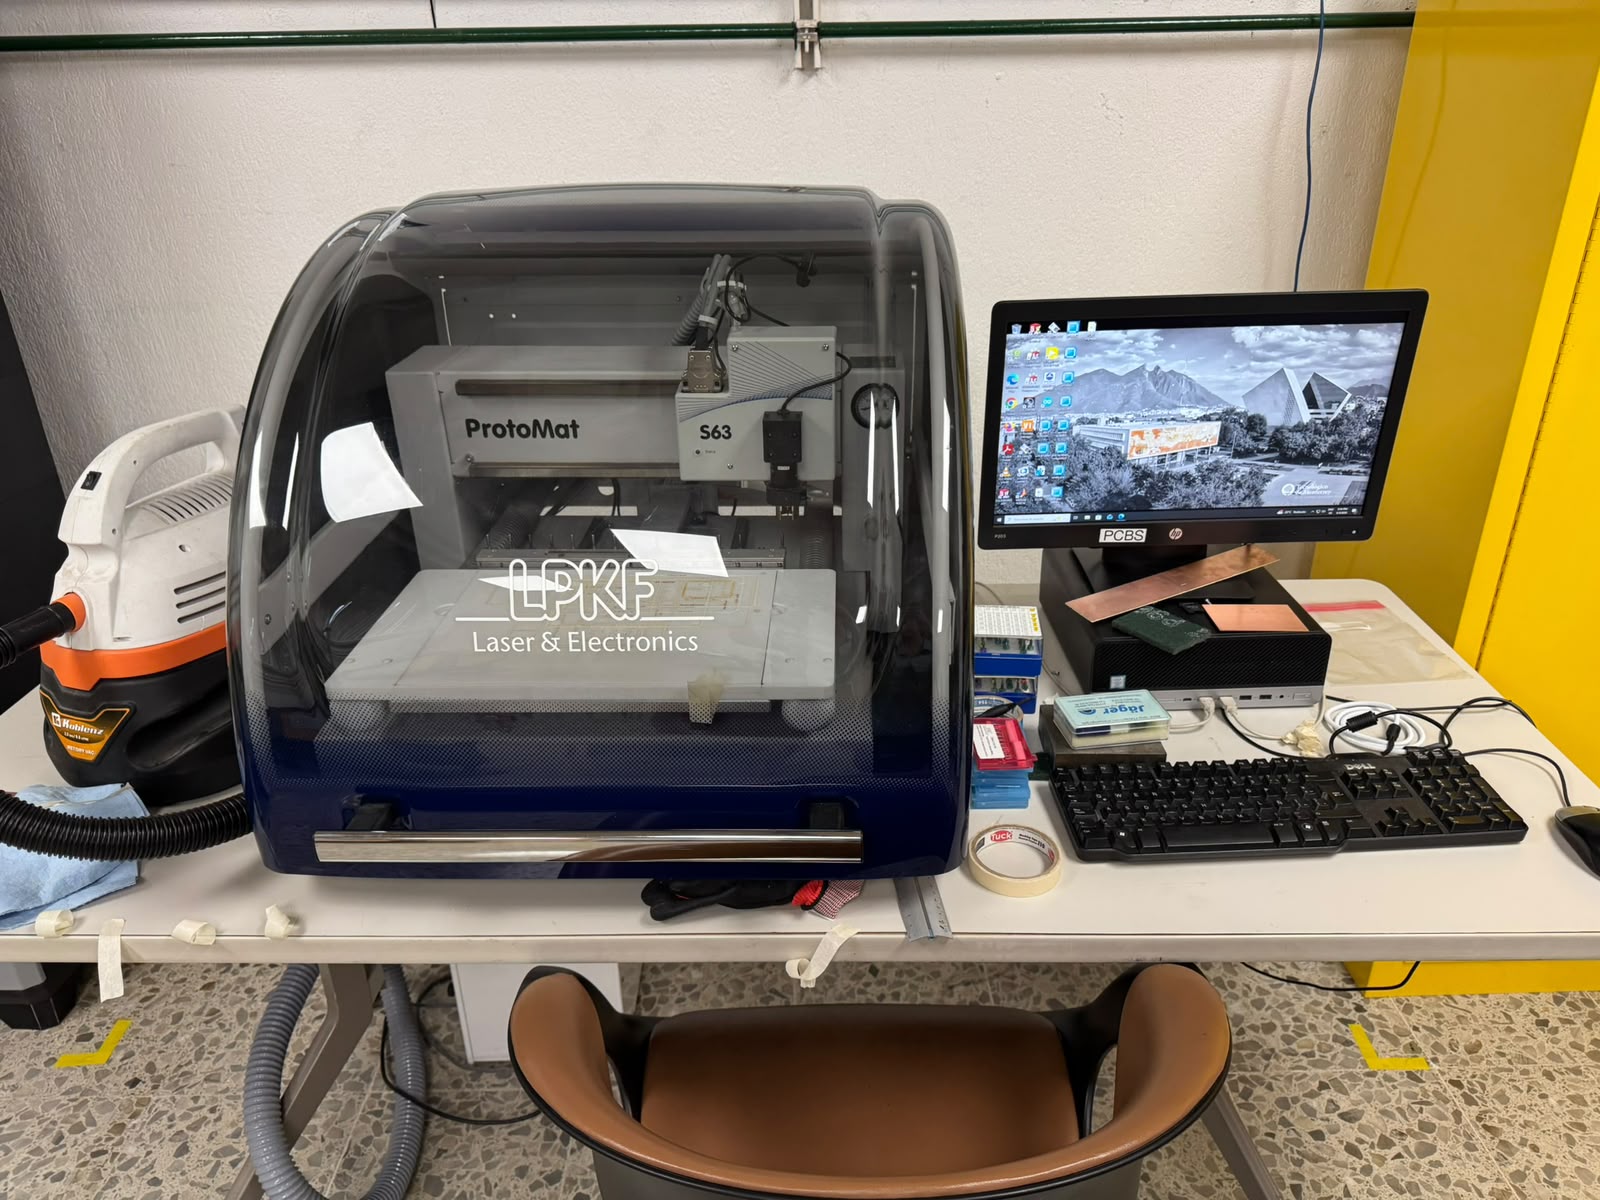
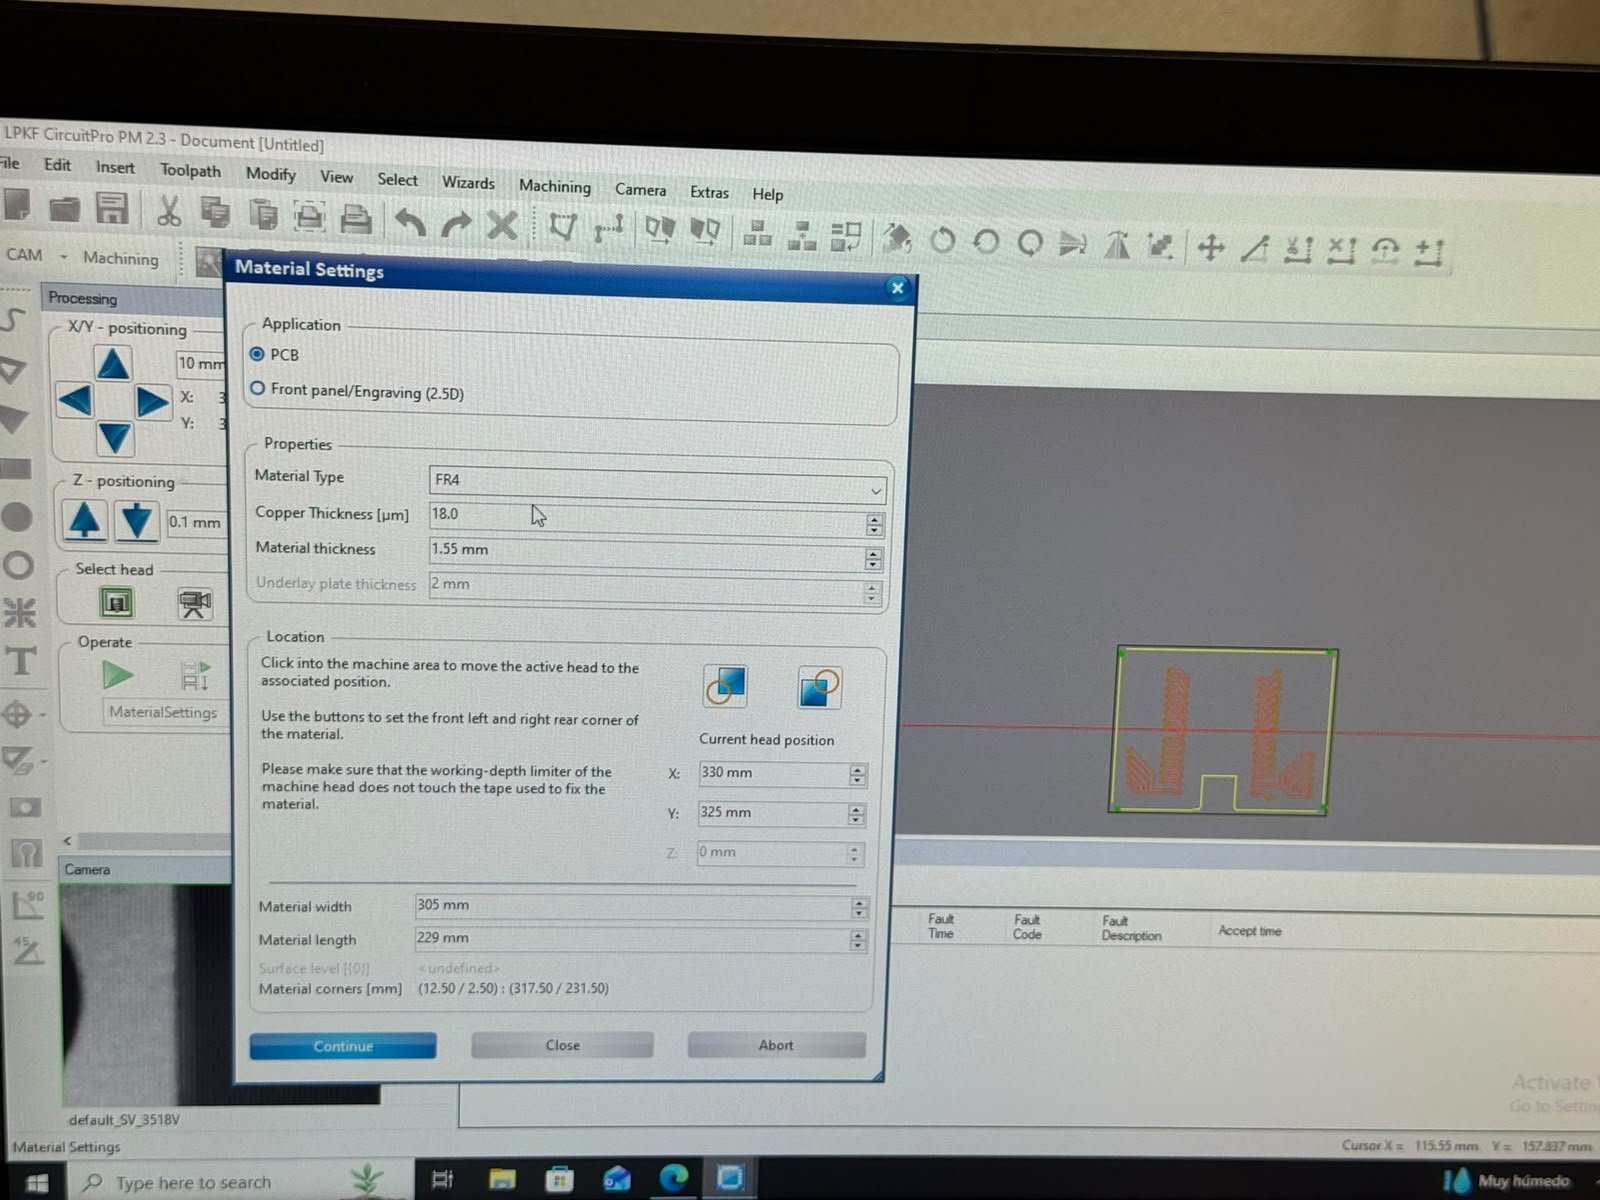
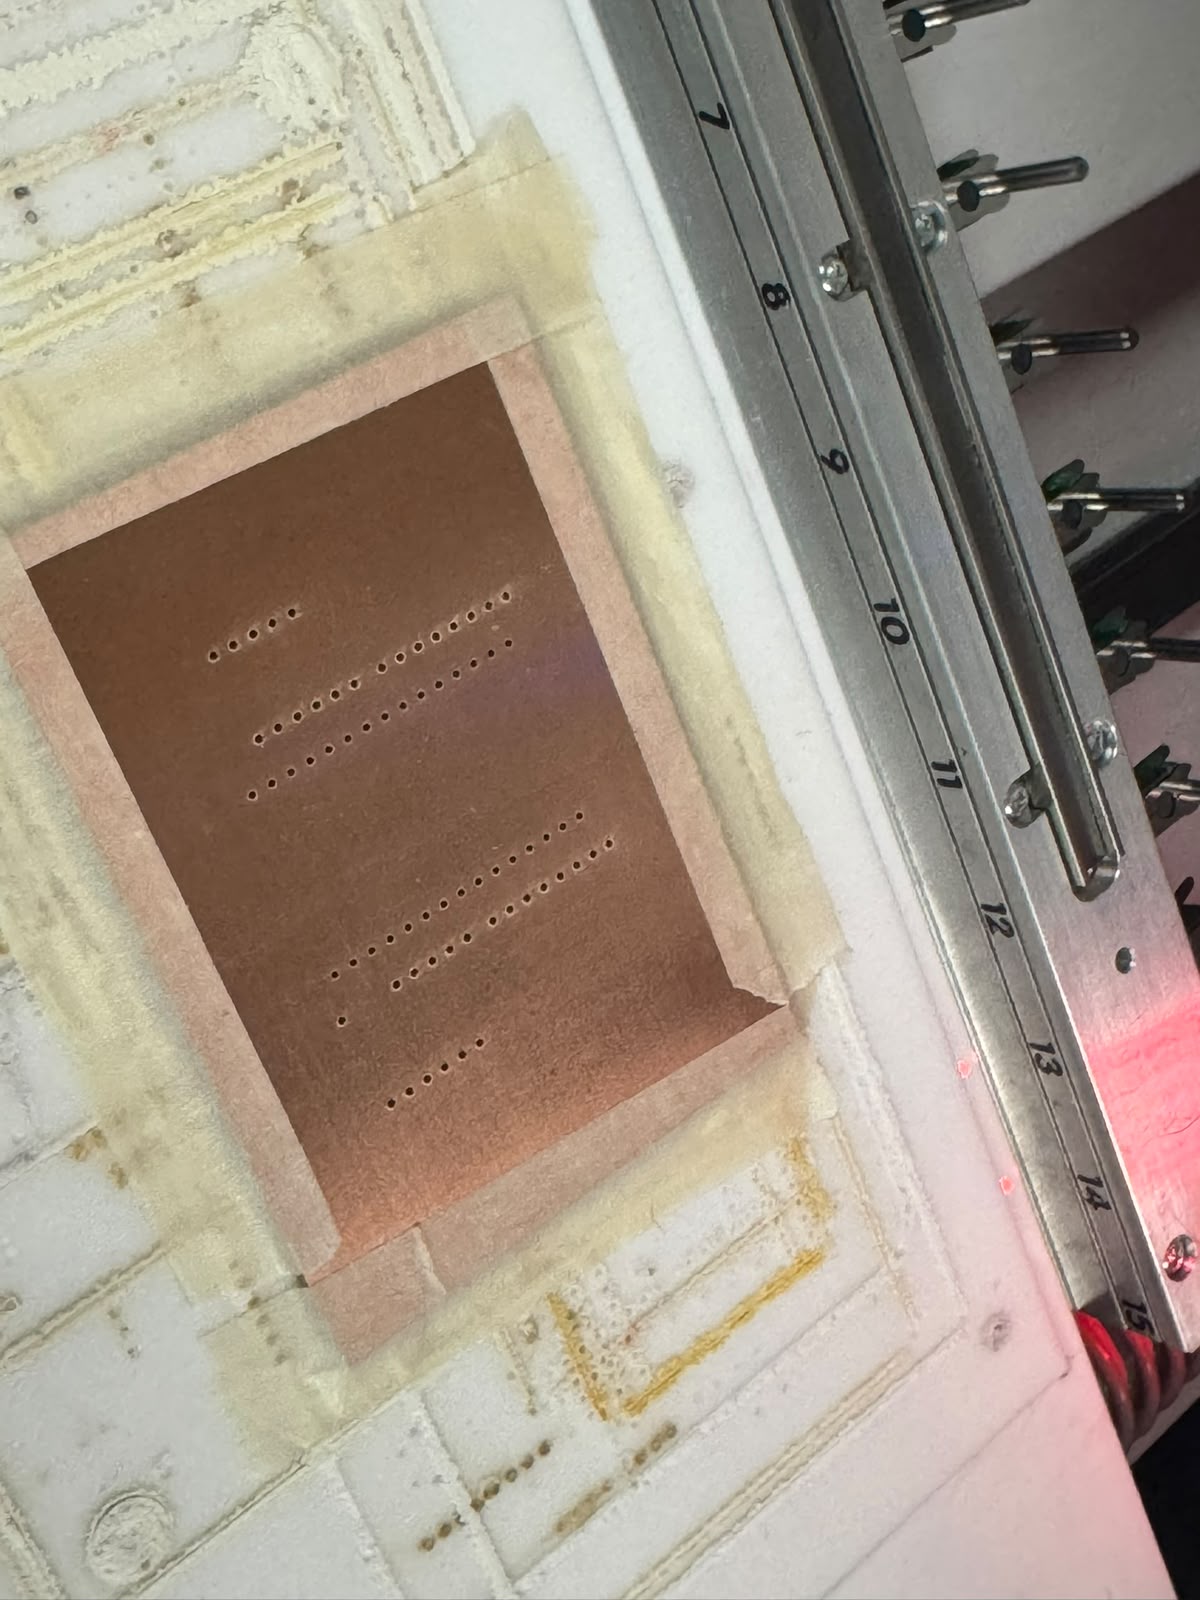
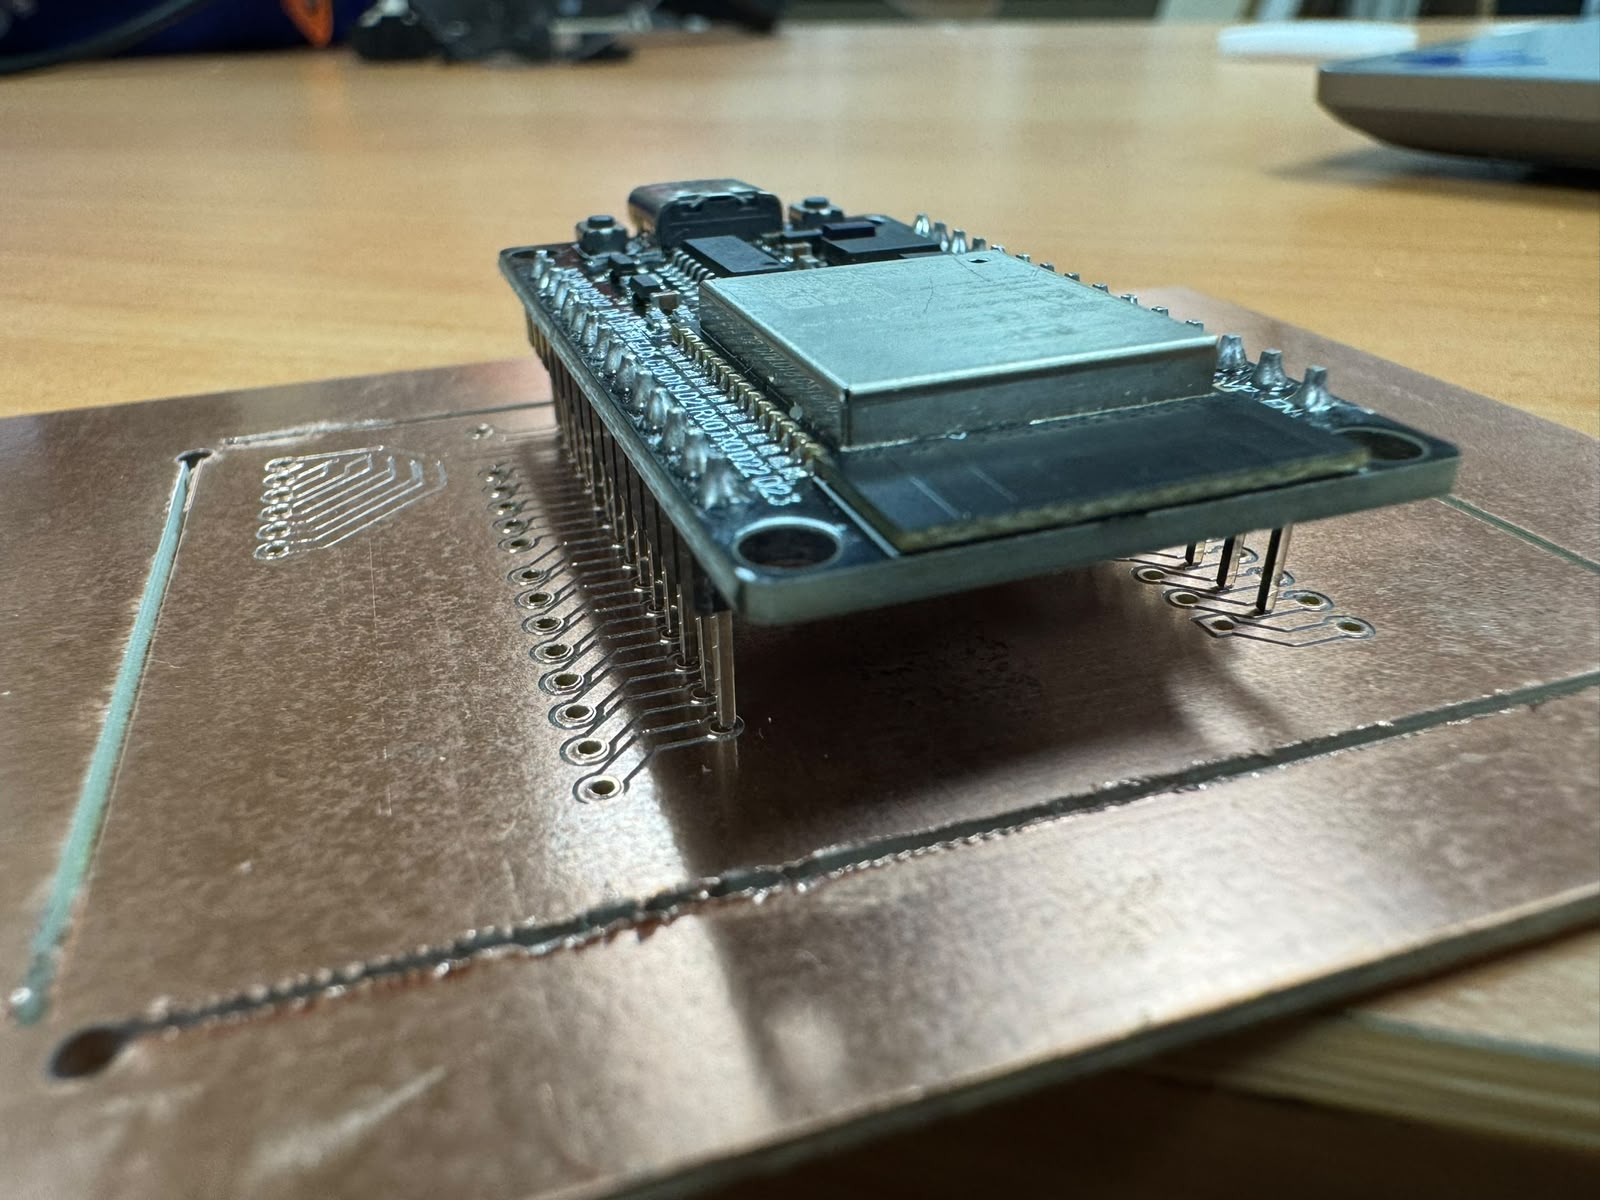
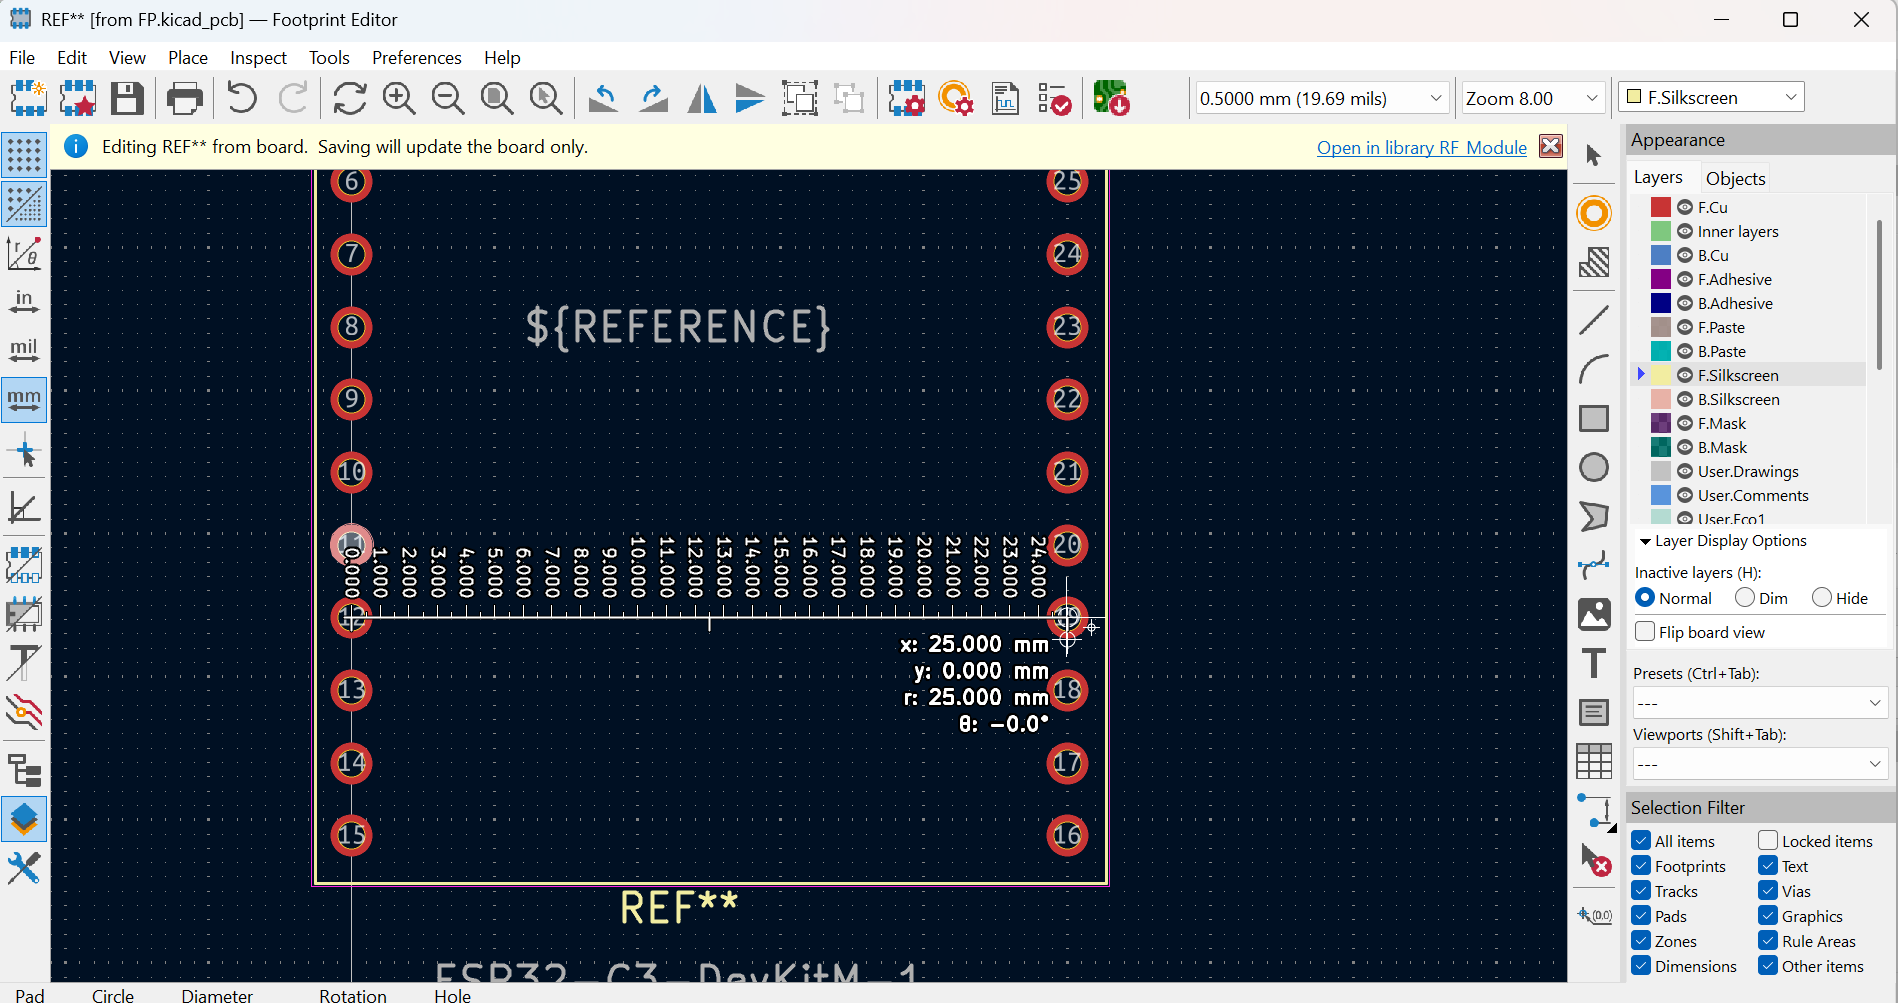
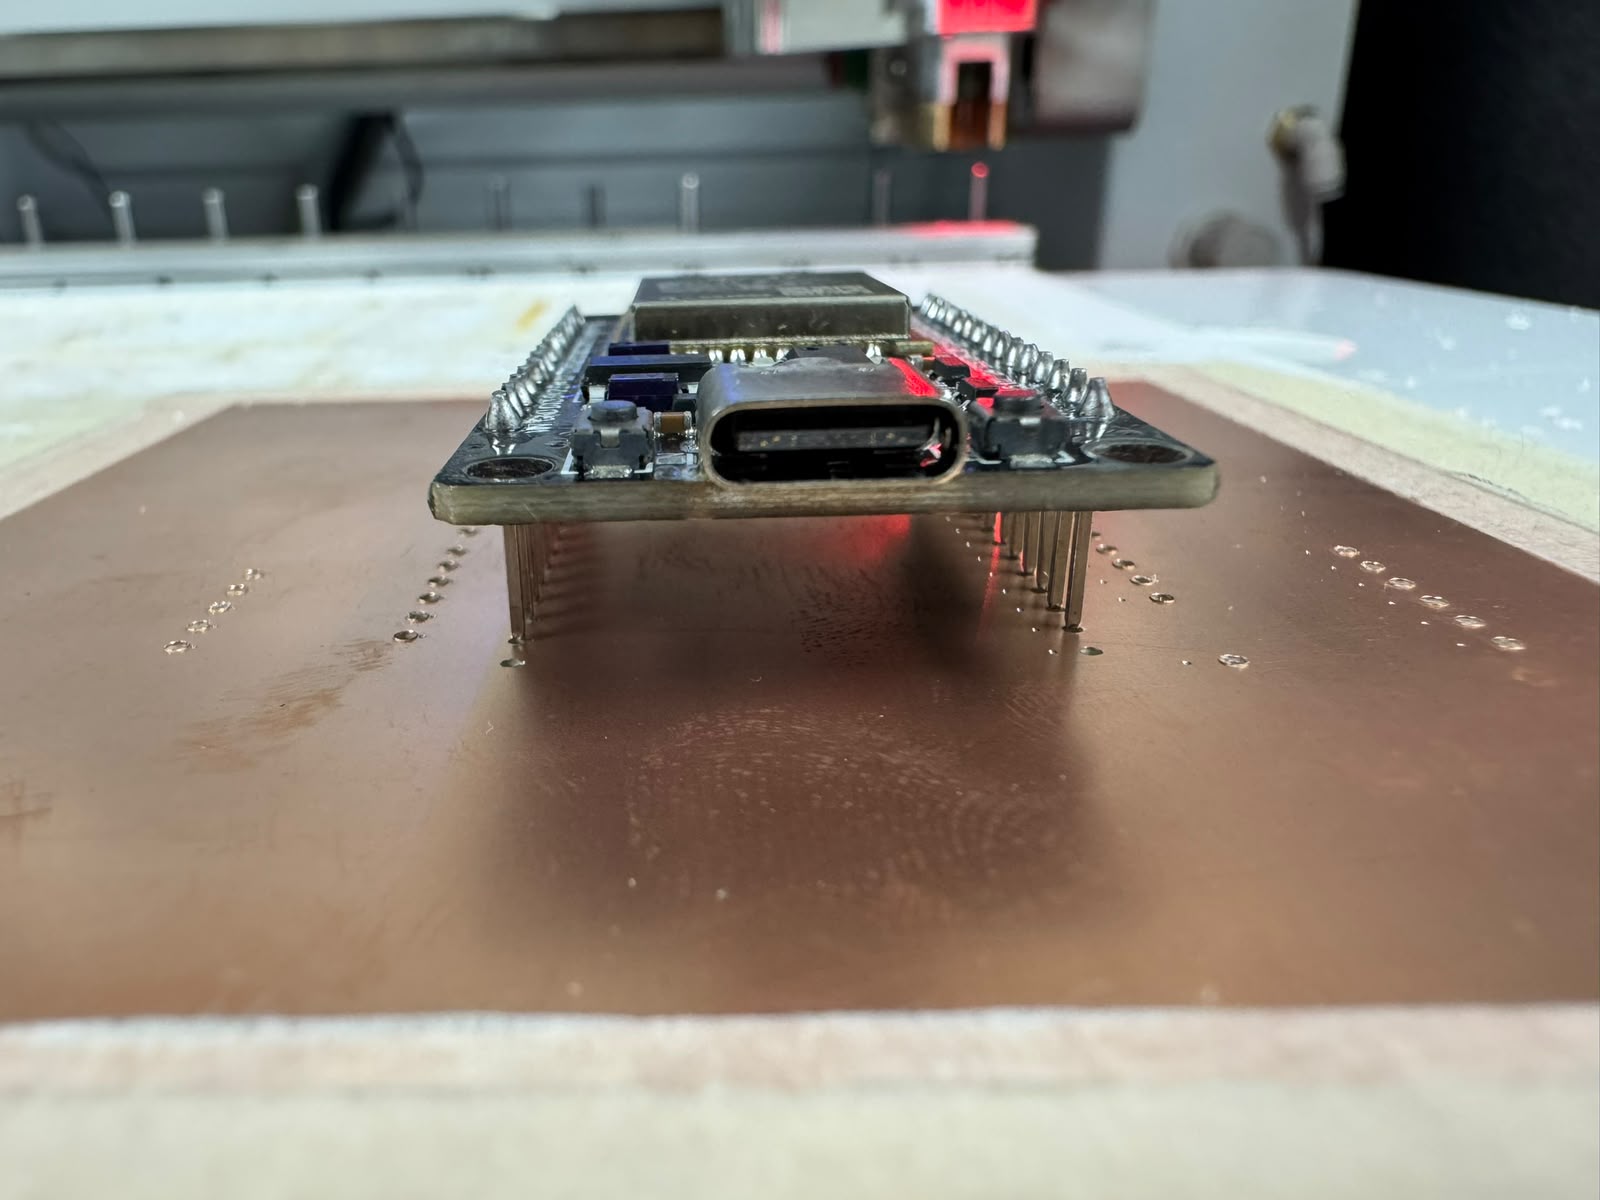
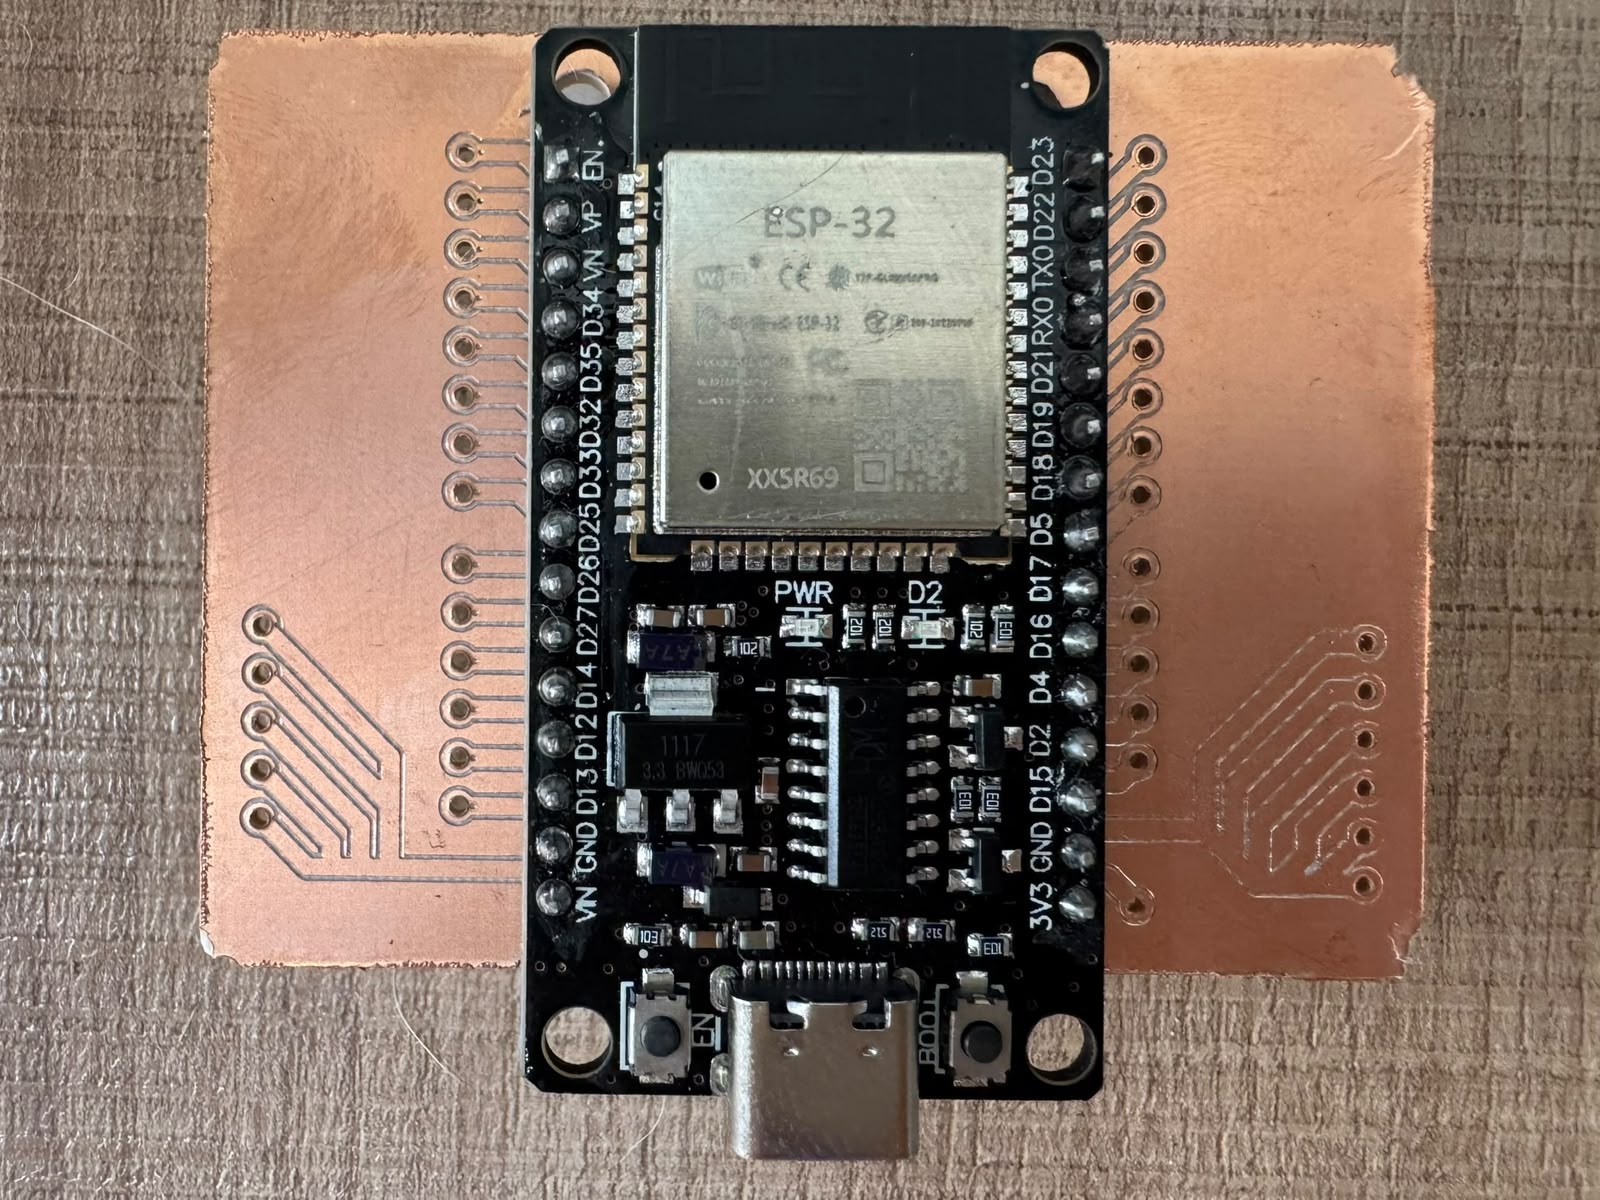
Go to week 08: Electronics productionto see more on the complete process of the production of my final PCB with all of the components above.
I practiced soldering, ruined a part of one PCB, cutted both PCBs in half to have spare parts just in case and soldered all components:
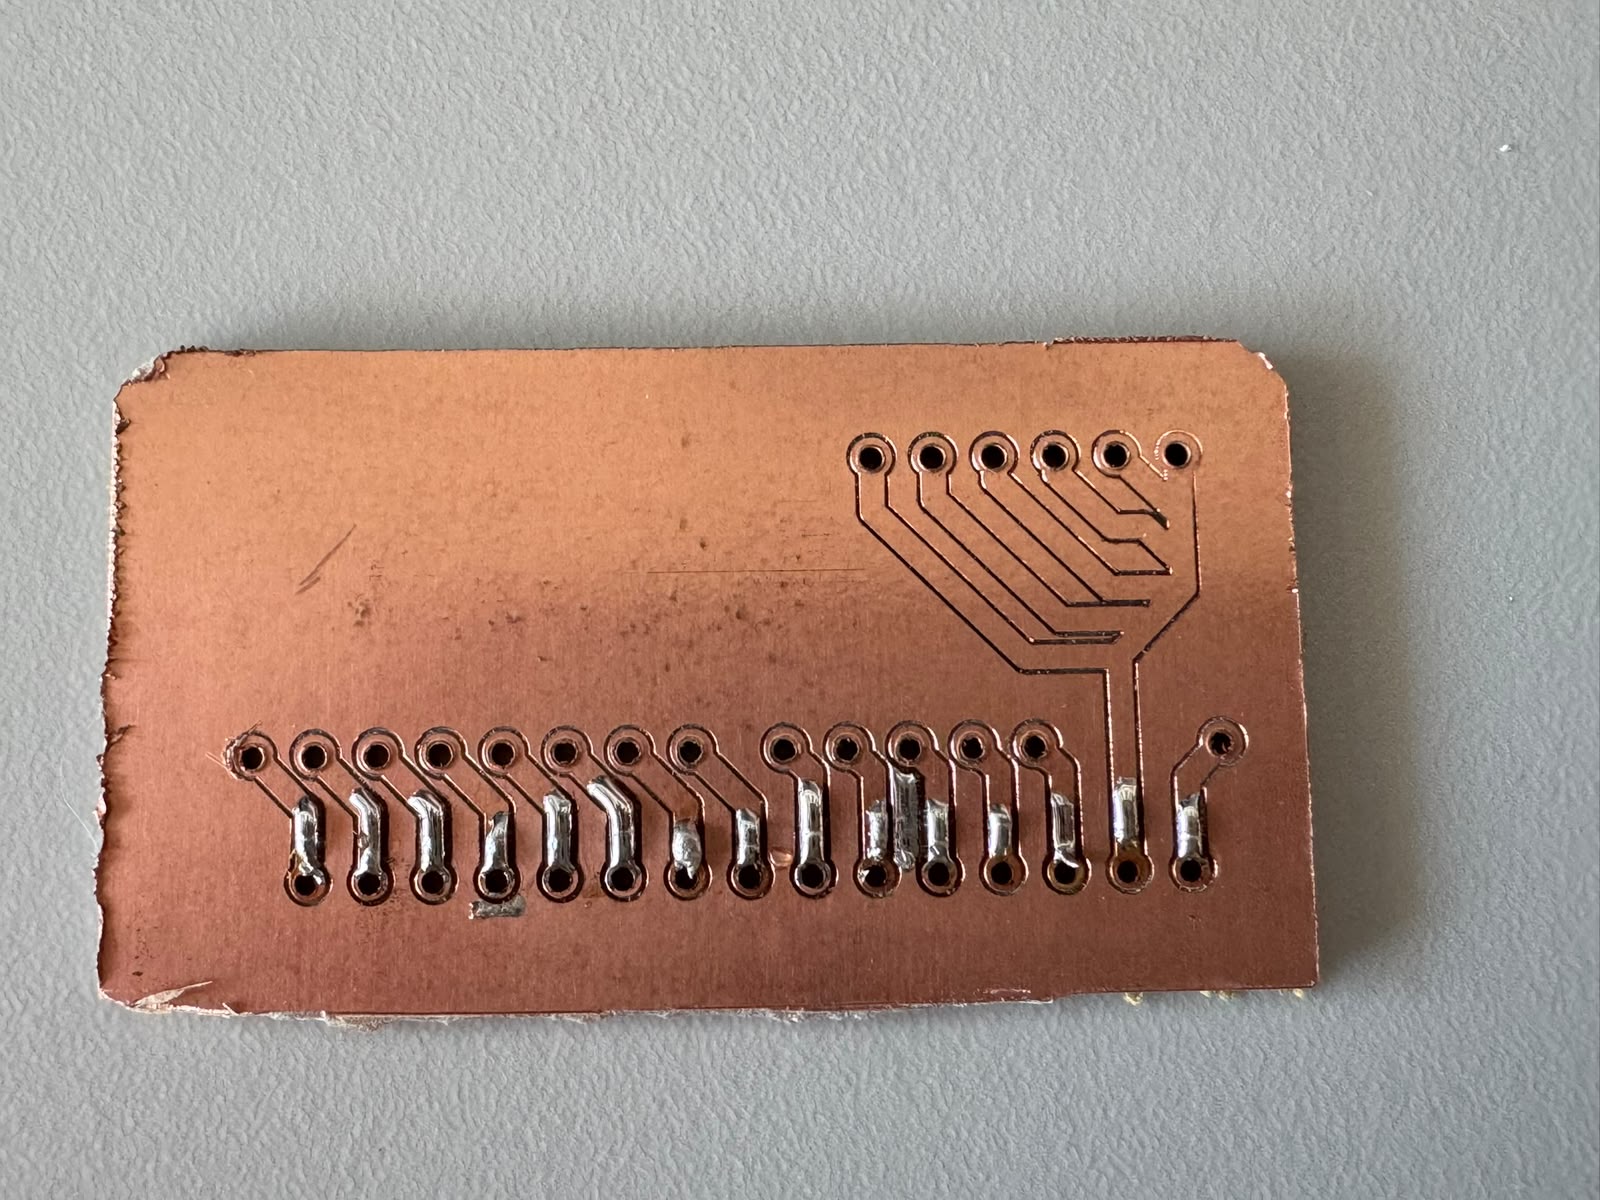
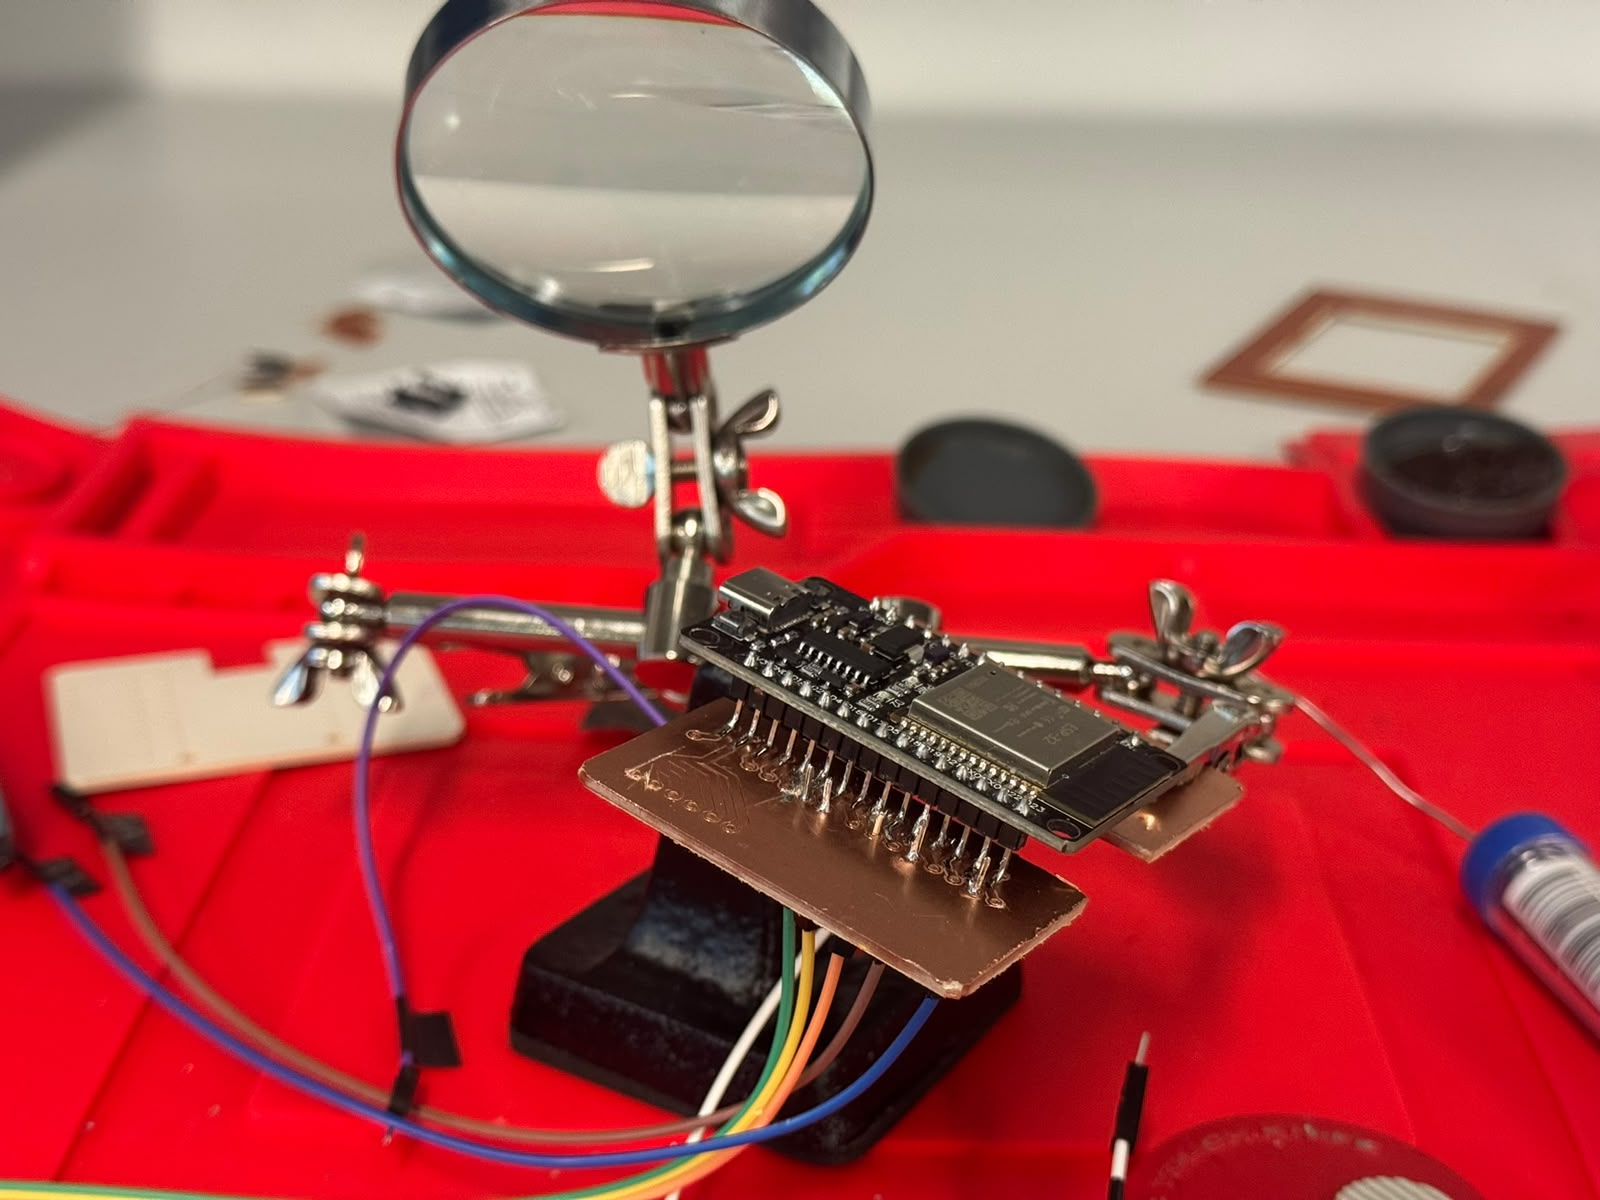
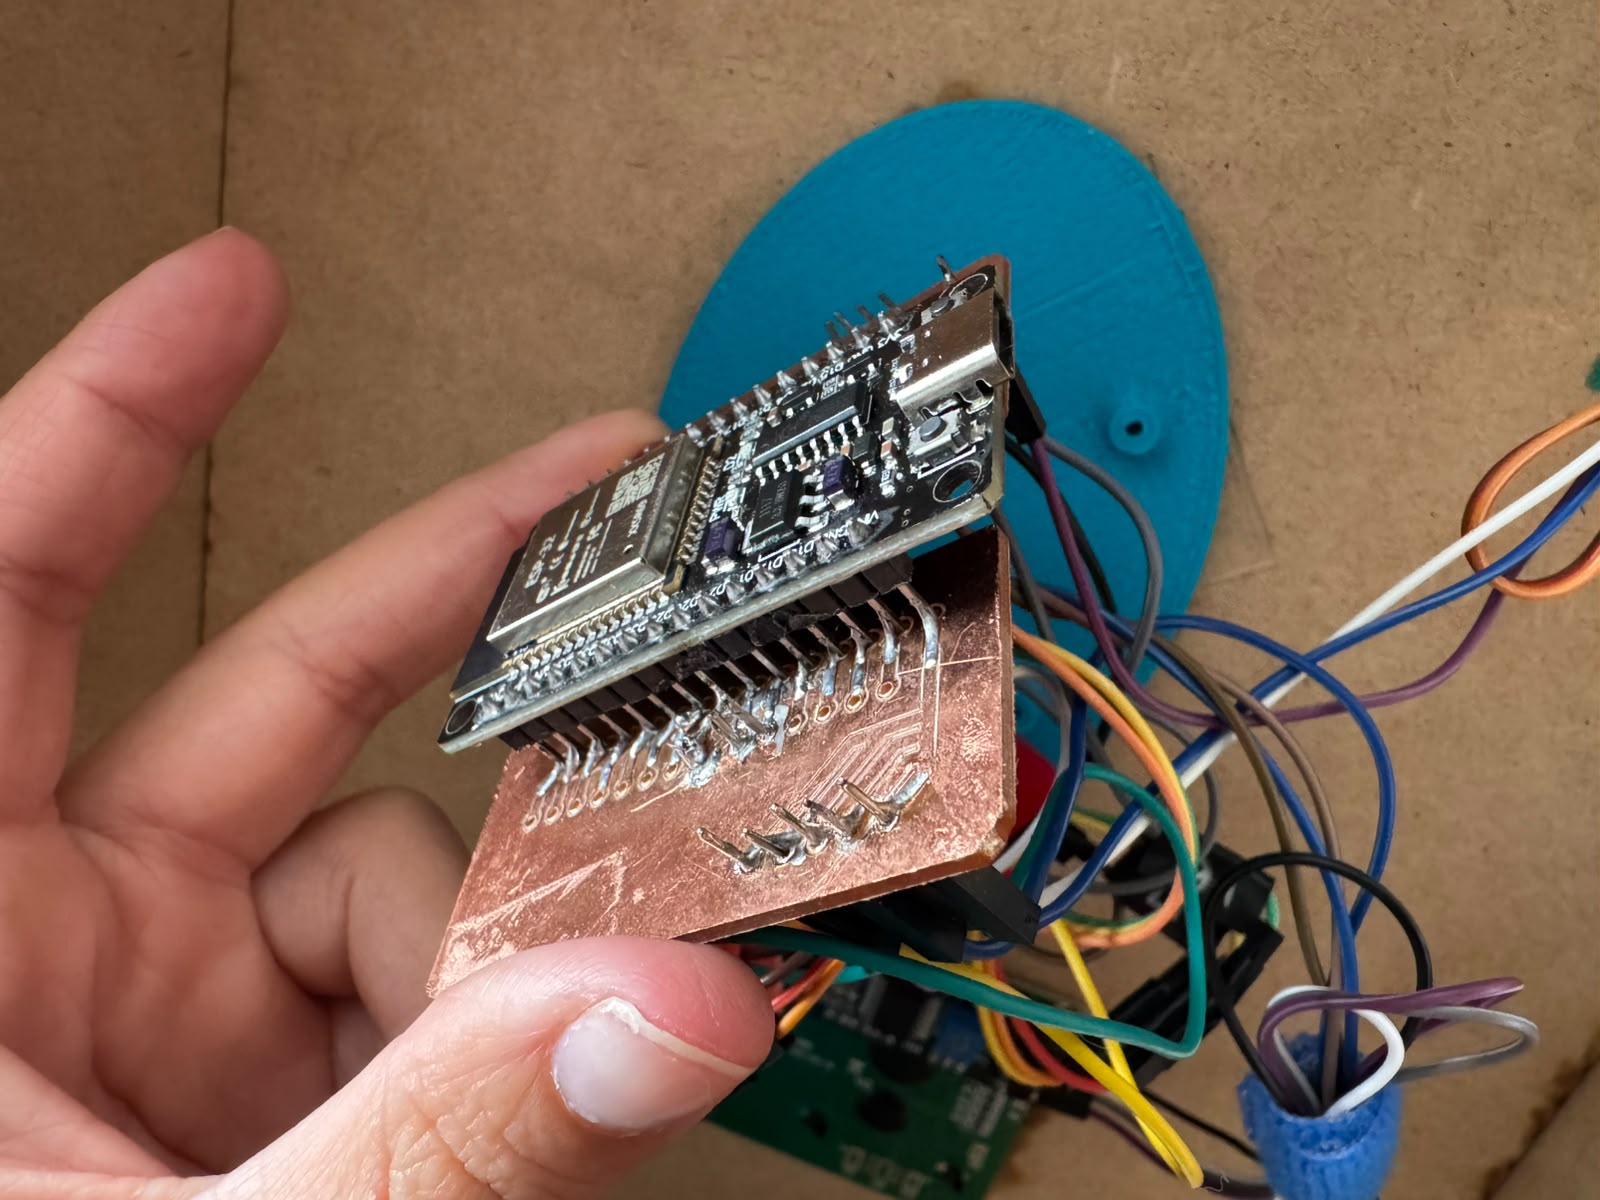
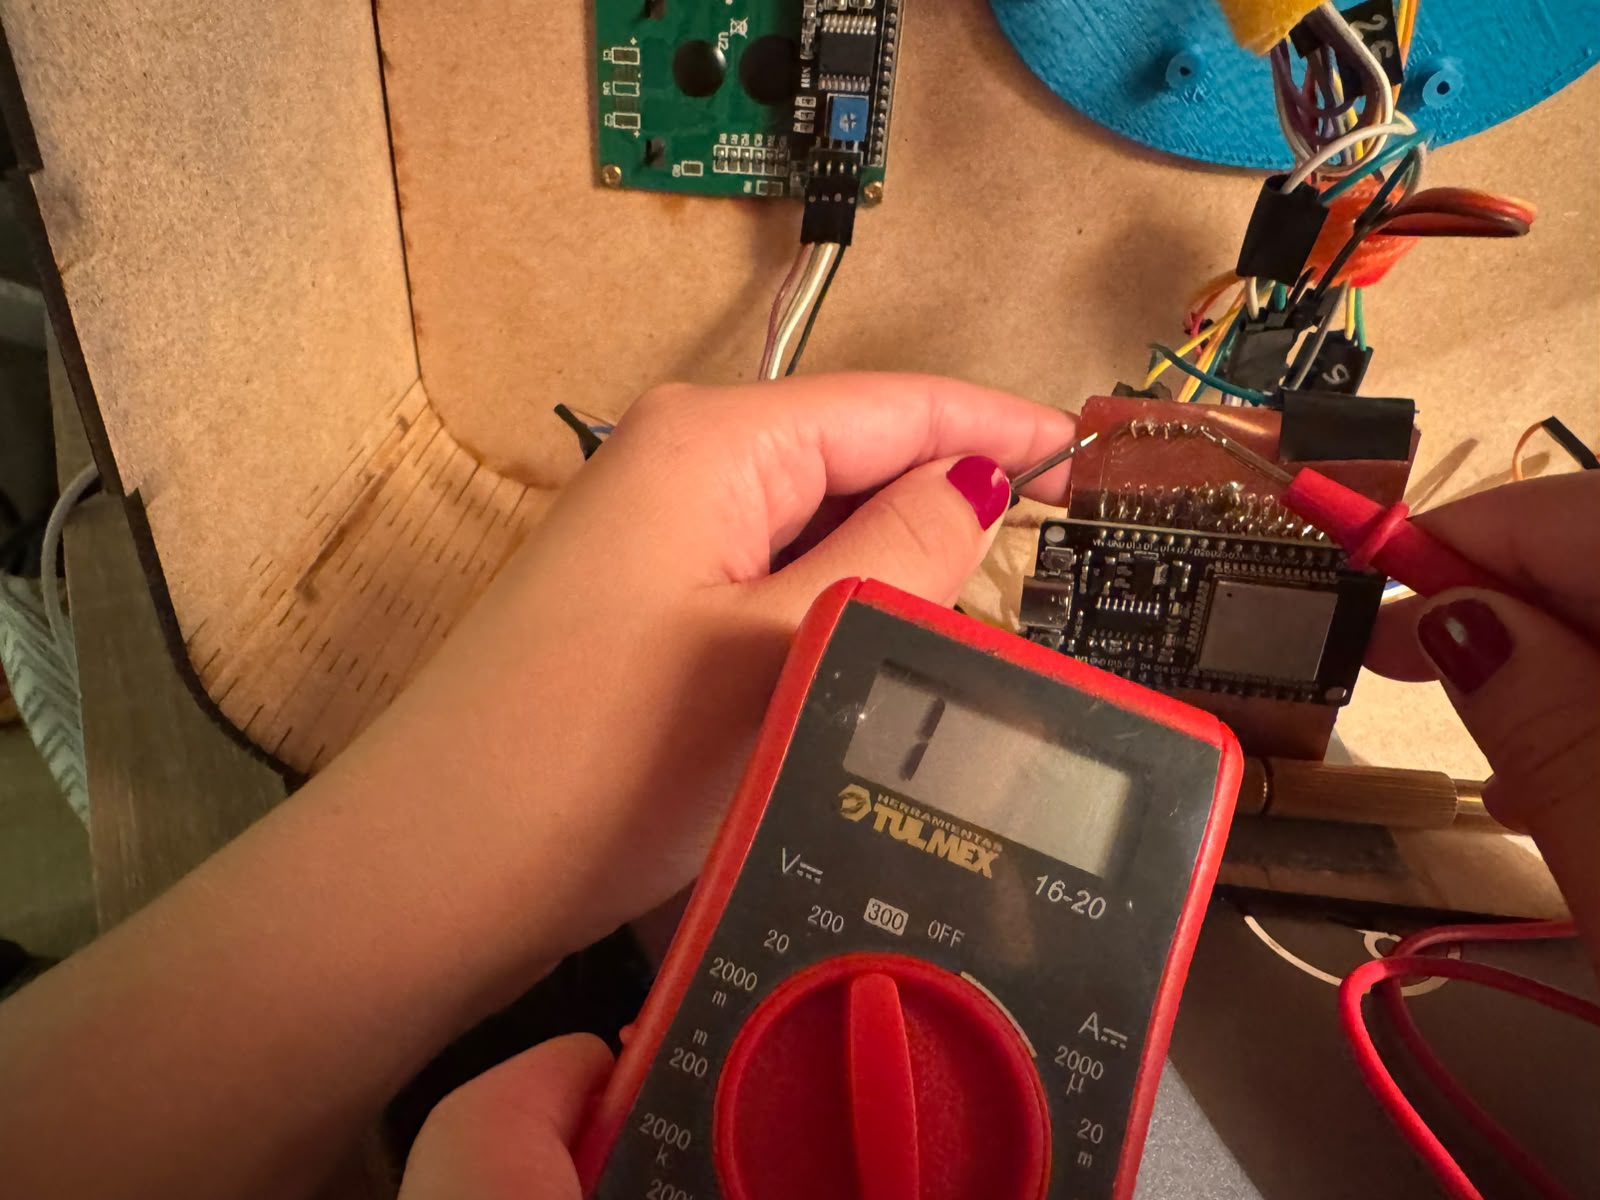
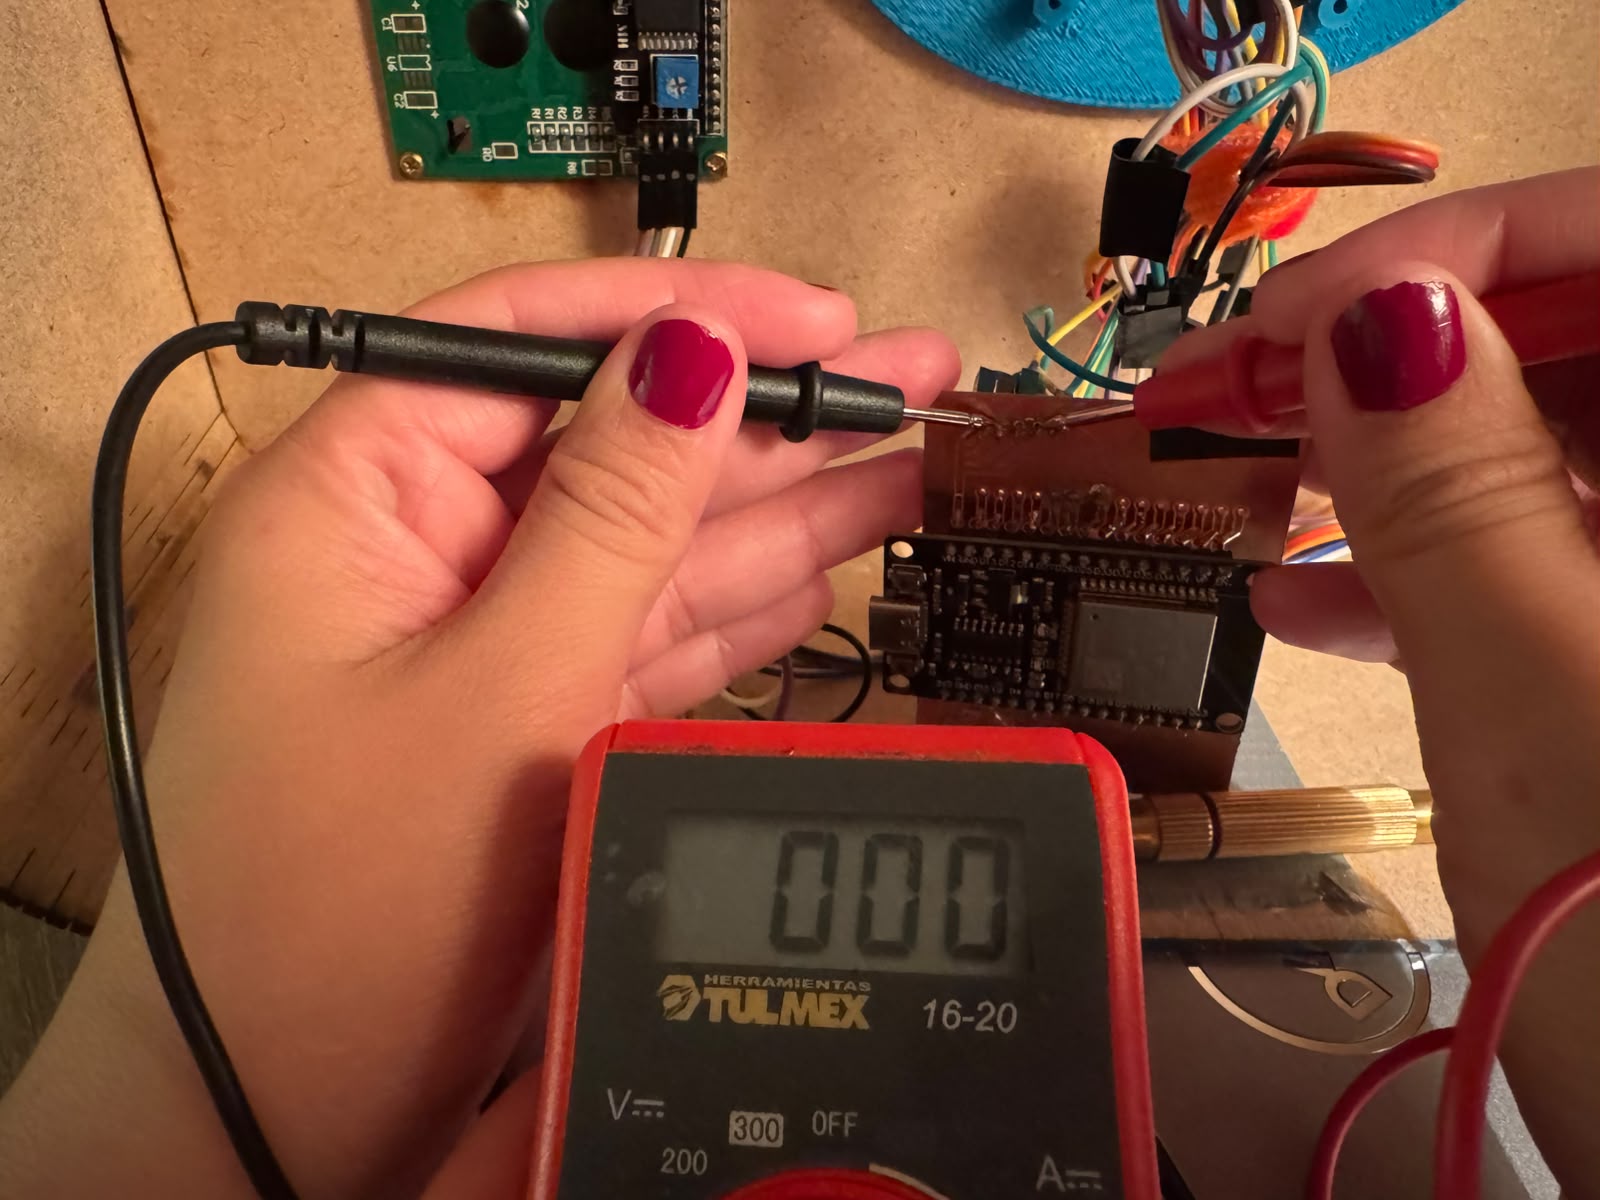
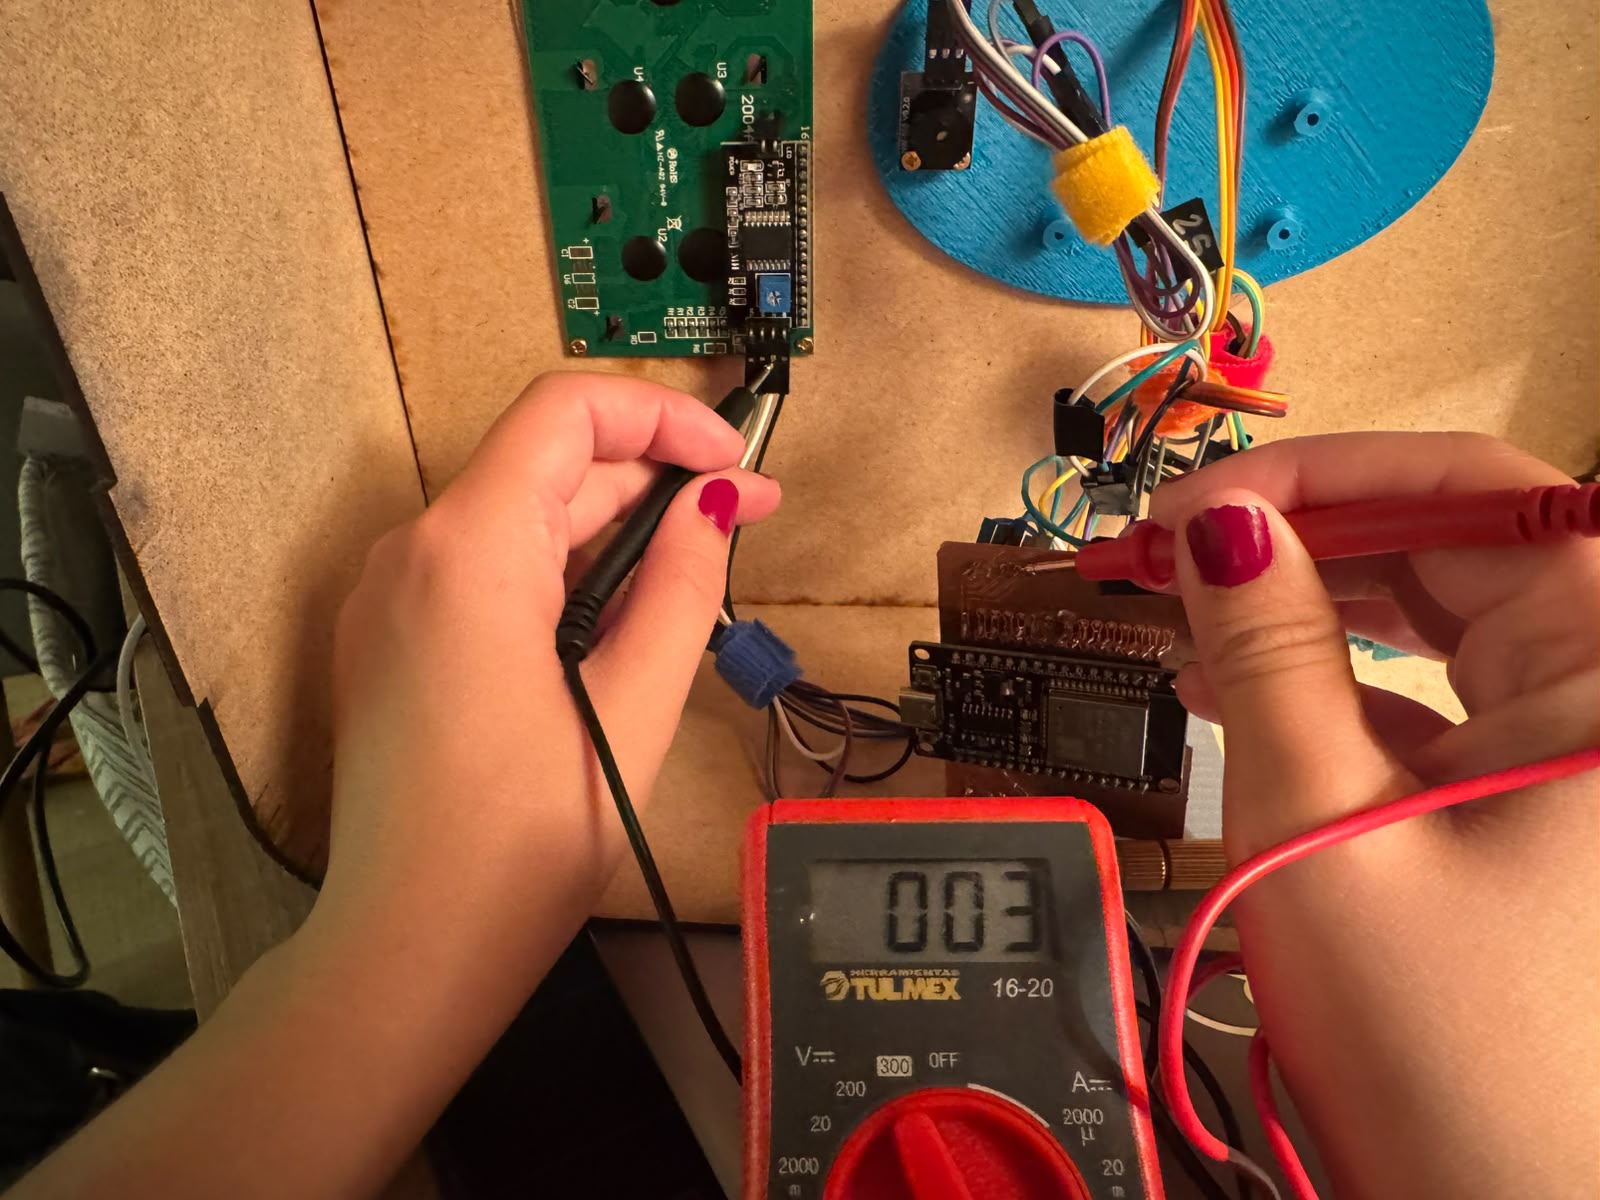
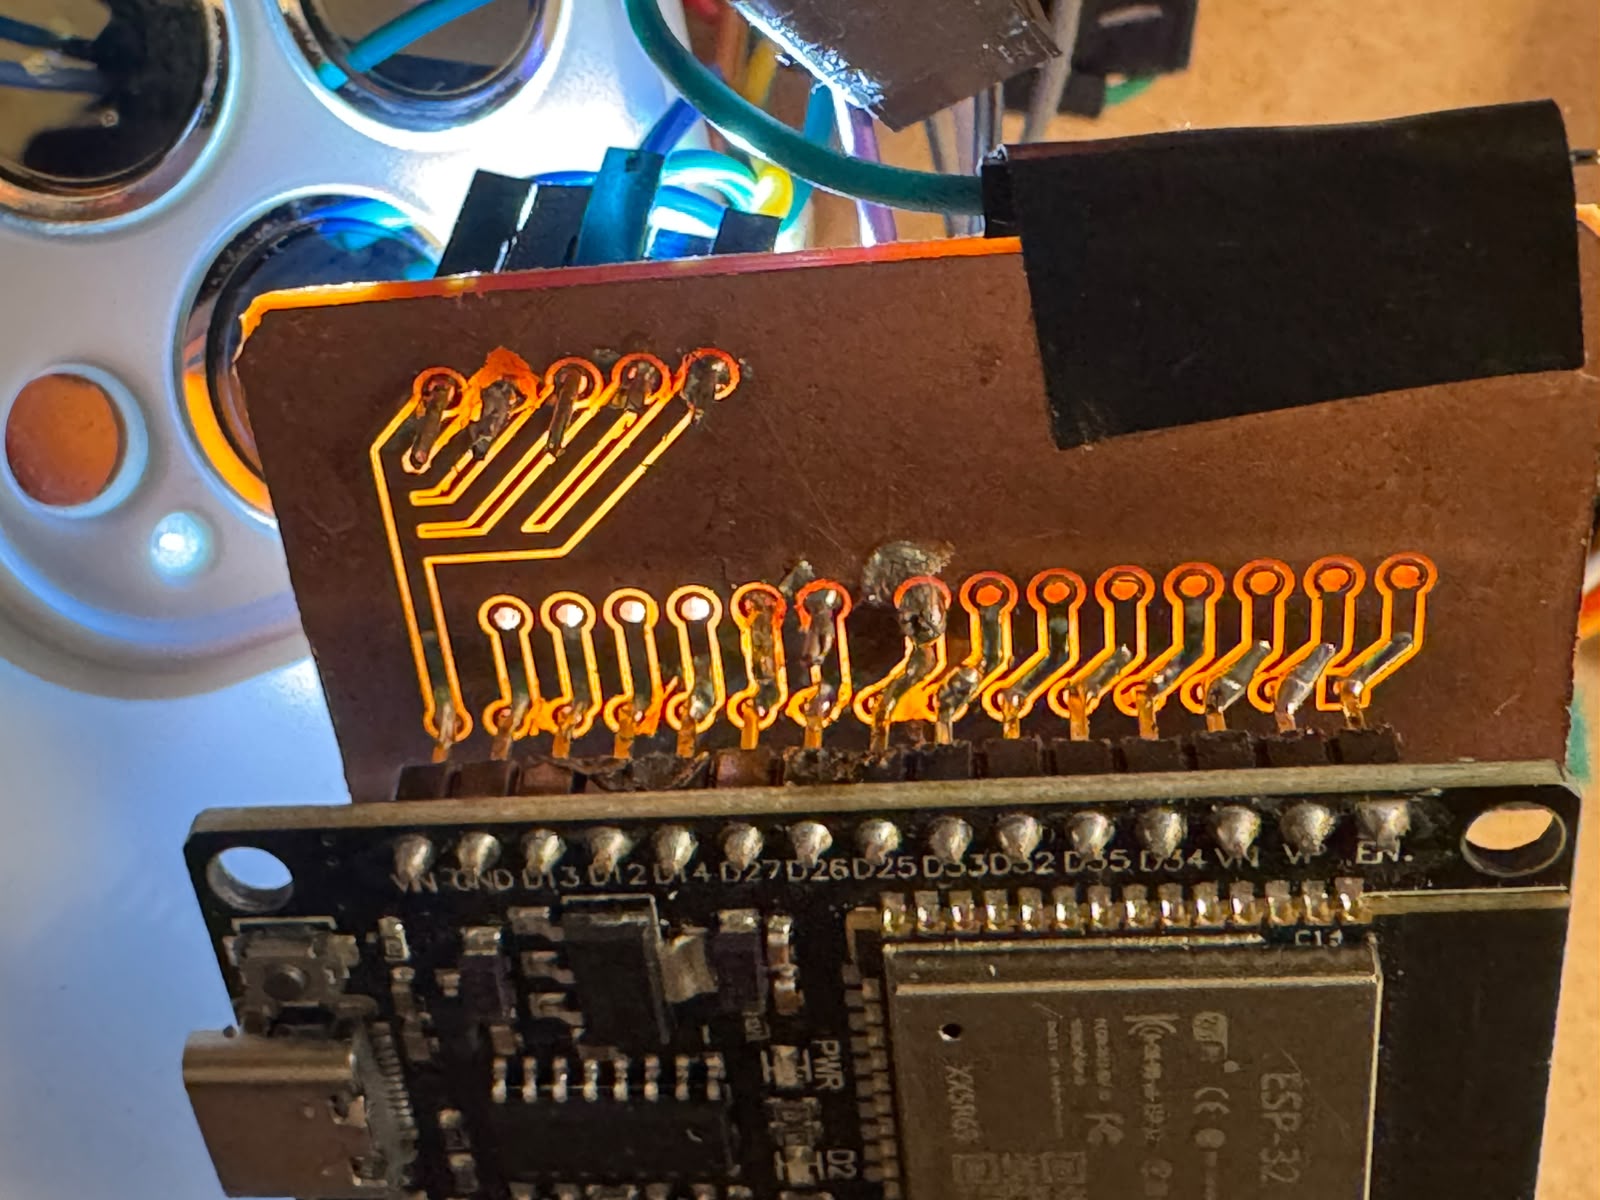
While soldering, I checked continuity in all pins in the ESP32, the PCB and each component. I also checked that all paths were clean with the help of light:
Laser Cut
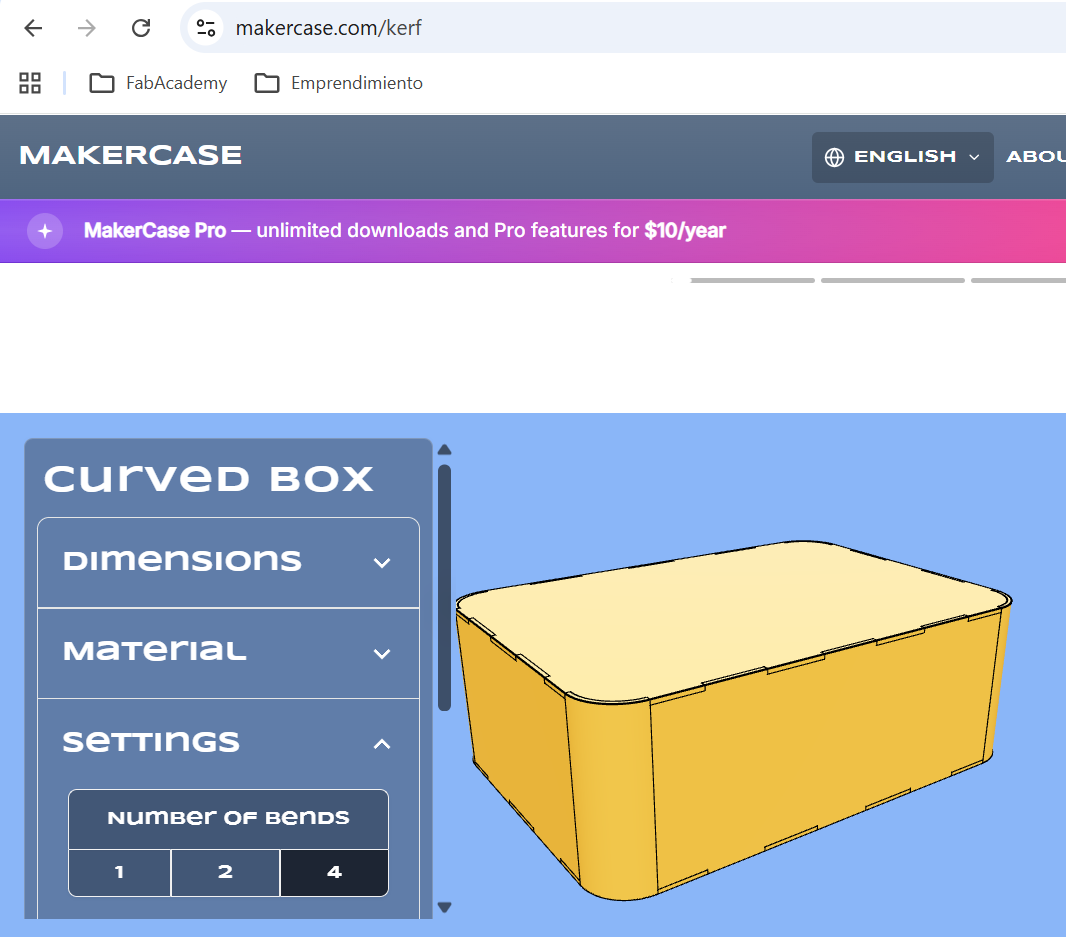
Afer testing the integration of some components in Week 16: System integration, I went ahead and designed the full box on https://www.makercase.com/
I downloaded the file
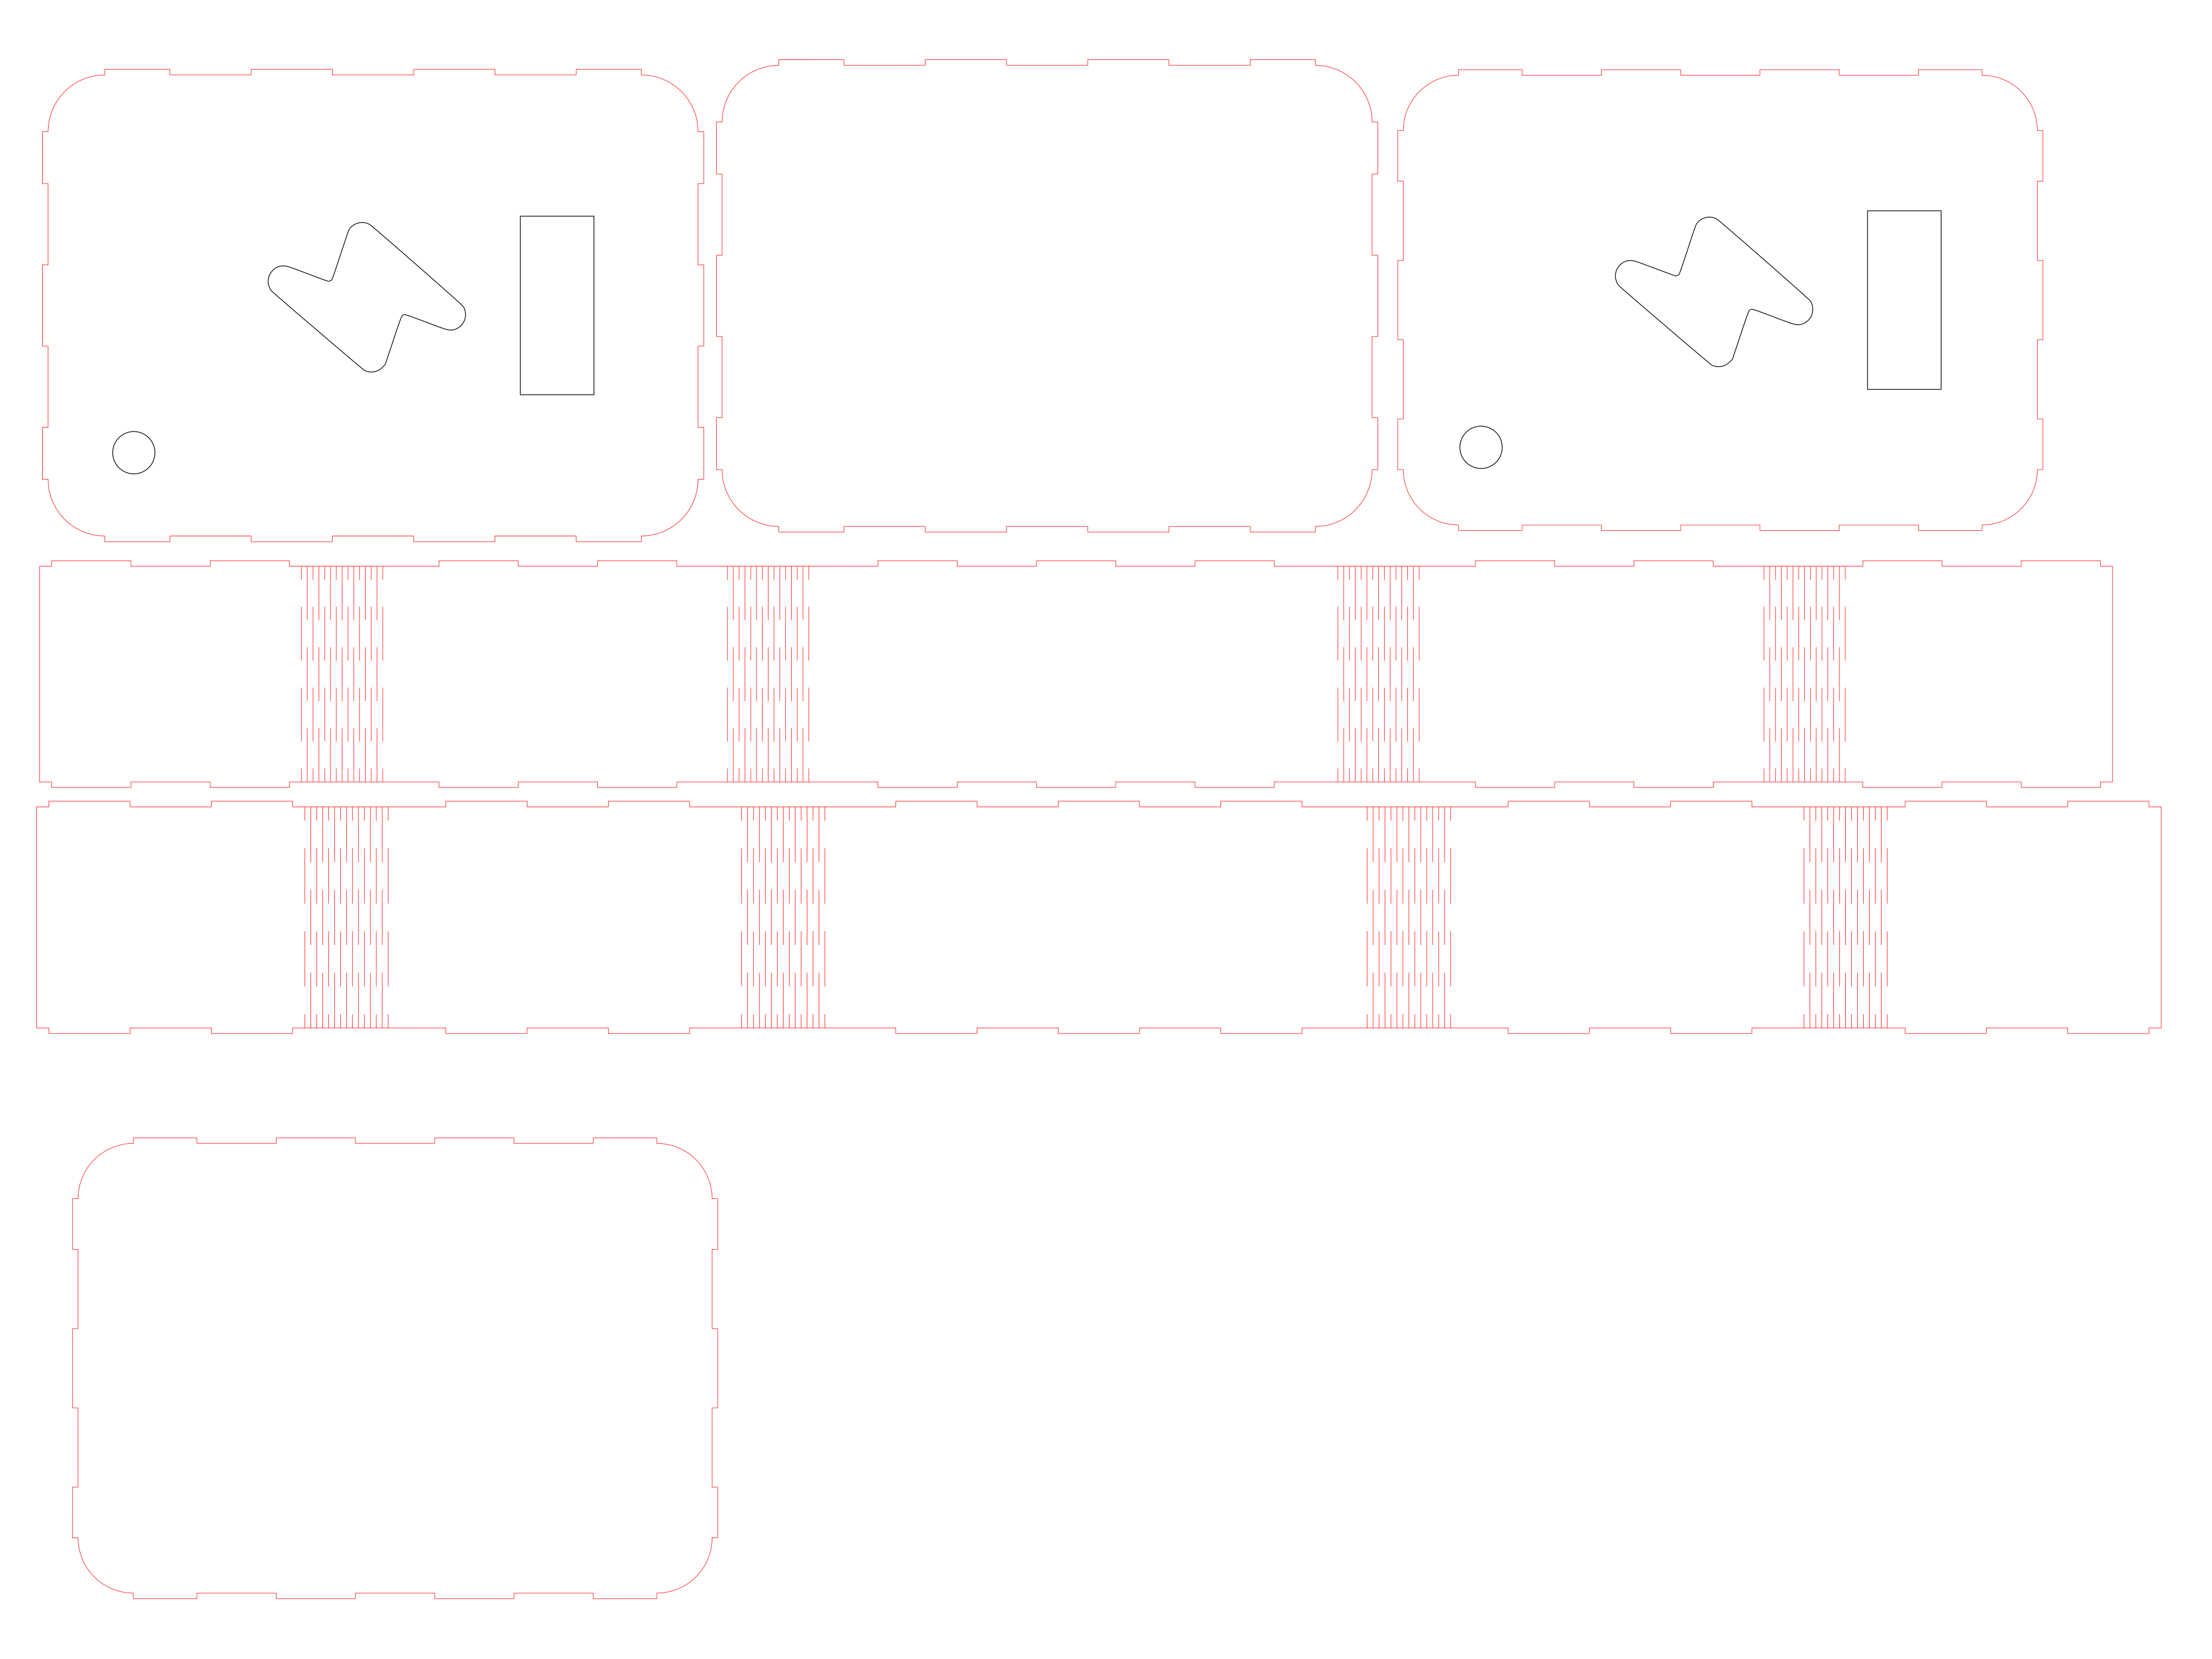
I did some cuts:
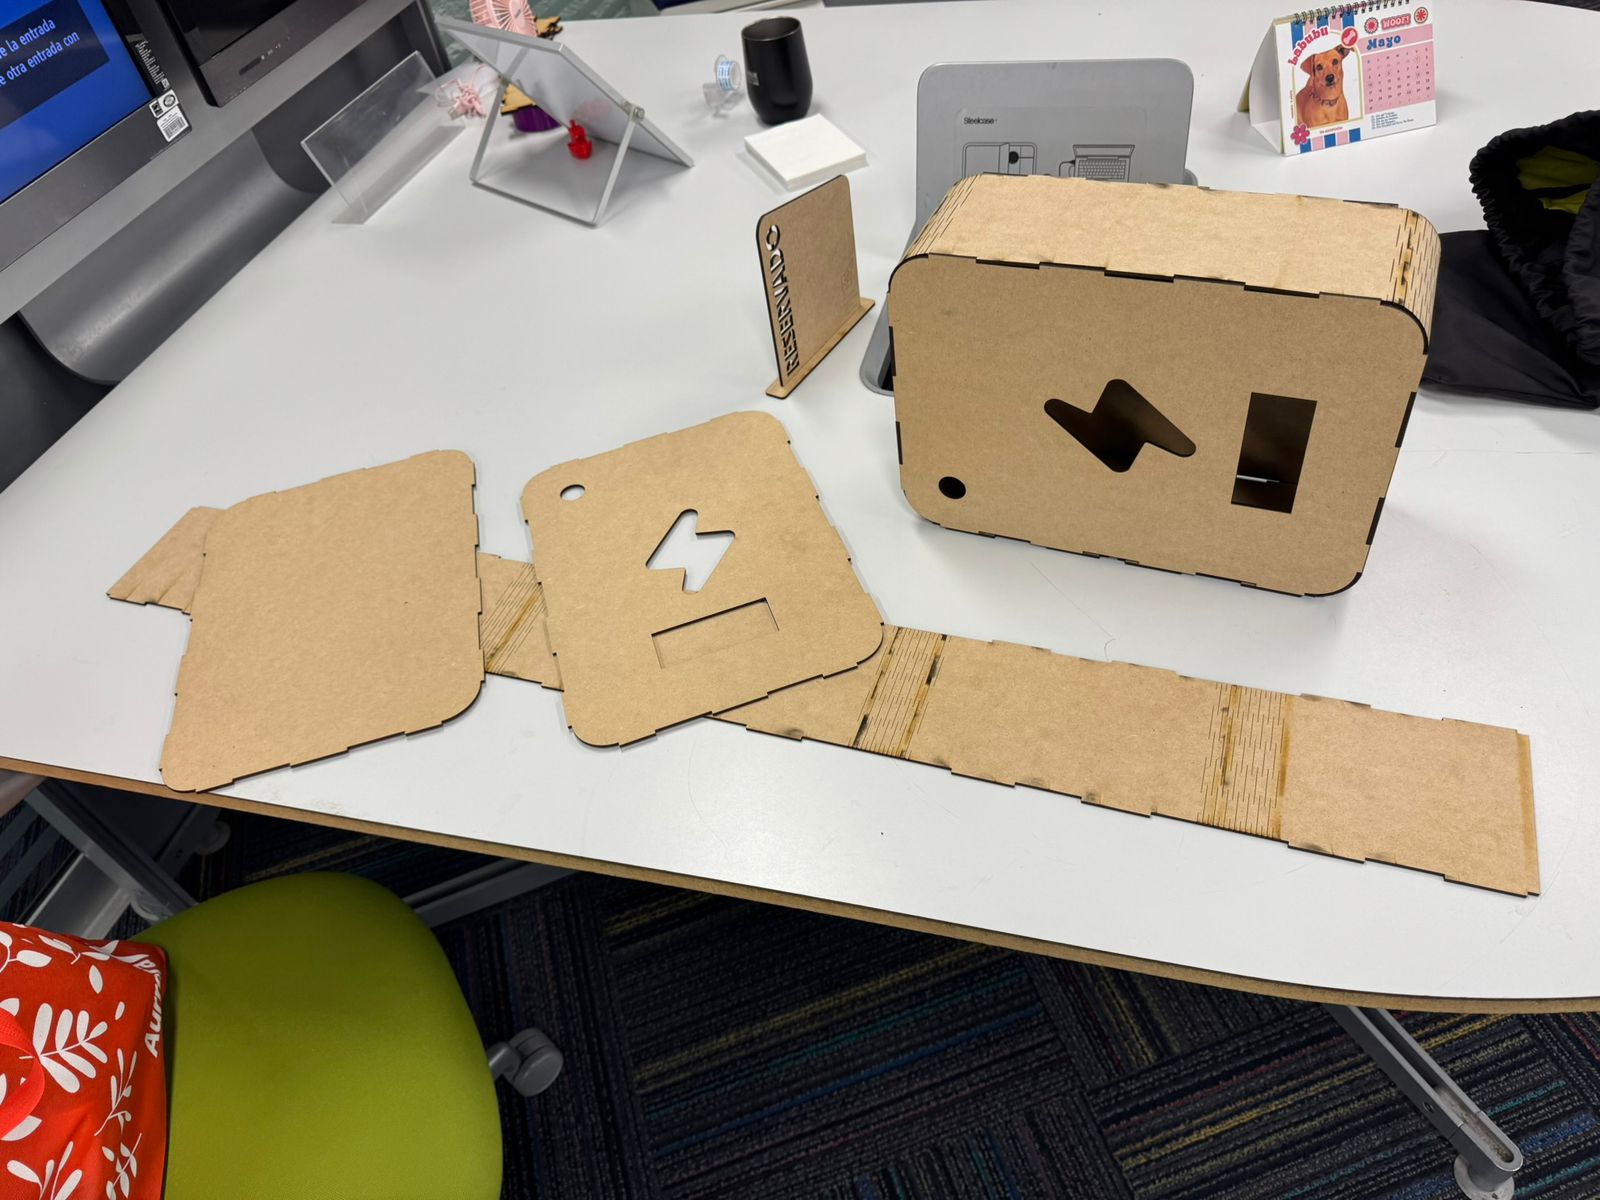
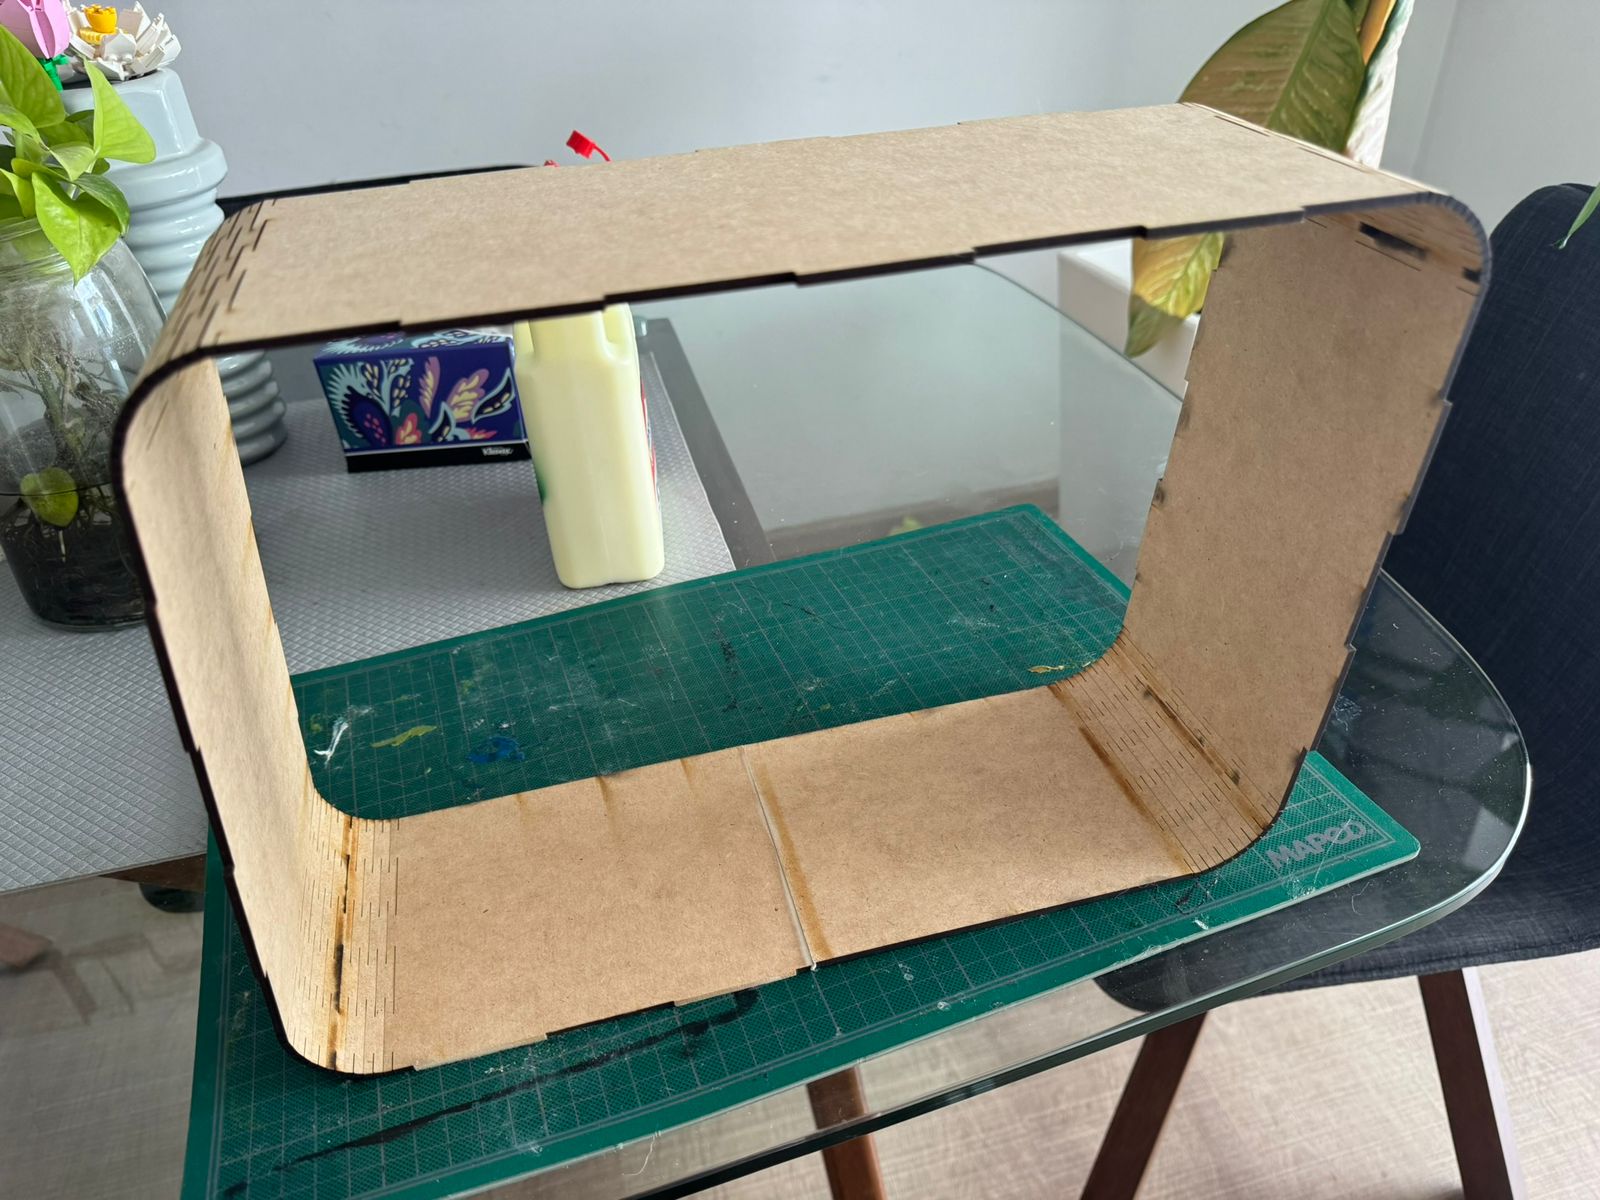
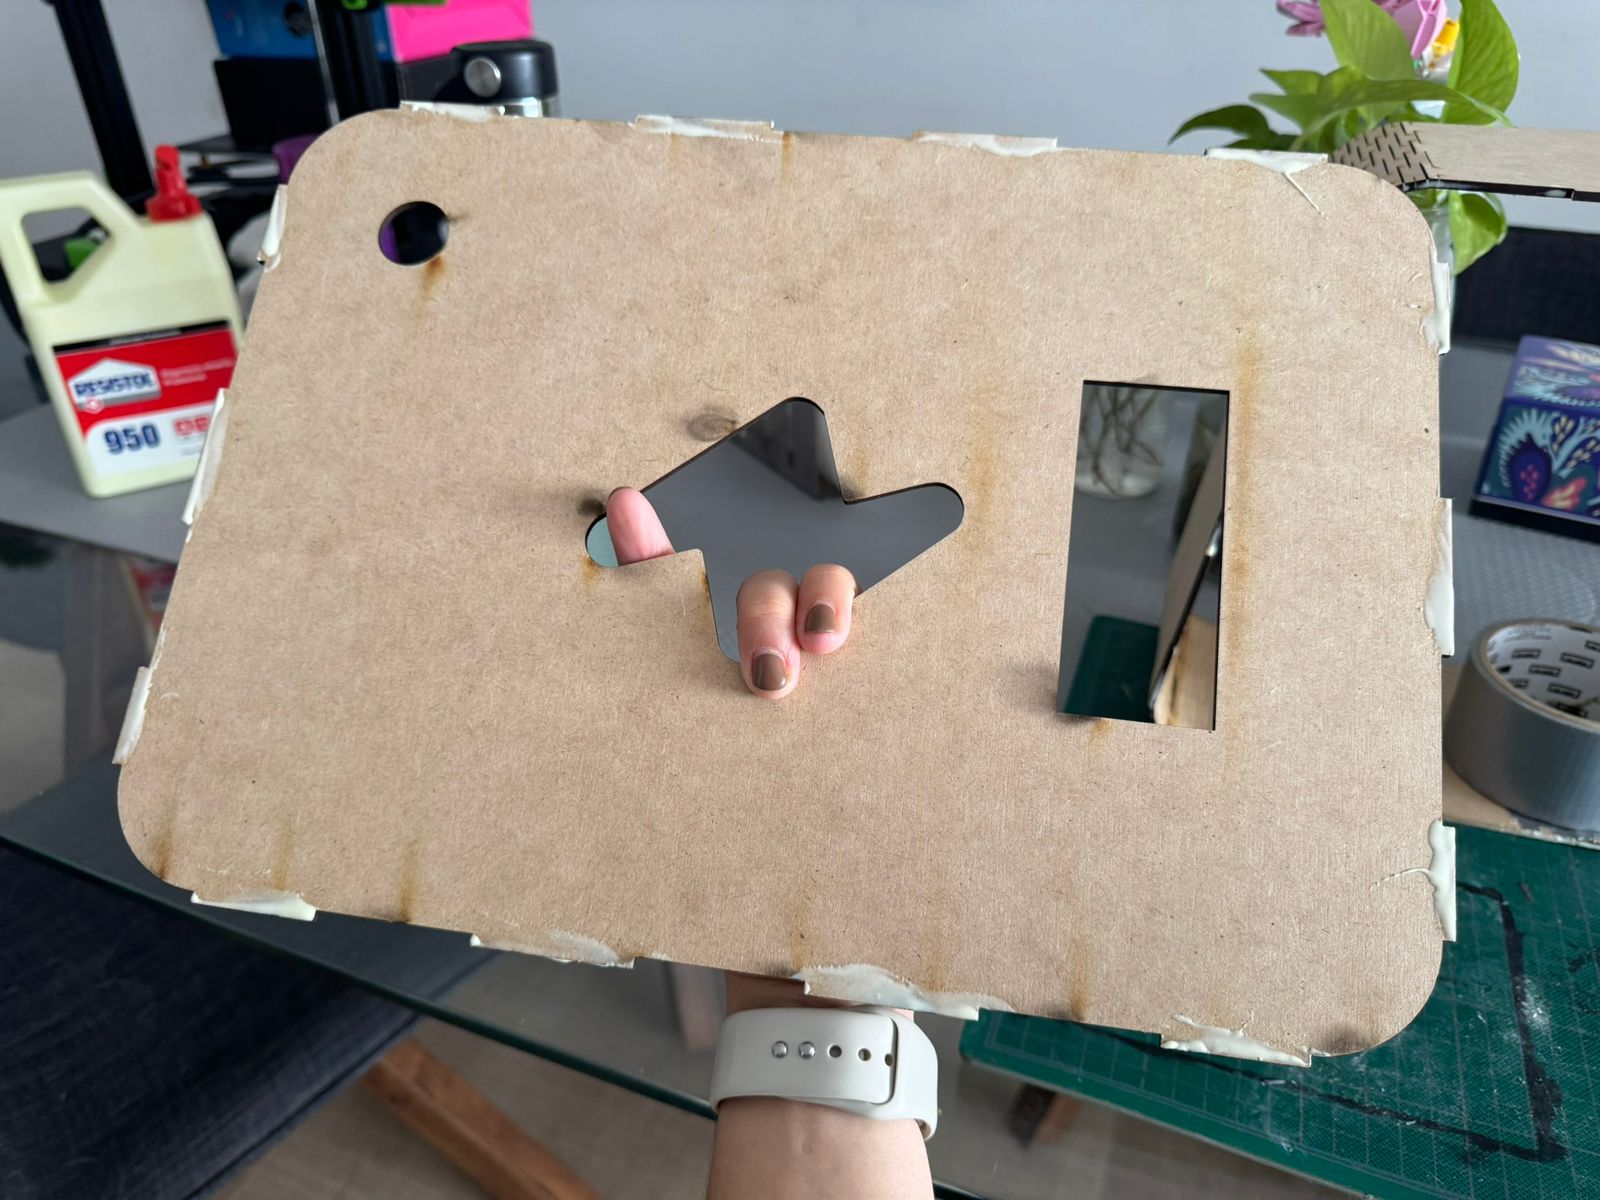
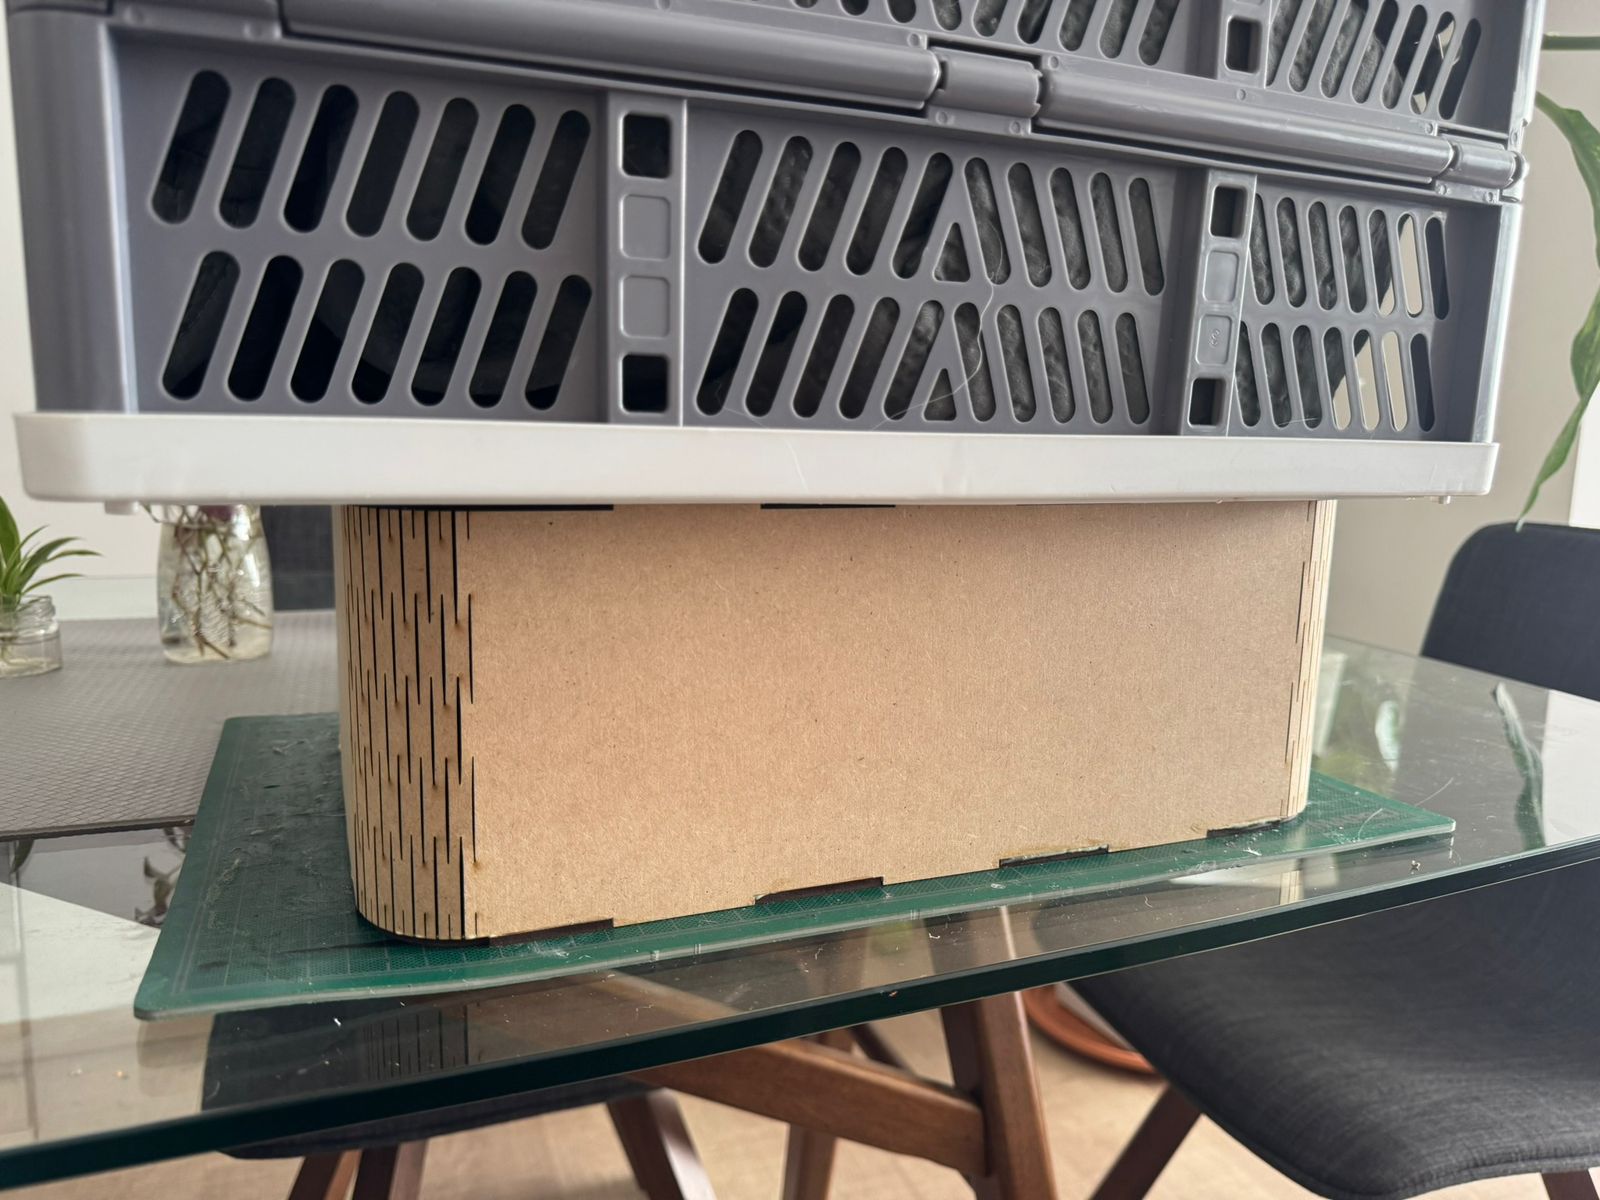
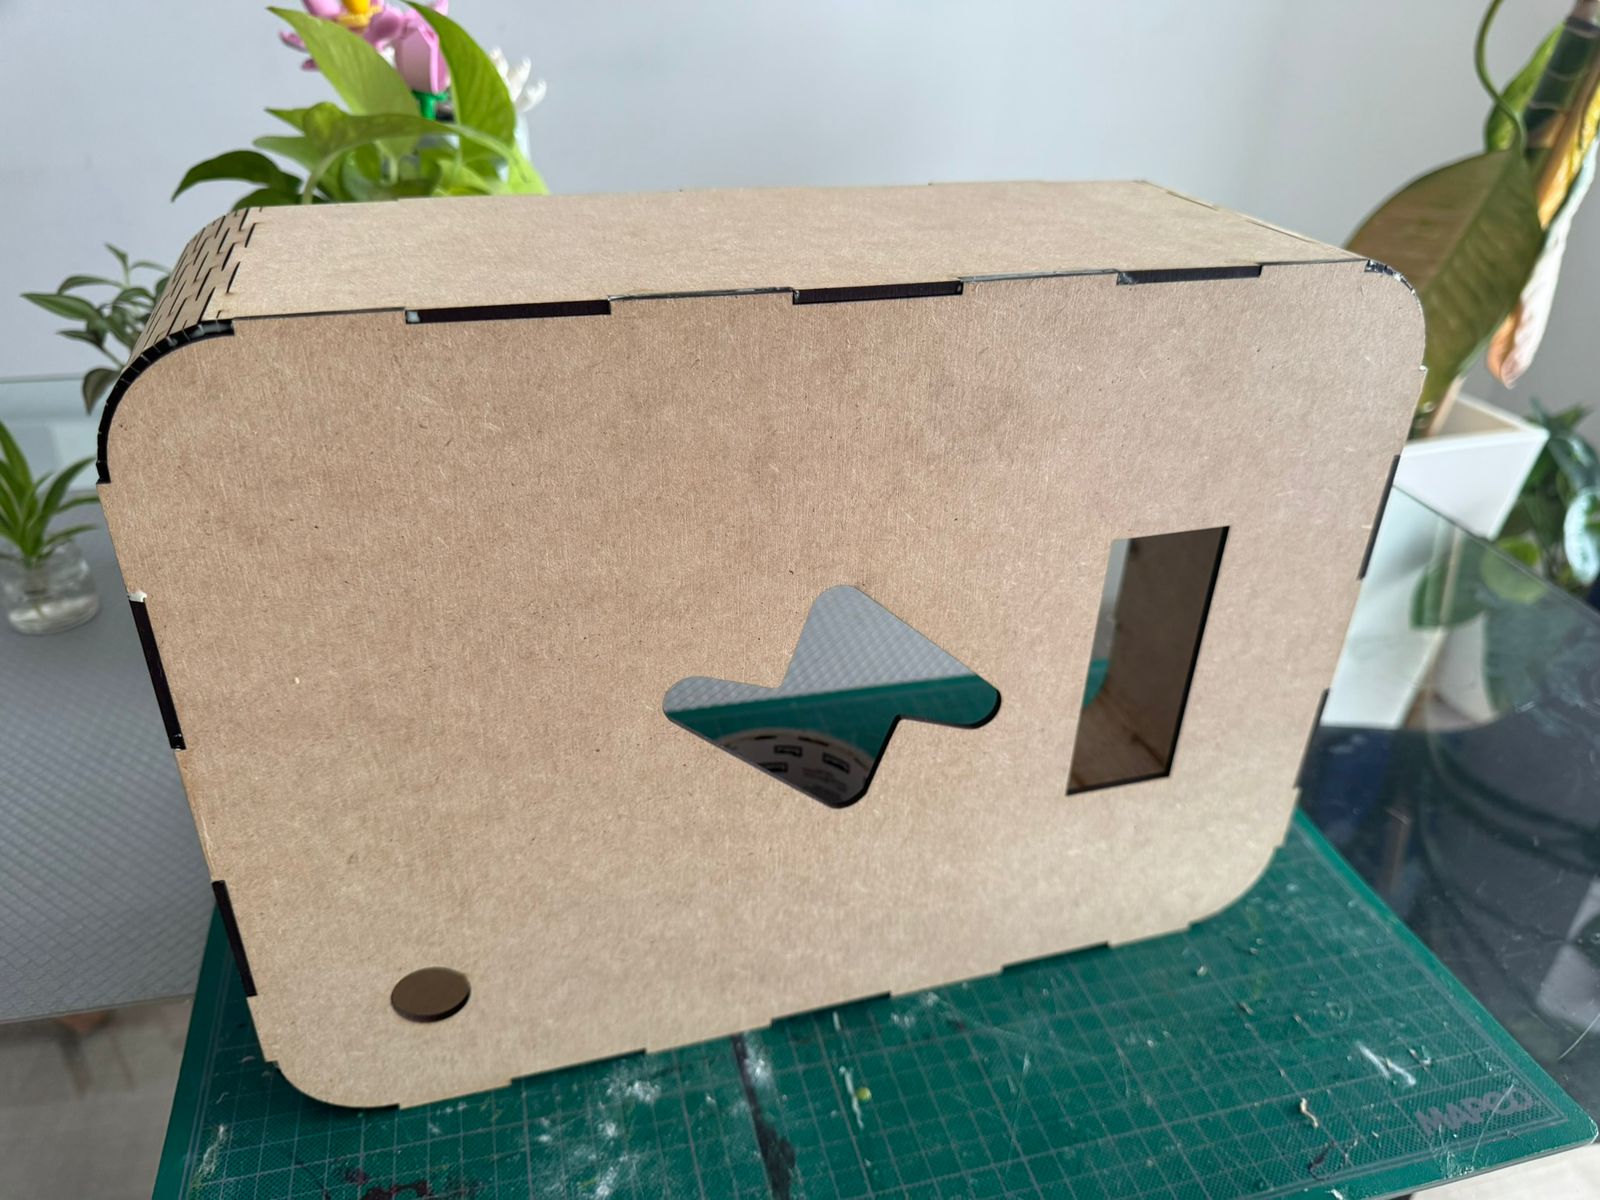
And I assambled and pasted the faces, leaving one side open to add all components:
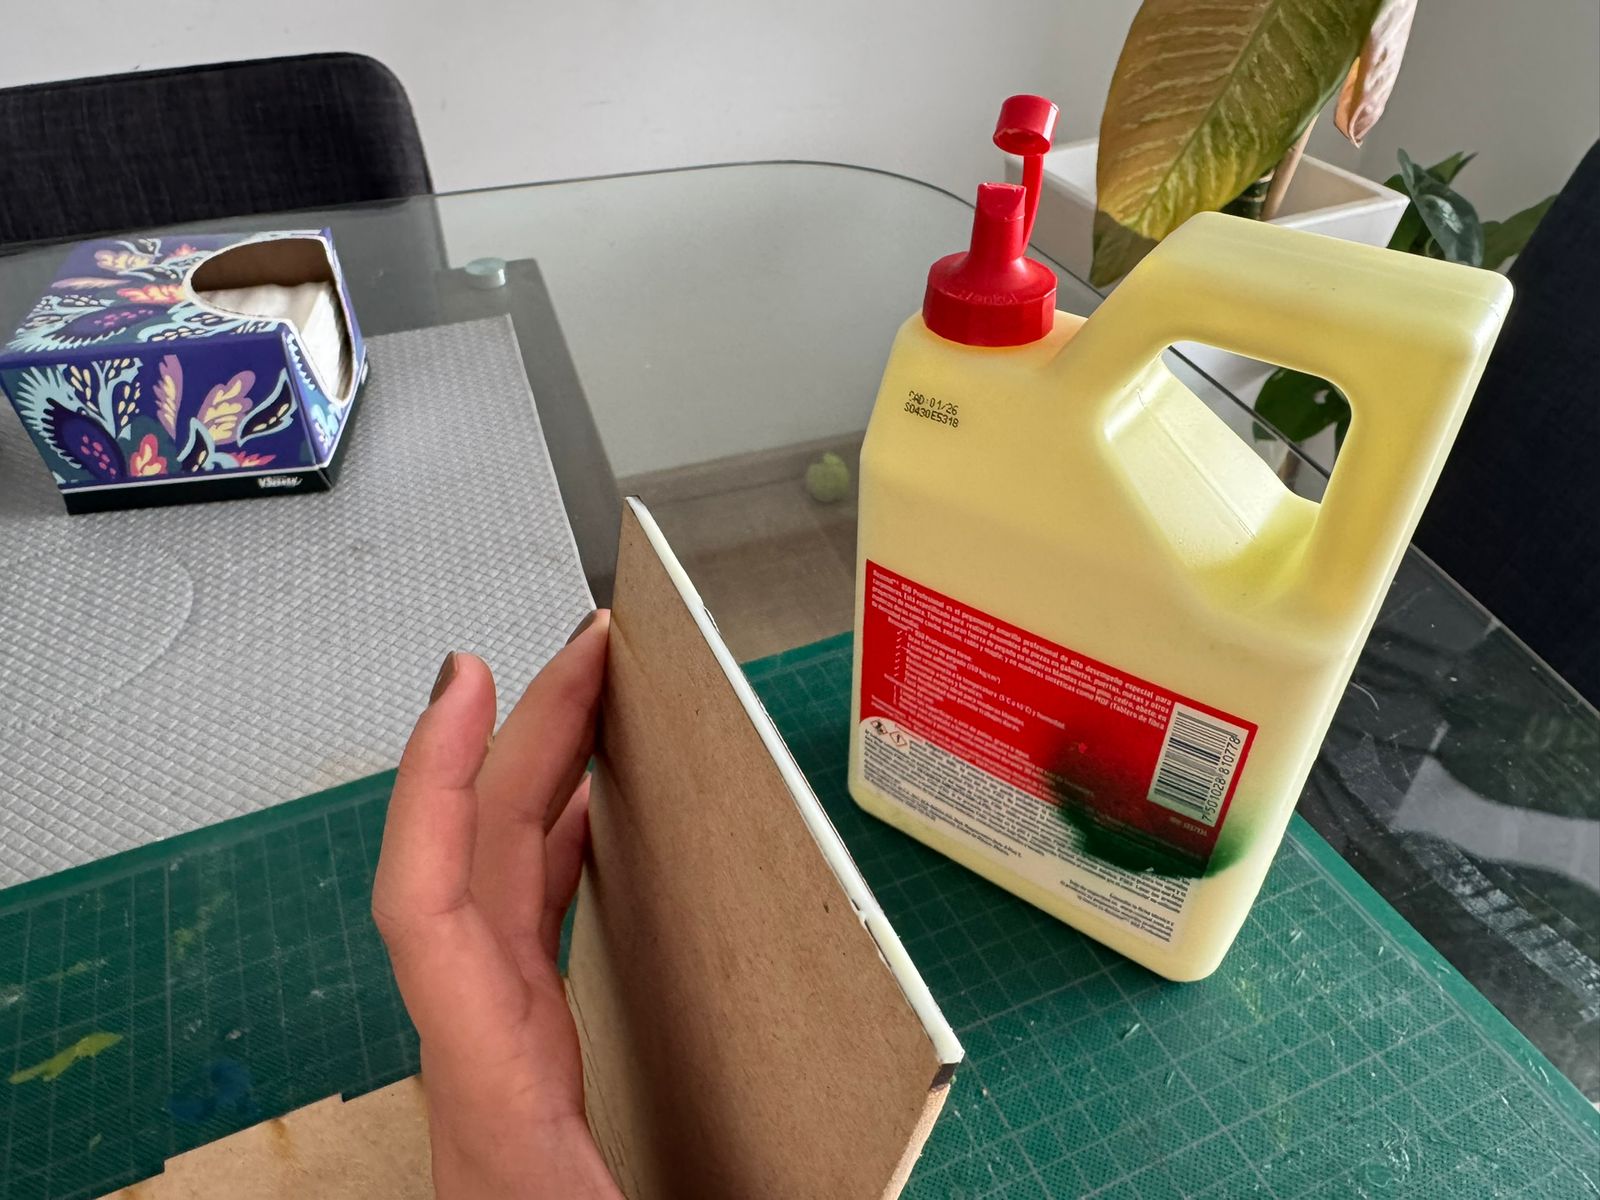
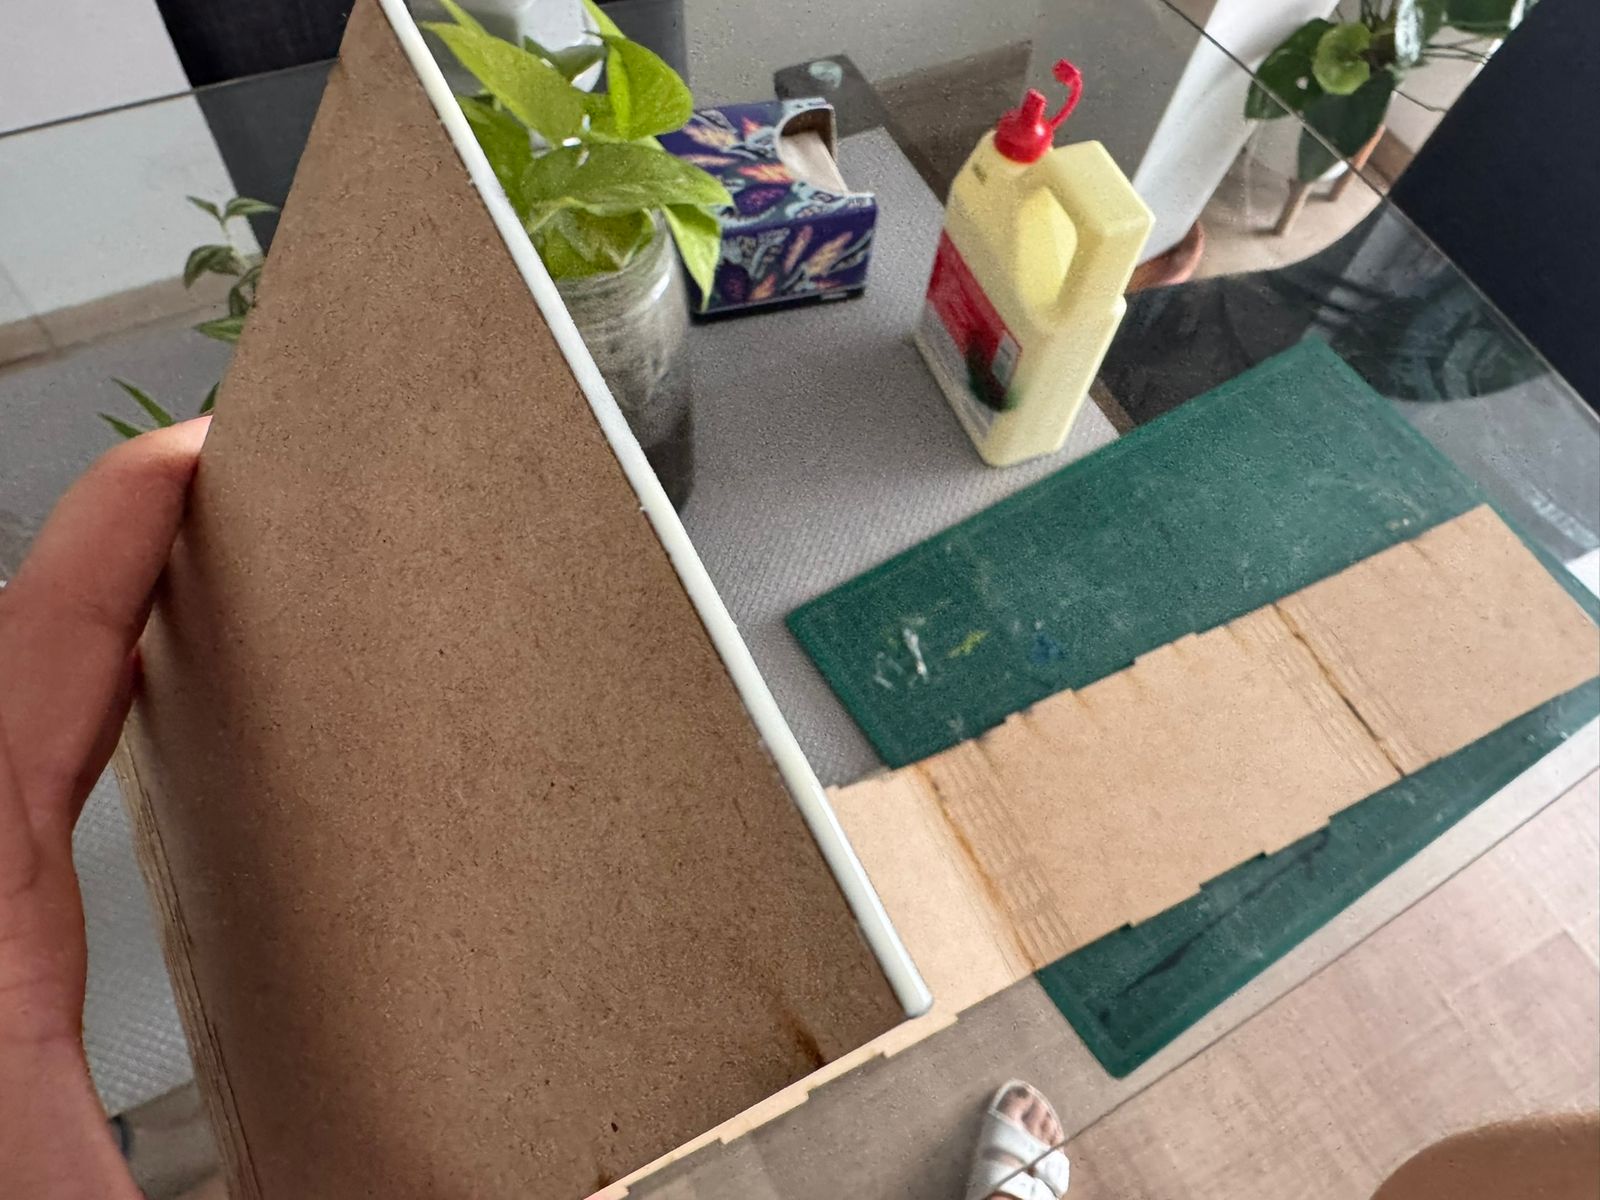
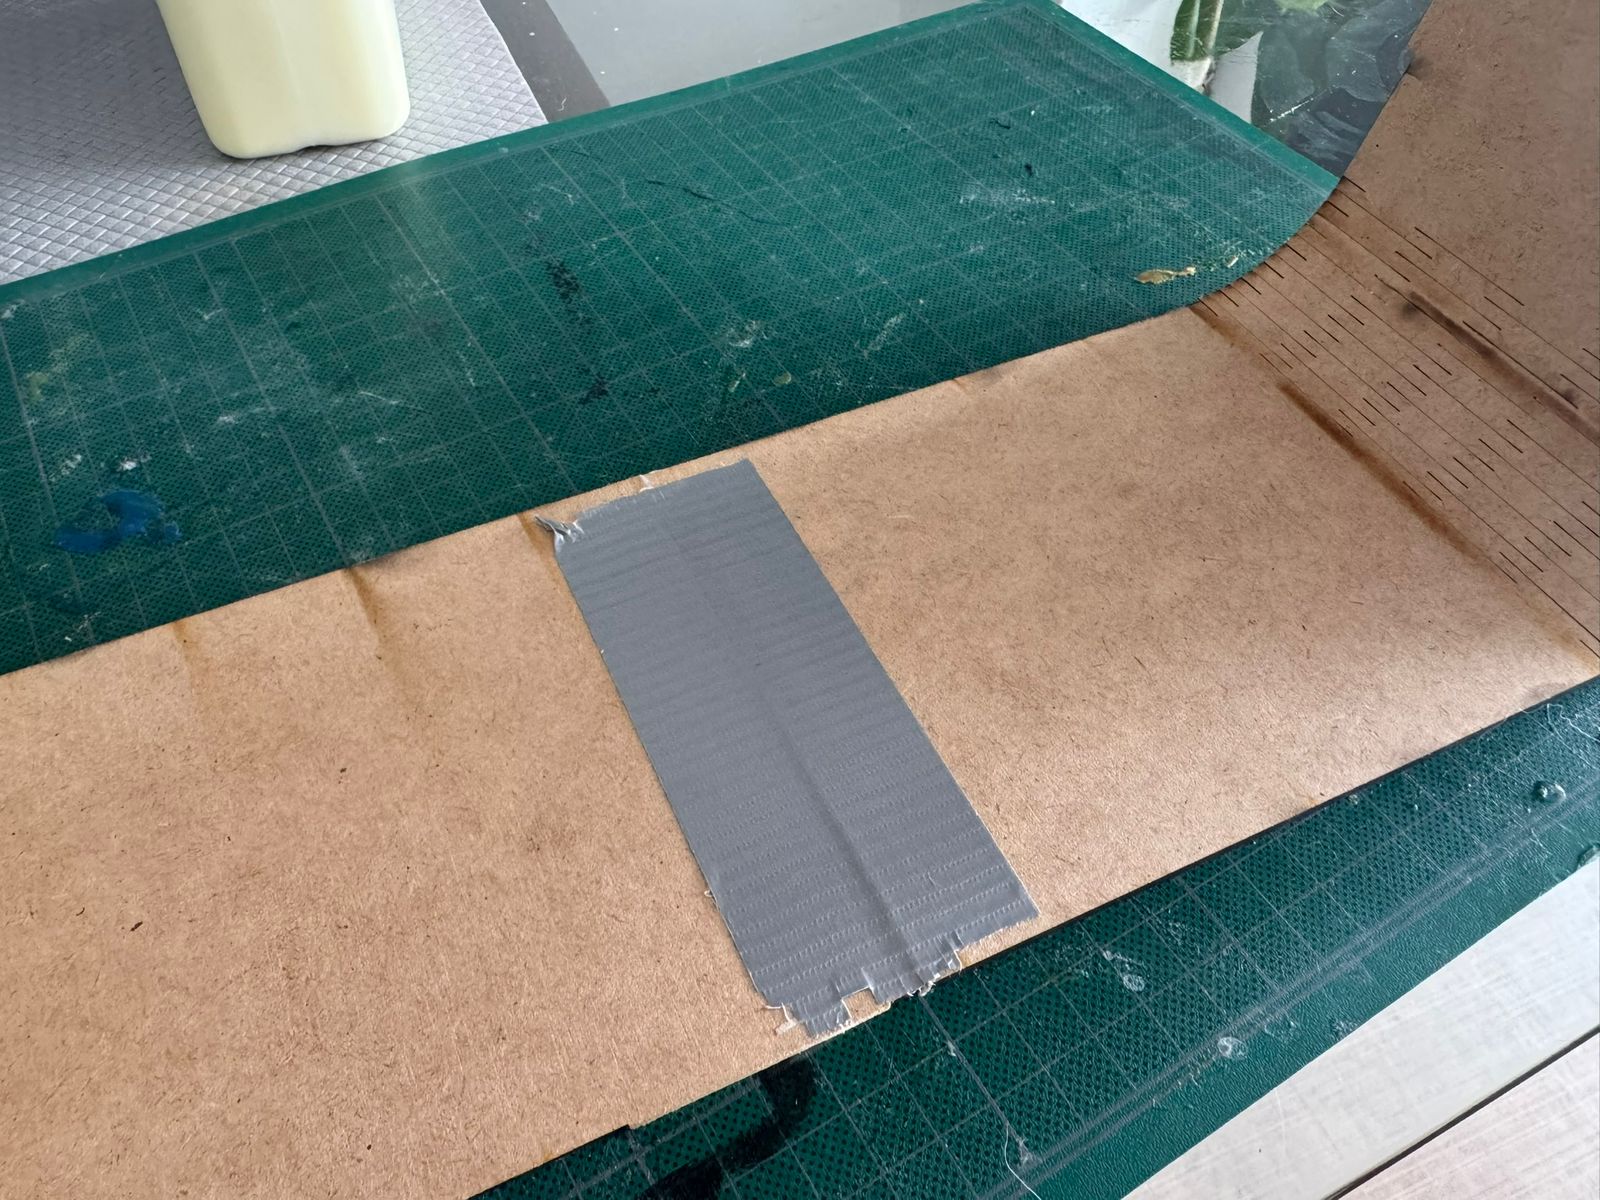
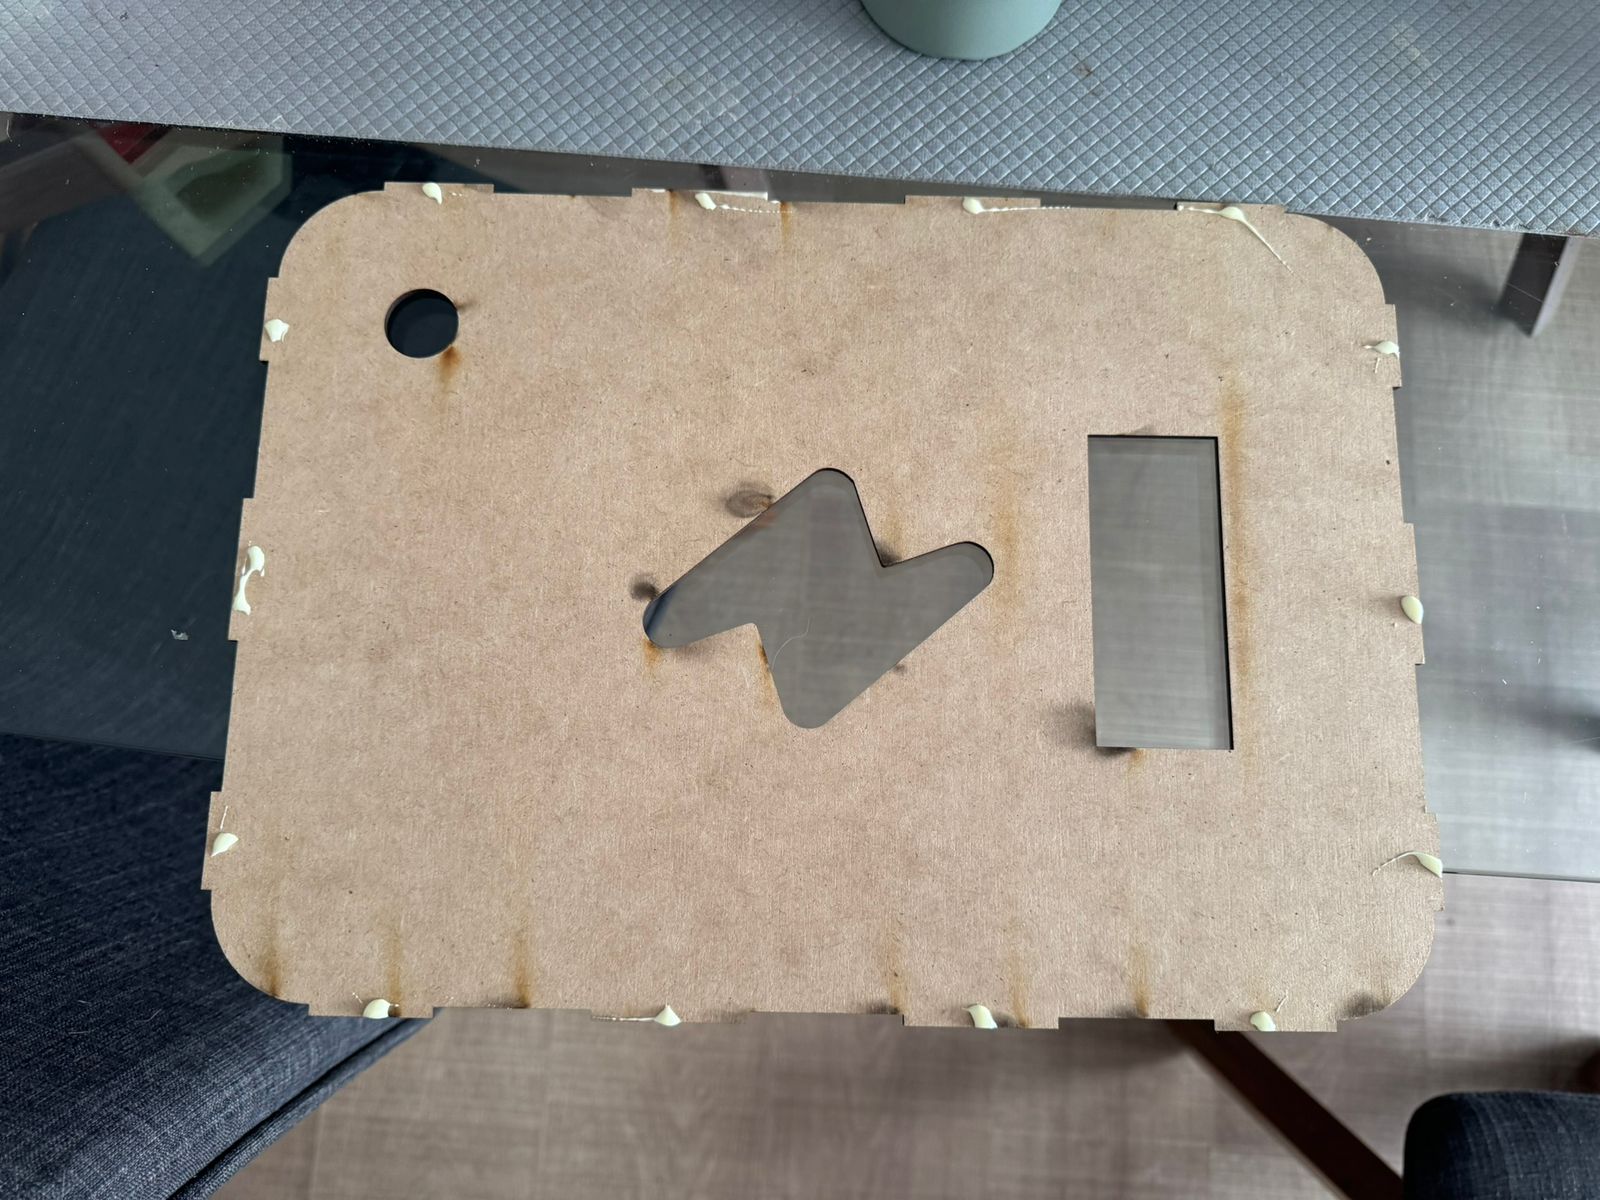
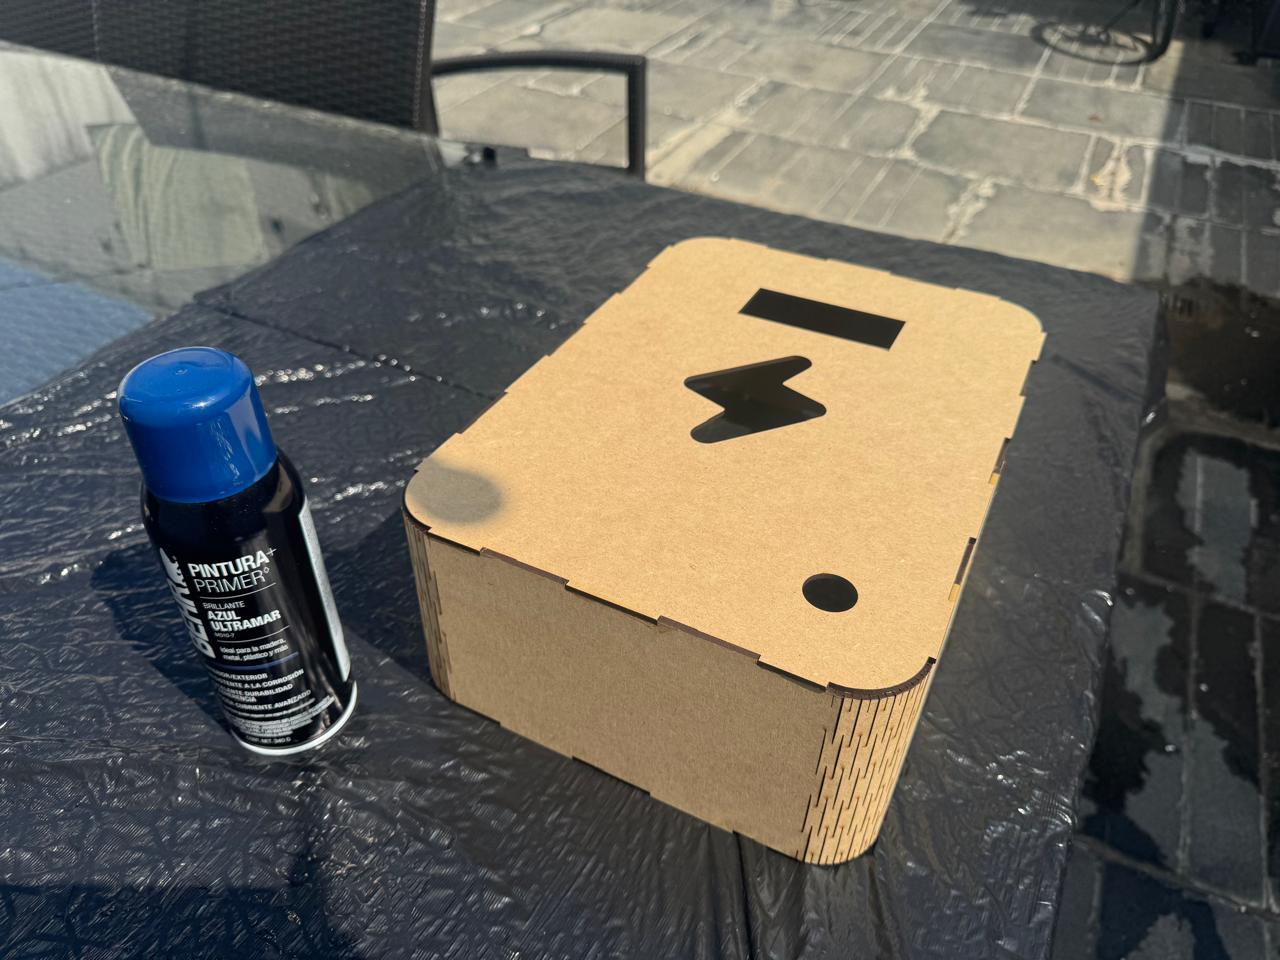
Then I tried different spray paints on testing pieces, asked around and did a muckup on Gimp to choose the final color to paint the box:
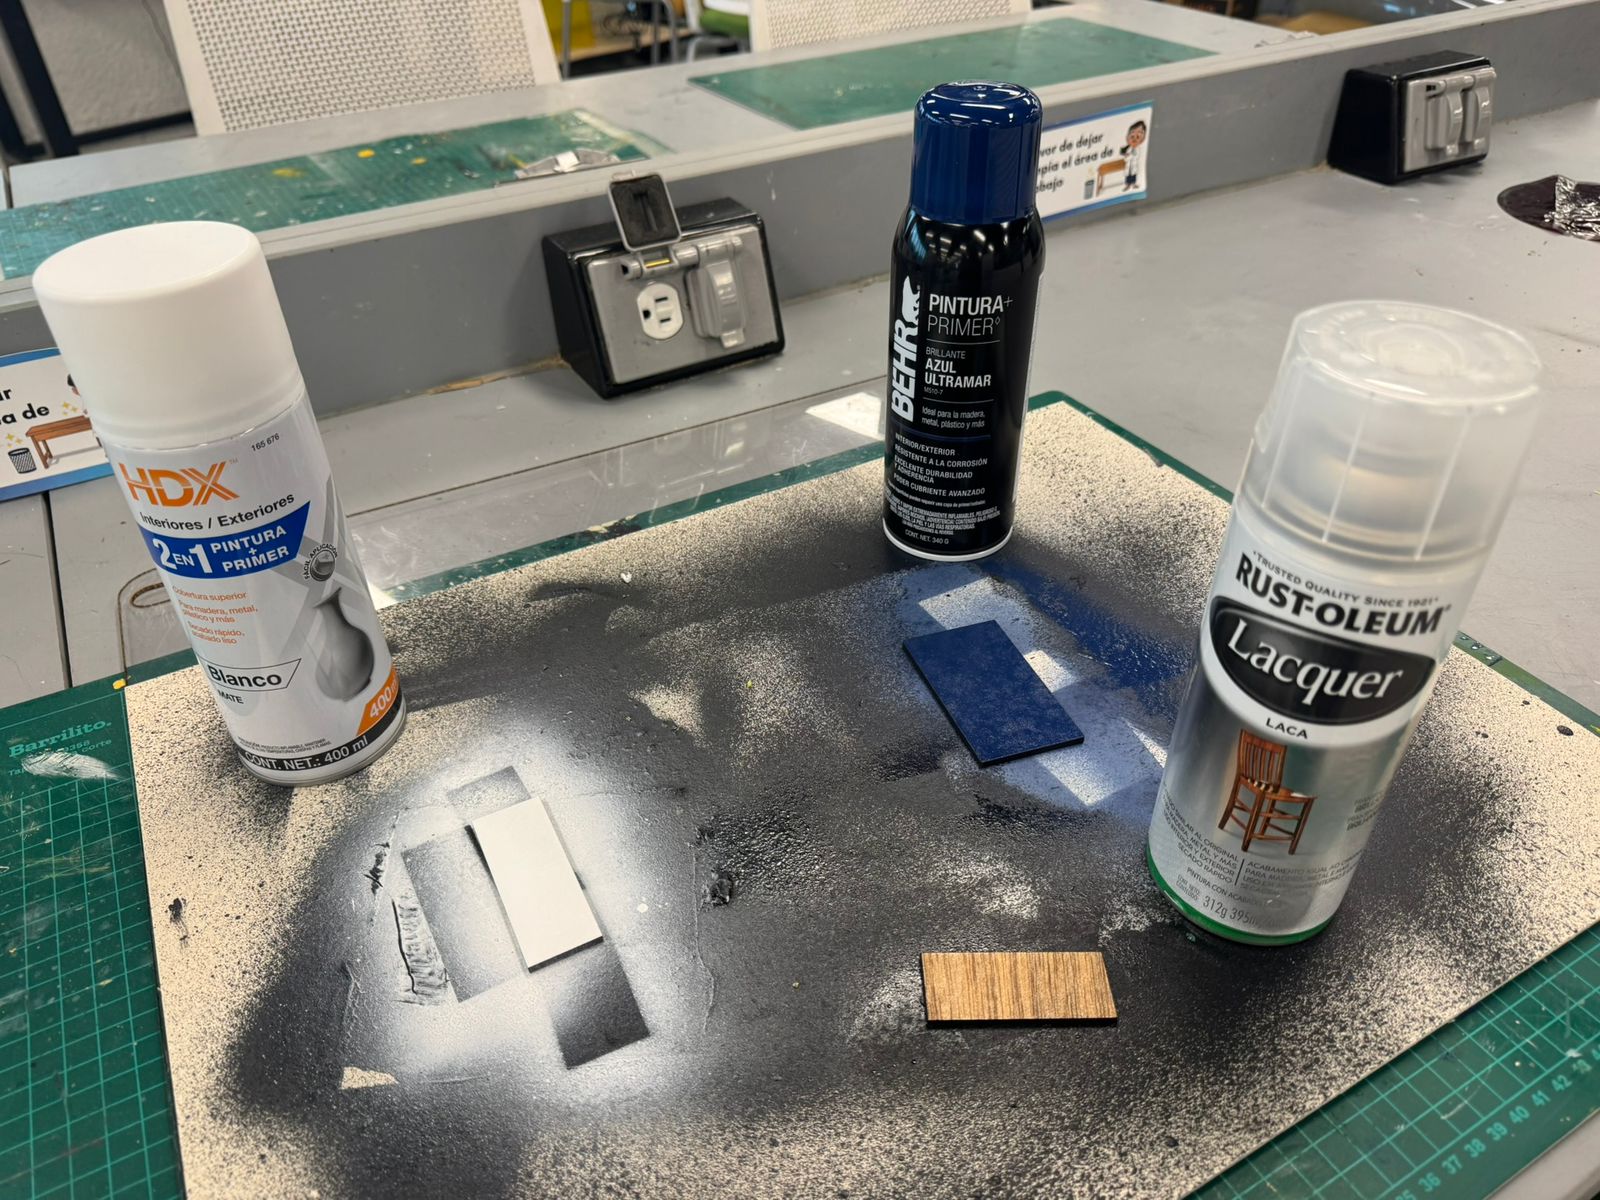
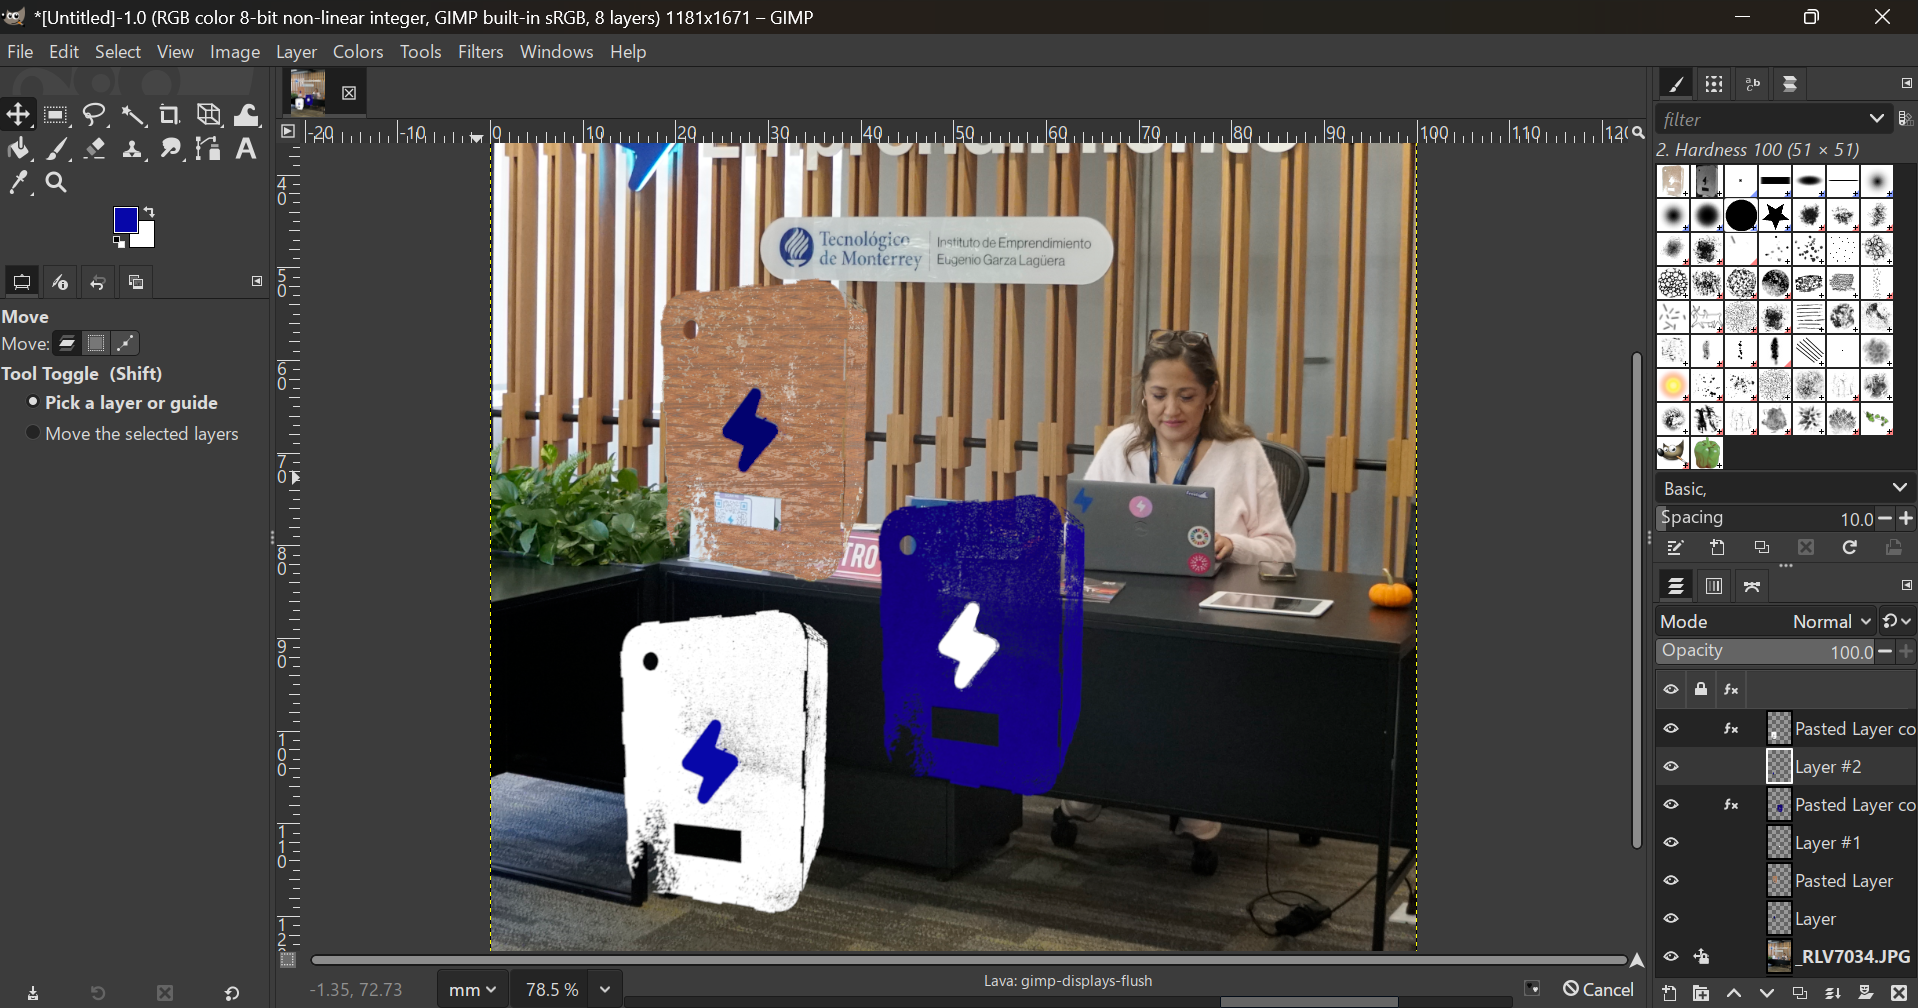
Go to week 02: Computer aided designto see more about Gimp design.
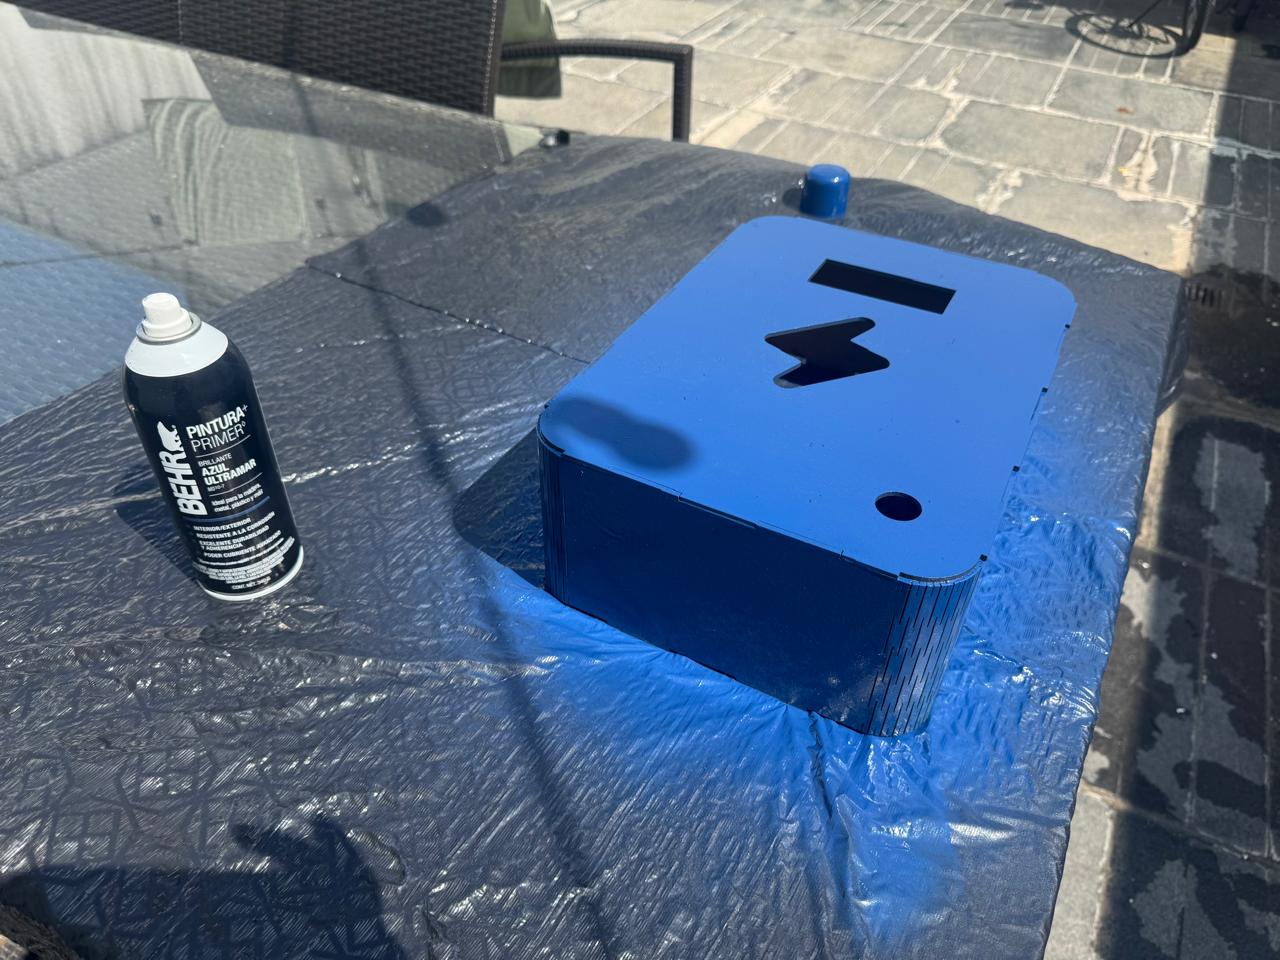
In the end, we chose the dark blue so I painted the box:
Interface communication
For the interface of my final project, I wanted to create a simple registration system that could connect the physical box with a digital form, a small database and a dashboard. The idea was that visitors could scan an NFC tag with their phone, fill out a short form and receive physical feedback from the box through the LCD screen, RGB LED, buzzer and servo motor.
The final communication flow works like this:
- The user scans an NFC tag with their phone.
- The tag opens a local web form created in HTML.
- The form sends the registration data to a Python Flask server.
- The server stores the information in an Excel file.
- The dashboard reads the Excel file and displays the registration data.
- The ESP32 checks the Flask server for new registrations.
- When a new registration is detected, the box confirms it with light, sound, movement and a message on the LCD screen.
At first, I considered using Microsoft Excel with Power Automate because I wanted to keep the database close to the tools I normally use. However, the HTTP trigger required a premium license:
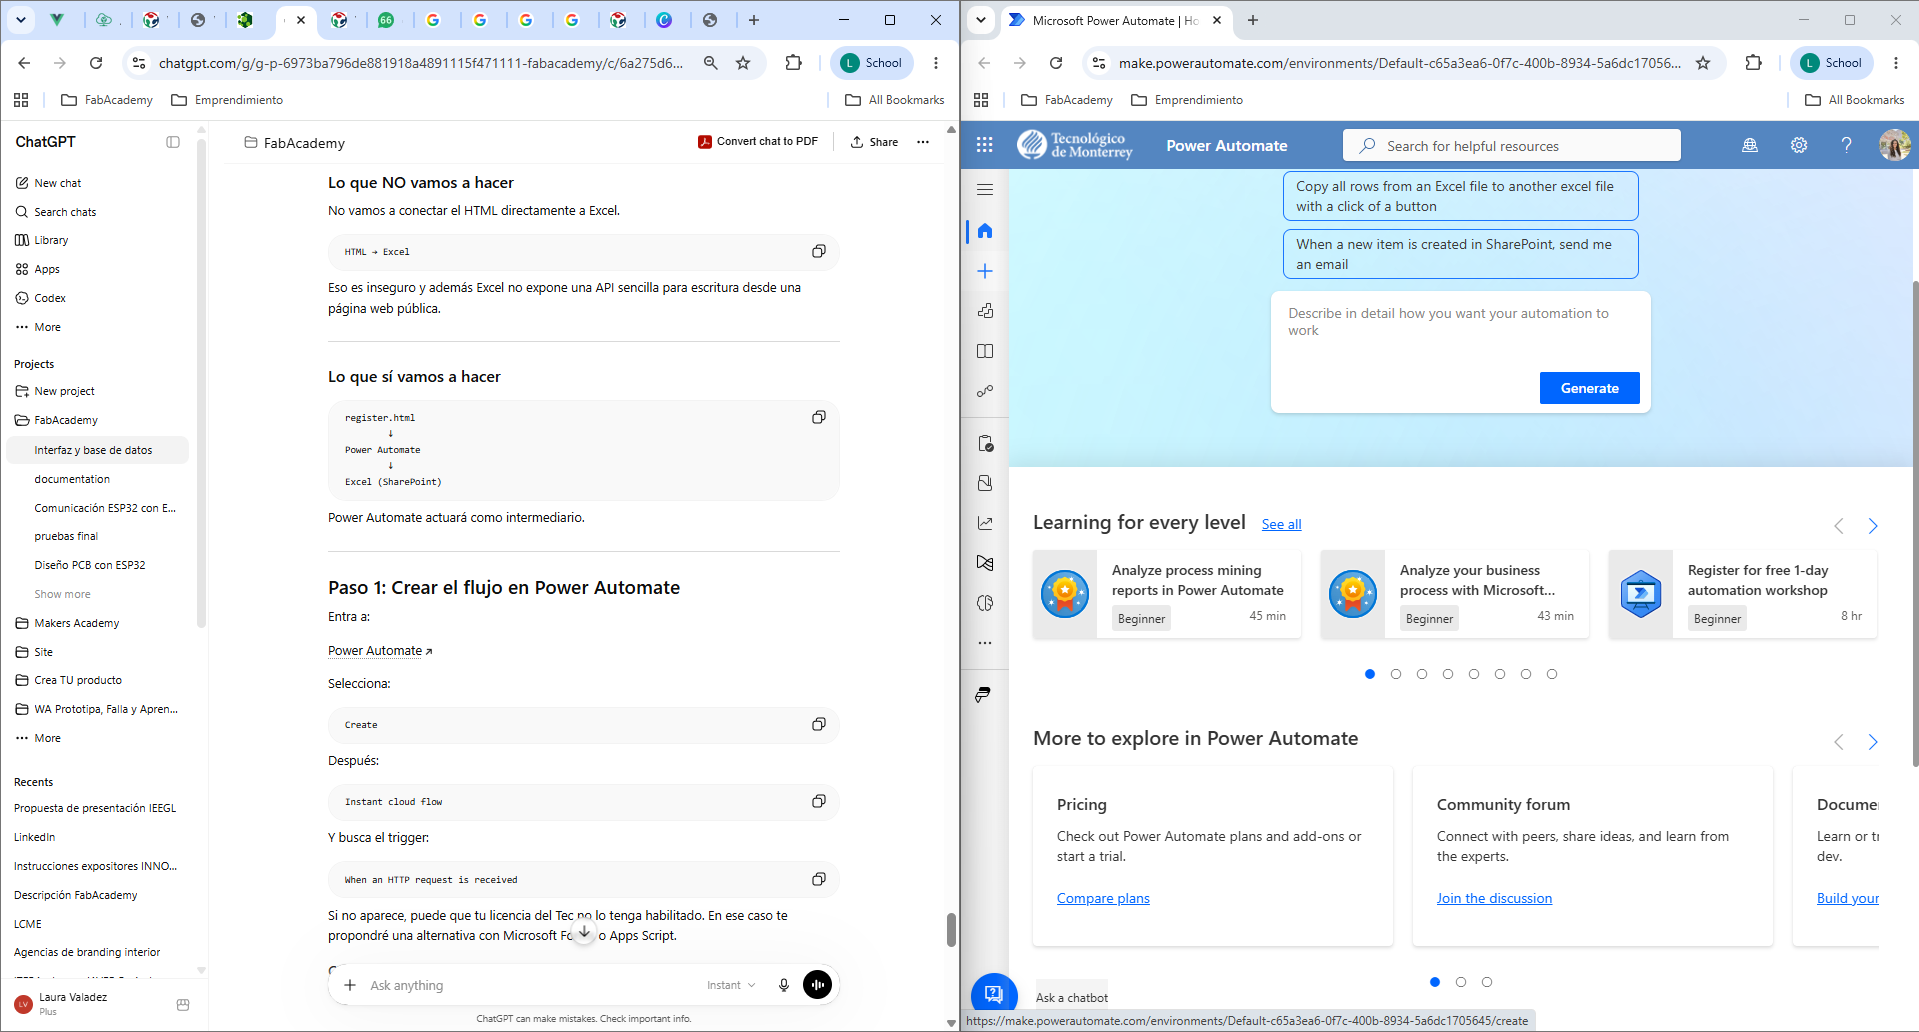
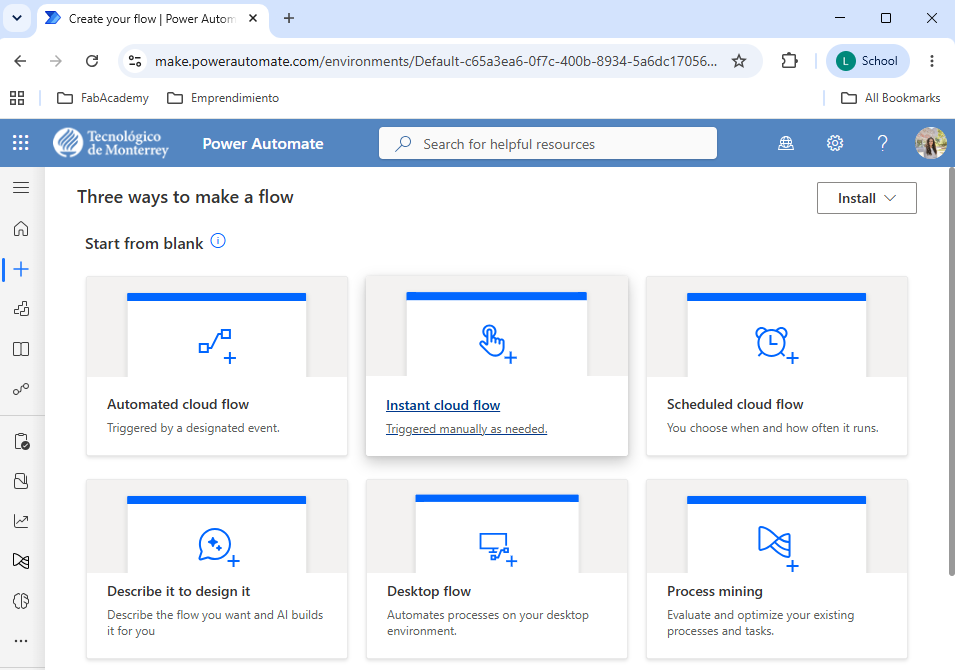

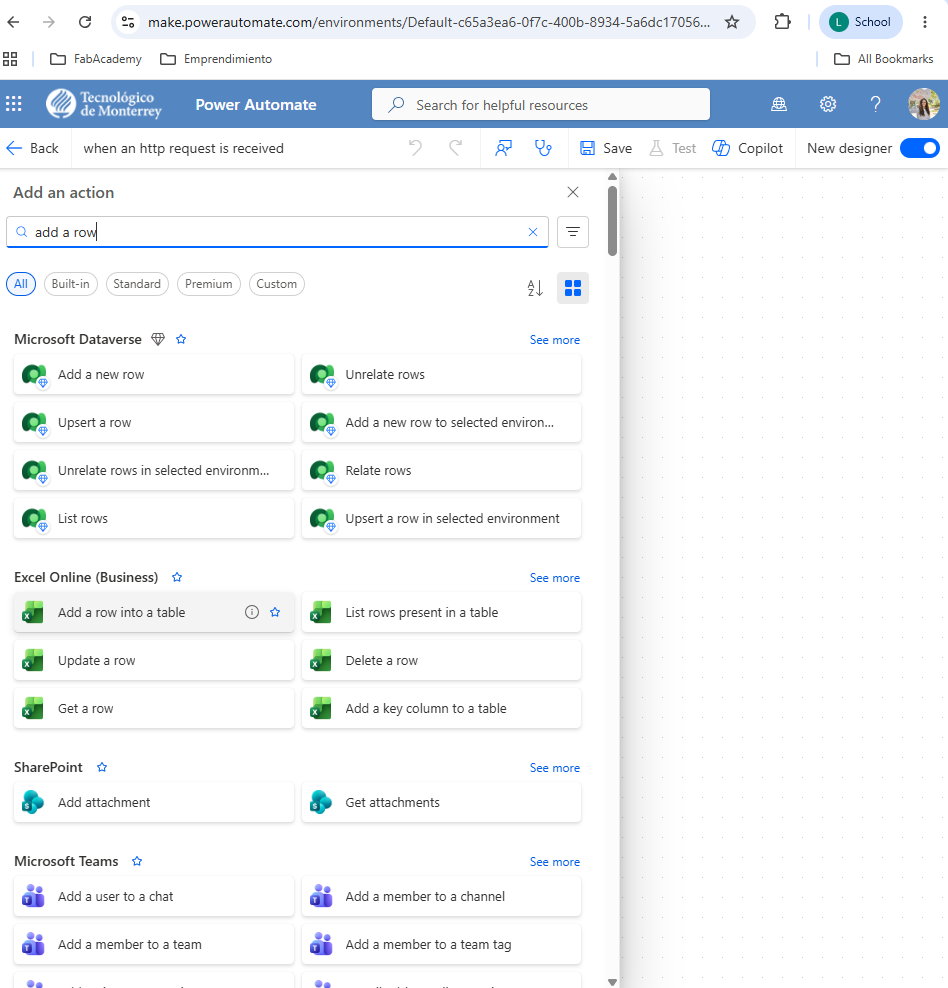
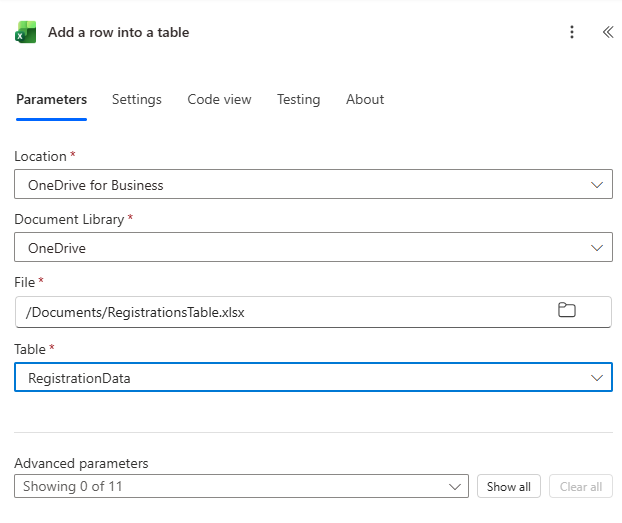
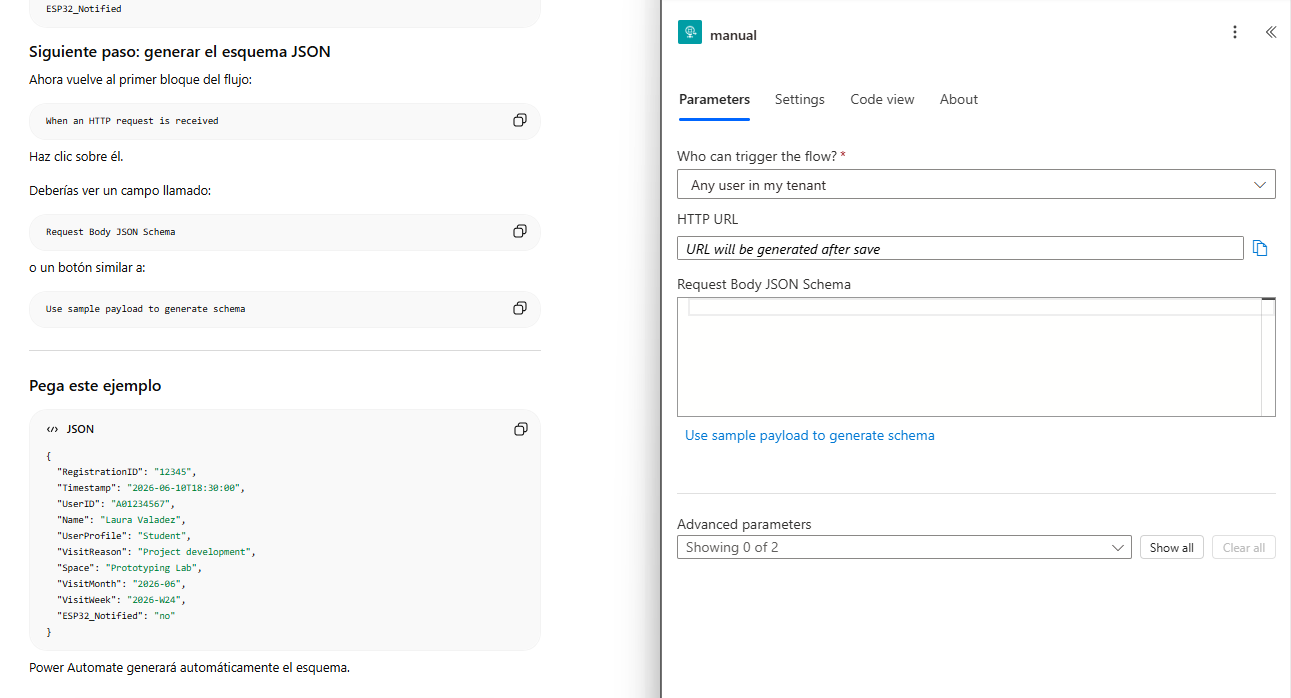
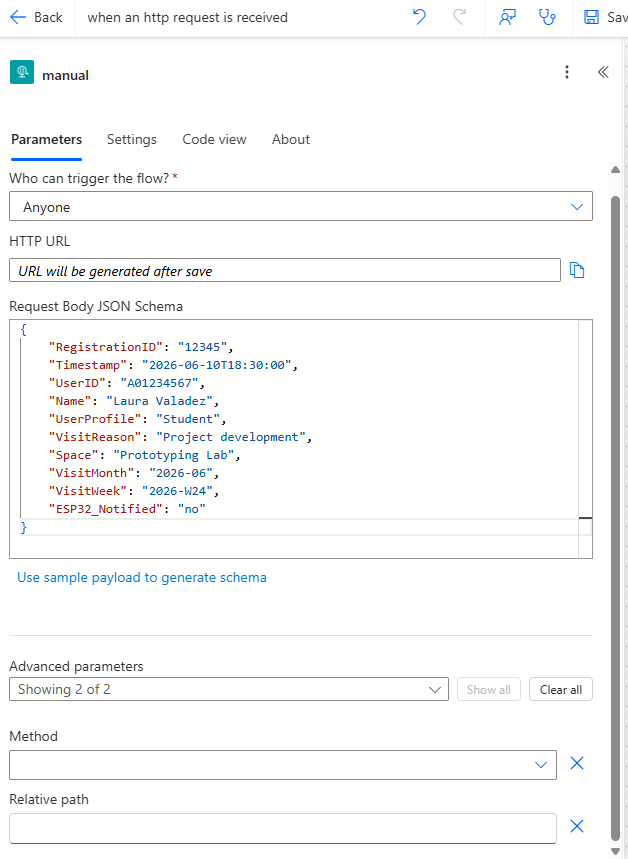
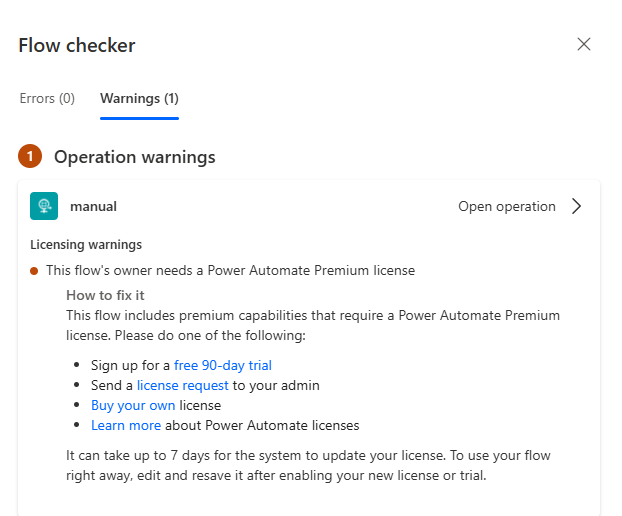
So I decided to create my own local backend using Python and Flask. This ended up being a better option because it allowed me to build and document the full interface and communication system myself.
Registration form
The form was designed to be very simple and mobile friendly, since it is meant to be opened from a phone after scanning the NFC tag. I used a minimal visual style inspired by the Entrepreneurship Institute website, with a clean layout, blue accents and only the necessary input fields.
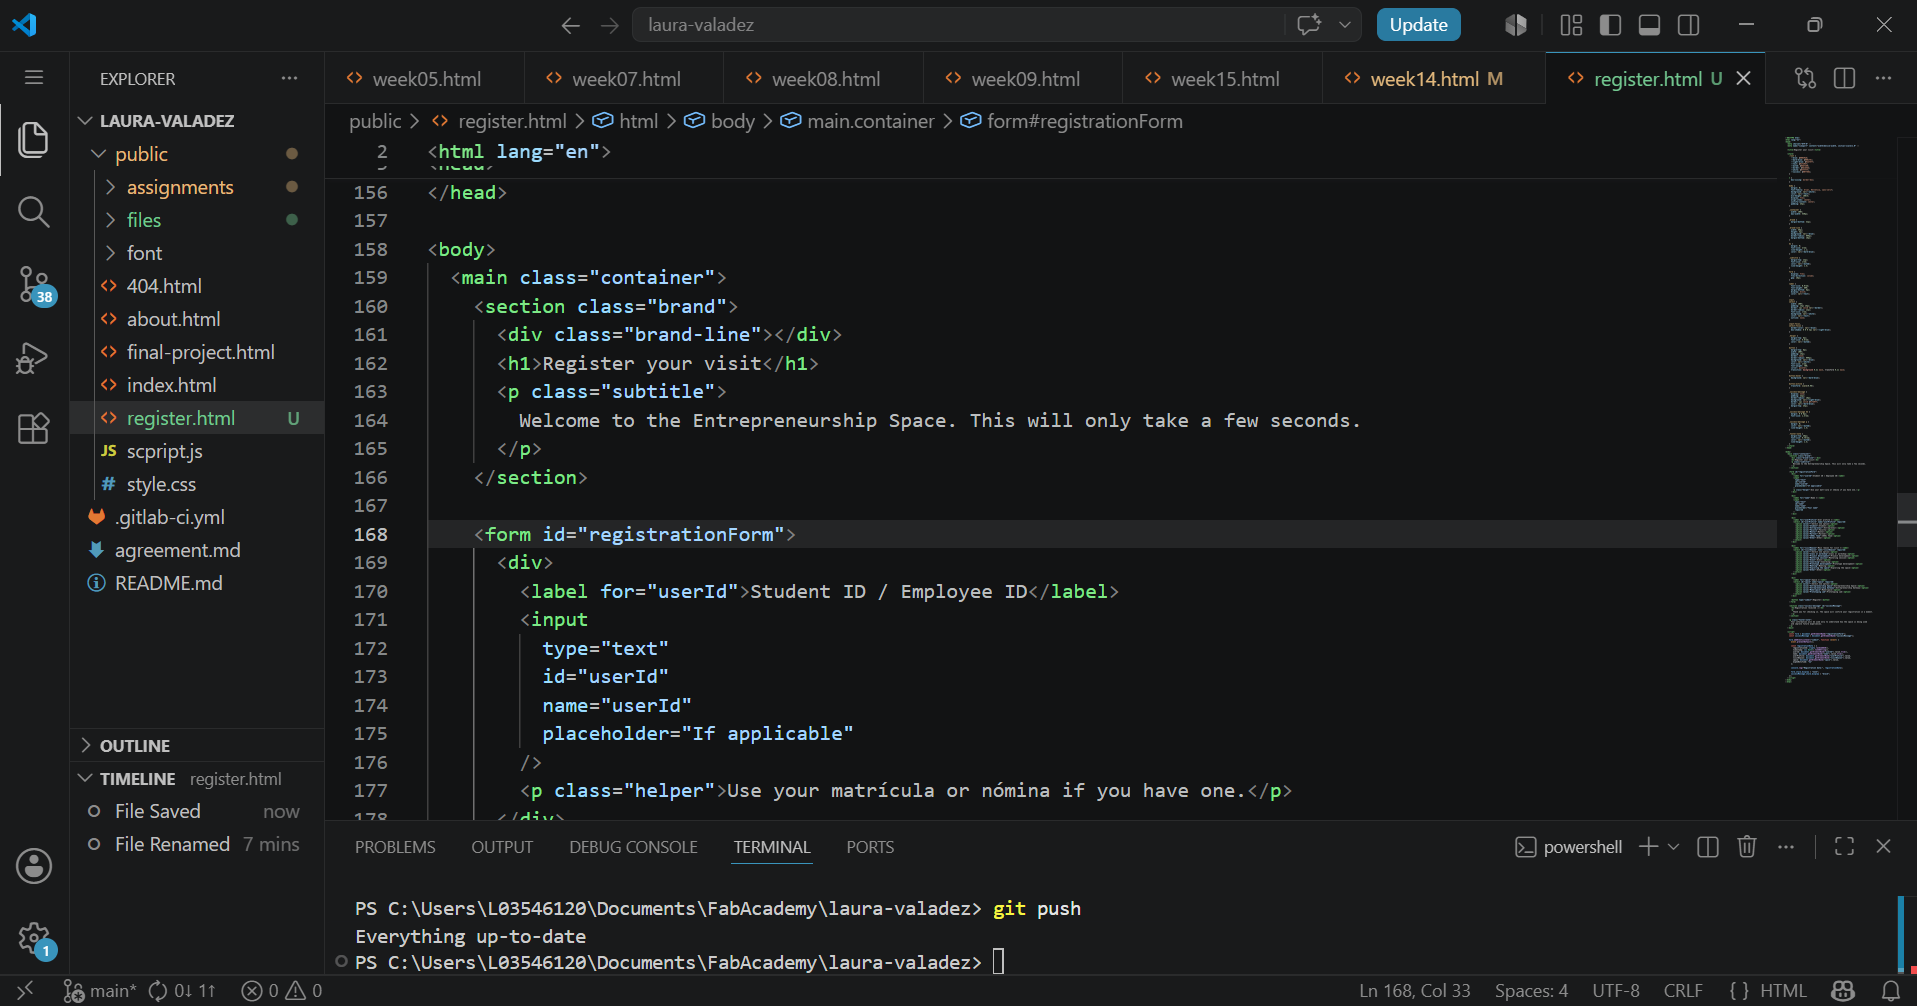
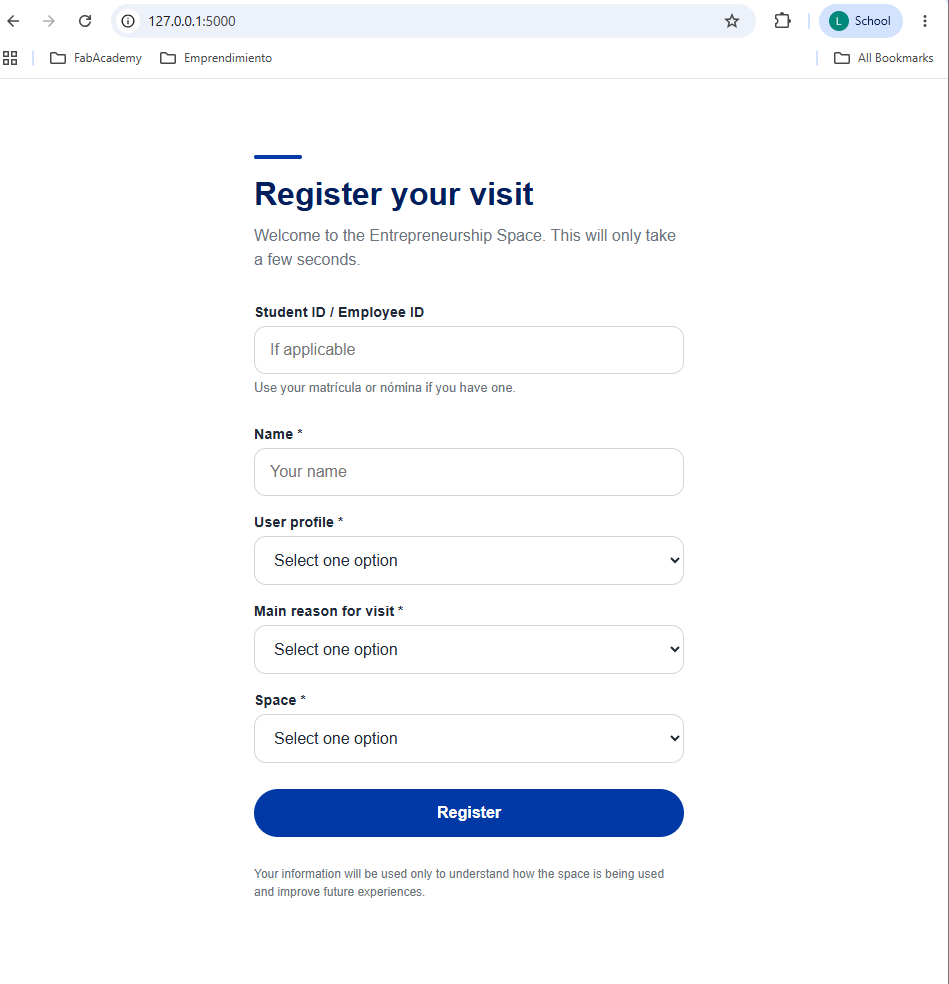
The form asks for:
- Student or employee ID, if available.
- Name.
- User profile: student, entrepreneur, faculty, mentor, partner, IEEGL team or other.
- Main reason for visit.
- Space being visited.
Find the HTML here.
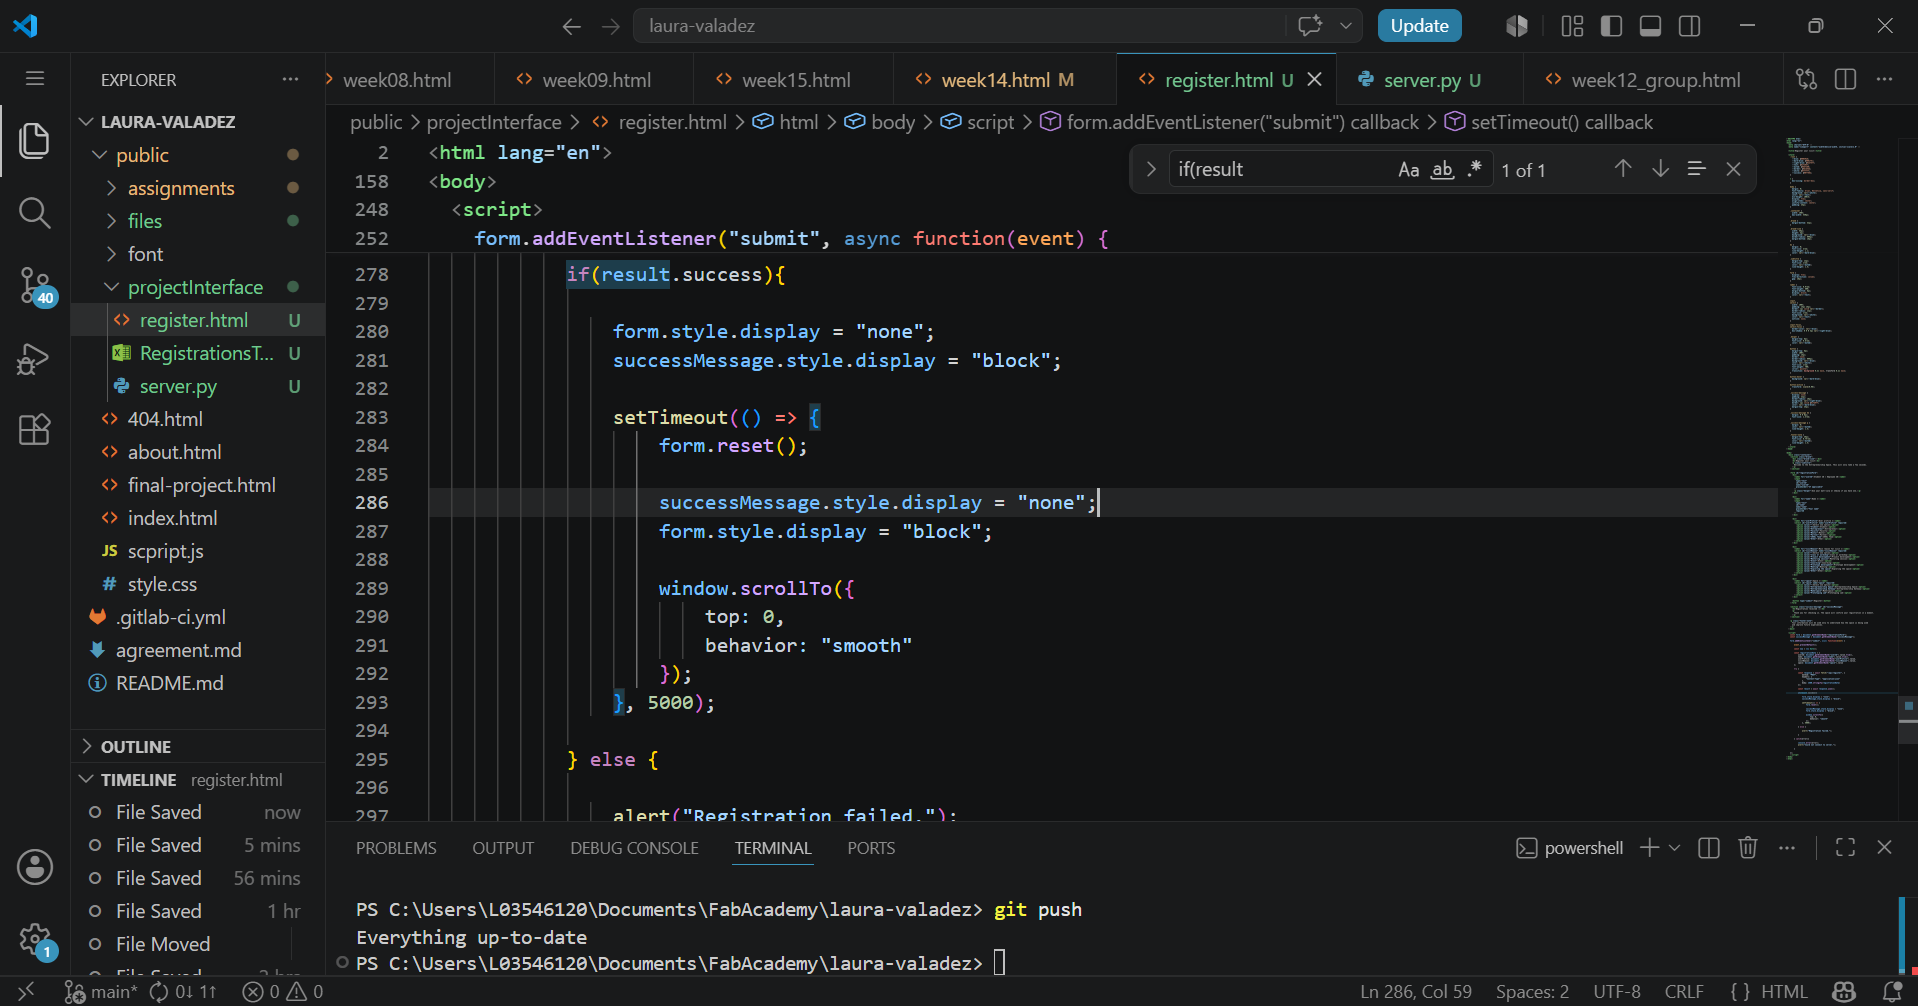
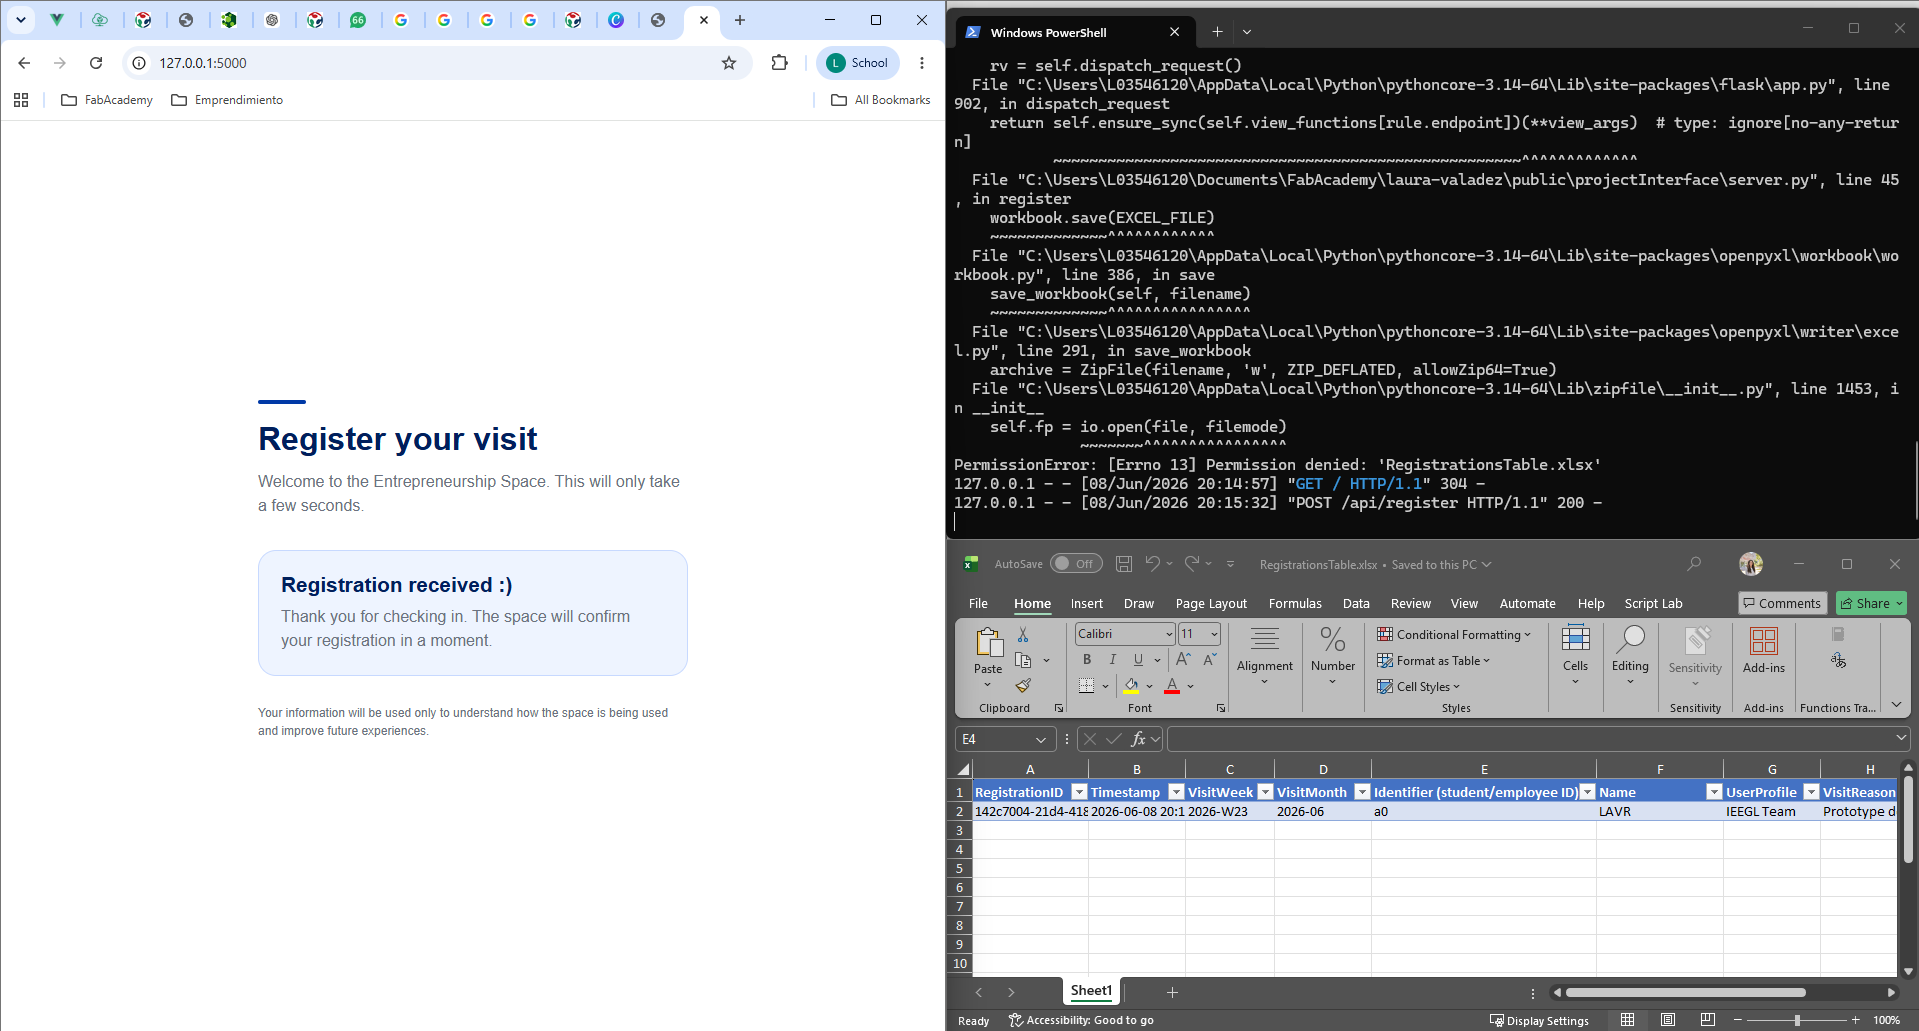
When the user submits the form, the information is sent to the Flask server and stored in the Excel database. After the registration is received, the page shows a confirmation message for five seconds and then automatically resets, so the form is ready for the next visitor.
Database
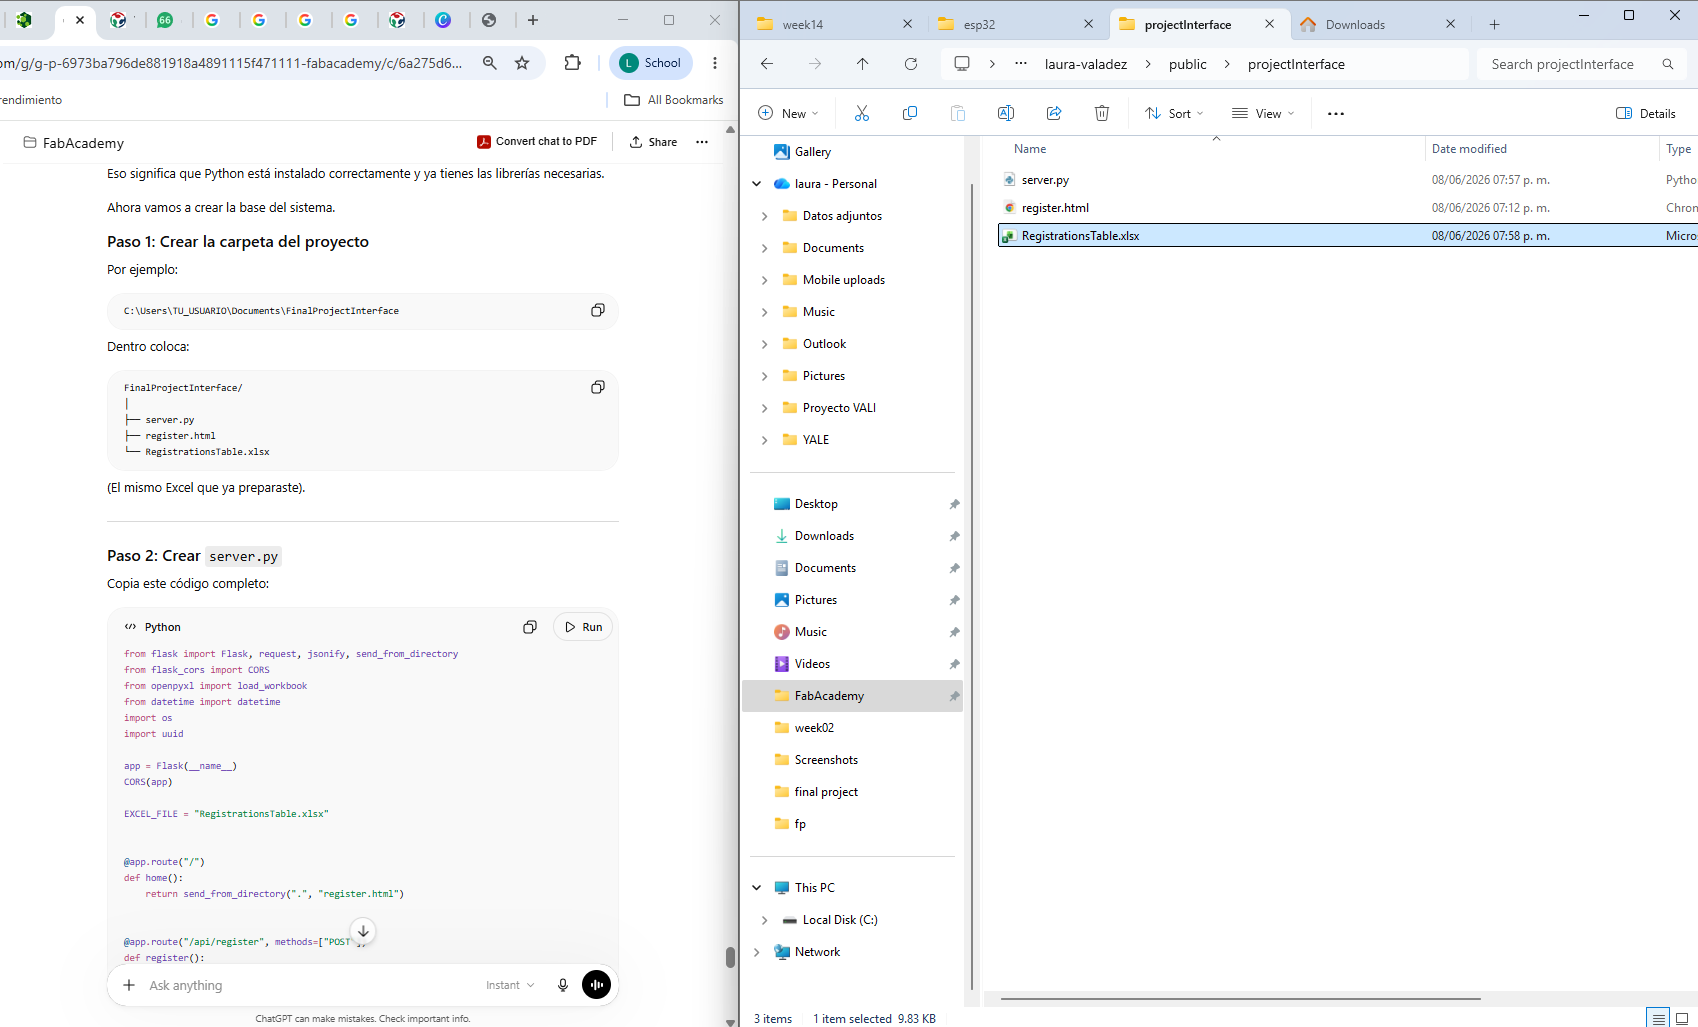
For the database, I used an Excel file called RegistrationsTable.xlsx. The file stores each registration as a new row and includes fields that make it easier to generate statistics for the dashboard.
The database columns are:
- RegistrationID
- Timestamp
- VisitWeek
- VisitMonth
- Identifier
- Name
- UserProfile
- VisitReason
- Space
- ESP32_Notified

The ESP32_Notified column is used to know if the physical box has already reacted to a registration. When a new row is created, this value starts as no. Once the ESP32 reads that registration, the server changes it to yes, avoiding repeated notifications for the same visitor.
Dashboard
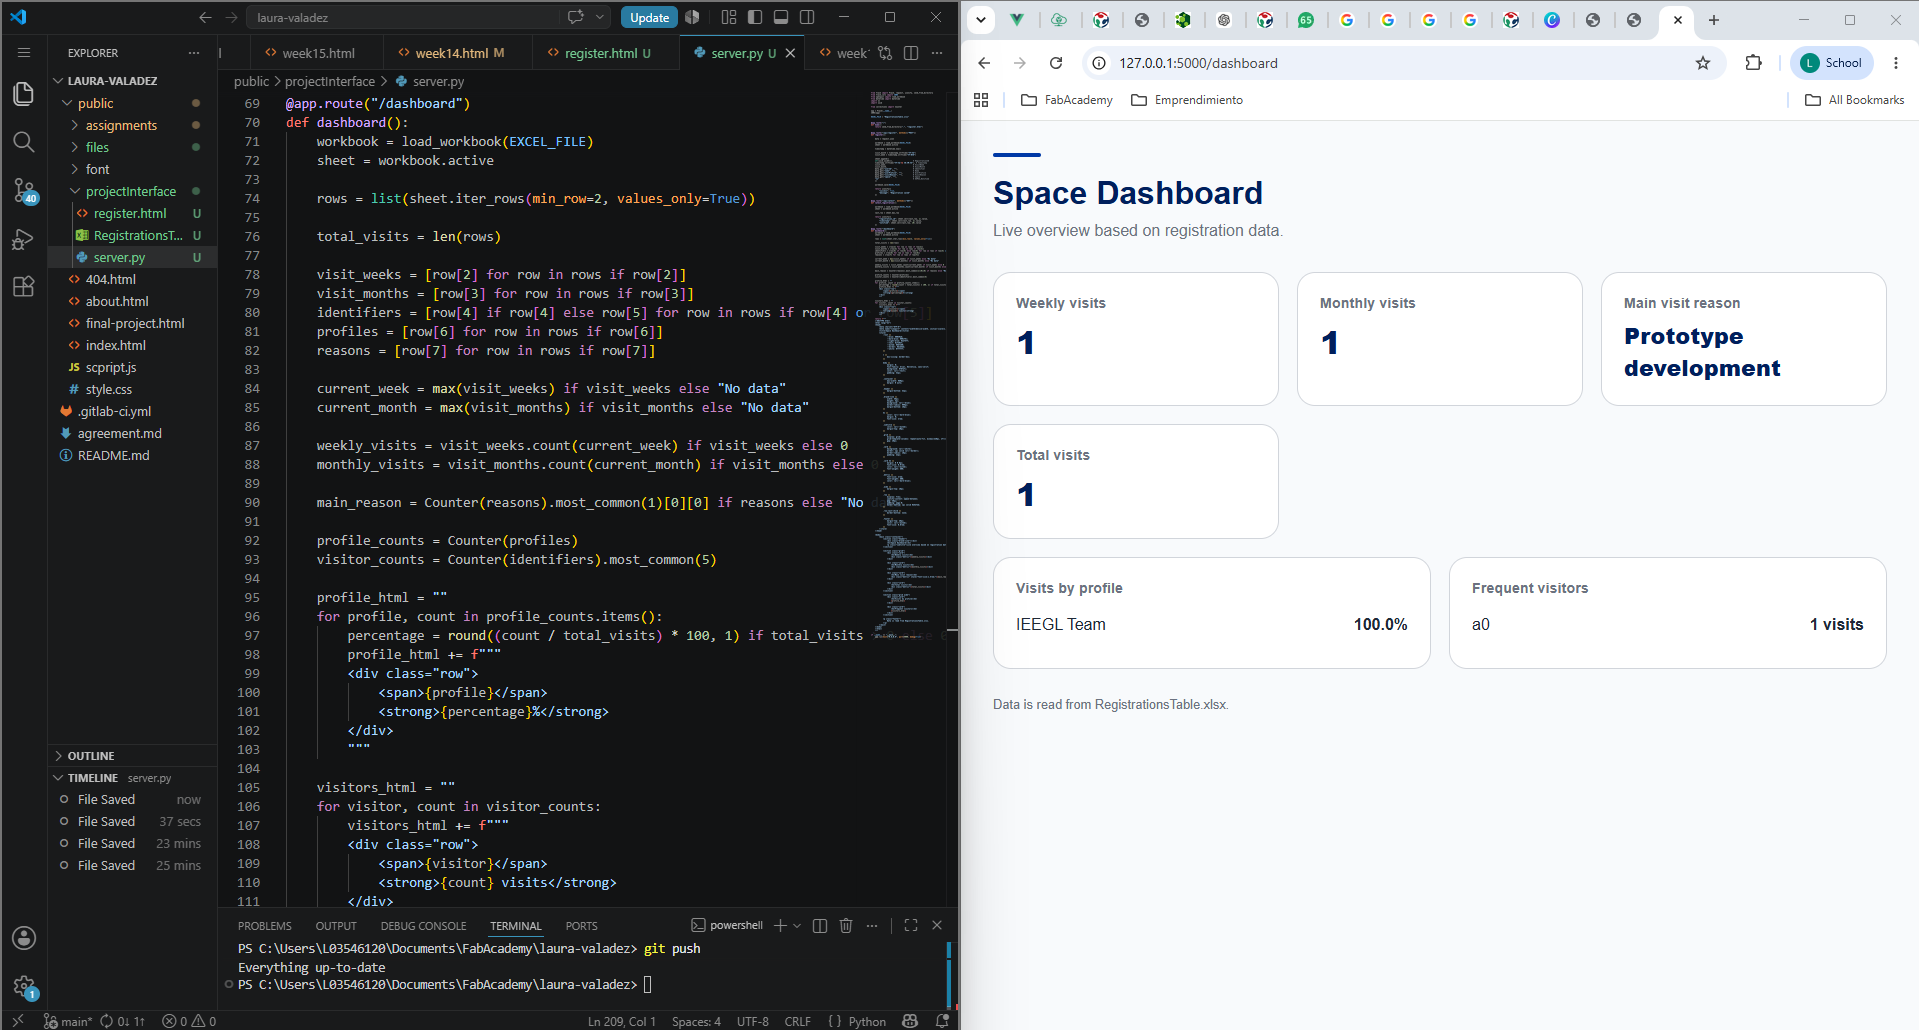
I also created a dashboard connected trhough Flask to visualize the information collected from the registrations. The dashboard reads the Excel file and updates automatically every few seconds.
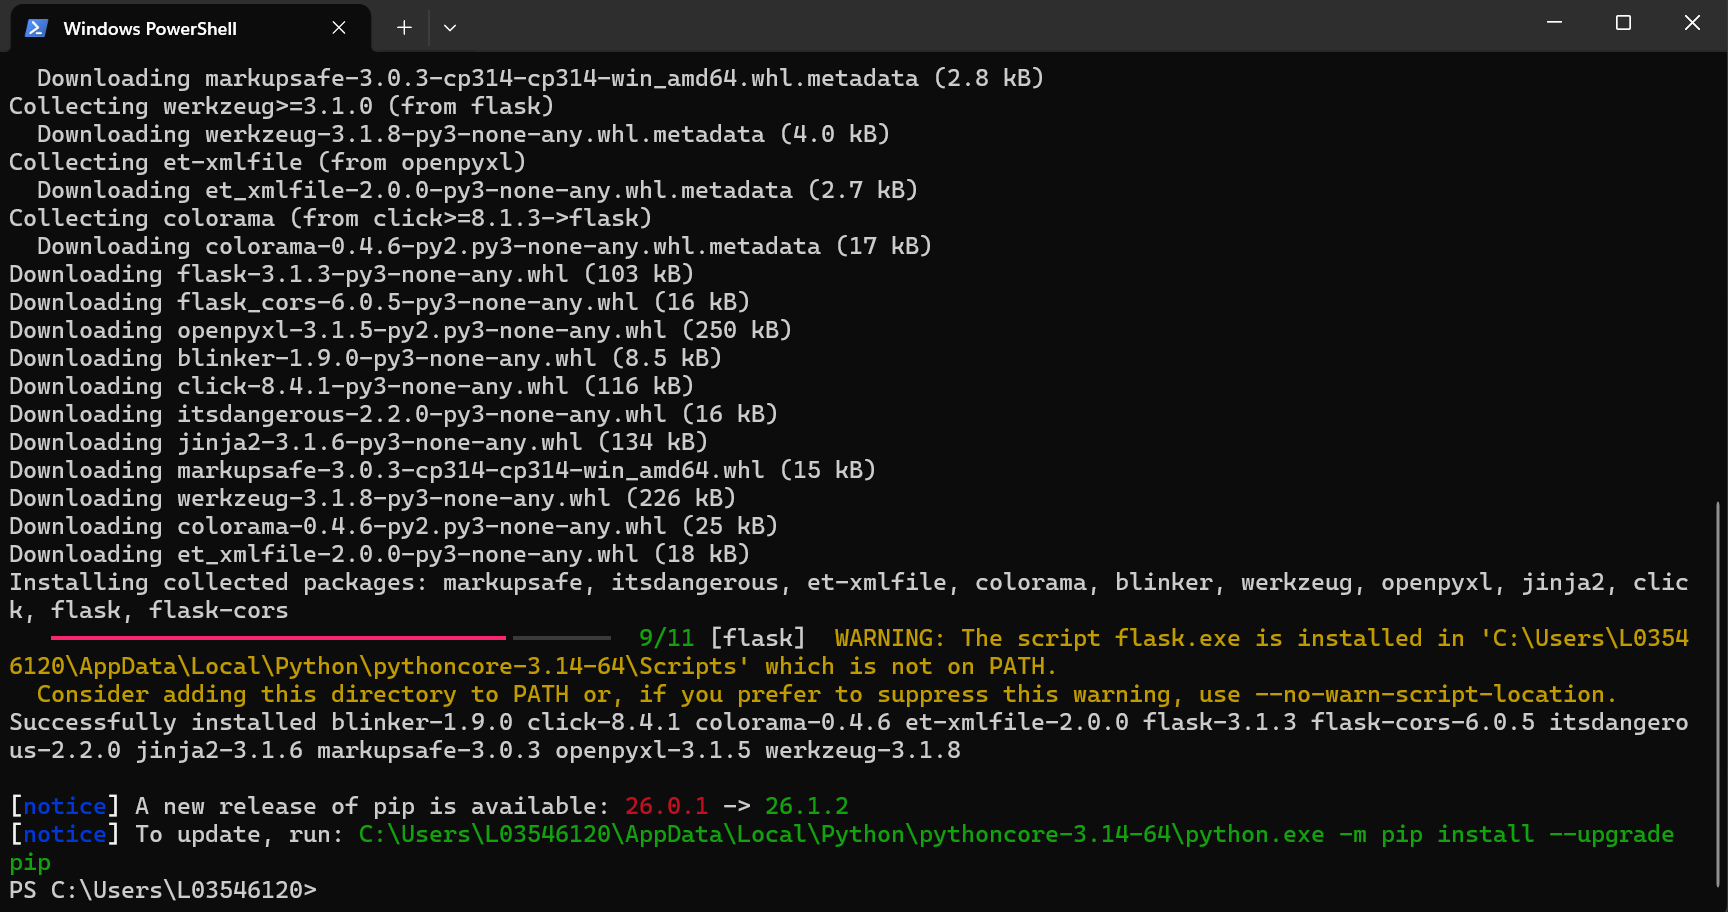
I had to download Flask to make this possible:
The dashboard shows:
- Weekly visits.
- Monthly visits.
- Main reason for visit.
- Total visits.
- Visits by week.
- Visits by profile.
- Visit reasons.
- Top 3 frequent visitors of the month.
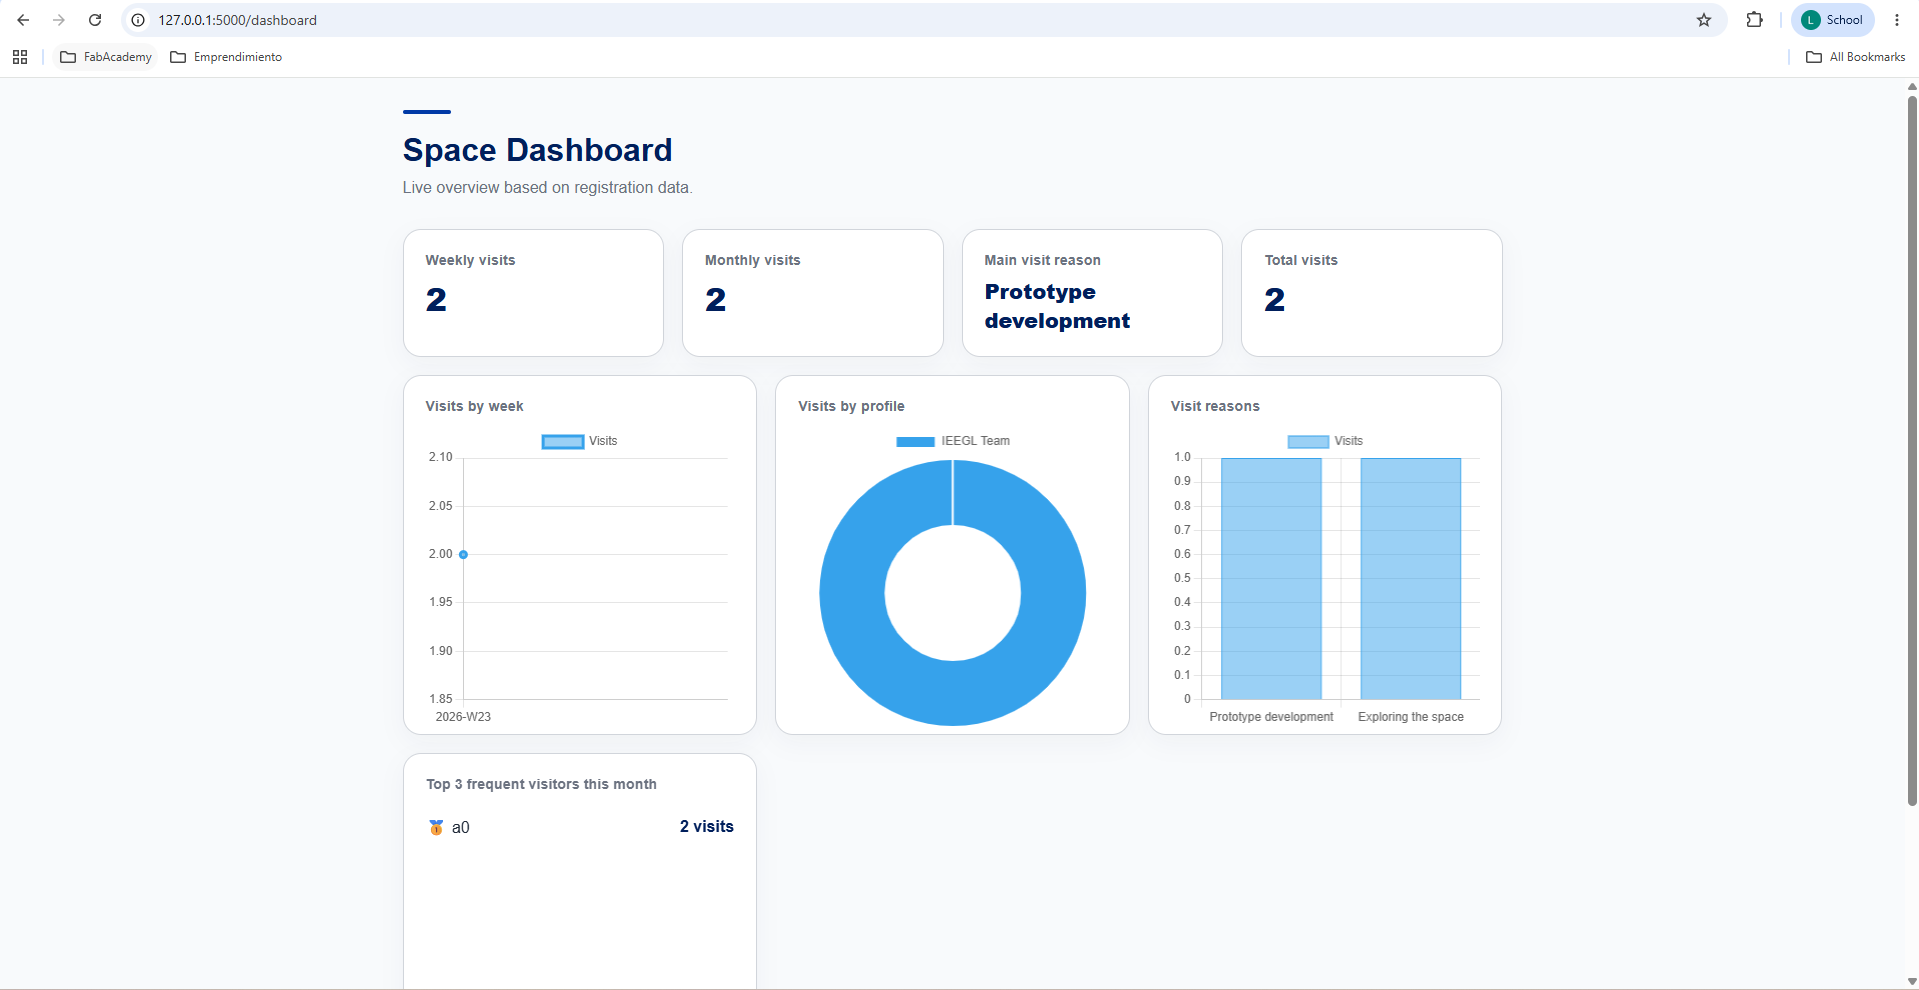
For the visualizations, I used Chart.js to create simple charts that make the data easier to understand. I decided to keep the frequent visitors section as a list instead of a chart, because it works better as a small ranking.
ESP32 communication
To connect the web interface with the physical box, I added an API route in the Flask server. The ESP32 connects to the same WiFi network as the computer running the server and checks the following endpoint every few seconds:
/api/latest
If there is no new registration, the server responds that there is nothing new. If a new registration exists, the server sends the registration data to the ESP32. Then the ESP32 activates the confirmation sequence.
When a new registration is detected, the box responds with:
- A green RGB LED.
- A short friendly sound from the buzzer.
- A movement from the servo motor.
- A message on the LCD screen saying that the registration was received.
The LCD displays:
Registration received! Thank you :)
Find the code here.
NFC tag
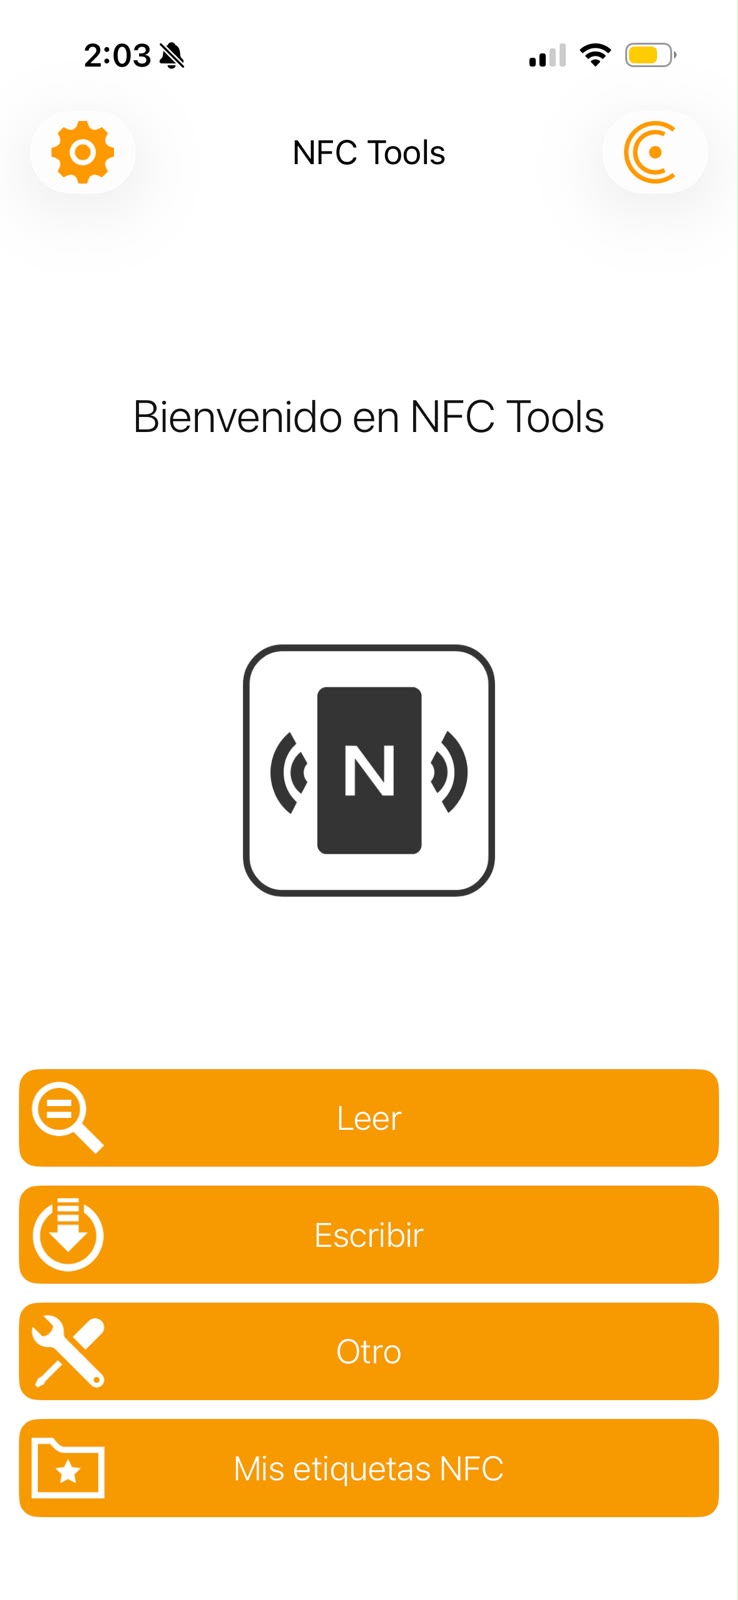
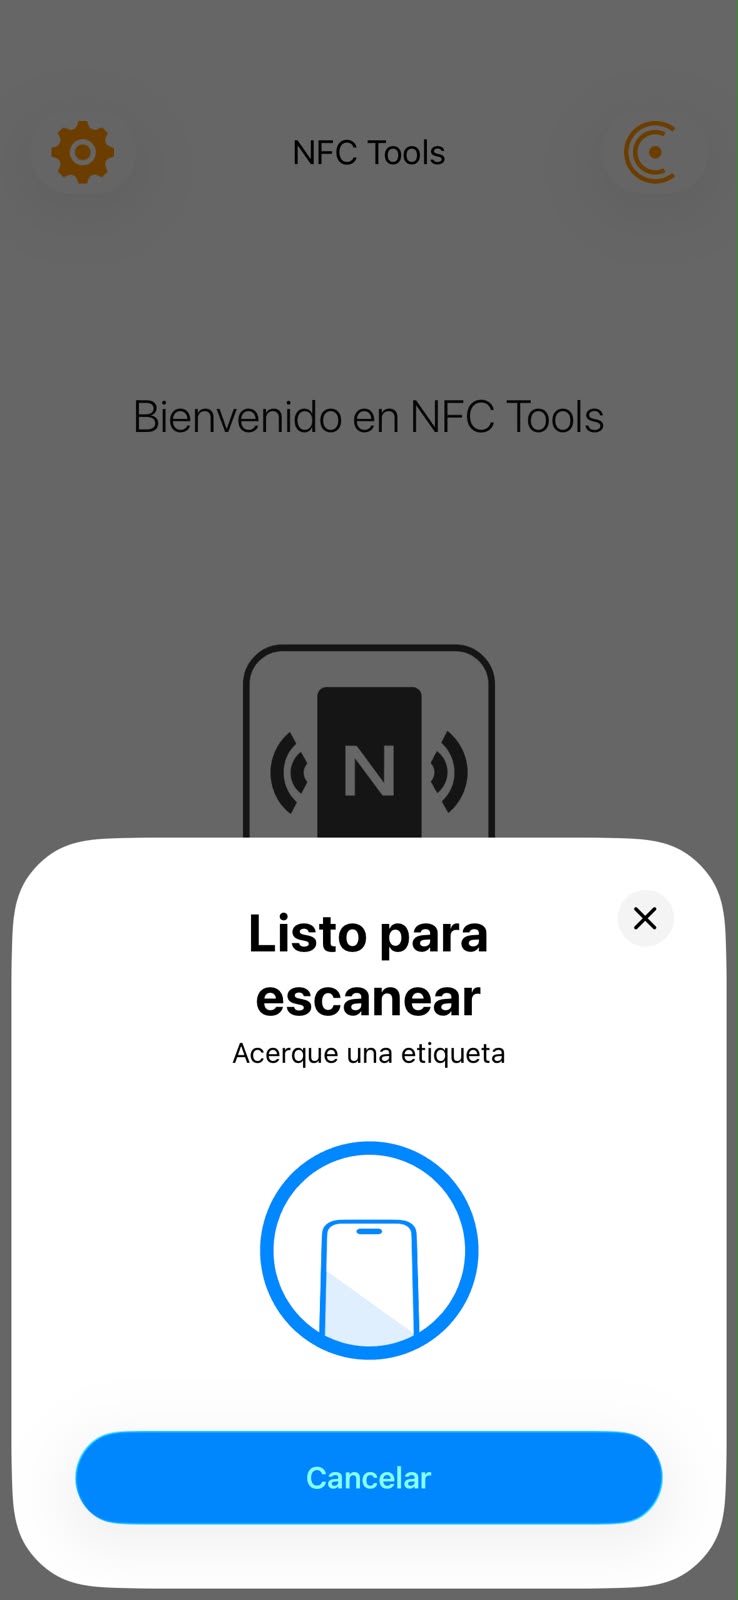
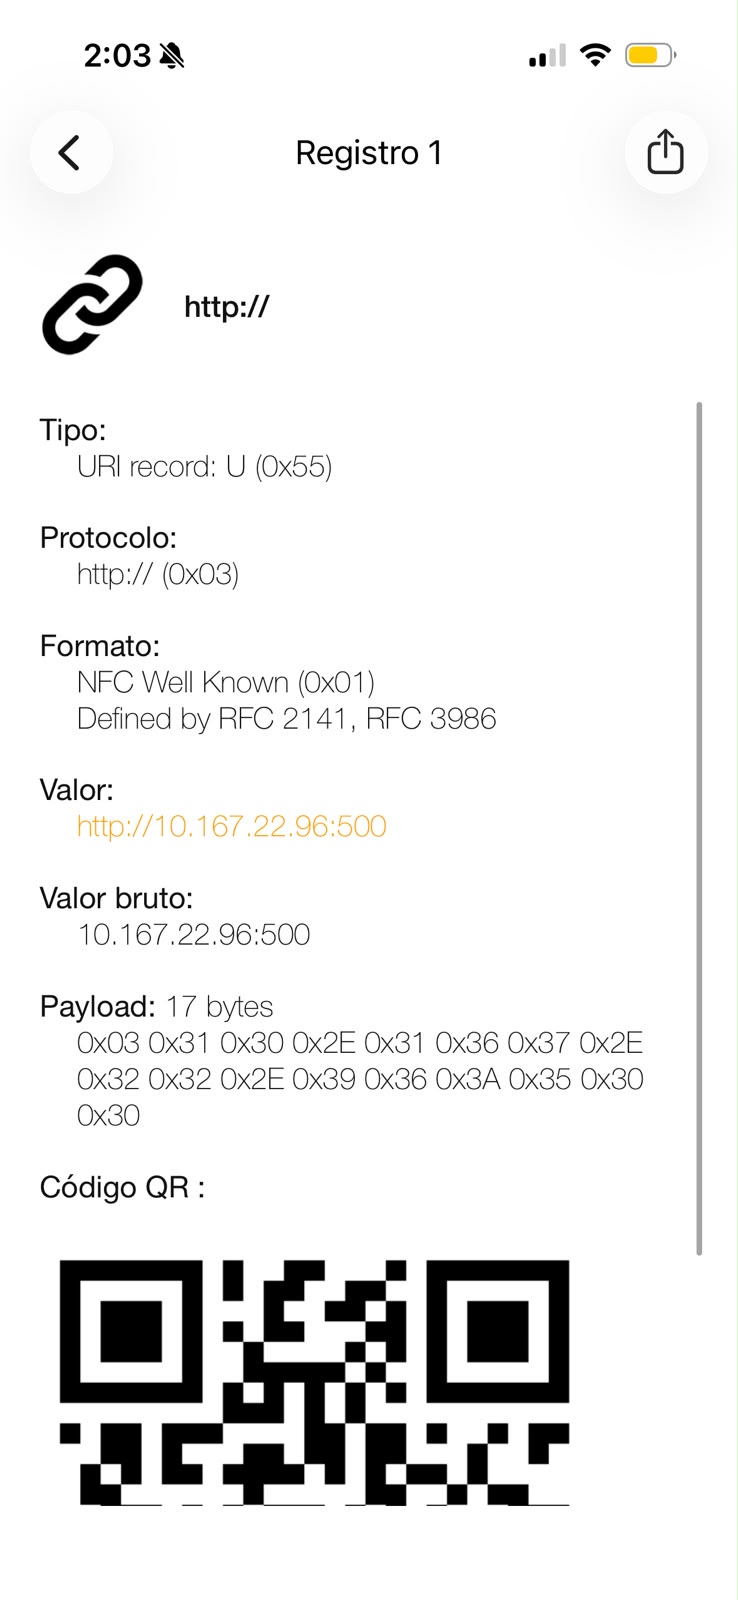
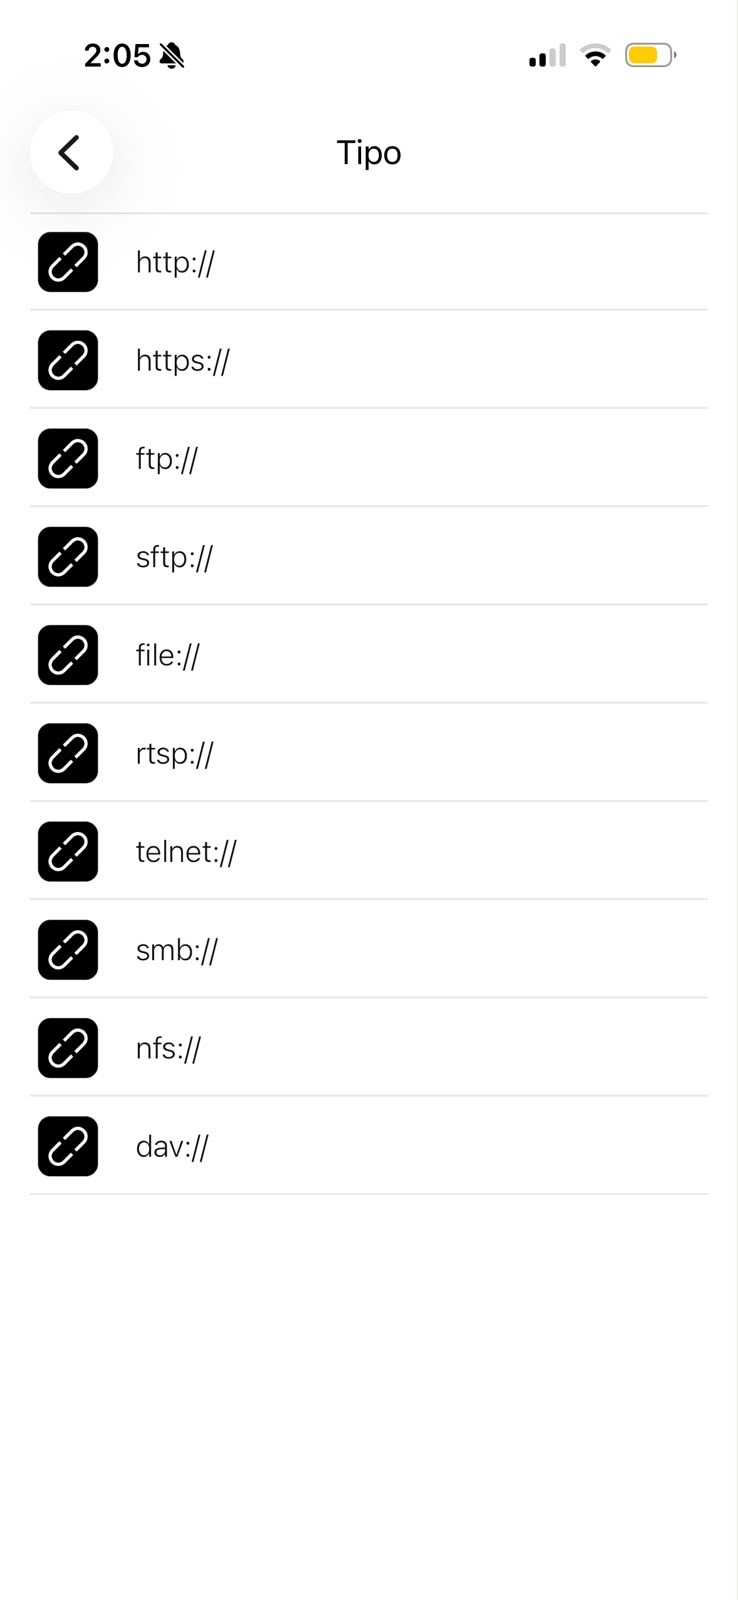
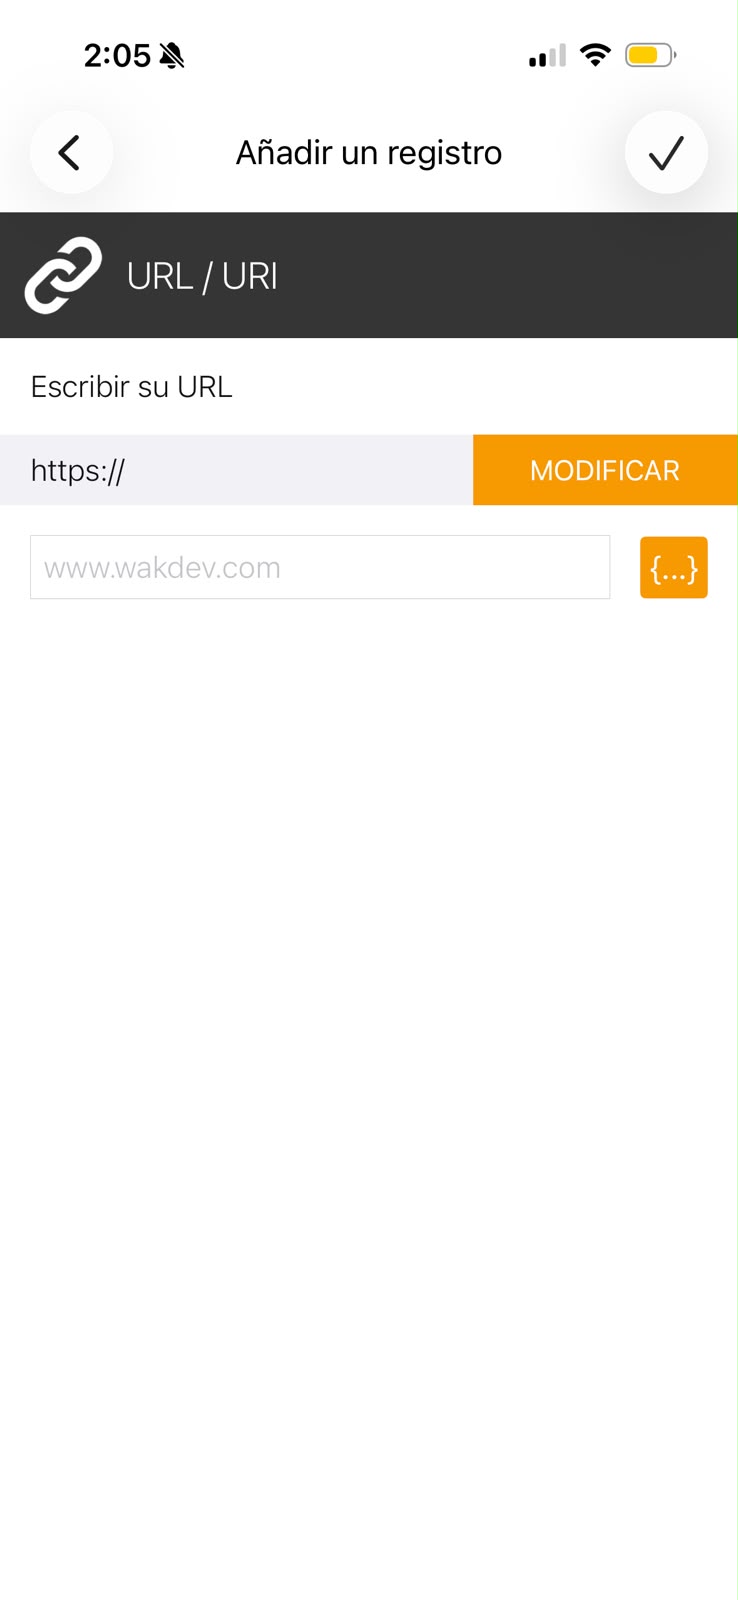
The NFC tag was used as the entry point to the interface. Instead of requiring users to type a URL, the tag opens the registration form directly on their phone. For this prototype, the tag points to the local Flask server running on my computer.
During testing, I noticed that local HTTP addresses can behave differently depending on the phone and browser. The form works when the URL is typed manually, but the NFC tag may require extra testing depending on how the tag is written and how the phone handles local HTTP links. For the final prototype demonstration, I used the local IP address of the computer running Flask and made sure that the phone, computer and ESP32 were connected to the same network.
Final Integration
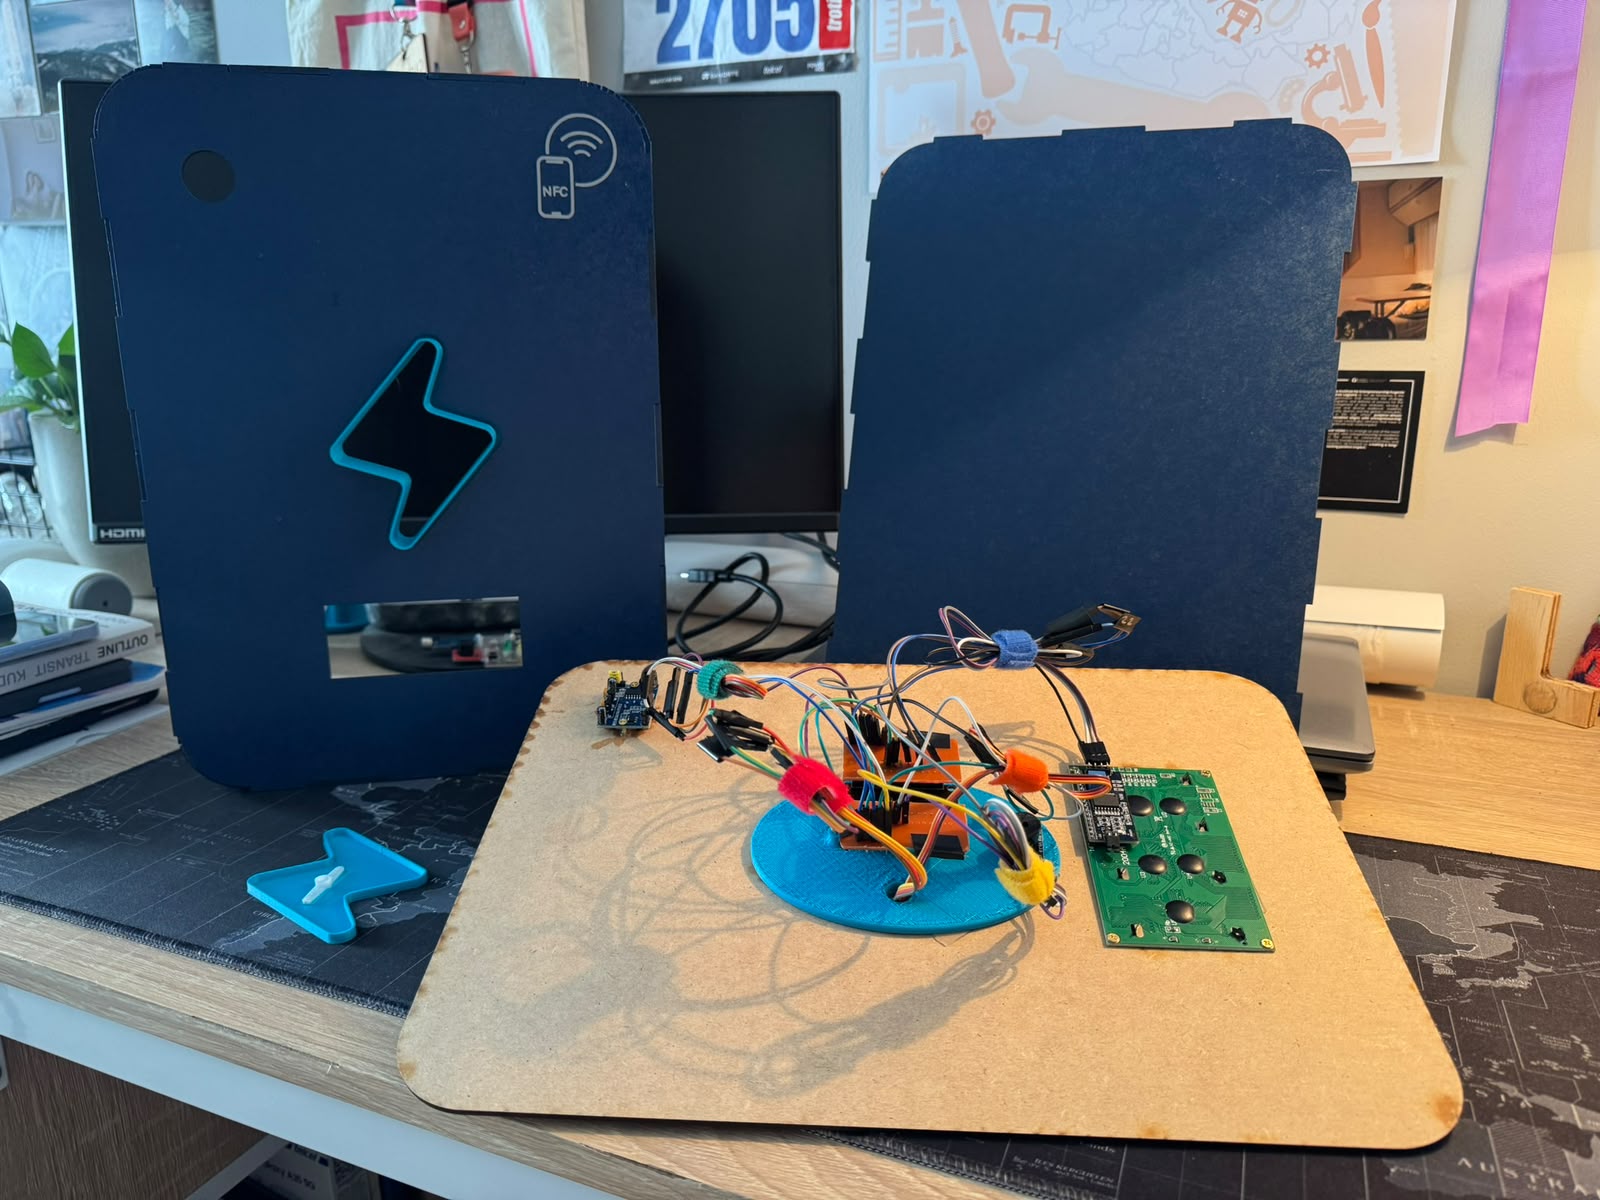
To put things together, I made sure all components had a place:
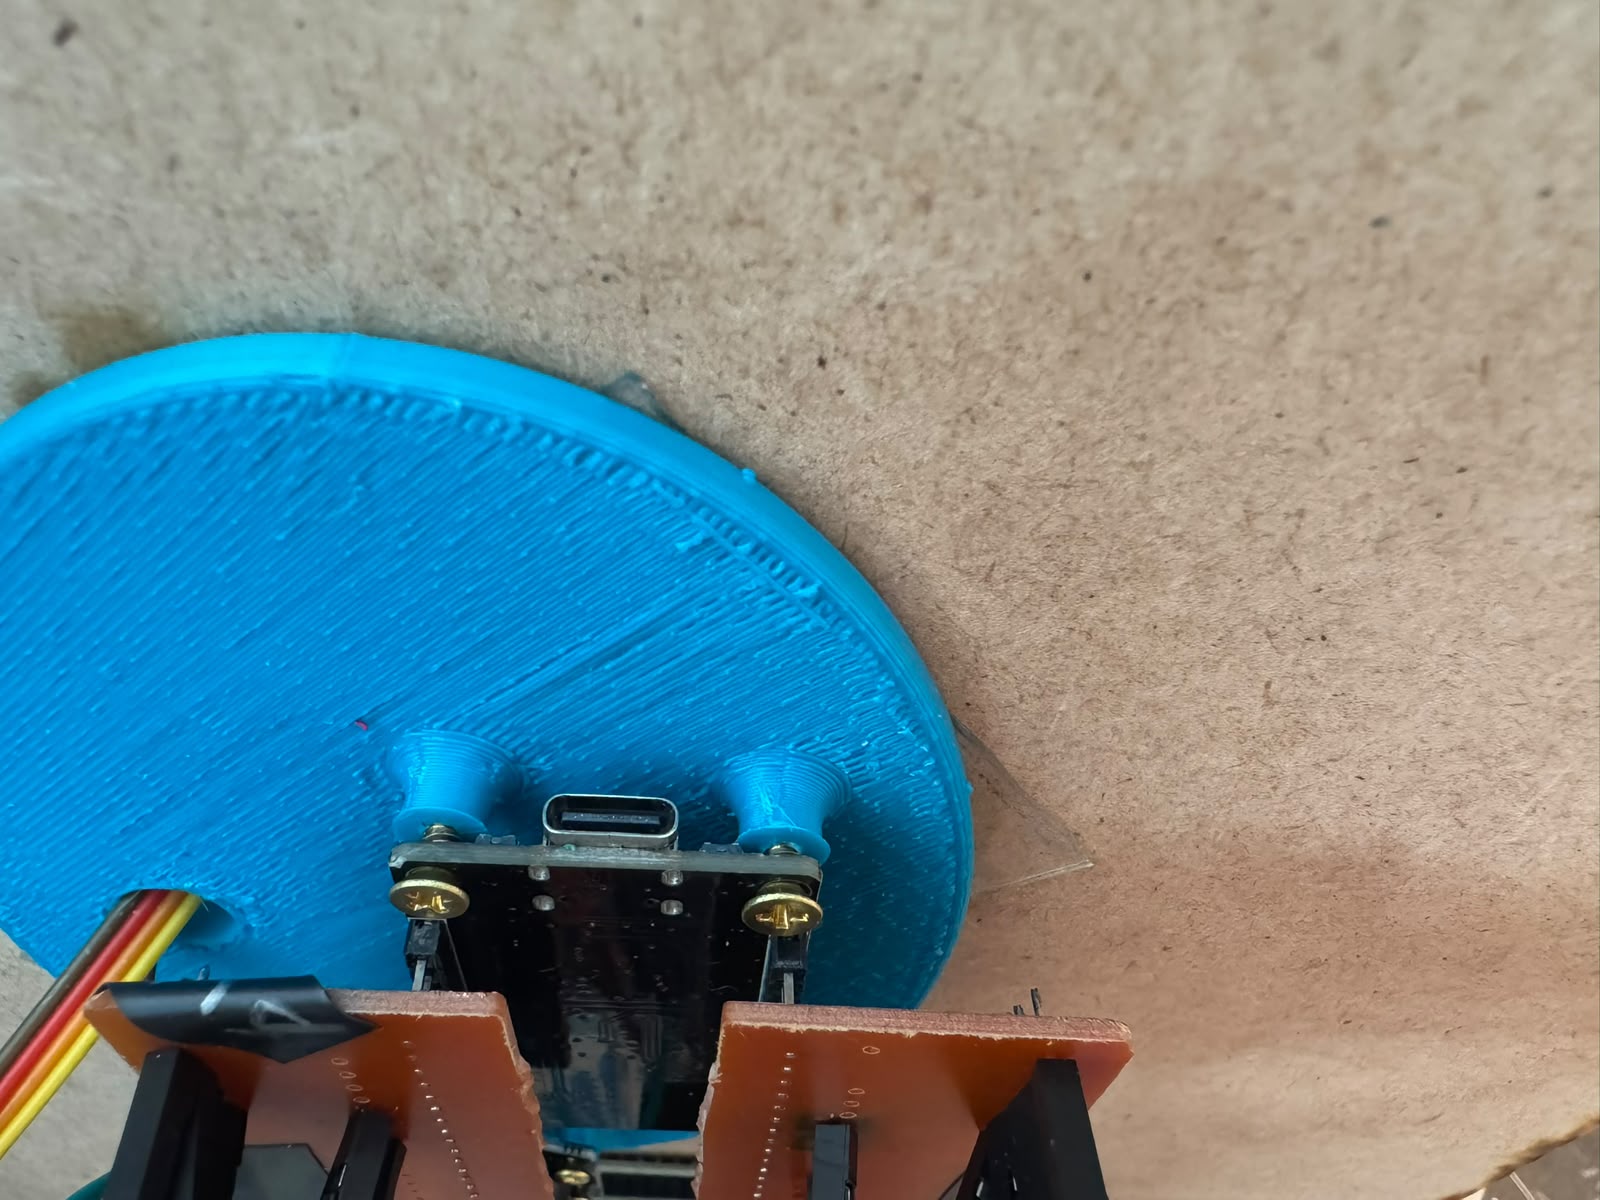
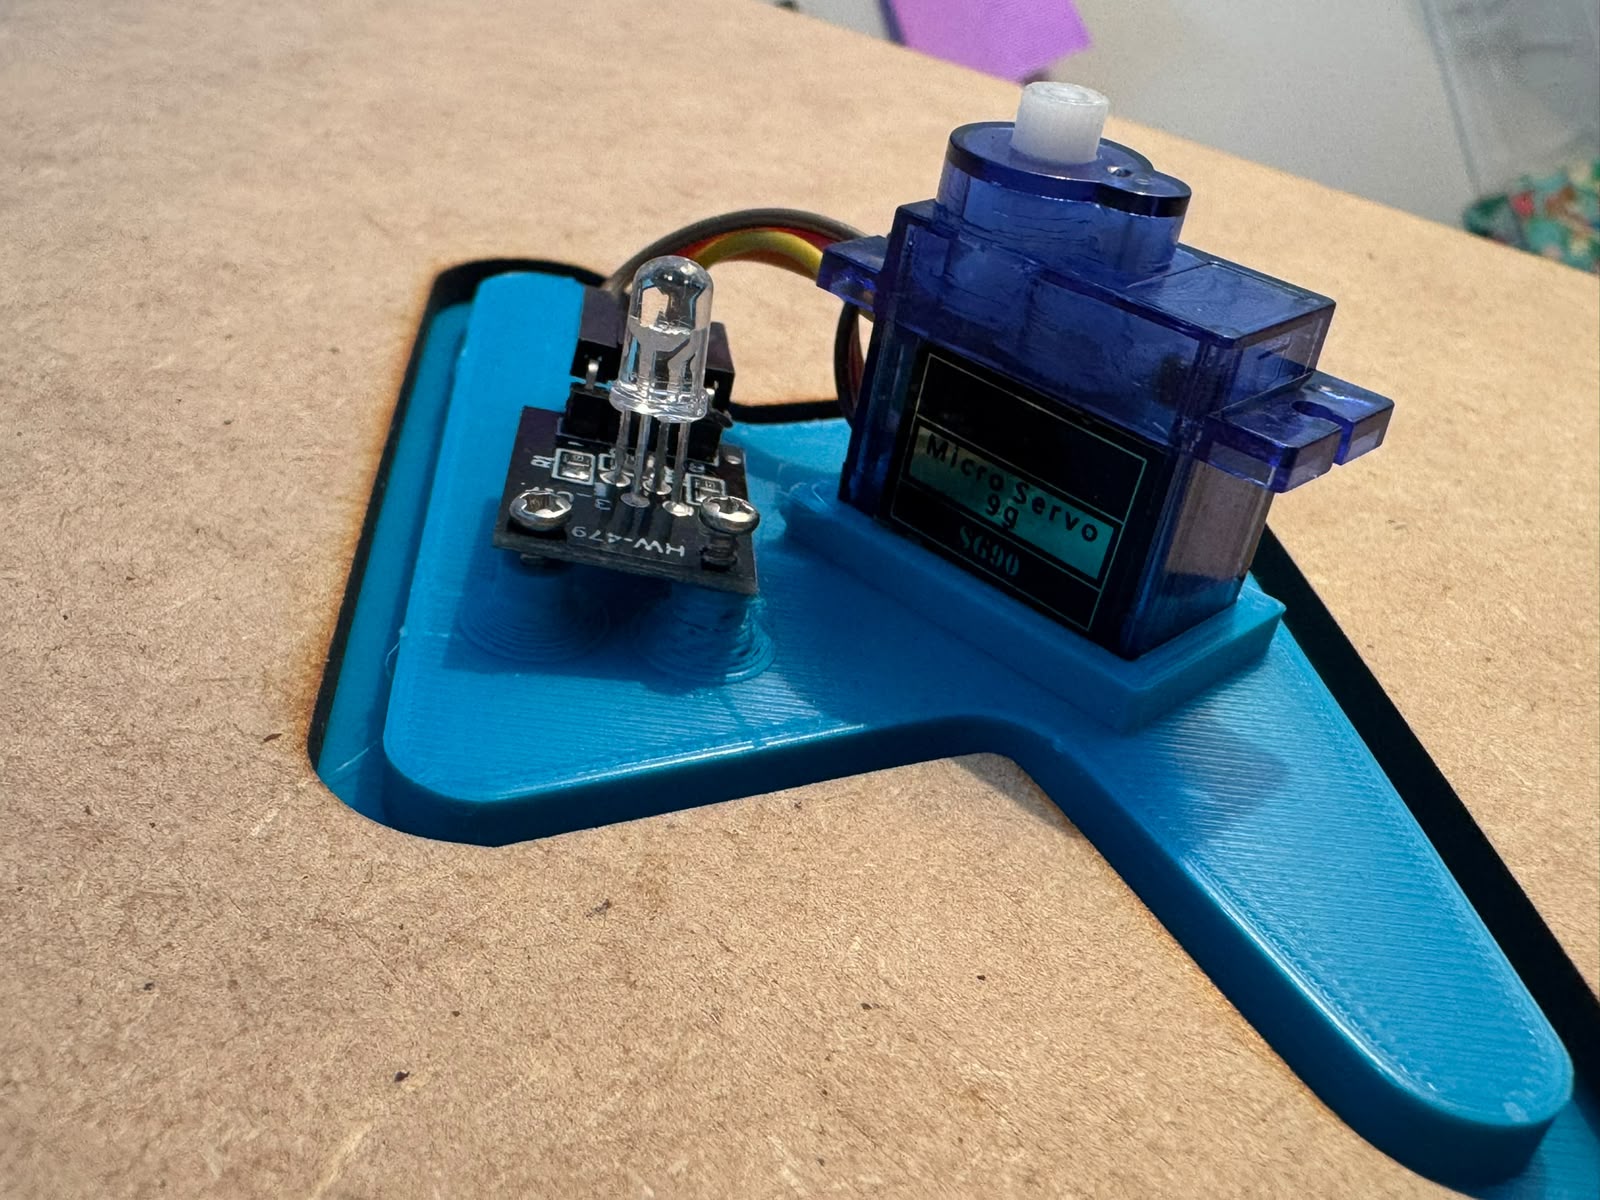
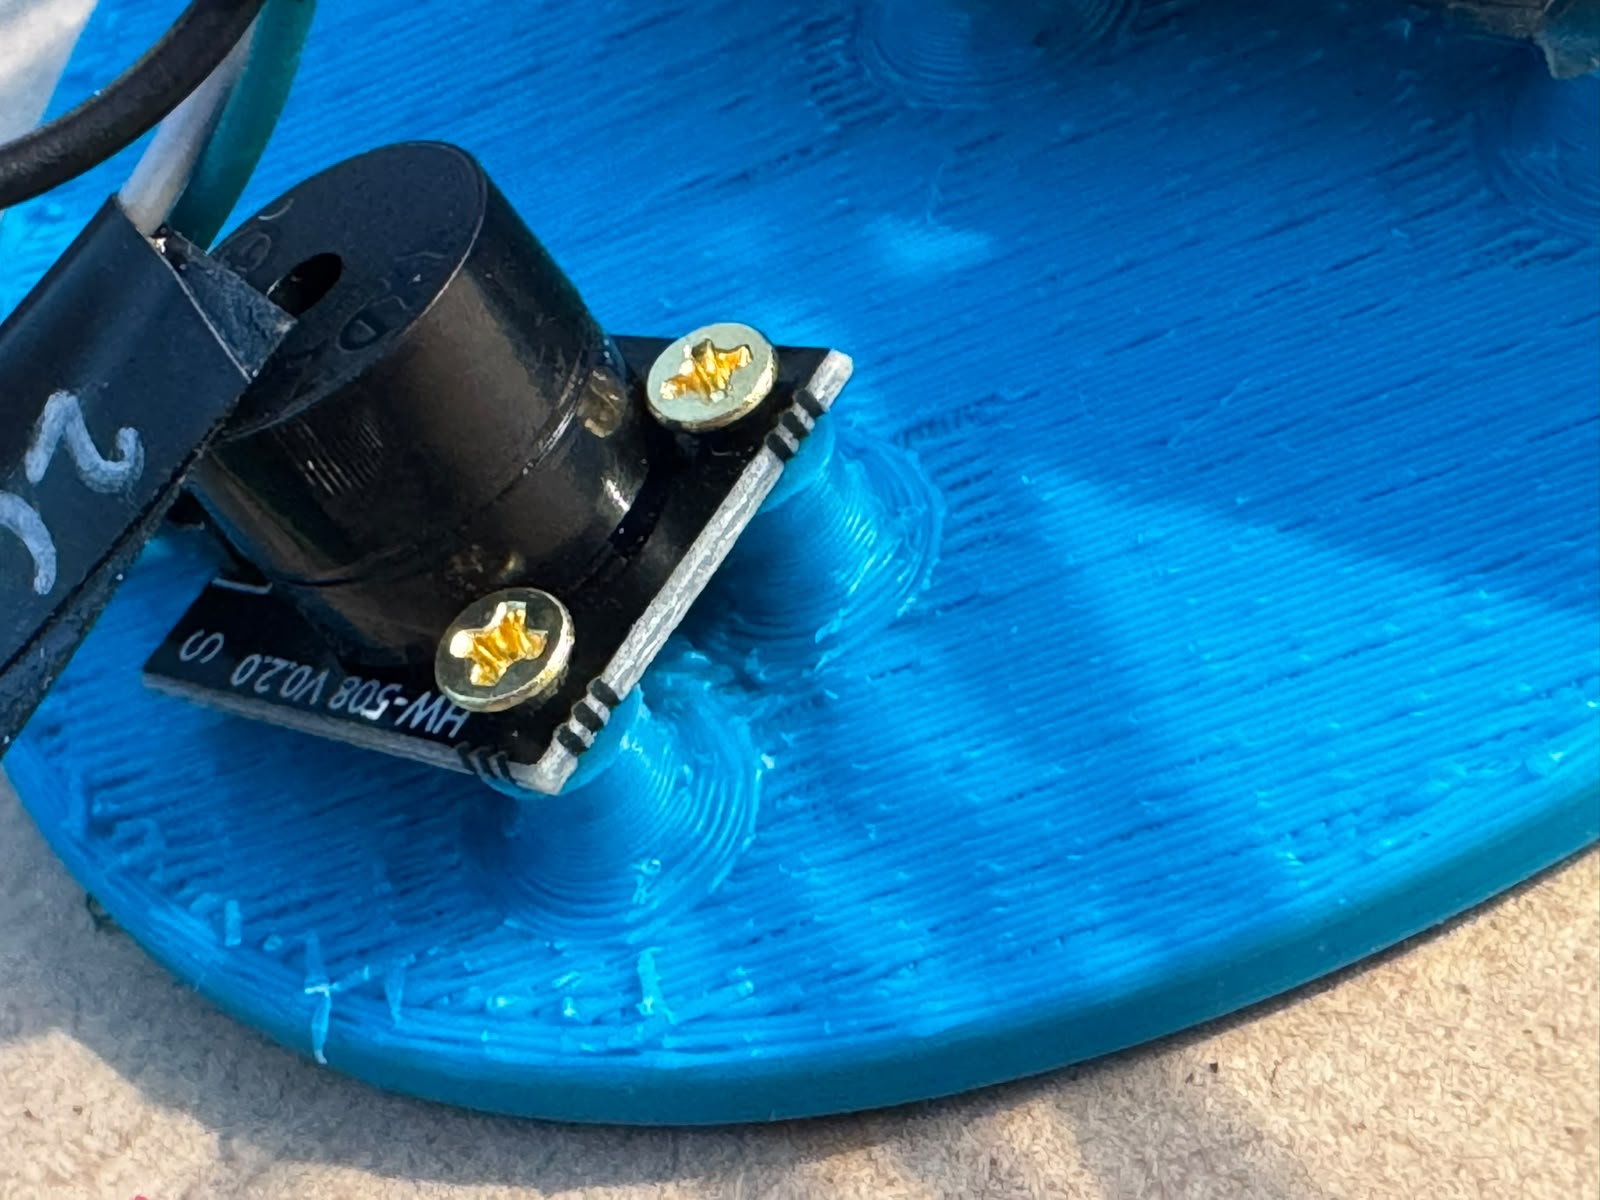
The ESP32 mounted on the PCB, the servo, LED and buzzer were stuck and screwed on the 3D printed parts:
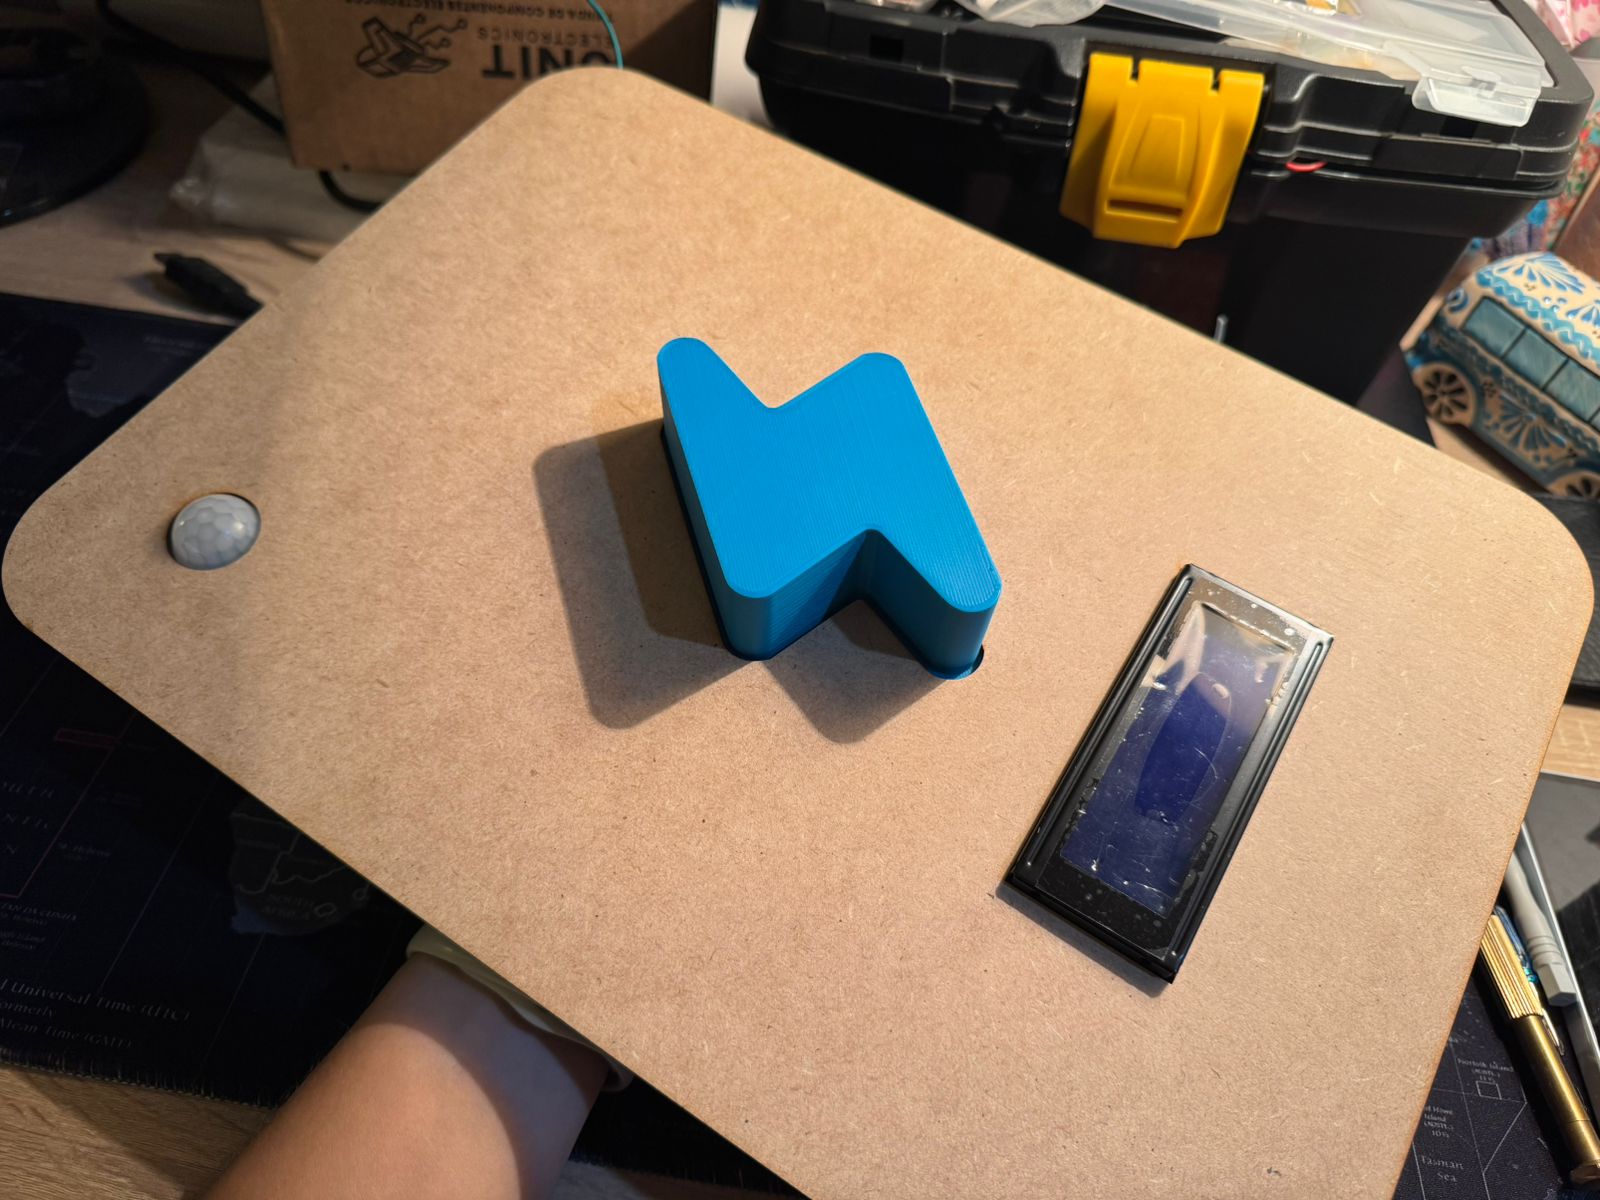
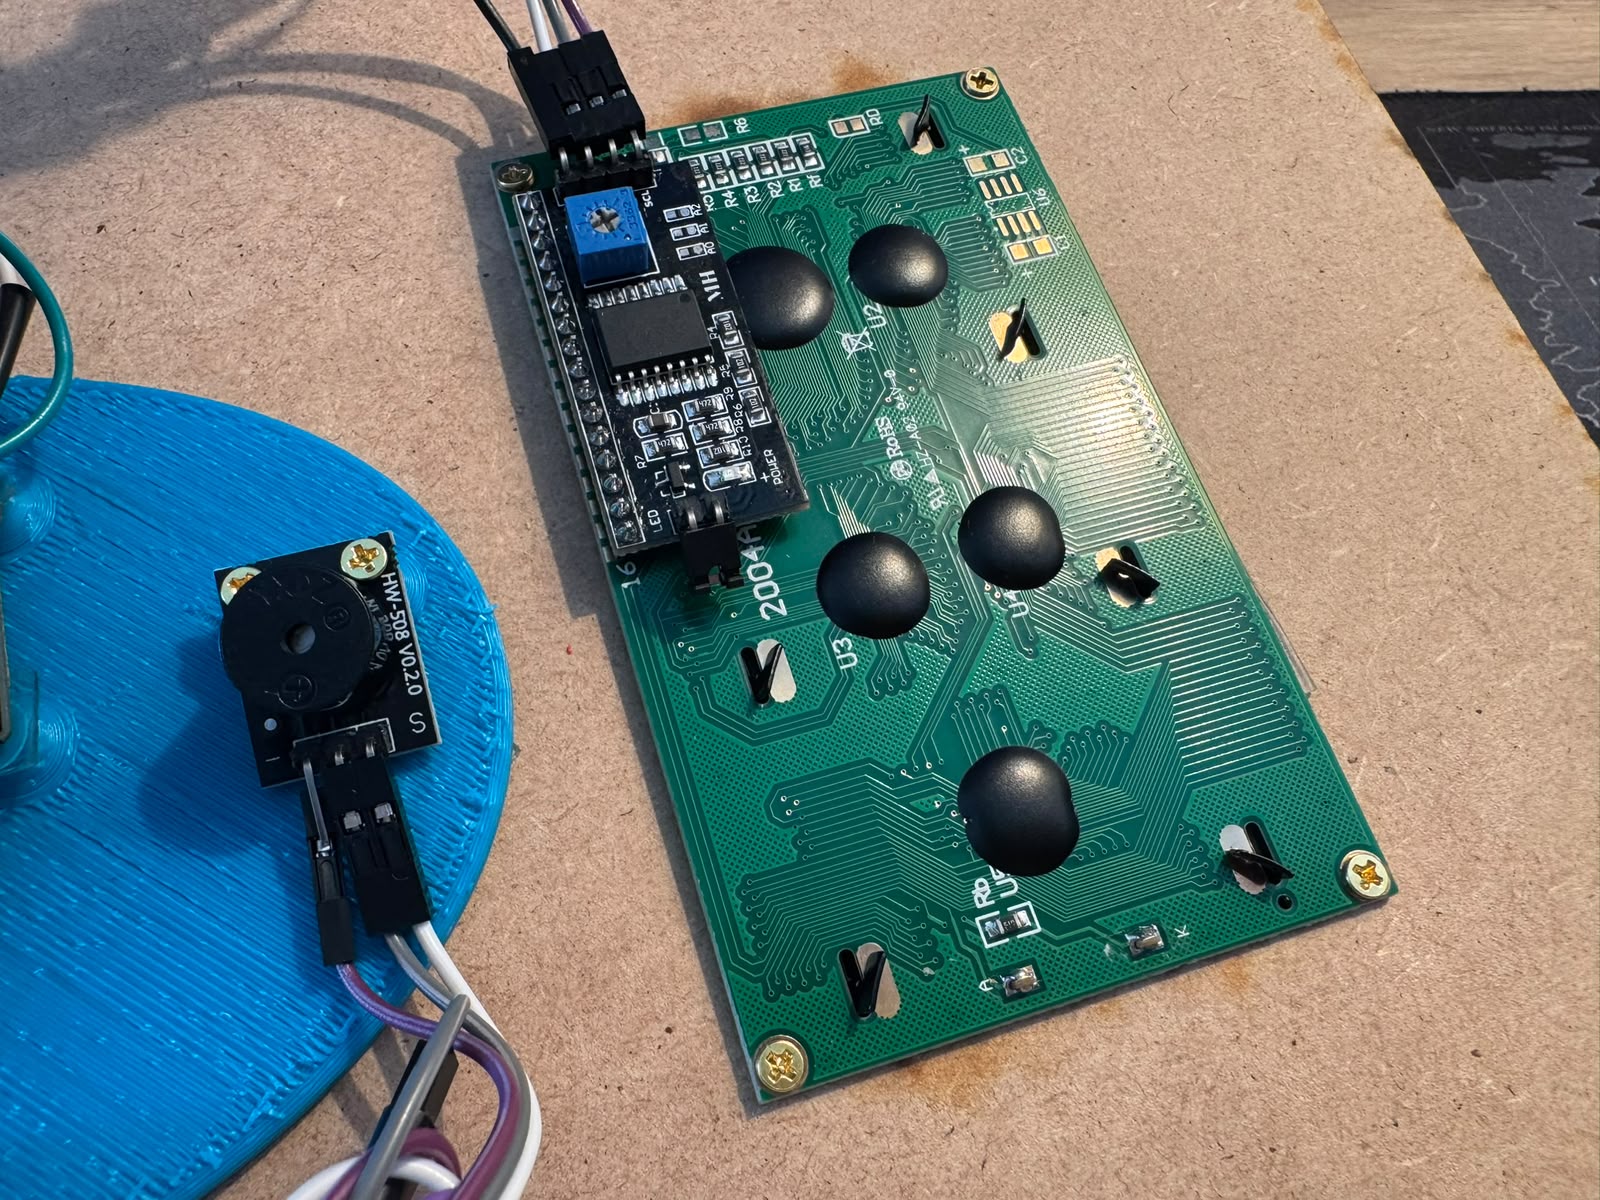
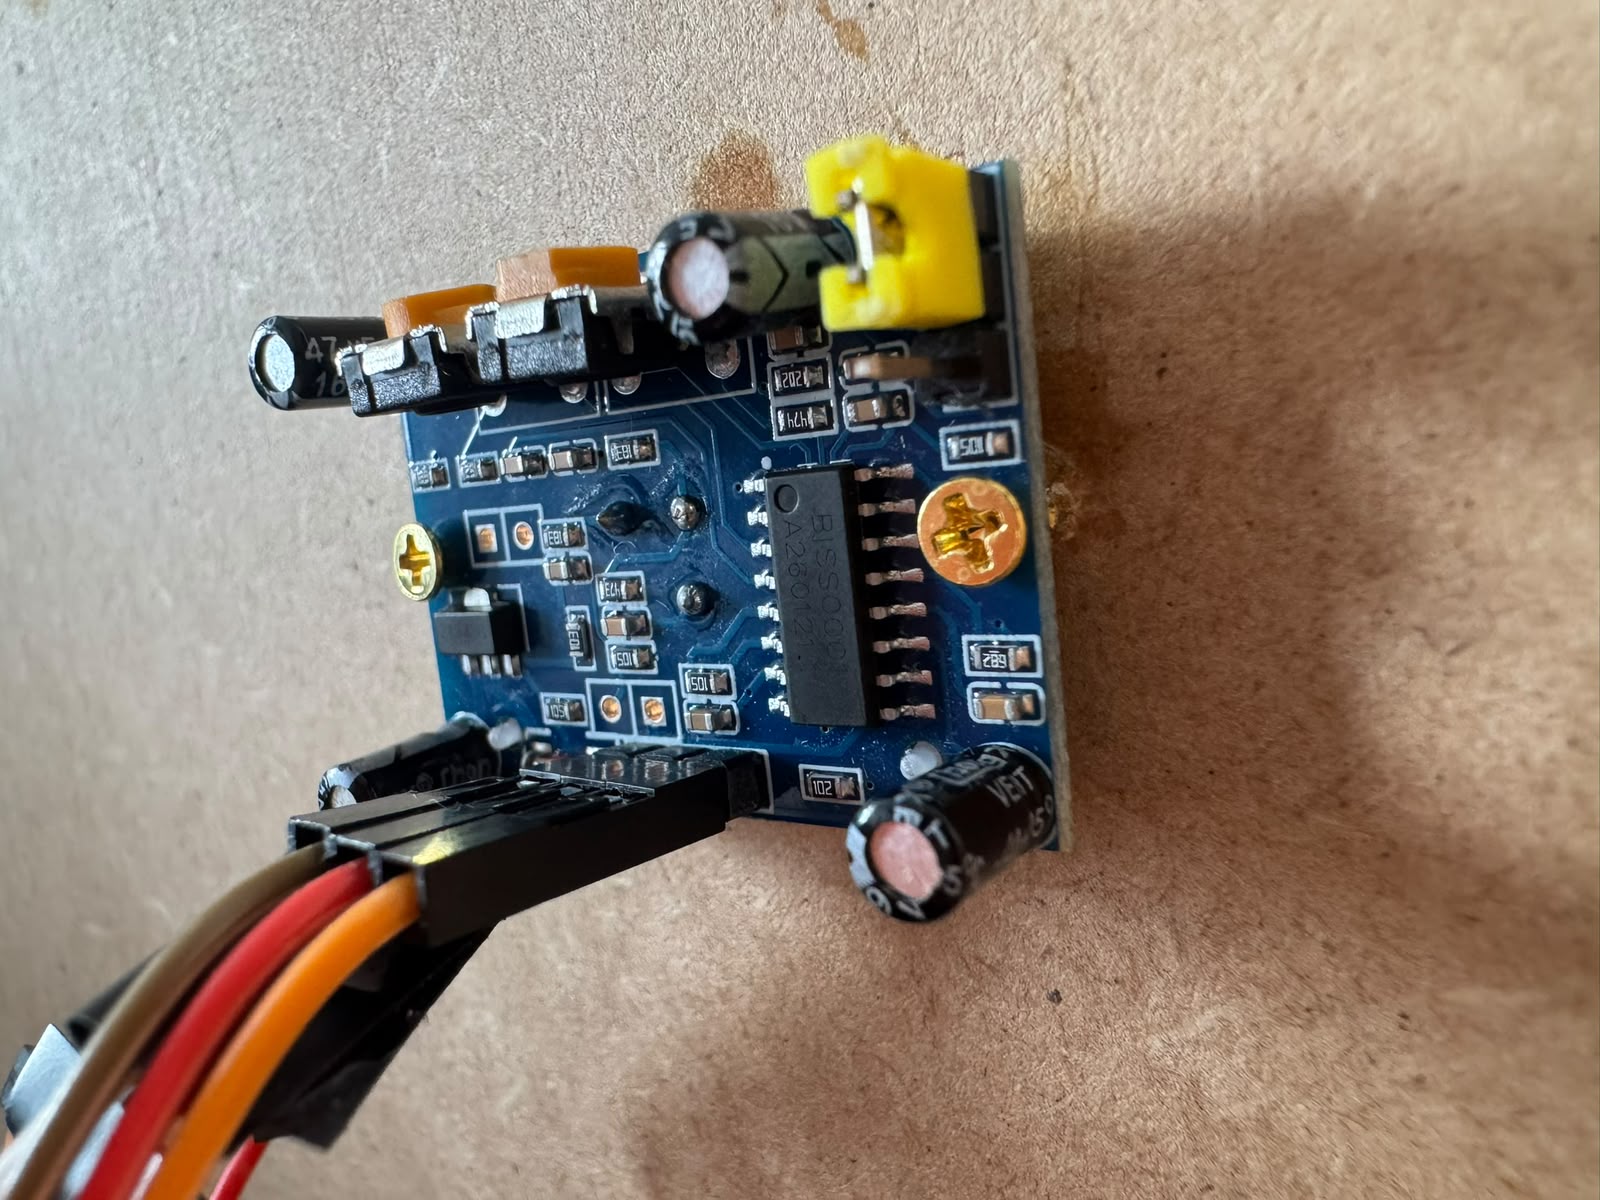
The screen and PIR sensor were screwed directly into an insert of the box face:
The 3D parts had enough surface to be pasted on the box, ending with the following pieces for easy acces to check and fix anything:
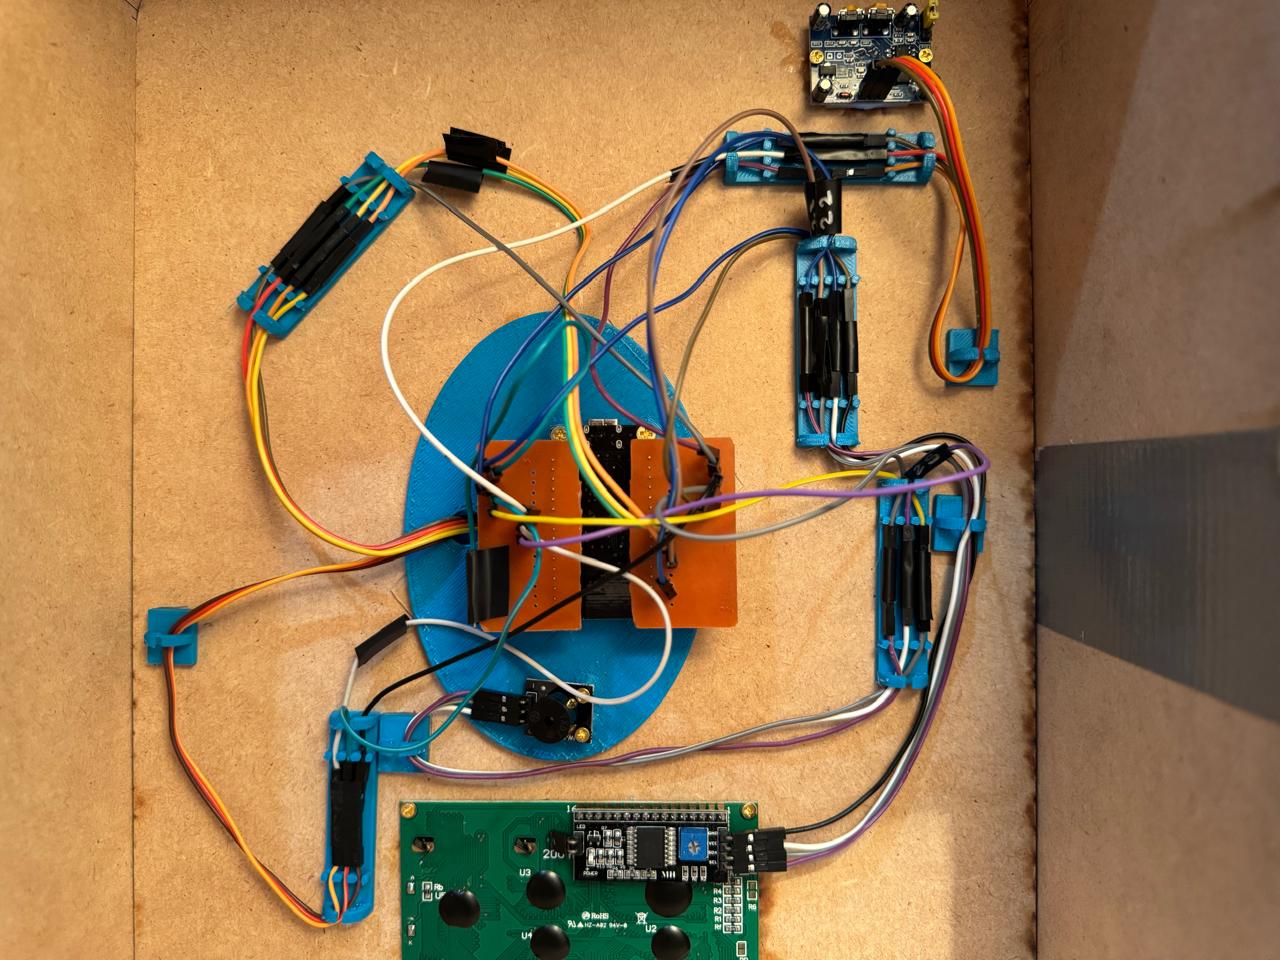
After some feedback, I also designed and 3D printed some clips to better organize the cables:
Final result
In the end, the interface became more than a simple form. It connects the visitor, the database, the dashboard and the physical feedback of the box. This helped complete the interaction loop between the digital application and the embedded device.
The final system can:
- Register visitors through a mobile form.
- Store the information in an Excel database.
- Display live statistics in a dashboard.
- Notify the visitor physically through the ESP32 outputs. (This part of the project was especially important because it made the box feel responsive. The user does not only submit information on a screen; the object itself answers back.)
Bill of Materials
The following table lists the main materials and components used for the final project, organized according to the documentation process.
| Process | Component / Material | Description | Qty. | Estimated Unit Cost (MXN) | Estimated Total (MXN) |
|---|---|---|---|---|---|
| 2D & 3D Design | PLA filament | Filament for 3D printed decorative parts and internal supports. | 1 kg | $269.00 | $269.00 |
| 2D & 3D Design | NFC sticker | Programmable NFC tag used to open the registration form. | 1 | $5.00 | $5.00 |
| 2D & 3D Design | Adhesive vinyl | Decorative sticker material for the project identity. | 1 sheet | $69.00 | $69.00 |
| Laser Cutting | MDF sheet | MDF used to fabricate the main enclosure. | 1 pack | $349.00 | $349.00 |
| Laser Cutting | Spray paint | Spray paint used to finish the MDF enclosure. | 1 | $56.00 | $56.00 |
| Laser Cutting | Wood glue | Glue used to assemble and reinforce the MDF structure. | 1 | $49.00 | $49.00 |
| Integration | Small screws | Small screws used to secure components and structural parts. | 1 pack | $30.00 | $30.00 |
| Integration | Heavy-duty double-sided tape | Tape used to attach internal parts and secure lightweight components. | 1 roll | $78.00 | $78.00 |
| Electronics | ESP32 WROOM | Main microcontroller board for controlling inputs and outputs. | 1 | $140.00 | $140.00 |
| Electronics | LCD 20x4 with I2C | Display used to show welcome and registration messages. | 1 | $116.00 | $116.00 |
| Electronics | PIR HC-SR501 sensor | Motion sensor used to detect when a visitor approaches. | 1 | $29.00 | $29.00 |
| Electronics | KY-012 active buzzer | Active buzzer used to create short friendly alert sounds. | 1 | $15.00 | $15.00 |
| Electronics | KY-016 RGB LED | Common cathode RGB LED module for visual feedback. | 1 | $14.00 | $14.00 |
| Electronics | SG90 micro servo | Servo motor used to move the decorative lightning element. | 1 | $40.00 | $40.00 |
| Electronics | Copper PCB board | Copper board used to solder and organize the electronic connections. | 1 | $22.31 | $22.31 |
| Electronics | Jumper wires | Dupont jumper wires used for testing and internal connections. | 1 pack | $59.00 | $59.00 |
| Electronics | Cable holders | Reusable cable holders used to organize internal wiring. | 1 pack | $55.00 | $55.00 |
| Electronics | Solder wire | Tin solder used for permanent electronic connections. | 1 tube | $46.11 | $46.11 |
| Electronics | USB-C power adapter and cable | 5V / 2.4A power adapter used to keep the project powered on. | 1 | $159.00 | $159.00 |
| Estimated Total | $1,600.42 MXN | ||||
Download Final Project files