3. Computer-controlled cutting
Group AssignementThis week I used the plotter and laser cutter to cut vinil and cardboard respectively.
It was very useful to know about vectors and 2D design. This way I was able to create and edit the pieces I planned to cut.
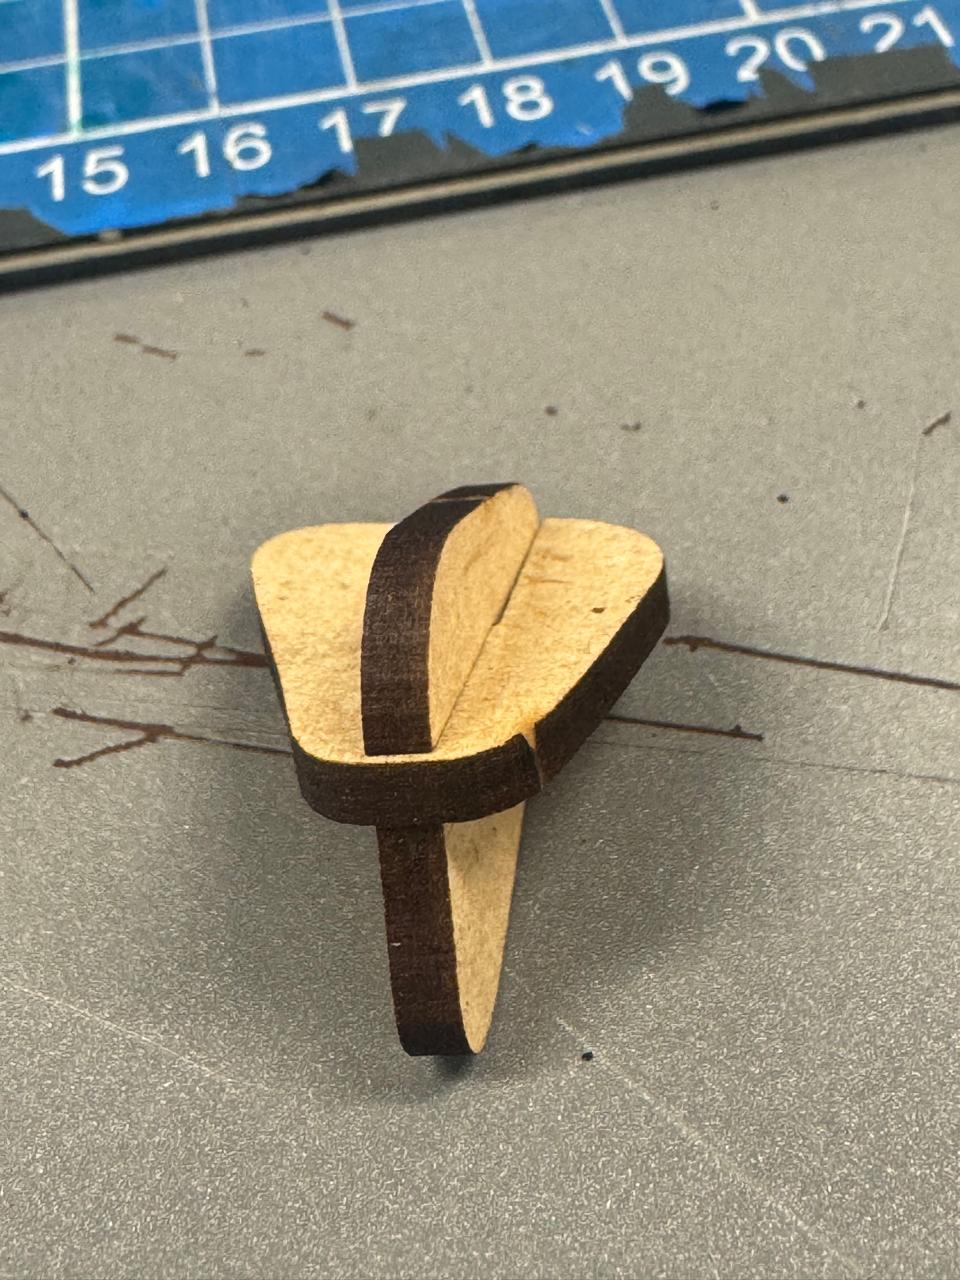
I even tried creating a 3D puzzle to cut on the laser, but I got stock and wasn't able to crate what I imagined.
Some of of my learnings:
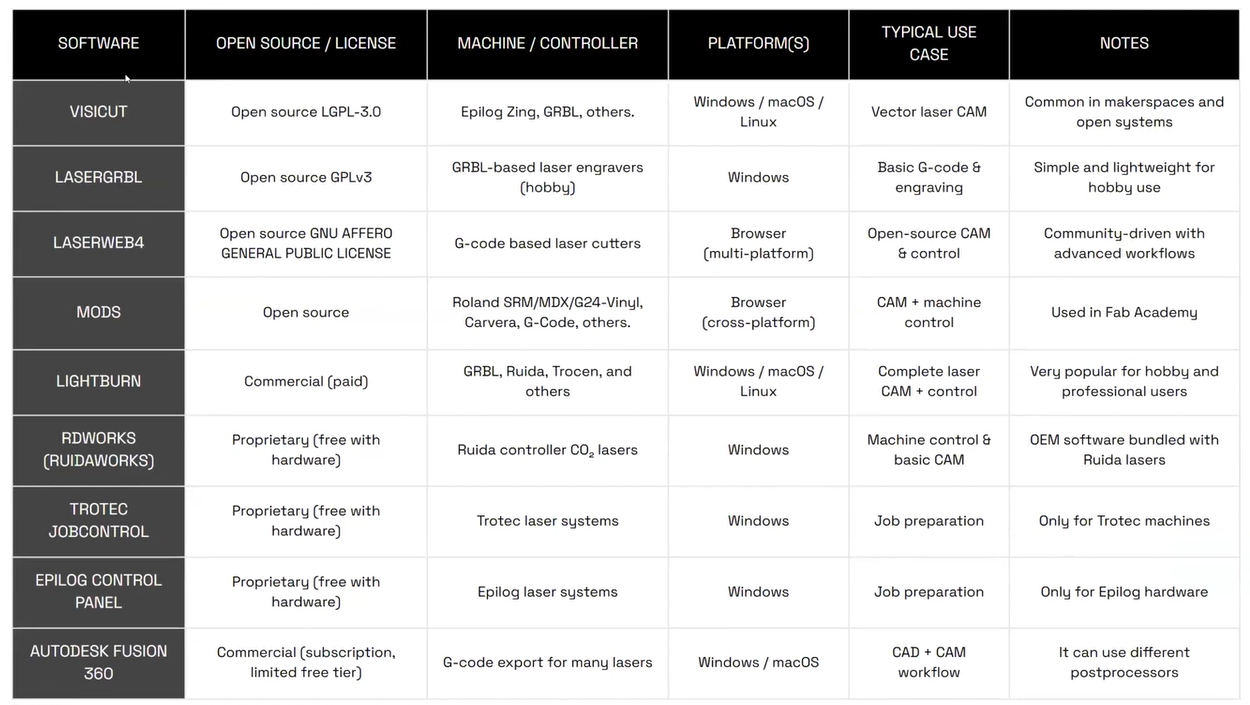
We learned about many options for CAM edition.
Plotter
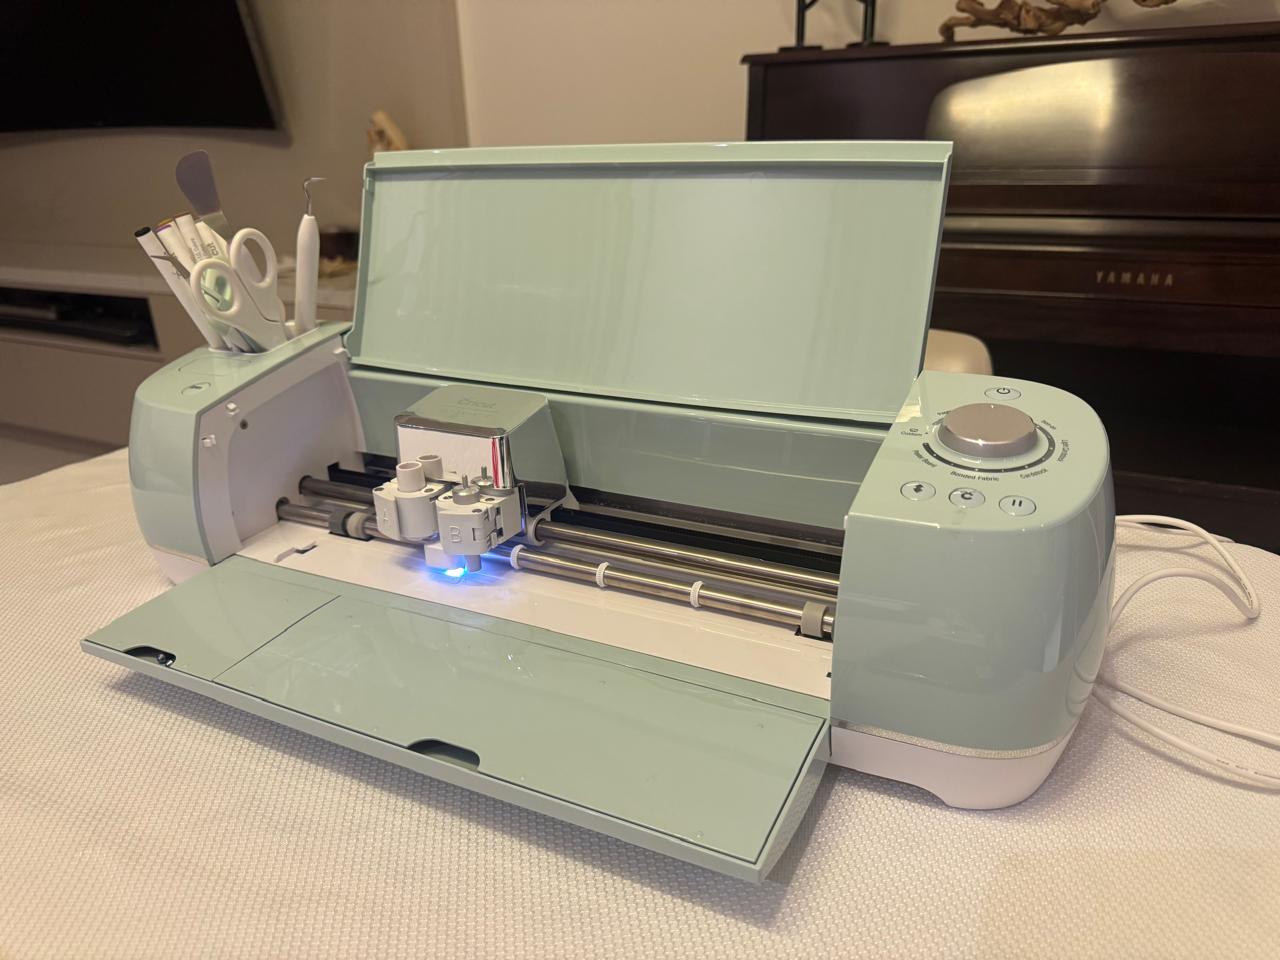
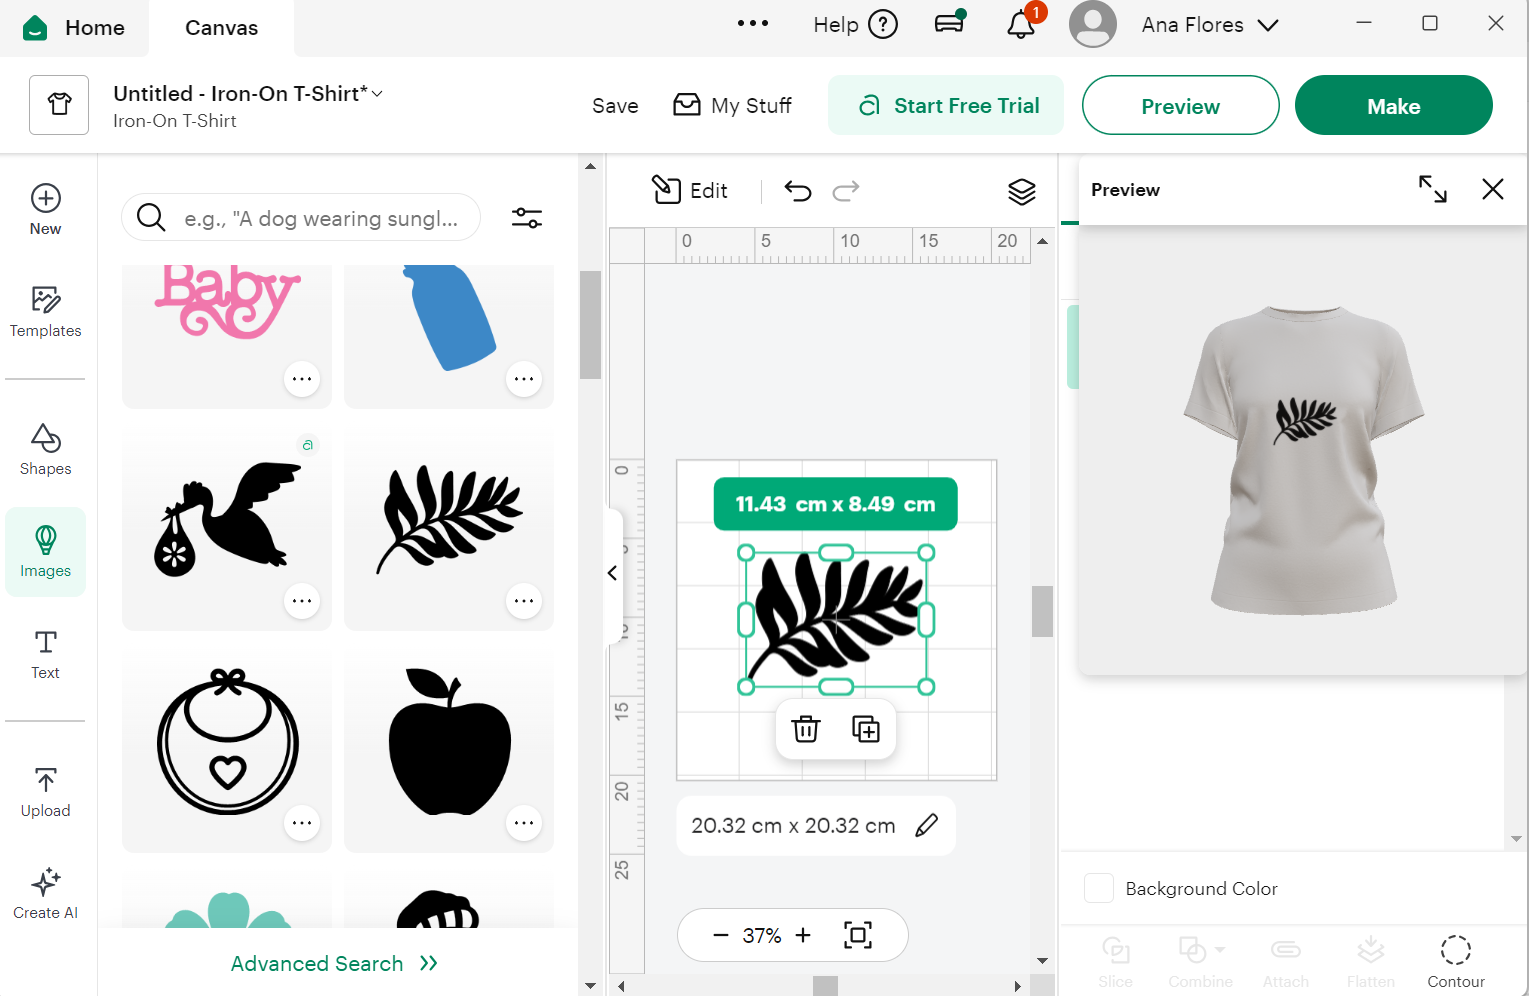
The first machine I used was a plotter: Cricut Explore Air 2. With it's correstponding software.
I got some fabric vinil so we selected a shirt preview and looked for cool designs.
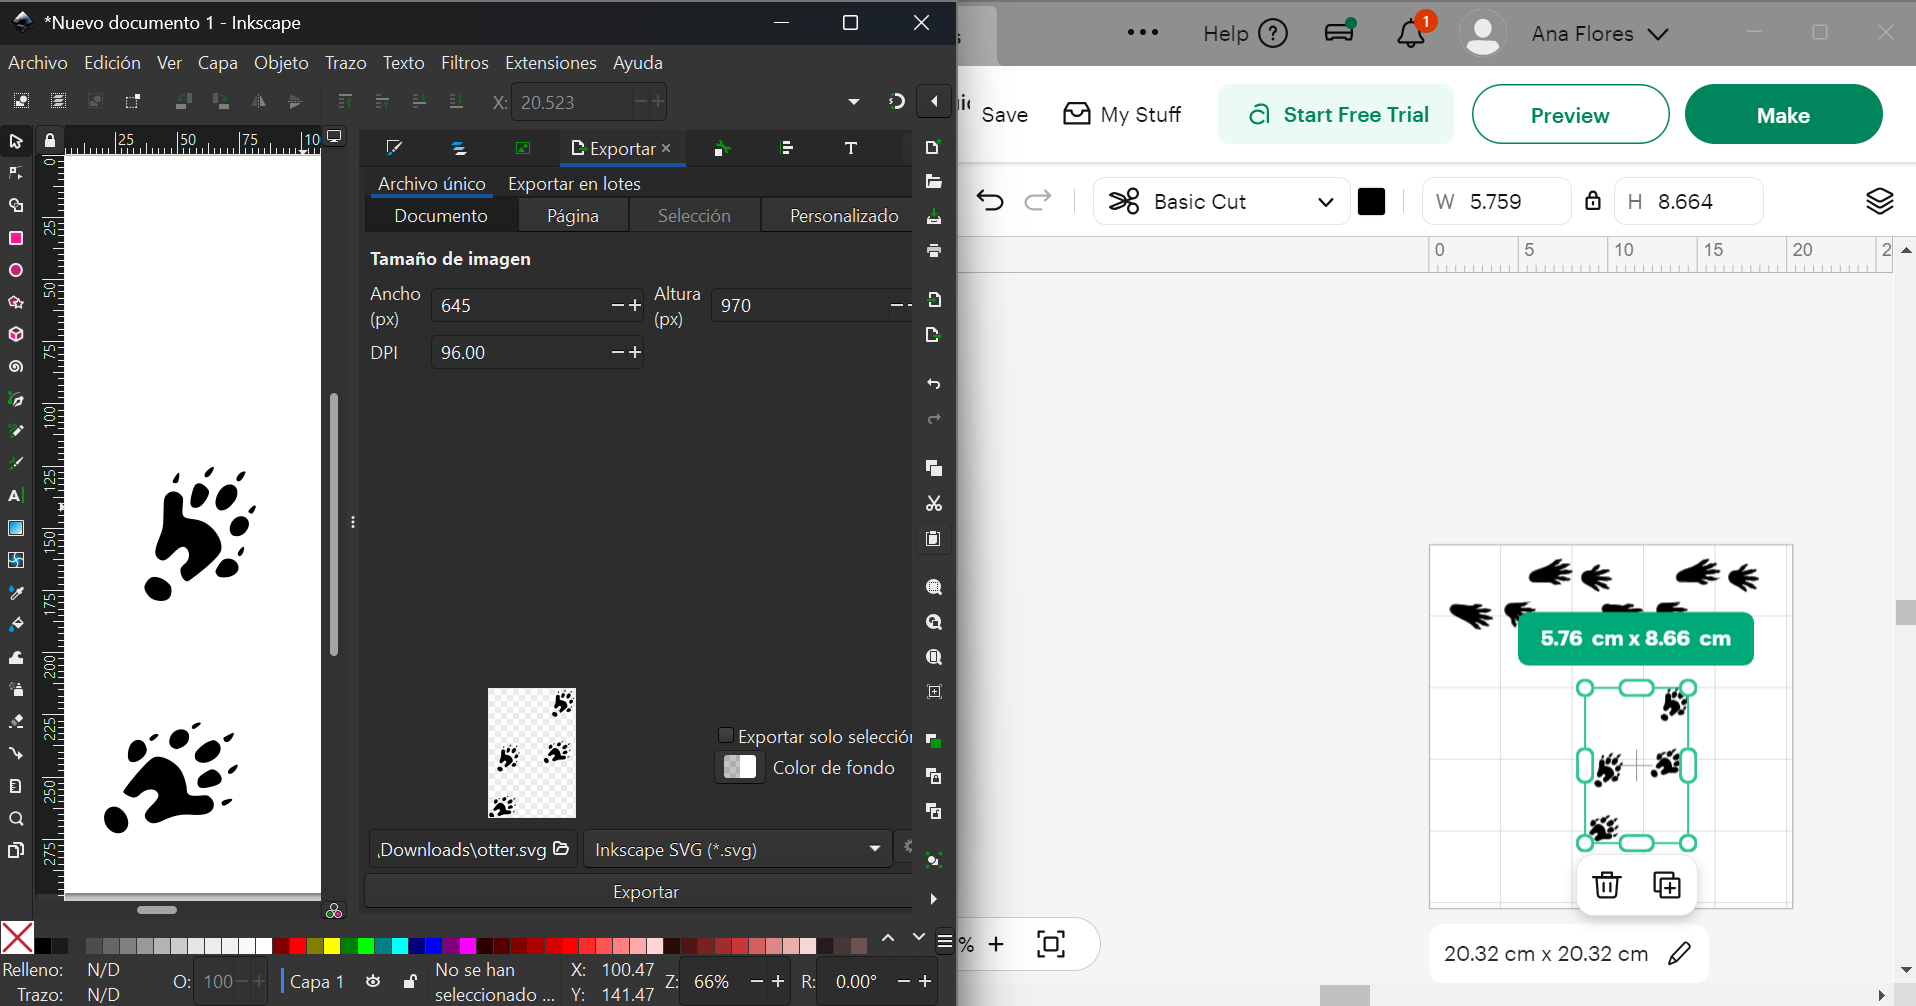
Then I had an idea so I searched for an image online, converted it to vectors with Inkscape and used that on the cricut software.
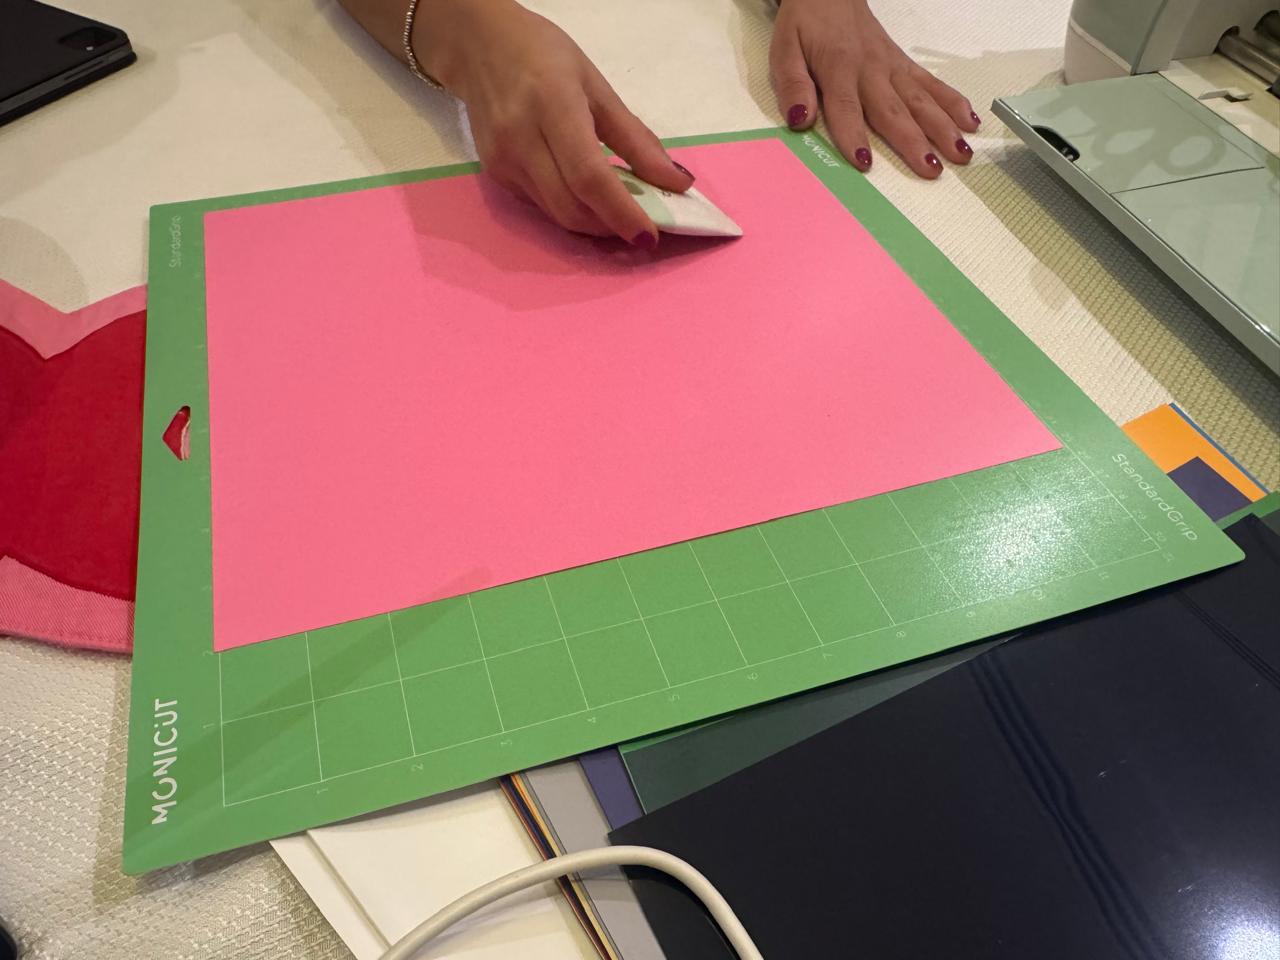
Before cutting, the vinil had to be prepared in the sticky board and inserted into the plotter.
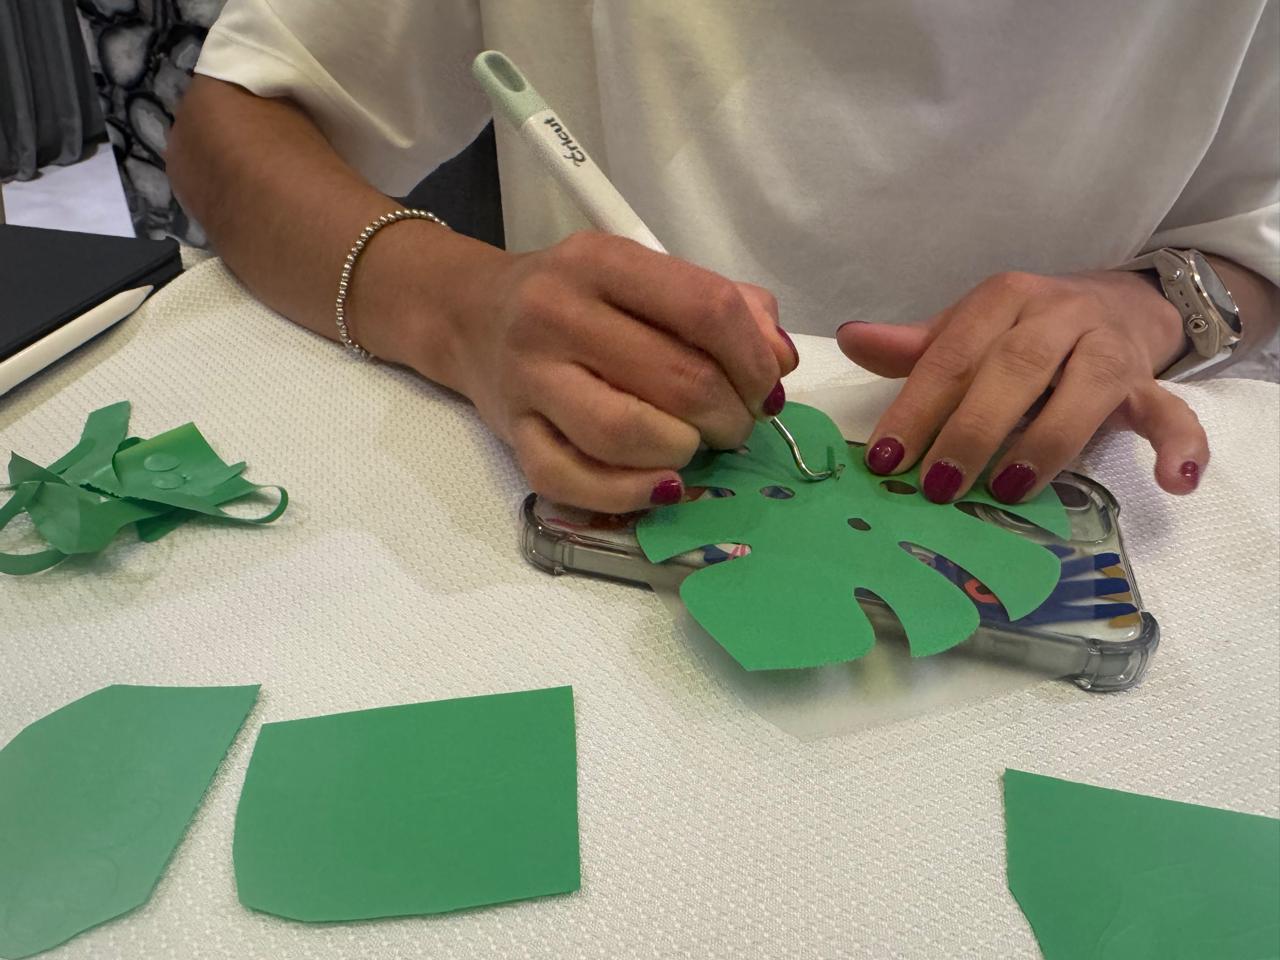
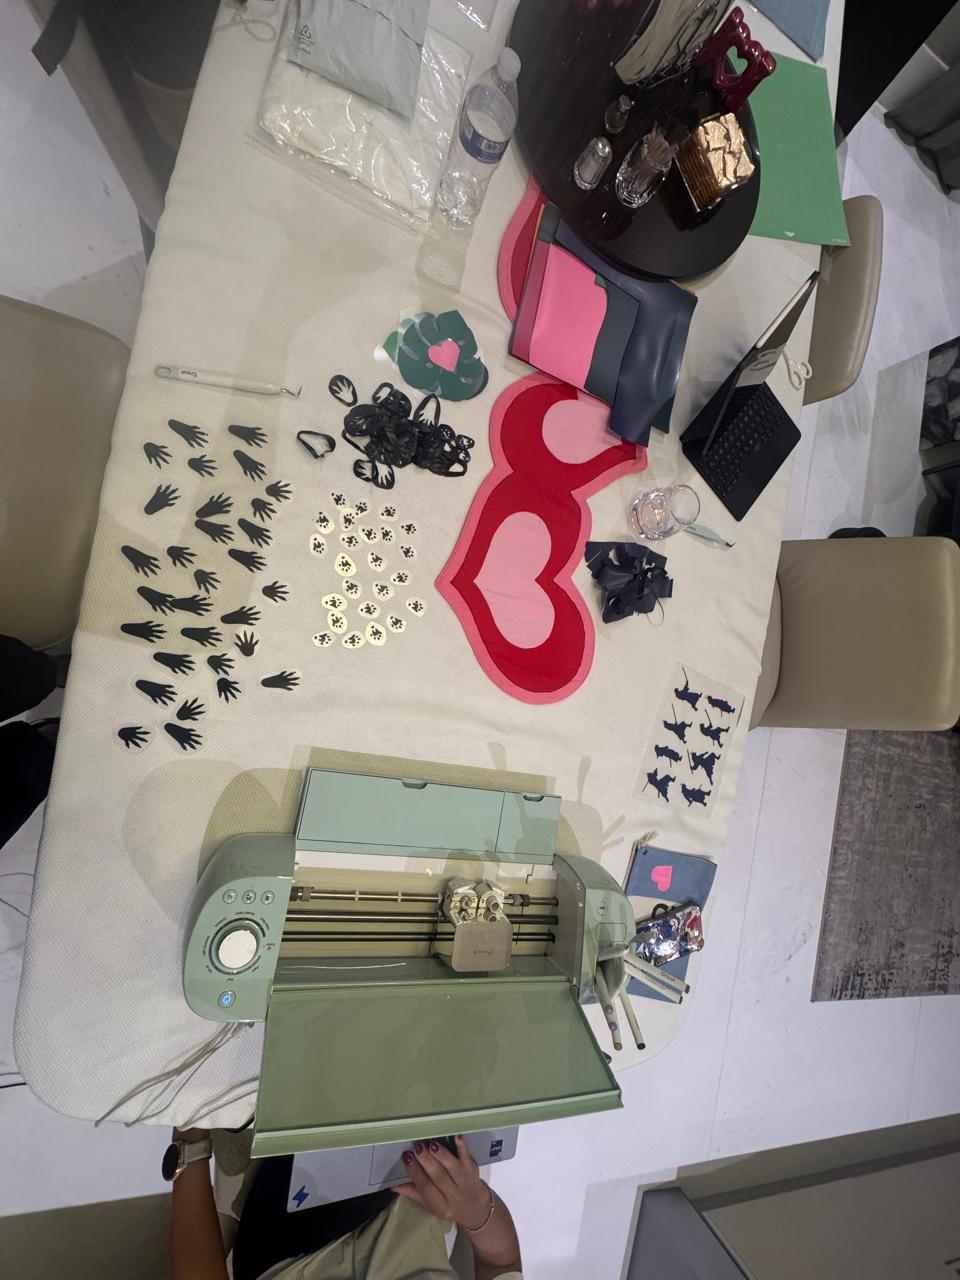
After cutting, the outcome had to be cleaned in order to leave just what was part of the design.
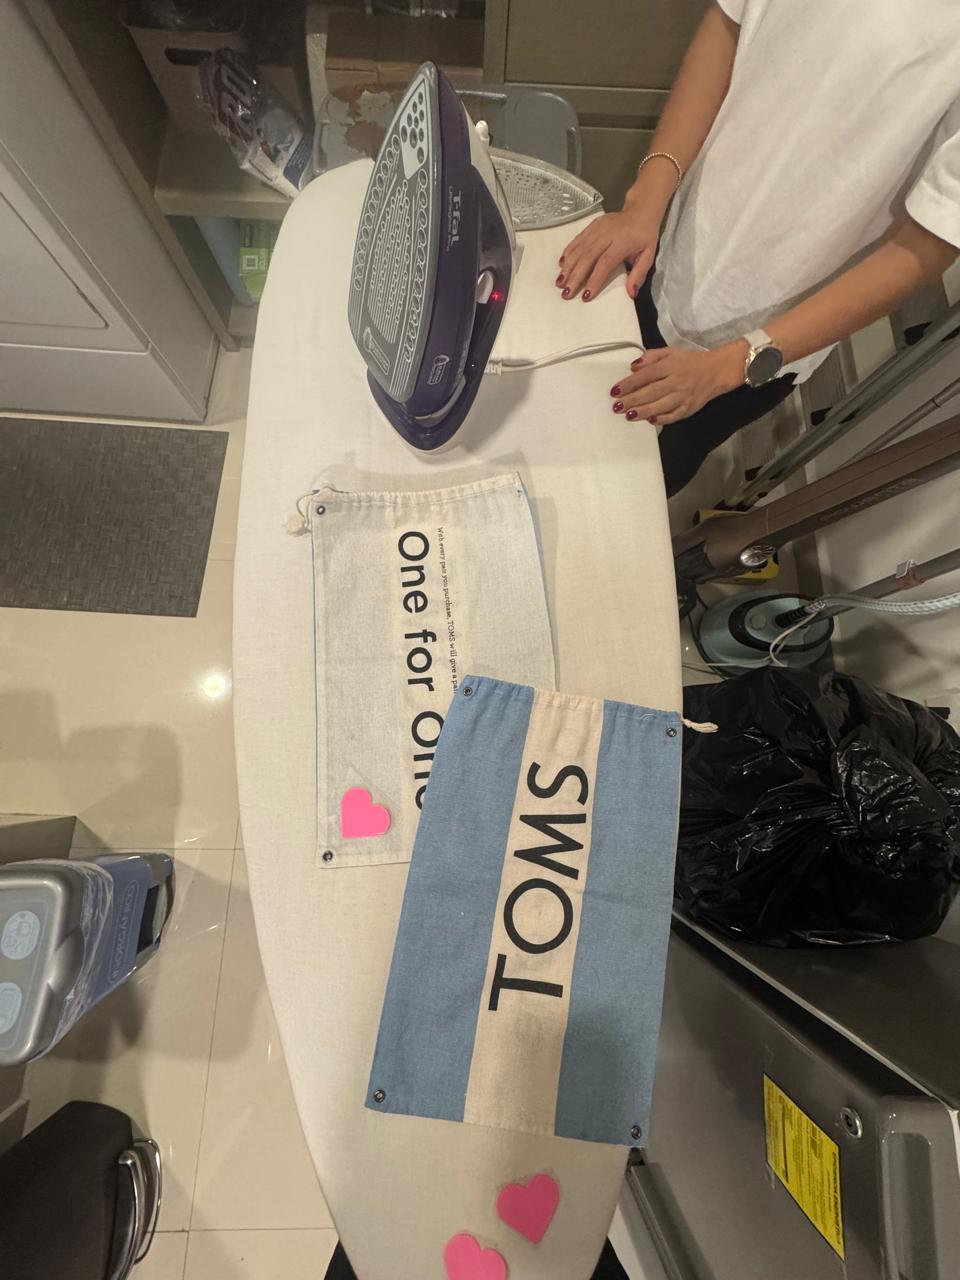
Once the cut was clean, it could be ironed on the fabric. Using beaking paper or another fabric on top so the plastic doesn't stick to the iron.
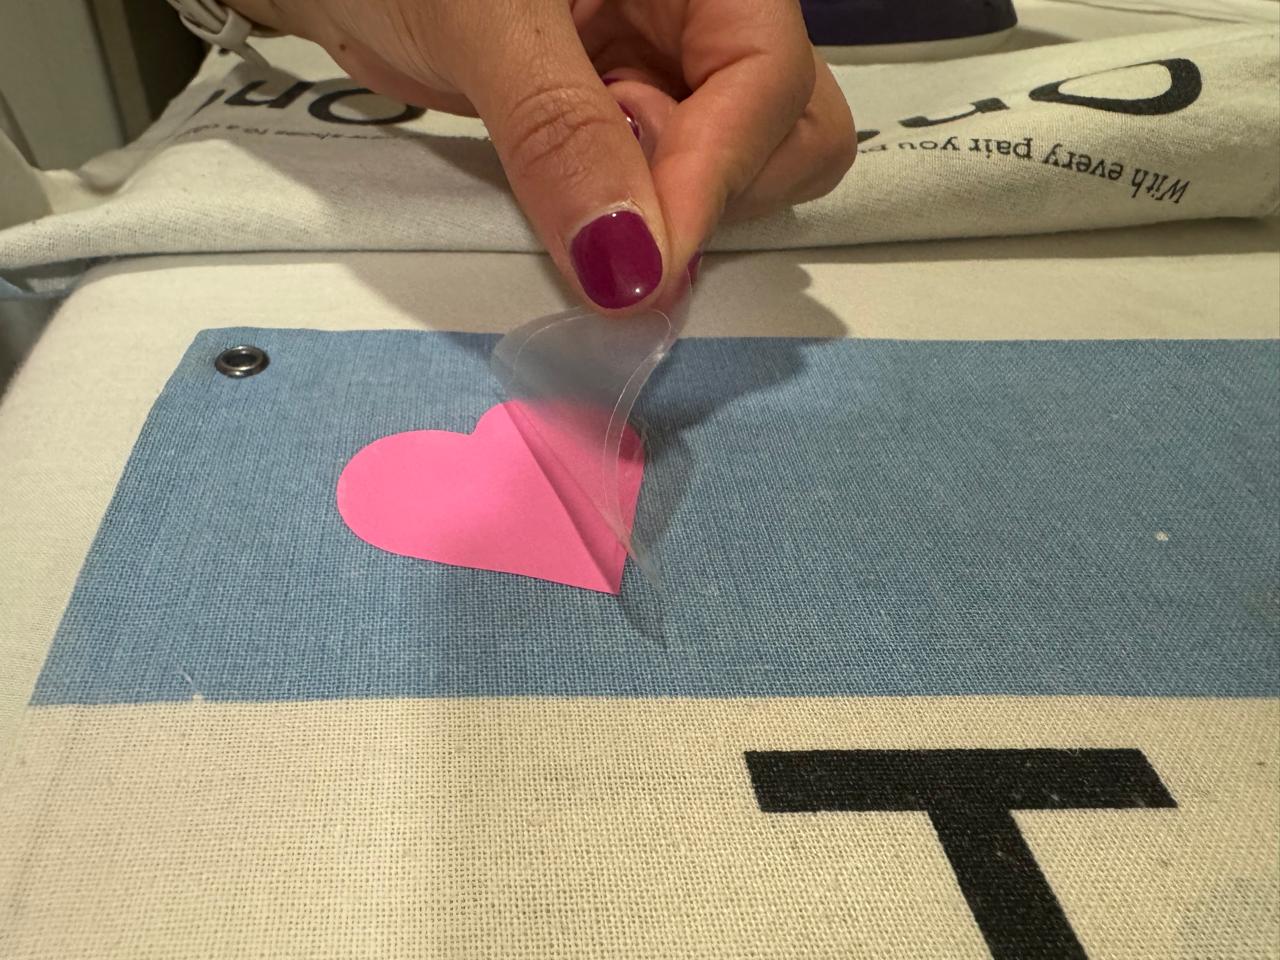
Finally, some time has to pass for the plastic to cool down and the shiny plastic can be detached to get the final outcome.
Laser
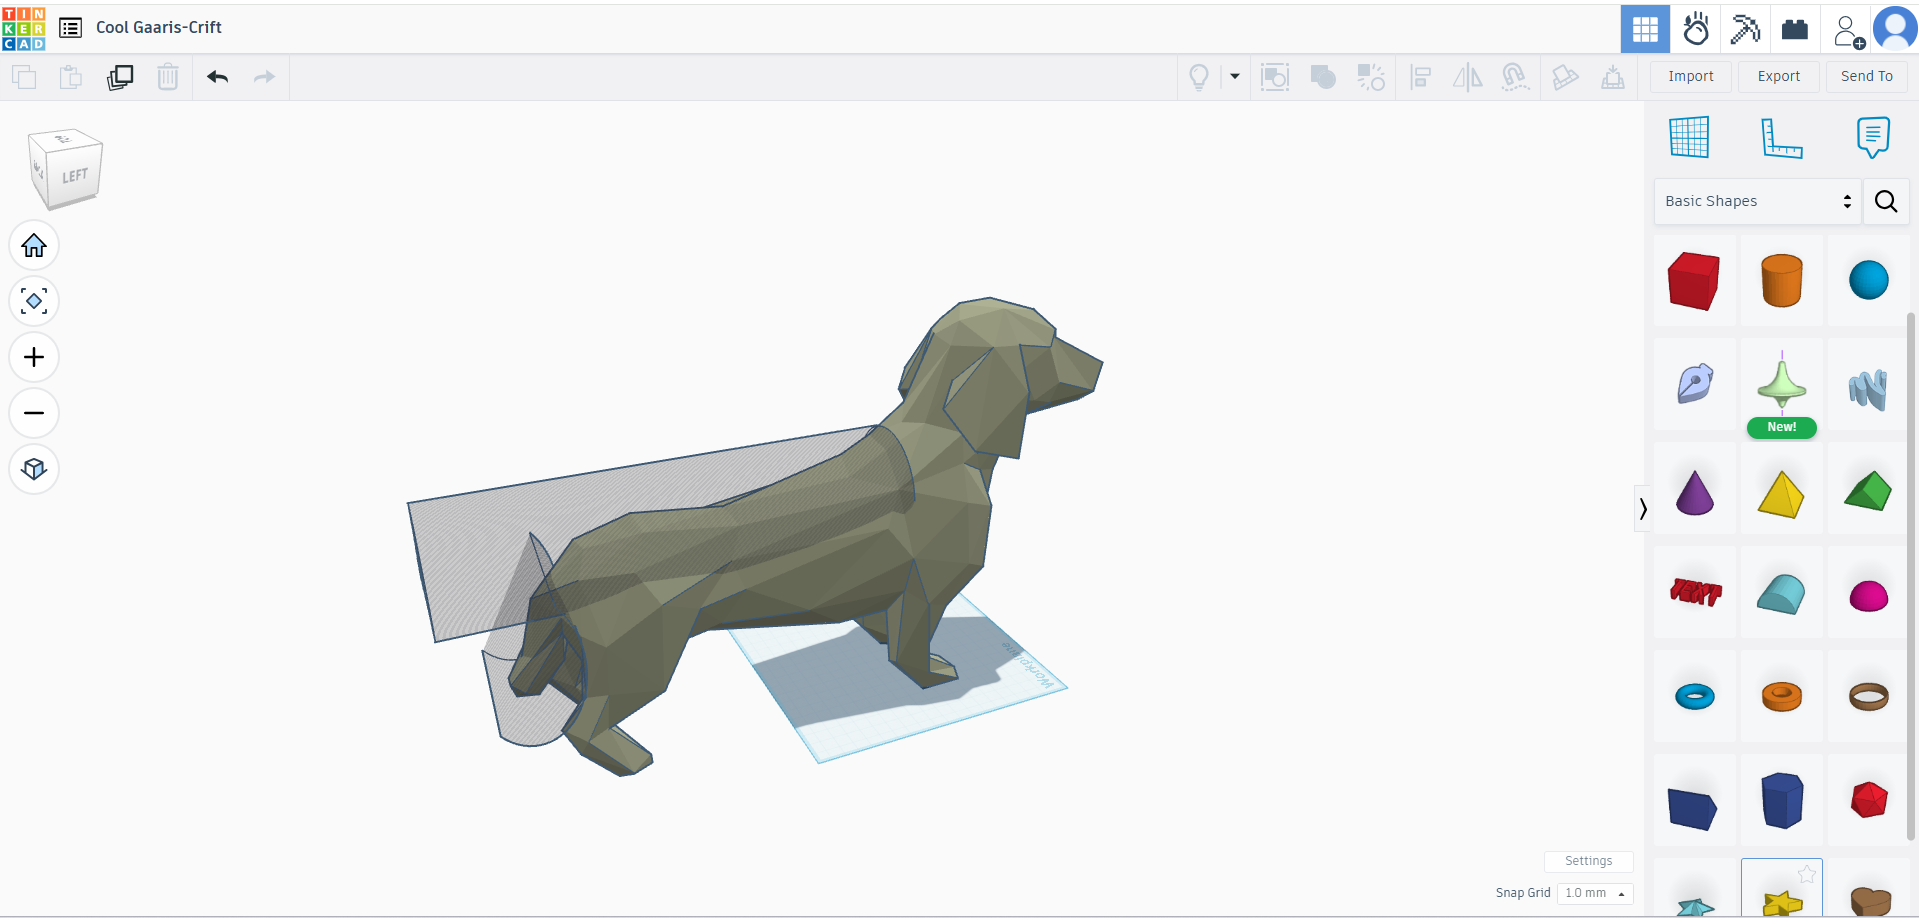
First, I had the idea of editing this 3D design to later create 2D pieces from slices of it so that I could 3D puzzle it.
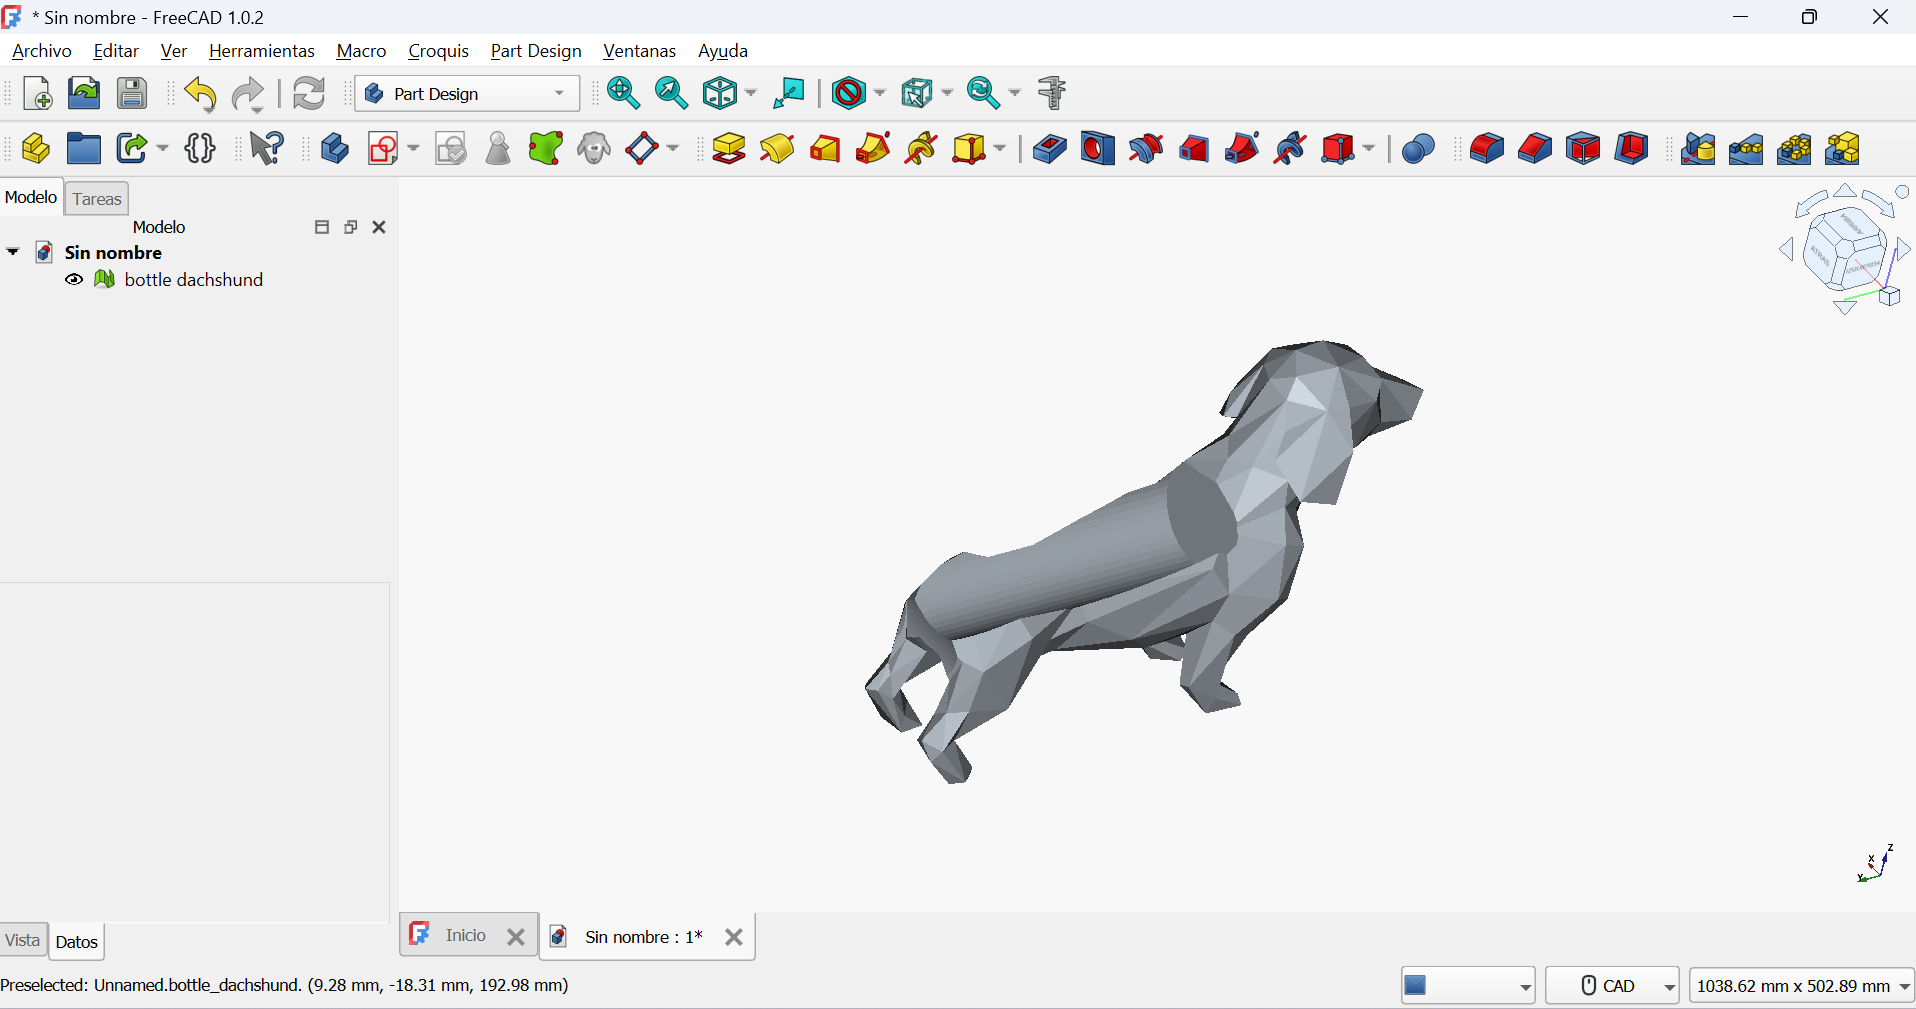

I tried editing and looking for slicing options on FreeCad (I wasn't able to download Fusion360 yet). I spent some hours on this but when I realized I didn't have enough time to figure it out, I decided to look for a similar svg file and go on.
This is the file I ended up downloading and using for my cuts: 3D Dog Puzzle
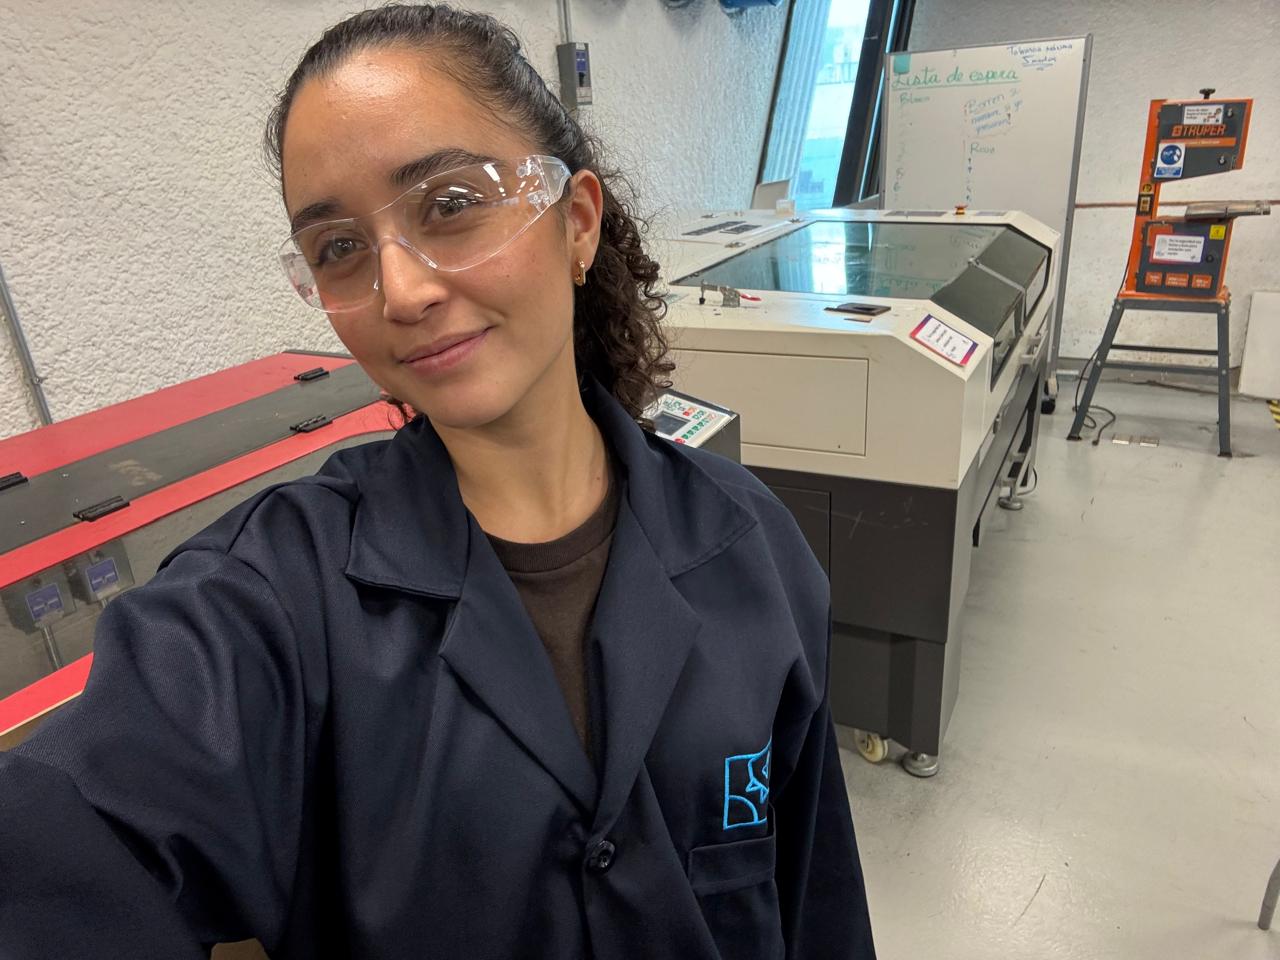
I arrived to my favorite lab (Innovaction Gym) and followed the security measures instructed by the lab manager.
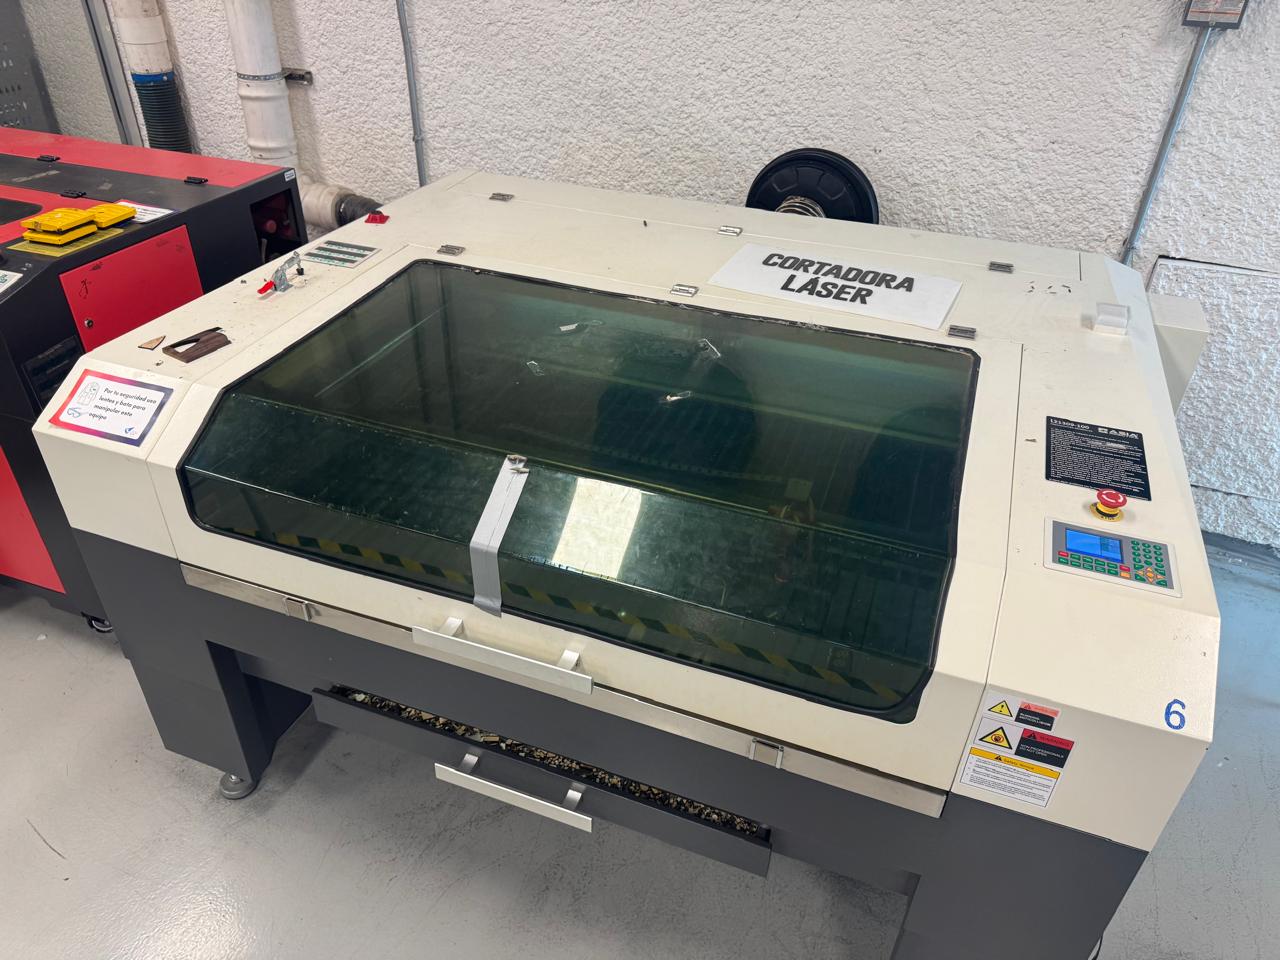
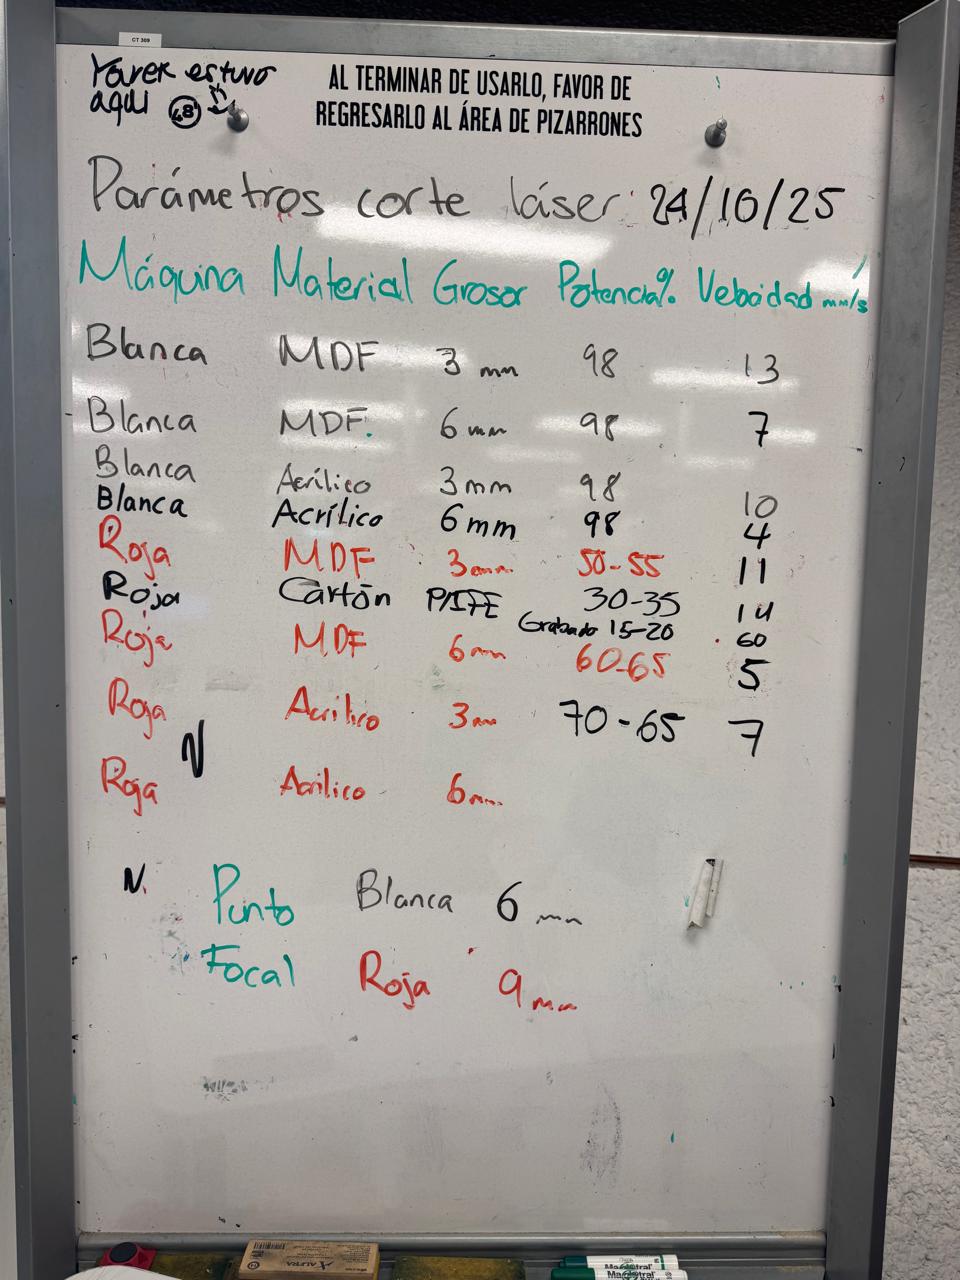
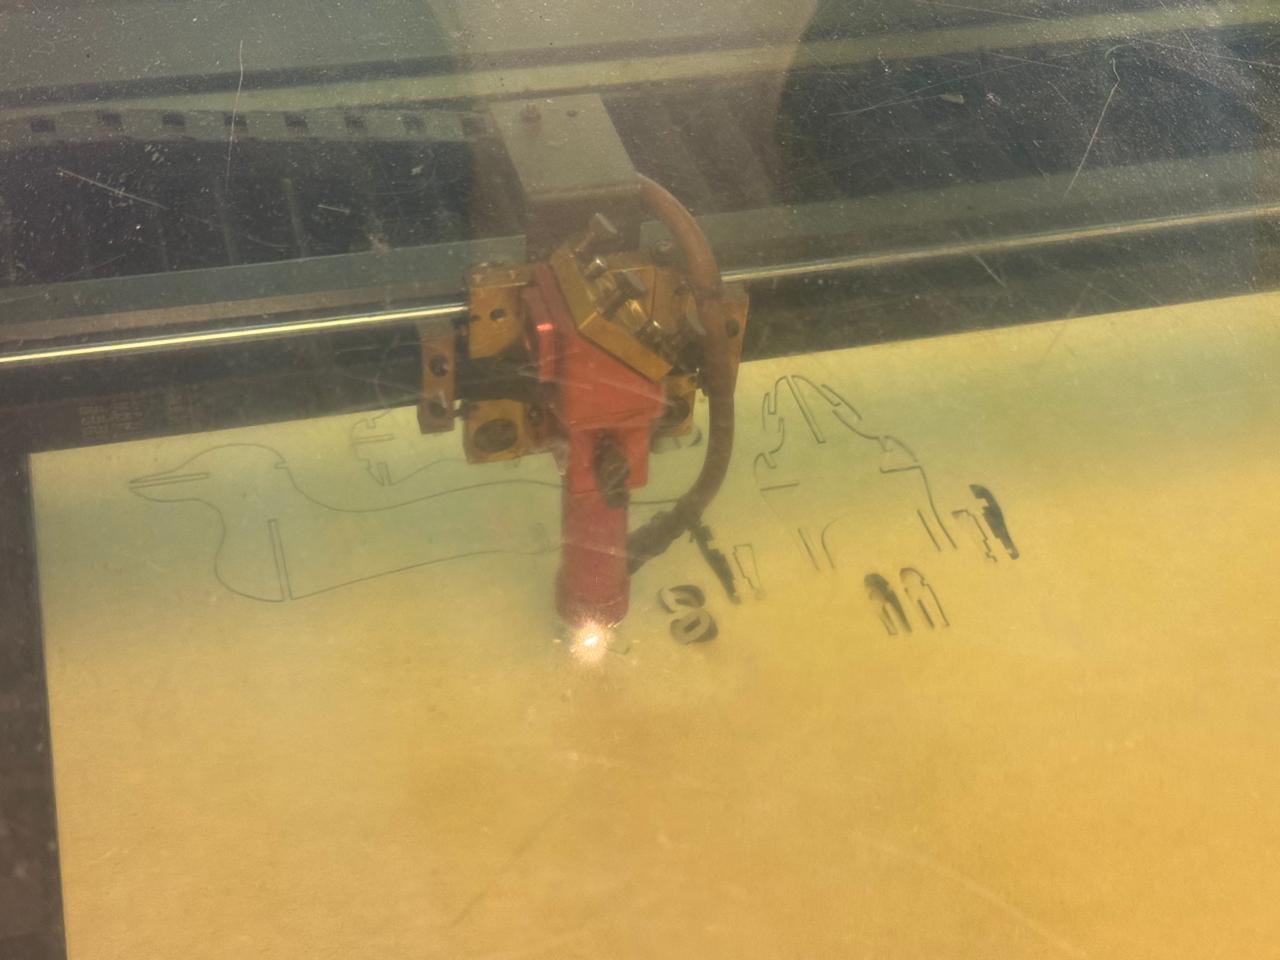
I chose the laser cutter I would use (white one in the picture) and checked the parameters according to my material (3mm MDF):
- 98% power
- Velocity if 13 mm/s
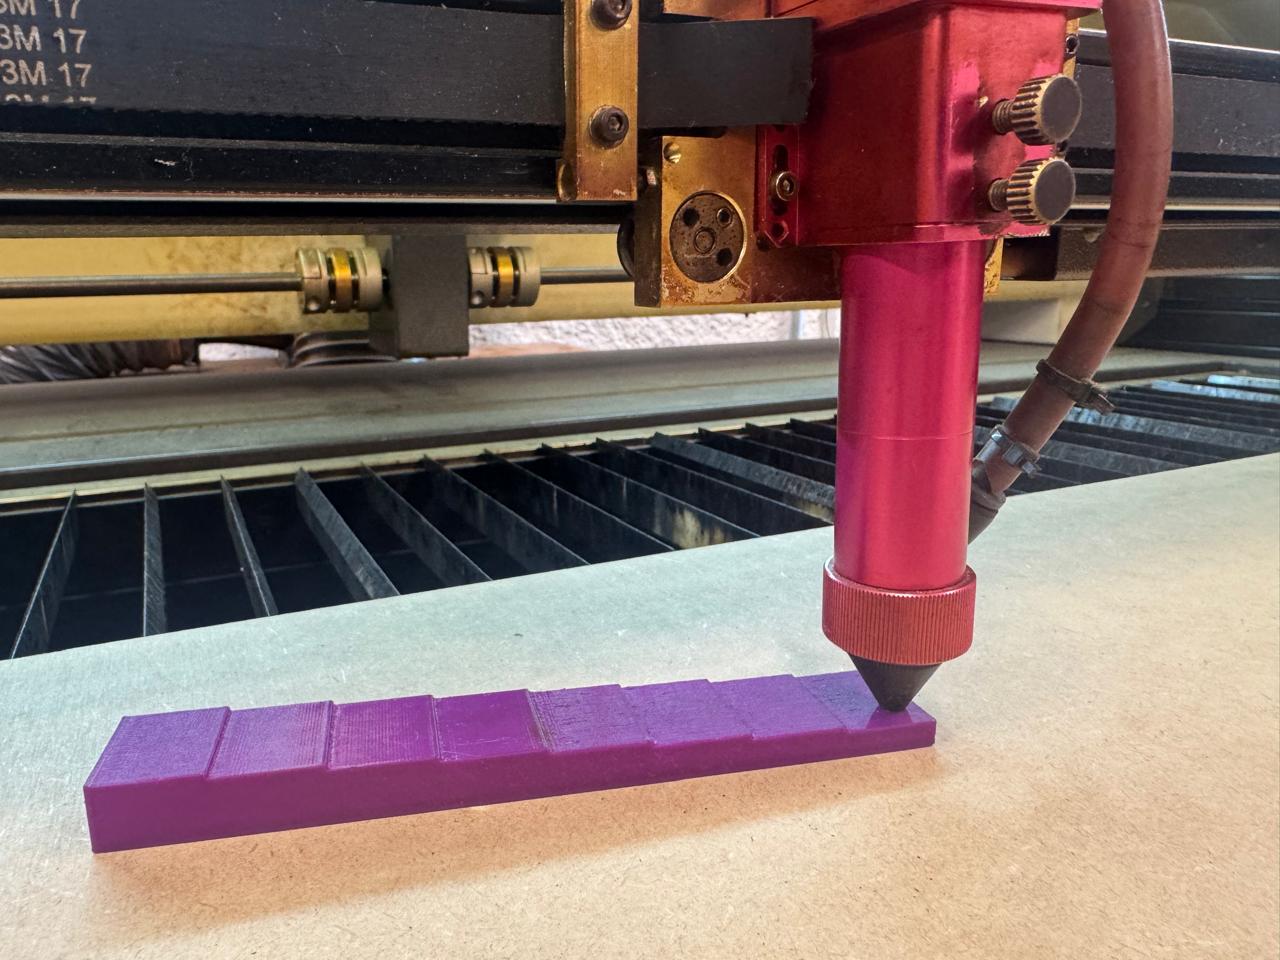

The Z axis of the machine had to be set manually, X and Y with the panel.
The program used to upload my design and set parameters was RDWORKS. Here I was able to edith my design's size until I found the right fit.
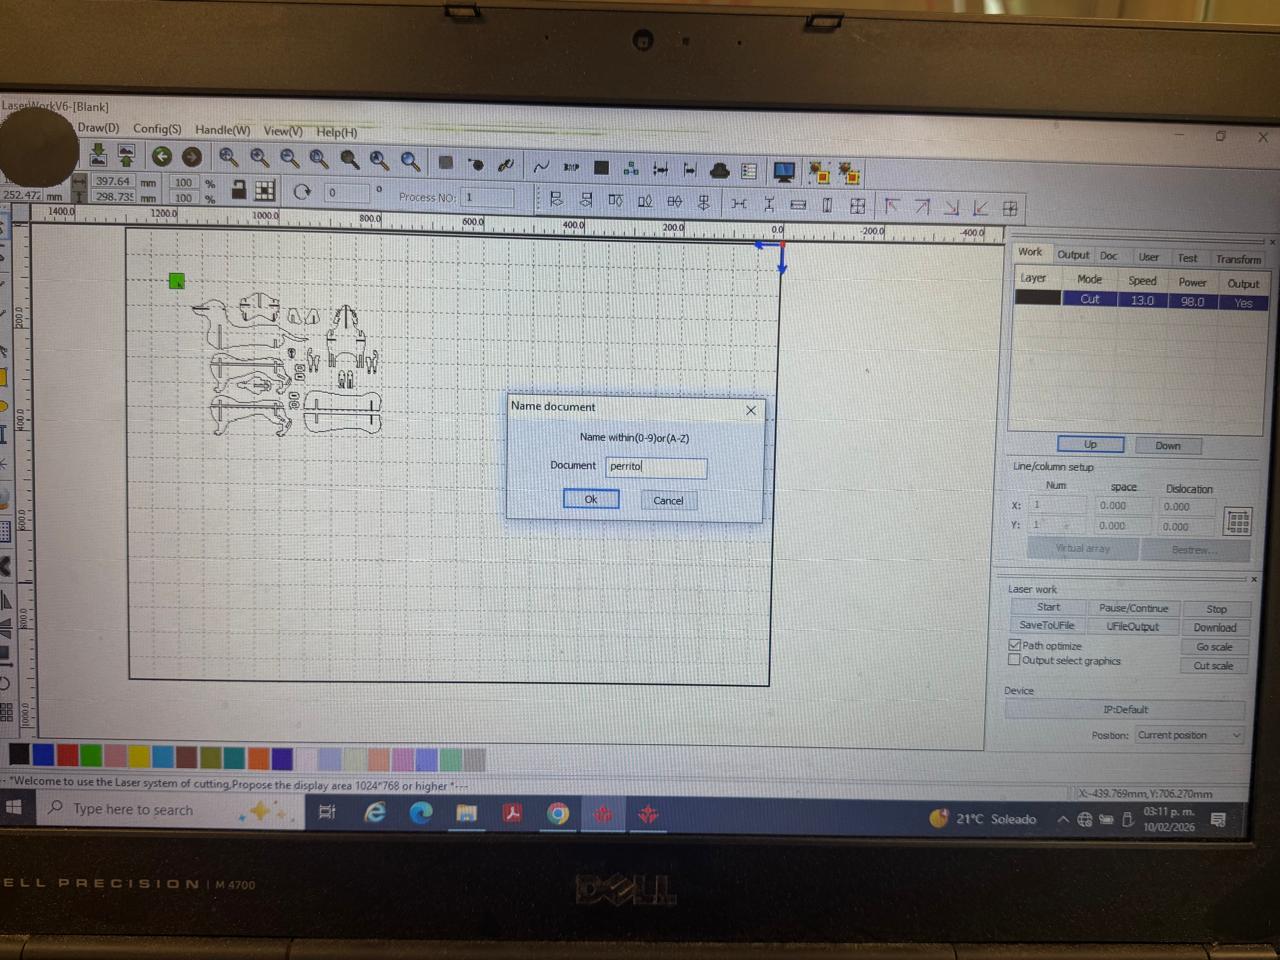
It took several tries to get that fit right.
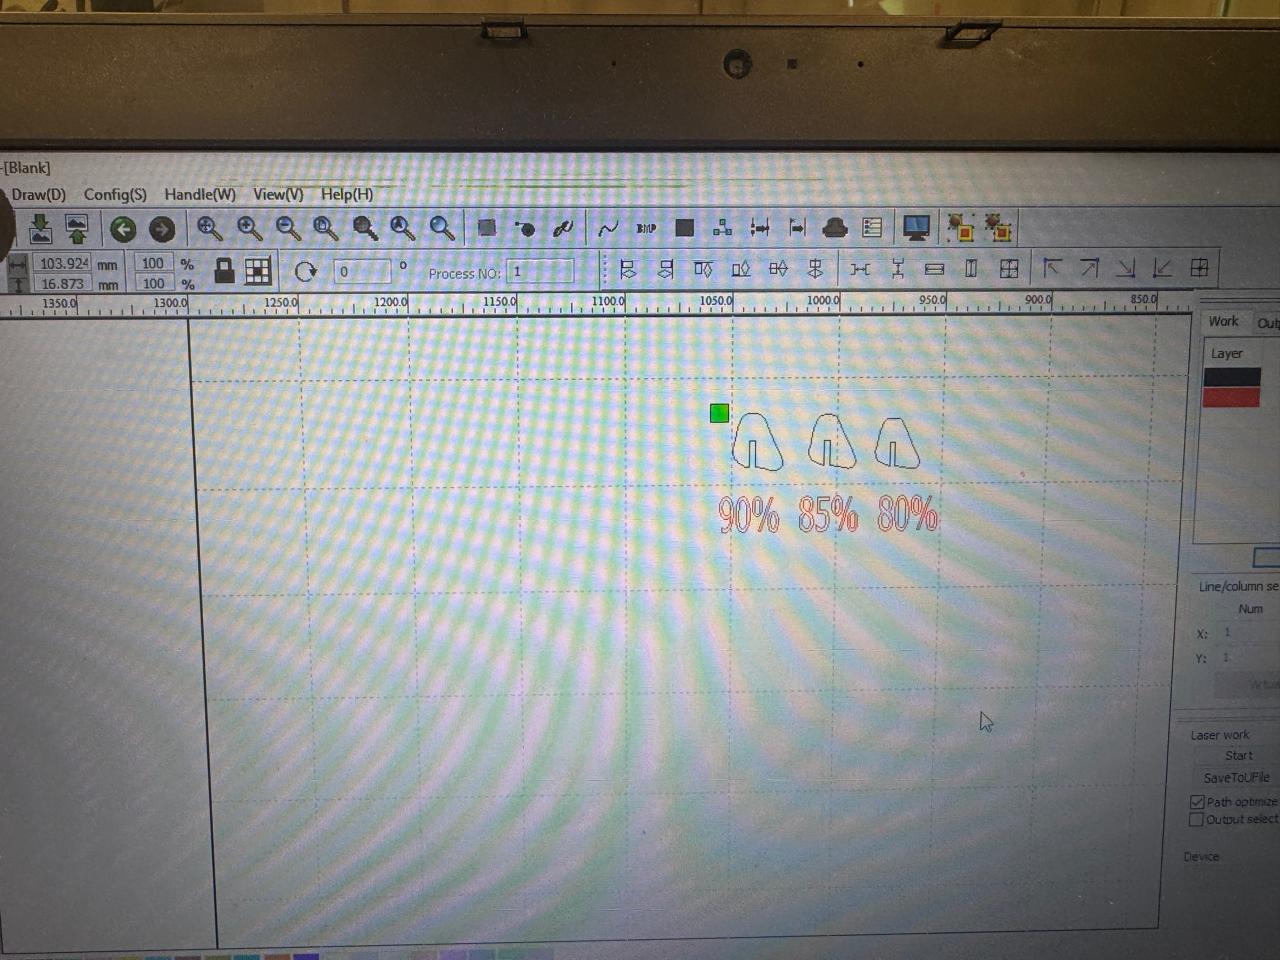
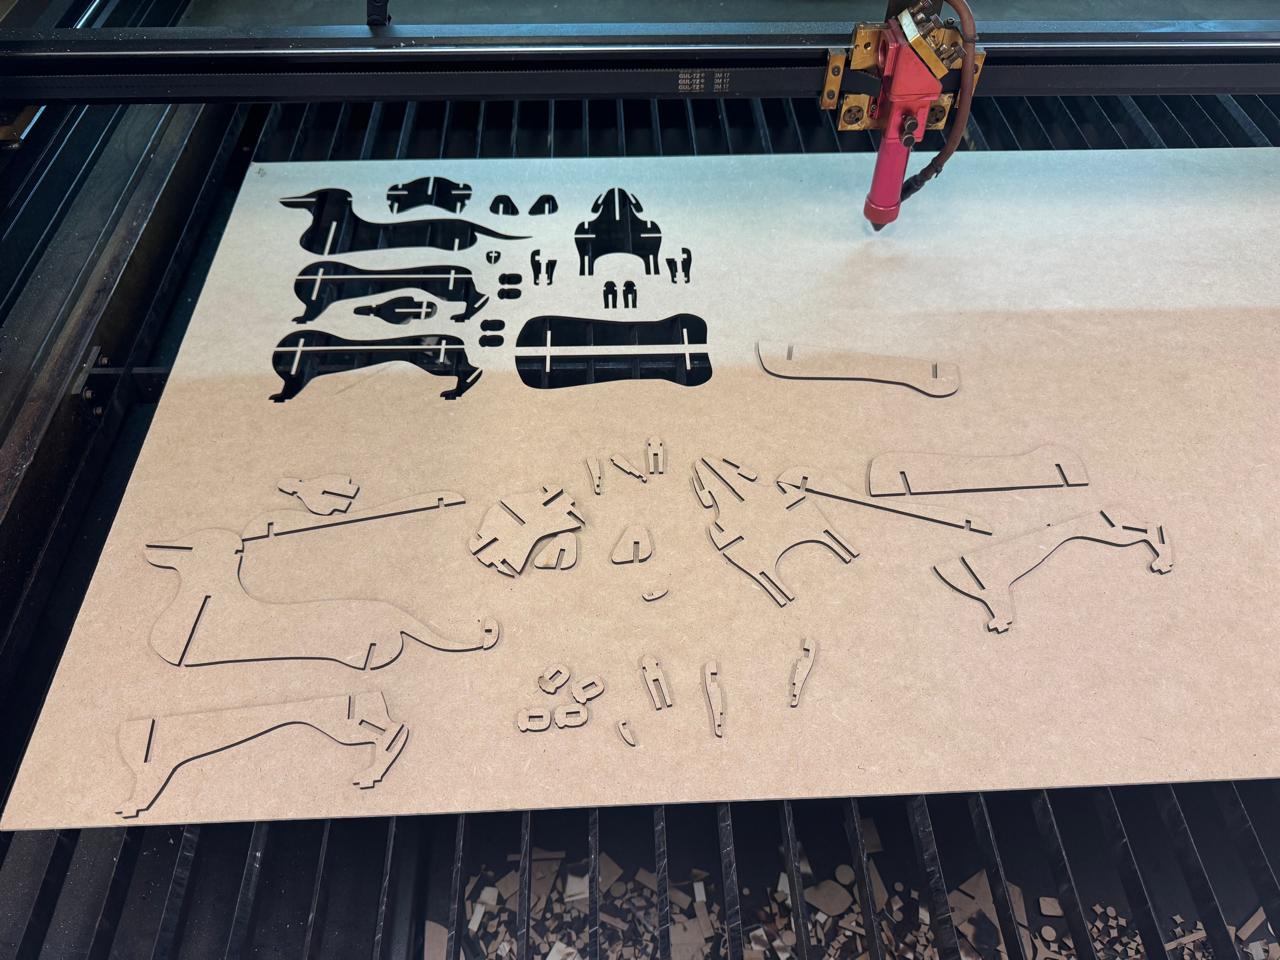
I tried cutting one piece in different sizes to find the perfect fit.
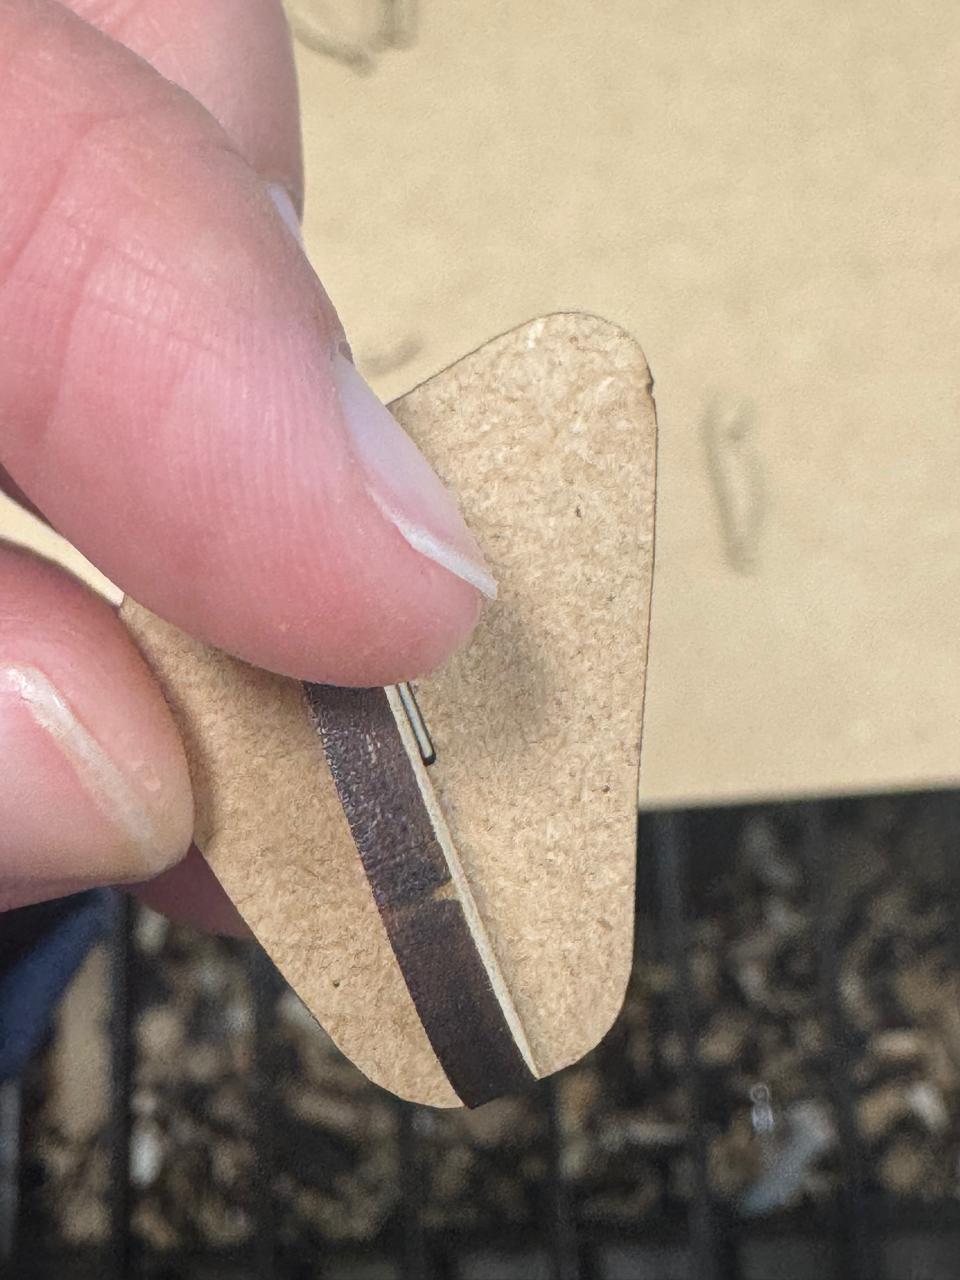
It was a little too wide first, so I made it 5% smaller and I finally got it right. With that same size I resized all the pieces and cutted everything out:
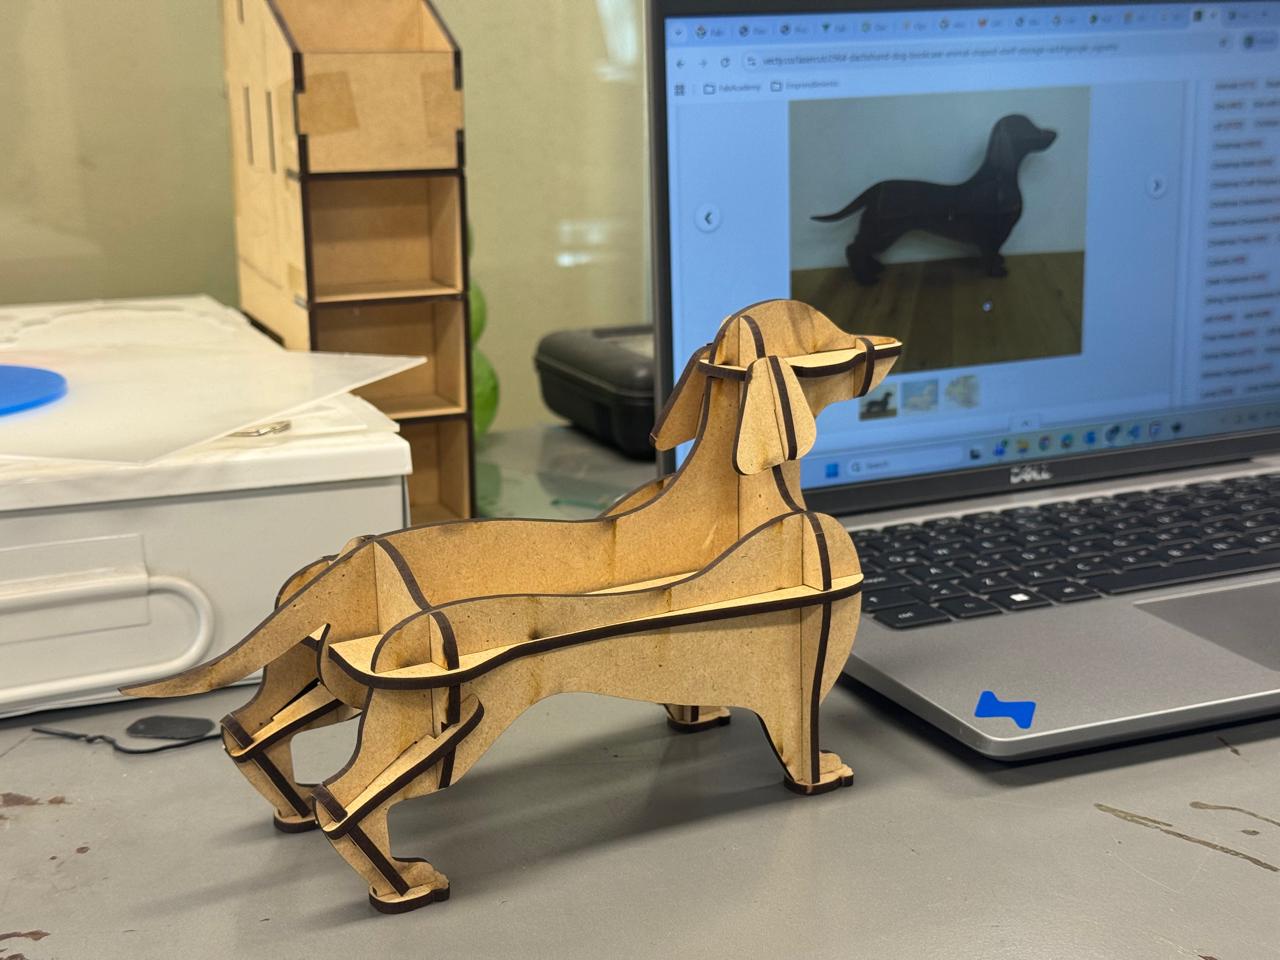
It turned out great. I even gave it away as a gift.
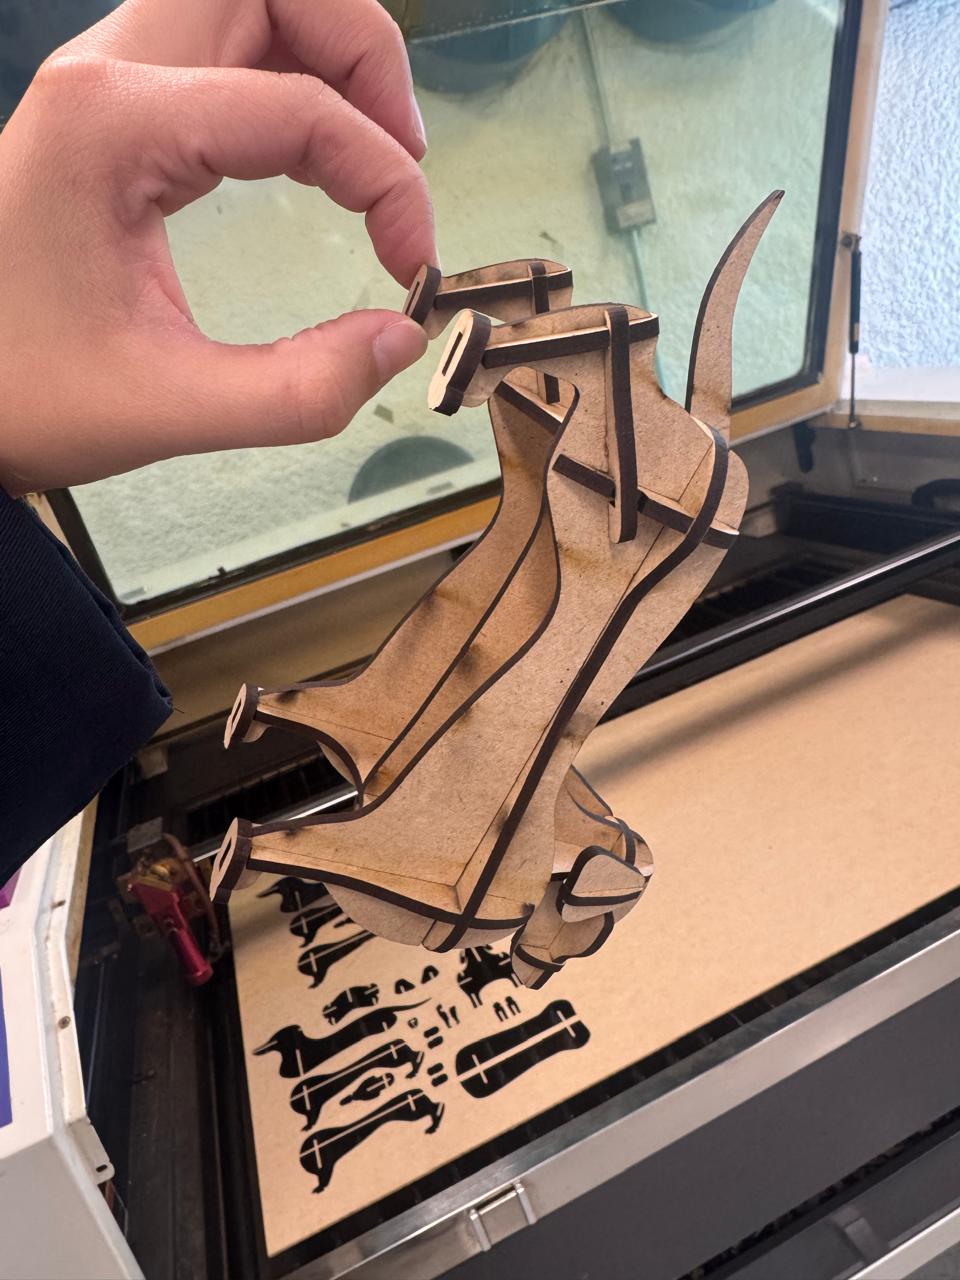
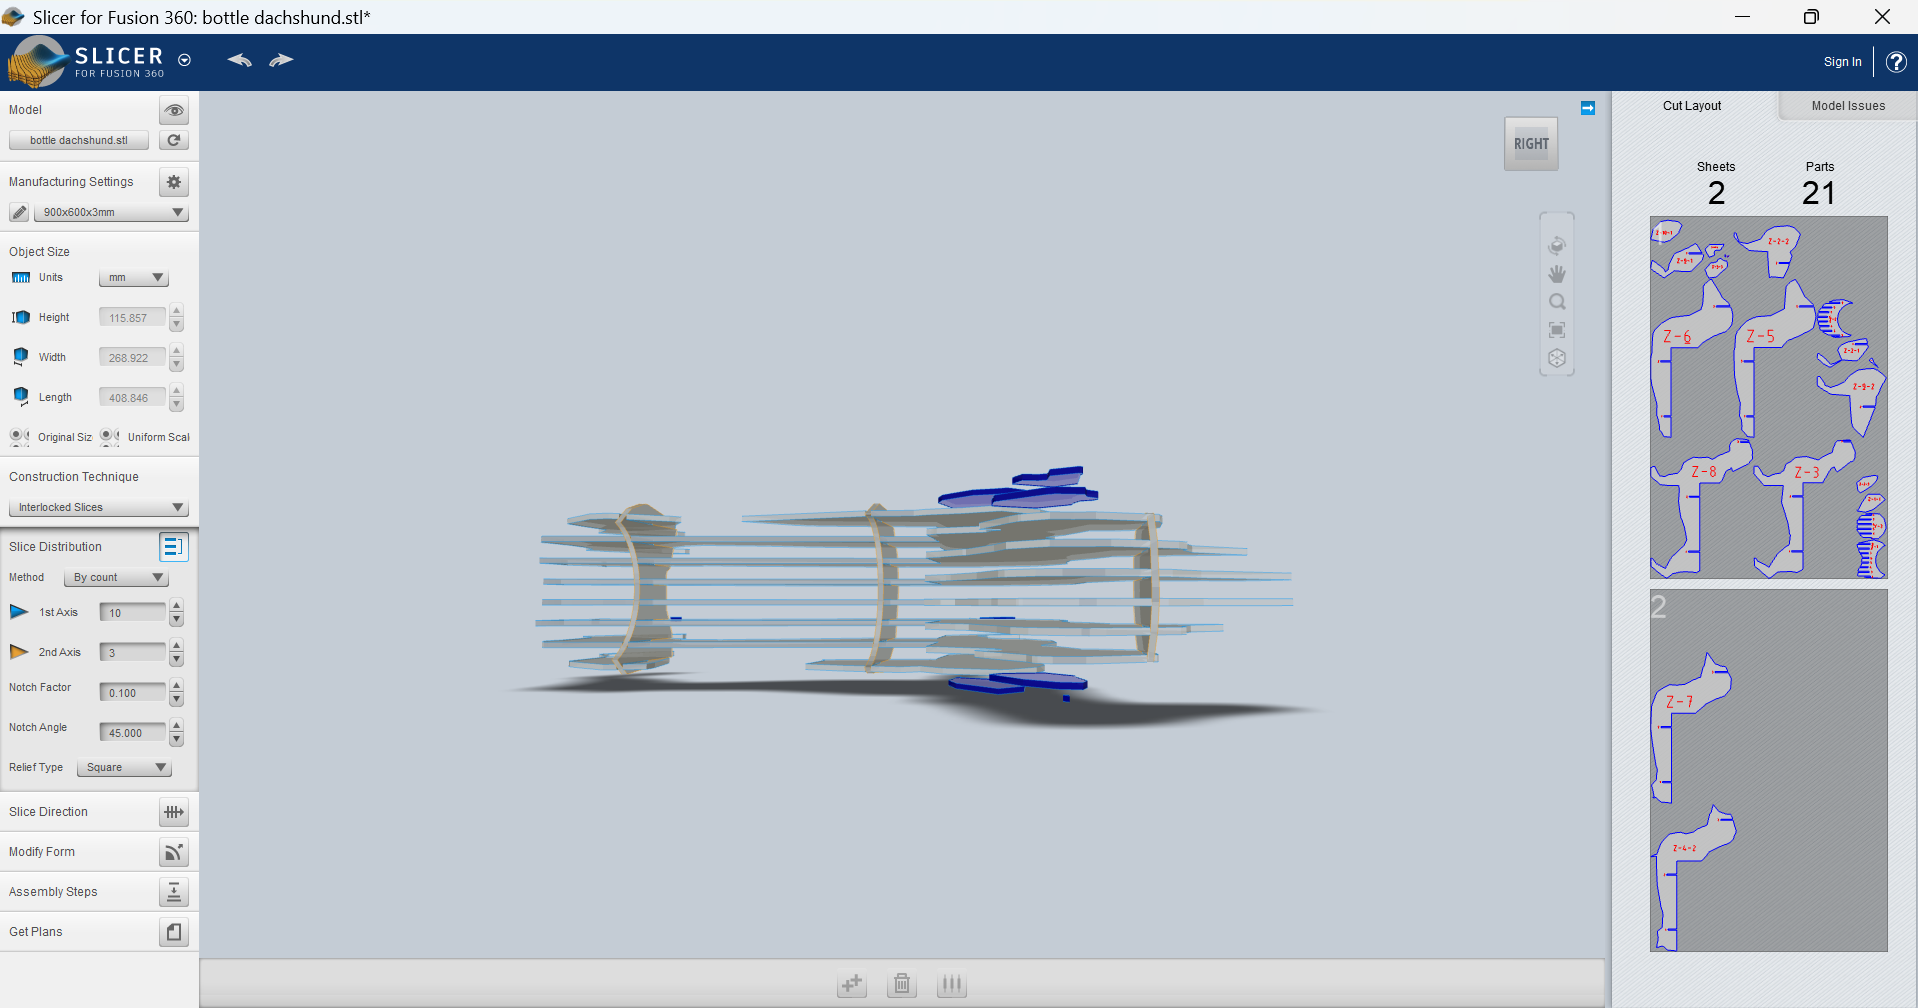
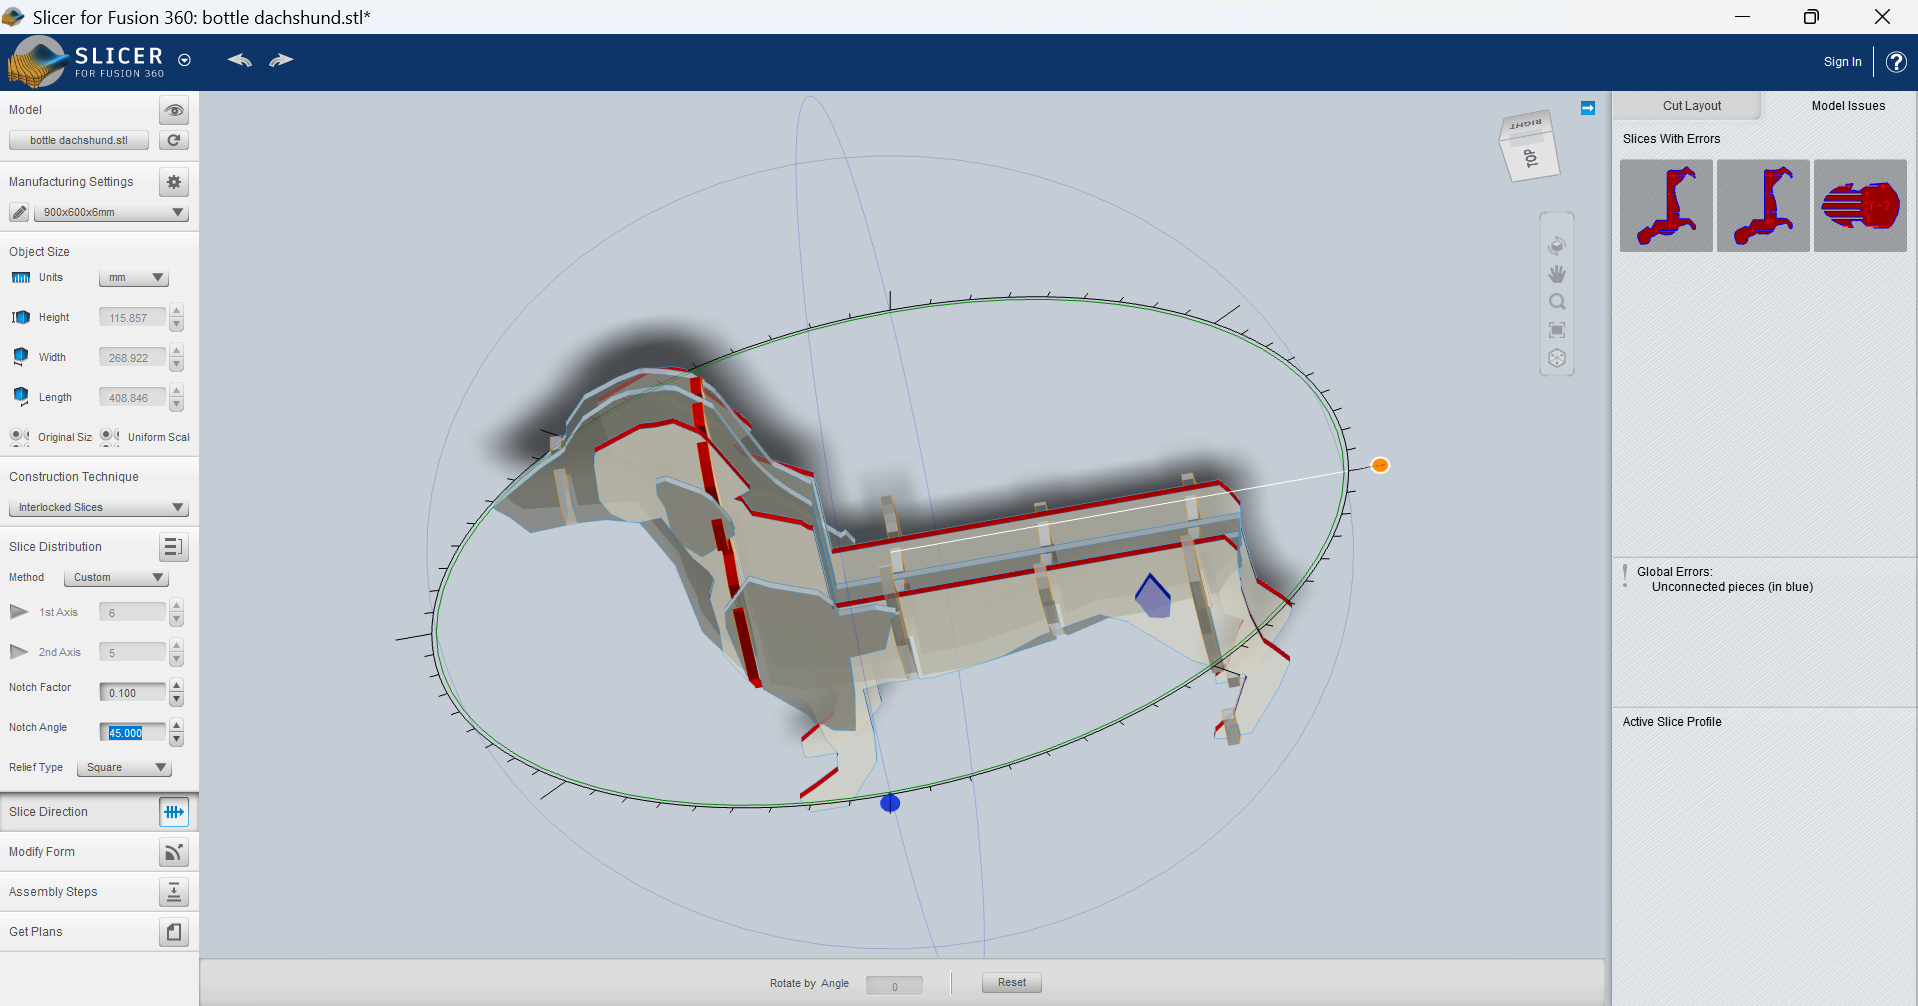
Some weeks later I came back and tried again with the original idea: slicing my 3D model. This time I used the
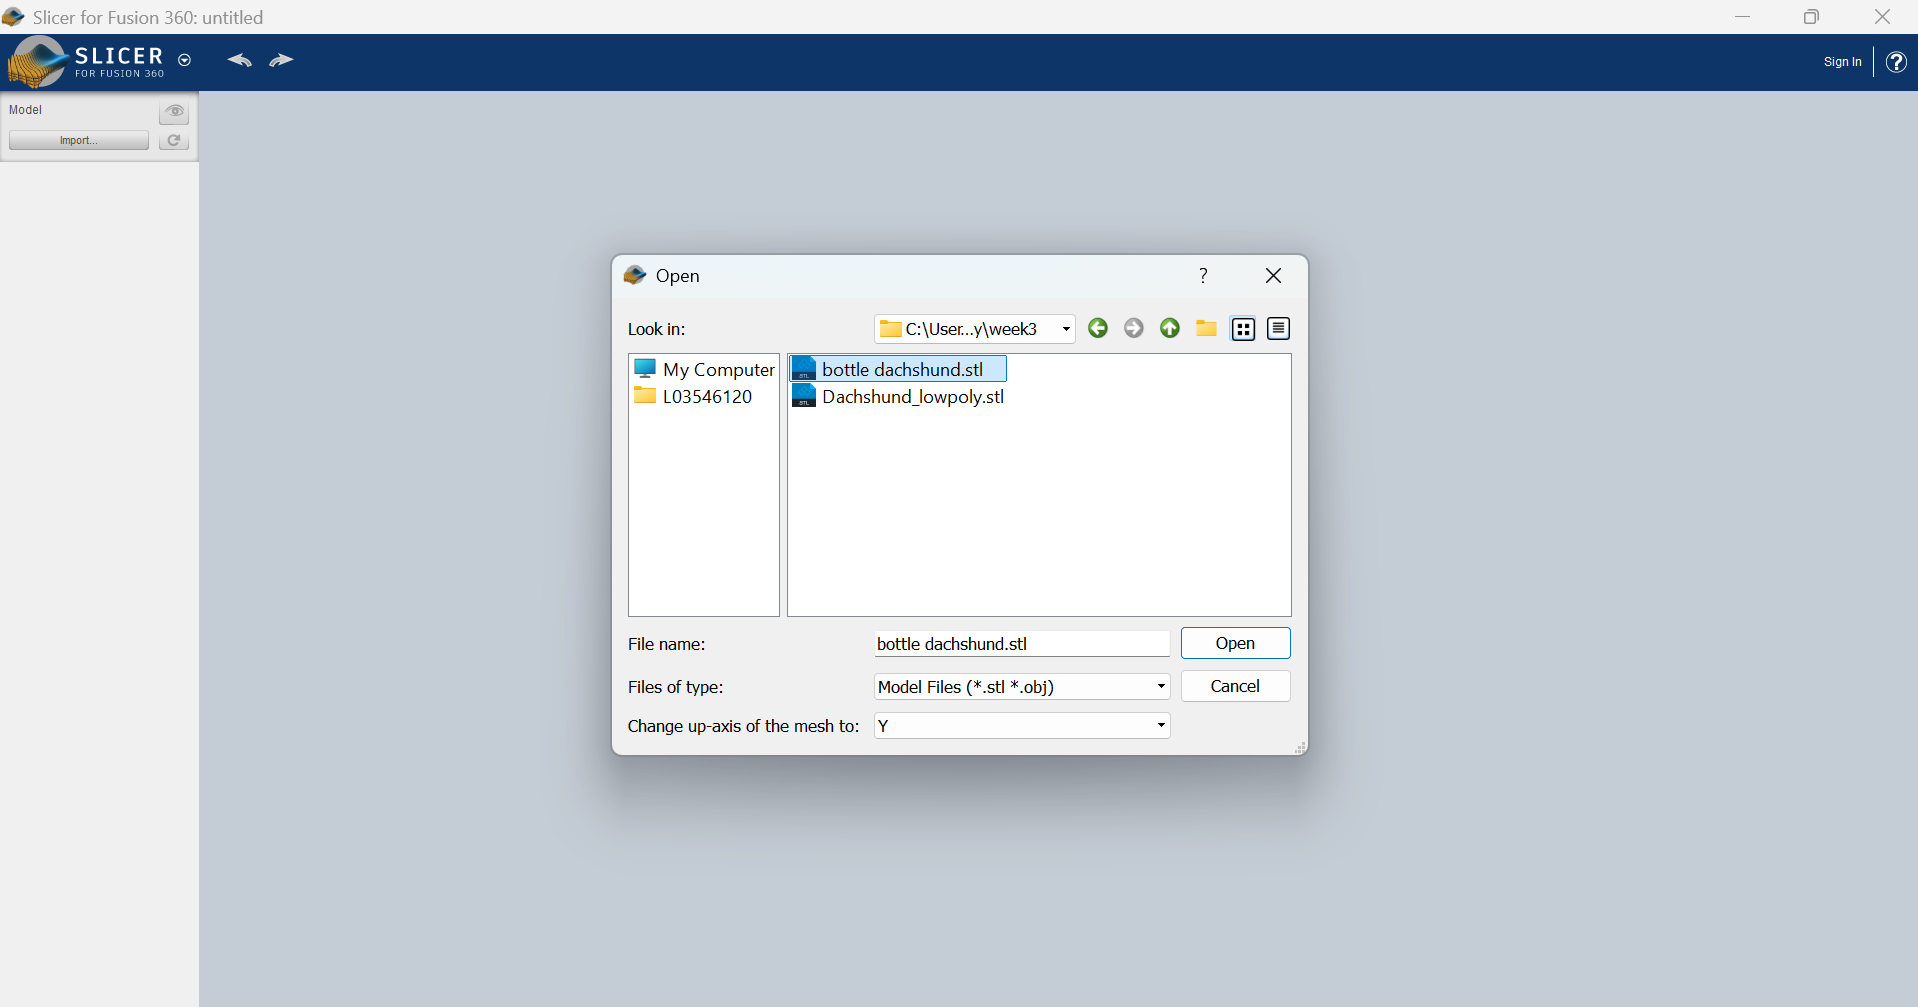
- First I had to upload the 3D model.
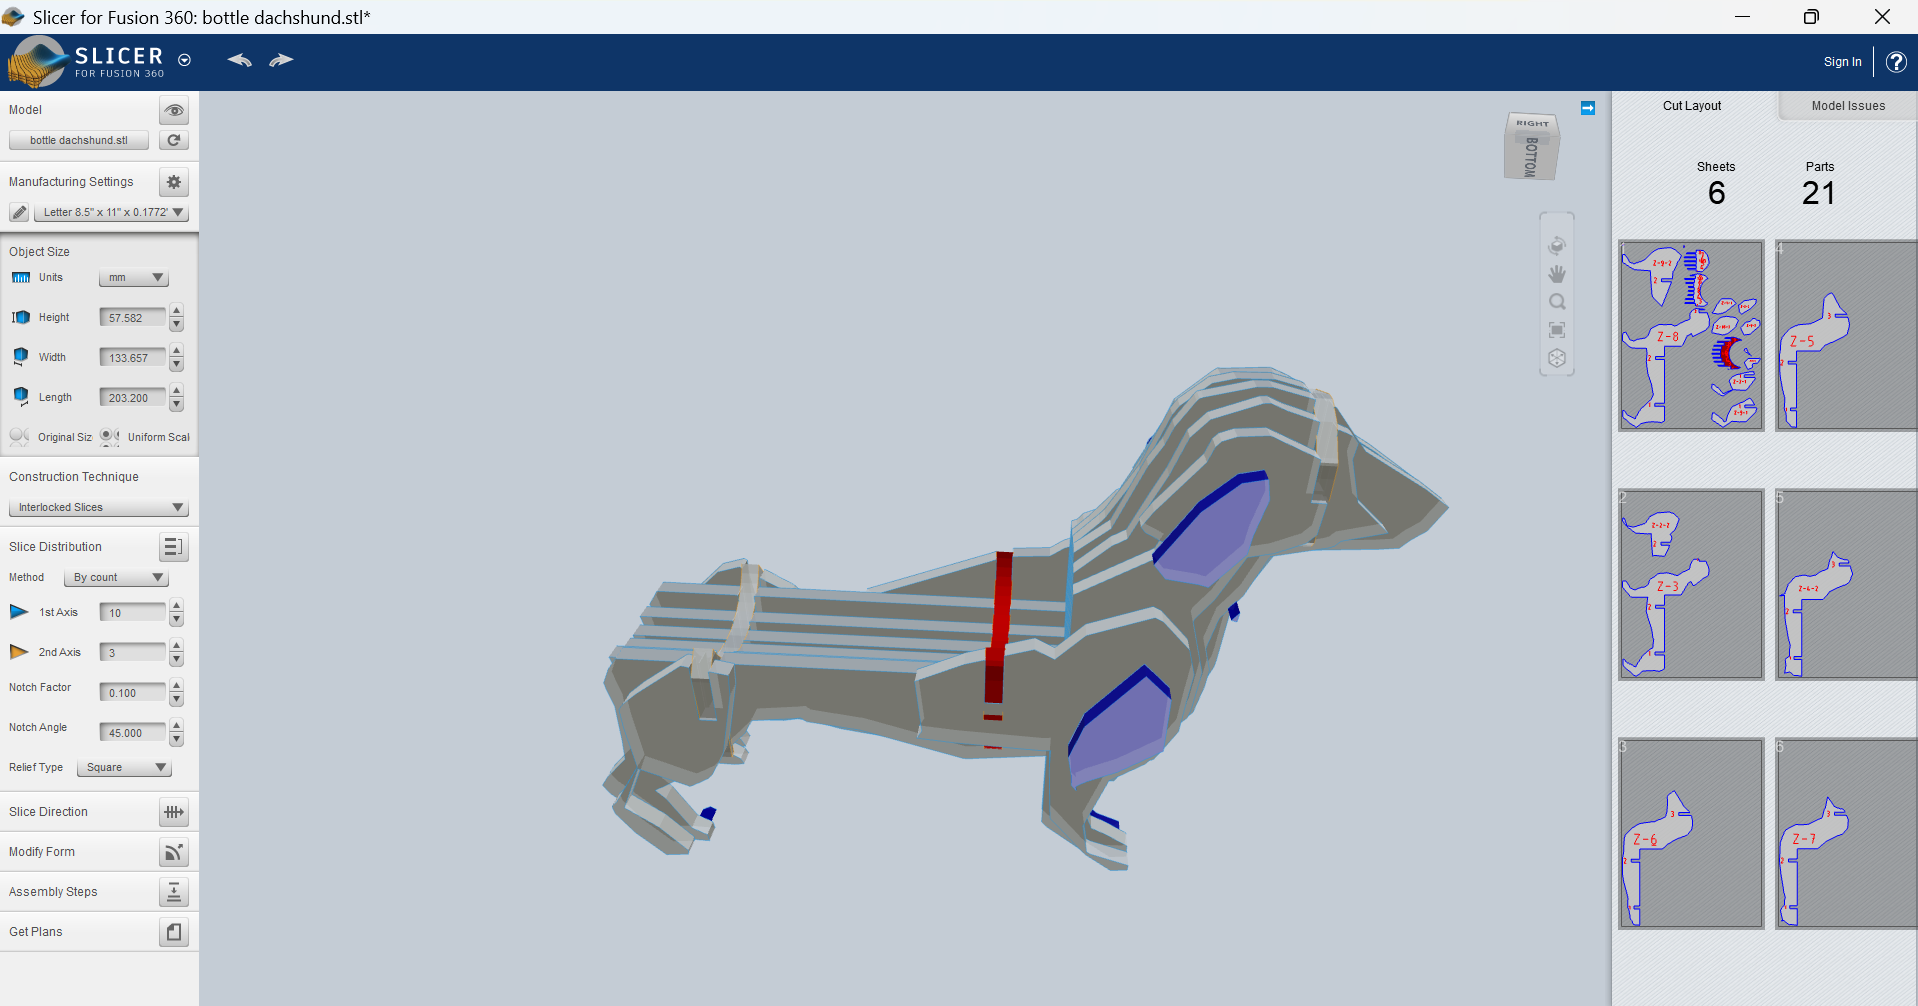
- I had to select an slicing mode:
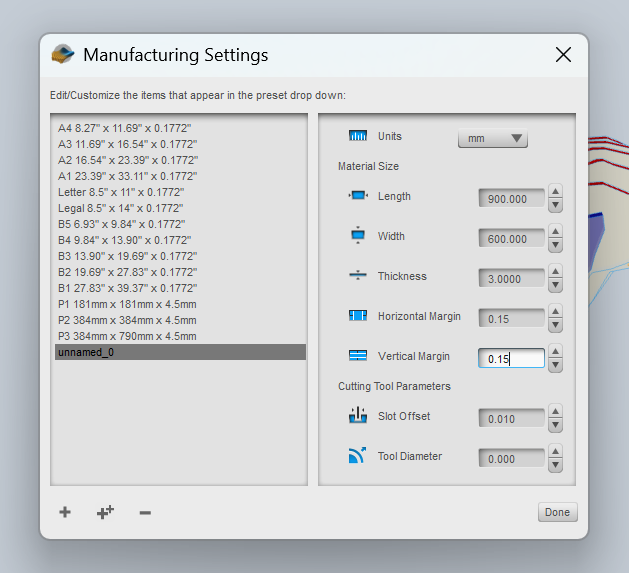
- It was necessary to create my own material with the right sizes:
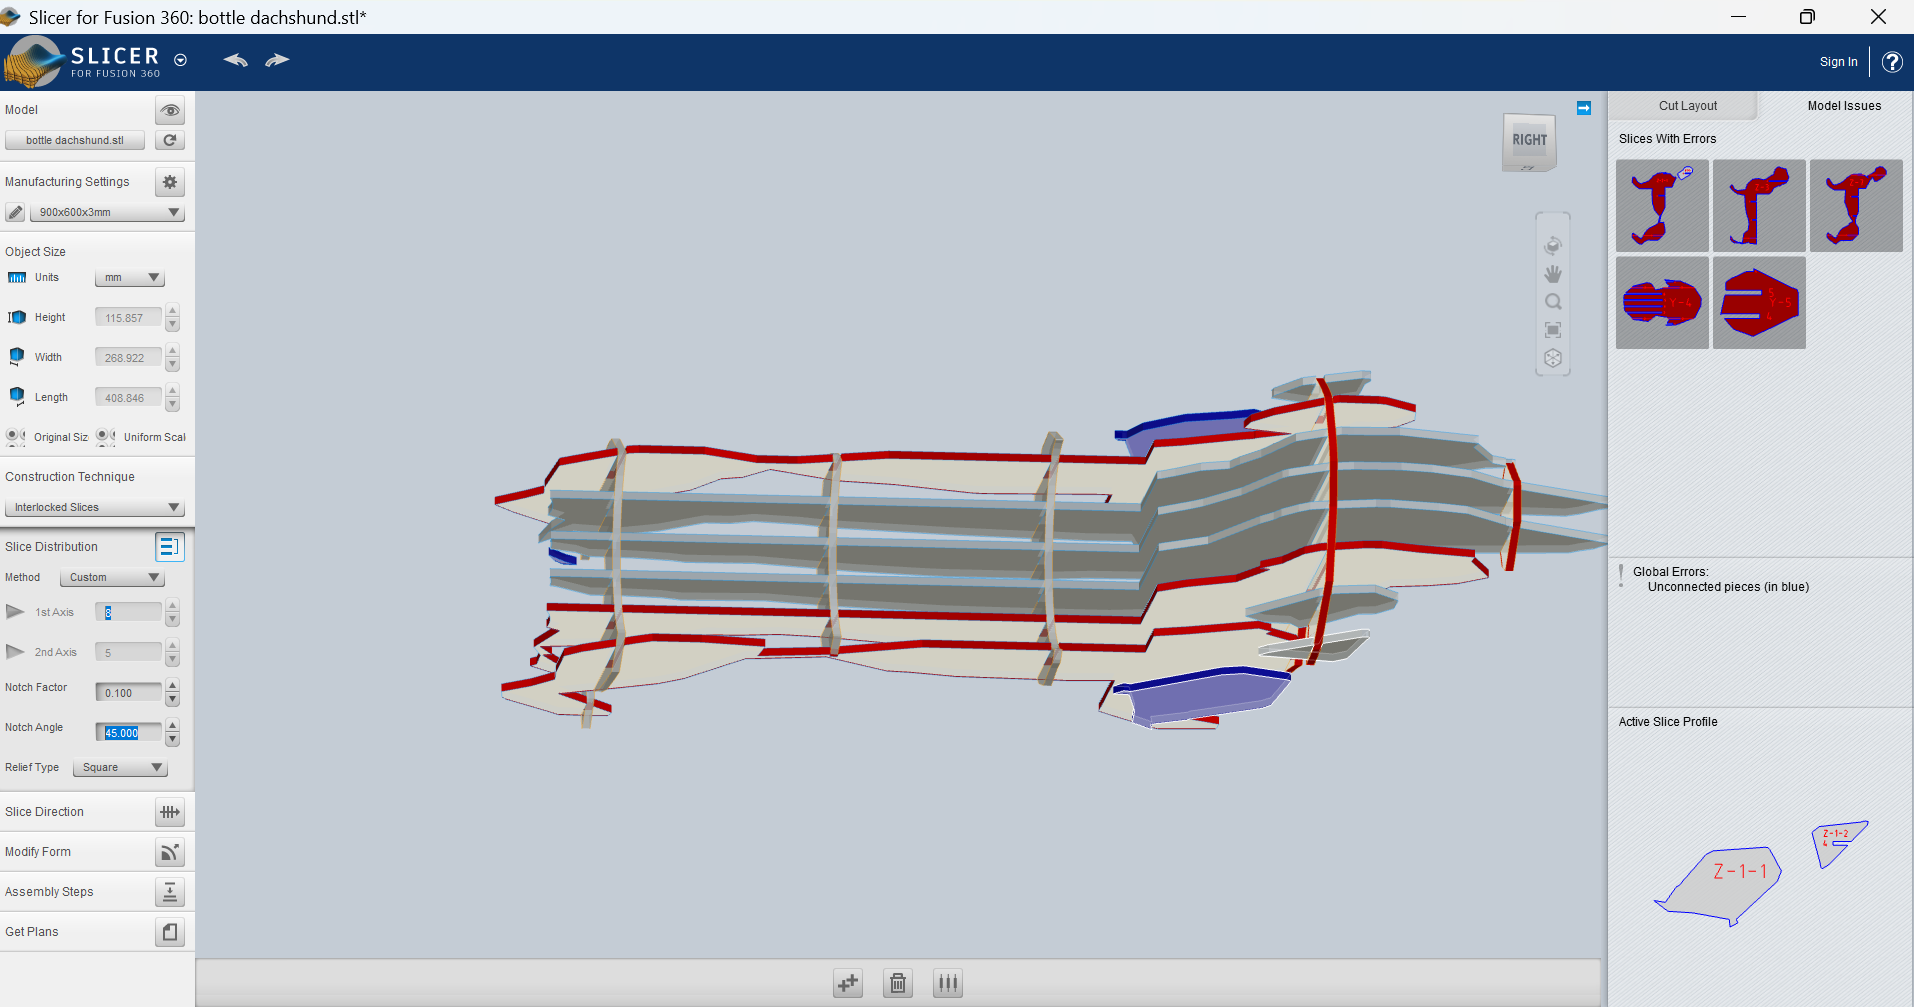
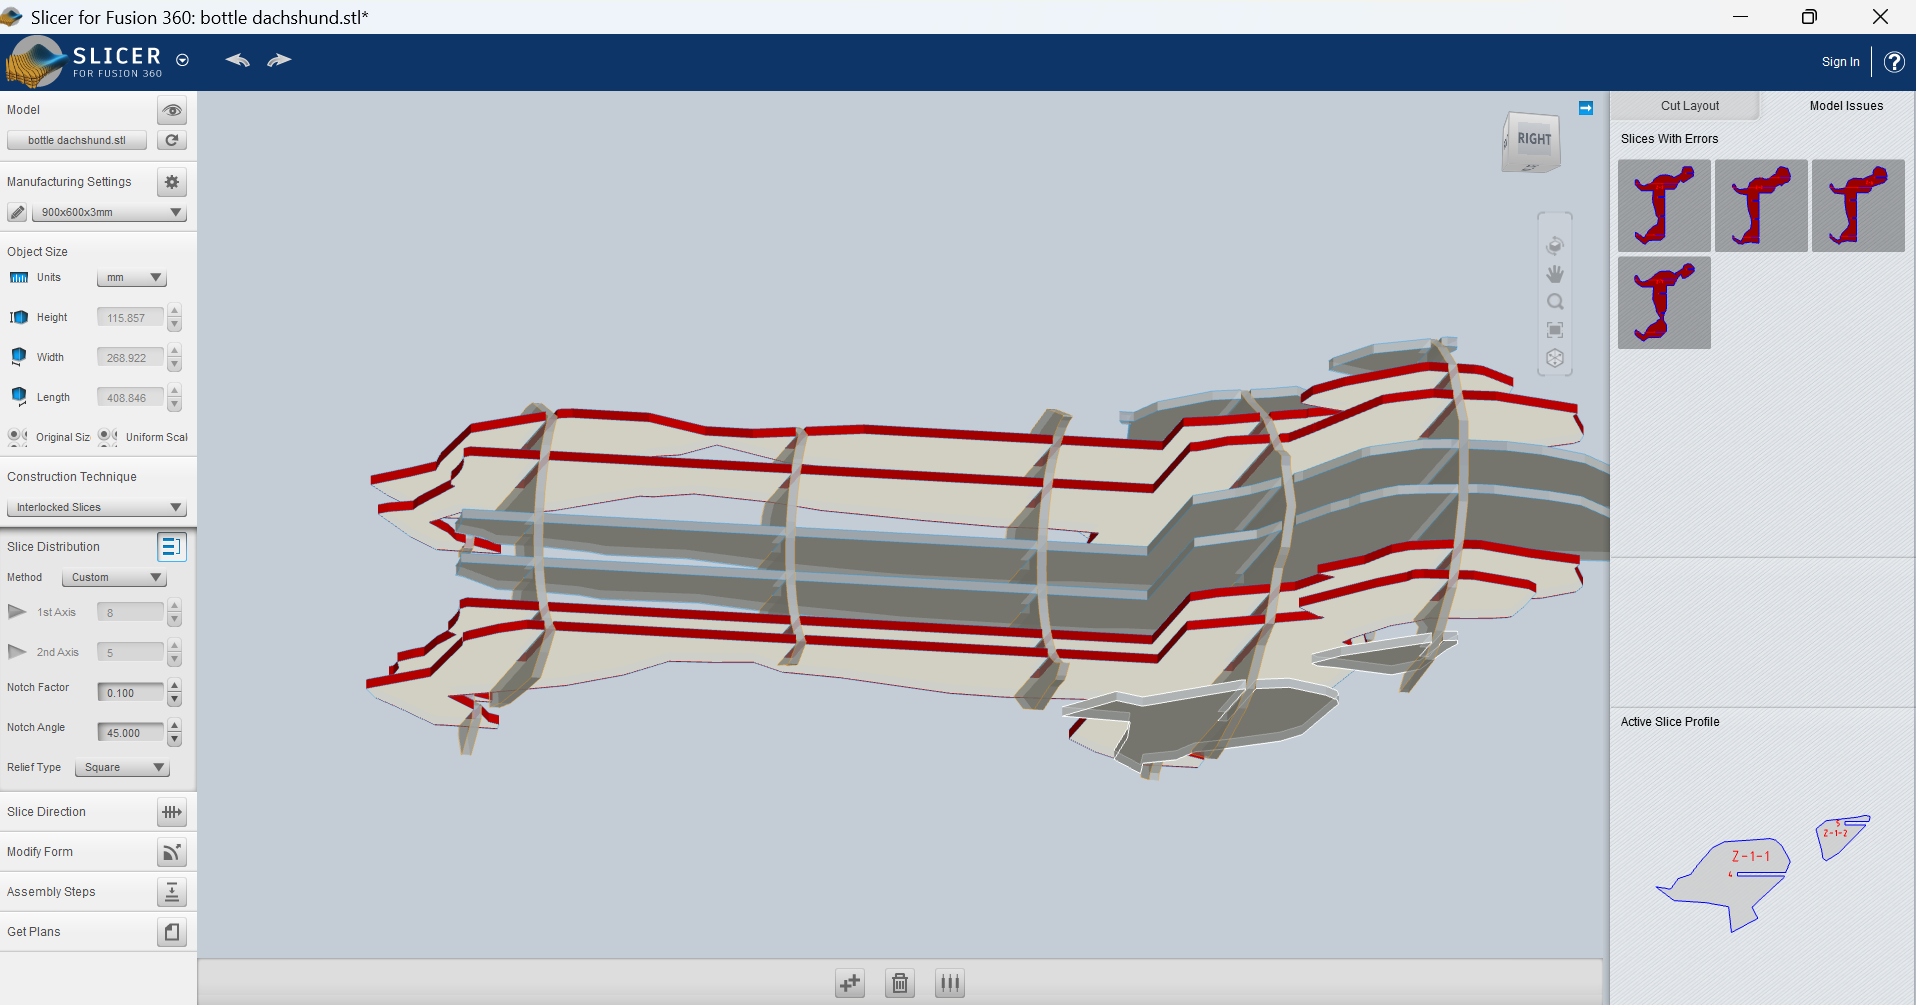
- I started playing around with the amount and position of the slices. First with the menu options, then manually:
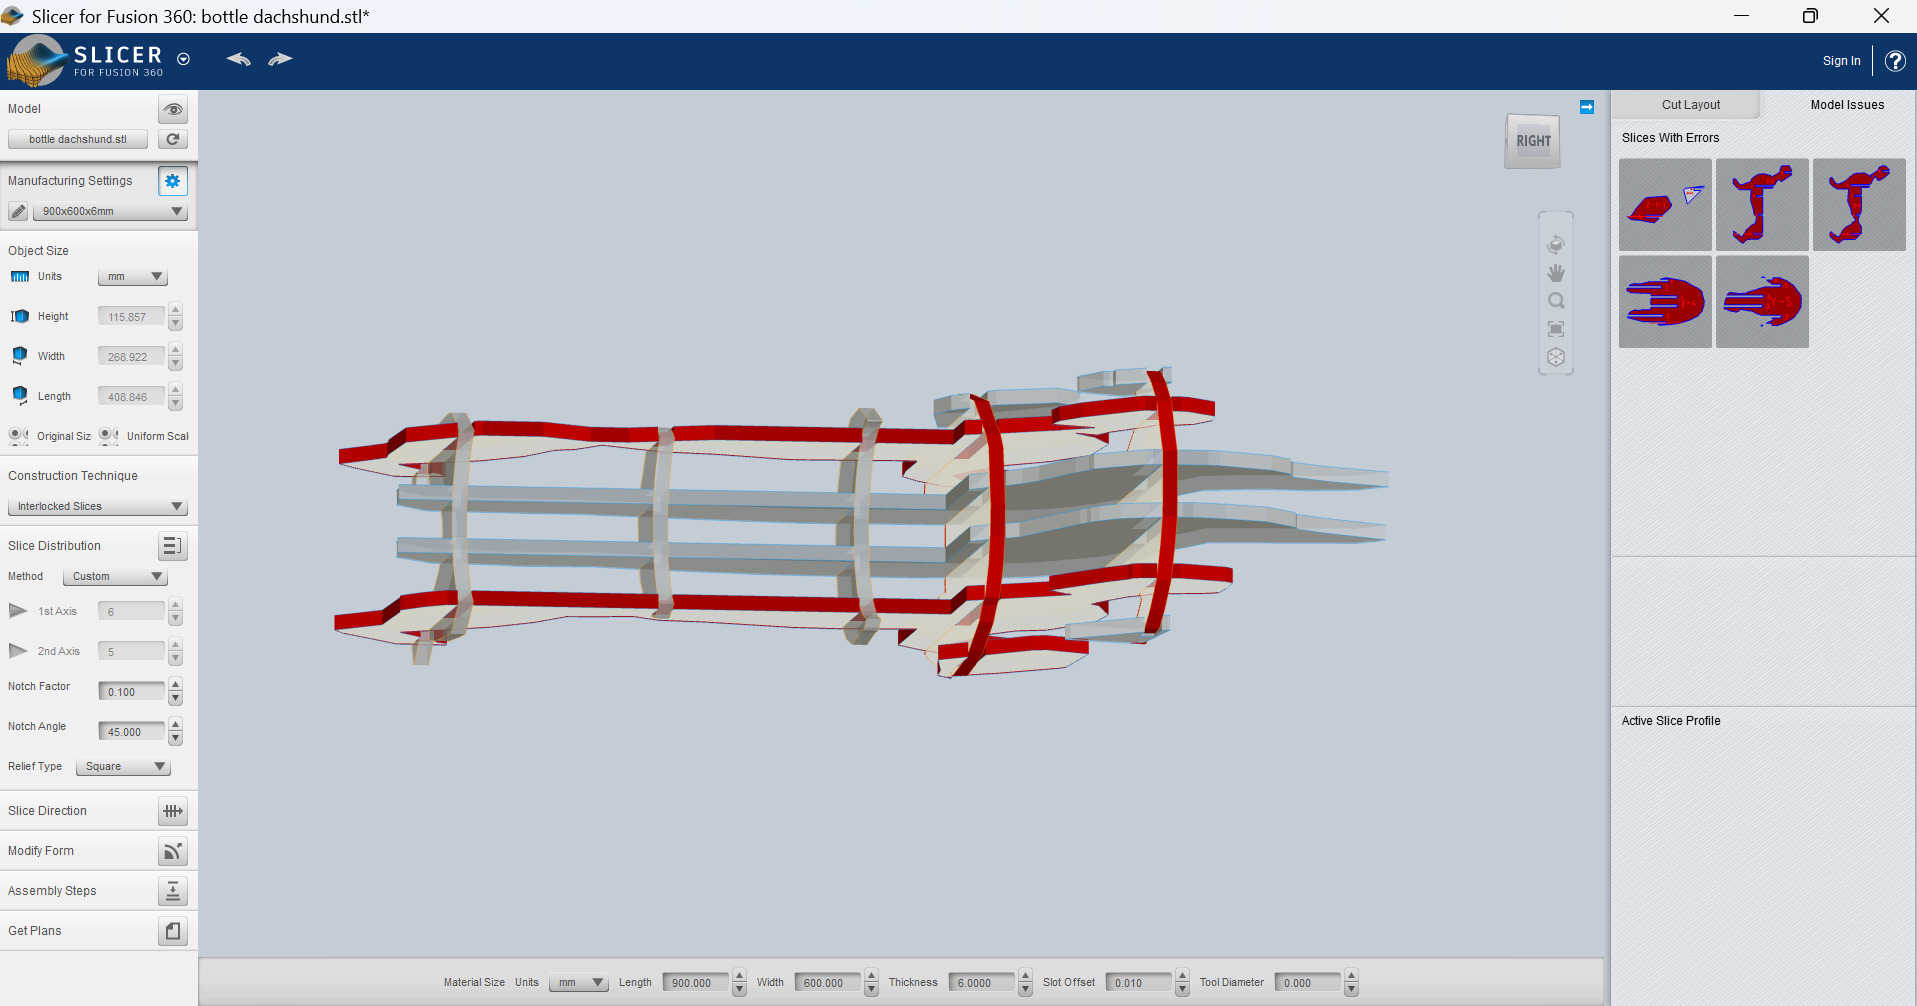
- Then I decided to use a thicker material so I changed it:
- I checked that the default angle was the best option:
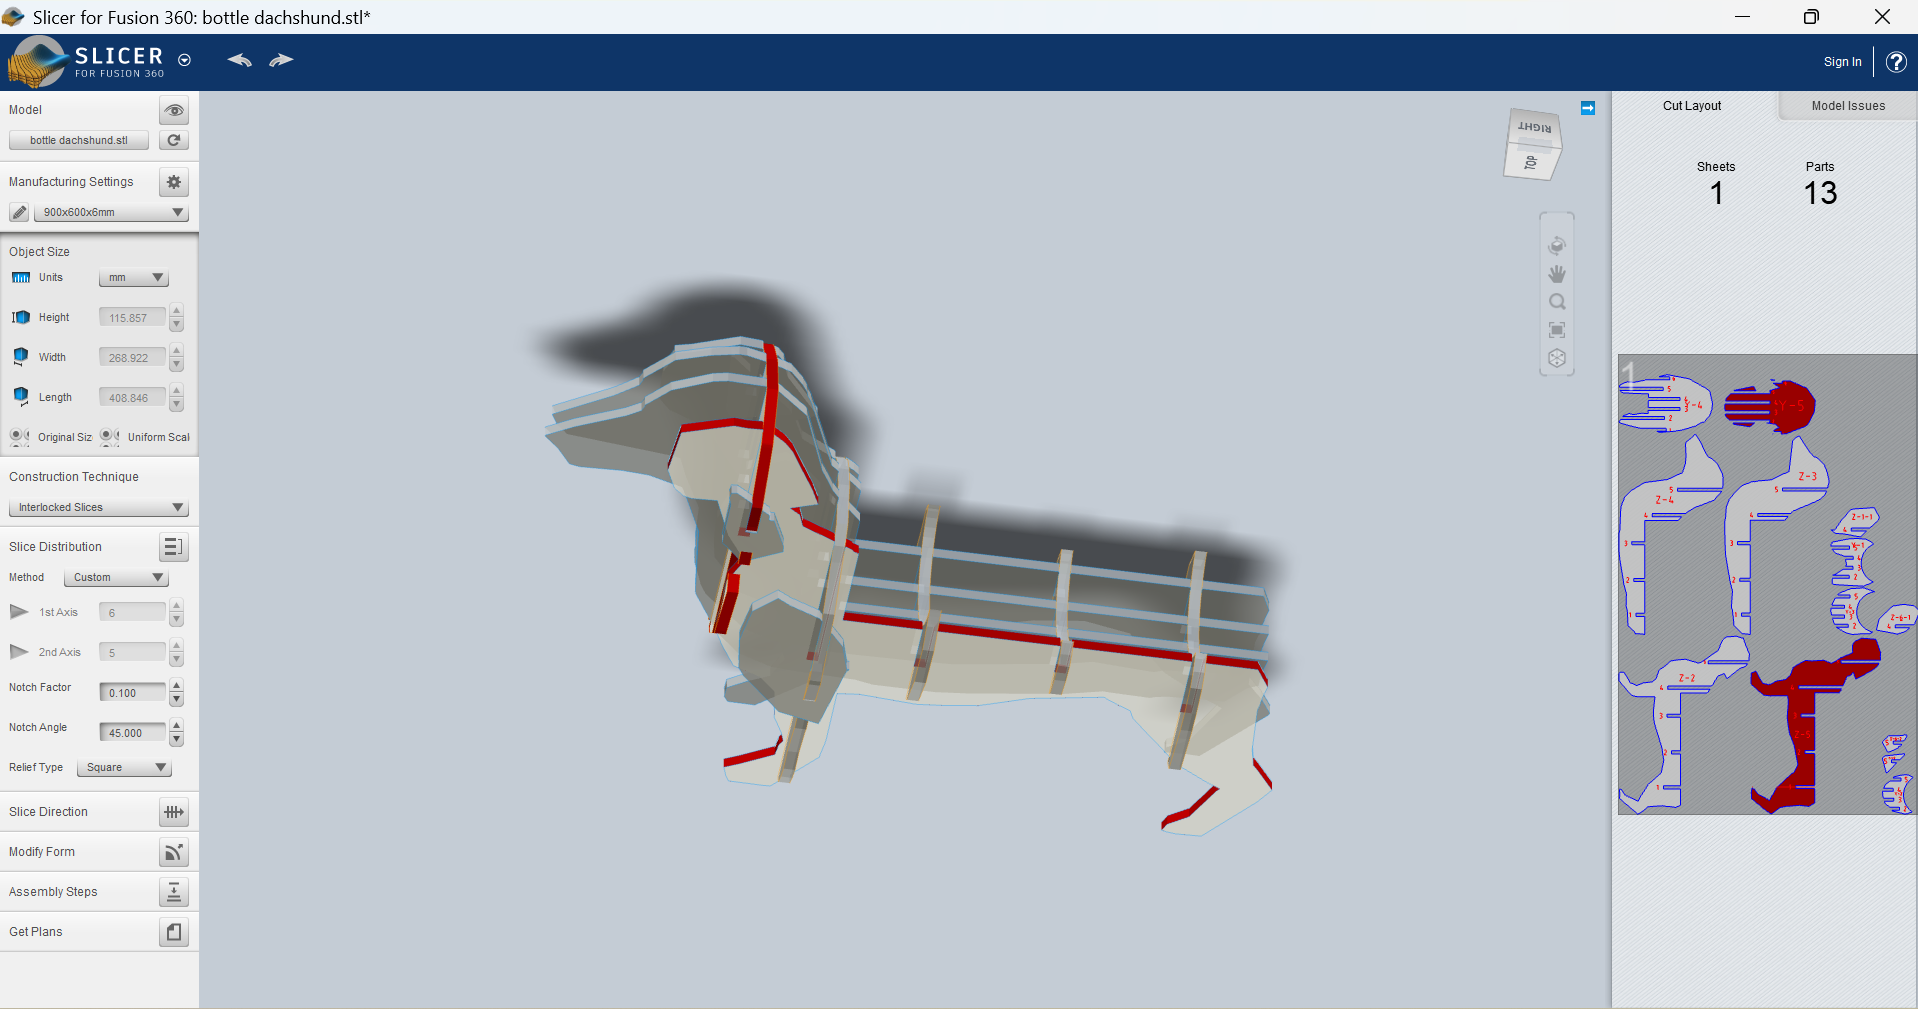
- Did my best to avoid all errors
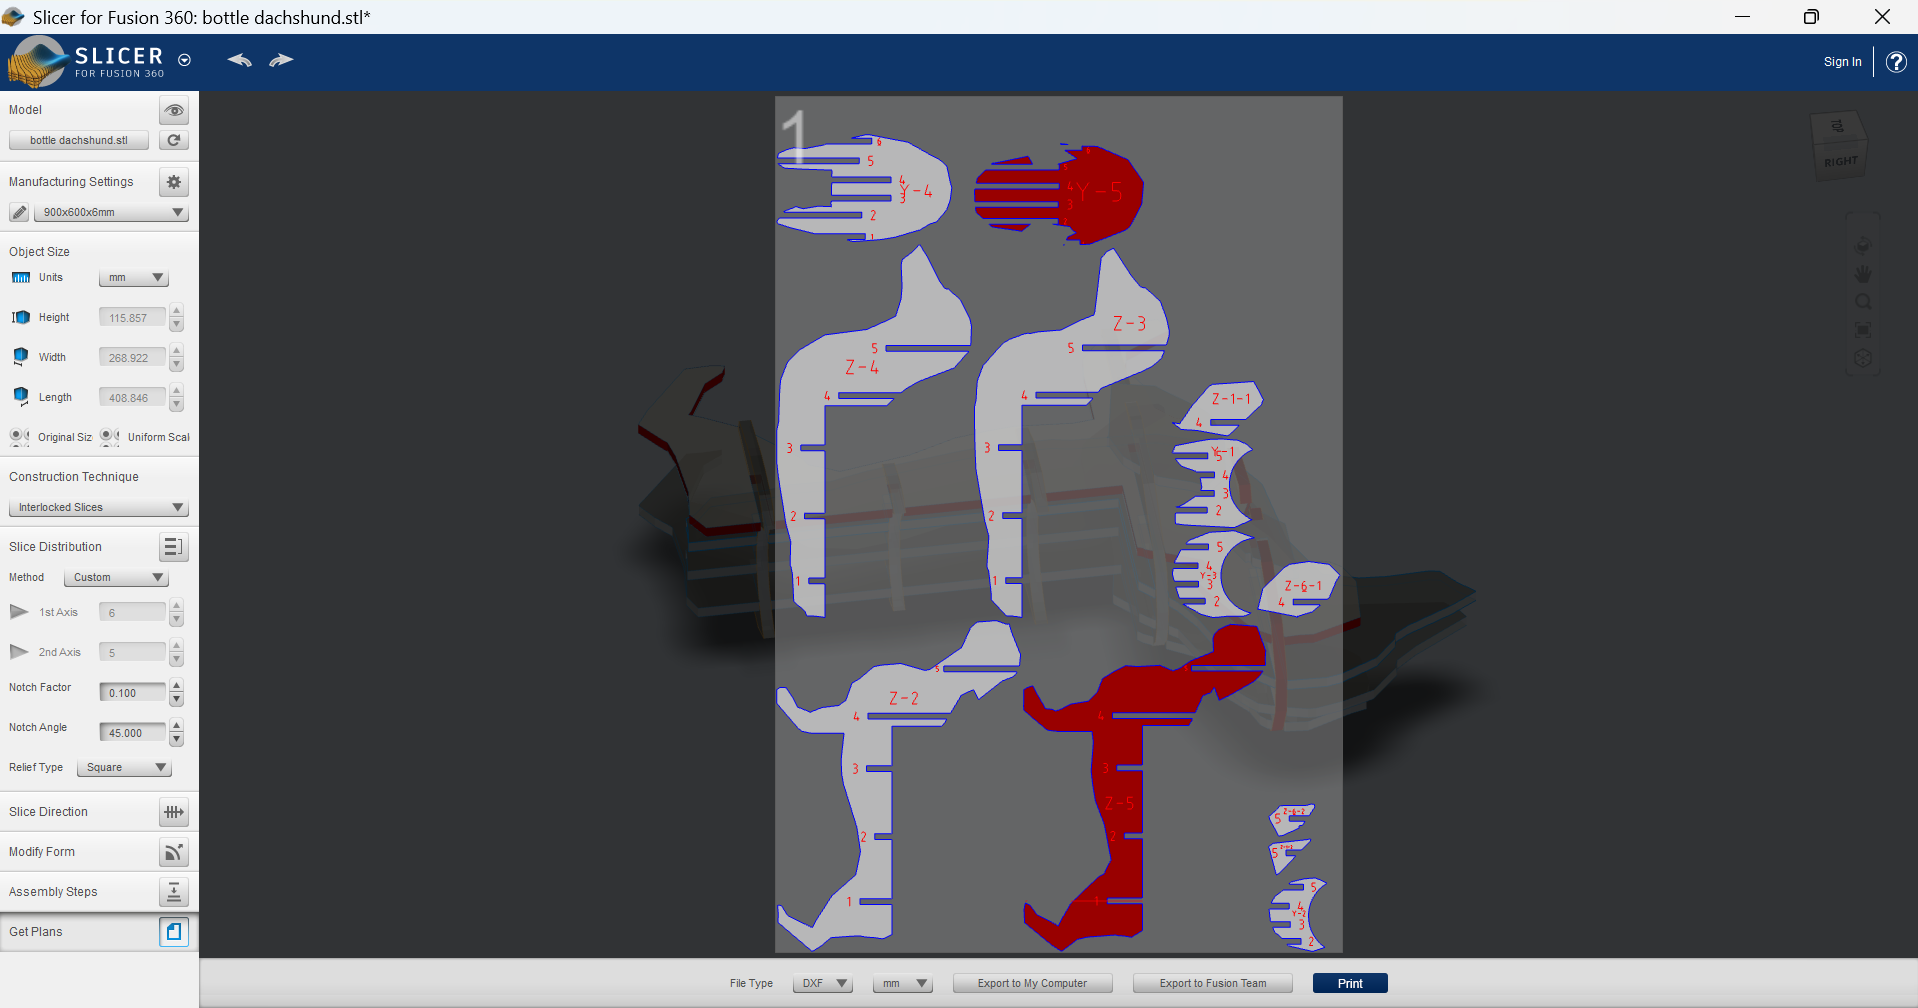
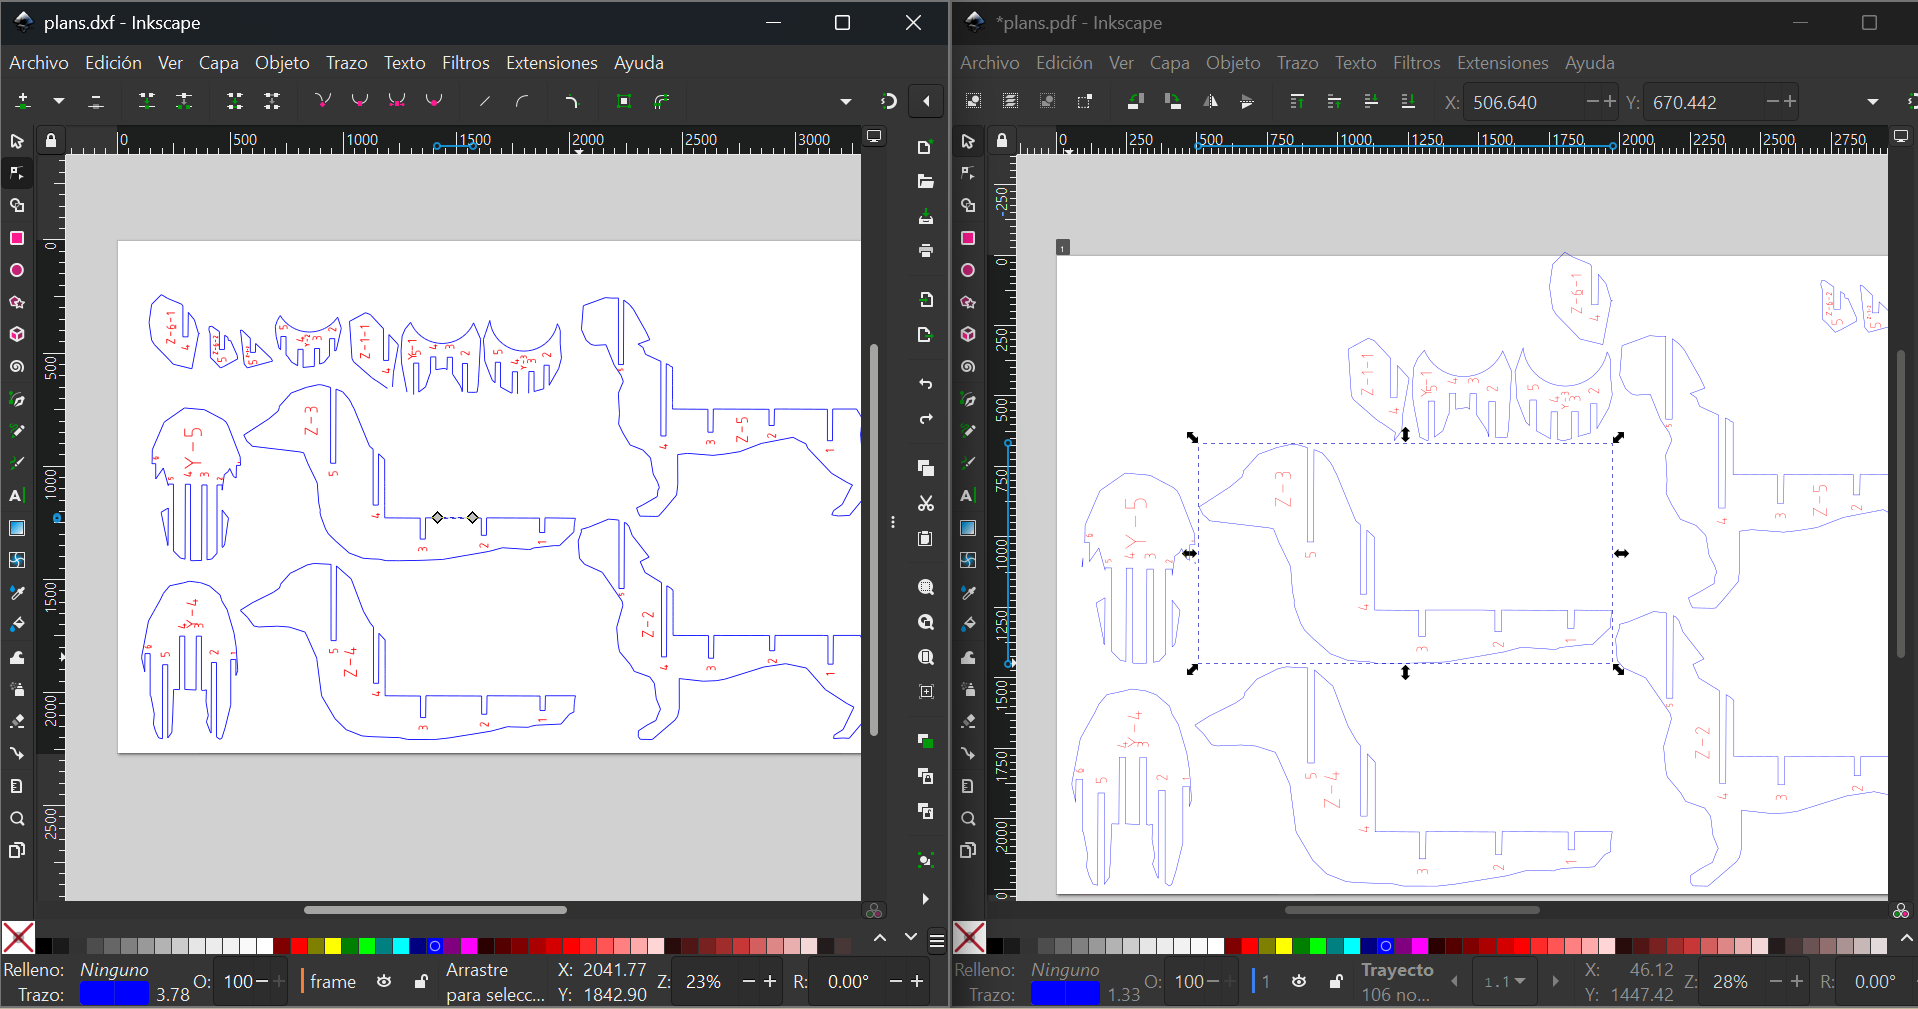
- Downloaded the plans, both in DXF and PDF formats.
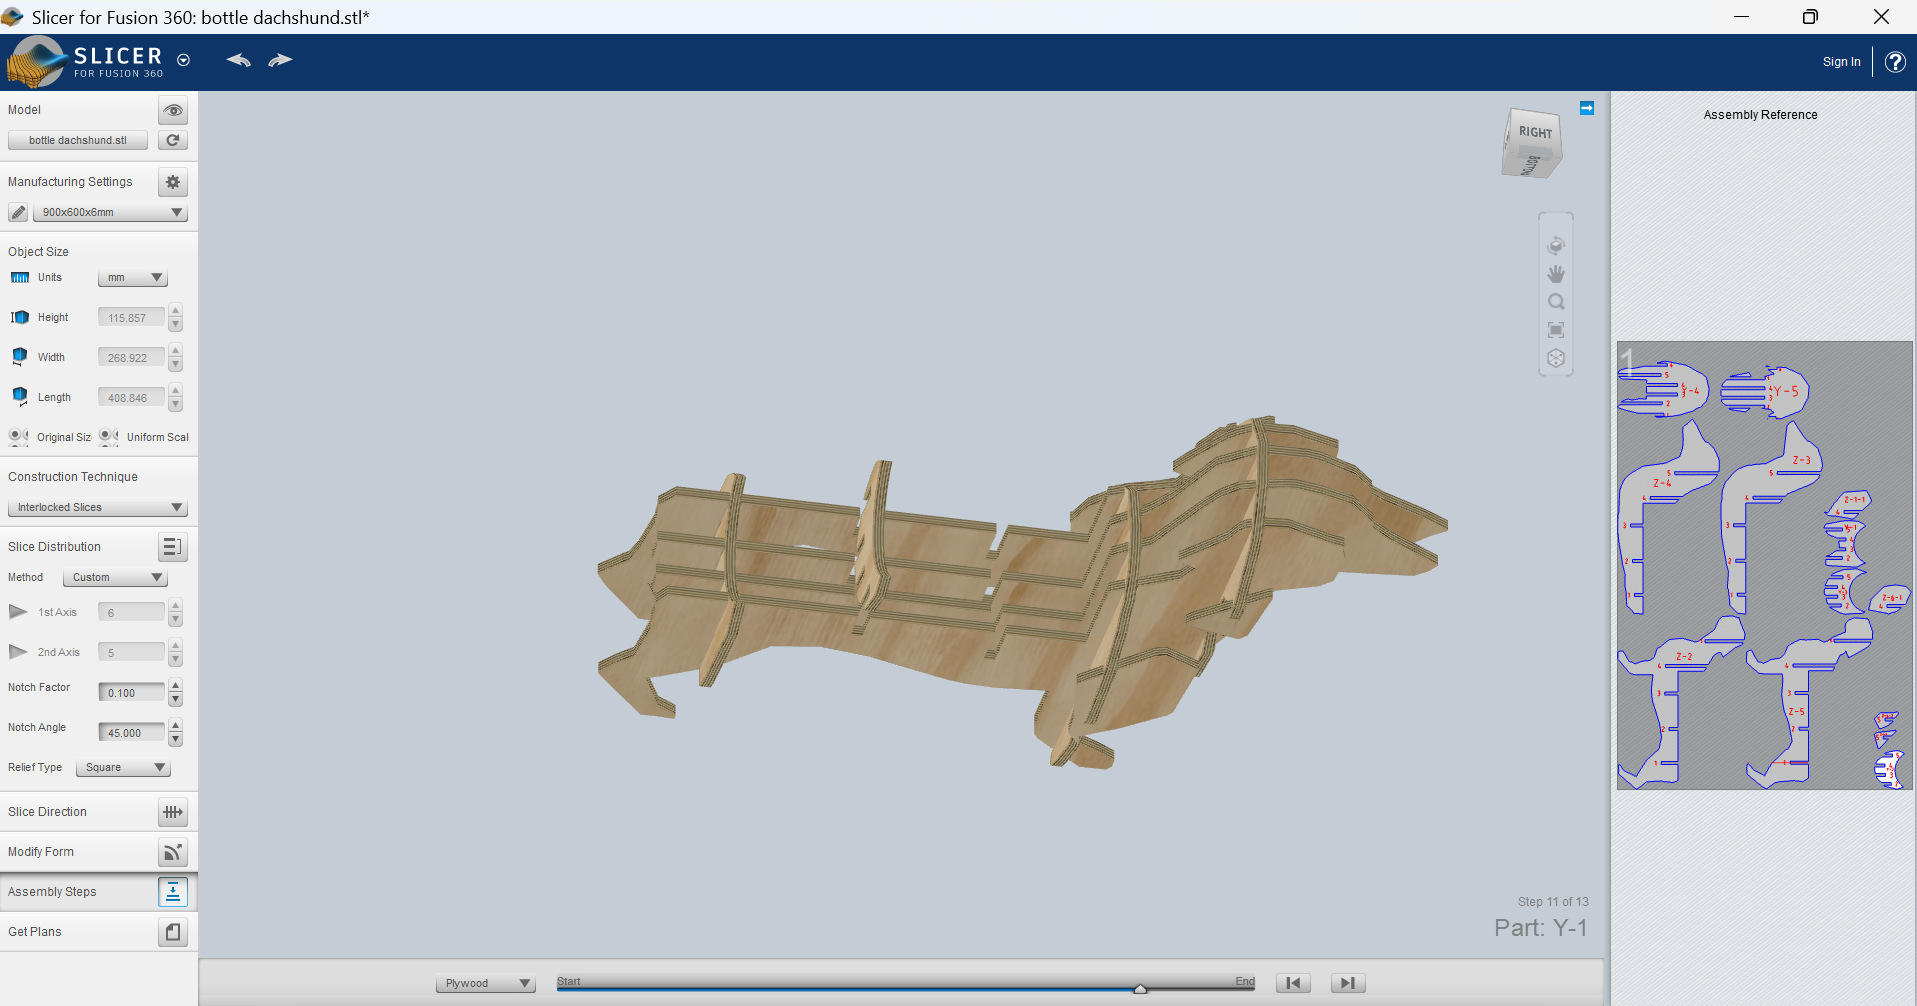
- Noticed there is an assembly video for later:
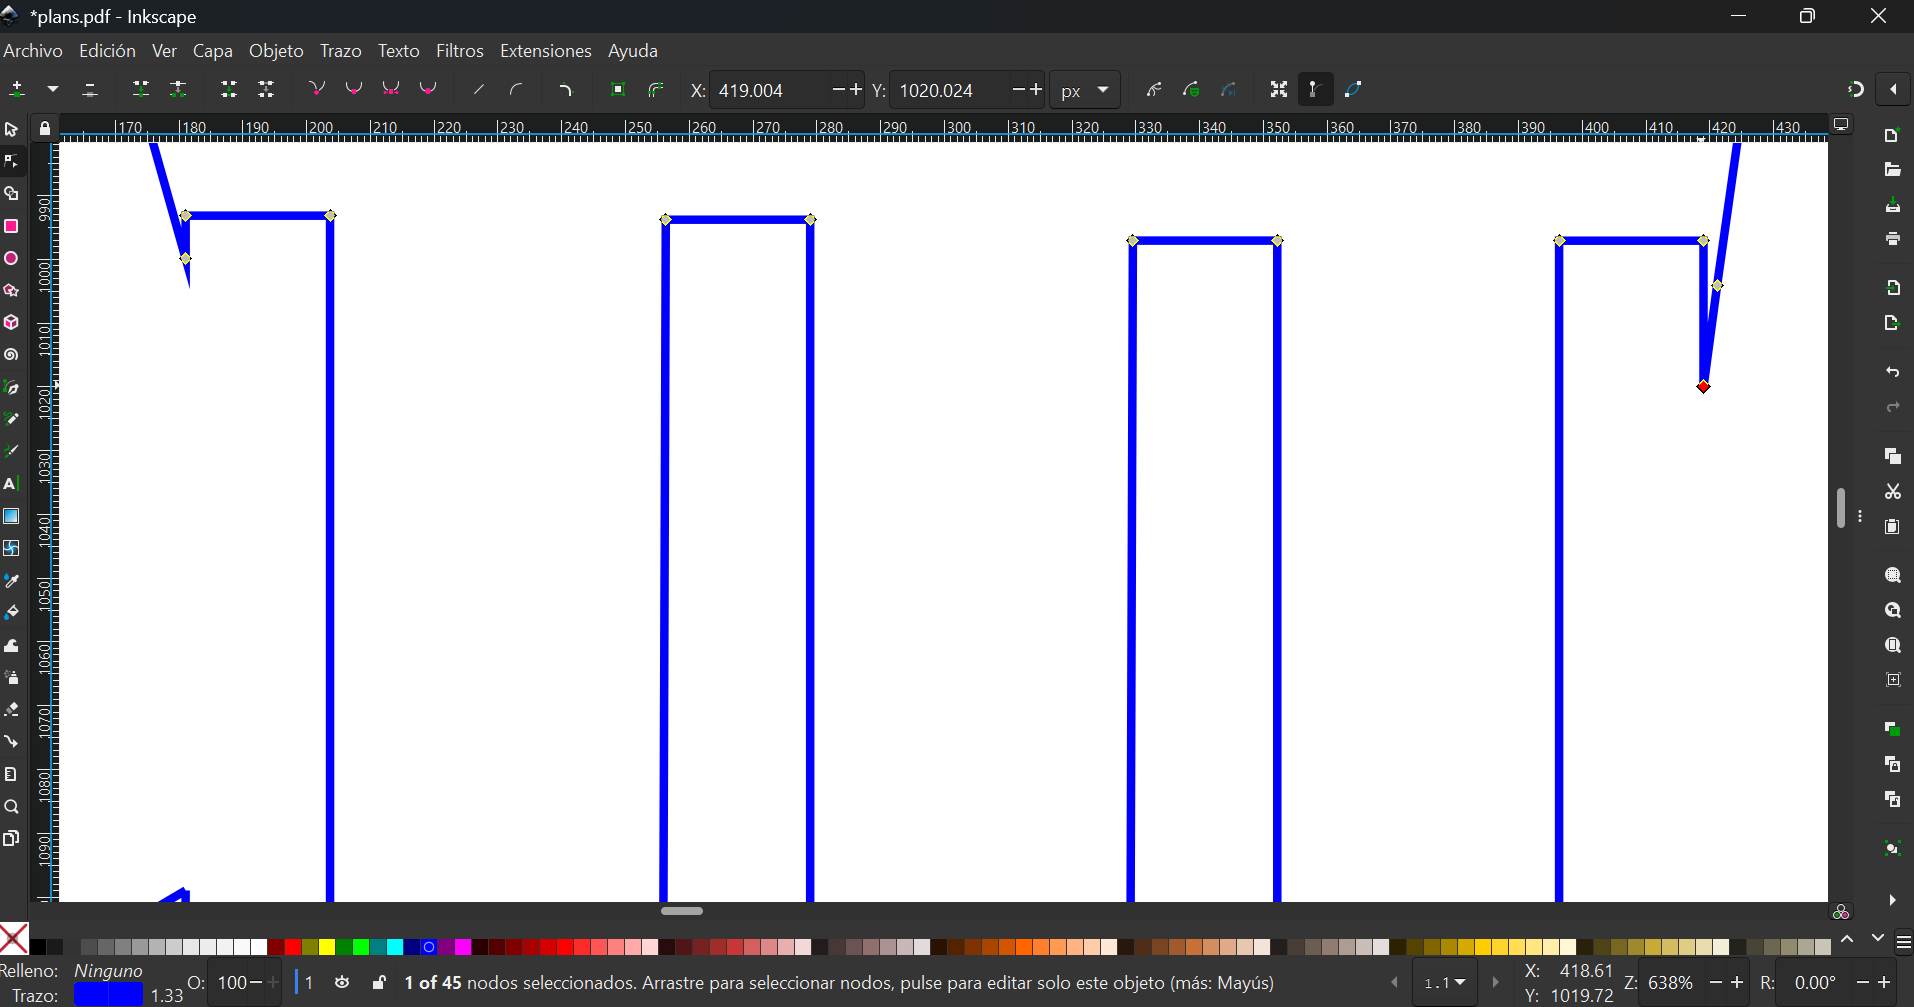
- Opened the plans in both formats to see the difference, noticing that the DXF had a bunch of squares which were very hard to edit:
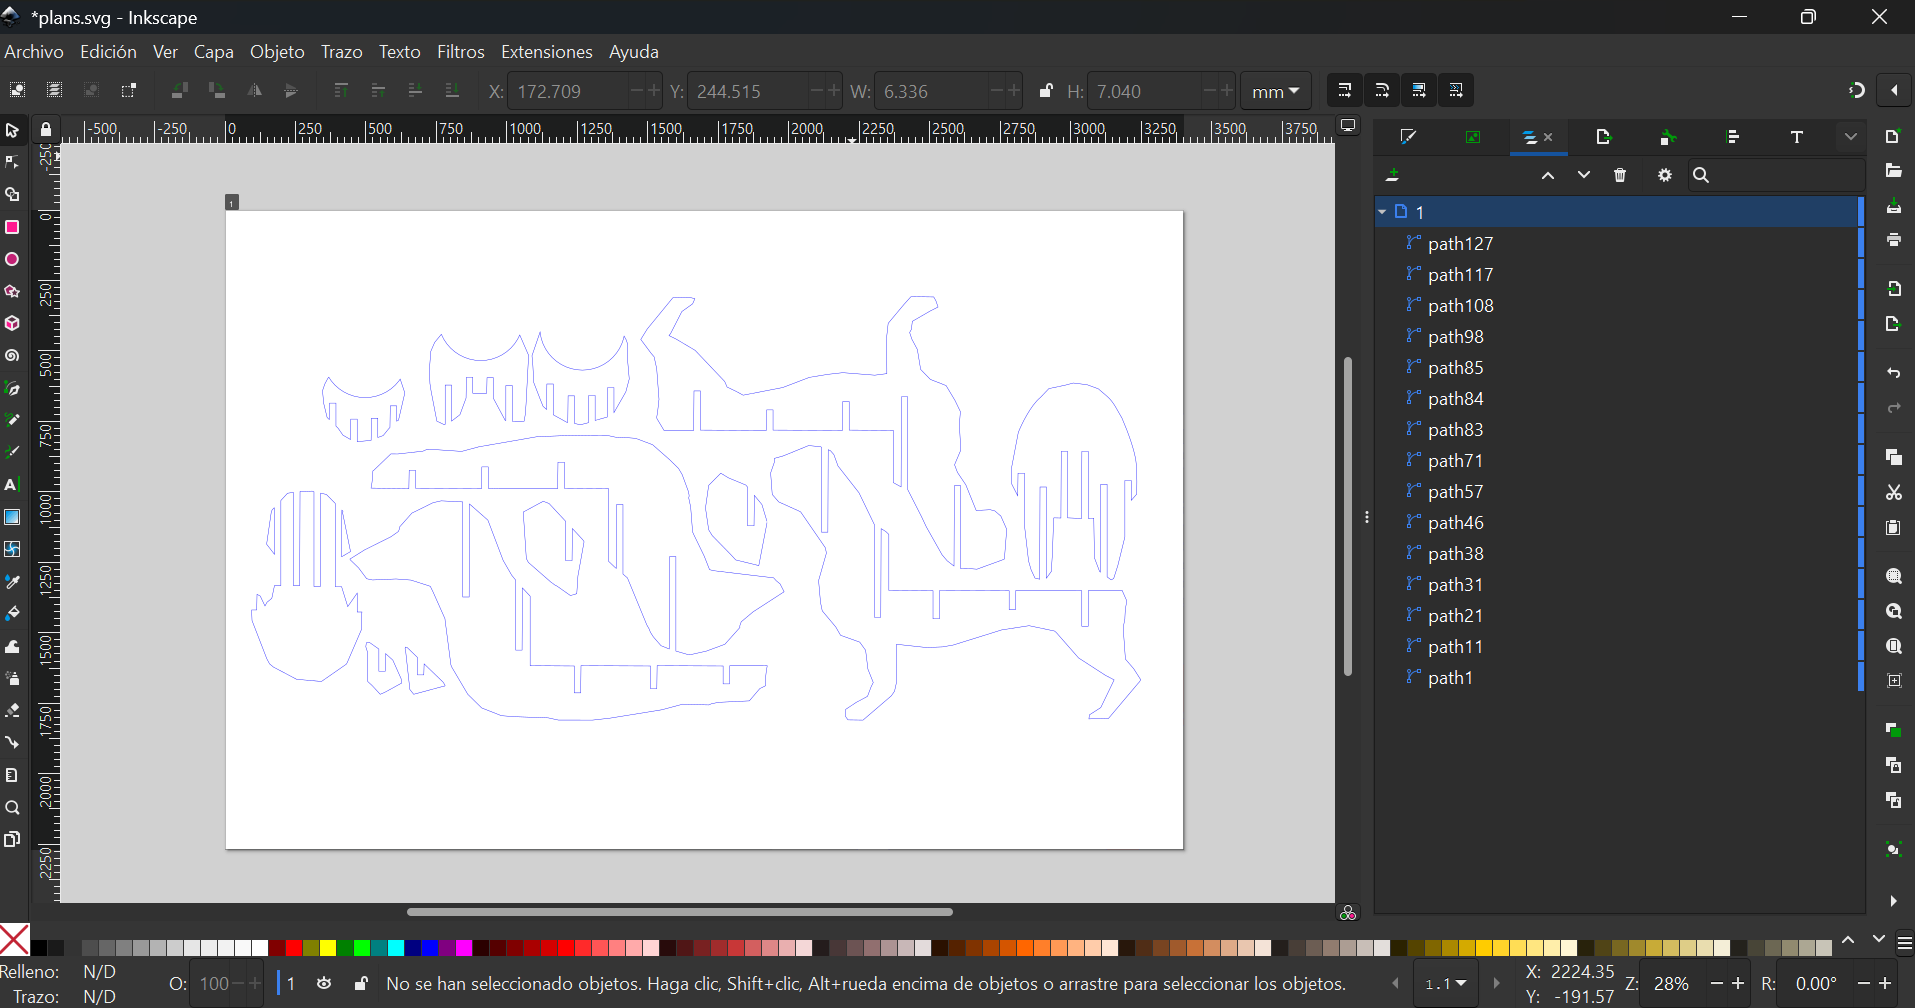
- I continued editing details in the SVG plans file:
- Finished with the final design I will be cutting later: