2. Computer aided design
This week I played around with several 2D and 3D design softwares.
Applying the differences we learned from pixels and vectors, as well as the multiple 3D generating options: B-rep, CSG, F-rep, meshes, parametric and so on.
Finally, I added colors and views to my design so I could take some nice pictures.
2D Design
Canva
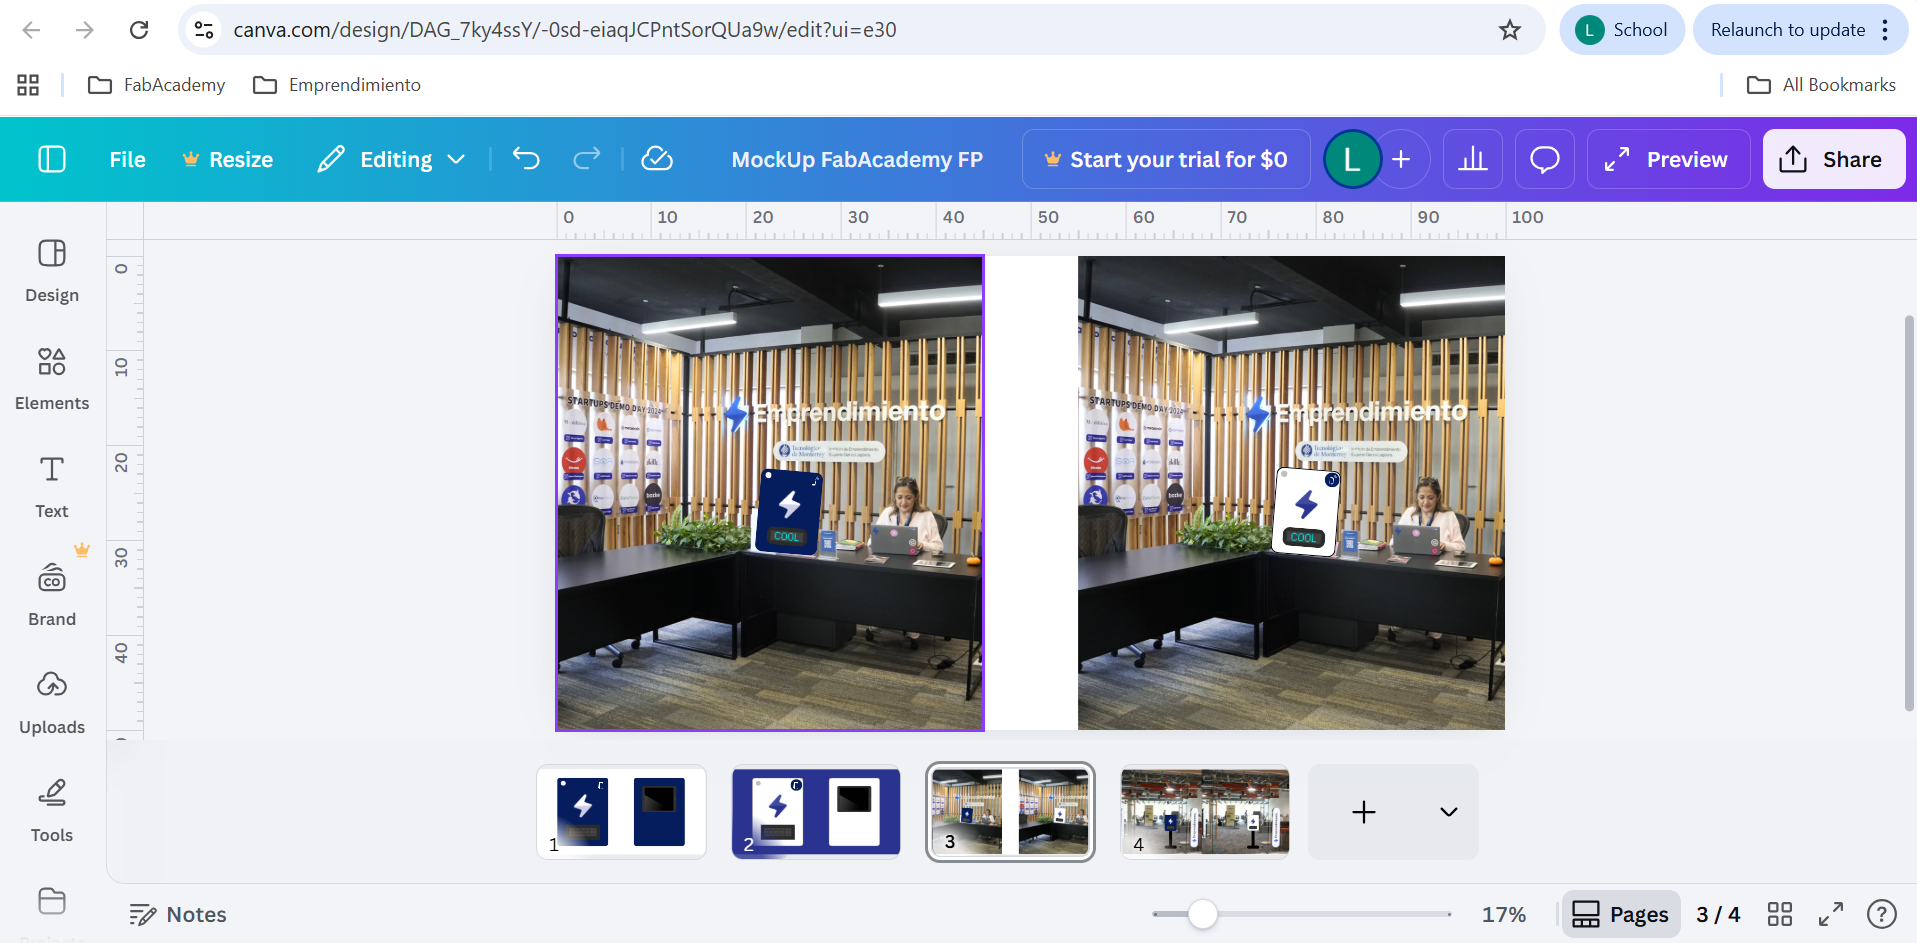
I started with simple shapes and drawings that helped me visualize the size of my interactive box, along with some colors. I realized CANVA is great for comparing digital drawings with real life pictures due to the friendly interface. But on the other hand, it is quite hard to create or edit complicated shapes.
*Click here to see the designs.
InkScape
Then I used InkScape (it was highly recommended).
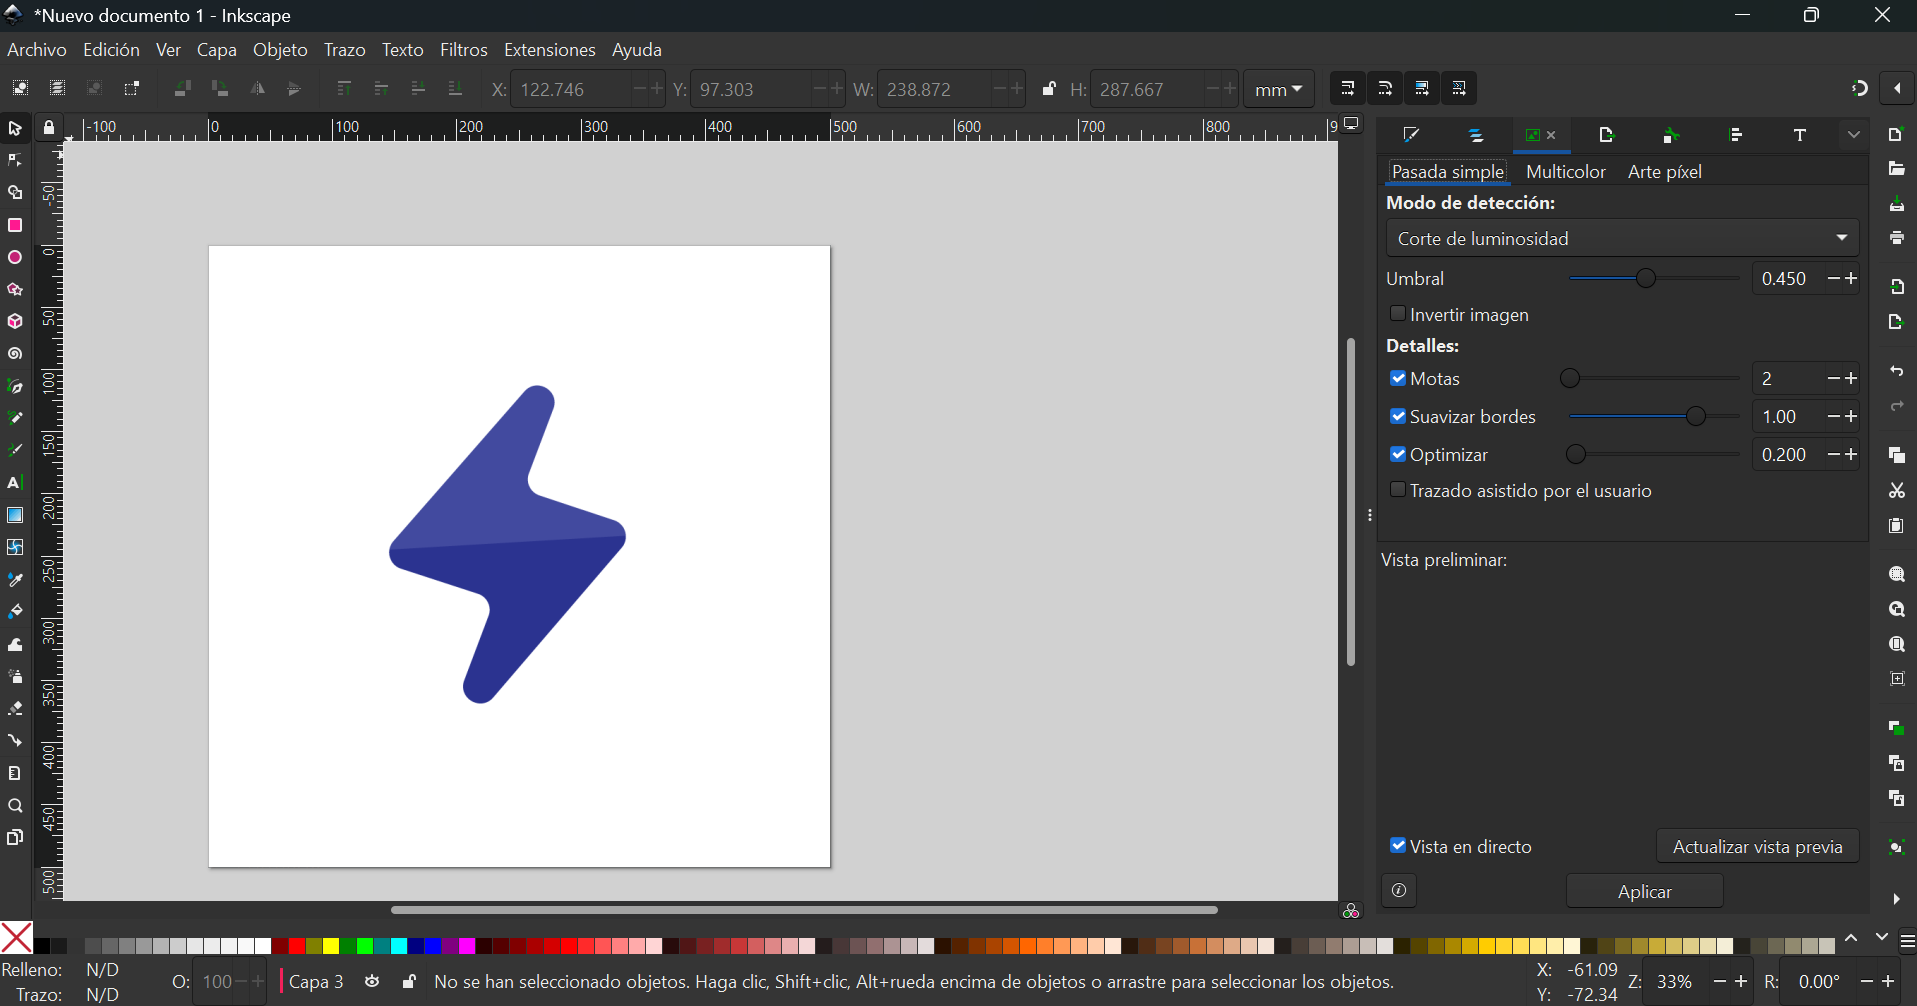
I was able to convert a bitmap image into vectors that were also useful later on the 3D softwares.
For images in InkScape, these are the steps:
- Import an image, it is better if it has high contrast (not many colors and plain background)
- Select the image and go to >Path >Convert bitmap into vectors
- Use different modes and settings until the preview looks as expected
- Apply the selected action
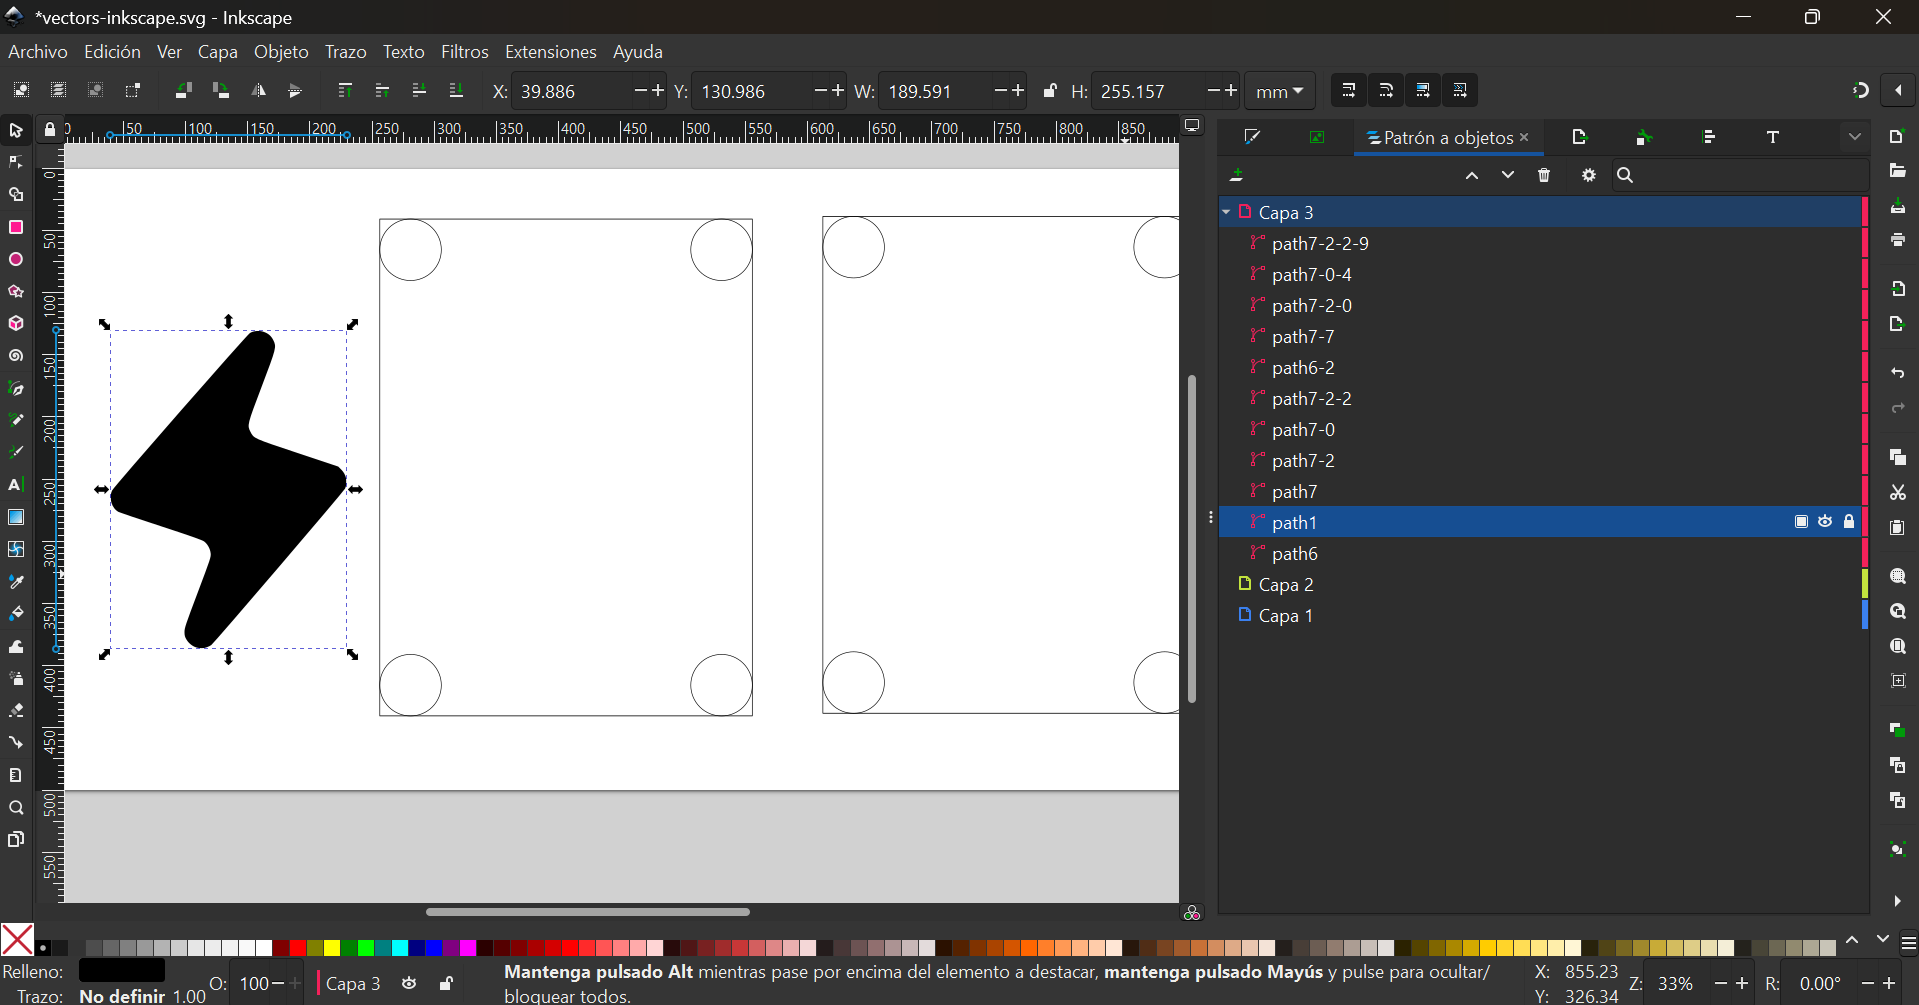
- Try editing with the vector tool to check it is indeed a vector
- Erase the original image
I was also able to sketch what I thought might be useful to extrude later for 3D, but I noticed it was way easier to sketch directly with the 3D sketching tools.
I'm sure this file will be very useful for future projects: Rayo svg
Some useful notes on InkScape:
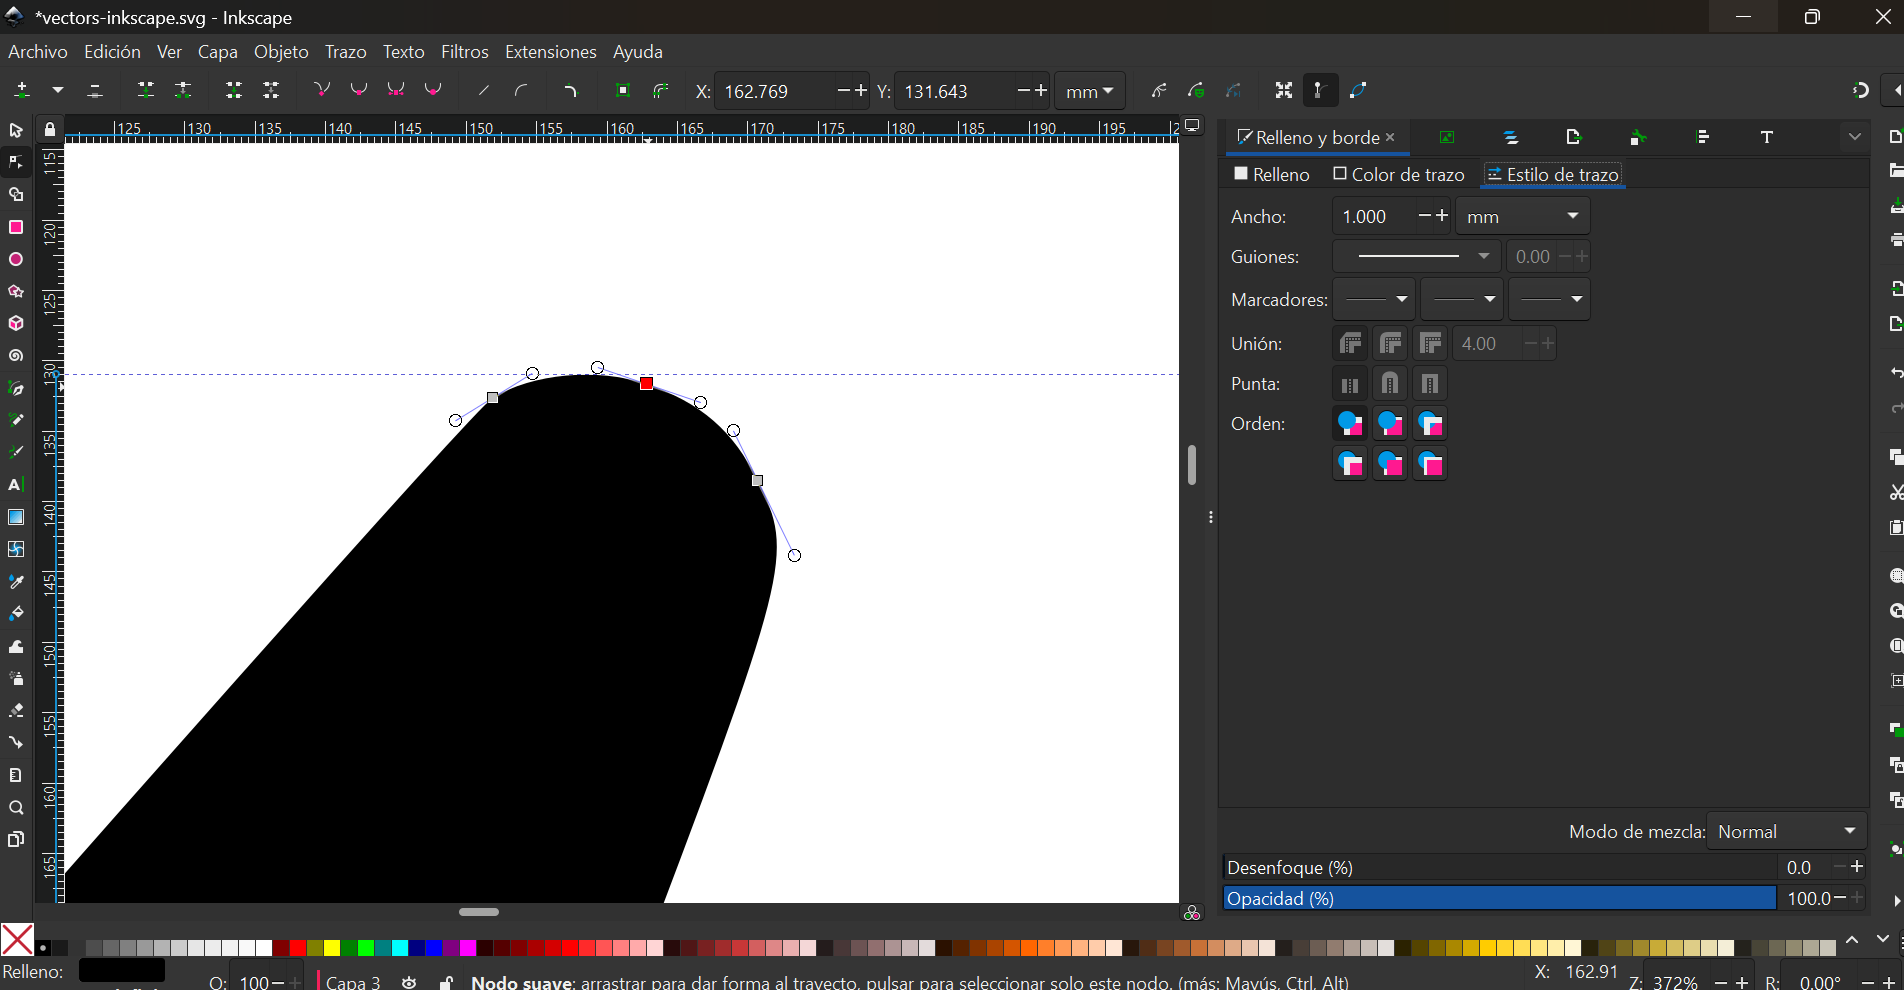
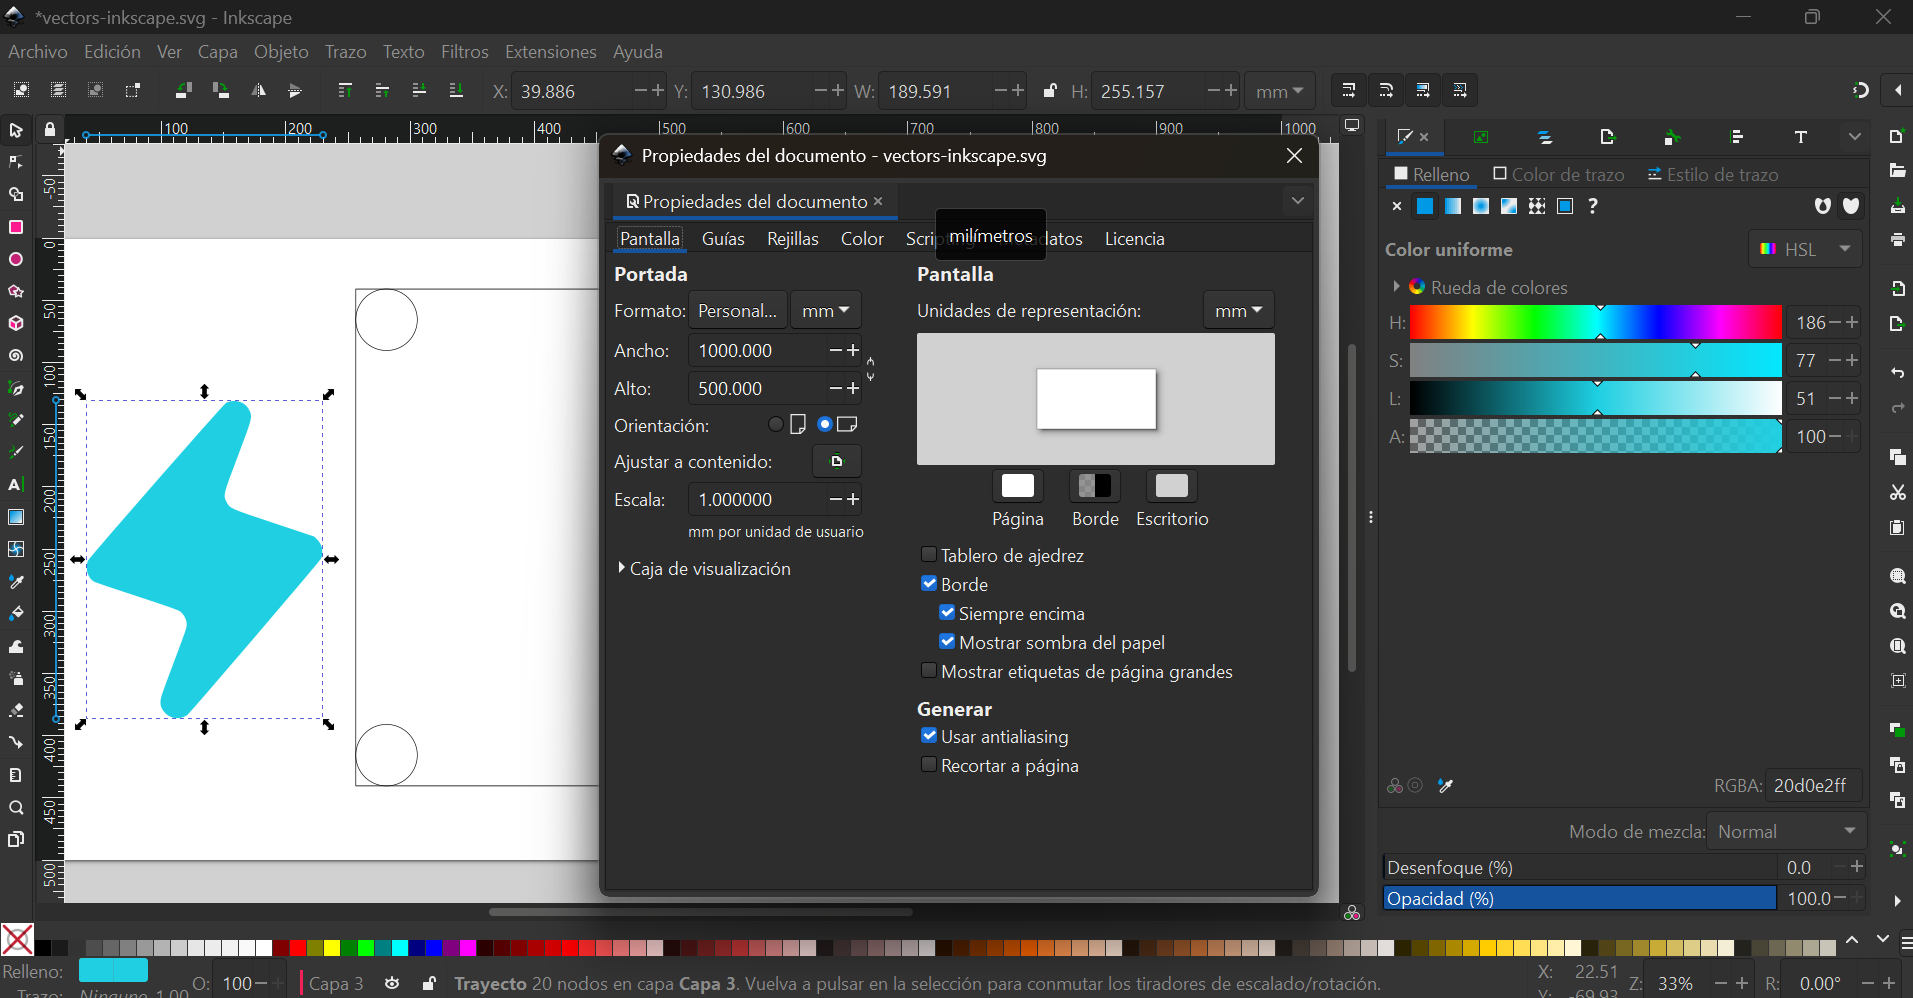
- Objects are organized in layers that can be edited individually:
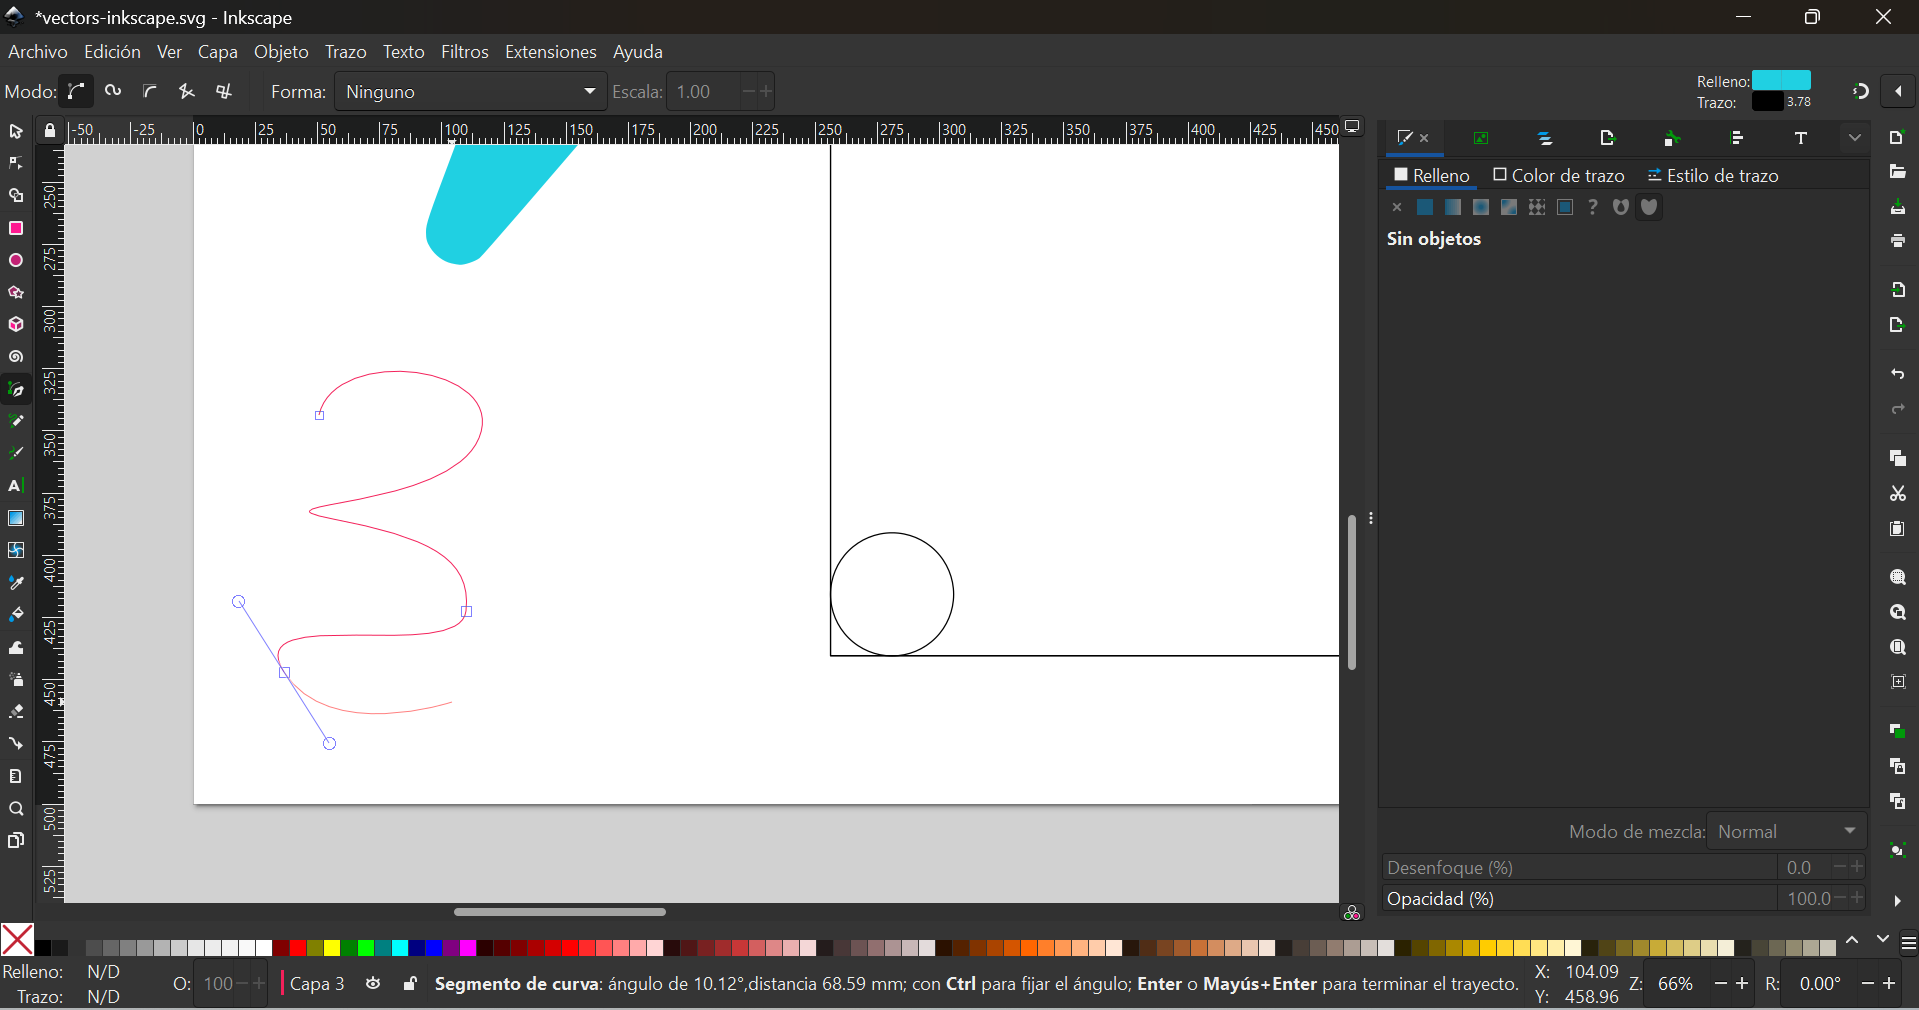
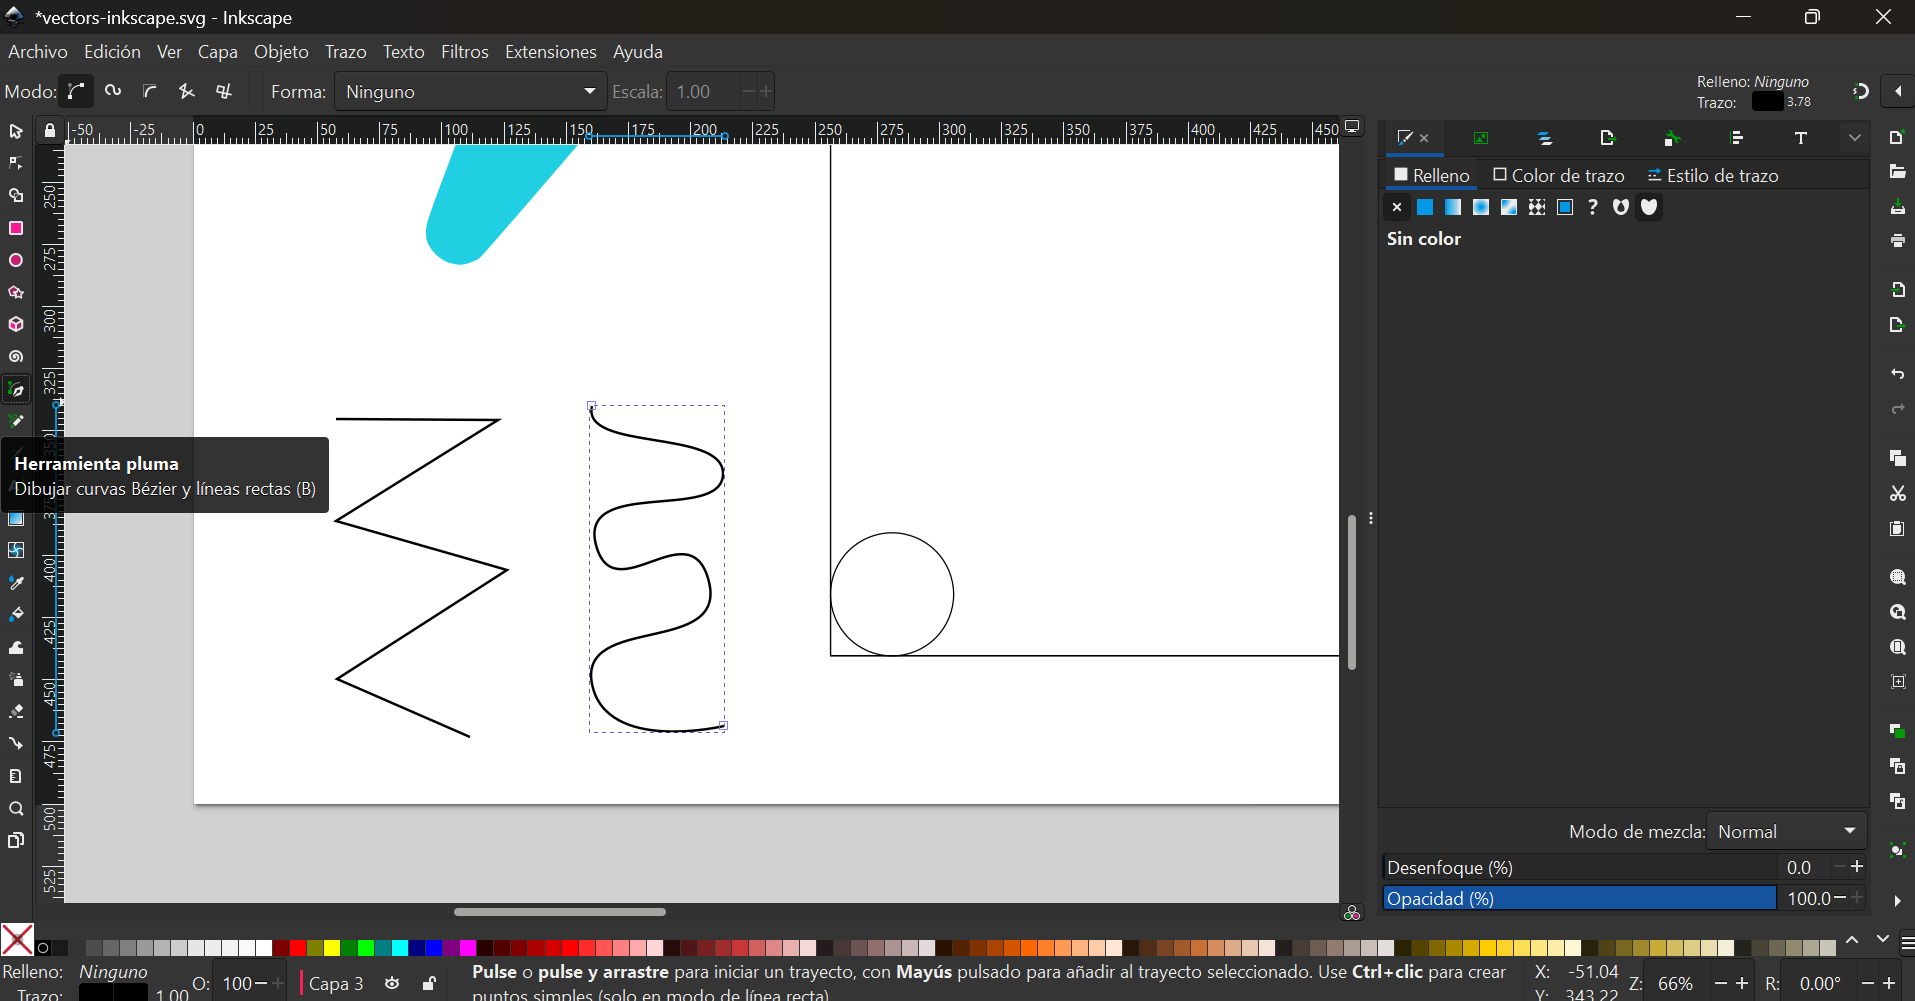
- This is how editing and creating vectors looks like:
- Objects can be alligned or organized in different ways:
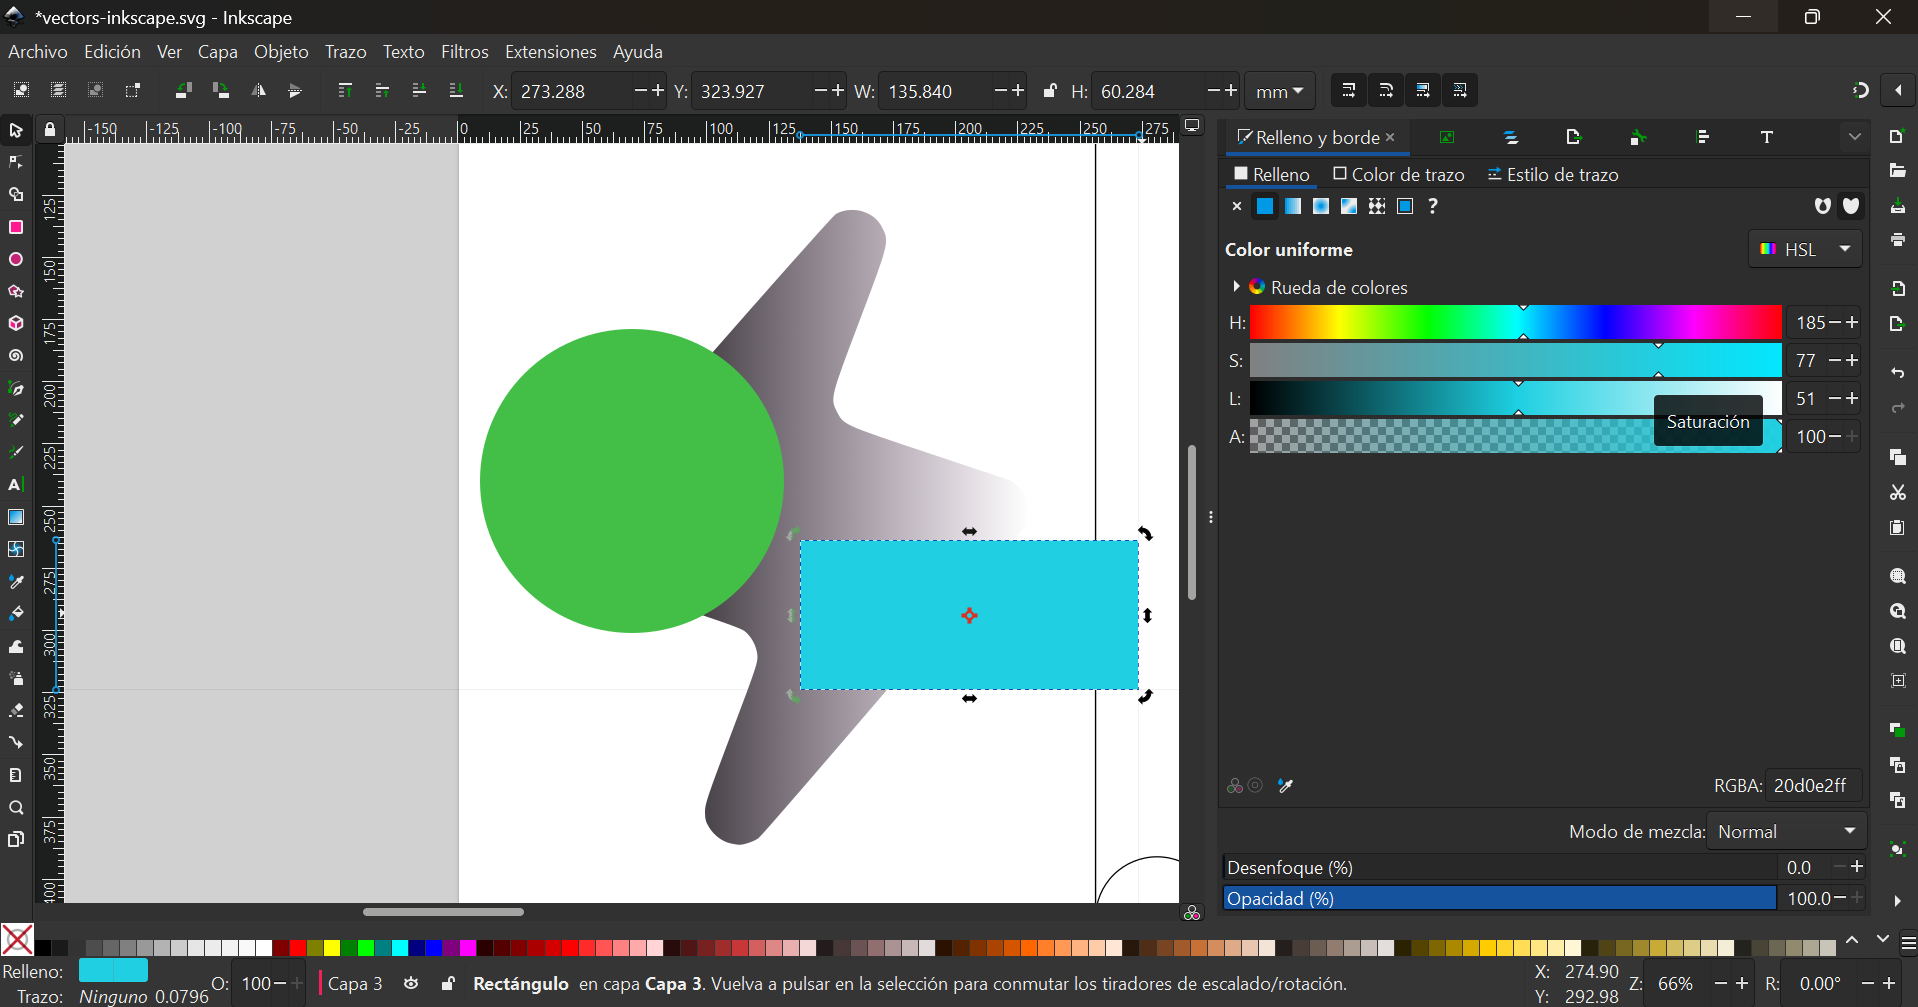
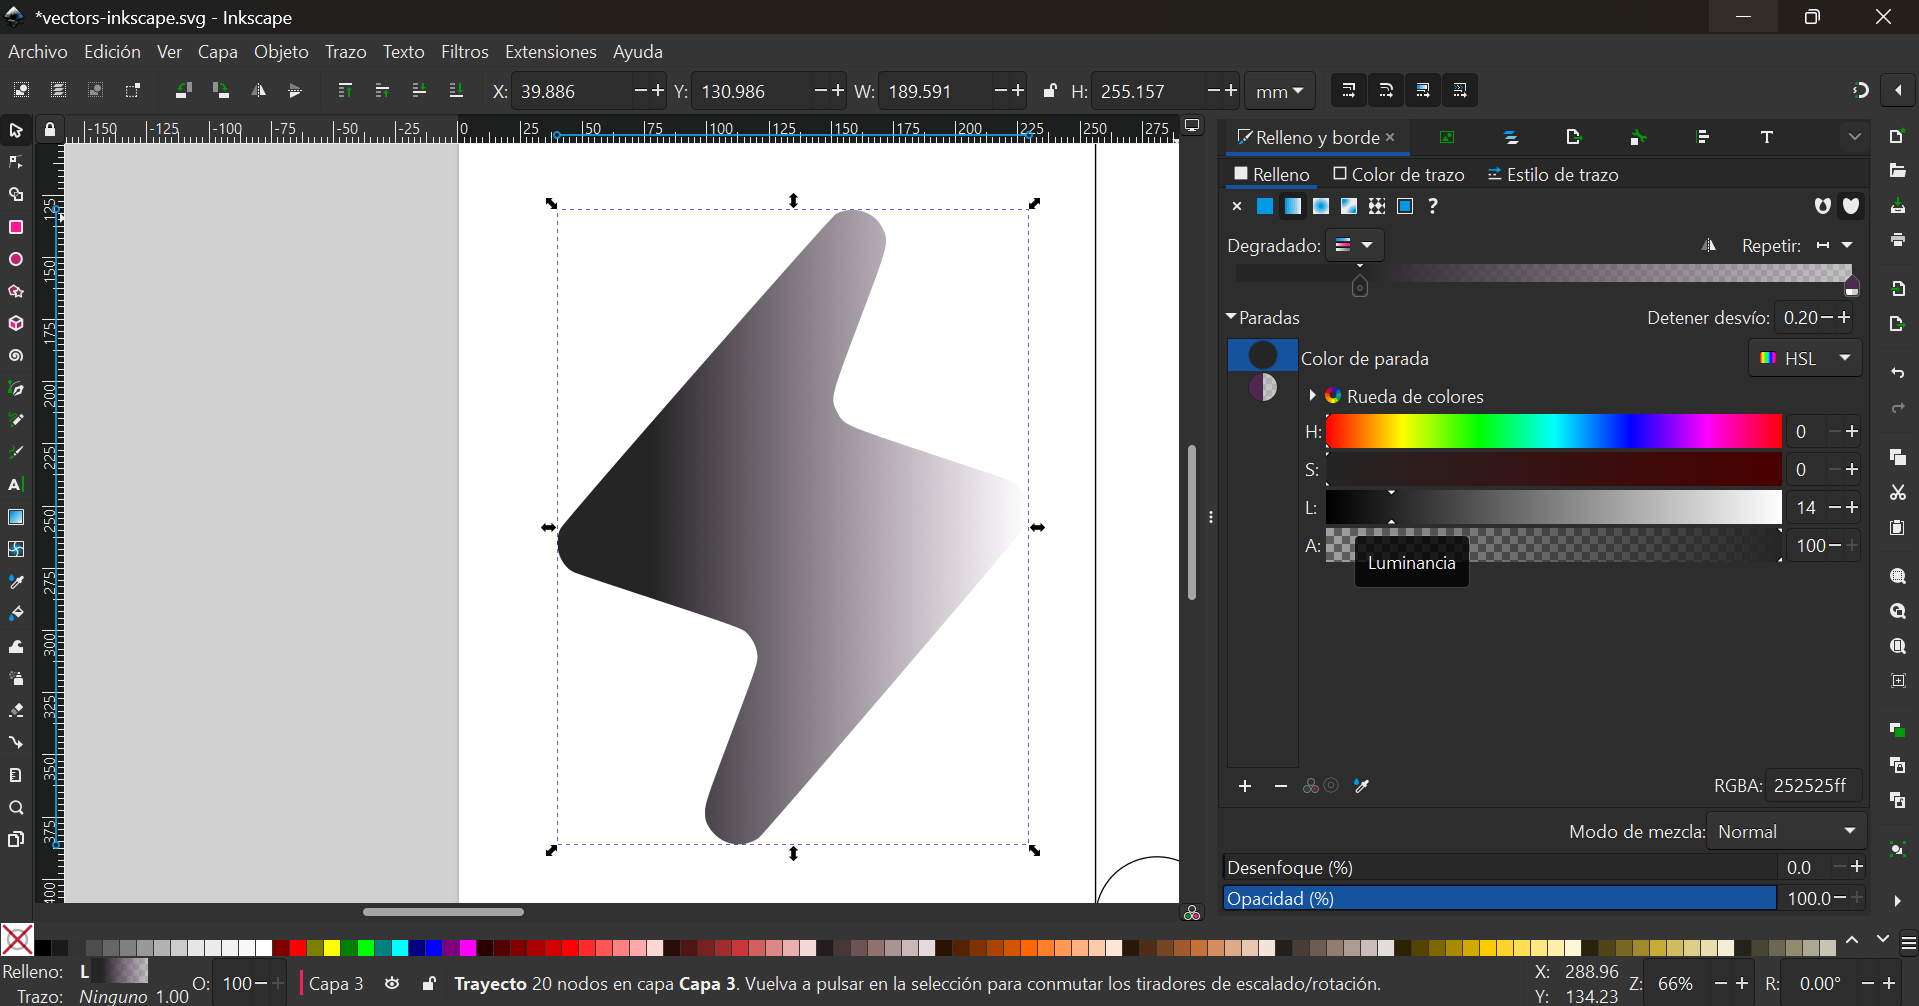
- It is possible to add shapes, colors and gradients:
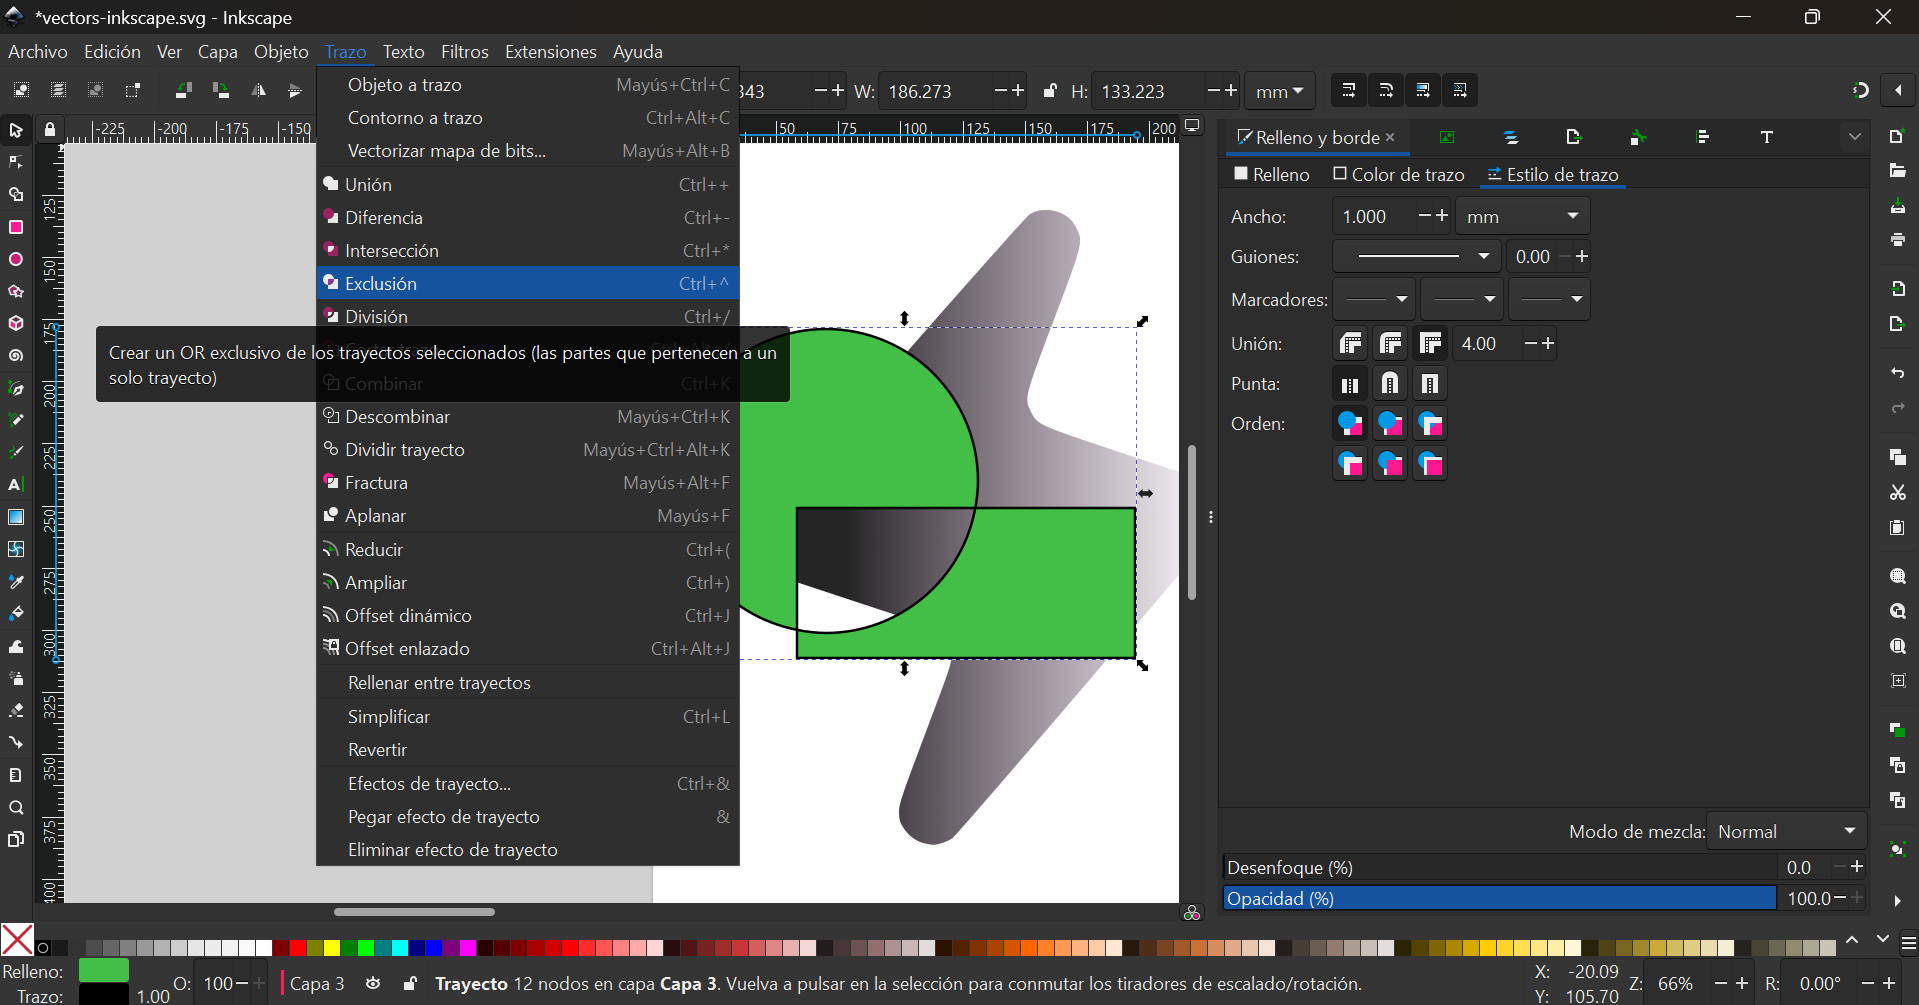
- Shapes can also be combined, diveded or mixed in different ways:
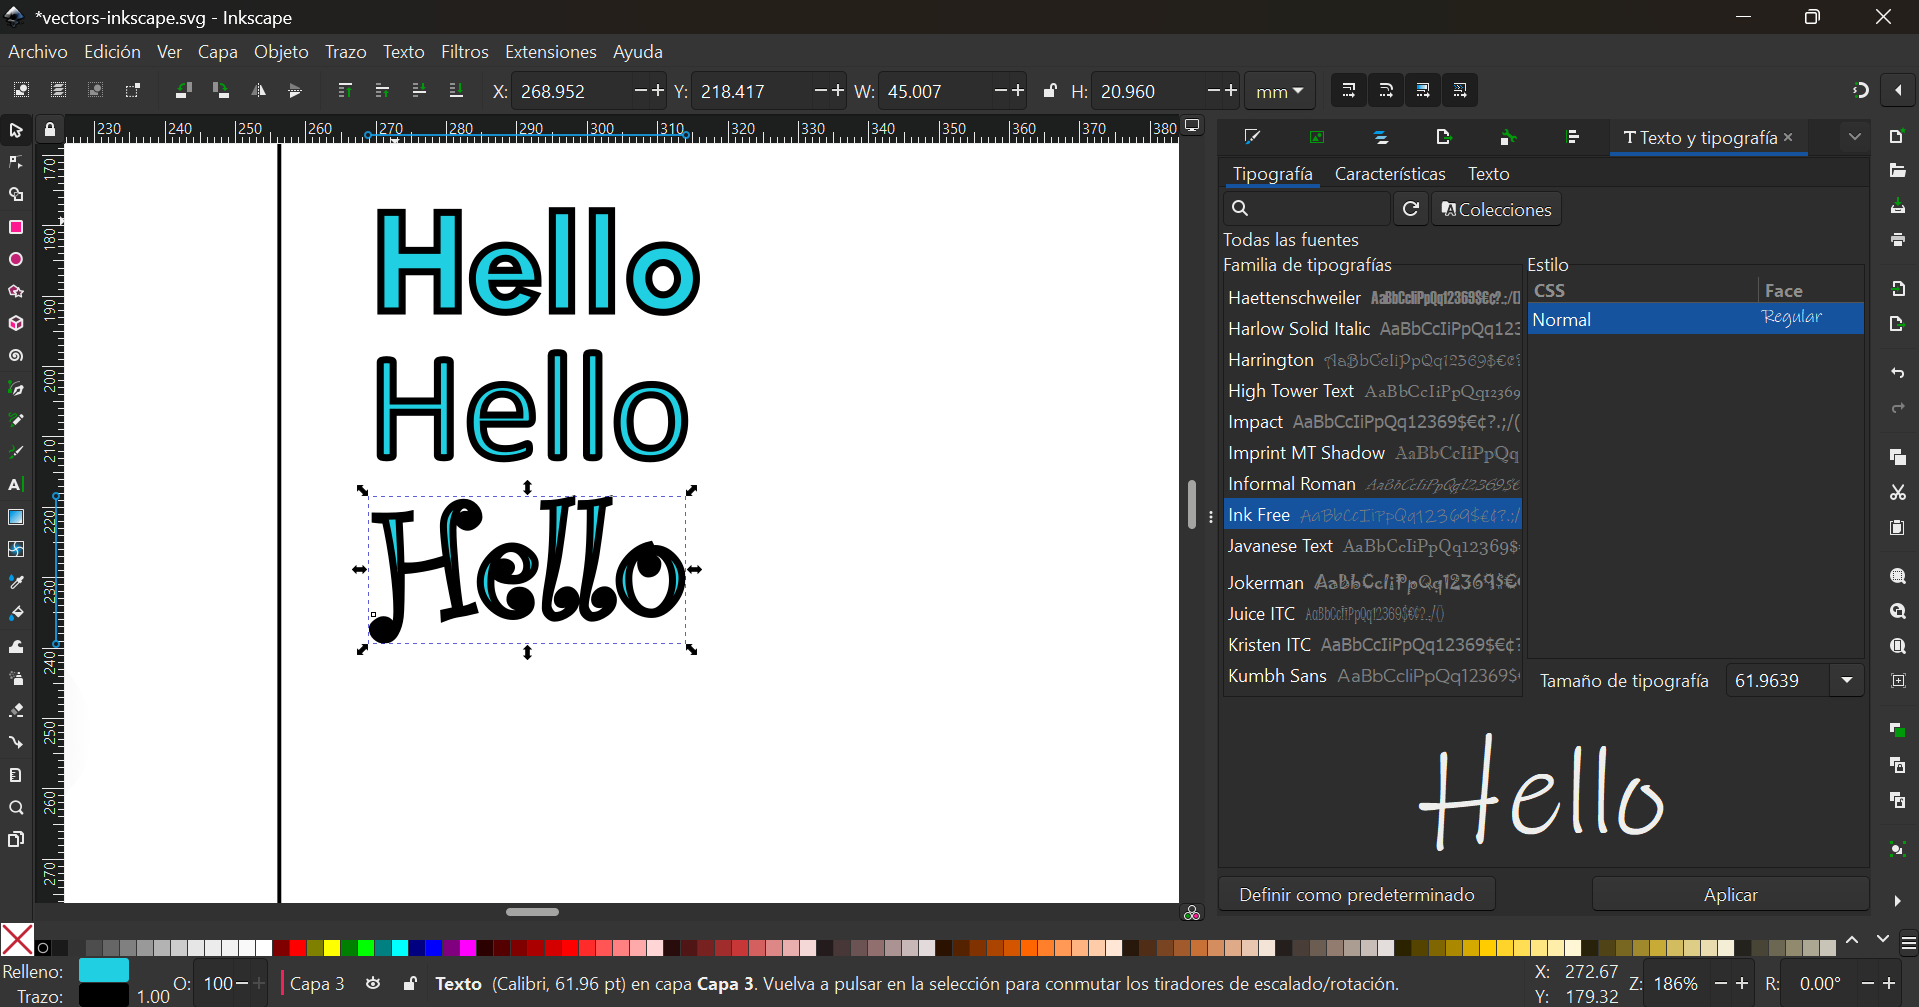
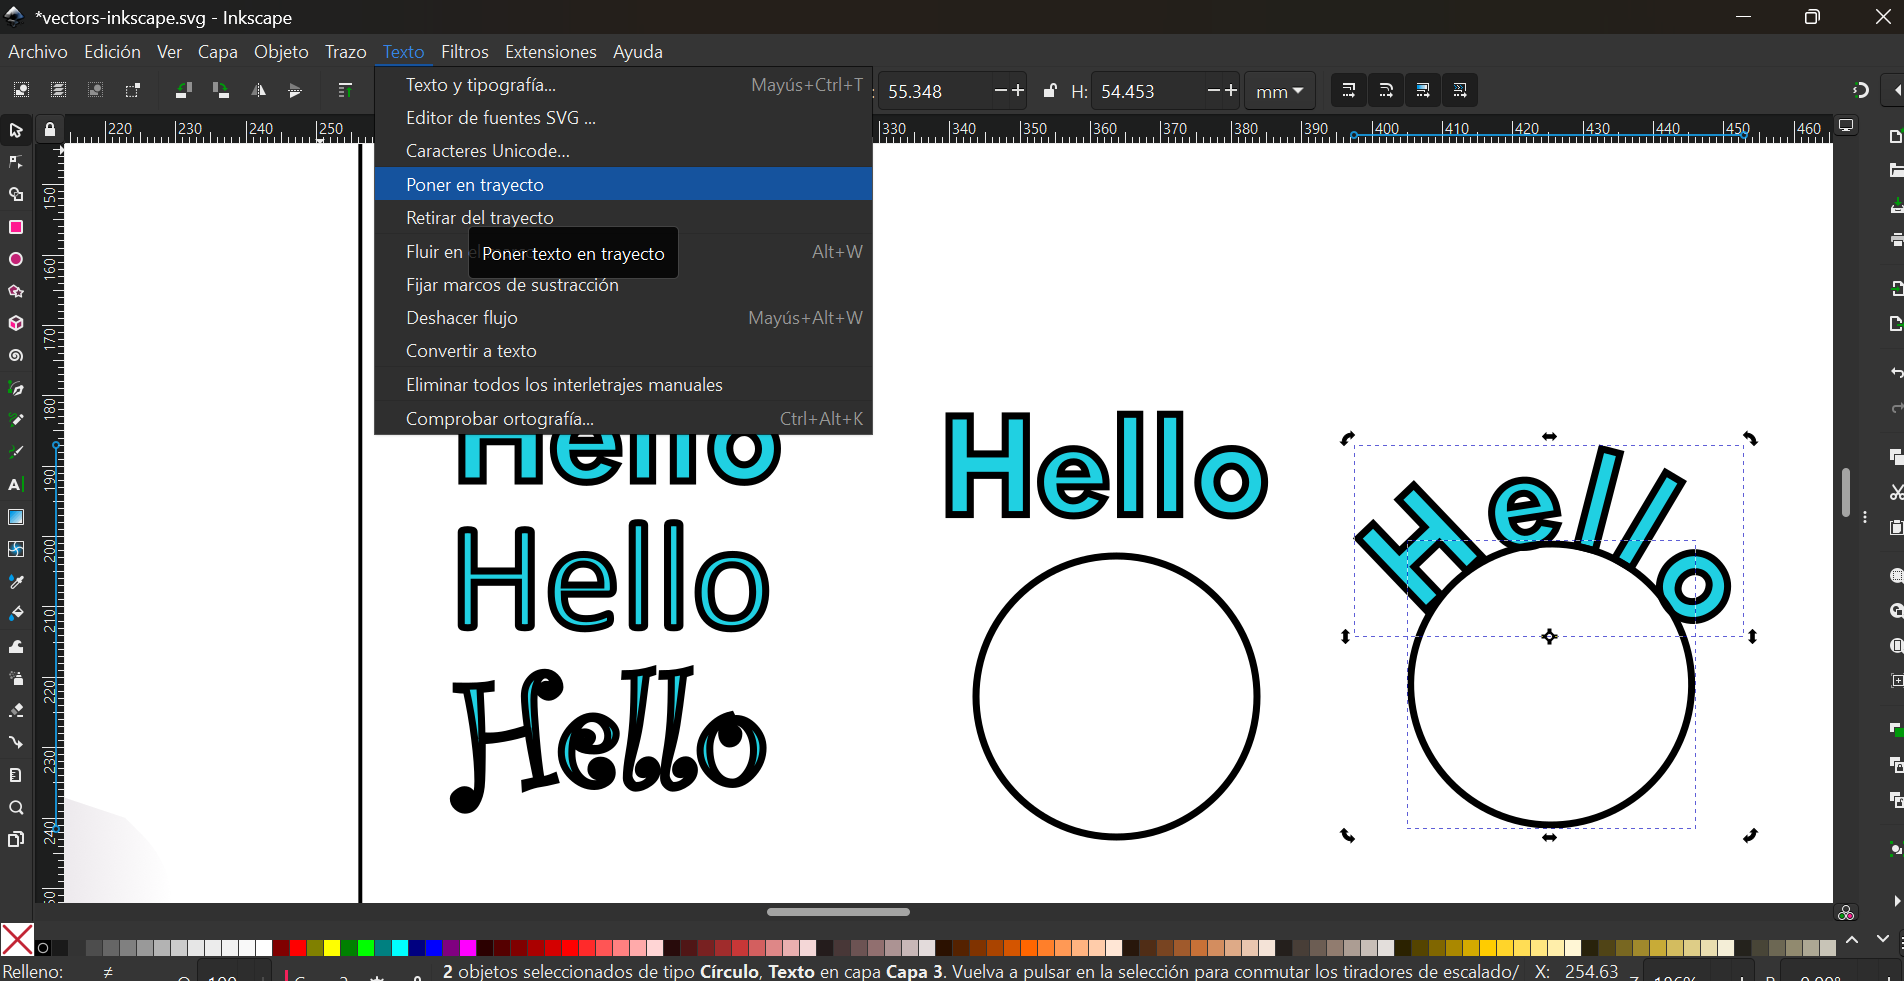
- There are also many text and font options:
- And text can be placed along a stoke:

Gimp
When I had a first box of the final project, I took a picture and placed it over the same picture as Canva to play with the colors and see what would look best.
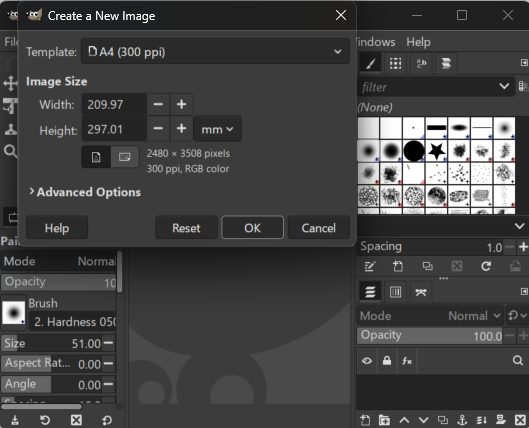
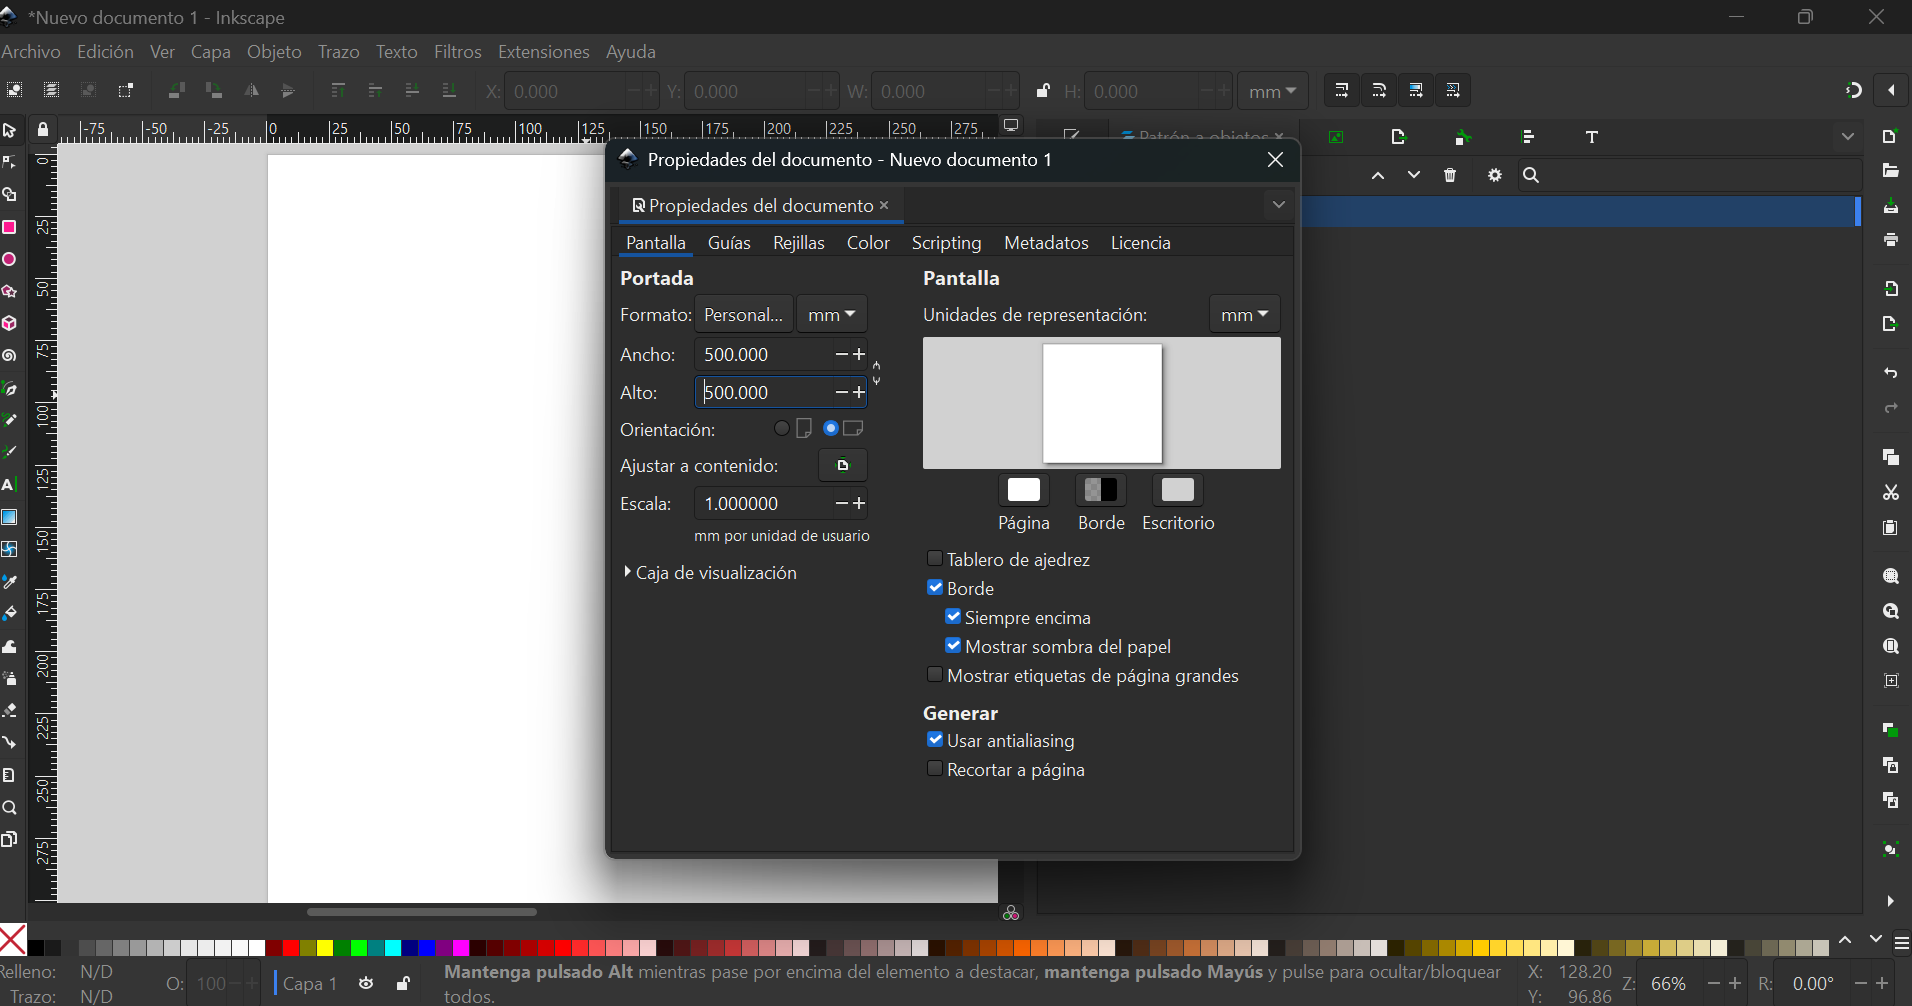
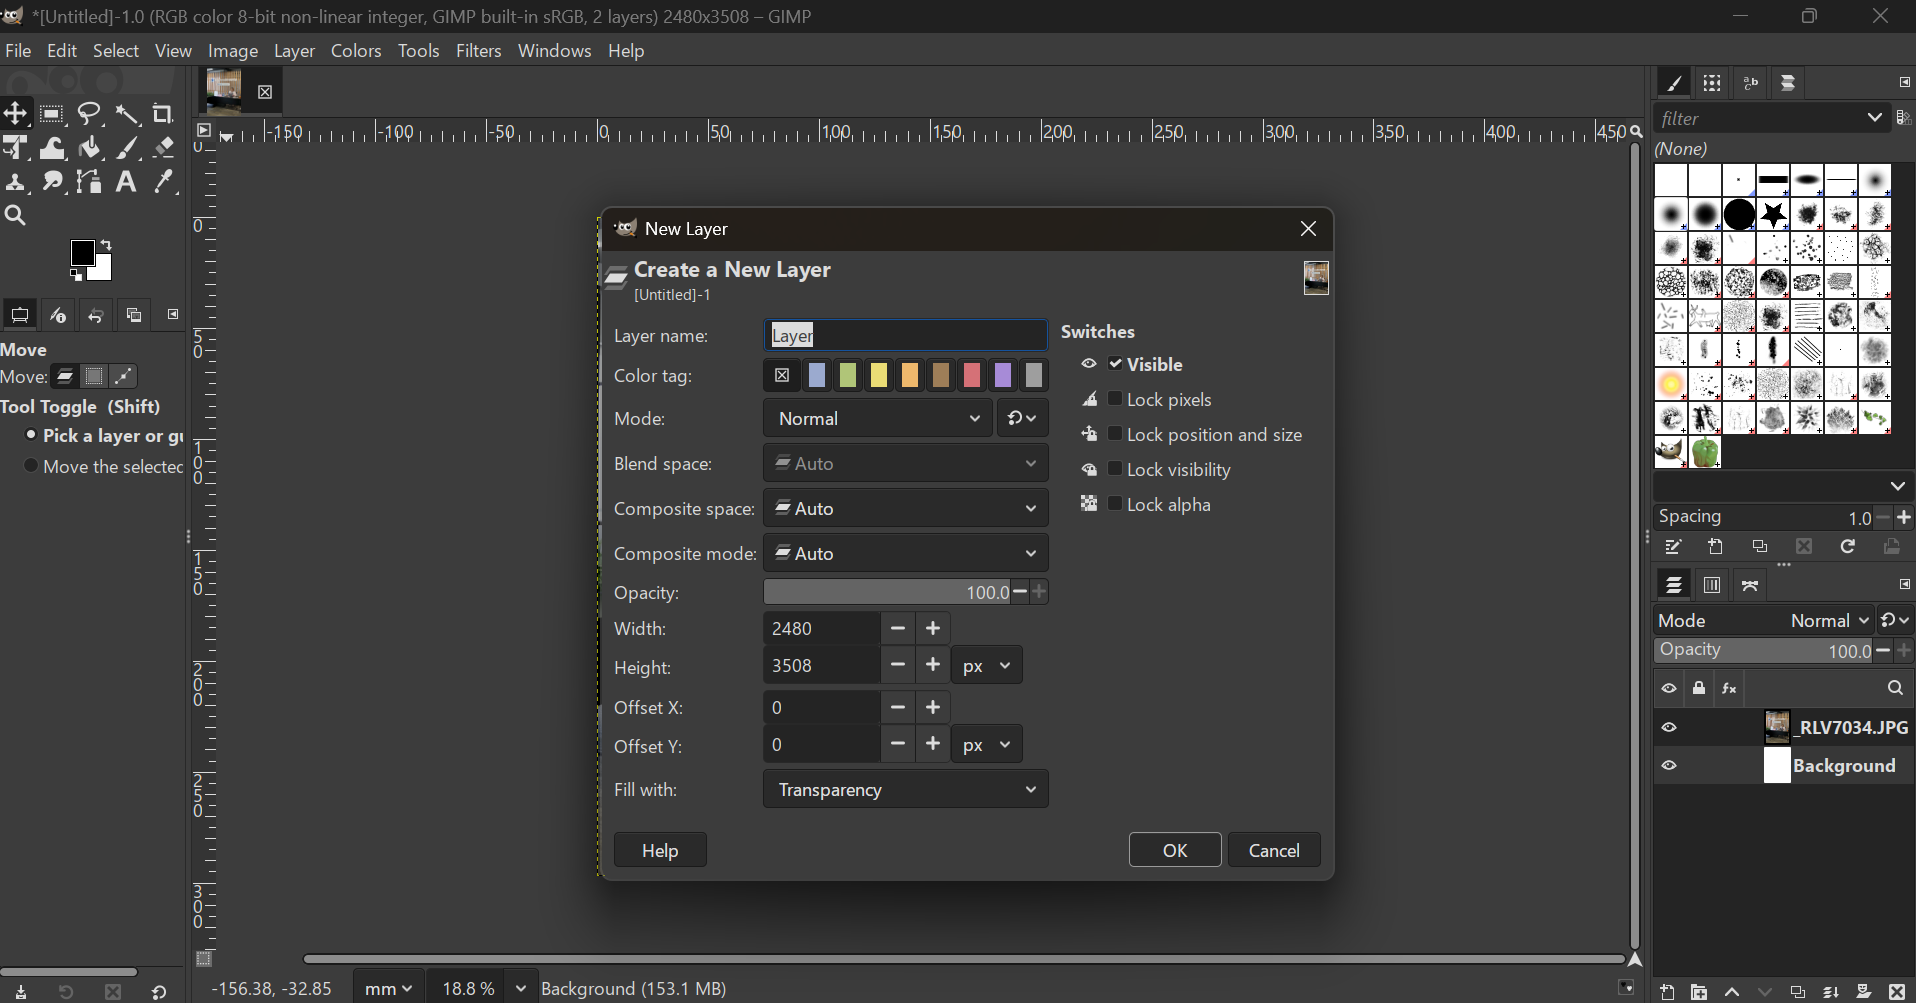
The fisrt step was to set up a file.
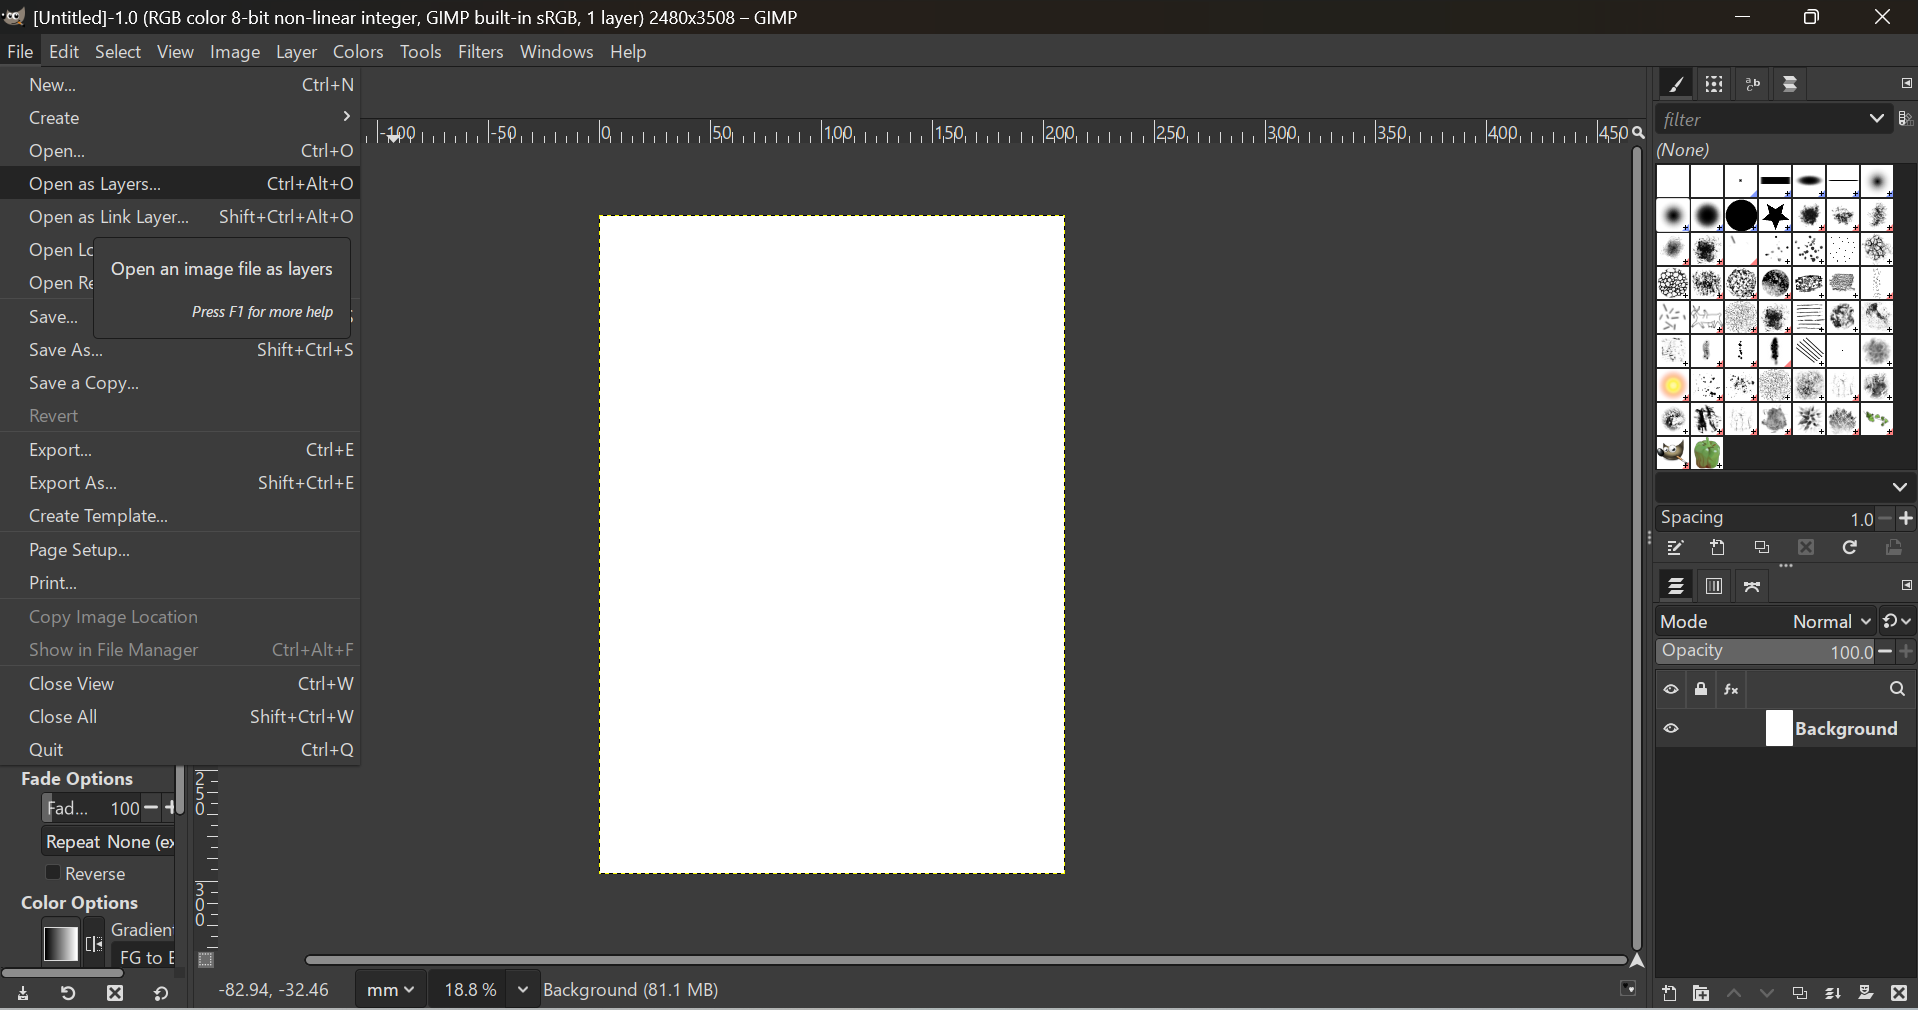
Next, I imported an image as background.
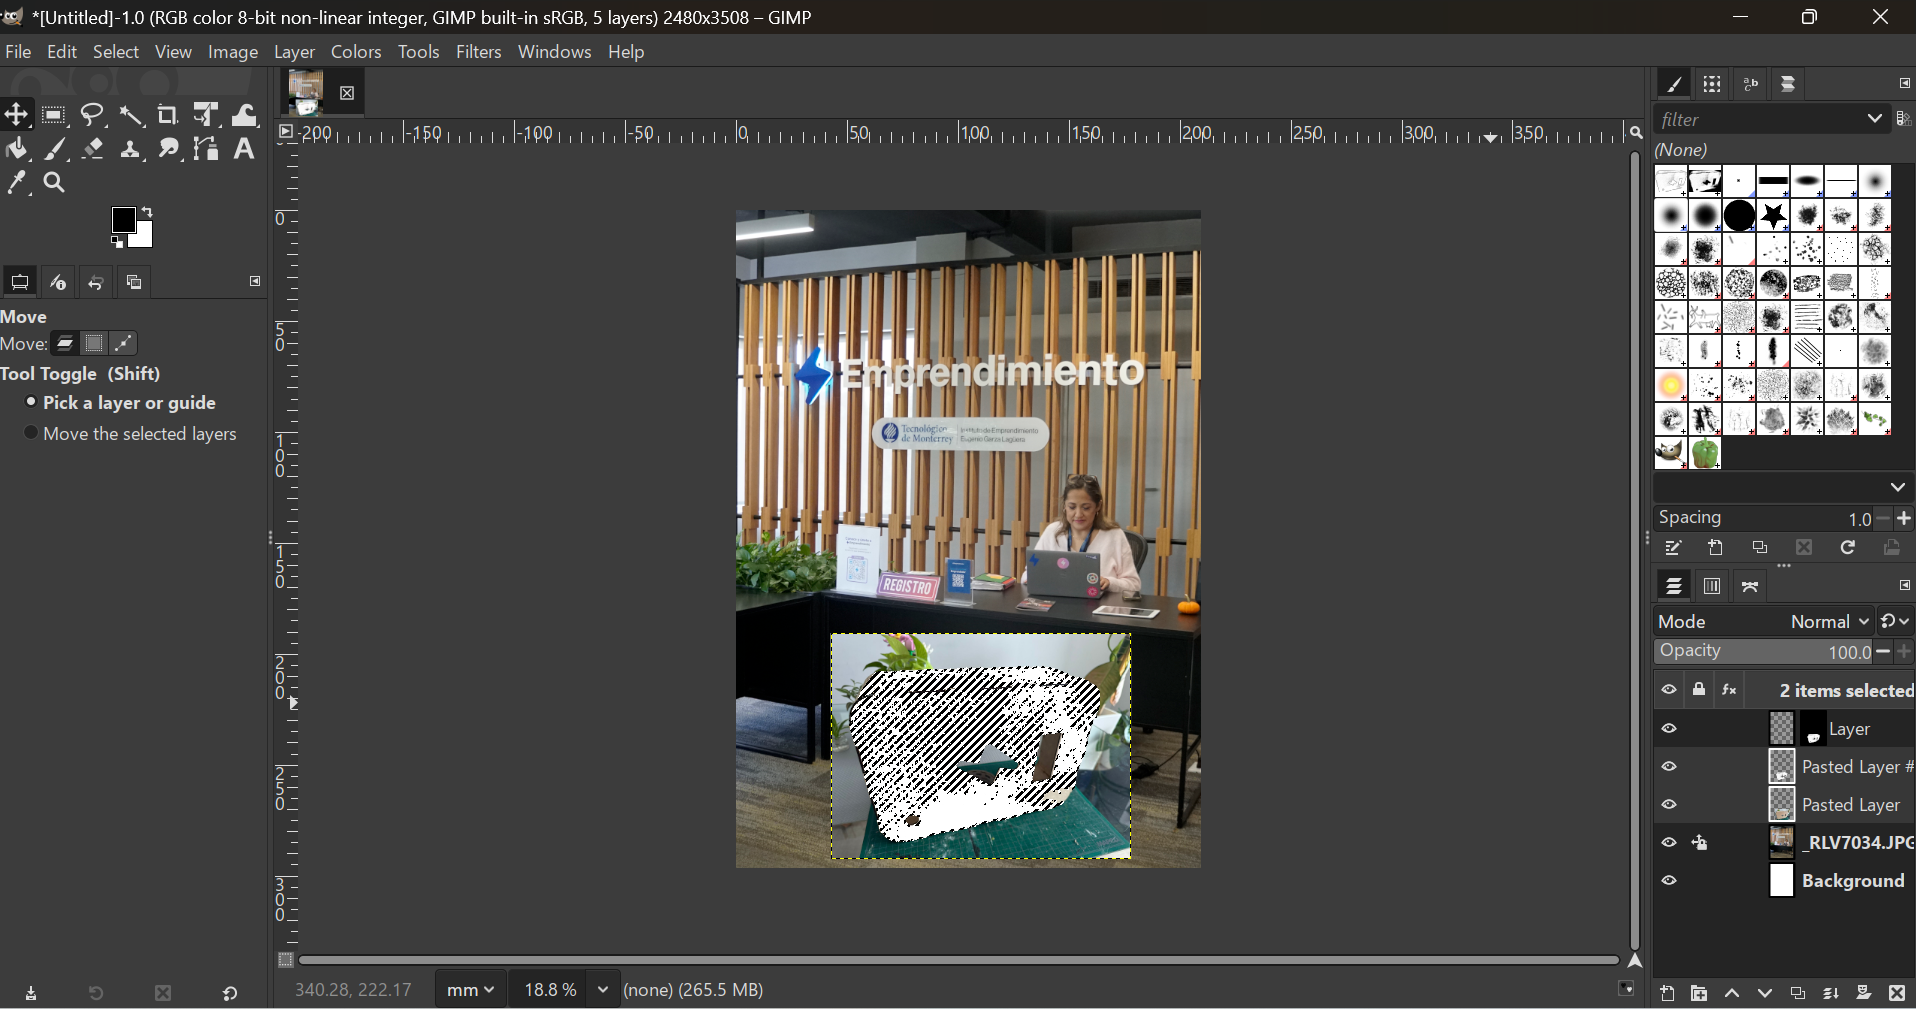
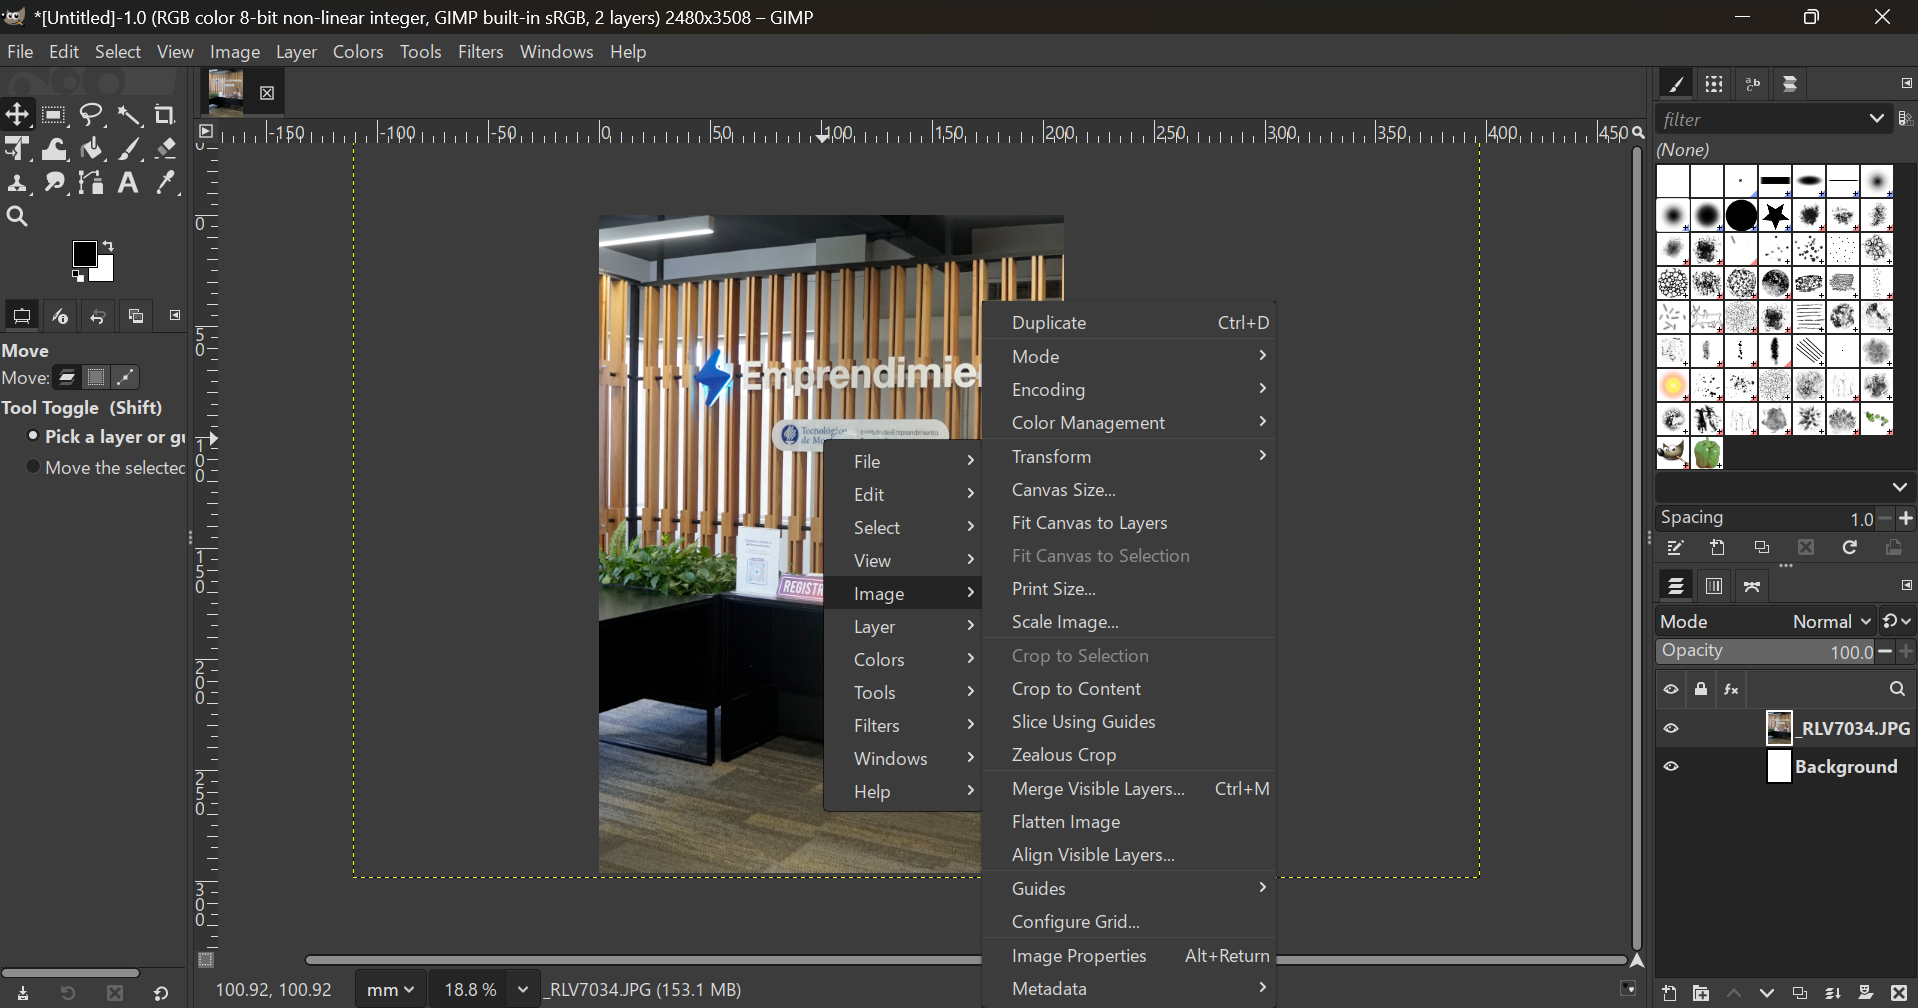
Then I added a picture of the box.
Each elemnt is placed in a different layer that can be manipulated individually.
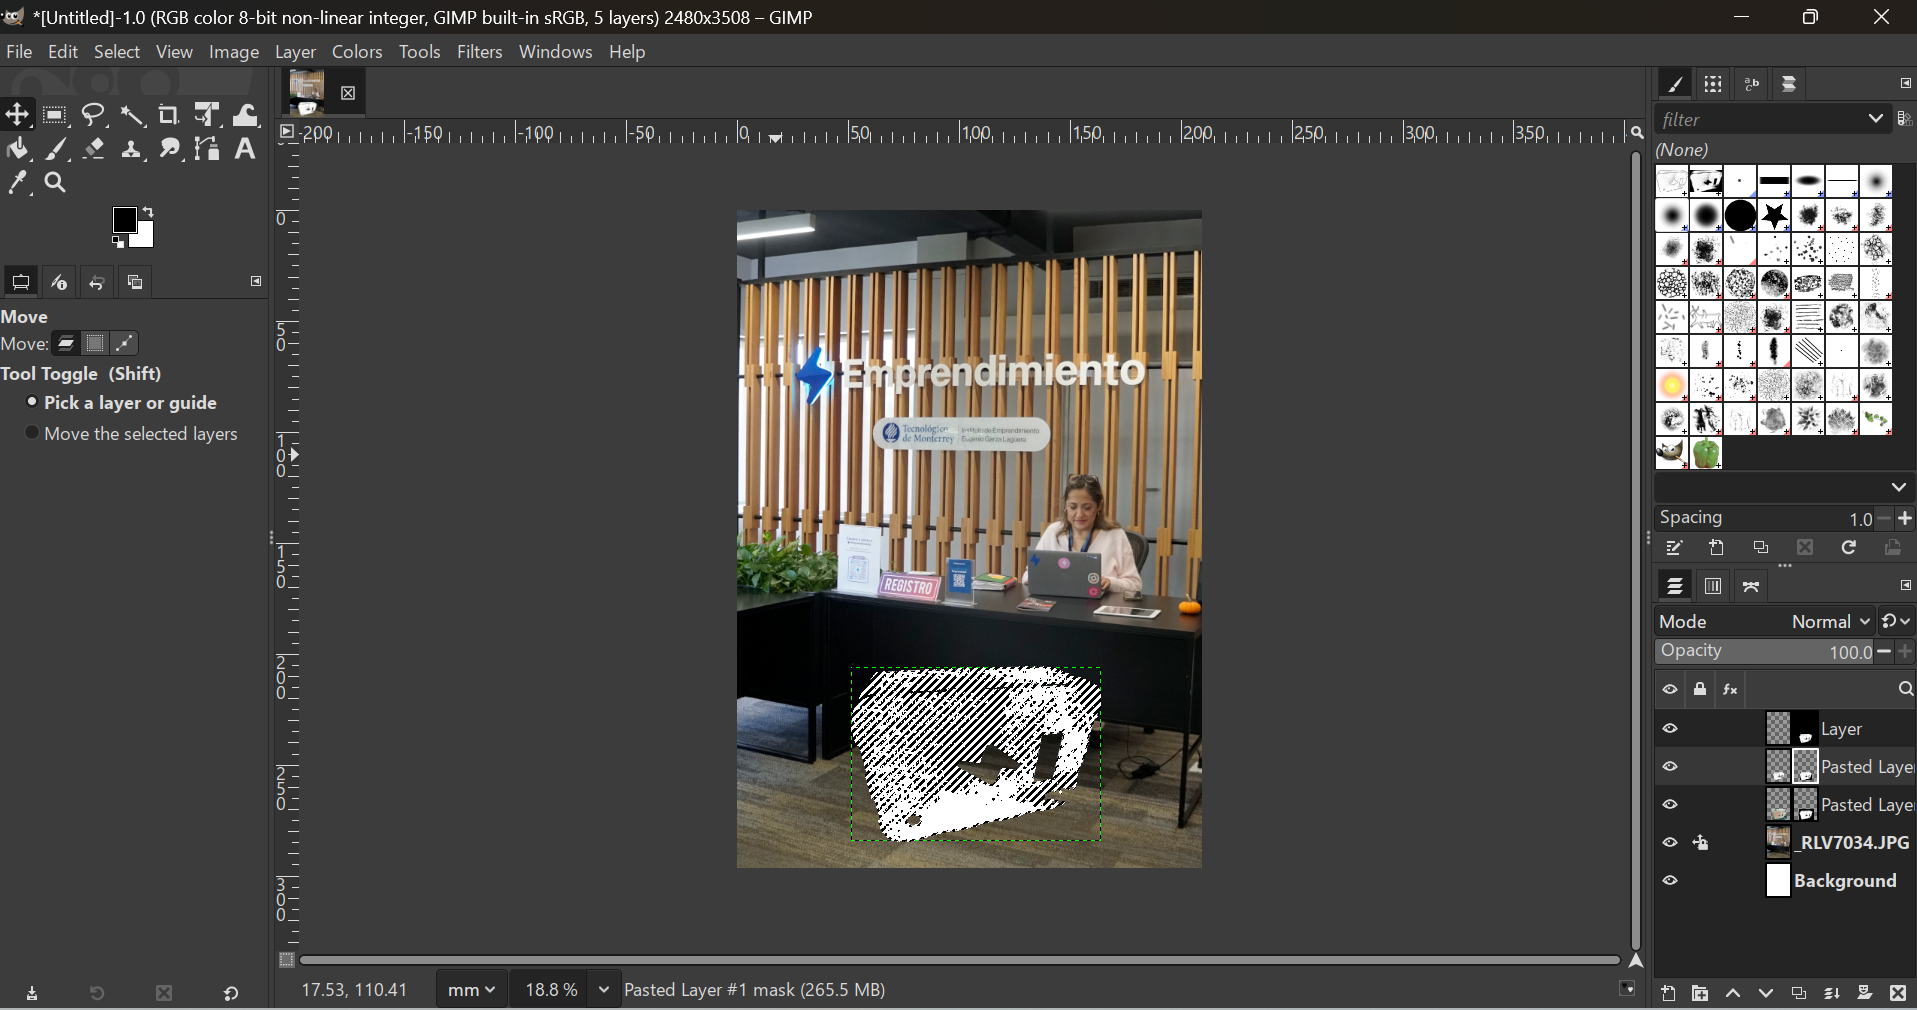
I created an inteligent mask based on colors so I could erase the background of the box image and only use the box.
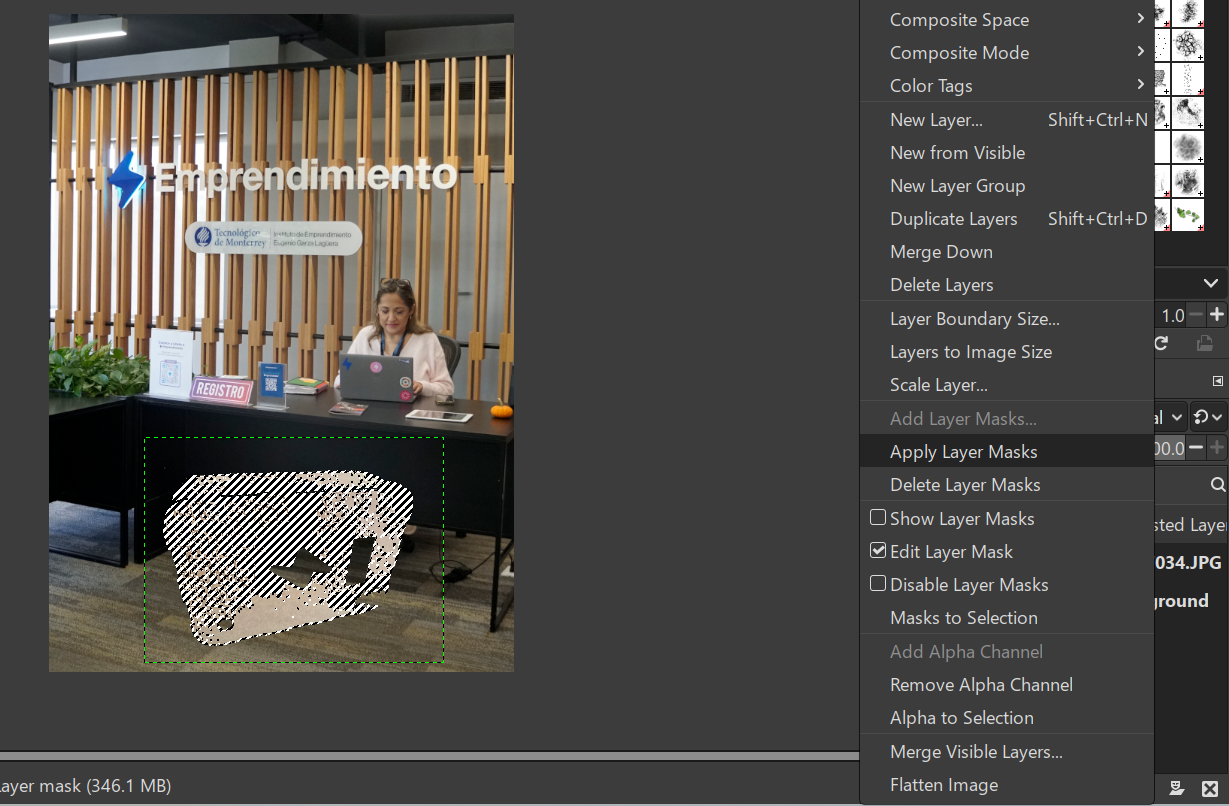
I merged the box picture and the mask to that they became one object.
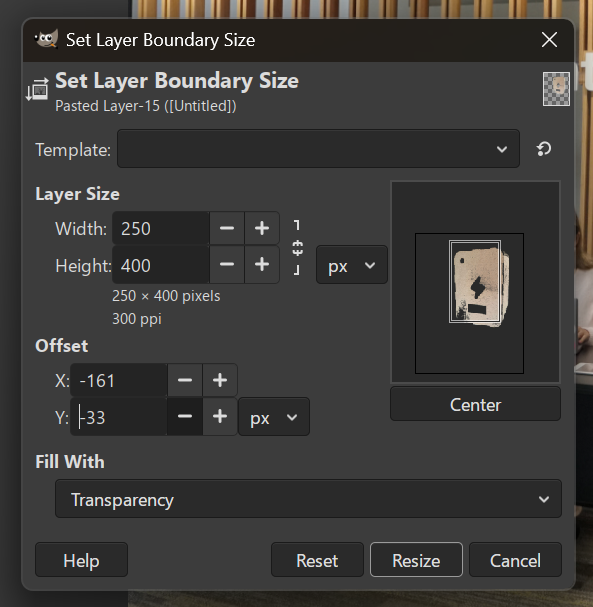
The layer boundaries where a little off, so I adjusted them.
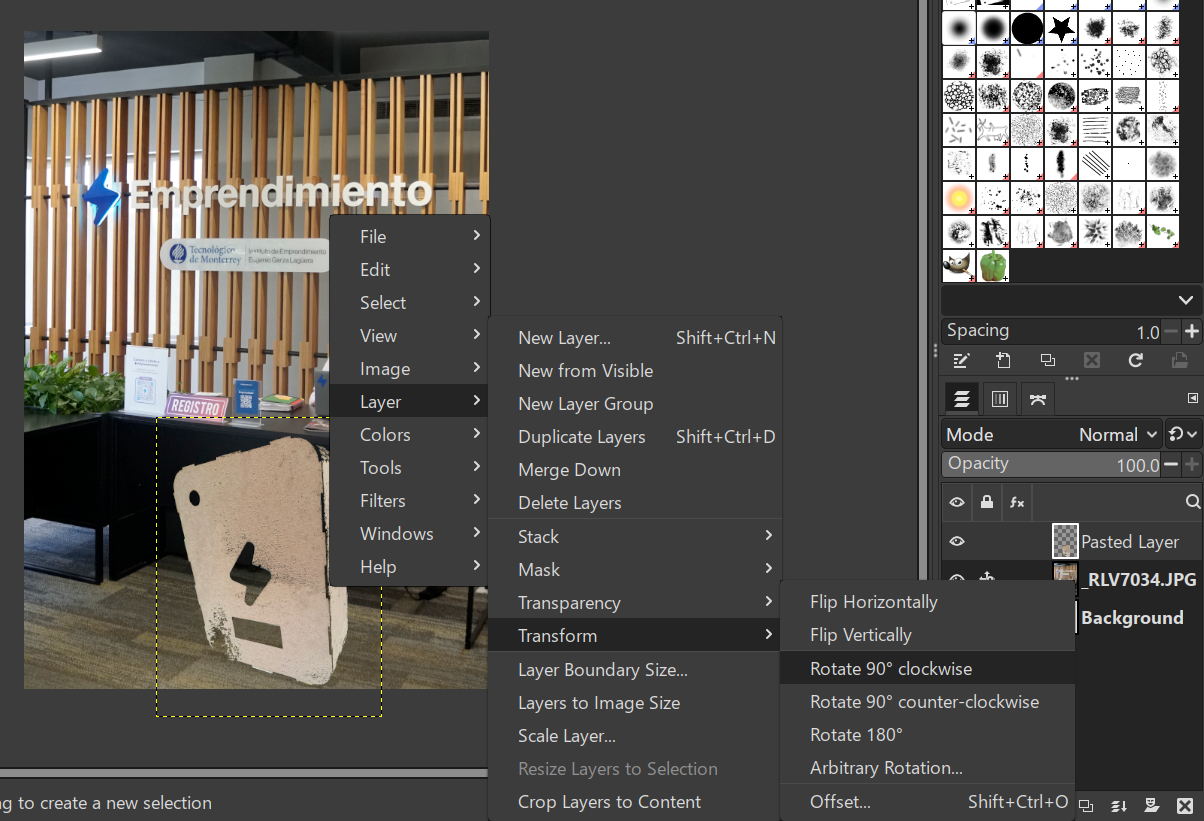
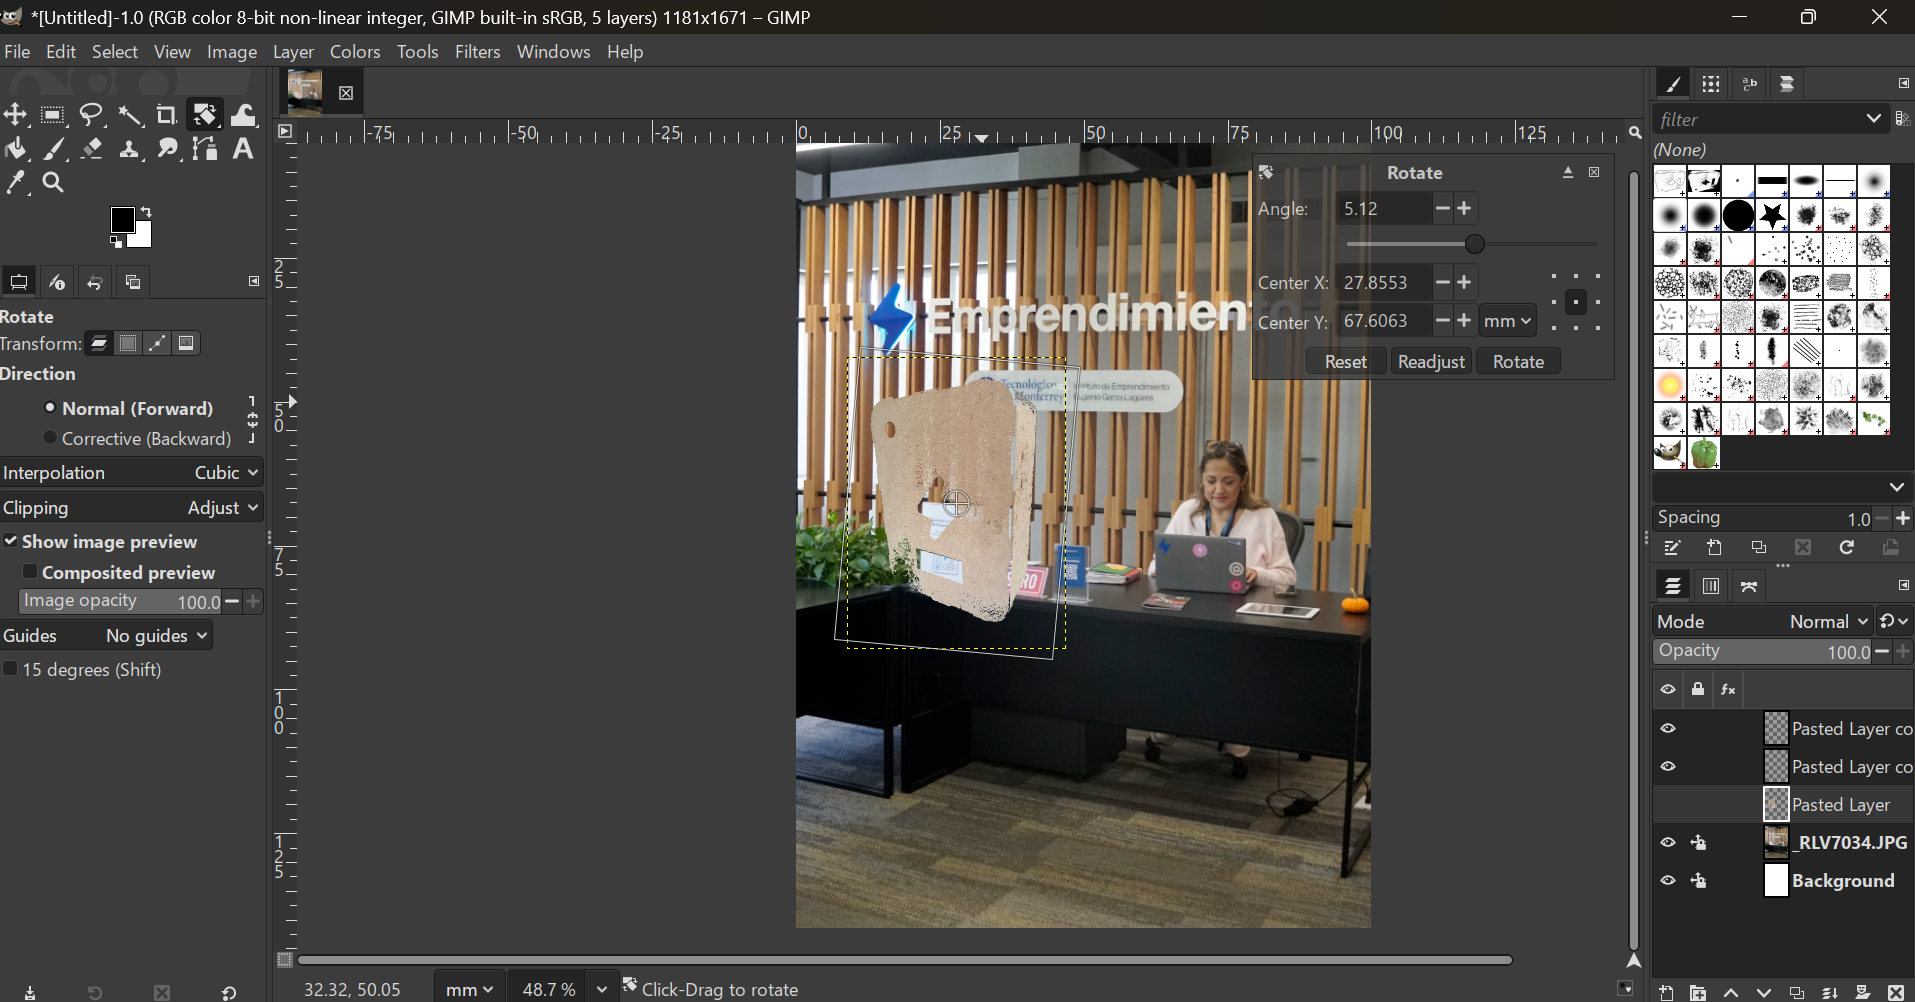
I rotated the box.
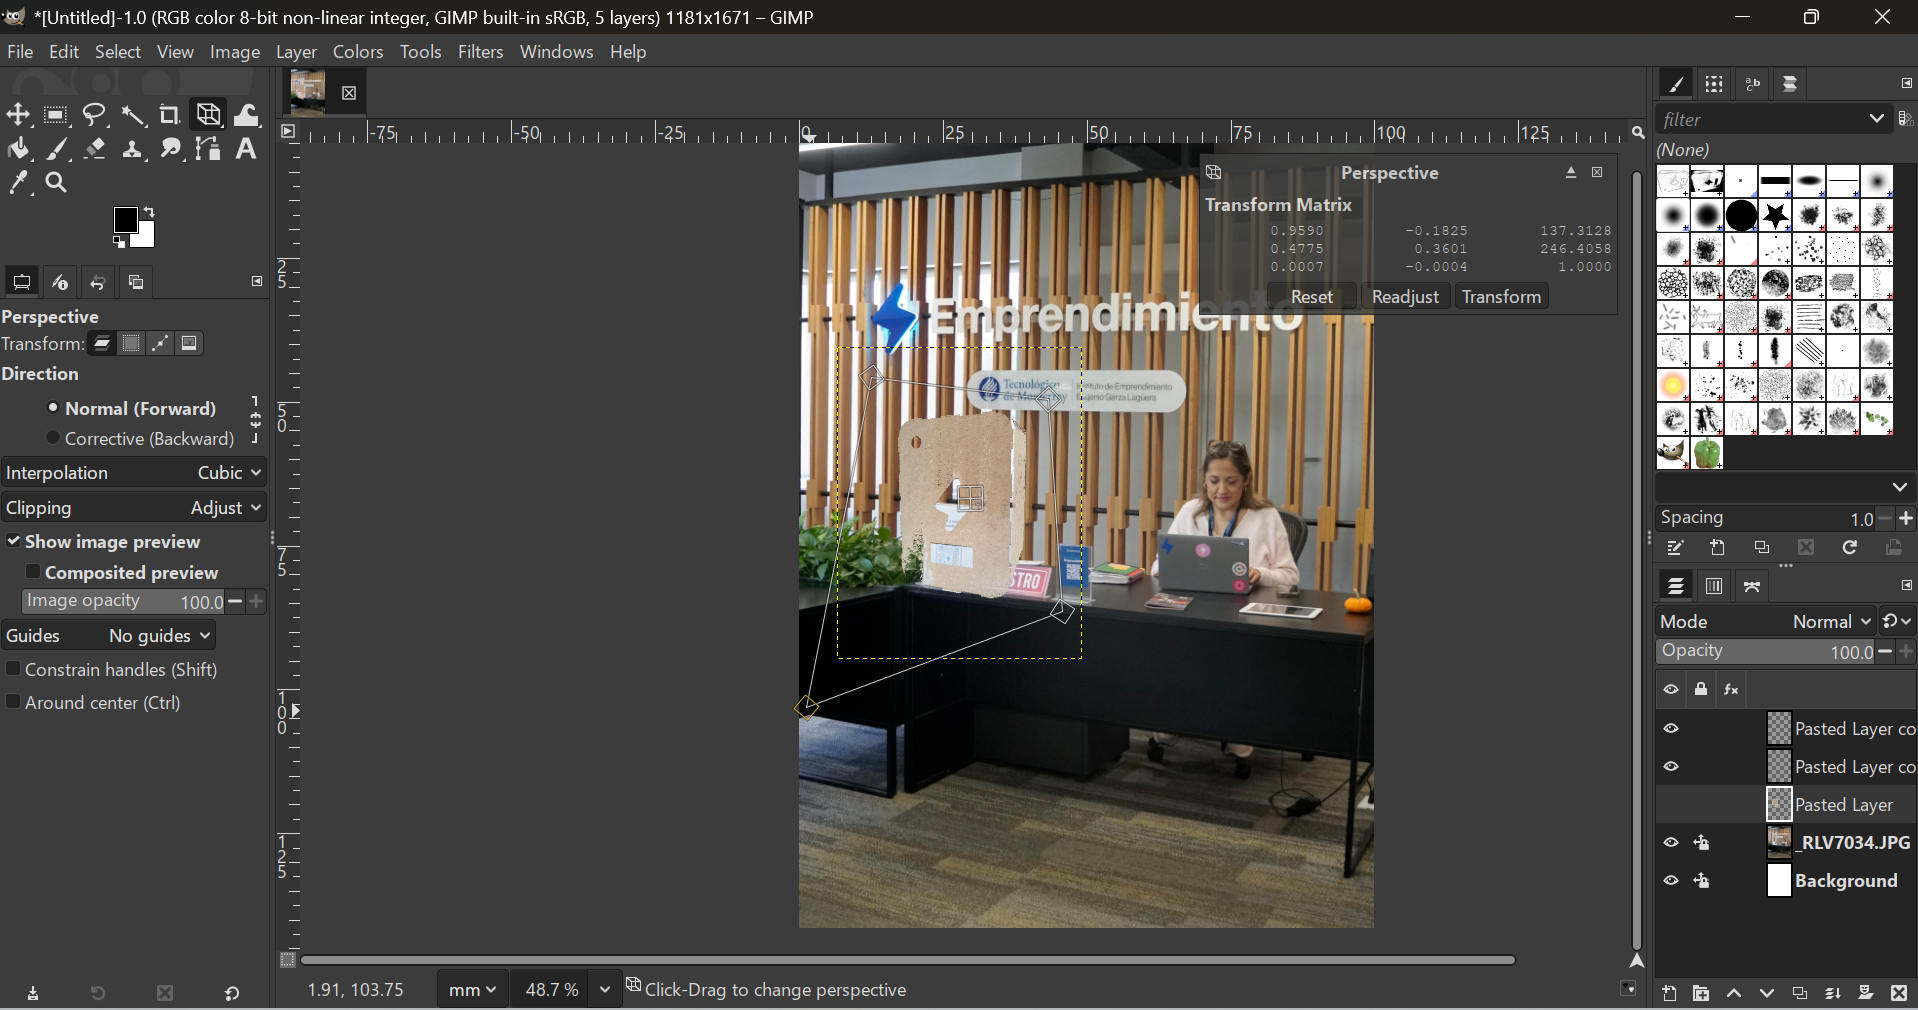
The box was not the right perspective, so I edited this characteristic.
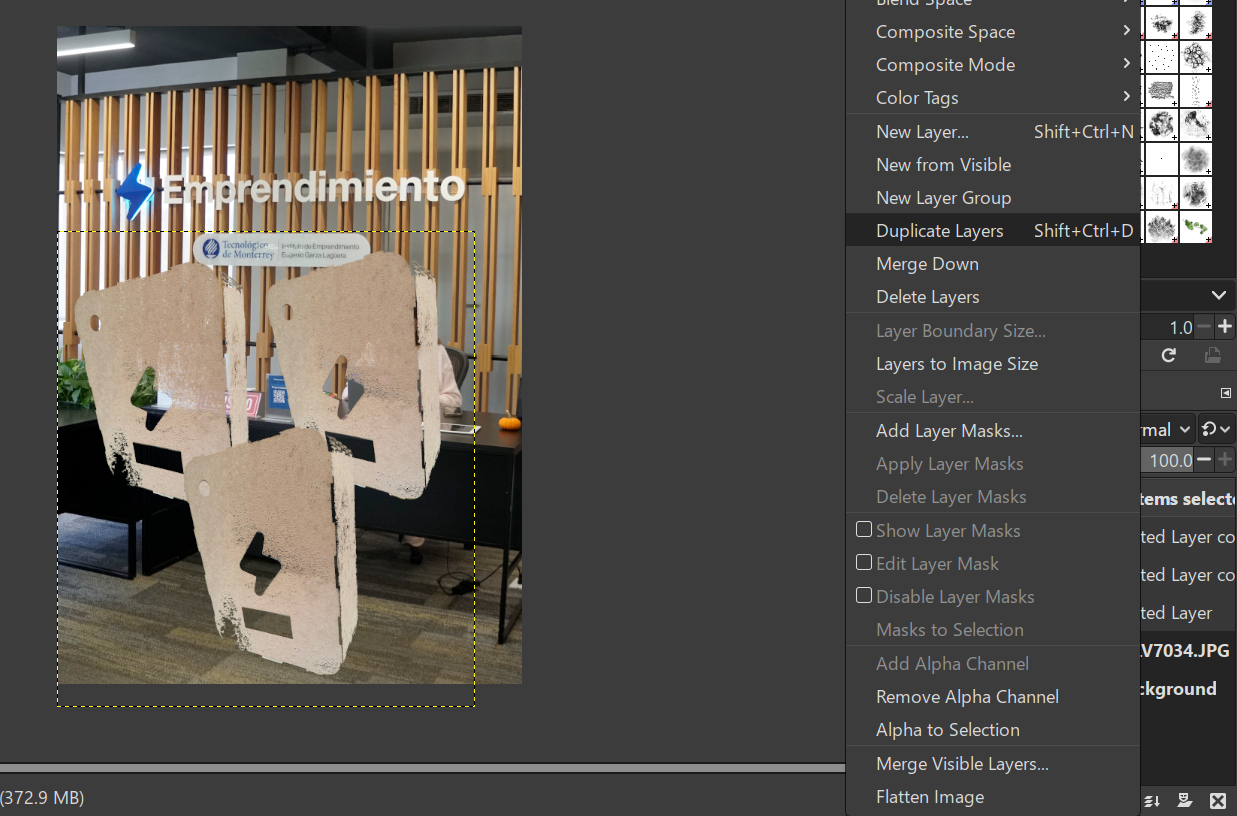
I duplicated the box image so I could compare at the same time.
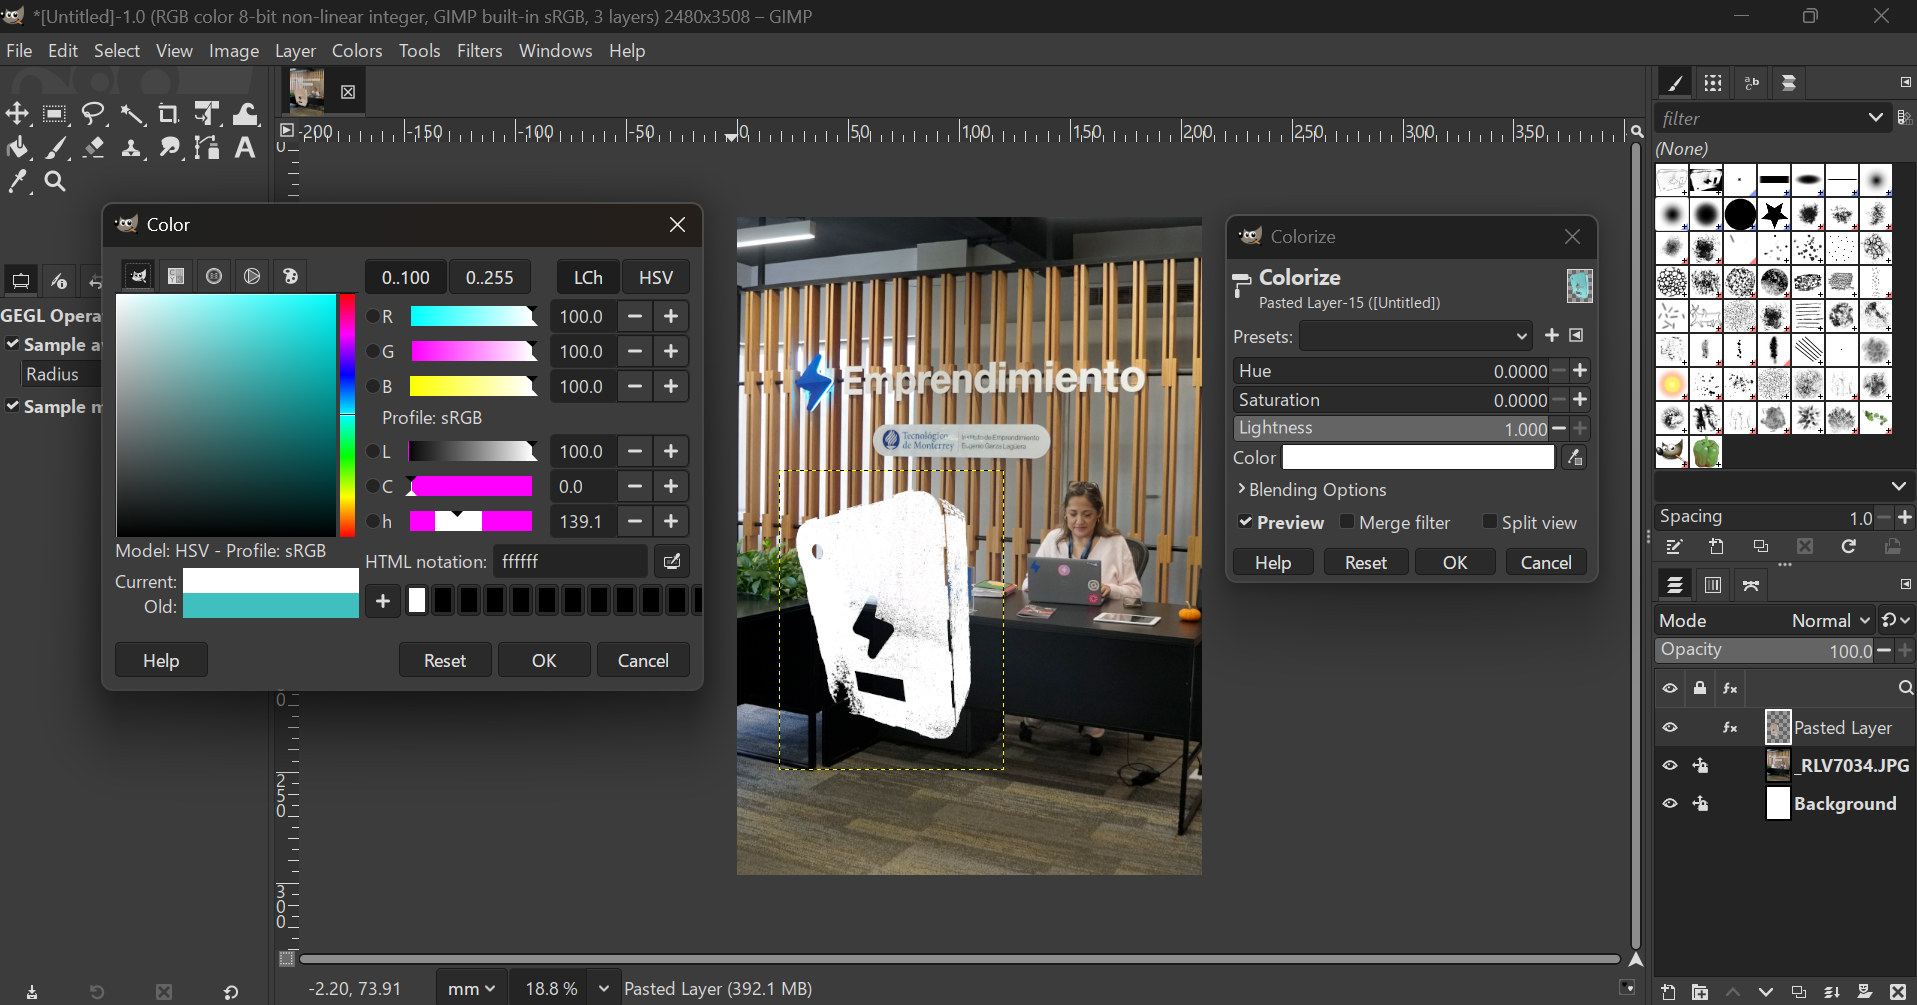
I changed the color of my box to the options I would actually be able to paint.
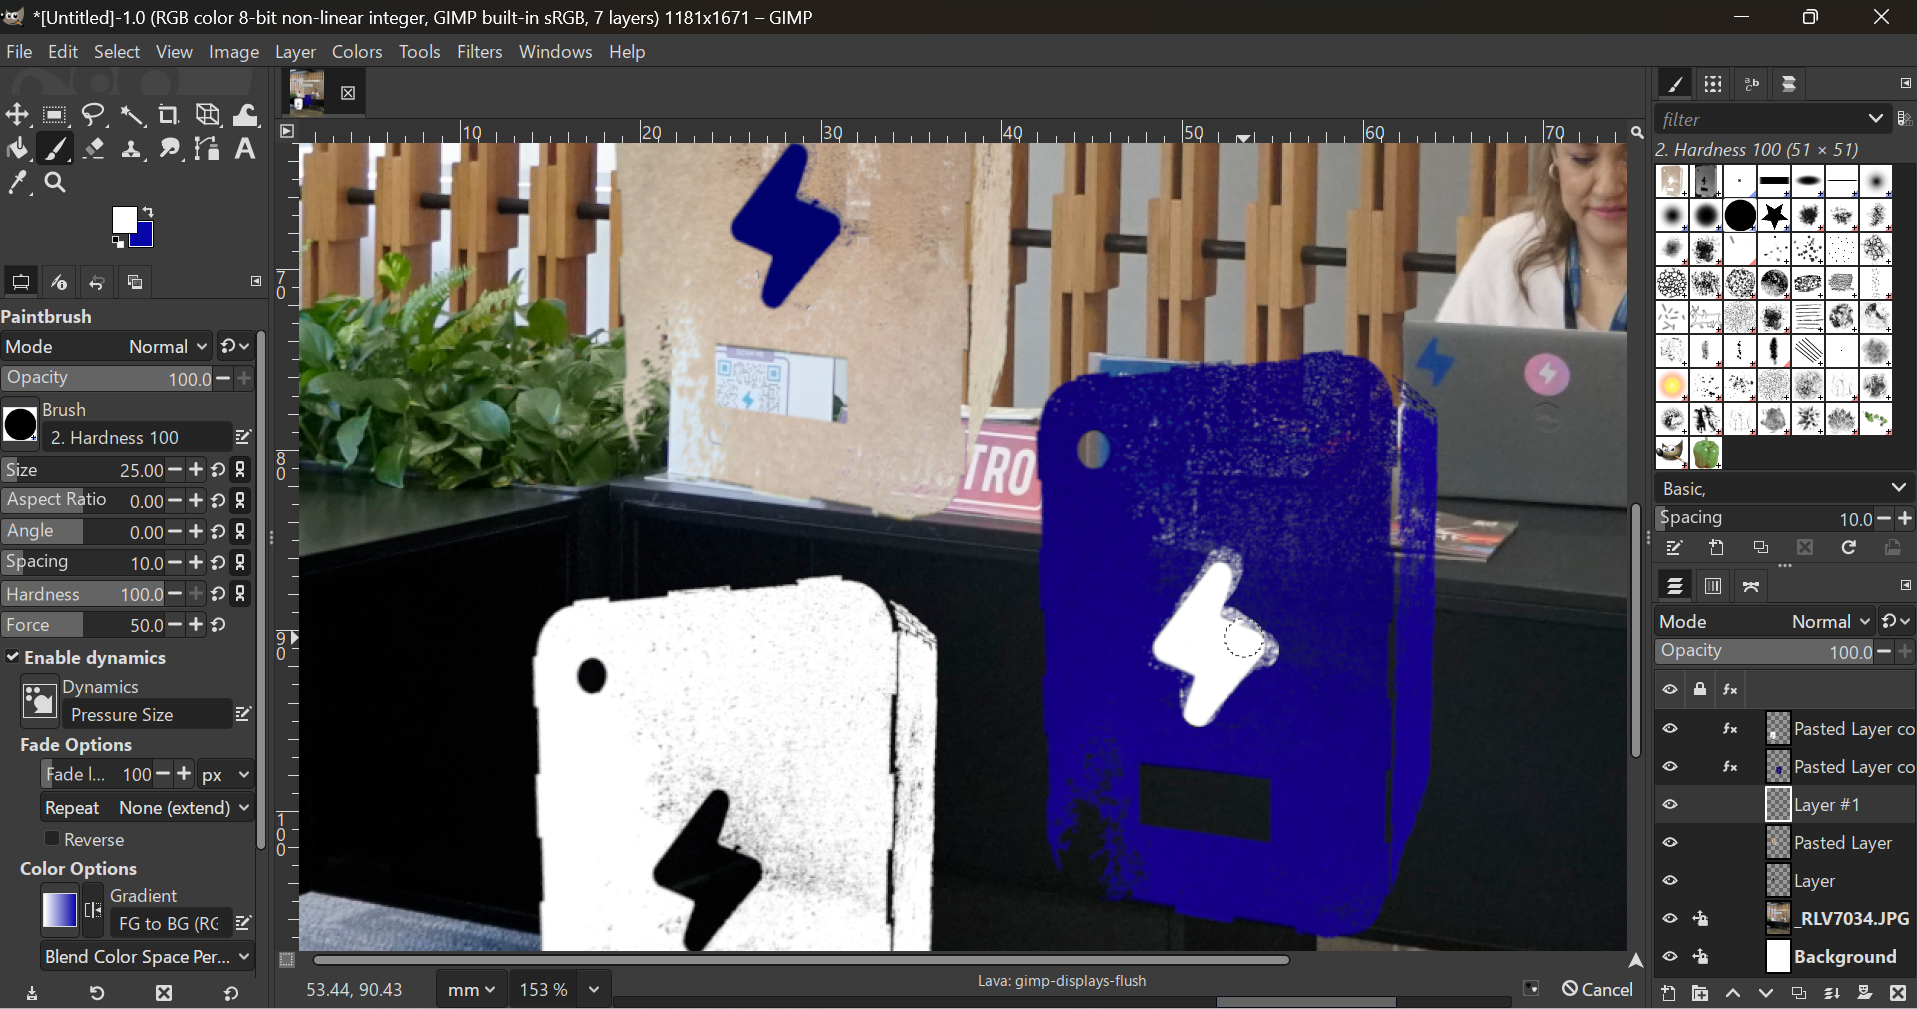
And I hand-drew the lightning holes to find the right color as well.
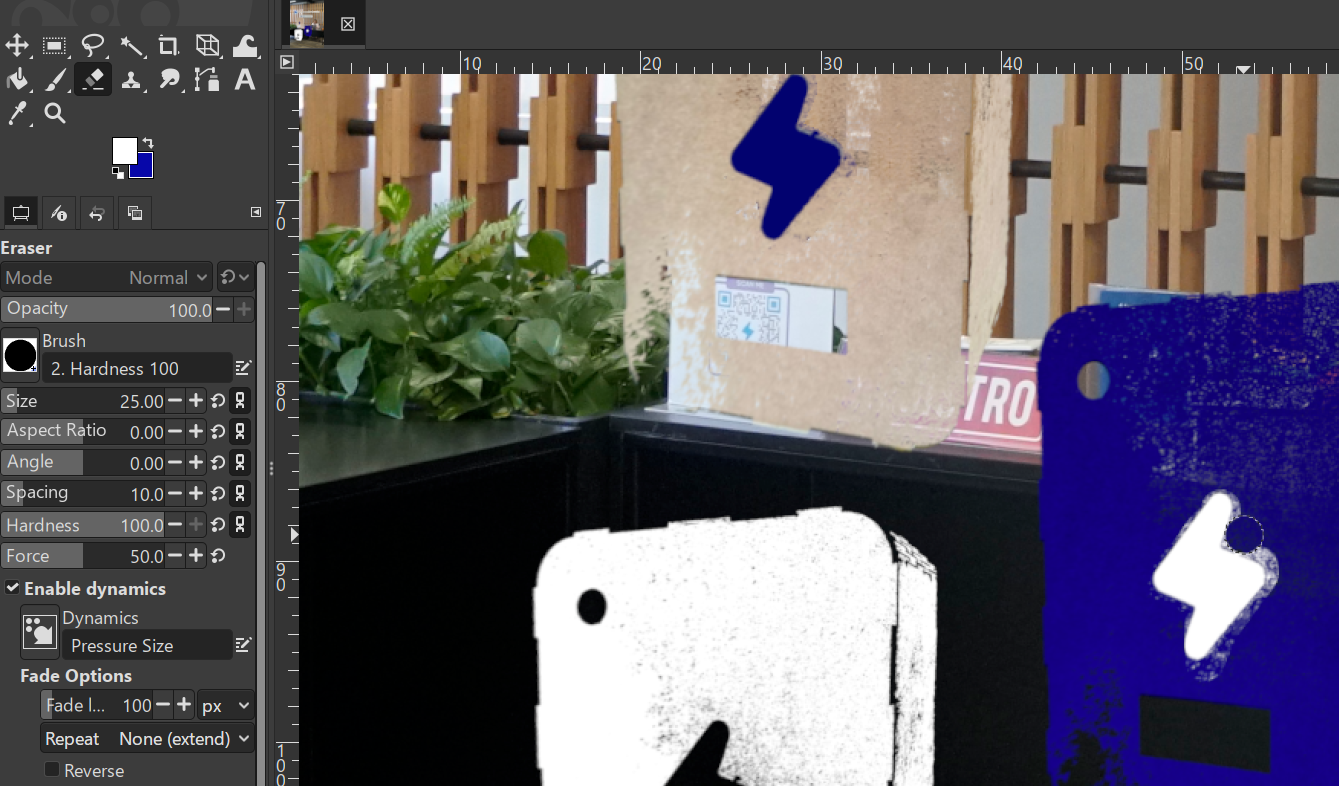
Had to erase some details.
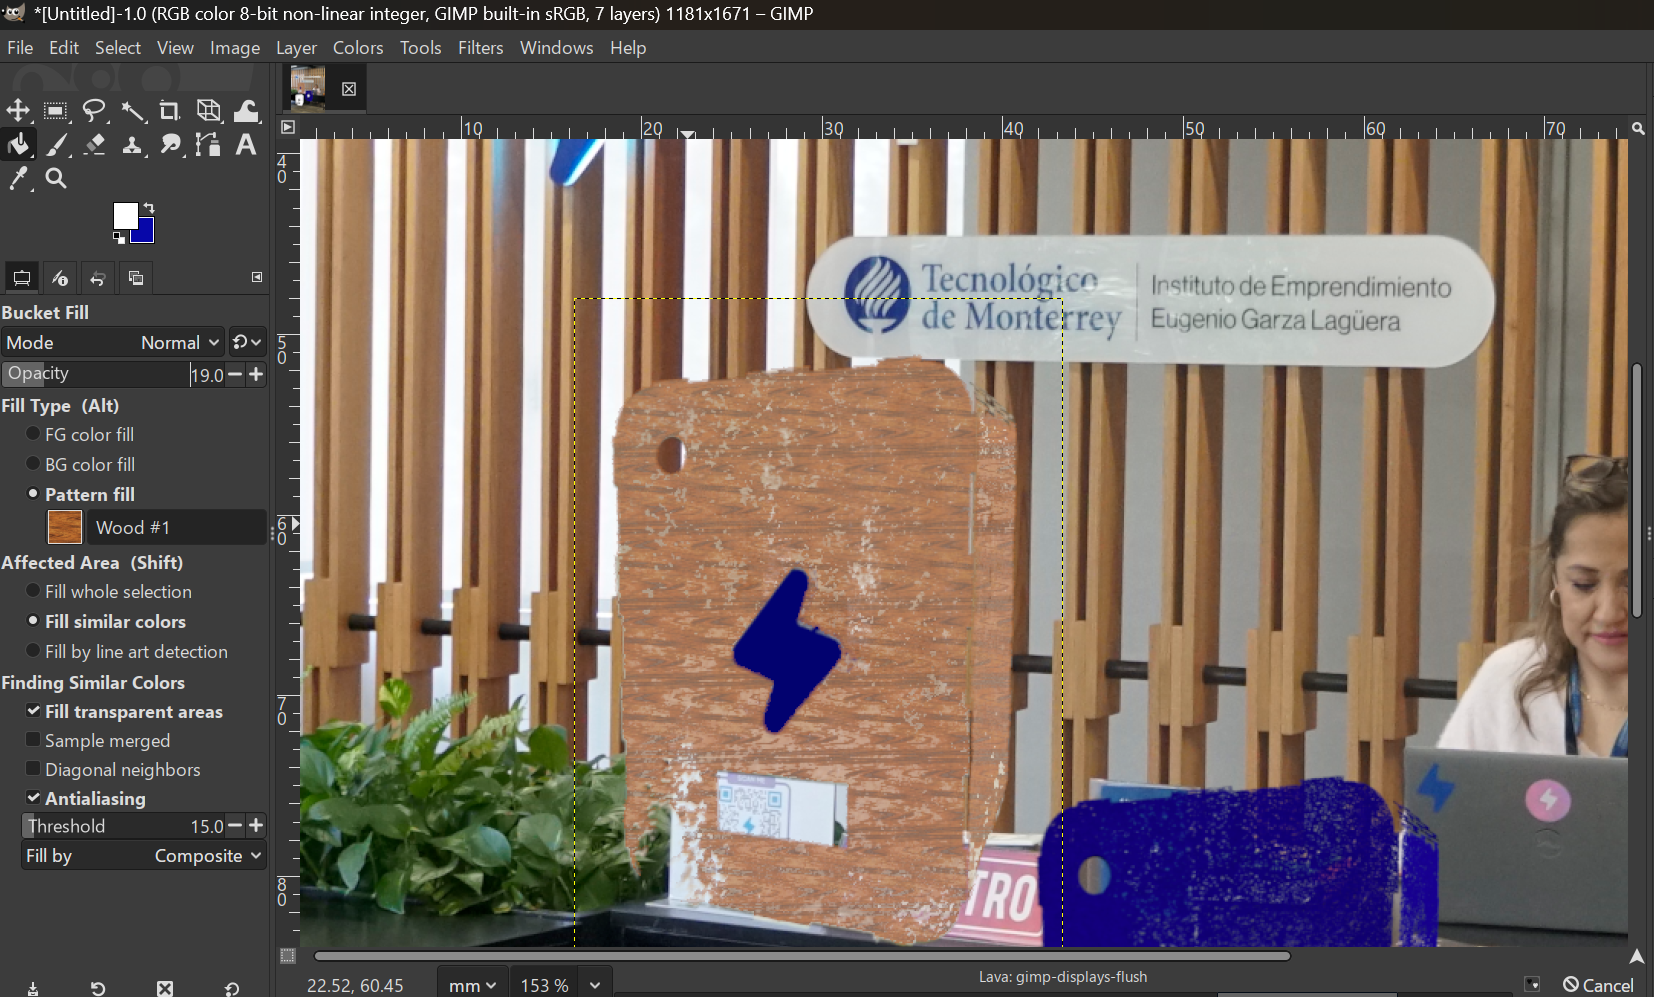
I found a way to add wood texture and get closer to reality.
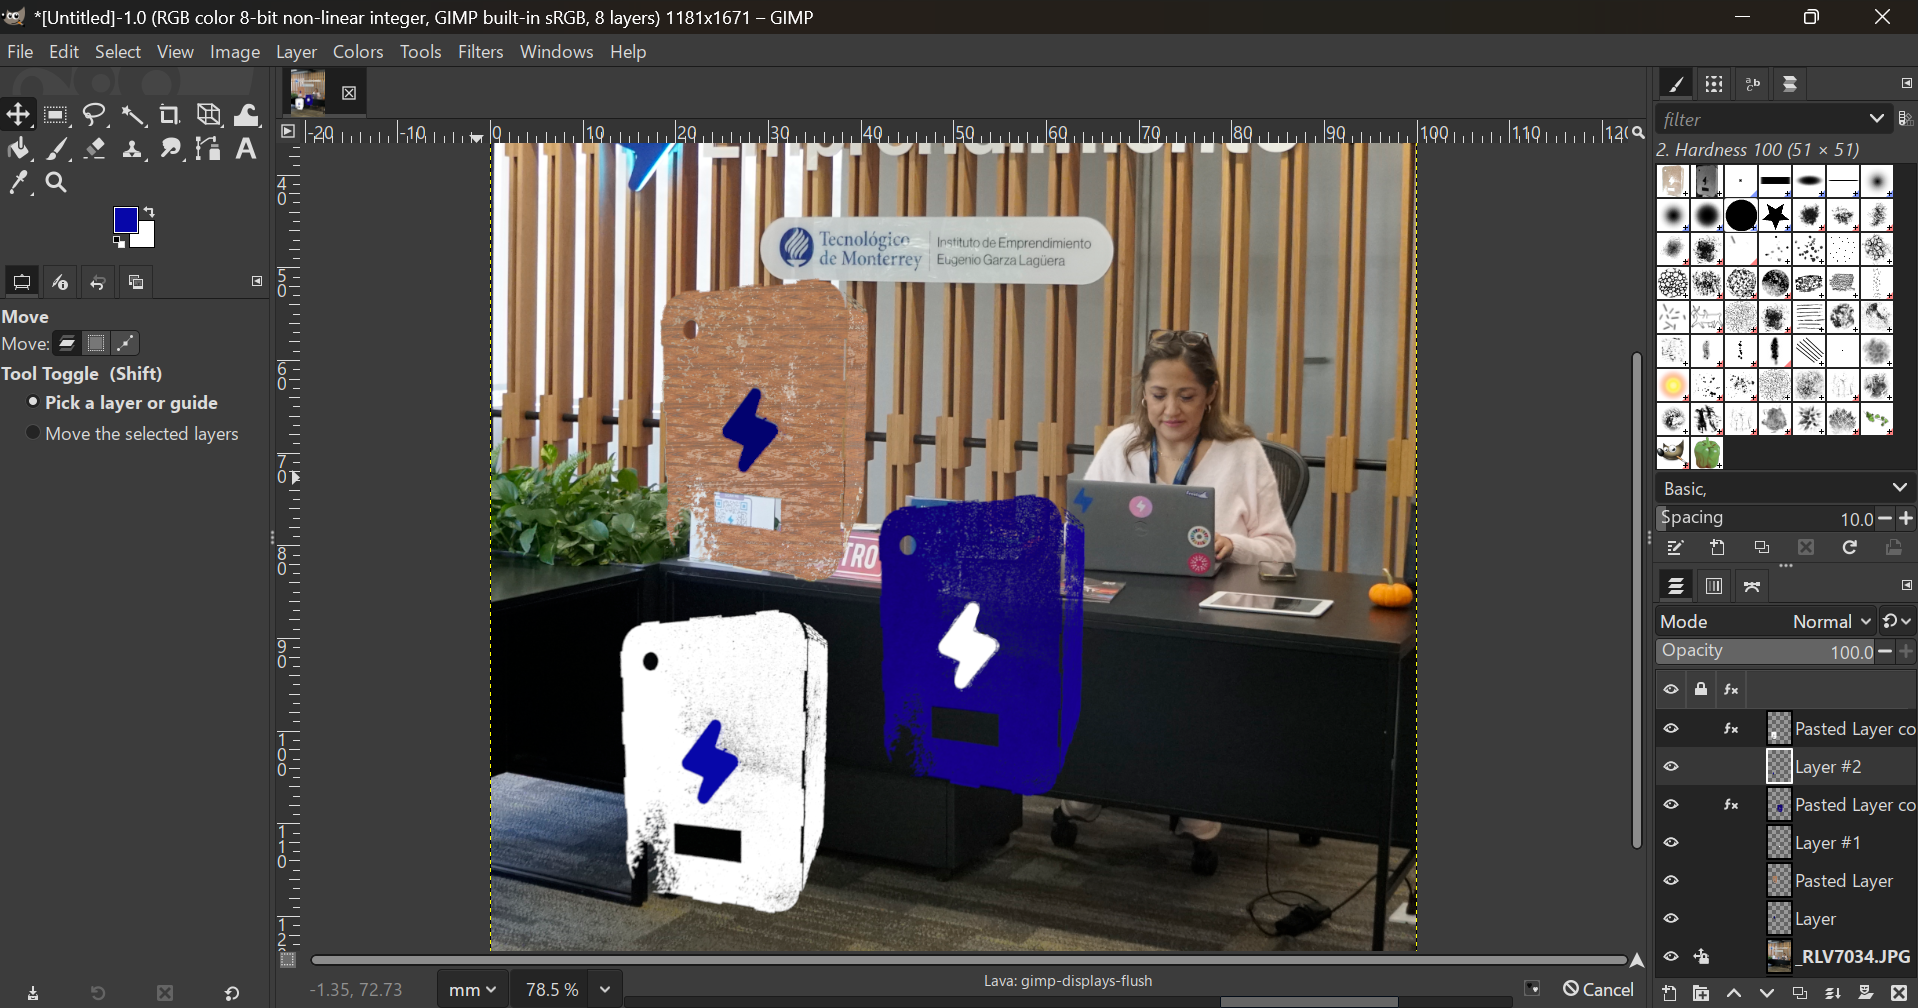
This is the final comparison that helped me decide on going witht the blue box and white lightning.
3D Design
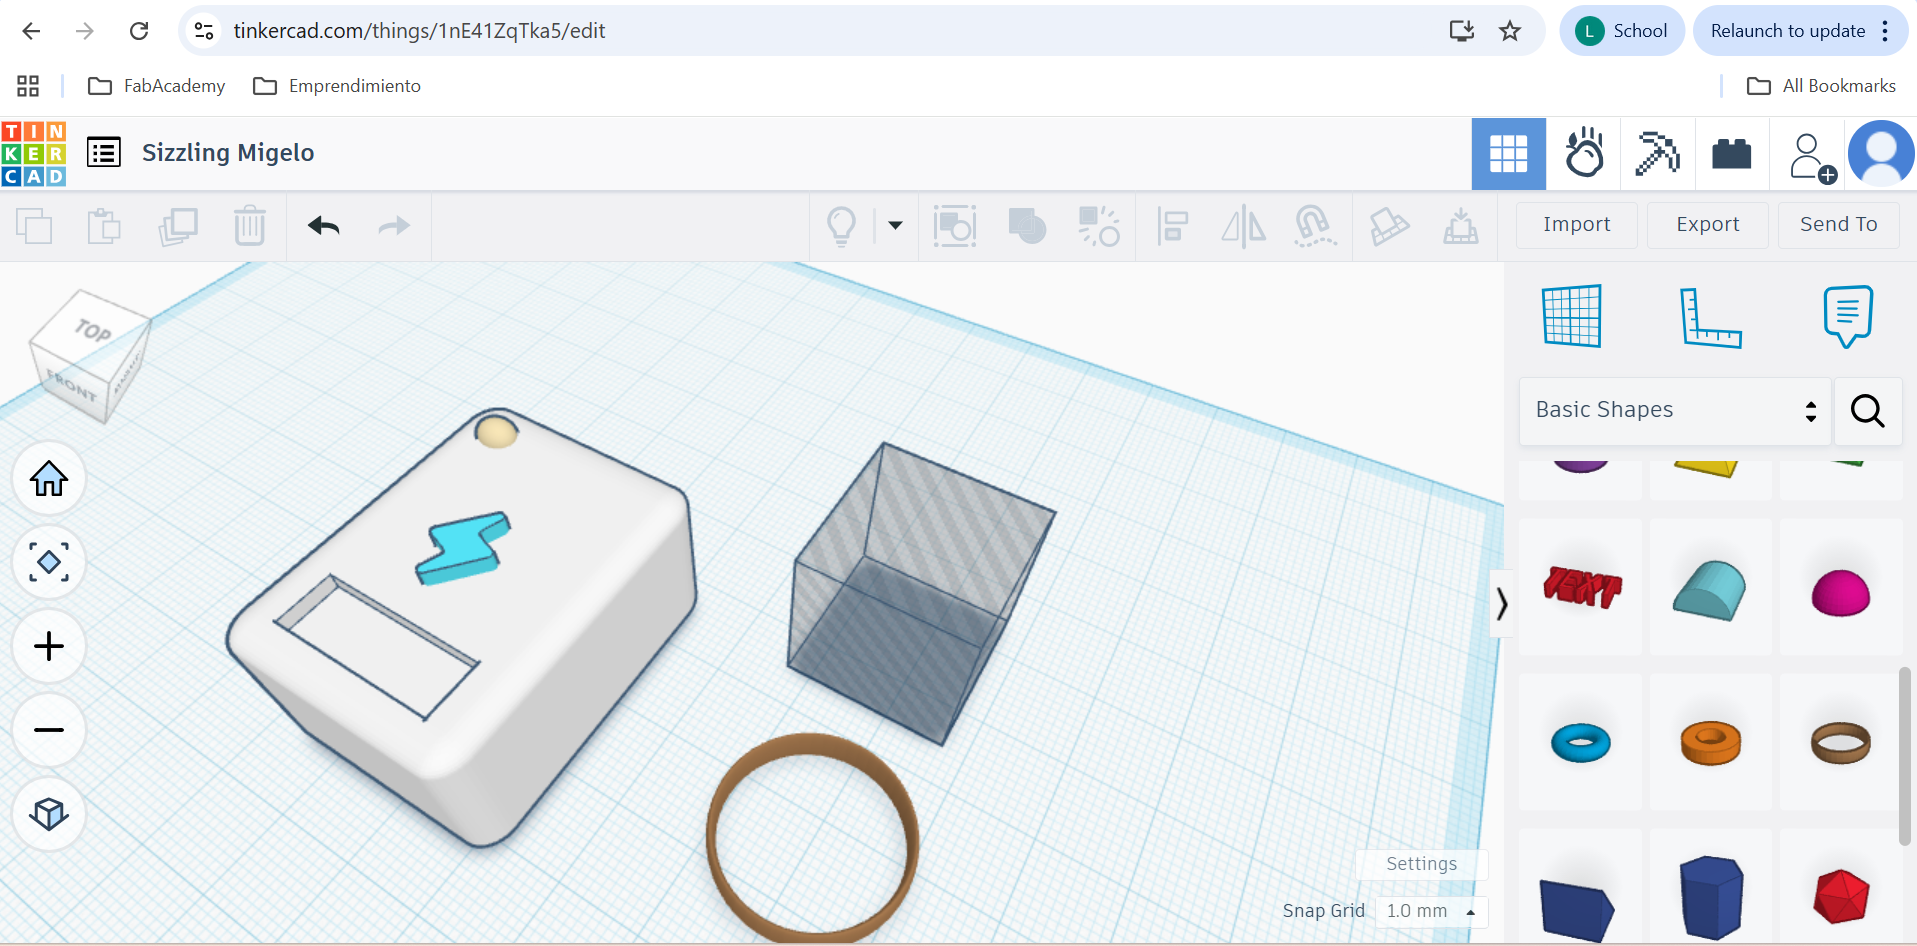
As of 3D software, I started out with TinkerCad. It was so easy to drag and drop shapes, import my design and extrude it. This have me a better idea on the order and position for creating and putting together my volumes.
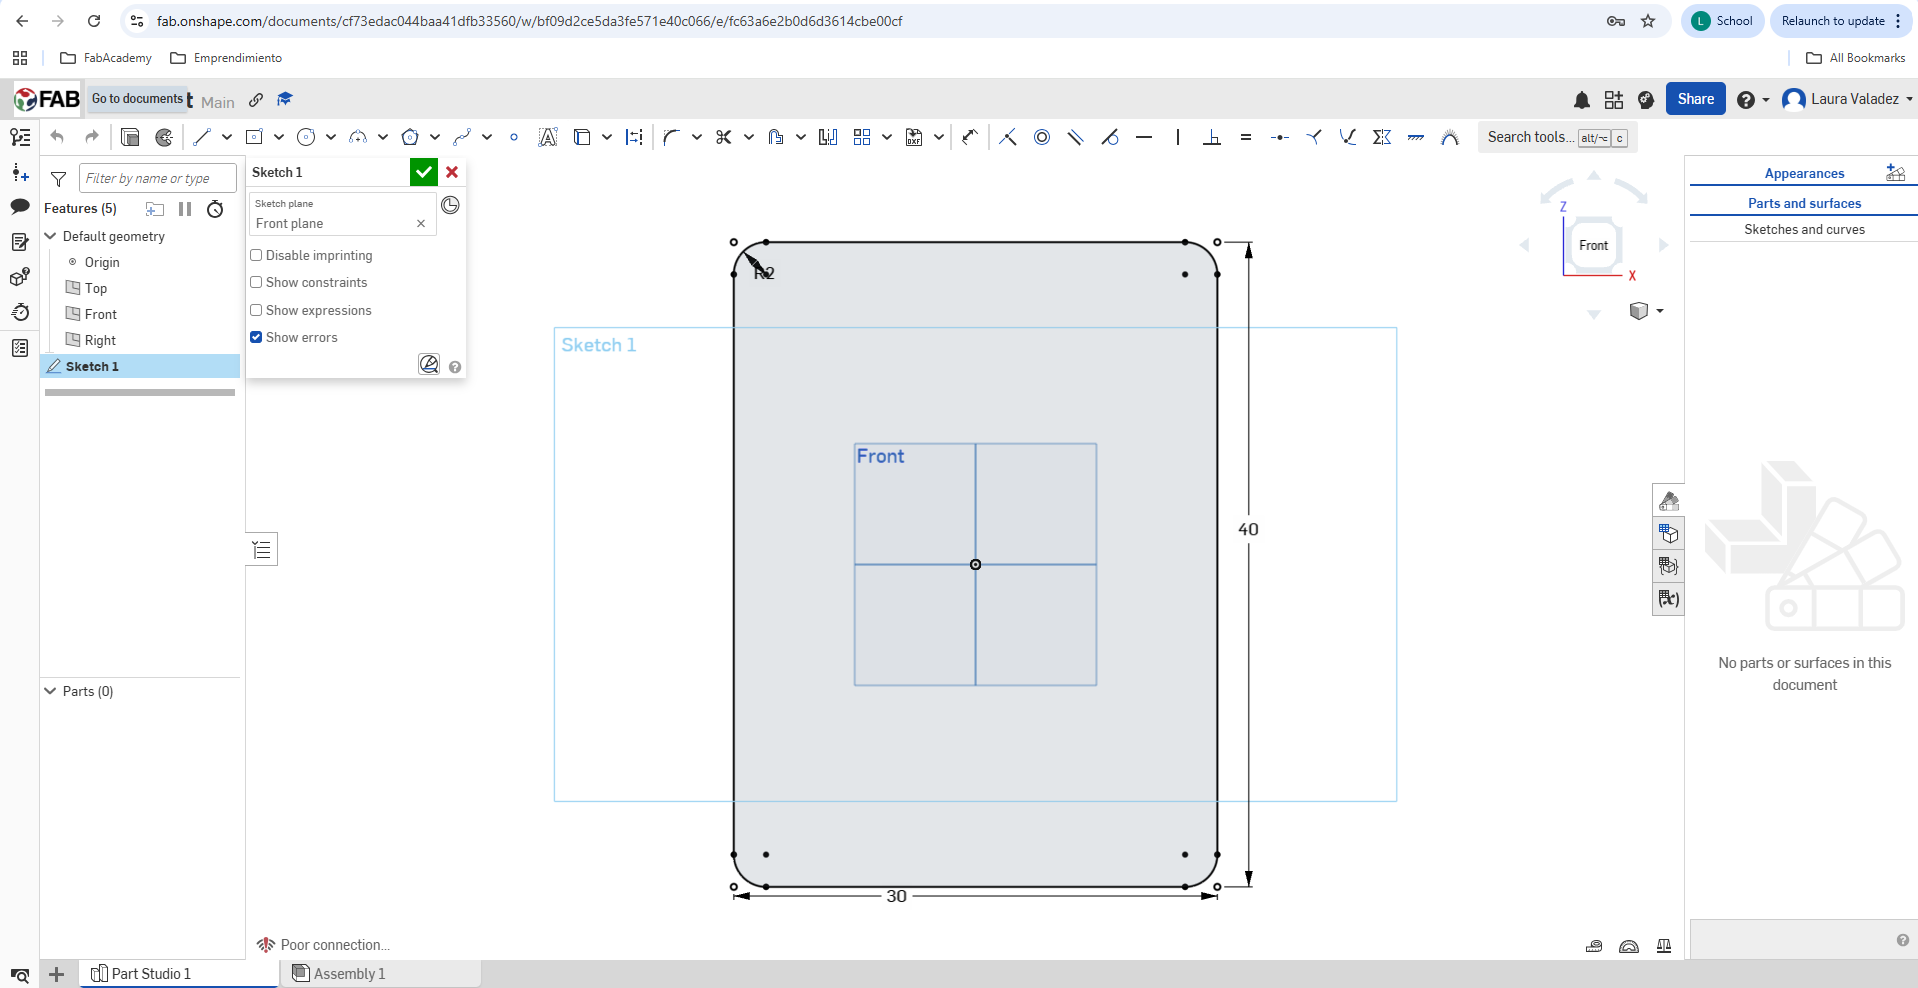
OnShape was the final step to sum up all skills in a semi-final version of my model, starting with the sketches...
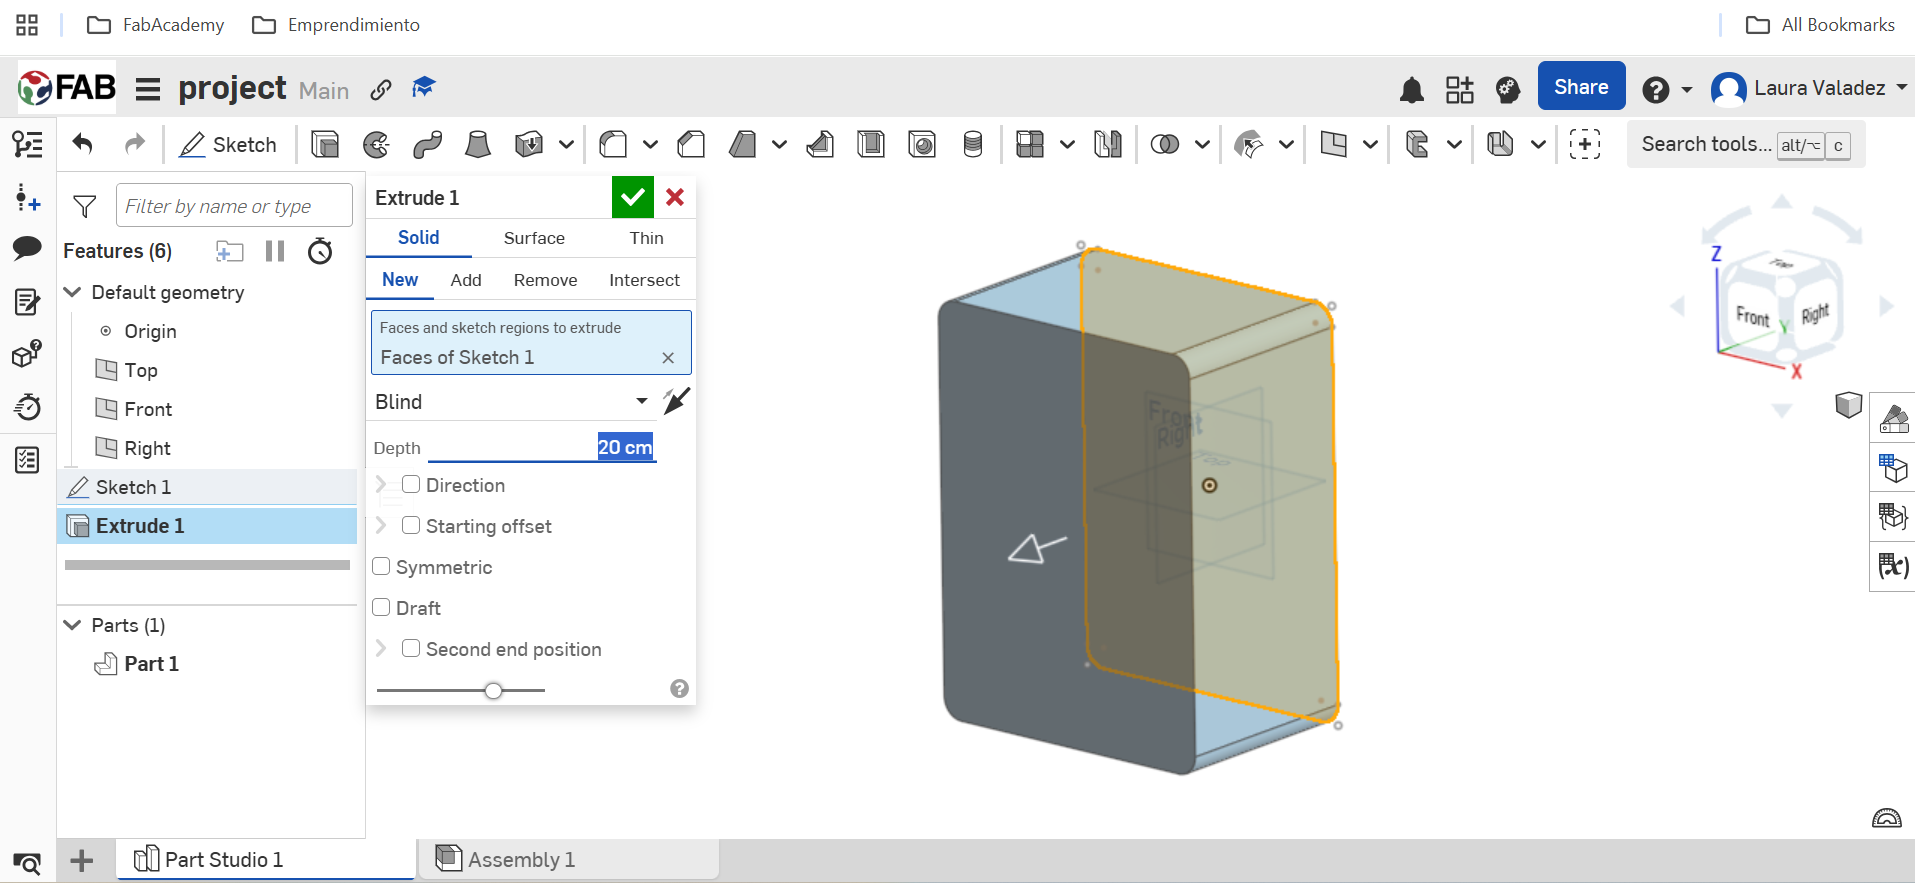
Followed by some extrusions of the sketches.
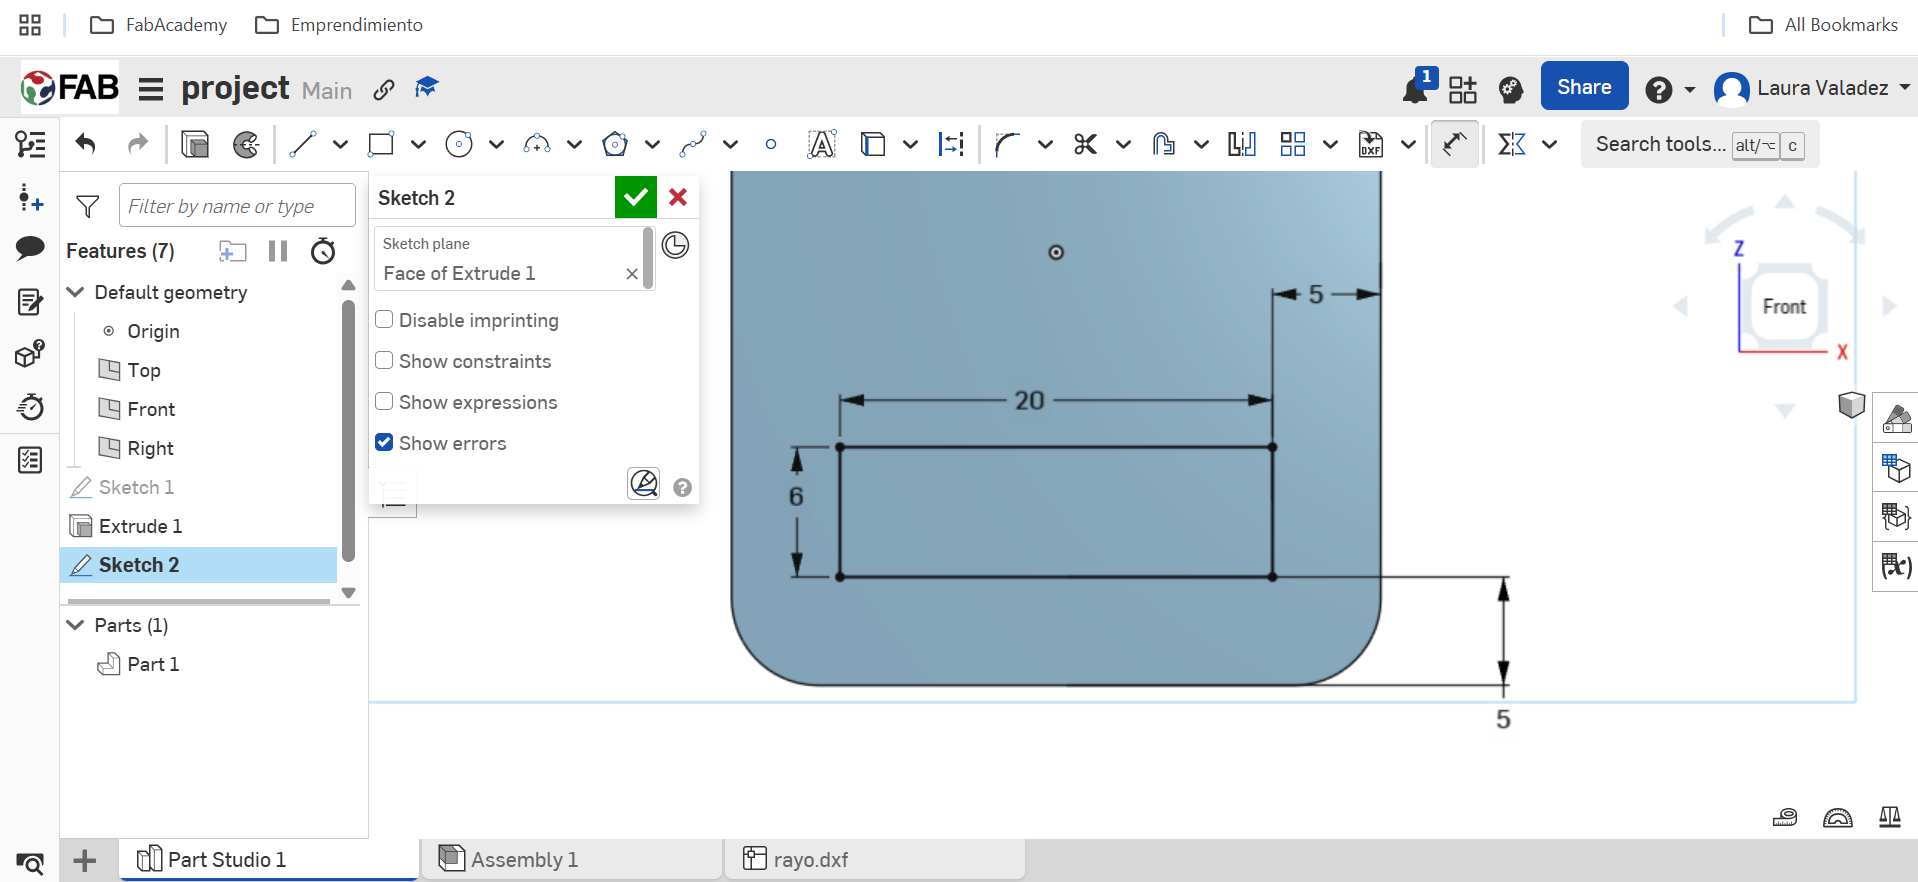
Some parts of the sketch I had to reference.
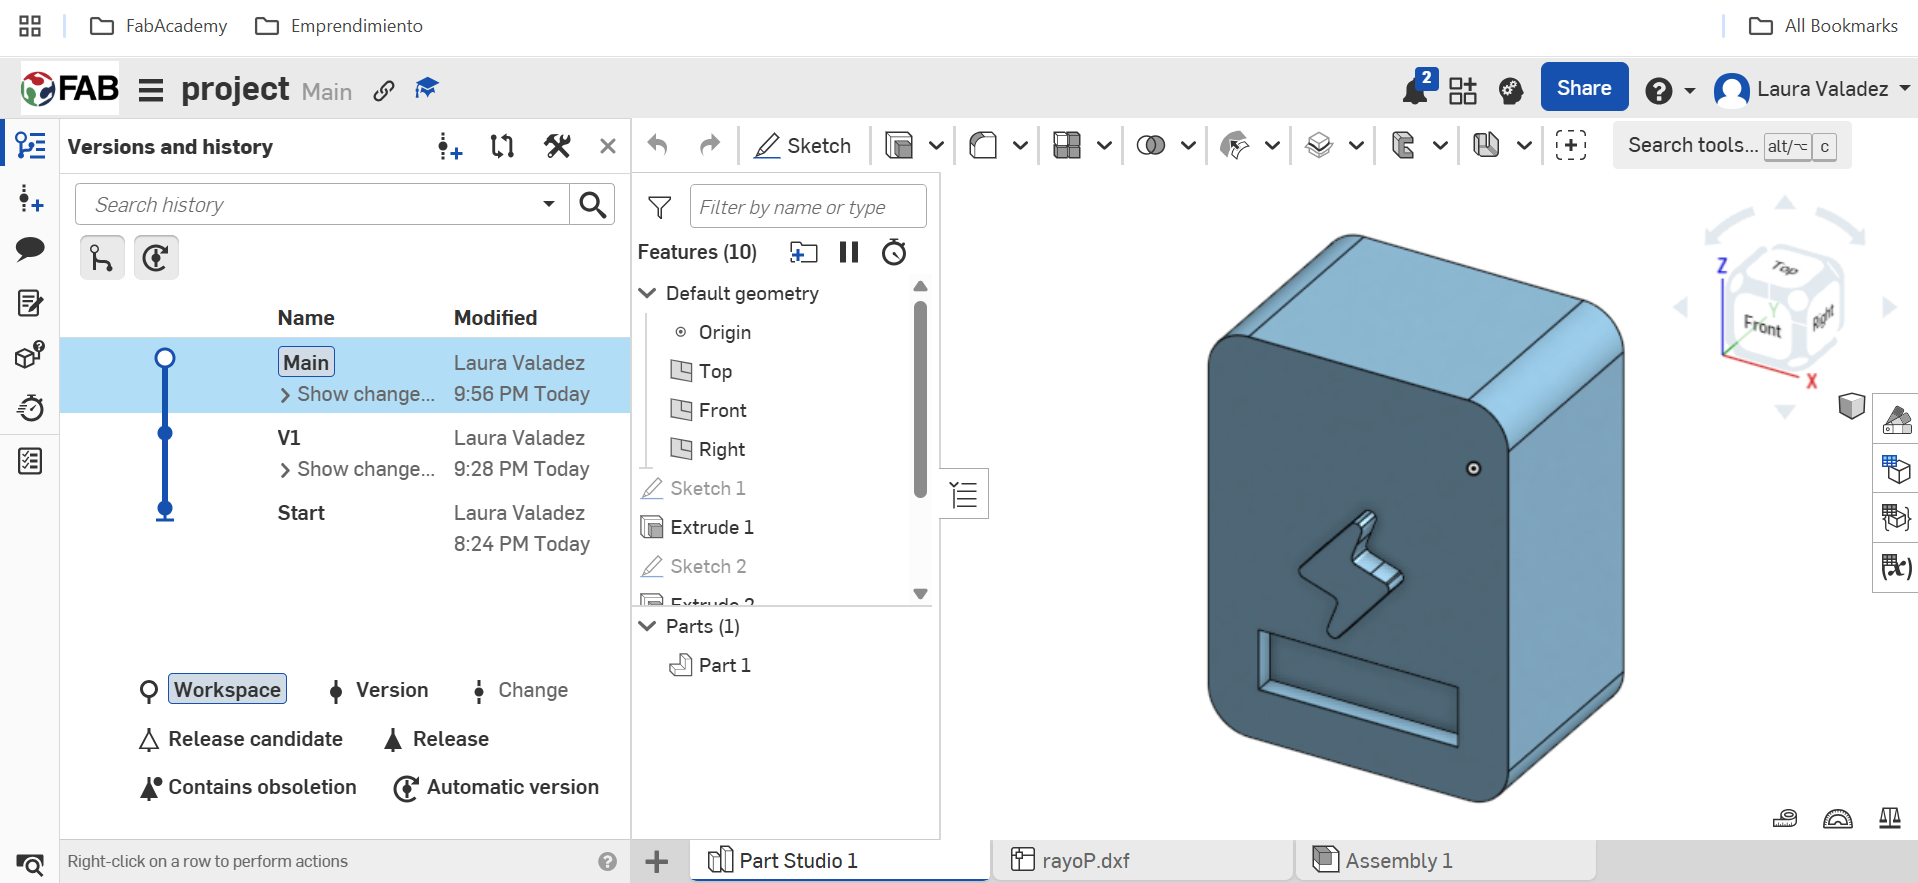
A cool thing that I really like on OnShape is the versions and history timeline that allows you to monitor changes and go back anytime. I believe this is a nice feature to count with for any project.
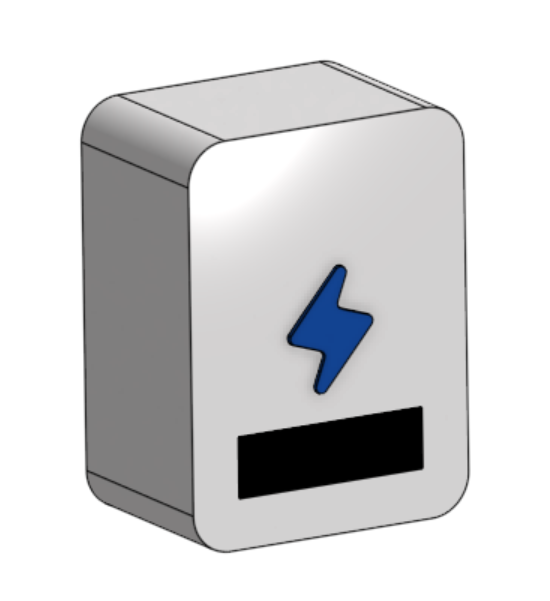
For this semi-final version I created 3 volumes, gave them each a different appearance and found the best angle to take a nice picture.
Although I'm still deciding on final materials, I hope the prototype looks as good as this vision.
Download the design here
Image and vide compression
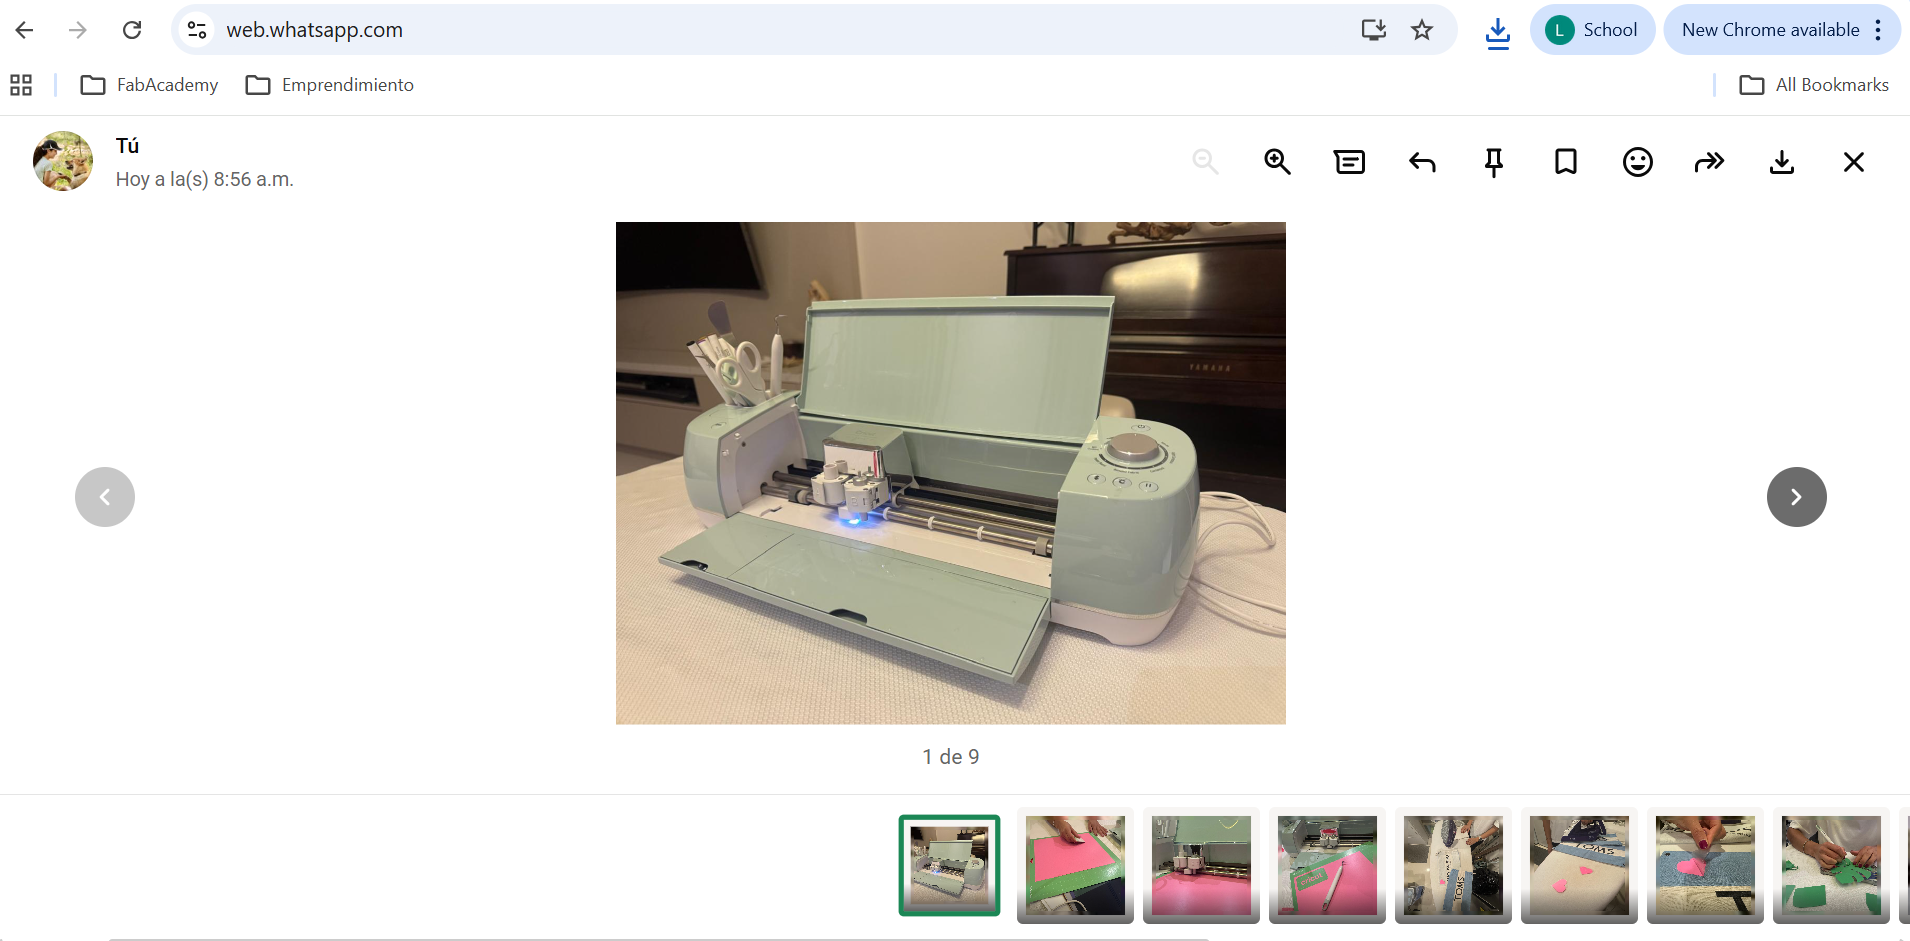
For my image compression, I mostly just send the pictures to myself on whatsapp :D Or I use the following page, shared by our local instructors:
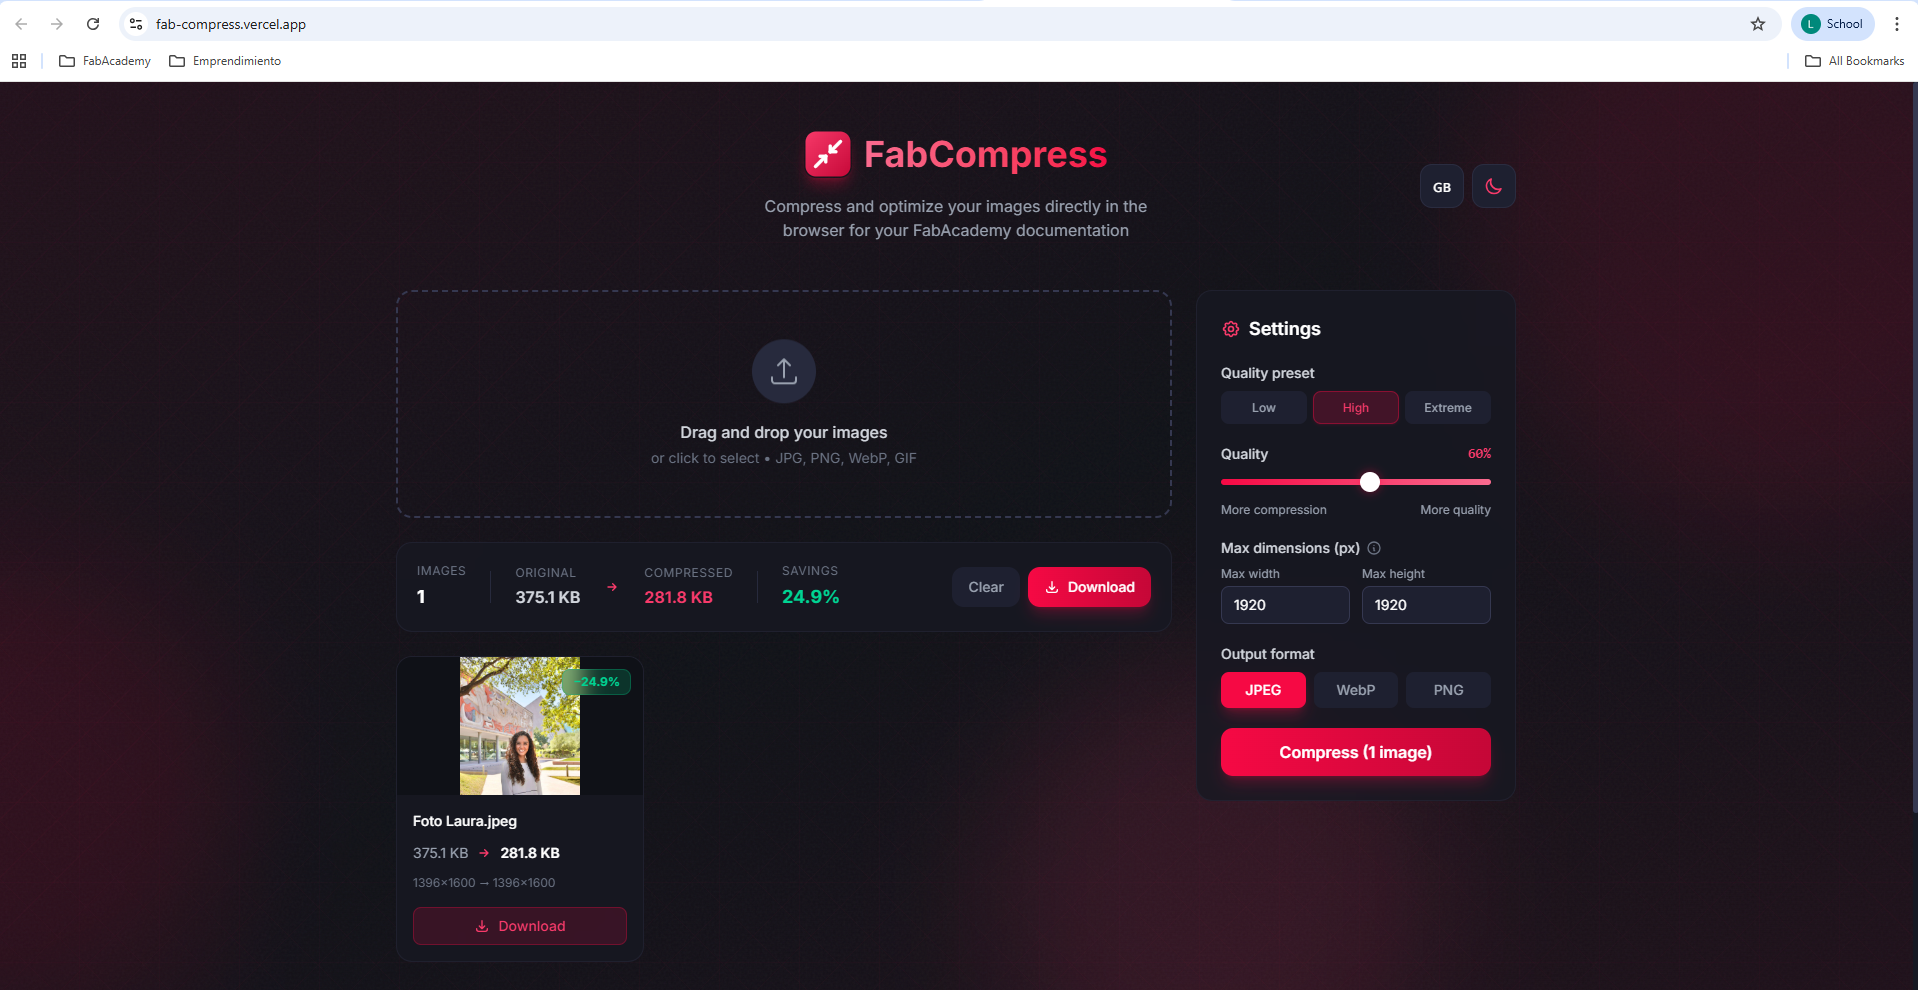
Go to page
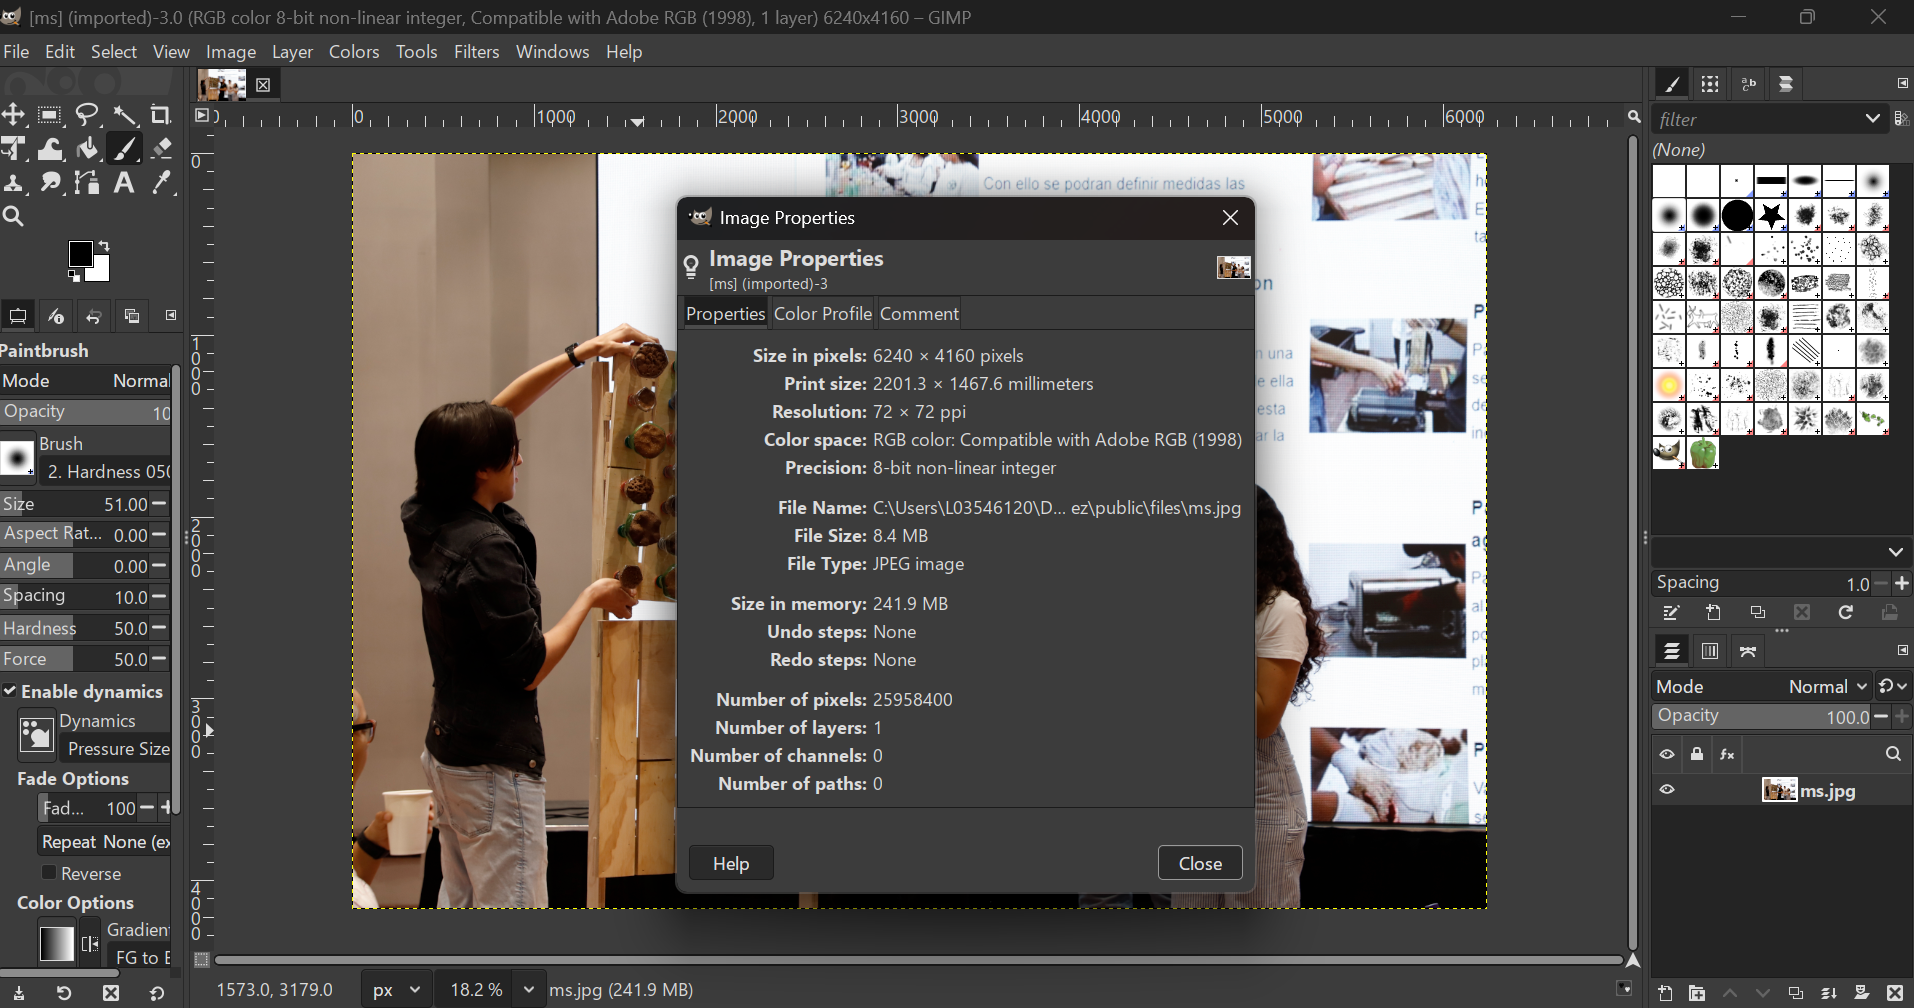
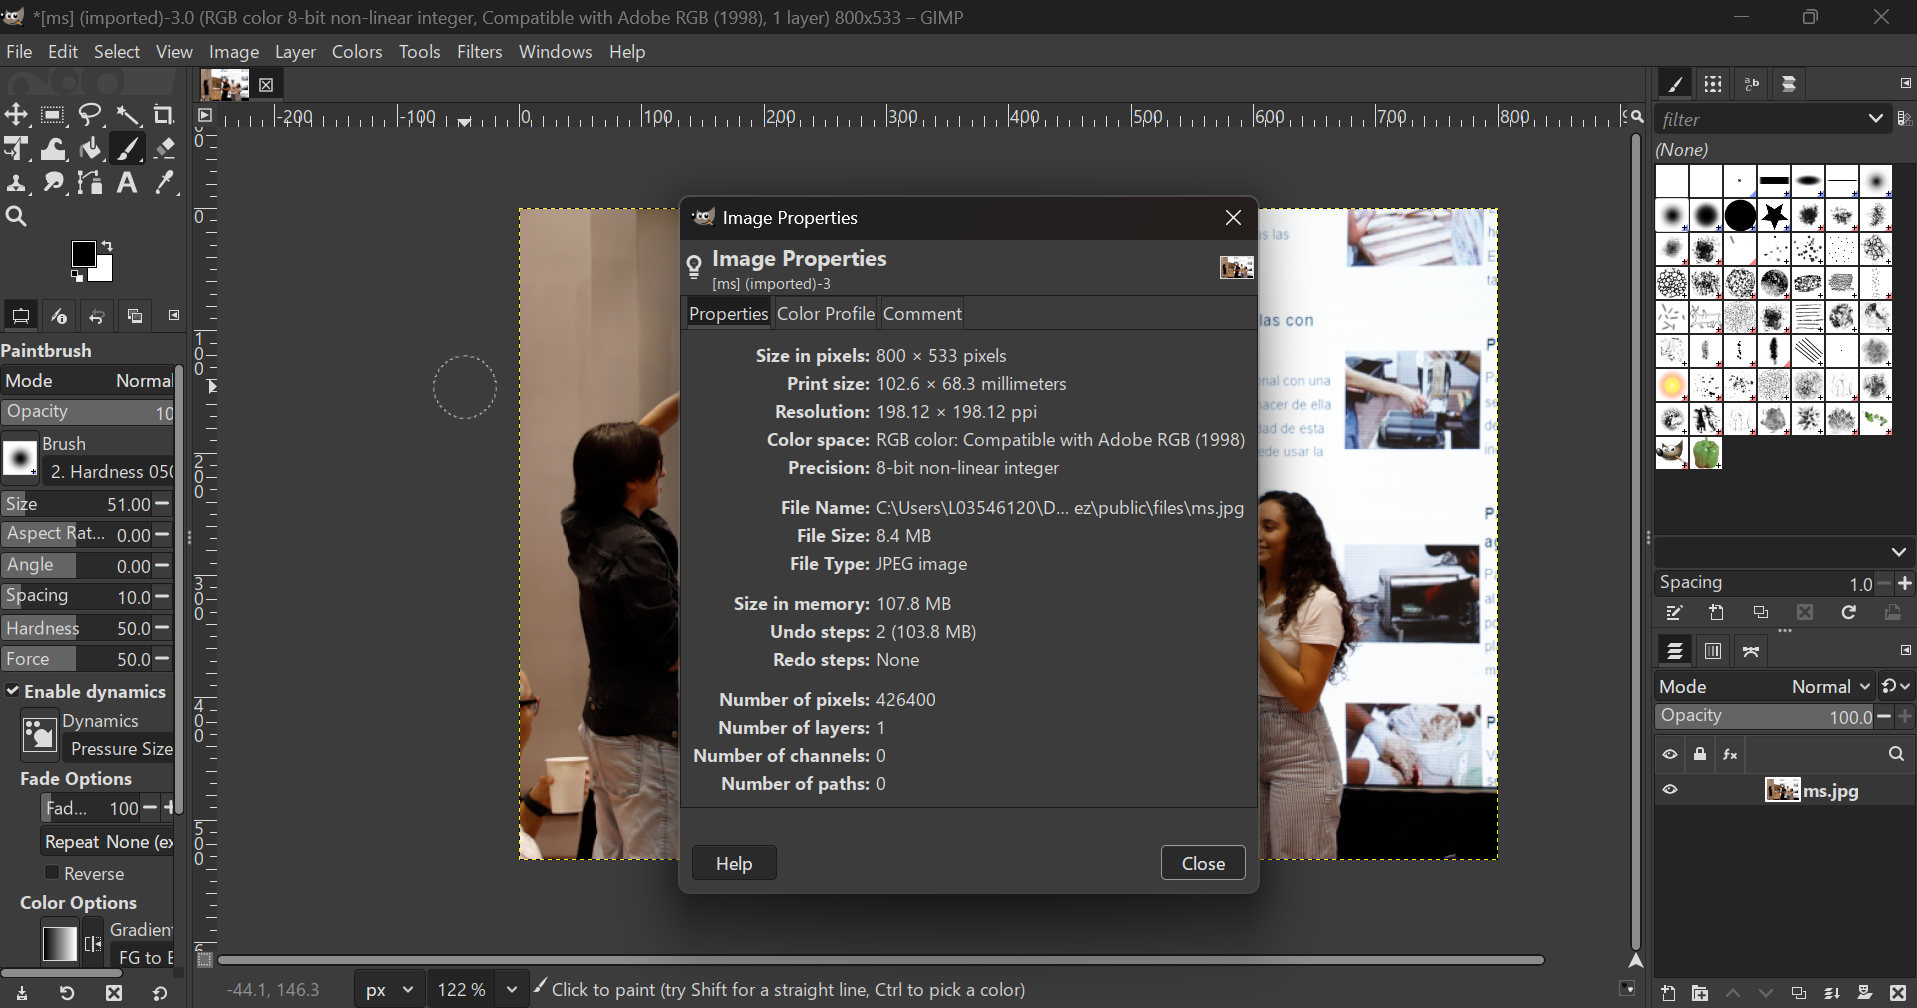
I also tried scaling an image size in Gimp and exporting it:
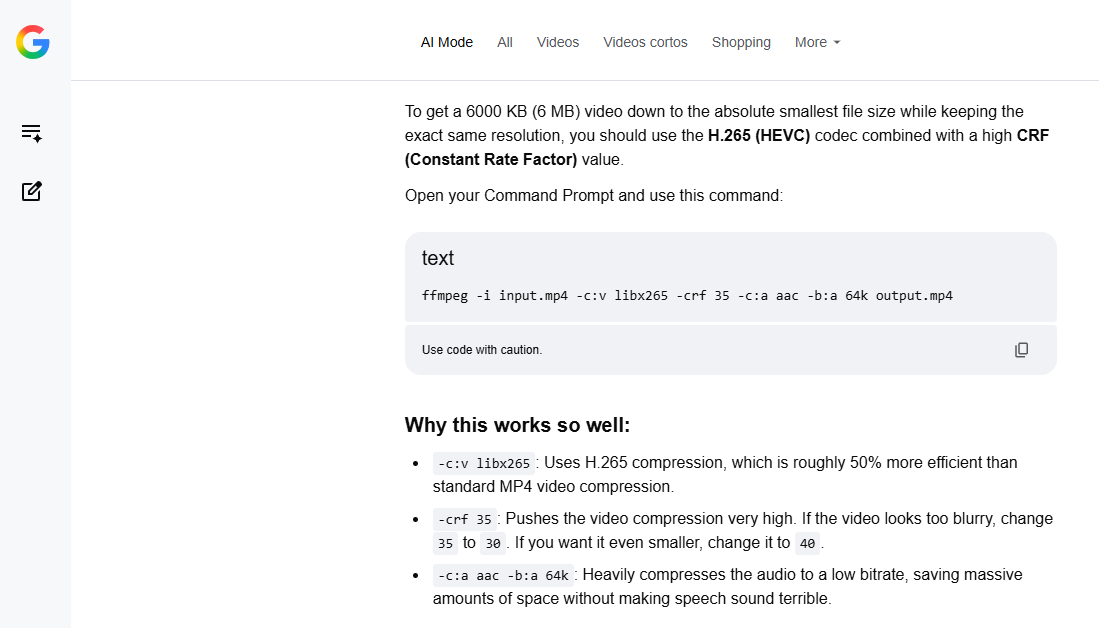
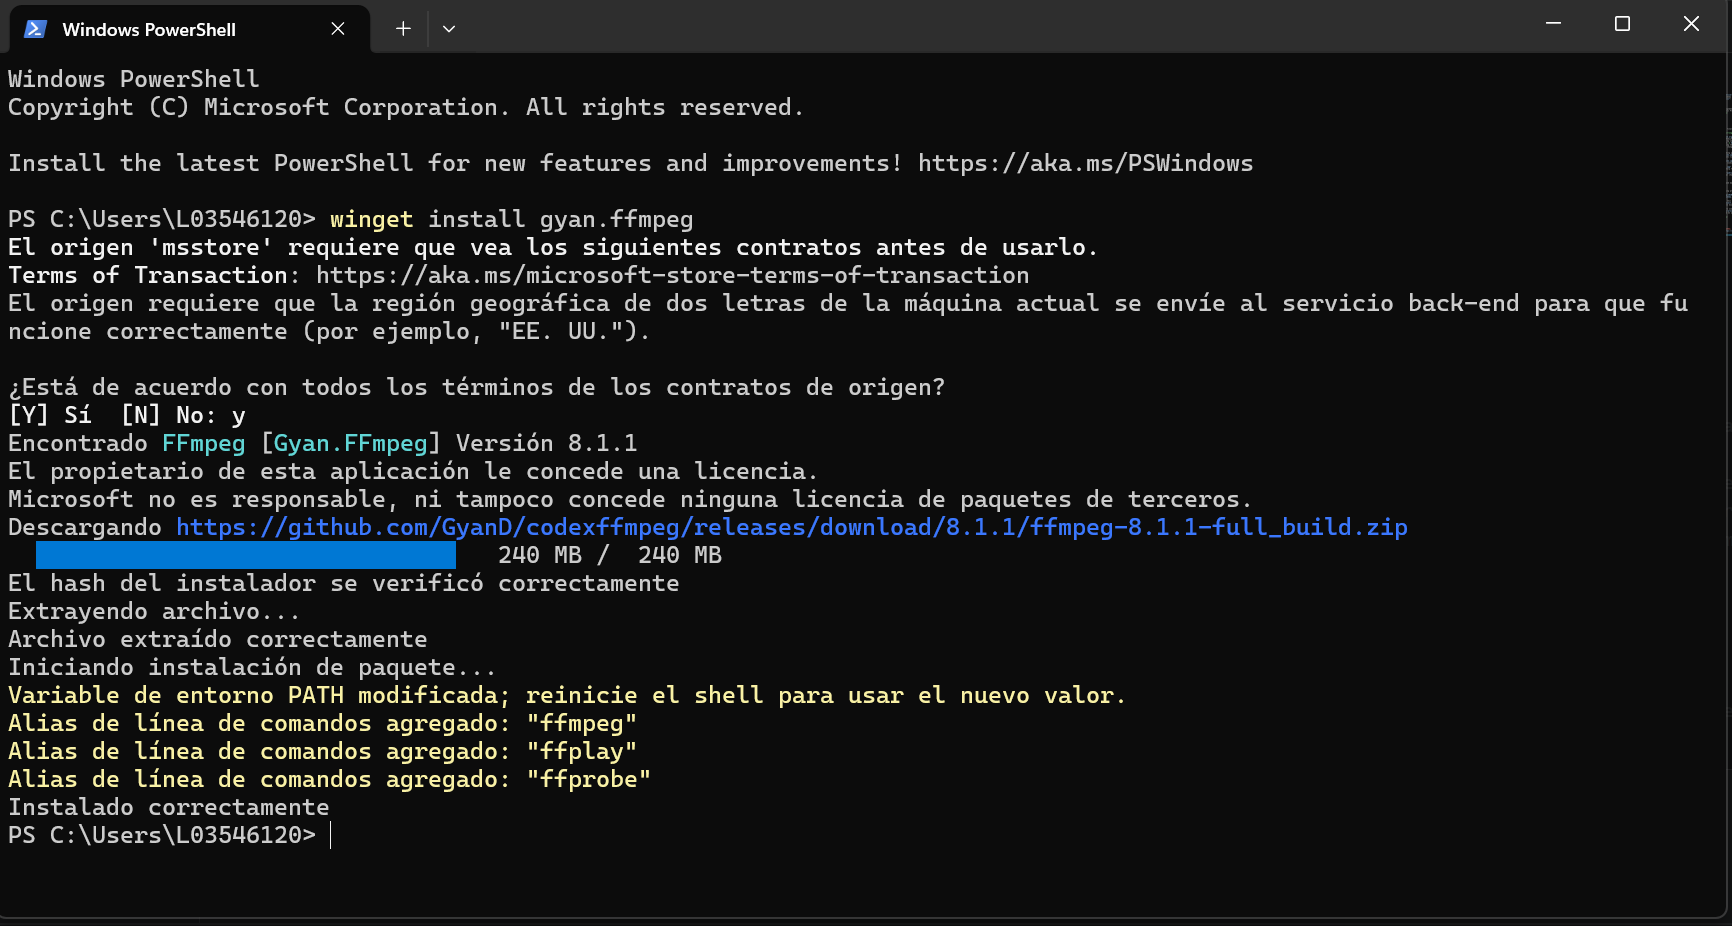
And for video compression, I downloaded the ffmpeg library and tested it with the help of AI just to make sure I did it right:
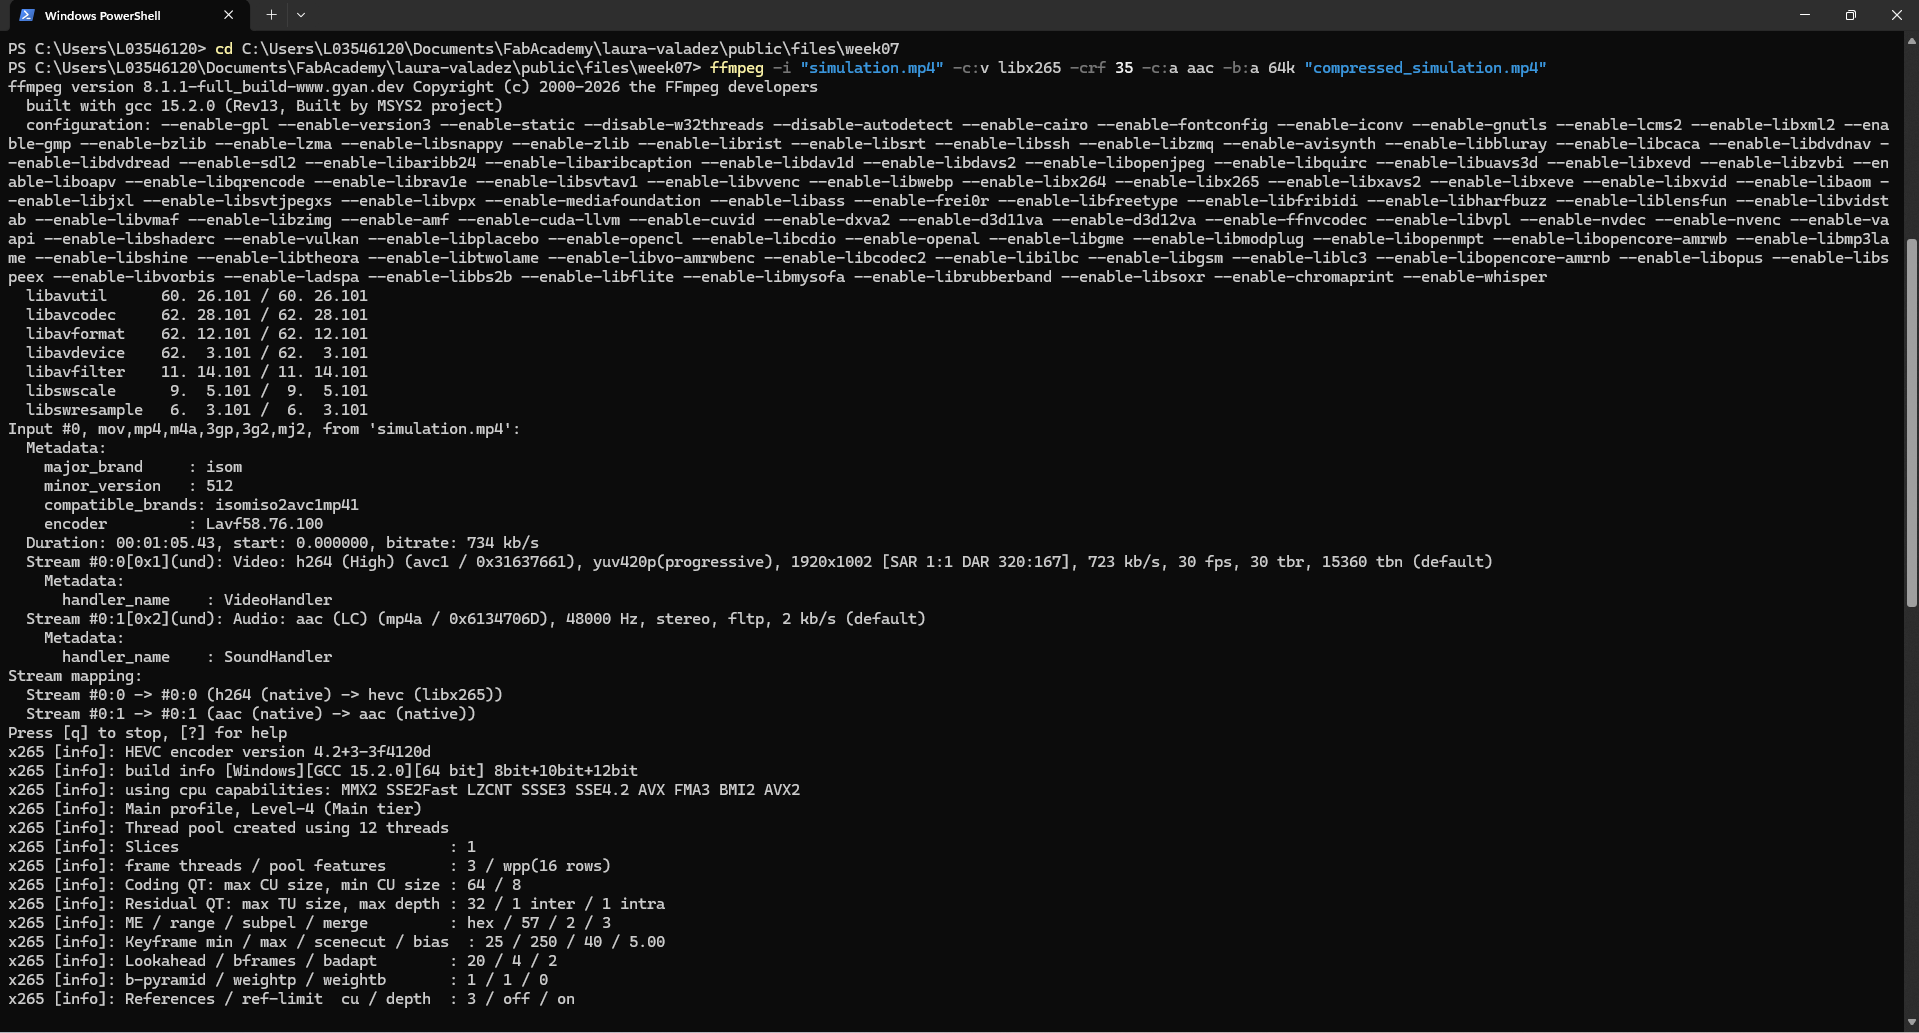
The code line to use in the terminal is the following:
ffmpeg -i "simulation.mp4" -c:v libx265 -crf 35 -c:a aac -b:a 64k "compressed_simulation.mp4"

Download all files