15. Interface and application programming
Group PageFor this week's assignement I created a Virtual Environment and a User Interface with QtDesigner.
These are the steps that I followed to make it possible:
- Downloaded and installed Python on my Windows computer.
- Created a new folder for this week's assignment.
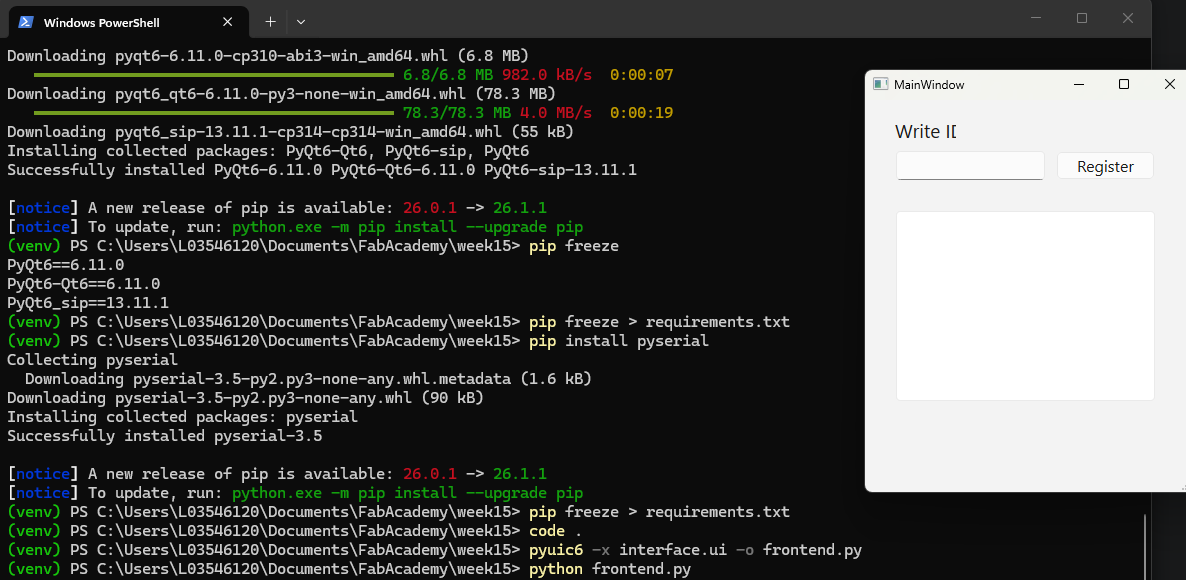
- Created a virtual environment inside the project folder using:
python -m venv venv - Activated the virtual environment from the terminal using:
venv\Scripts\activate - Installed the libraries needed for the interface:
pip install PyQt6pip install pyserial - Checked the installed libraries using:
pip freeze - Documented the required libraries in a requirements file:
pip freeze > requirements.txt - Opened Visual Studio Code to work on the project files.
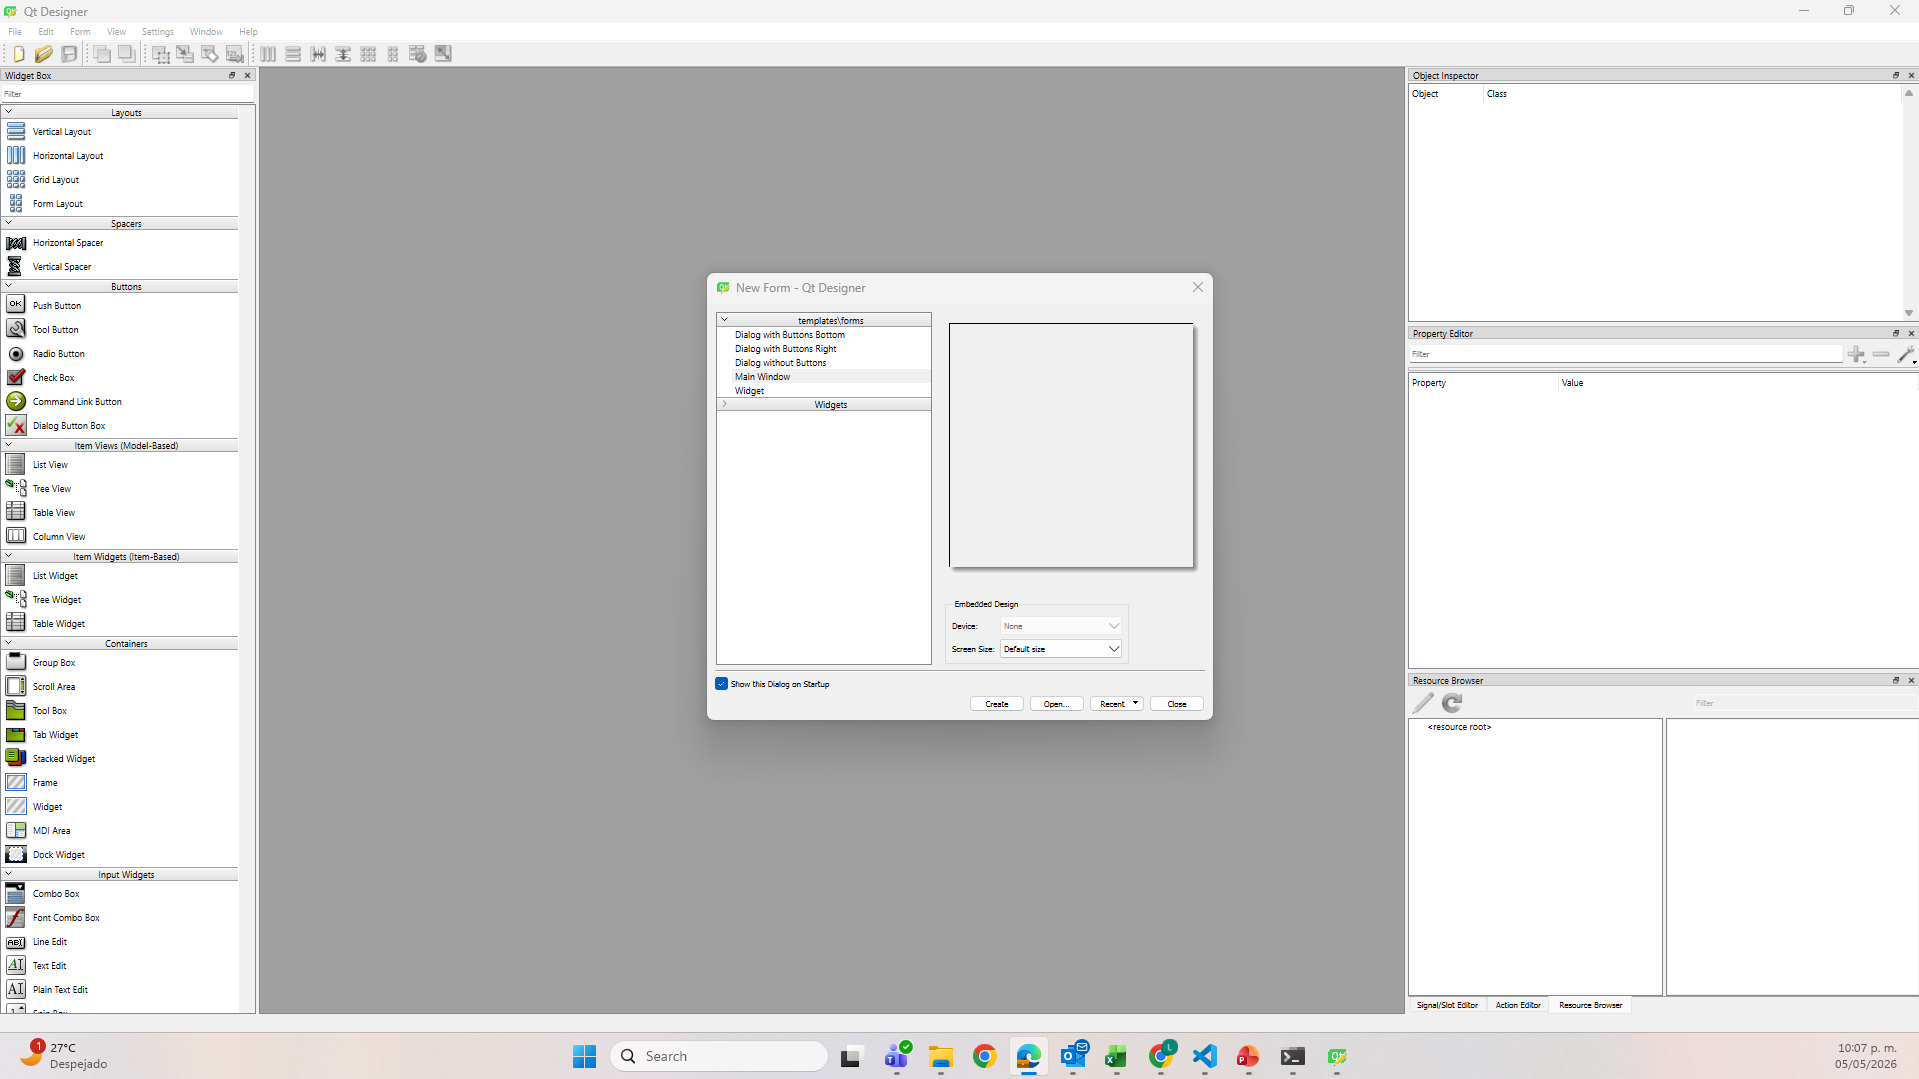
- Downloaded and installed Qt Designer to create the interface visually.
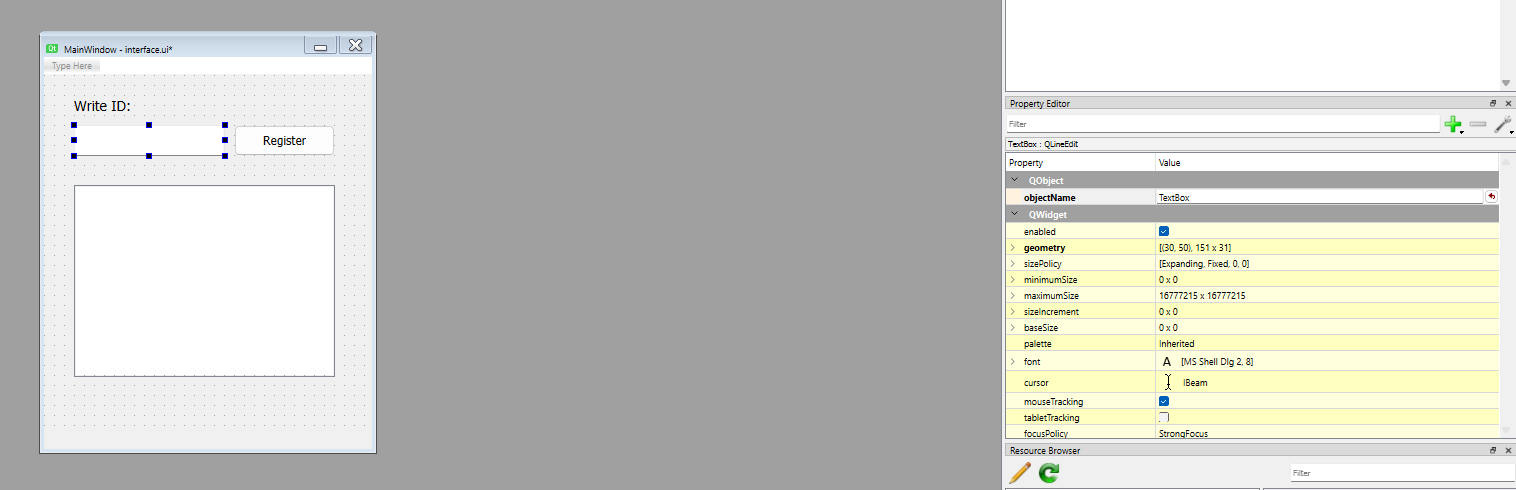
- In Qt Designer, I selected Main Window and created a new interface.
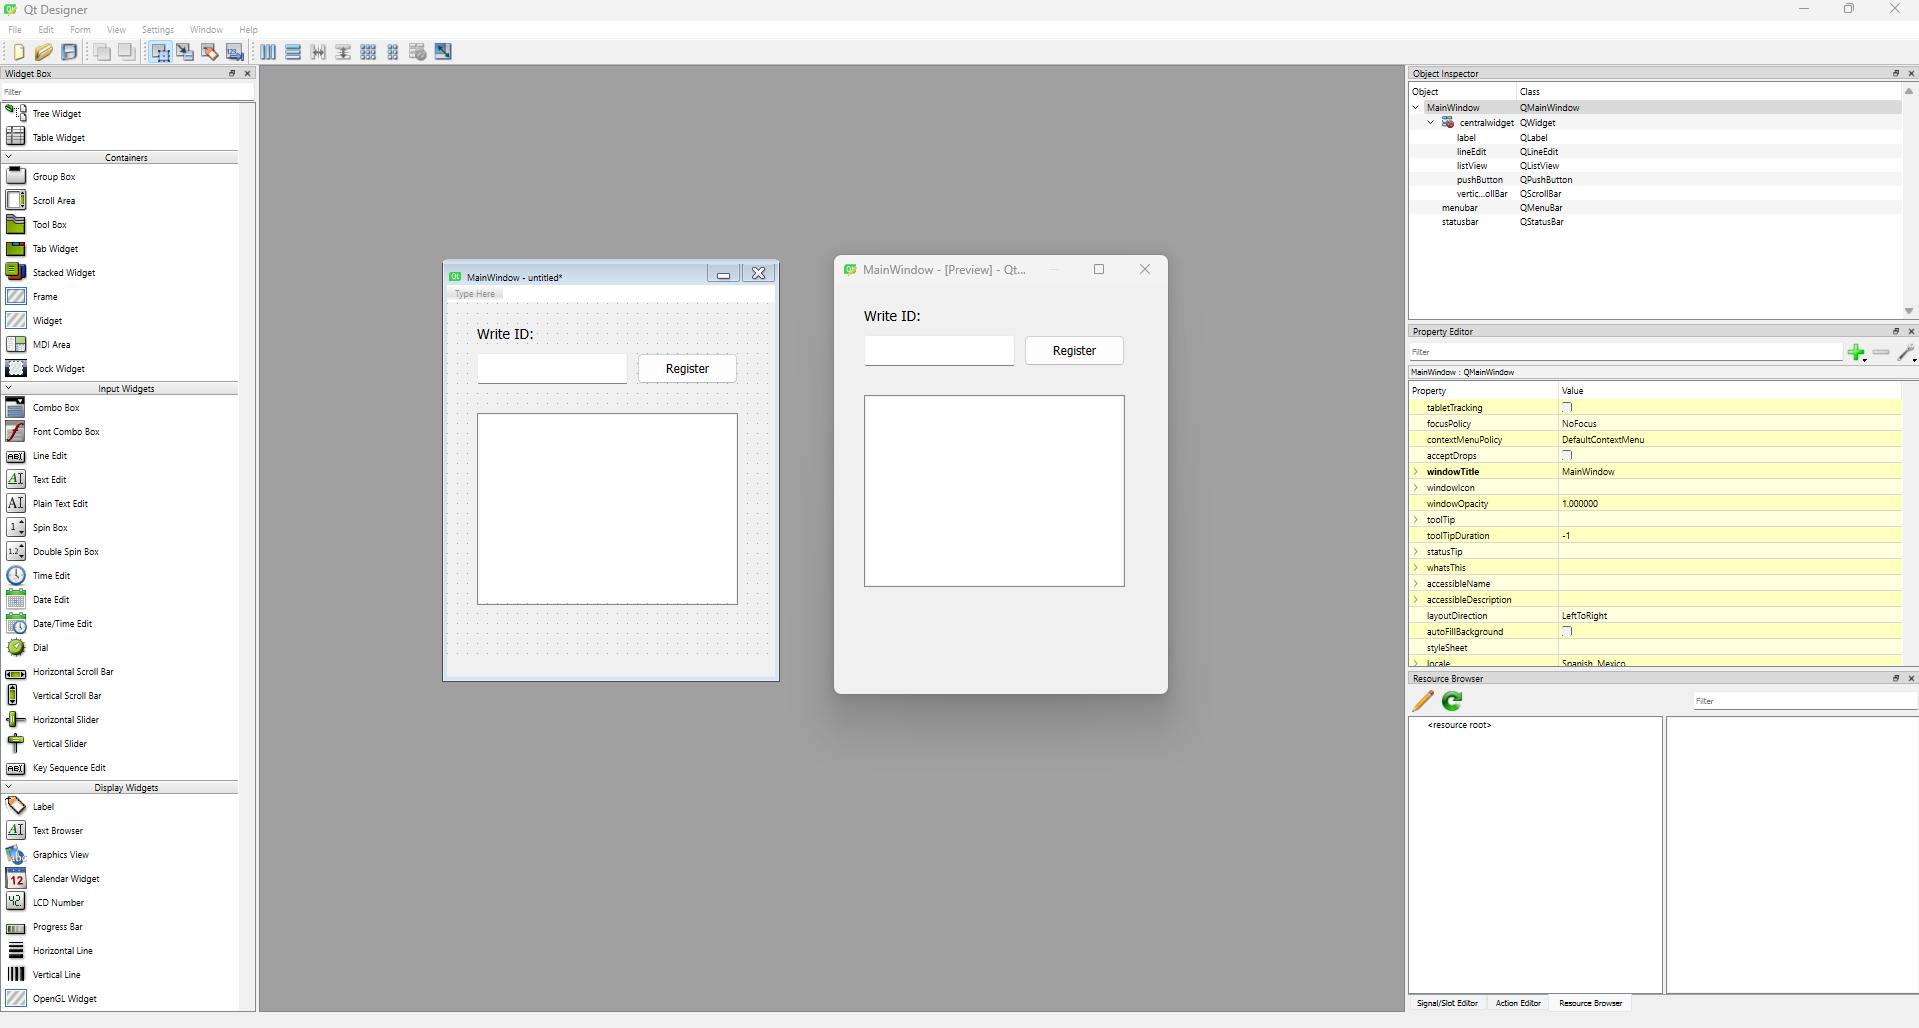
- I selected and inserted the widgets needed for my interface.
- I previewed the interface using Ctrl + R.
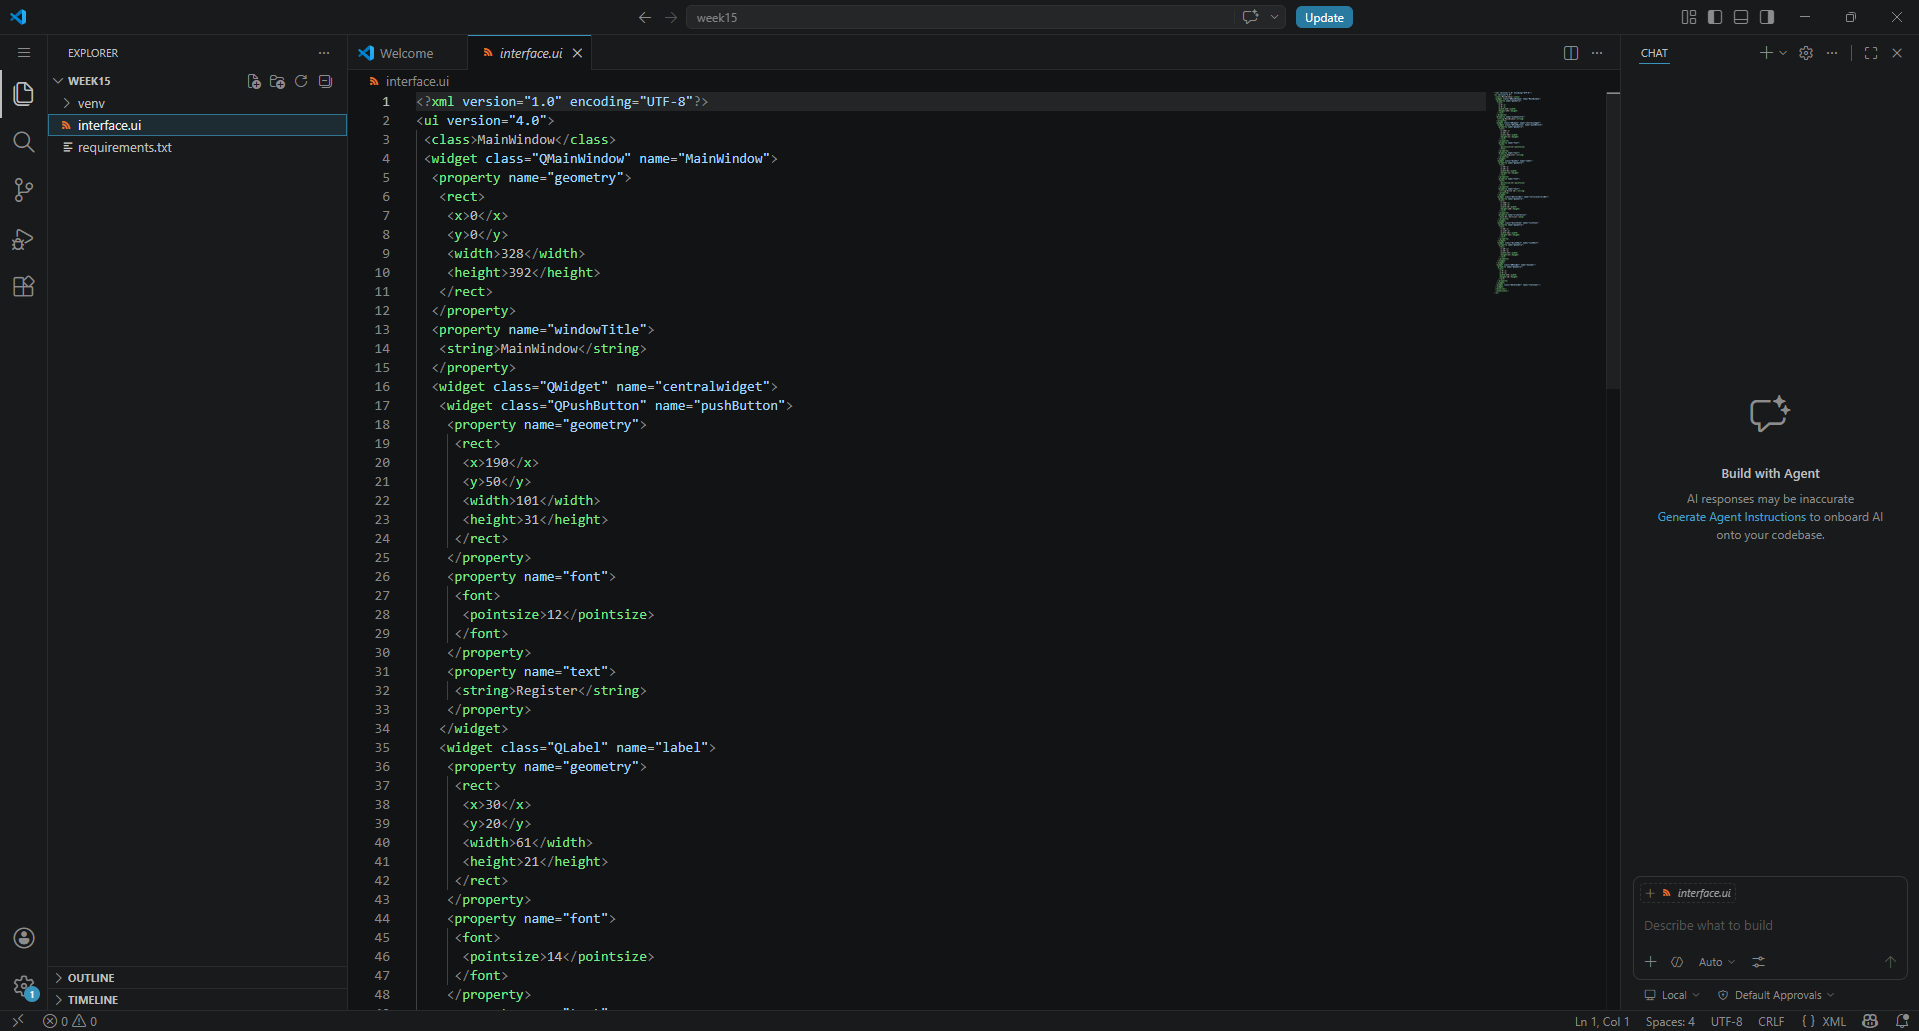
- I saved the interface file inside my virtual environment folder as a
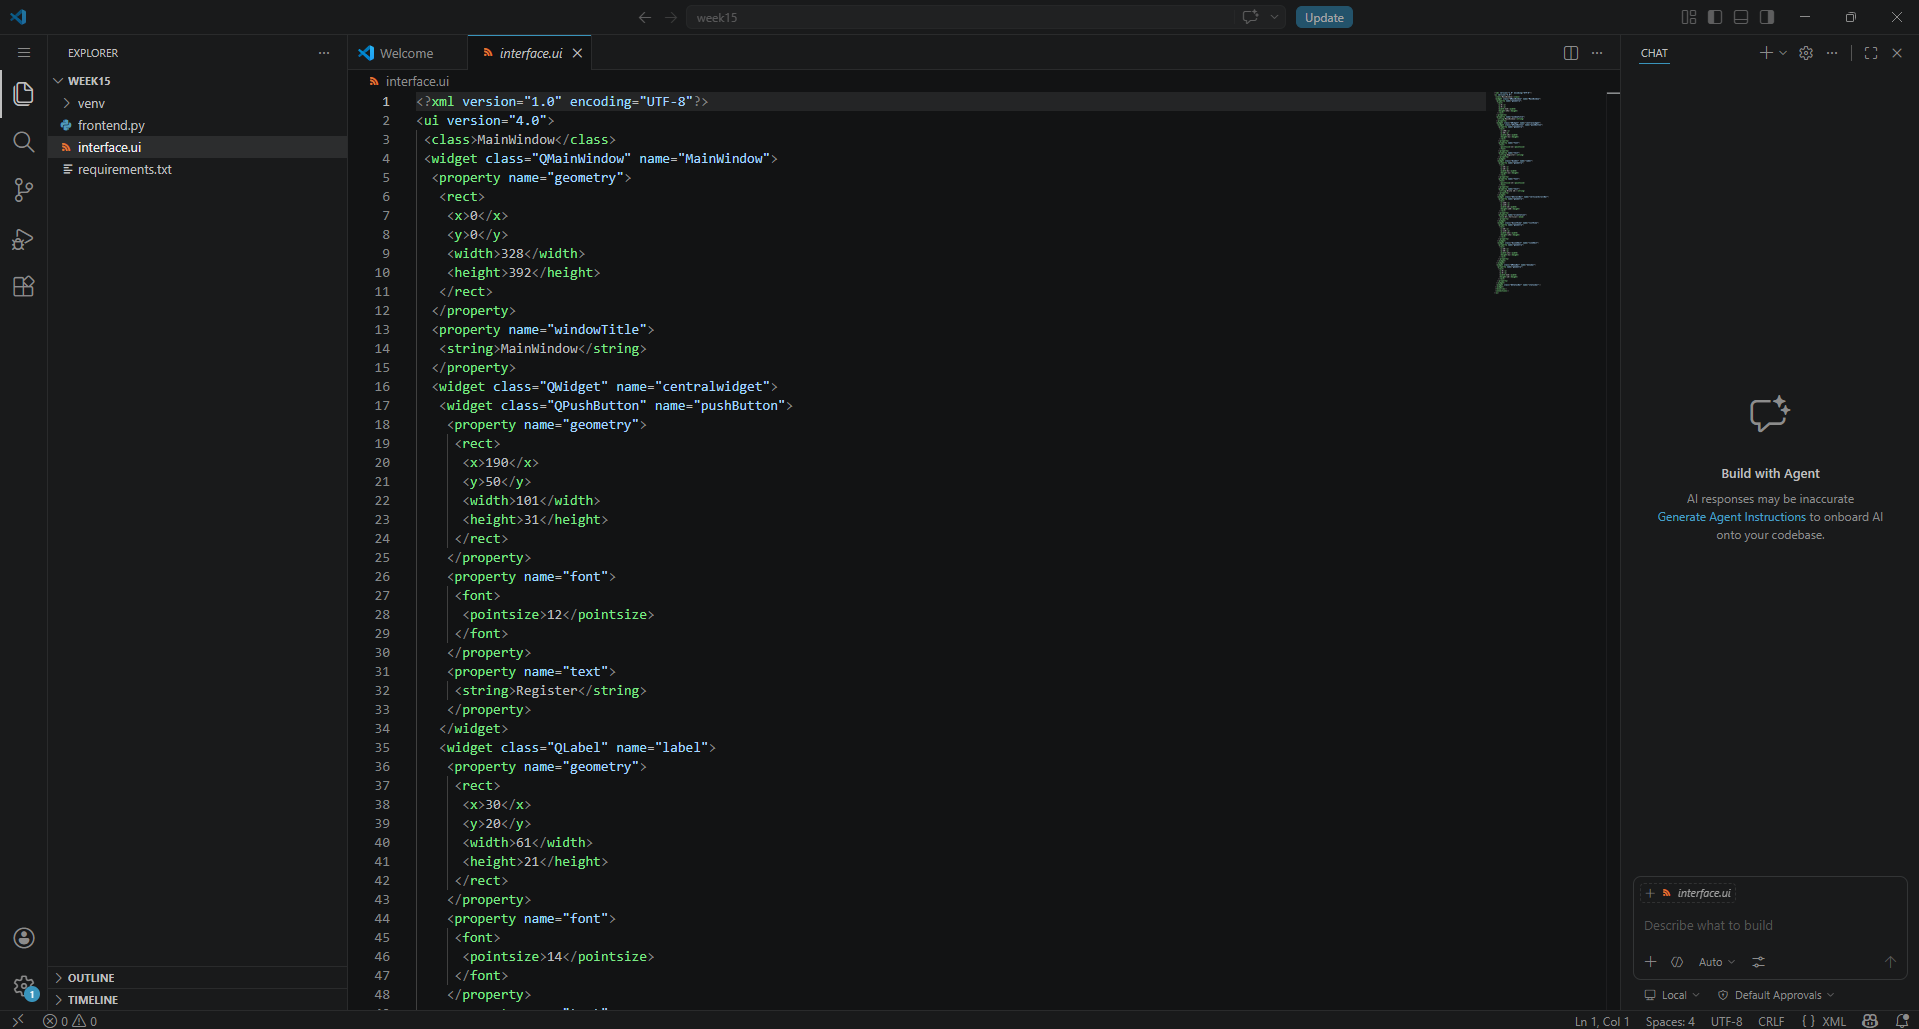
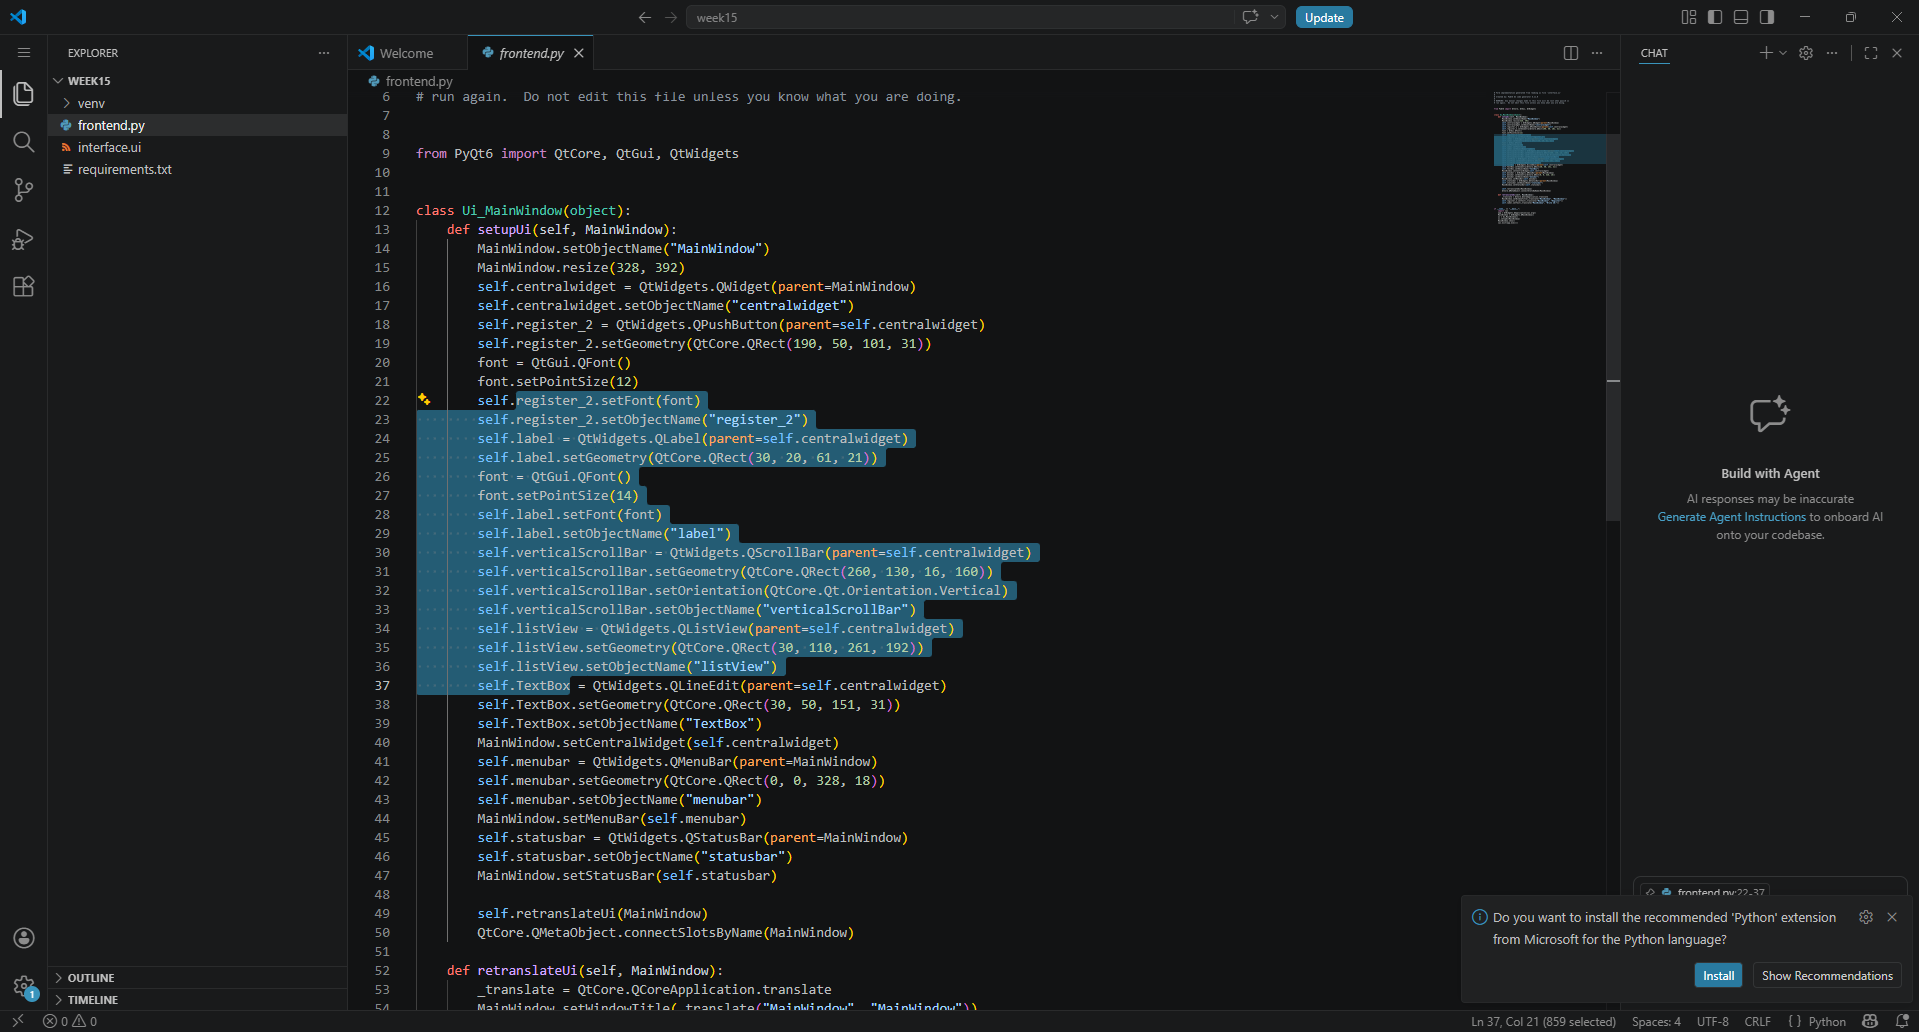
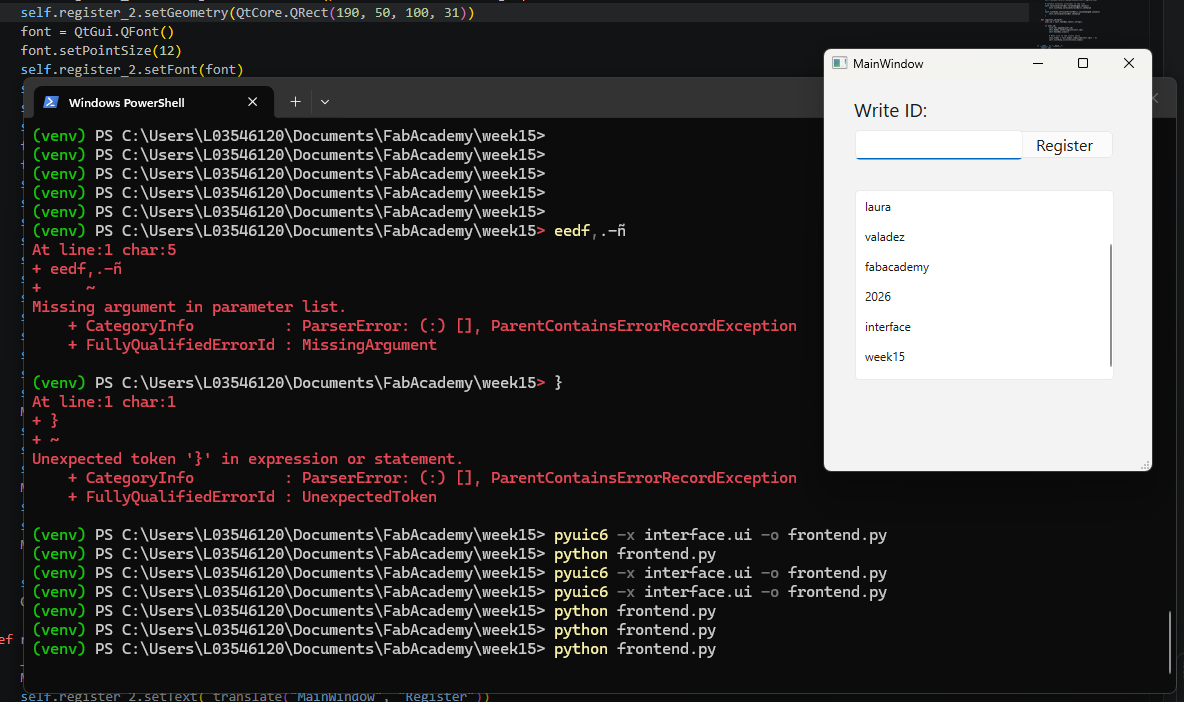
.uifile. - I transformed the interface file into a Python file using:
pyuic6 -x interface.ui -o frontend.py - I executed the interface from the terminal using:
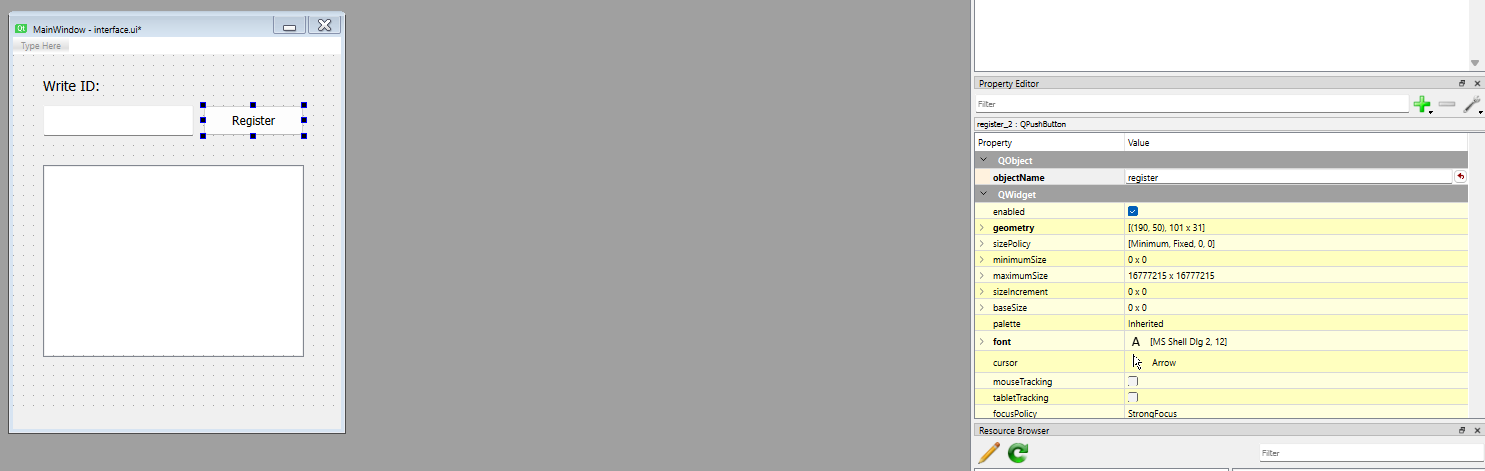
python frontend.py - I renamed the objects in Qt Designer to make the code easier to understand and connect.
- I saved the updated interface again.
- I transformed the updated
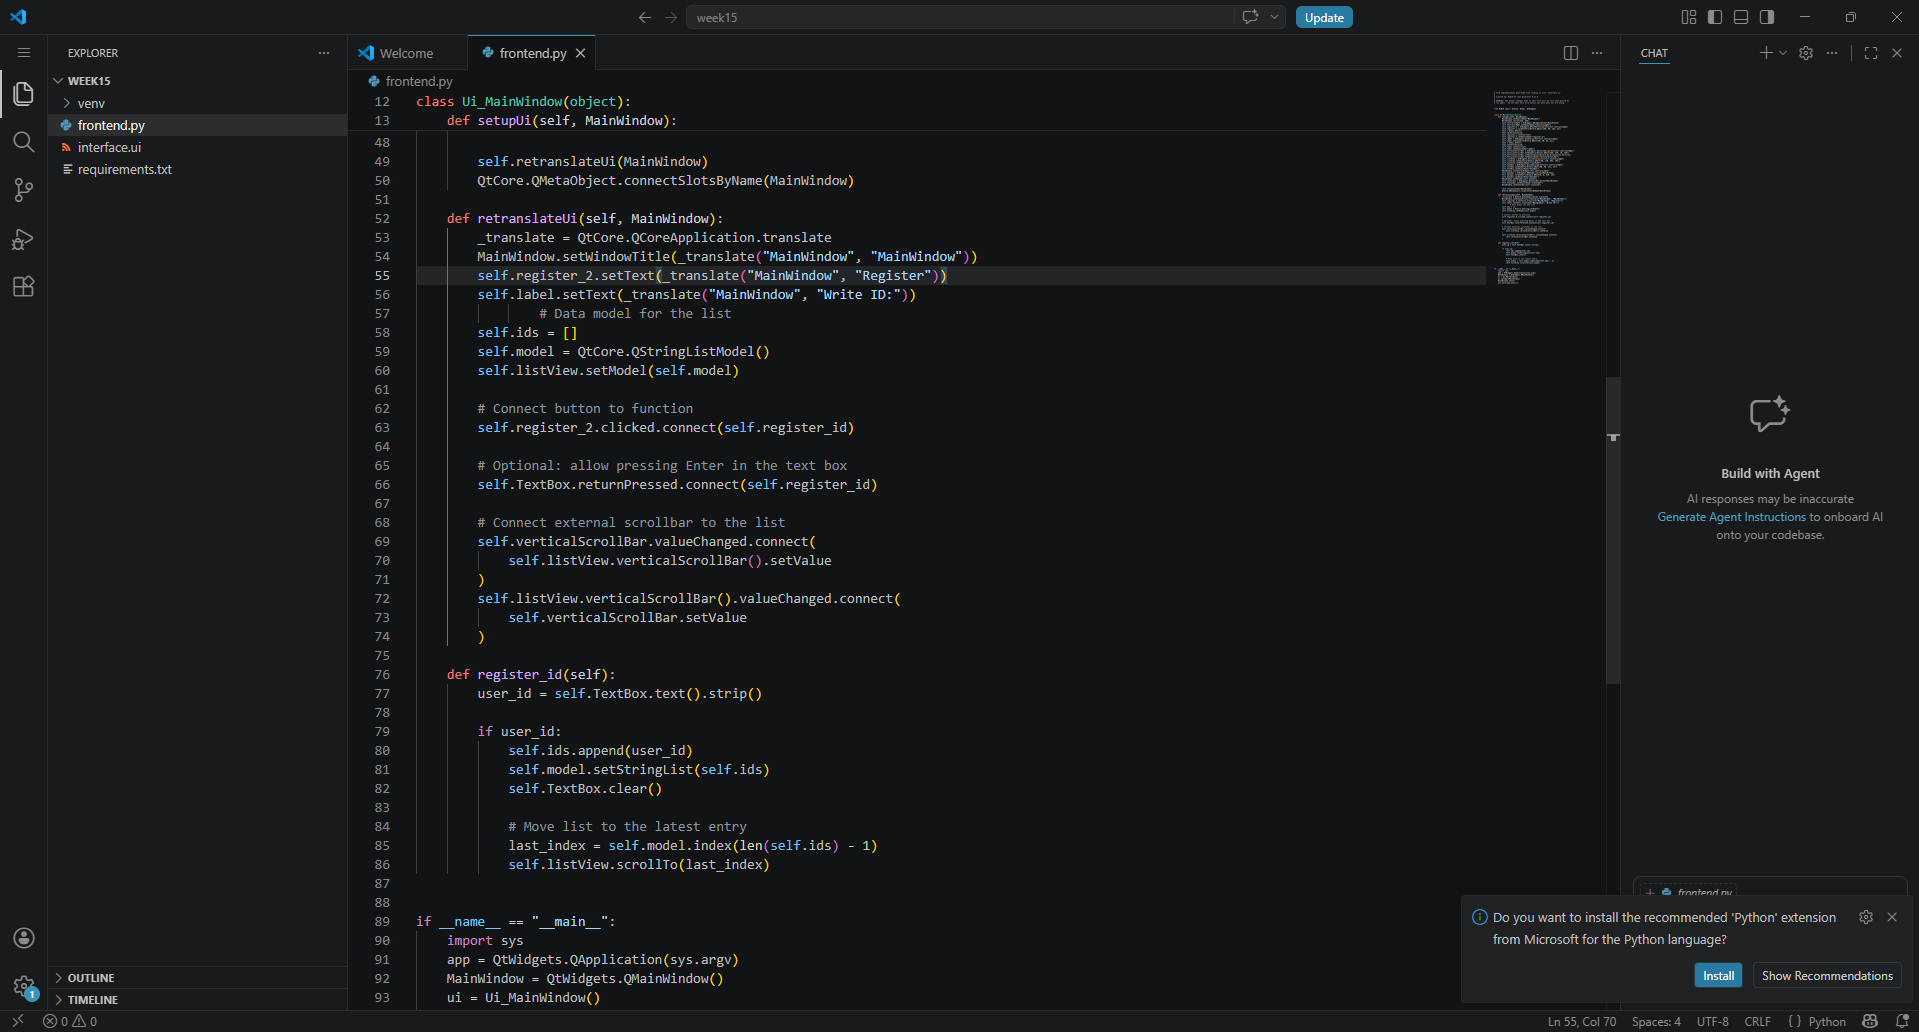
.uifile again withpyuic6so the Python file included the latest changes. - I created the functions to connect the objects and generate actions, placing them after
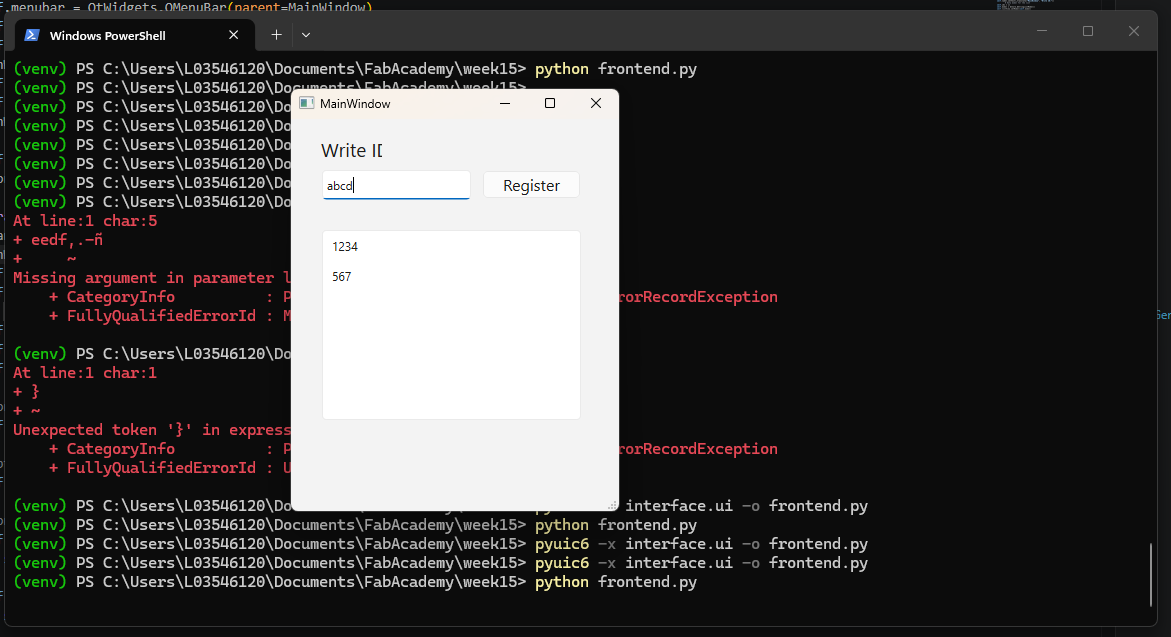
def retranslateUi(self, MainWindow):. - I tested the interface with the terminal's preview.
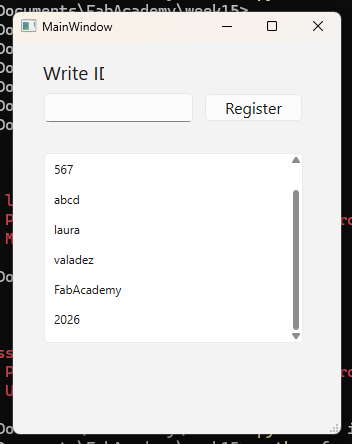
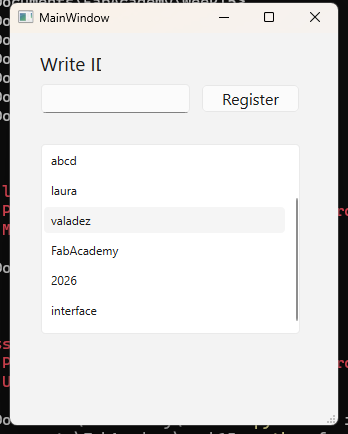
- I corrected the croped text lable and tested again.

Find the final python code here.
Some useful resources can be found here: https://github.com/Mozta/interfaces-fab-academy
Microcontroler connection
Once the interface was working on its own, I took the next step and added a connection to my previous weeks' circuit so that the LEDs turned on when the button "register" of the interface was pressed.
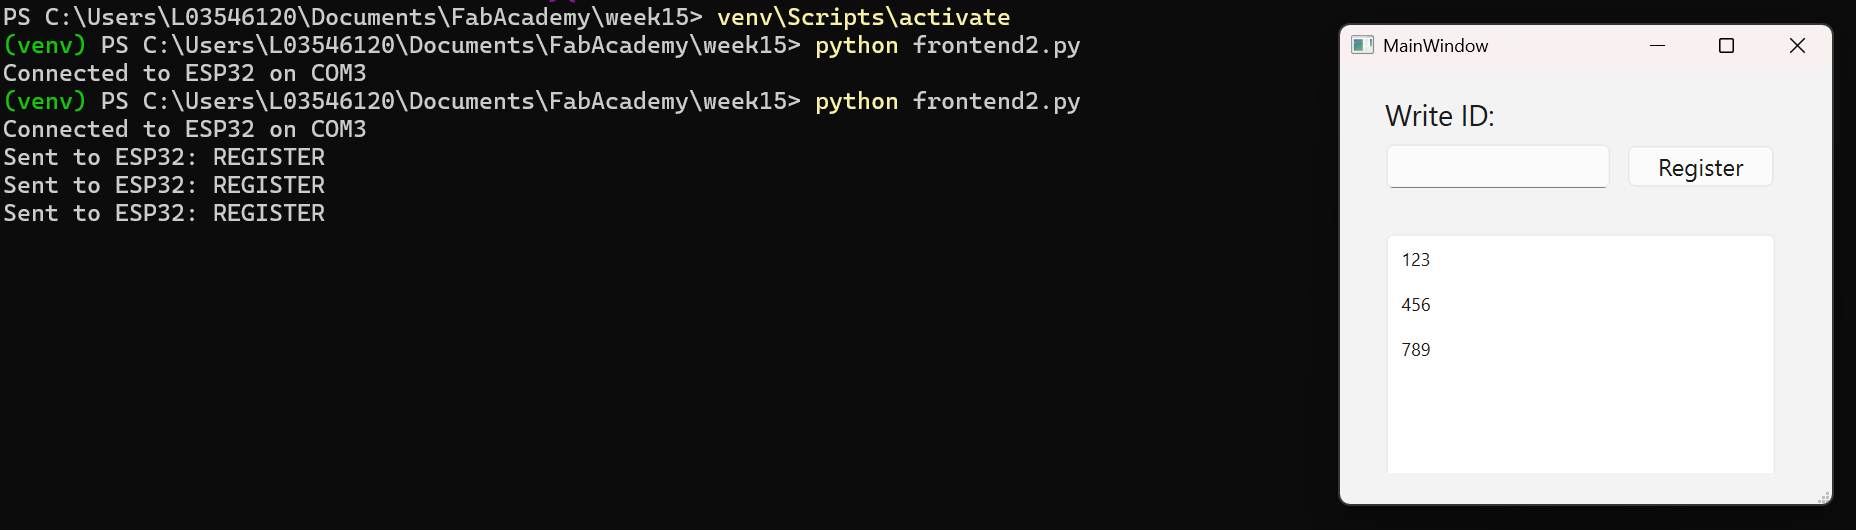
To do that, I uploaded this code to my circuit with Arduino IDE, made some changes to the python code and here is the result:
The final result:
Download all files