Group assignment
Objective
-
Compare as many tool options as possible.
-
Document your work on the group work page and reflect on your individual page what you learned.
Interface Design Tools Comparison
Tkinter – Overview
Tkinter is the standard Python library for building graphical user interfaces (GUIs). It is included by default with Python, making it a convenient option for rapid prototyping without requiring additional installations.
Unlike visual tools, Tkinter interfaces are created entirely through code, which provides flexibility but requires more manual effort in layout design.
Workflow: Creating a Basic GUI with Tkinter
The process of building a simple interface in Tkinter follows these steps:
- Import the library:
import tkinter as tk - Create the main window using
tk.Tk() - Define window properties such as title and size
- Add widgets (labels, buttons, inputs)
- Organize layout using geometry managers like
pack() - Run the application loop using
mainloop()
import tkinter as tk
window = tk.Tk()
window.title('My Window')
window.geometry('400x300')
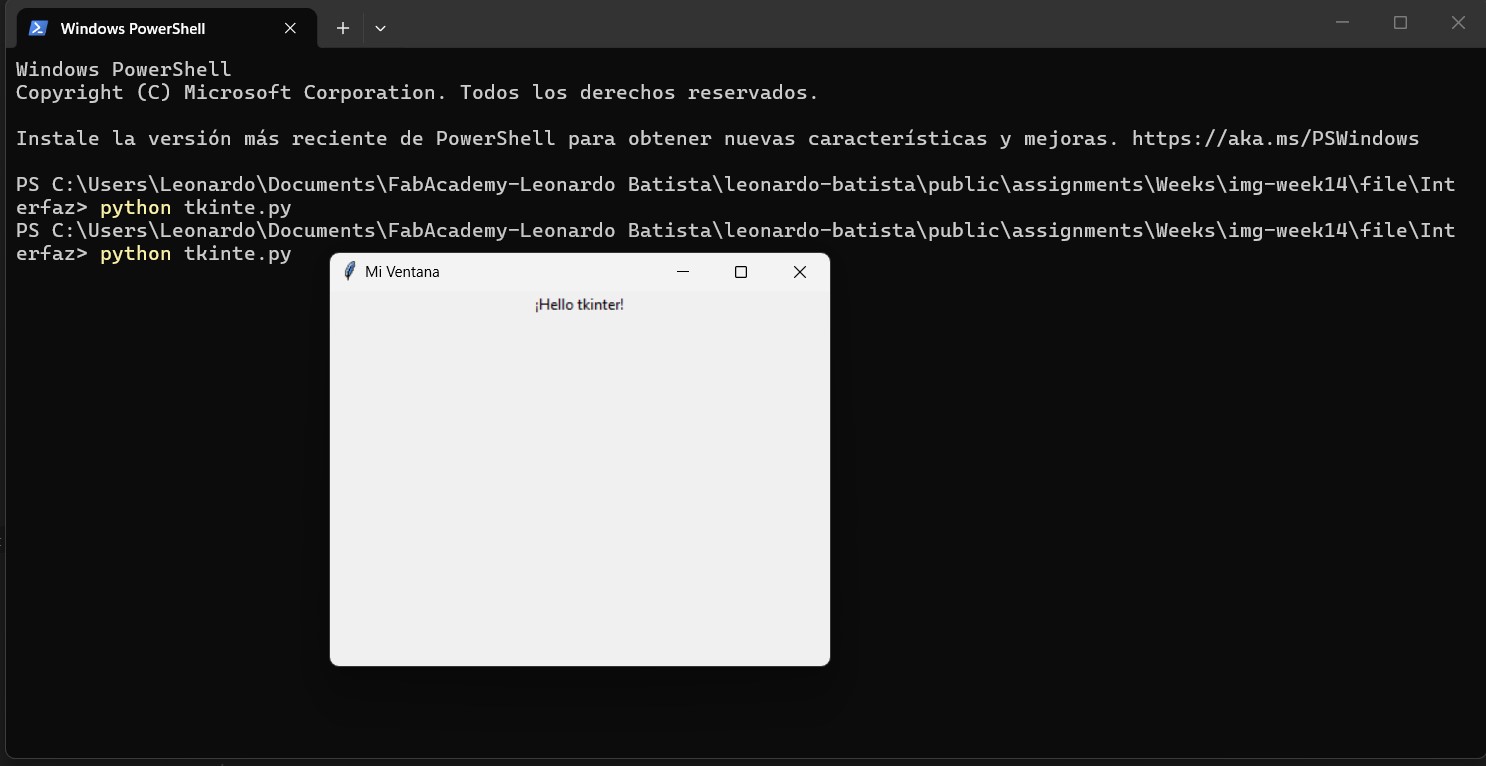
label = tk.Label(window, text='Hello Tkinter!')
label.pack()
window.mainloop()
This example demonstrates the minimum structure required to create and display a GUI window.
Adding Interaction
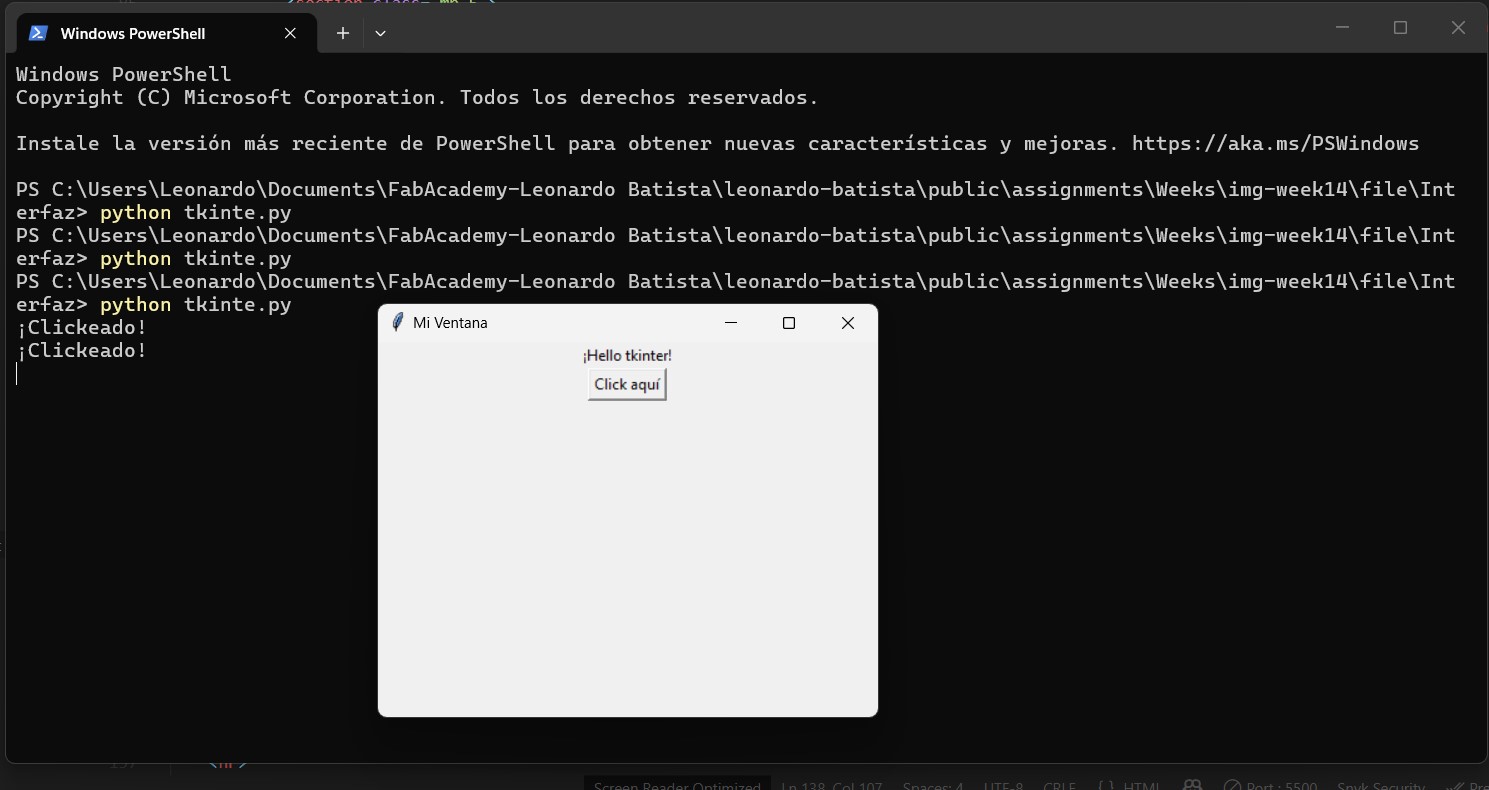
Tkinter supports multiple widgets such as buttons, text fields, and labels. Interaction can be implemented by linking widgets to functions.
tk.Button(window, text='Click here', command=lambda: print('Clicked!')).pack()
When the button is pressed, a message is printed in the console.
Interactive Example
The following example demonstrates user input handling using an Entry widget
and updating a label dynamically.
import tkinter as tk

def greet():
    name = entry.get()
    result_label['text'] = f'Hello, {name}!'

window = tk.Tk()
window.title('Greeting App')

tk.Label(window, text='Enter your name:').pack(pady=5)

entry = tk.Entry(window, width=25)
entry.pack(pady=5)

tk.Button(window, text='Greet', command=greet).pack(pady=5)

result_label = tk.Label(window, text='')
result_label.pack(pady=5)

window.mainloop()
This example shows how Tkinter can be used to build simple interactive applications.
Reflection
Tkinter provides a simple and accessible way to build graphical interfaces using Python. It is particularly useful for learning purposes, rapid prototyping, and small-scale applications.
However, as the complexity of the interface increases, maintaining layout and visual consistency becomes more challenging compared to modern frameworks such as PyQt.
In this project, Tkinter serves as a reference point to understand GUI fundamentals, while more advanced tools like Qt Designer offer a more efficient workflow for complex interfaces.
Tkinter: Advantages and Disadvantages
| Advantages | Disadvantages |
|---|---|
| Included with Python (no extra installation required) | Outdated look compared to modern applications |
| Very easy to learn, ideal for beginners | Not suitable for large or complex applications |
| Cross-platform (Windows, macOS, Linux) | No native support for 3D graphics or animations |
| Extensive documentation and tutorials available | Less visually appealing compared to PyQt |
| Great for small projects and quick prototypes | Limited performance with many widgets |
| Integrates well with hardware projects like Arduino |
LabVIEW
LabVIEW is a graphical programming environment developed by National Instruments, mainly used for measurement, instrumentation, automation, data acquisition, control systems, and test benches. LabVIEW uses G code or block diagram programming, a high-level graphical programming language that provides a more intuitive programming experience compared to traditional scripting languages, since programs are built using blocks and wires instead of text.
LabVIEW applications resemble engineering diagrams and help programmers think about the application flow in a more visual way.
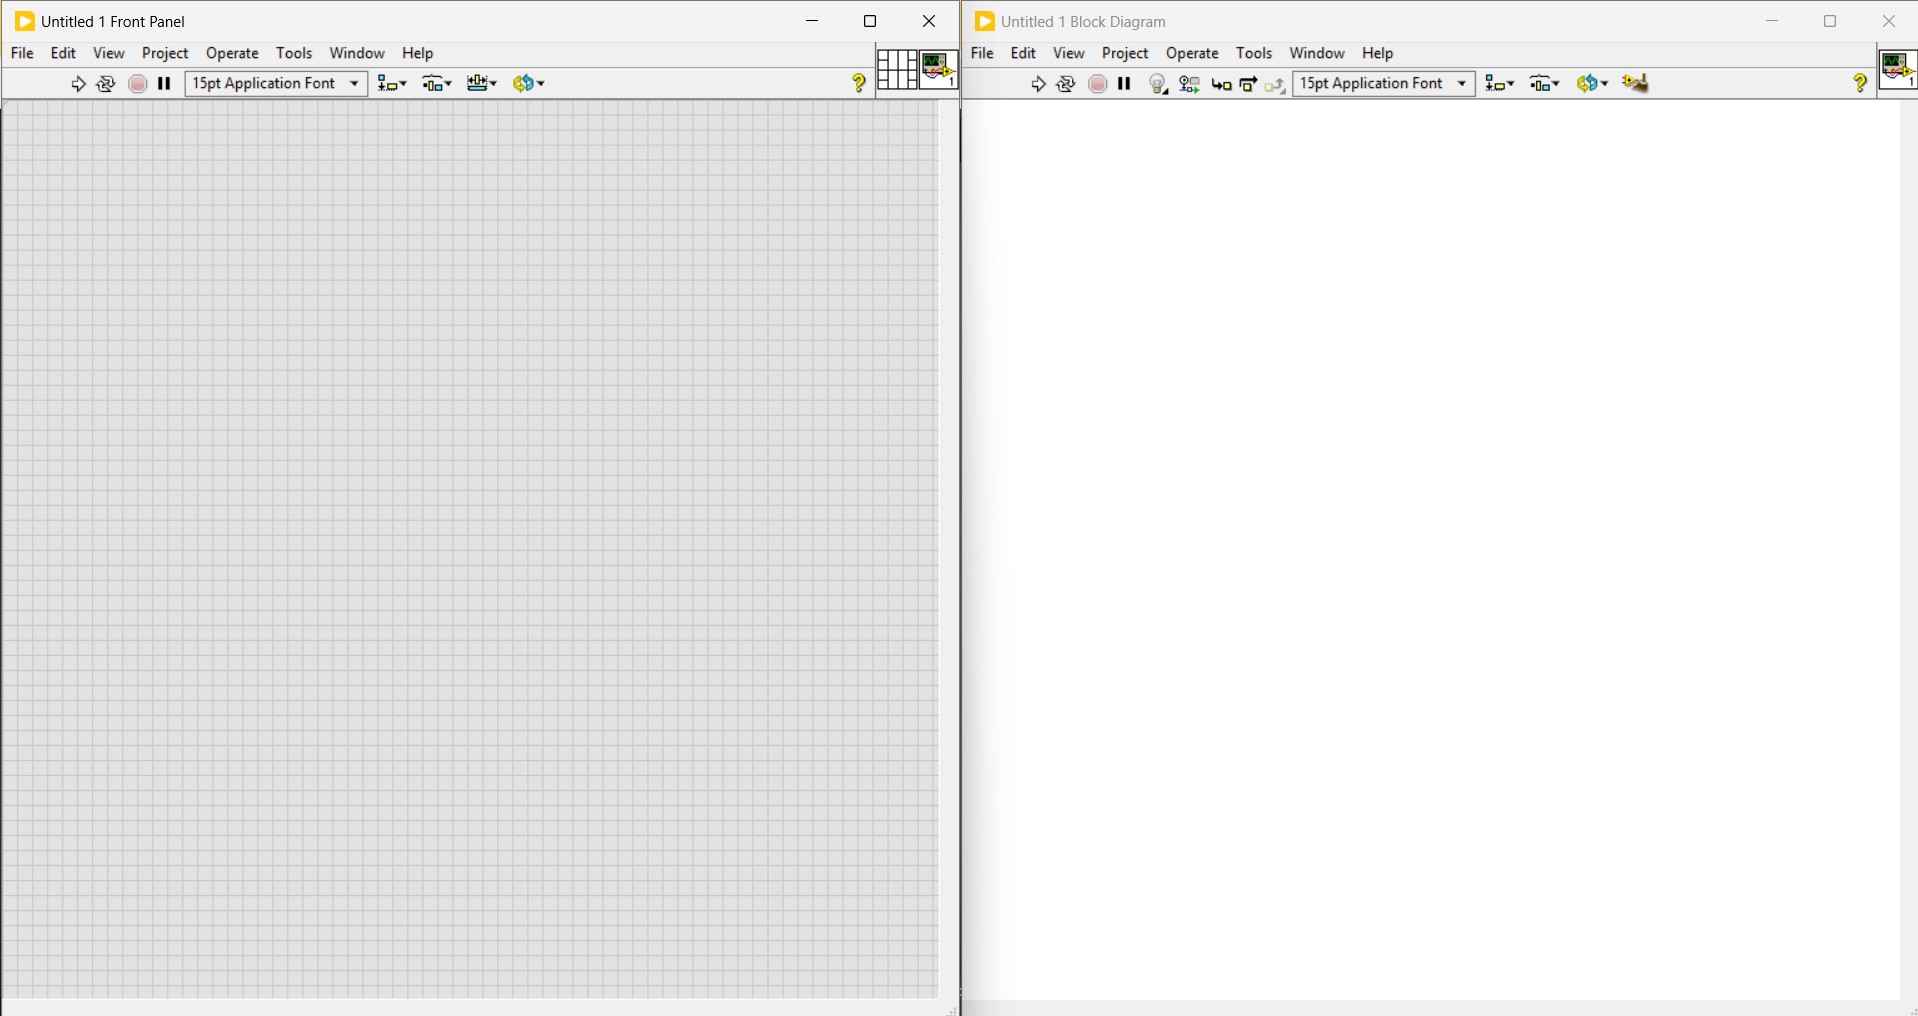
A LabVIEW program is called a VI (Virtual Instrument), and it consists of two main components:
- Front Panel: This is the user interface. It contains buttons, sliders, graphs, indicators, numeric inputs, LEDs, knobs, tables, and other elements used for visualization and control processes.
- Block Diagram: This is the environment where the program logic is created. Every object placed on the front panel has a corresponding block representation with terminals that can be connected graphically using wires. Structures such as loops and conditional blocks can also be implemented here.
G programming is performed by wiring graphical icons together in a diagram, which is then compiled directly into machine code for execution by the processor. Although represented graphically instead of text, G includes the same programming concepts found in traditional languages, such as data types, loops, event handling, variables, recursion, and object-oriented programming.
LabVIEW is widely used for data acquisition from sensors and measurement hardware. It can communicate with external instruments through interfaces such as USB, Serial/UART, Ethernet, GPIB, VISA, TCP/IP, Modbus, or CAN, depending on the hardware and drivers being used.
Using the NI-VISA library, LabVIEW can control laboratory instruments such as oscilloscopes, power supplies, multimeters, function generators, and spectrum analyzers. The NI-VISA module also enables signal analysis with built-in tools for filtering, FFT analysis, statistics, curve fitting, signal generation, control algorithms, and data visualization.
Workflow: Creating a LabVIEW User Interface
Even though National Instruments offers its own set of microcontrollers compatible with LabVIEW from the beginning, there are alternatives for interfacing with other embedded platforms, such as LINX and VISA Serial Port.
It is important to note that National Instruments offers a free educational license for users who sign up with a school account.
LINX Toolkit
LINX is a toolkit that allows LabVIEW to communicate with embedded platforms such as:
- Arduino
- Raspberry Pi
- BeagleBone
- chipKIT
- Similar embedded platforms
With LINX, LabVIEW can interact directly with hardware pins and peripherals. Depending on the board, LINX can support features such as:
- Digital input/output
- Analog input
- PWM output
- I2C communication
- SPI communication
- UART communication
- Servo control
- Sensor reading
Using LINX allows designers to program microcontrollers graphically by uploading the required code into the microcontroller. However, LINX presents a reduction in performance compared to scripting languages.
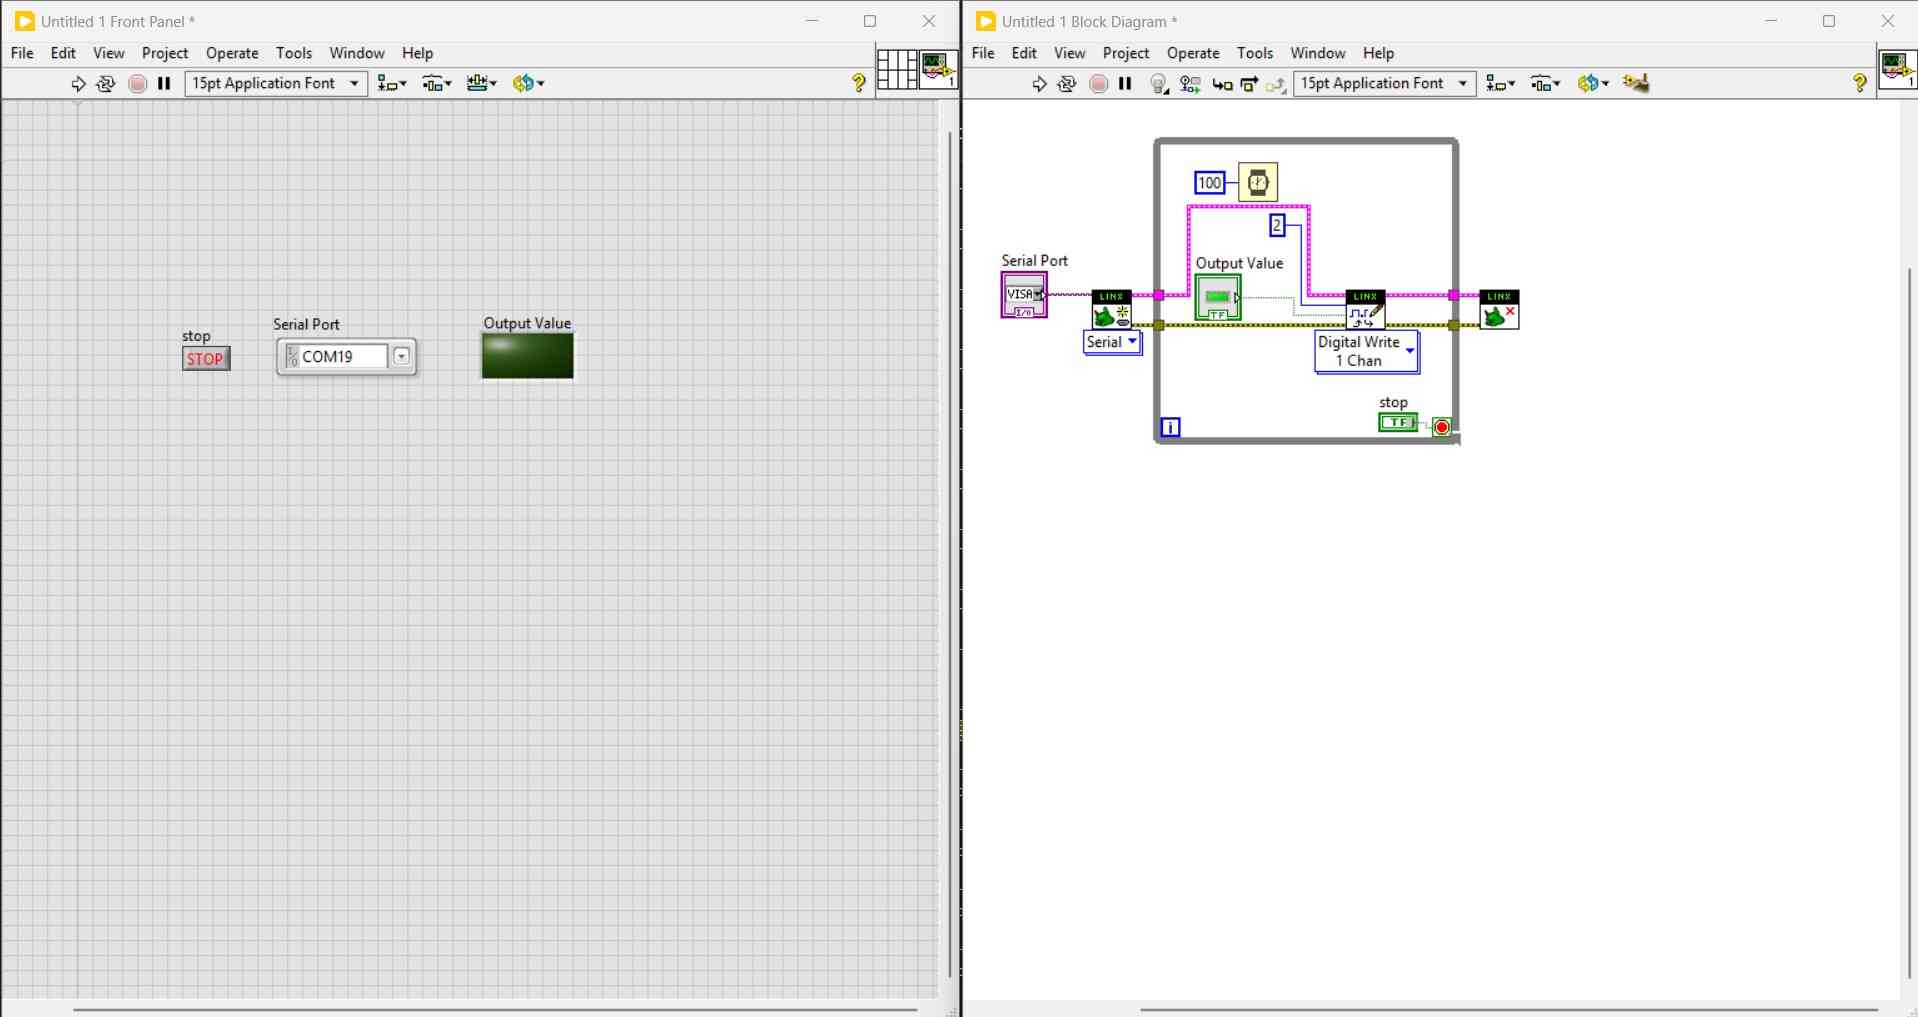
VISA Serial Port
For applications that require higher performance while still supporting datalogging, LabVIEW offers the VISA Serial Port toolkit.
This toolkit allows direct communication between LabVIEW and an embedded system. To use it, the user must first upload a script into the microcontroller with the necessary serial communication adjustments.
Since the microcontroller runs its own script, it can perform more computationally demanding tasks while simultaneously sending and displaying data to the LabVIEW interface.
VI File Creation
As mentioned earlier, every VI is composed of:
- Front Panel
- Block Diagram
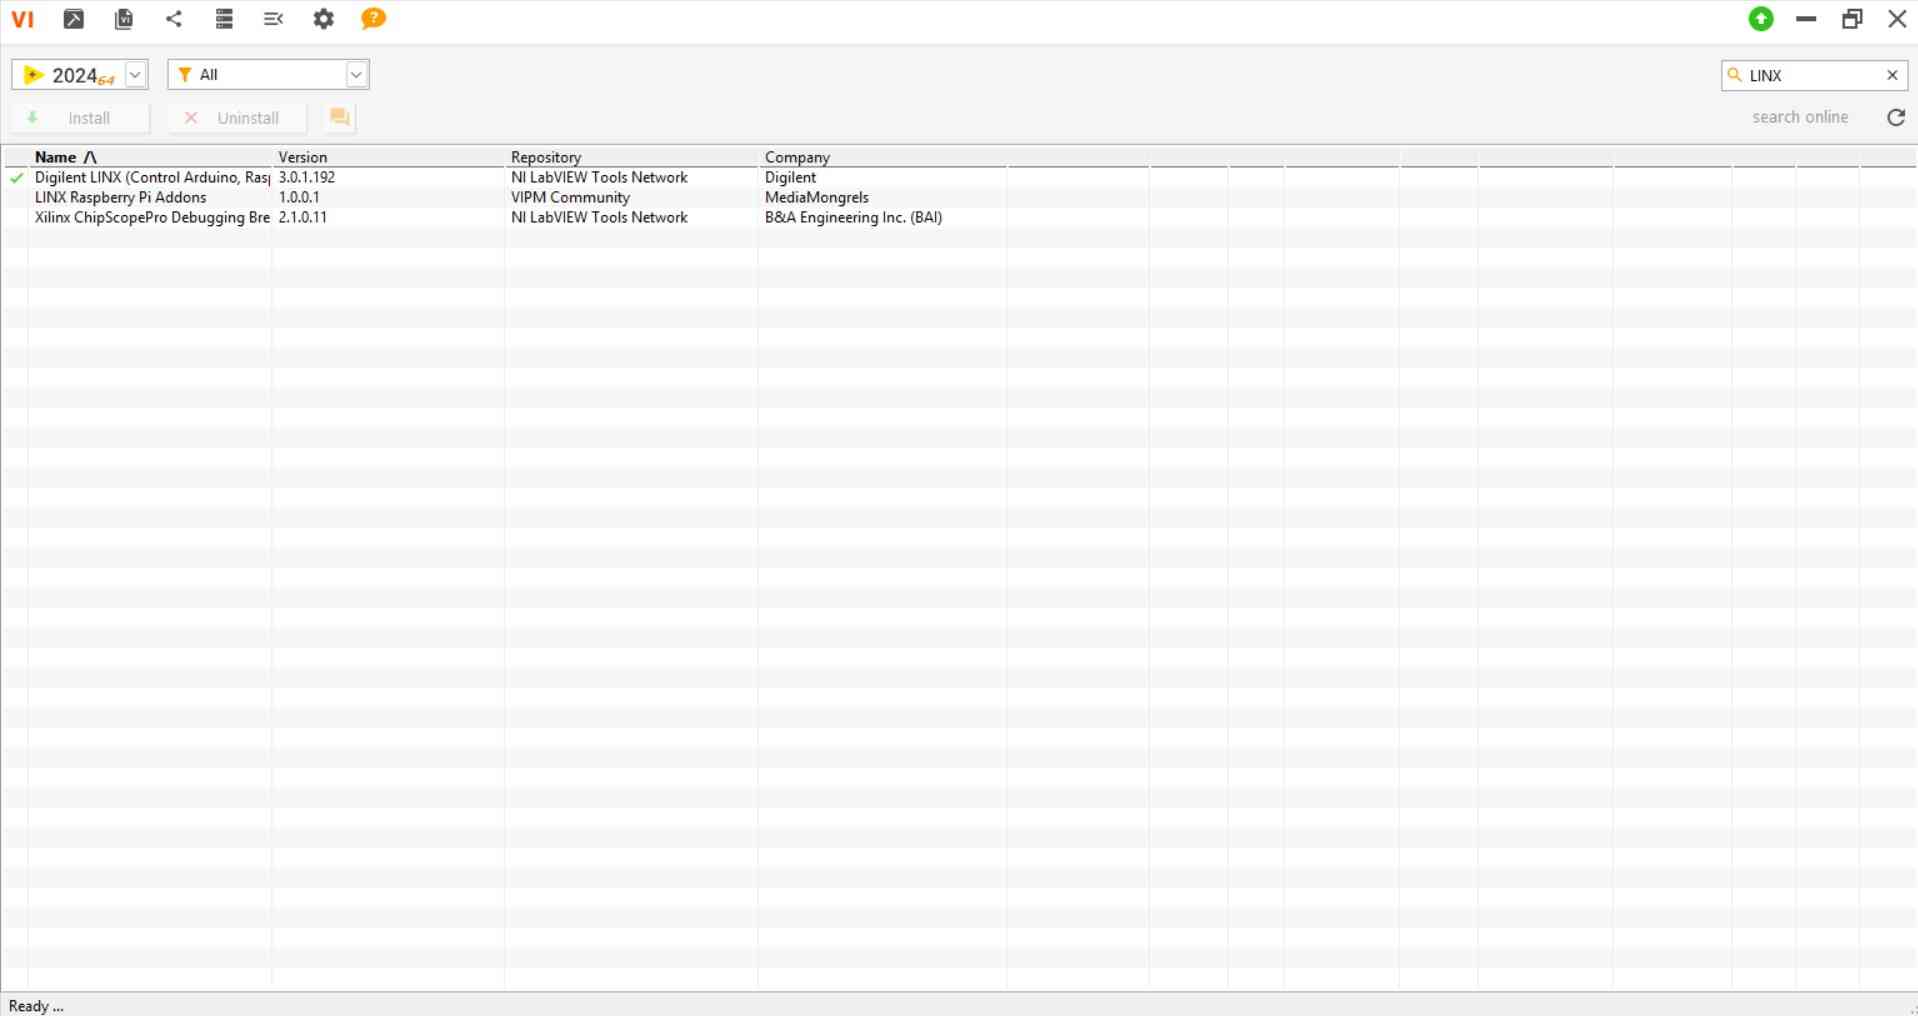
The VI Package Manager provides the means for installing the dependencies required for numerous applications.
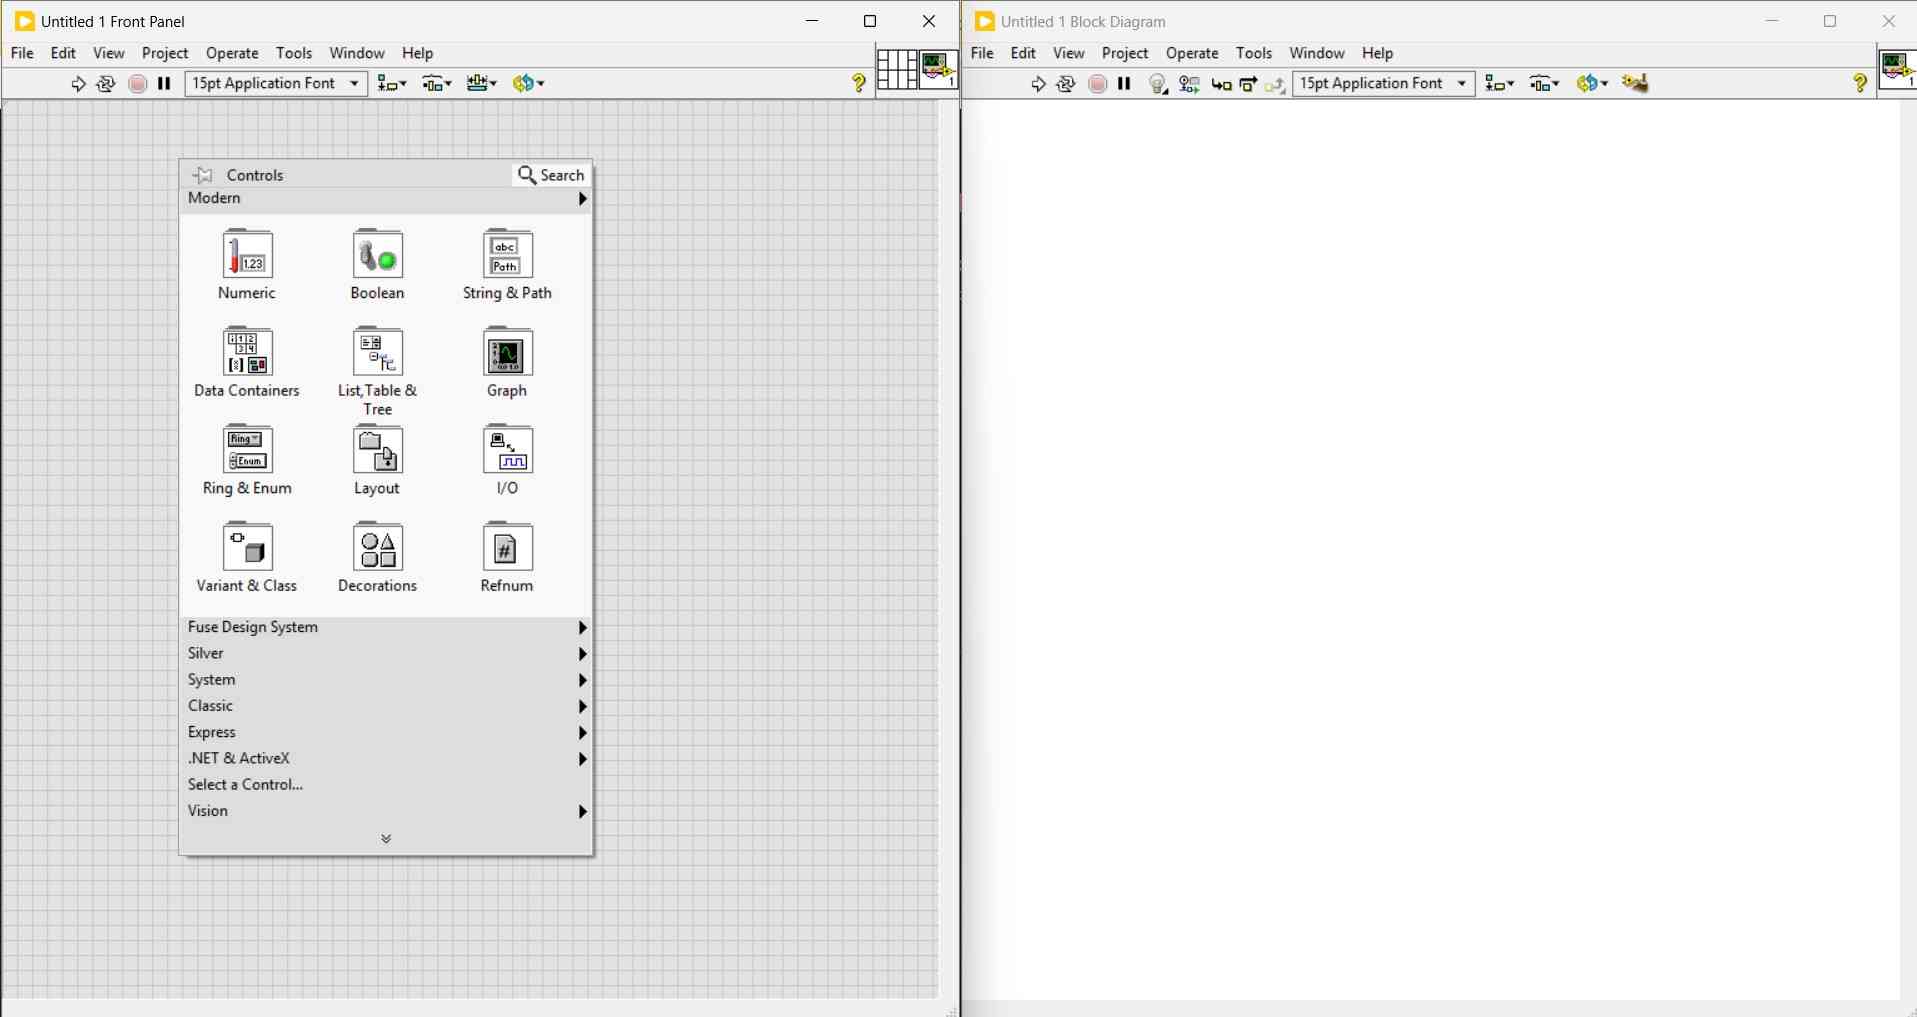
Elements are placed on the Front Panel through the Controls Menu.
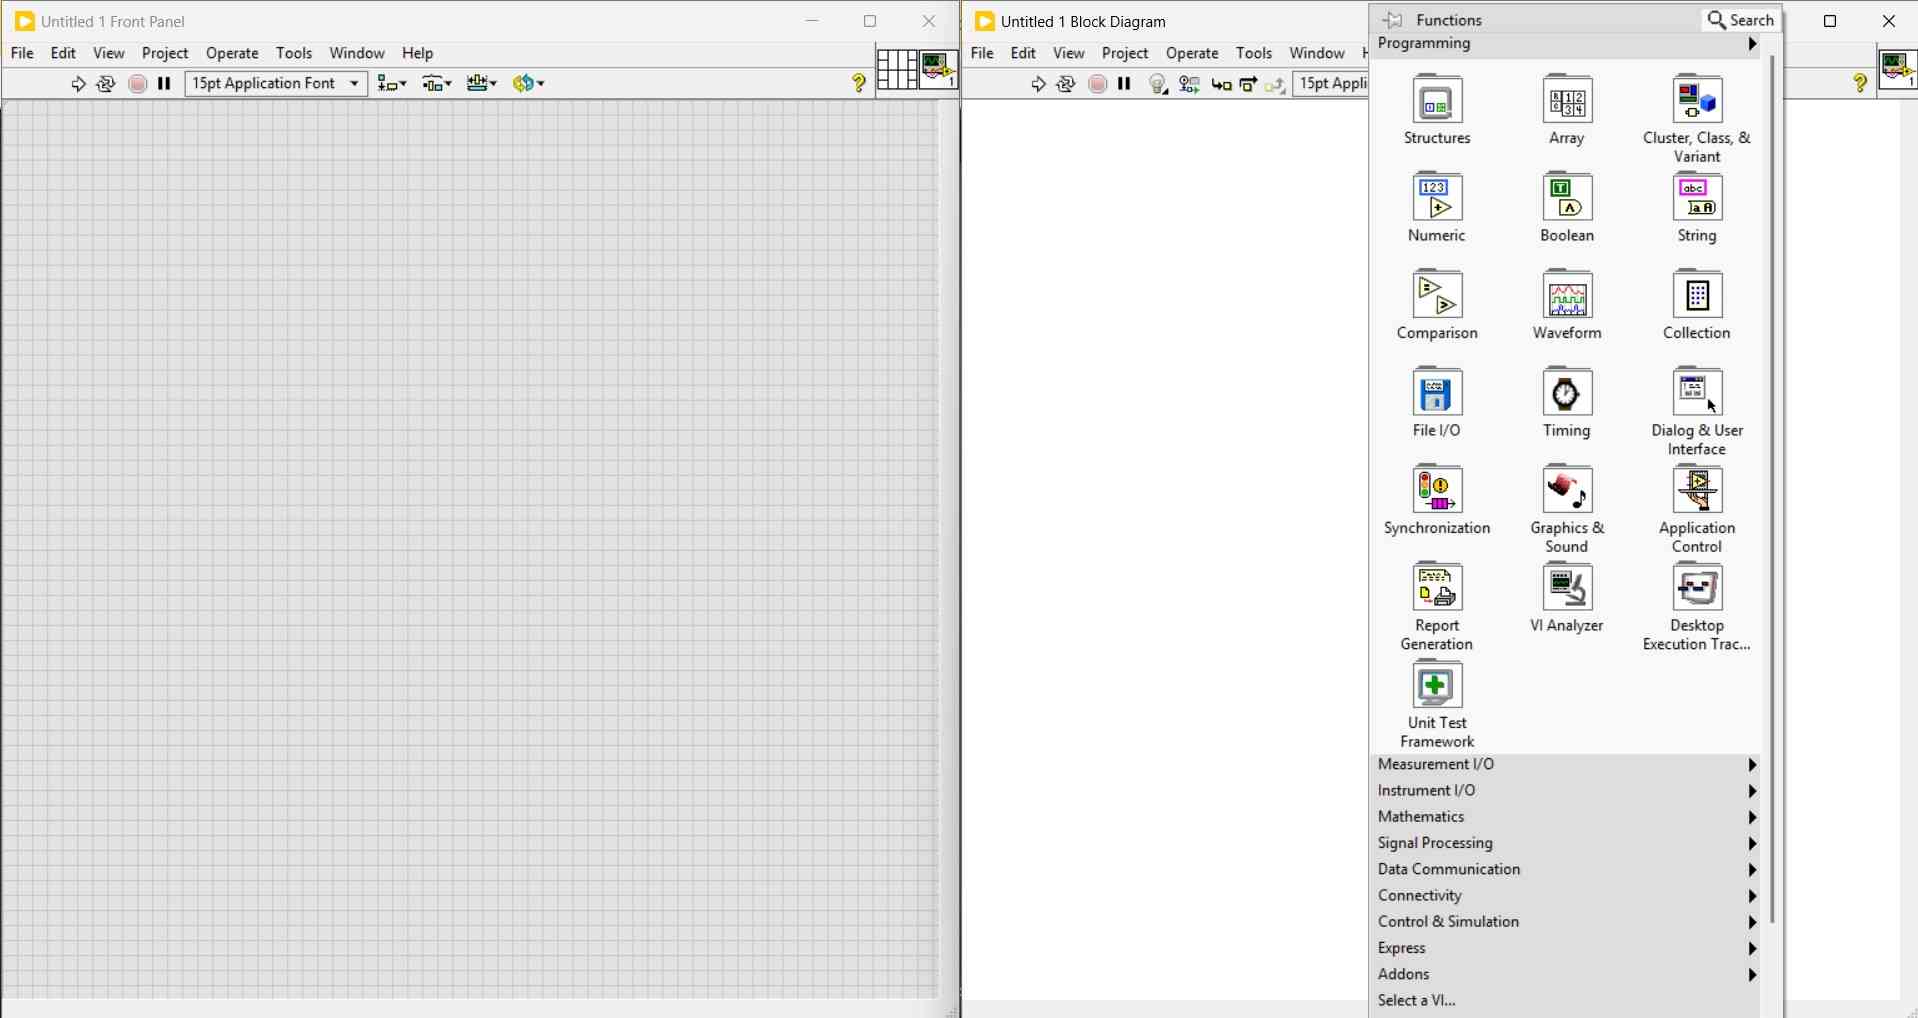
In contrast, elements of the Block Diagram are selected from the Functions Menu.
Advantages and Disadvantages
| Advantages | Disadvantages |
|---|---|
| Real-time plotting and data visualization. | Strong dependence on the NI ecosystem. |
| Provides a graphical programming and feedback environment. | Not always ideal for embedded programming. |
| Good for rapid prototyping. | Large programs can become intricate and visually confusing. |
| Suited for test and measurement systems. | Version control is less convenient. |
| Can support advanced hardware like PLCs or FPGAs. | Its free educational license requires school enrollment. |
Qt Designer / PyQt6 – Overview
Qt Designer is a visual tool for creating graphical user interfaces using Qt Widgets. Instead of writing the complete interface manually in code, Qt Designer allows the user to design the layout visually by dragging and arranging elements such as labels, buttons, text fields and containers.
Qt Designer can be used together with Python and PyQt6 to create desktop applications. This makes it useful for prototyping interfaces that need a more structured layout or a more professional appearance than very basic GUI tools.
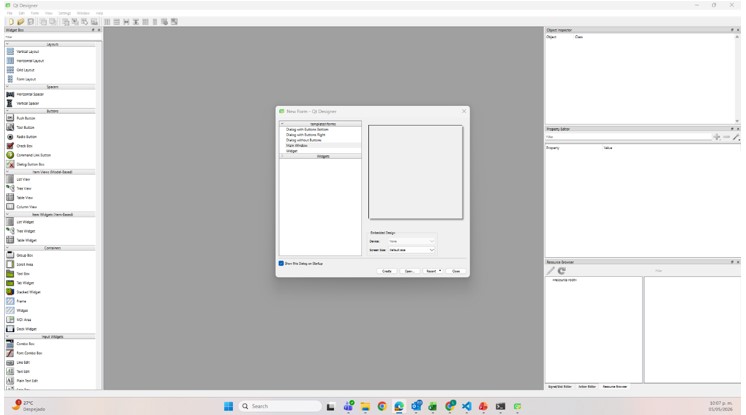
Workflow: Creating a Basic GUI with Qt Designer
The process of building a simple interface with Qt Designer follows these steps:
- Install PyQt6 and the Qt tools.
pip install PyQt6 pyqt6-tools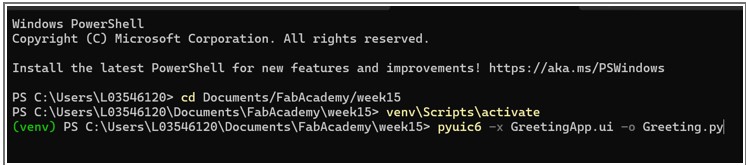
.ui file in the virtual environment’s folder. .ui file into a Python file using pyuic6. pyuic6 -x greeting_app.ui -o greeting_app.py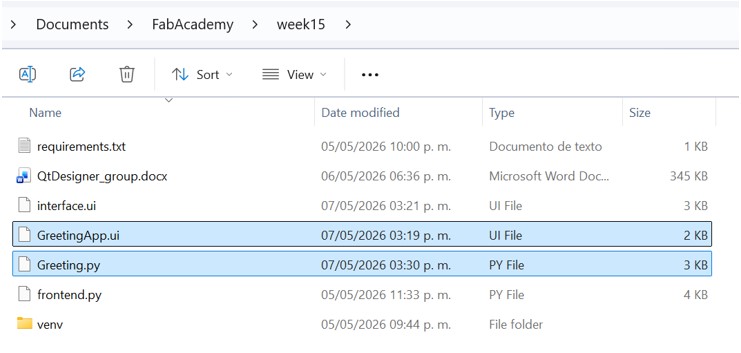
python greeting.py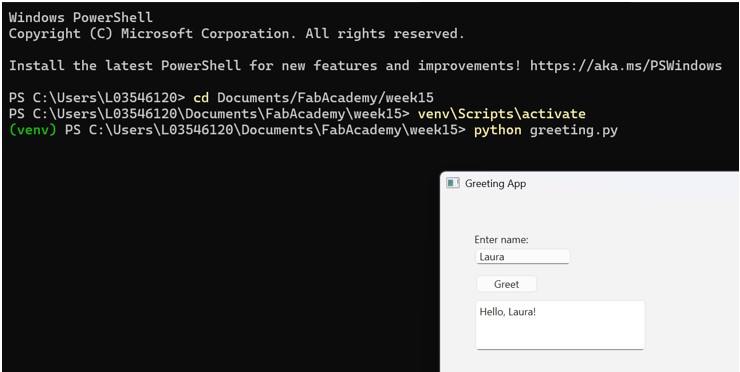
This workflow separates the visual design of the interface from the programming logic. The interface is first created visually in Qt Designer and then connected to Python code.
Adding Interaction
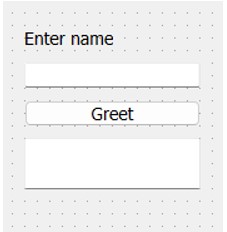
To replicate the same basic interaction shown in the Tkinter example, the interface can include:
- A label that asks the user to enter their name.
- A text input where the user writes their name.
- A button labeled Greet.
- A result label that updates after the button is clicked.
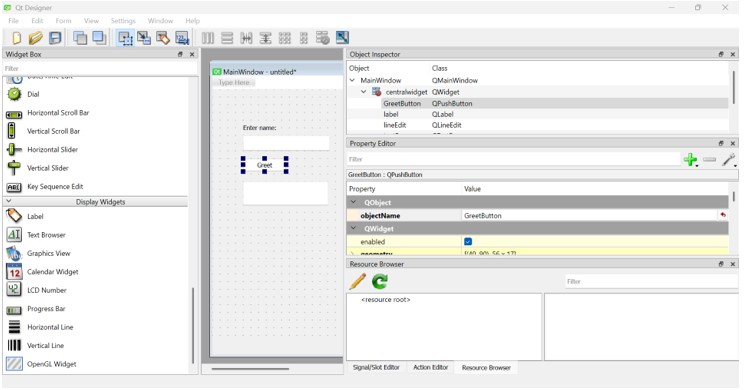
In Qt Designer, these elements can be created visually. The important part is to assign clear object names so they can be used later in the Python code.

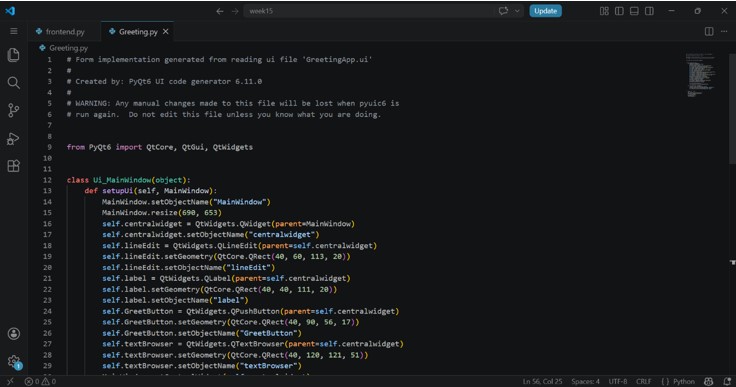
Interactive Example
The following example demonstrates user input handling using a QLineEdit
widget and updating a QLabel dynamically.
from PyQt6 import QtCore, QtGui, QtWidgets
class Ui_MainWindow(object):
def setupUi(self, MainWindow):
MainWindow.setObjectName("MainWindow")
MainWindow.resize(690, 653)
self.centralwidget = QtWidgets.QWidget(parent=MainWindow)
self.centralwidget.setObjectName("centralwidget")
self.lineEdit = QtWidgets.QLineEdit(parent=self.centralwidget)
self.lineEdit.setGeometry(QtCore.QRect(40, 60, 113, 20))
self.lineEdit.setObjectName("lineEdit")
self.label = QtWidgets.QLabel(parent=self.centralwidget)
self.label.setGeometry(QtCore.QRect(40, 40, 111, 20))
self.label.setObjectName("label")
self.GreetButton = QtWidgets.QPushButton(parent=self.centralwidget)
self.GreetButton.setGeometry(QtCore.QRect(40, 90, 75, 24))
self.GreetButton.setObjectName("GreetButton")
self.textBrowser = QtWidgets.QTextBrowser(parent=self.centralwidget)
self.textBrowser.setGeometry(QtCore.QRect(40, 120, 200, 60))
self.textBrowser.setObjectName("textBrowser")
MainWindow.setCentralWidget(self.centralwidget)
self.menubar = QtWidgets.QMenuBar(parent=MainWindow)
self.menubar.setGeometry(QtCore.QRect(0, 0, 690, 18))
self.menubar.setObjectName("menubar")
MainWindow.setMenuBar(self.menubar)
self.statusbar = QtWidgets.QStatusBar(parent=MainWindow)
self.statusbar.setObjectName("statusbar")
MainWindow.setStatusBar(self.statusbar)
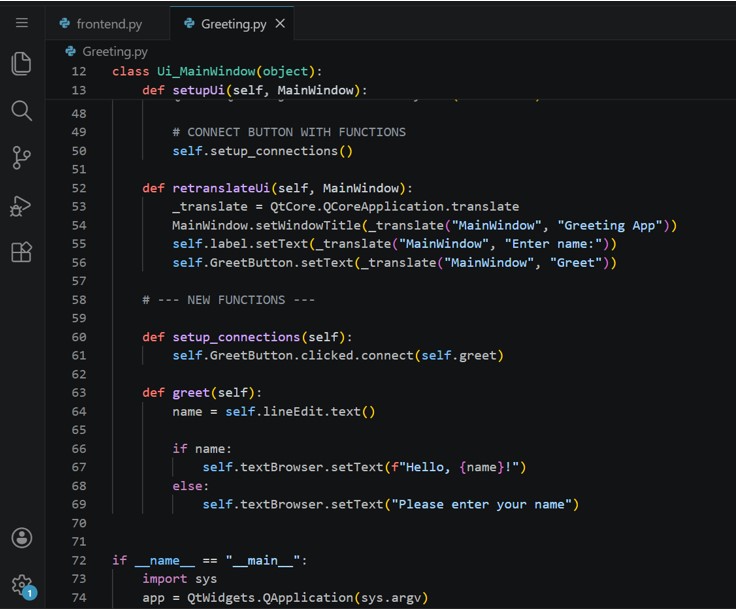
self.retranslateUi(MainWindow)
QtCore.QMetaObject.connectSlotsByName(MainWindow)
# CONNECT BUTTON WITH FUNCTIONS
self.setup_connections()
def retranslateUi(self, MainWindow):
_translate = QtCore.QCoreApplication.translate
MainWindow.setWindowTitle(_translate("MainWindow", "Greeting App"))
self.label.setText(_translate("MainWindow", "Enter name:"))
self.GreetButton.setText(_translate("MainWindow", "Greet"))
# --- NEW FUNCTIONS ---
def setup_connections(self):
self.GreetButton.clicked.connect(self.greet)
def greet(self):
name = self.lineEdit.text()
if name:
self.textBrowser.setText(f"Hello, {name}!")
else:
self.textBrowser.setText("Please enter your name")
if __name__ == "__main__":
import sys
app = QtWidgets.QApplication(sys.argv)
MainWindow = QtWidgets.QMainWindow()
ui = Ui_MainWindow()
ui.setupUi(MainWindow)
MainWindow.show()
sys.exit(app.exec())
In this example, when the user writes a name and clicks the Greet button, the function reads the text from the input field and updates the result label.

Common Problems
- Wrong object names: the object names in Python do not match the names assigned in Qt Designer.
- Missing libraries: PyQt6 or pyserial are not installed.
- Overwritten code: if the generated Python file is edited directly, changes can be lost when the
.uifile is converted again.
Reflection
Qt Designer provides a visual workflow for building graphical interfaces with Python. Compared with Tkinter, it requires additional installation and a slightly more complex setup, but it makes the layout process easier when the interface has multiple elements.
It is a useful option for projects that need a desktop interface connected to Python logic, especially when the application also needs to communicate with external hardware through serial communication.
Qt Designer: Advantages and Disadvantages
| Advantages | Disadvantages |
|---|---|
| Visual drag-and-drop interface design | Requires installing additional libraries |
| More modern appearance than basic GUI tools | Setup is more complex than Tkinter |
| Useful for interfaces with several widgets | The generated Python file can be difficult to read at first |
| Separates visual design from application logic |
The .ui file must be converted again after visual changes
|
| Works well with Python and serial communication | Mostly focused on desktop applications, not web or mobile interfaces |
Conclusion
Tkinter, Qt Designer, and LabVIEW each provide different approaches for developing graphical user interfaces and hardware interaction systems.
Tkinter is simple, lightweight, and easy to learn, making it a good option for beginners or small Python applications. Qt Designer offers a more professional and scalable workflow by separating interface design from application logic, which is useful for larger desktop applications with multiple widgets and better visual organization.
In contrast, LabVIEW focuses on graphical programming and real-time interaction with hardware, making it especially useful for data acquisition, instrumentation, and rapid prototyping in engineering environments.
Choosing the appropriate tool depends on the project requirements, the complexity of the interface, hardware integration needs, and the desired development workflow.
Mission accomplished! 😊