5. 3D scanning and printing
Group AssignementThis week I learned about different tools and recommendations on 3D scanning and 3d printing.
For 3d scanning...
I learned that there are different methods to measure and create a 3d digital objetc. These methods go from contact measurements, to infrared lasers and picture or video processing. Each has its specifications, resolution and use. Some can be downloaded on a phone (mostly the picture and video processing options) and others have their own hardware structures. Things to take into consideration before choosing a scanner:- How much deffinition do I need?
- What is the size of the object?
- Can the object be moved or is it fixed?
- What kind of file do I need? (mesh, stl, obj, etc)
- Do I need the texture?
I used the app "Polycam" con my phone to try and scan my dog. I tried so many times, but I couldn't get her to stand still. This is what came out:
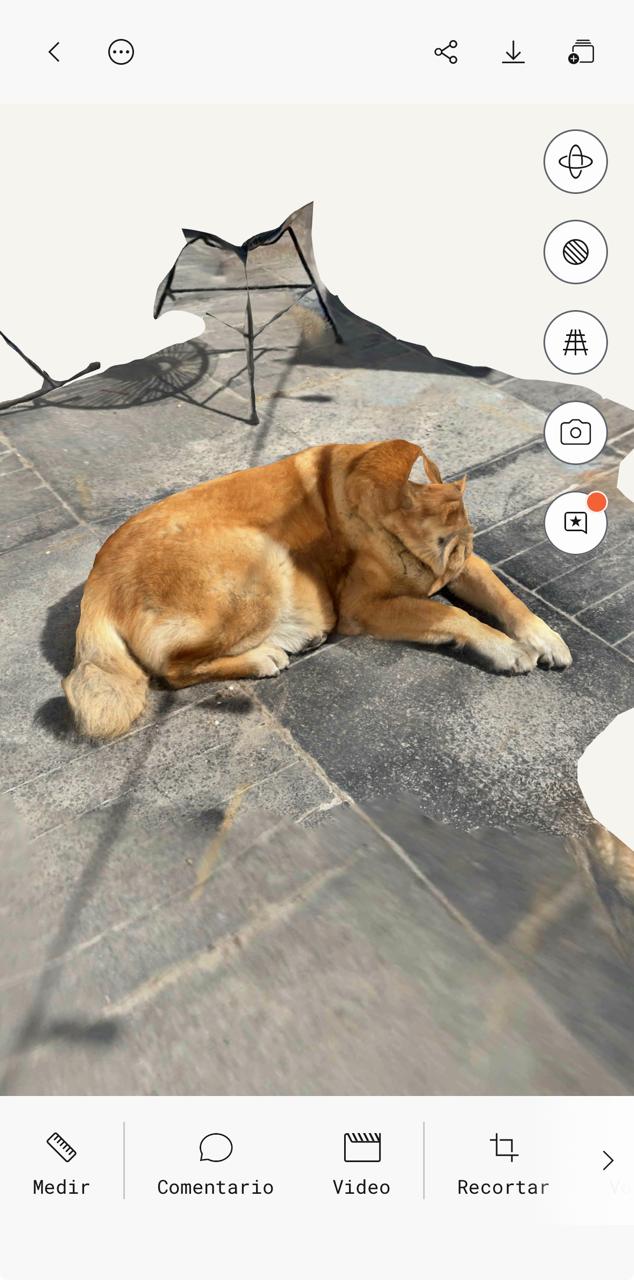
Headless Karu from video processing.
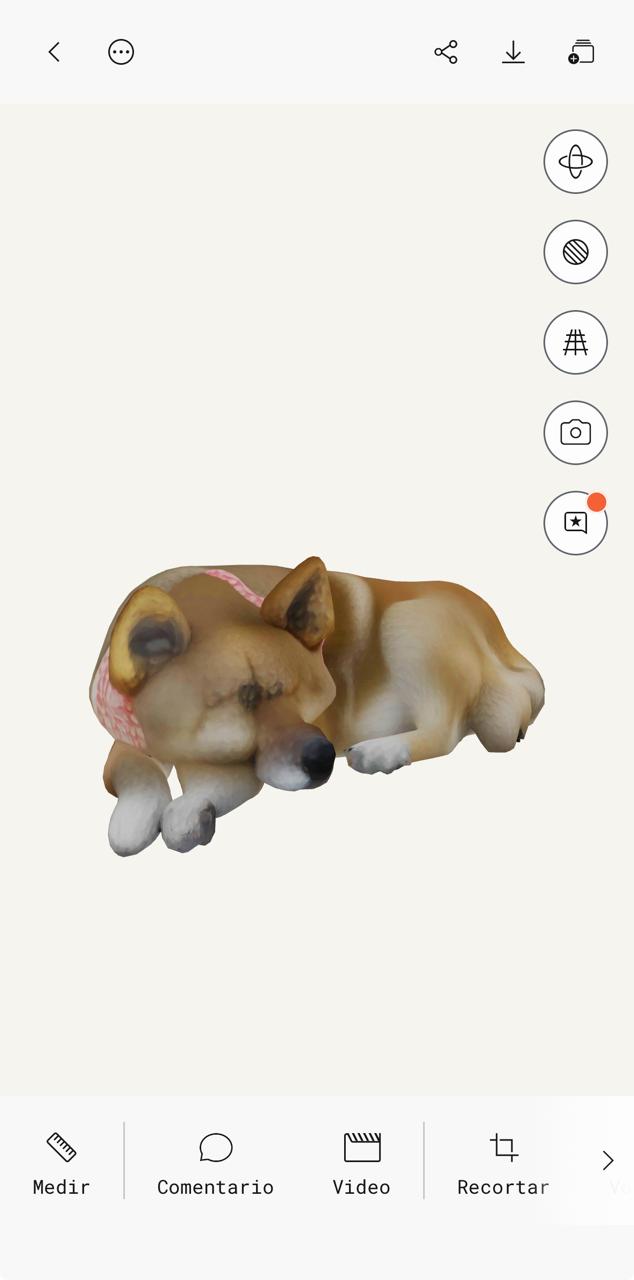
Abstract Karu from picture processing with AI.
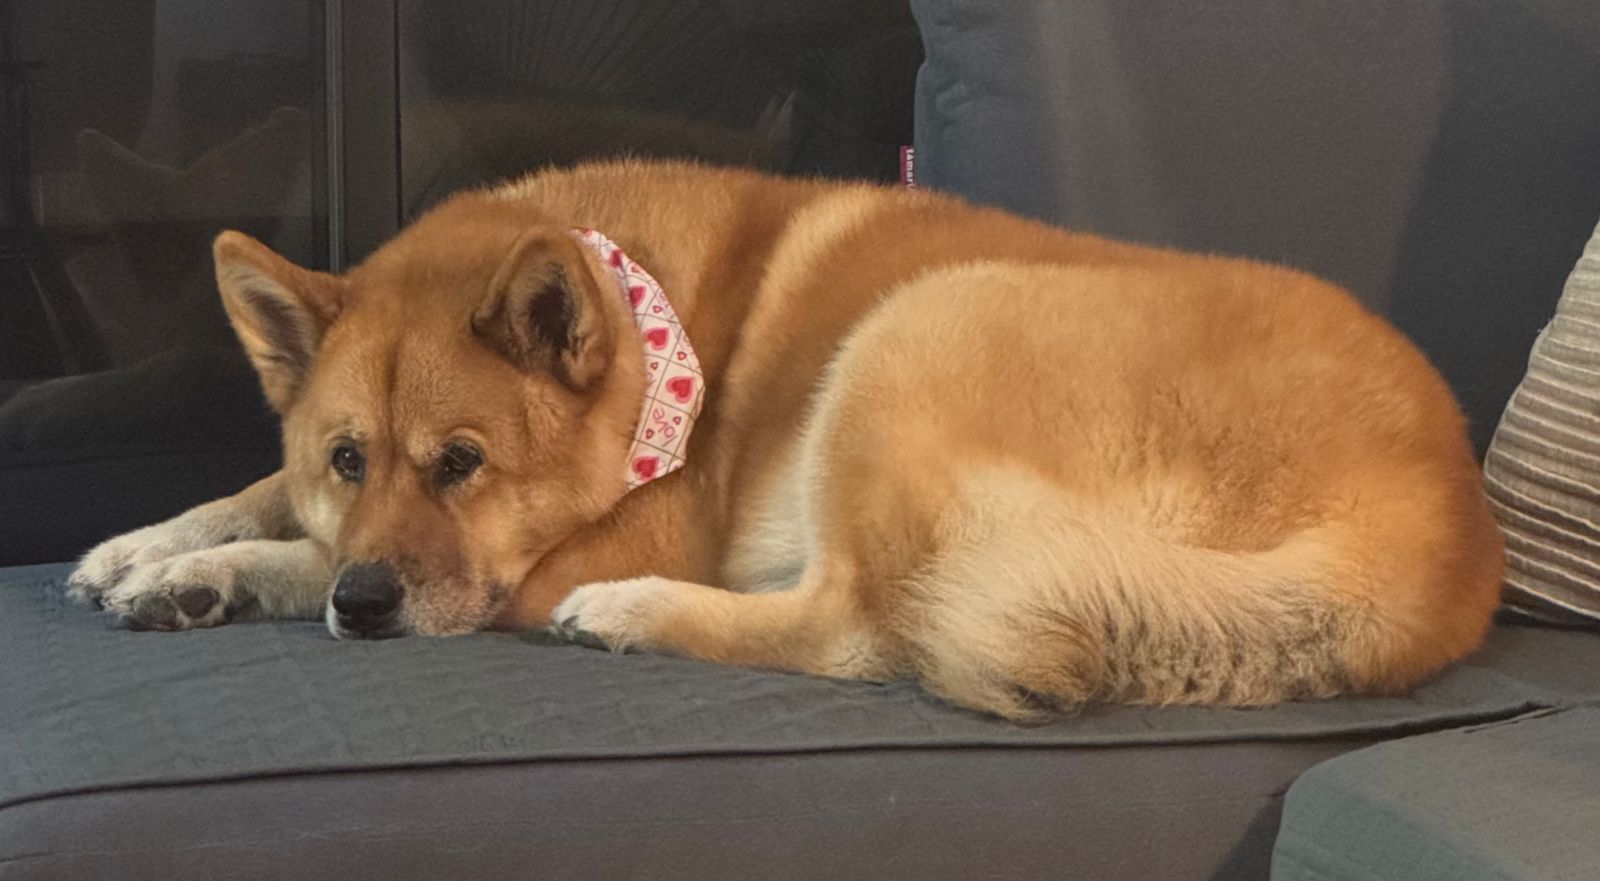
By the way, this is Karu:
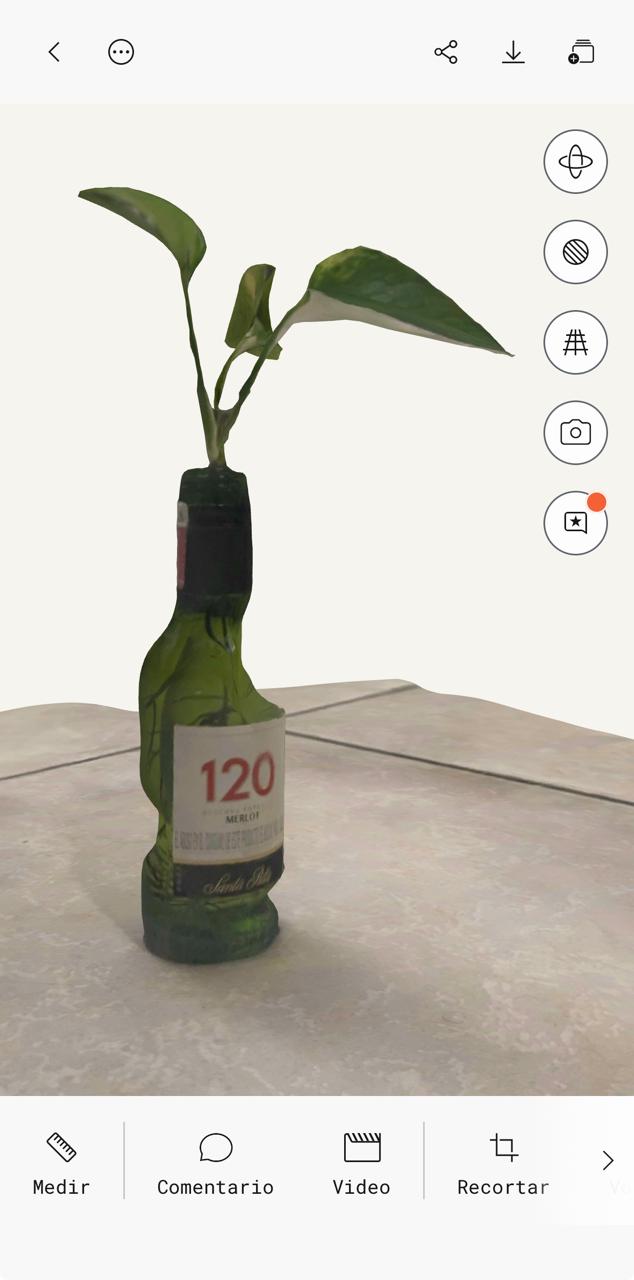
Then I also tried scanning a little plant, and concluded doing this organically with my irregular movements might not be the best idea:
For 3d printing...
I learned that many different types of files (STL, objt, step, mesh, etc.) can be SLICED and given different settings to 3D print in various technologies.
¿Why sliced? Because 3D printing works with deposition of layers stocked togeter to create a volume. All this layers are programmed in the machine's slicer (Cura, Z-Suite,Photon,etc.), which will ask for the necessary variables. These variables include:
For FDM (Fused Deposition Modeling):
- Nozzle diameter
- Layer thickness
- Infill percentage
- Angle for supports
- Extrusion and platform temperatures
- Printing speed
- Material
- Raft size (sometimes)
- These will depend on the machine and slicer that are being used.
For SLA (Stereolithography):
- Material
- Layer thickness
- Infill percentage
- Exposure time
- Angle for supports
- Support design
- Raft size (sometimes)
- These will depend on the machine and slicer that are being used.
For this assignement, I found, sliced and printed a glasses holder using Z-Suite and a Zortrax M200 that was available in my local FabLab.
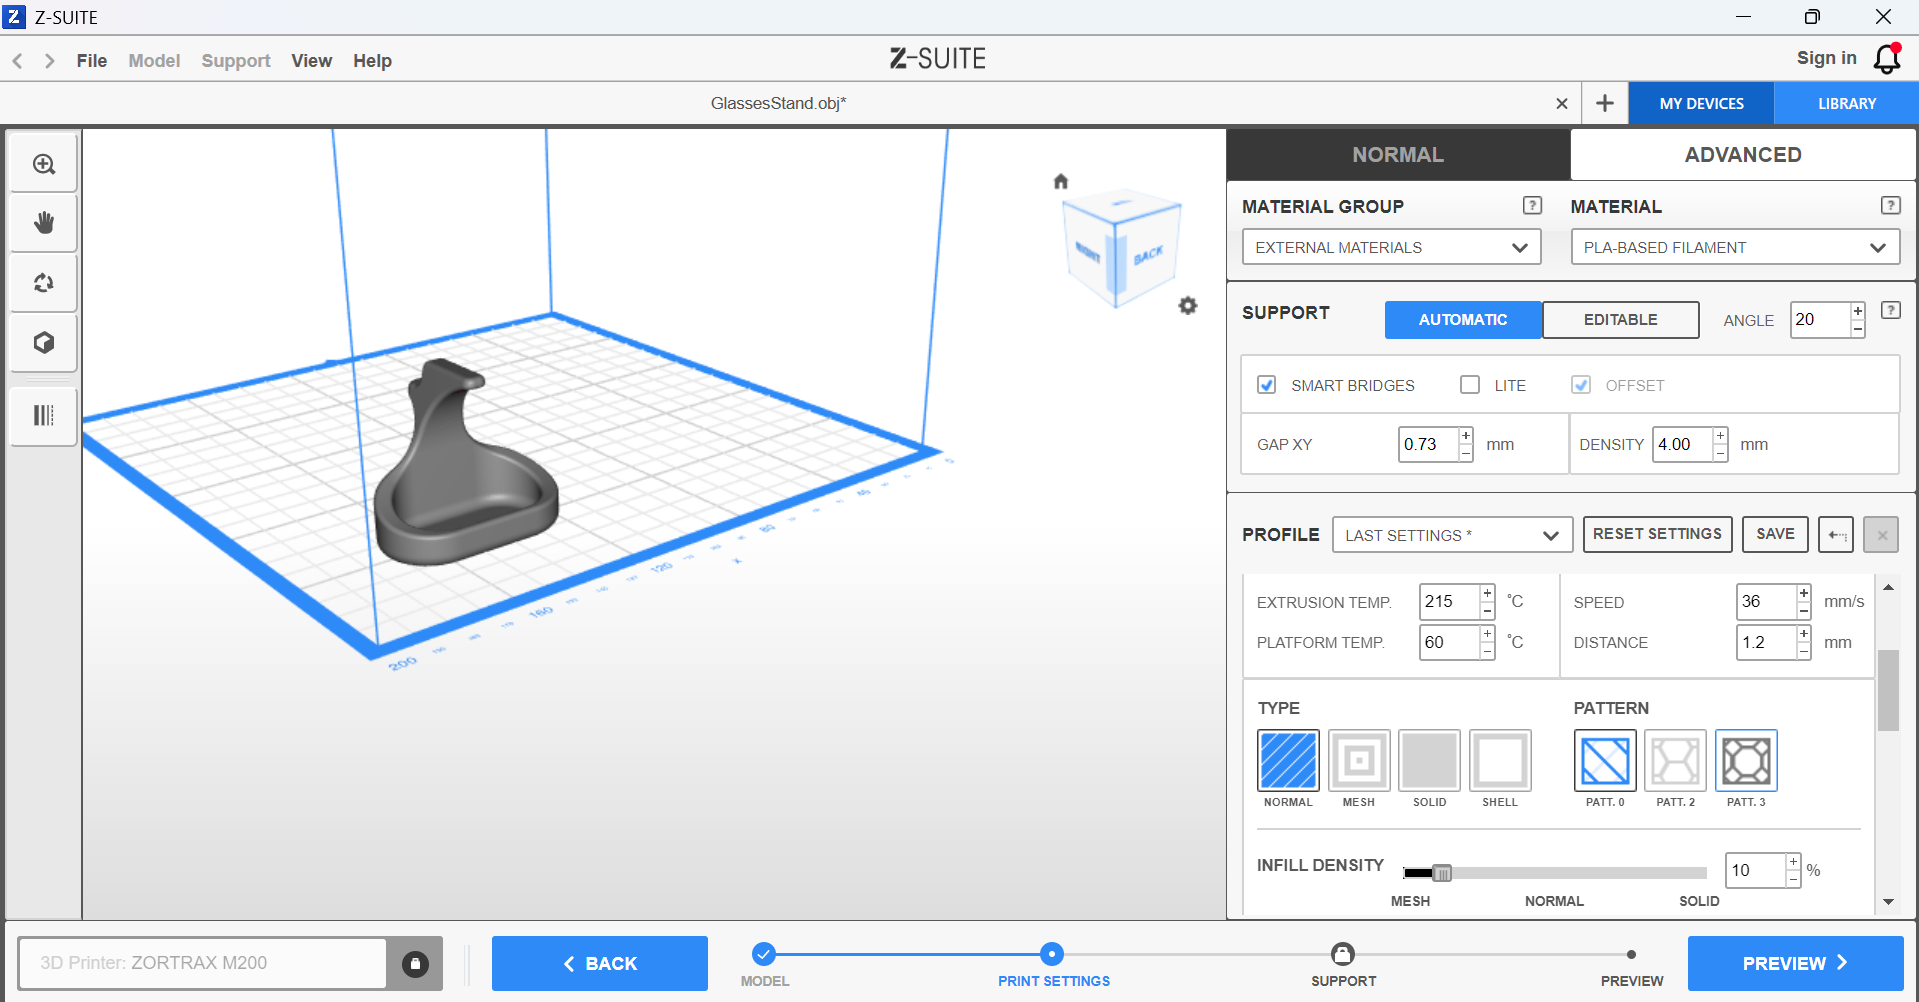
I slected the setting recommended by the lab manager for PLA filament.
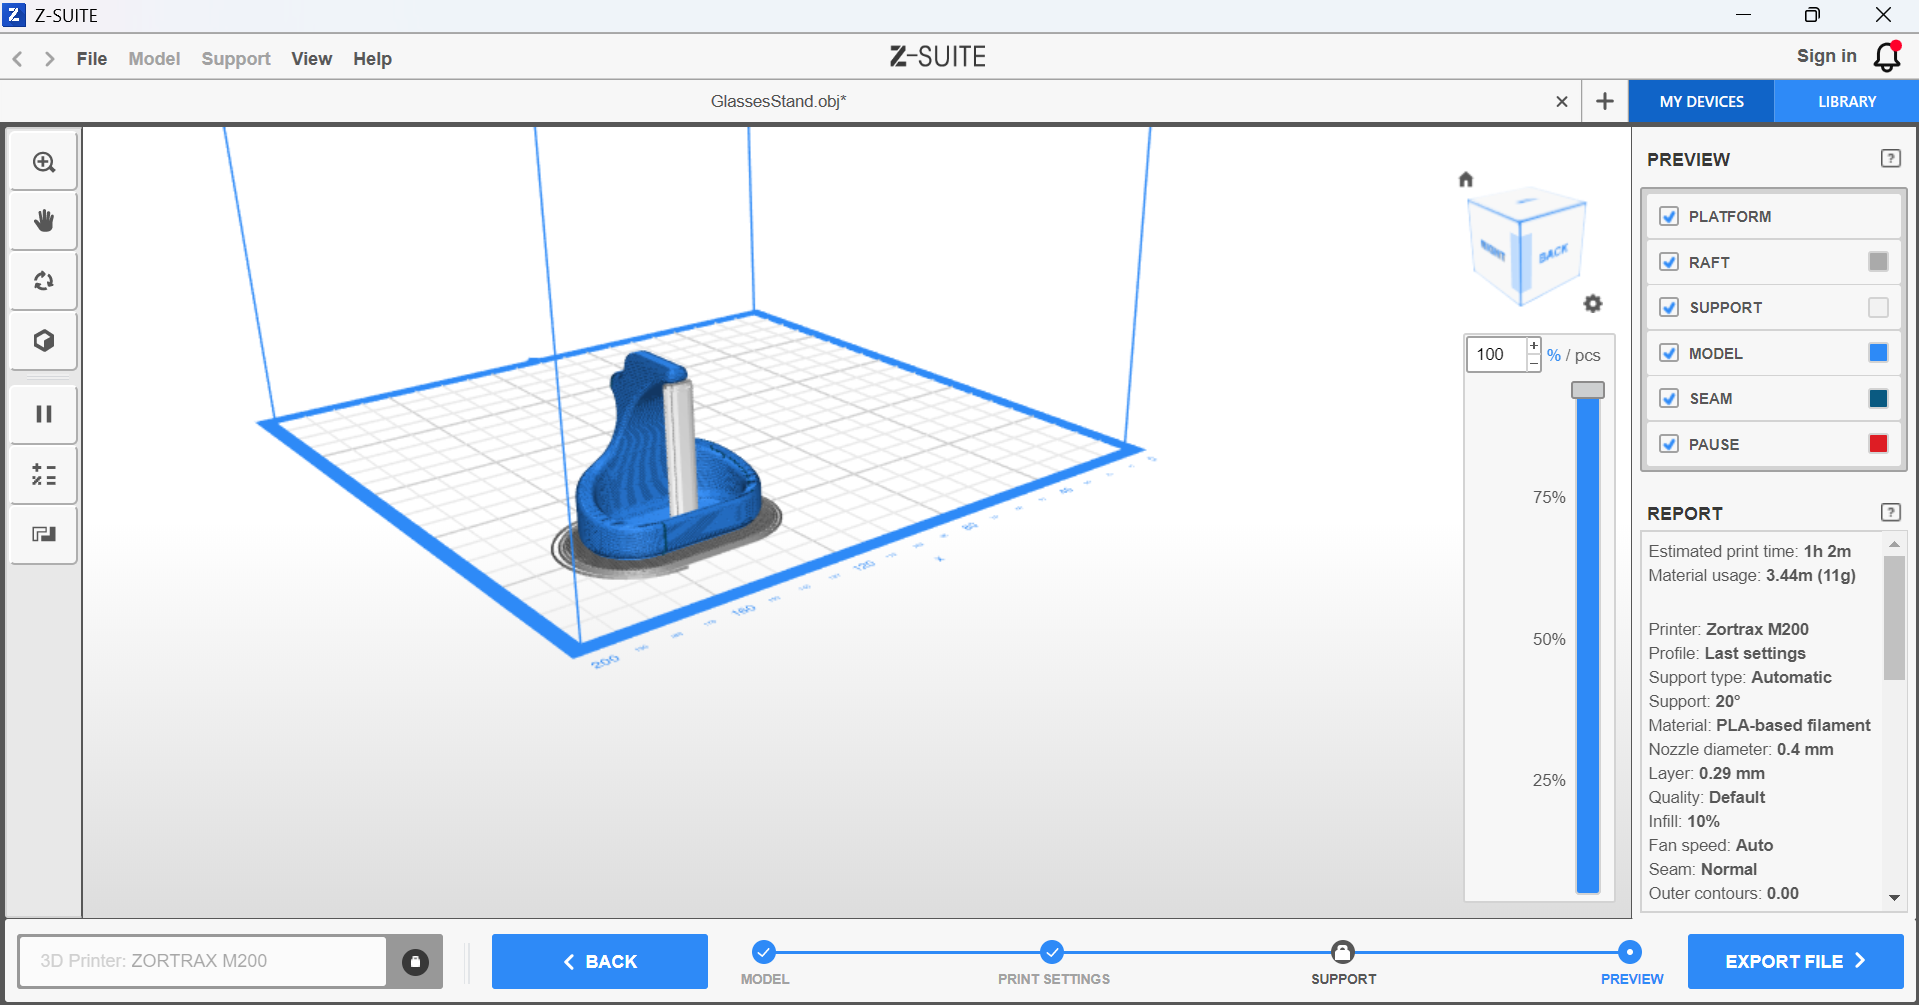
This is how the preview of the slicing looked.
And this is how the result came out:
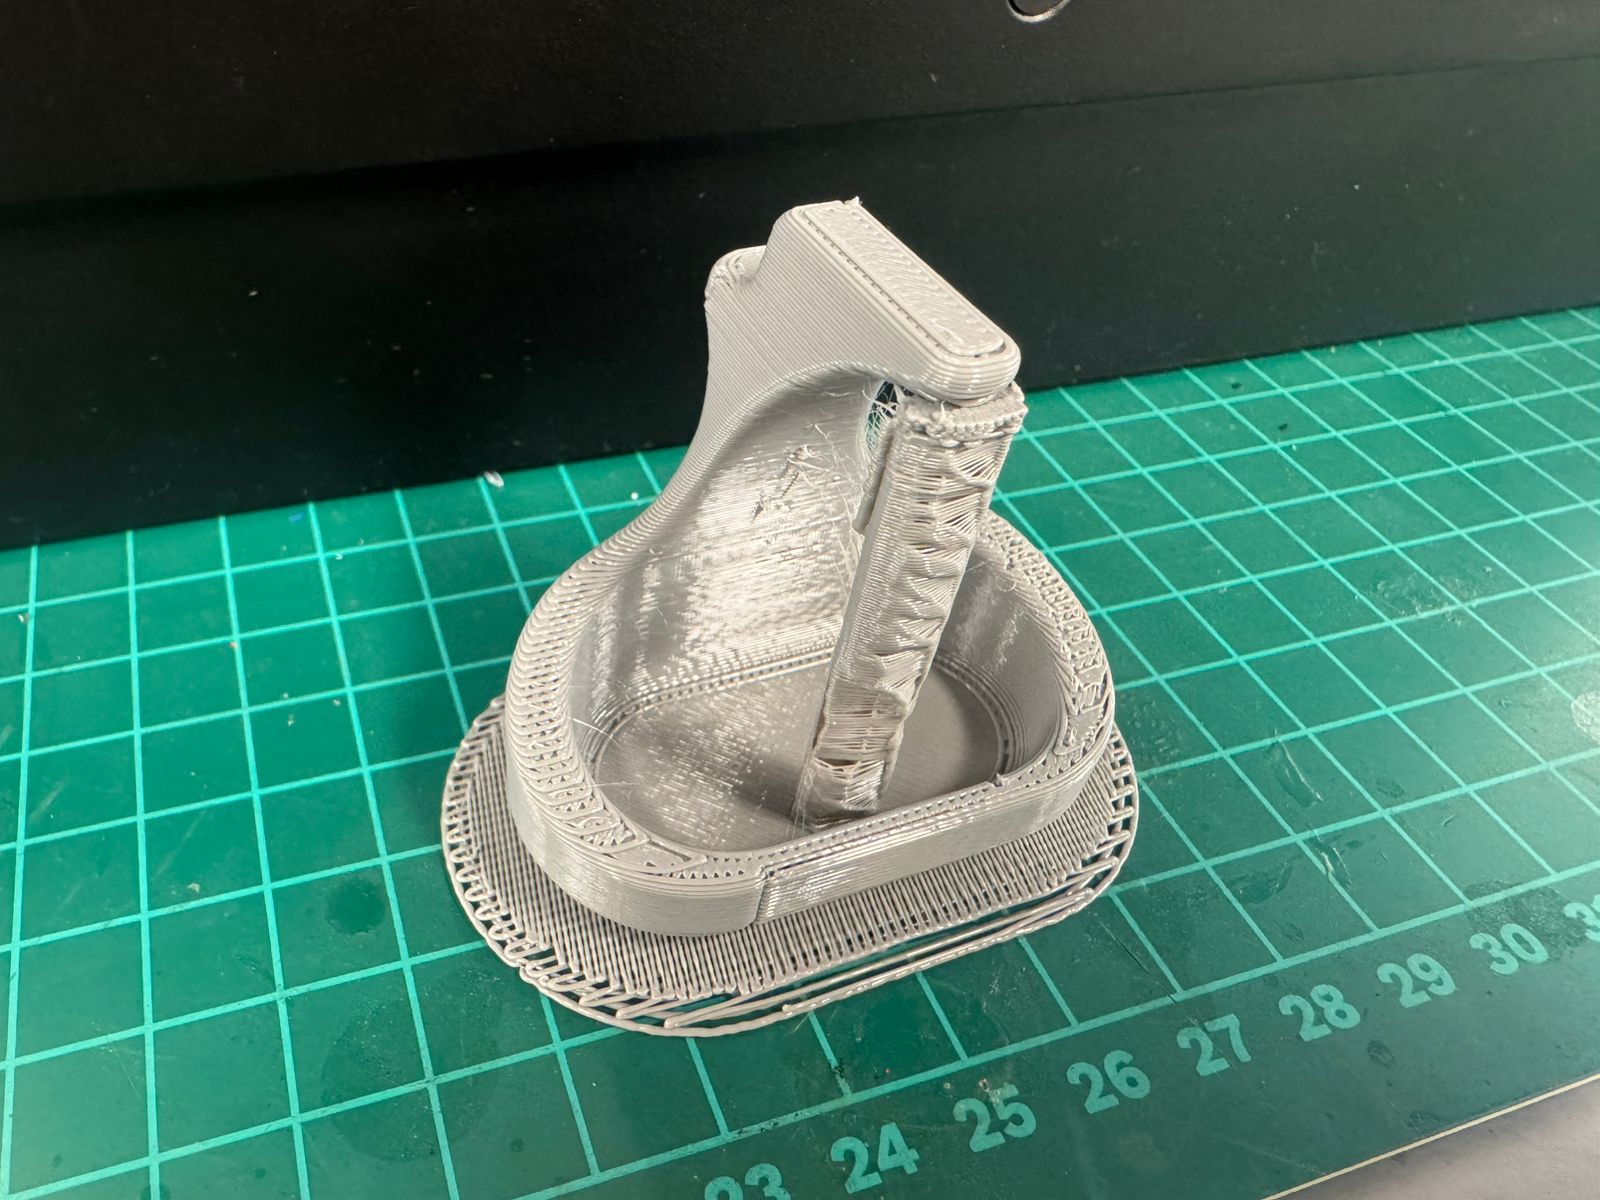
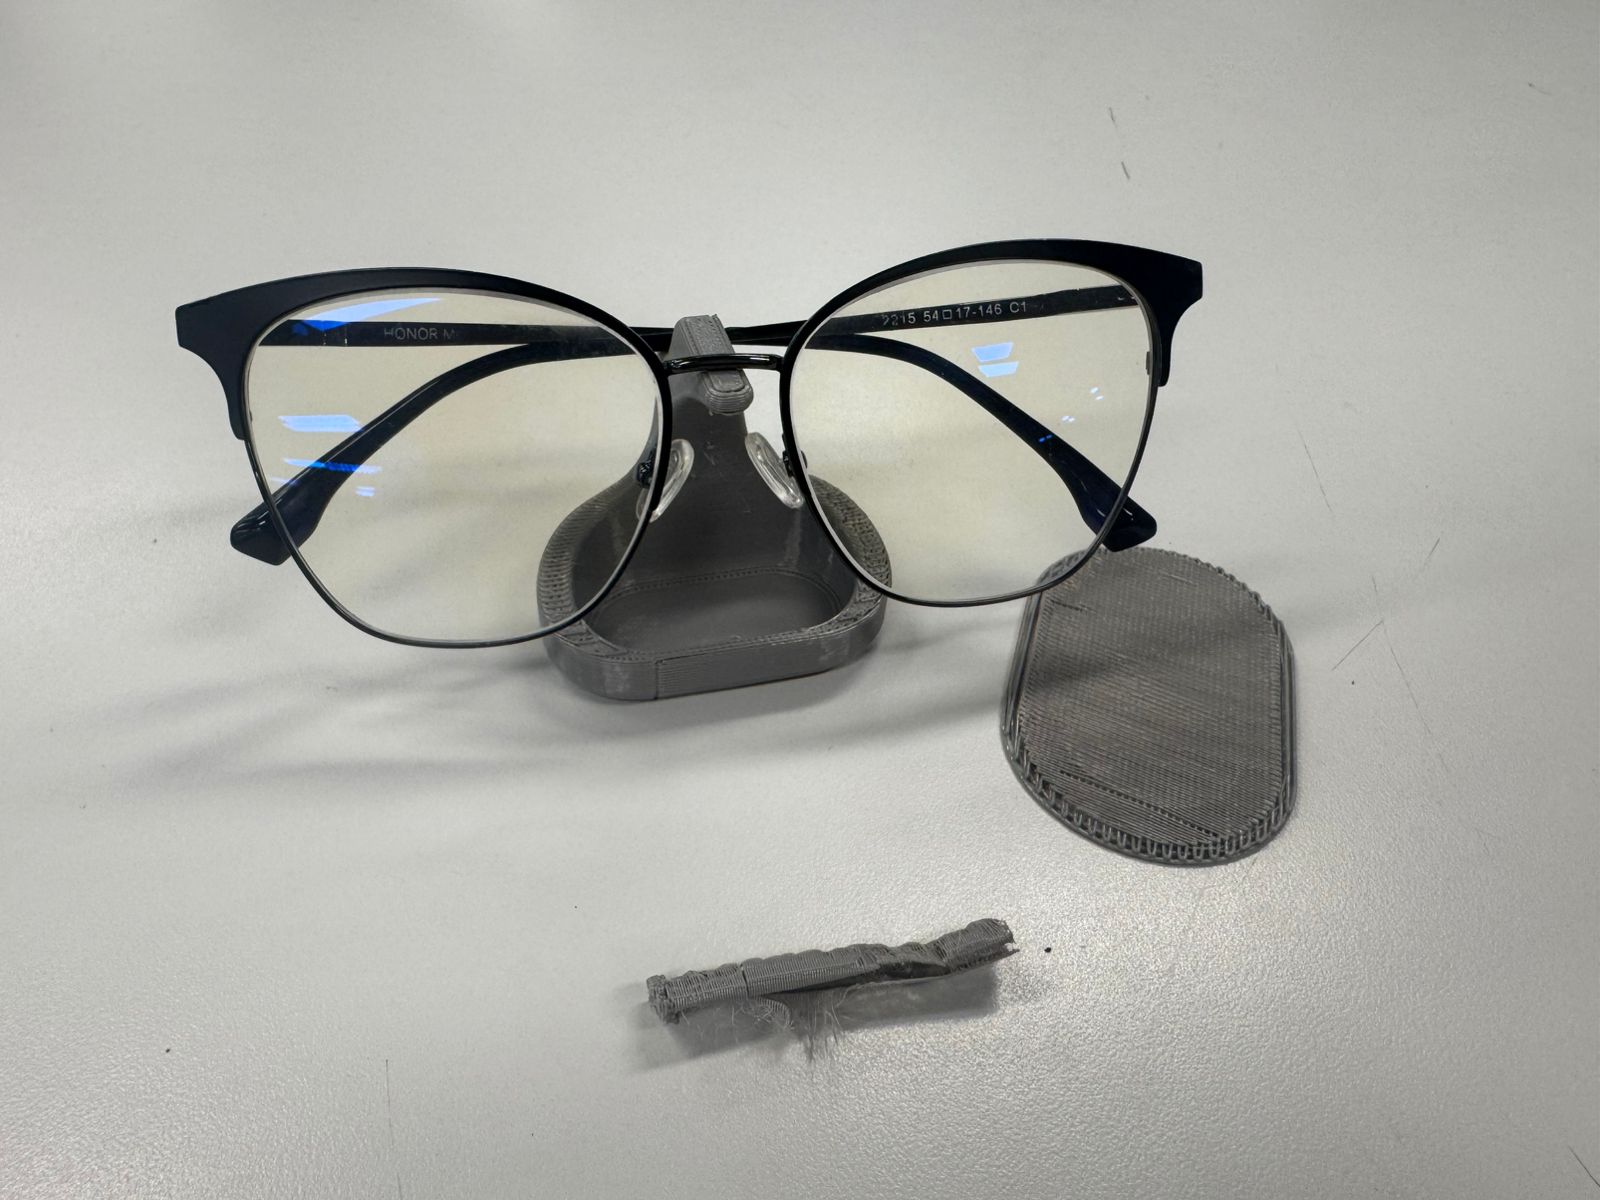
I might use a thinner layer thickness next time.
My design
Later on, I designed and printed the followgin pieces for my final project in Fusion 360:
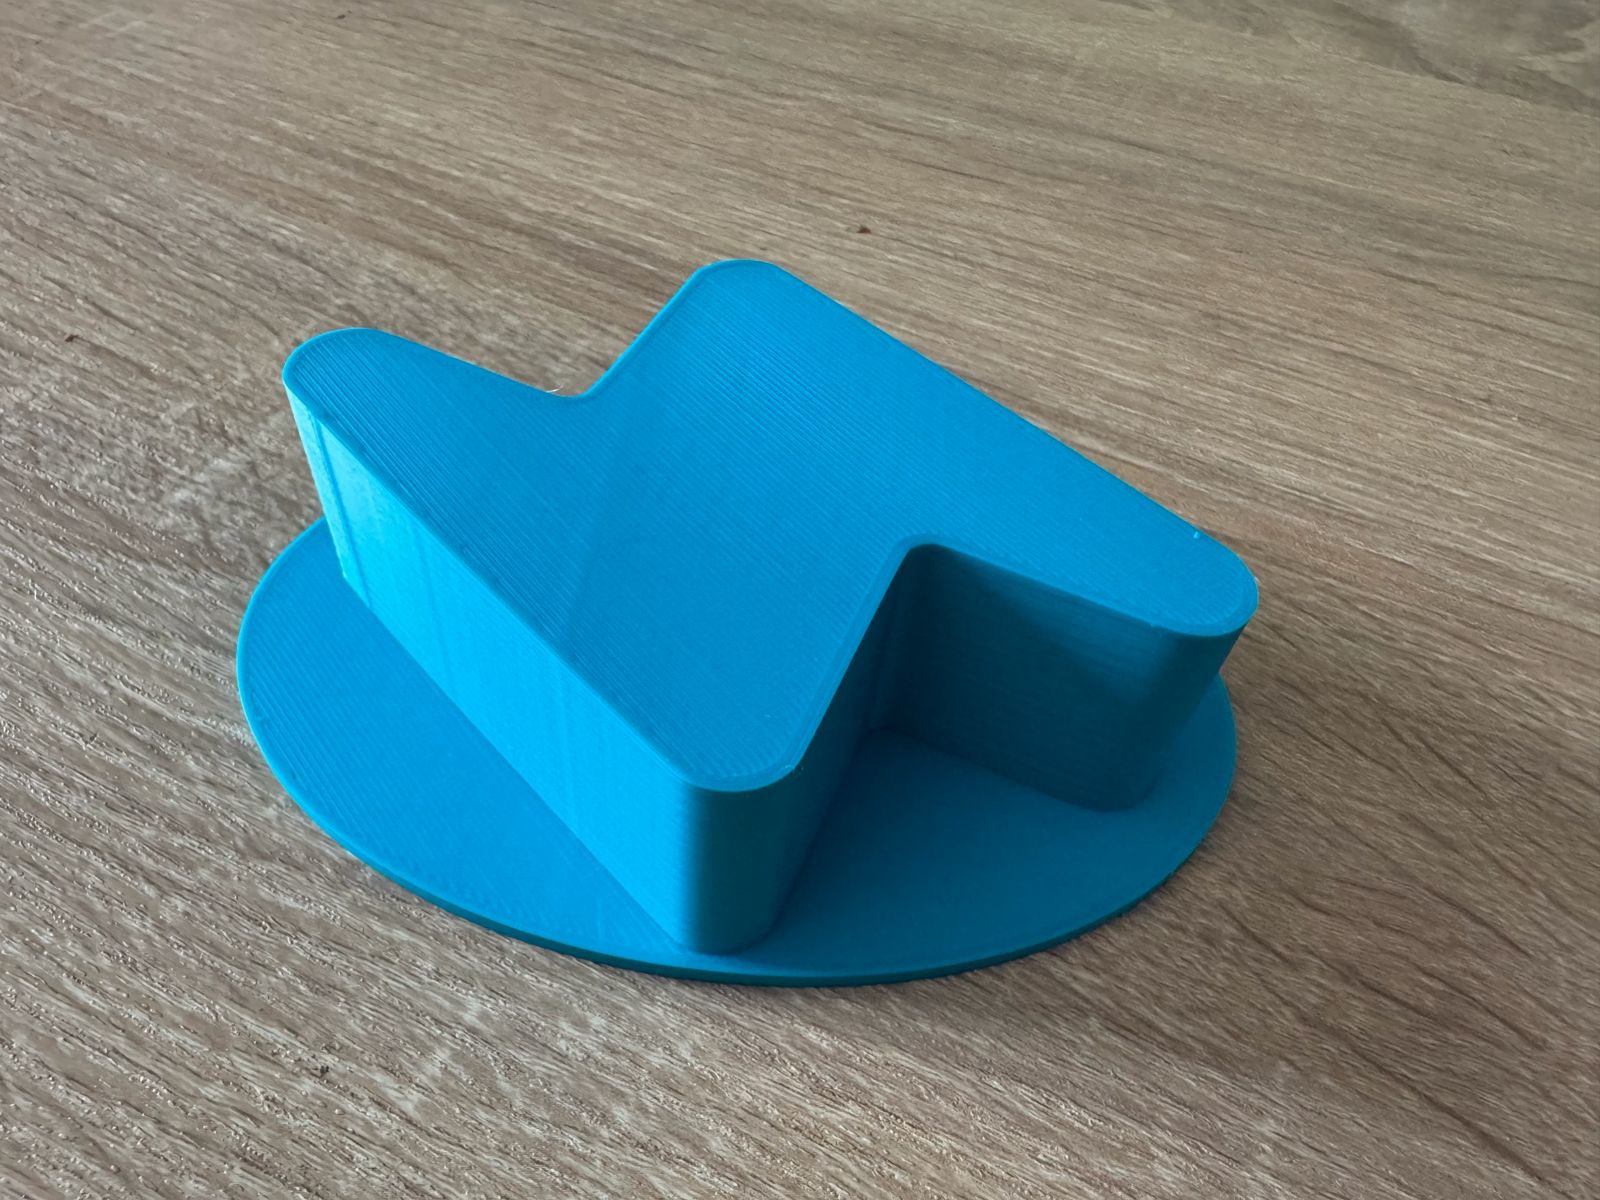

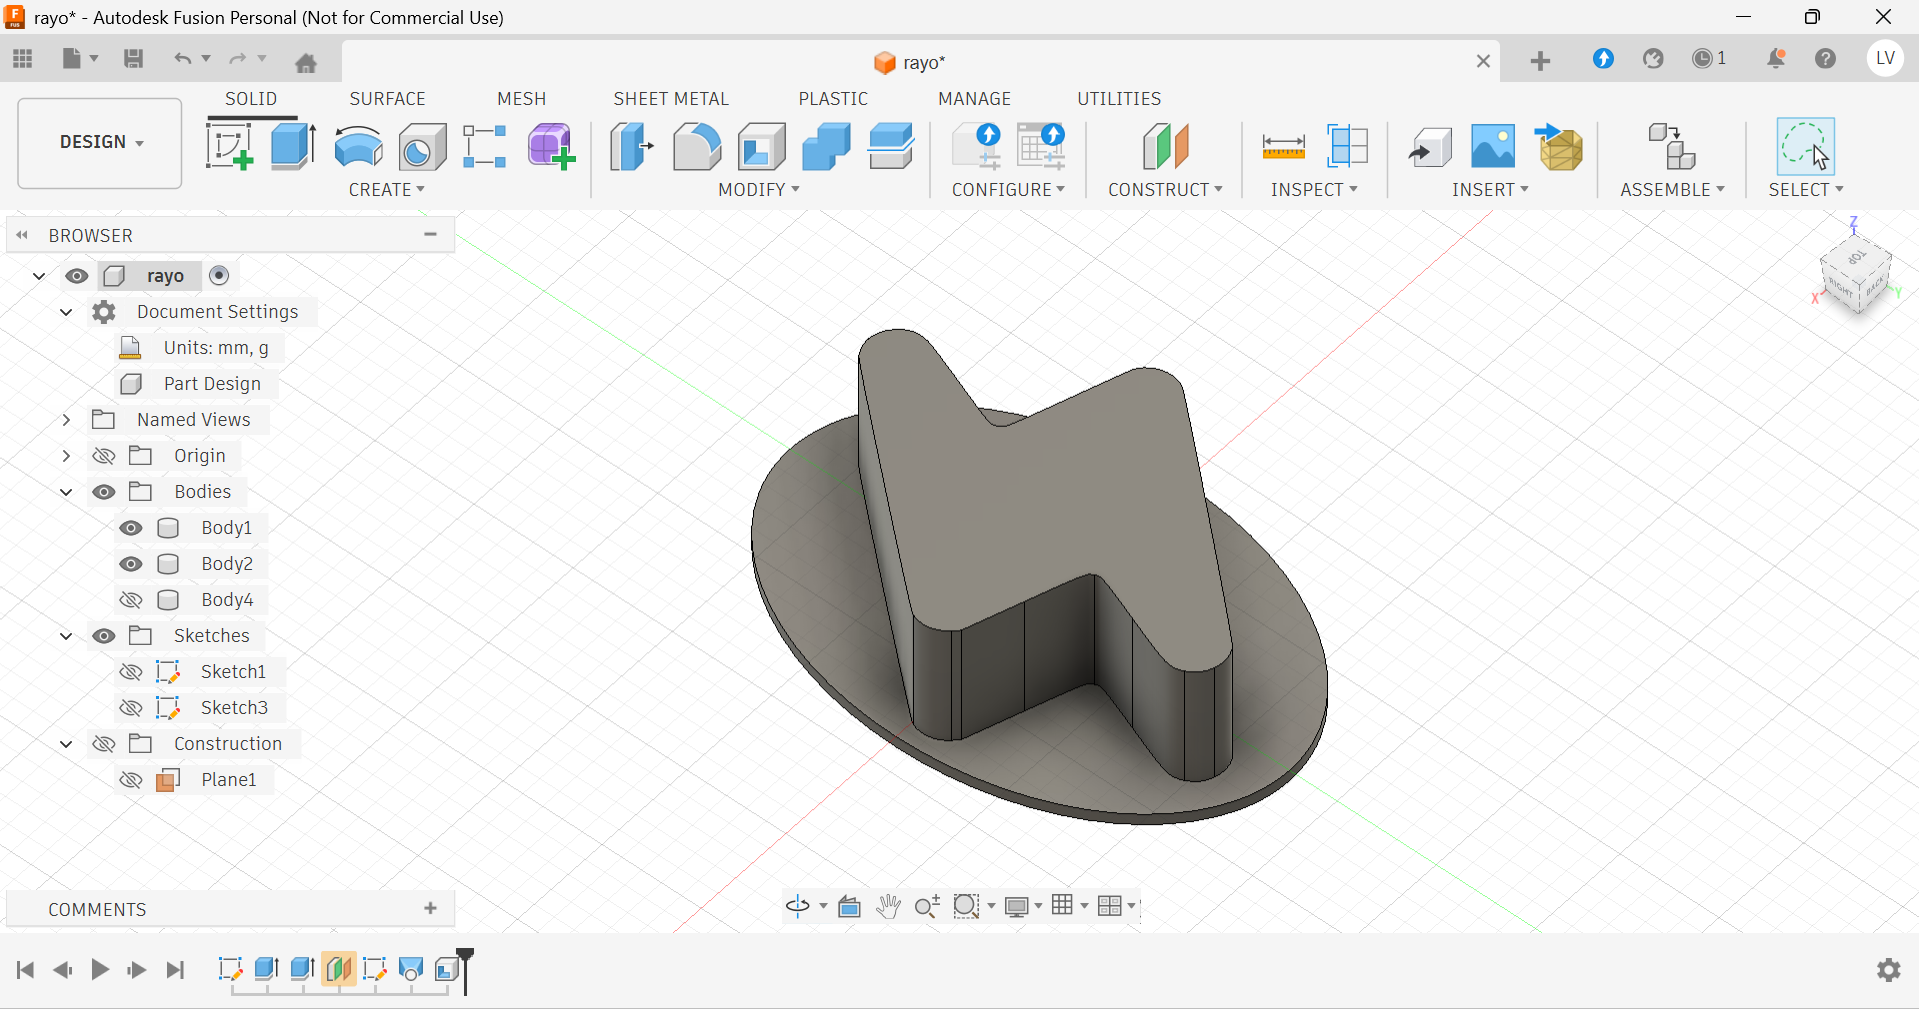
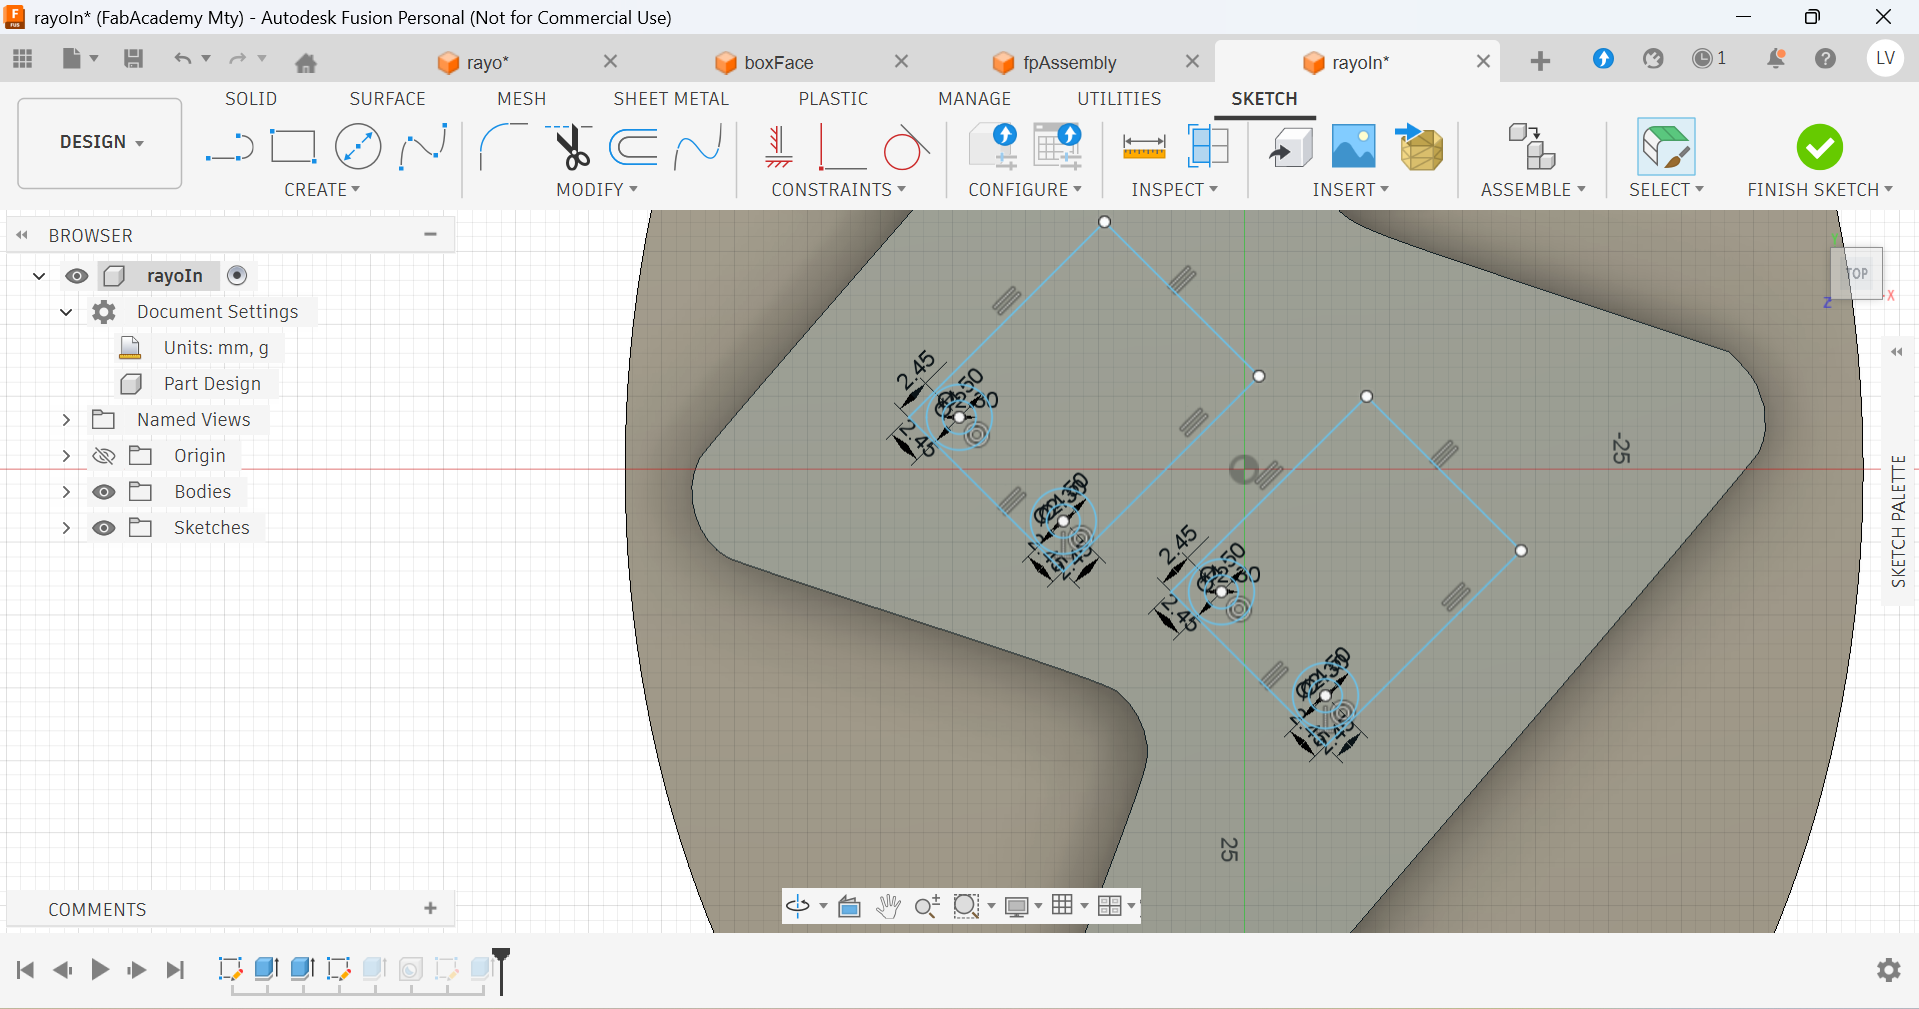
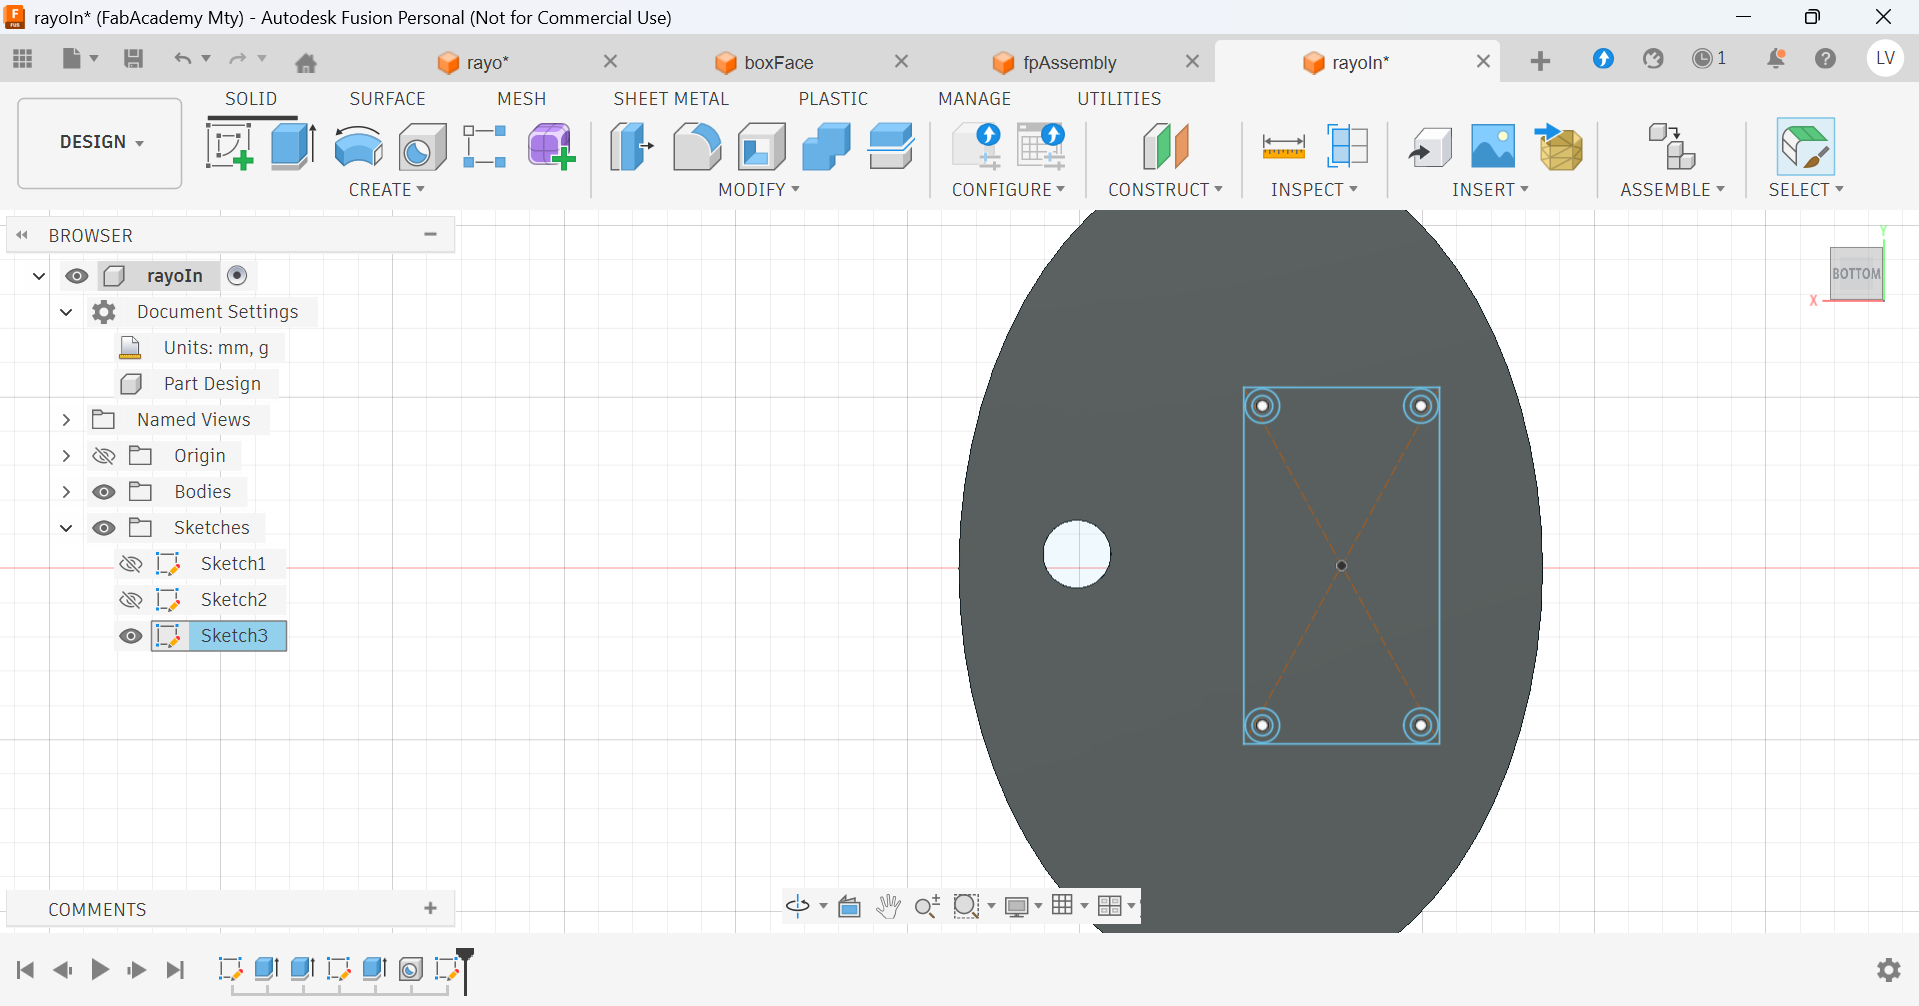
To bring those to life, firs I had to do some sketches:
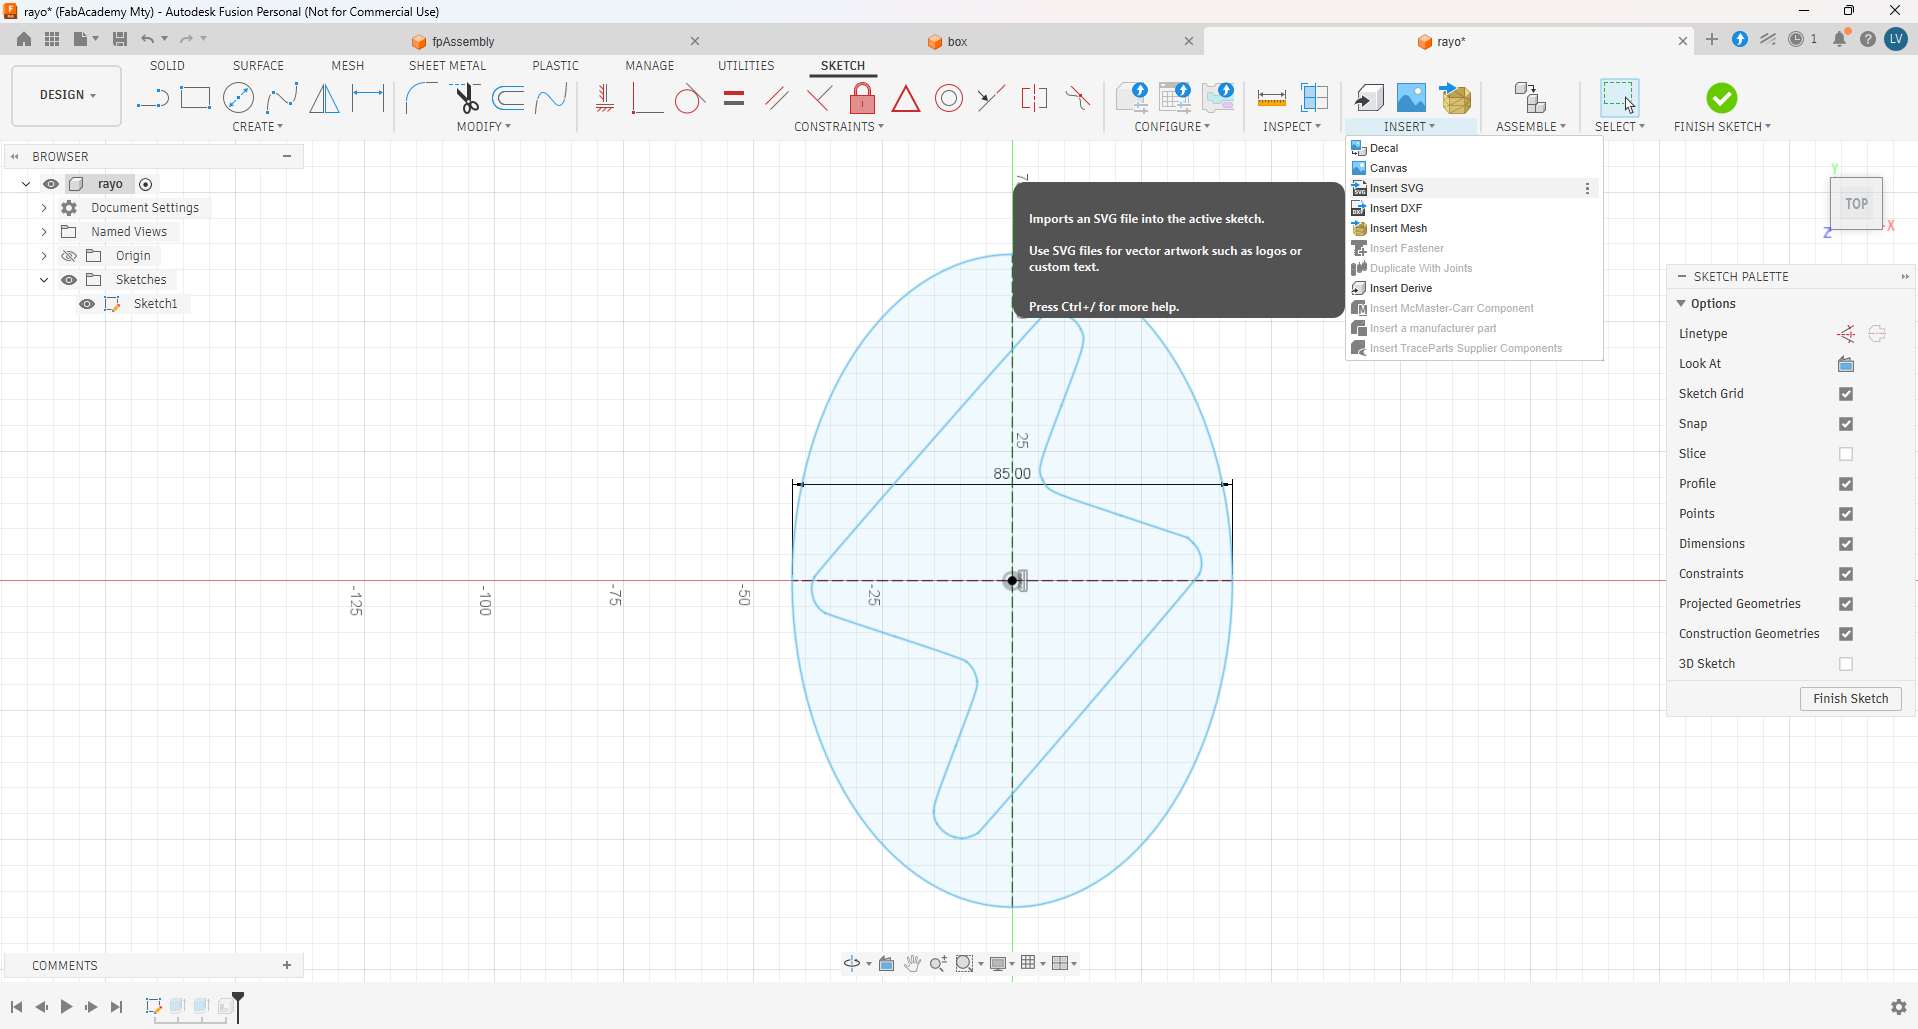
The I extruded and only left the shell of the outer design:

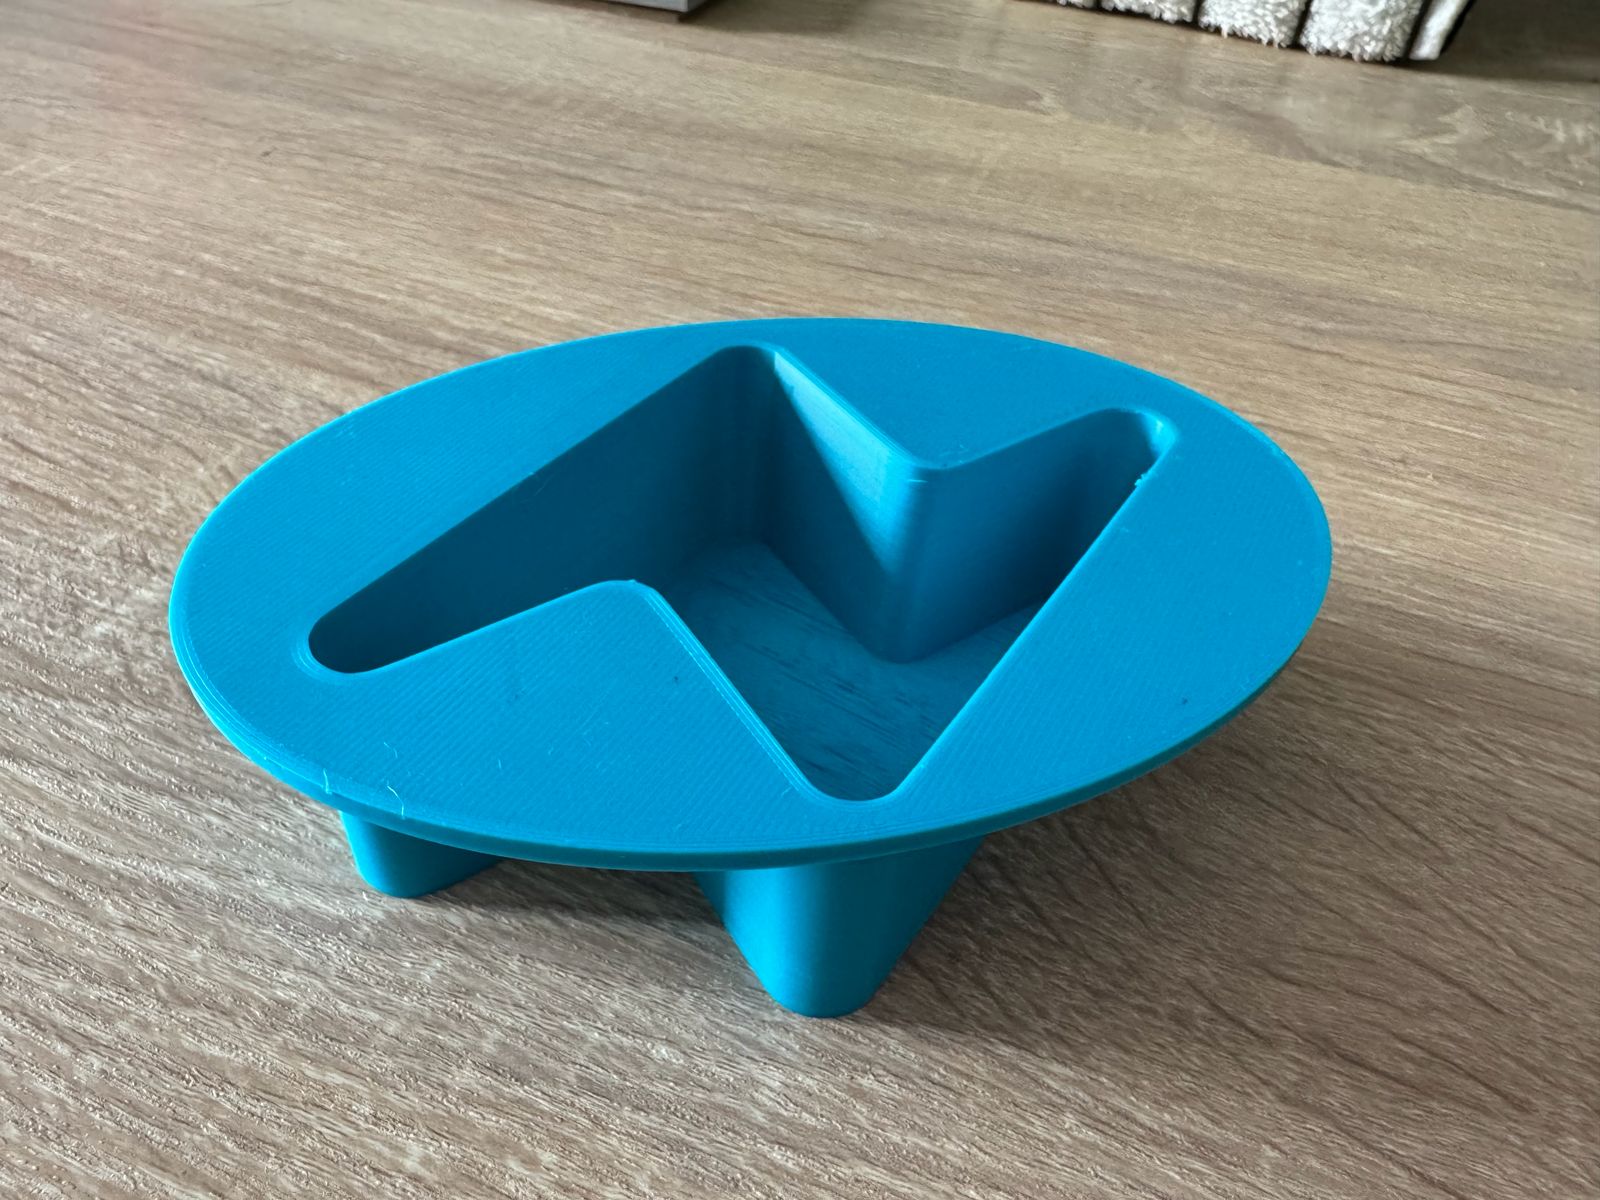
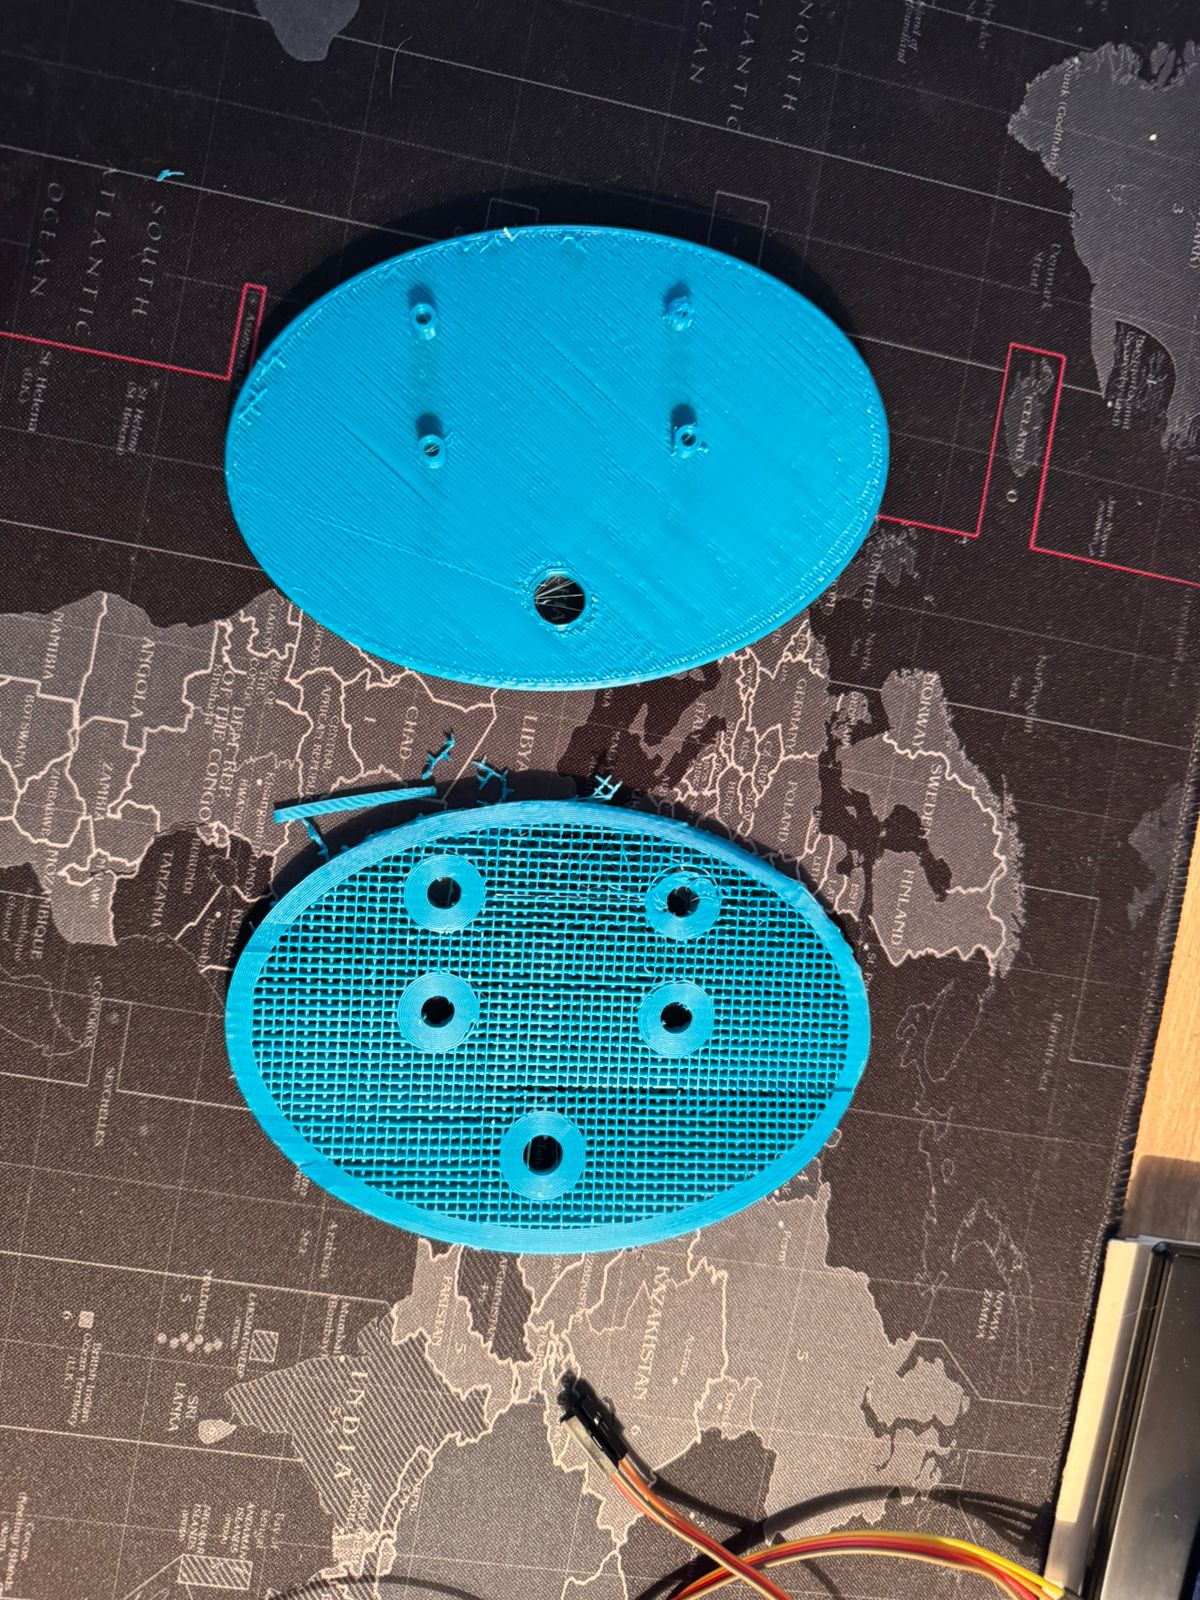
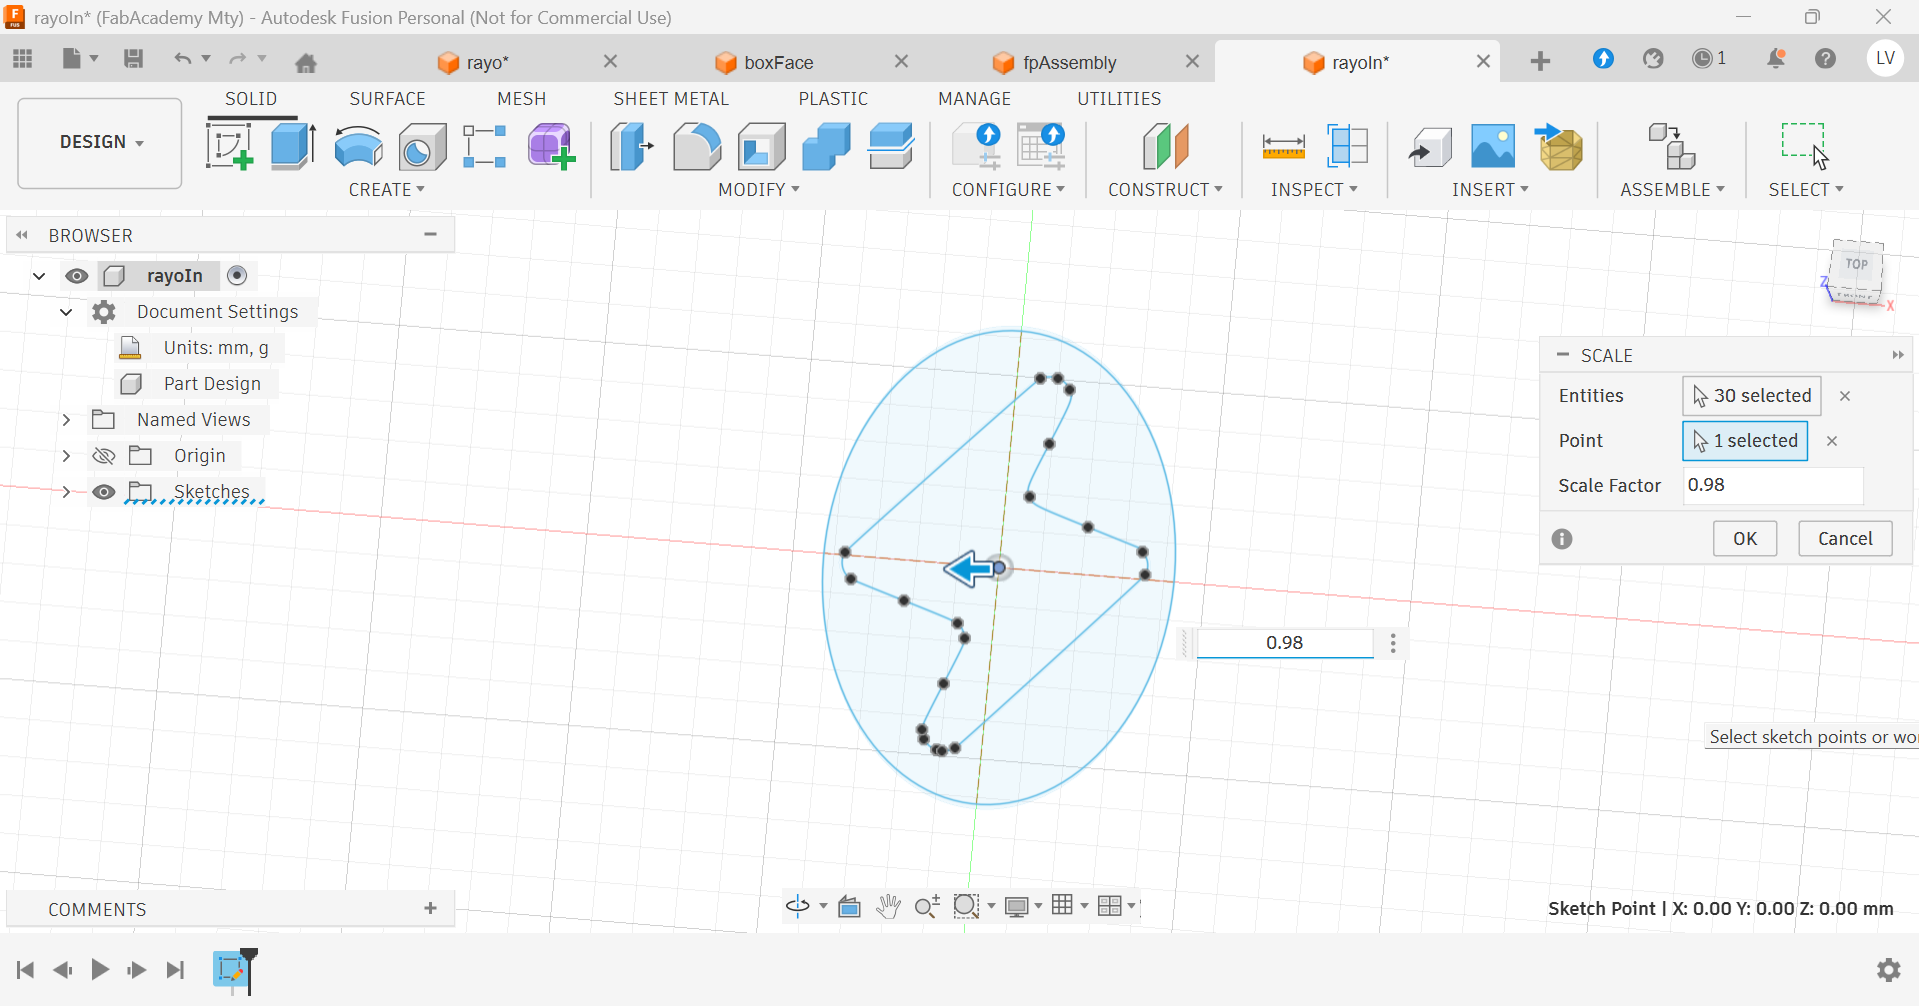
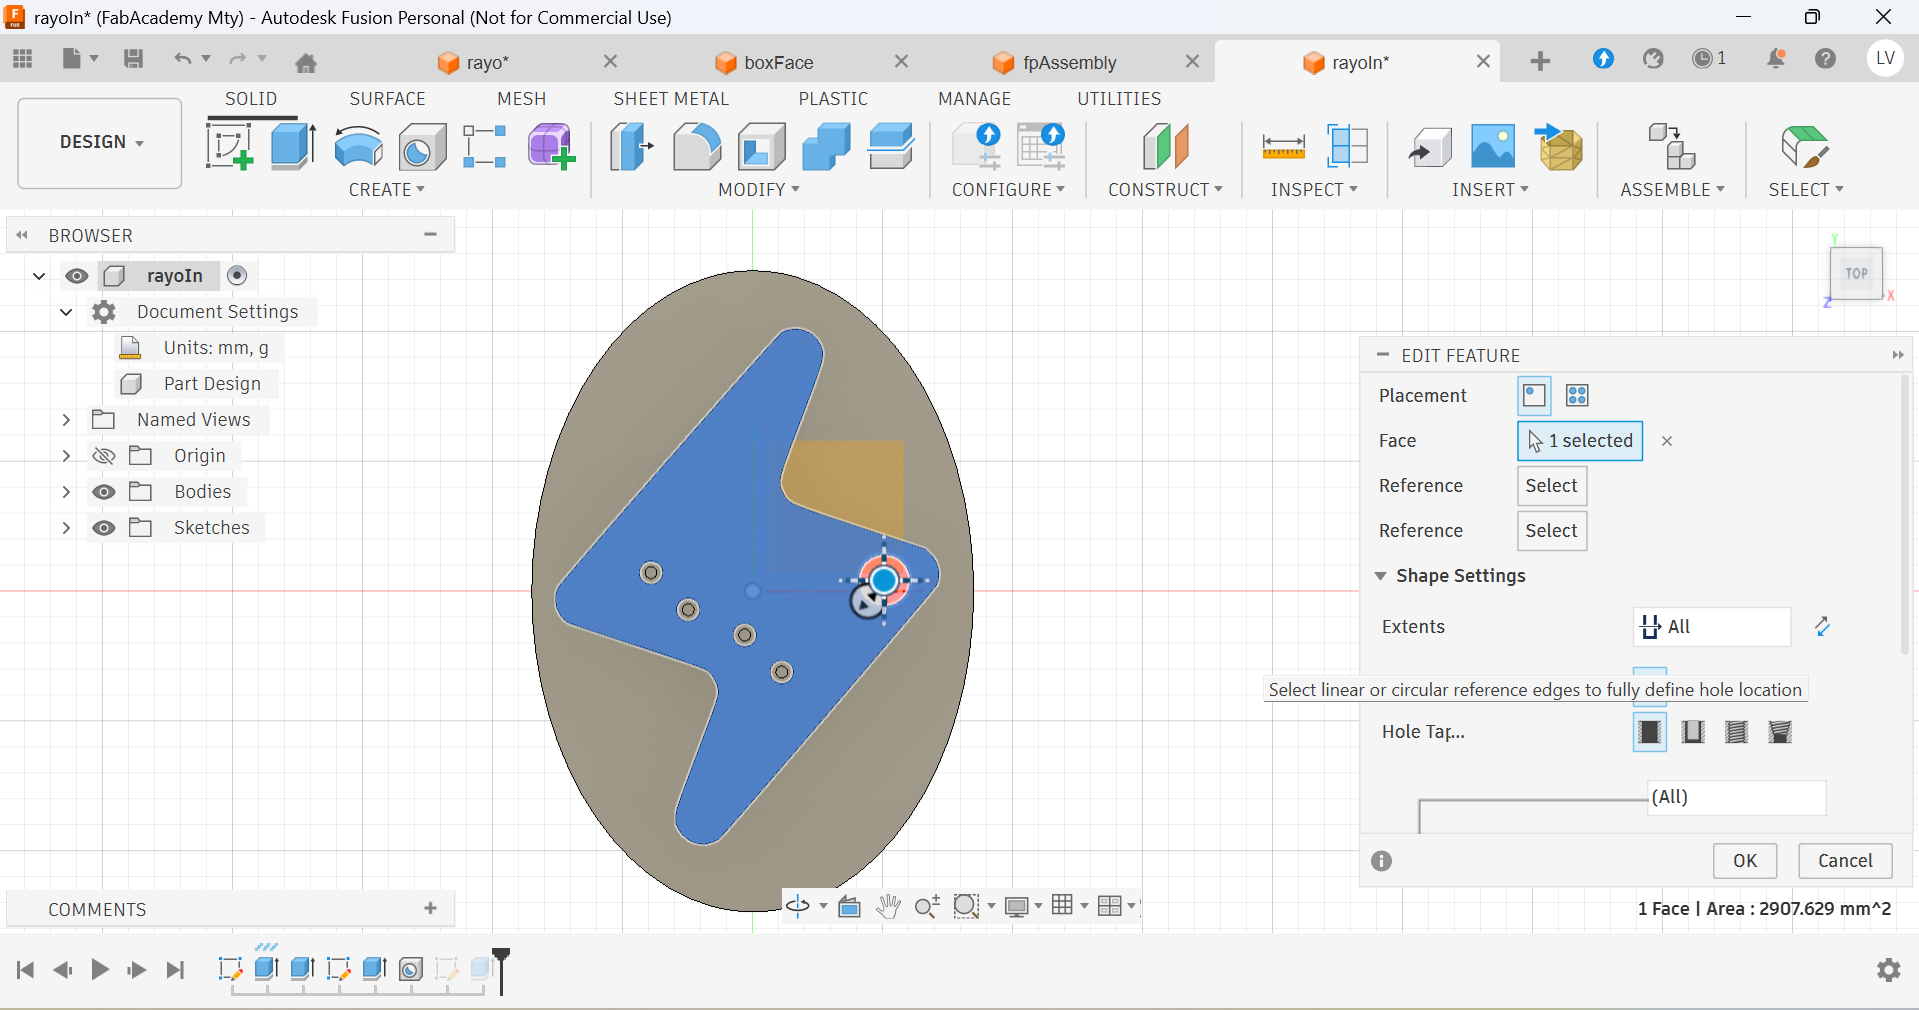
And for the inner design, I added some cilinders that would hold screws securing my electronic components:
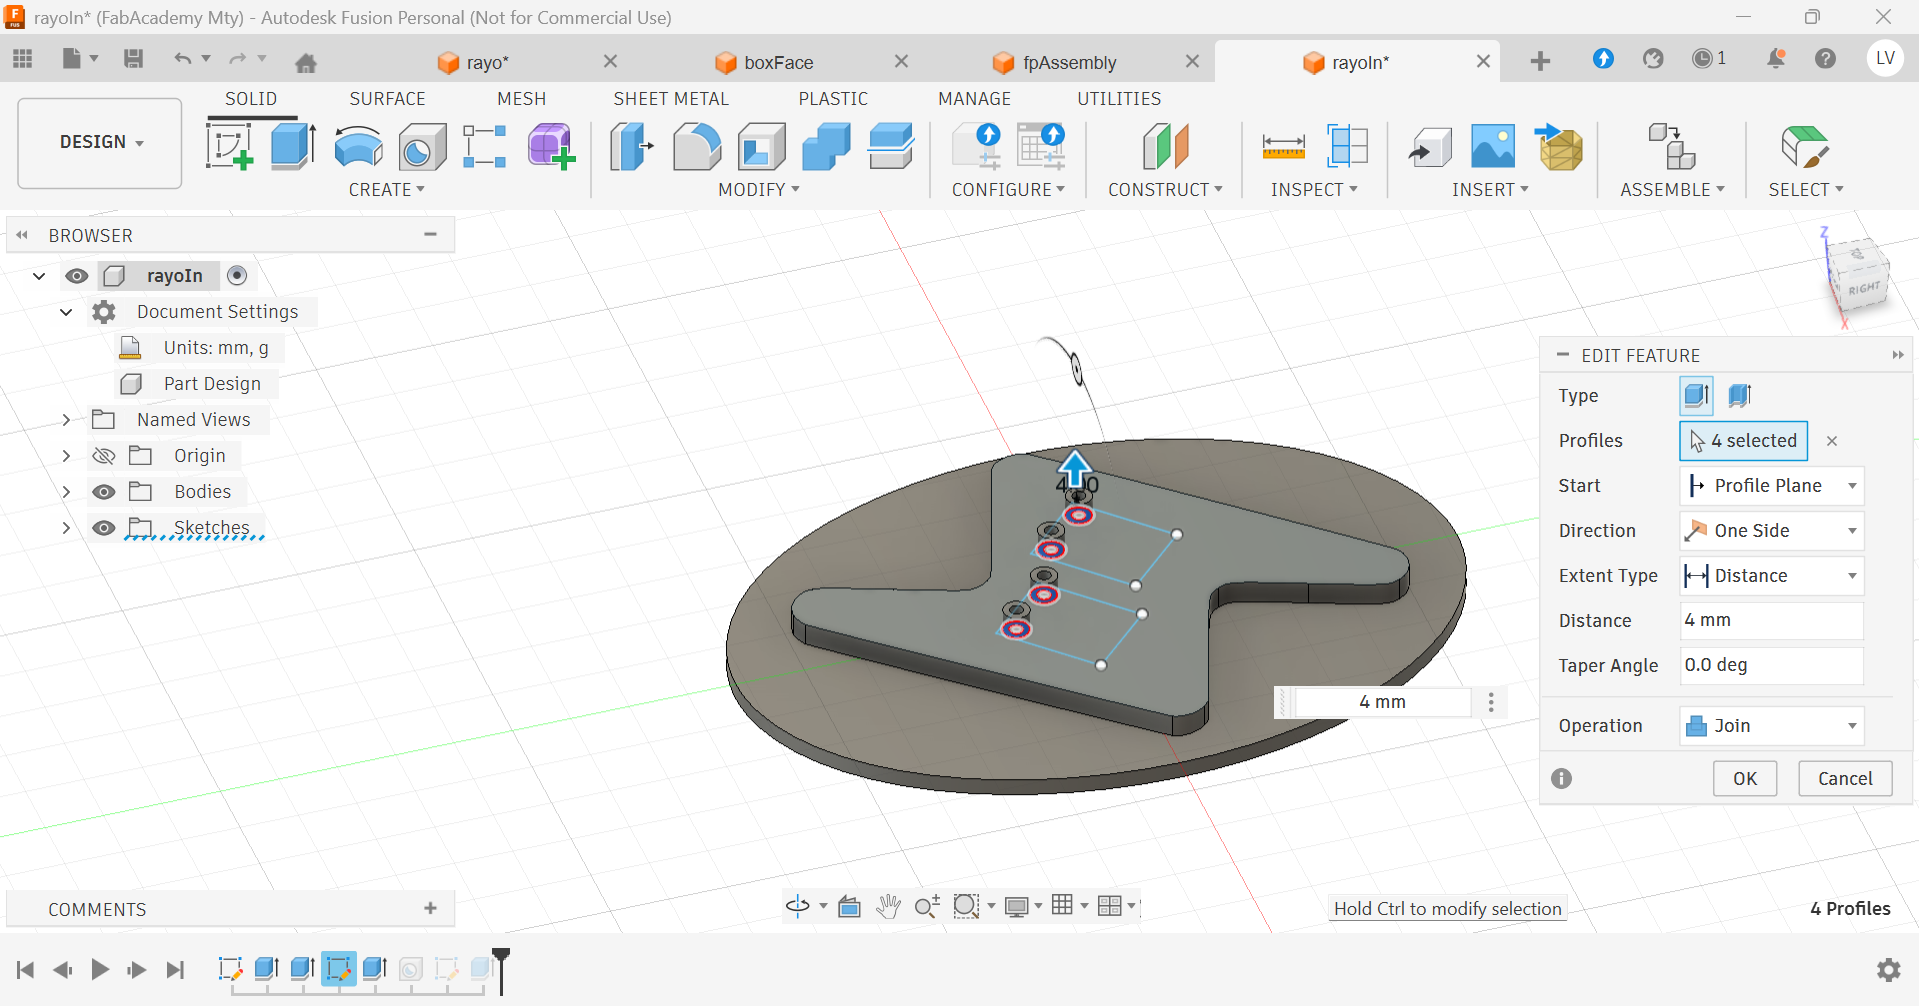
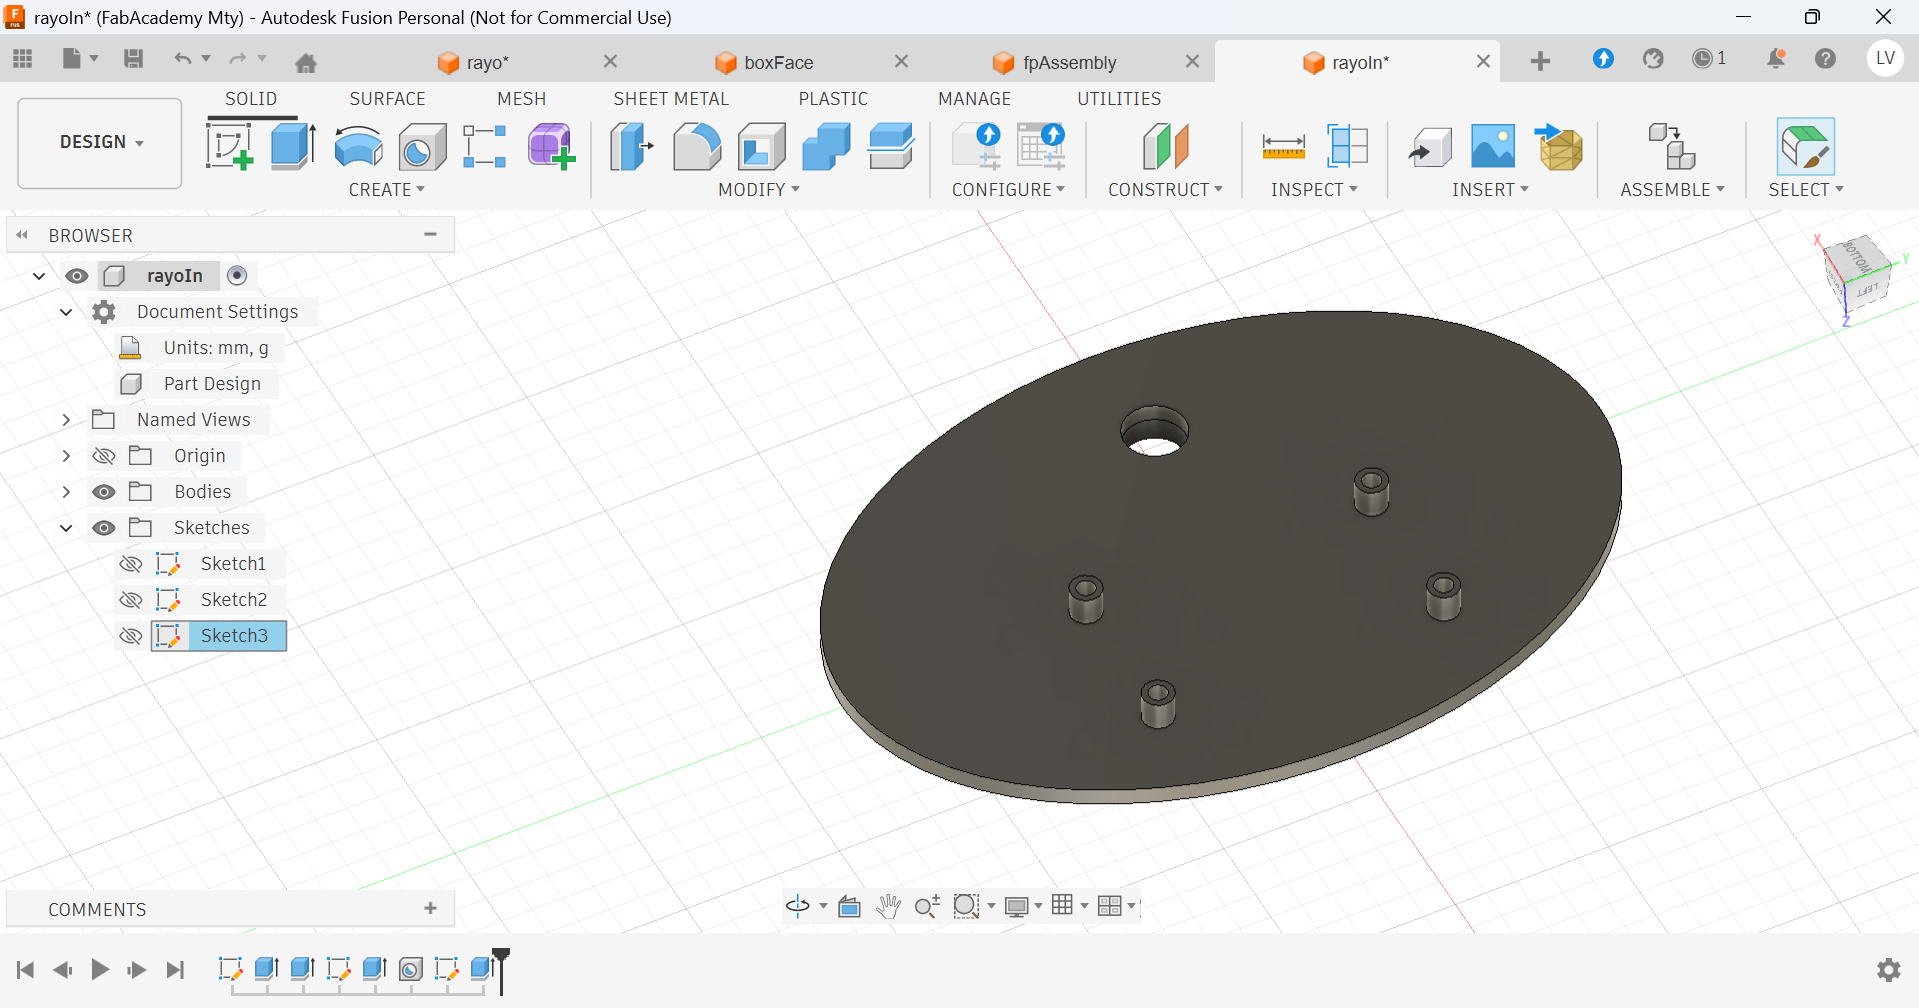
I added a hole for cables to go through:
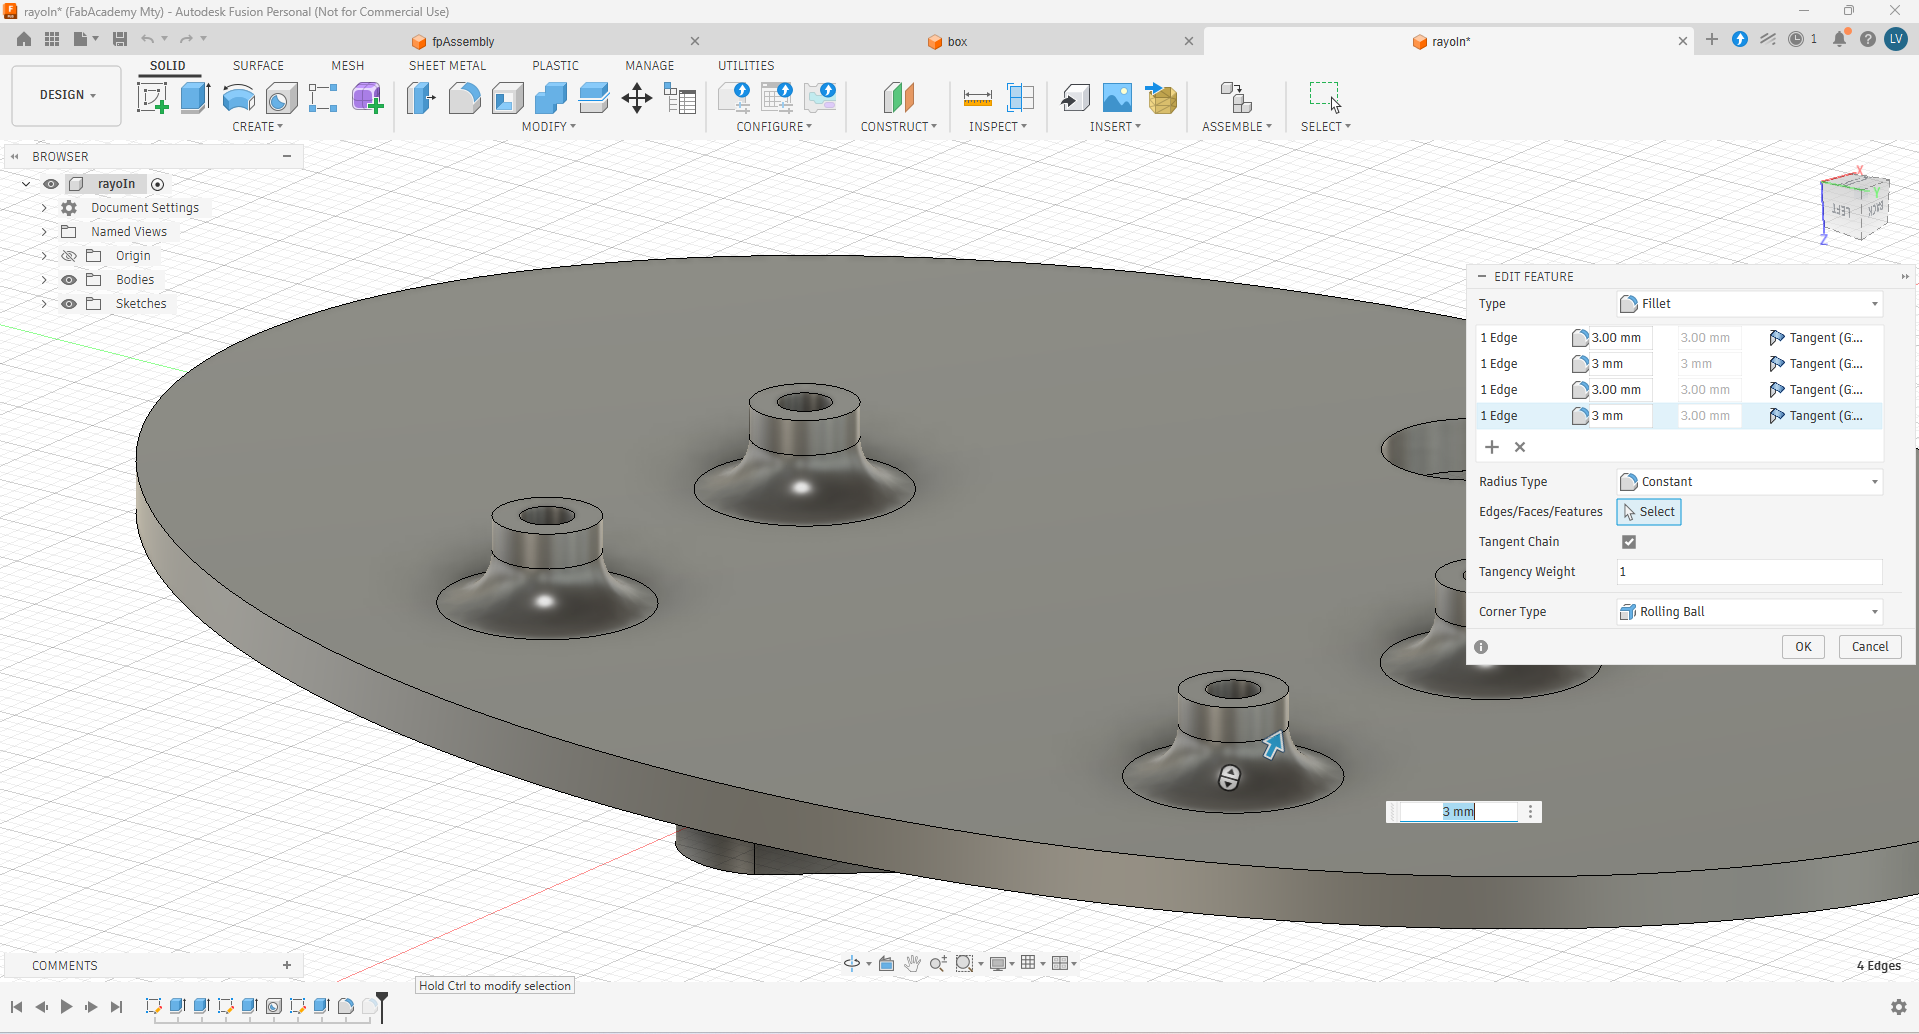
And then I did some fillets on the cilinders when I noticed they were too fragile
Then I prepared the prints in the Cura Slicer:
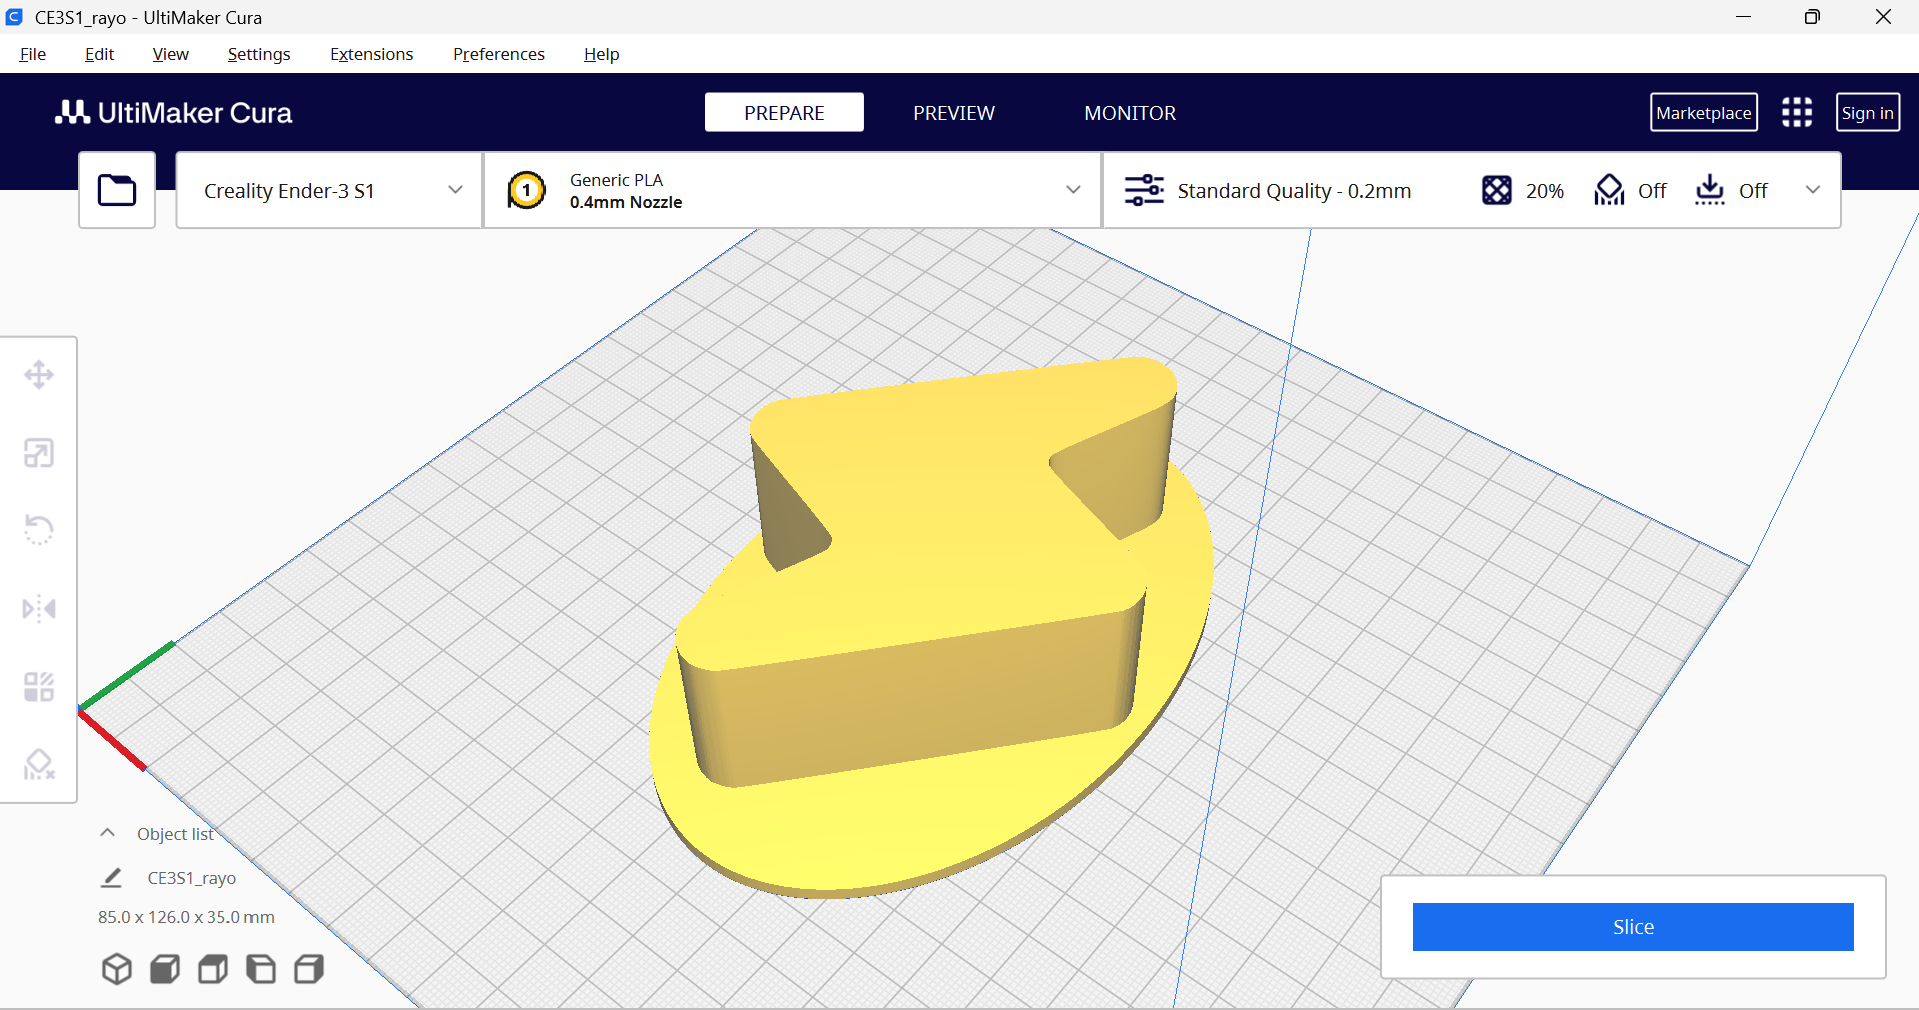

After exporting the G-Code, the file was ready to print:
*Go to Week16. System integration to see how this were used later.
Download all files